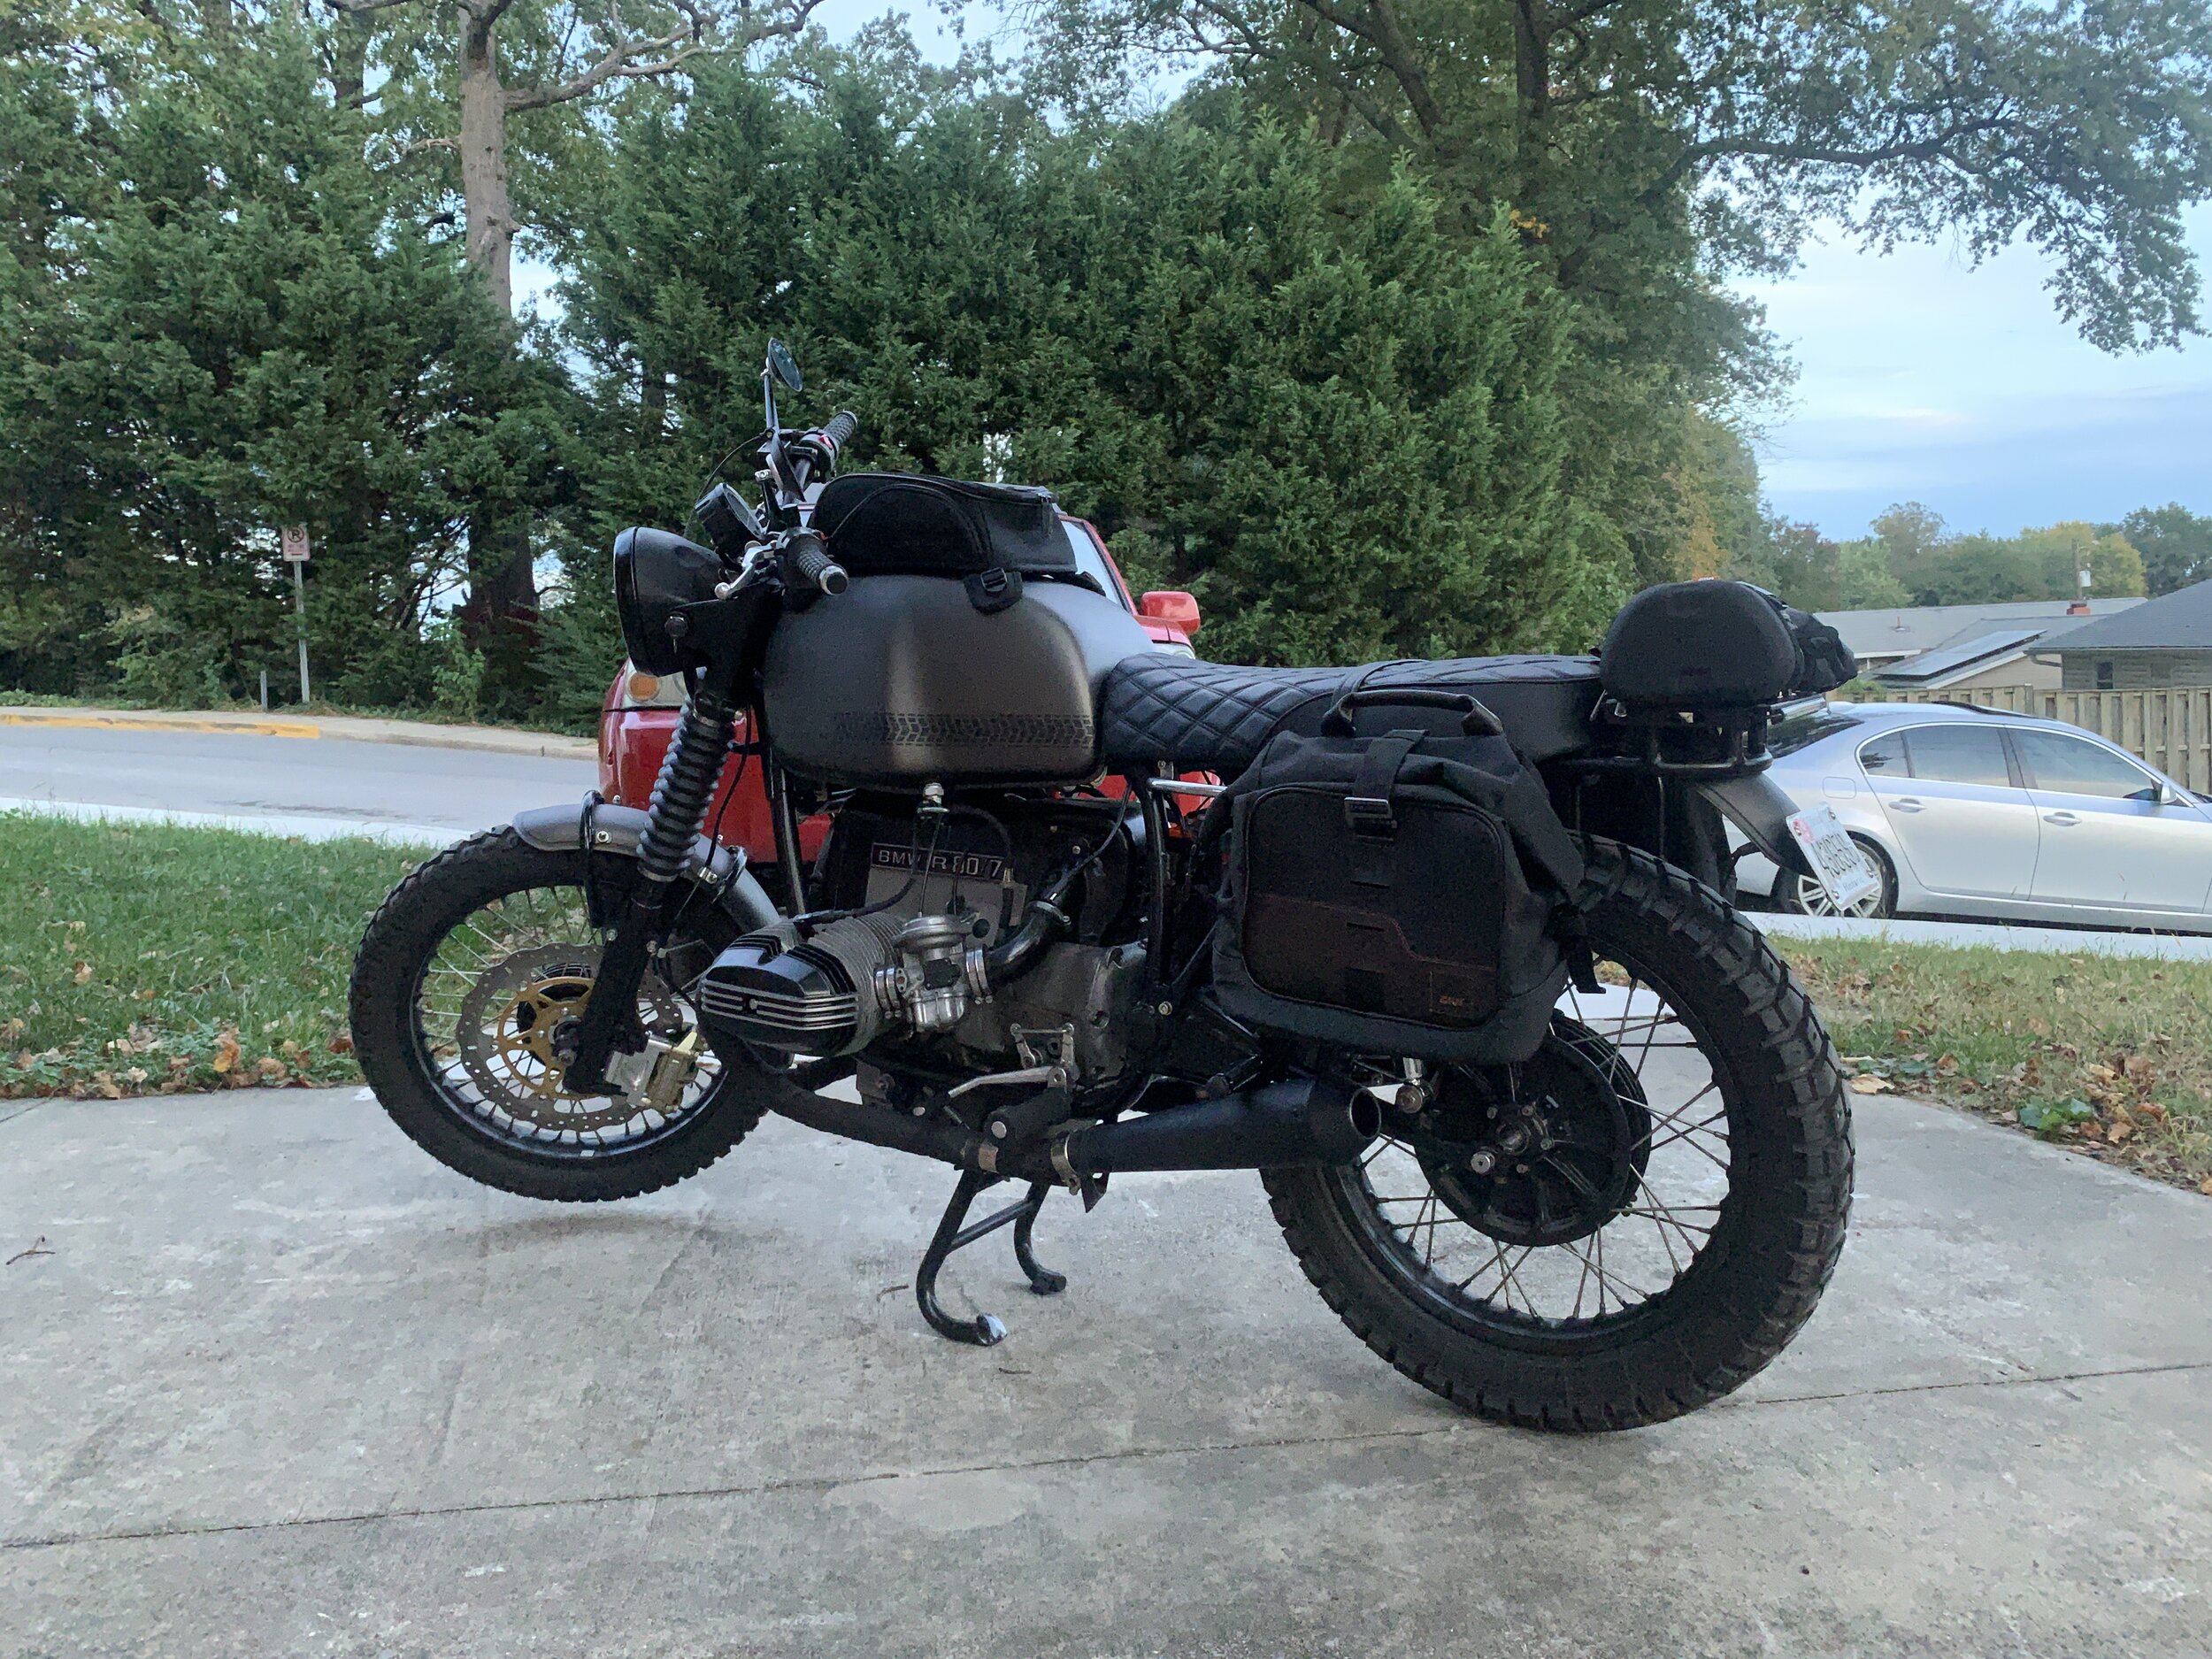
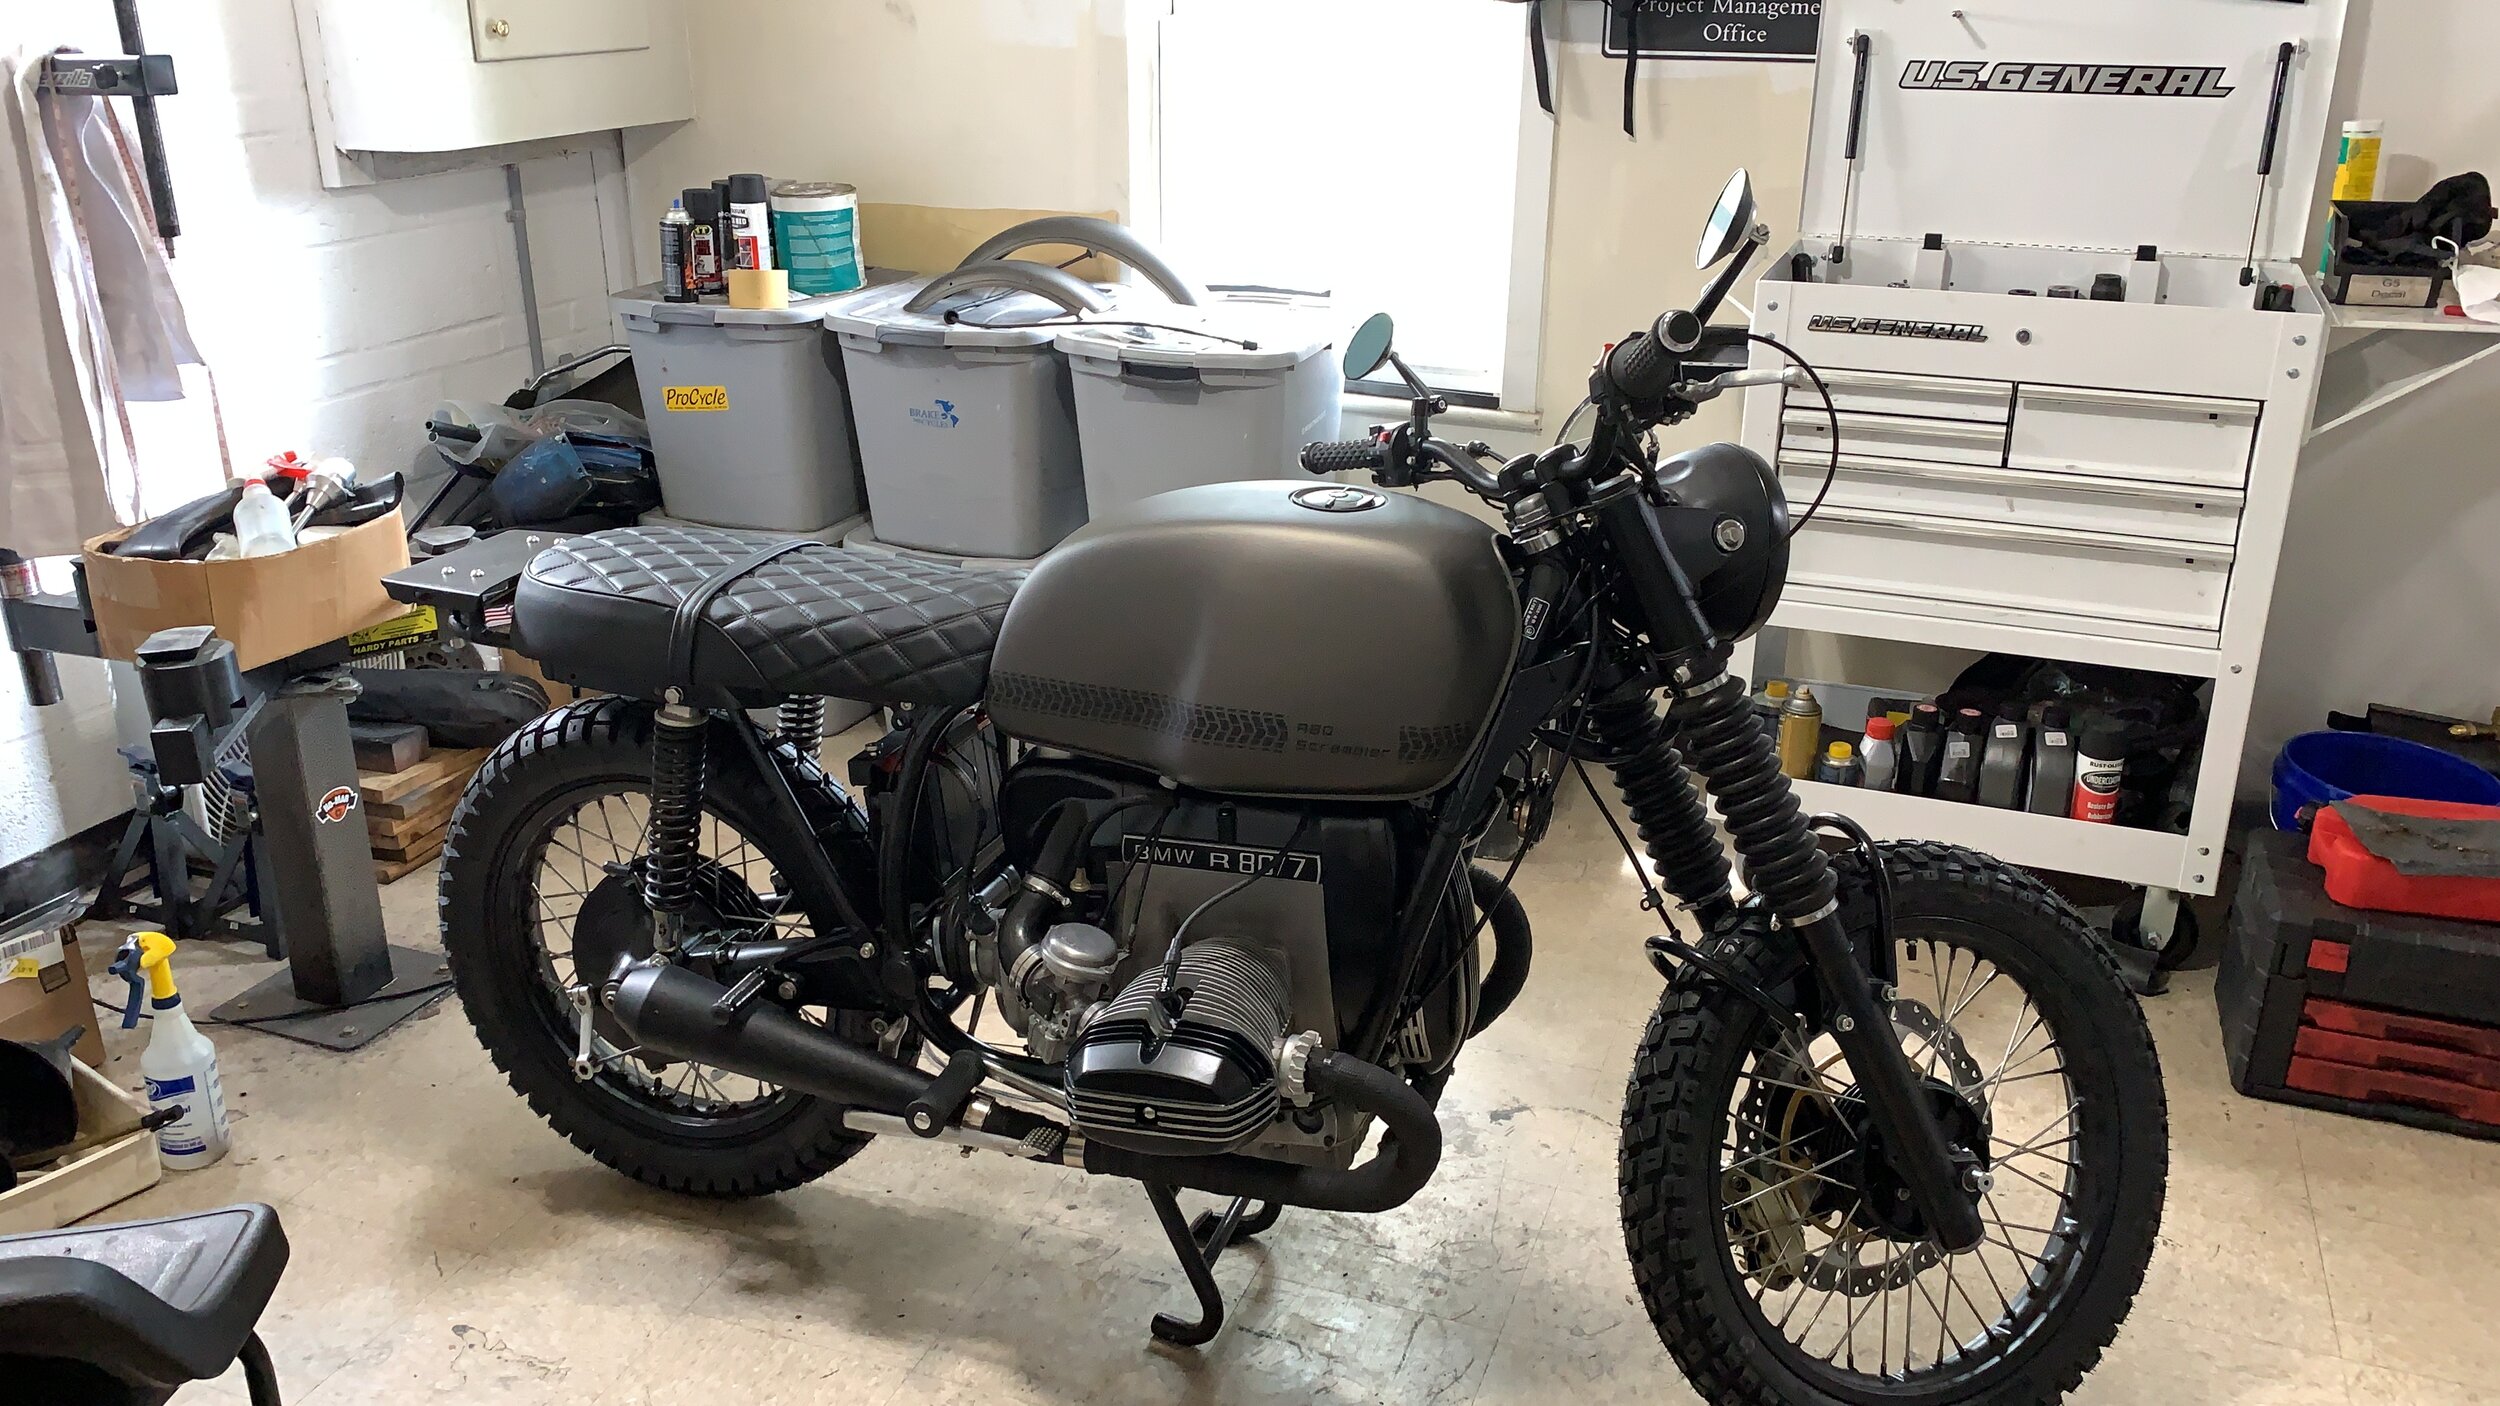
R80 Scrambler
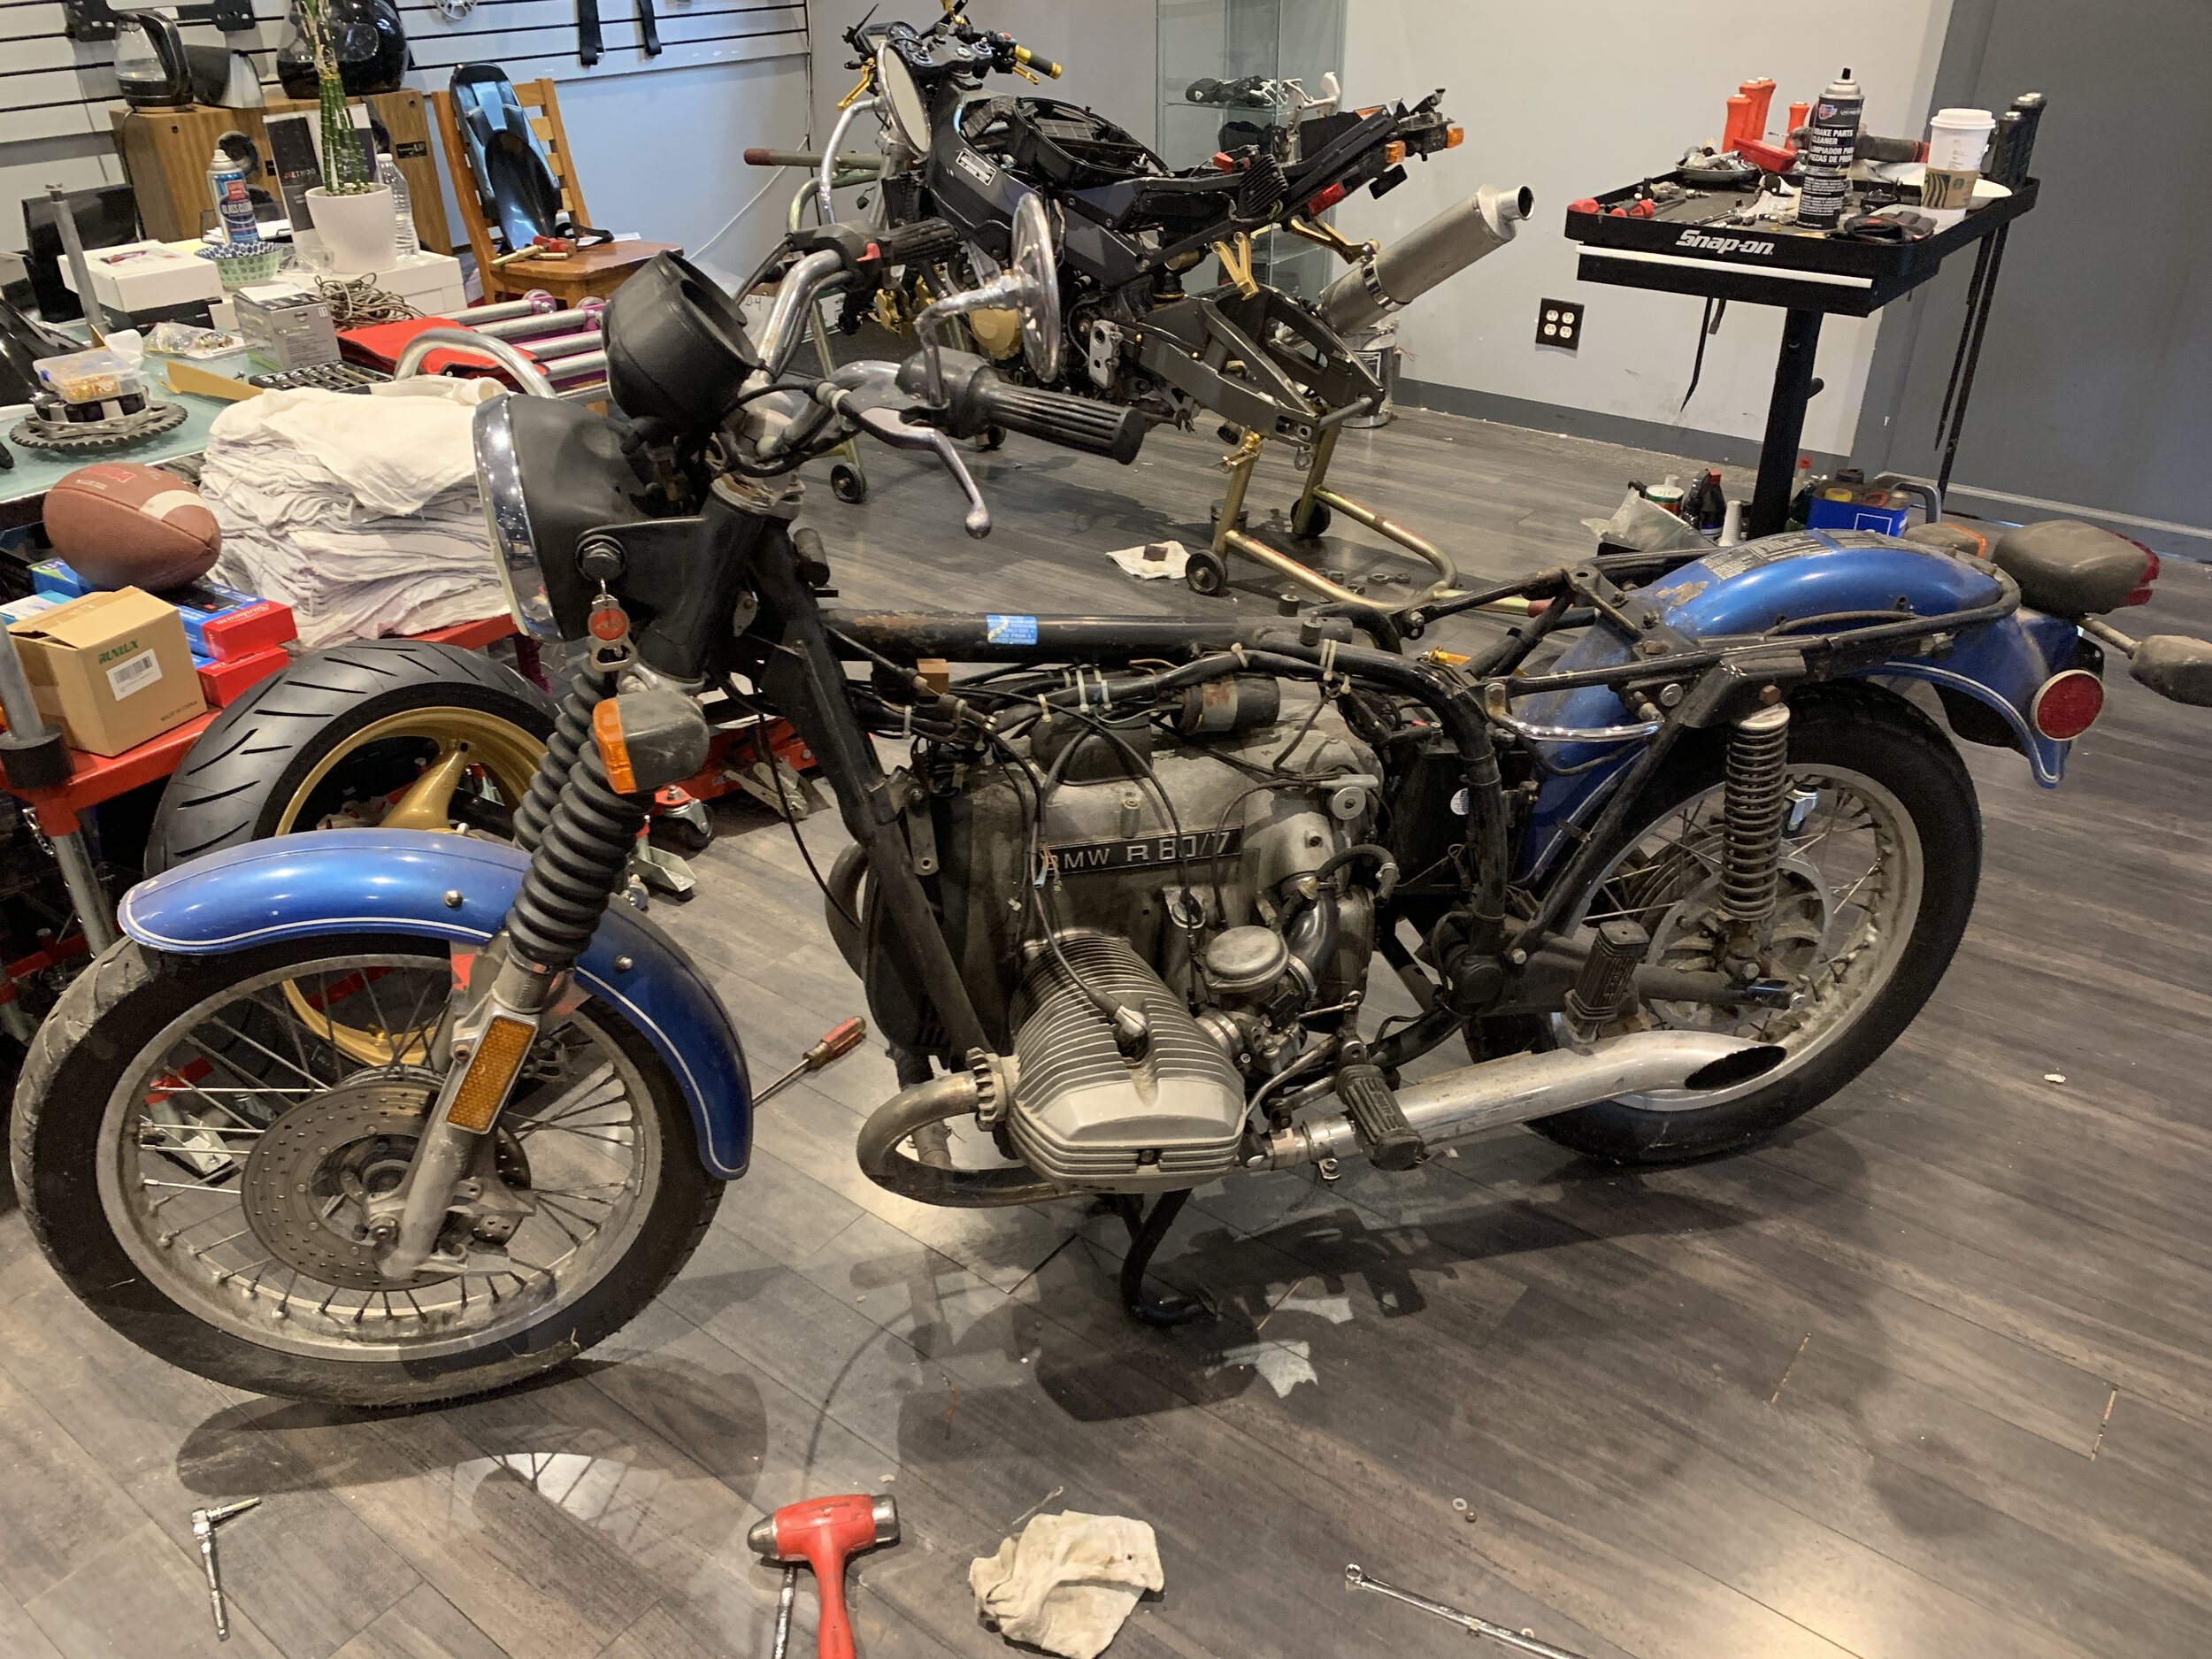
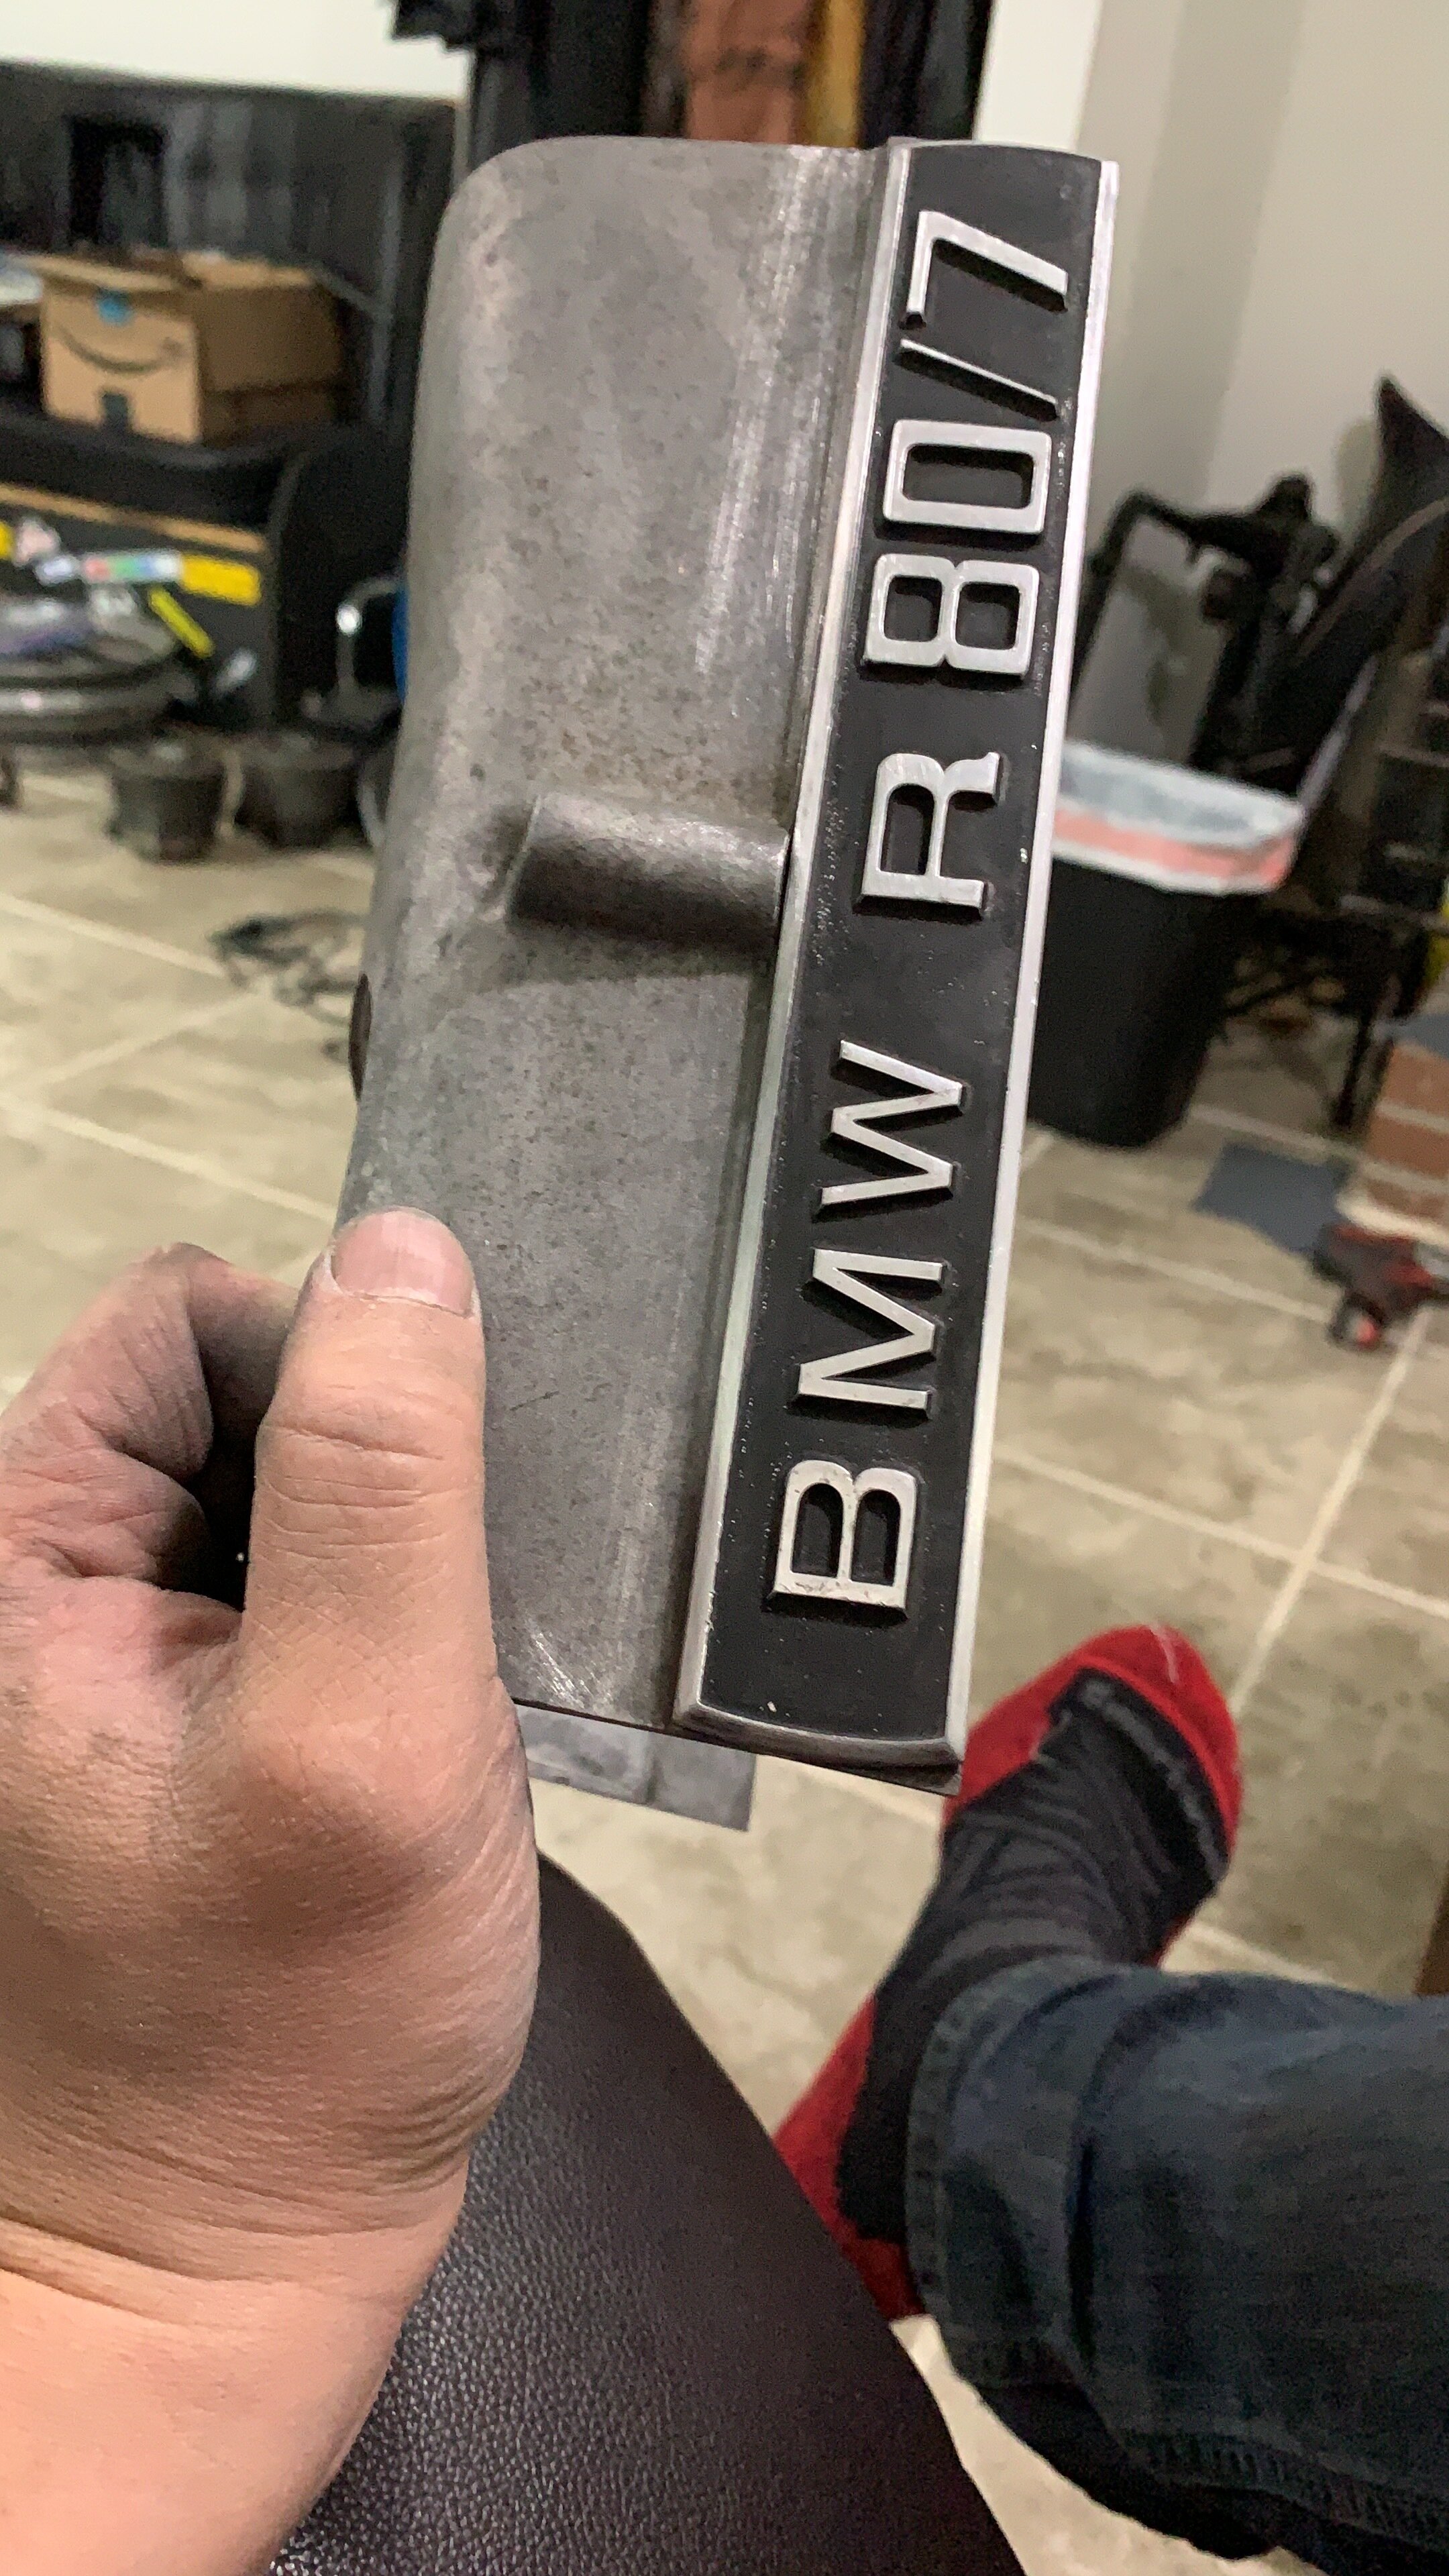
1978 R80/7
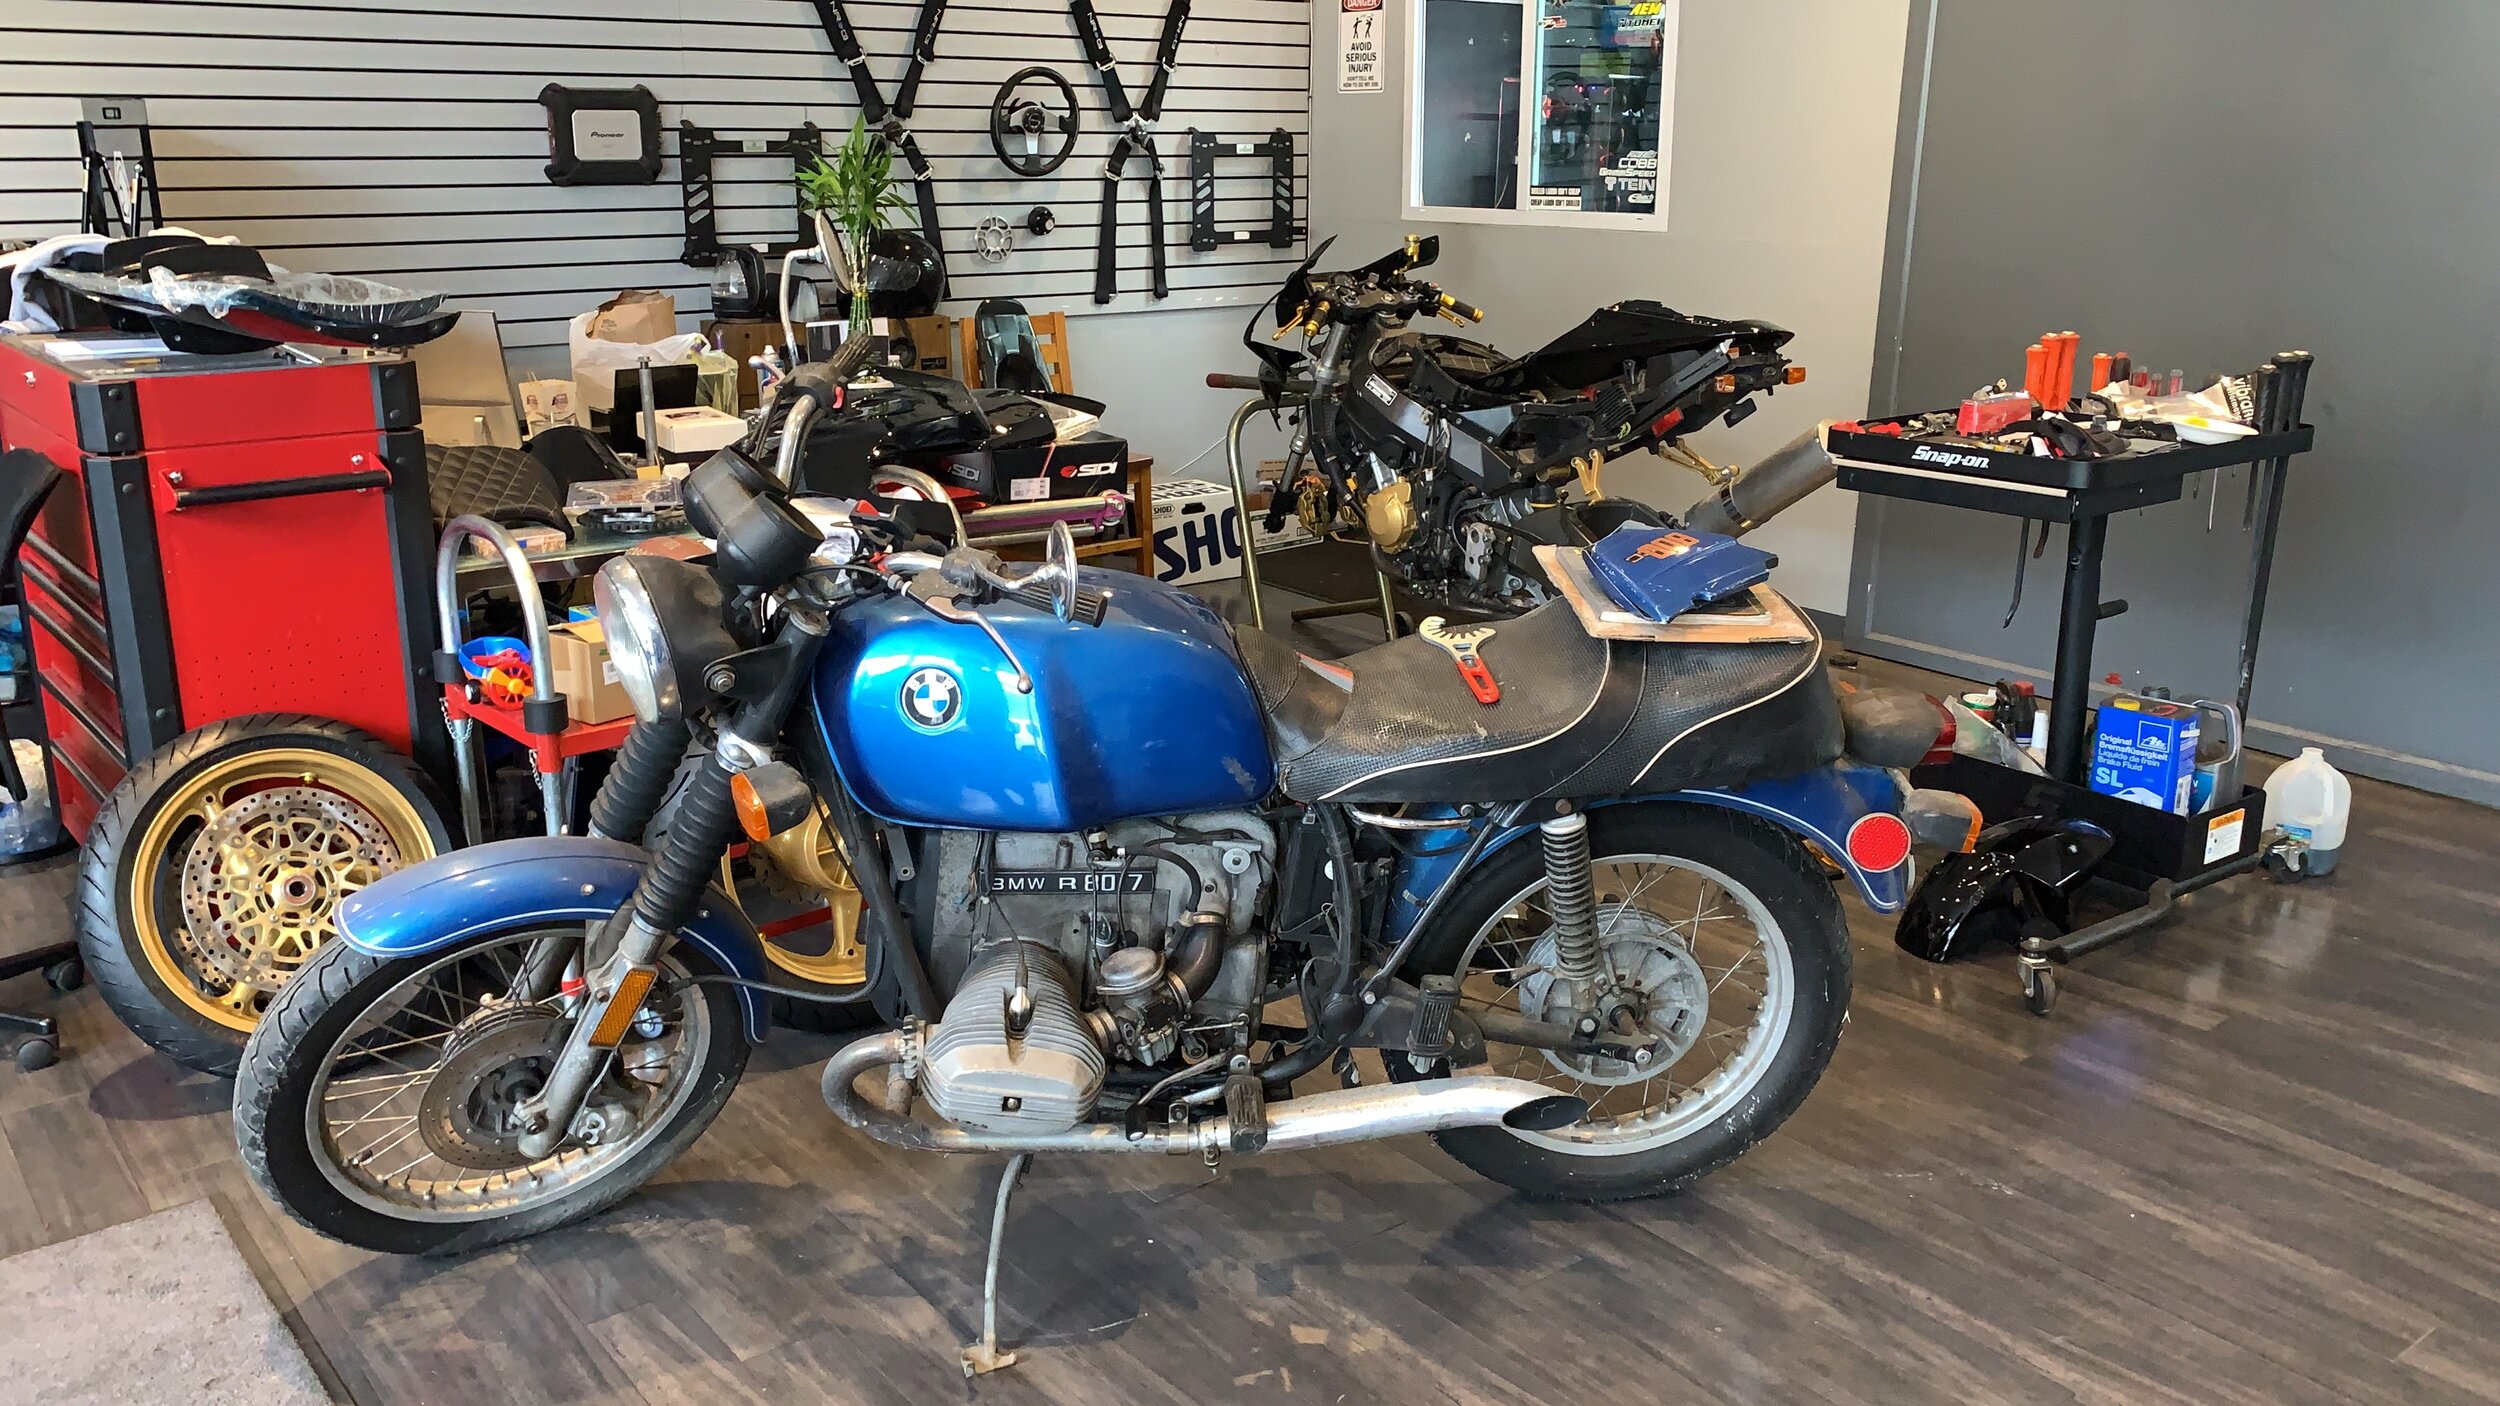
1978 BMW R80/7 - (0 Miles)
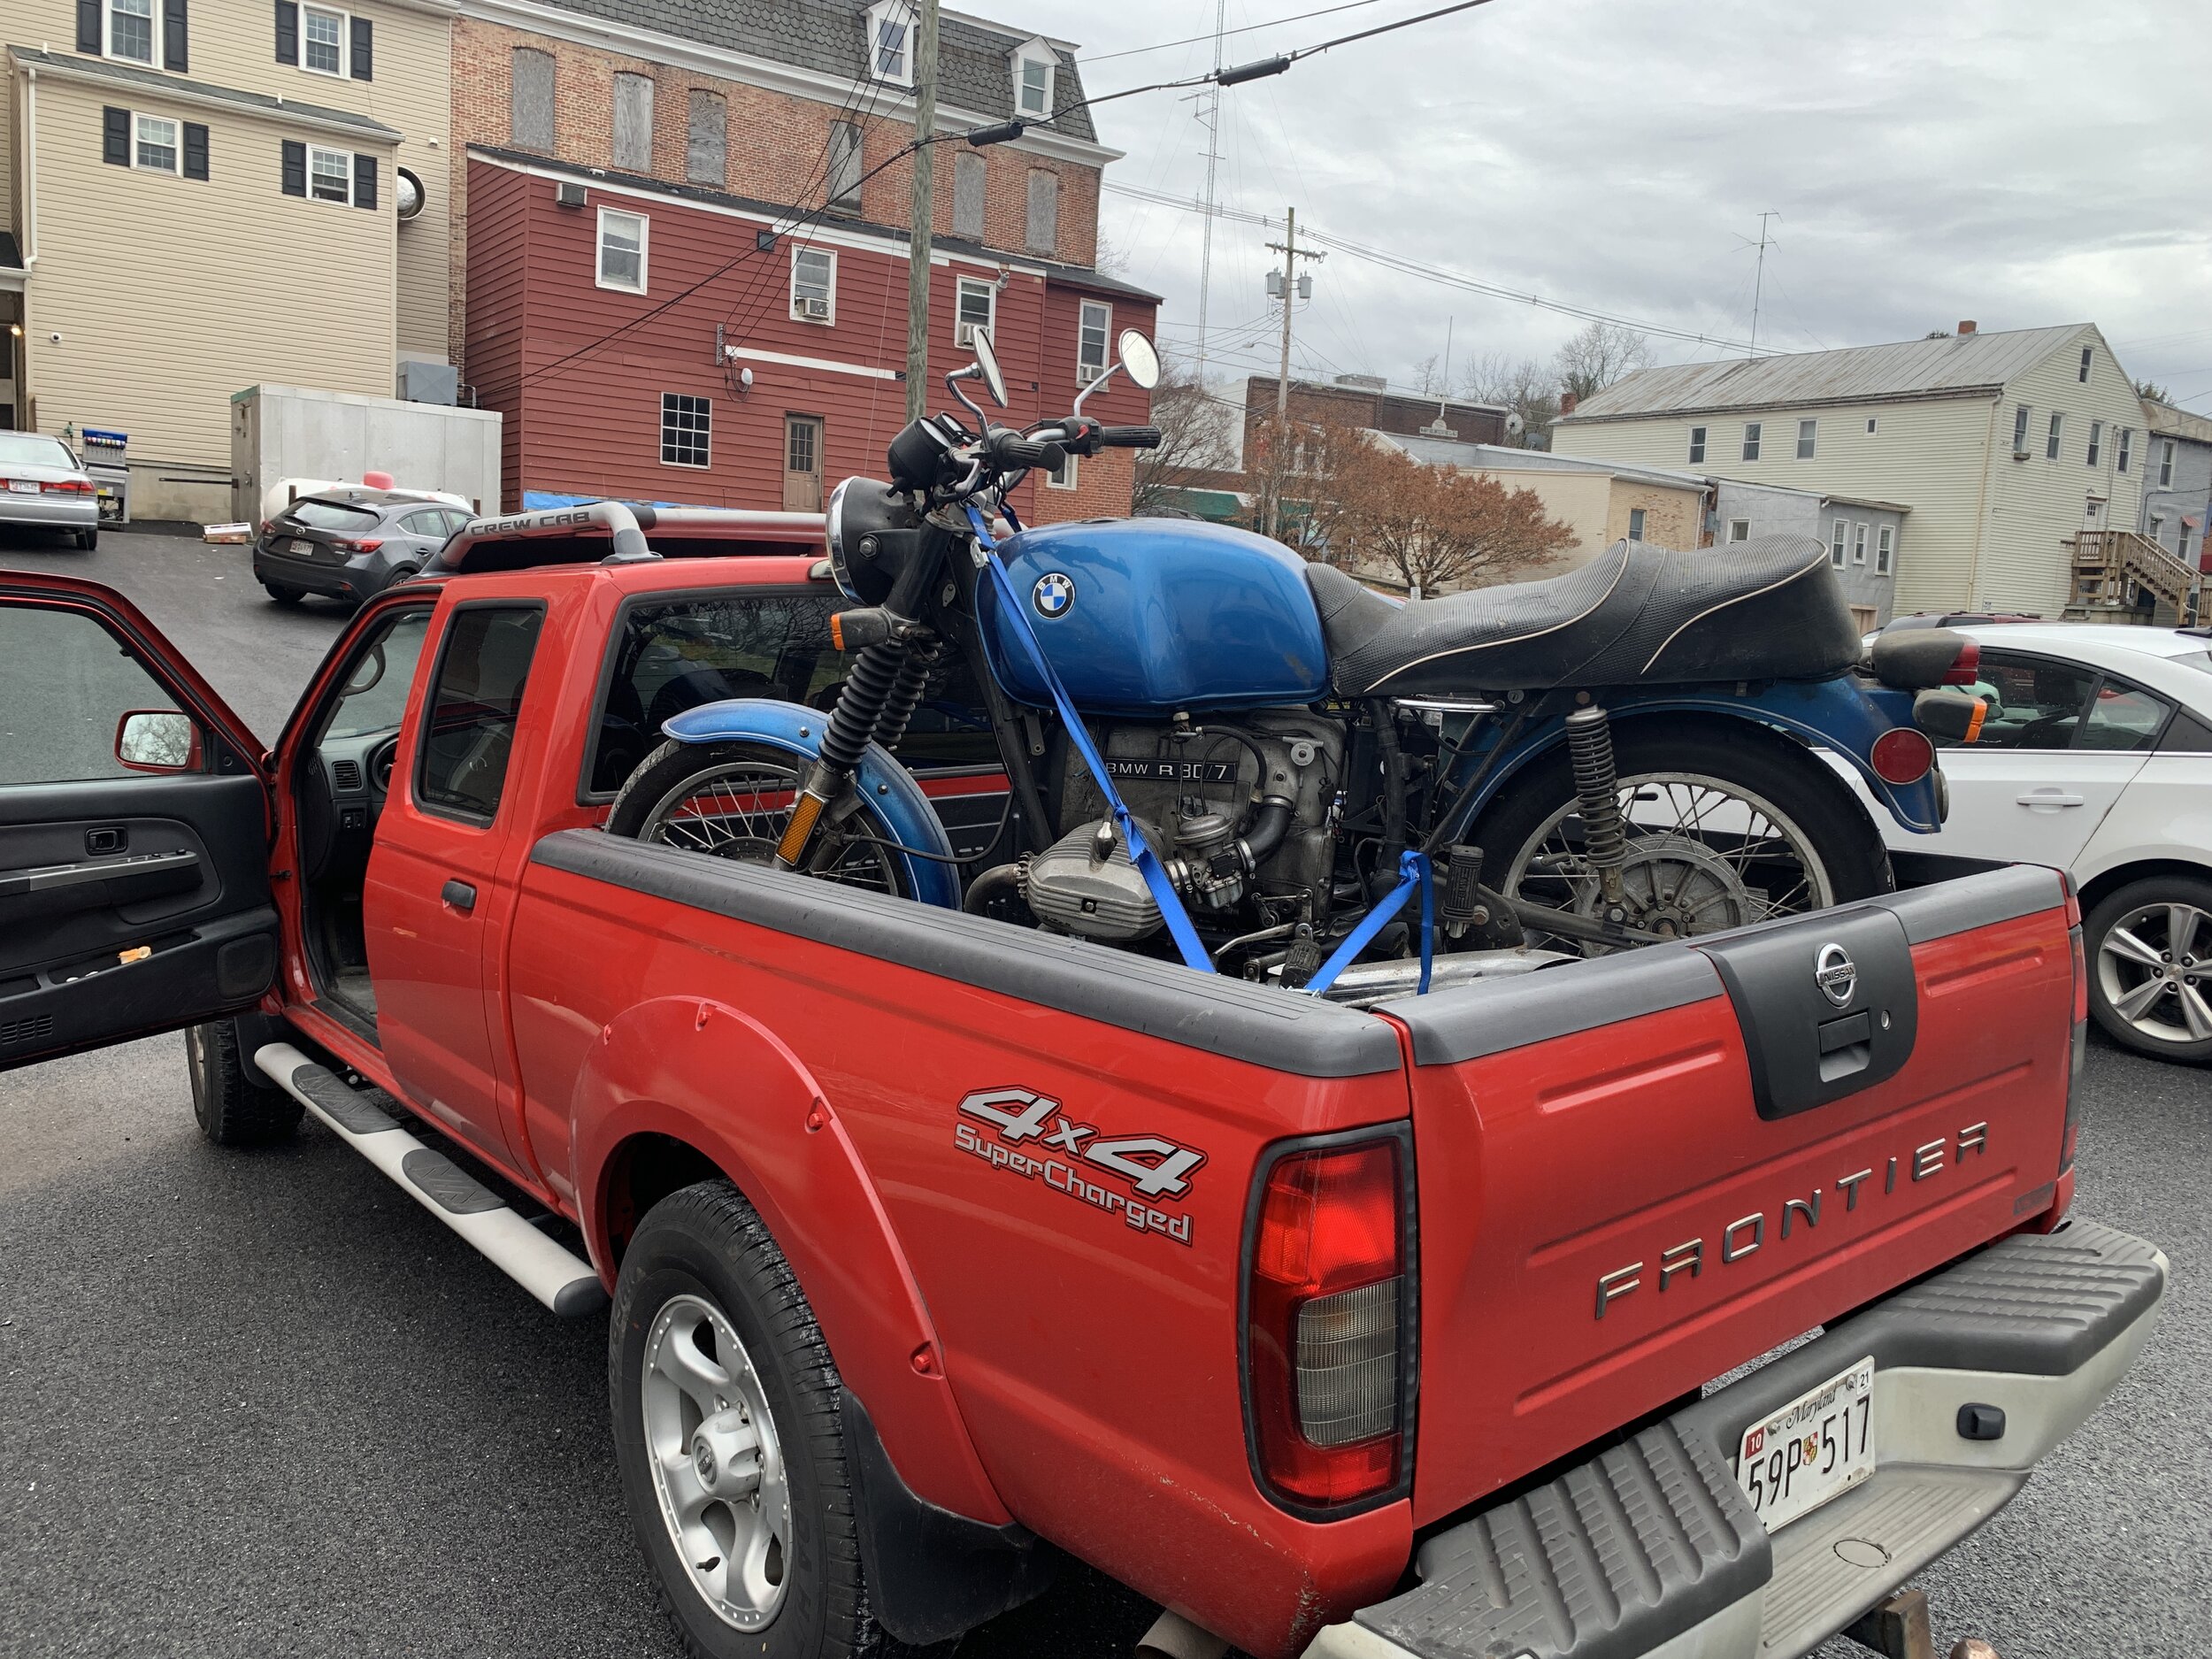
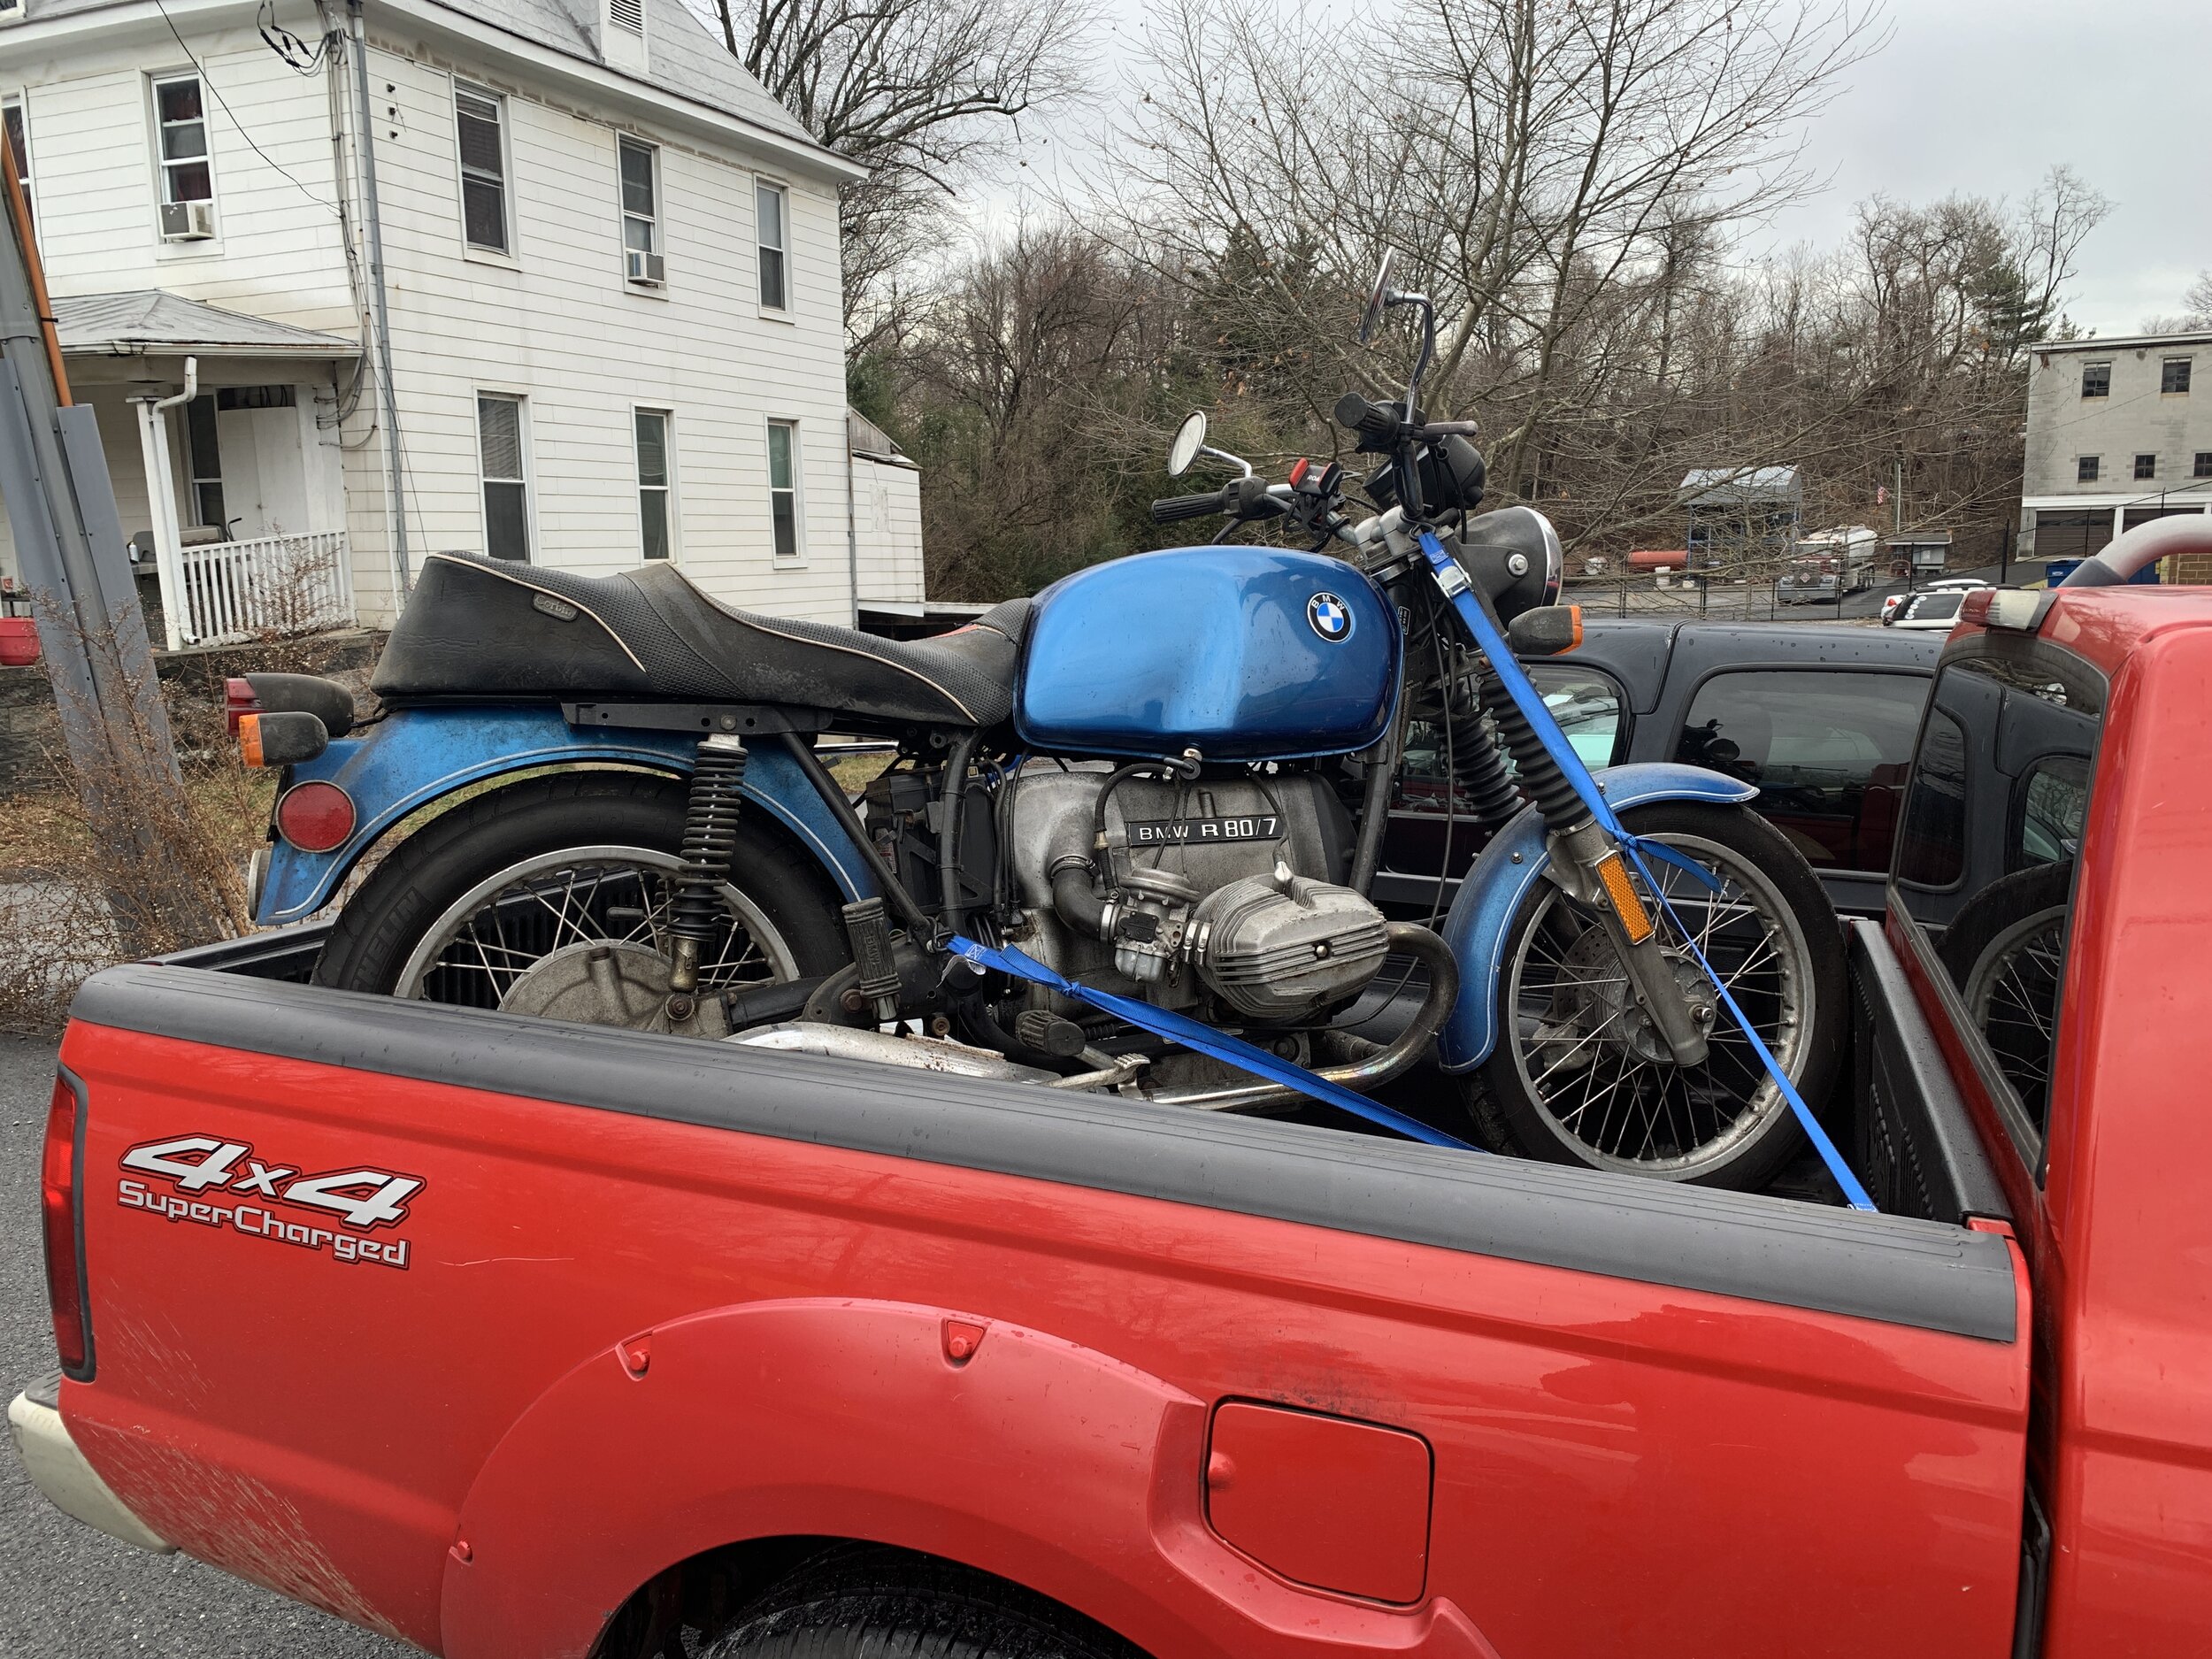
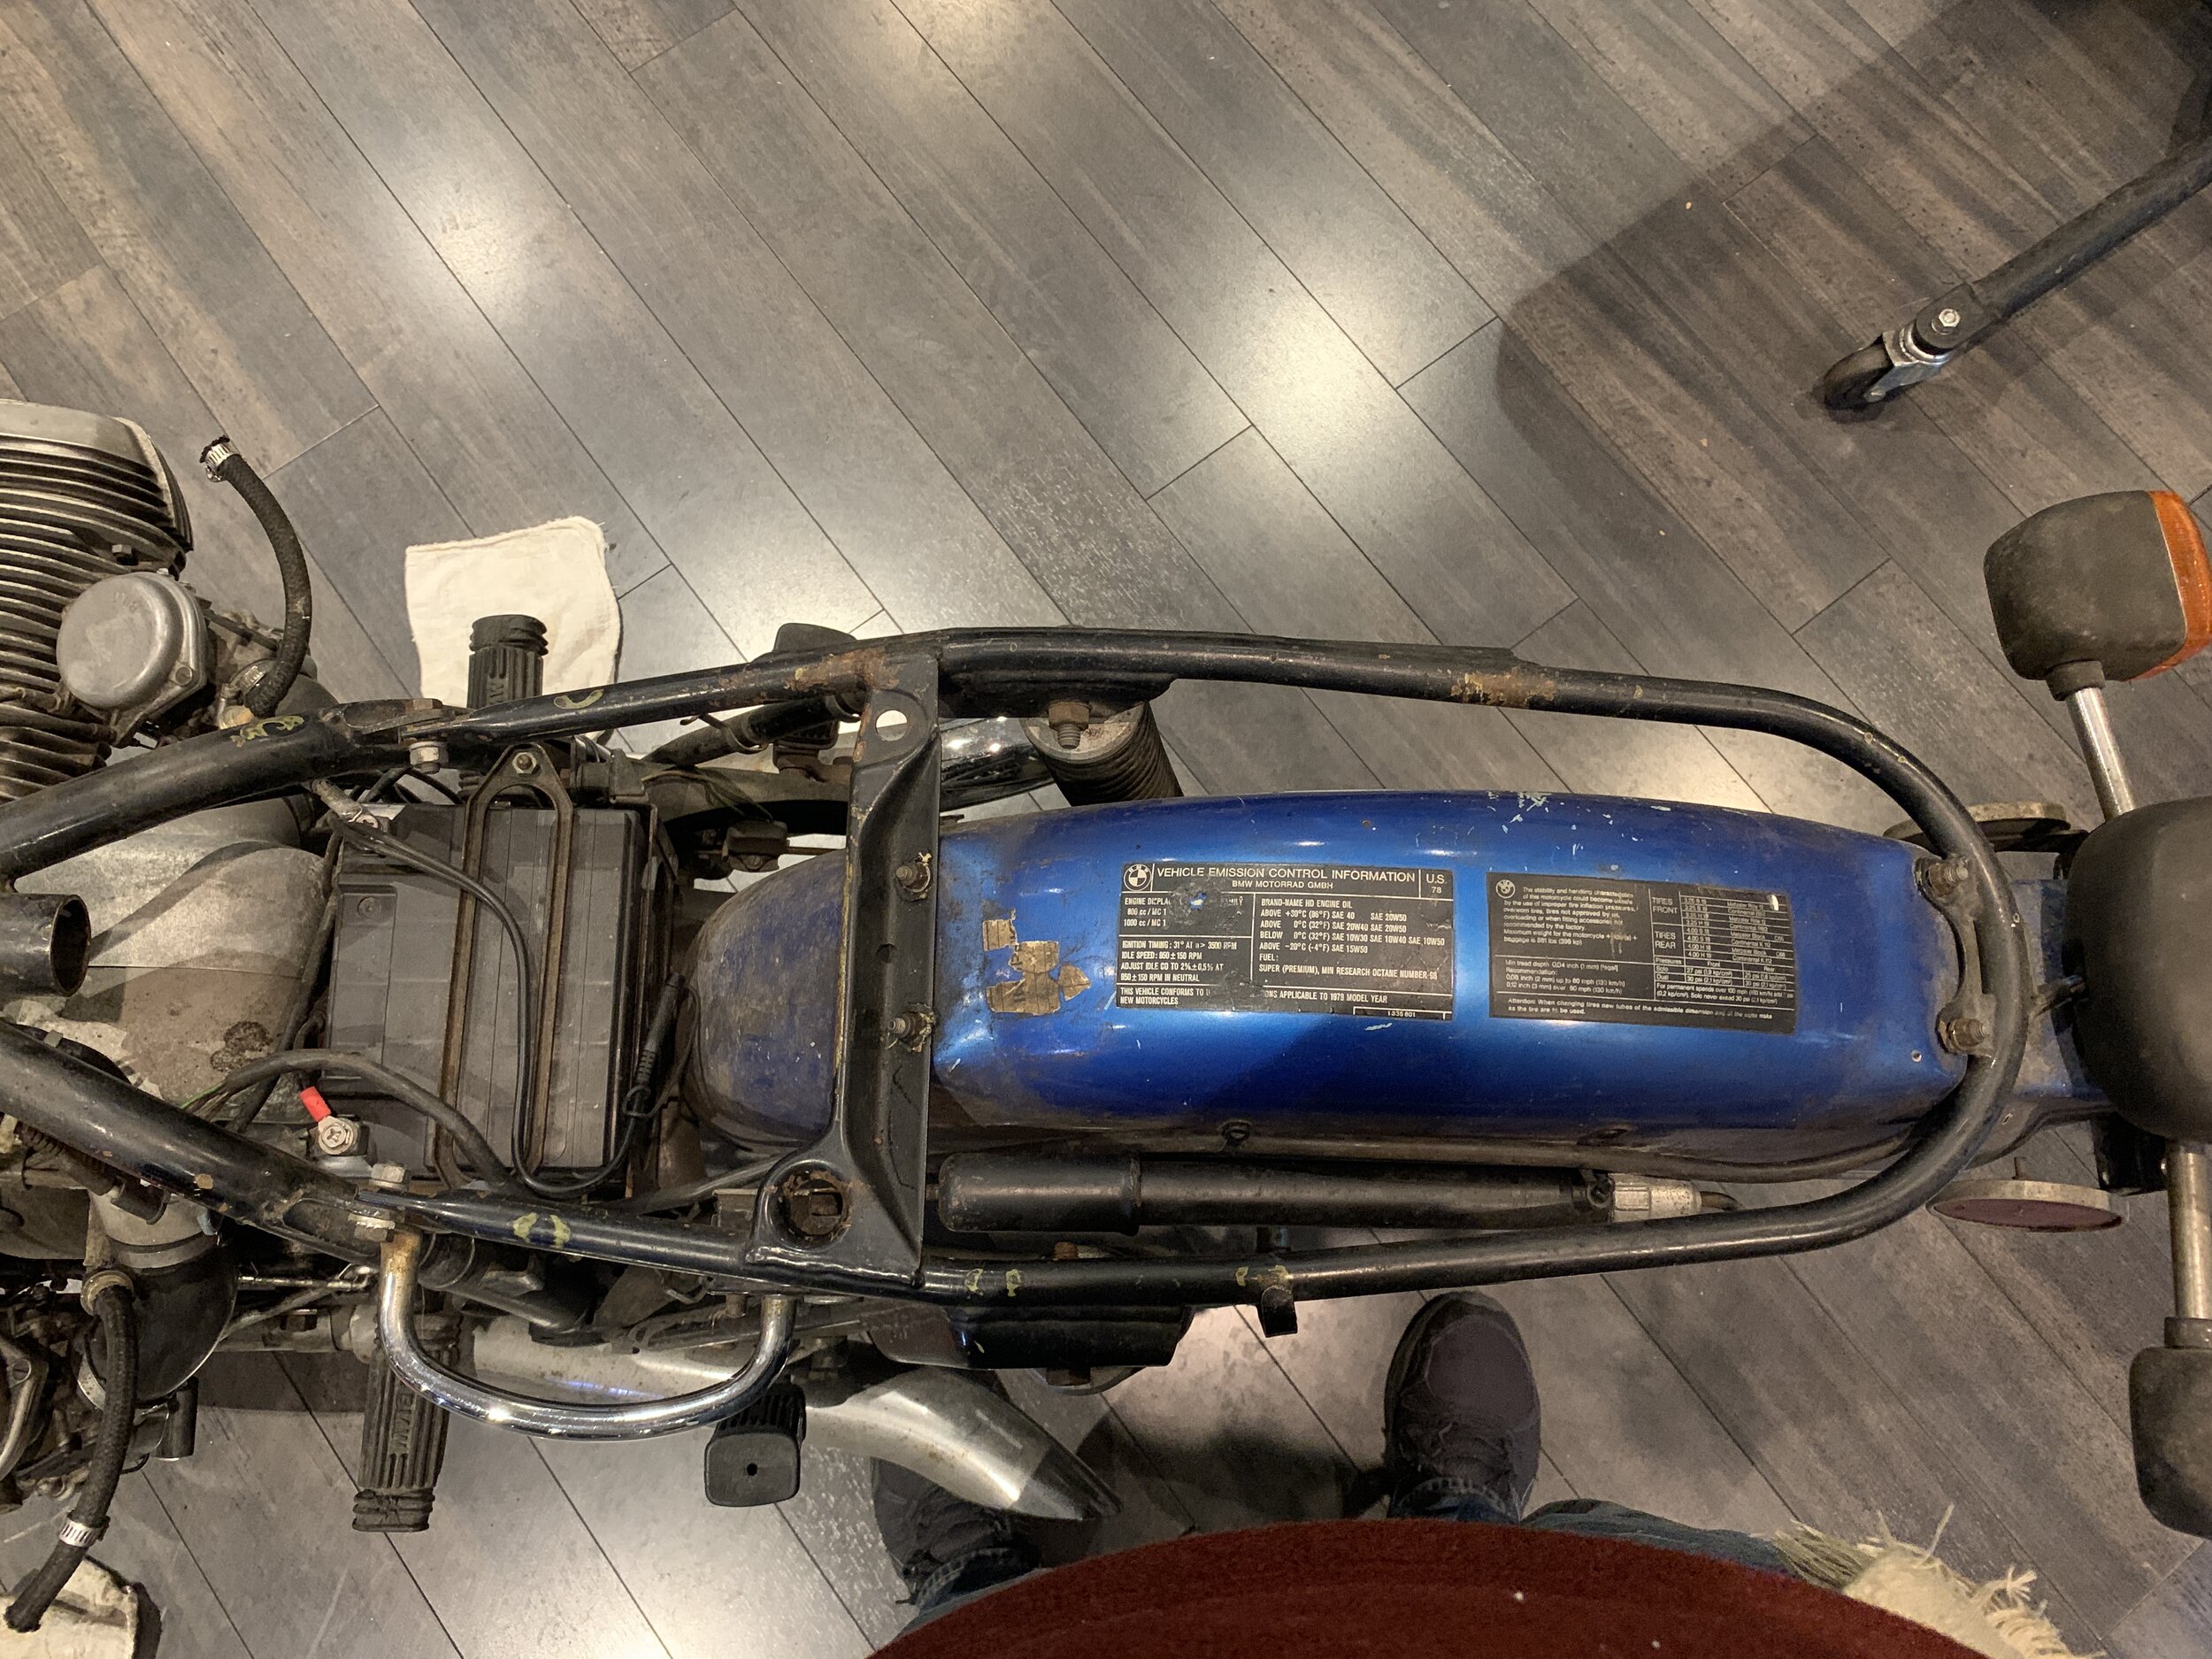
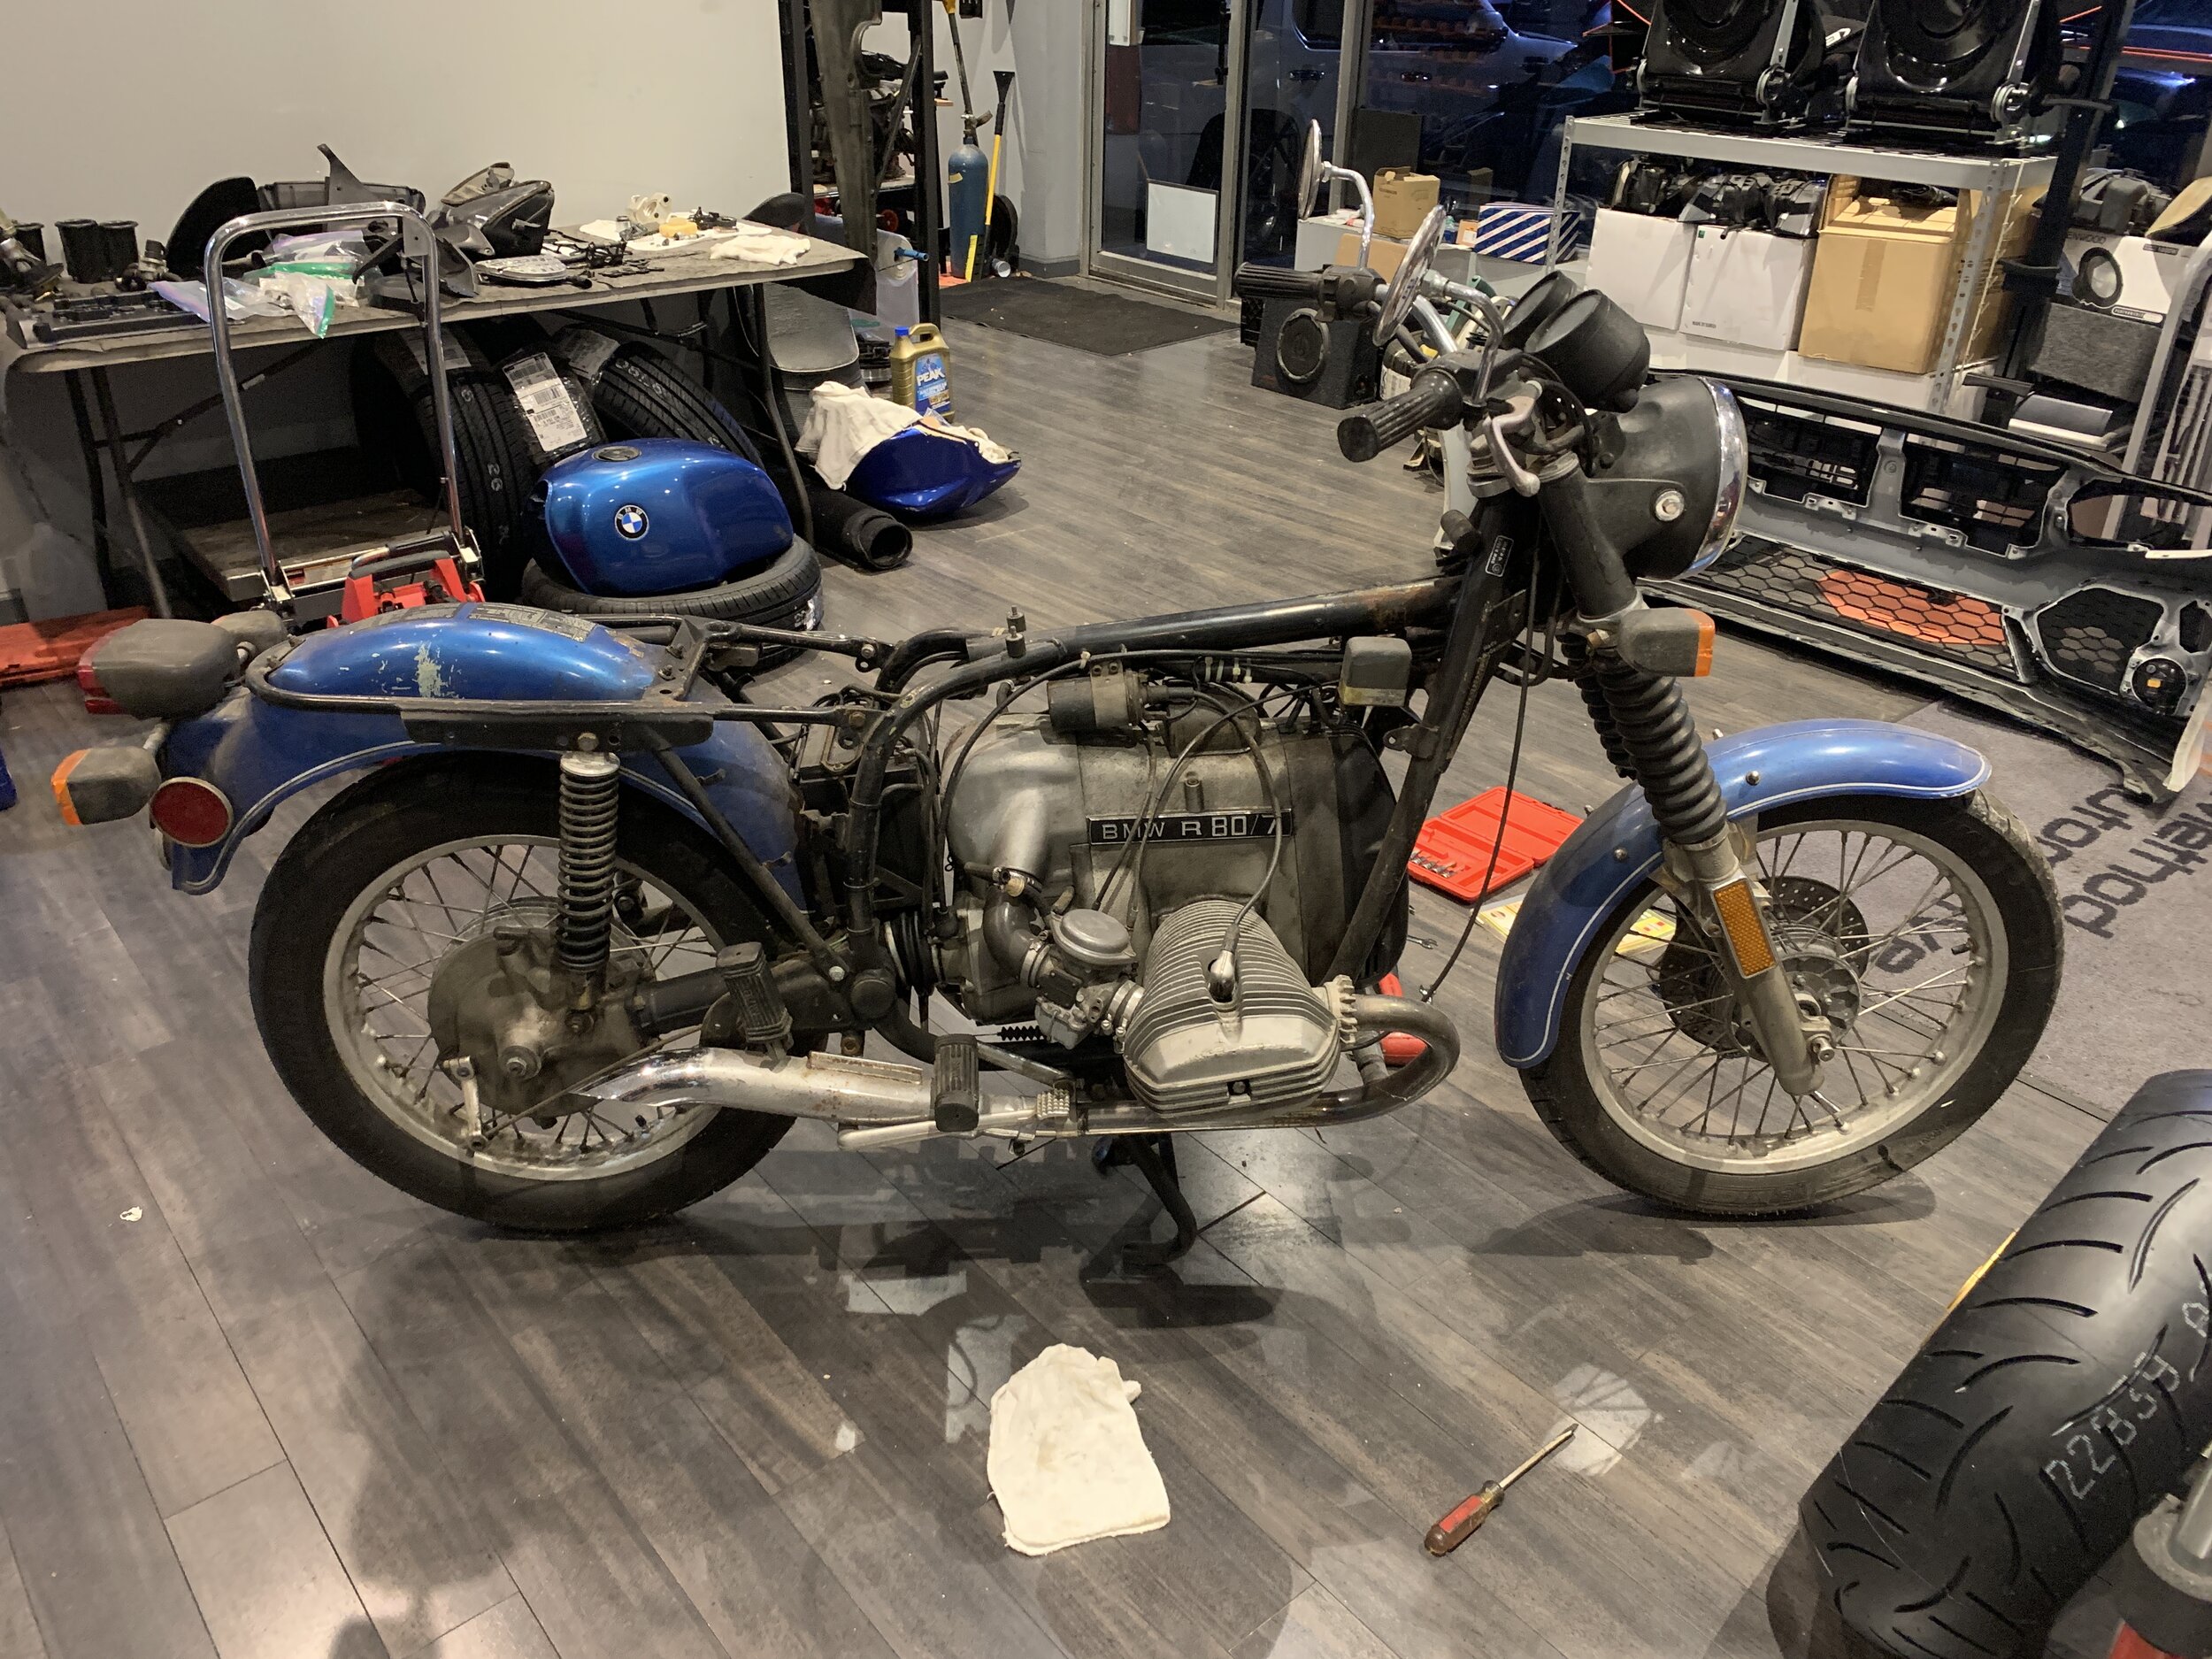
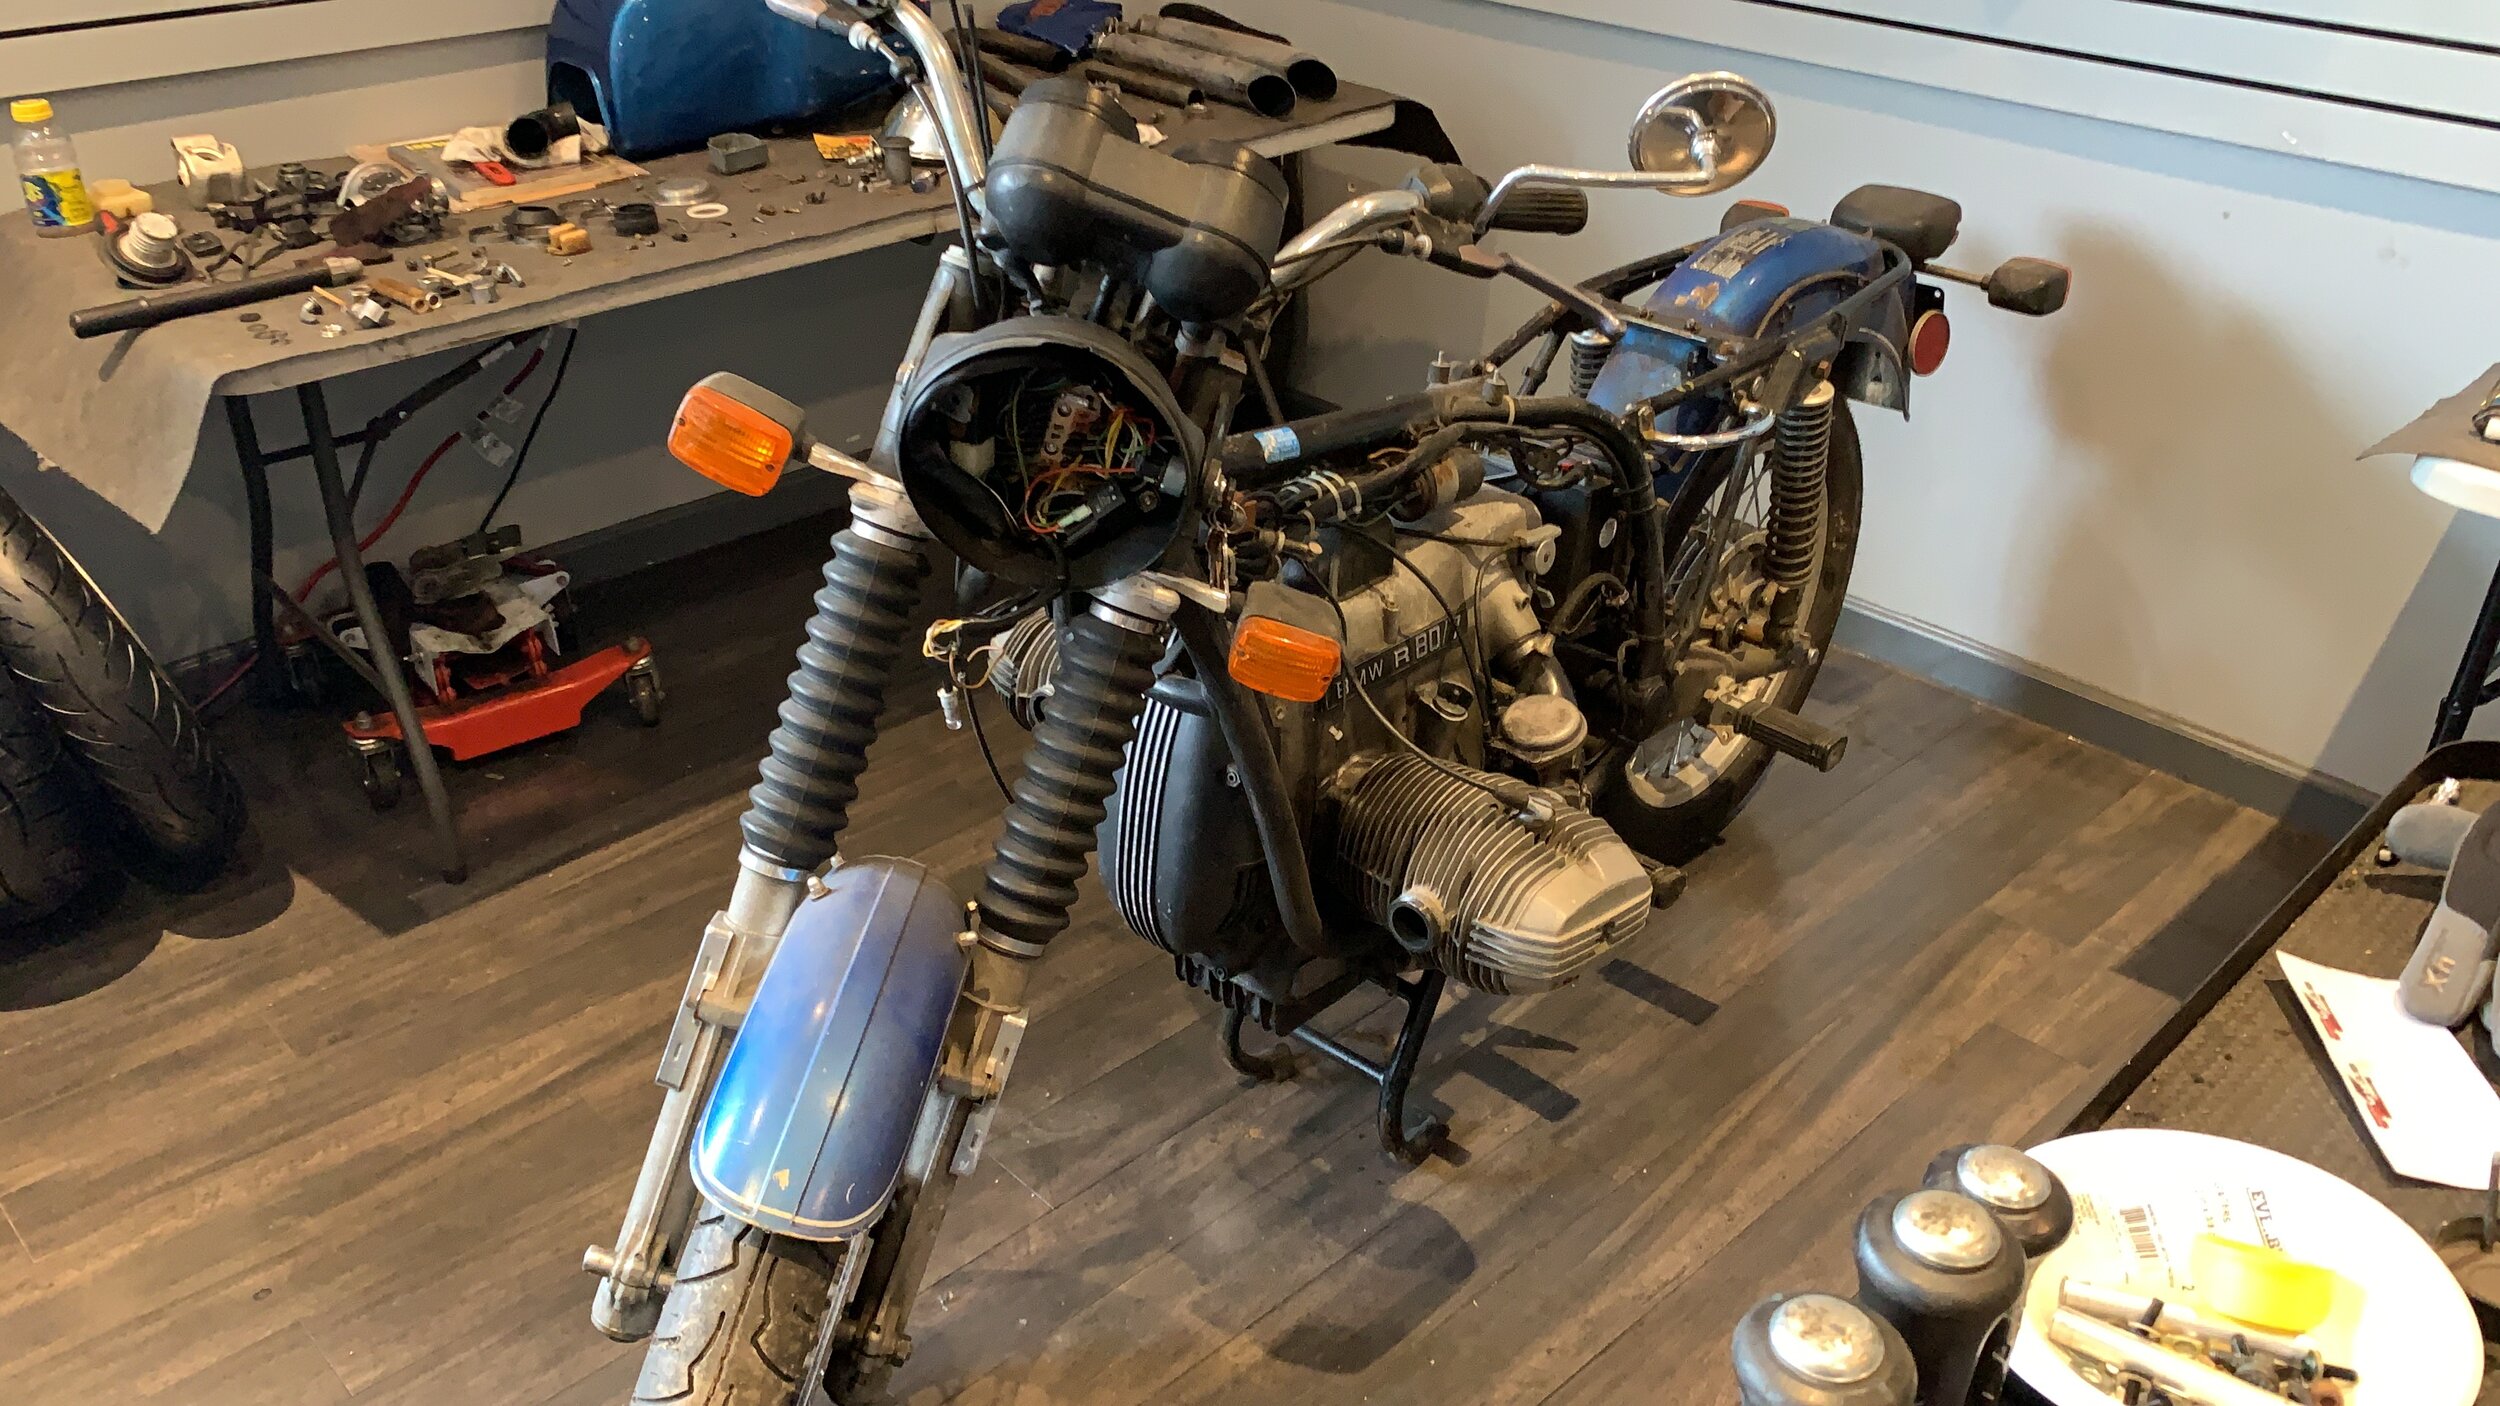
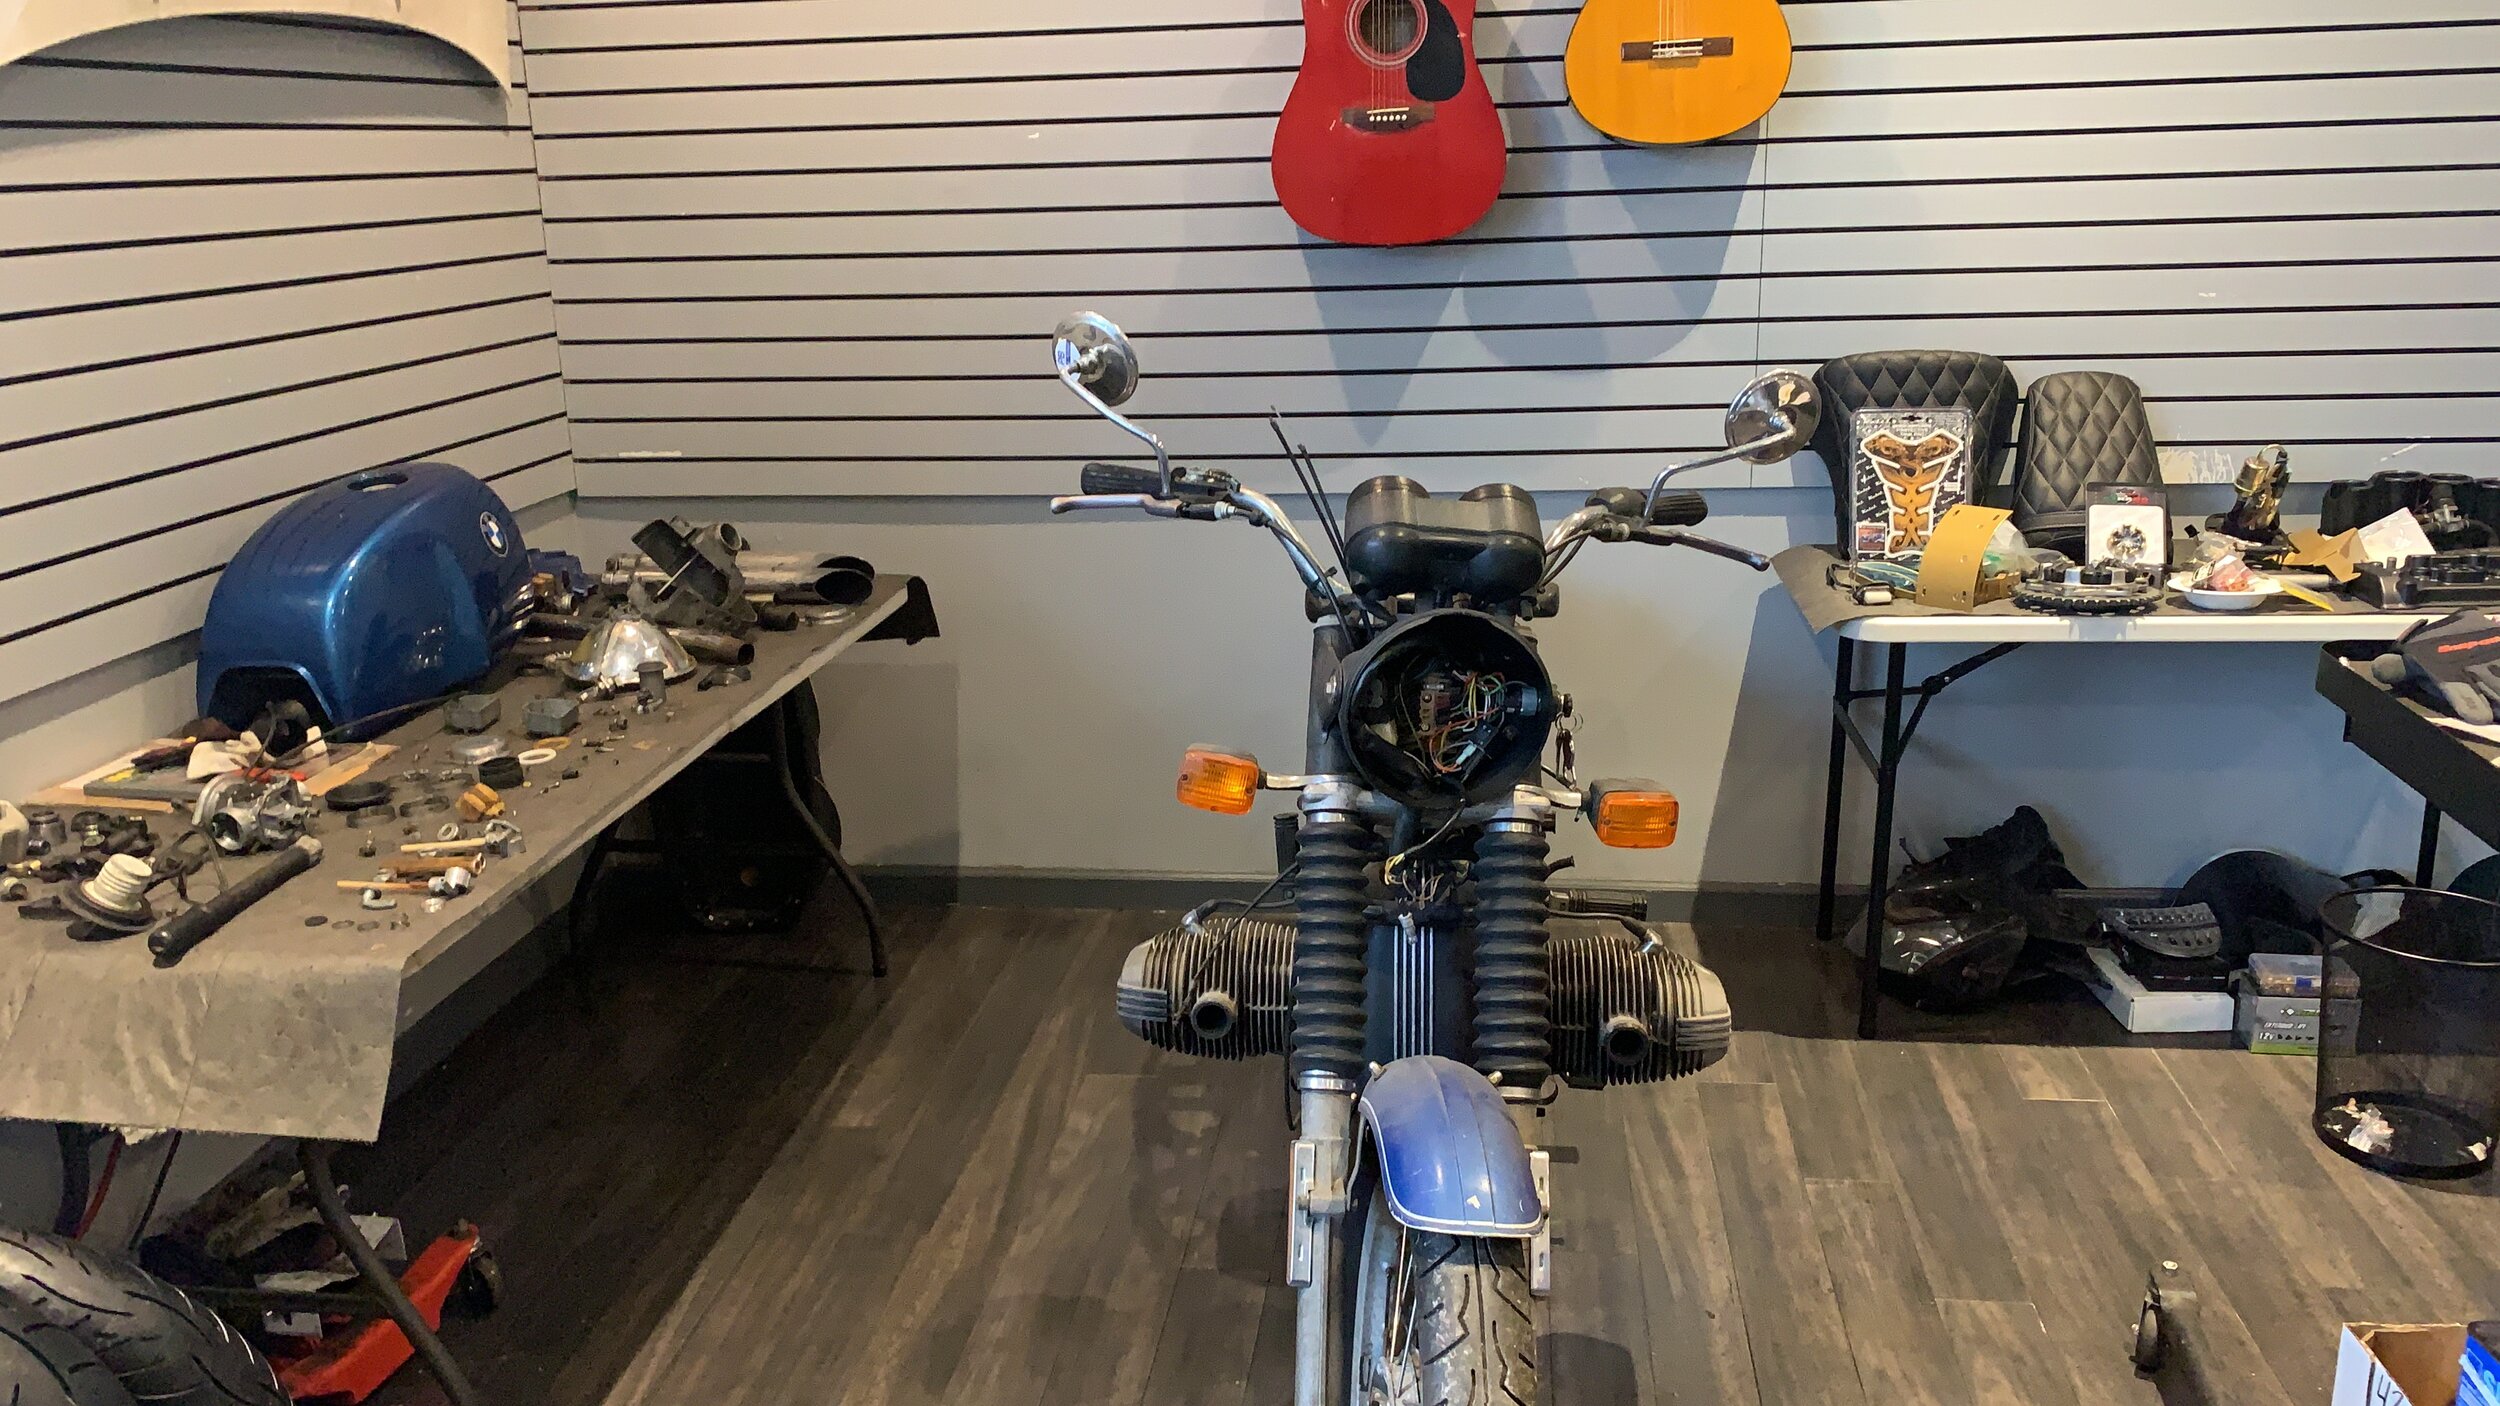
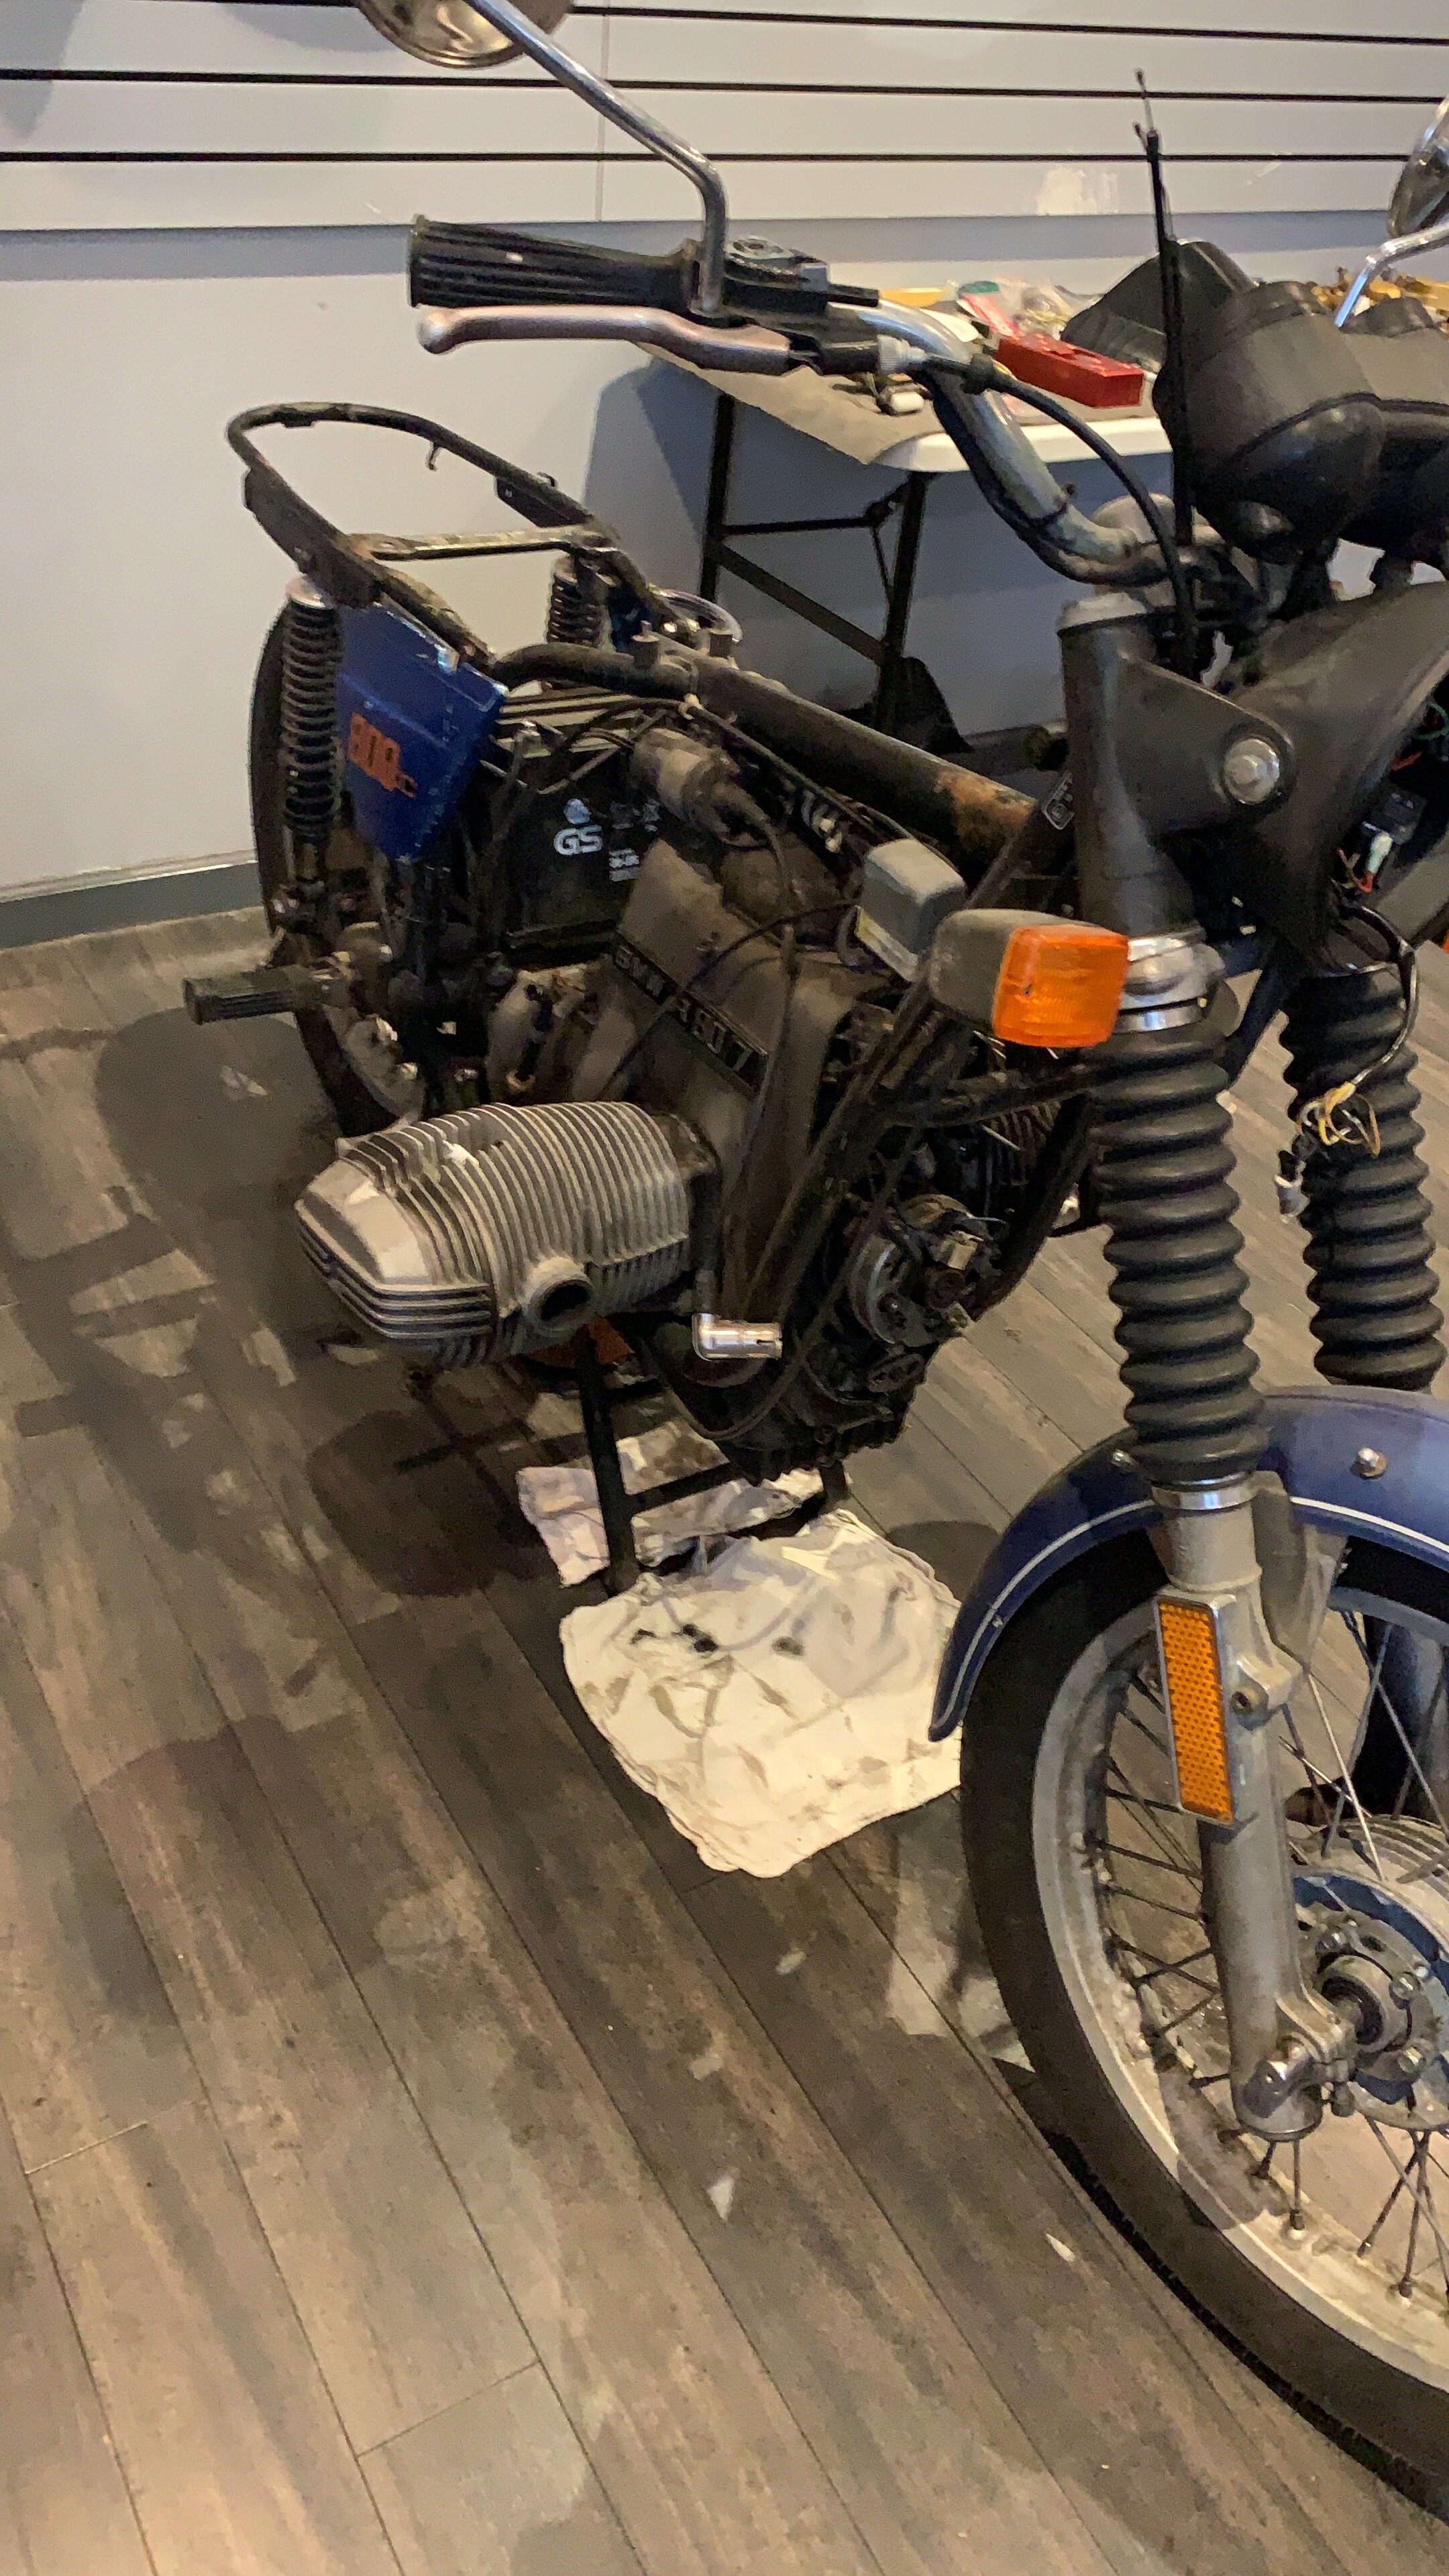
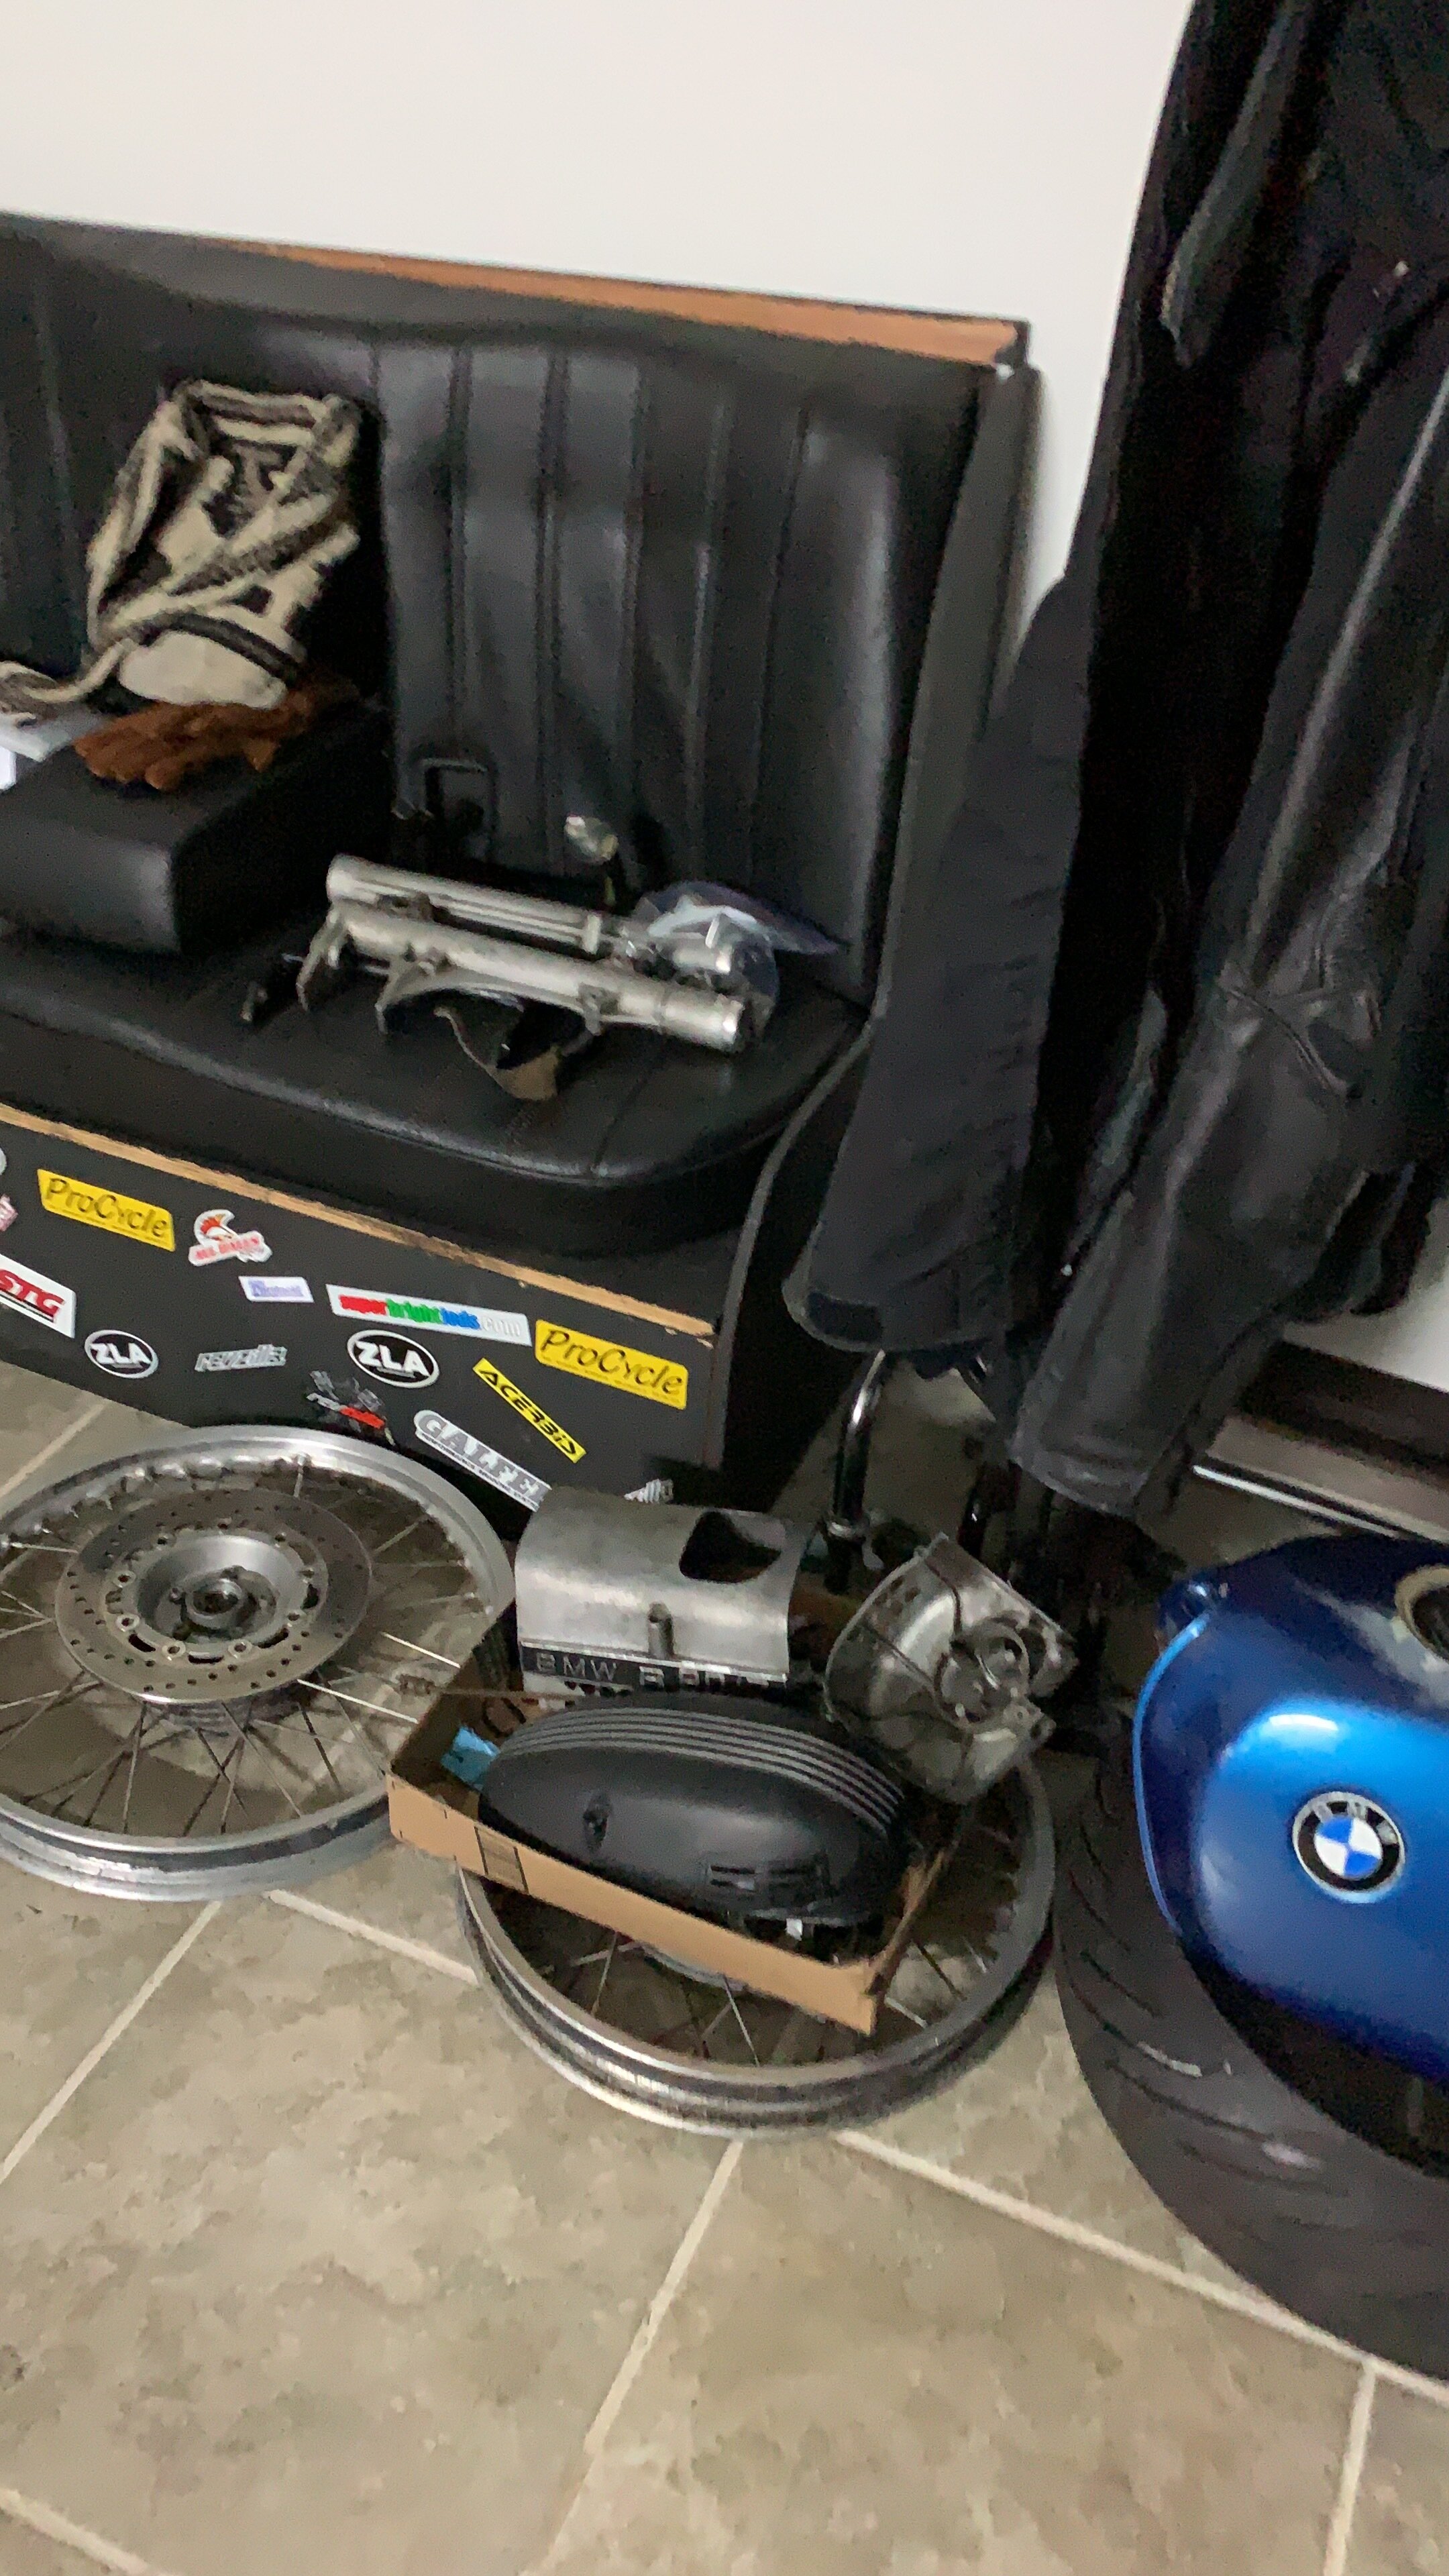
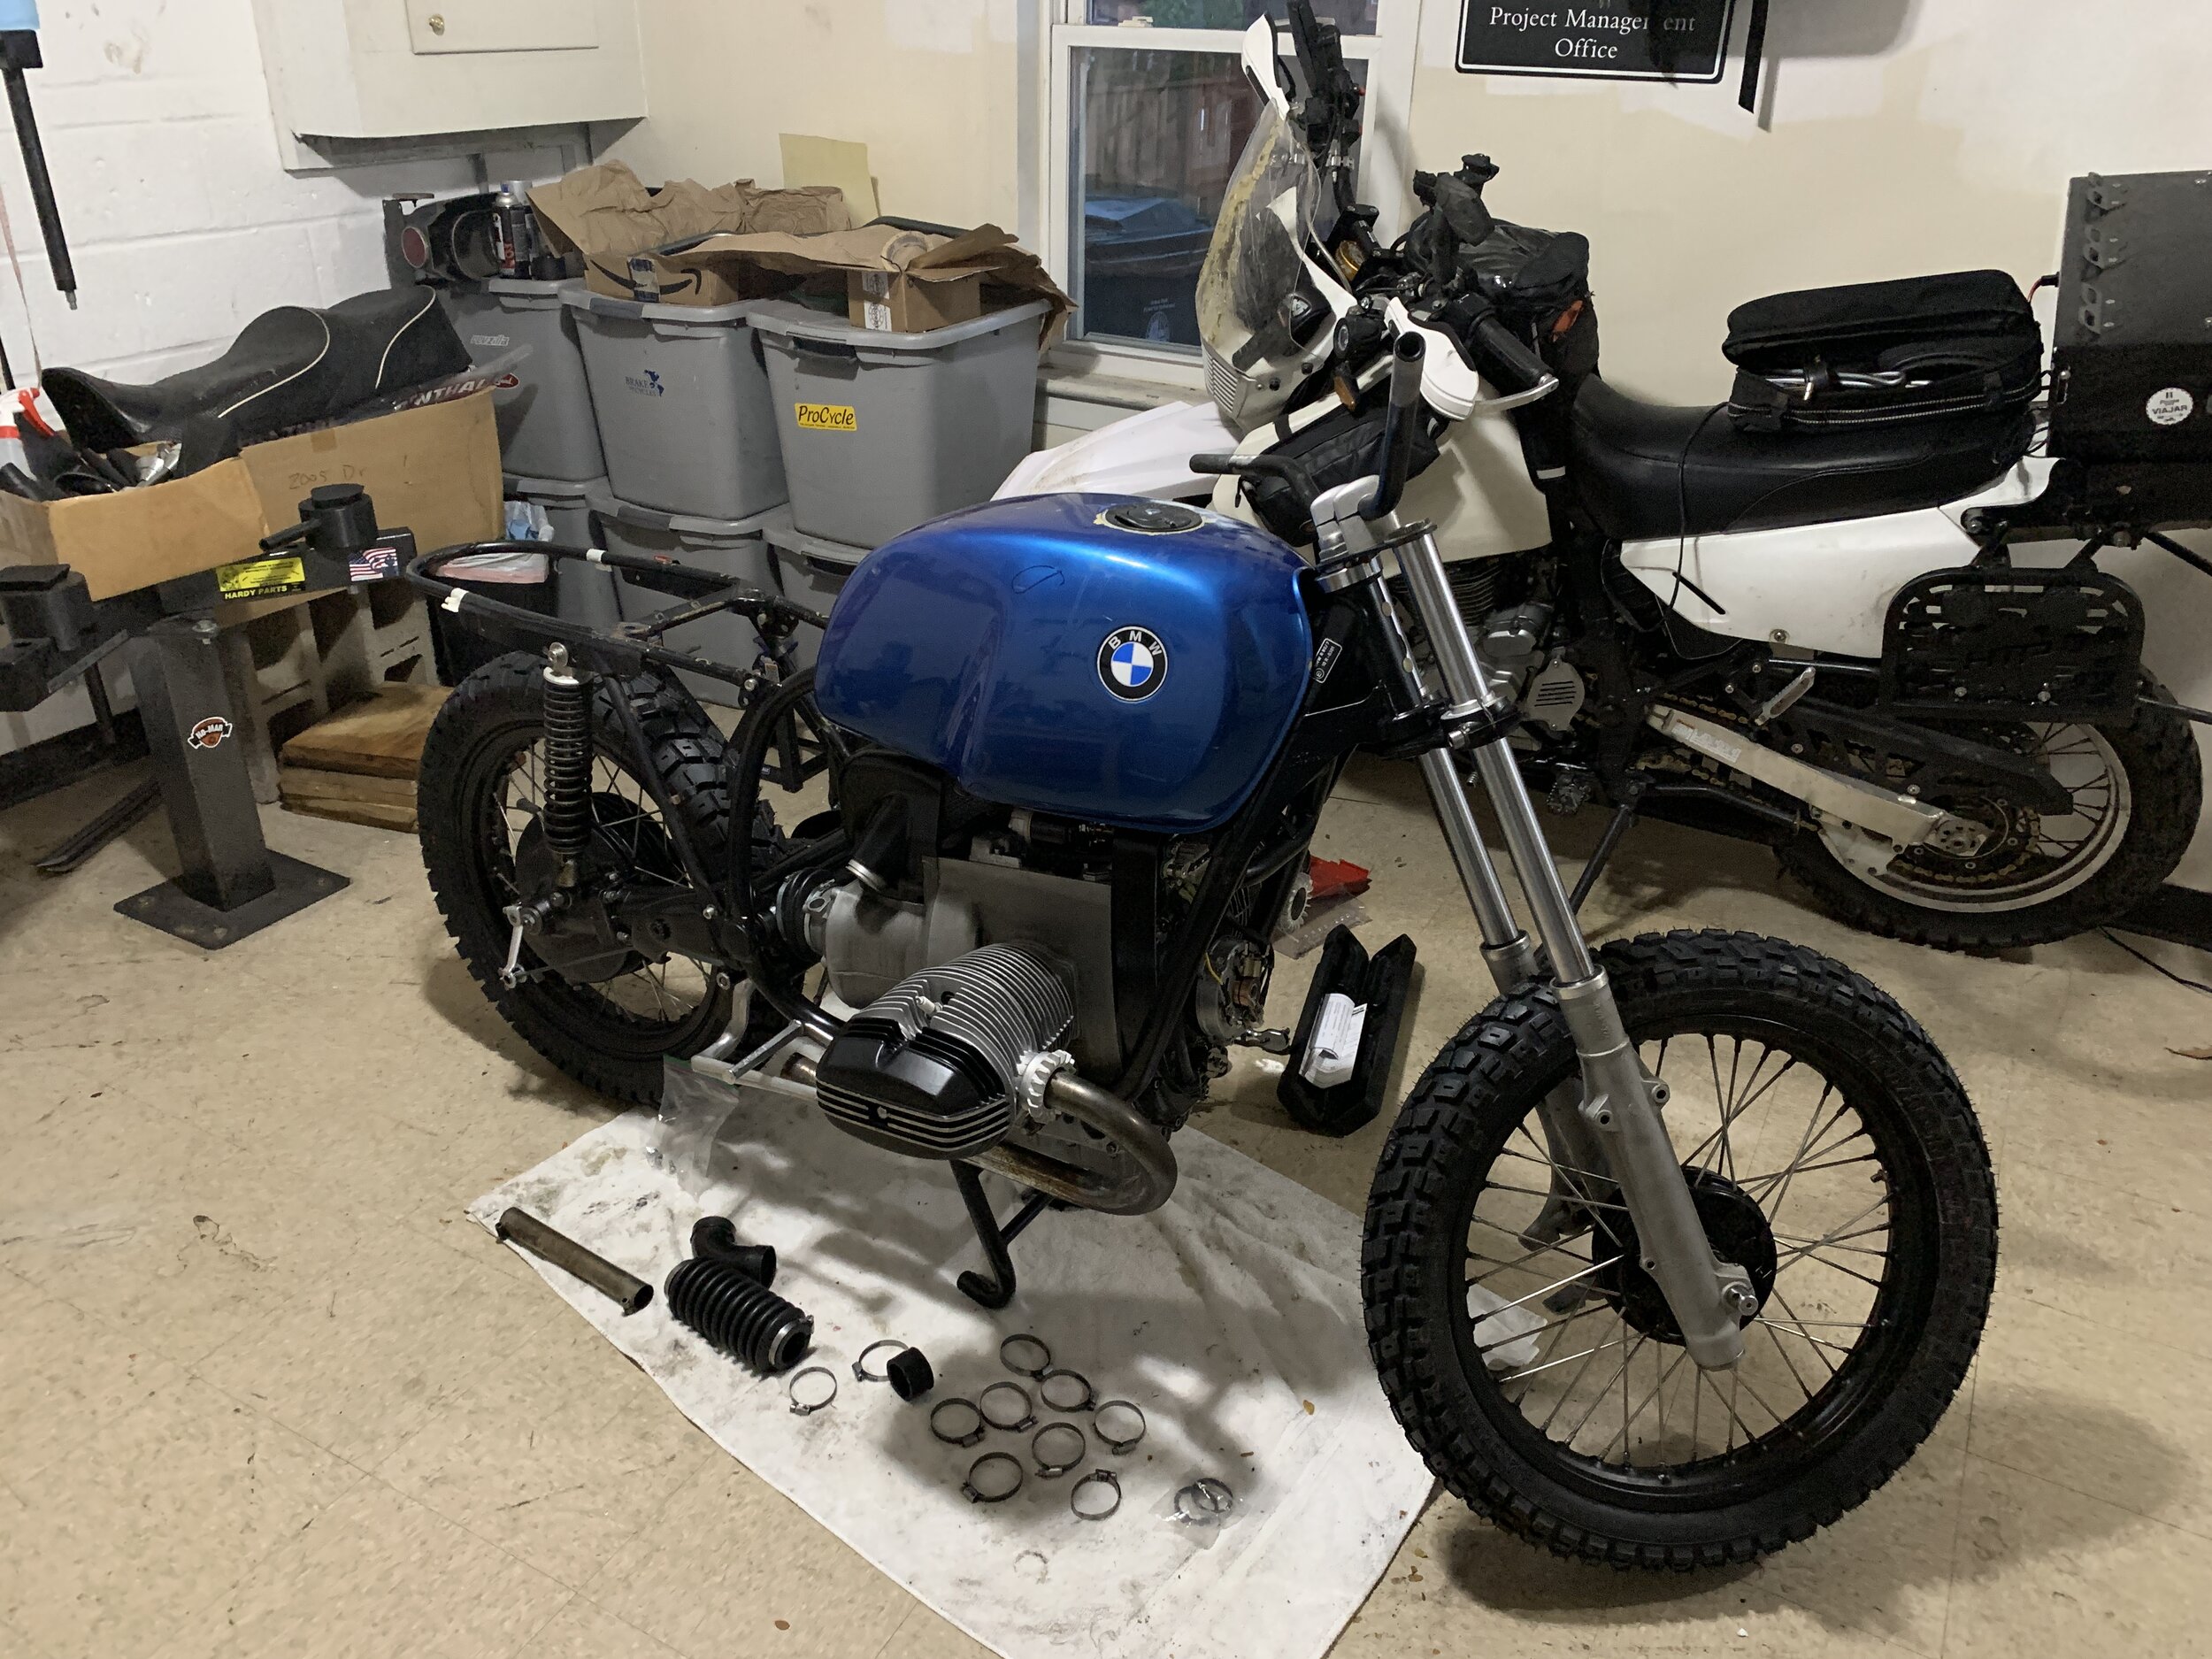
Ever since I sold my last BMW airhead (these are call airheads, cause they are air cool engines), I have always wanted to buy another one. When I first became interested in motorcycles, the classic airhead was what I envision a motorcycle would be. I got my chance at this much older airhead on Facebook marketplace. I saw it after it was posted maybe 1 hour max. I showed up and bought it the next day. The bike does not run, cranks over, front brake is seized, shift through all the gears. I thought initially I would have to rebuild the carburetor and get the bike started and slowly make repairs along the way. I could not be more wrong.
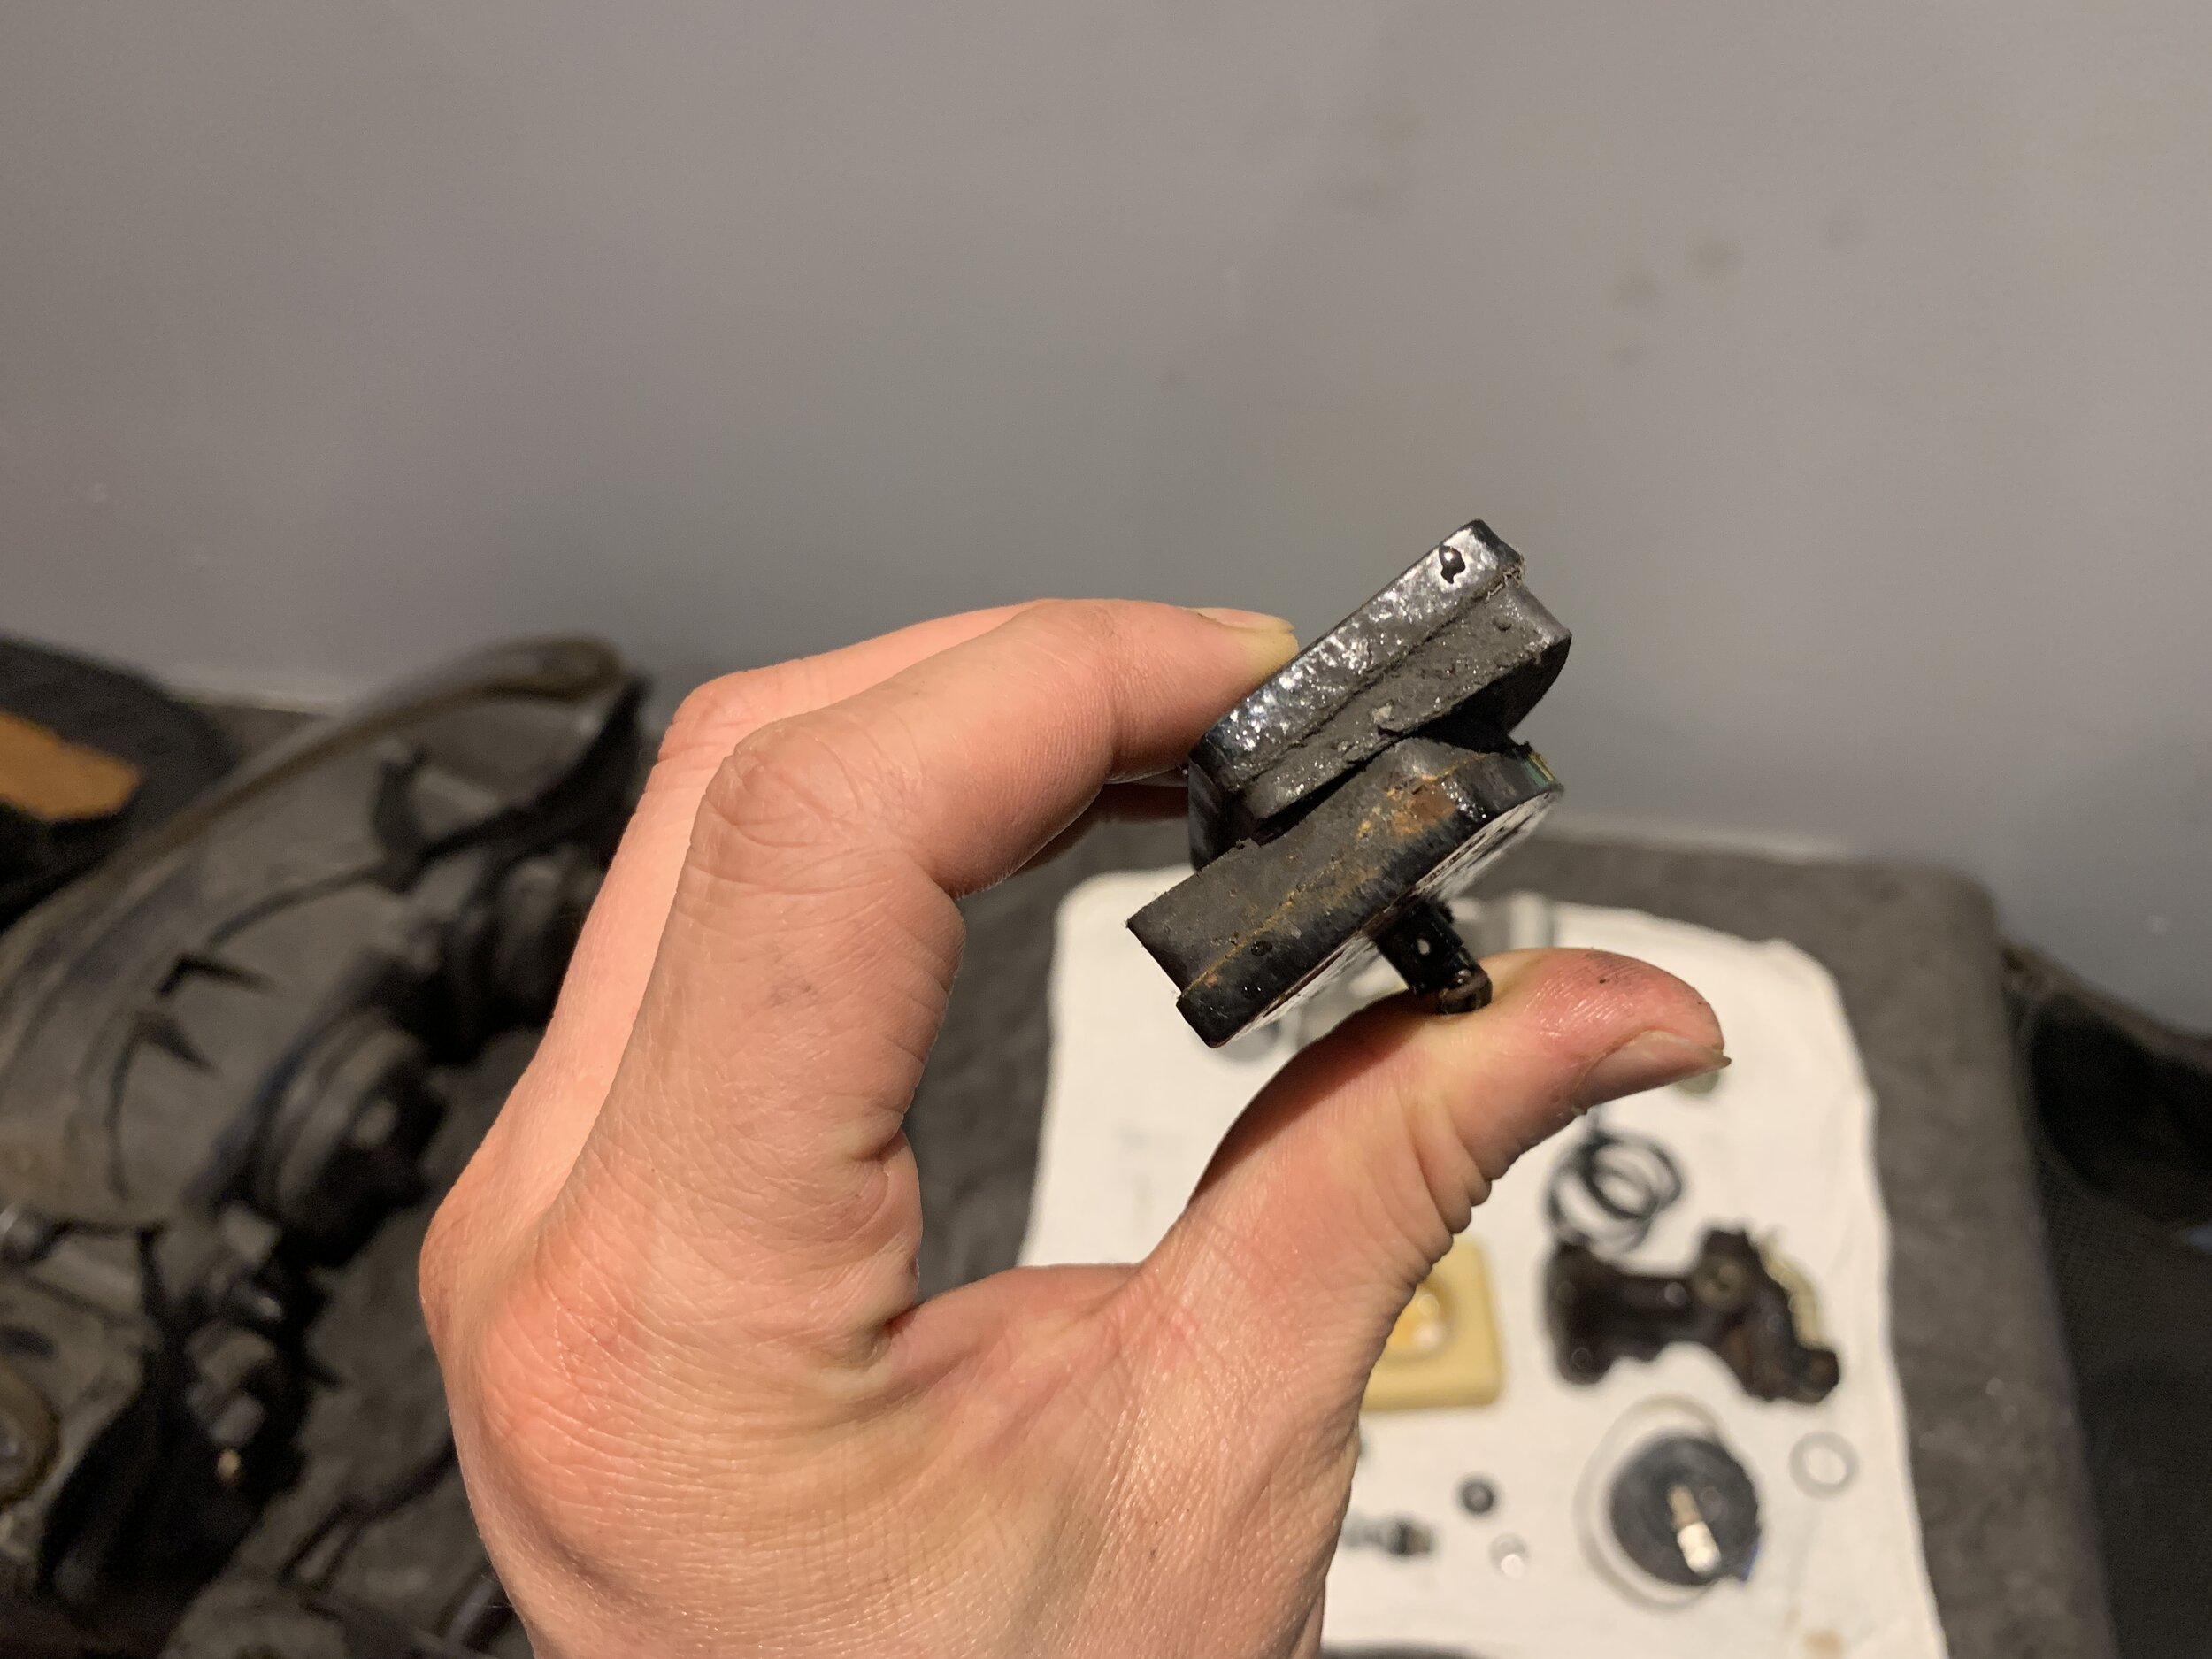
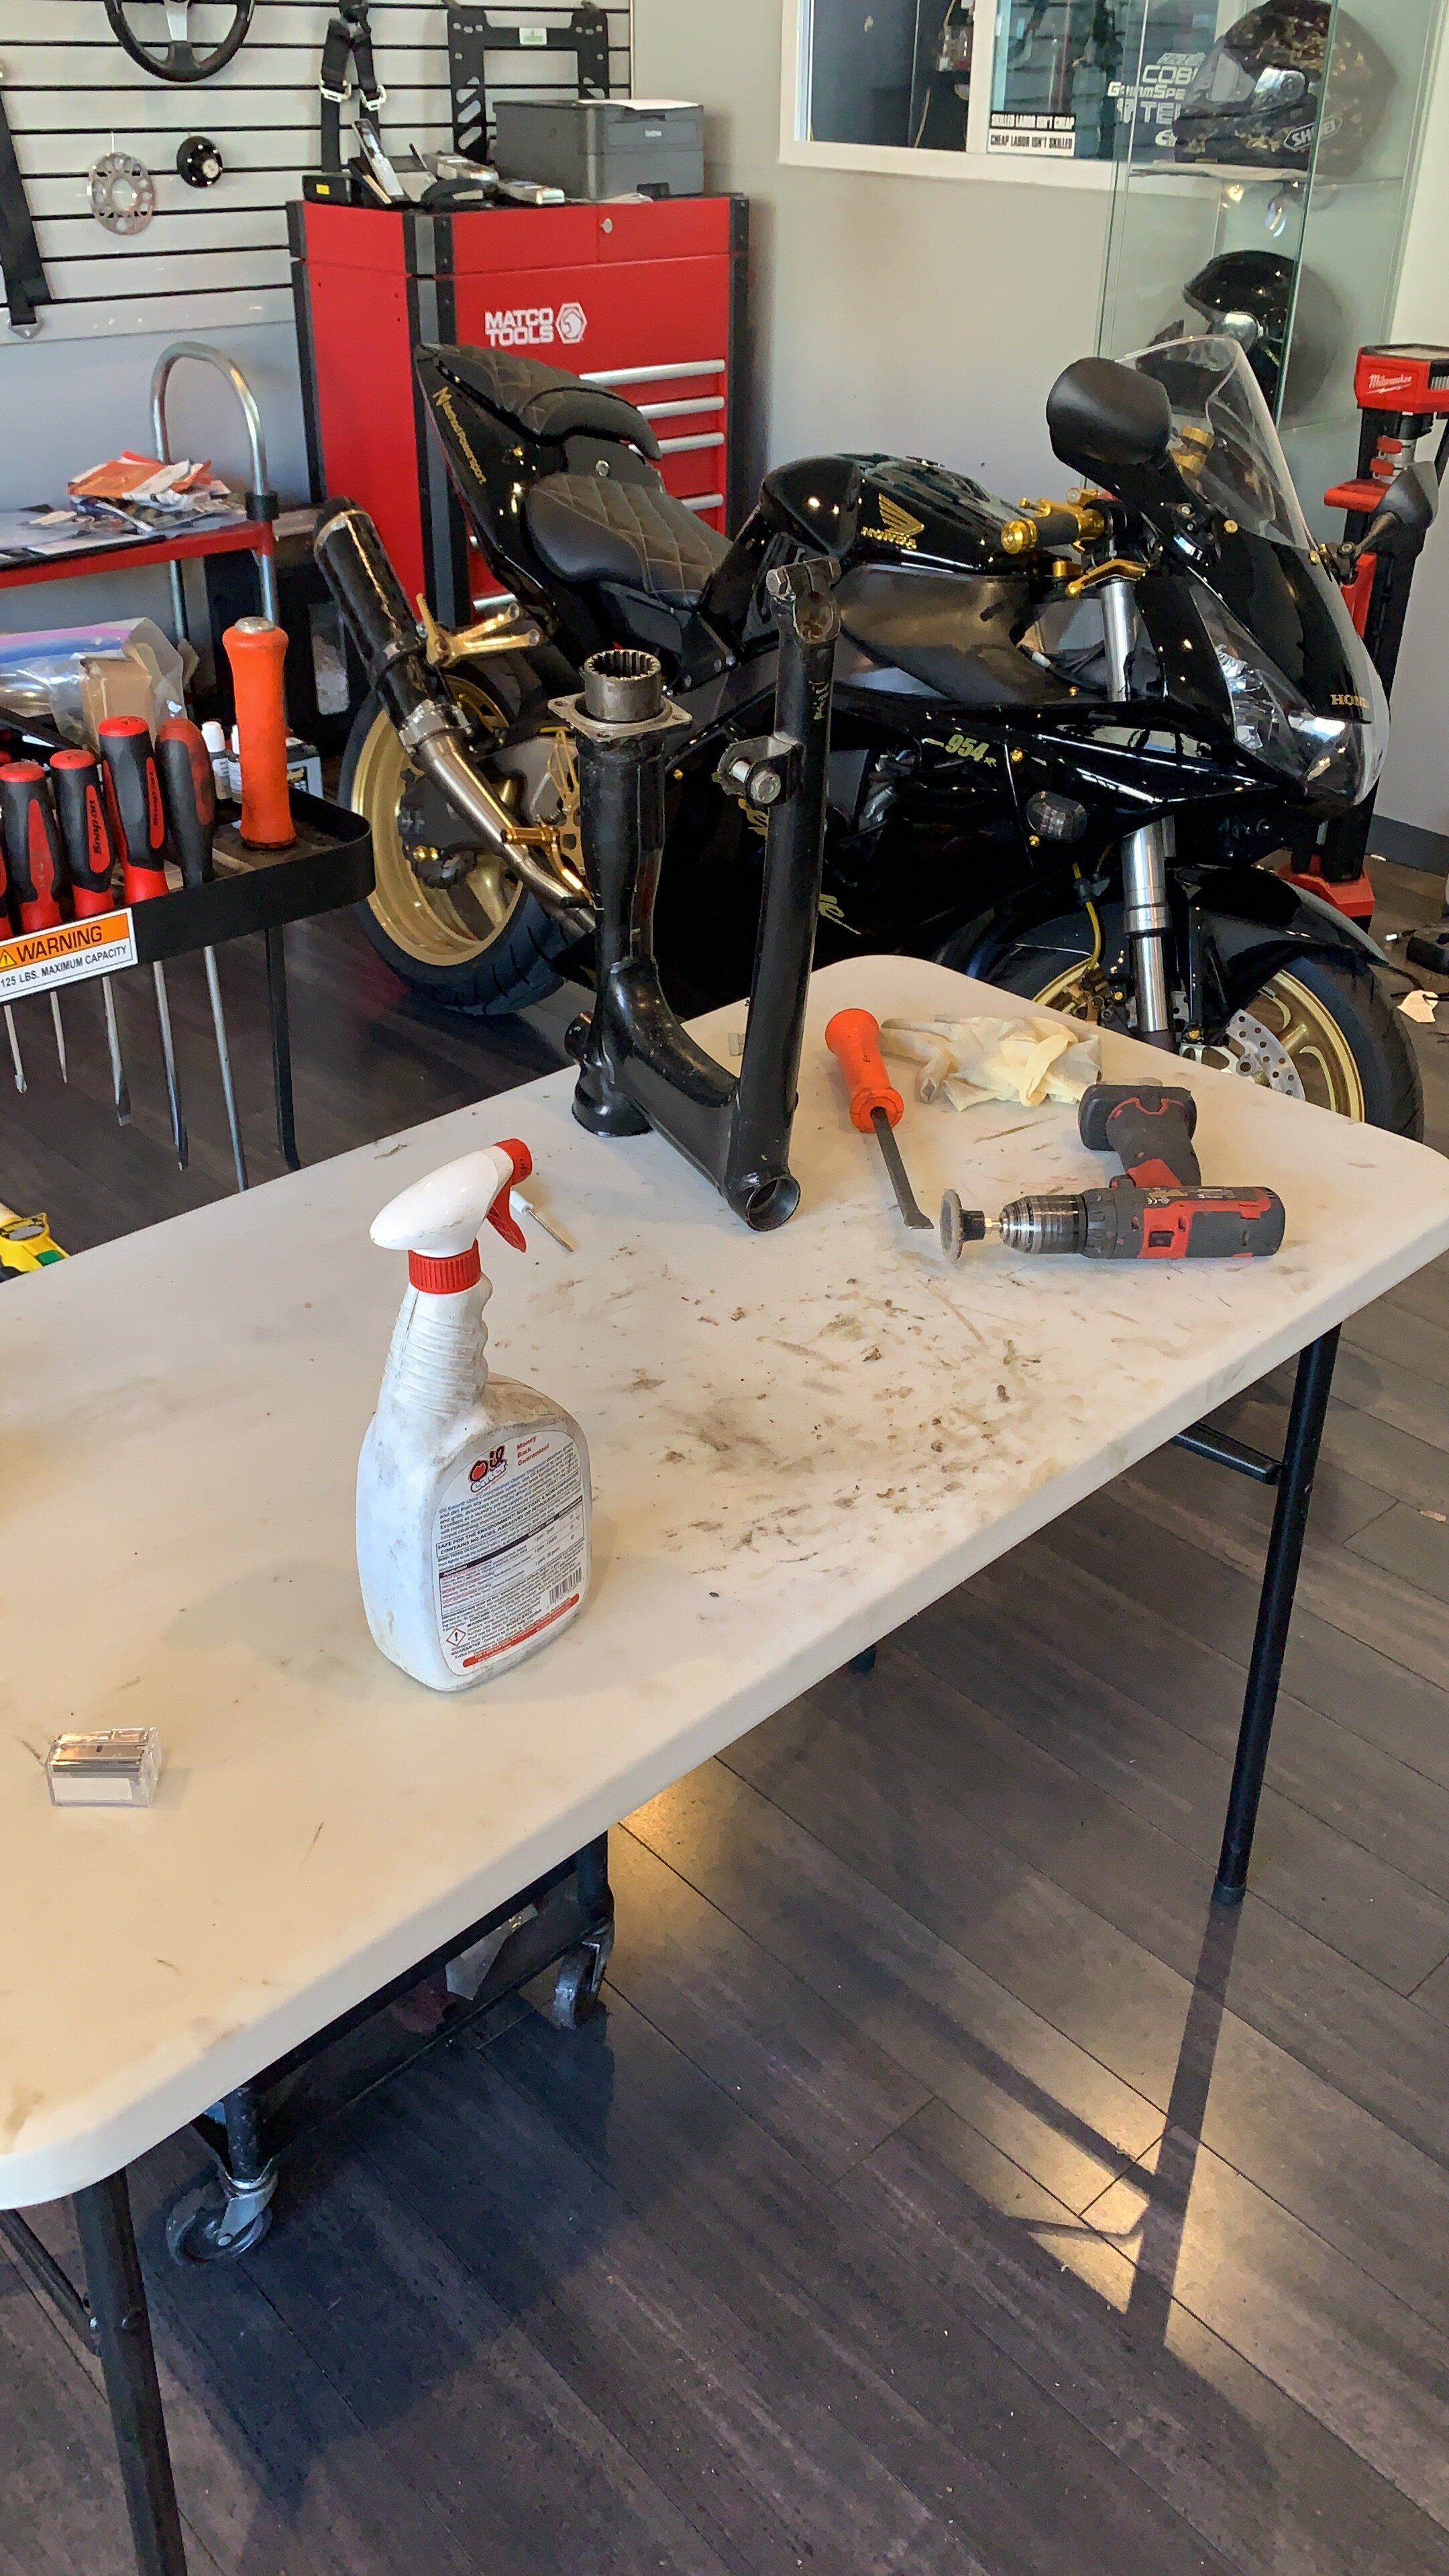
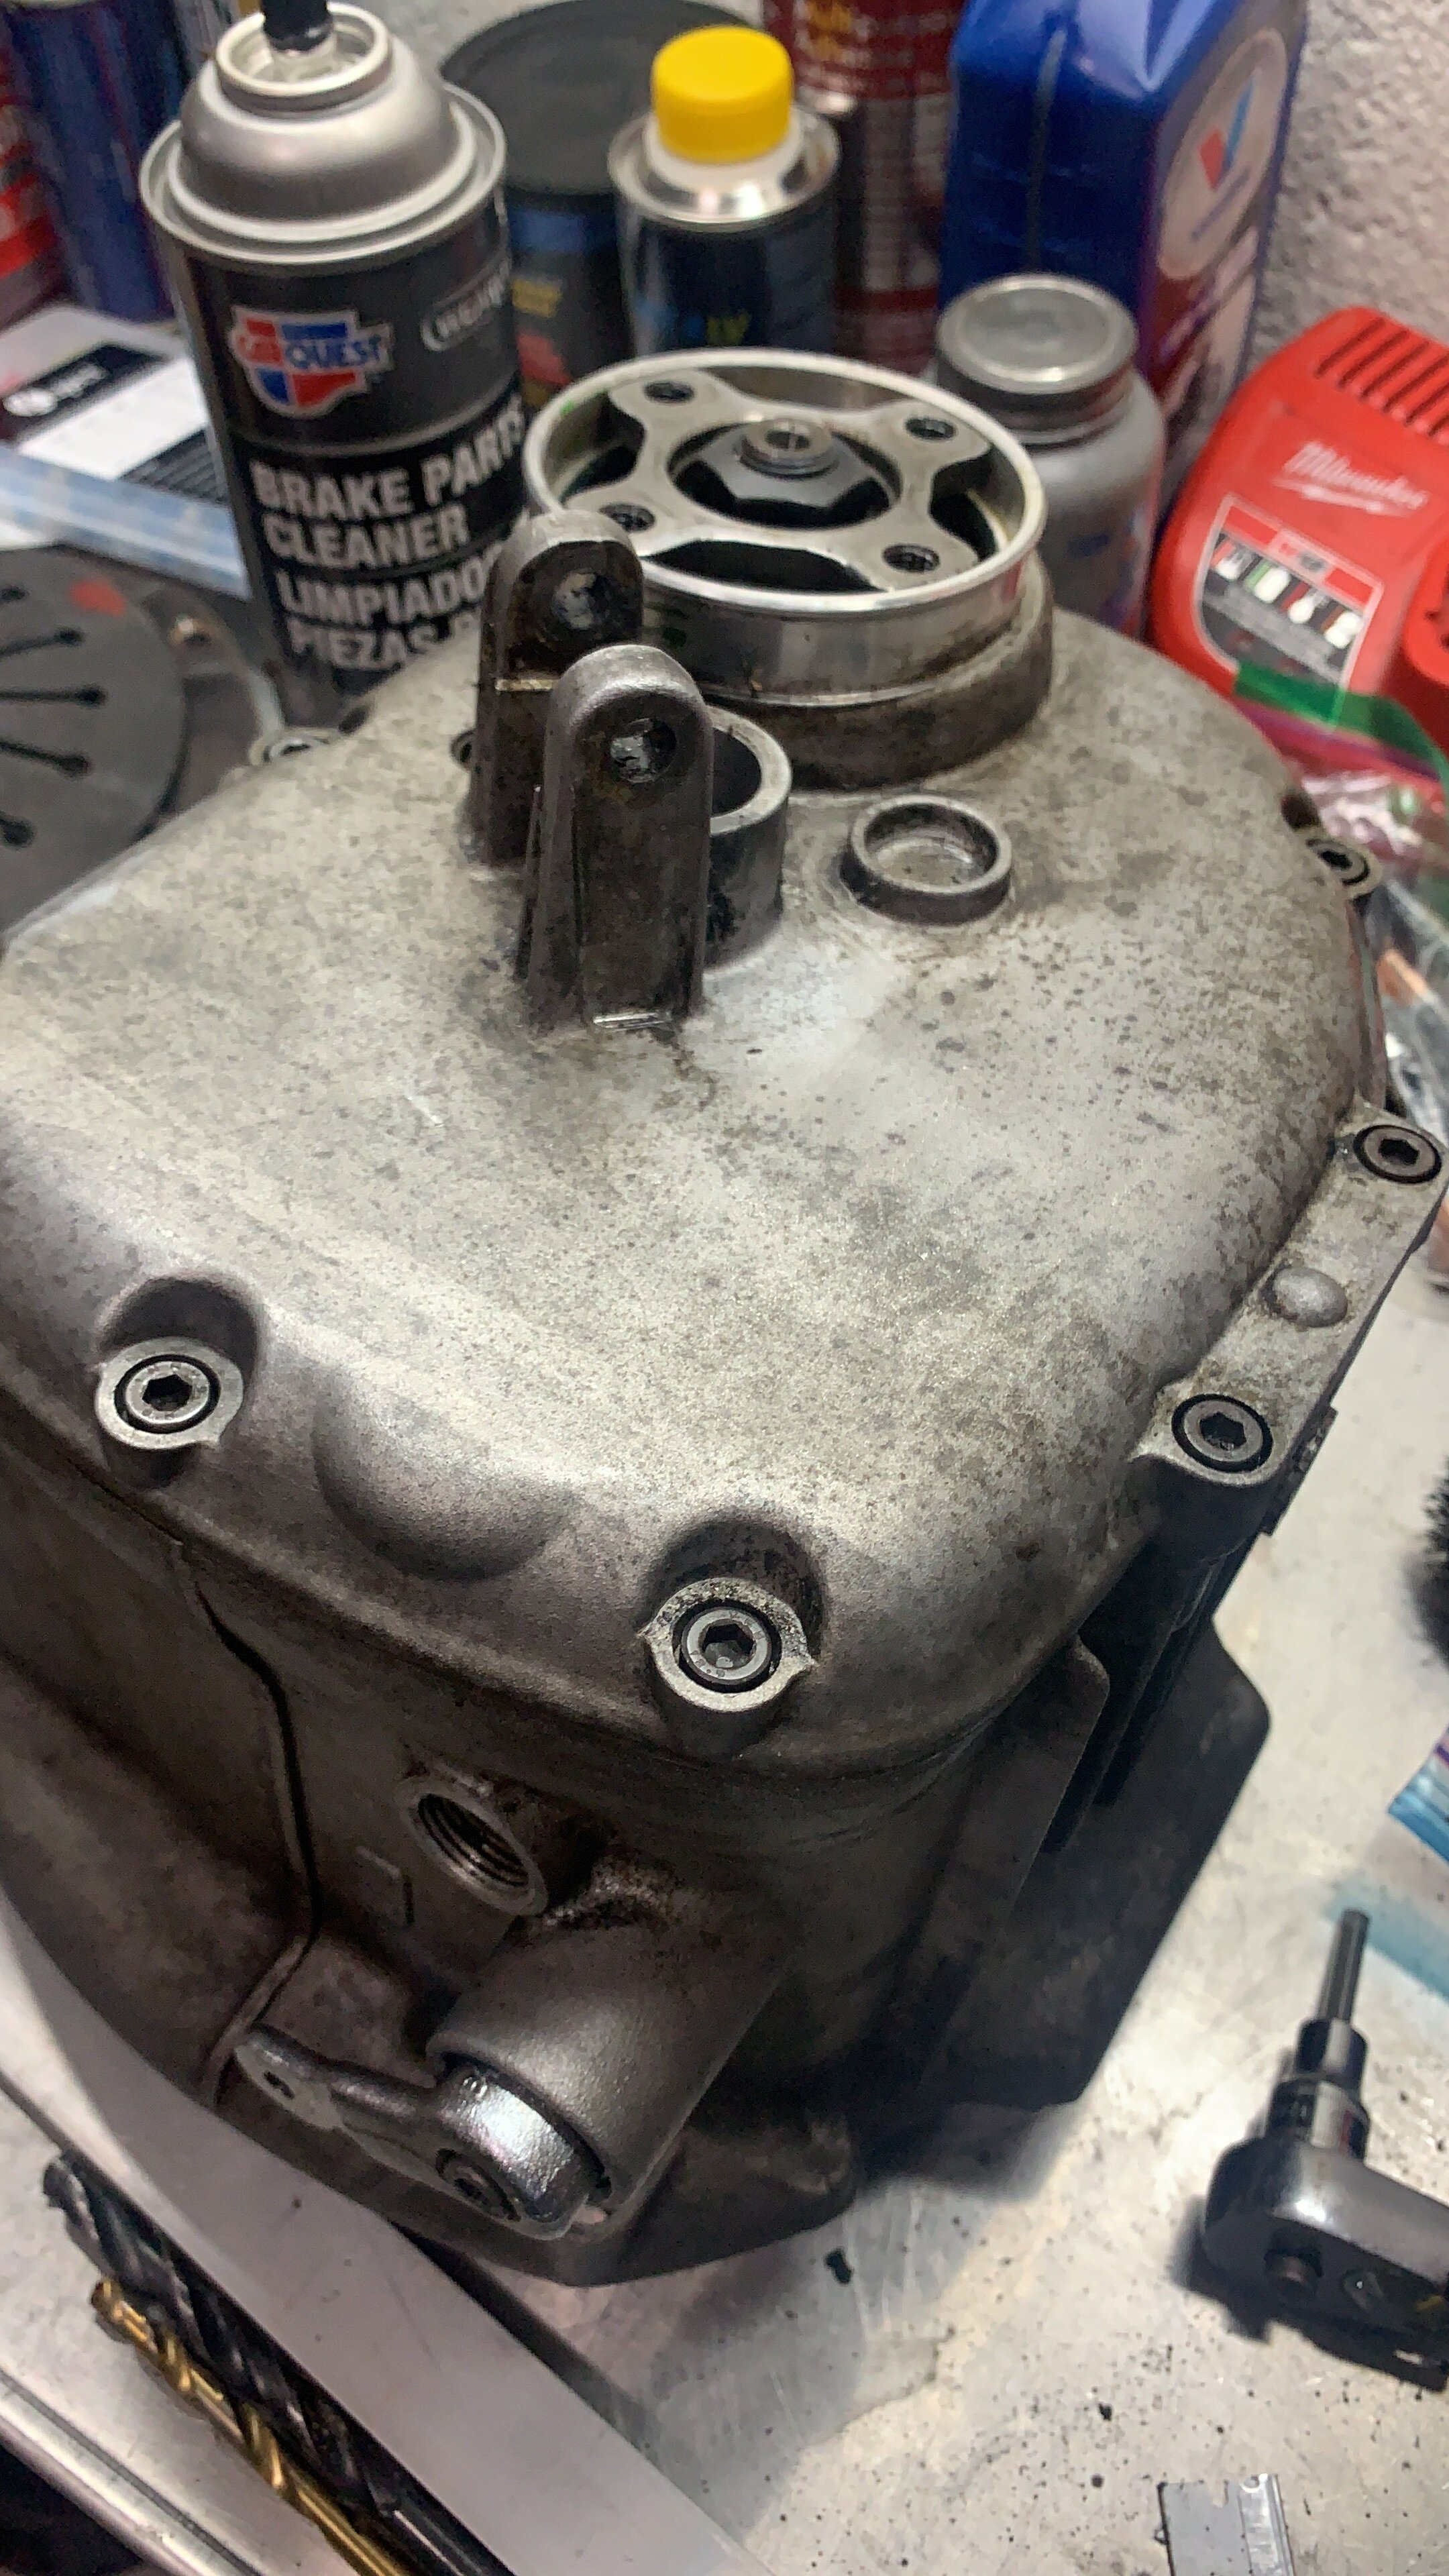
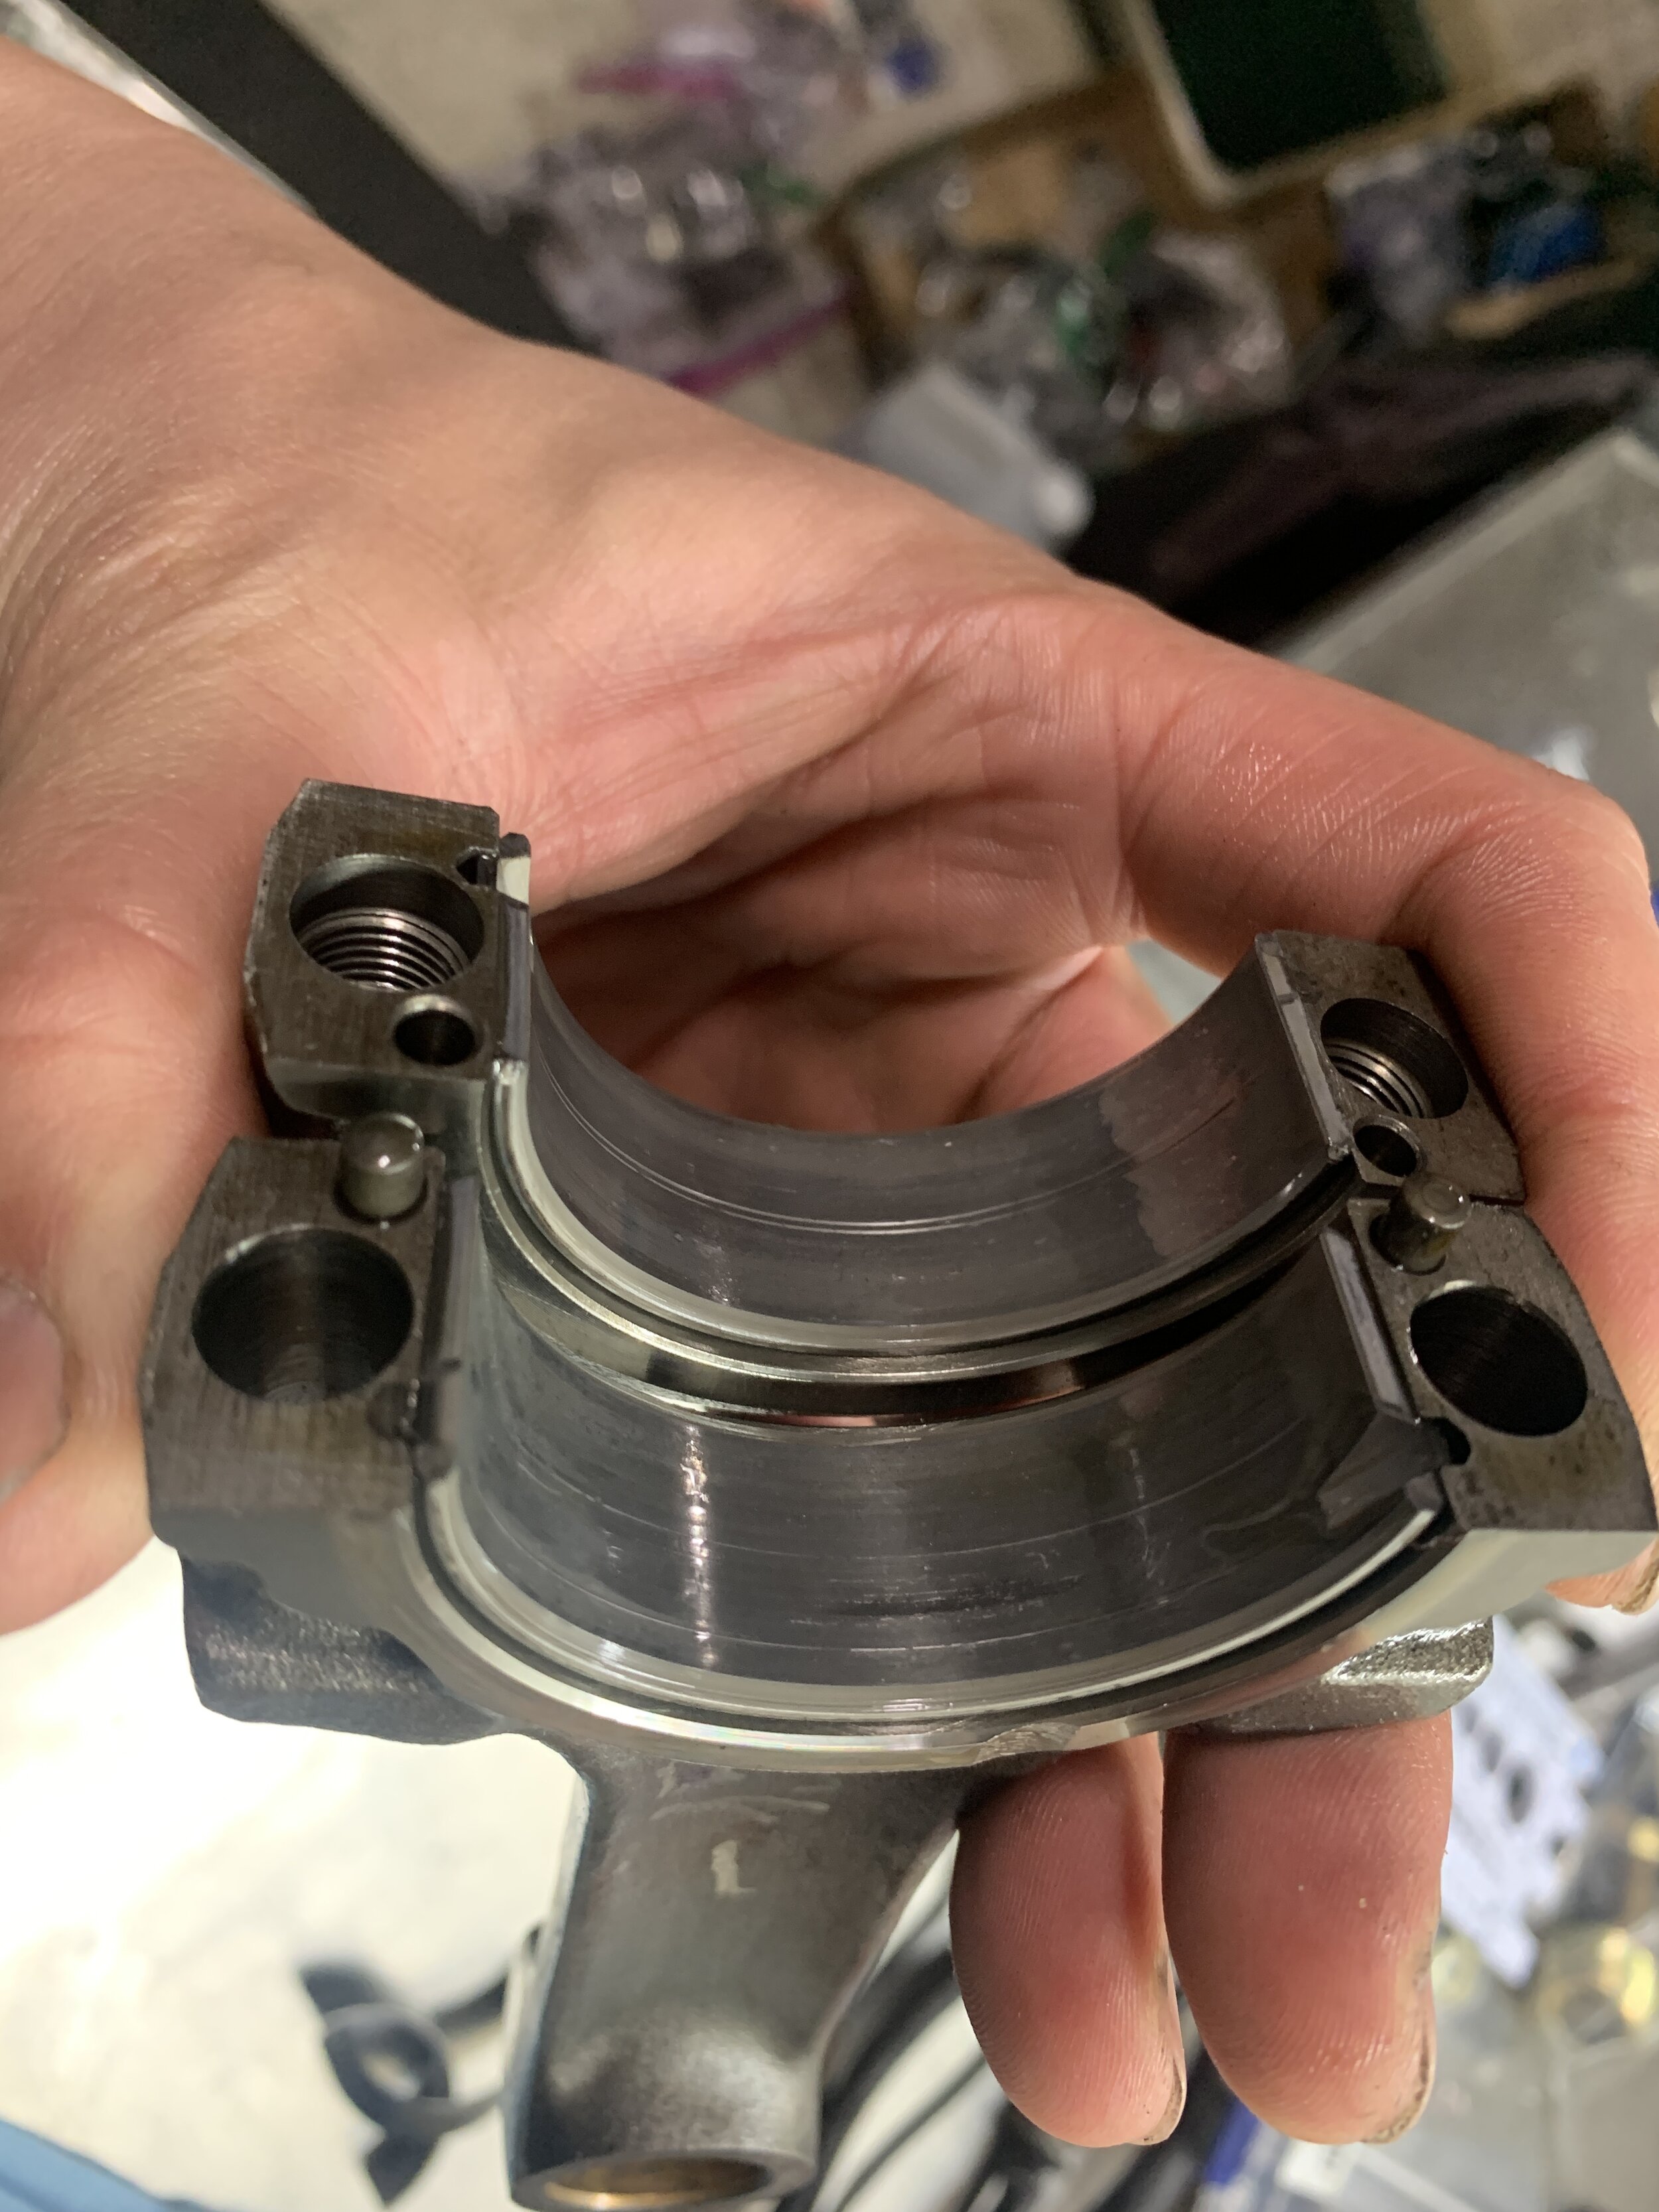
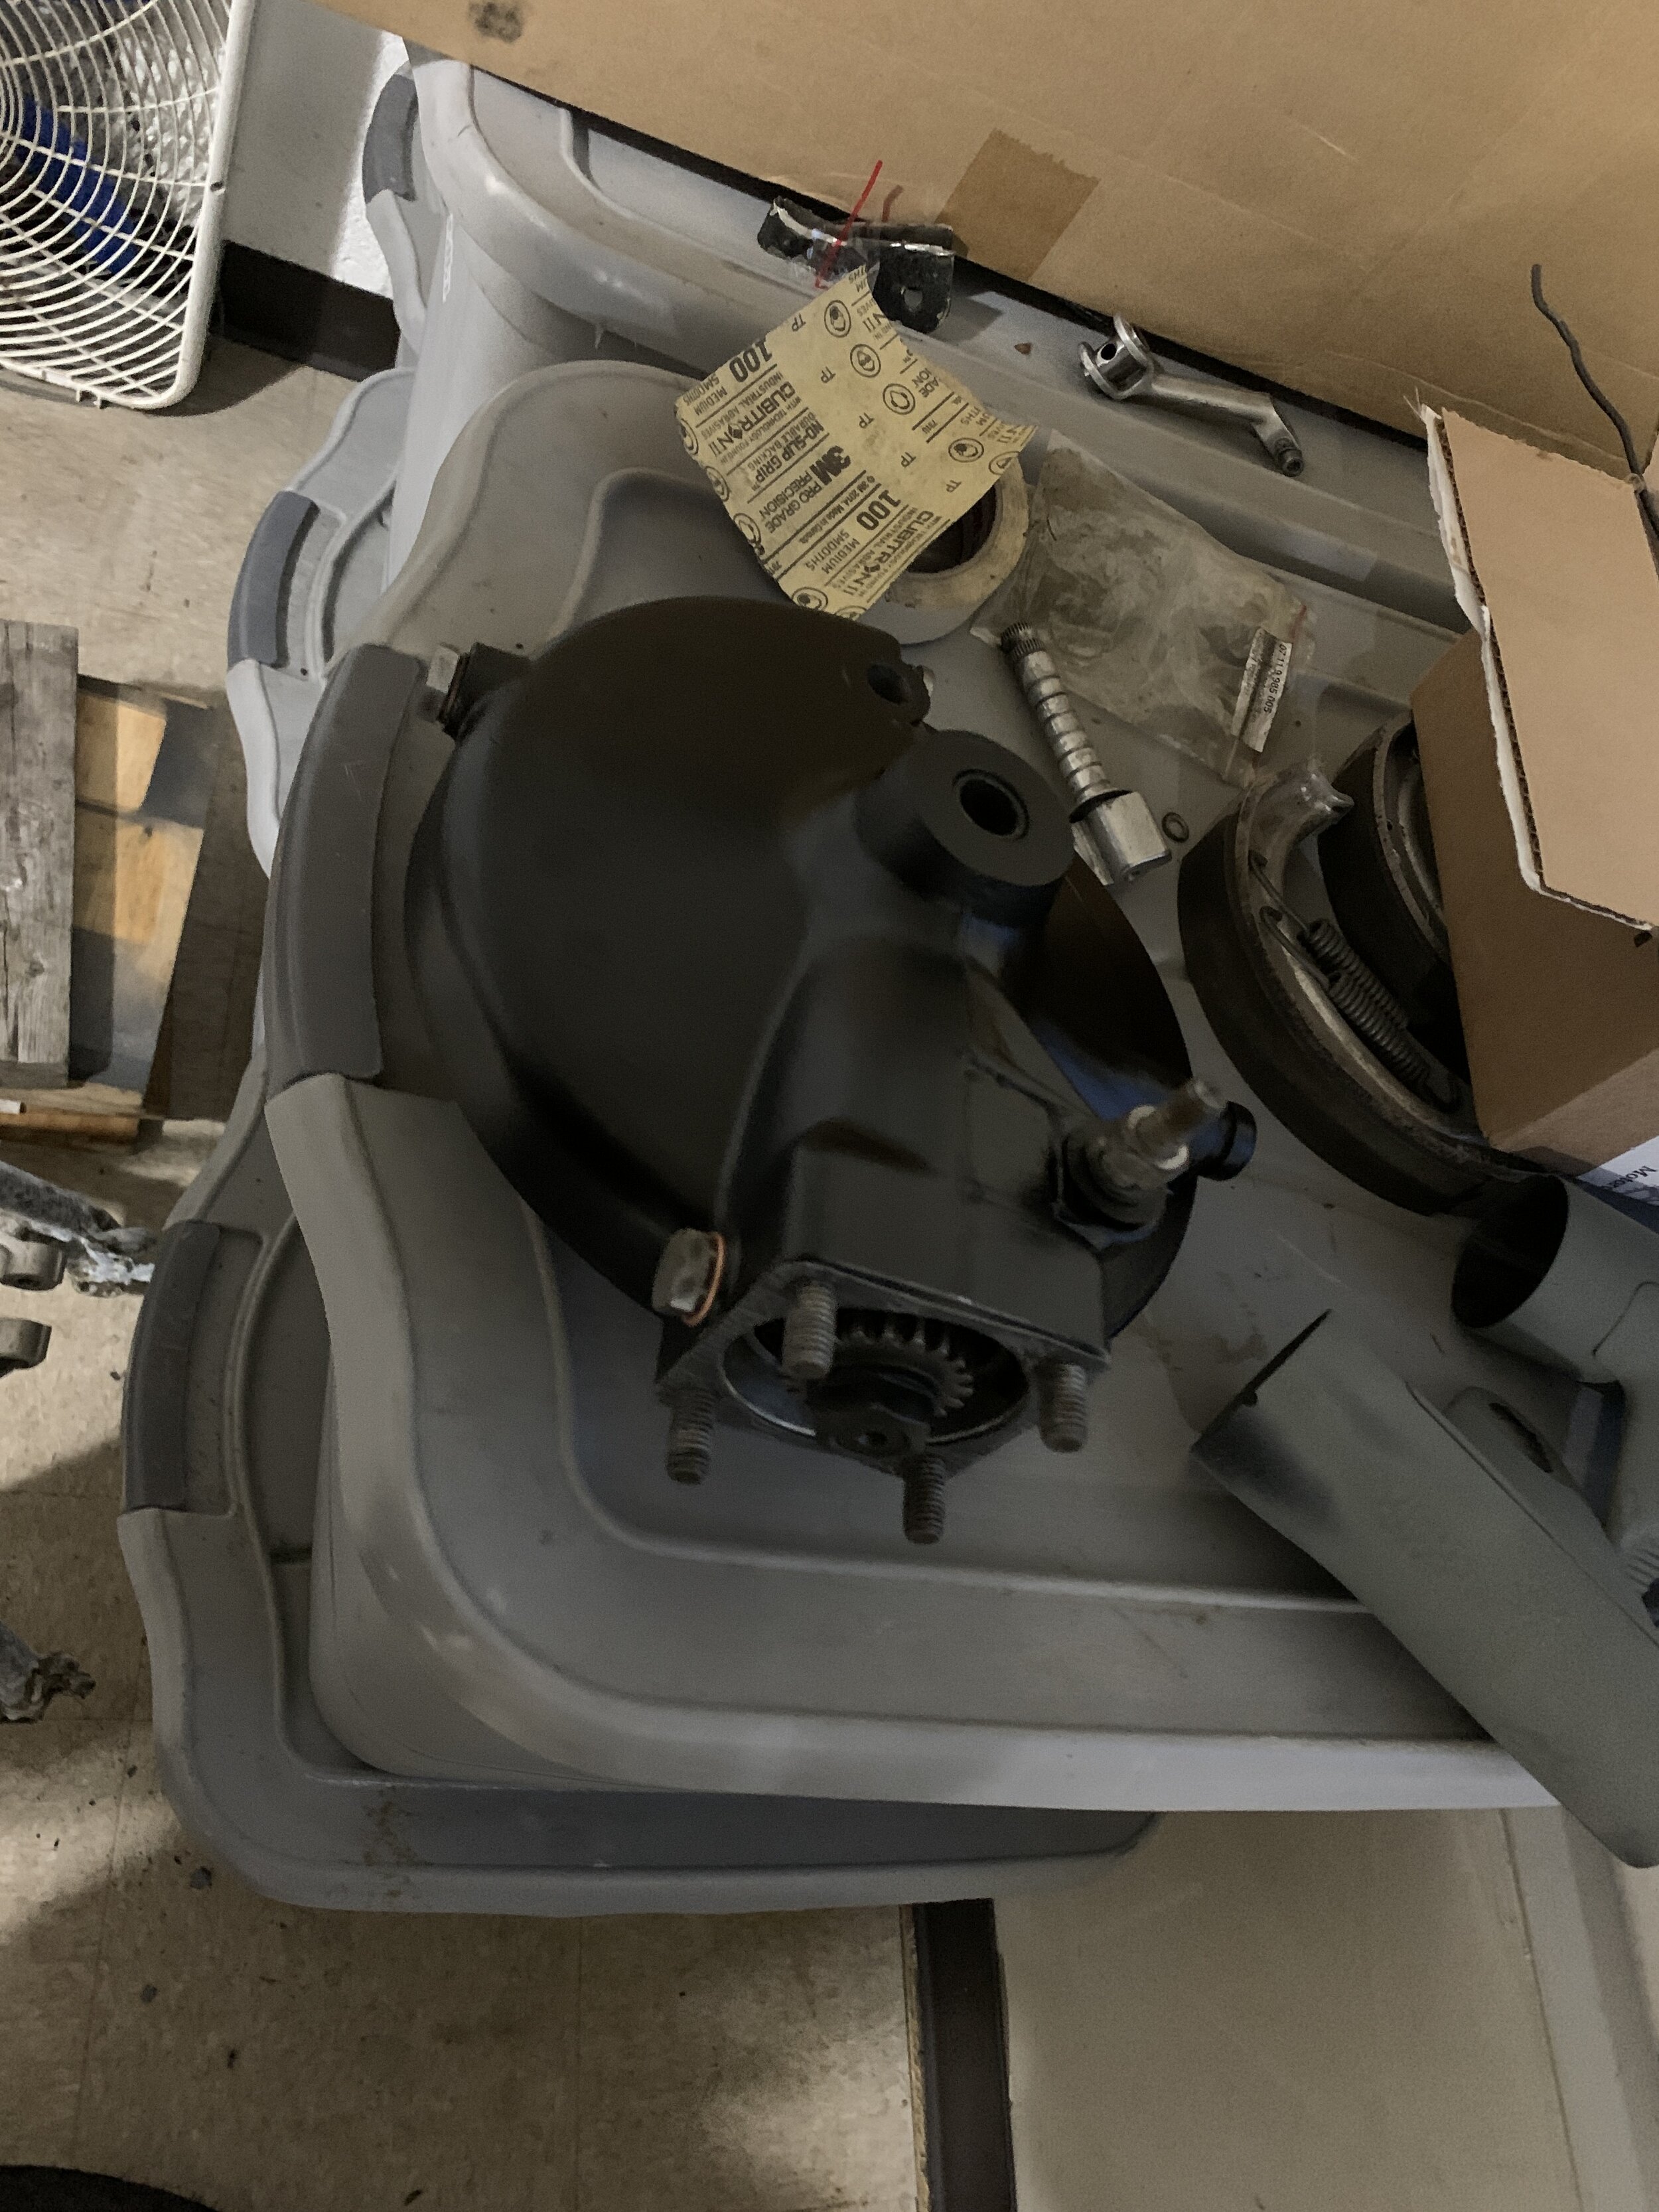
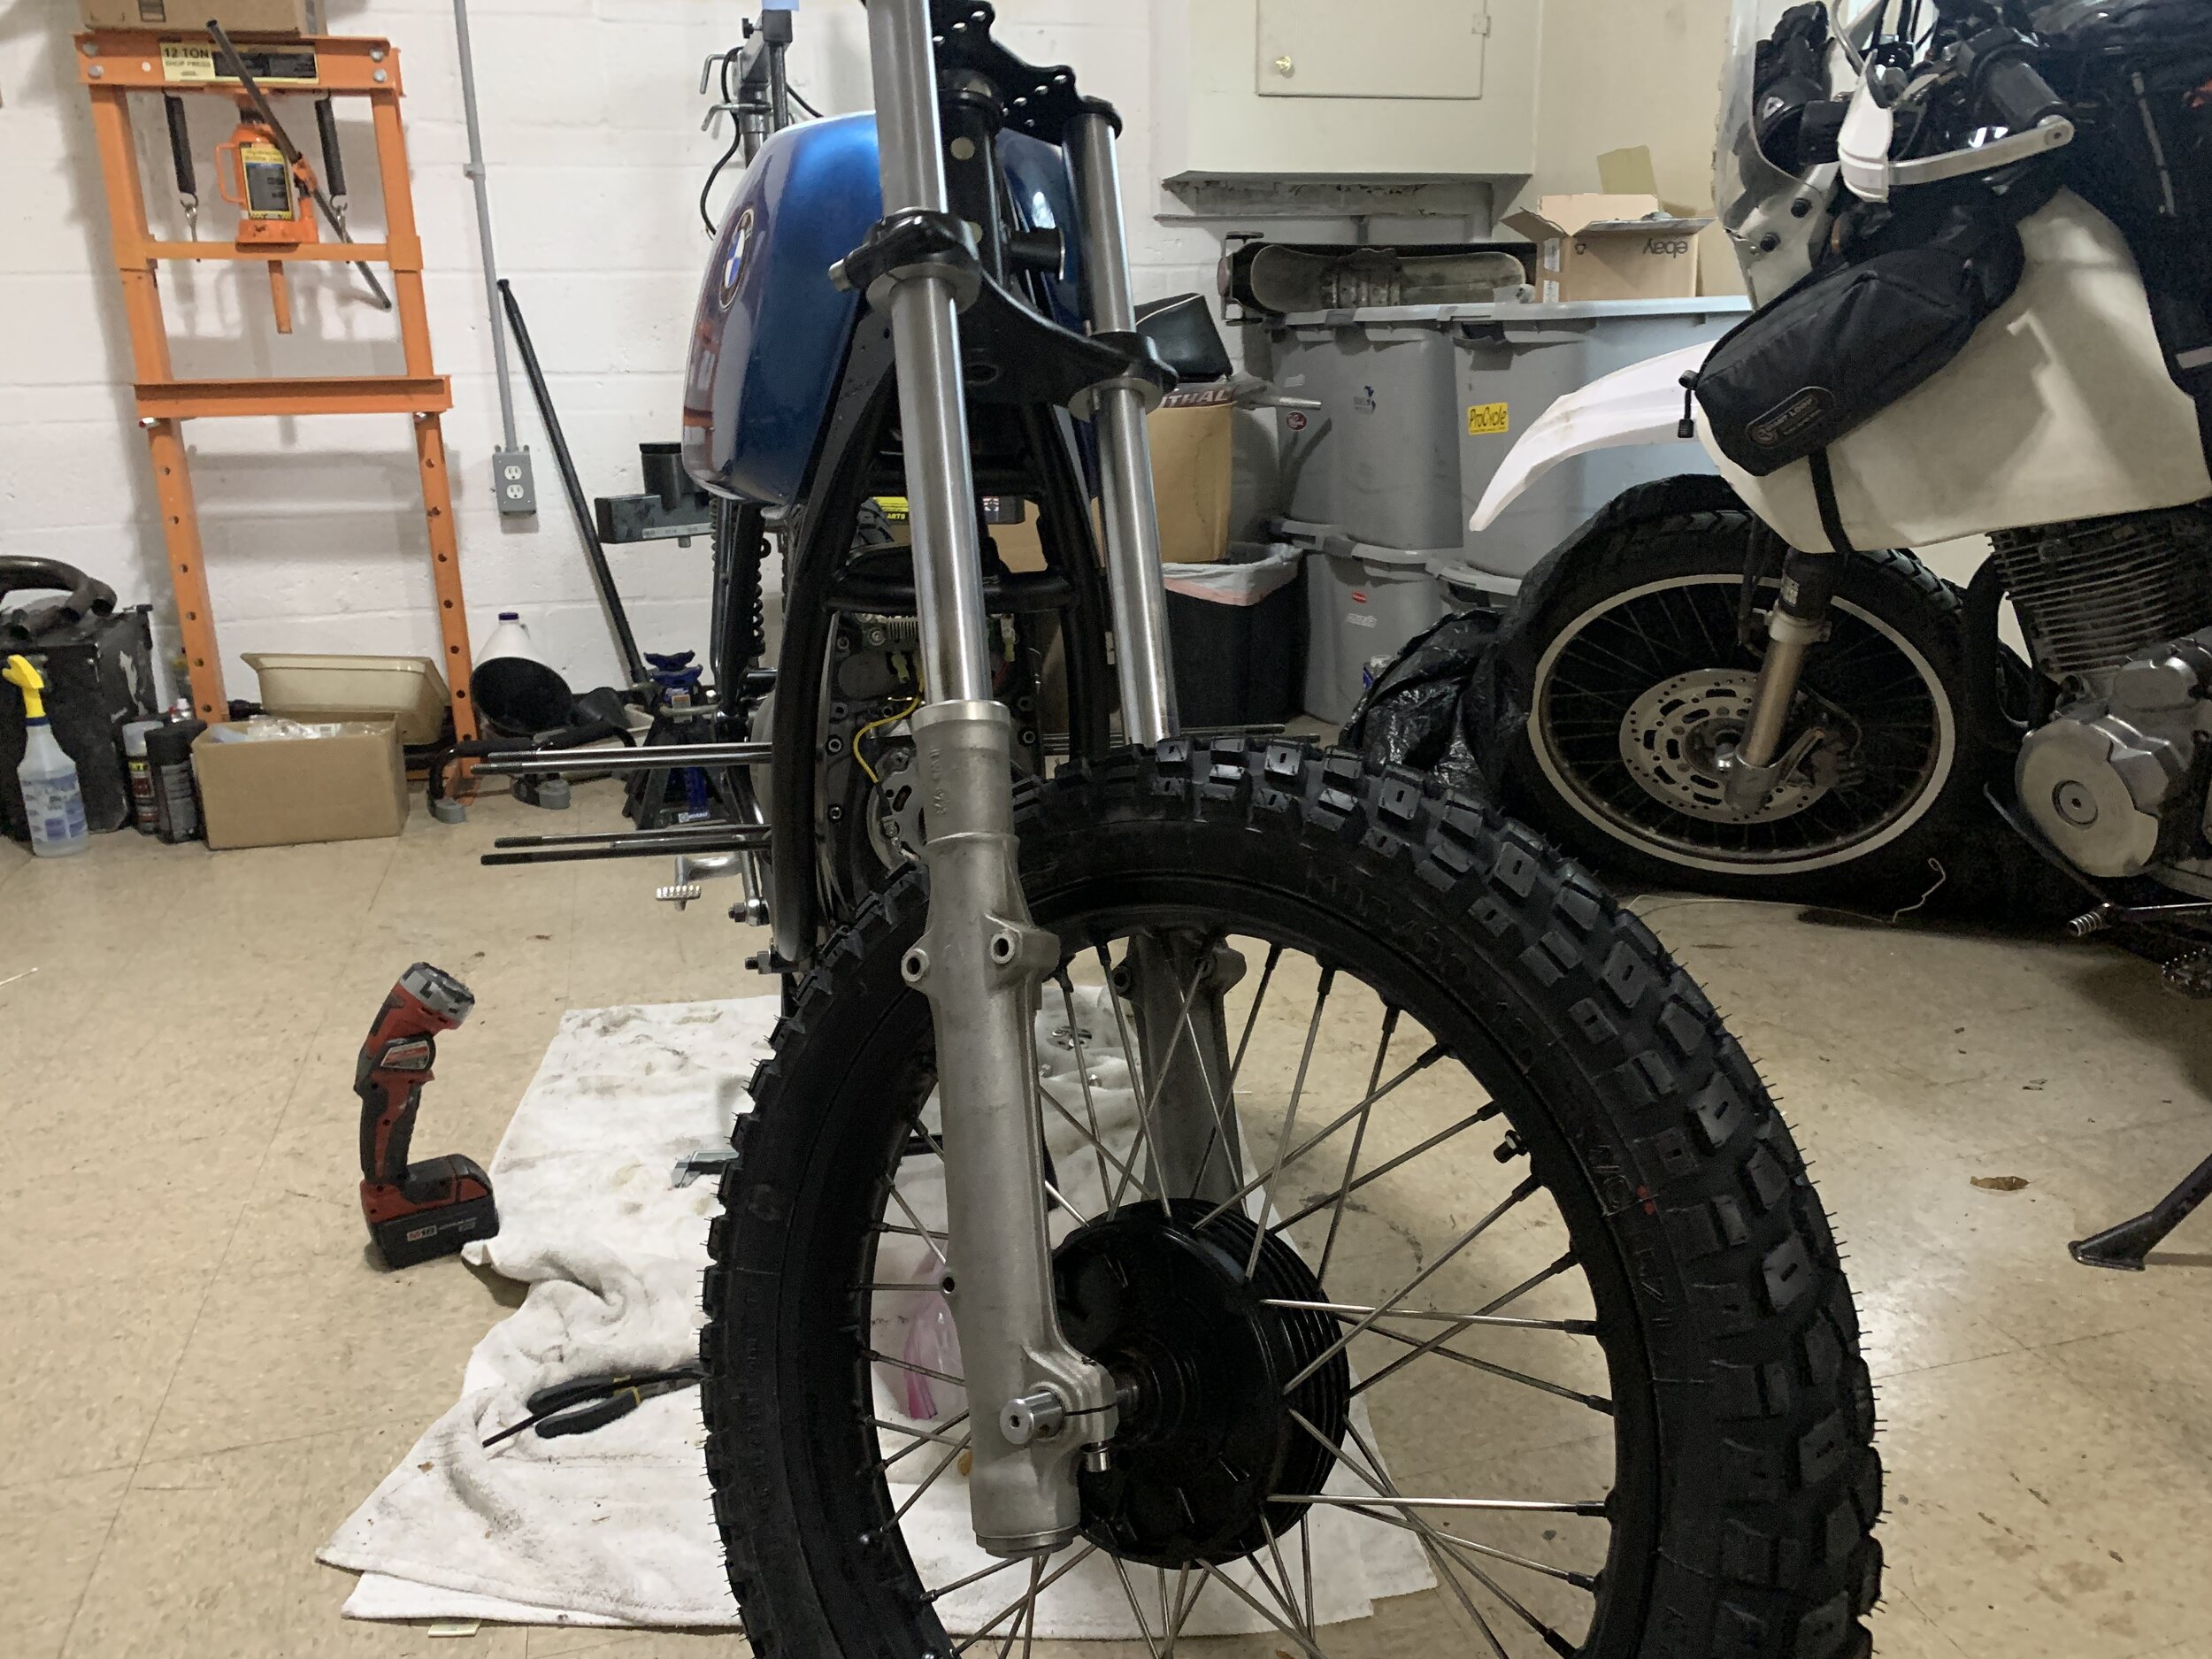
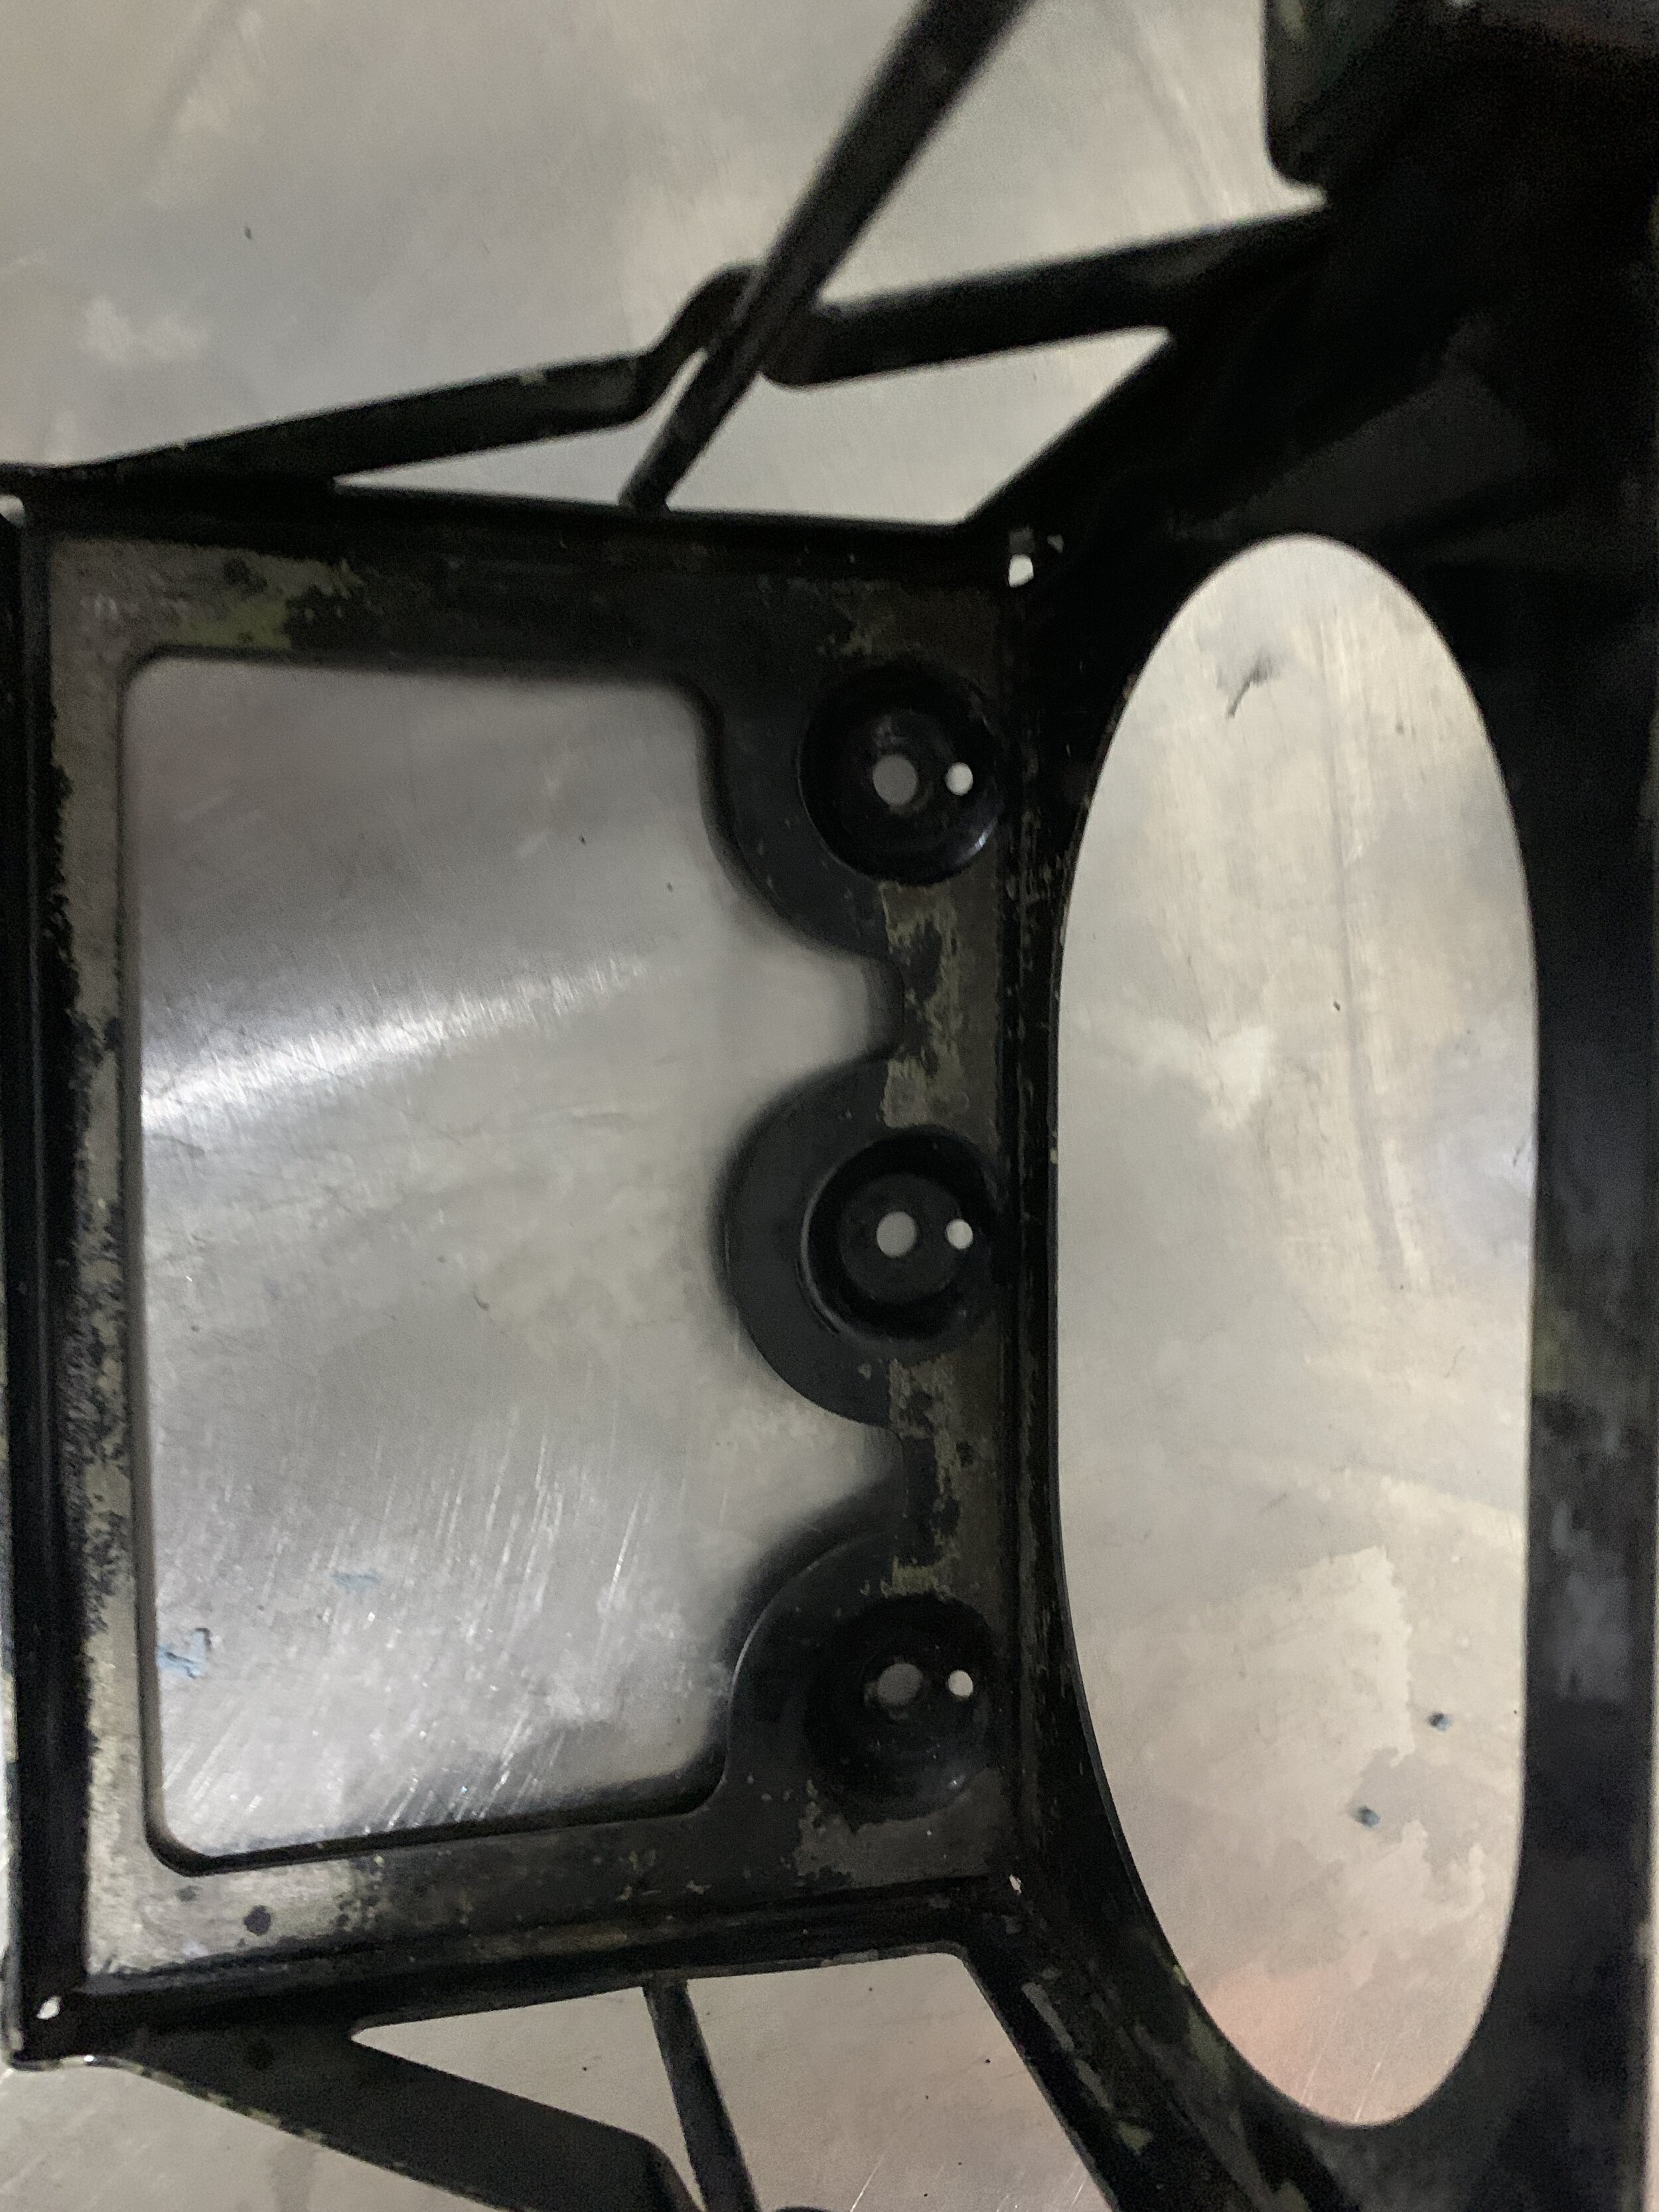
First thing to do was take apart the front single piston ATE brake. This was perhaps the biggest shock of ancient technology for me. It is a single piston caliper on a pivot pin. The brake pads are slanted as it clamps down when the brake the depressed, with one side always touching and the other side floating. Just looking at it had me scratching my head wondering how this works and how it can work with only a 260 mm rotor on a single piston. A quick search online shows that this was a very poor braking system. So my initial thought was to upgrade the front rotor to floating EBC and rebuild the under tank master cylinder. I really did like the OEM setup, with the master cylinder under the tank for its ascetics but the setup from a cable brake that activates an undertake hydraulic, the slack that is introduce is unavoidable. To top it off with the single piston brakes that slides and moves as you brake… lets just say, even for 1978 technology, this was so bad I think I would have rather have drums brakes.
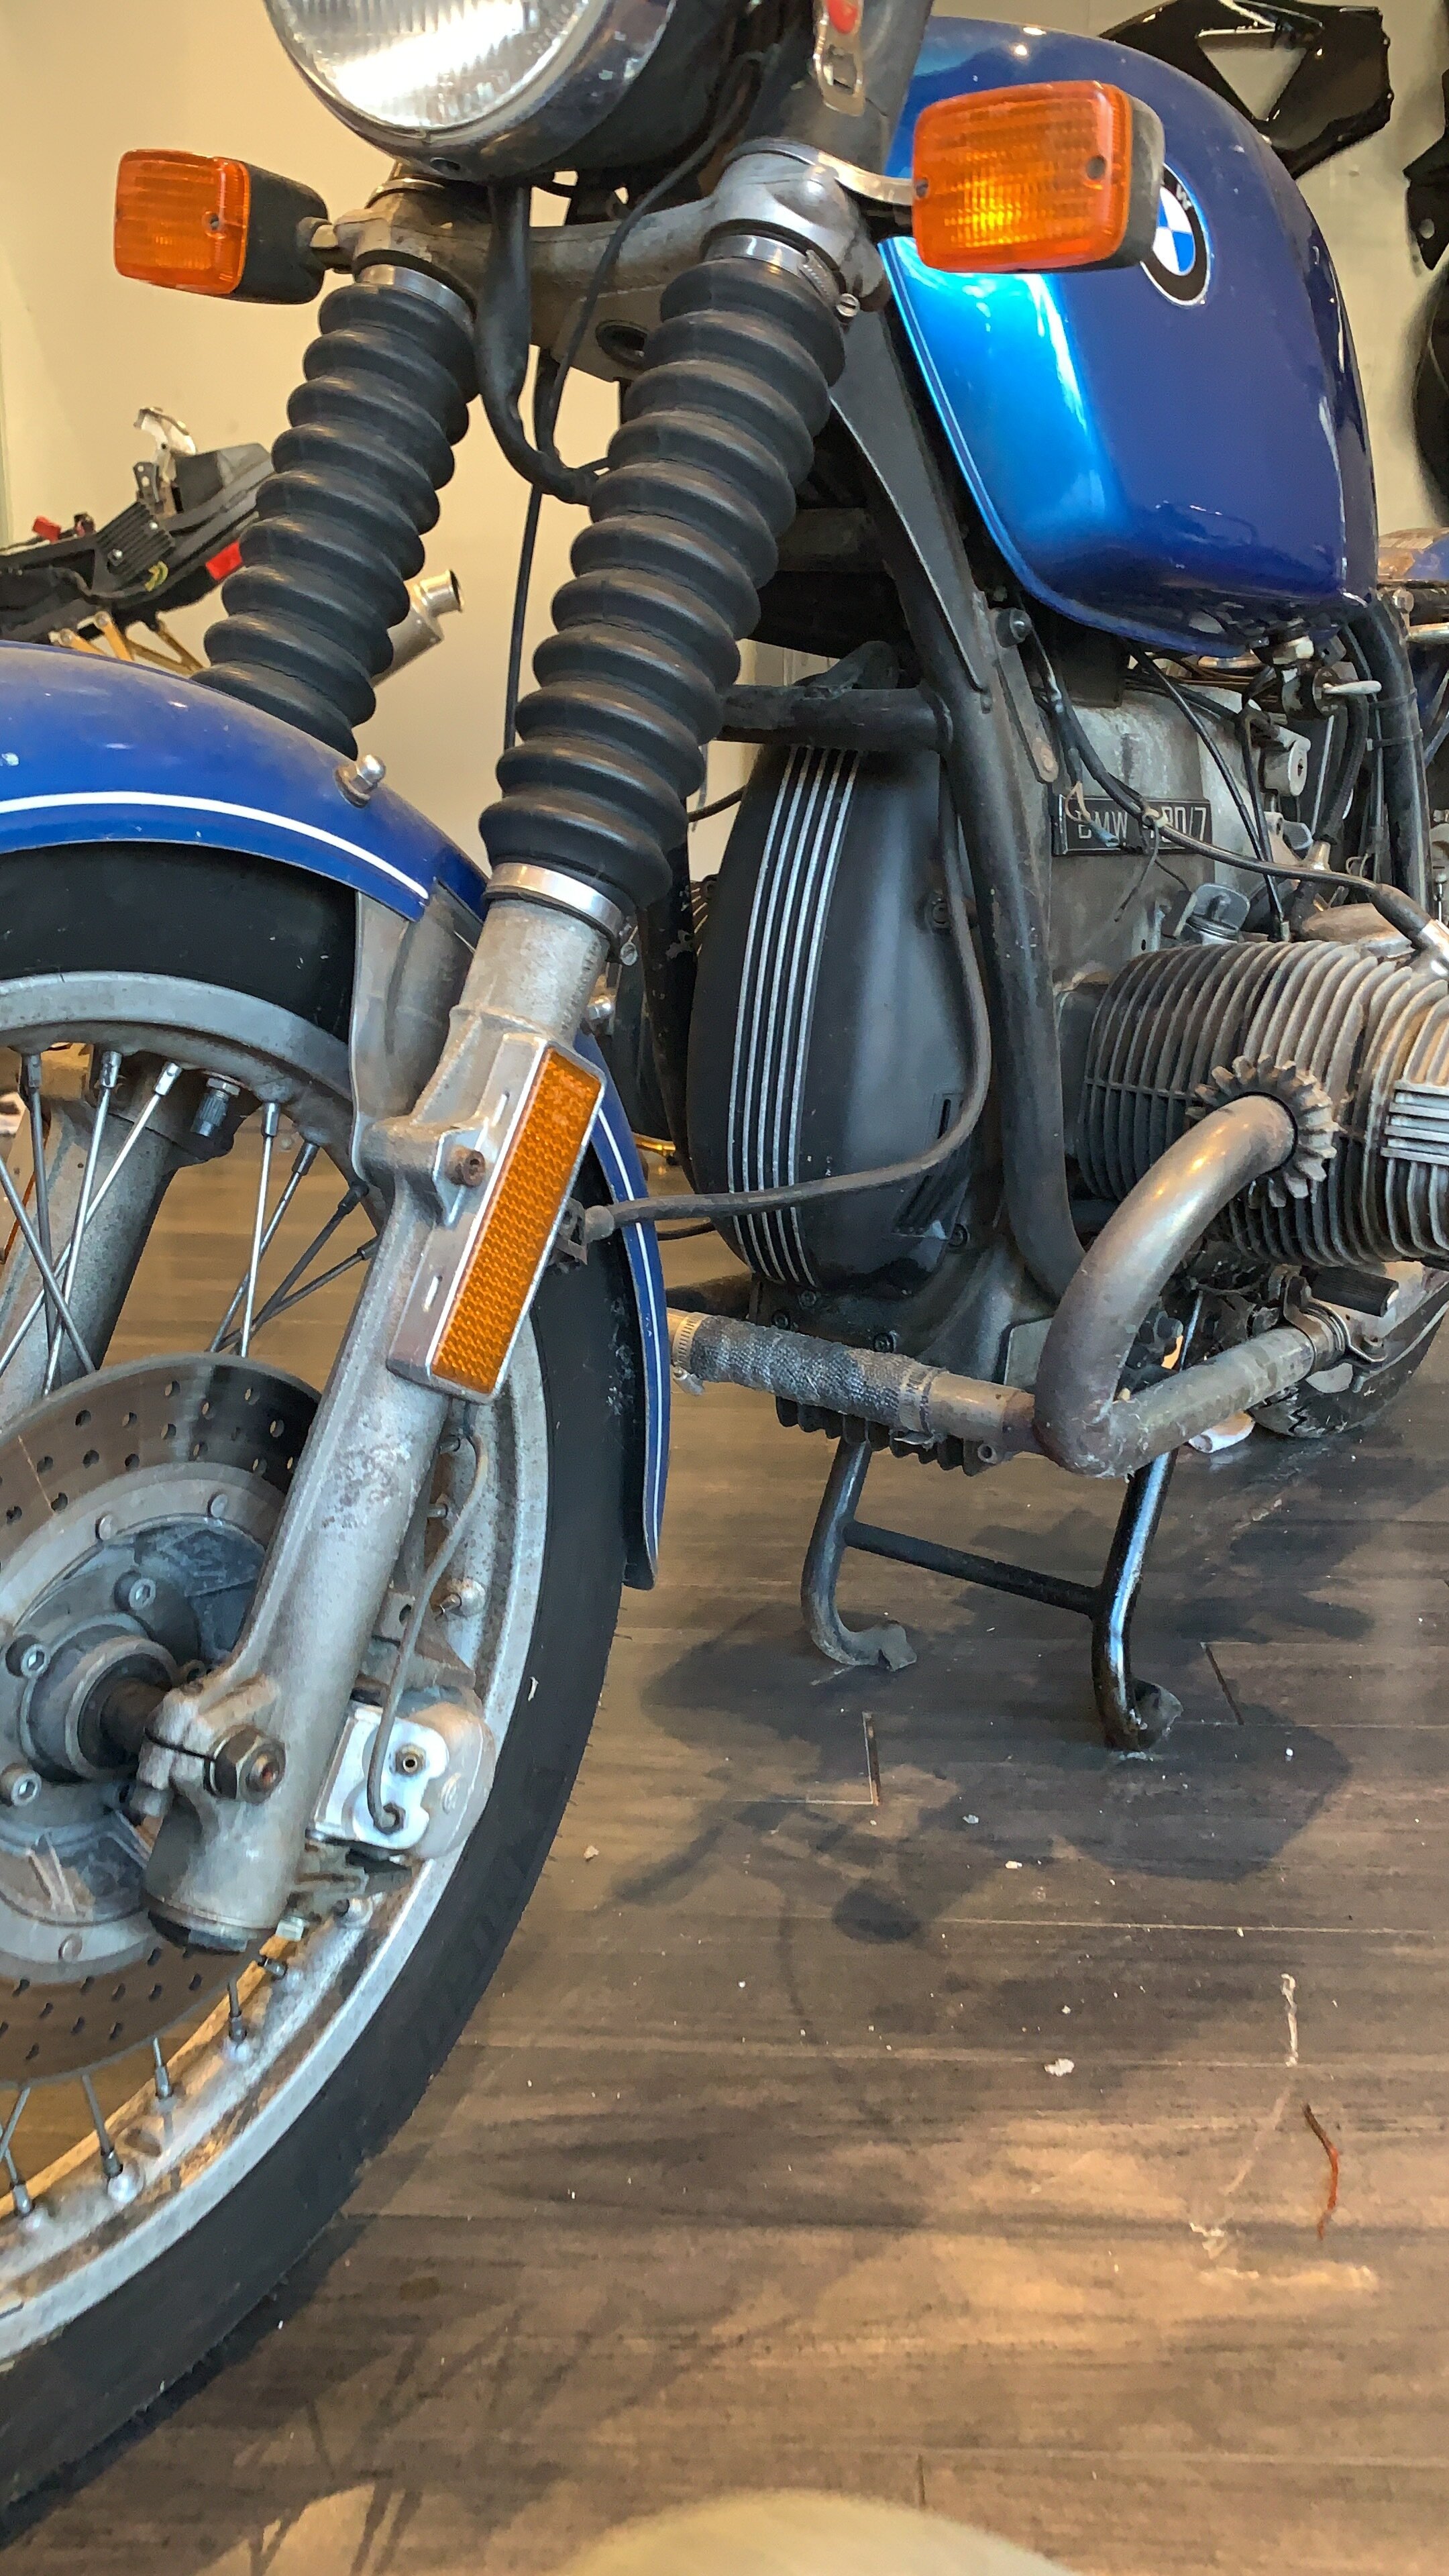
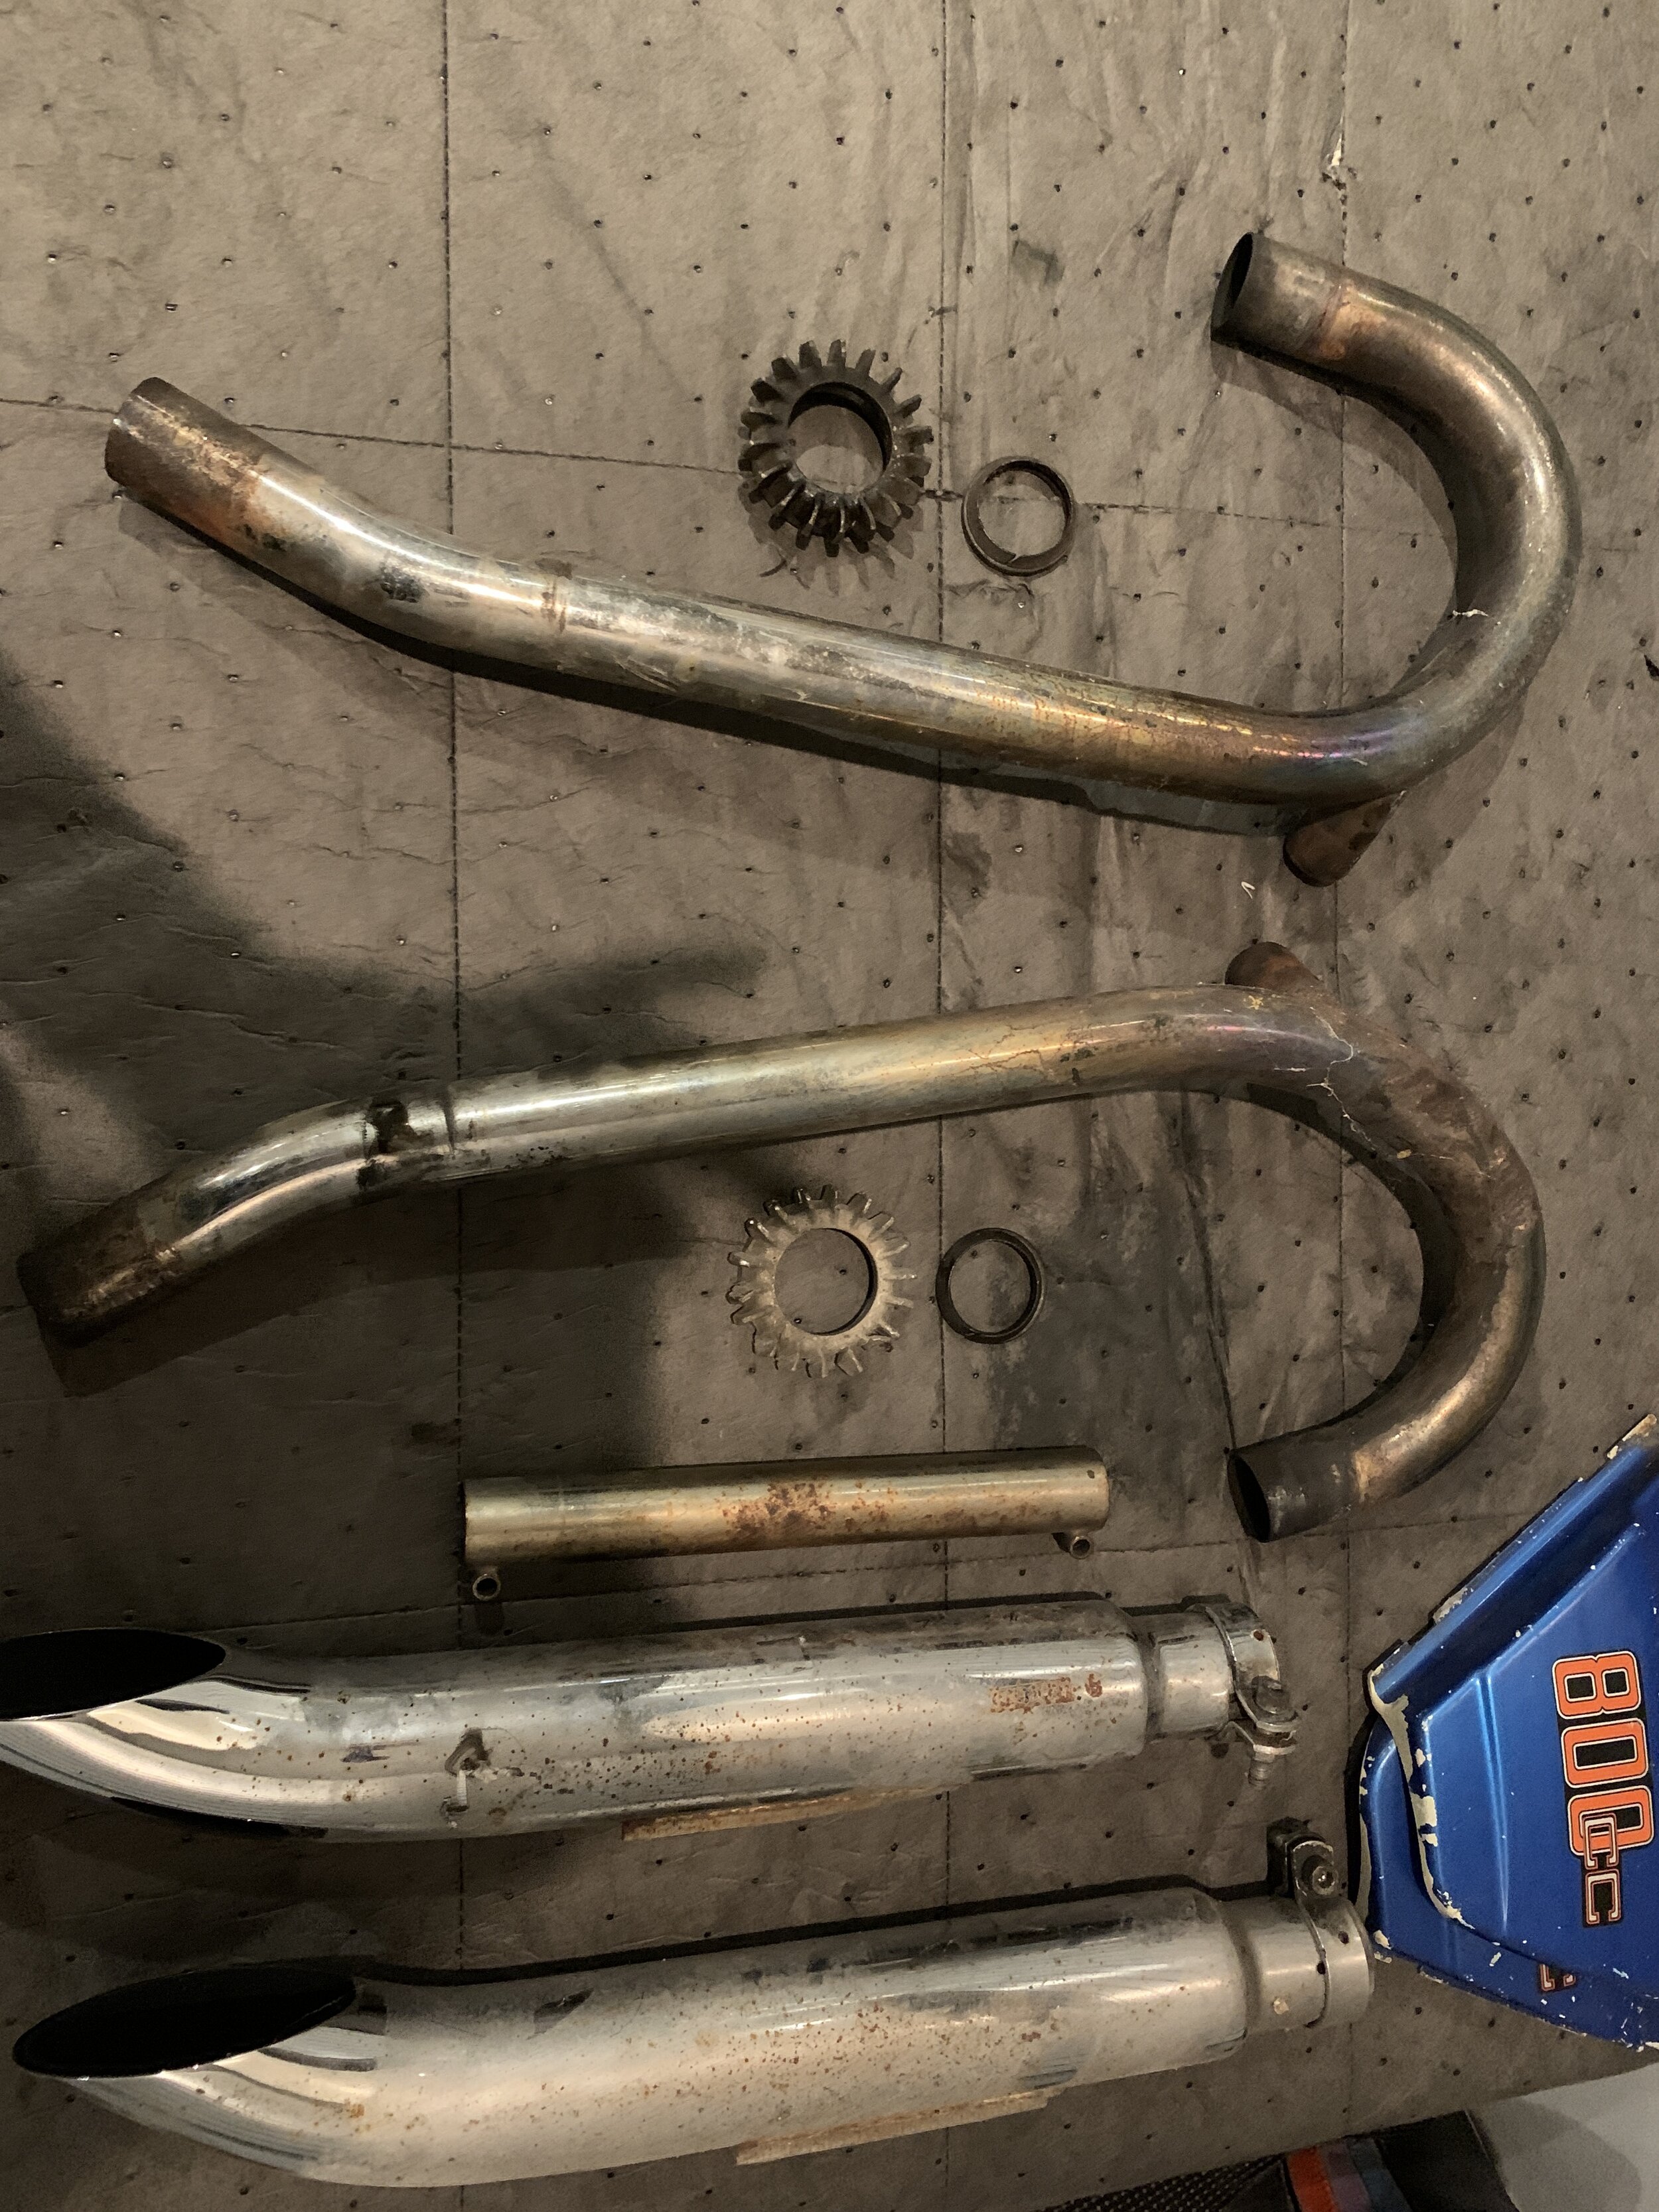
Then I started the disassembly process. One of the exhaust nut was damage, and I knew before I purchased the bike, later on I would find that both exhaust nut had to be replaced as they were both badly gouged by previous owner removing using a screw driver rather than the correct tool. The left exhaust header had a dent likely from a low side to the left side. The exhaust that is on there is not original and a very cheap aftermarket unit that wasn’t even secure on properly.
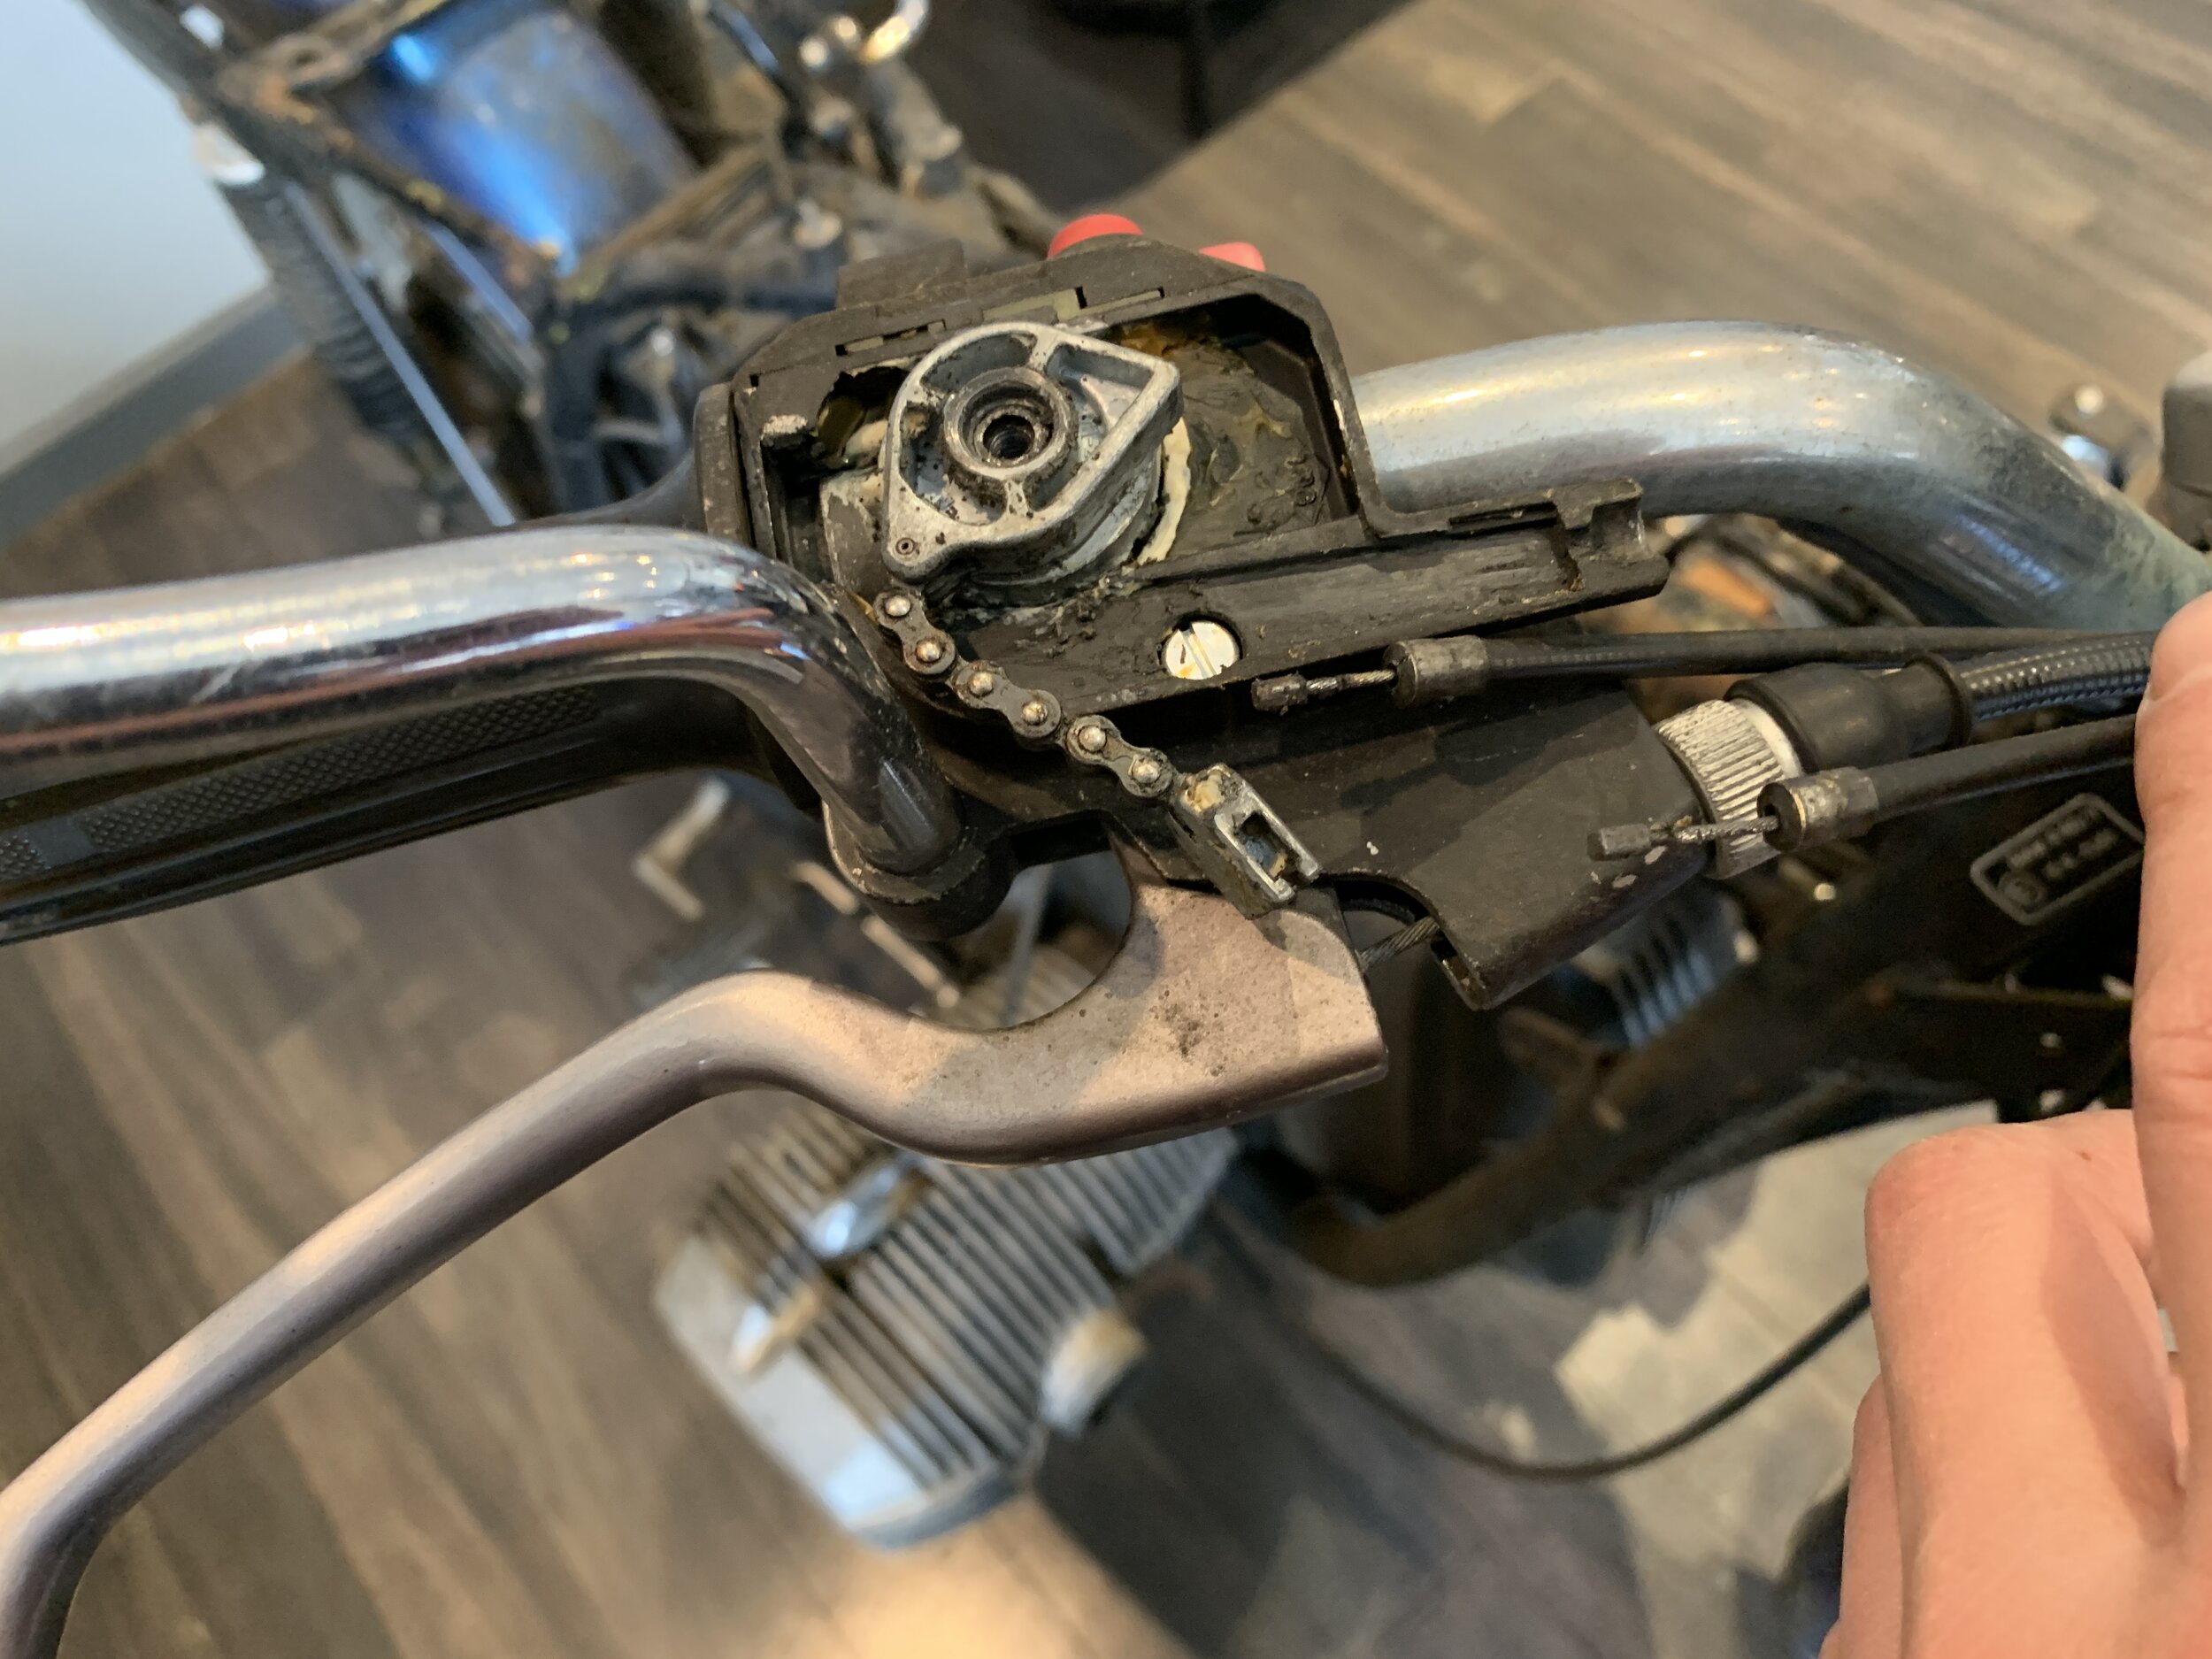
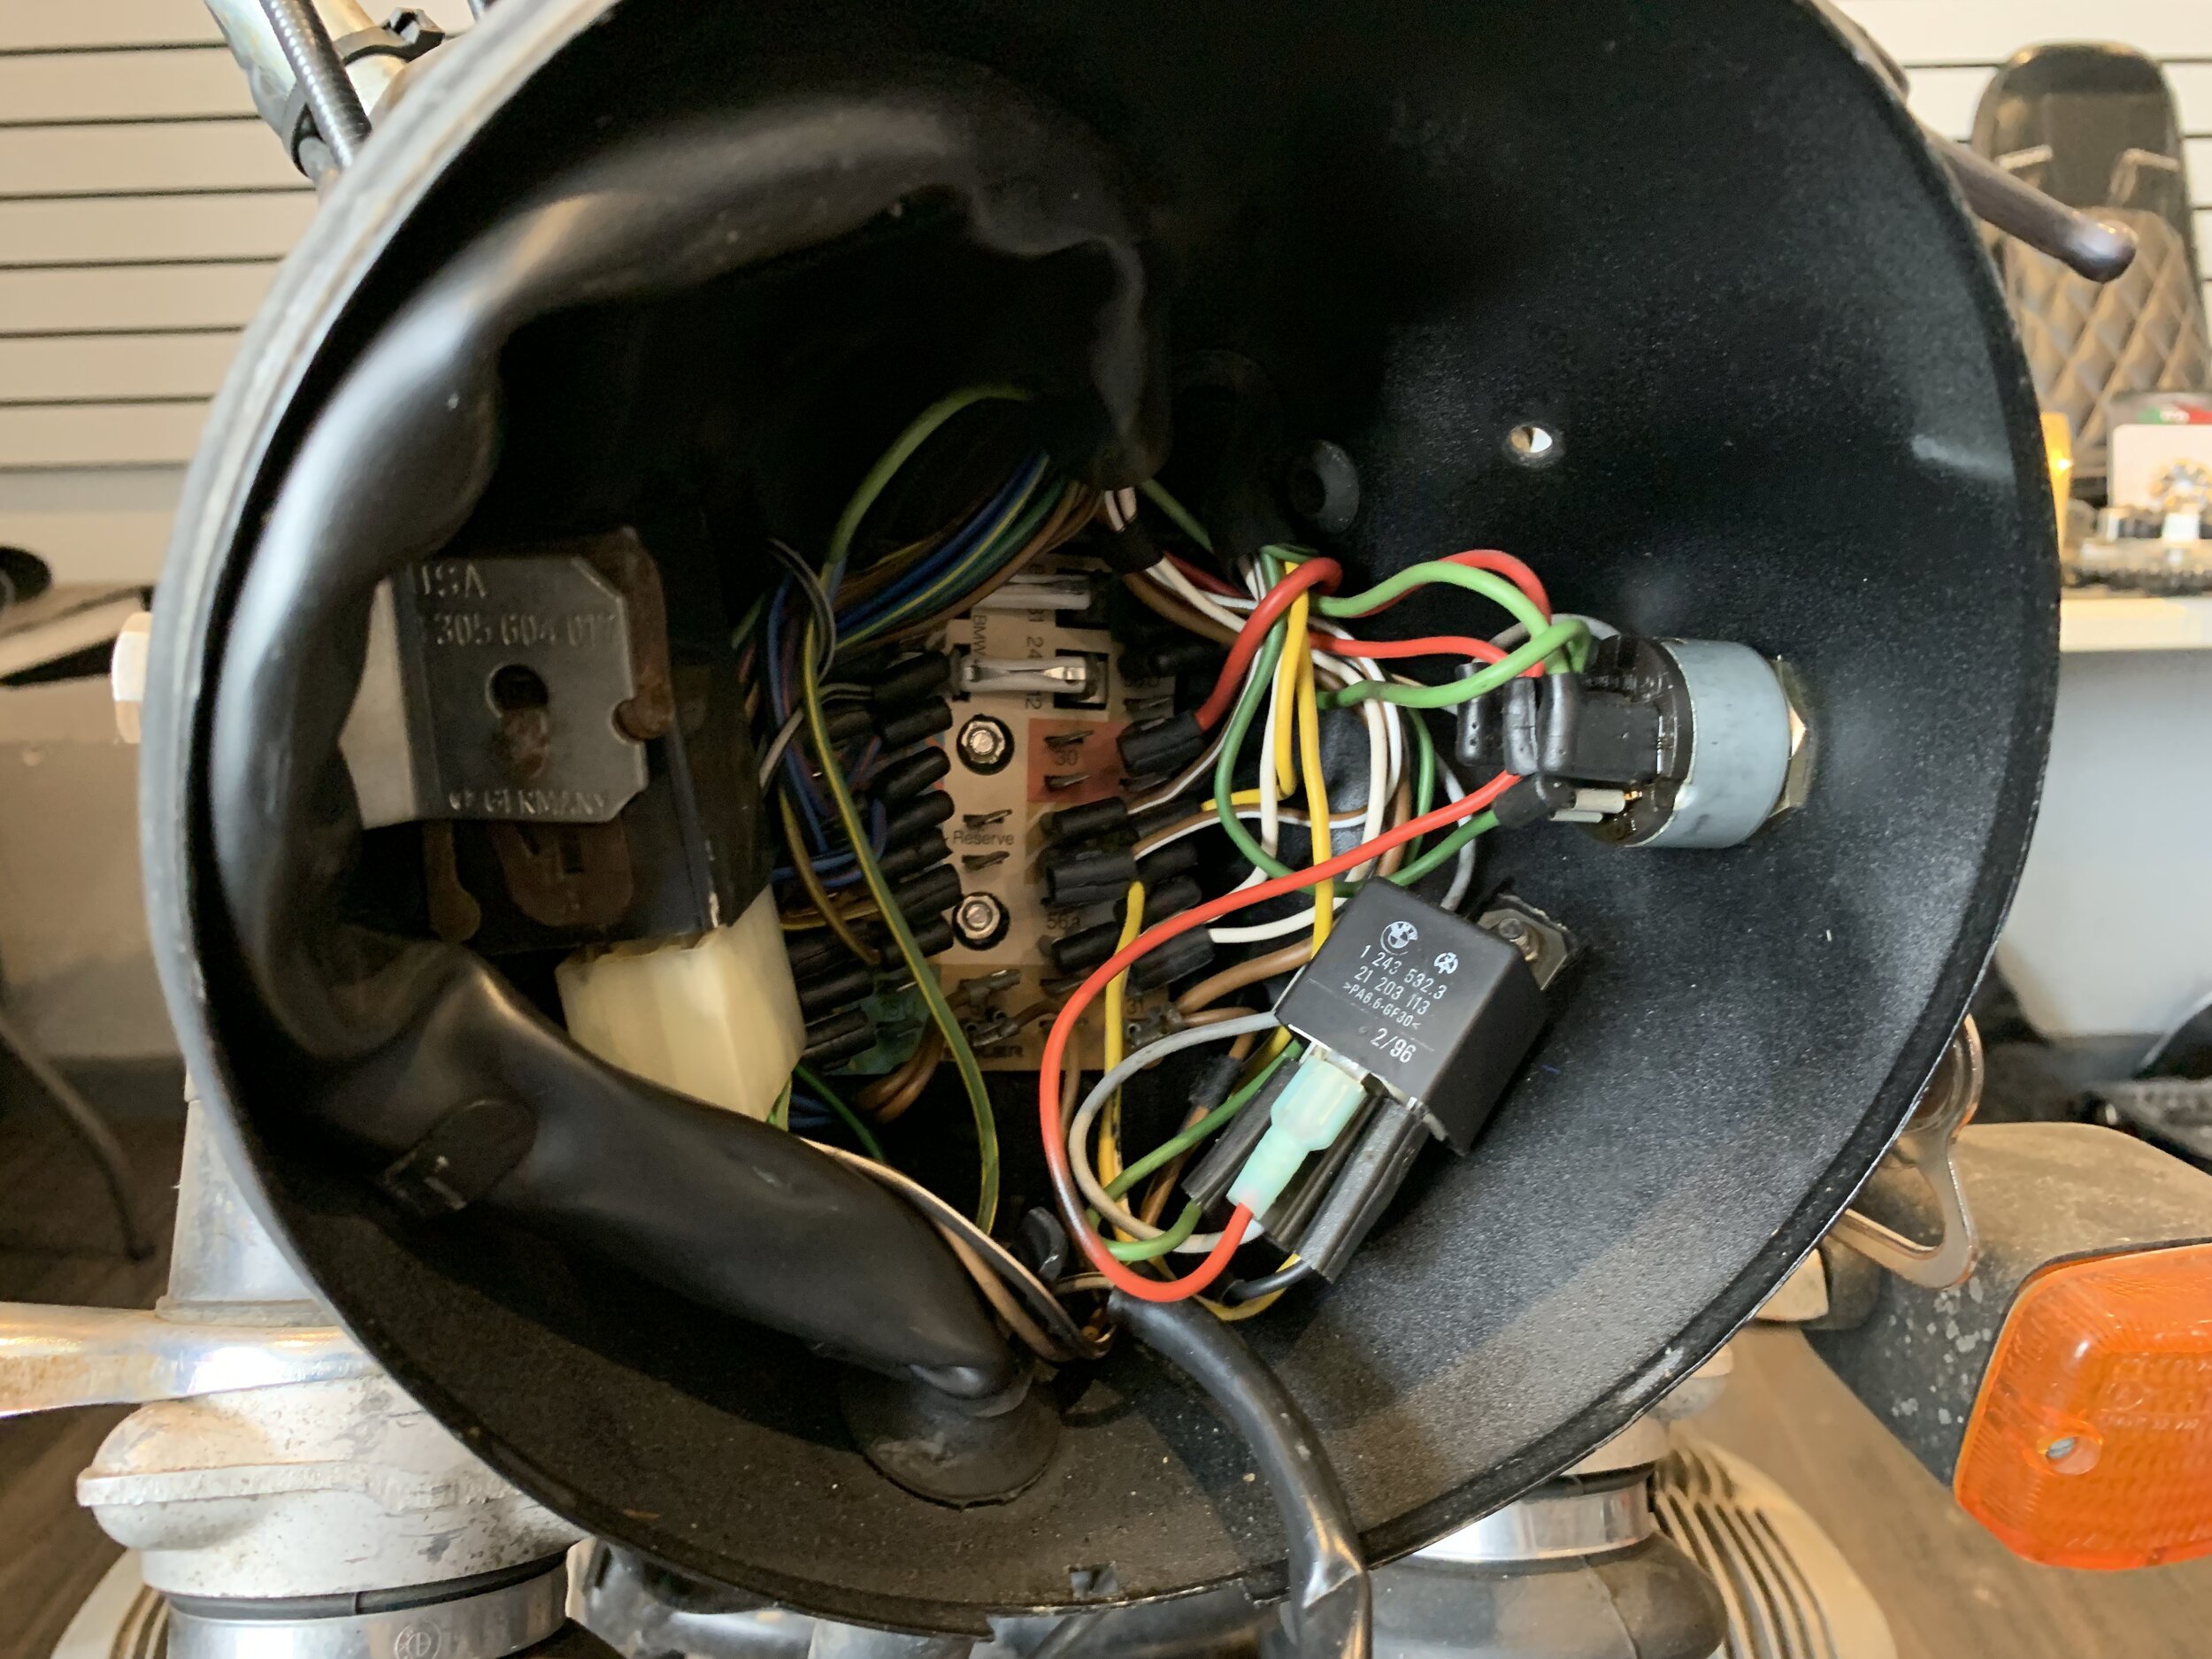
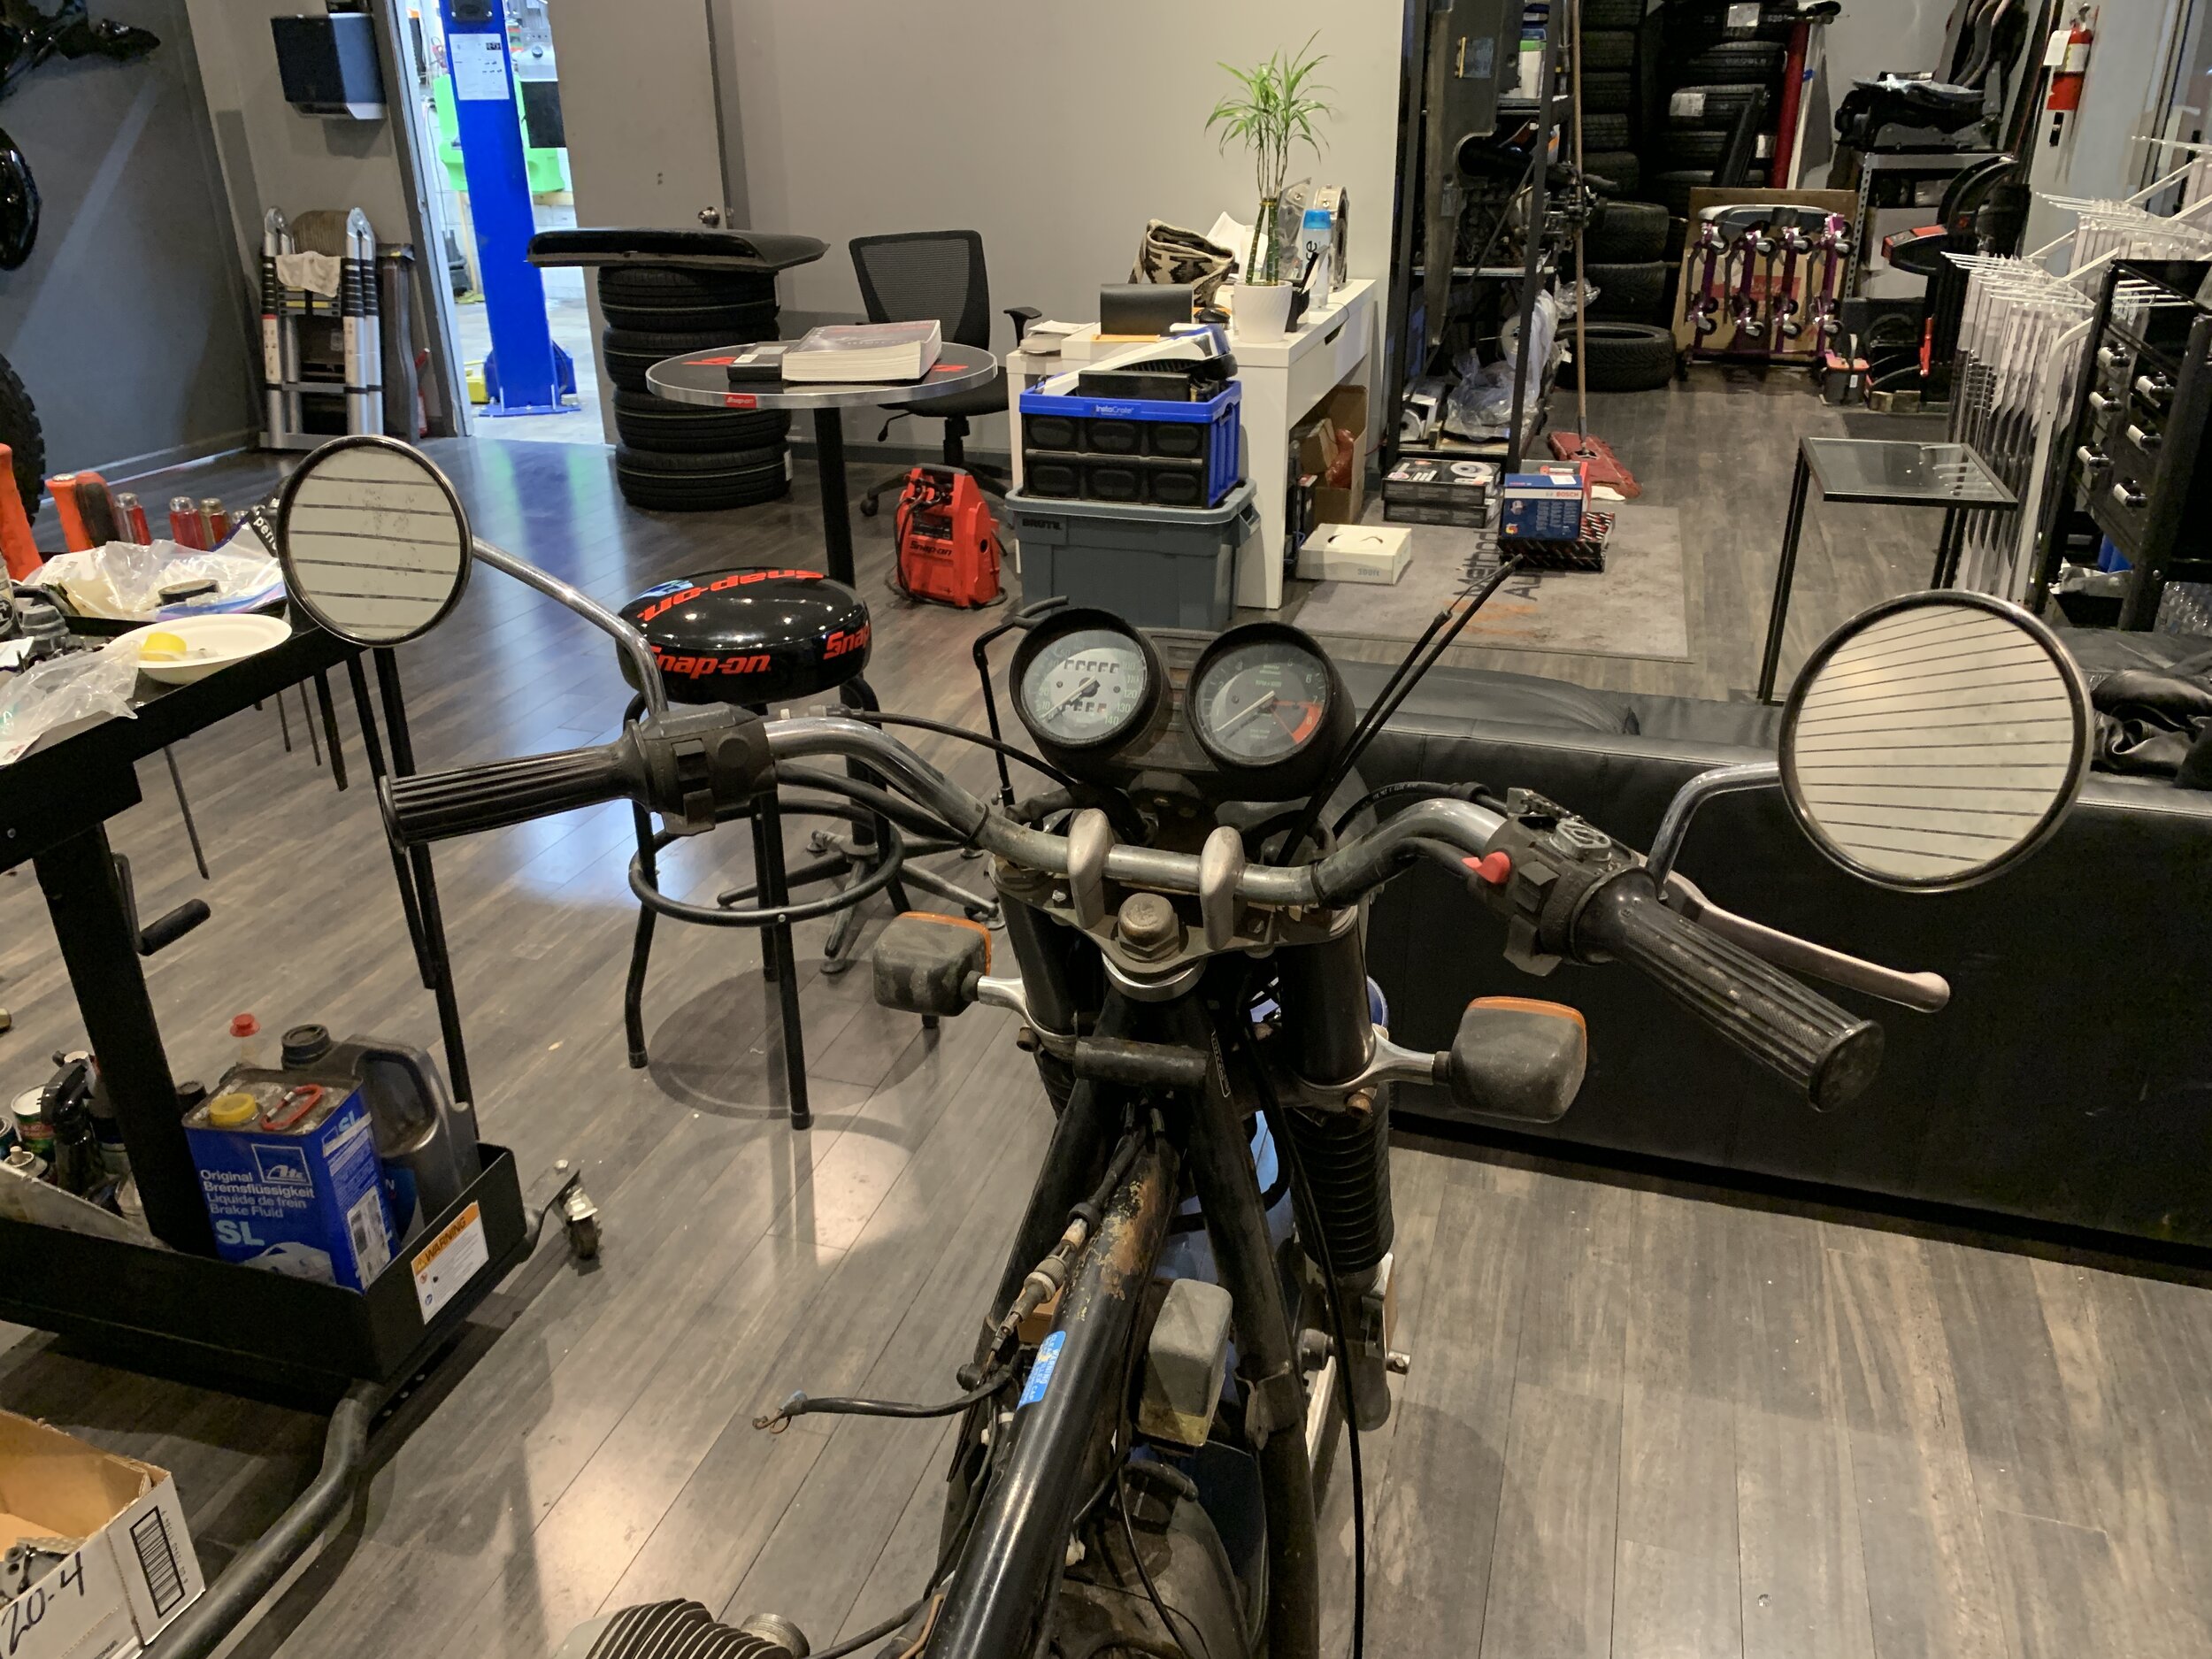
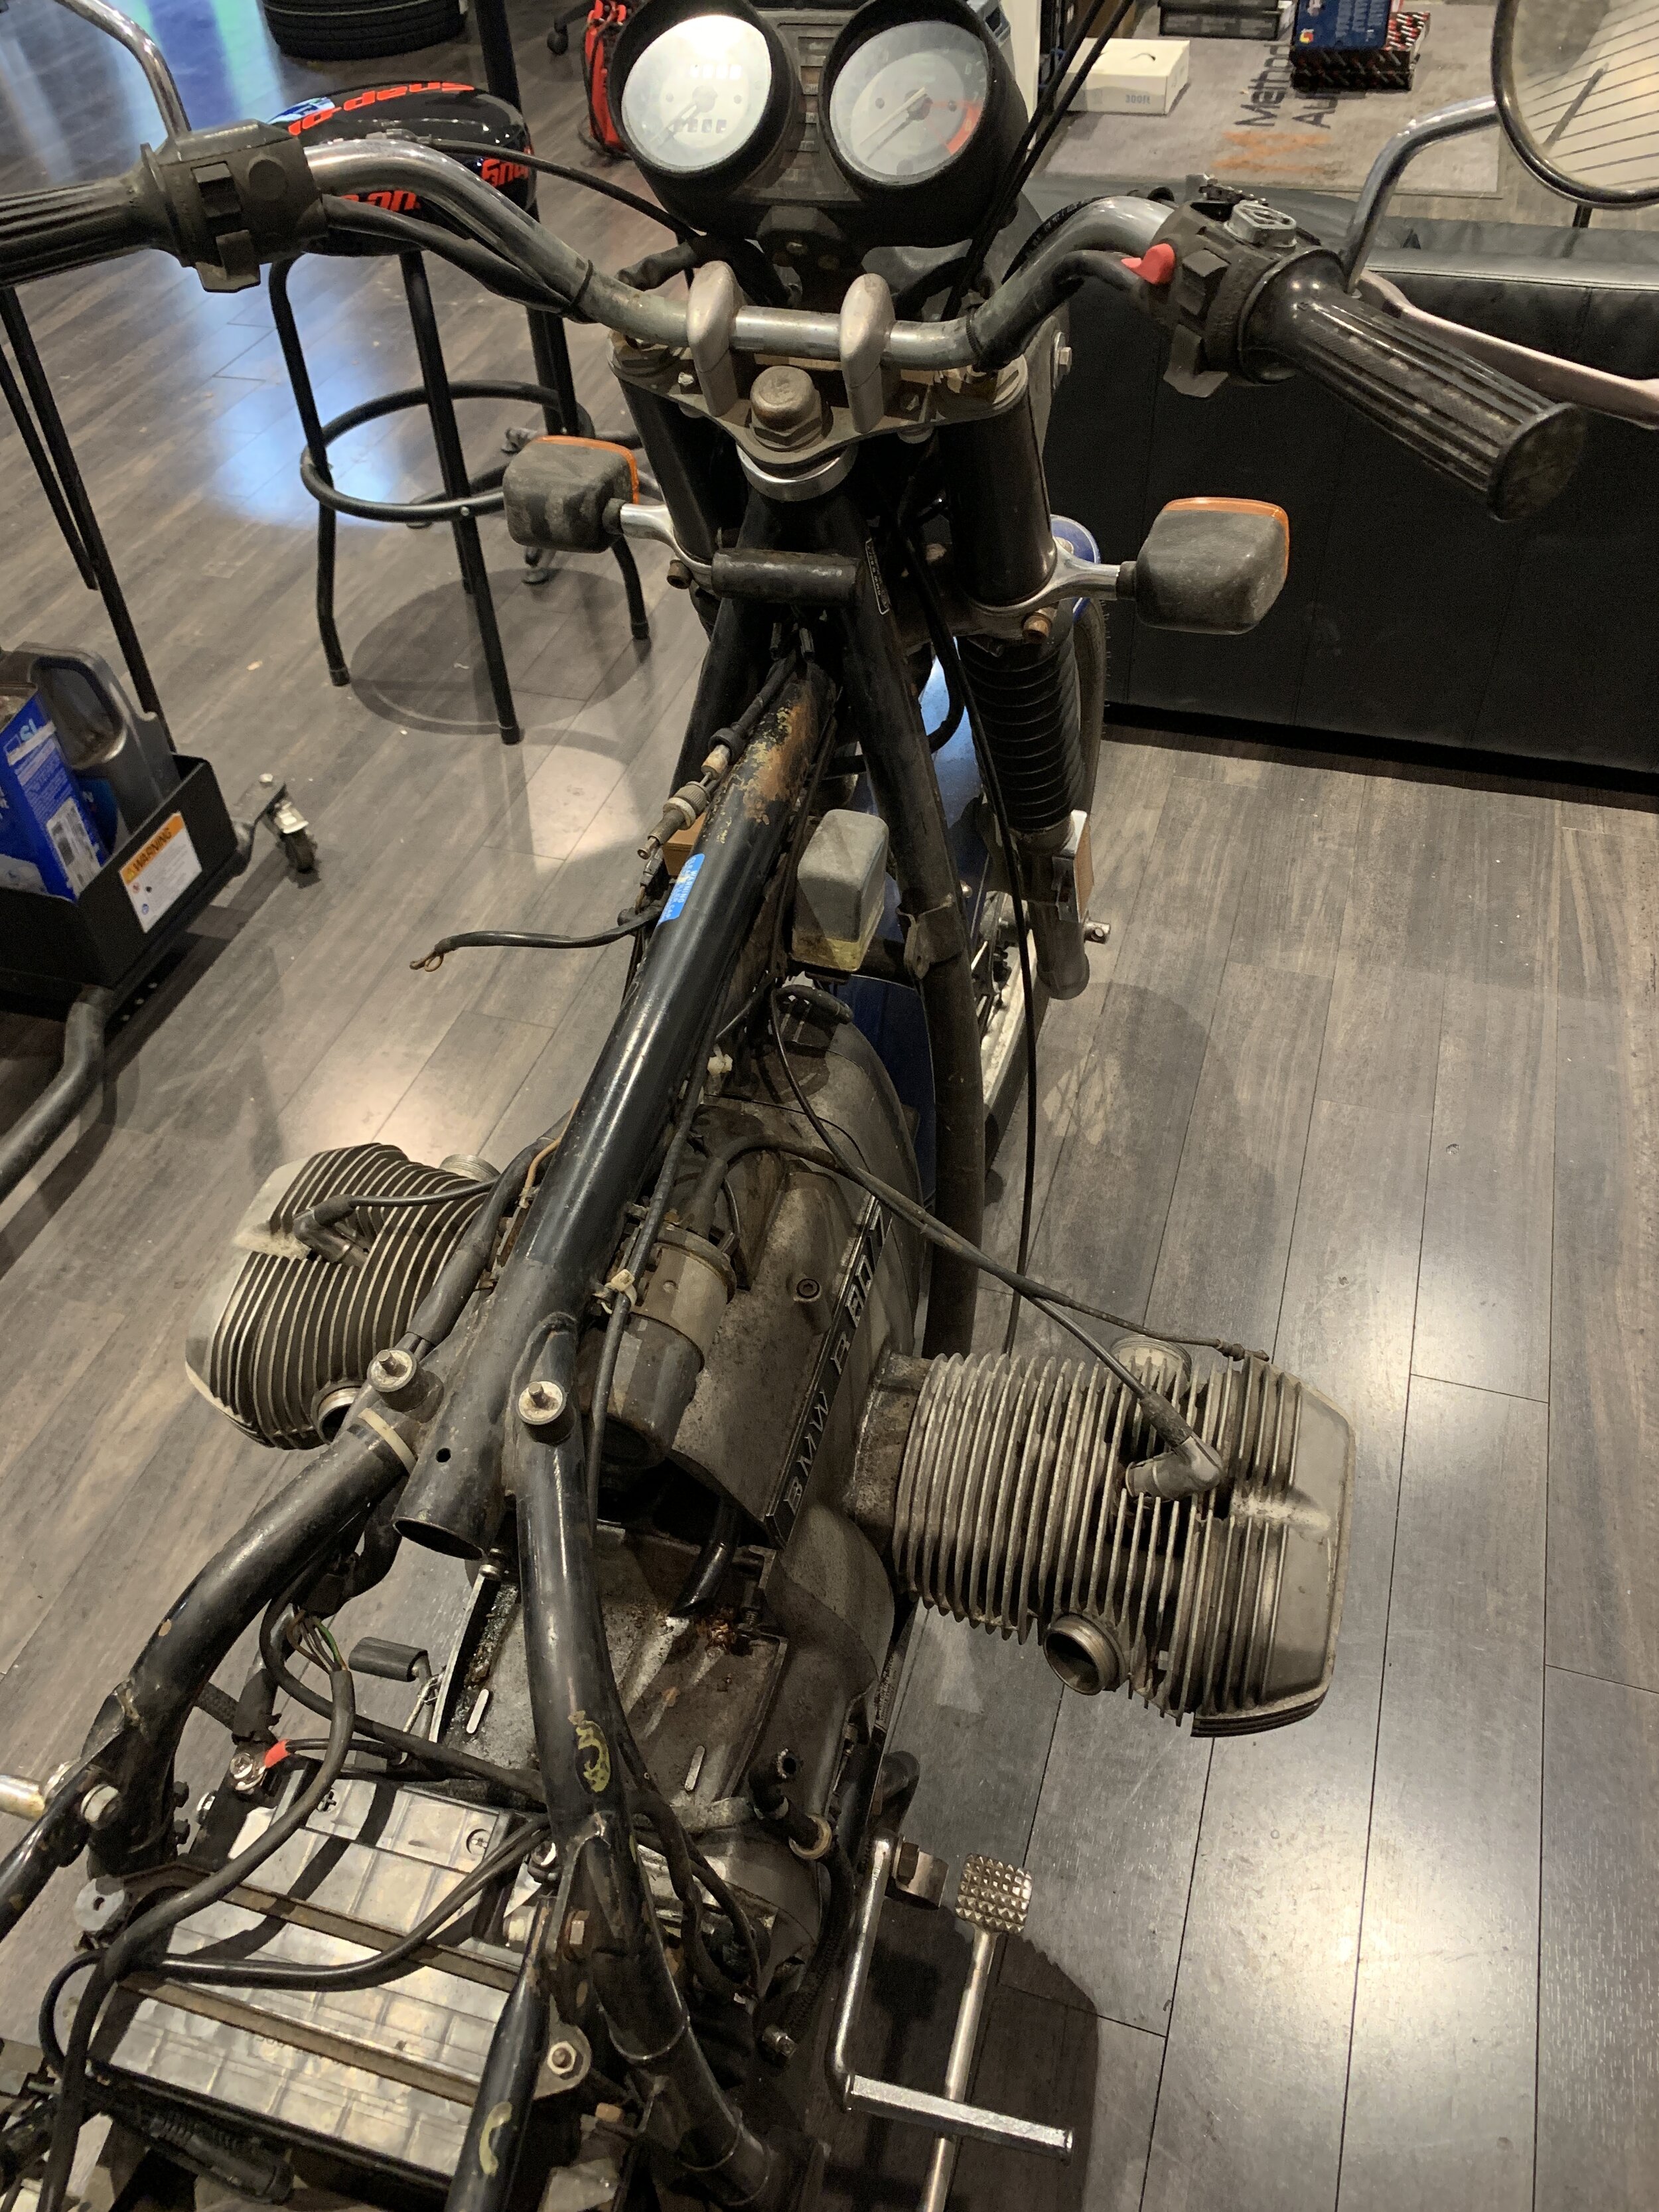
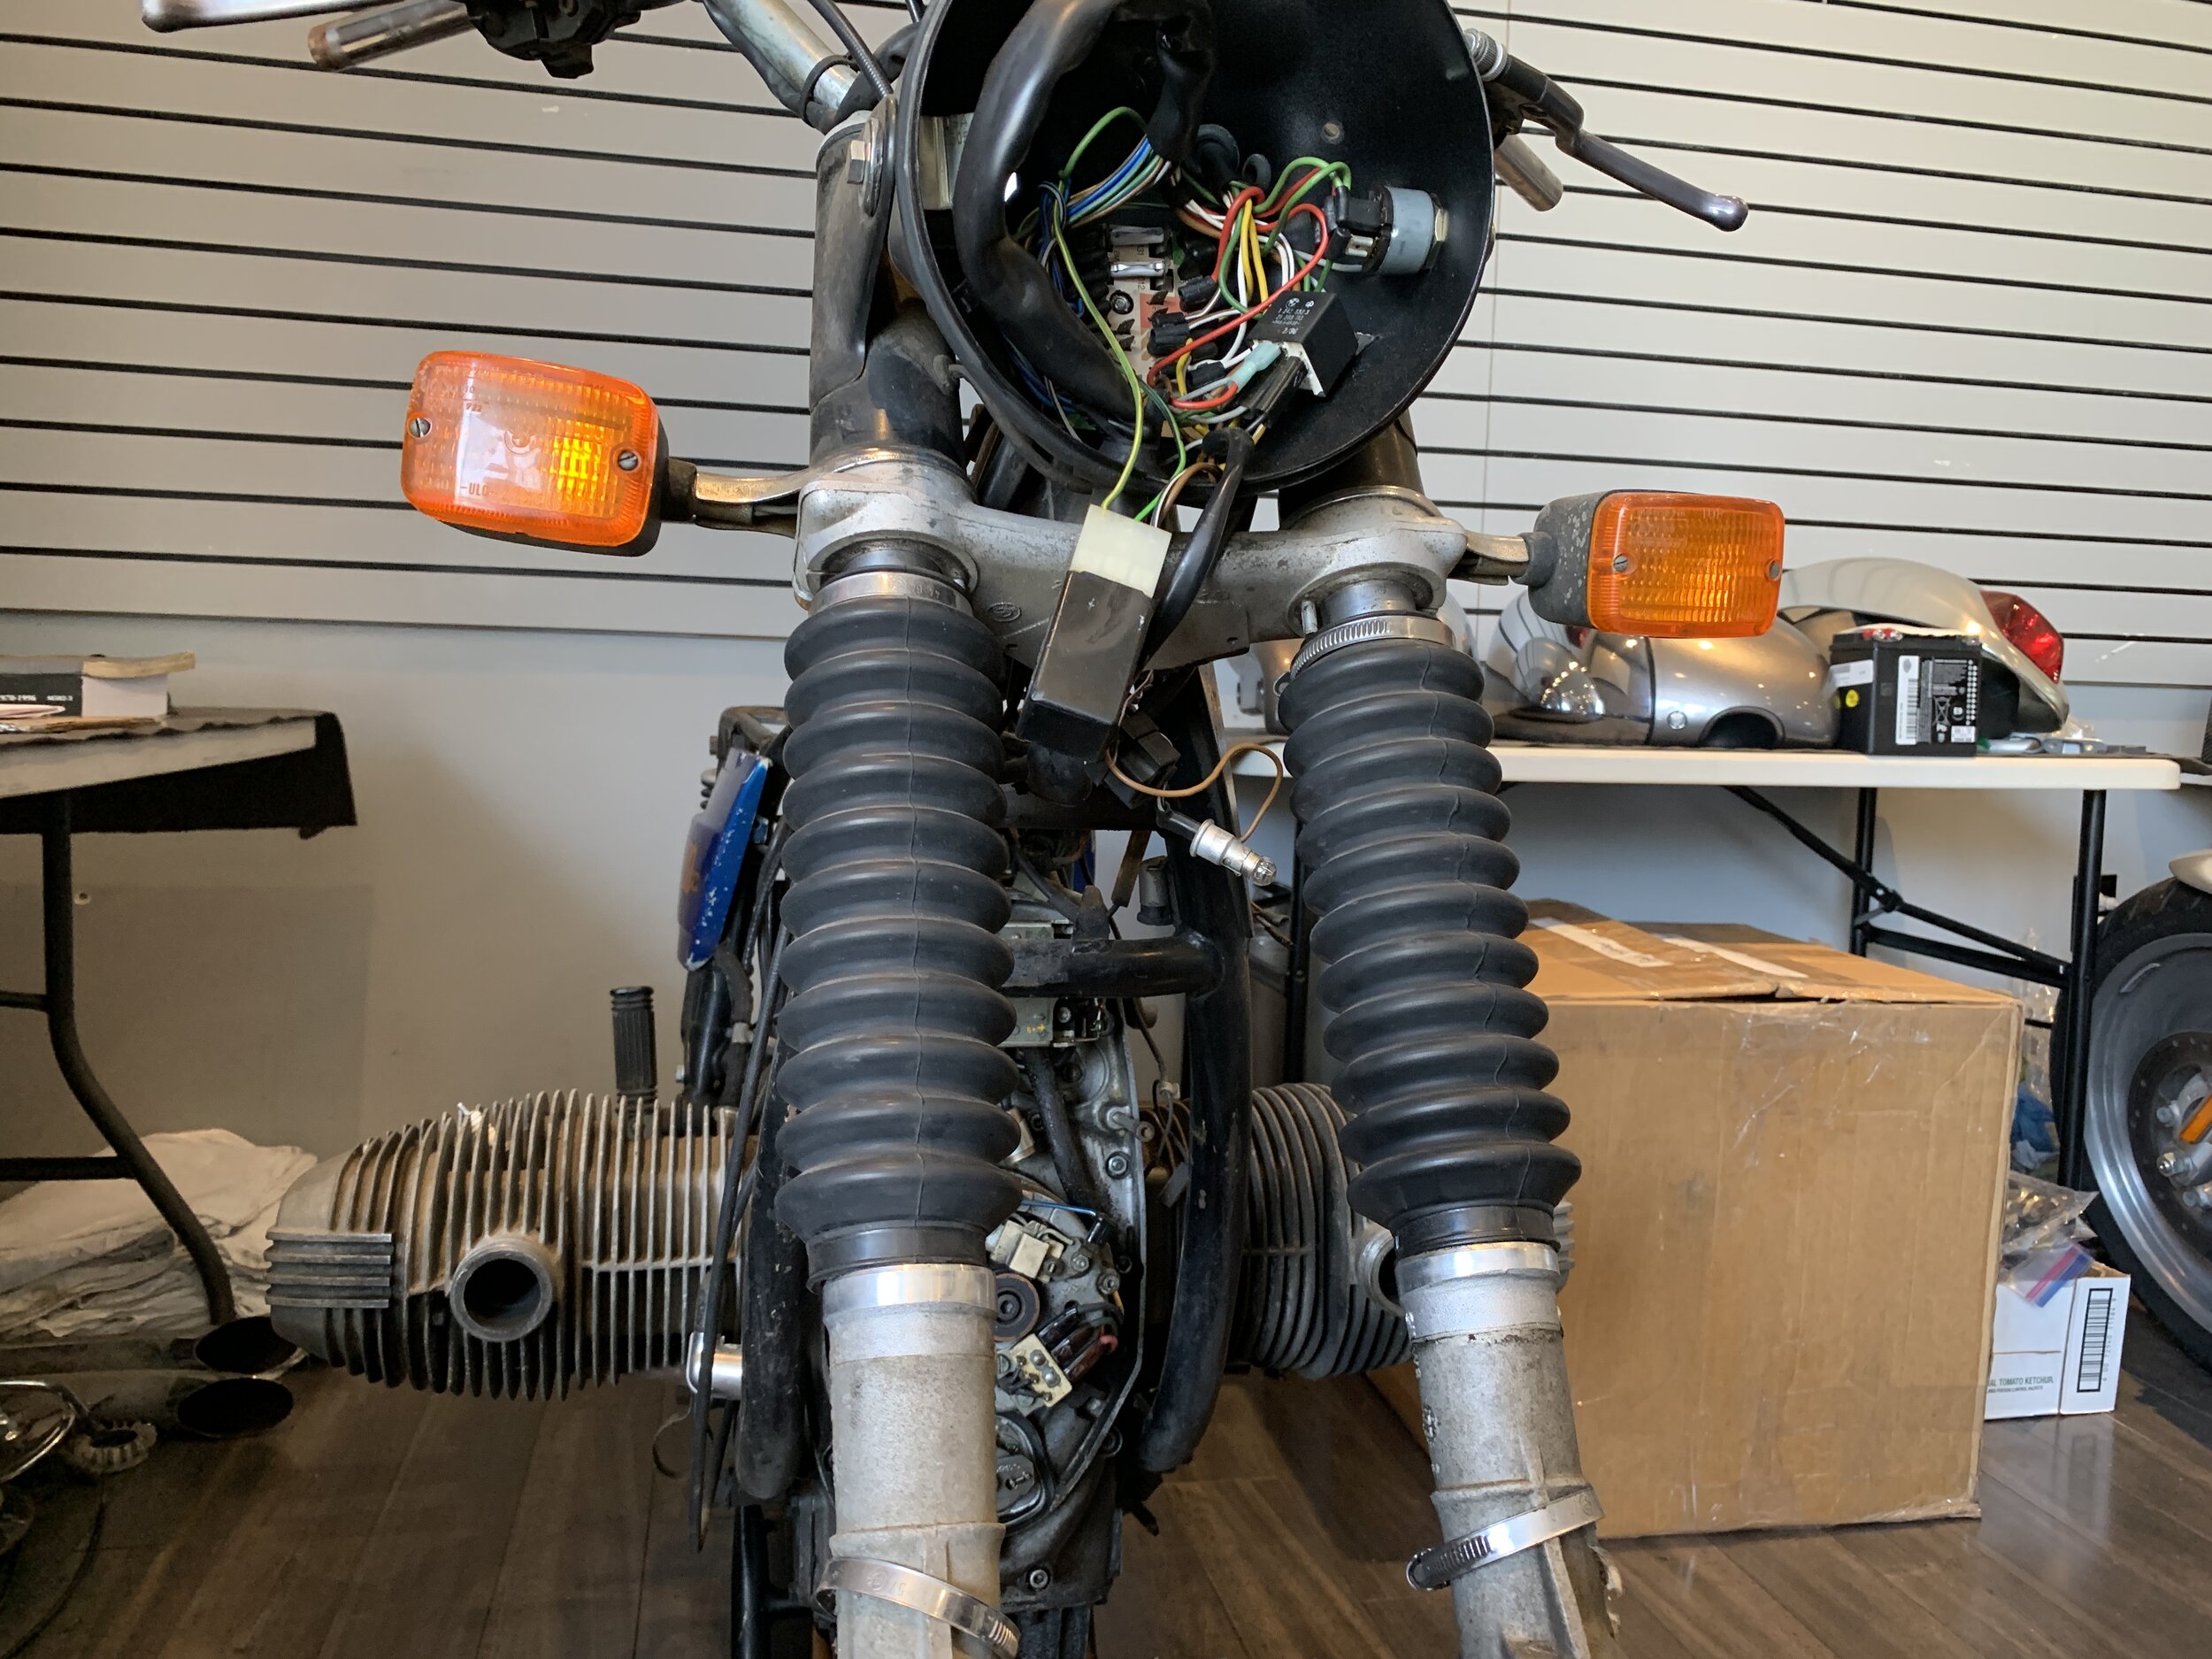
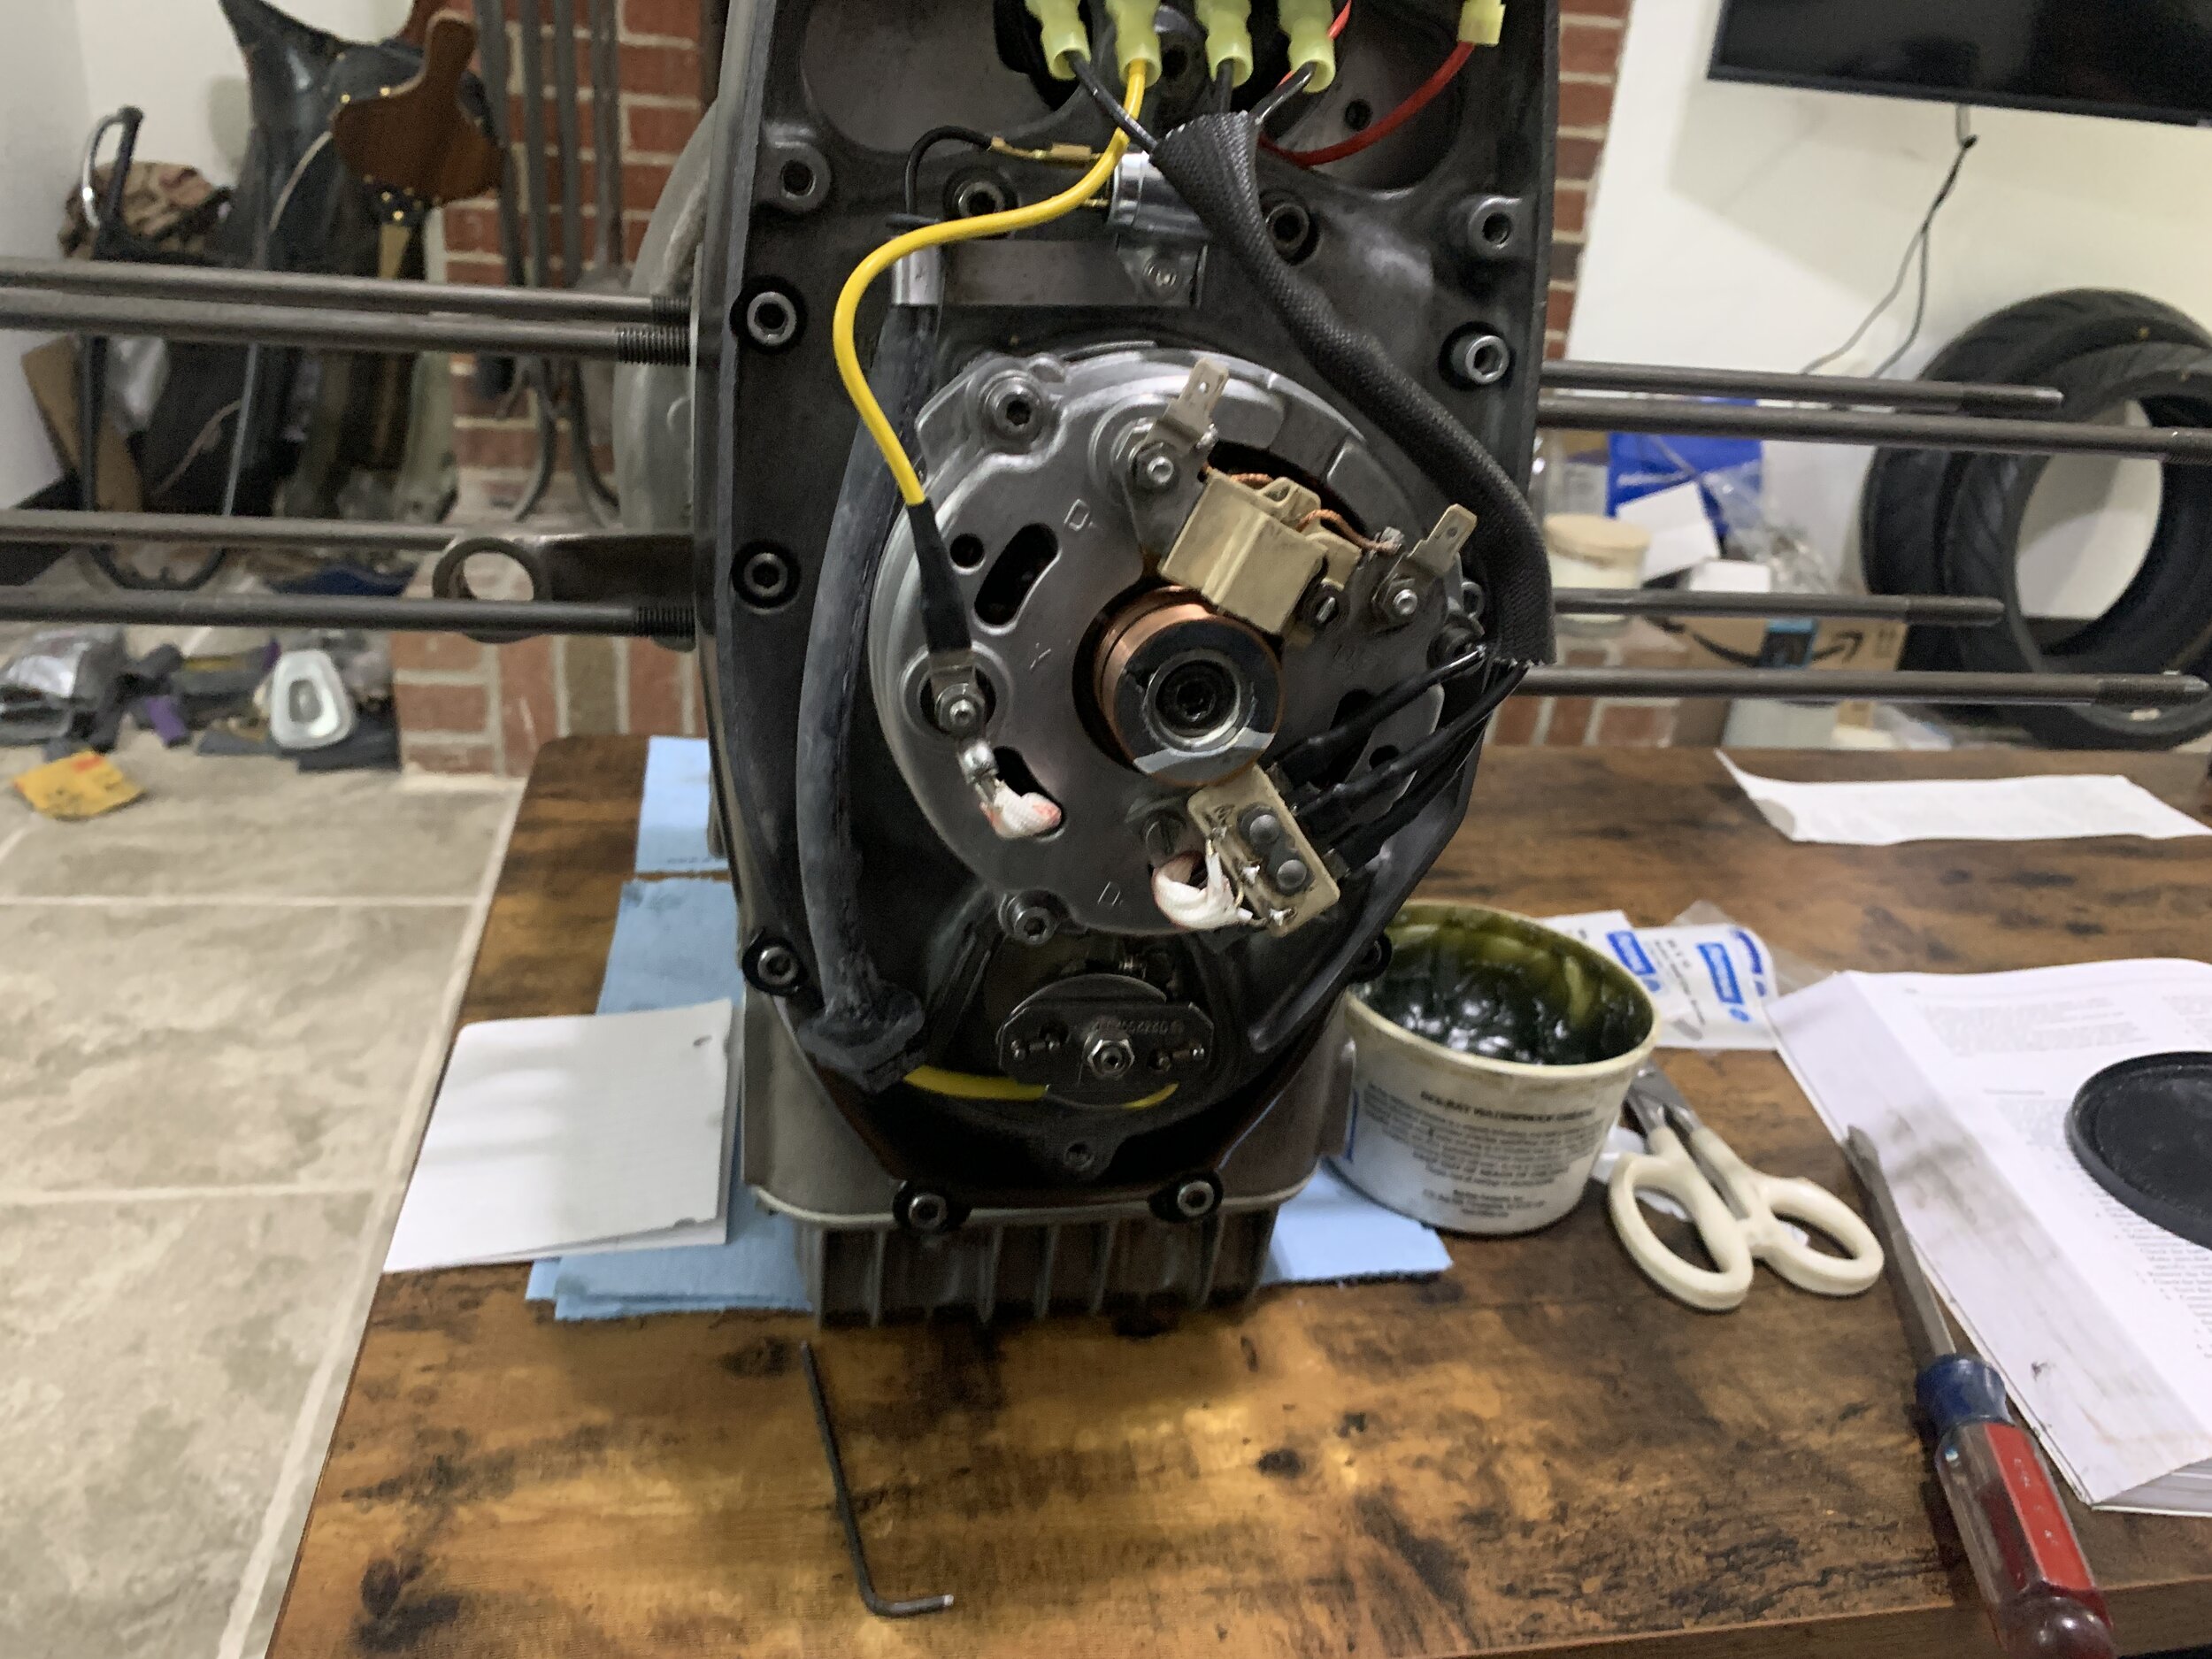
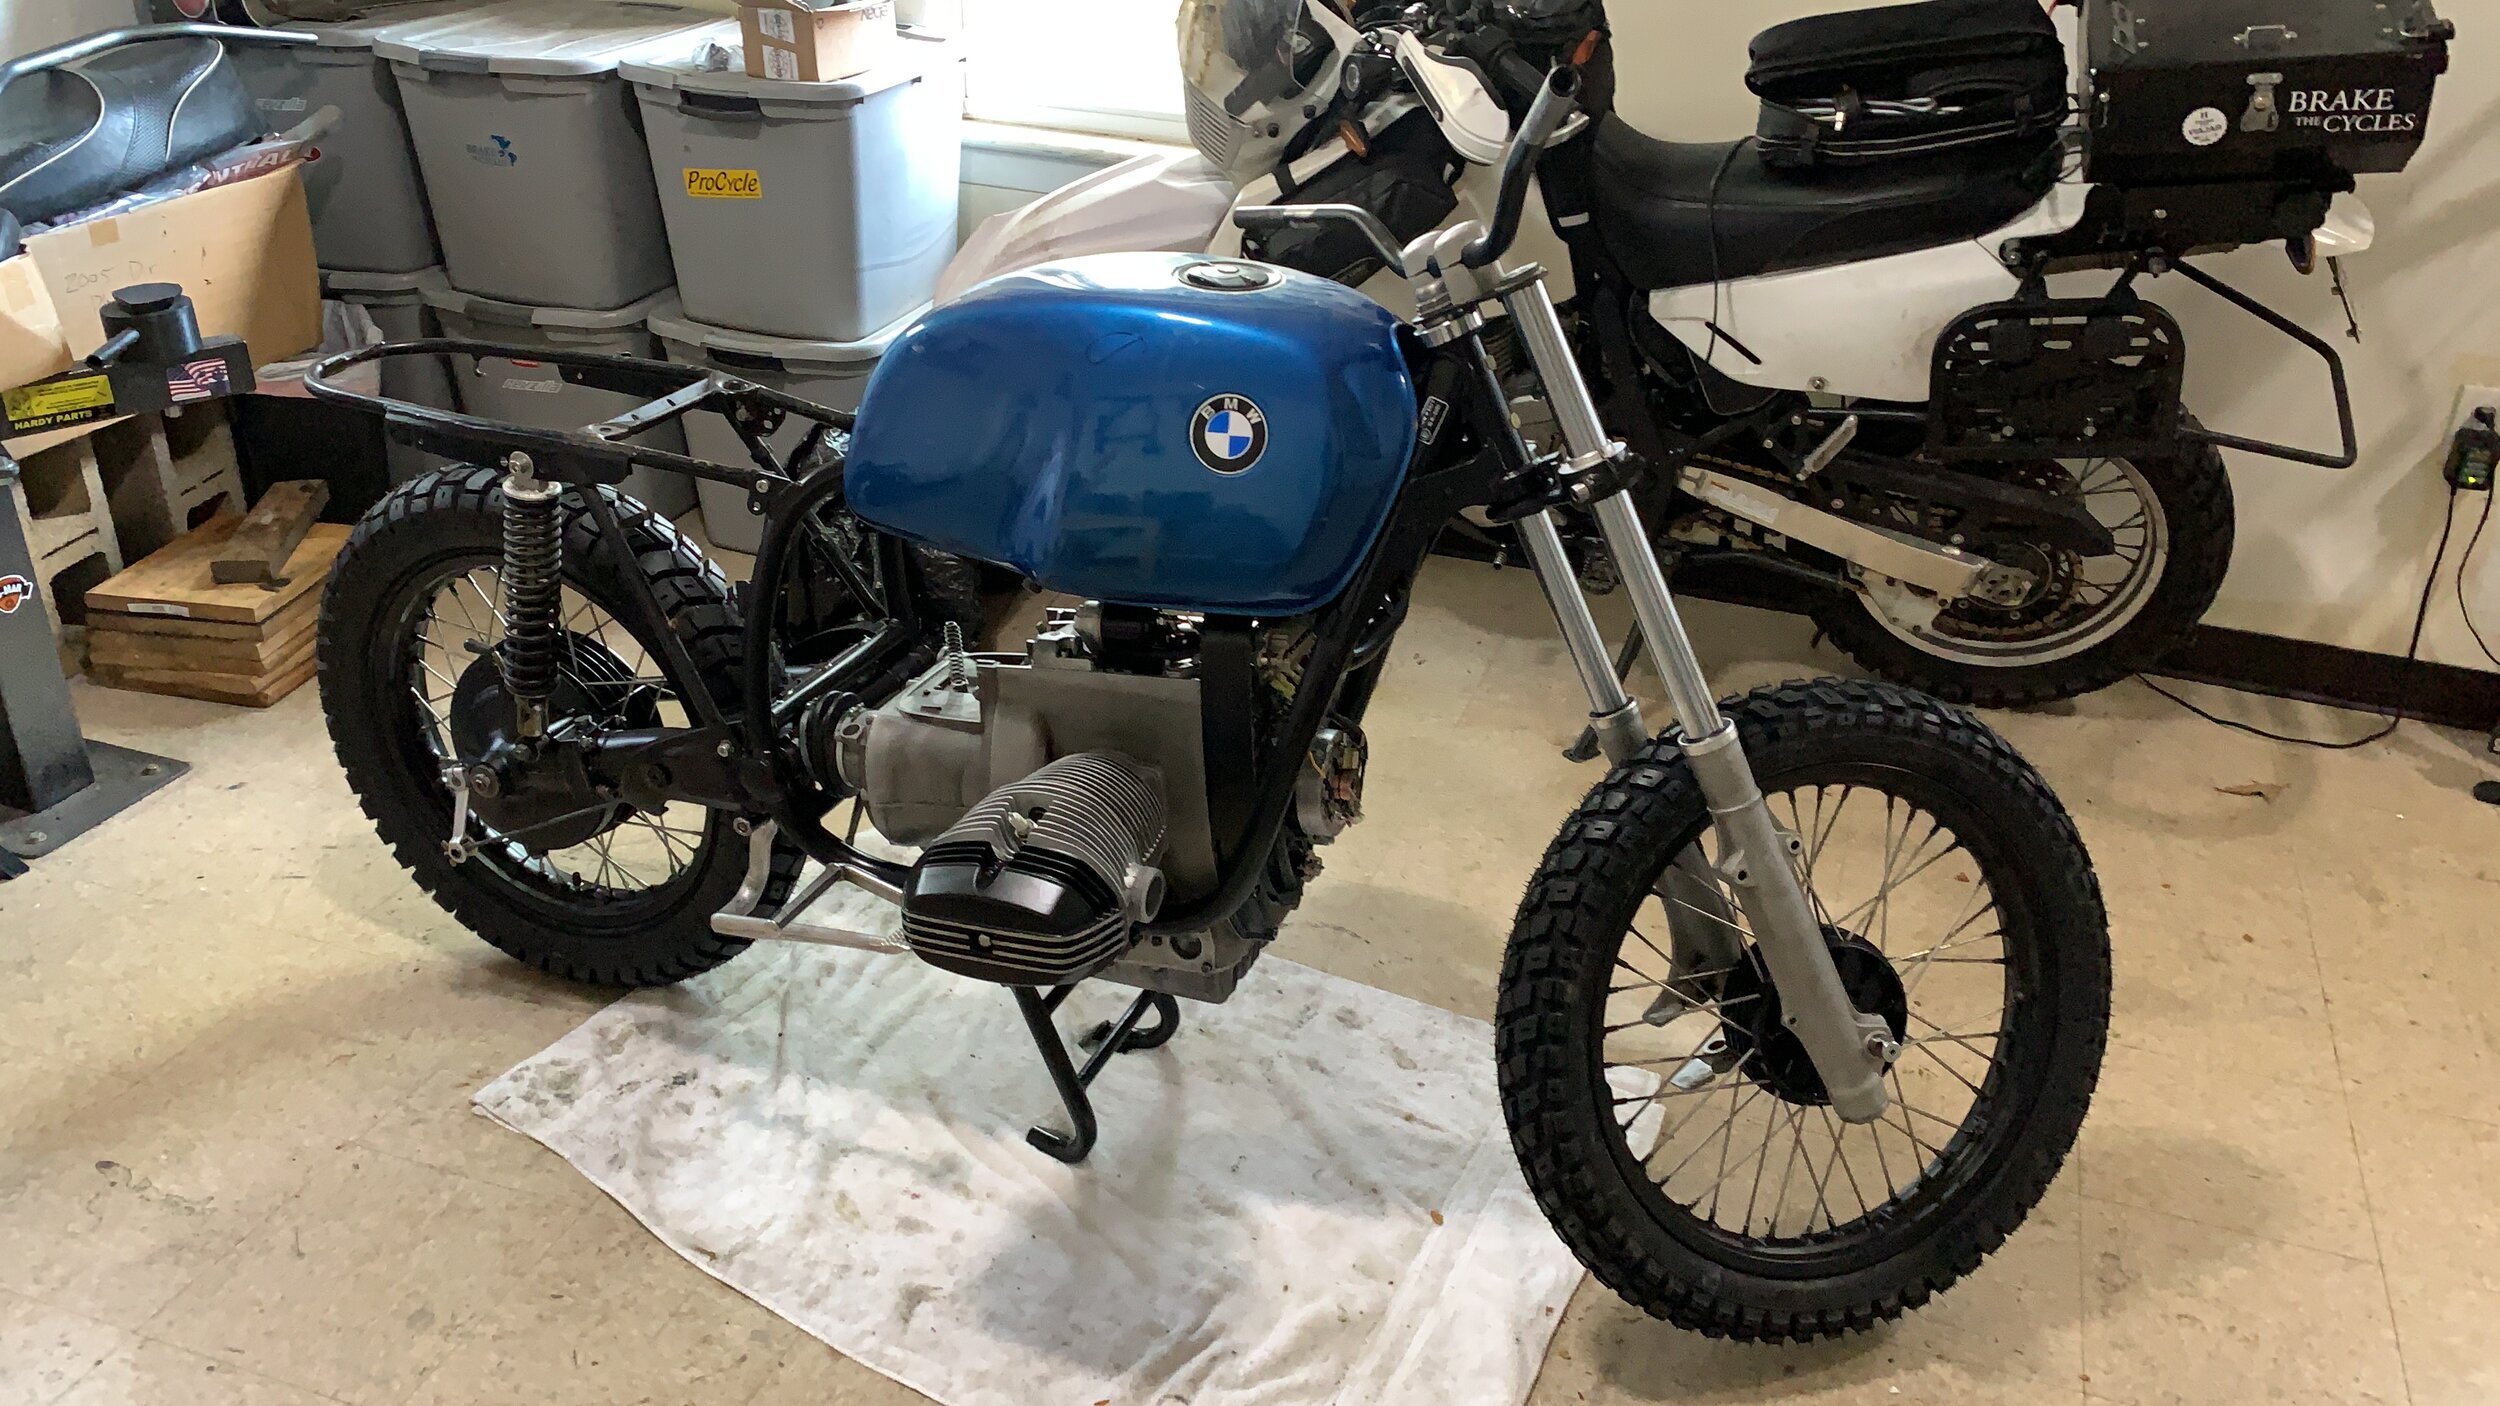
The disassembly happen rather quickly, I wanted to see as much of the bike condition as possible. The throttle is set up with chain and cam, another really odd system with twin throttle cable. Another one of those BMW uniqueness that isn’t a better engineering, just more complicated. All the electronics are in the headlight, another uniqueness of complication that is not better.
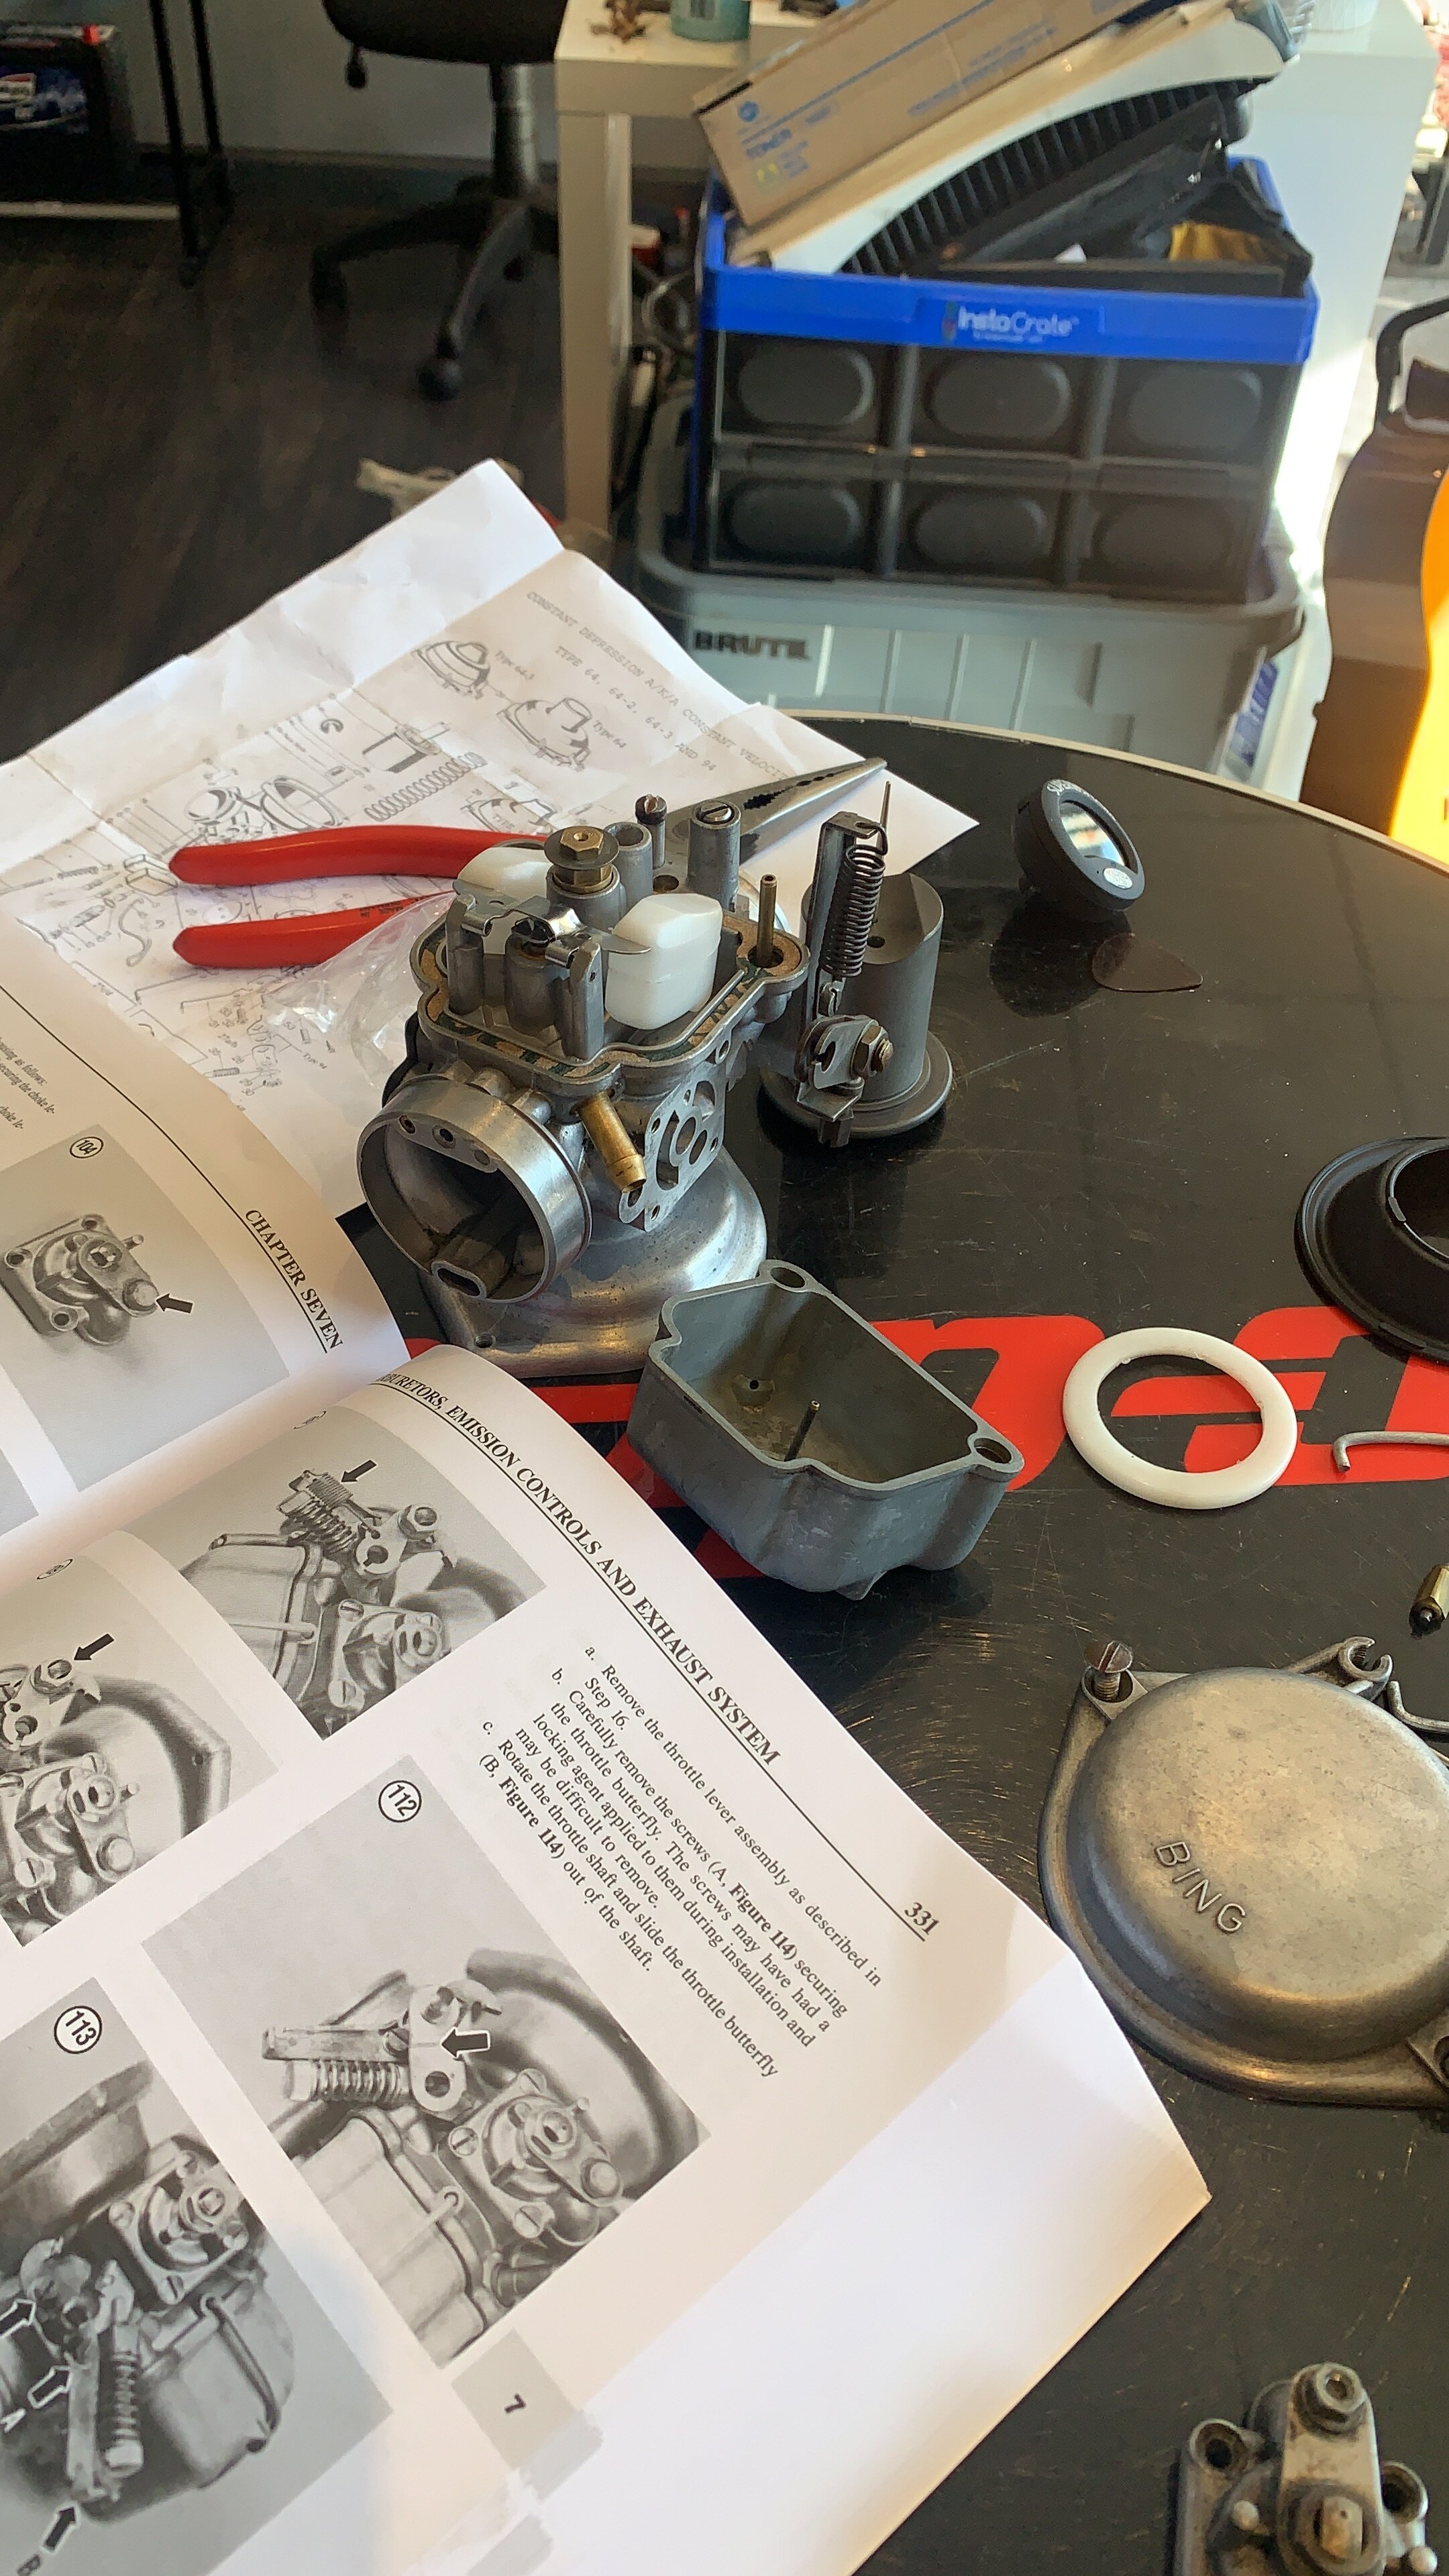
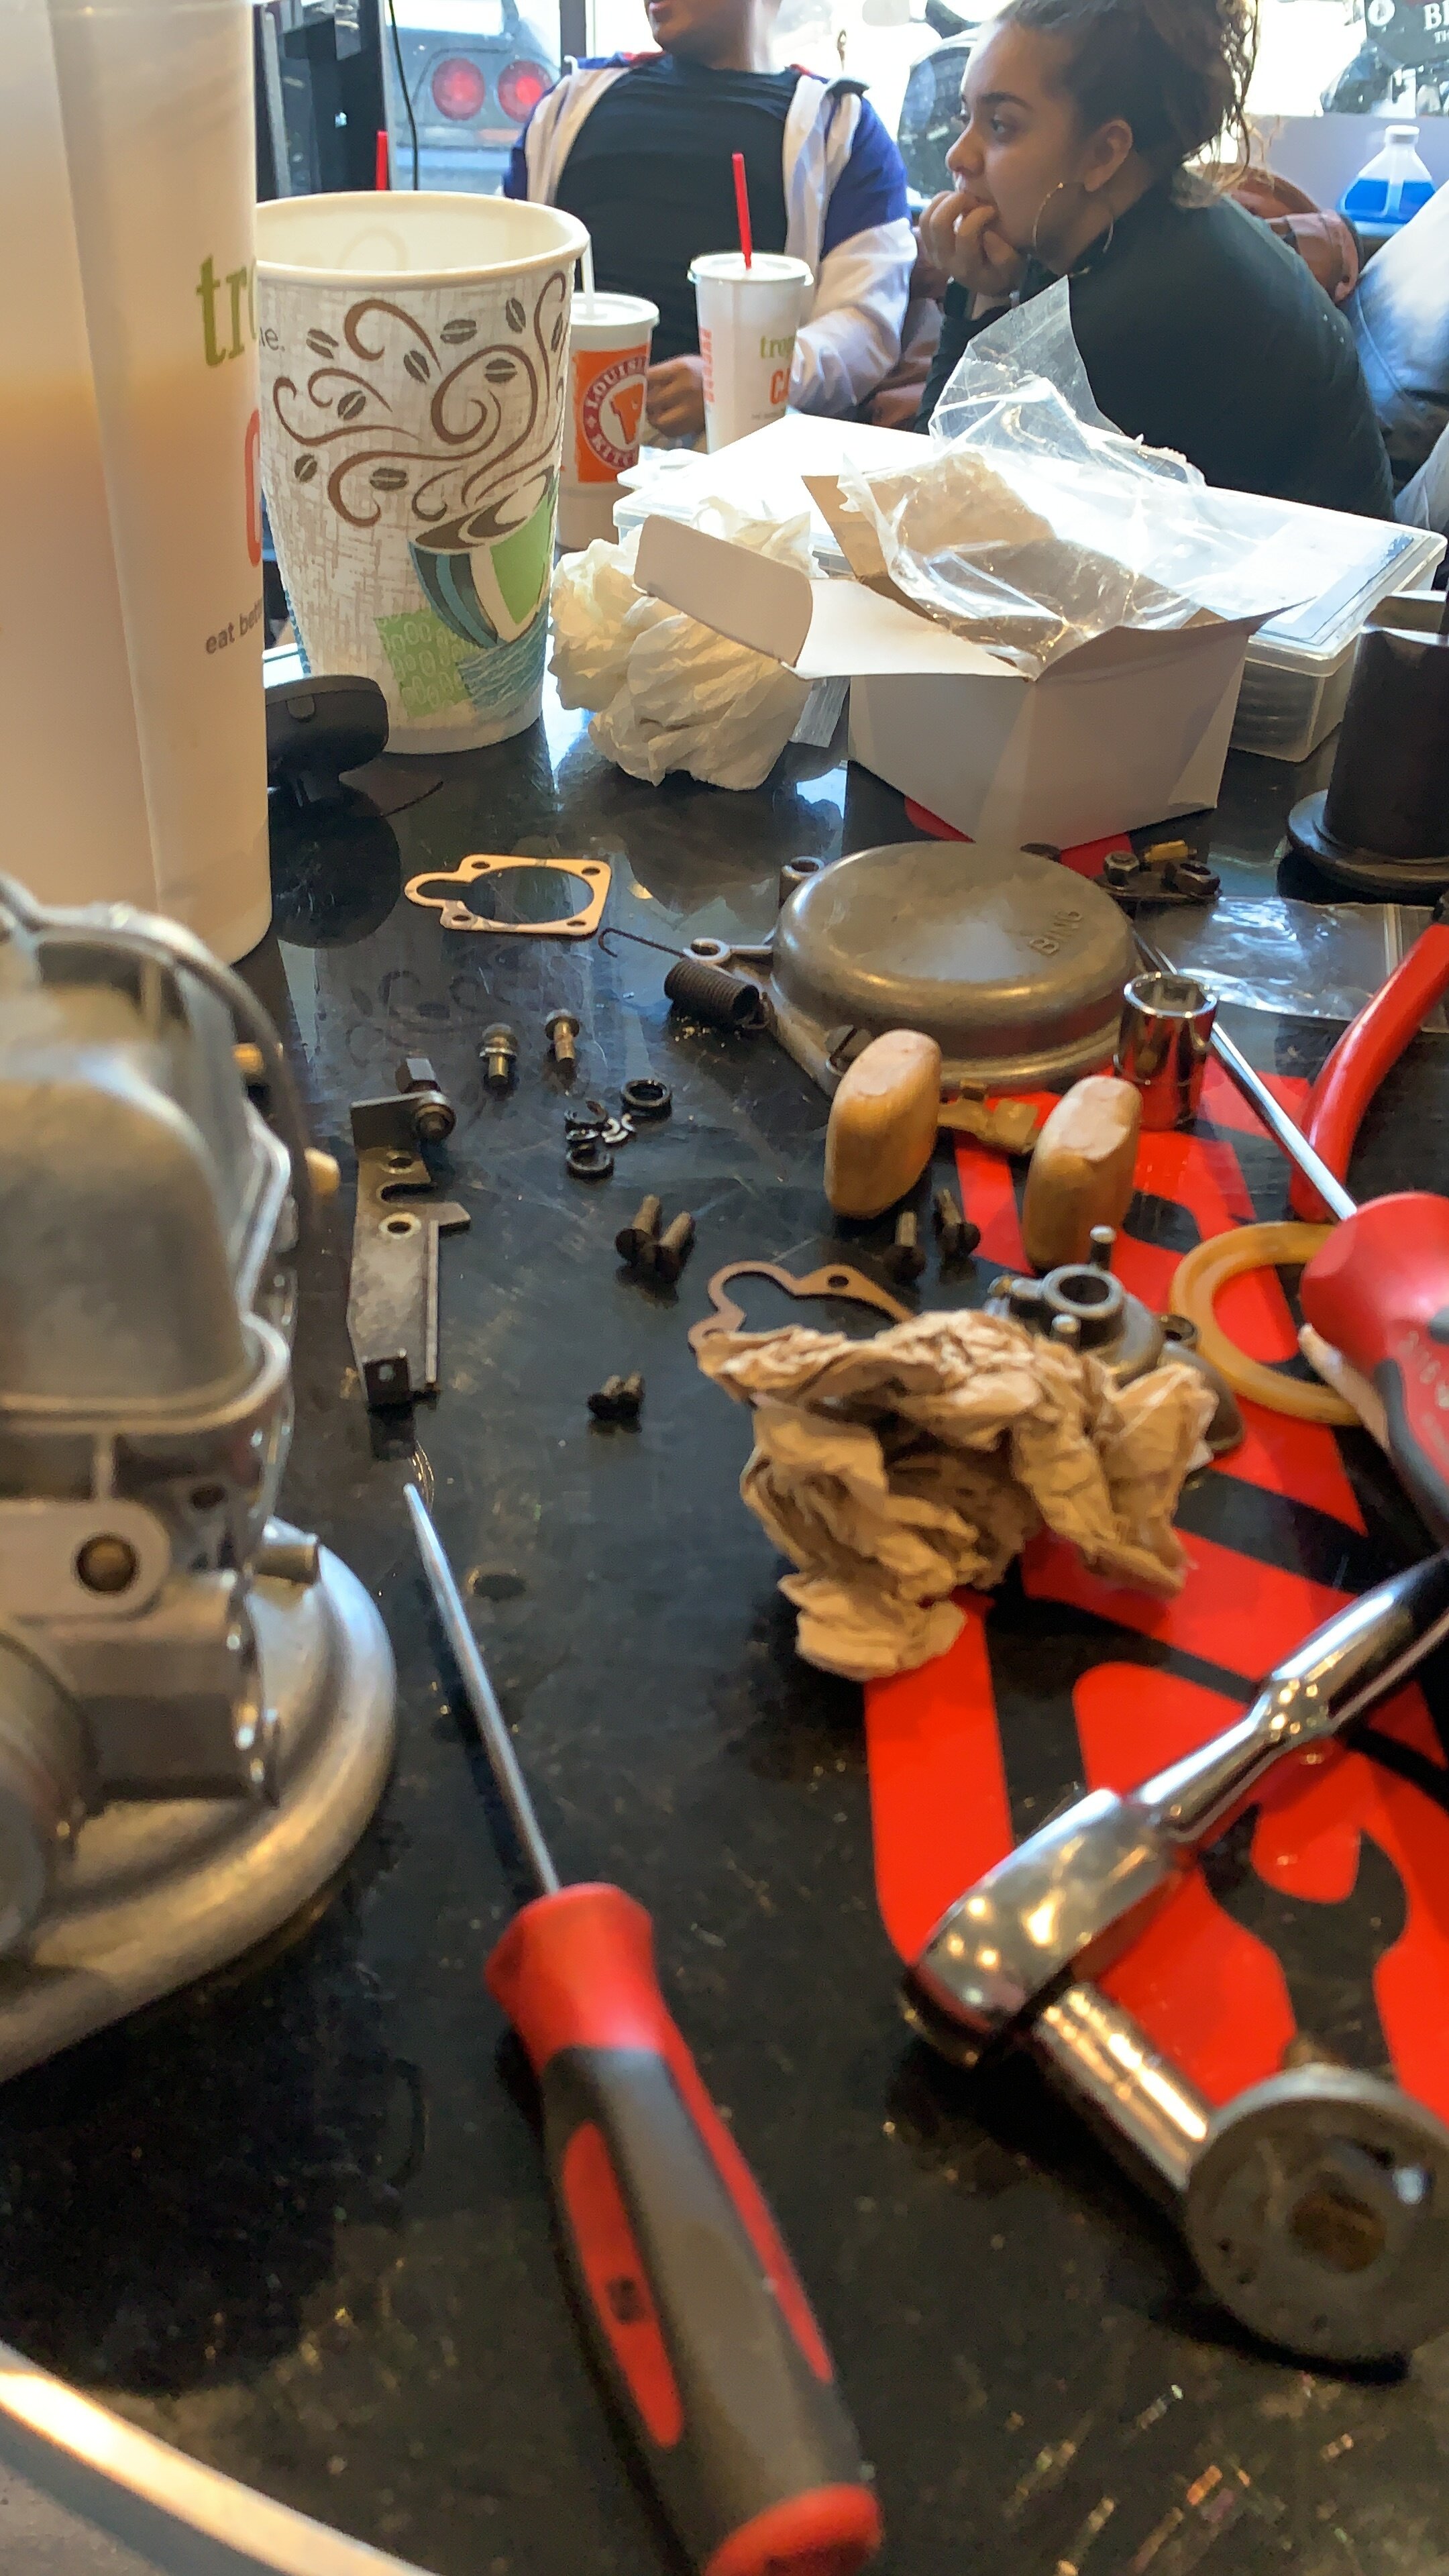
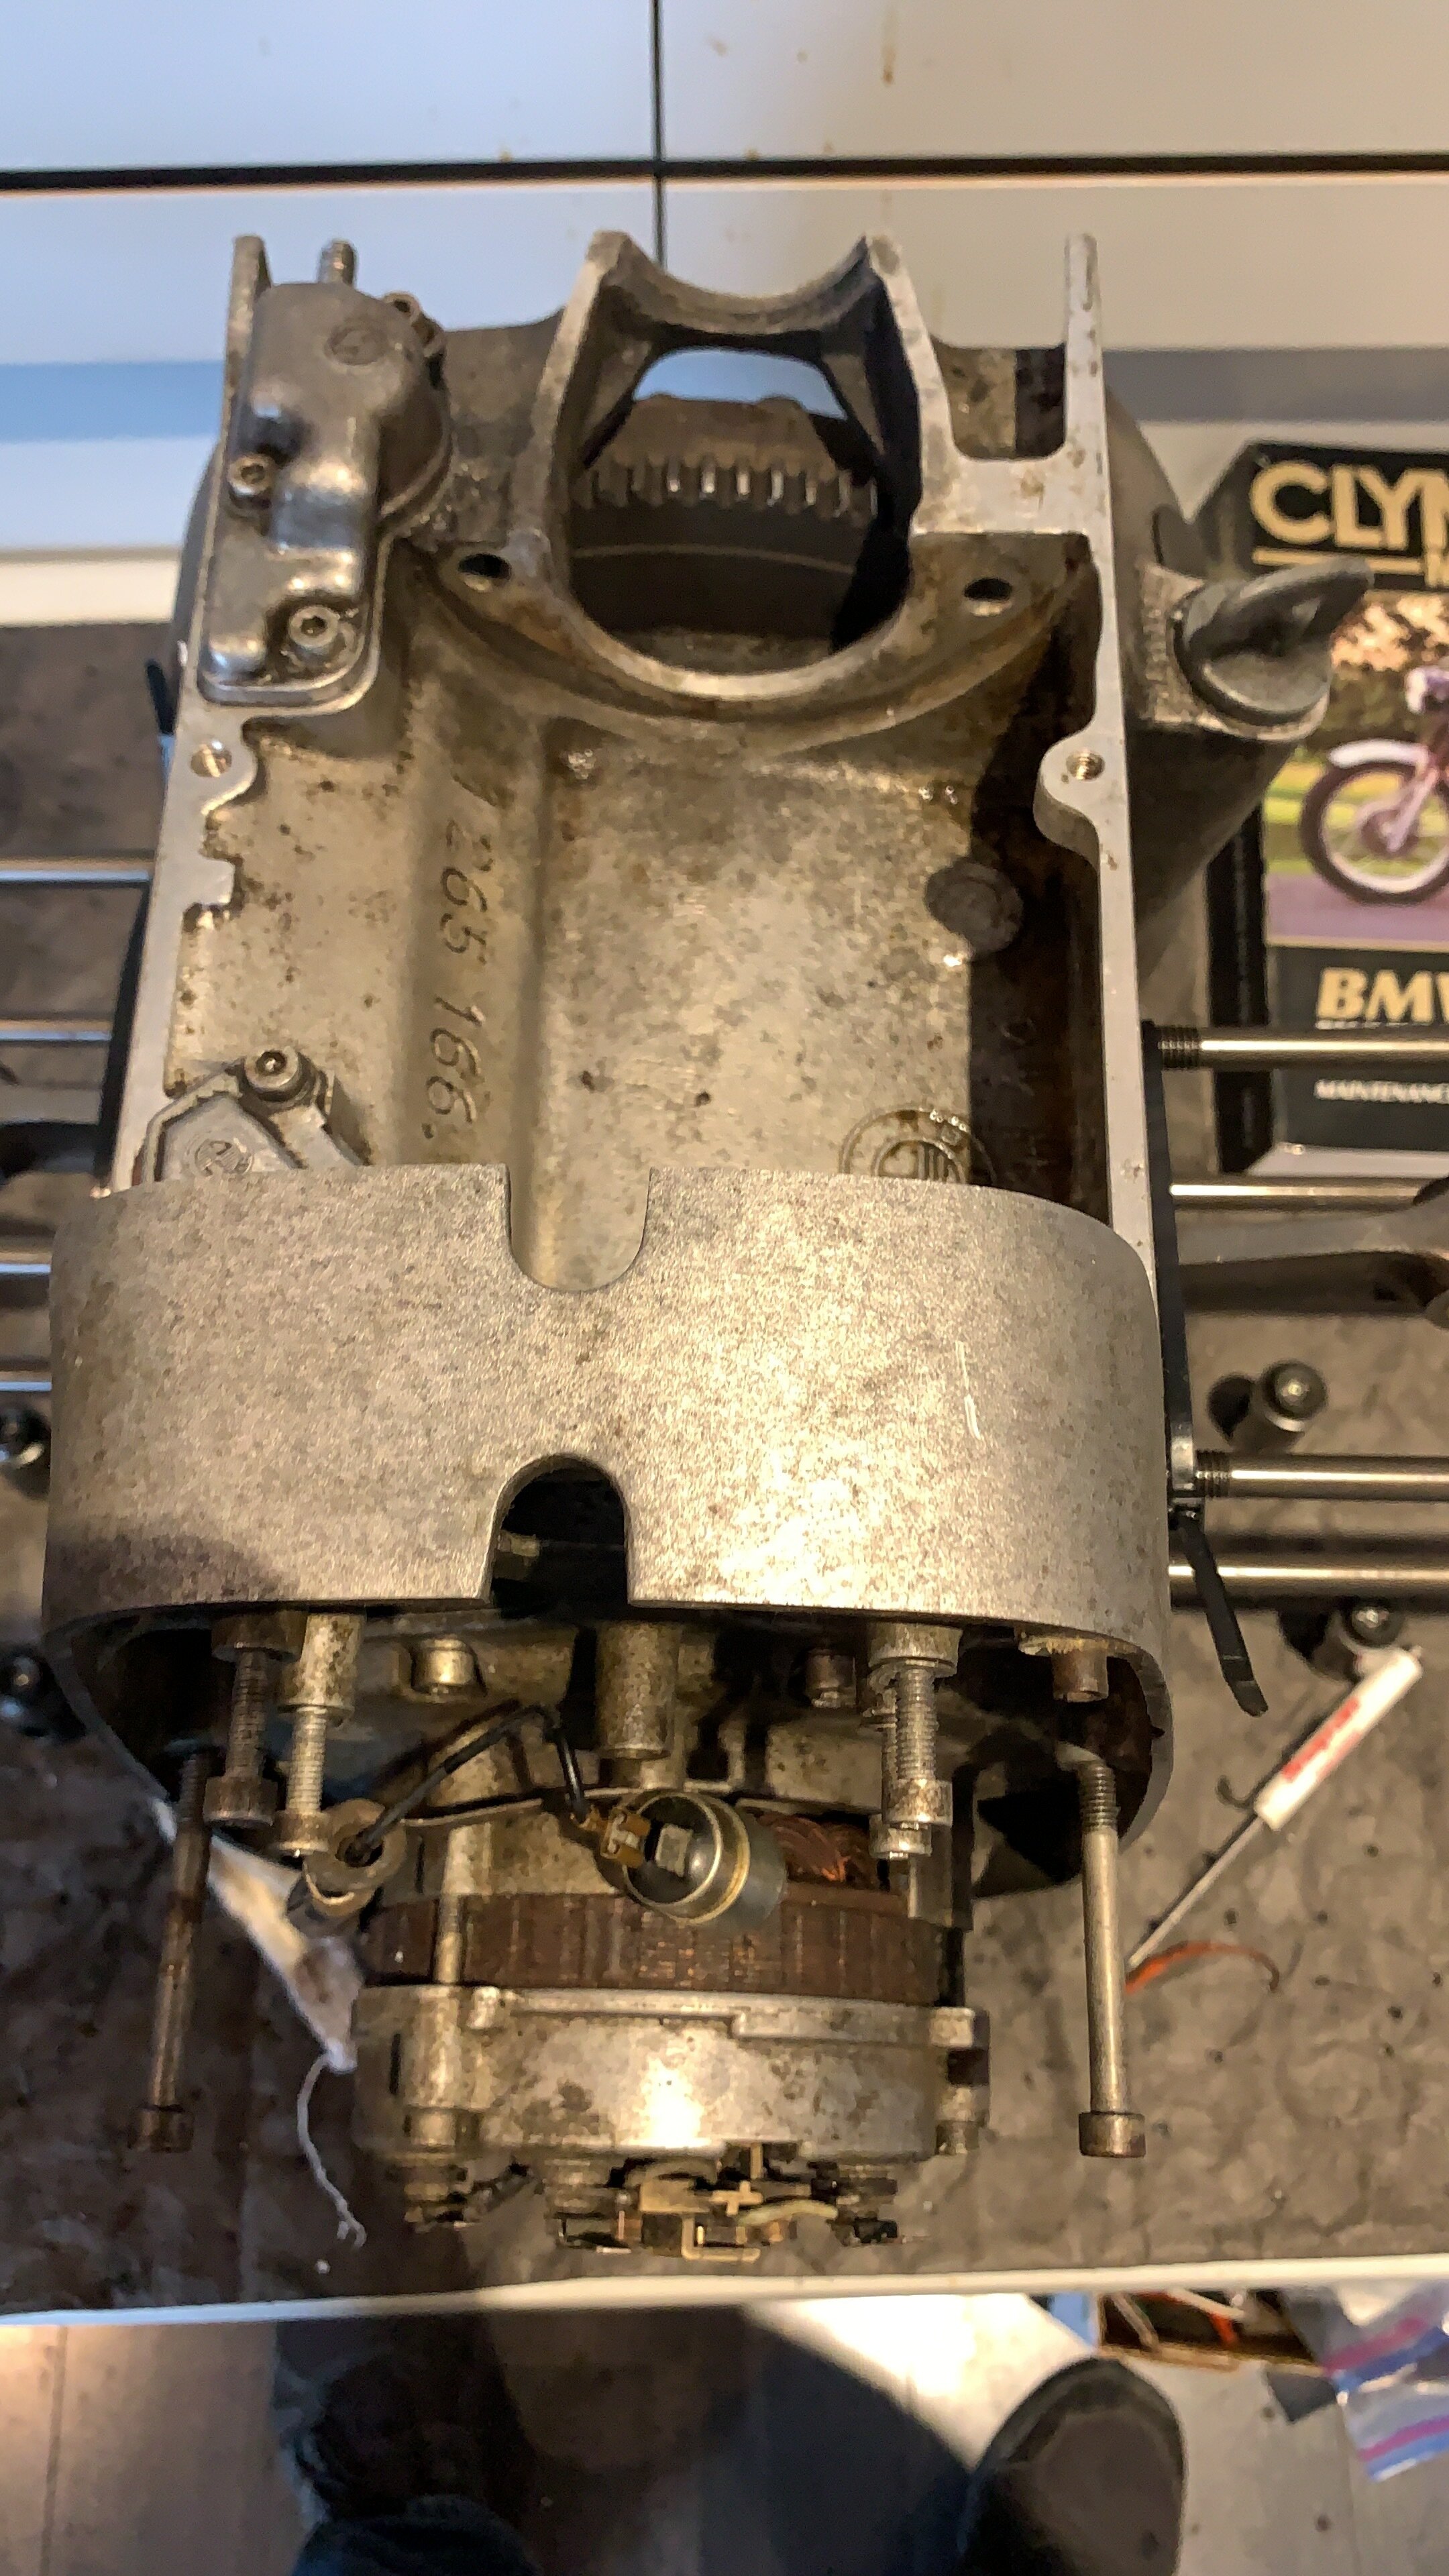
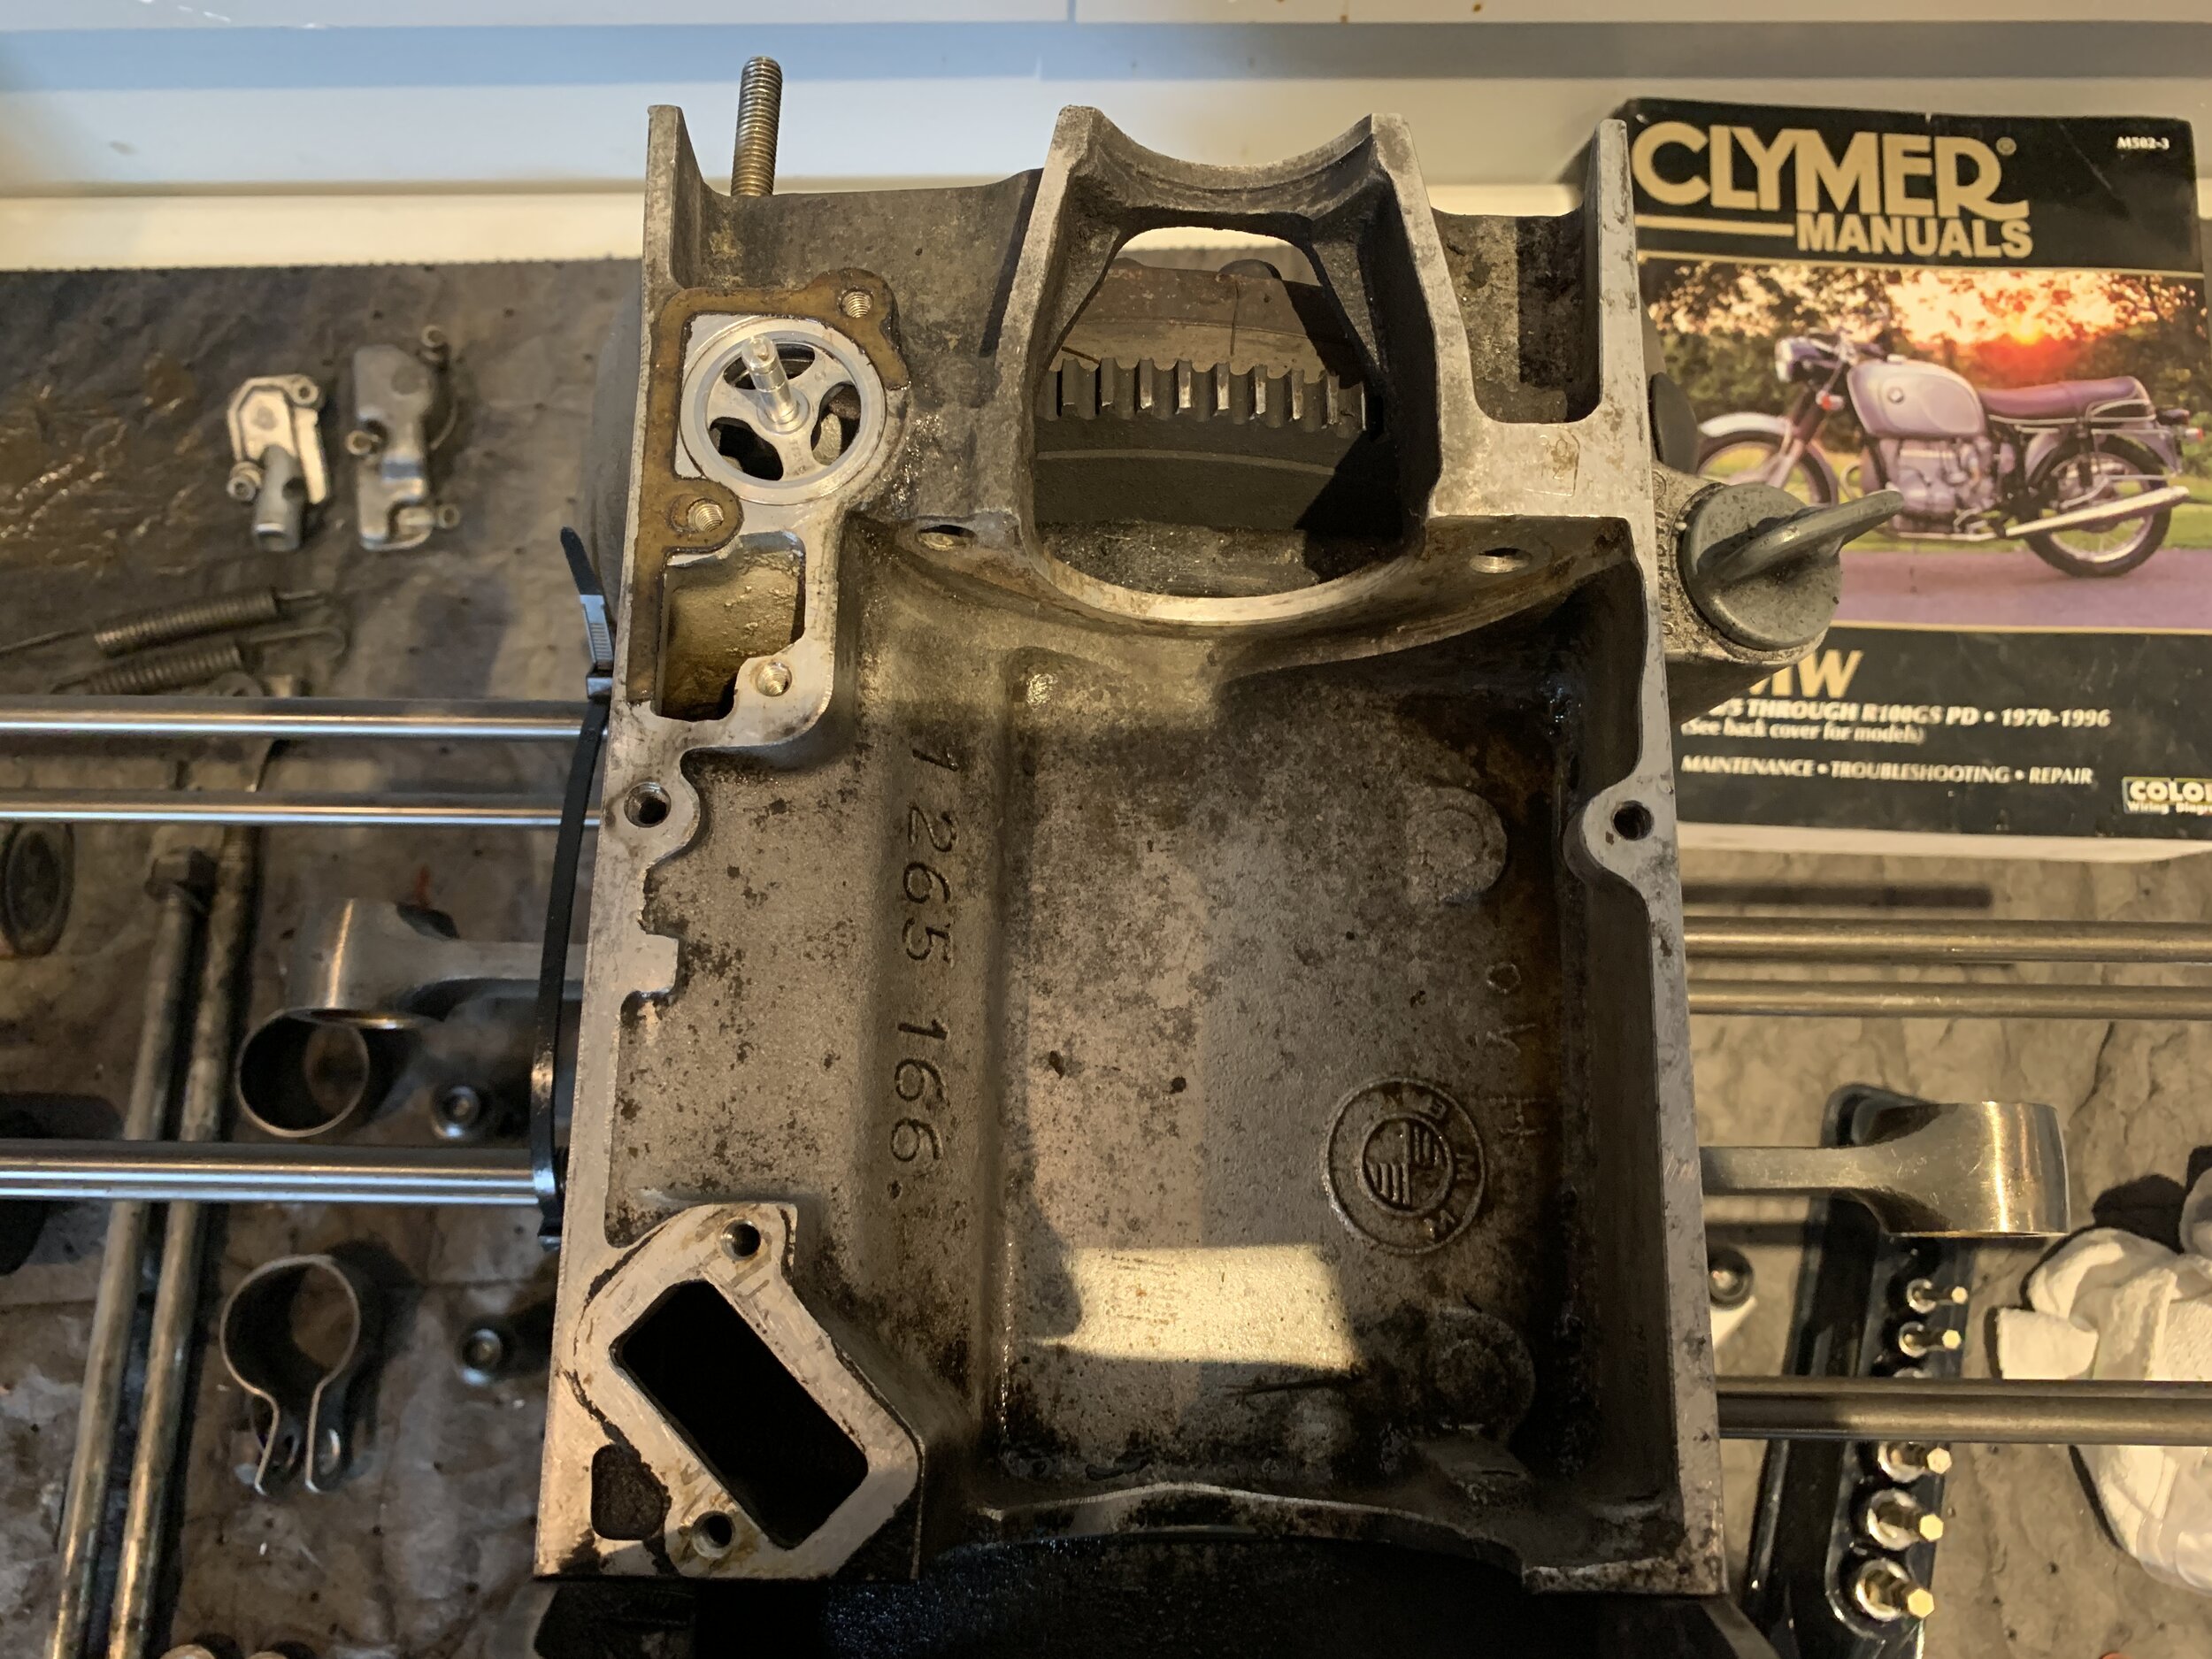
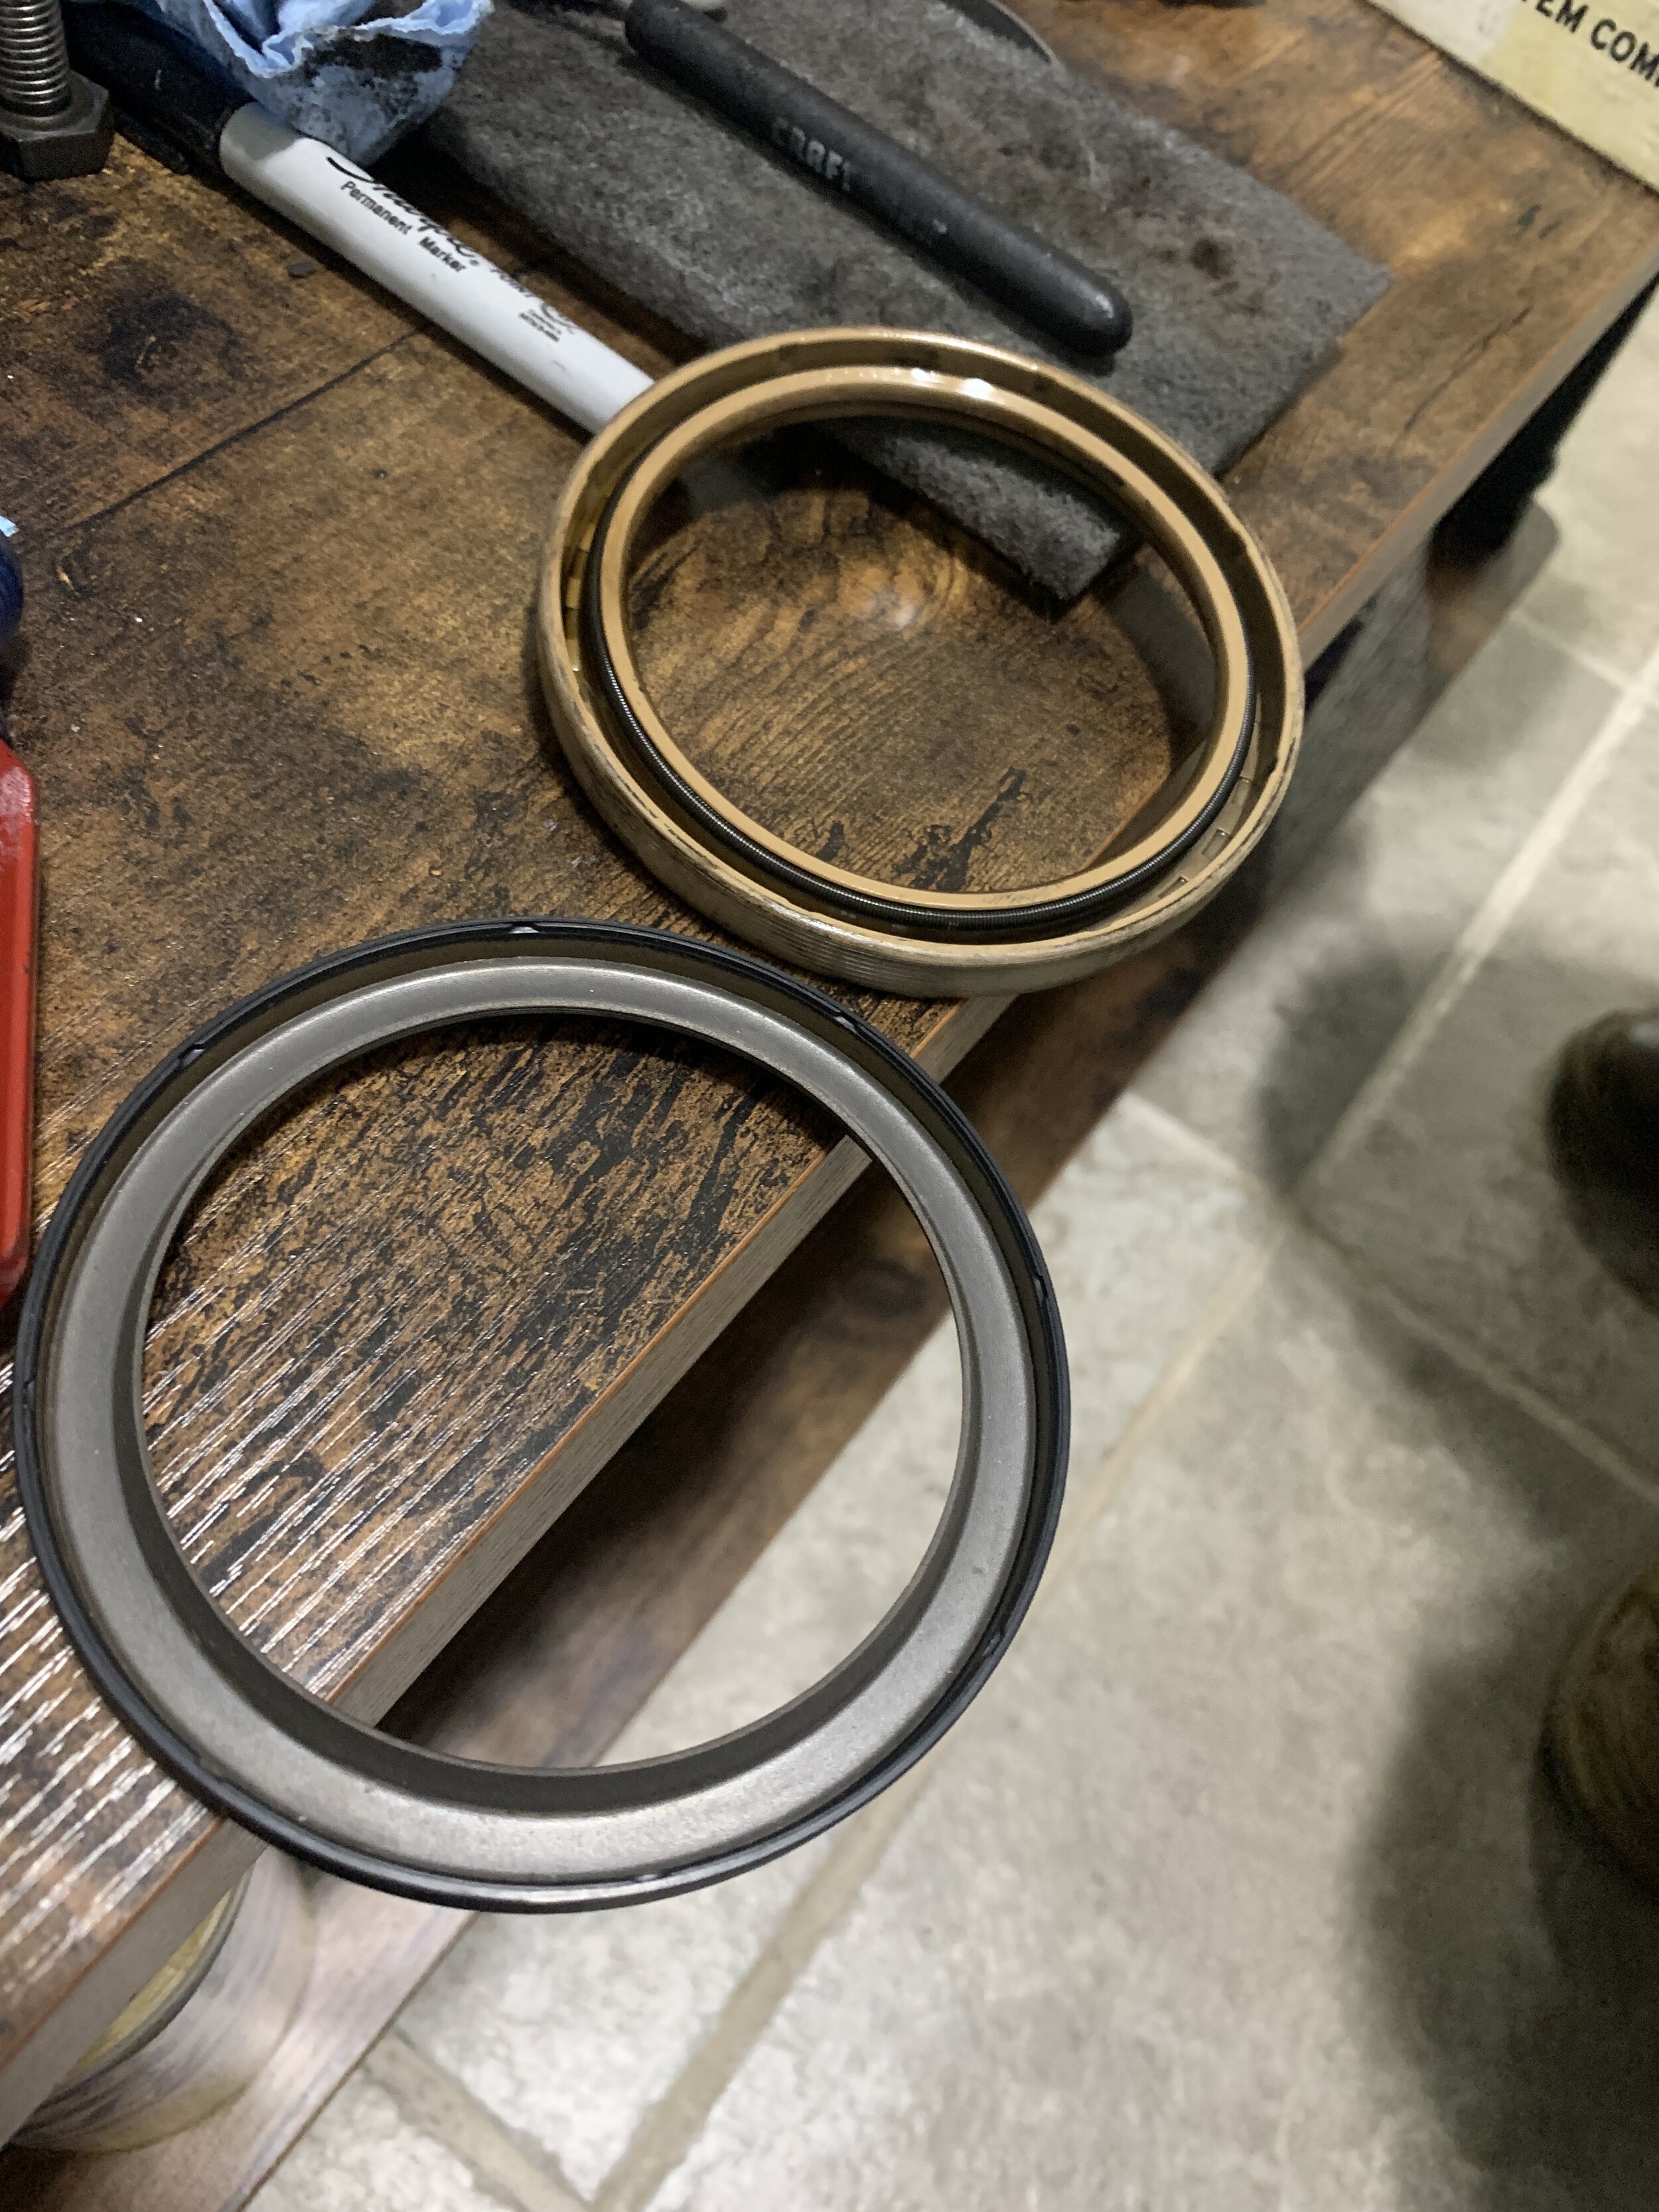
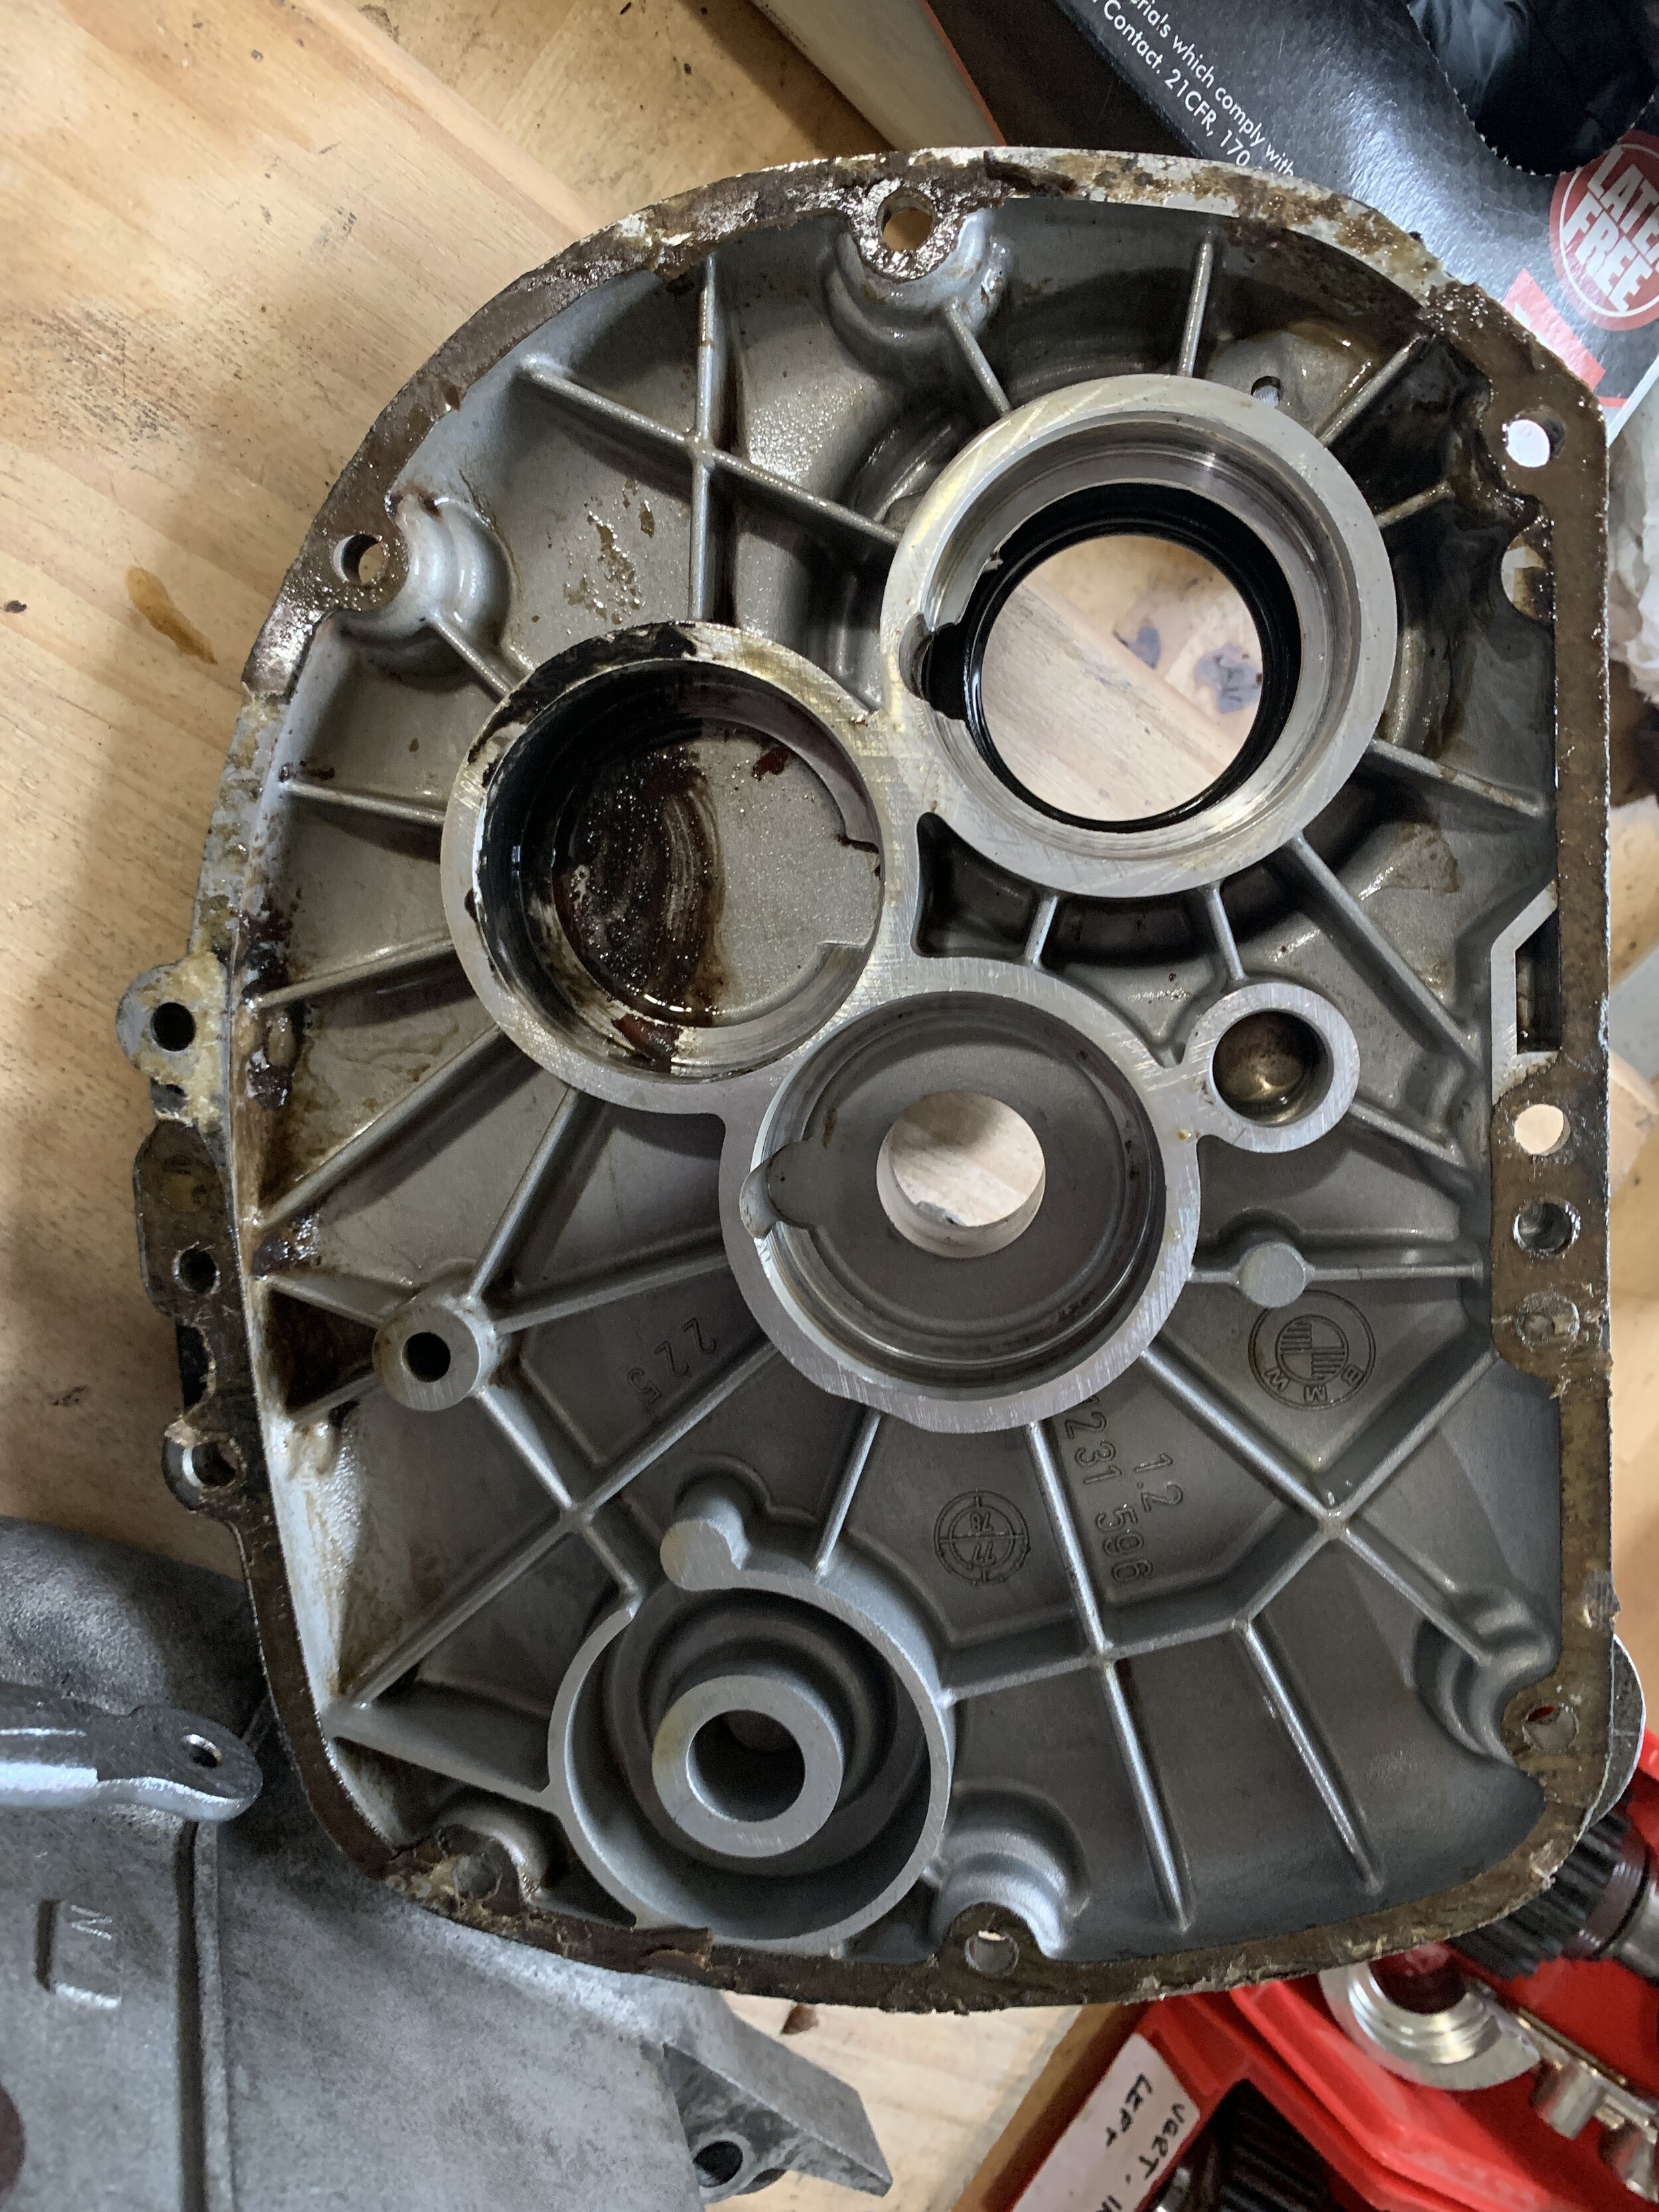
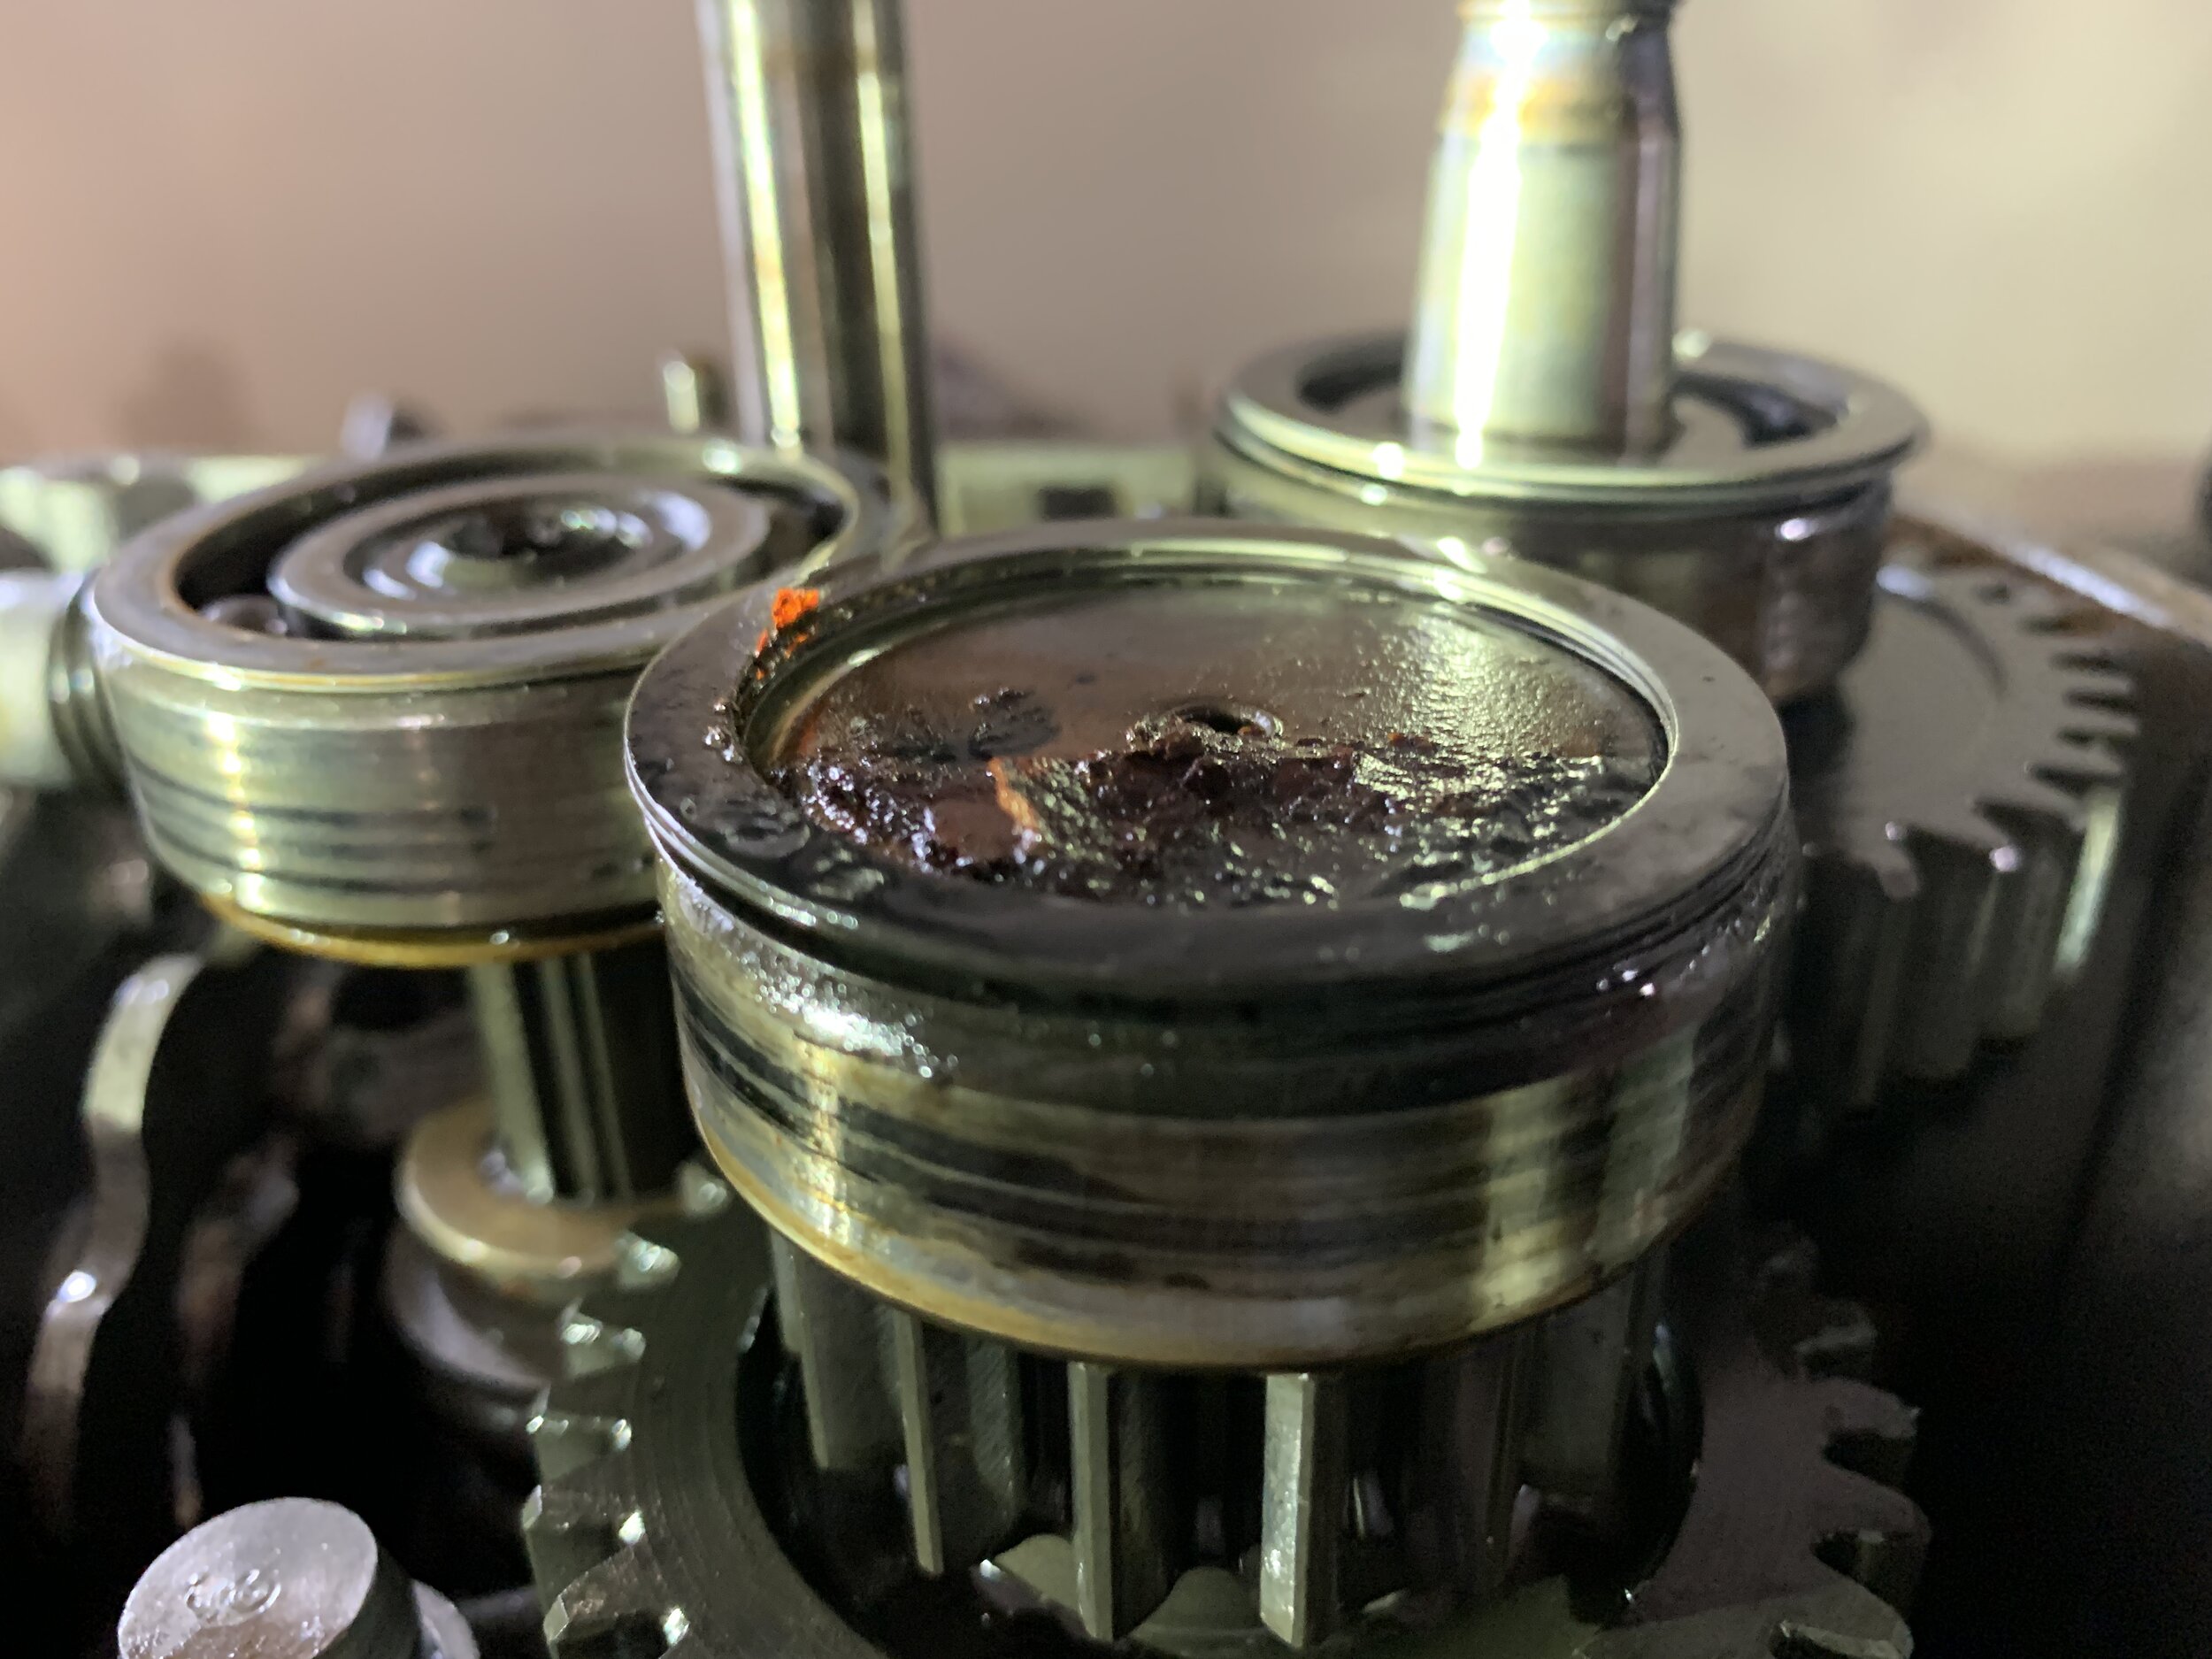
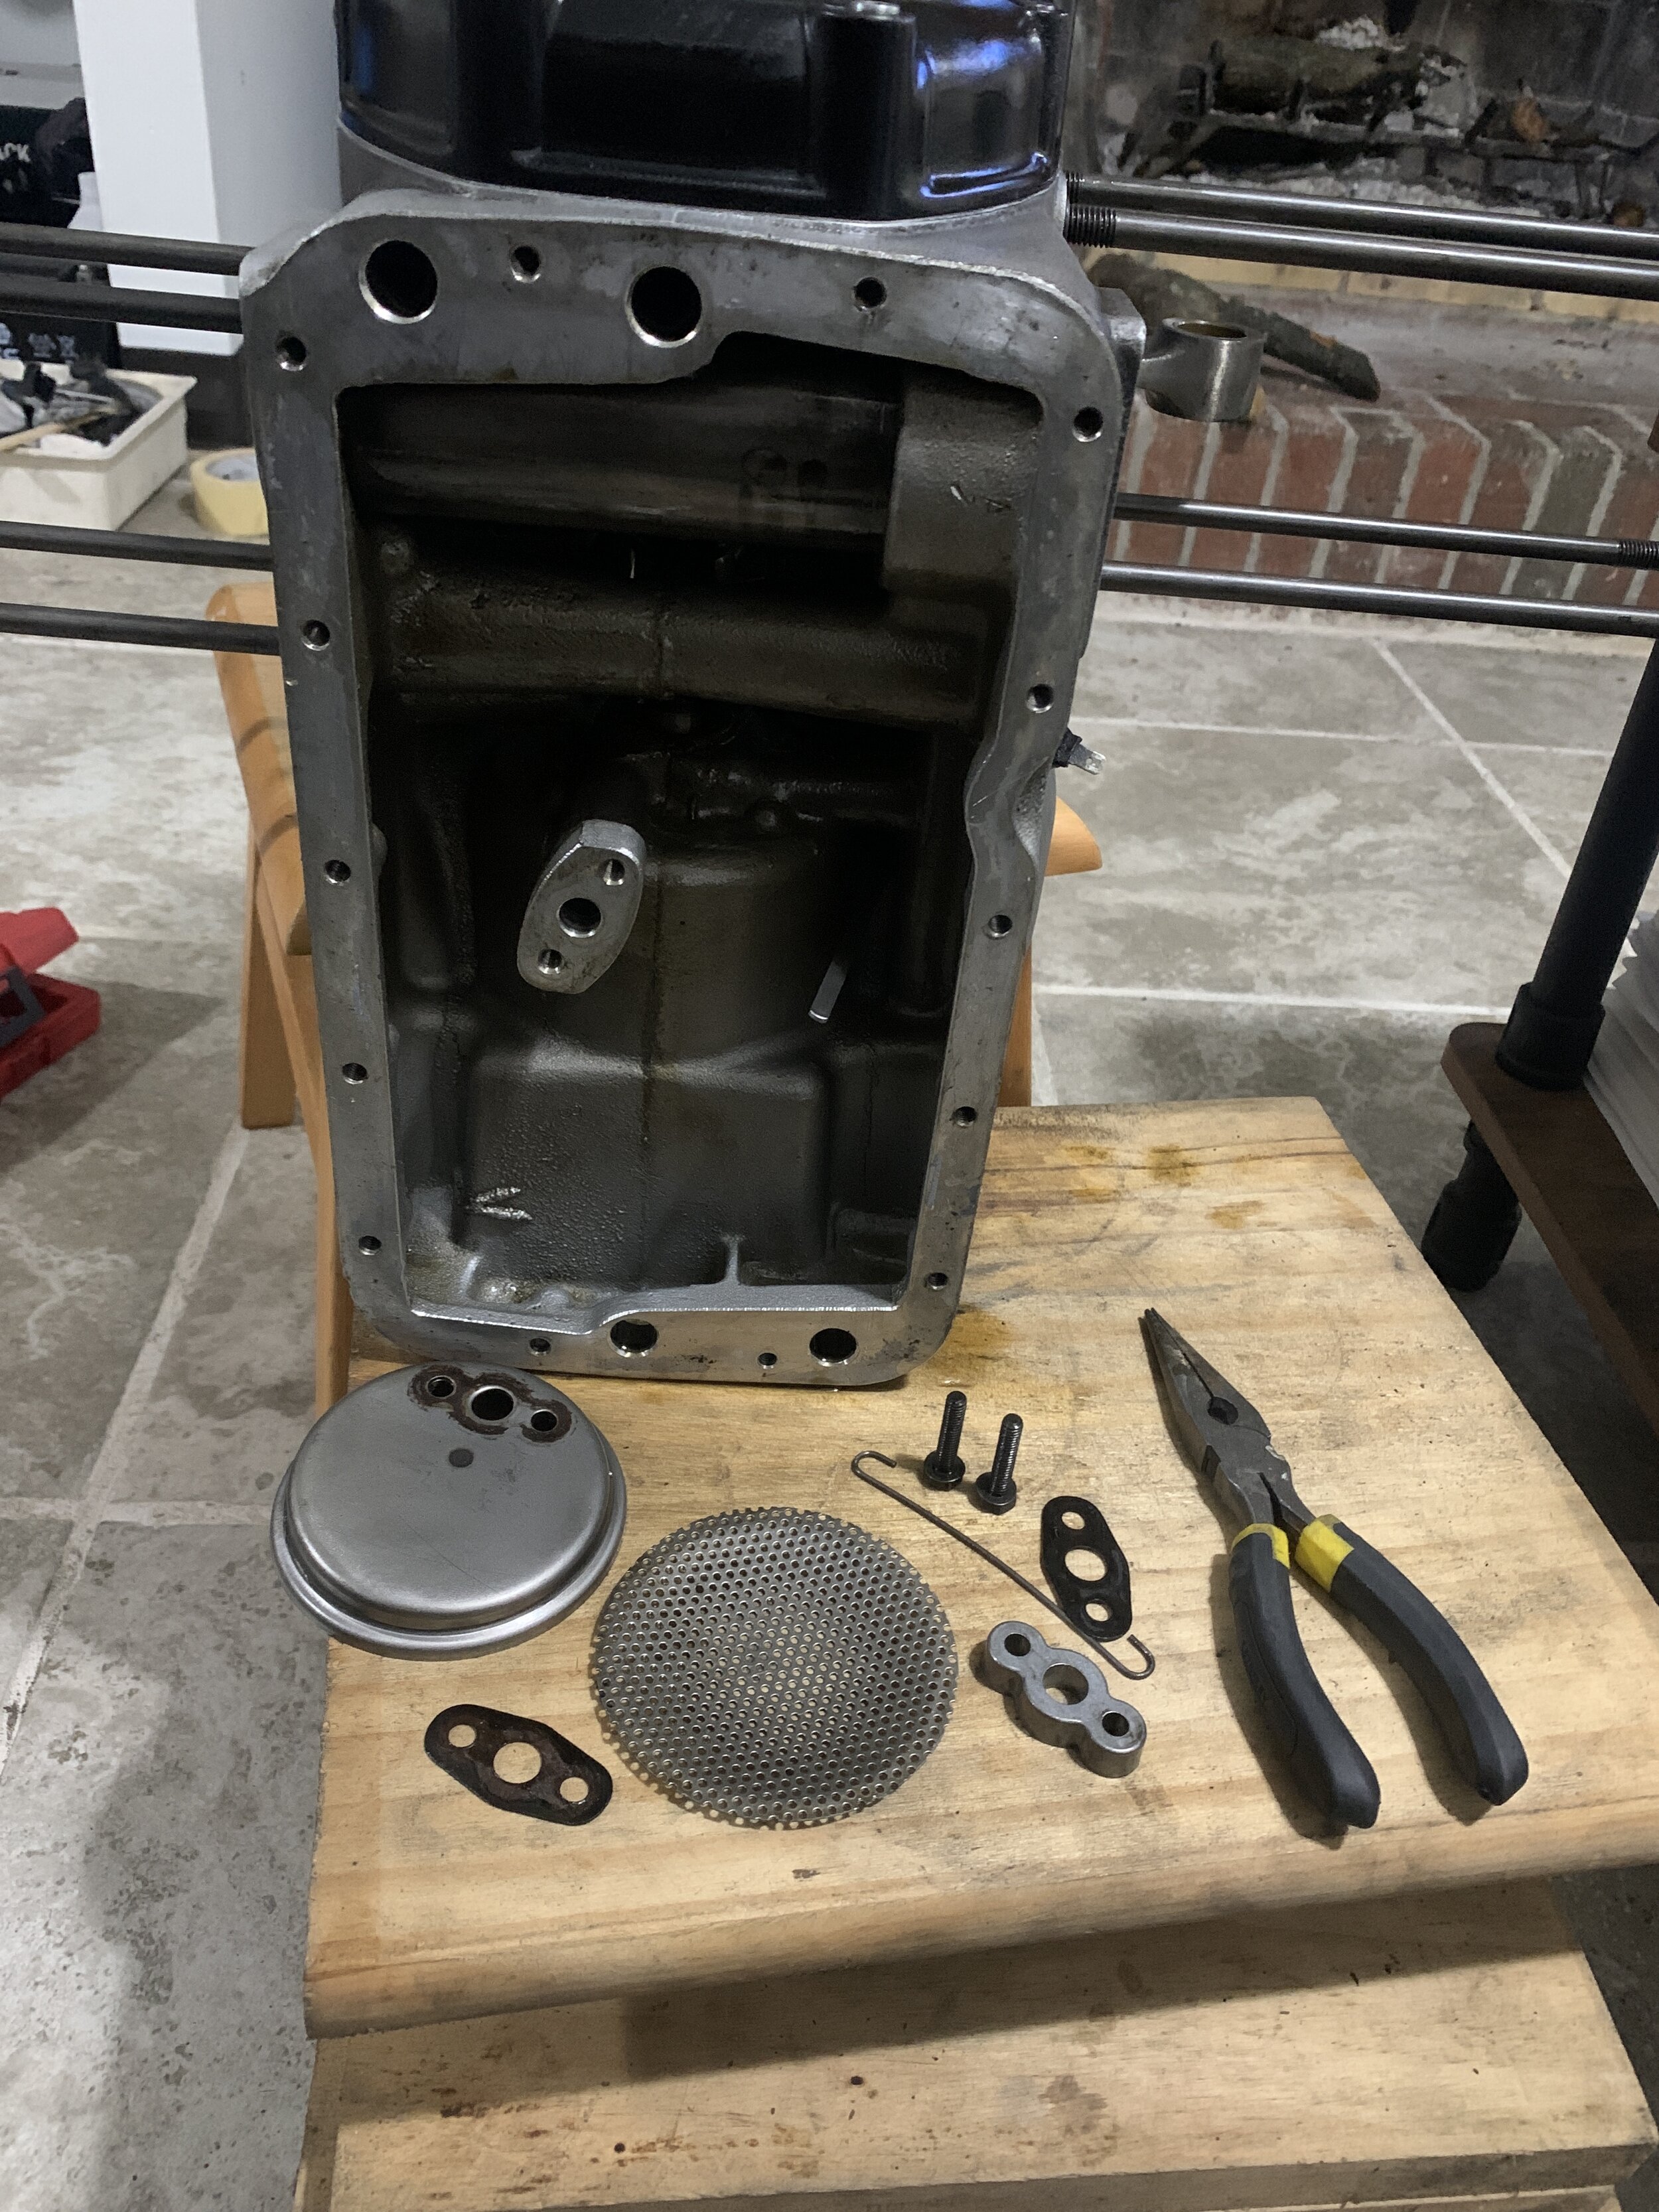
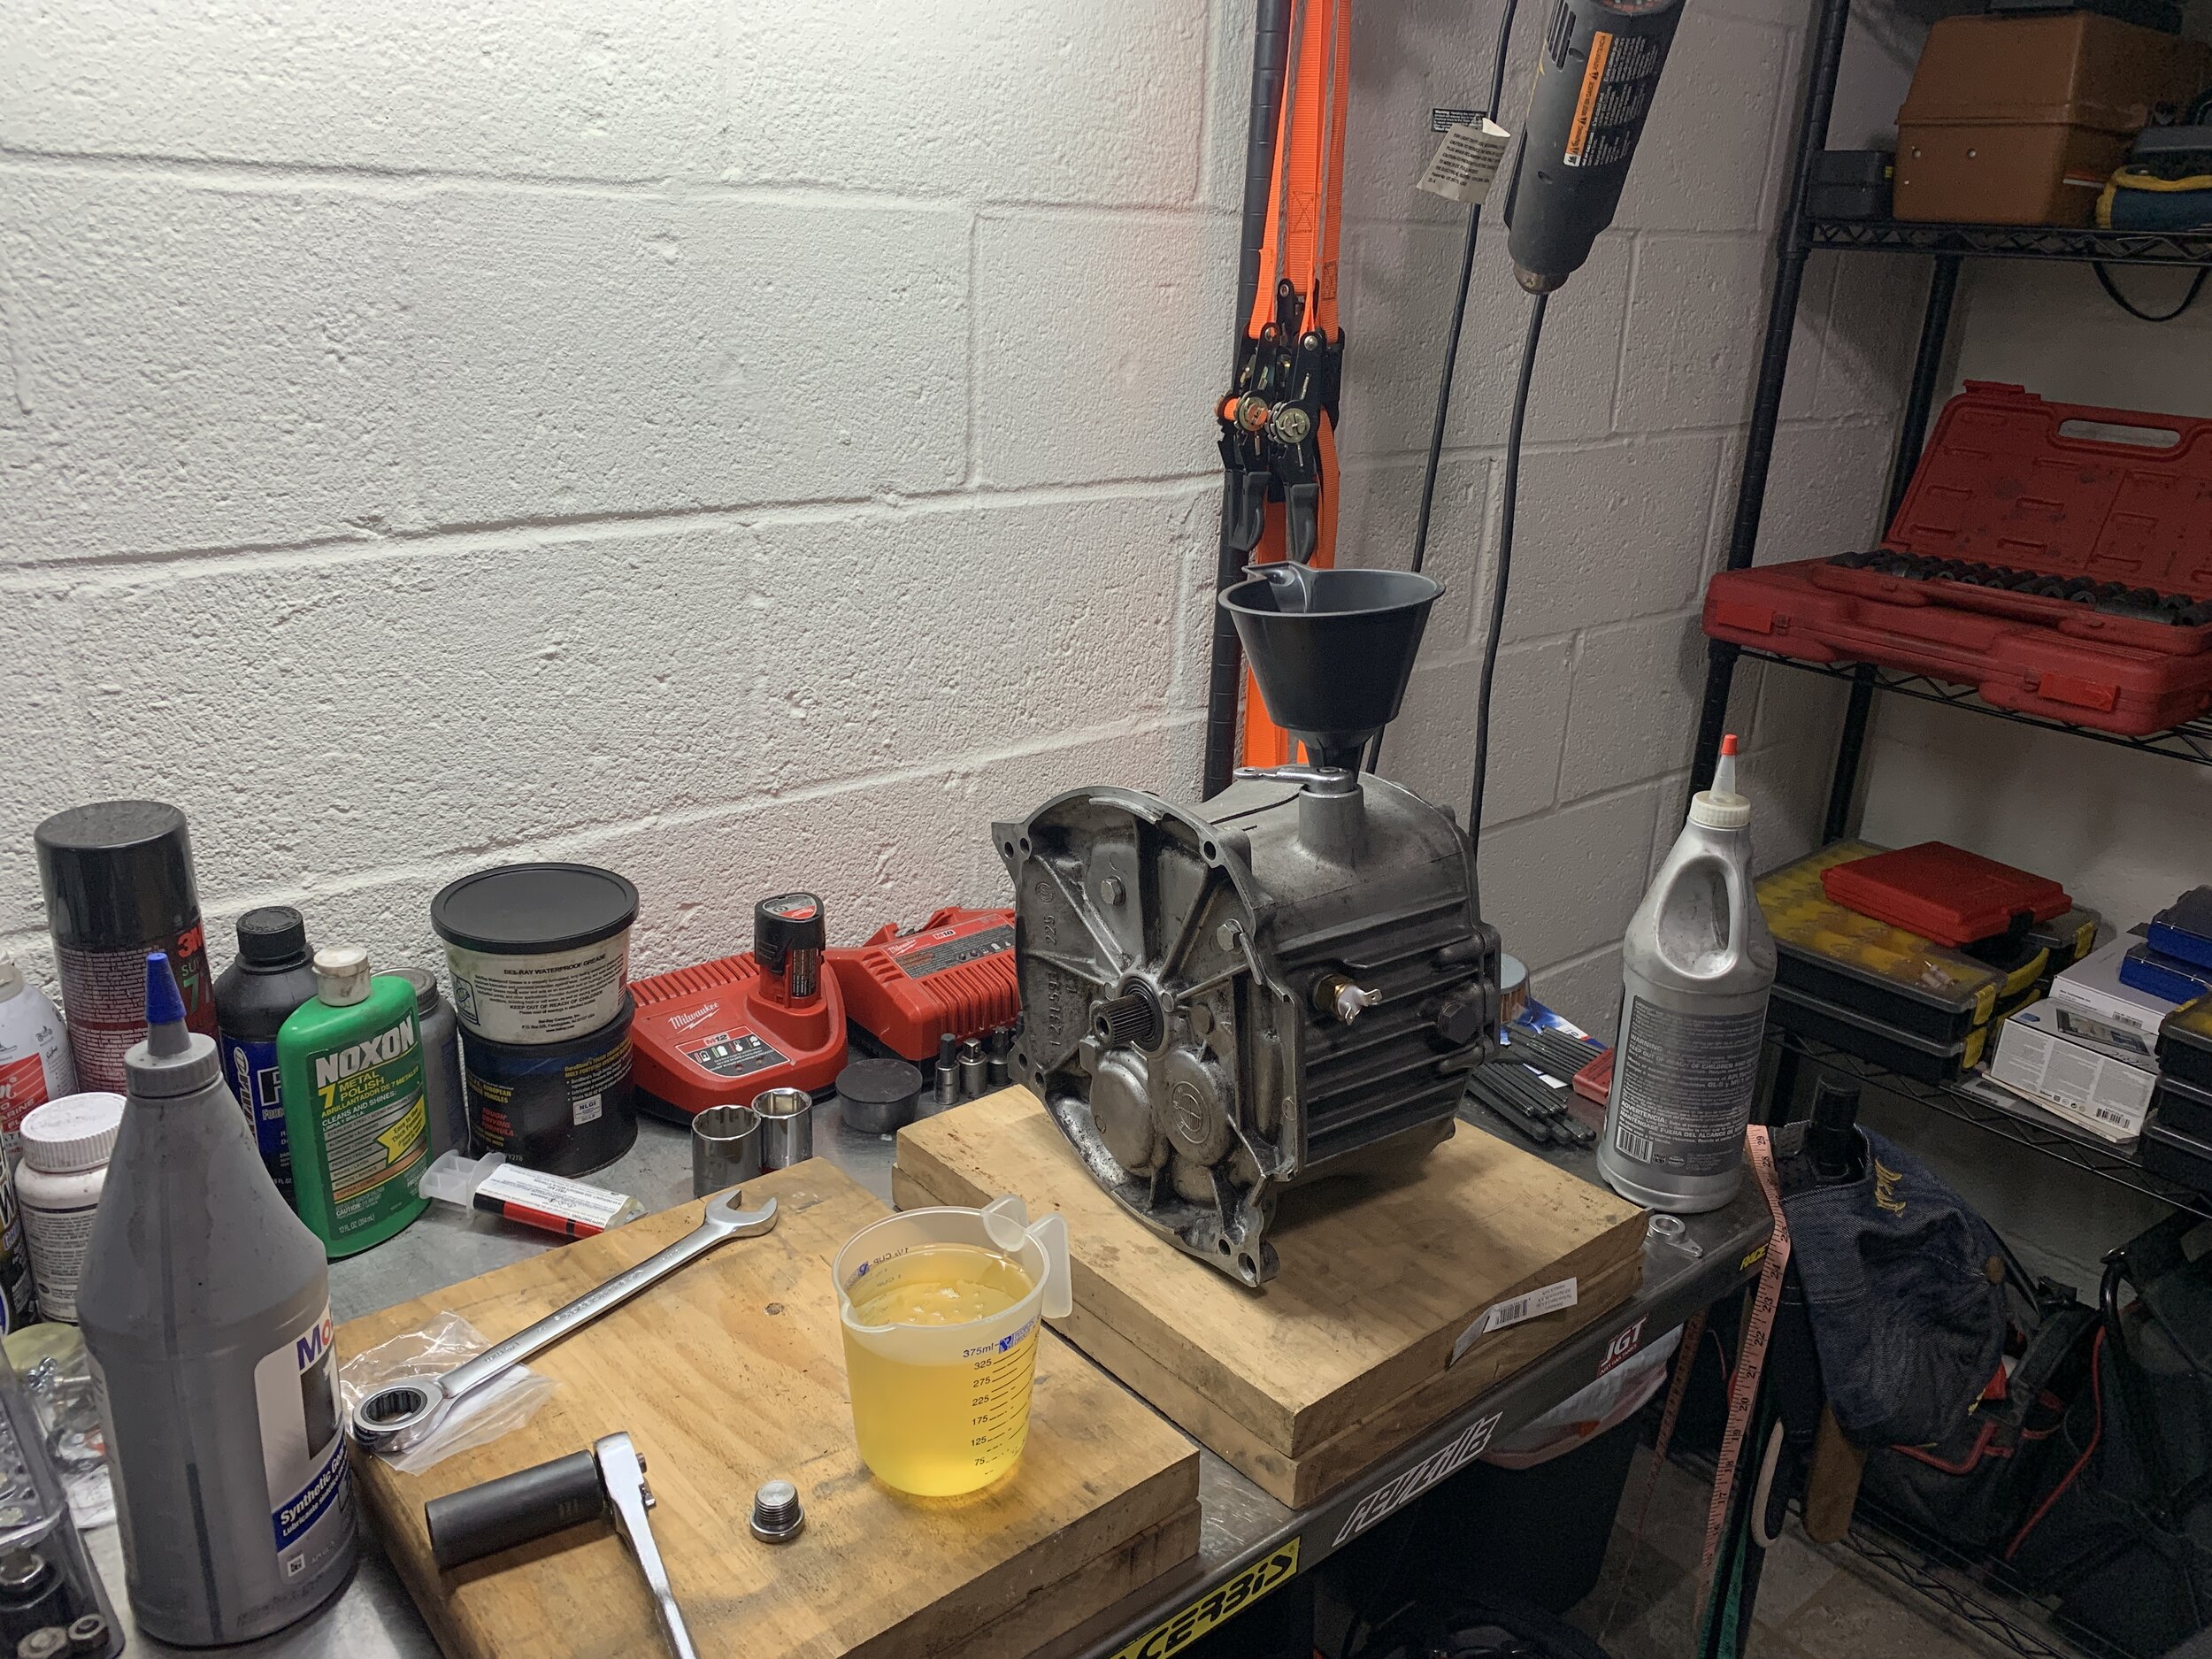
I’m starting to see oil leaks from every orifice of the bike, the front cover, rear main seal, final drive, drive shaft, literally every location with oil there is a leak. This is a good sign that there is oil, but this is also a bad sign that I have to replace all the seals. At first, I was hoping to replace the seals and just leave everything on the bike. As I learn more about the bike this became obvious that it isn’t possible. I remove the carburetor and it is already obvious they need a full rebuild.
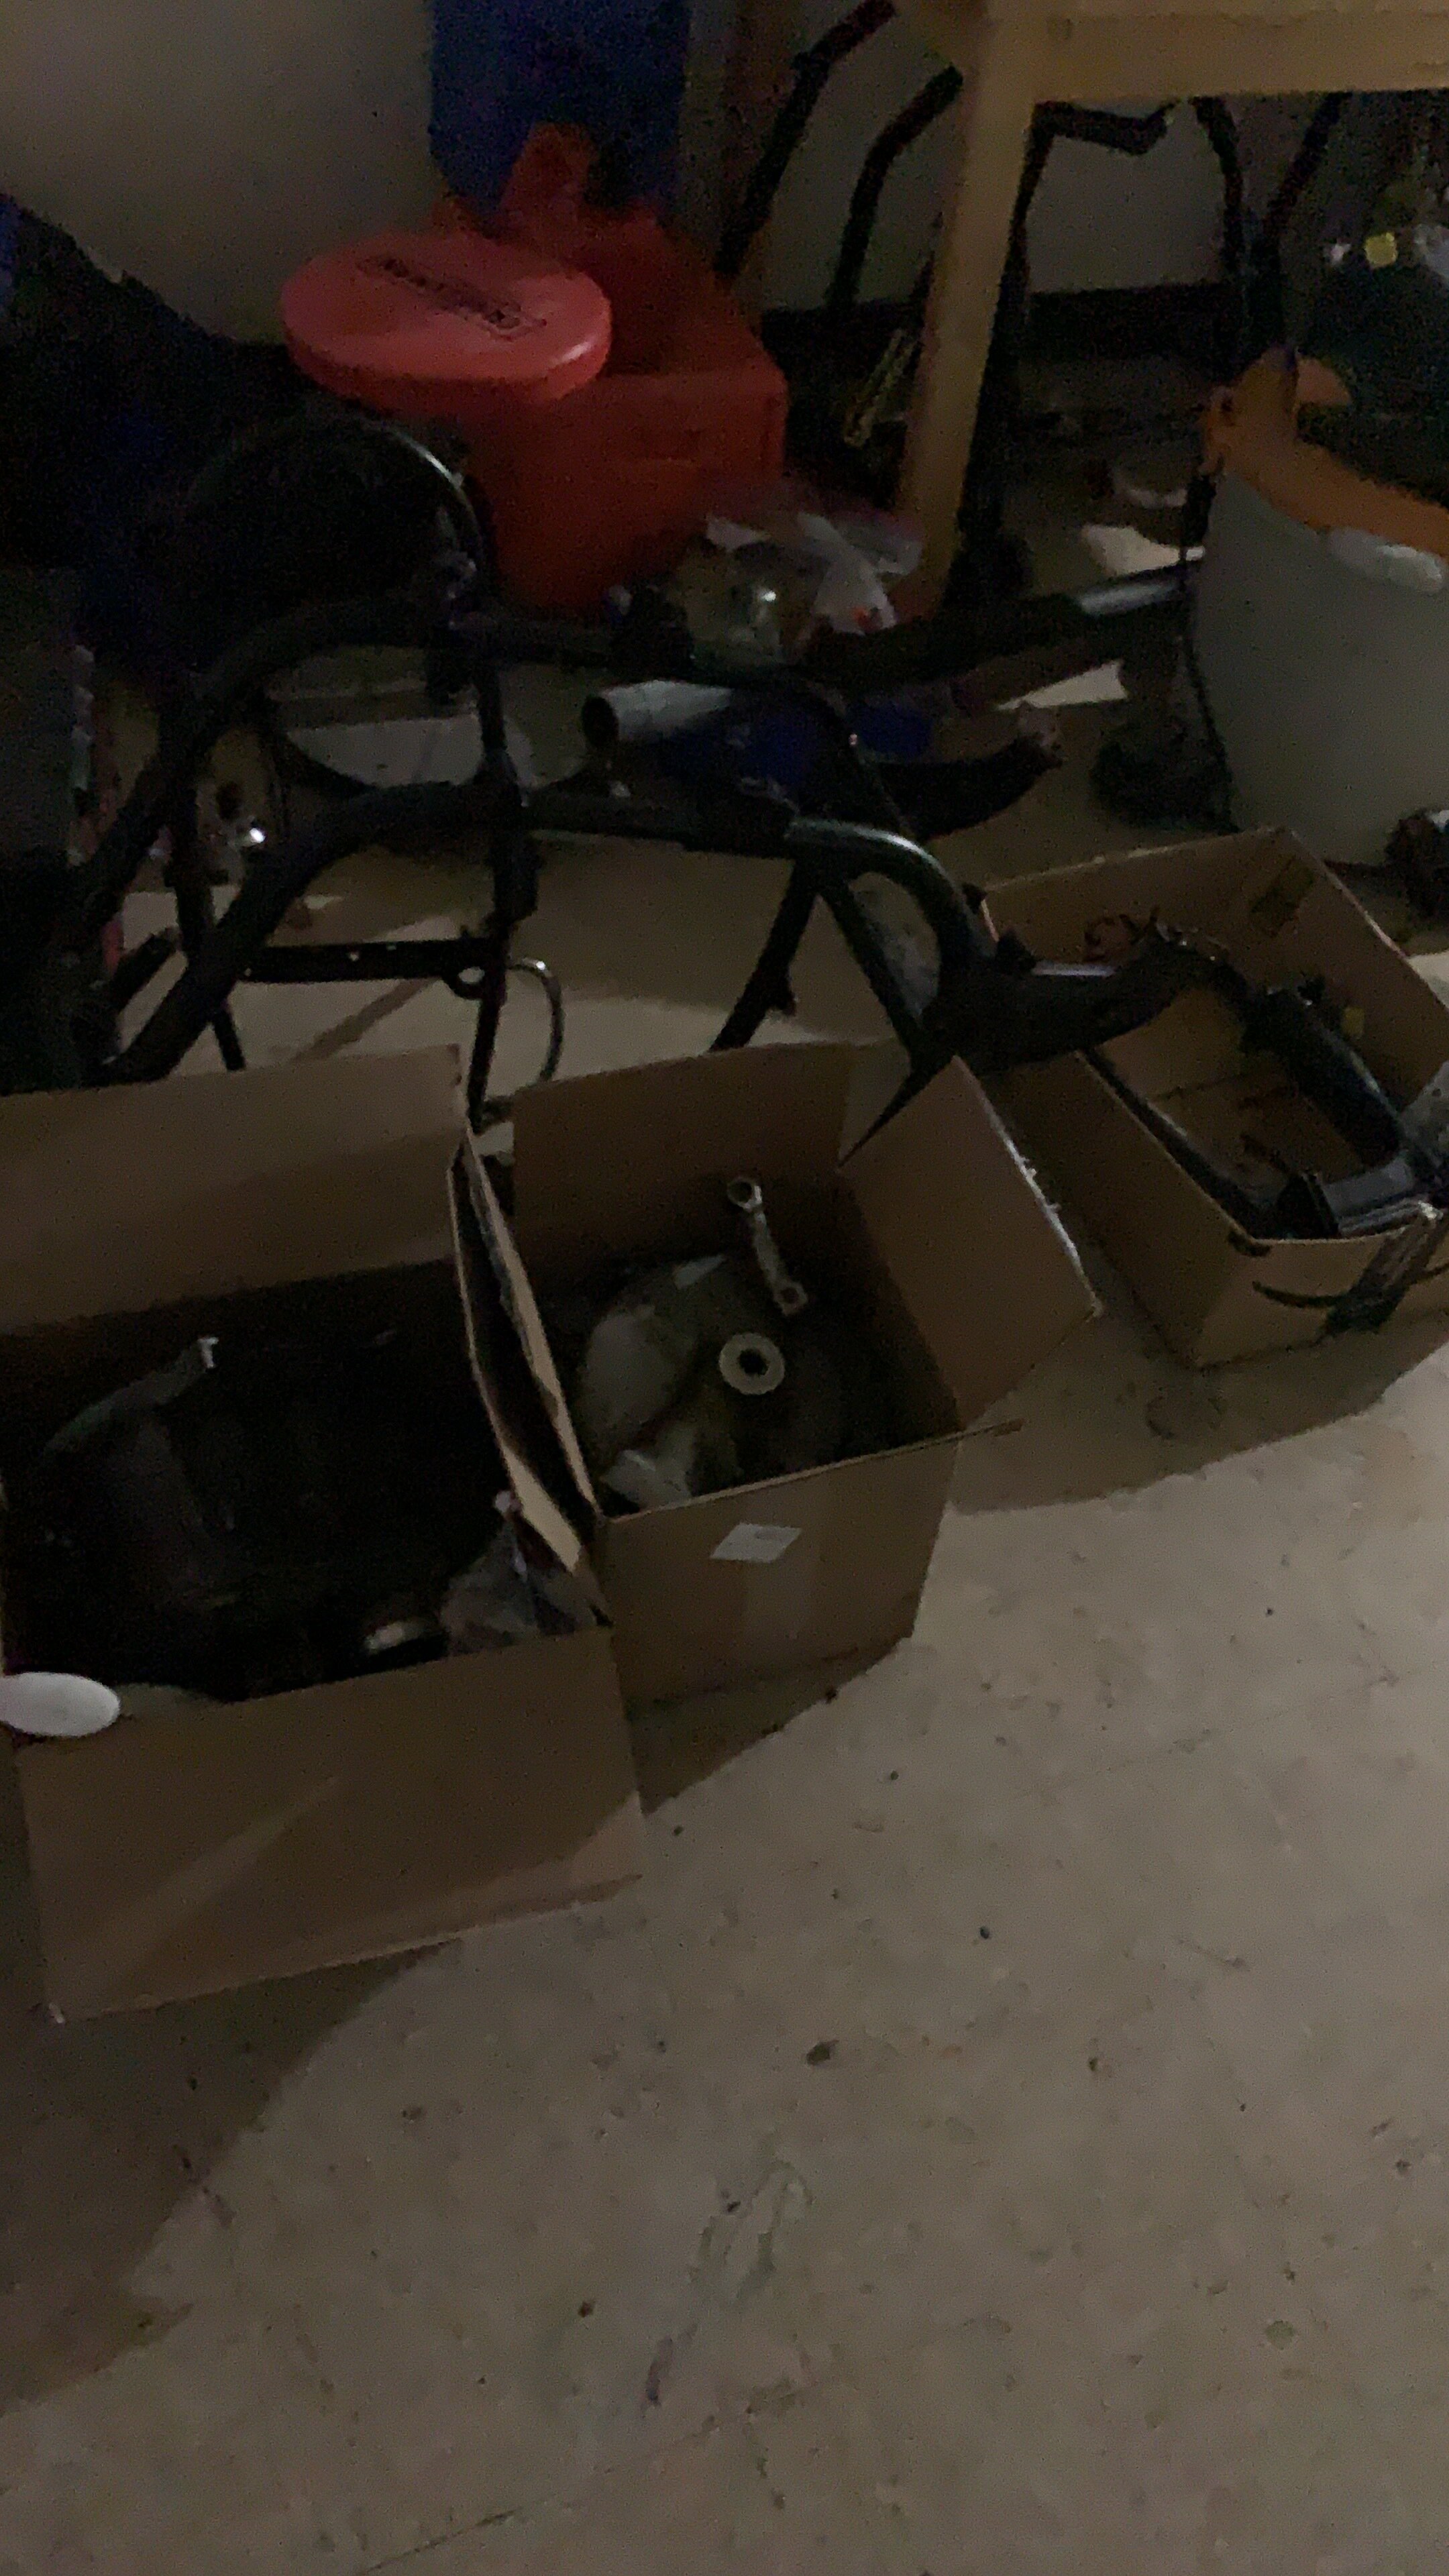
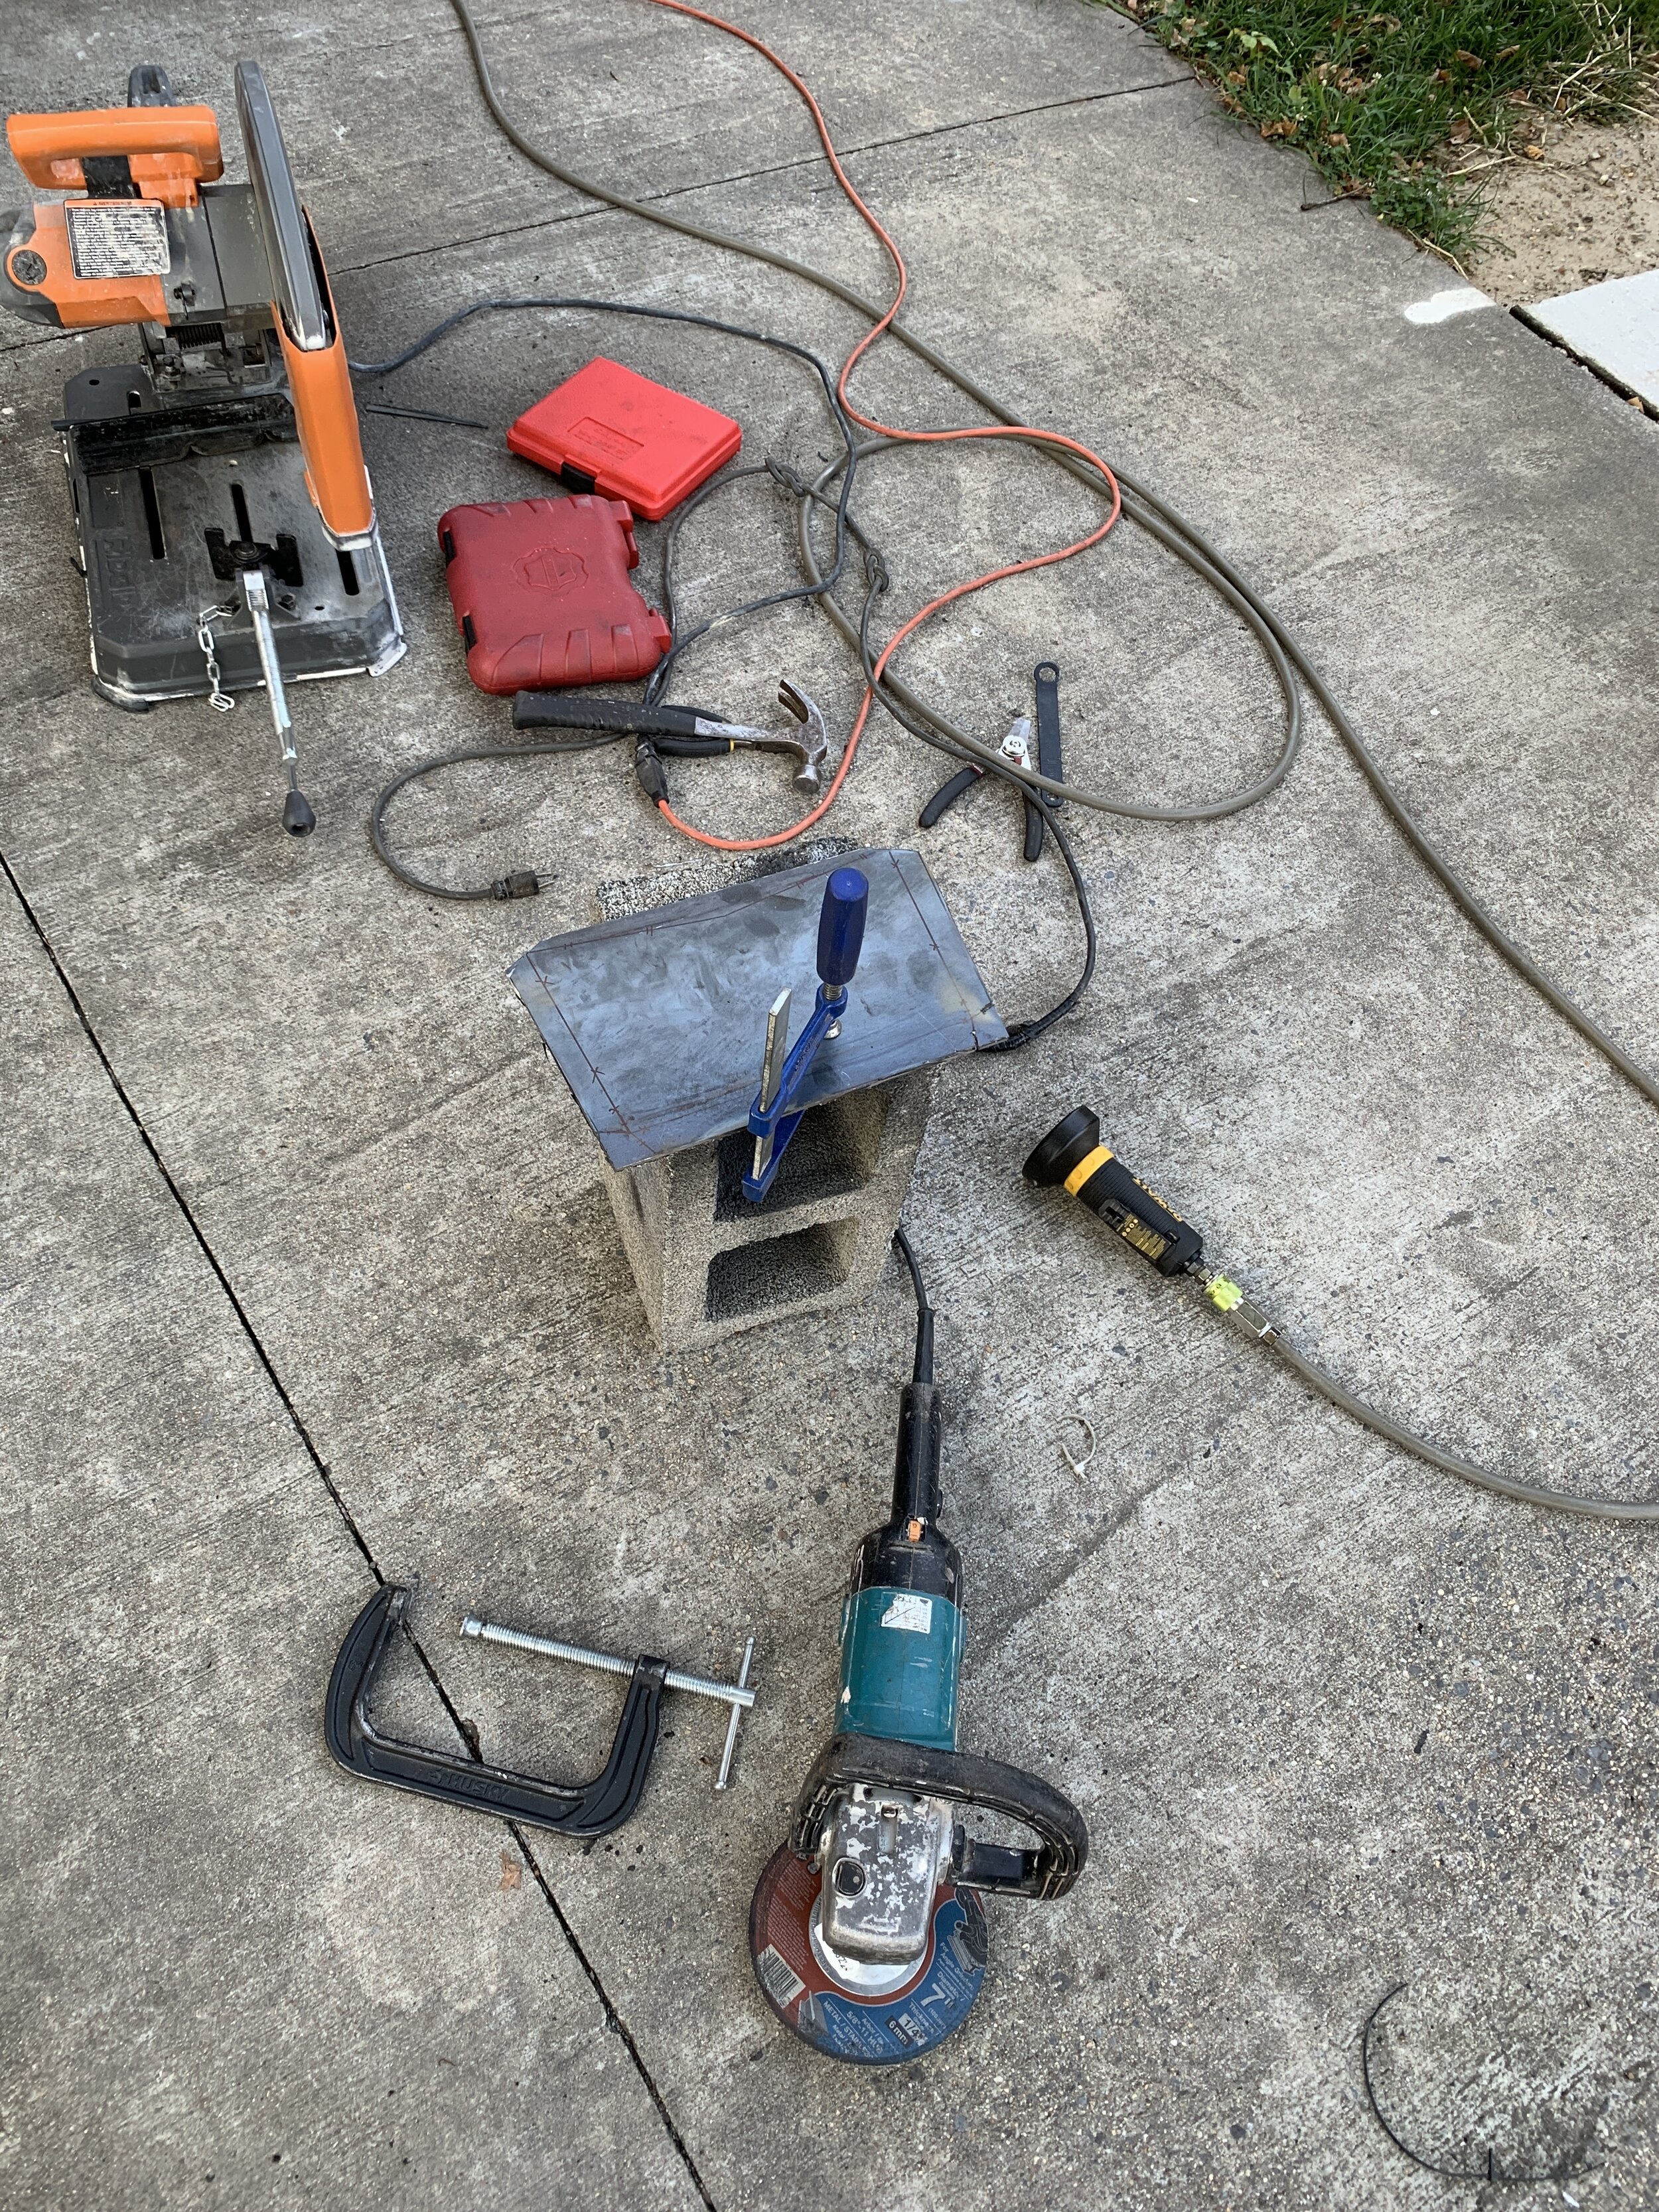
I try to take picture and keep tabs of where the parts came off and how they are assembled, but there are just too many parts coming off.
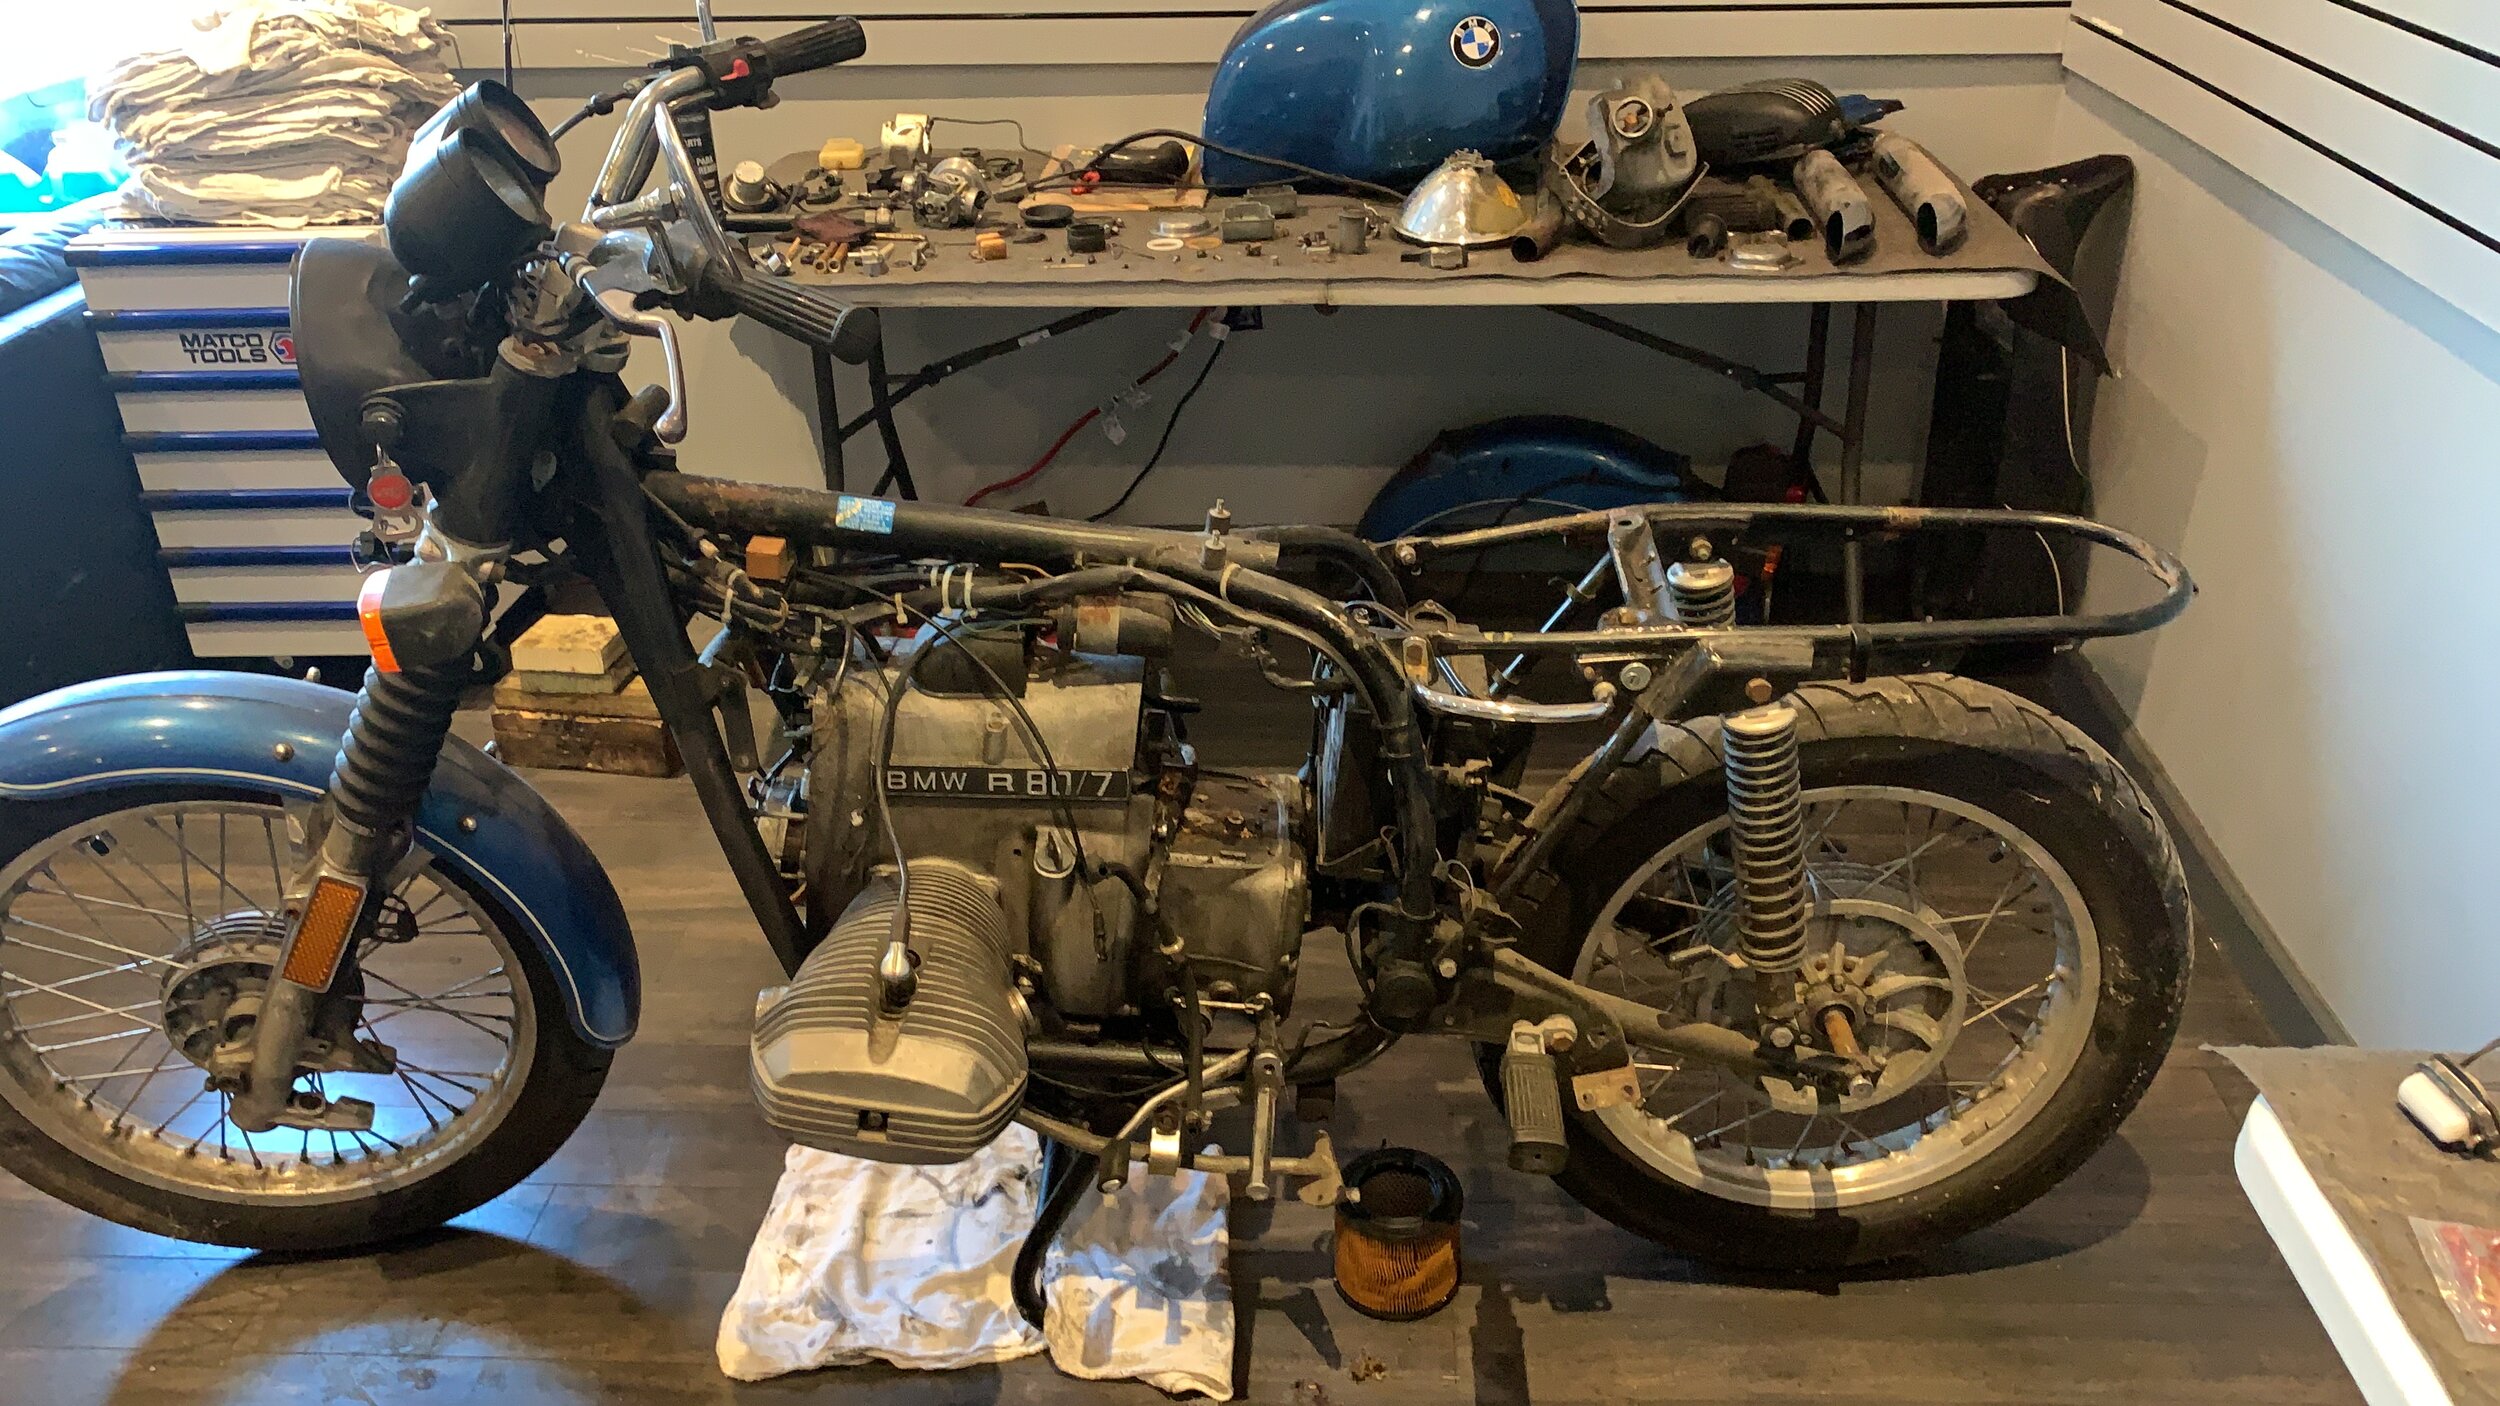
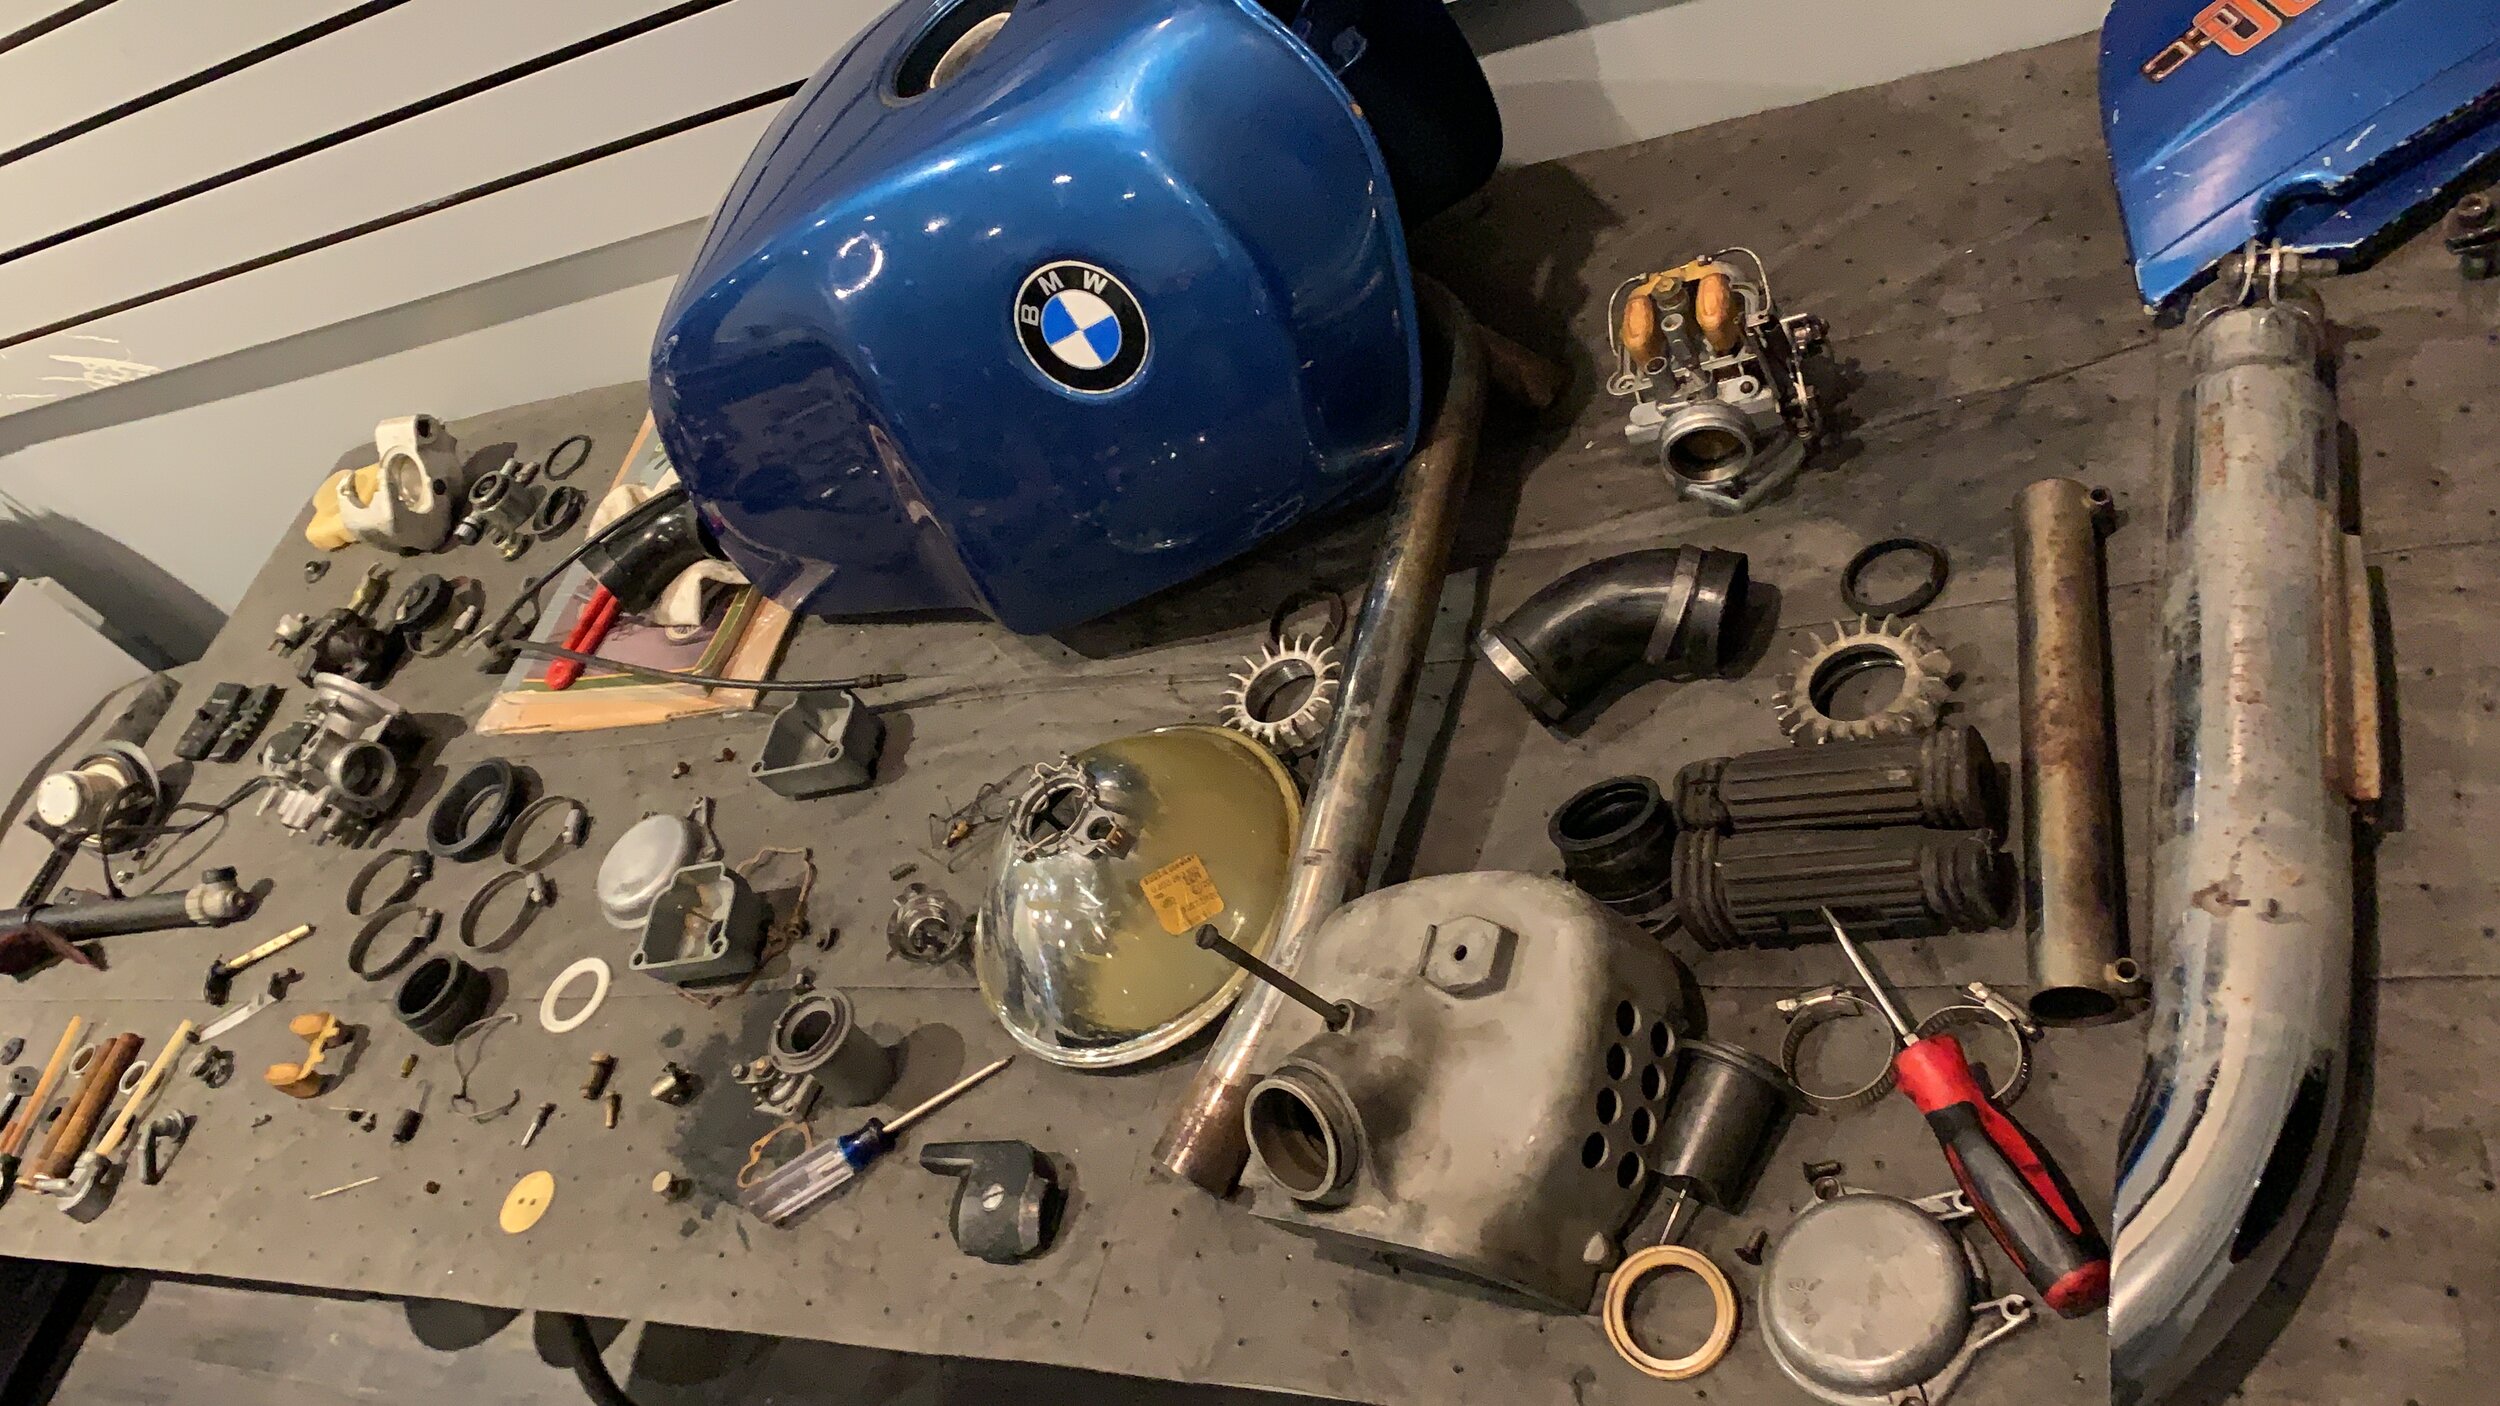
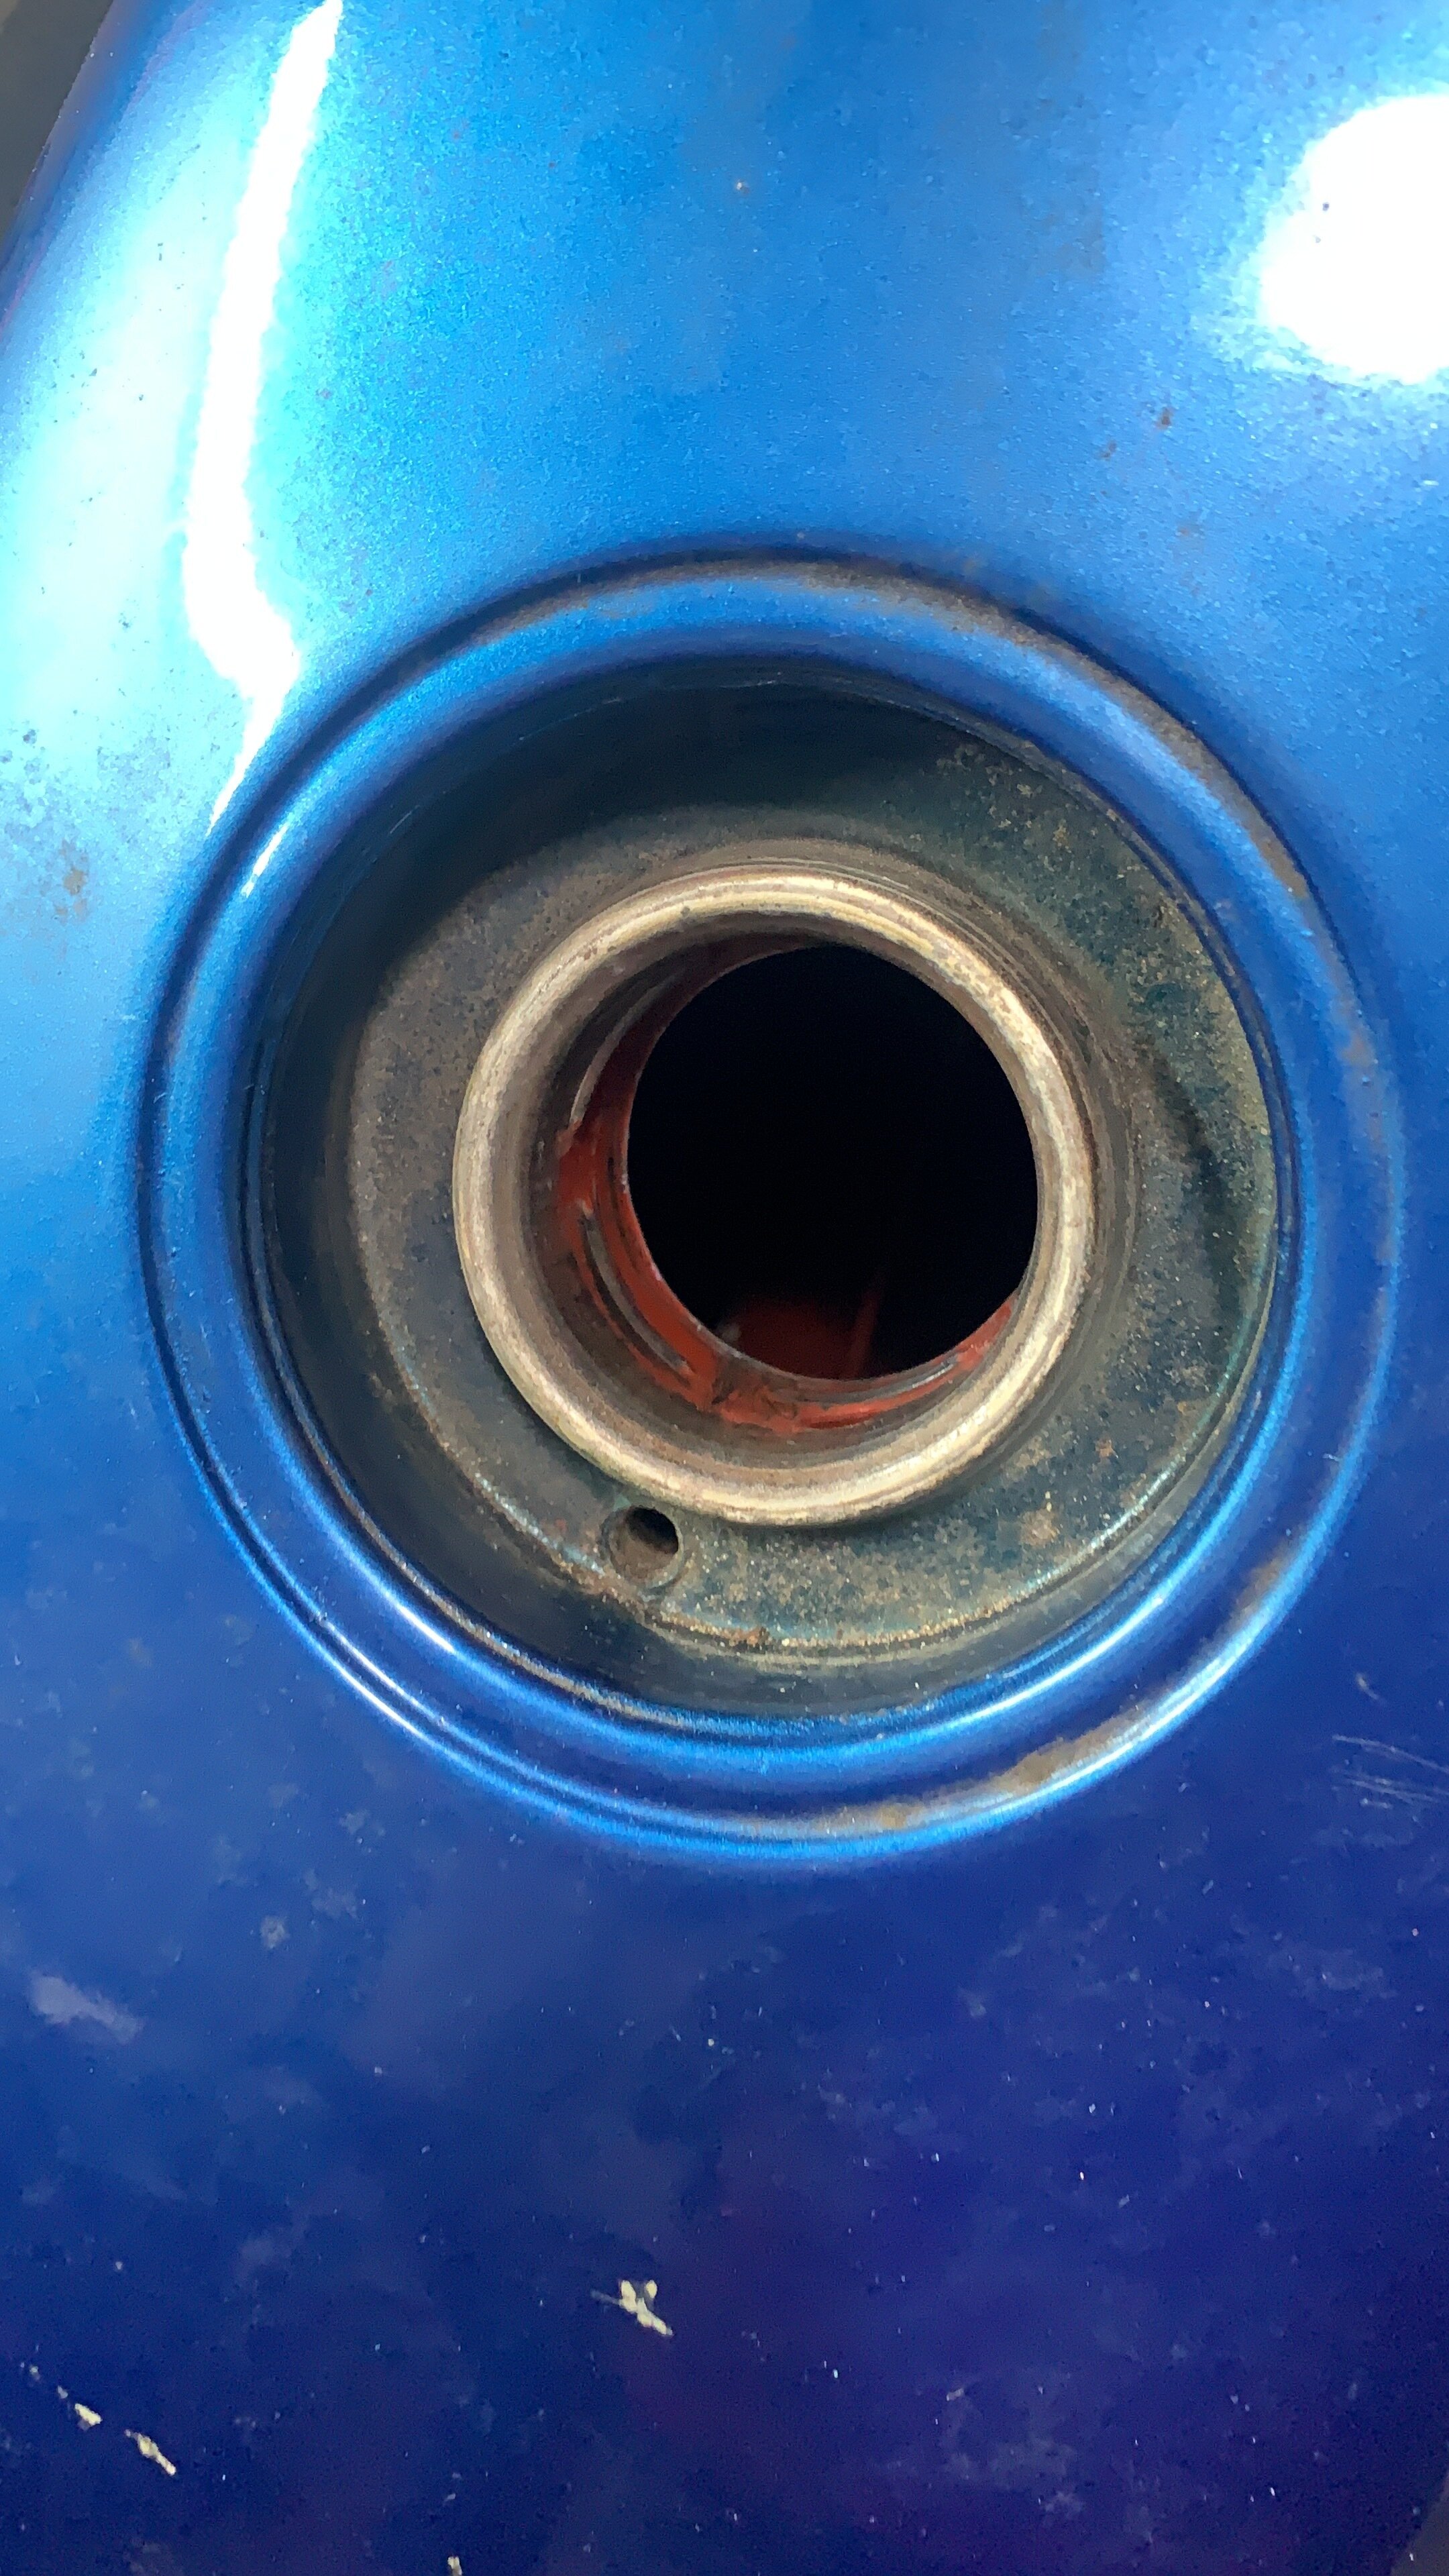
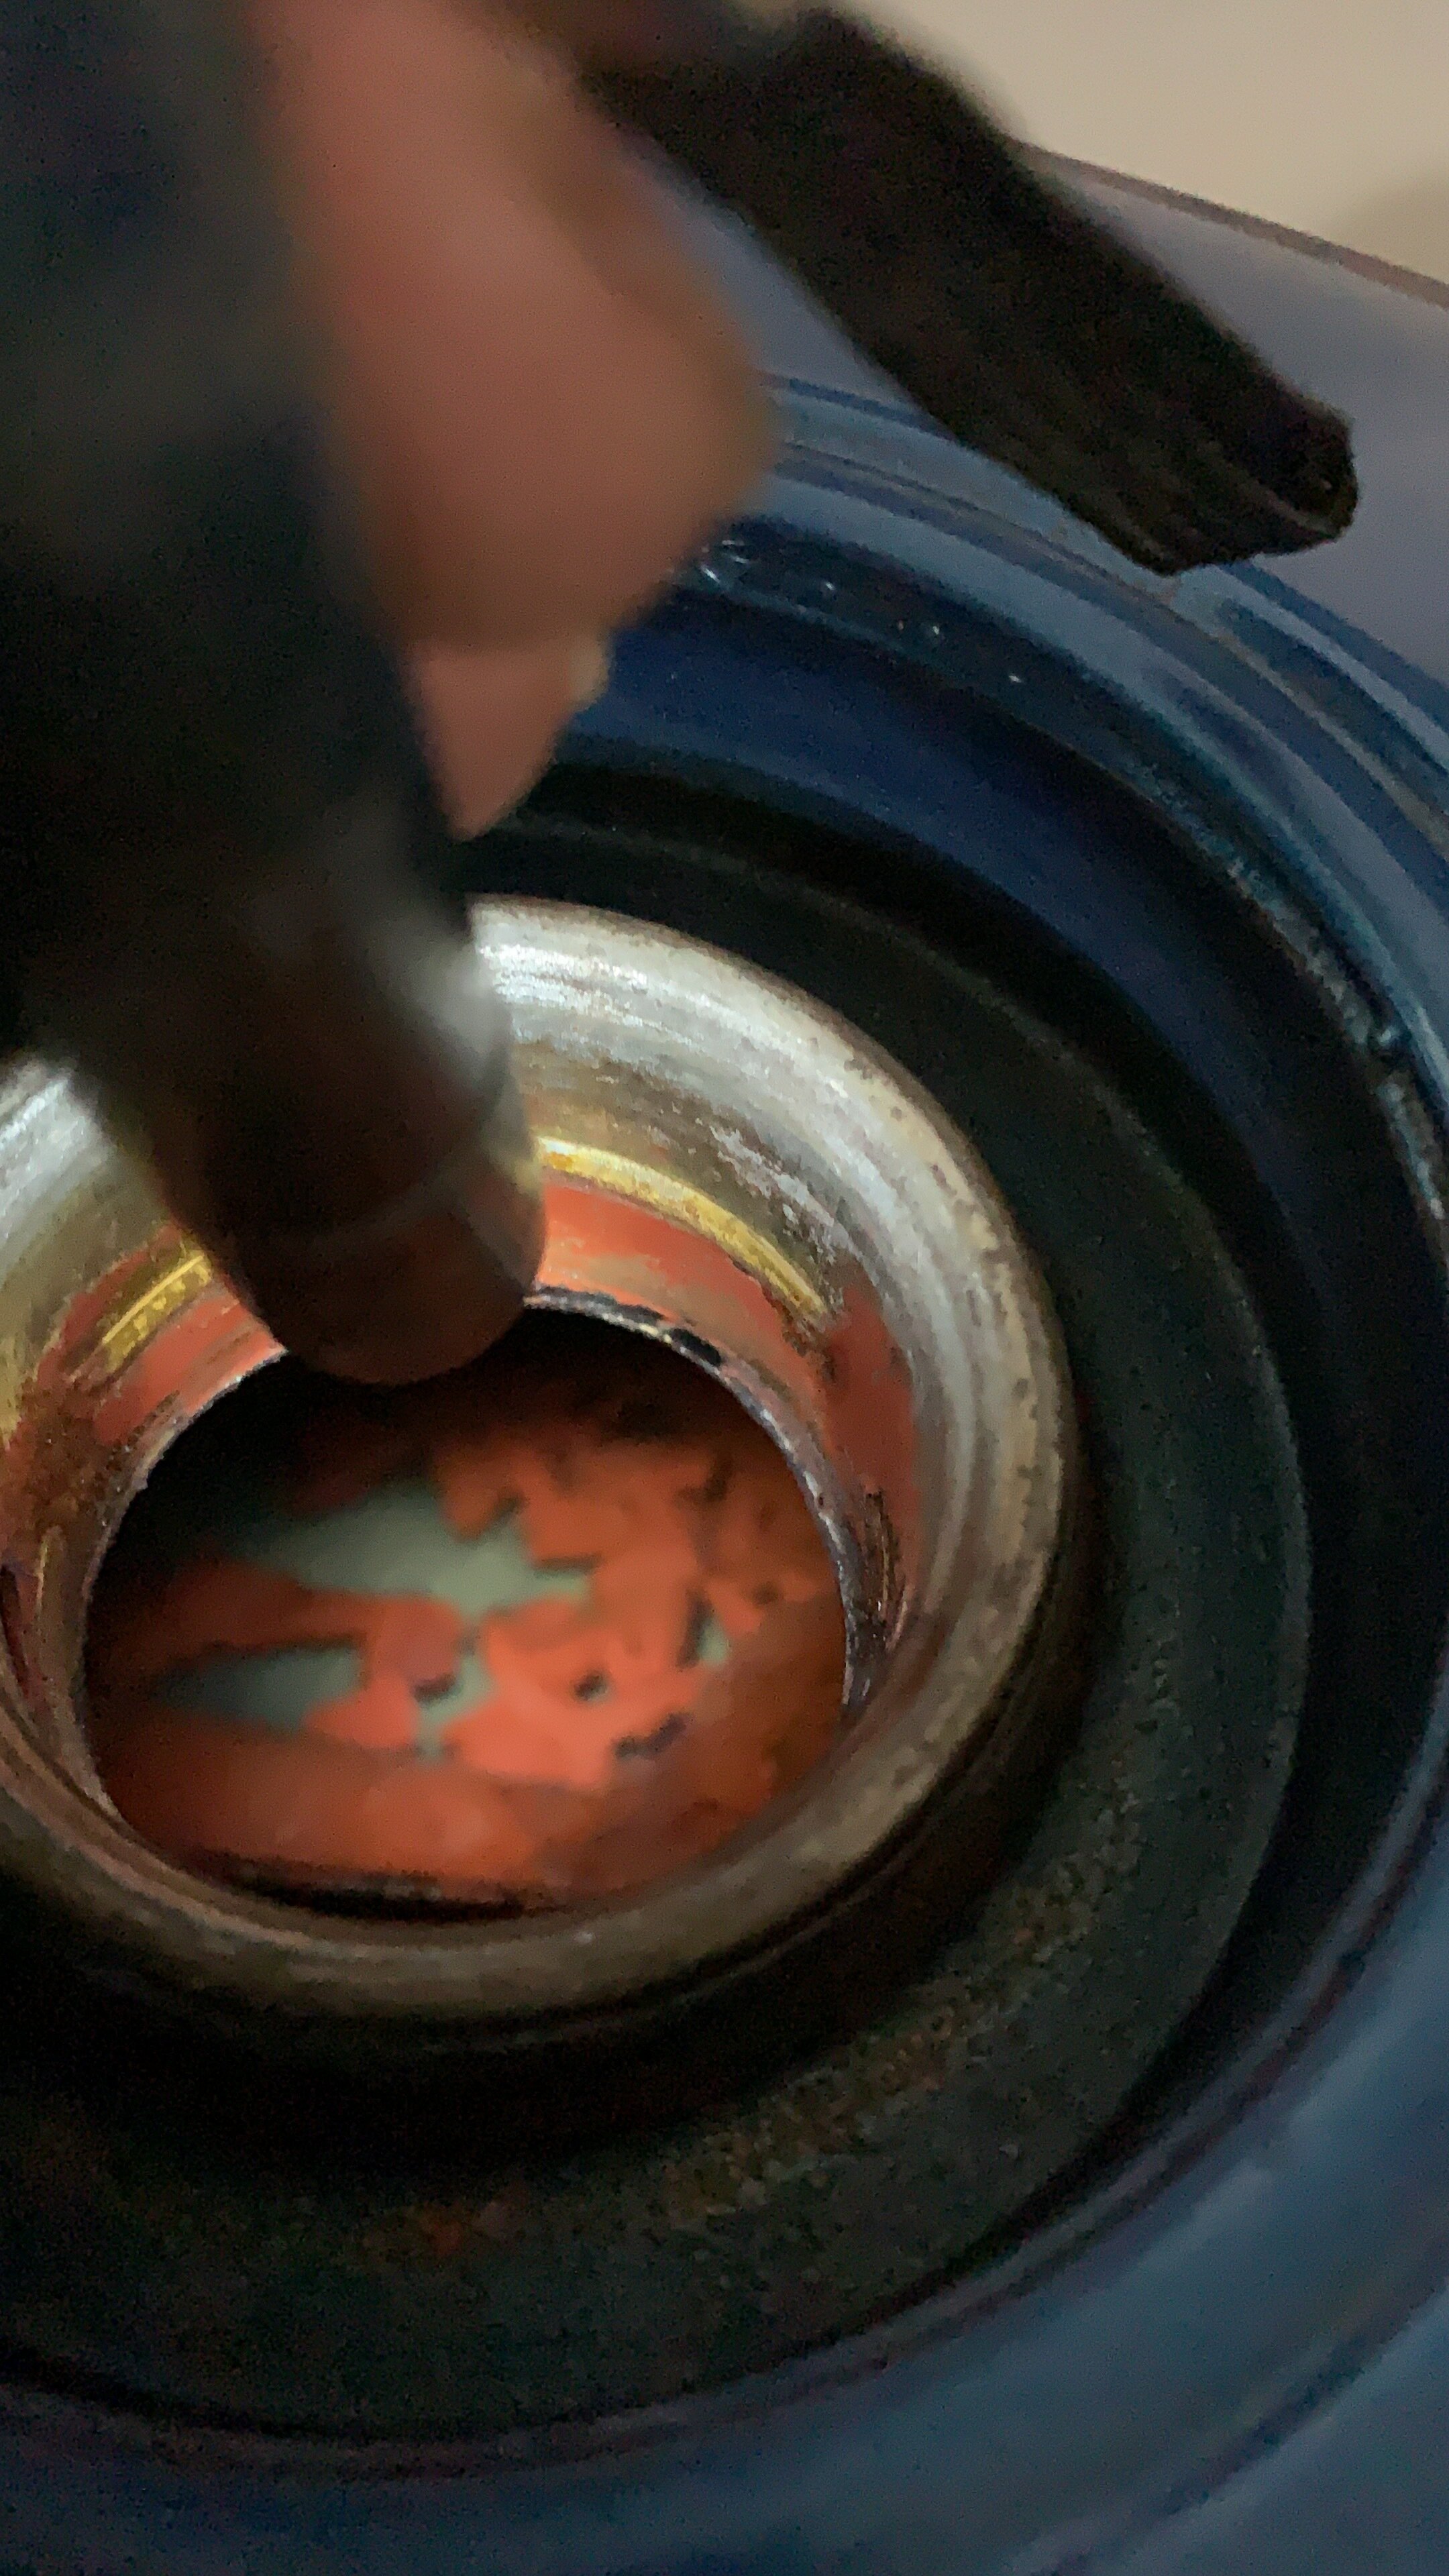
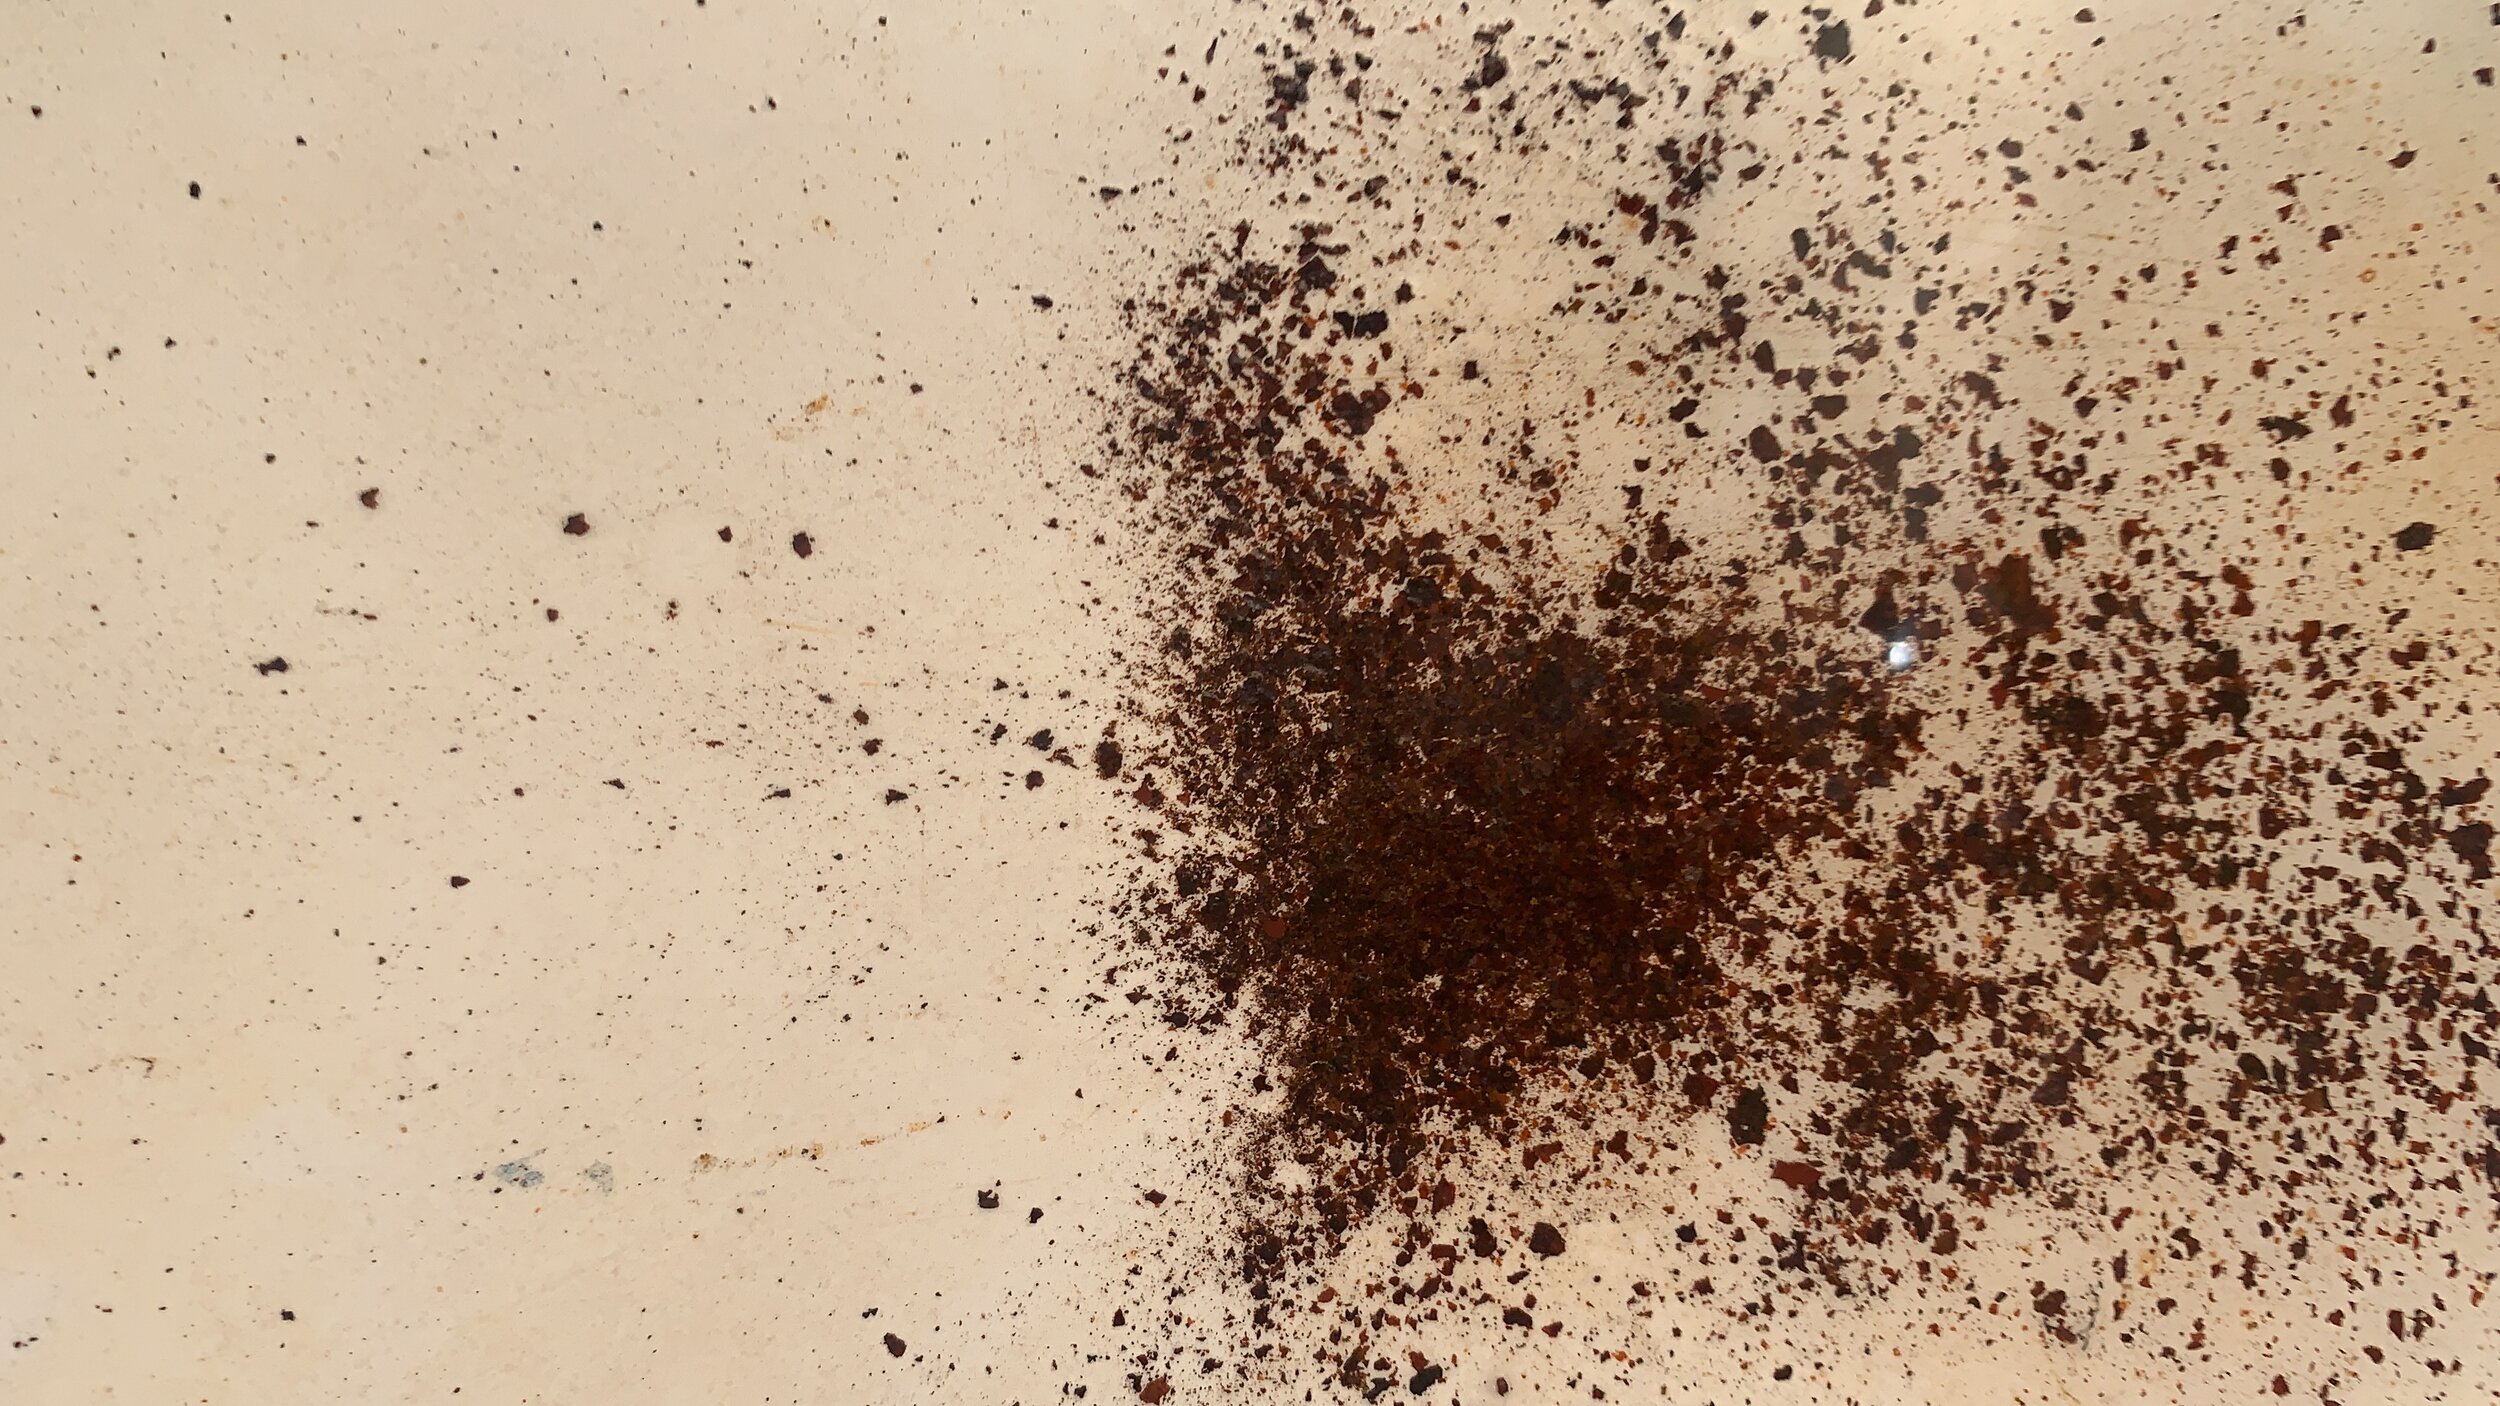
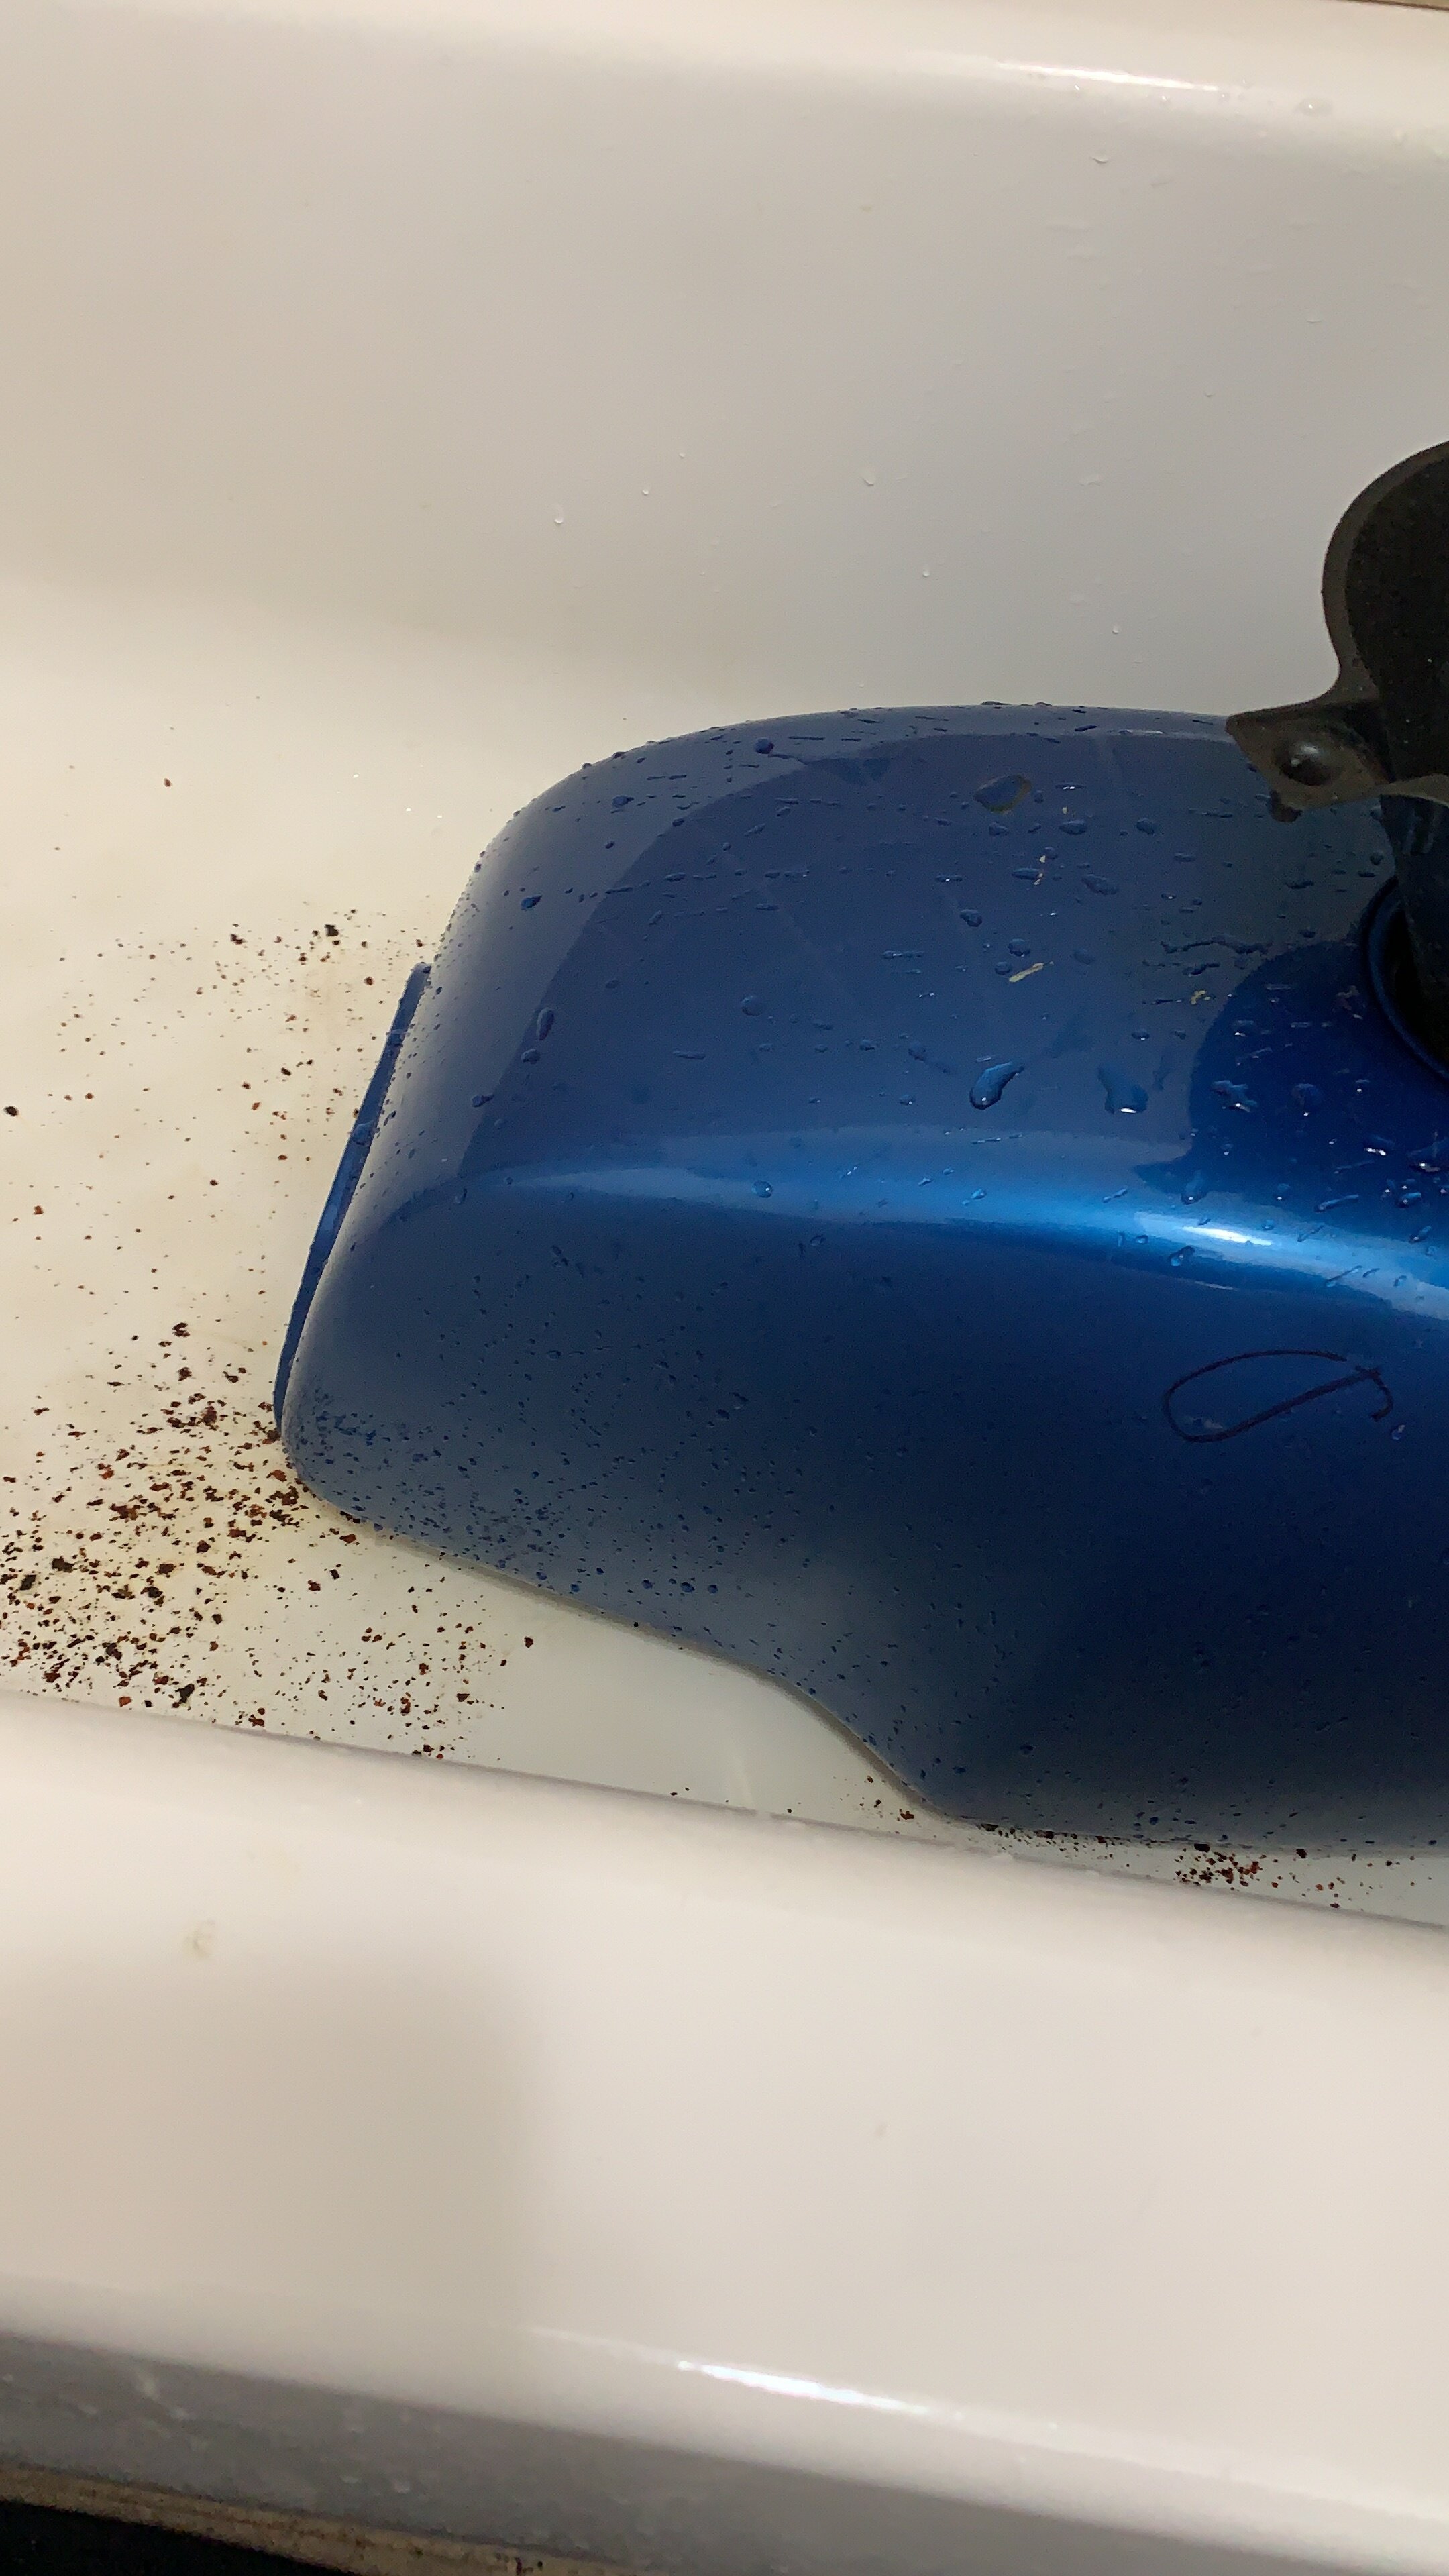
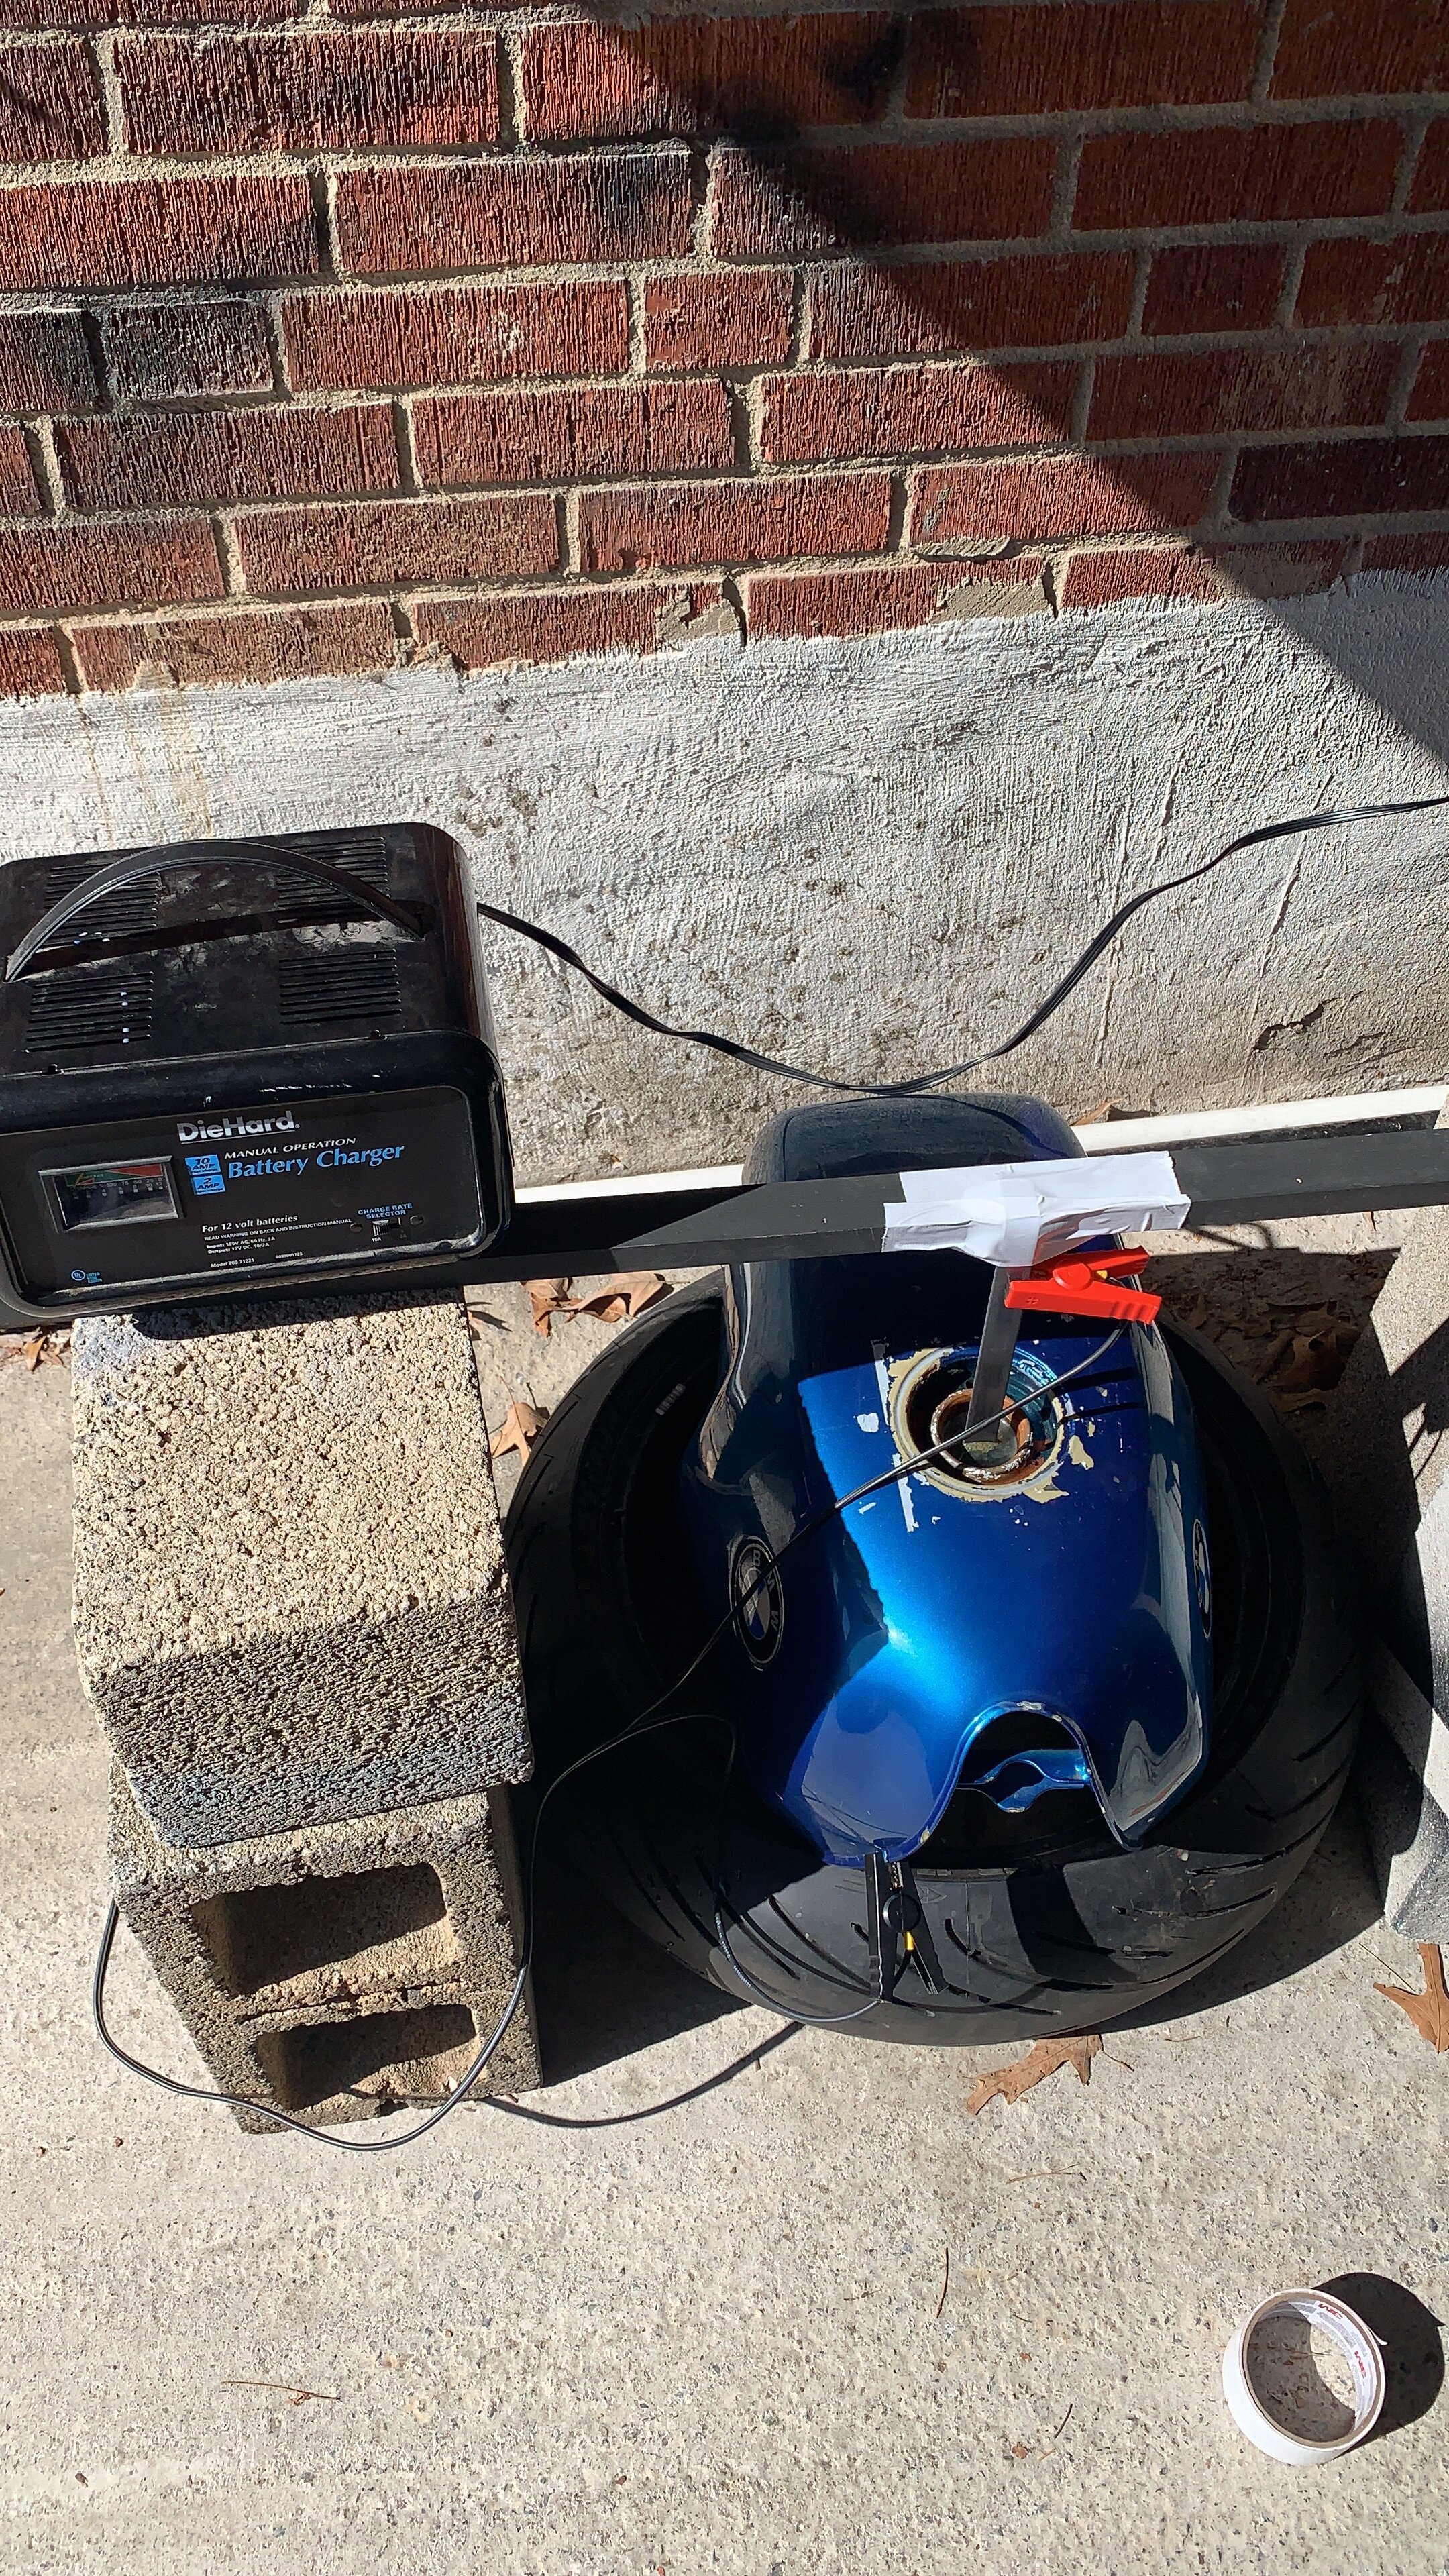
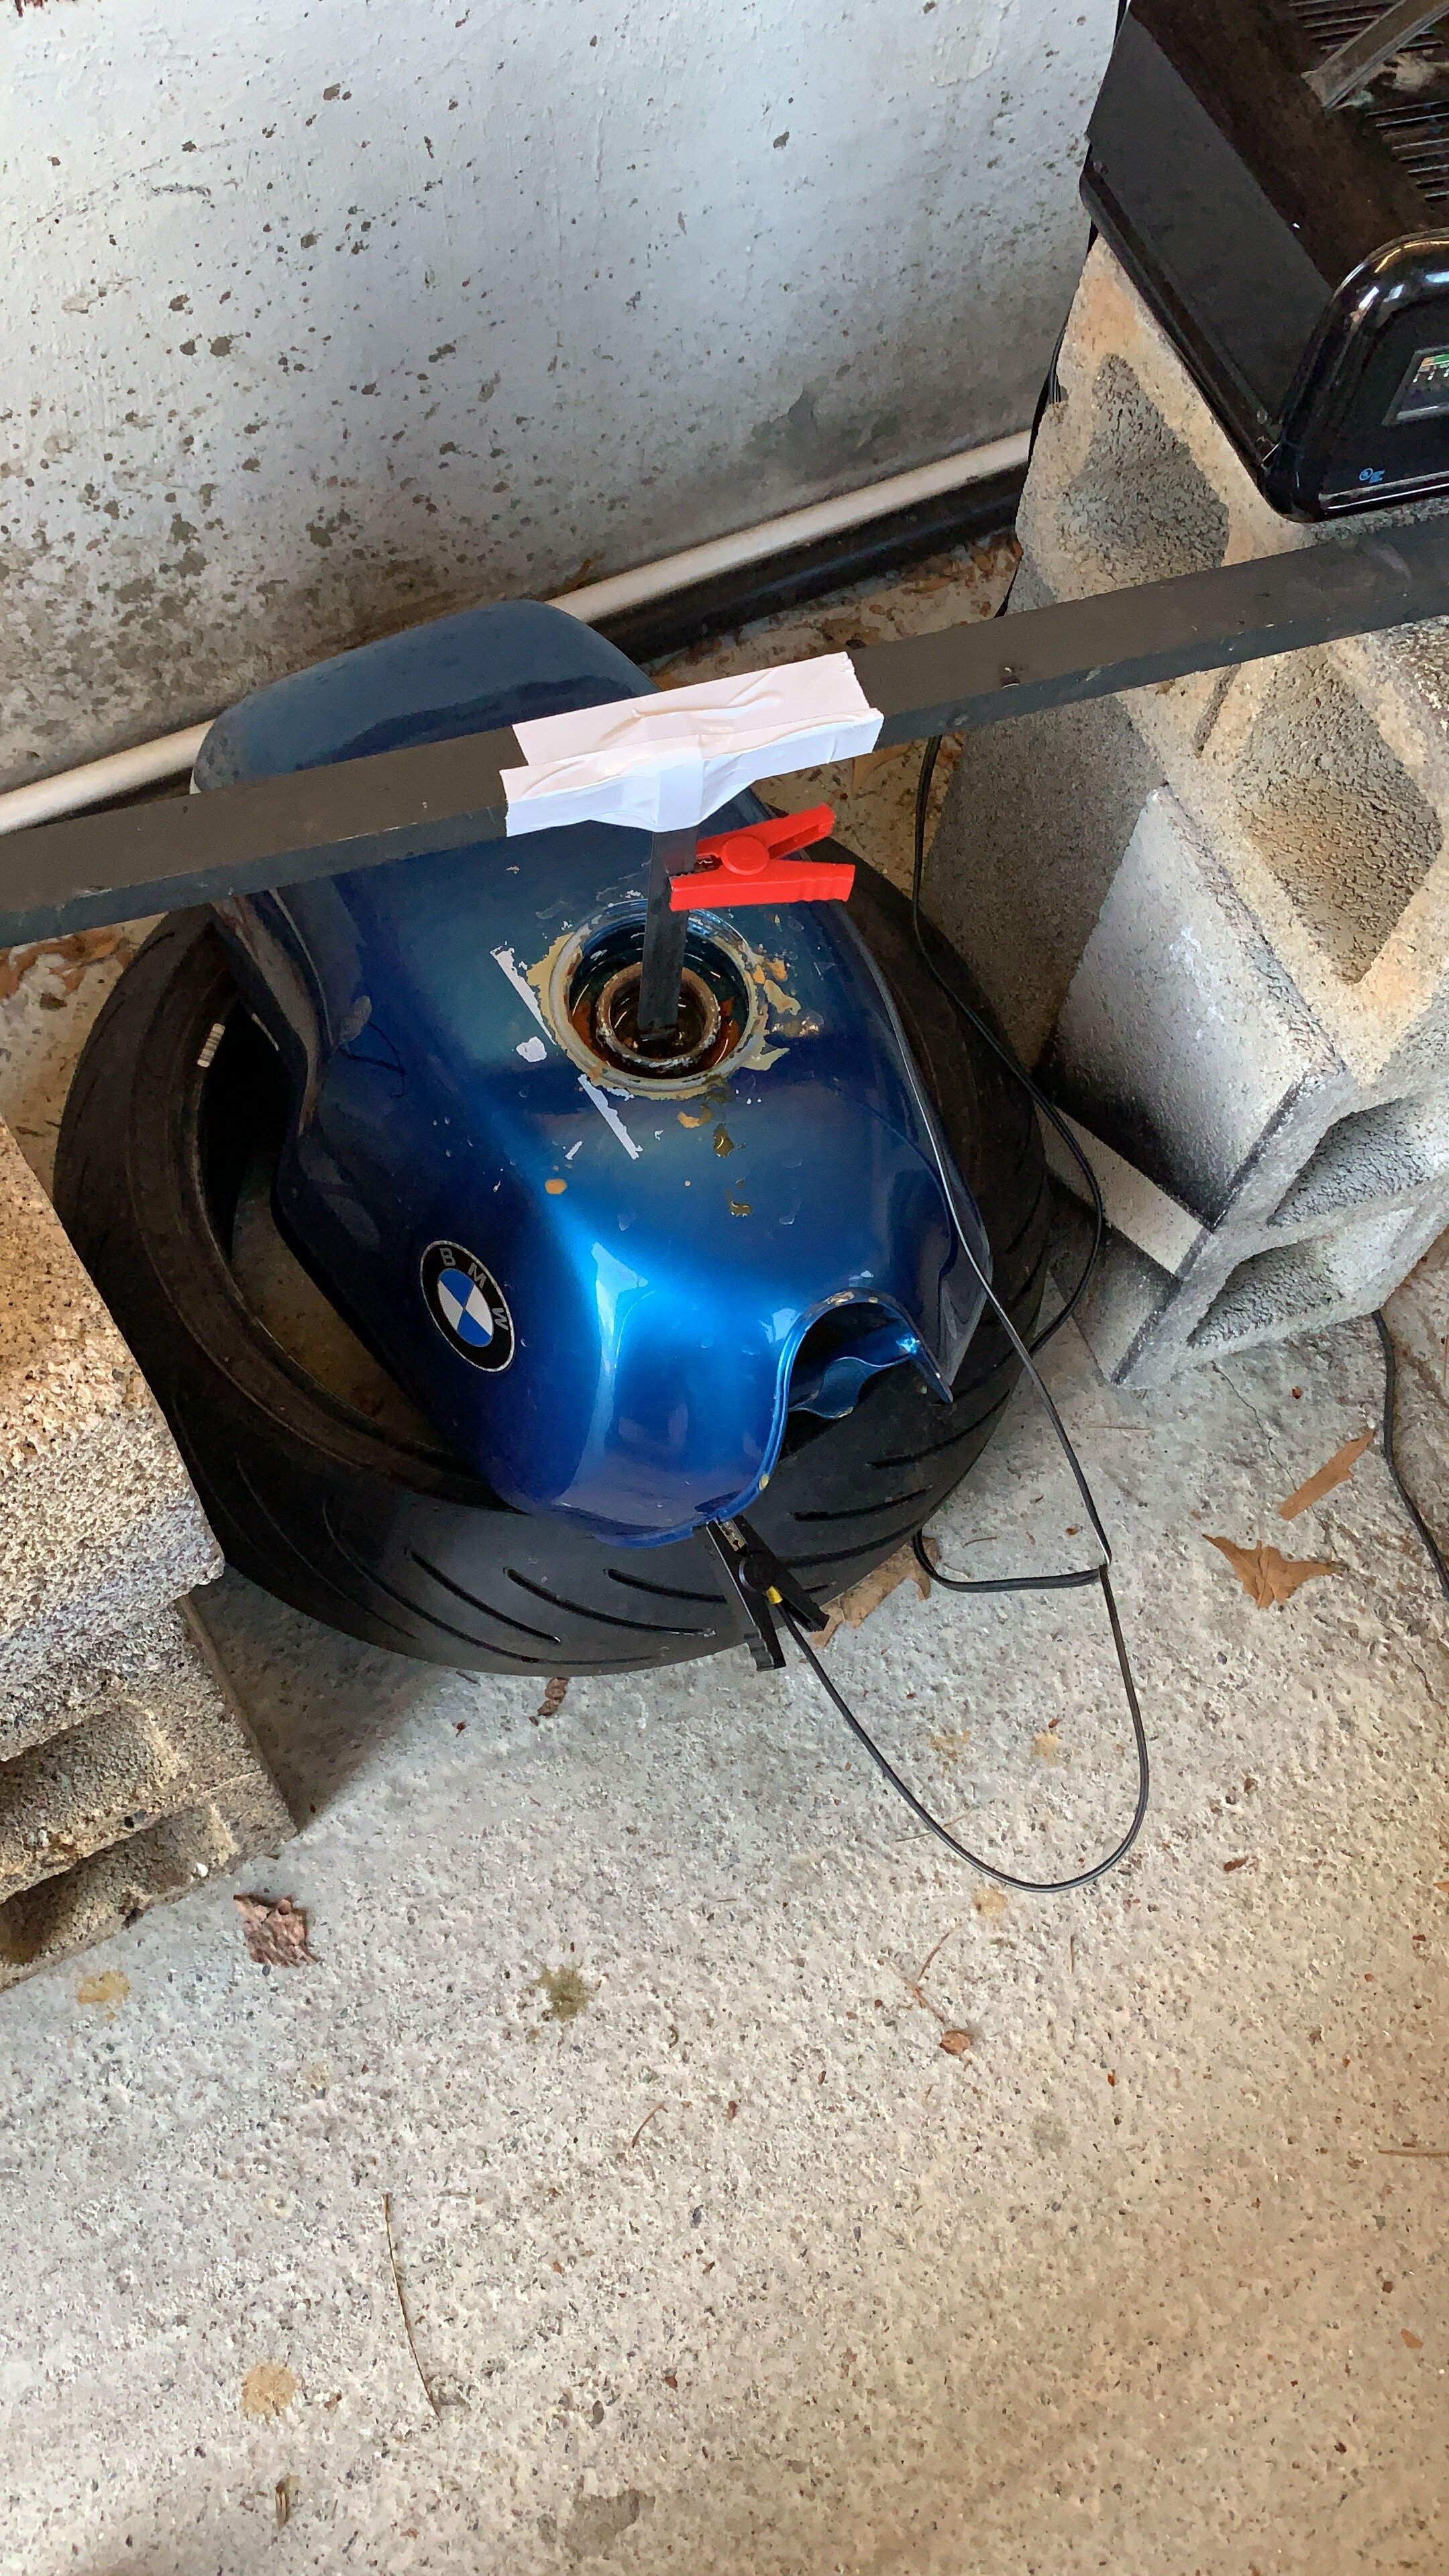
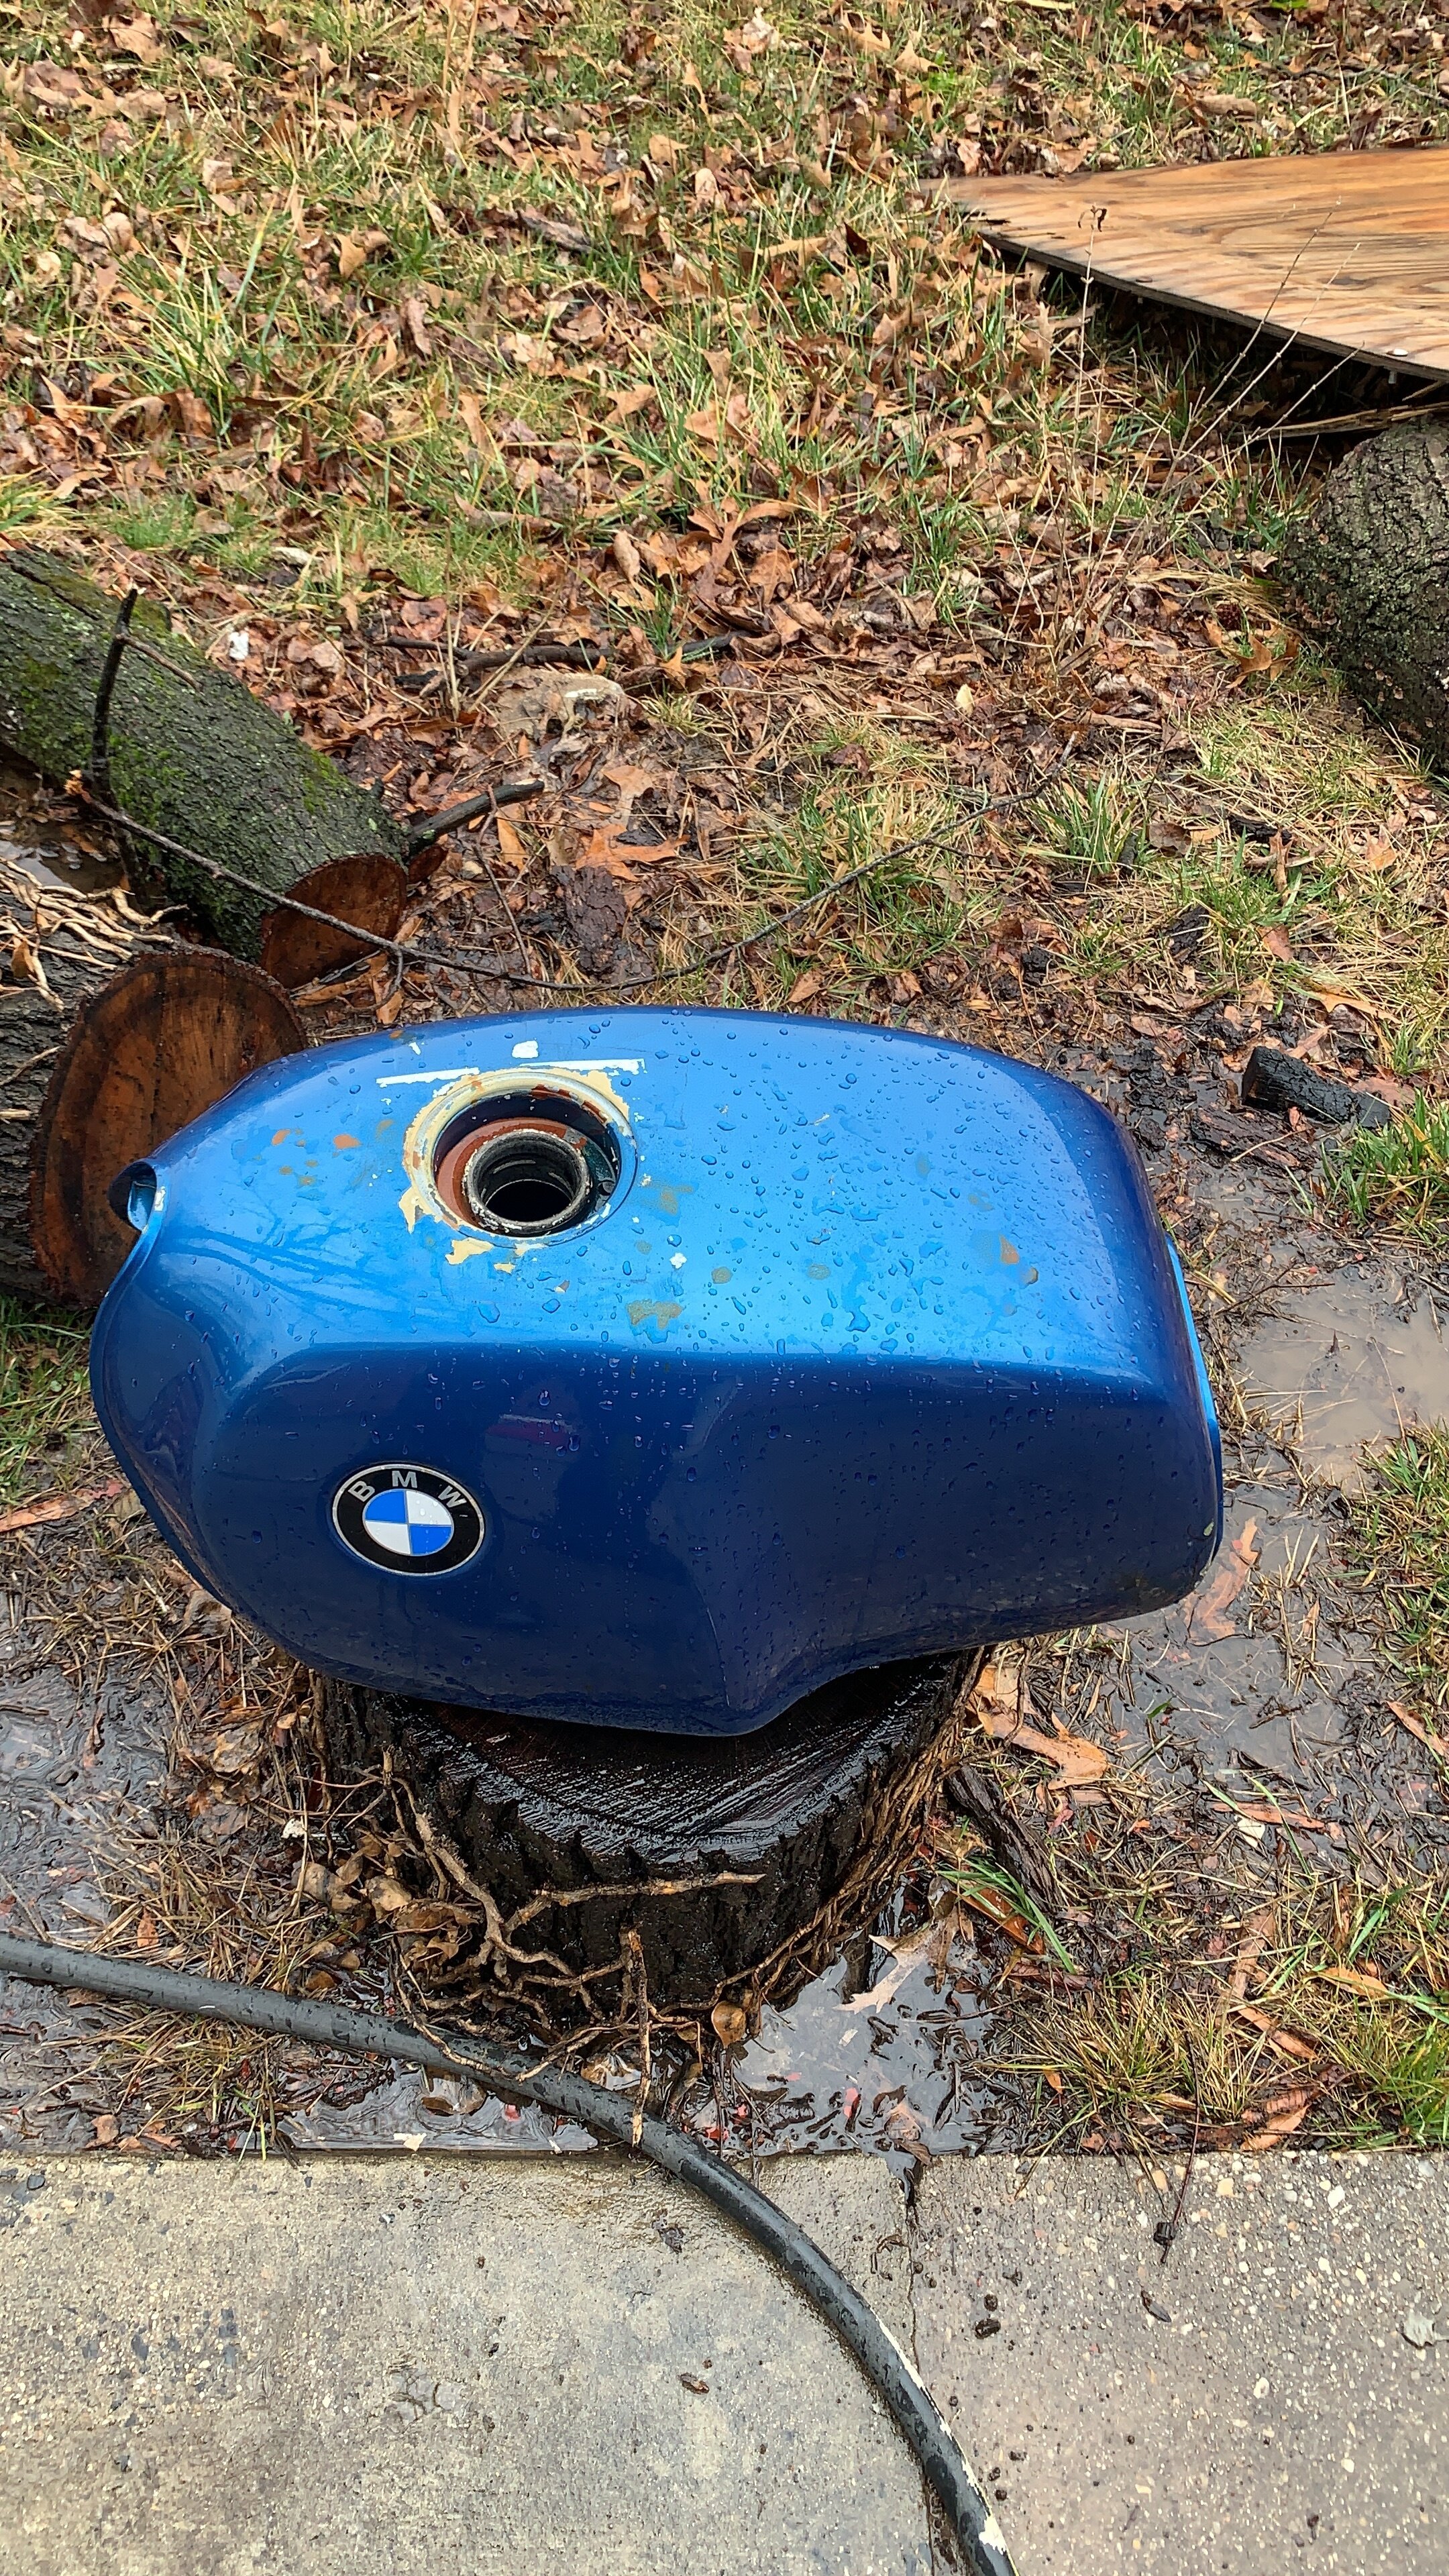
The gas tank is in decent condition, but the liner inside has came off. This was probably the biggest learning curve for me in coating this gas tank. Attempting to strip the liner initially I used paint stripper thinking vinegar would not do the job. After using a quart of high quality paint thinner and got no where with the liner, I end up buying a gallon vinegar. To my surprise it lifted the tank liner off like it was magic. I went up buying 4 more gallon to fill it all the way to the top. I bought them at shoppers at 3.50 cents a gallon only to find out home depot sells them at 1.80 cents a gallon. I reused the vinegar at least 3 times, each time taking more and more liner out. Once the liner is out, I use electrolysis to derust, as i had the washing soda, and distill water is basically free. That lasted for a day or two, and I got most of the rust out.
Finally I used a gallon of concrete cleaner to clean and etched the surface on the inside. It was very difficult to clean out the remaining residue, cause there seem to be just one little more of a liner peeling off. It took me a good week and half and about 120 dollars including the tank sealer from POR 15. The inside is now clean and dry and lined.

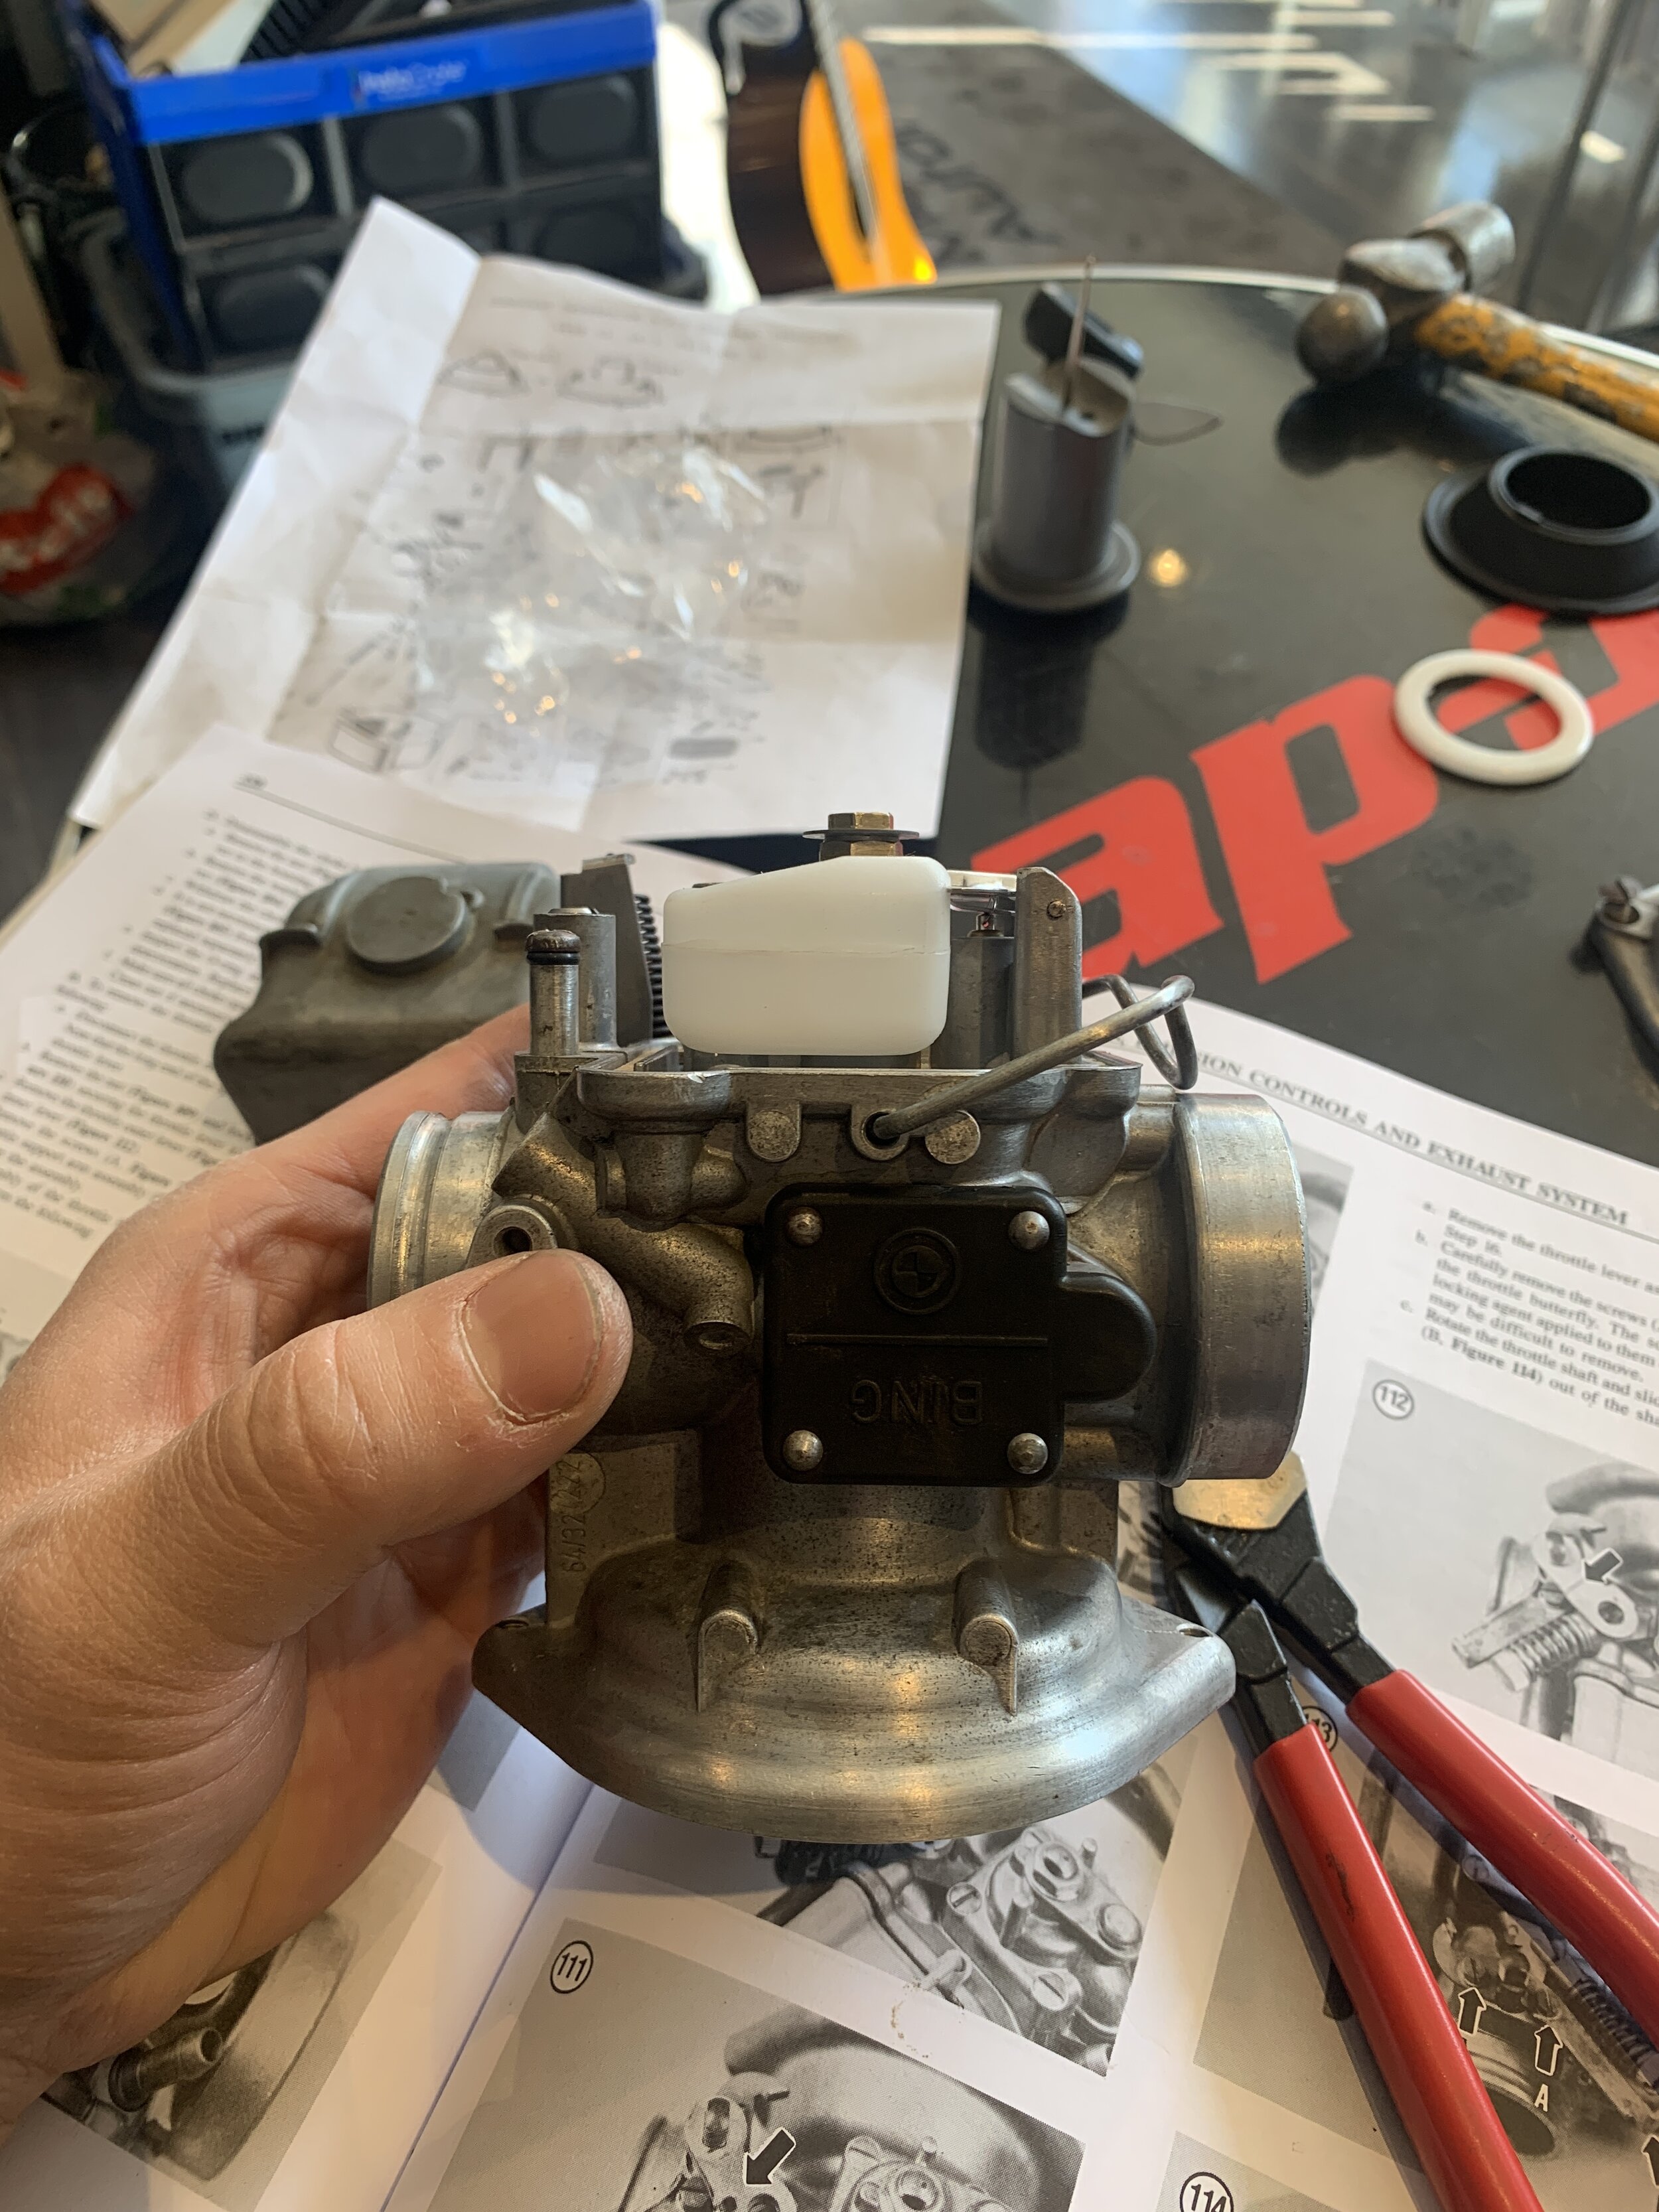
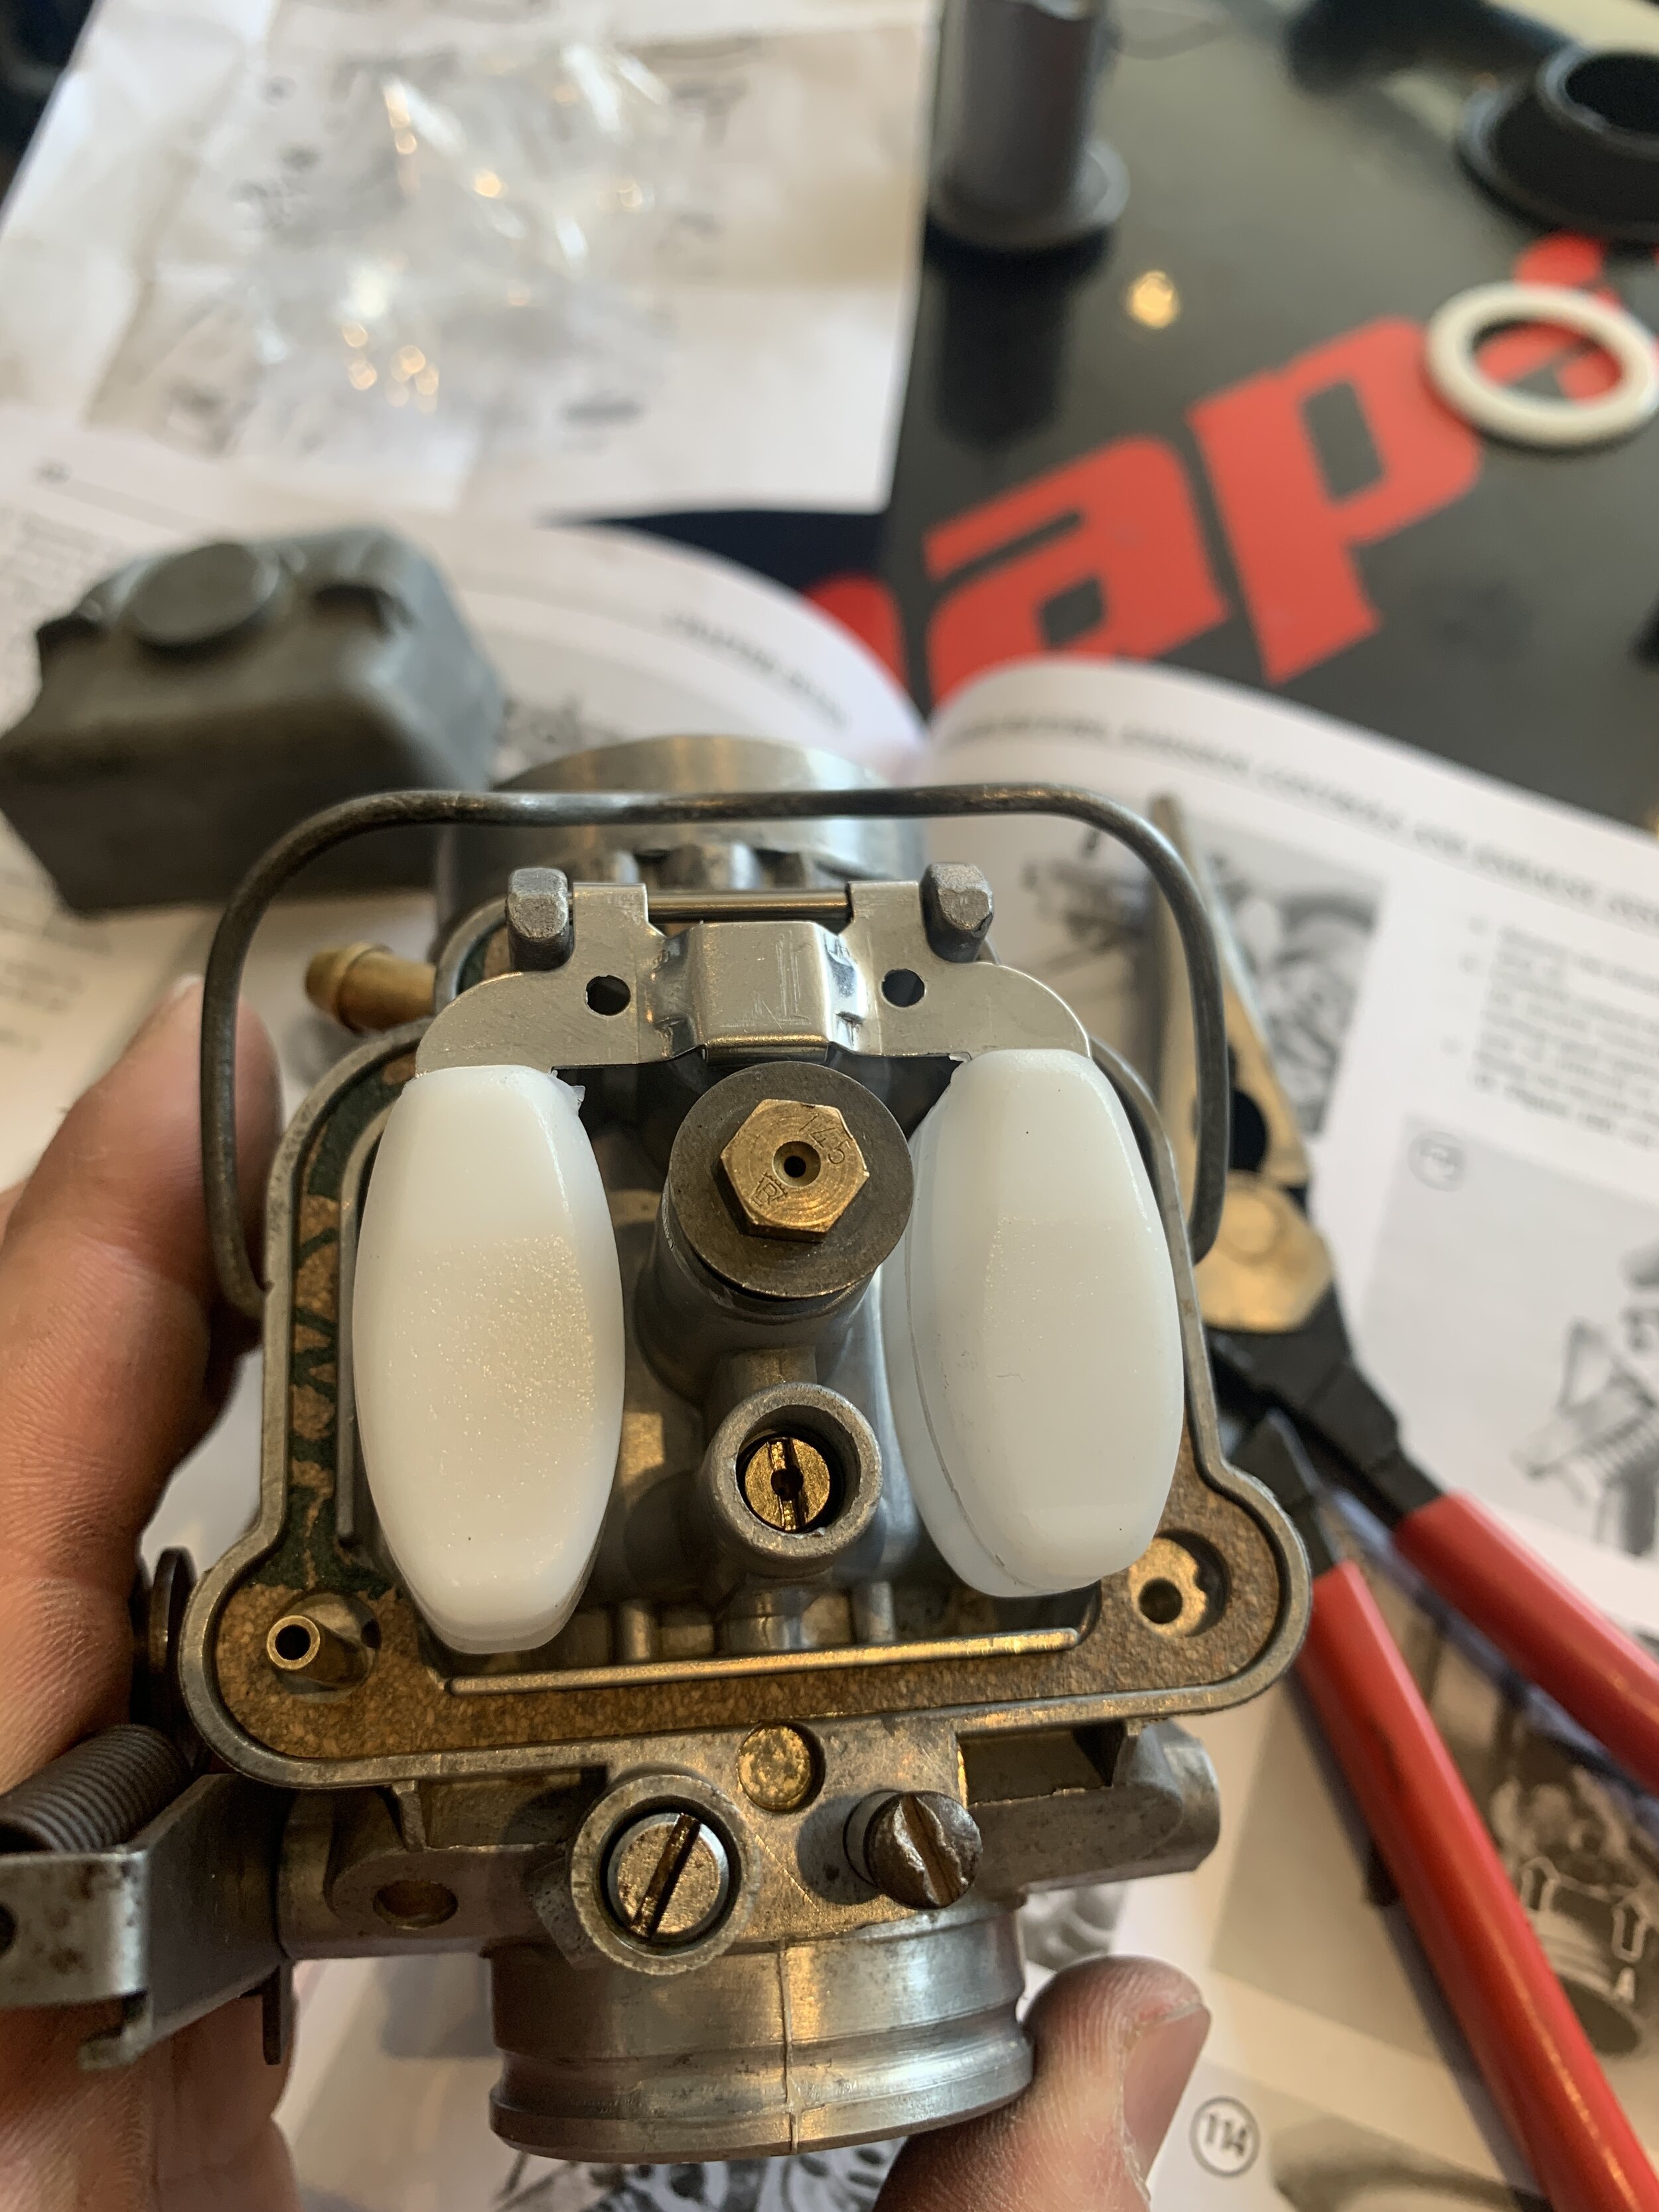
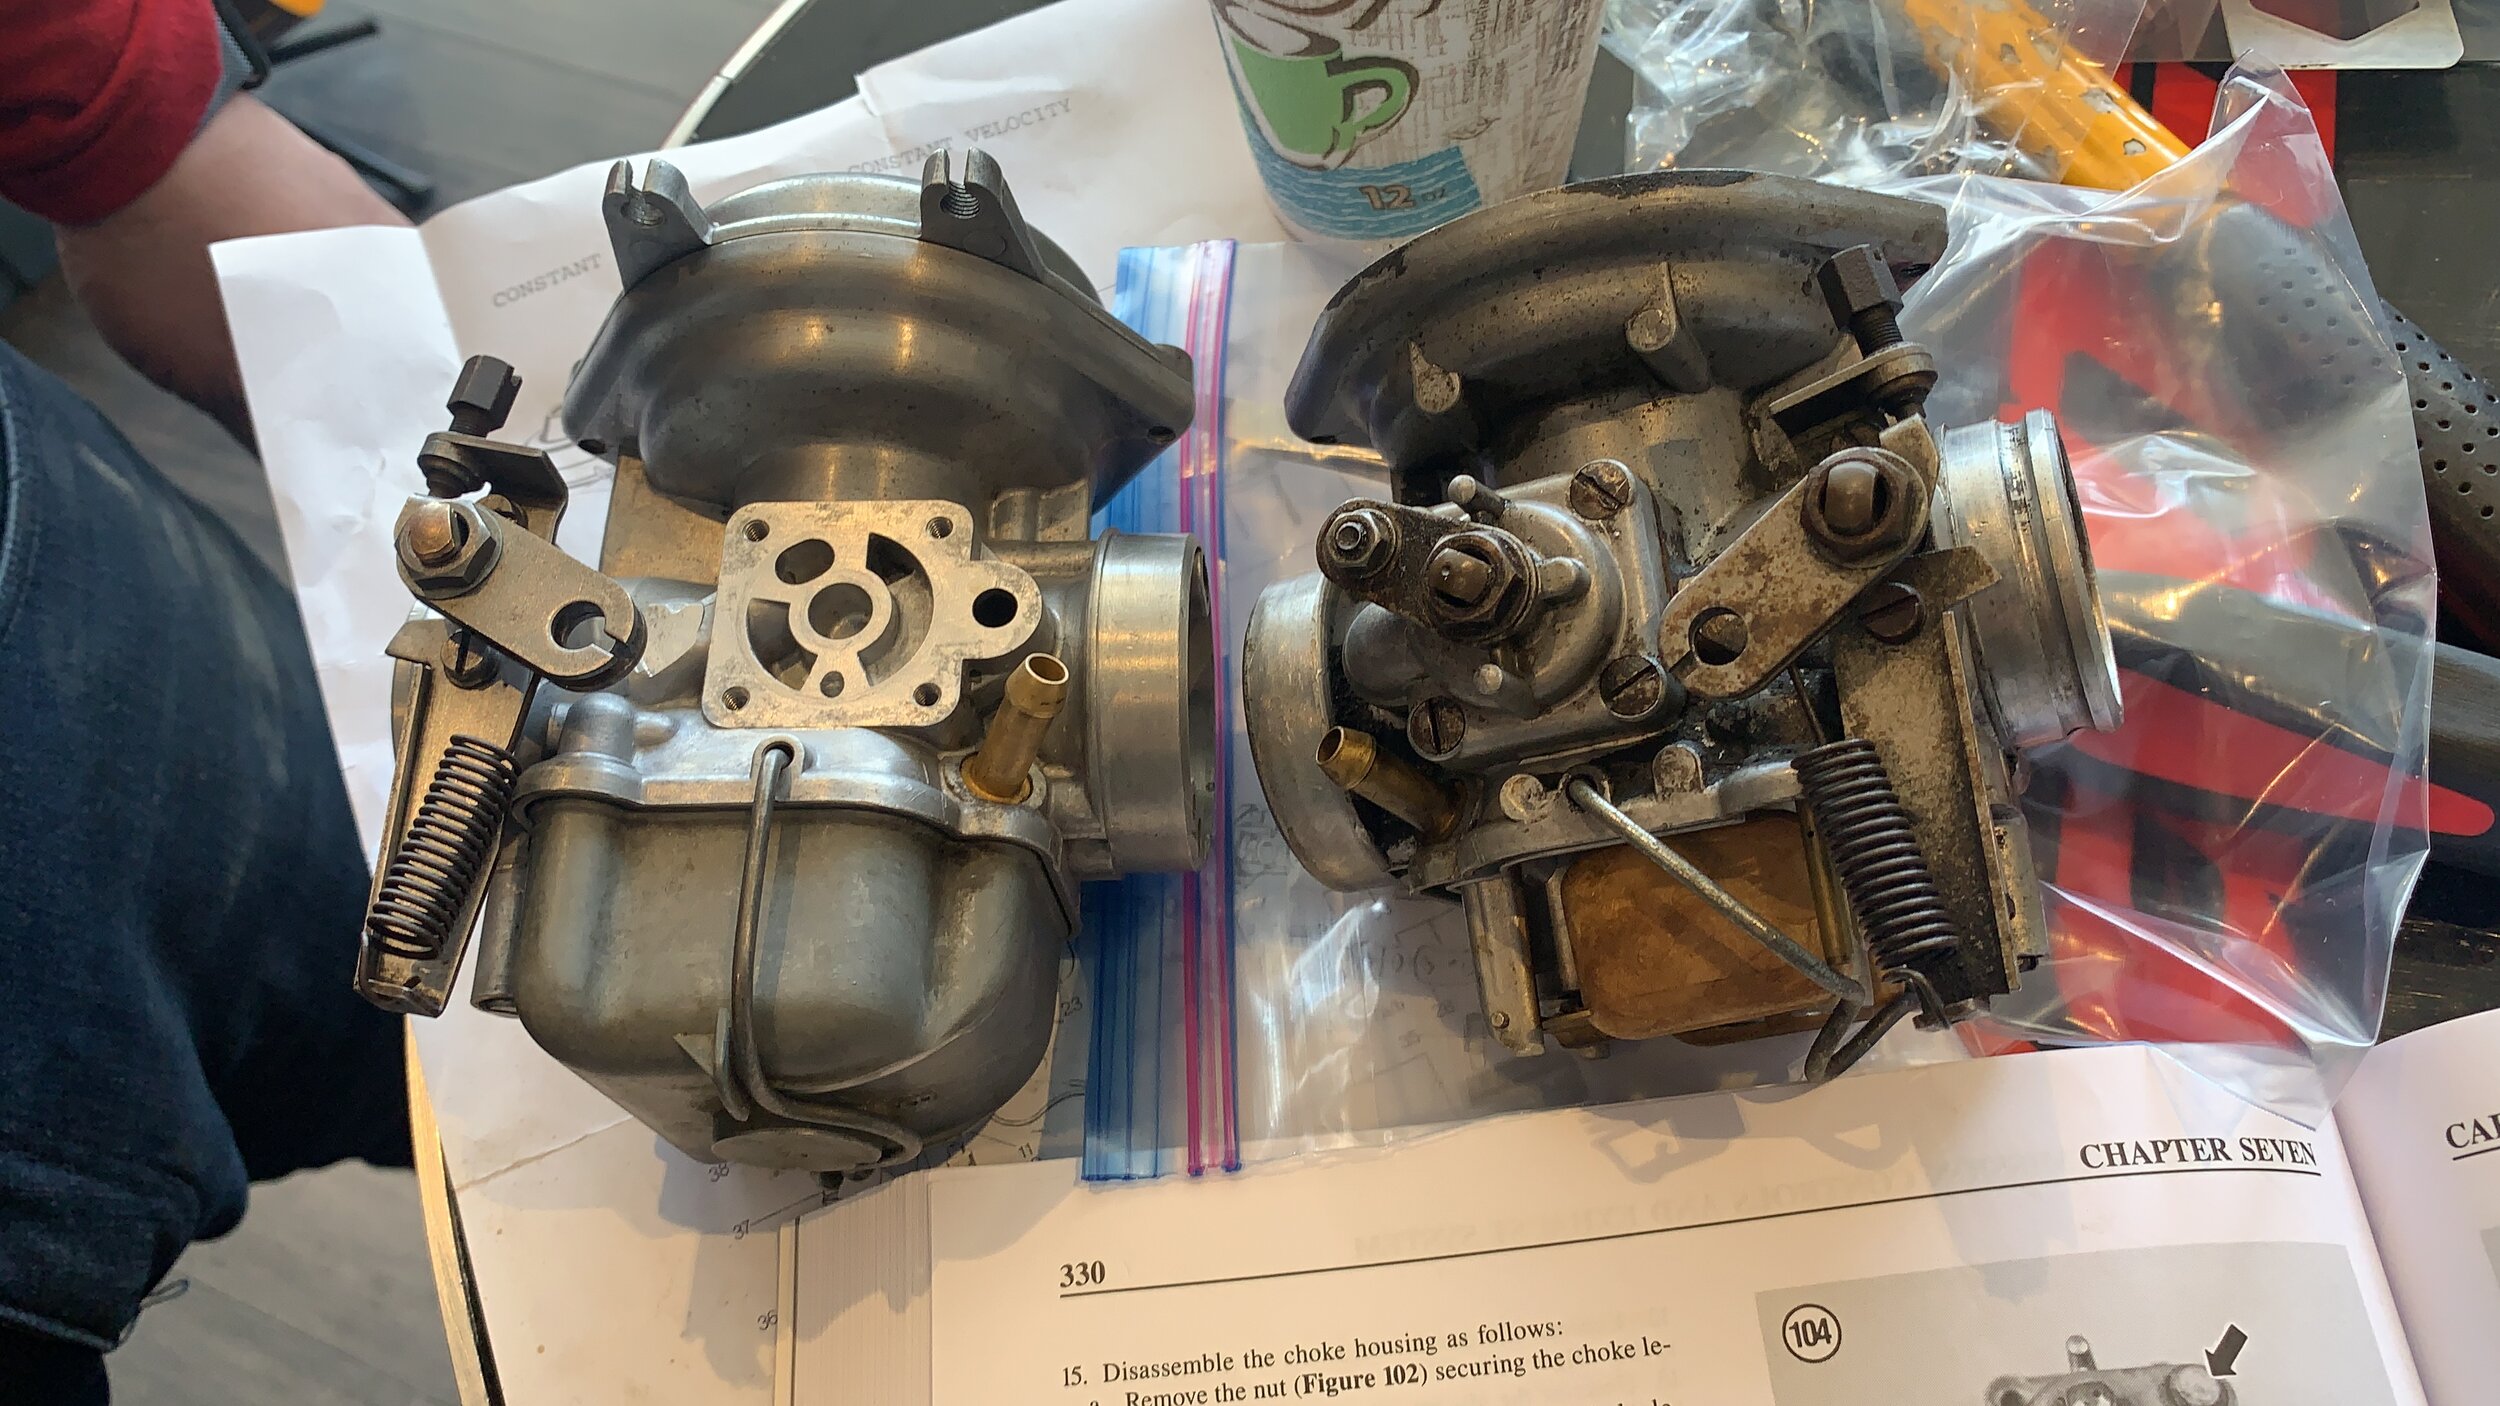
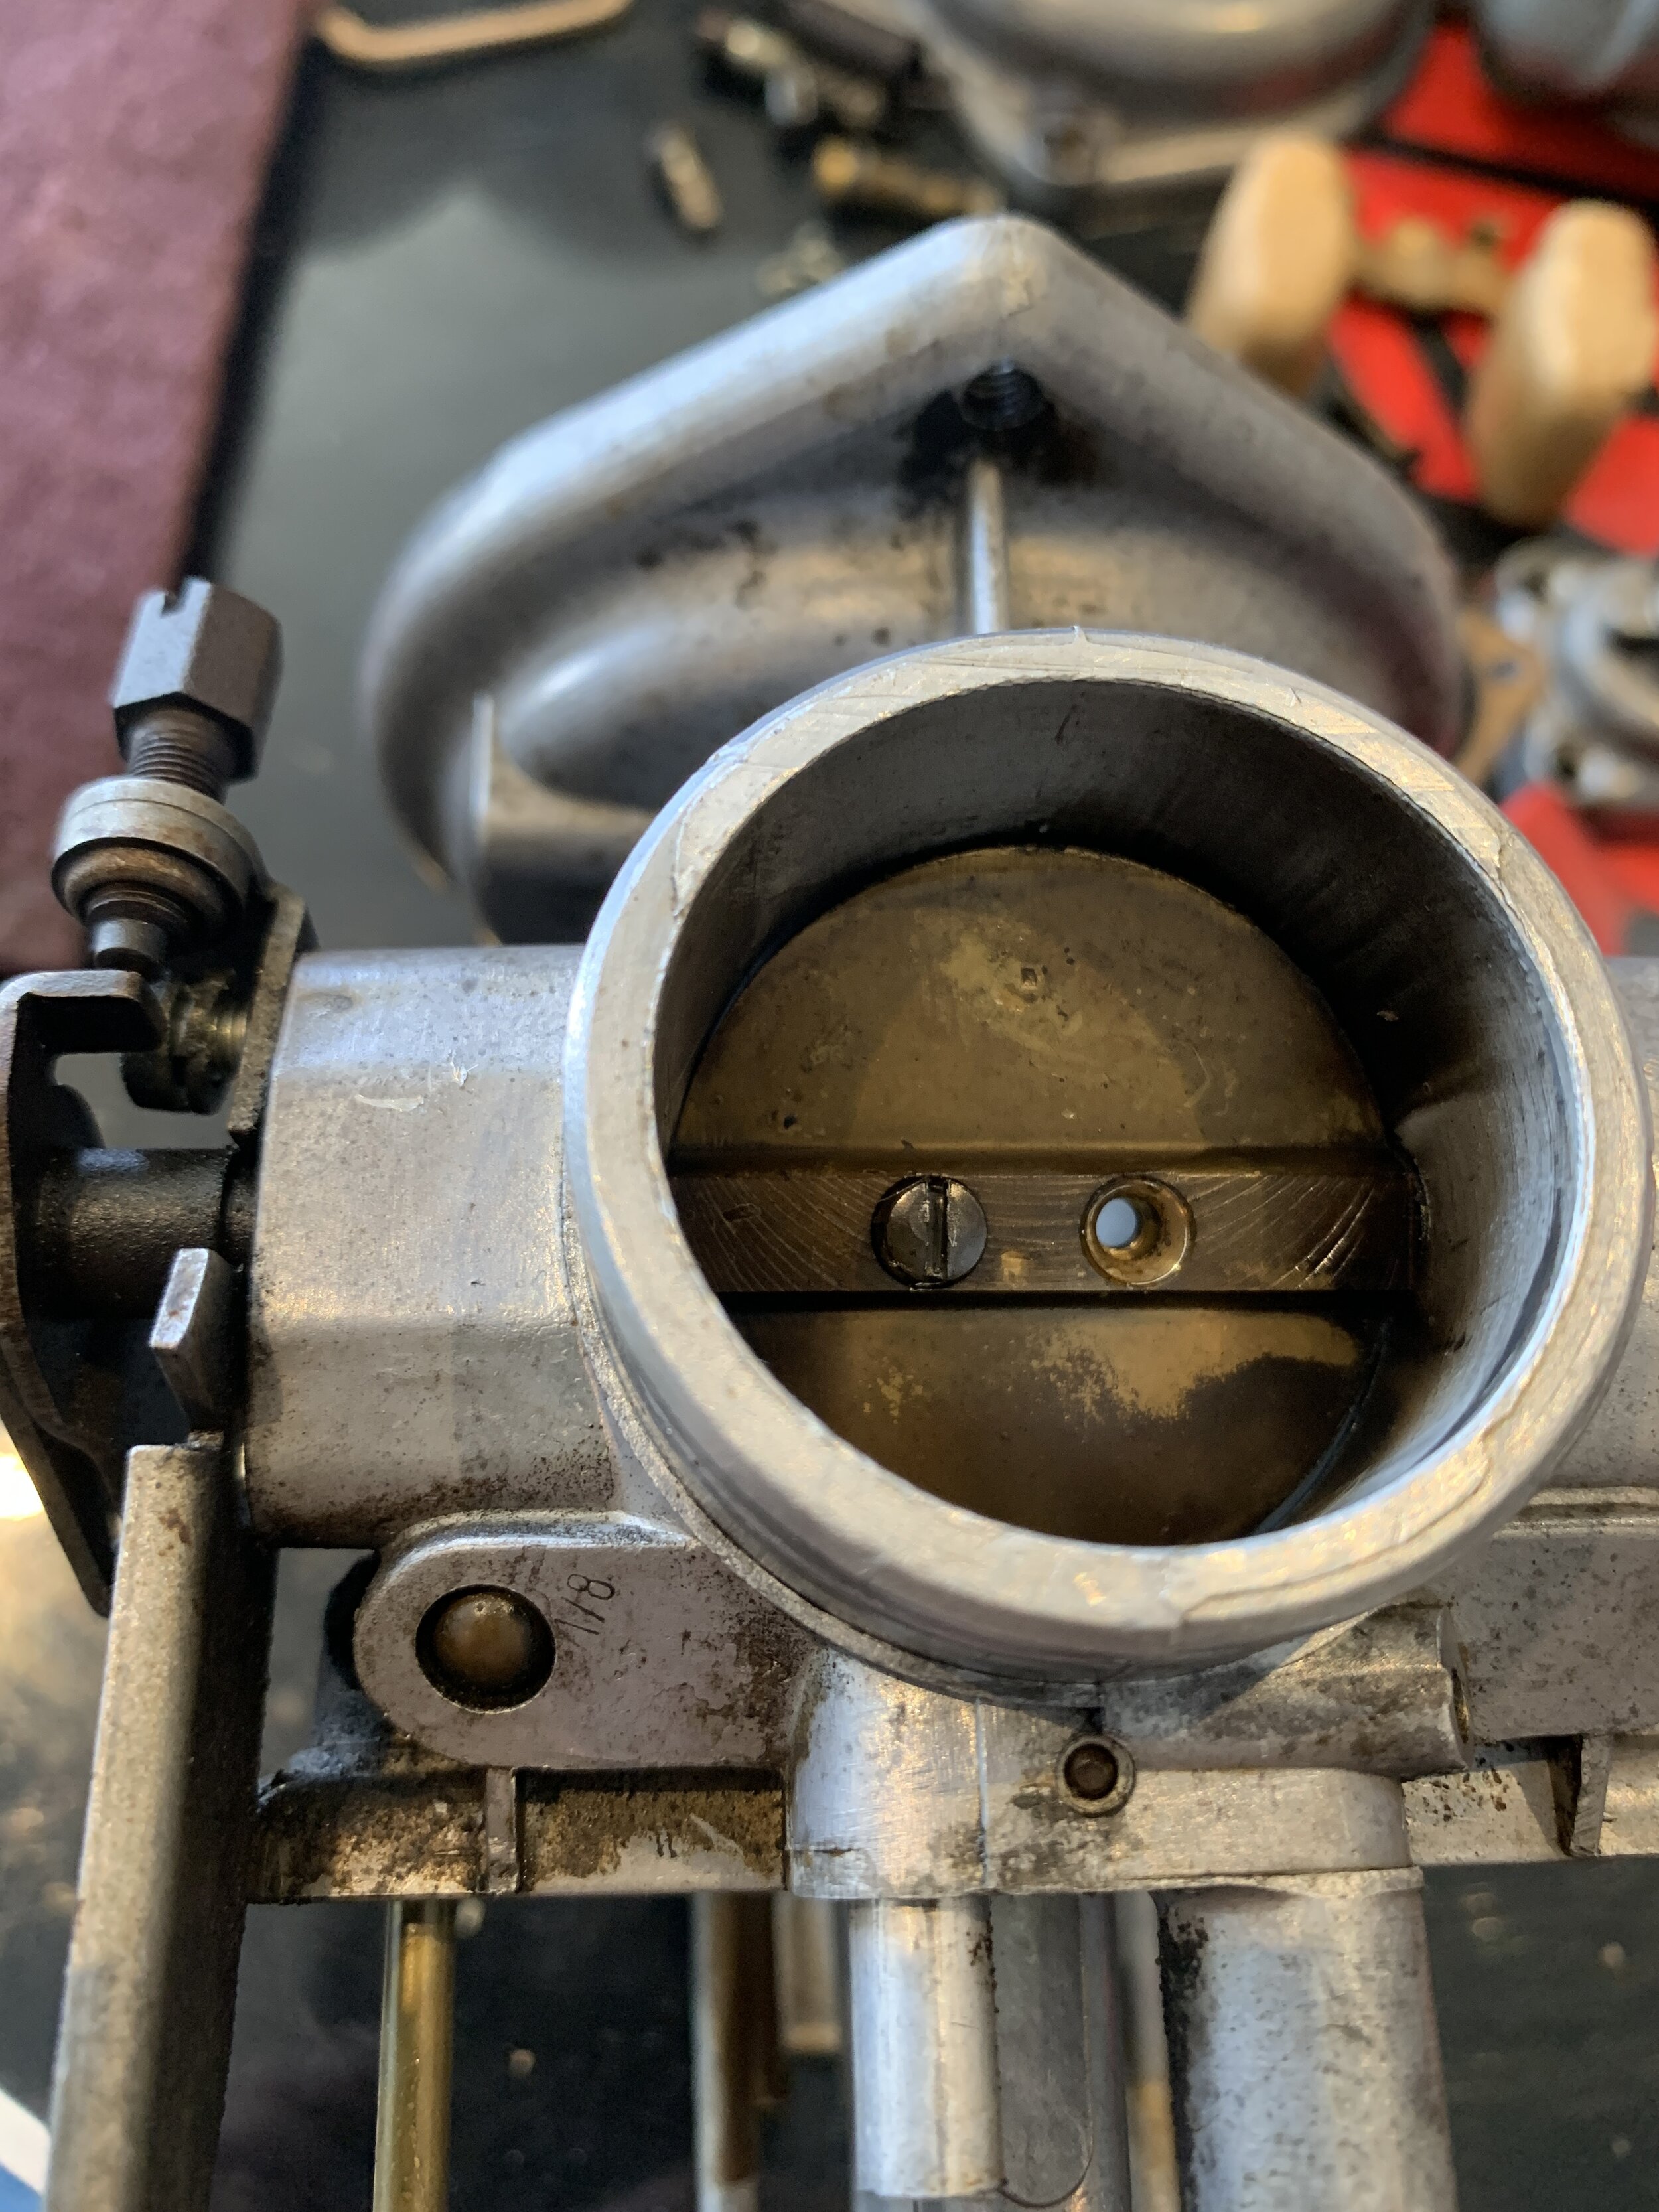
Next I rebuilt both carburetors. I first started with the gaskets, and then when I open it up, I saw that the floats needs replacement. I ended up replacing everything. Ironically buying the parts individually are around 150 dollars, if you buy a kit from a dealership, with the same thing, it’ll be close to 300 dollars. Bing carb in incredibly simple and easy to rebuild.

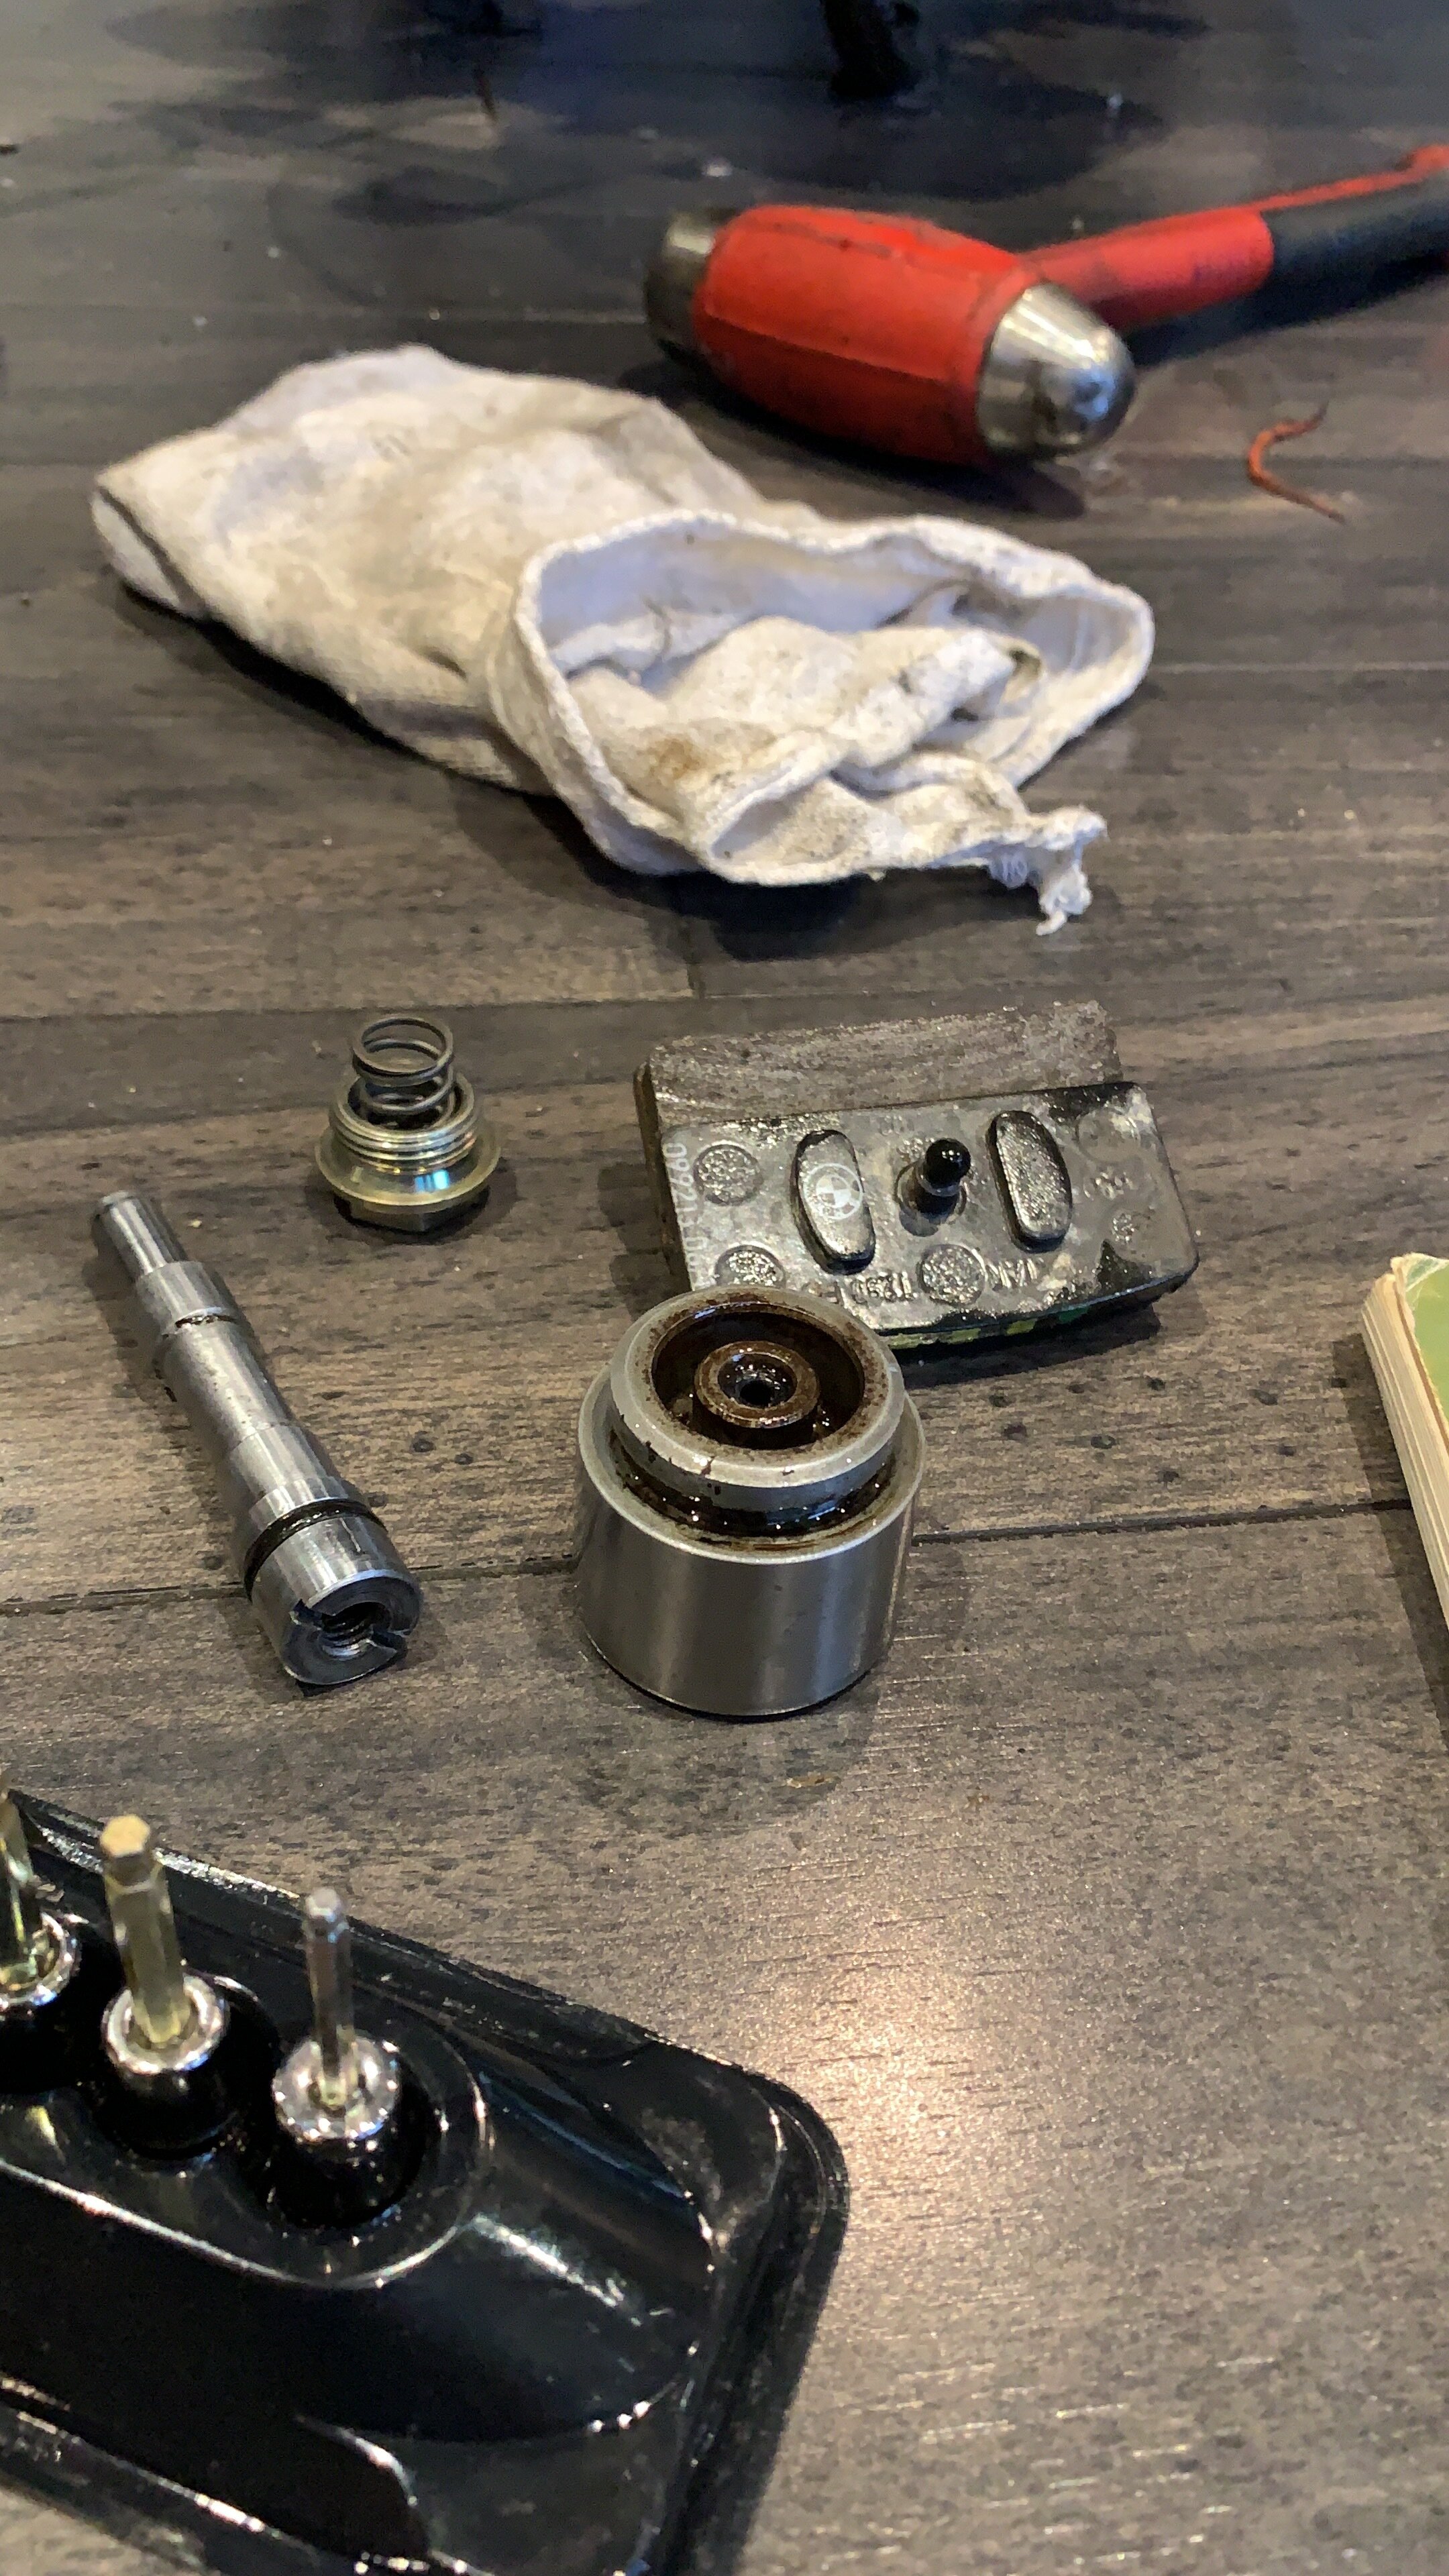
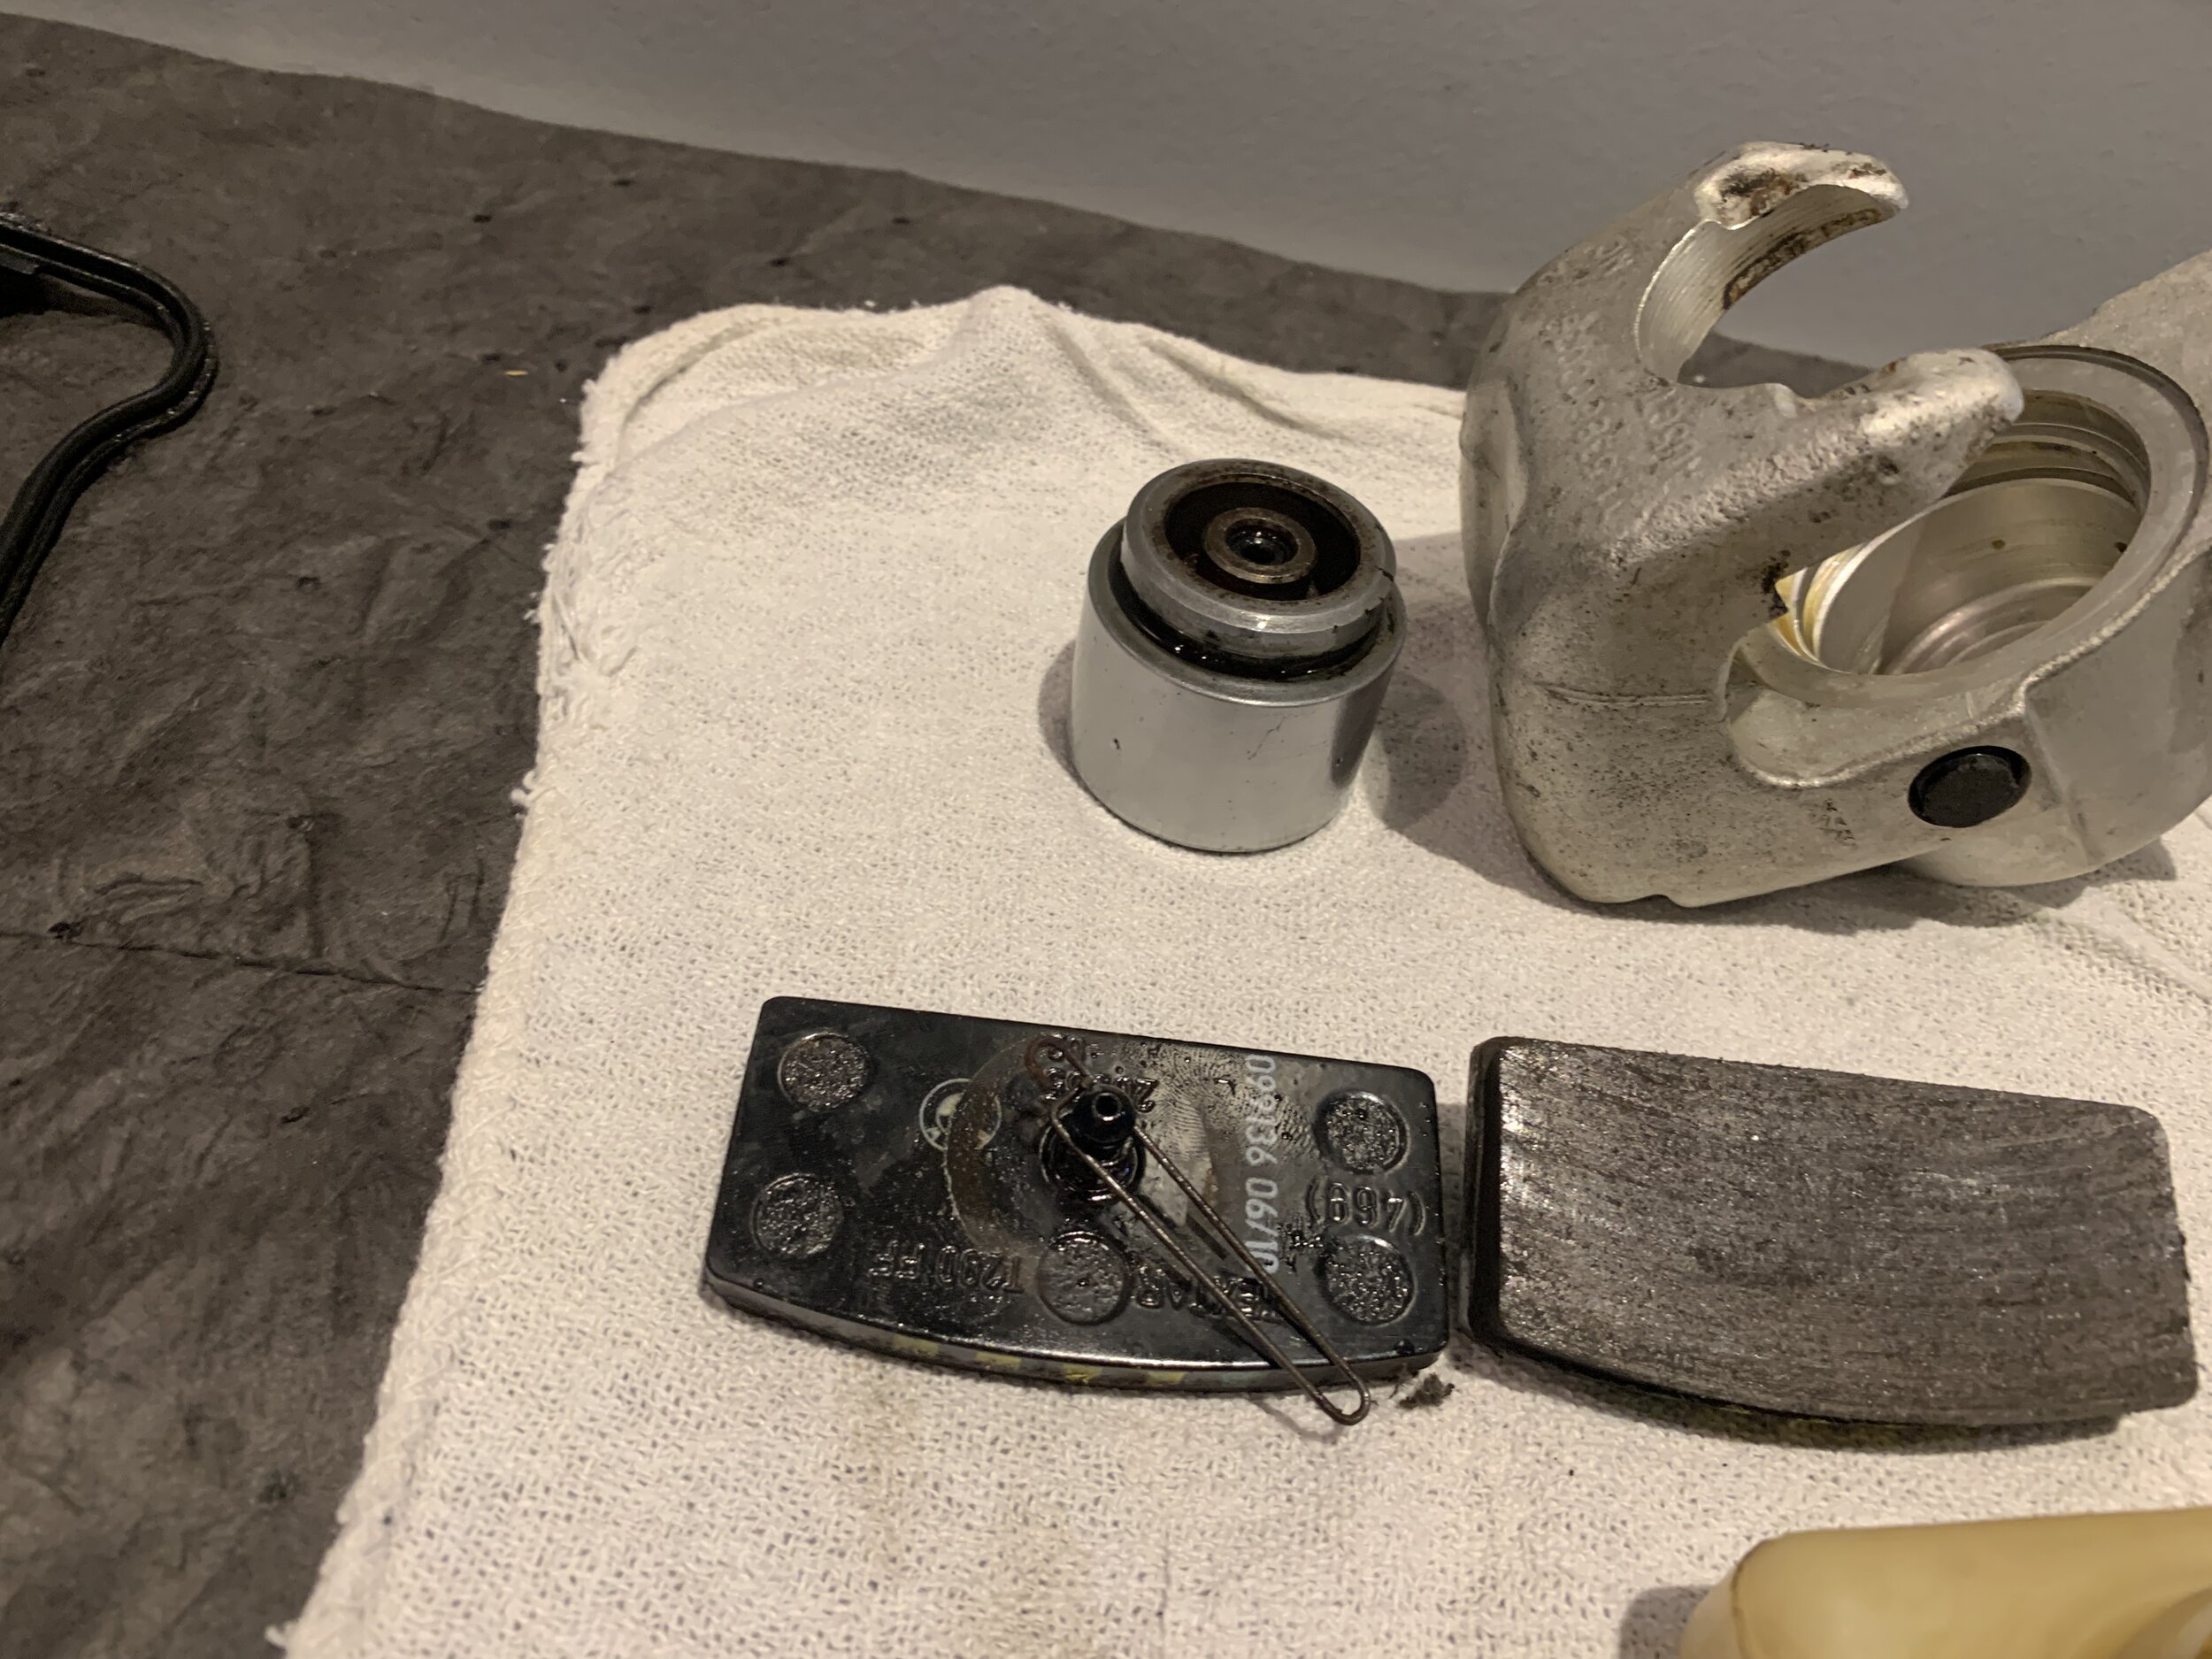
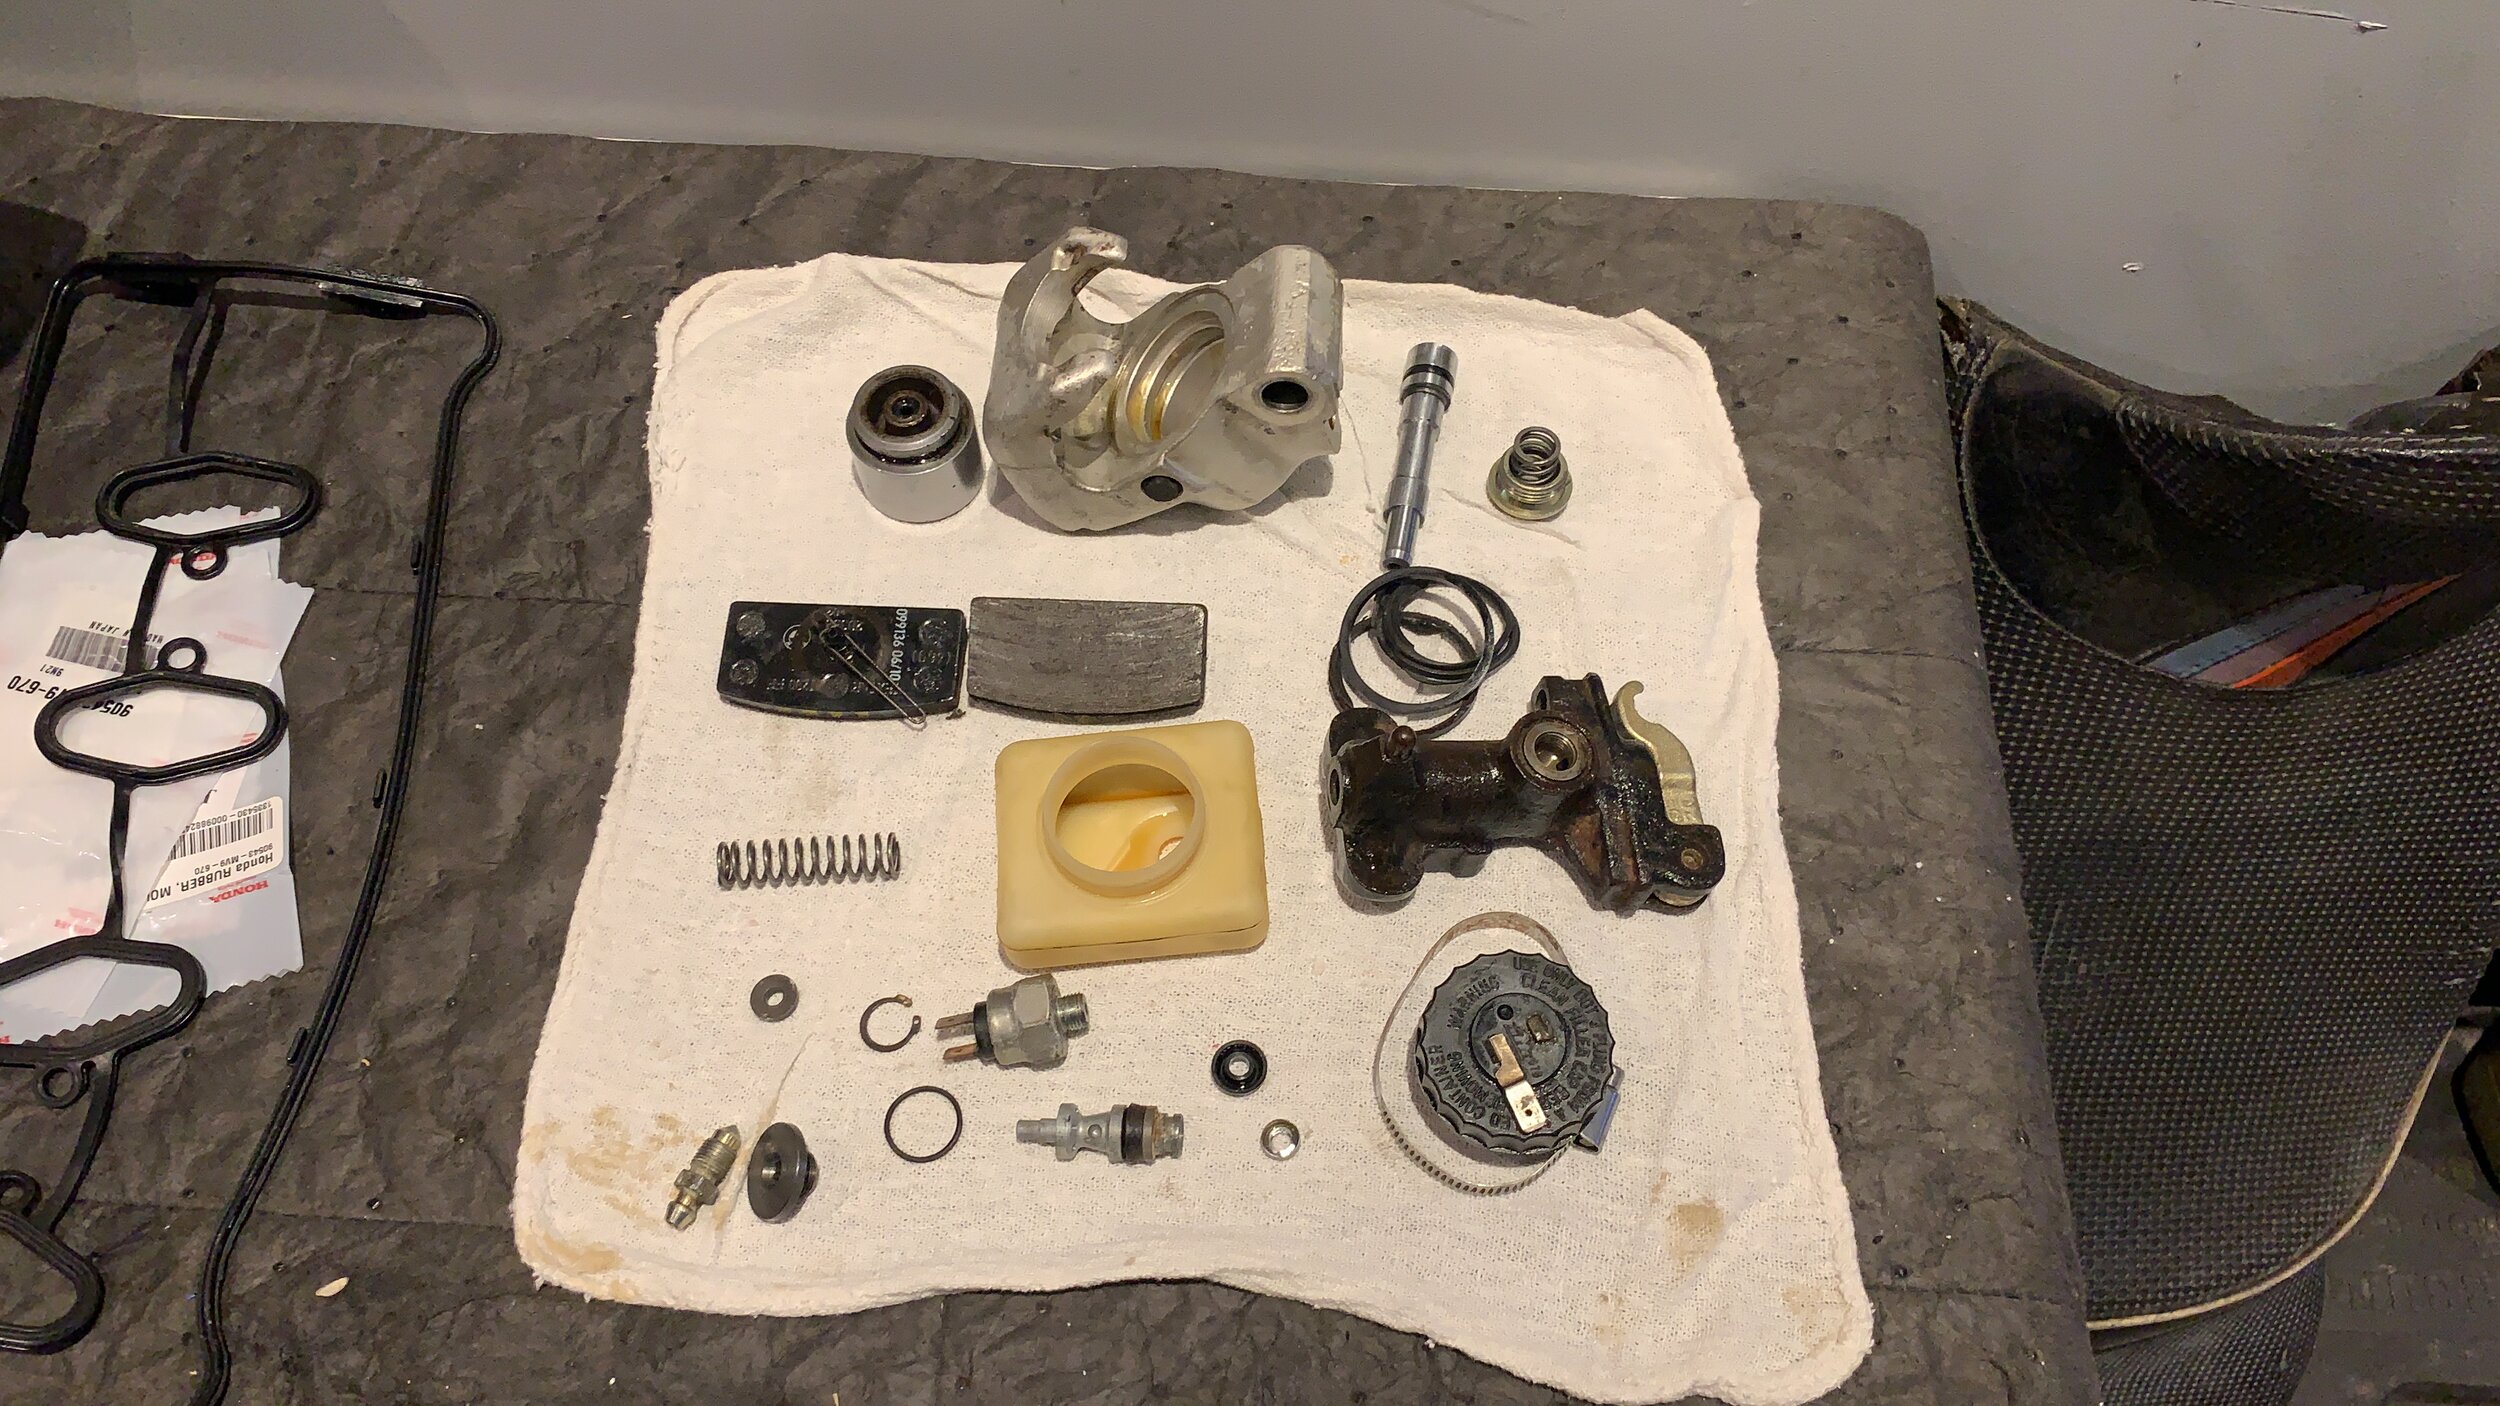
My plan to reuse the master cylinder became a viable cheap option when I found an EBC rotor on Ebay for less than half the price of new, and it only had 500 miles on it. I also painted the caliper as the pistons were good in the caliper and bought a rebuilt kit with new seals and new brake pad. When I bolt the new rotor on the bike, even though its the exact same size as the original, I couldn’t convince myself to use it. It is a tiny rotor on a 500 lb bike, with a single piston sliding caliper that is known to have a wooden feel and does not brake well. In addition, the master cylinder bore was seized when I bought the bike. The inner had some very slight pitting that the only sure way to make sure it seals, is to bore out and sleeve it. Another cost, in addition to an expensive rebuild kit. I just could not do it, especially this was a cafe/ upgrade build. I need to have solid braking if I want to ride this with confidence.
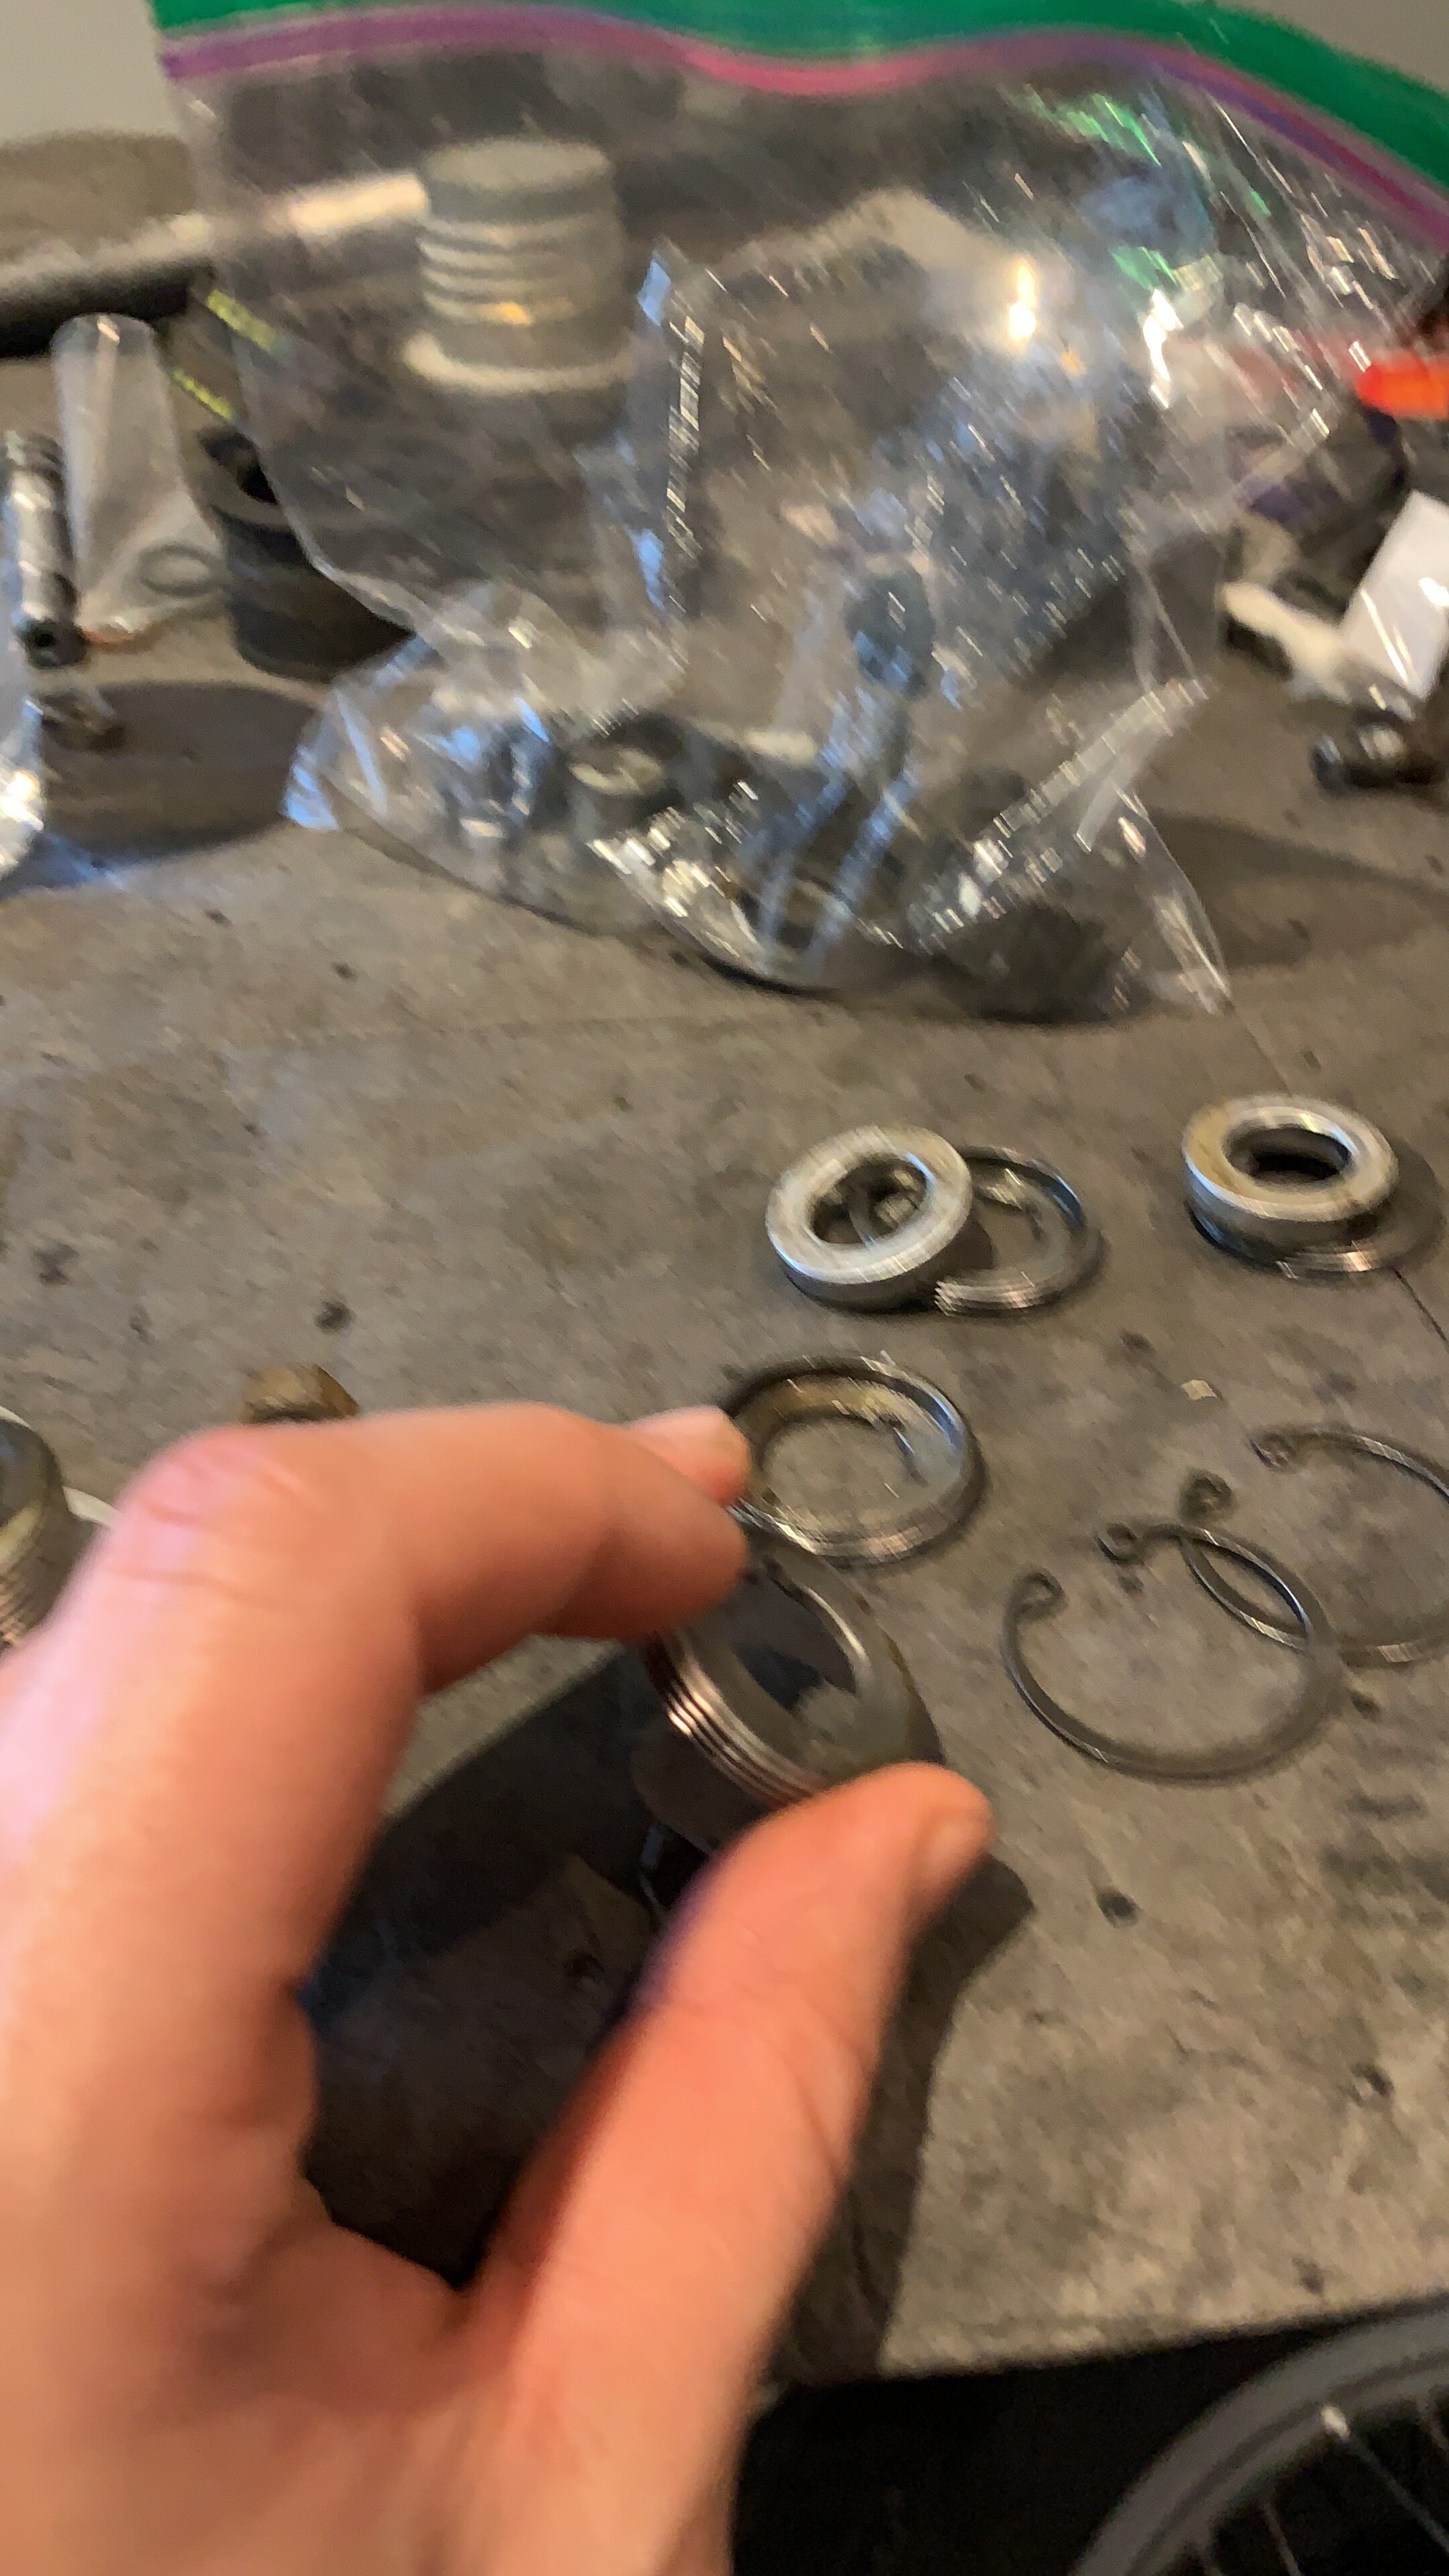
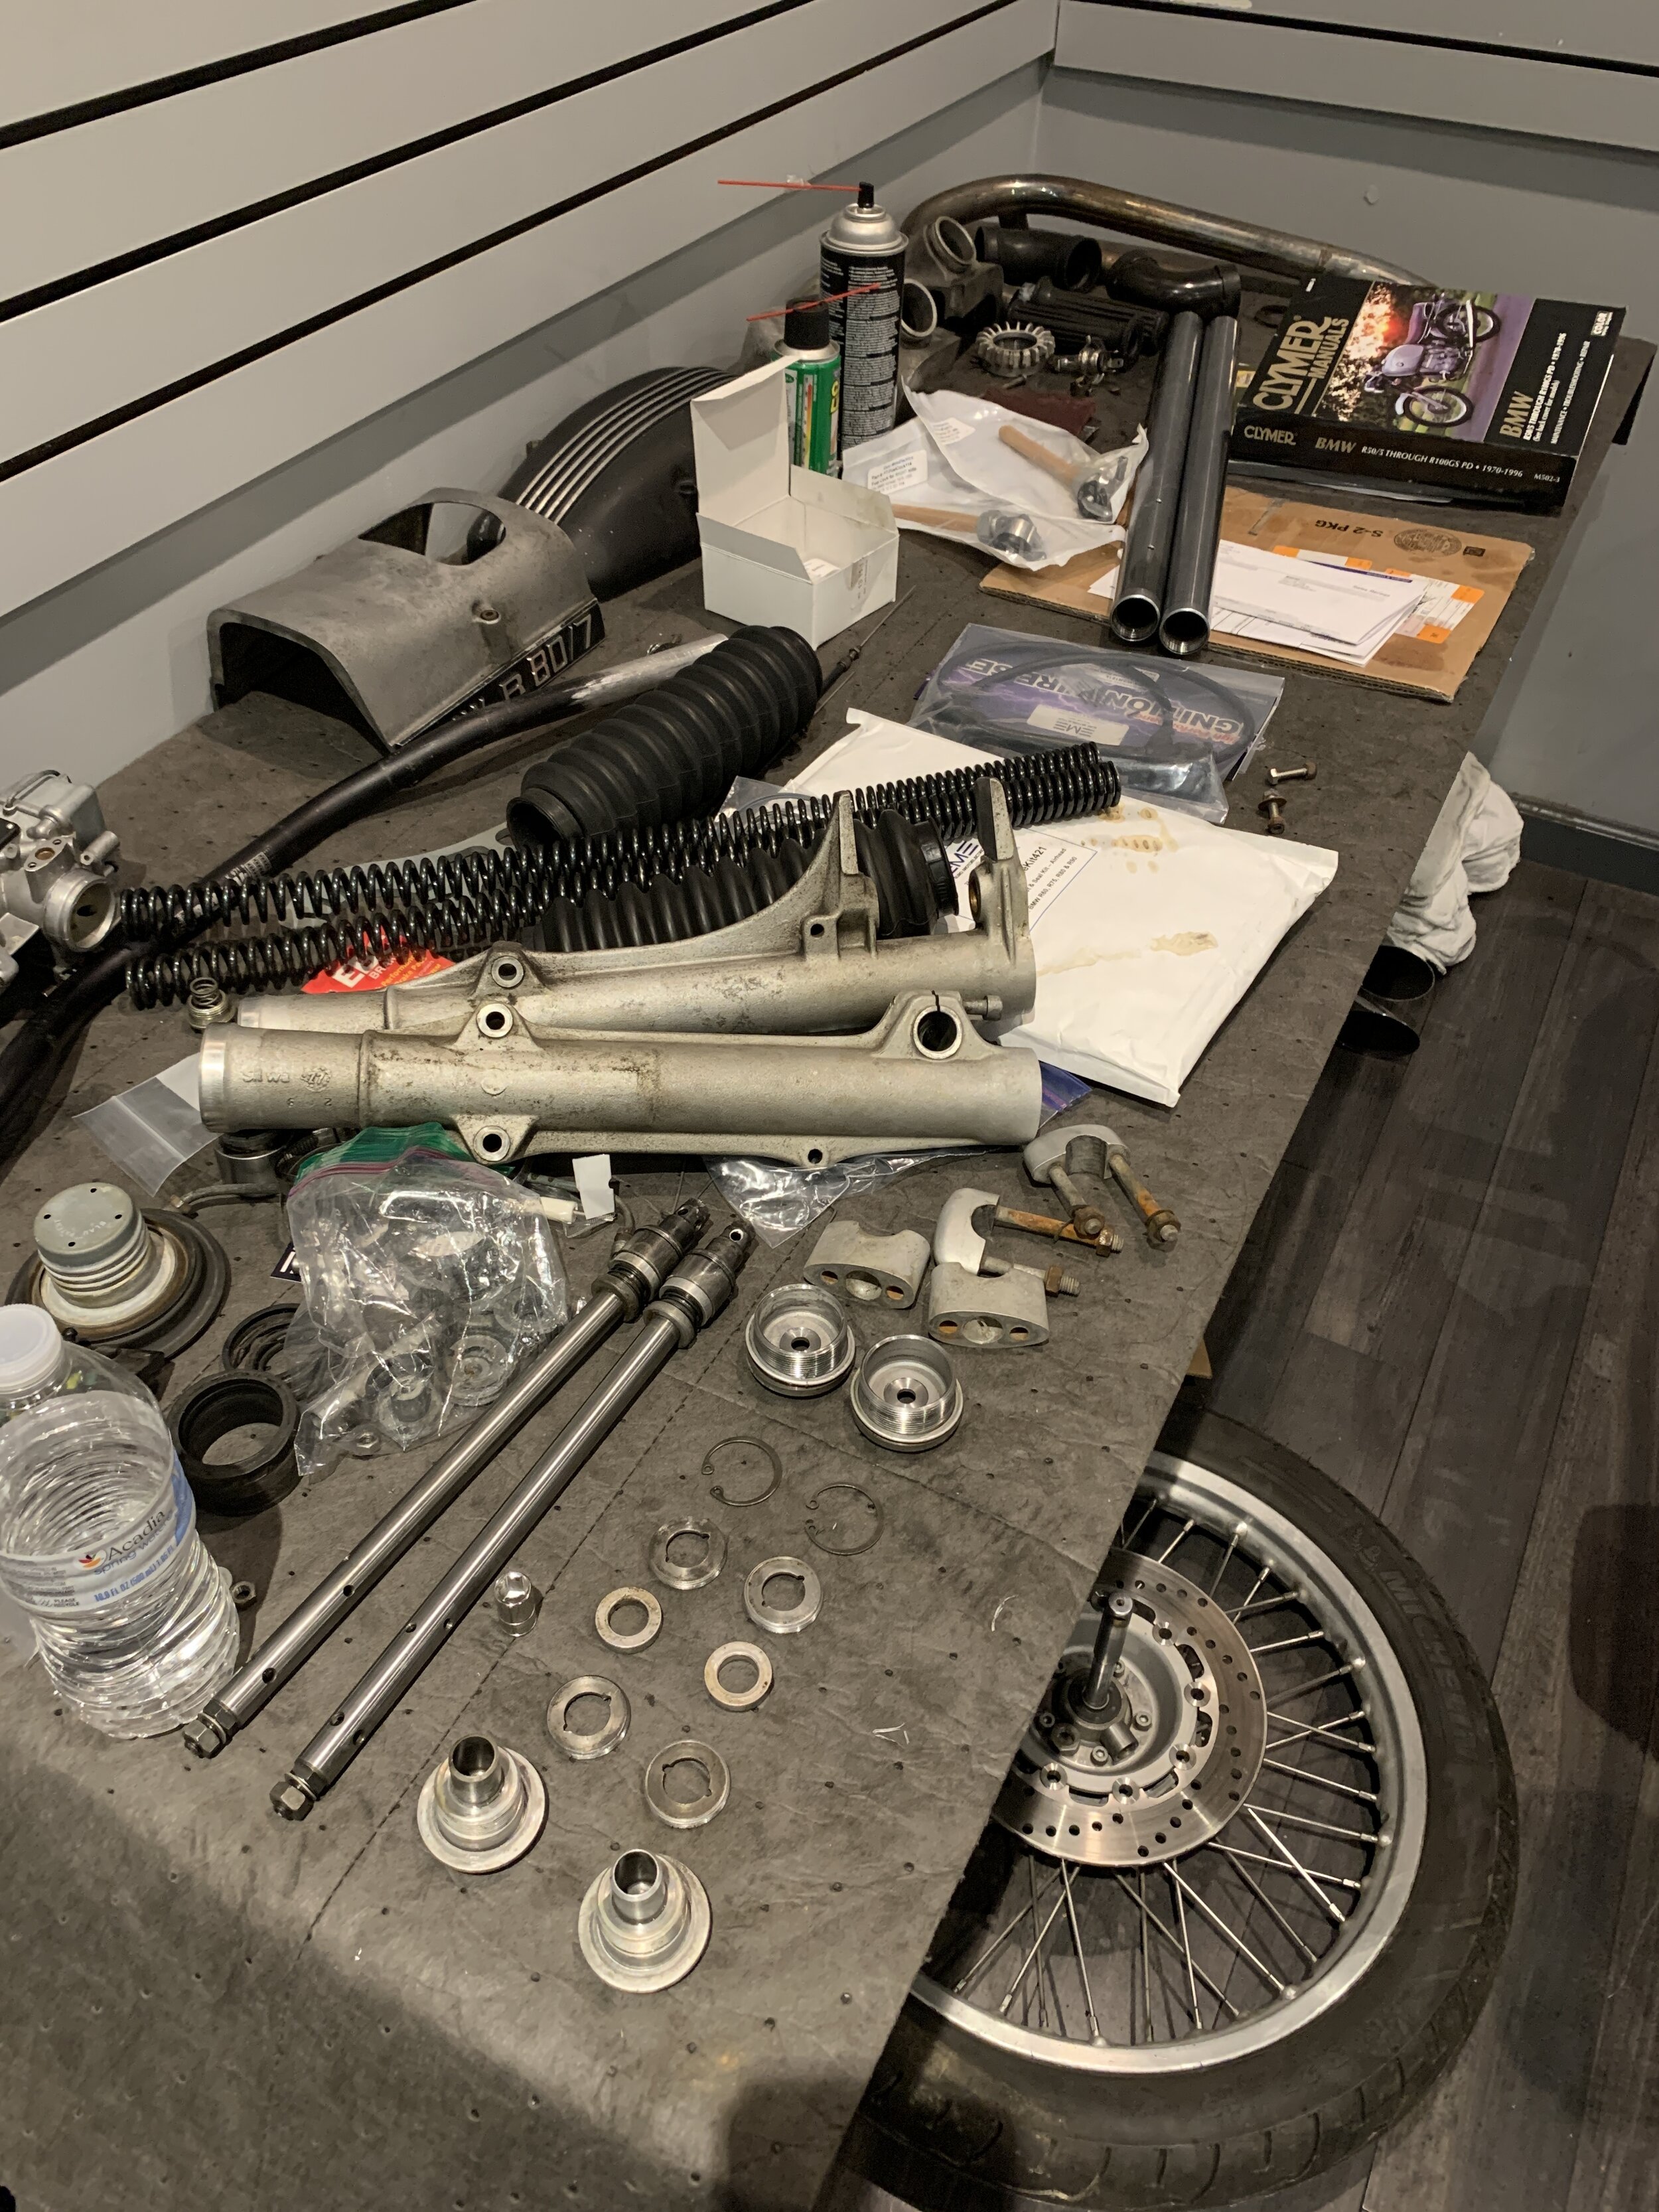
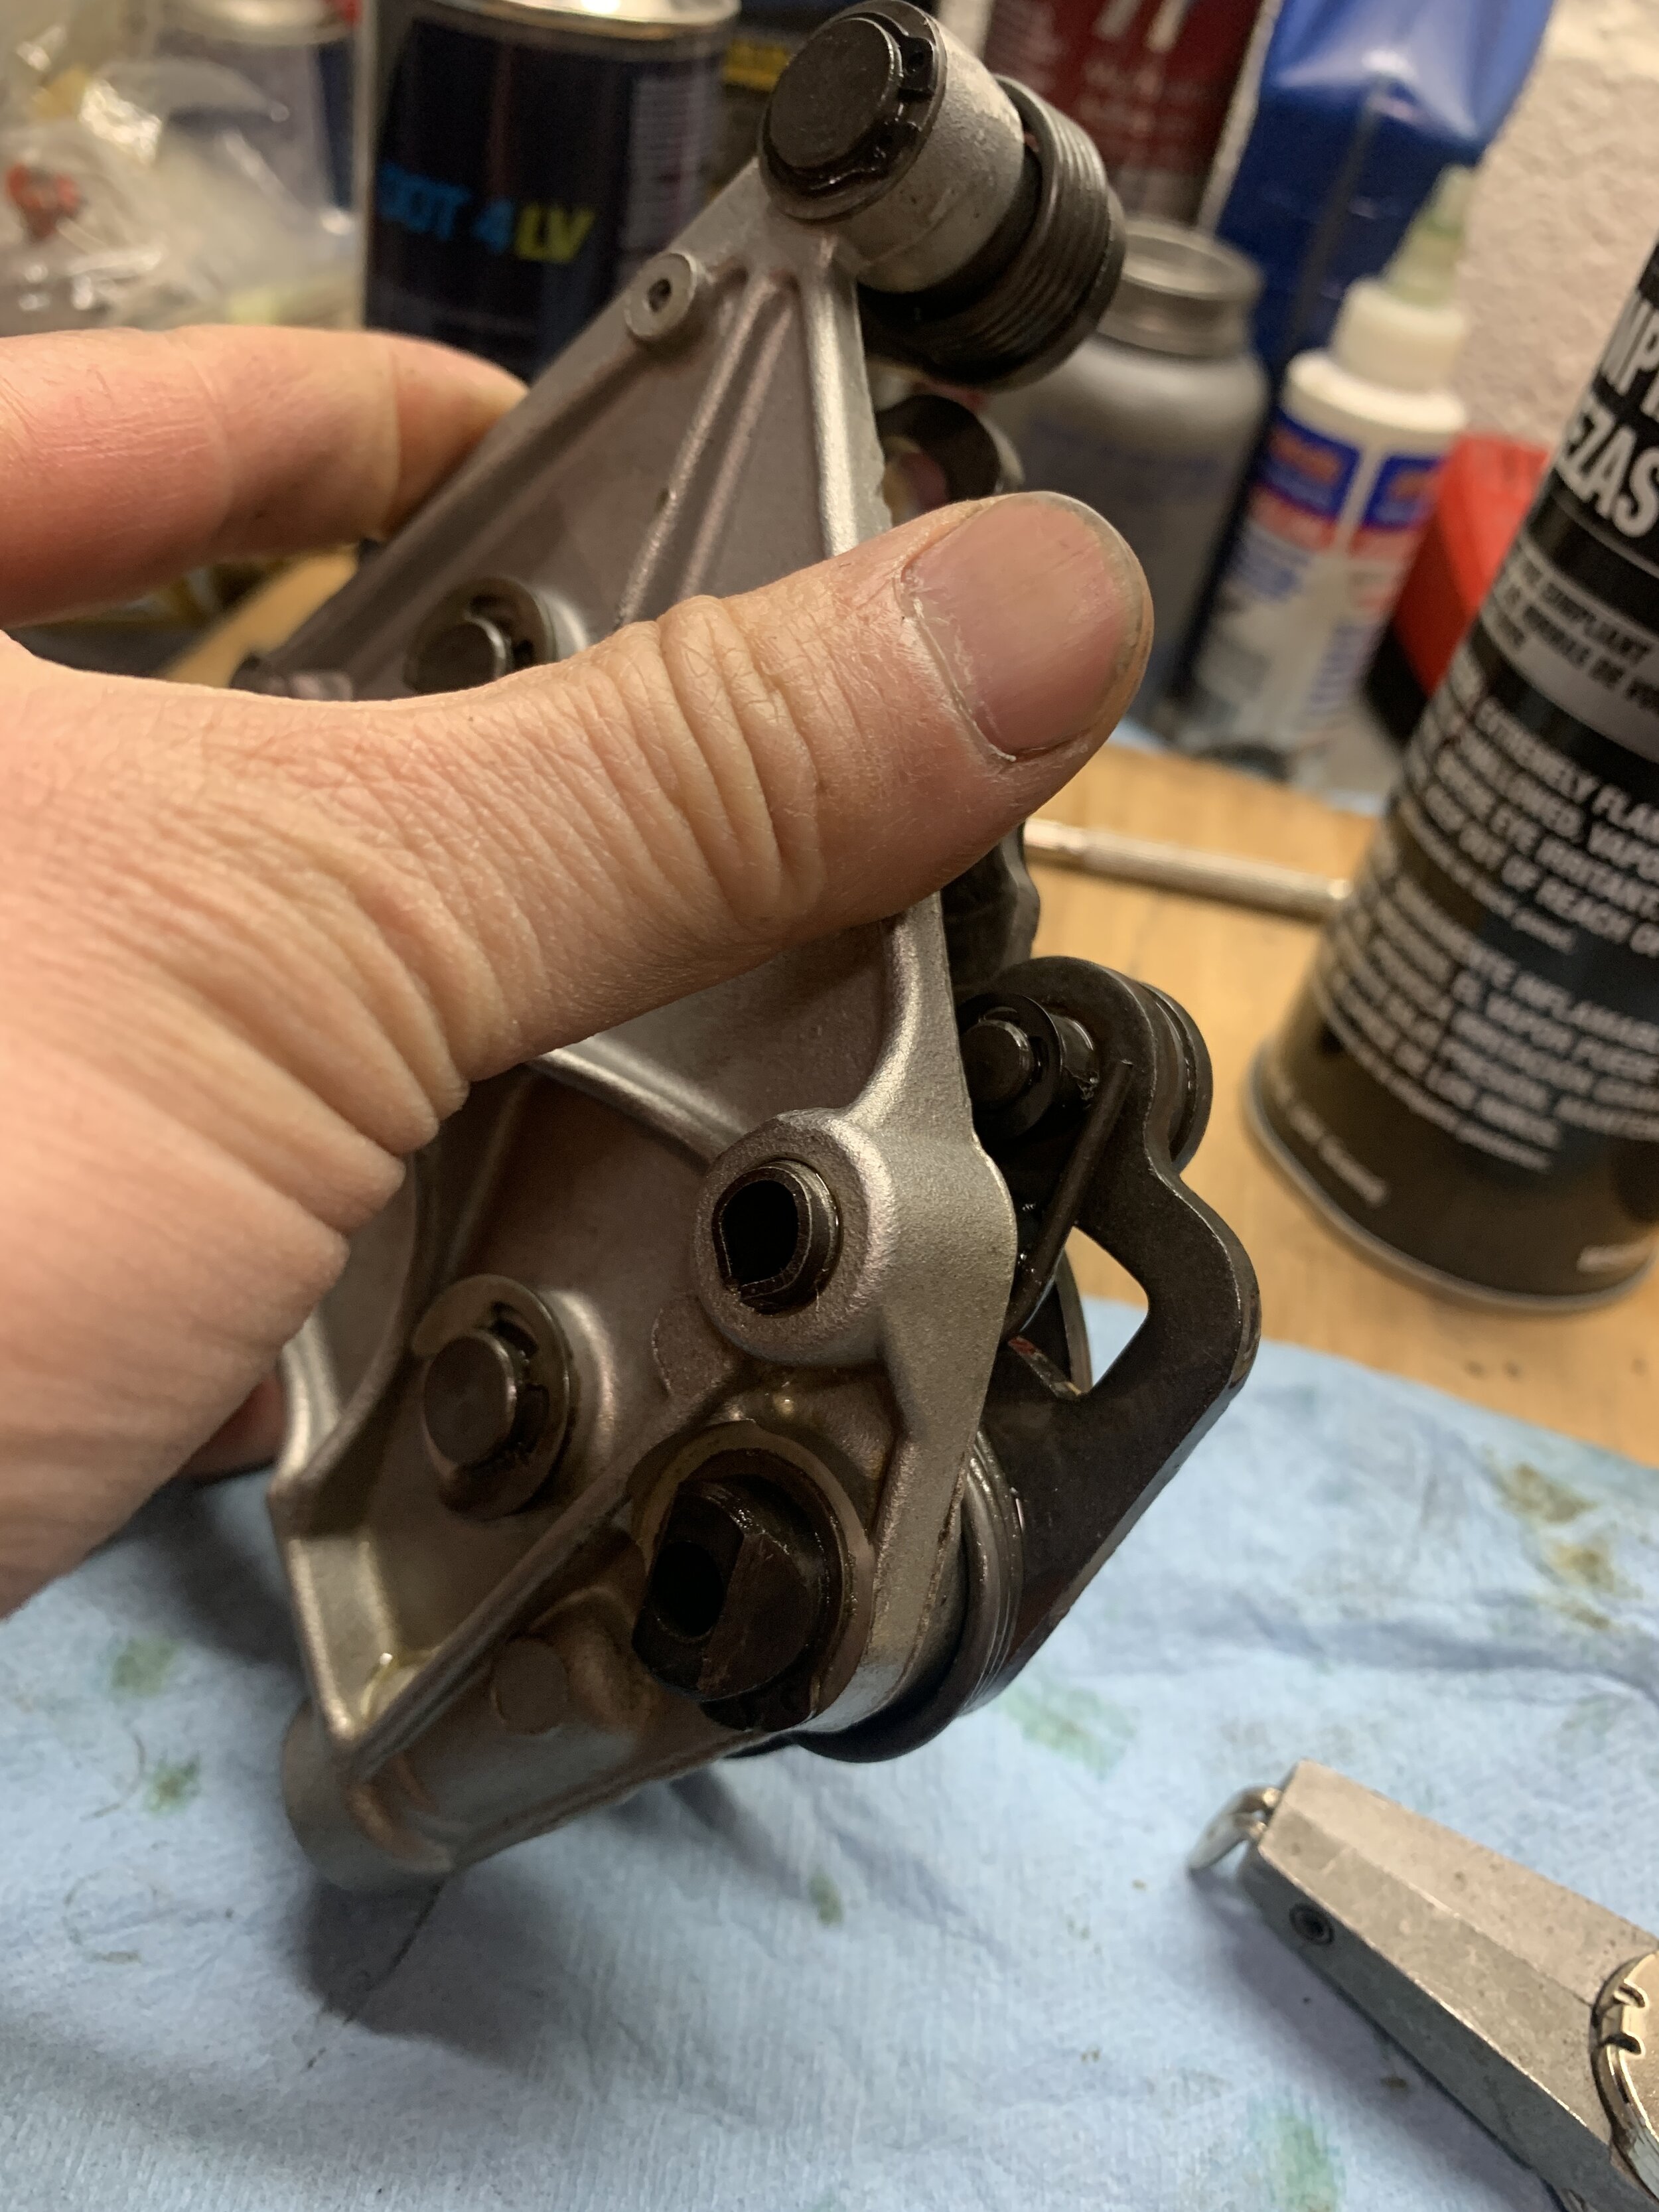
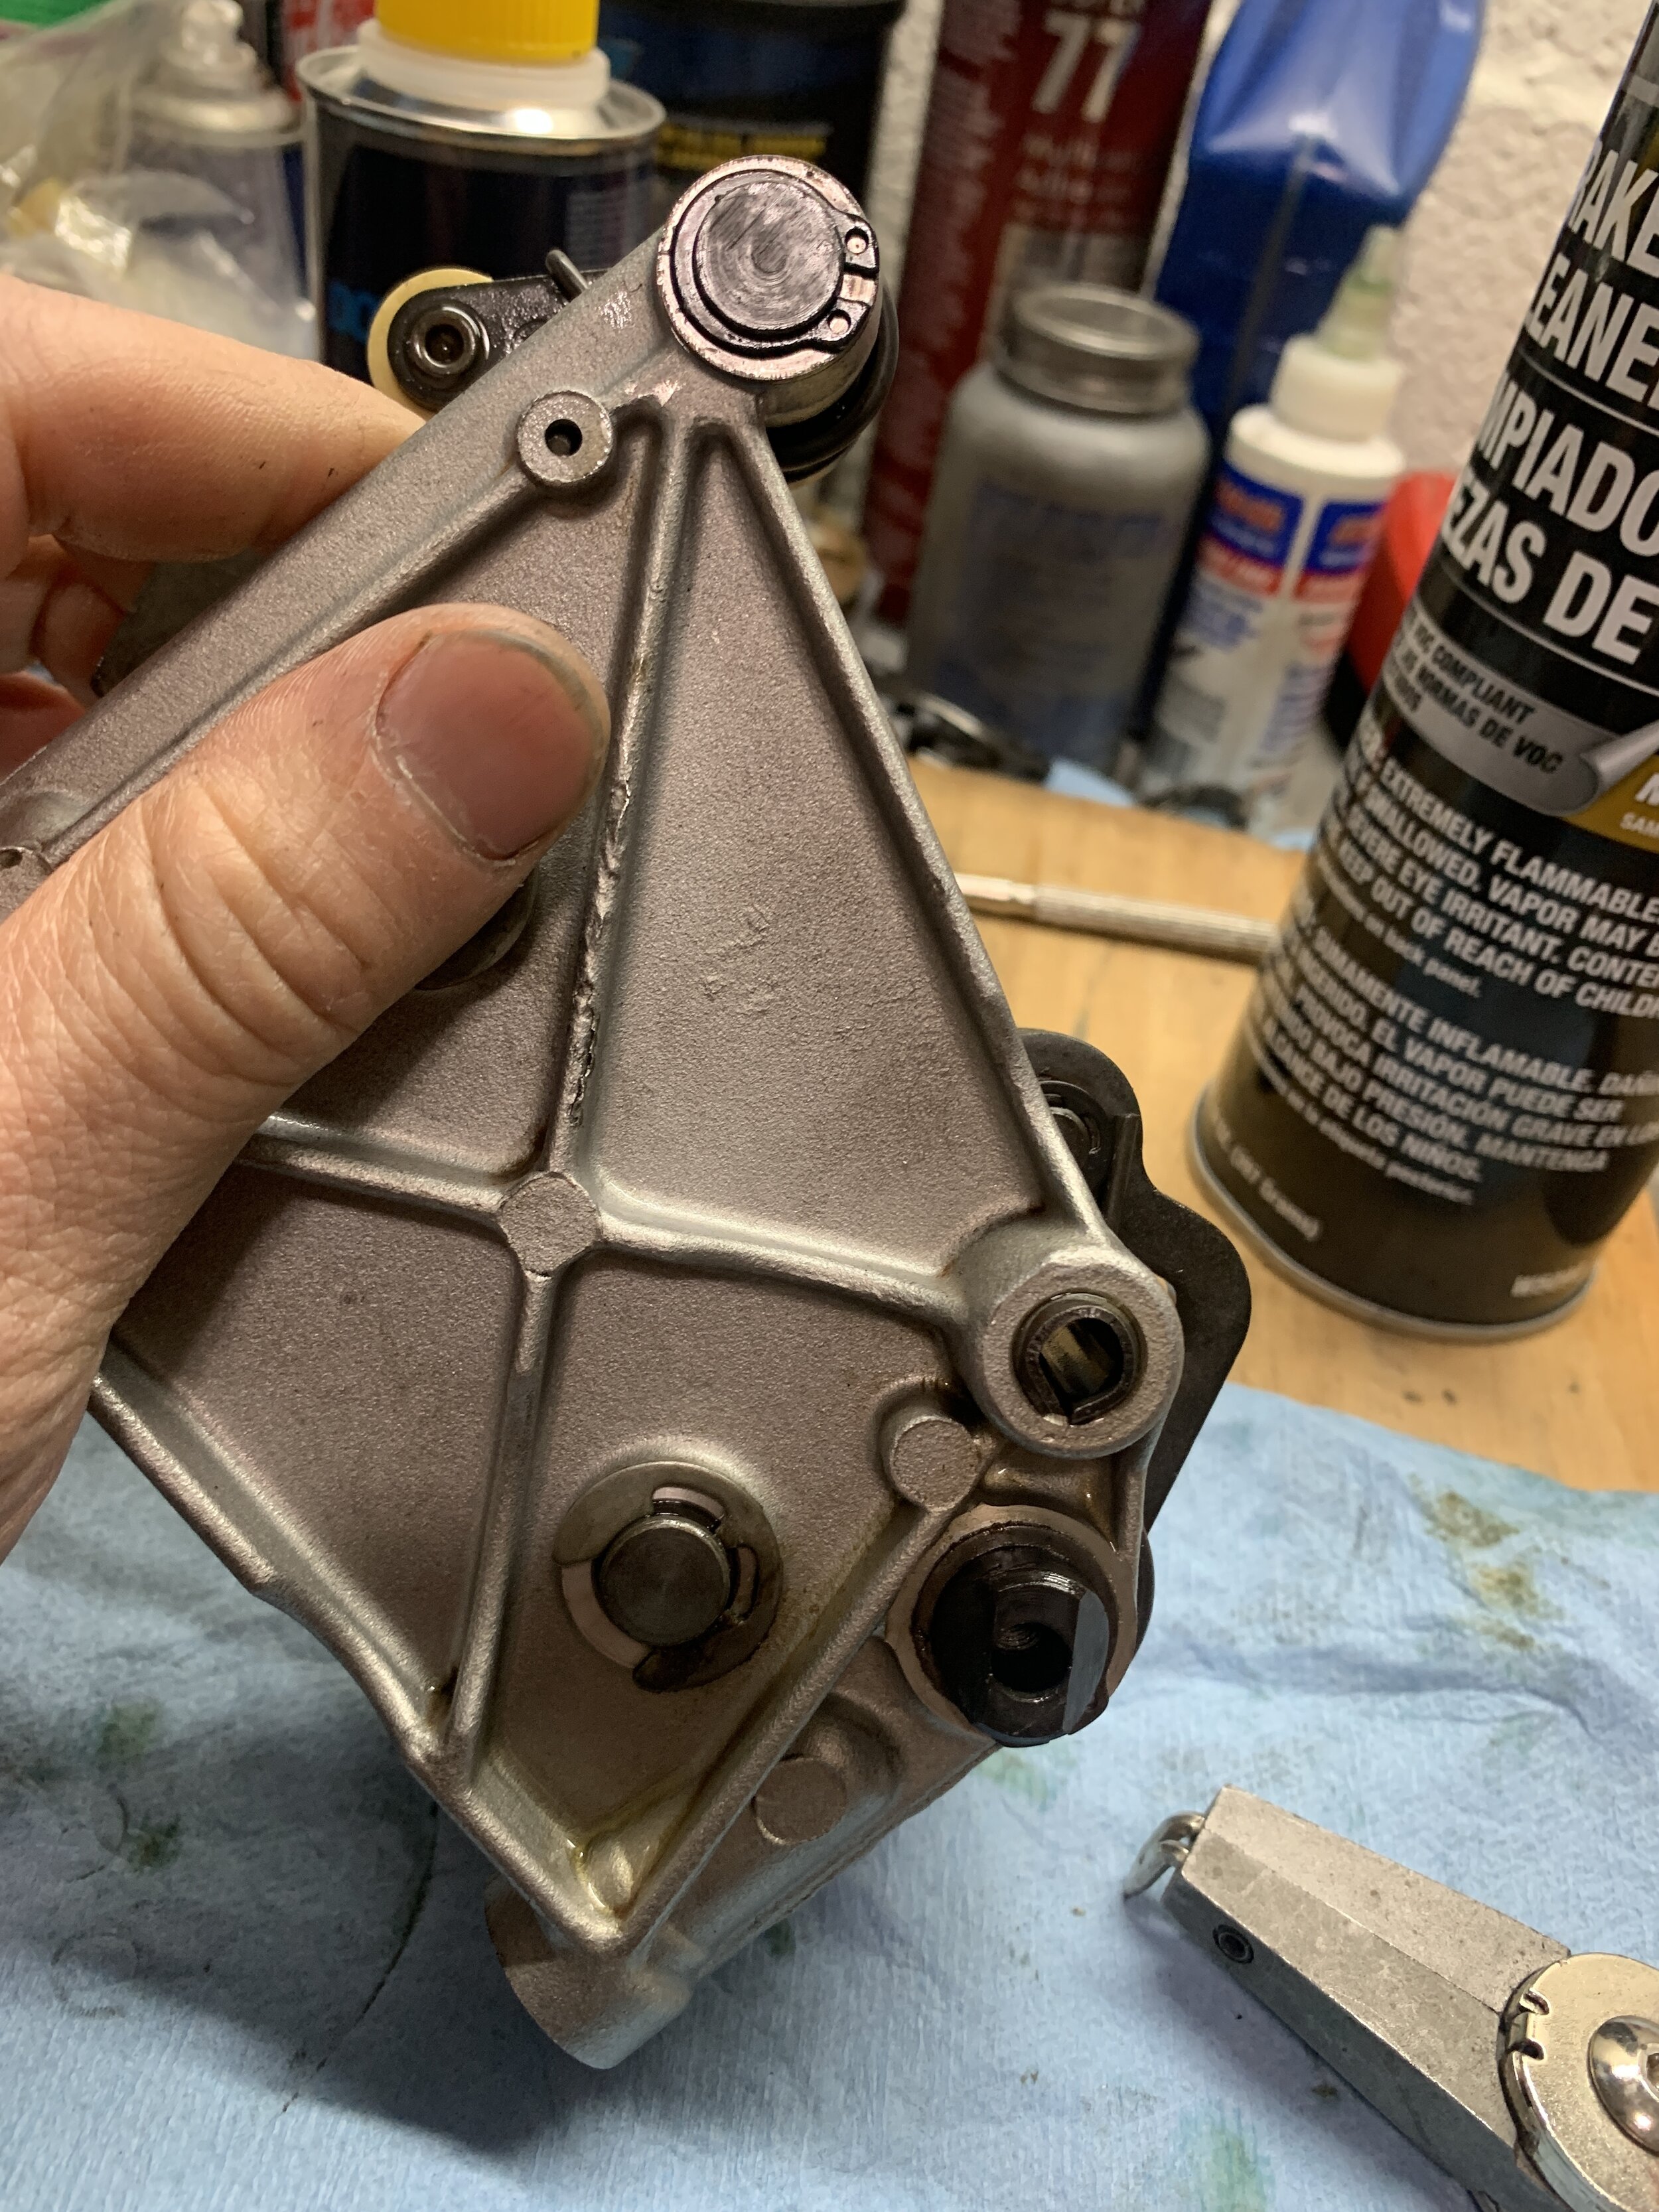
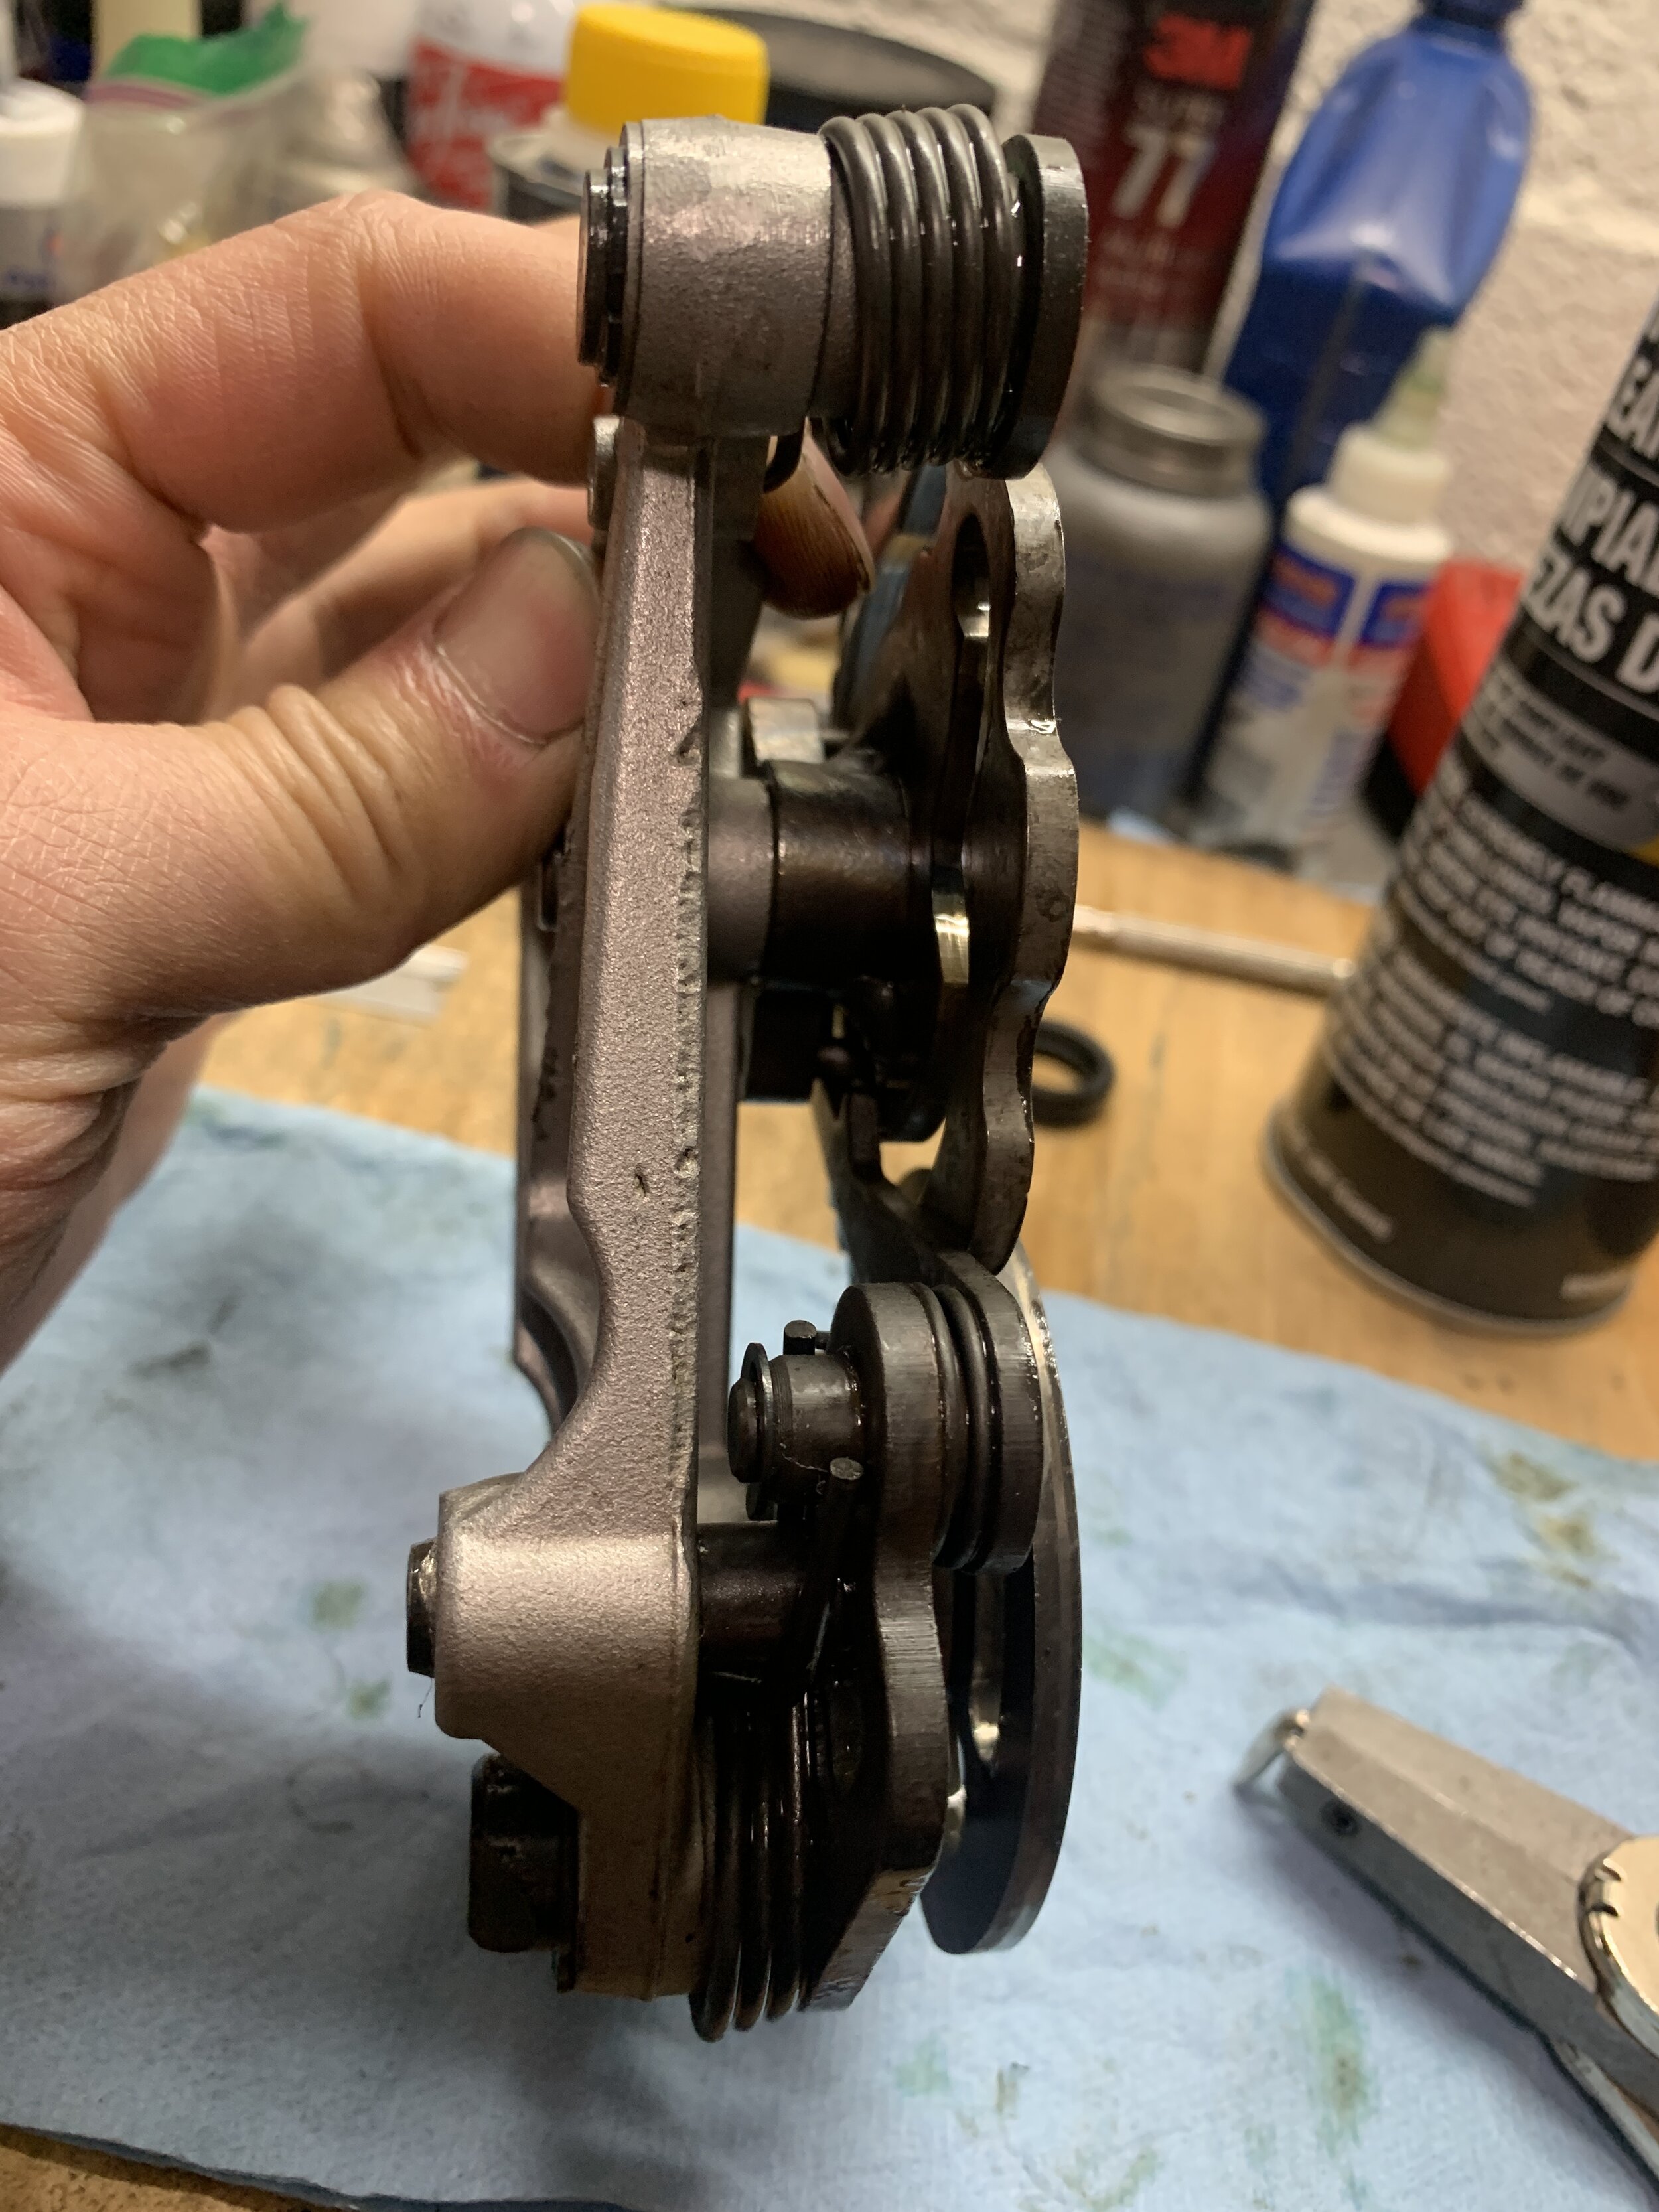
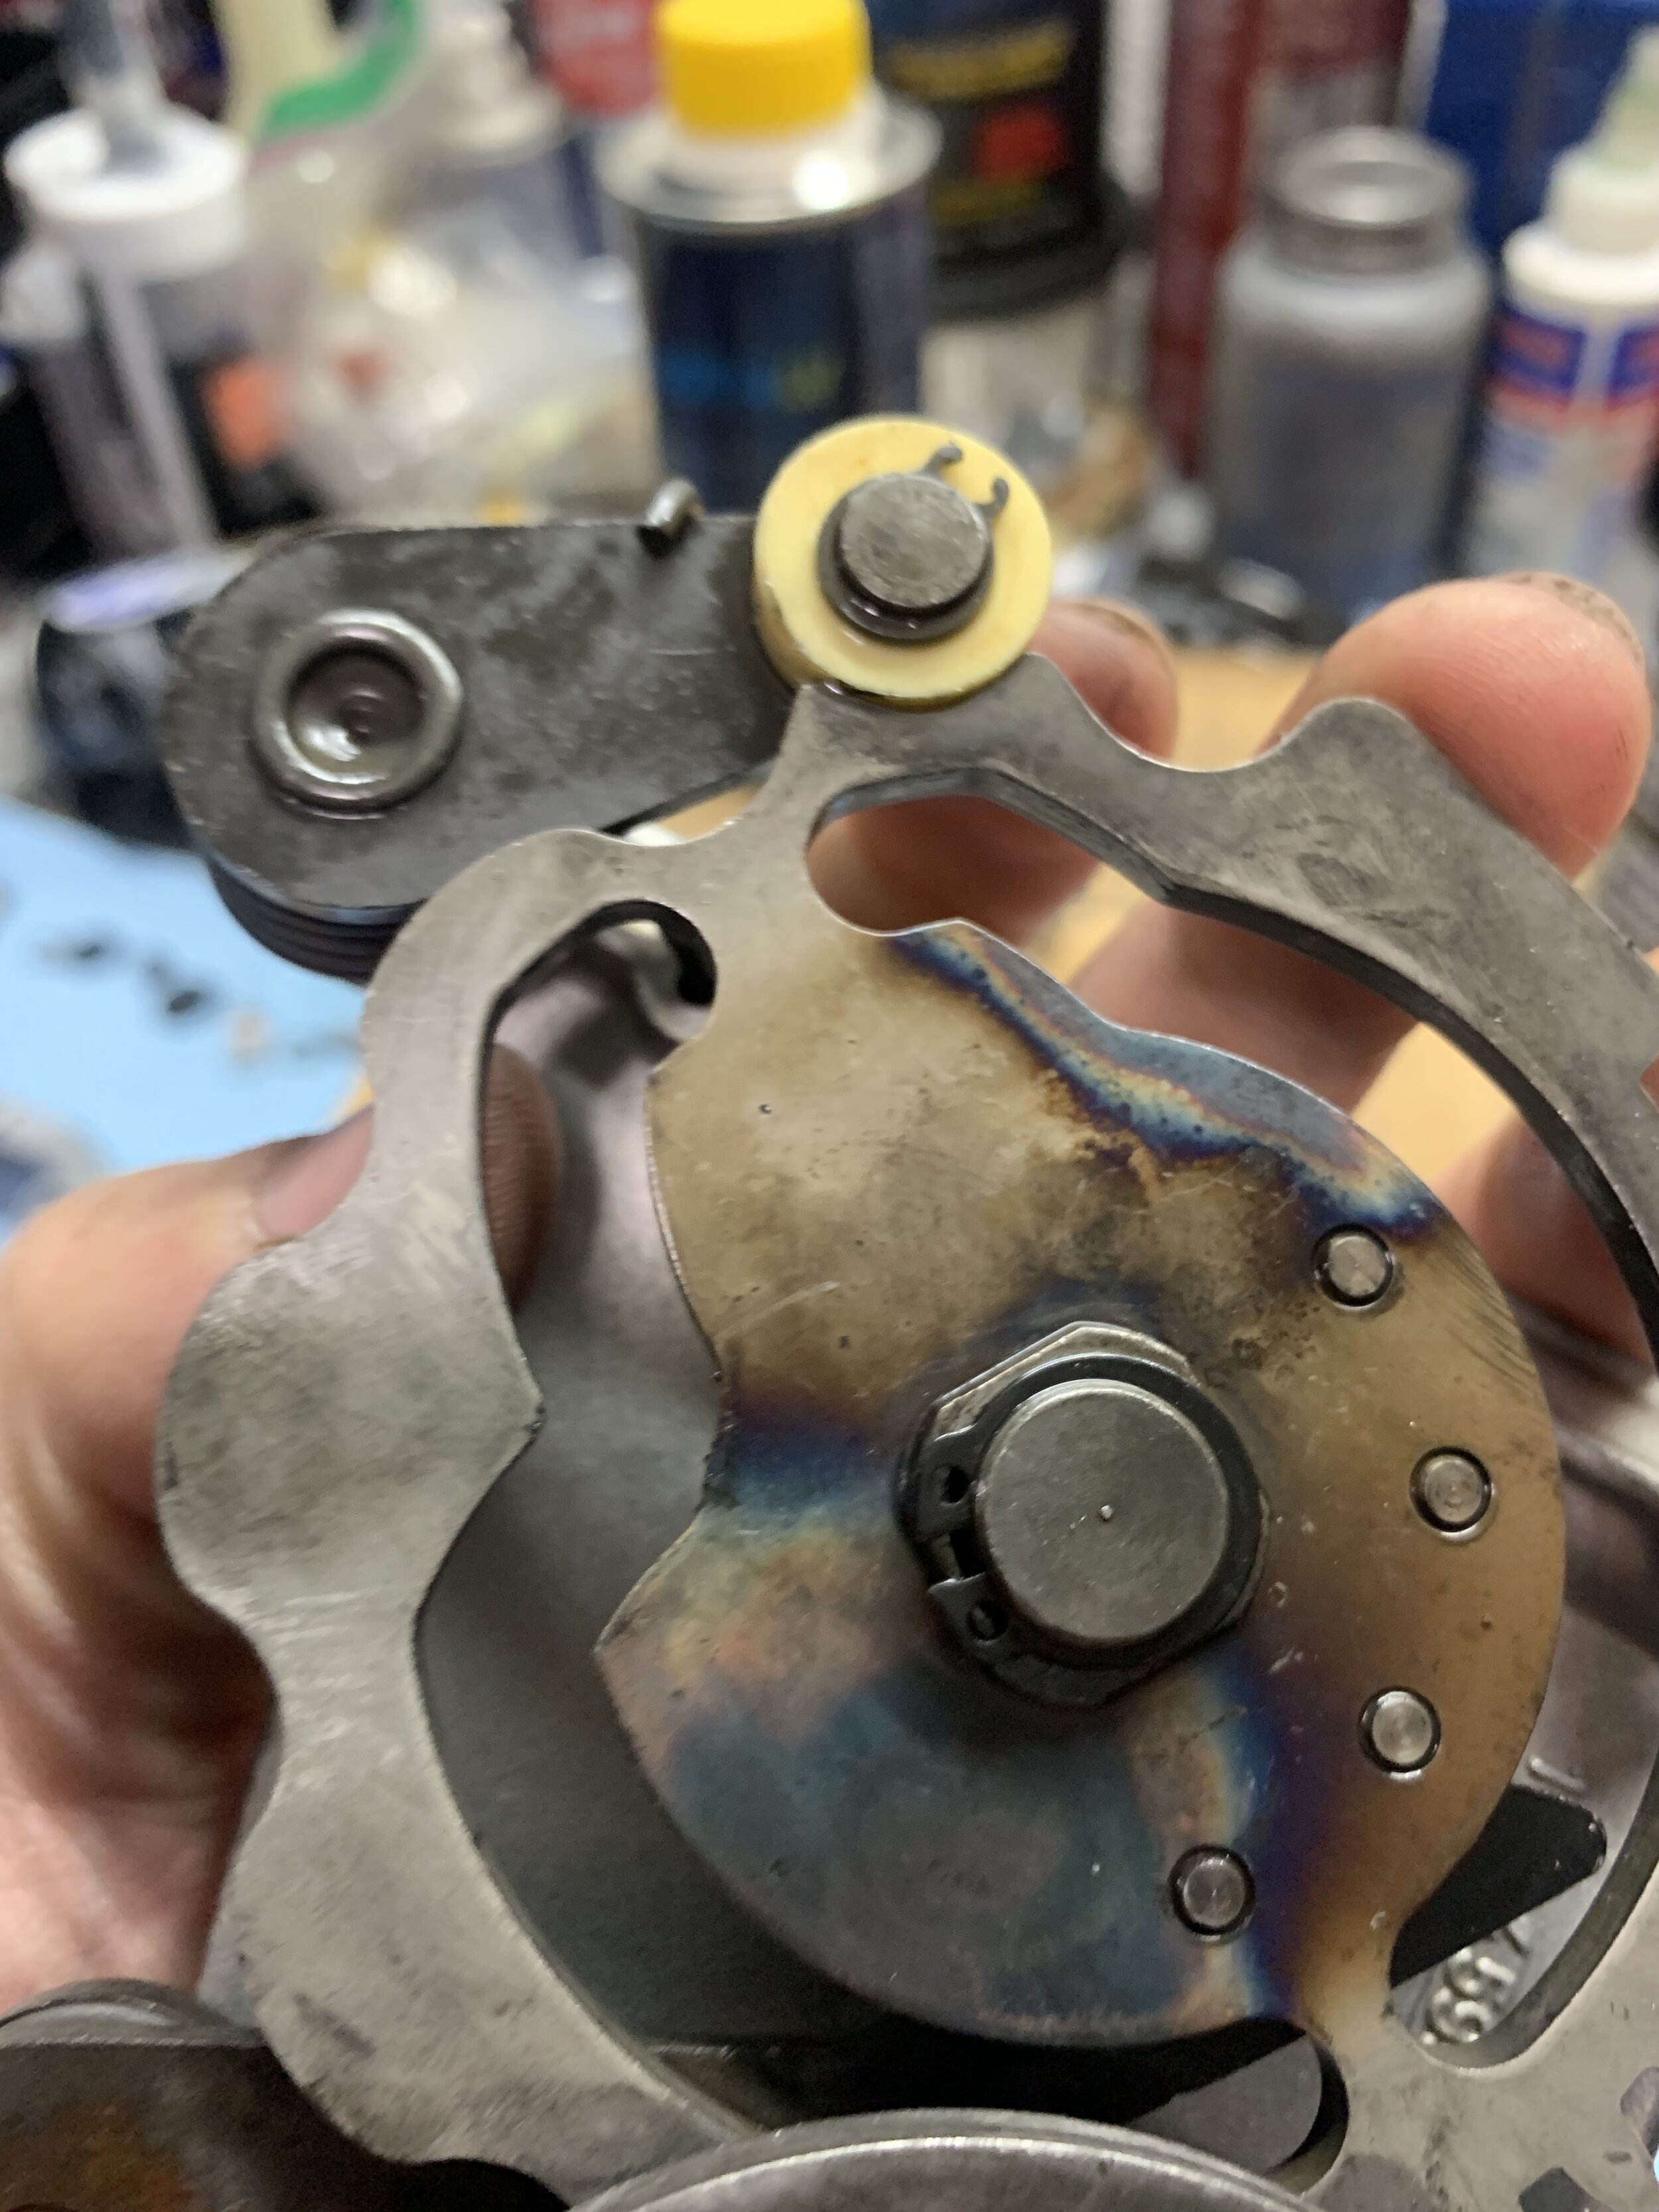
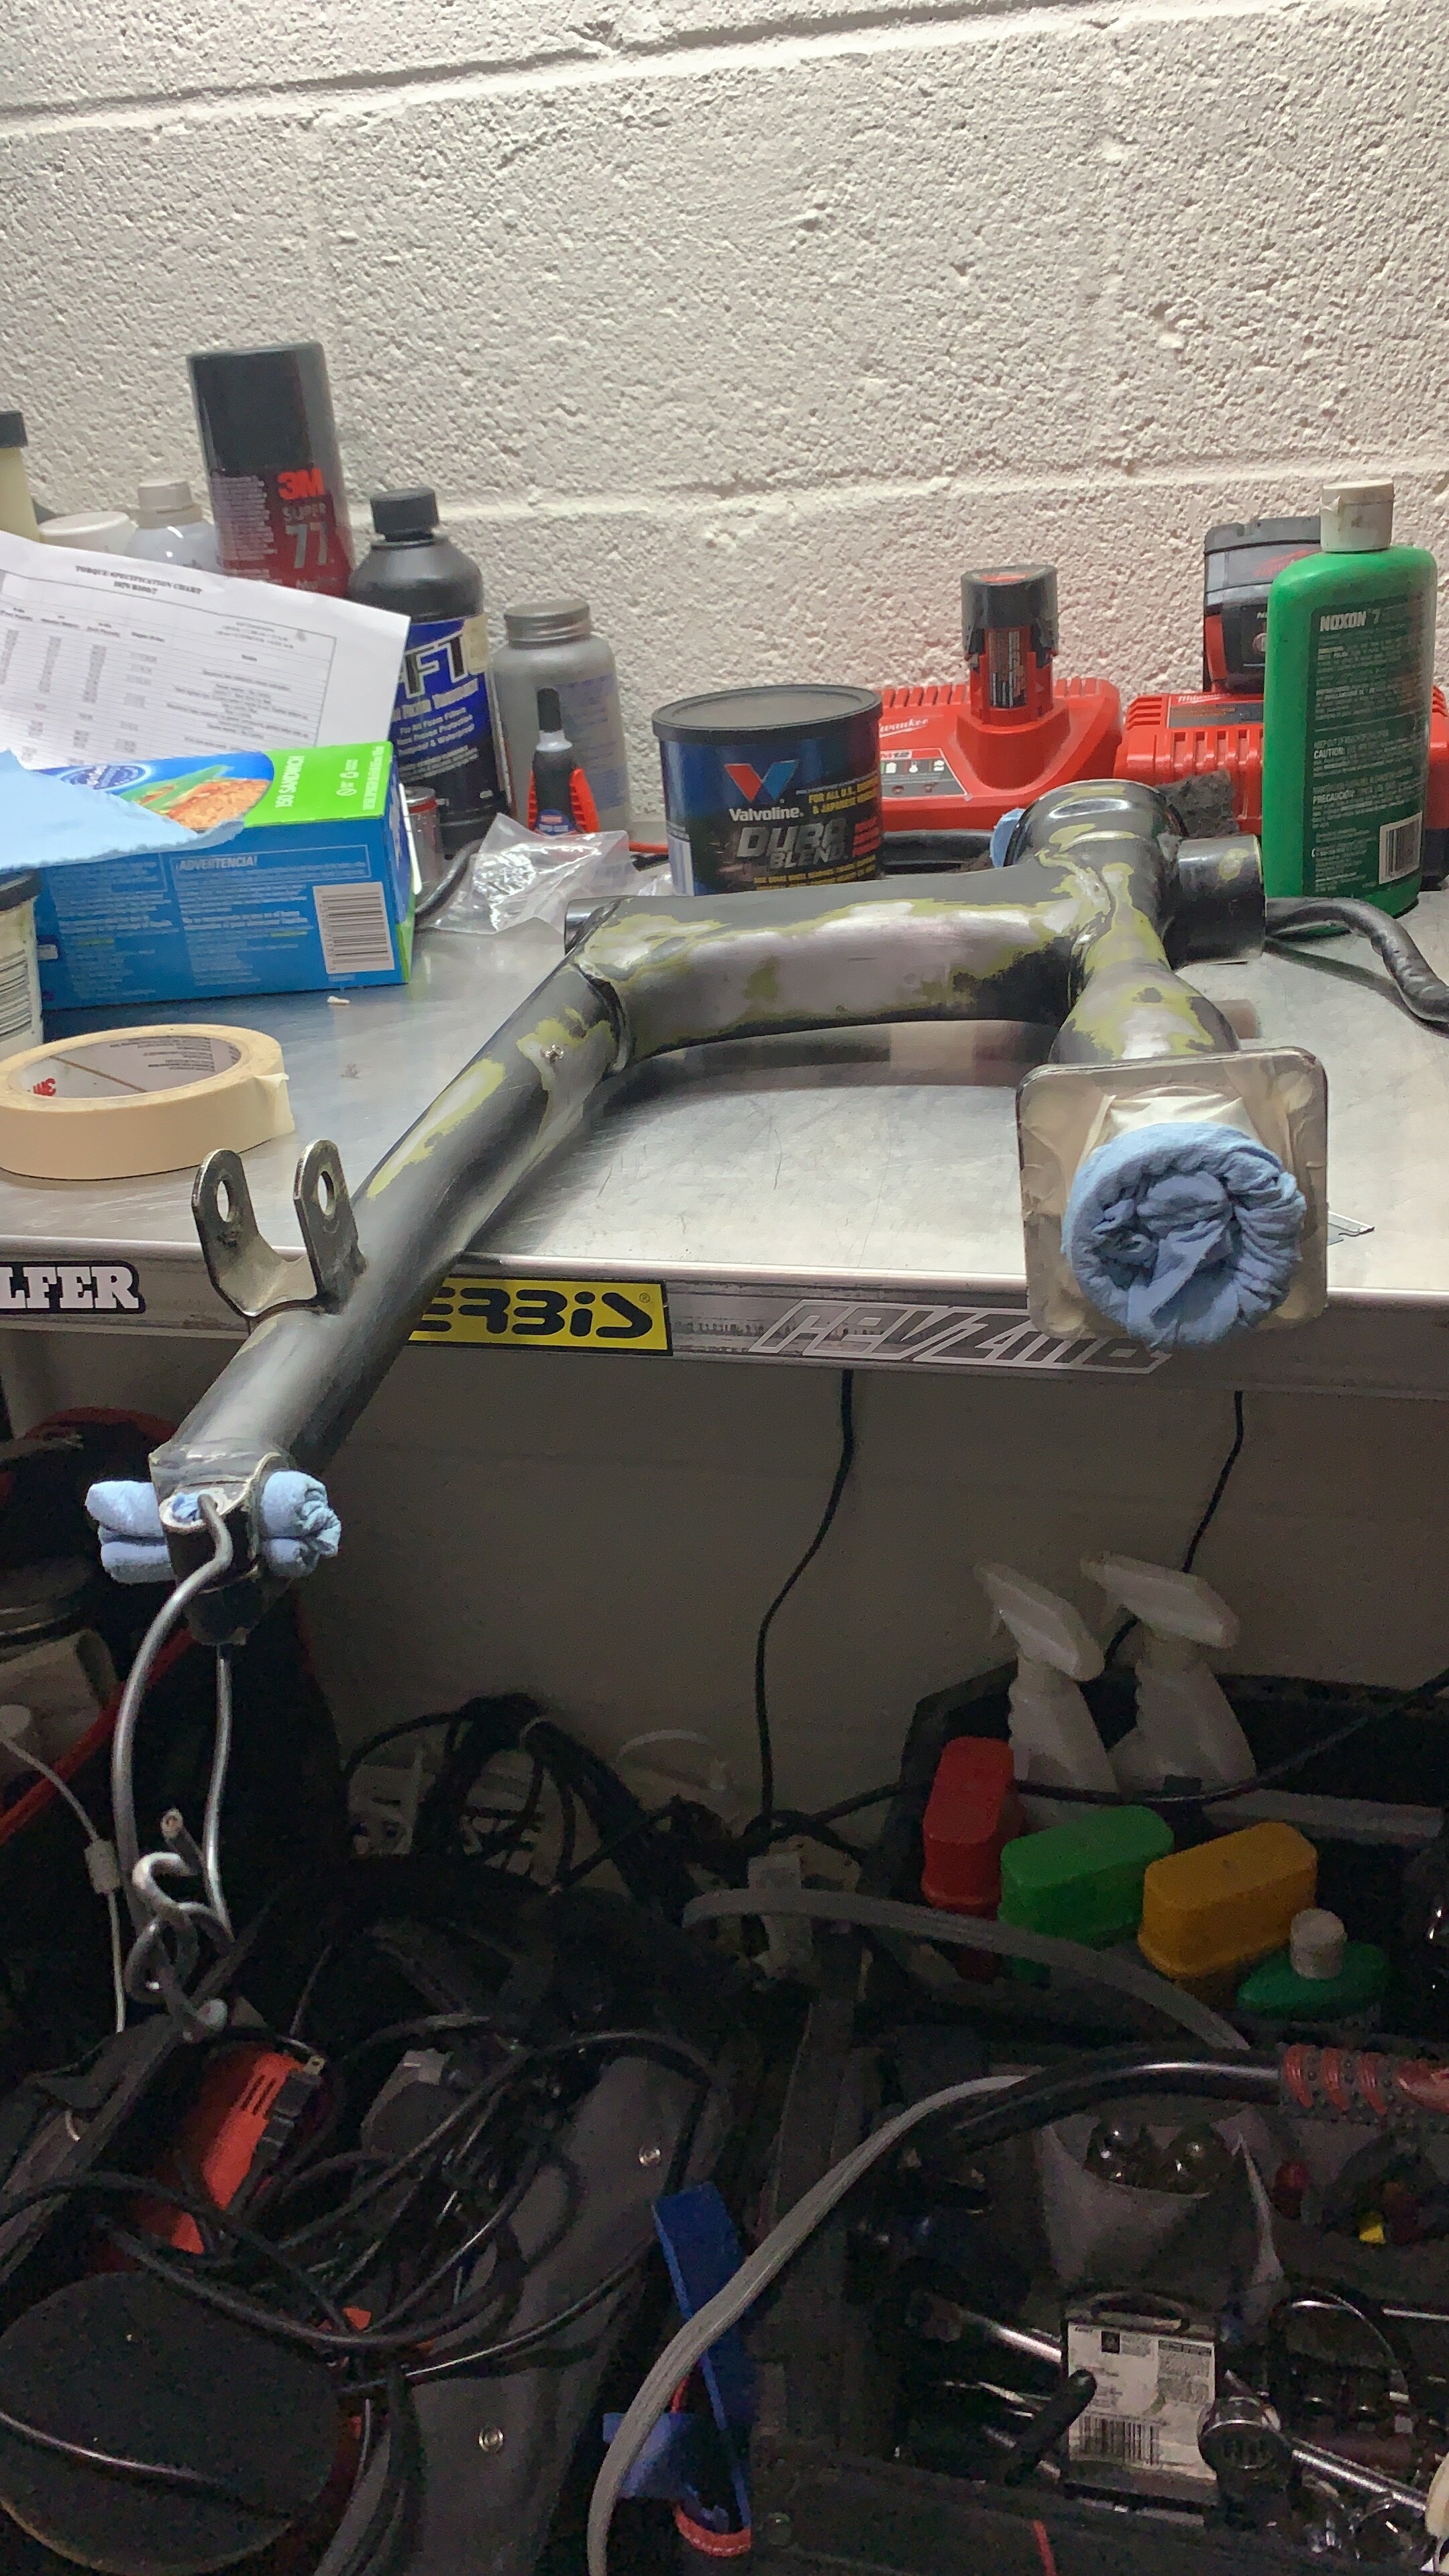
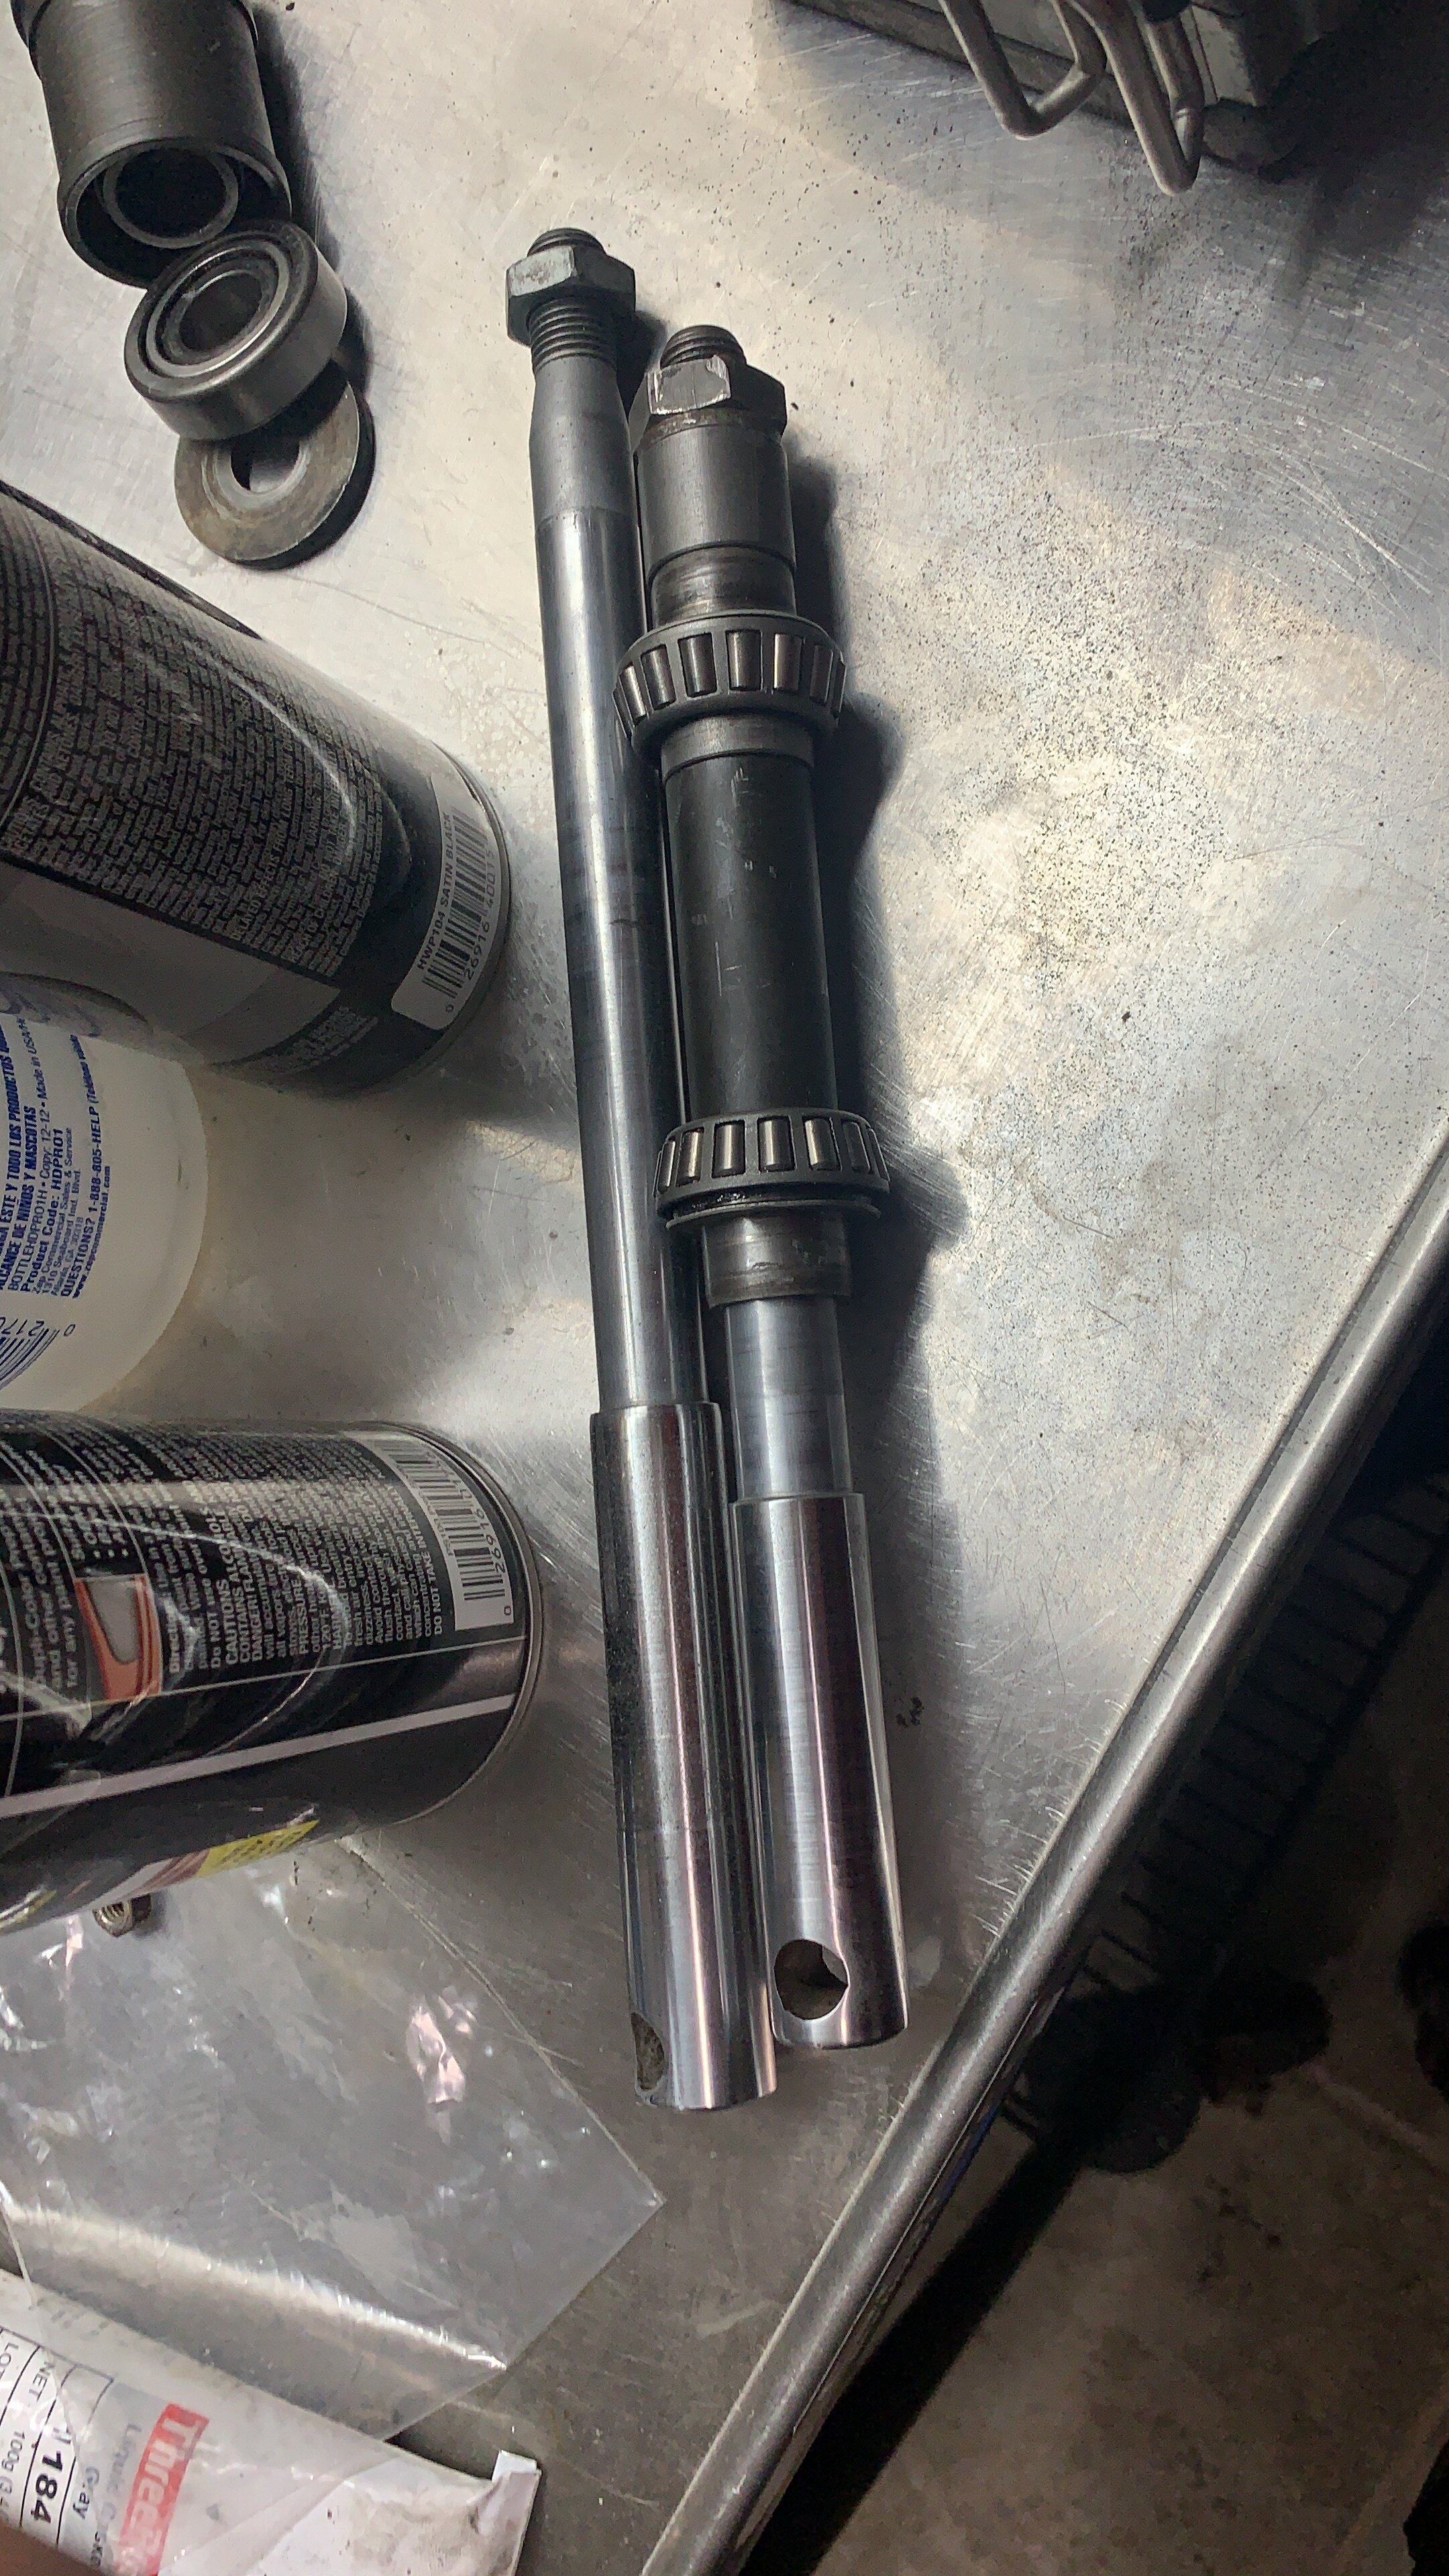
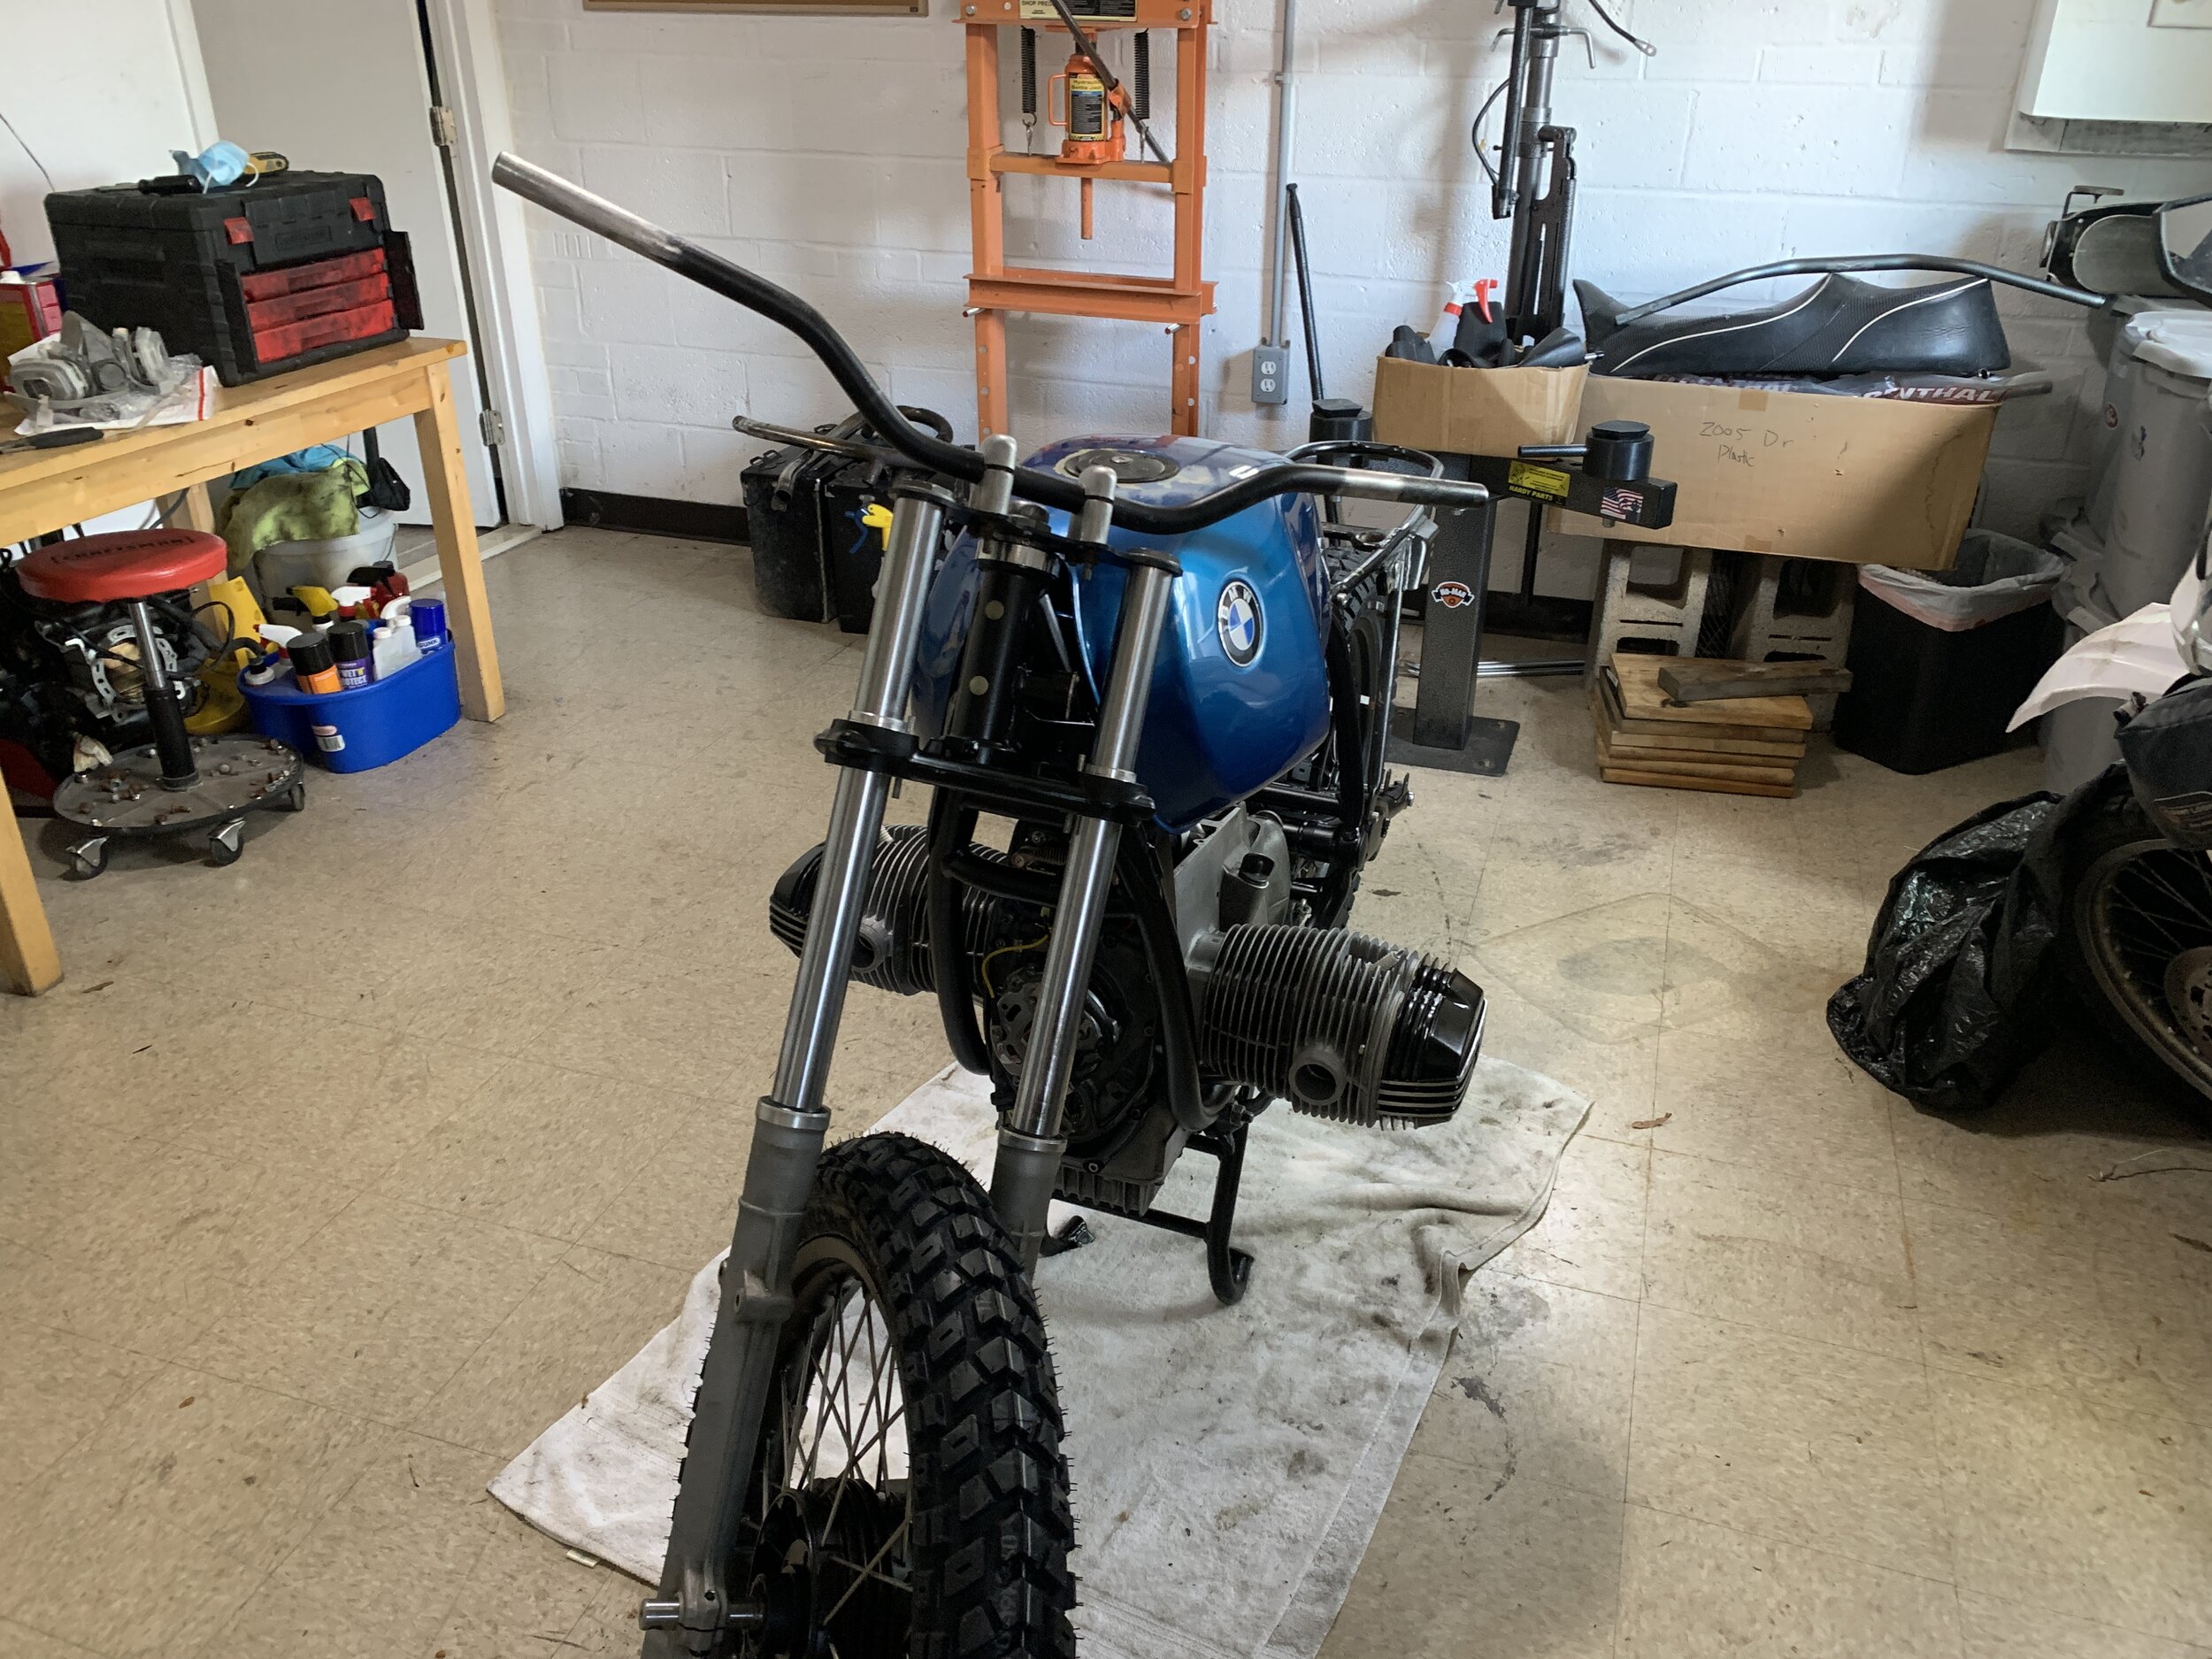
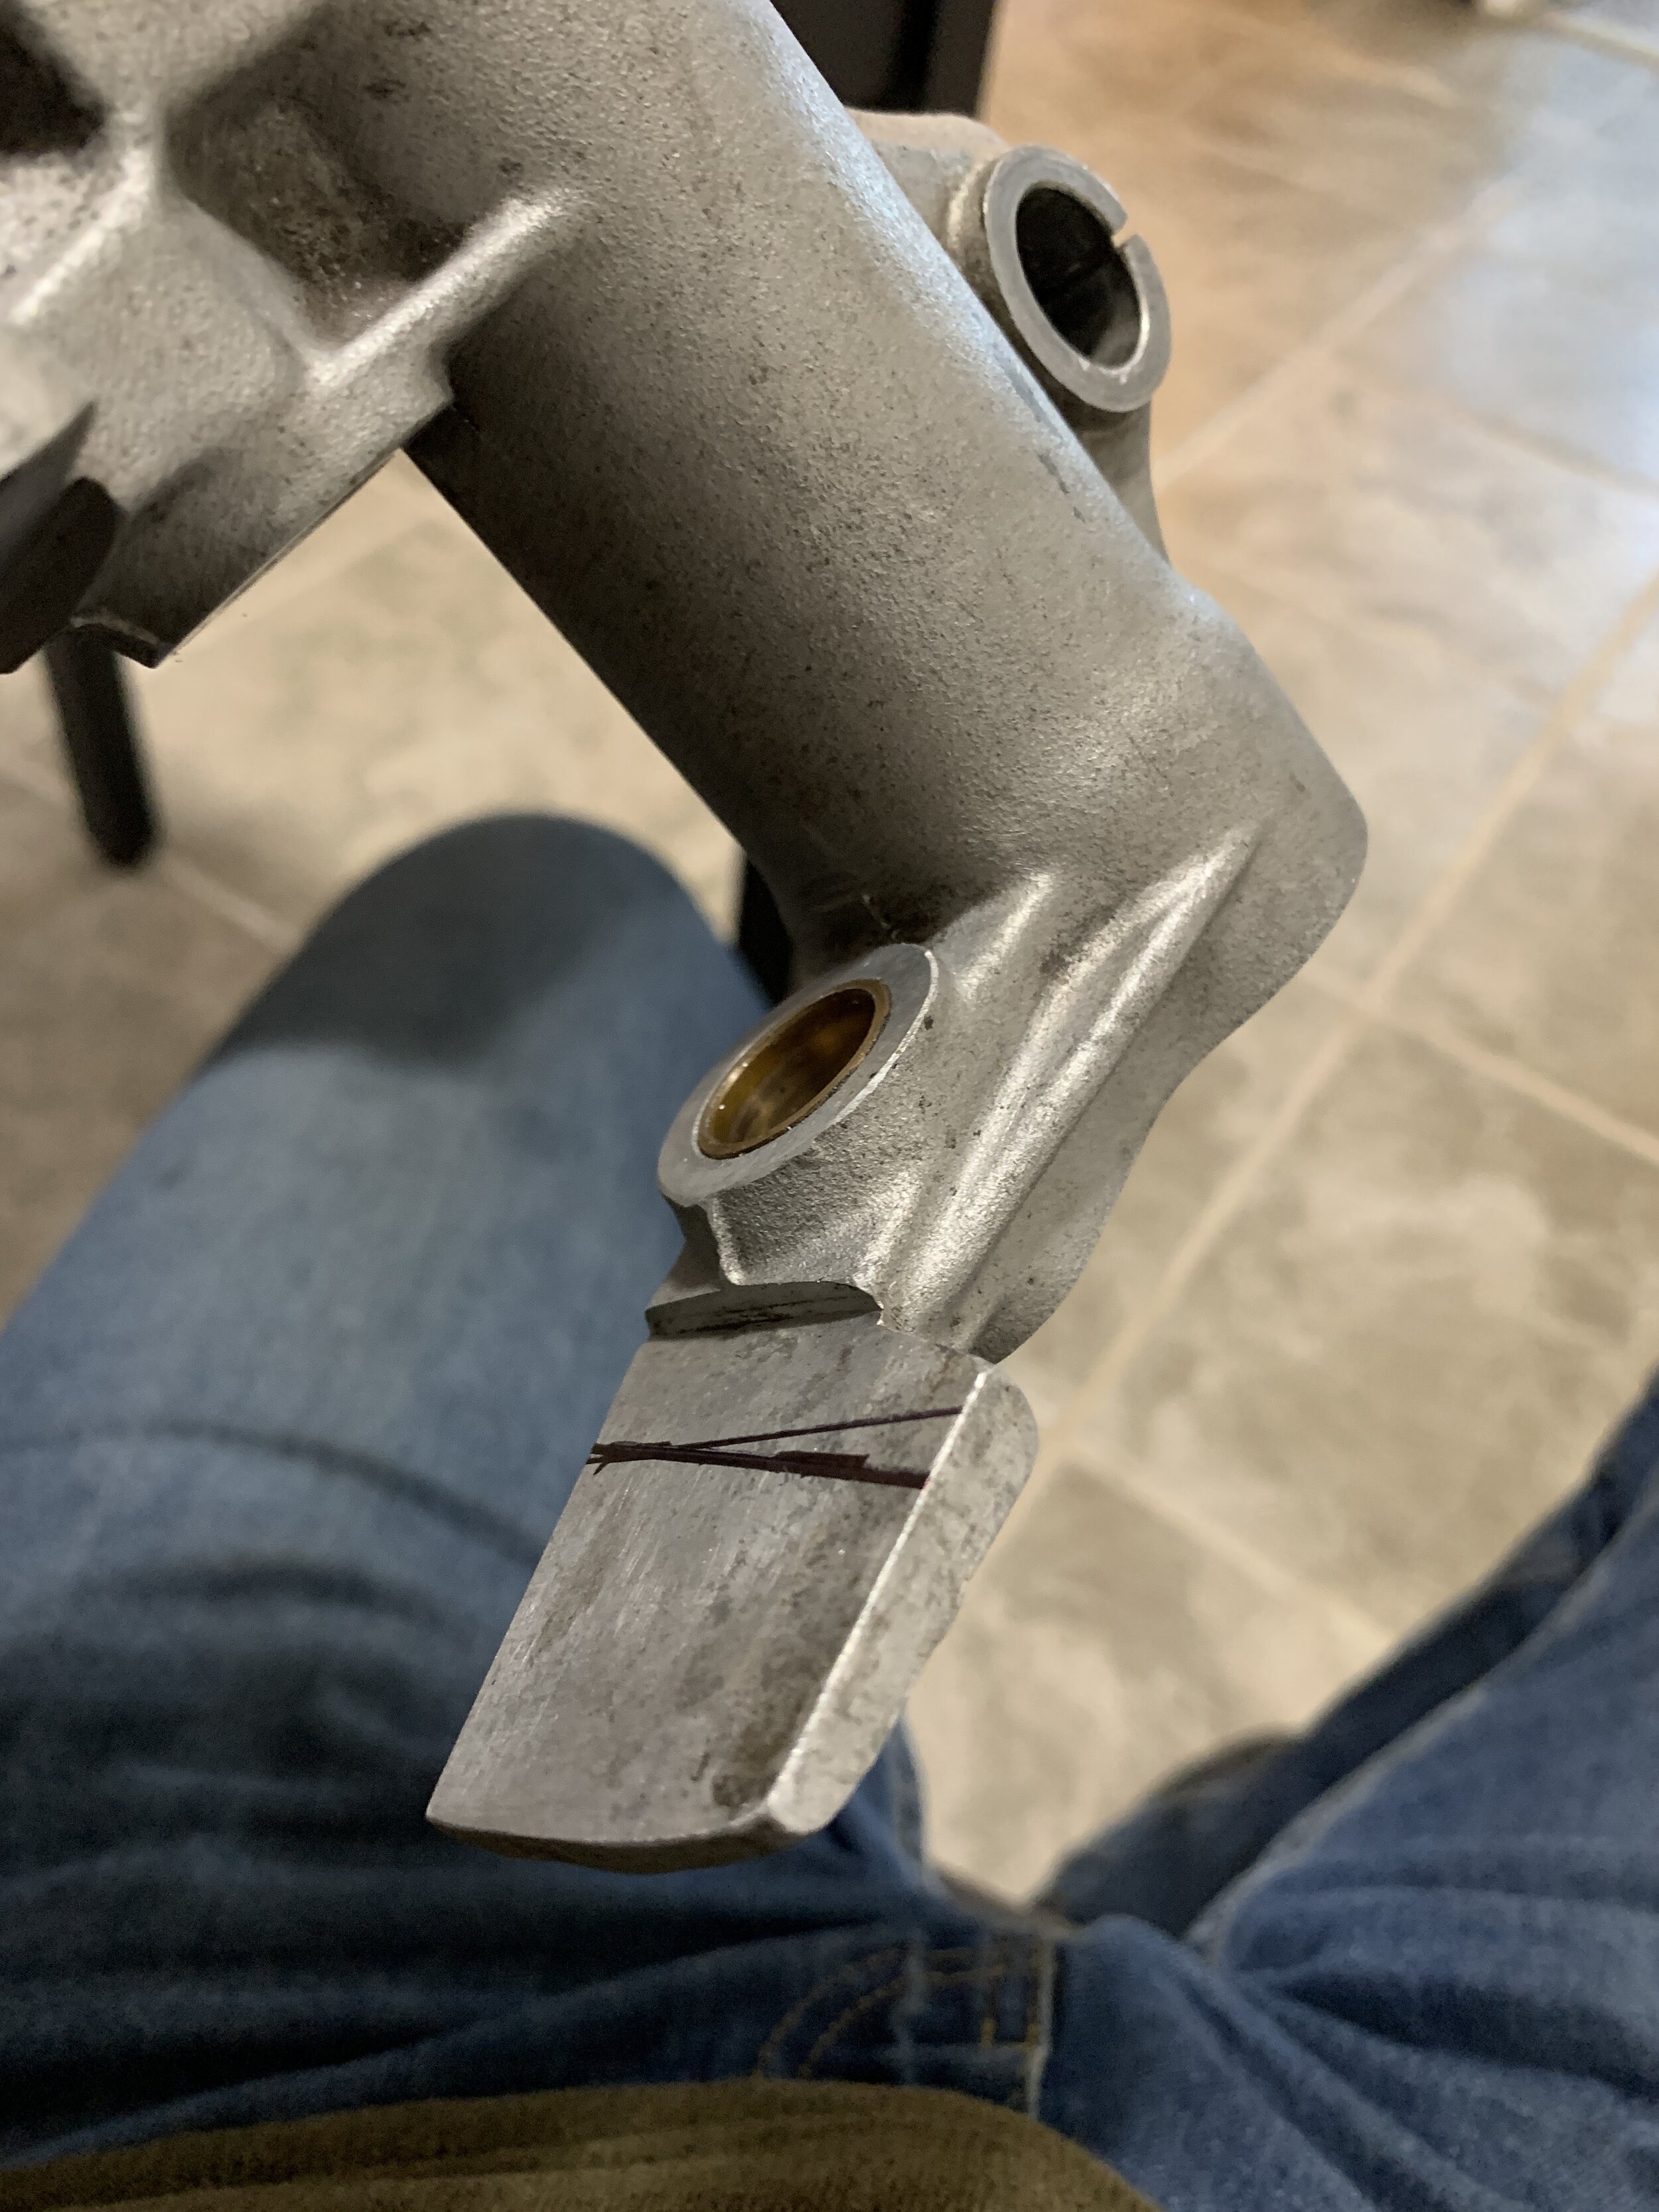
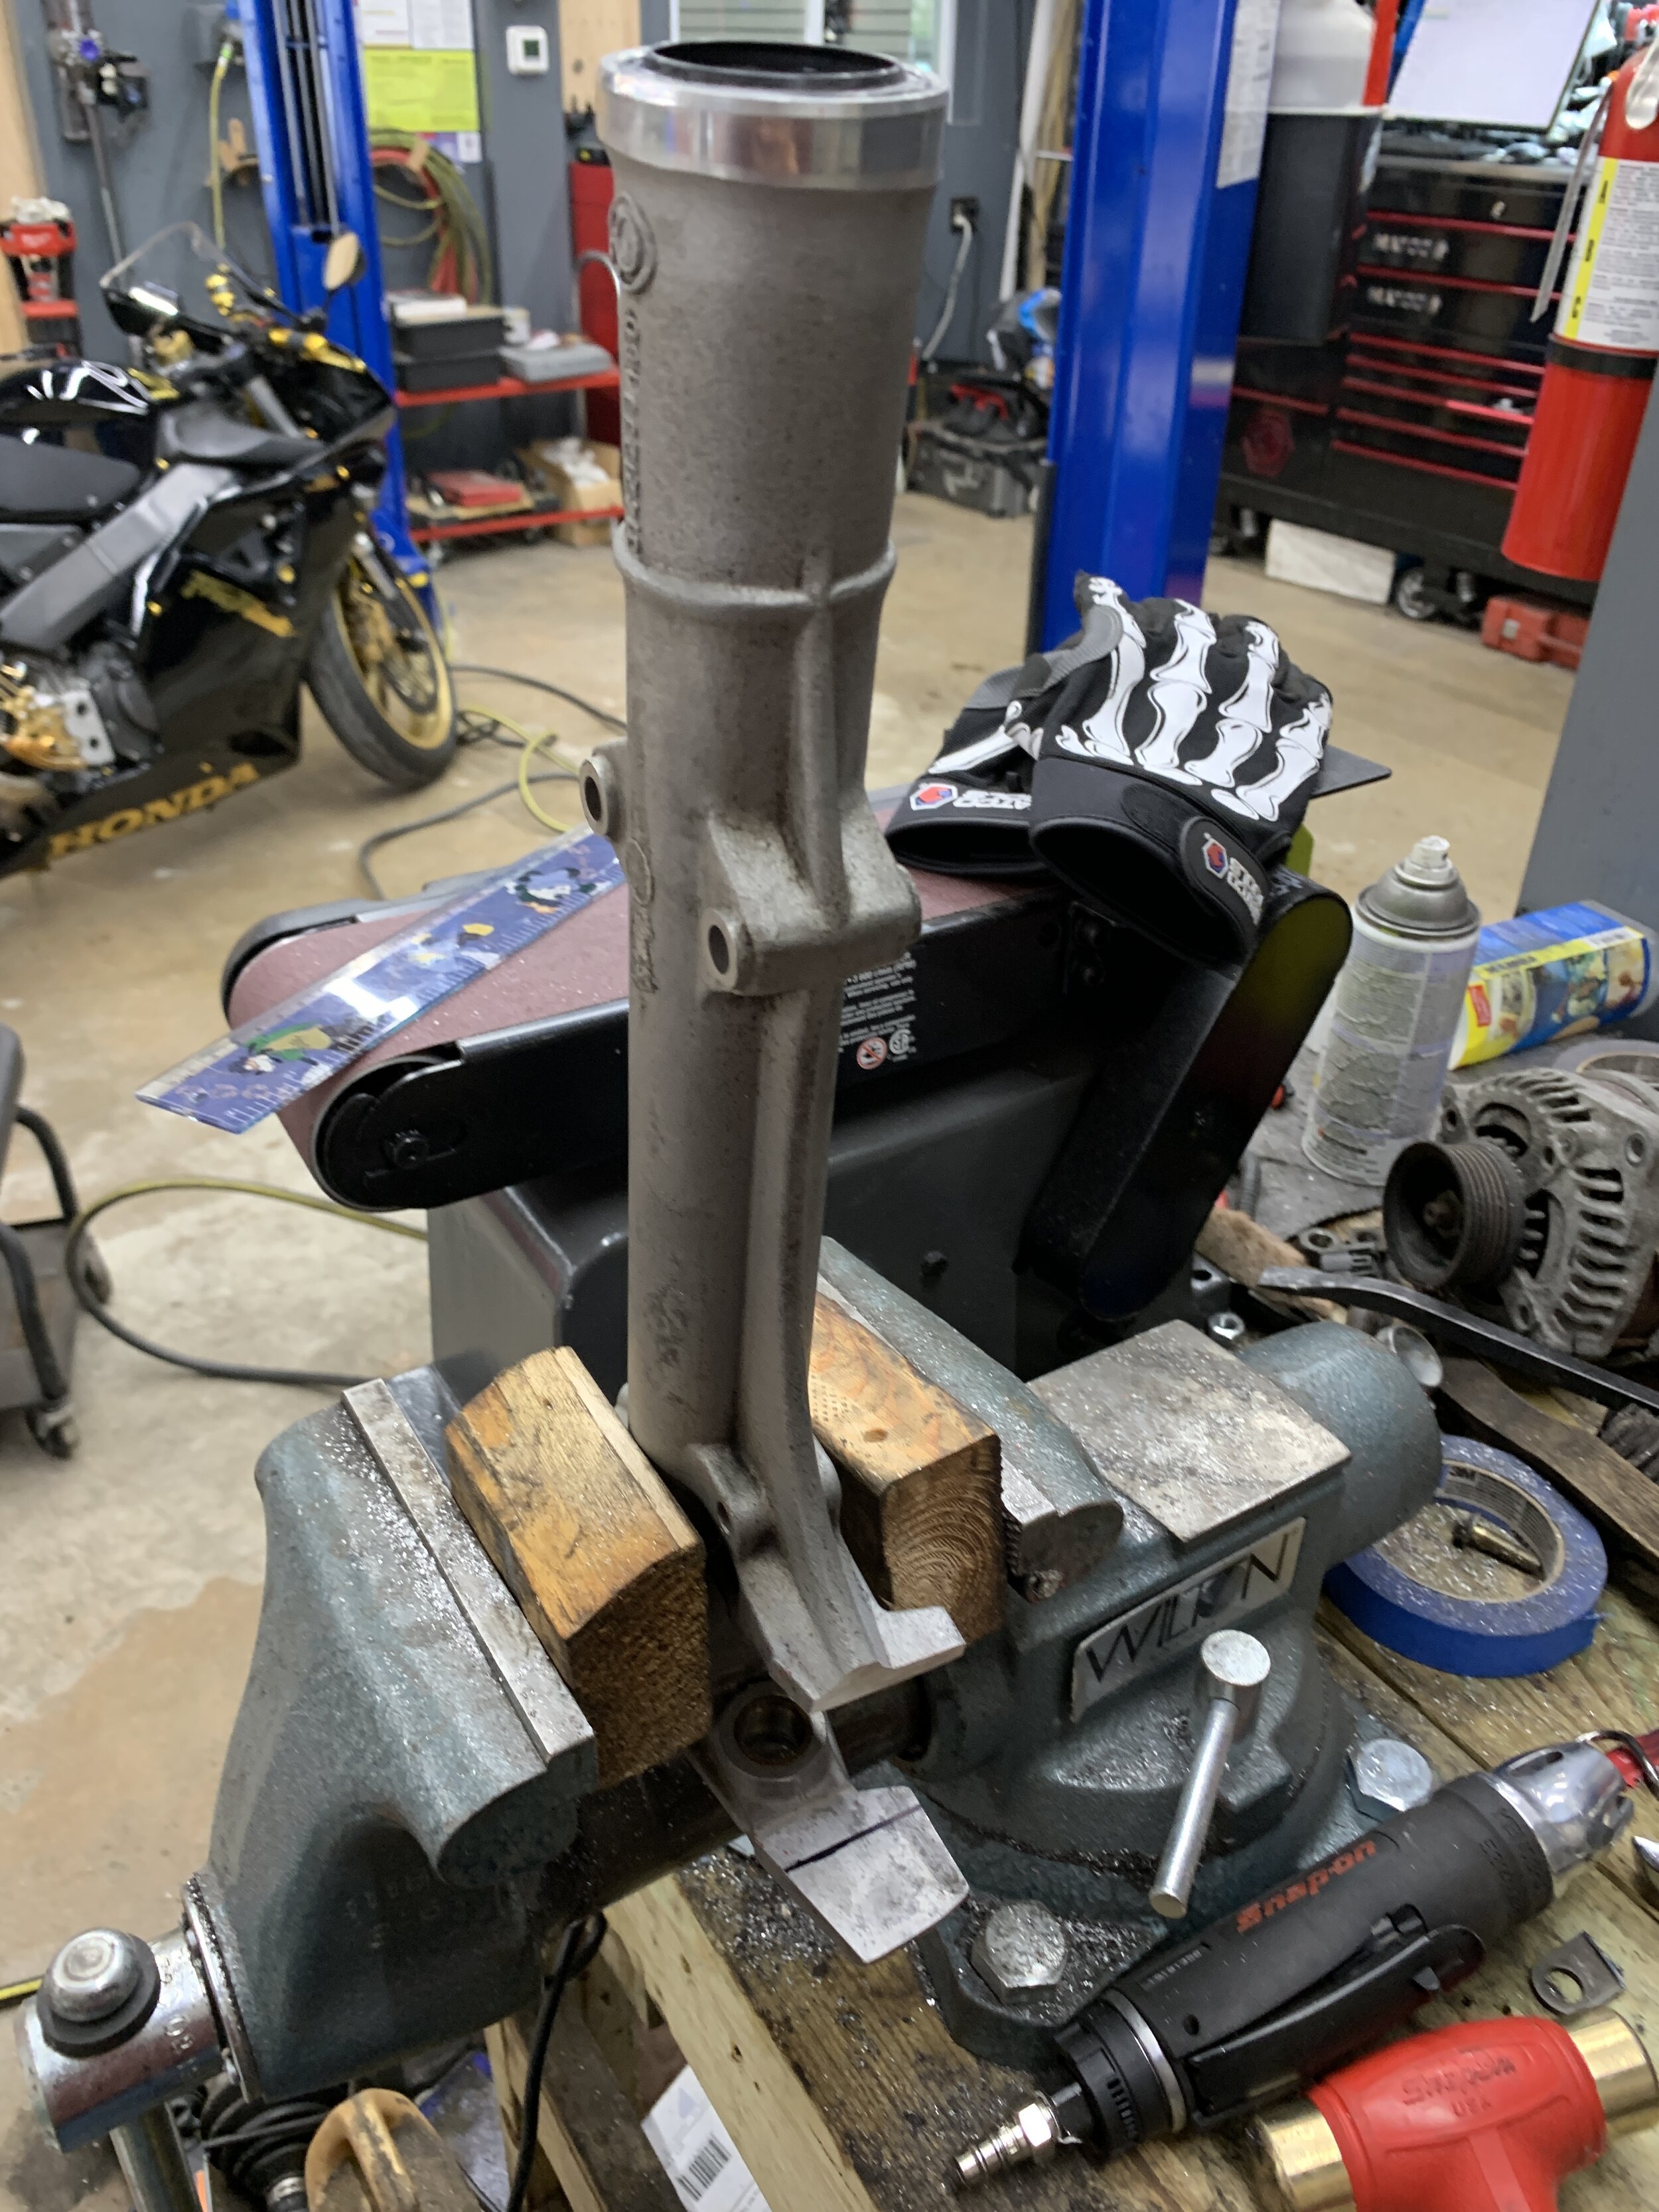
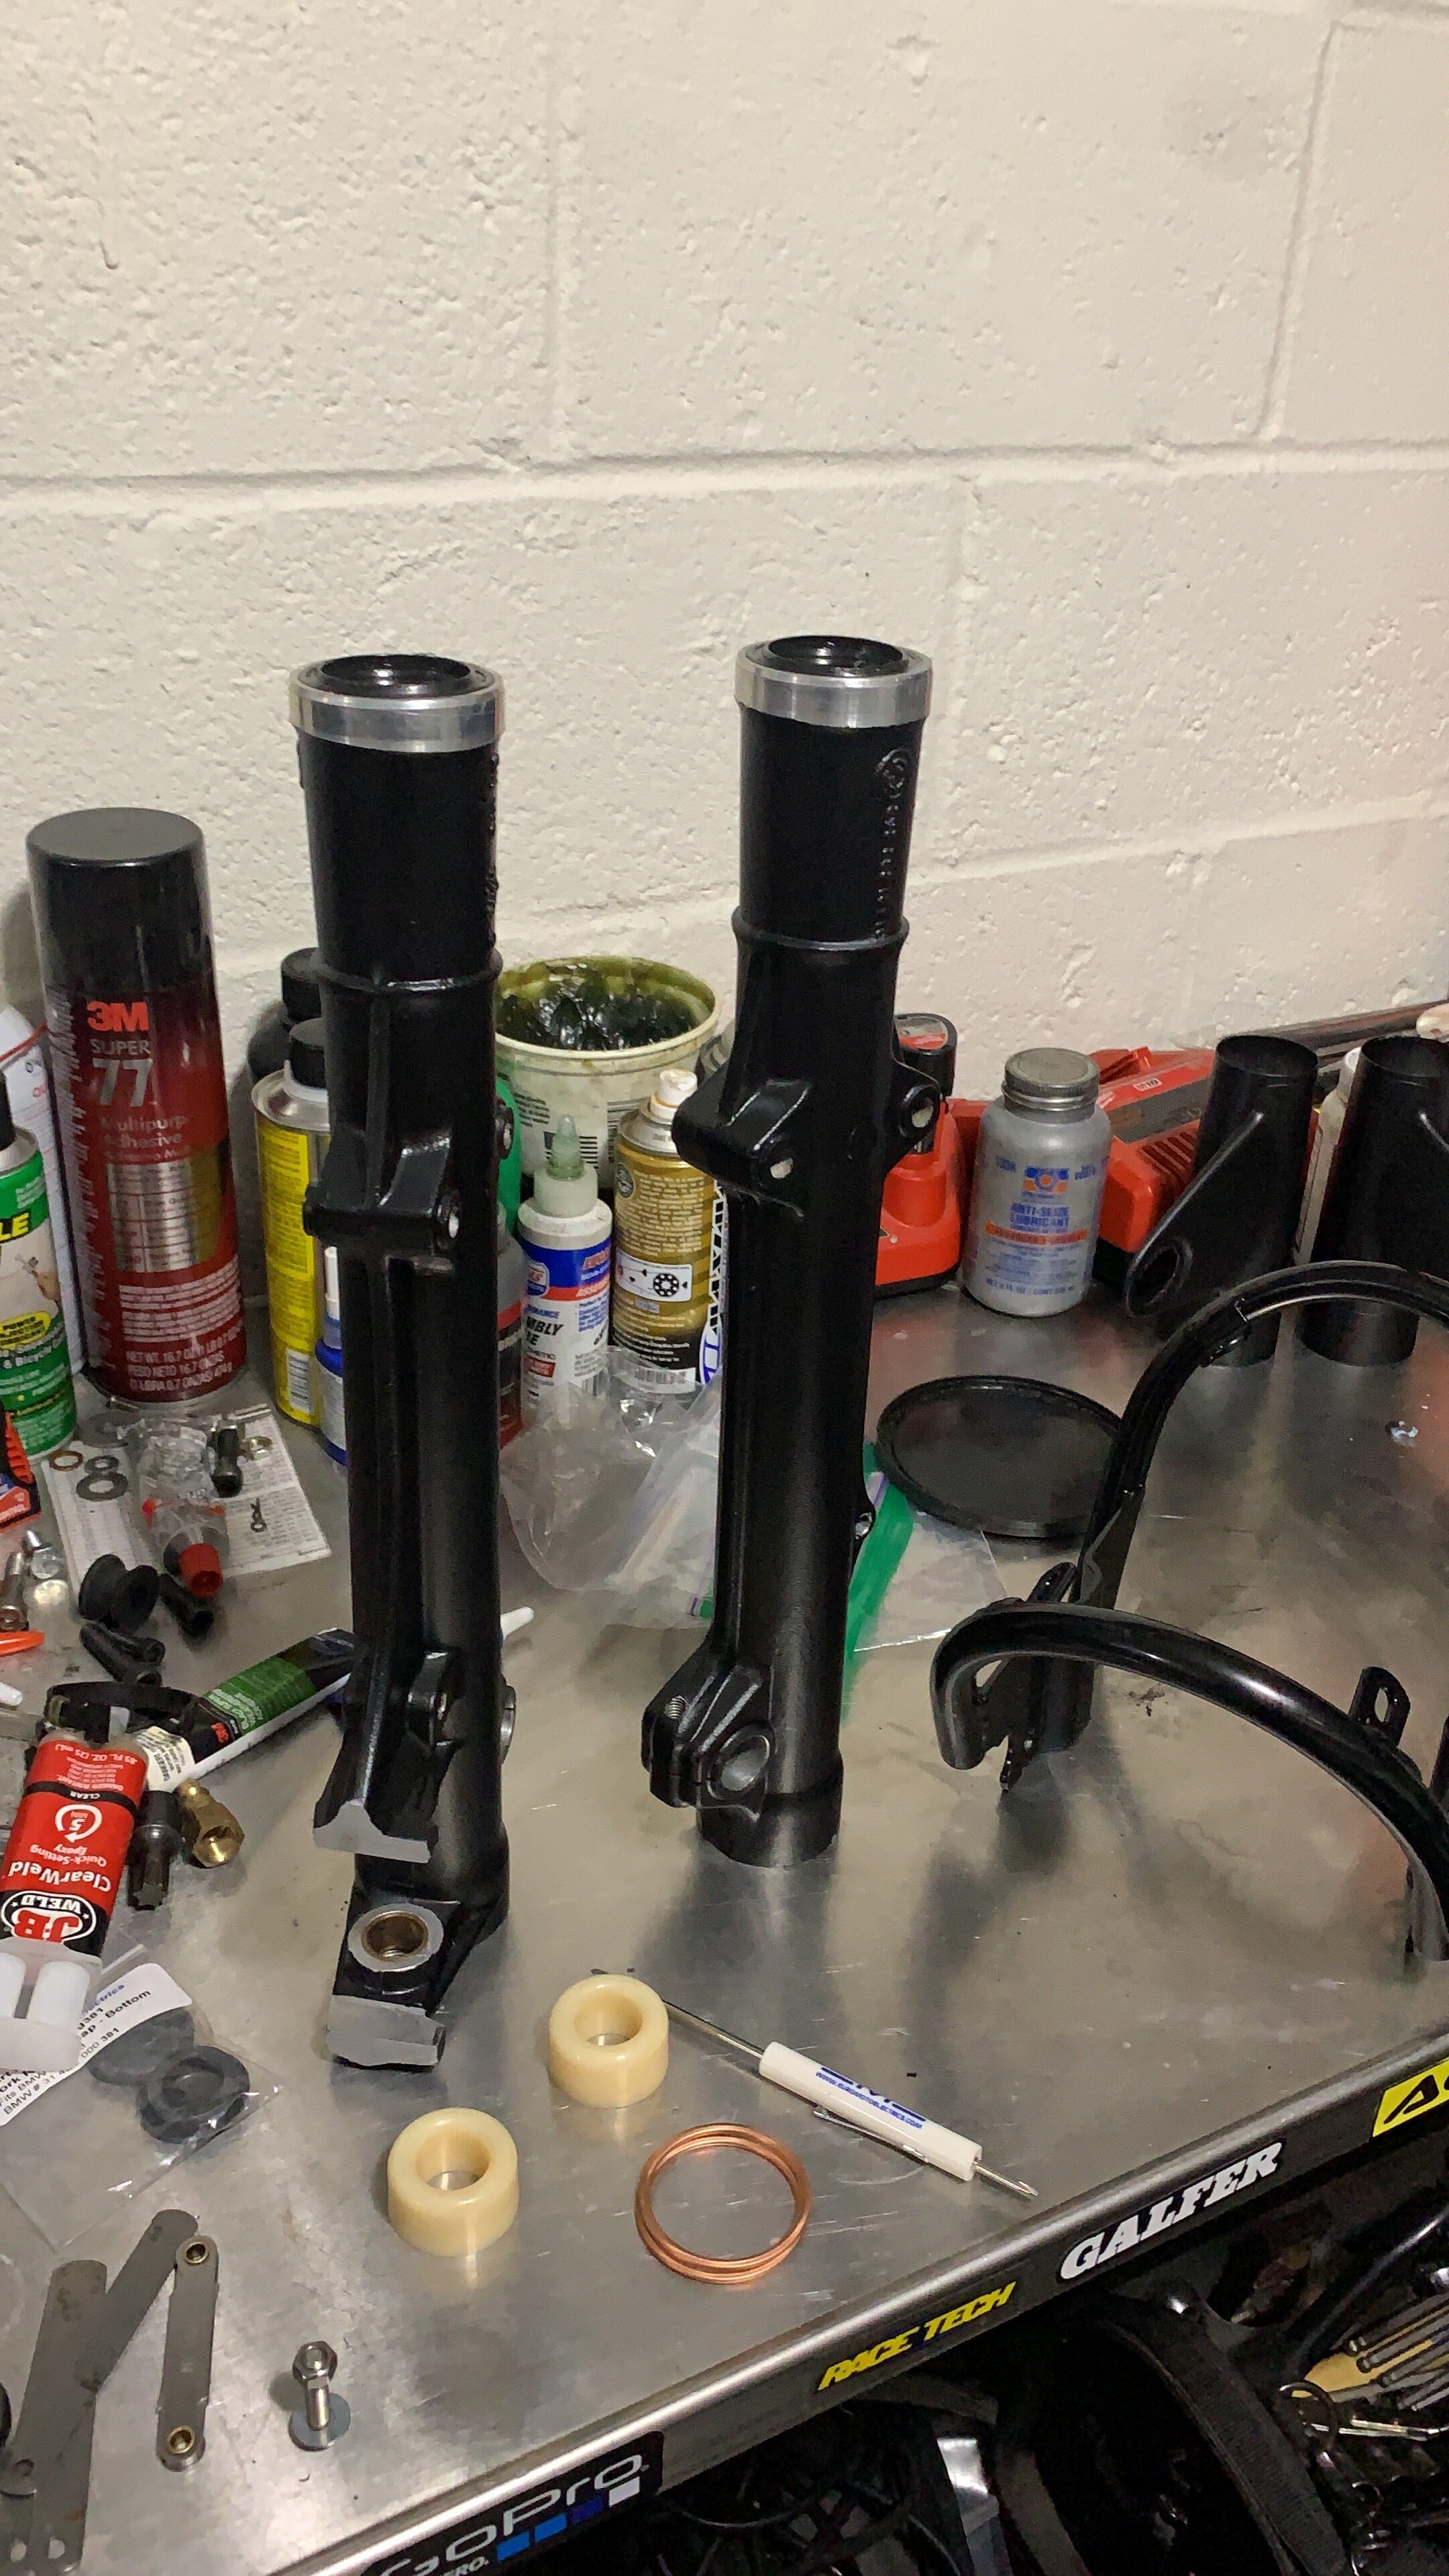
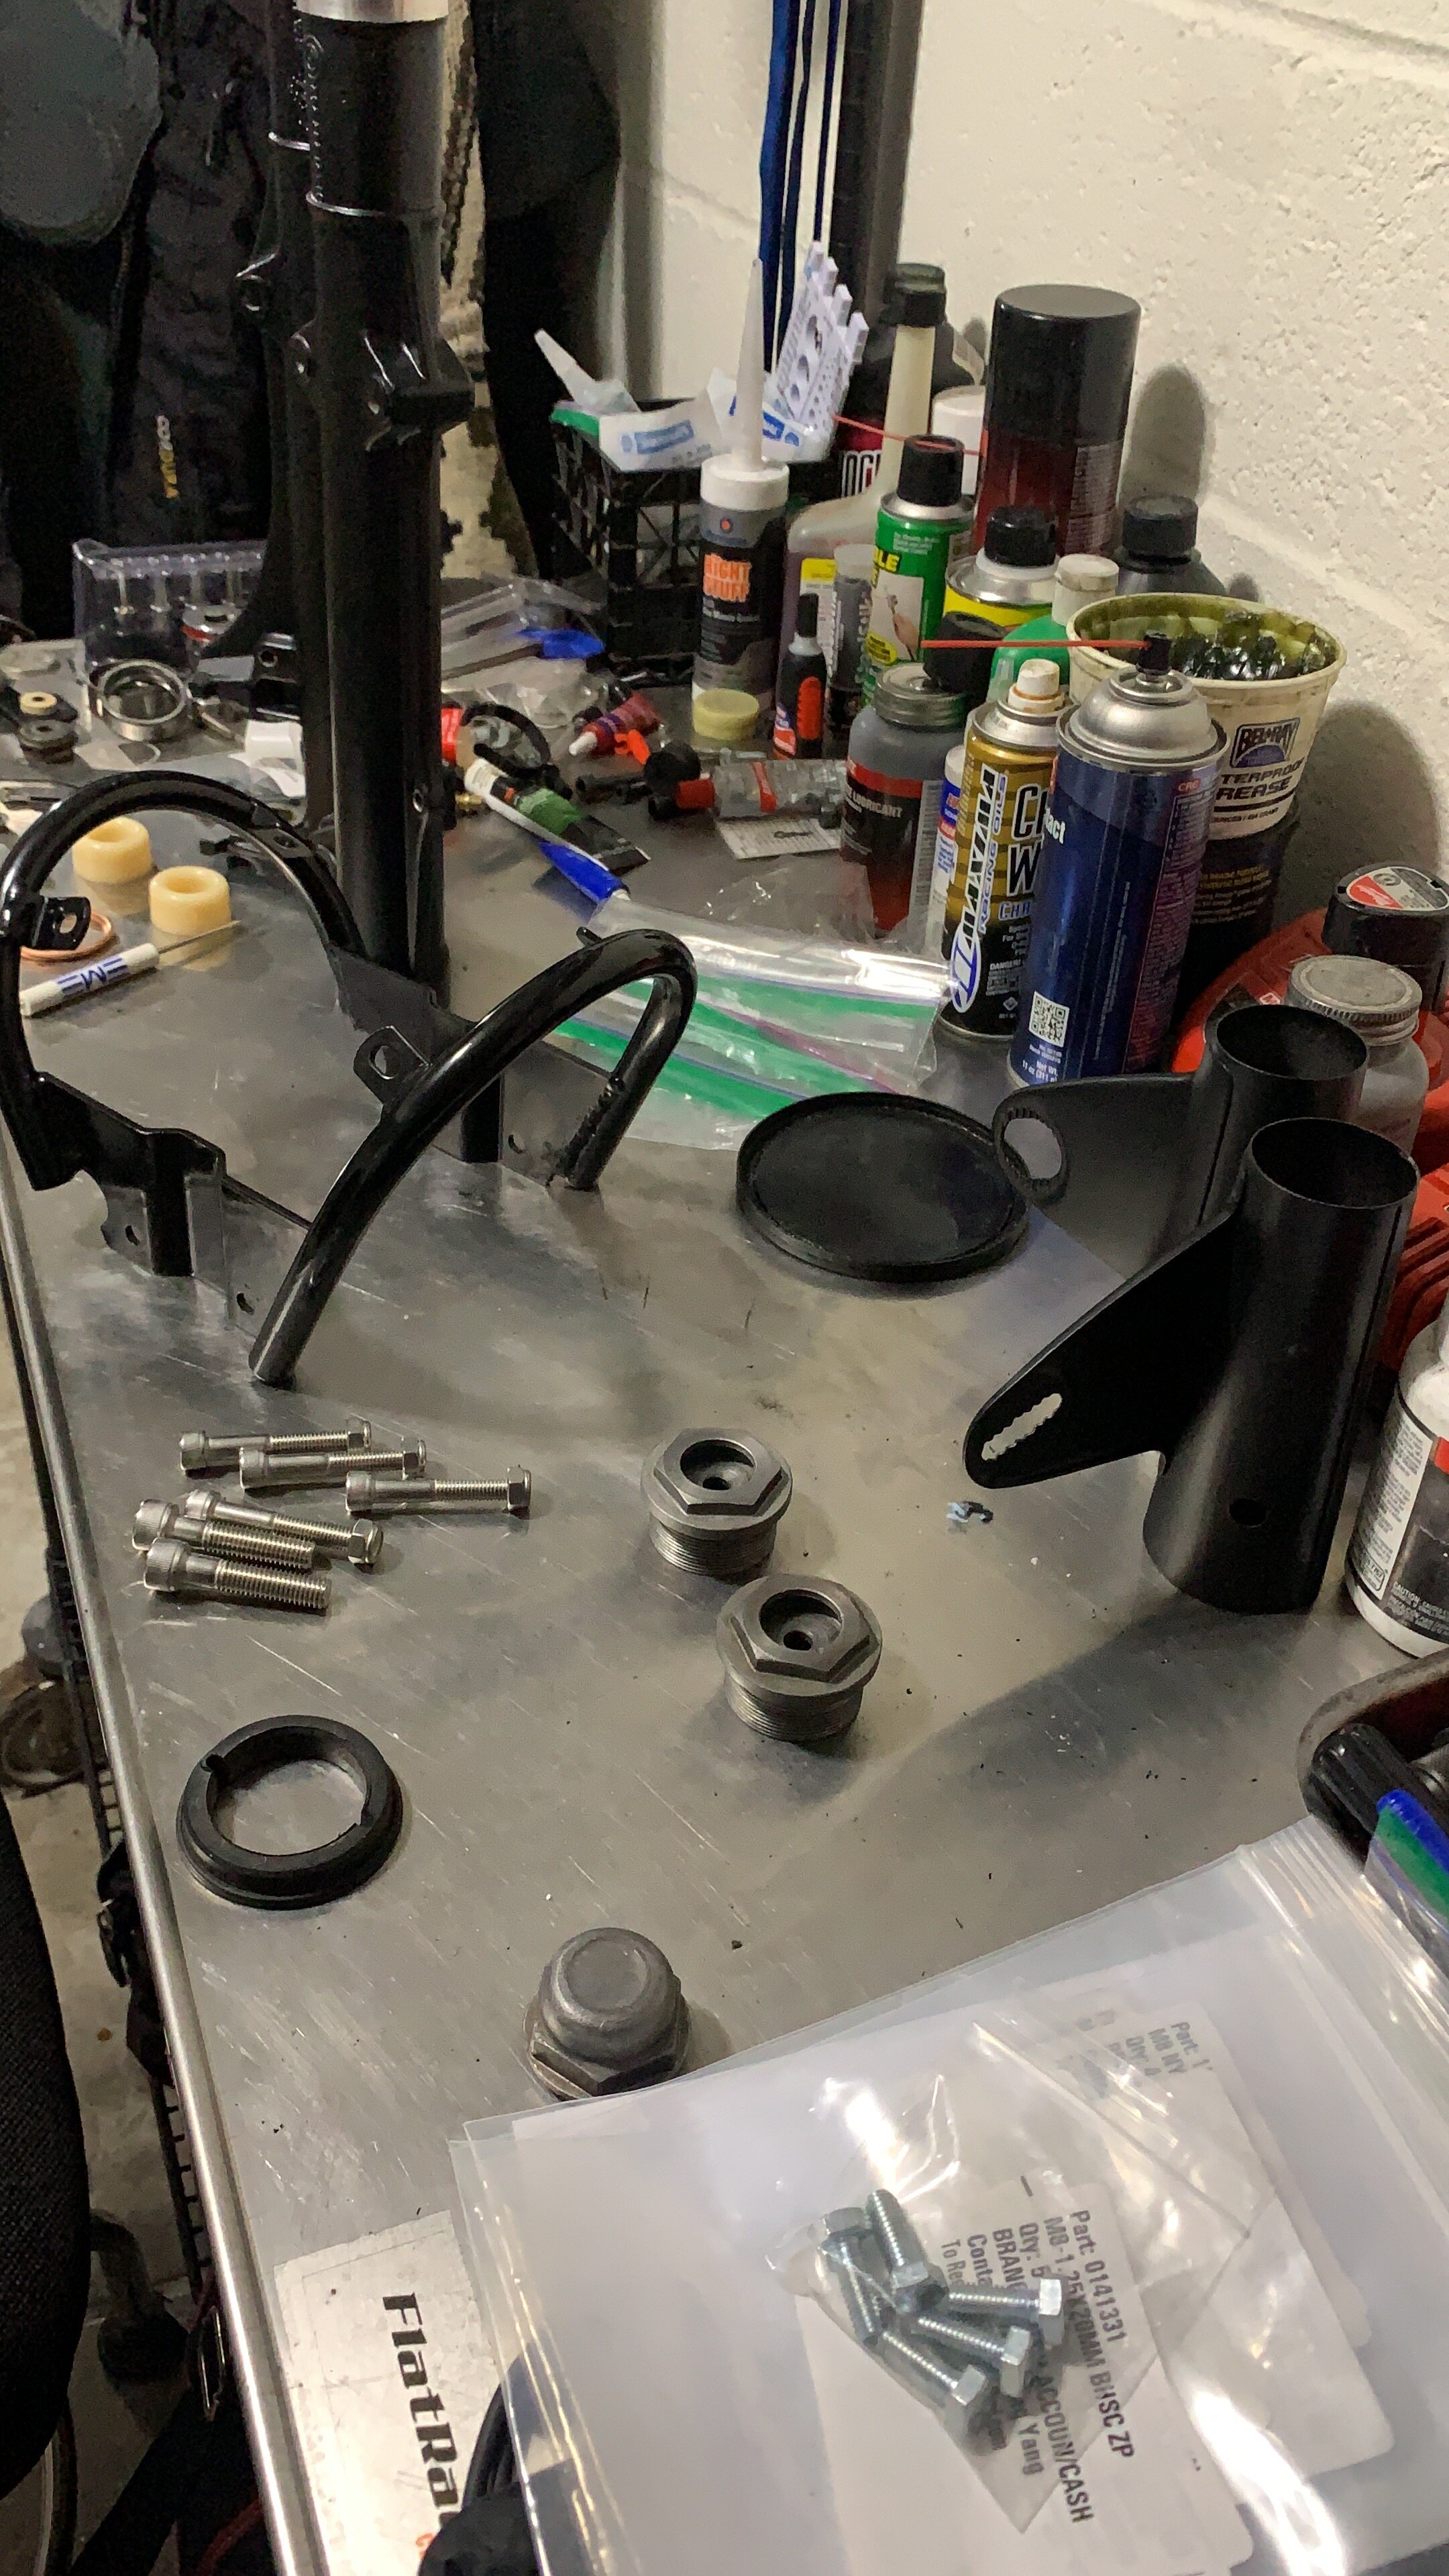
Fork disassembly was also sharp learning curve. These forks seems well ahead of its time for a 60-70s technology. It has pistons and piston rings and damper rods. However the top clamp setup seems archaic even for 70s technology. It sports a thin piece of steel that all other bikes of that era is using a large aluminum top clamp.
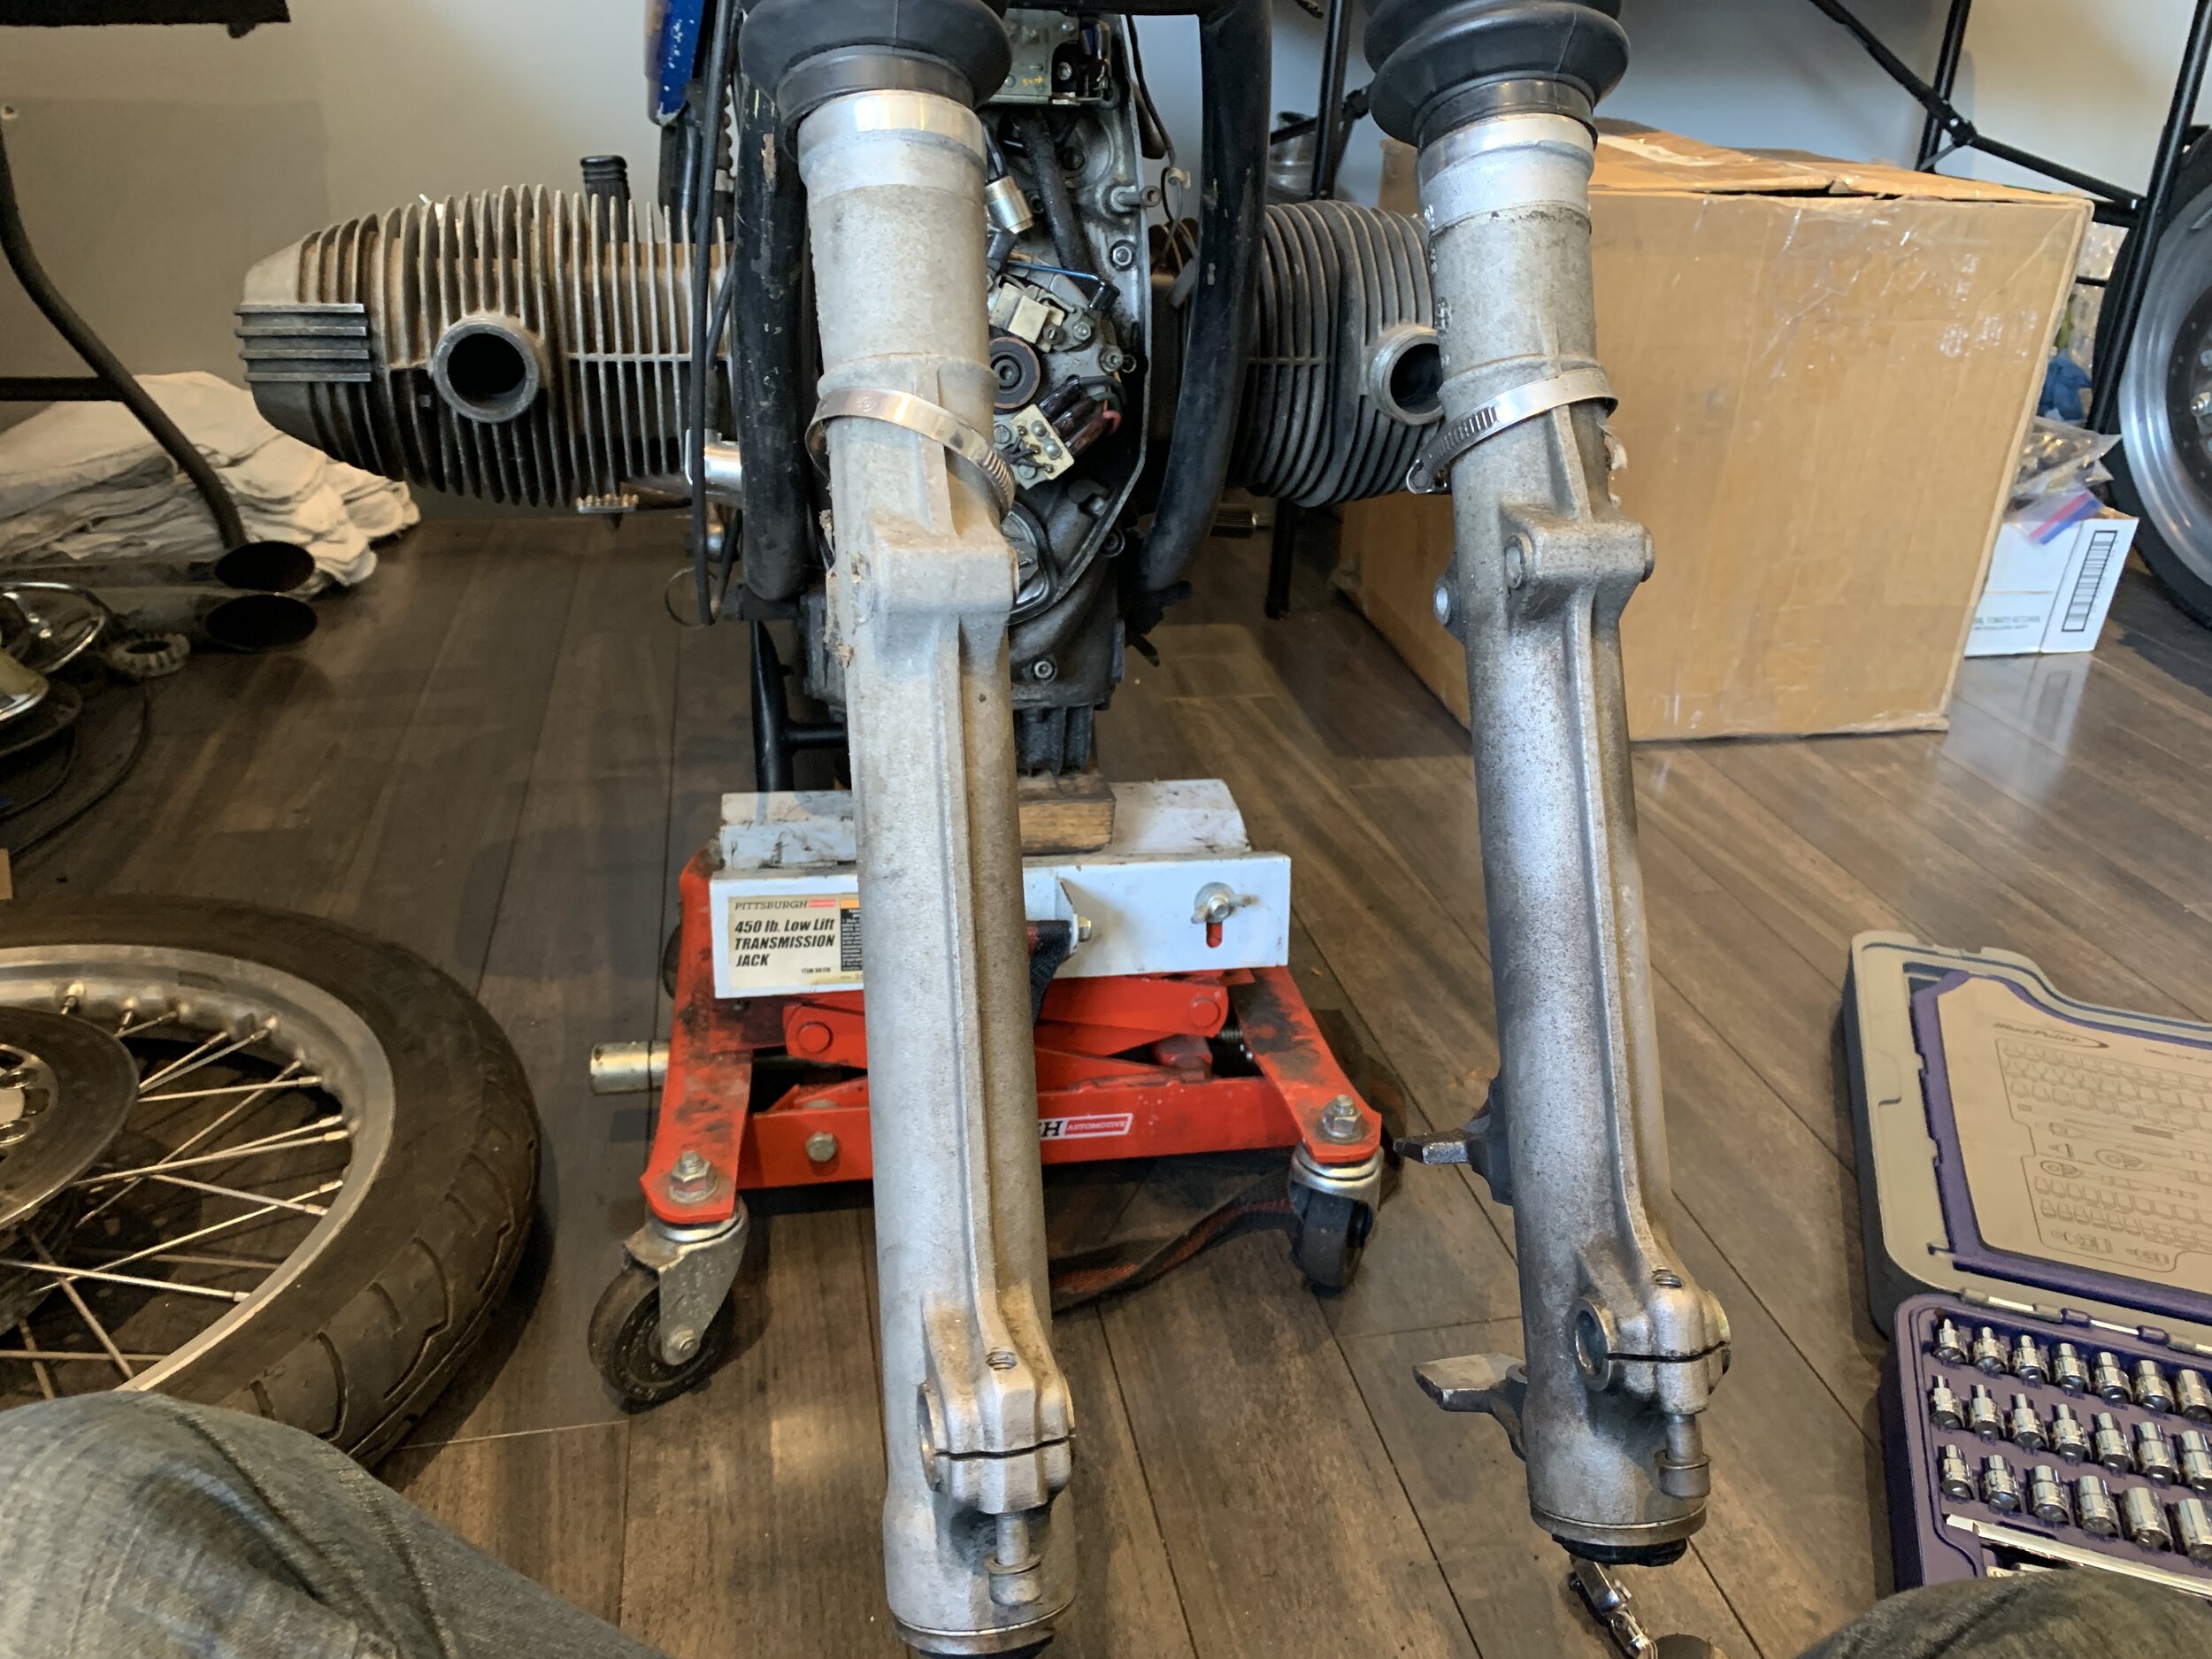
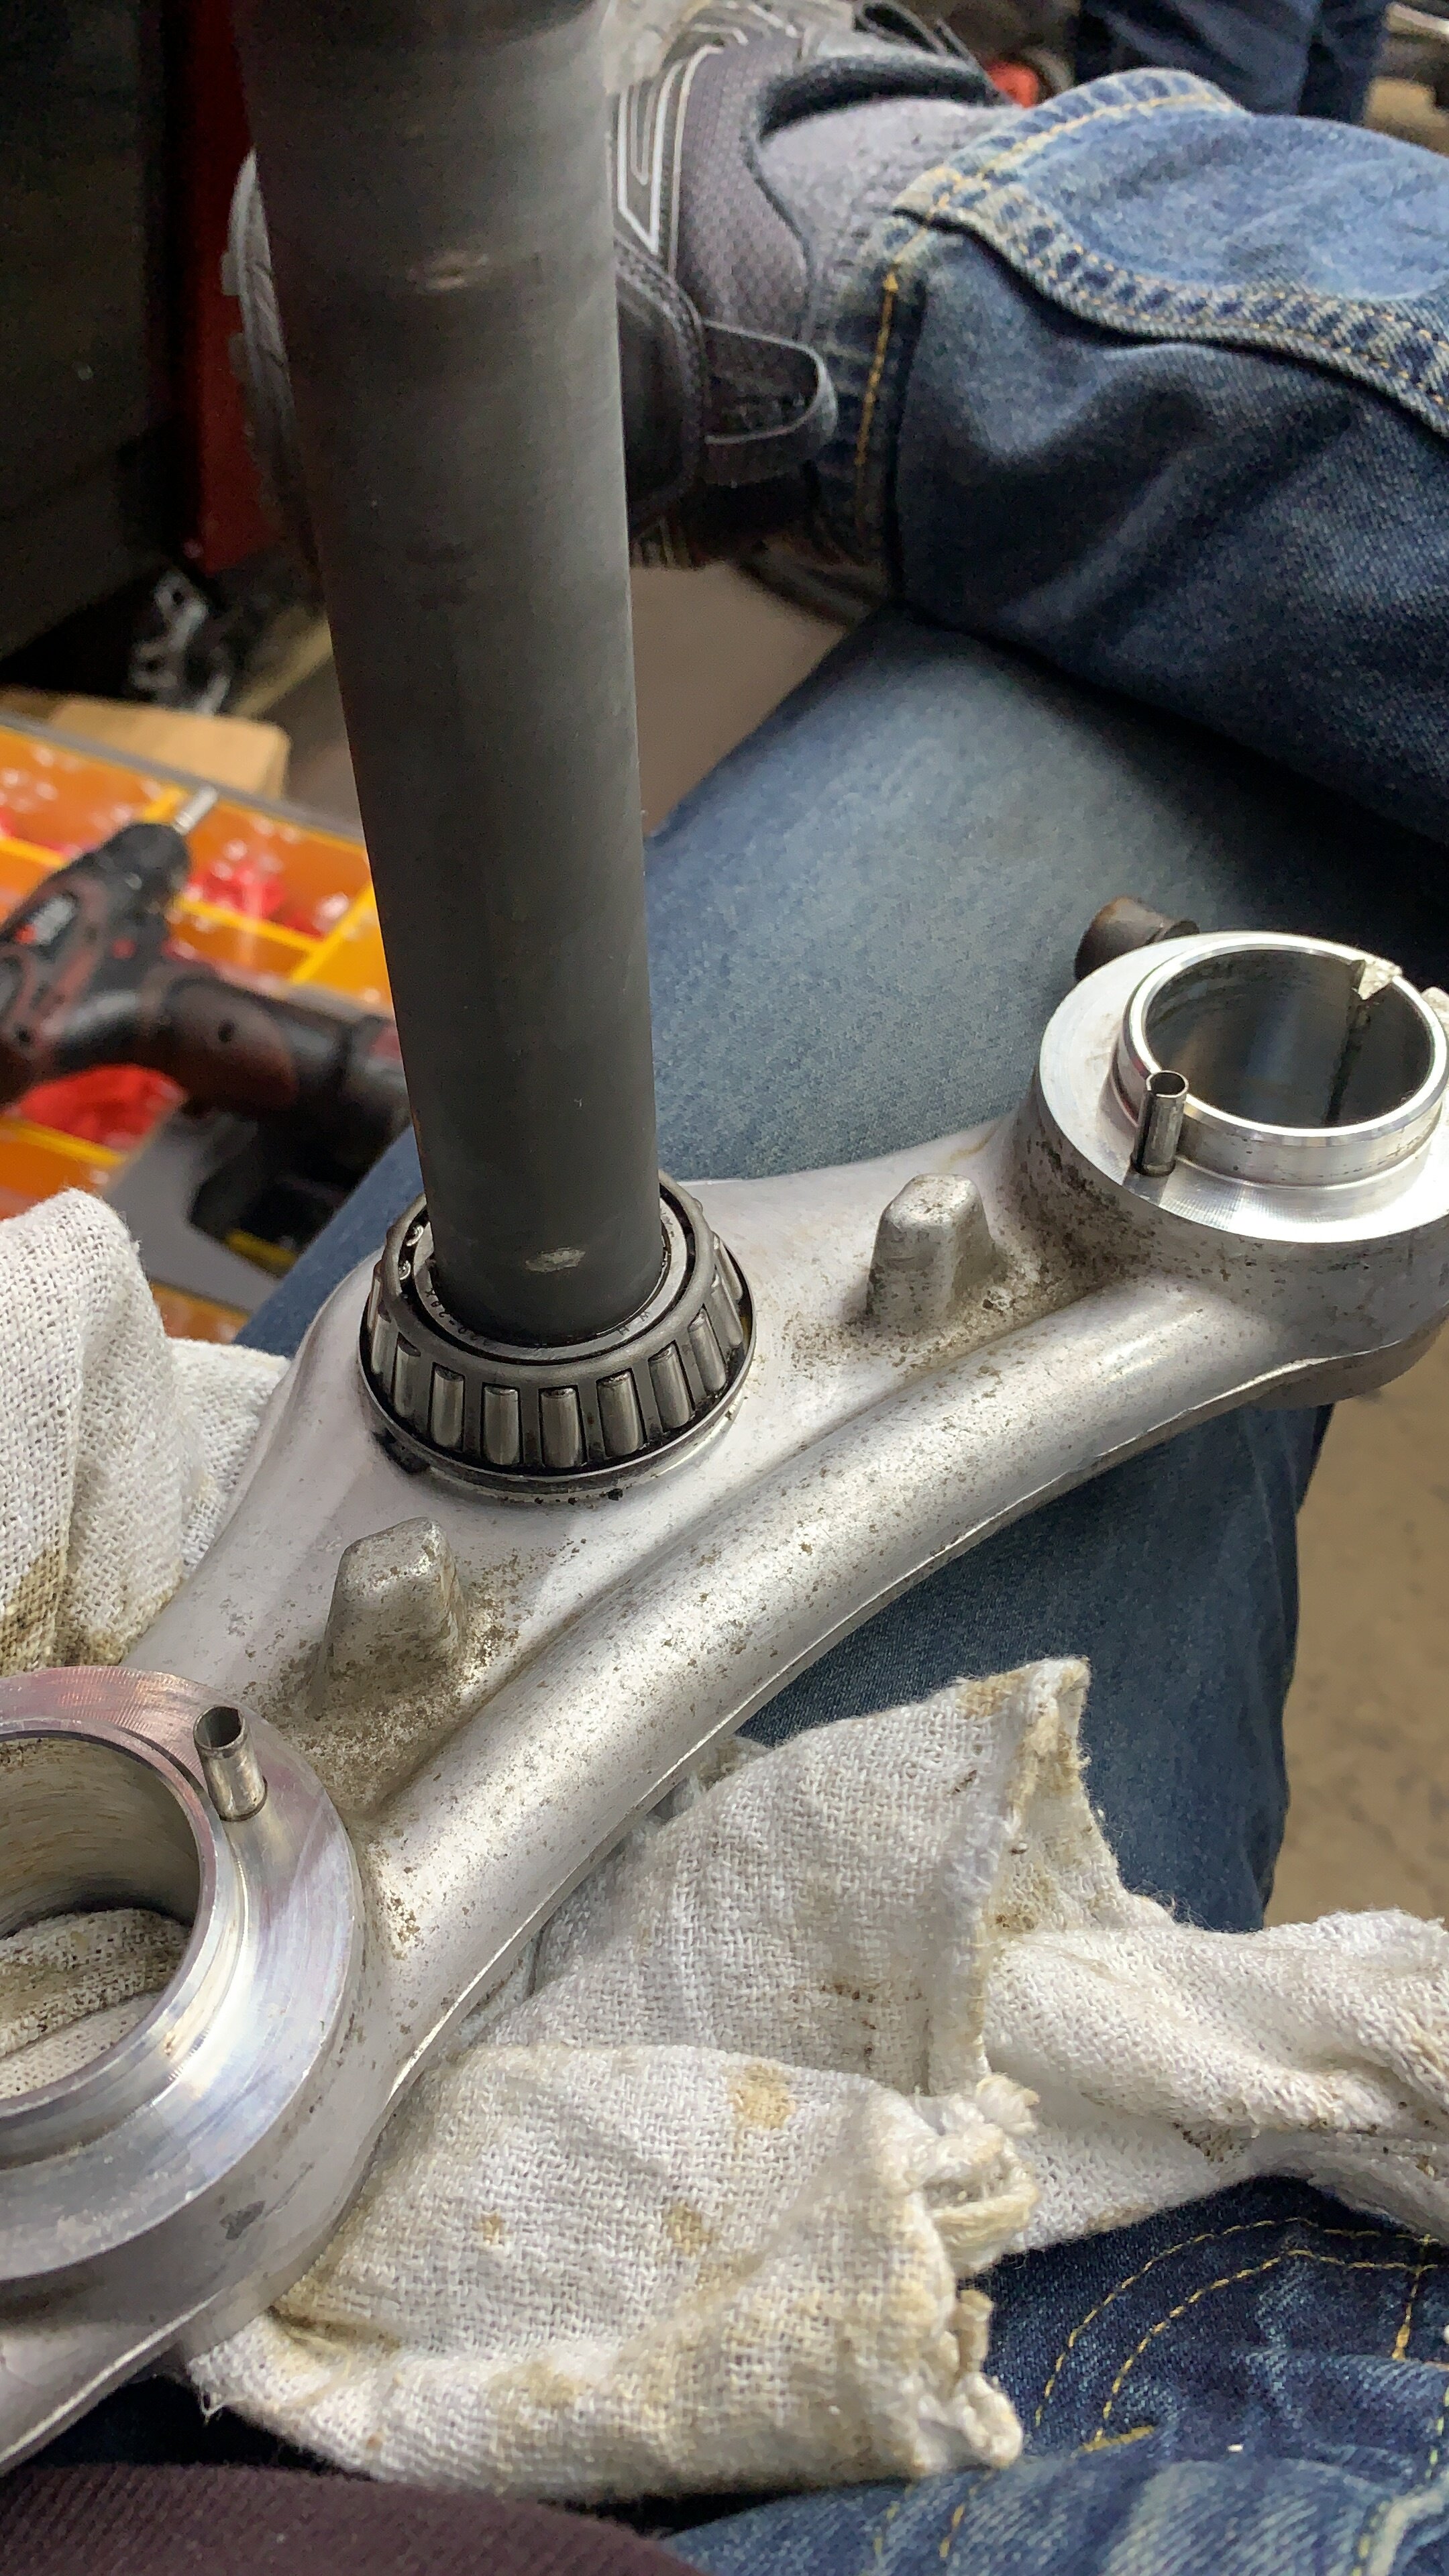
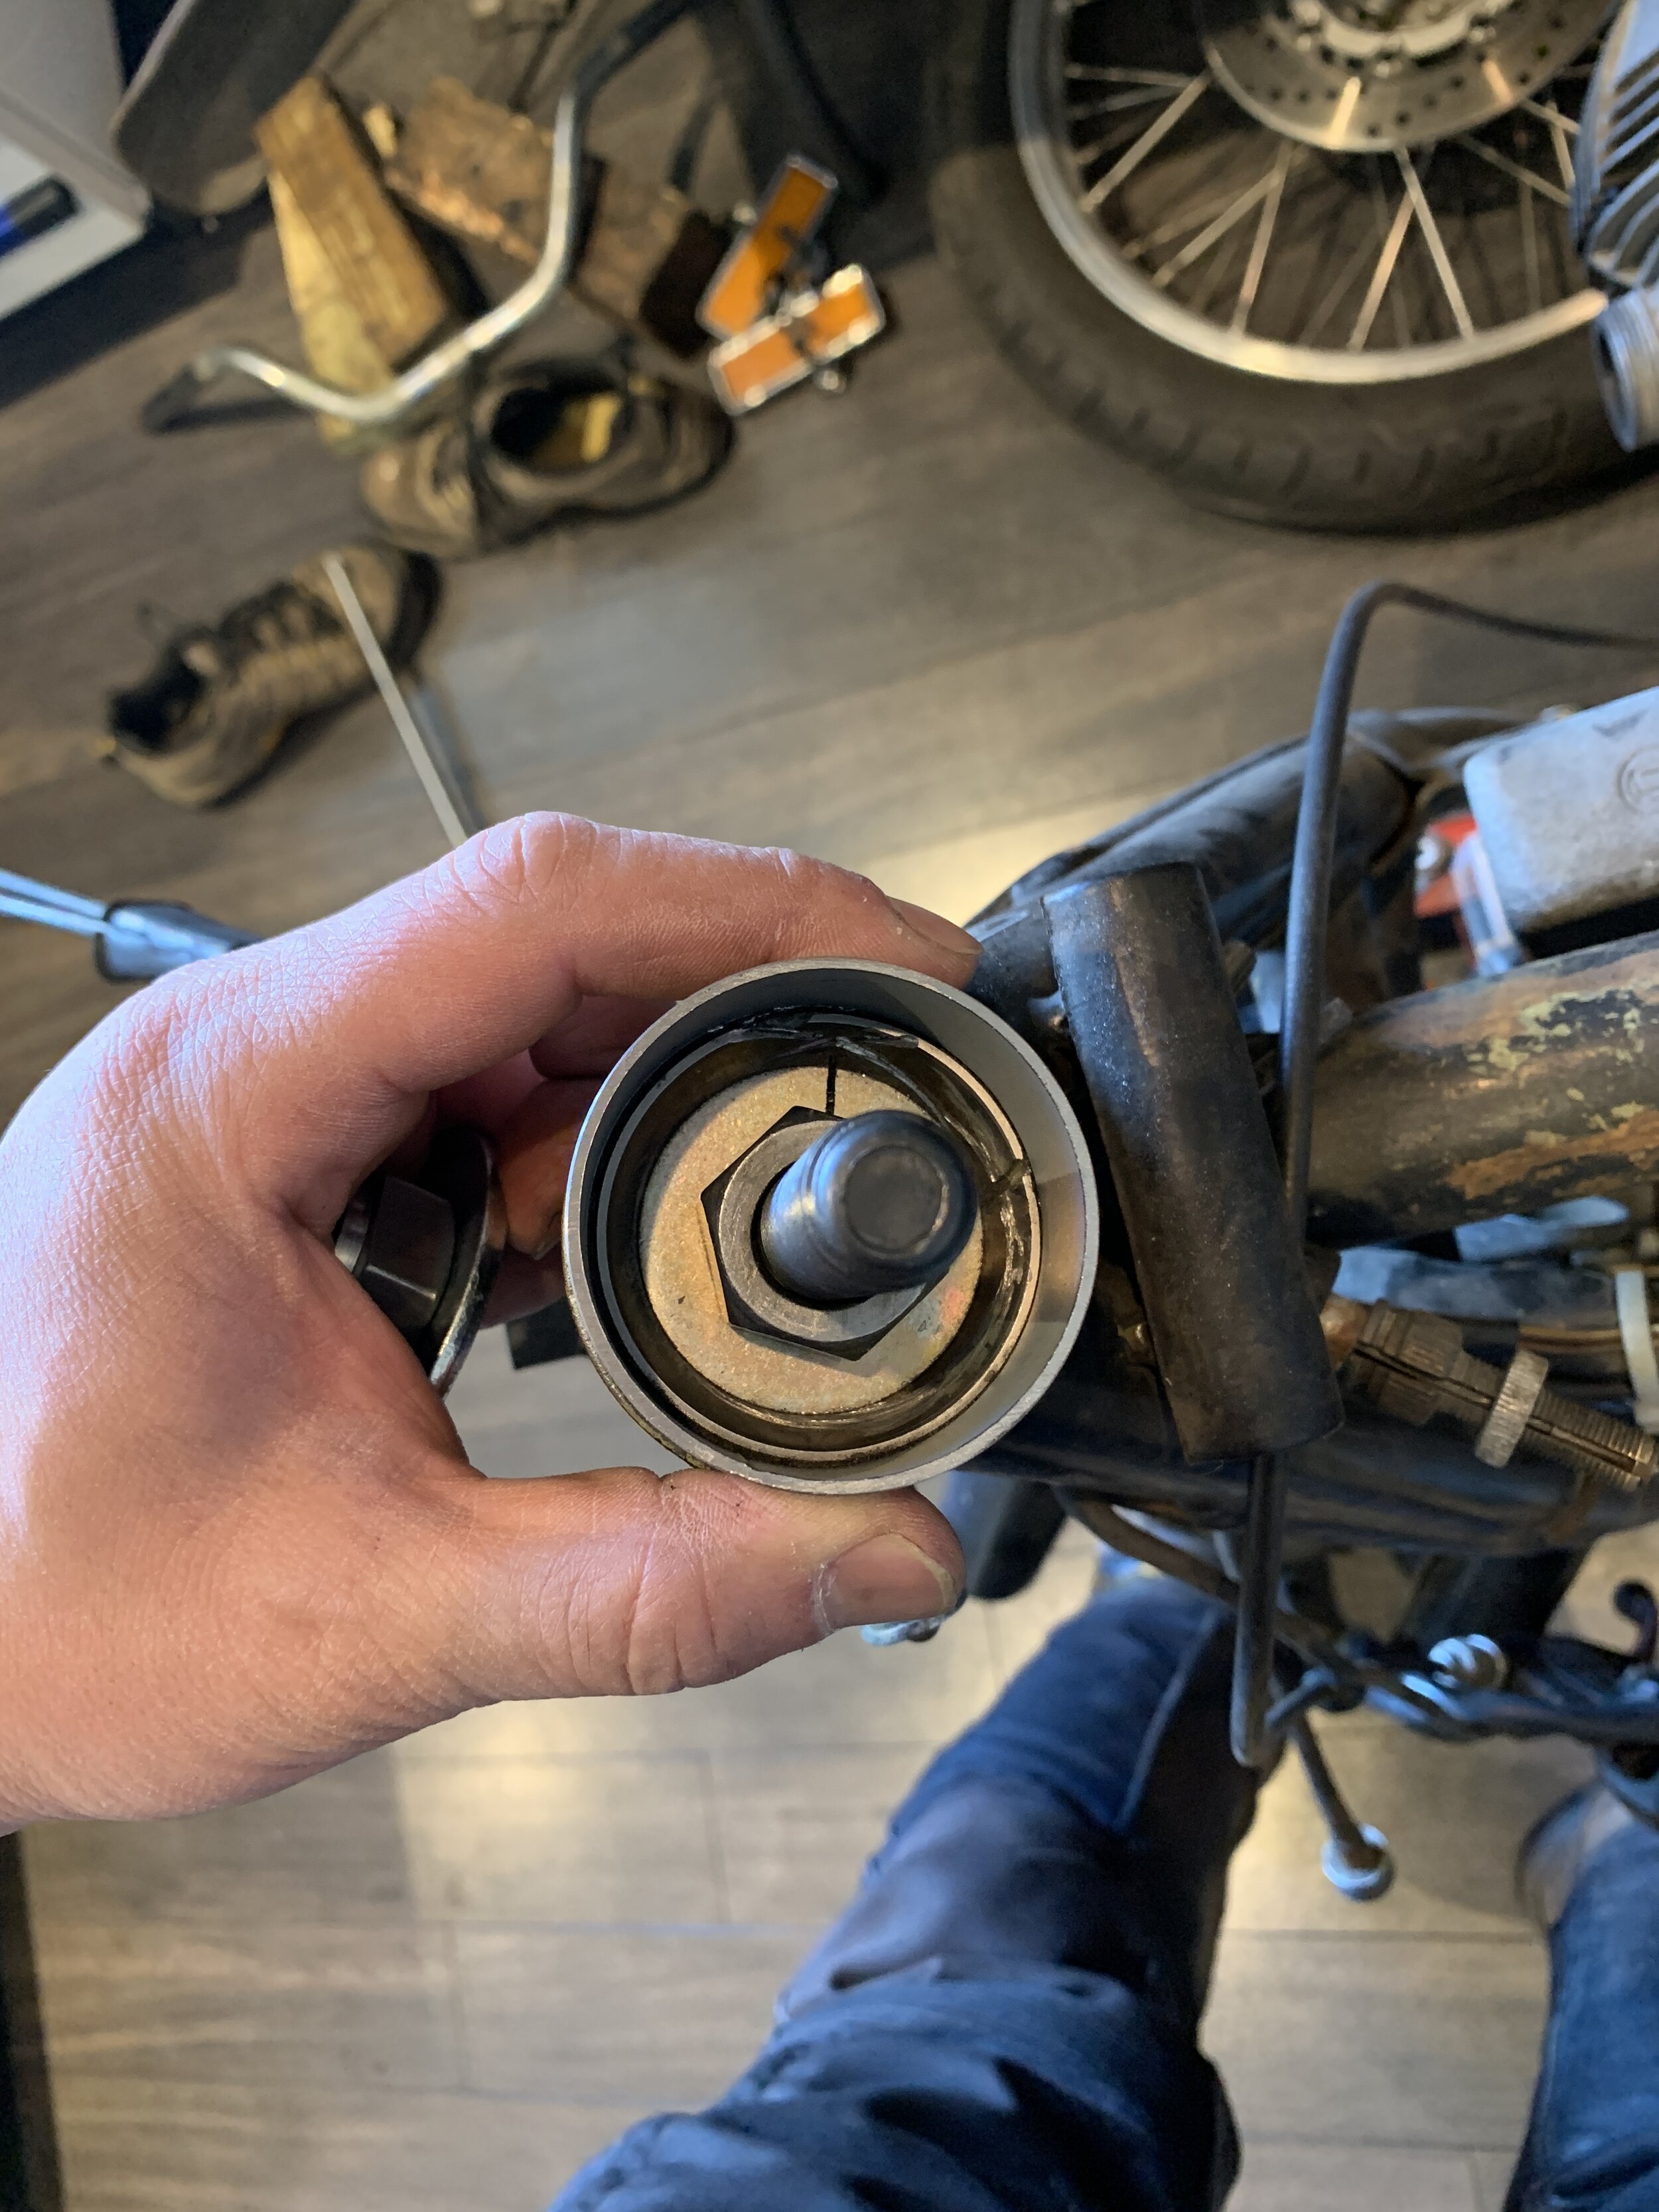
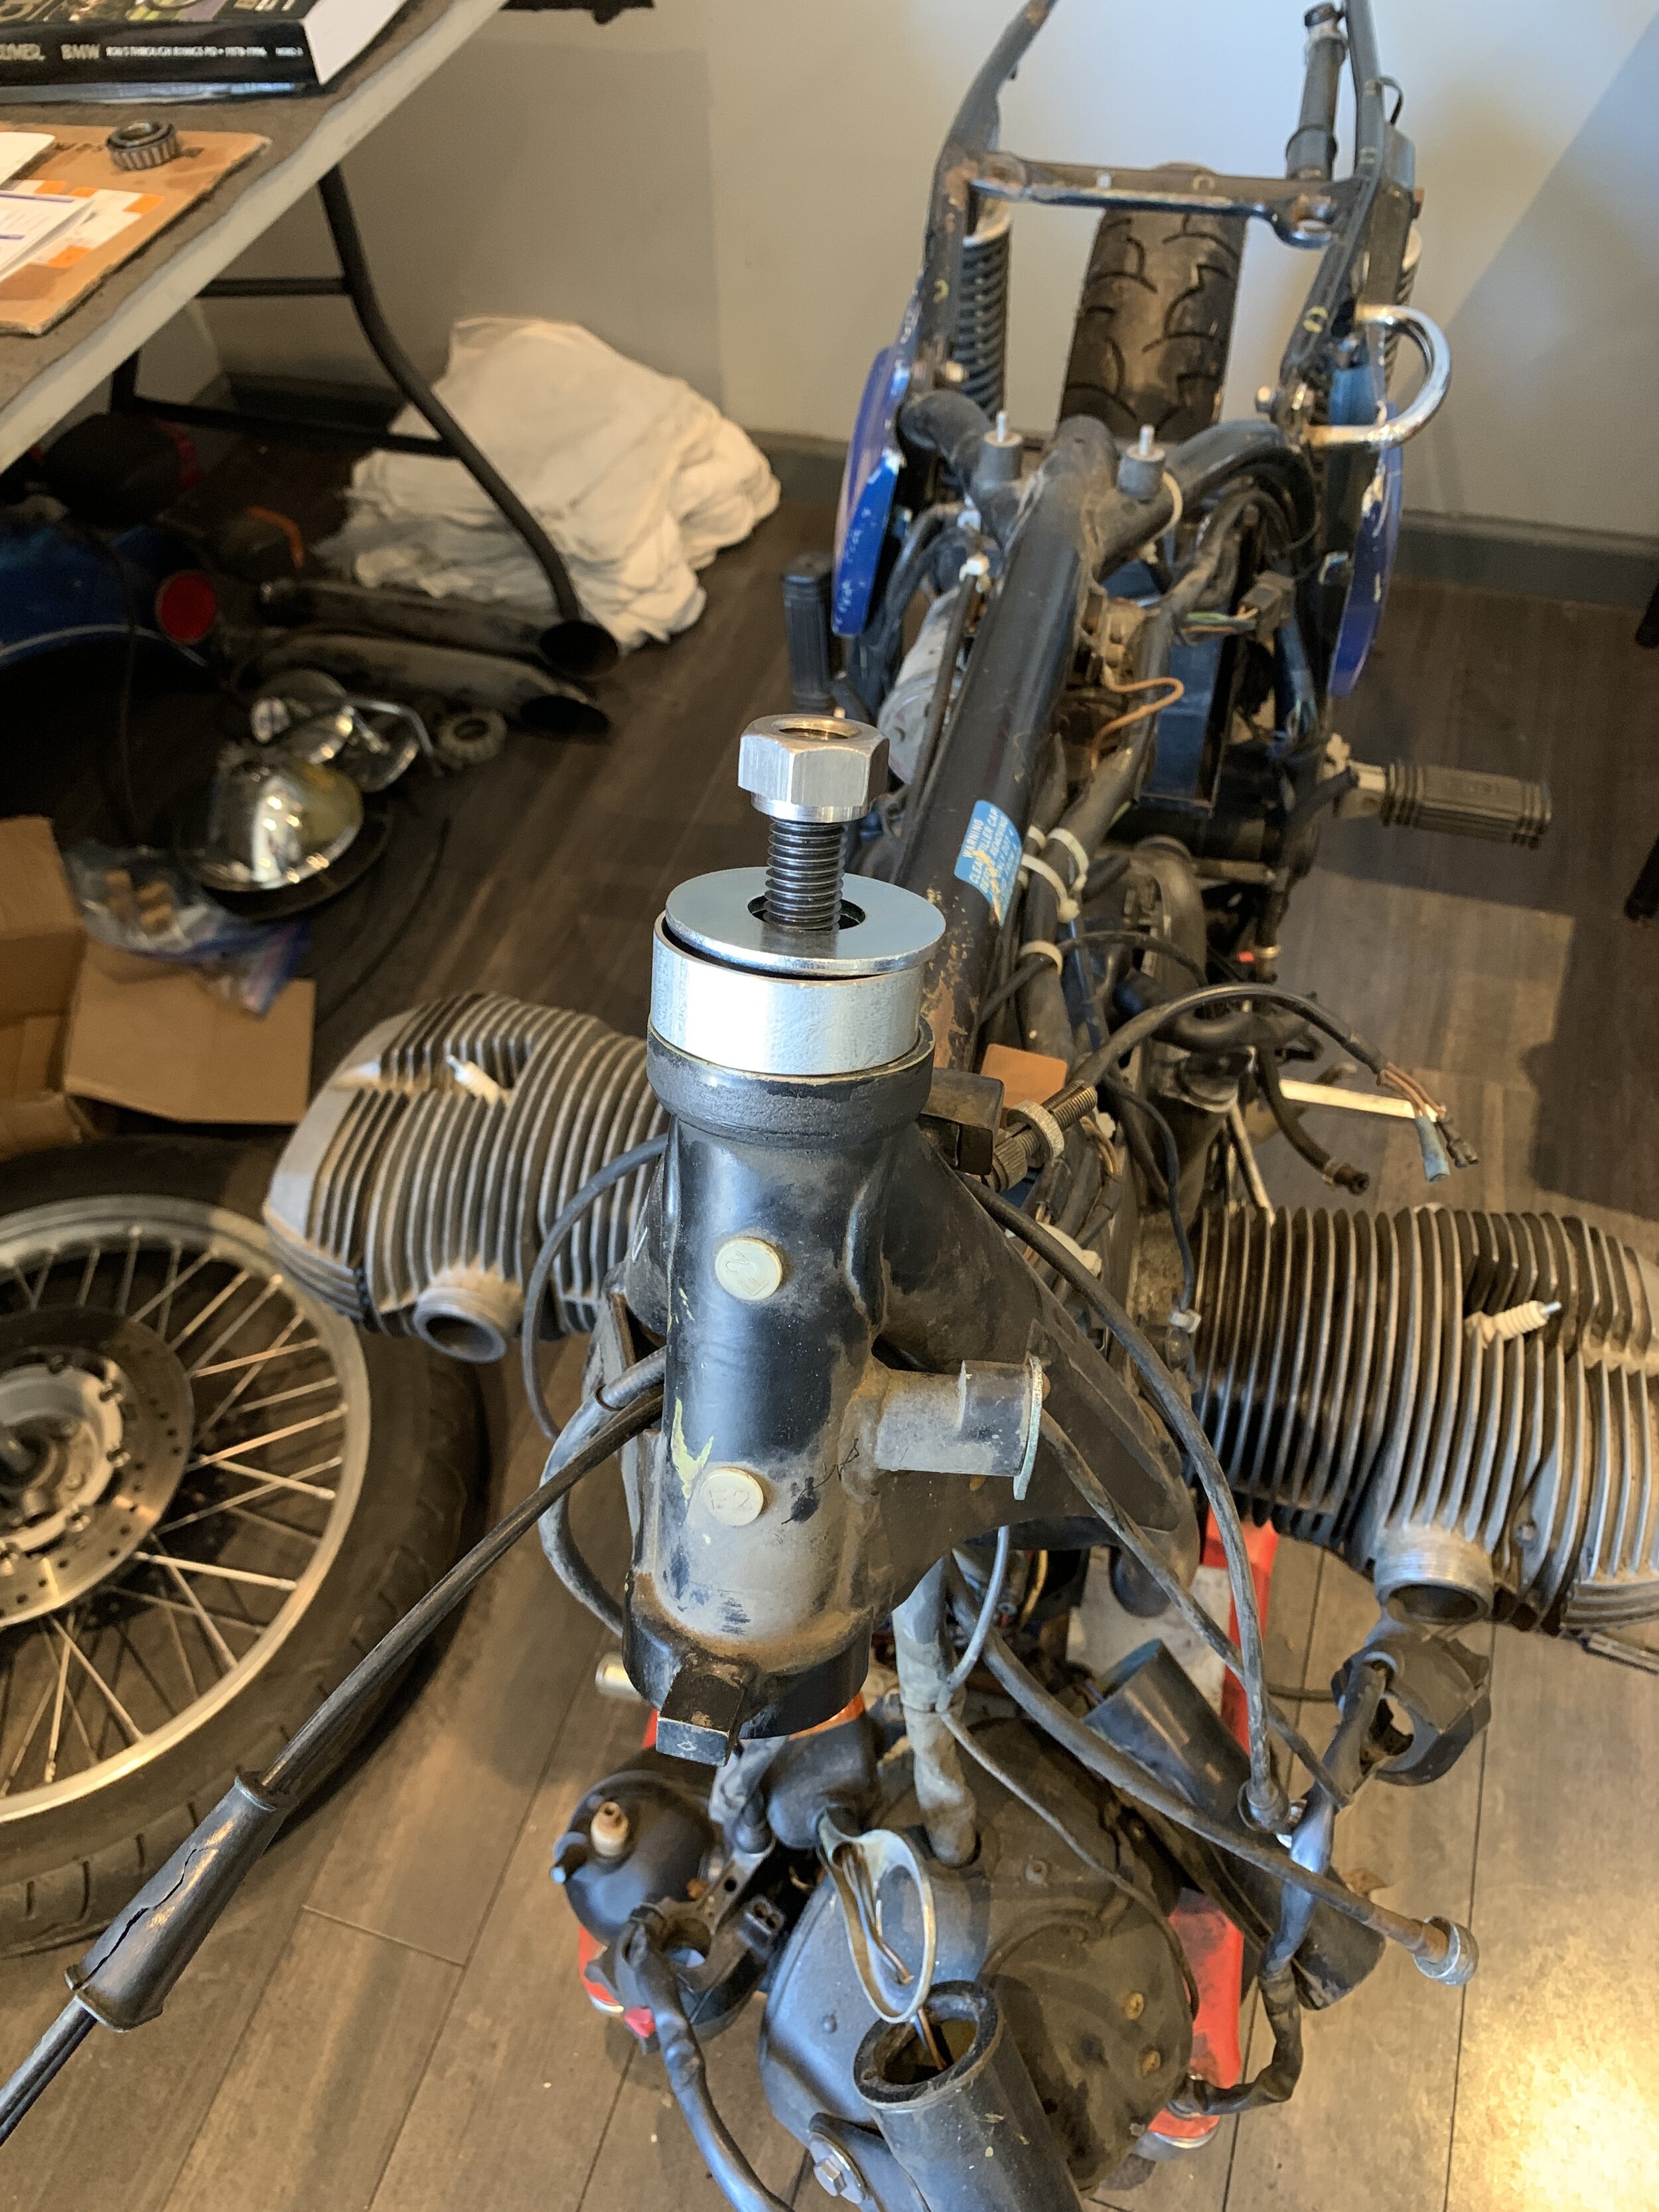
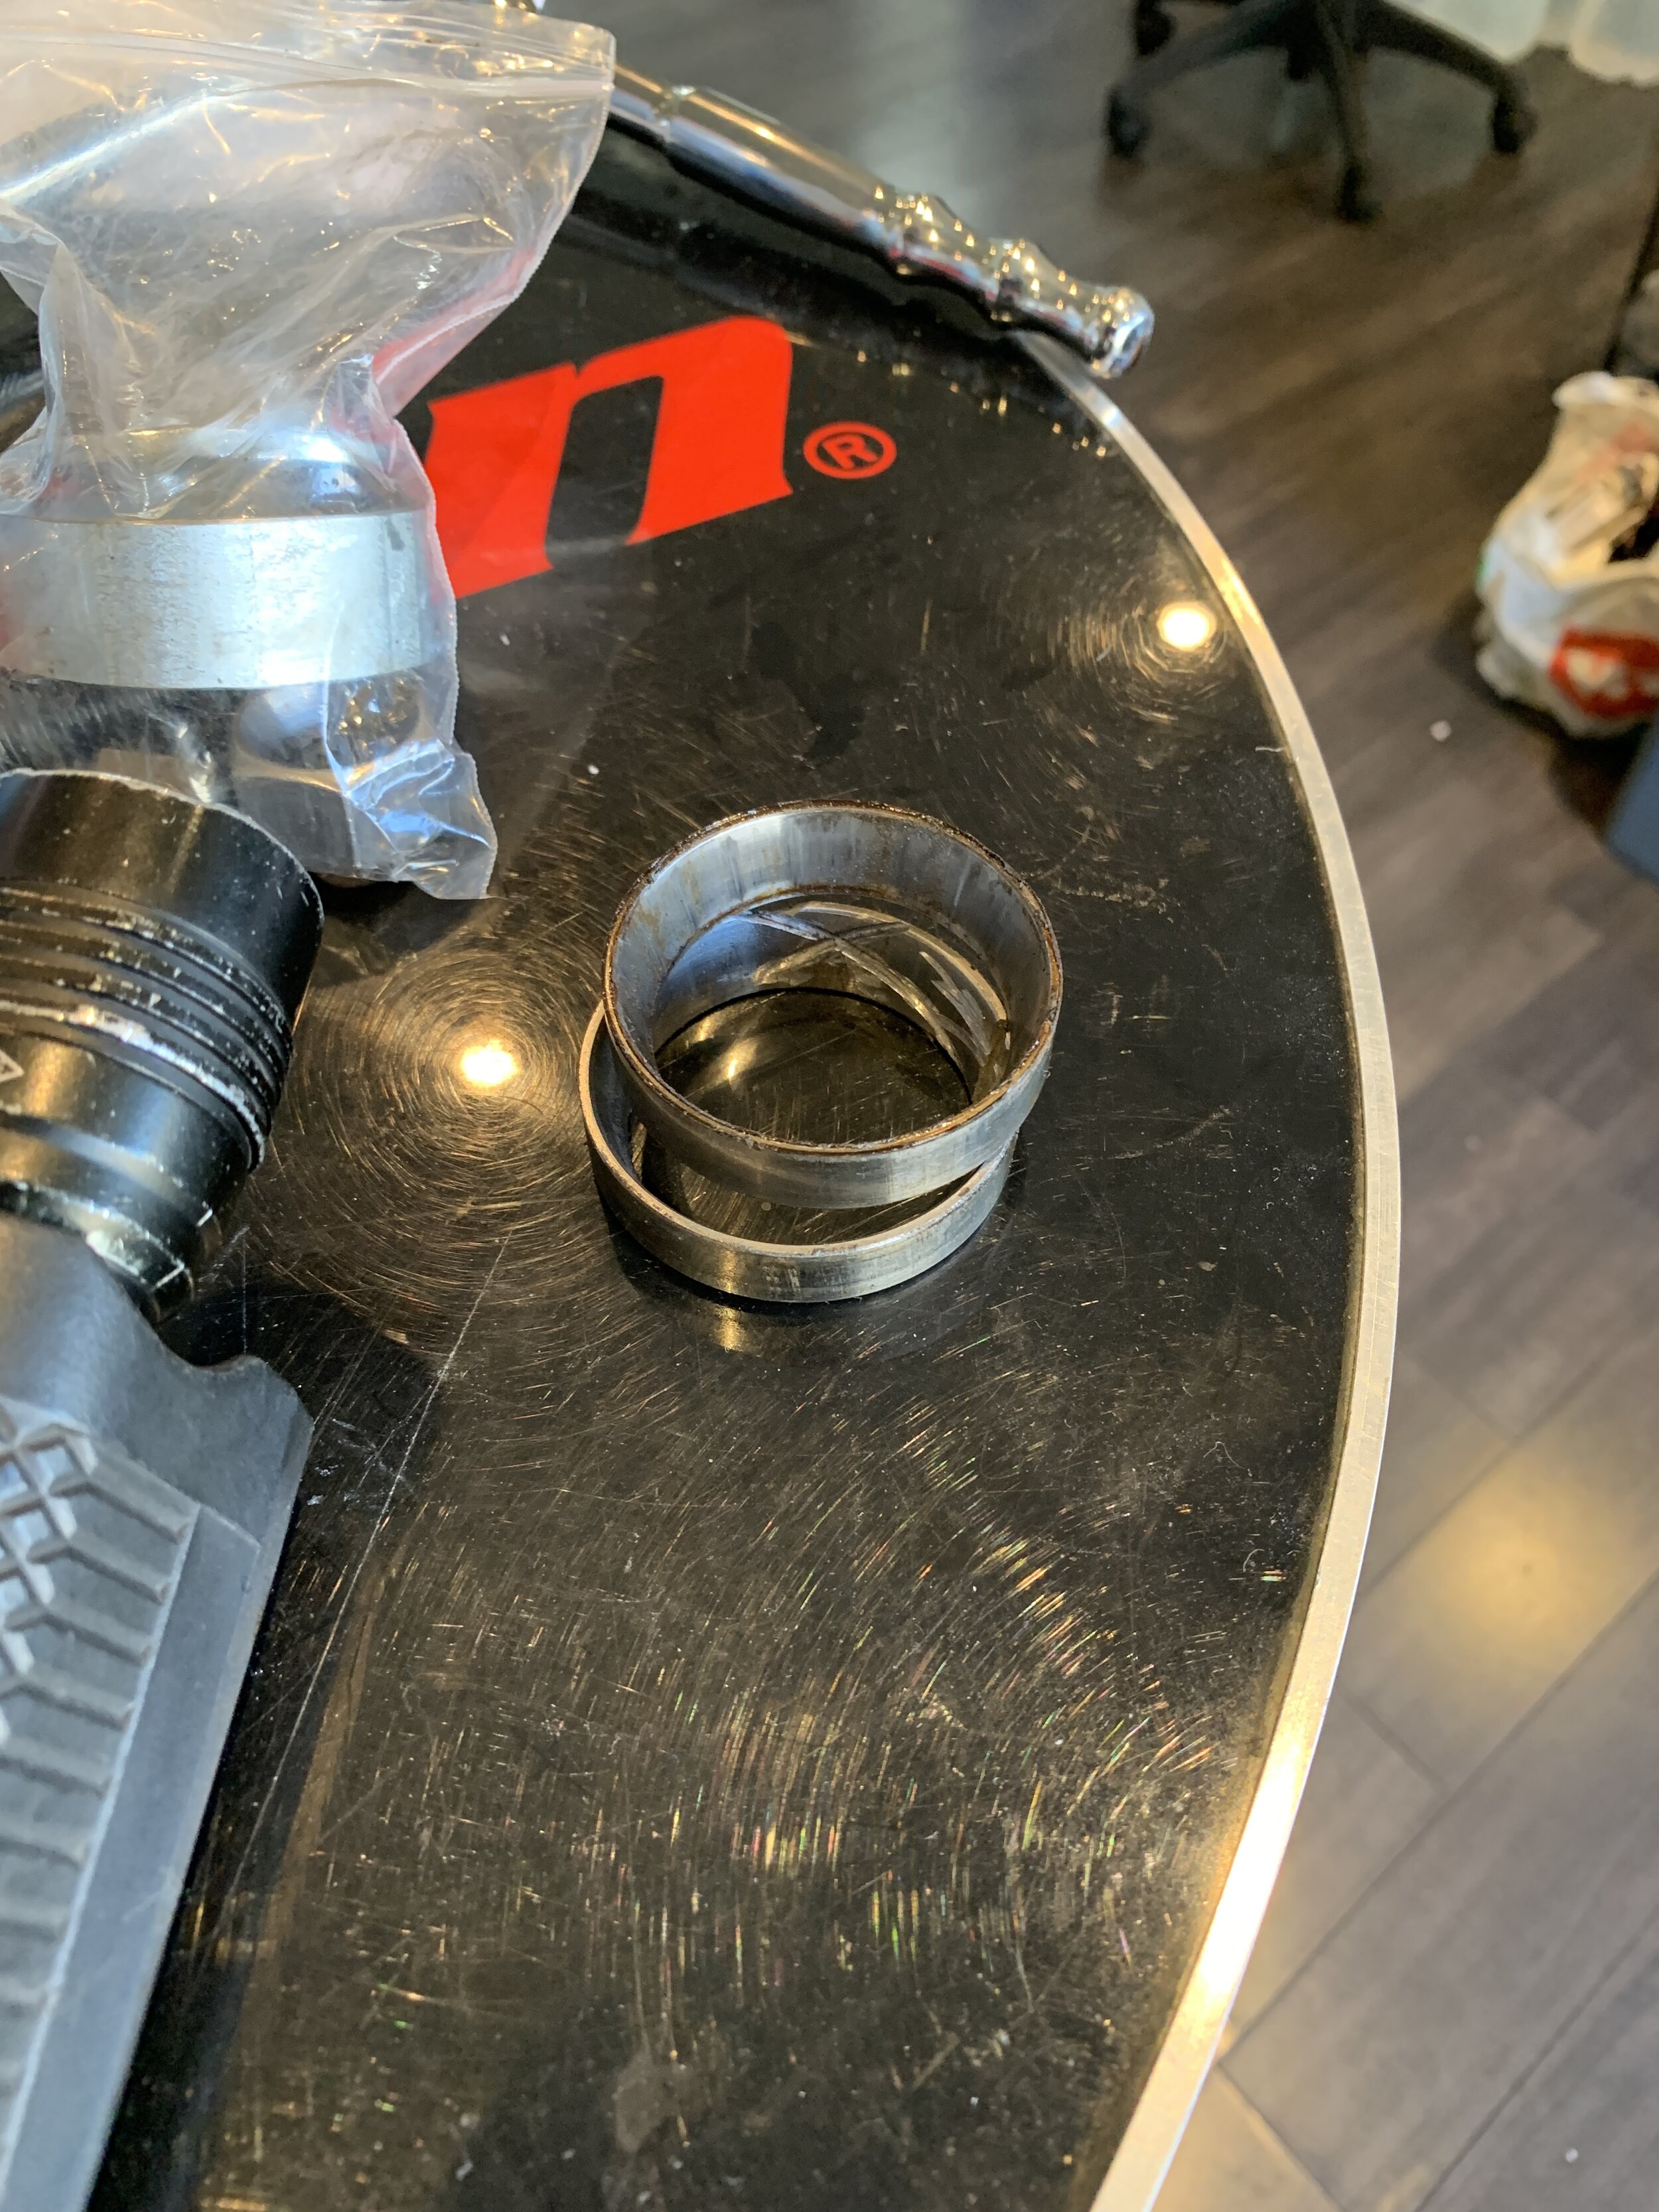
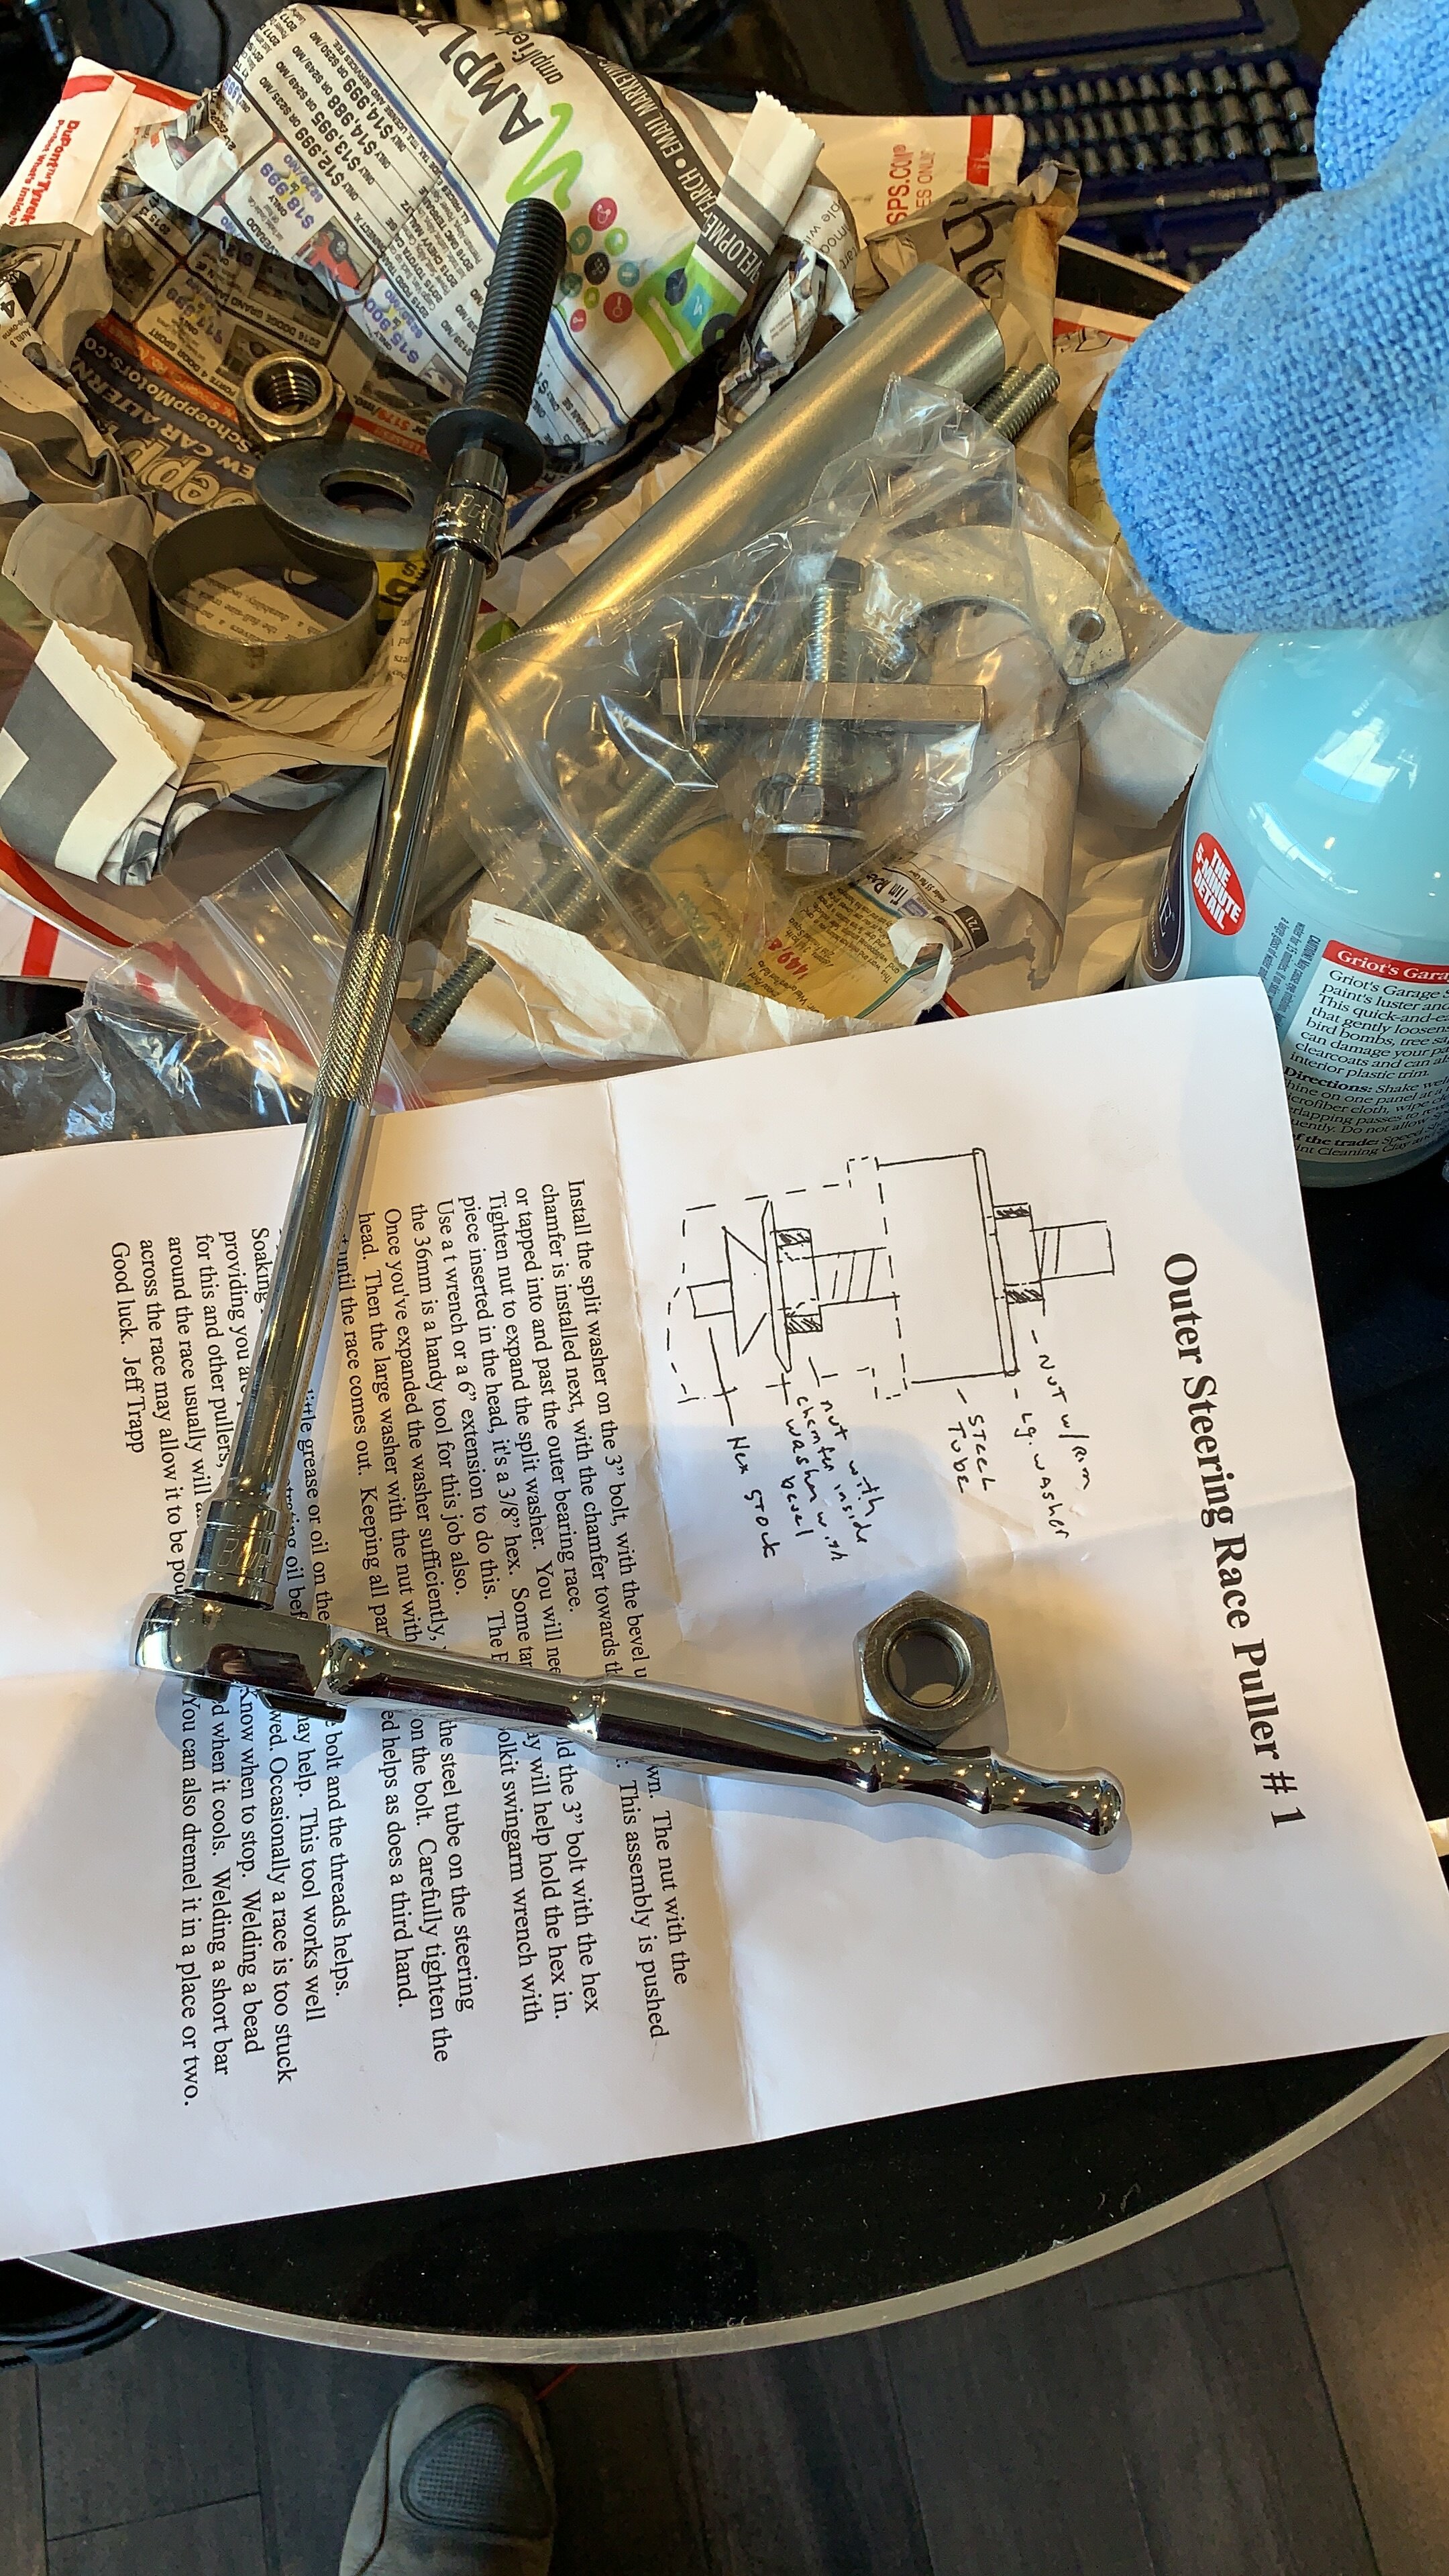
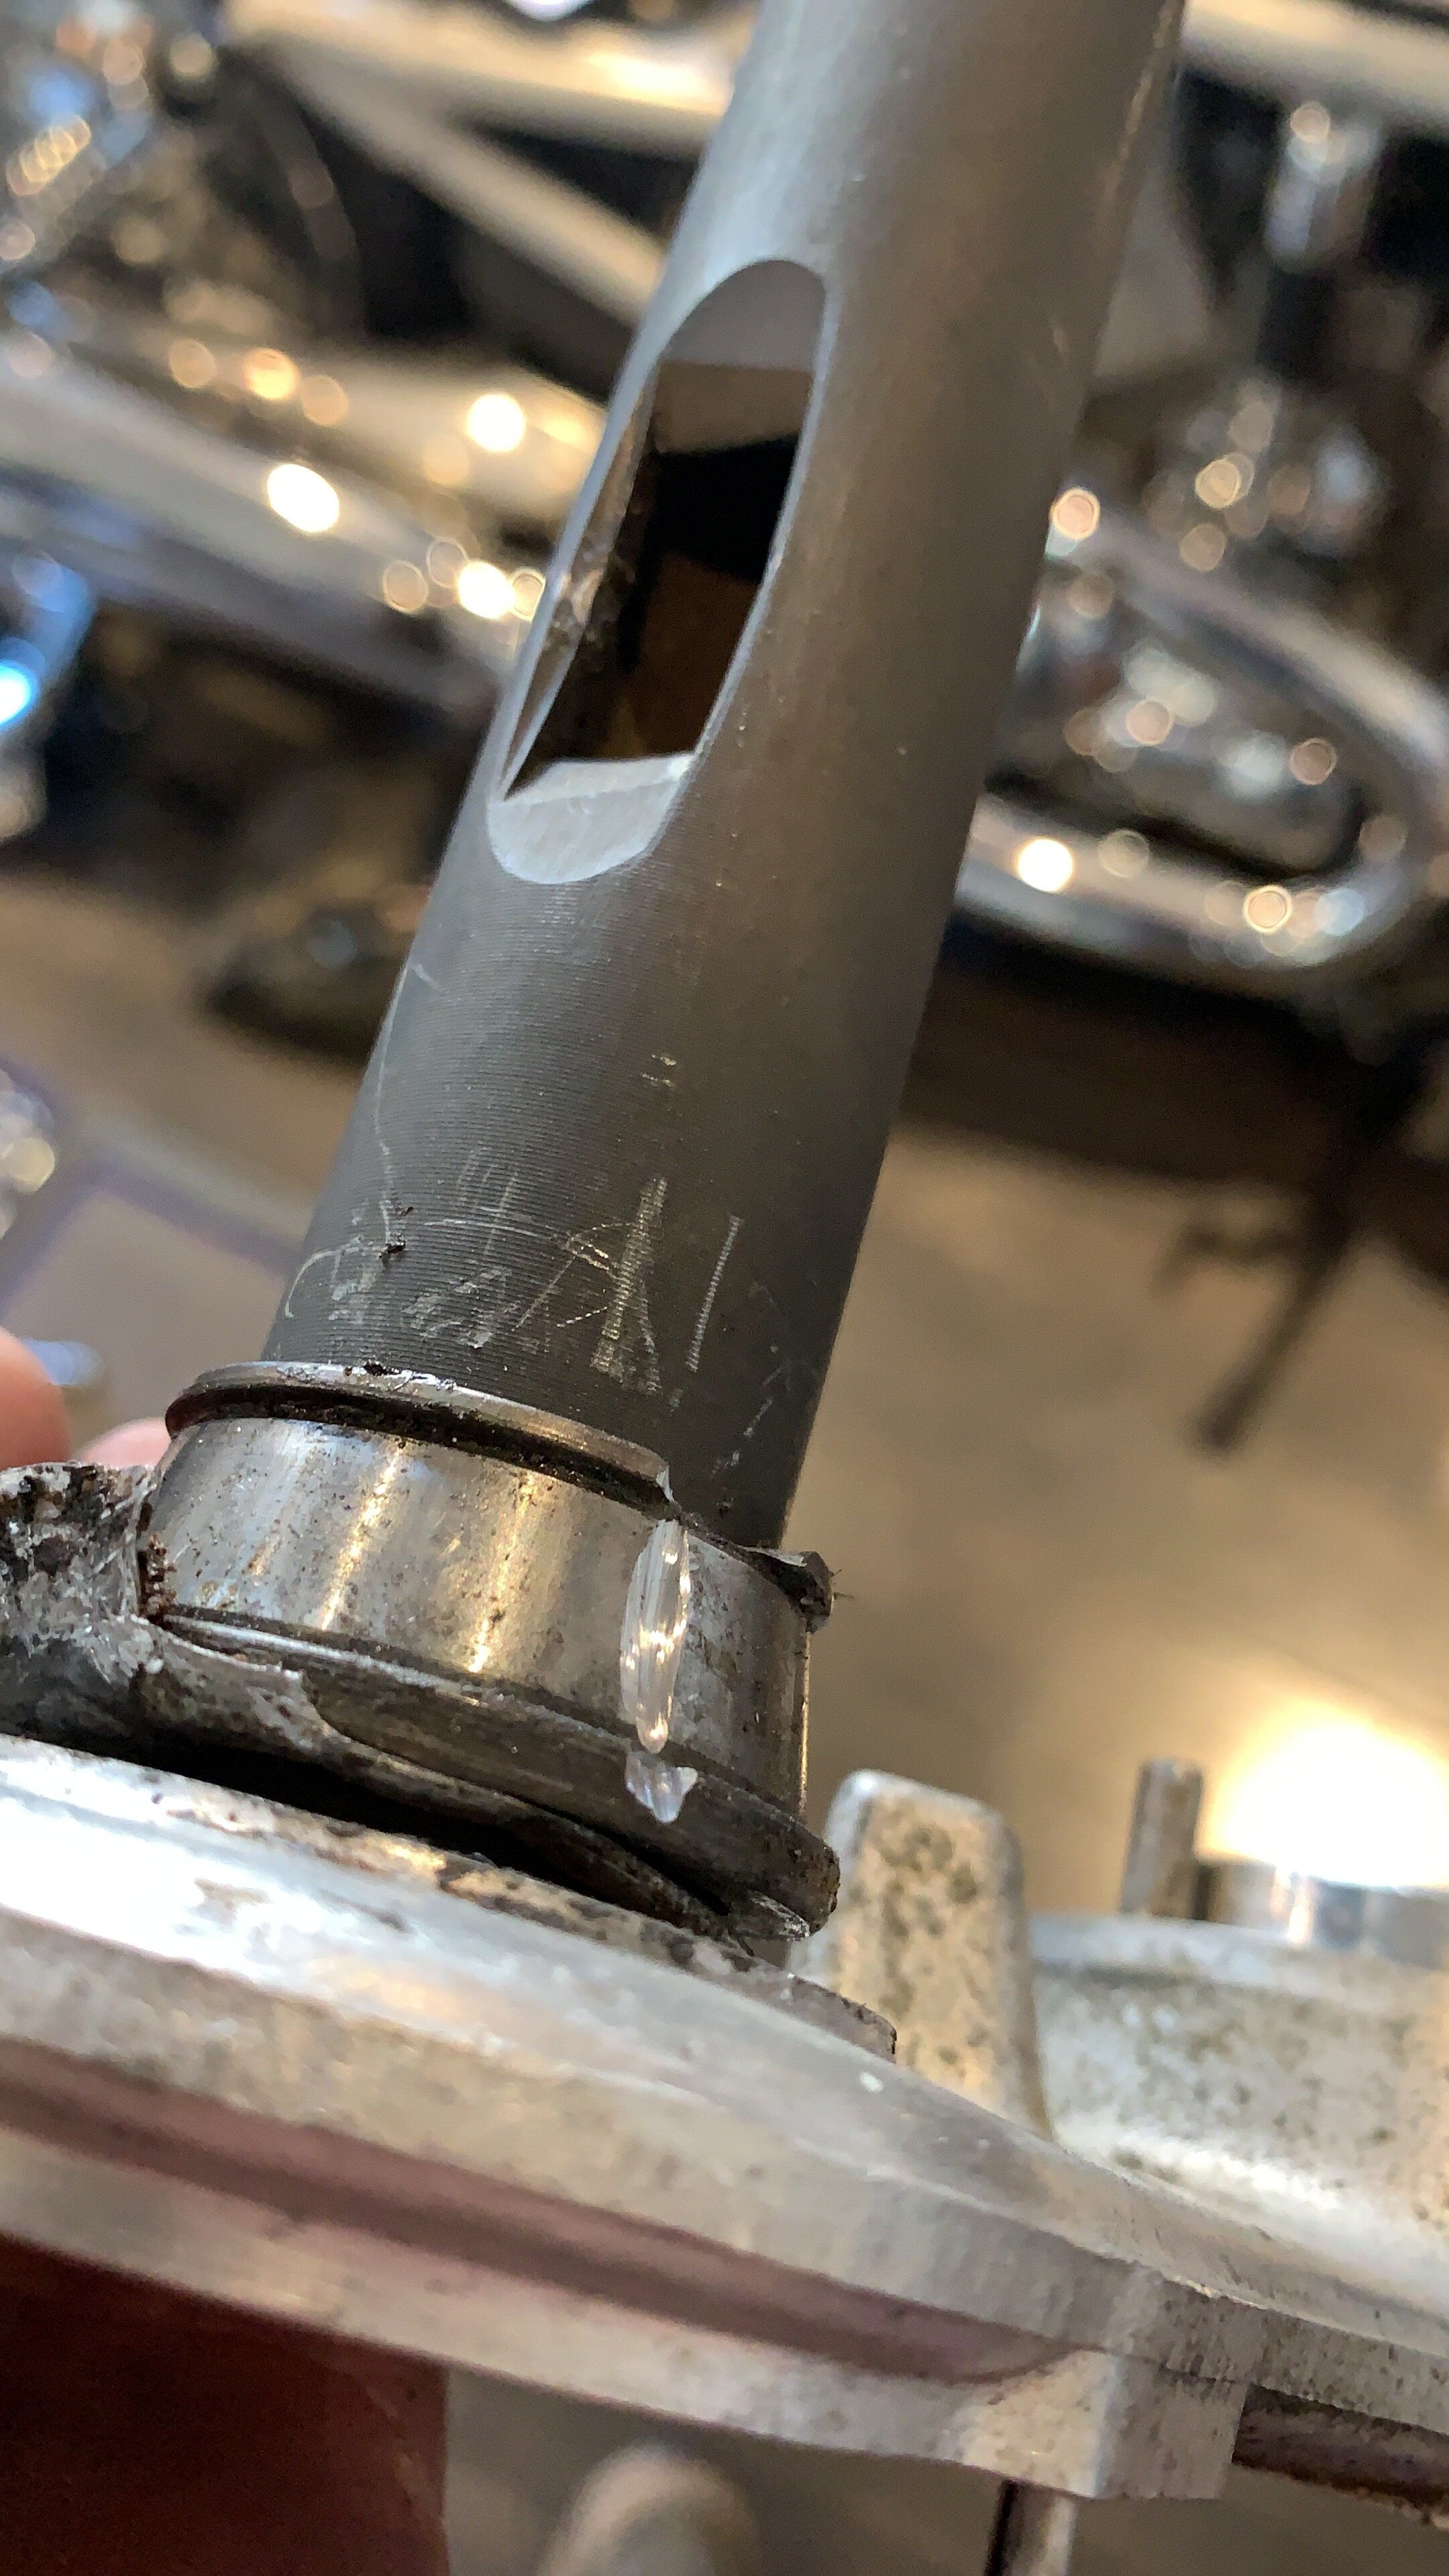
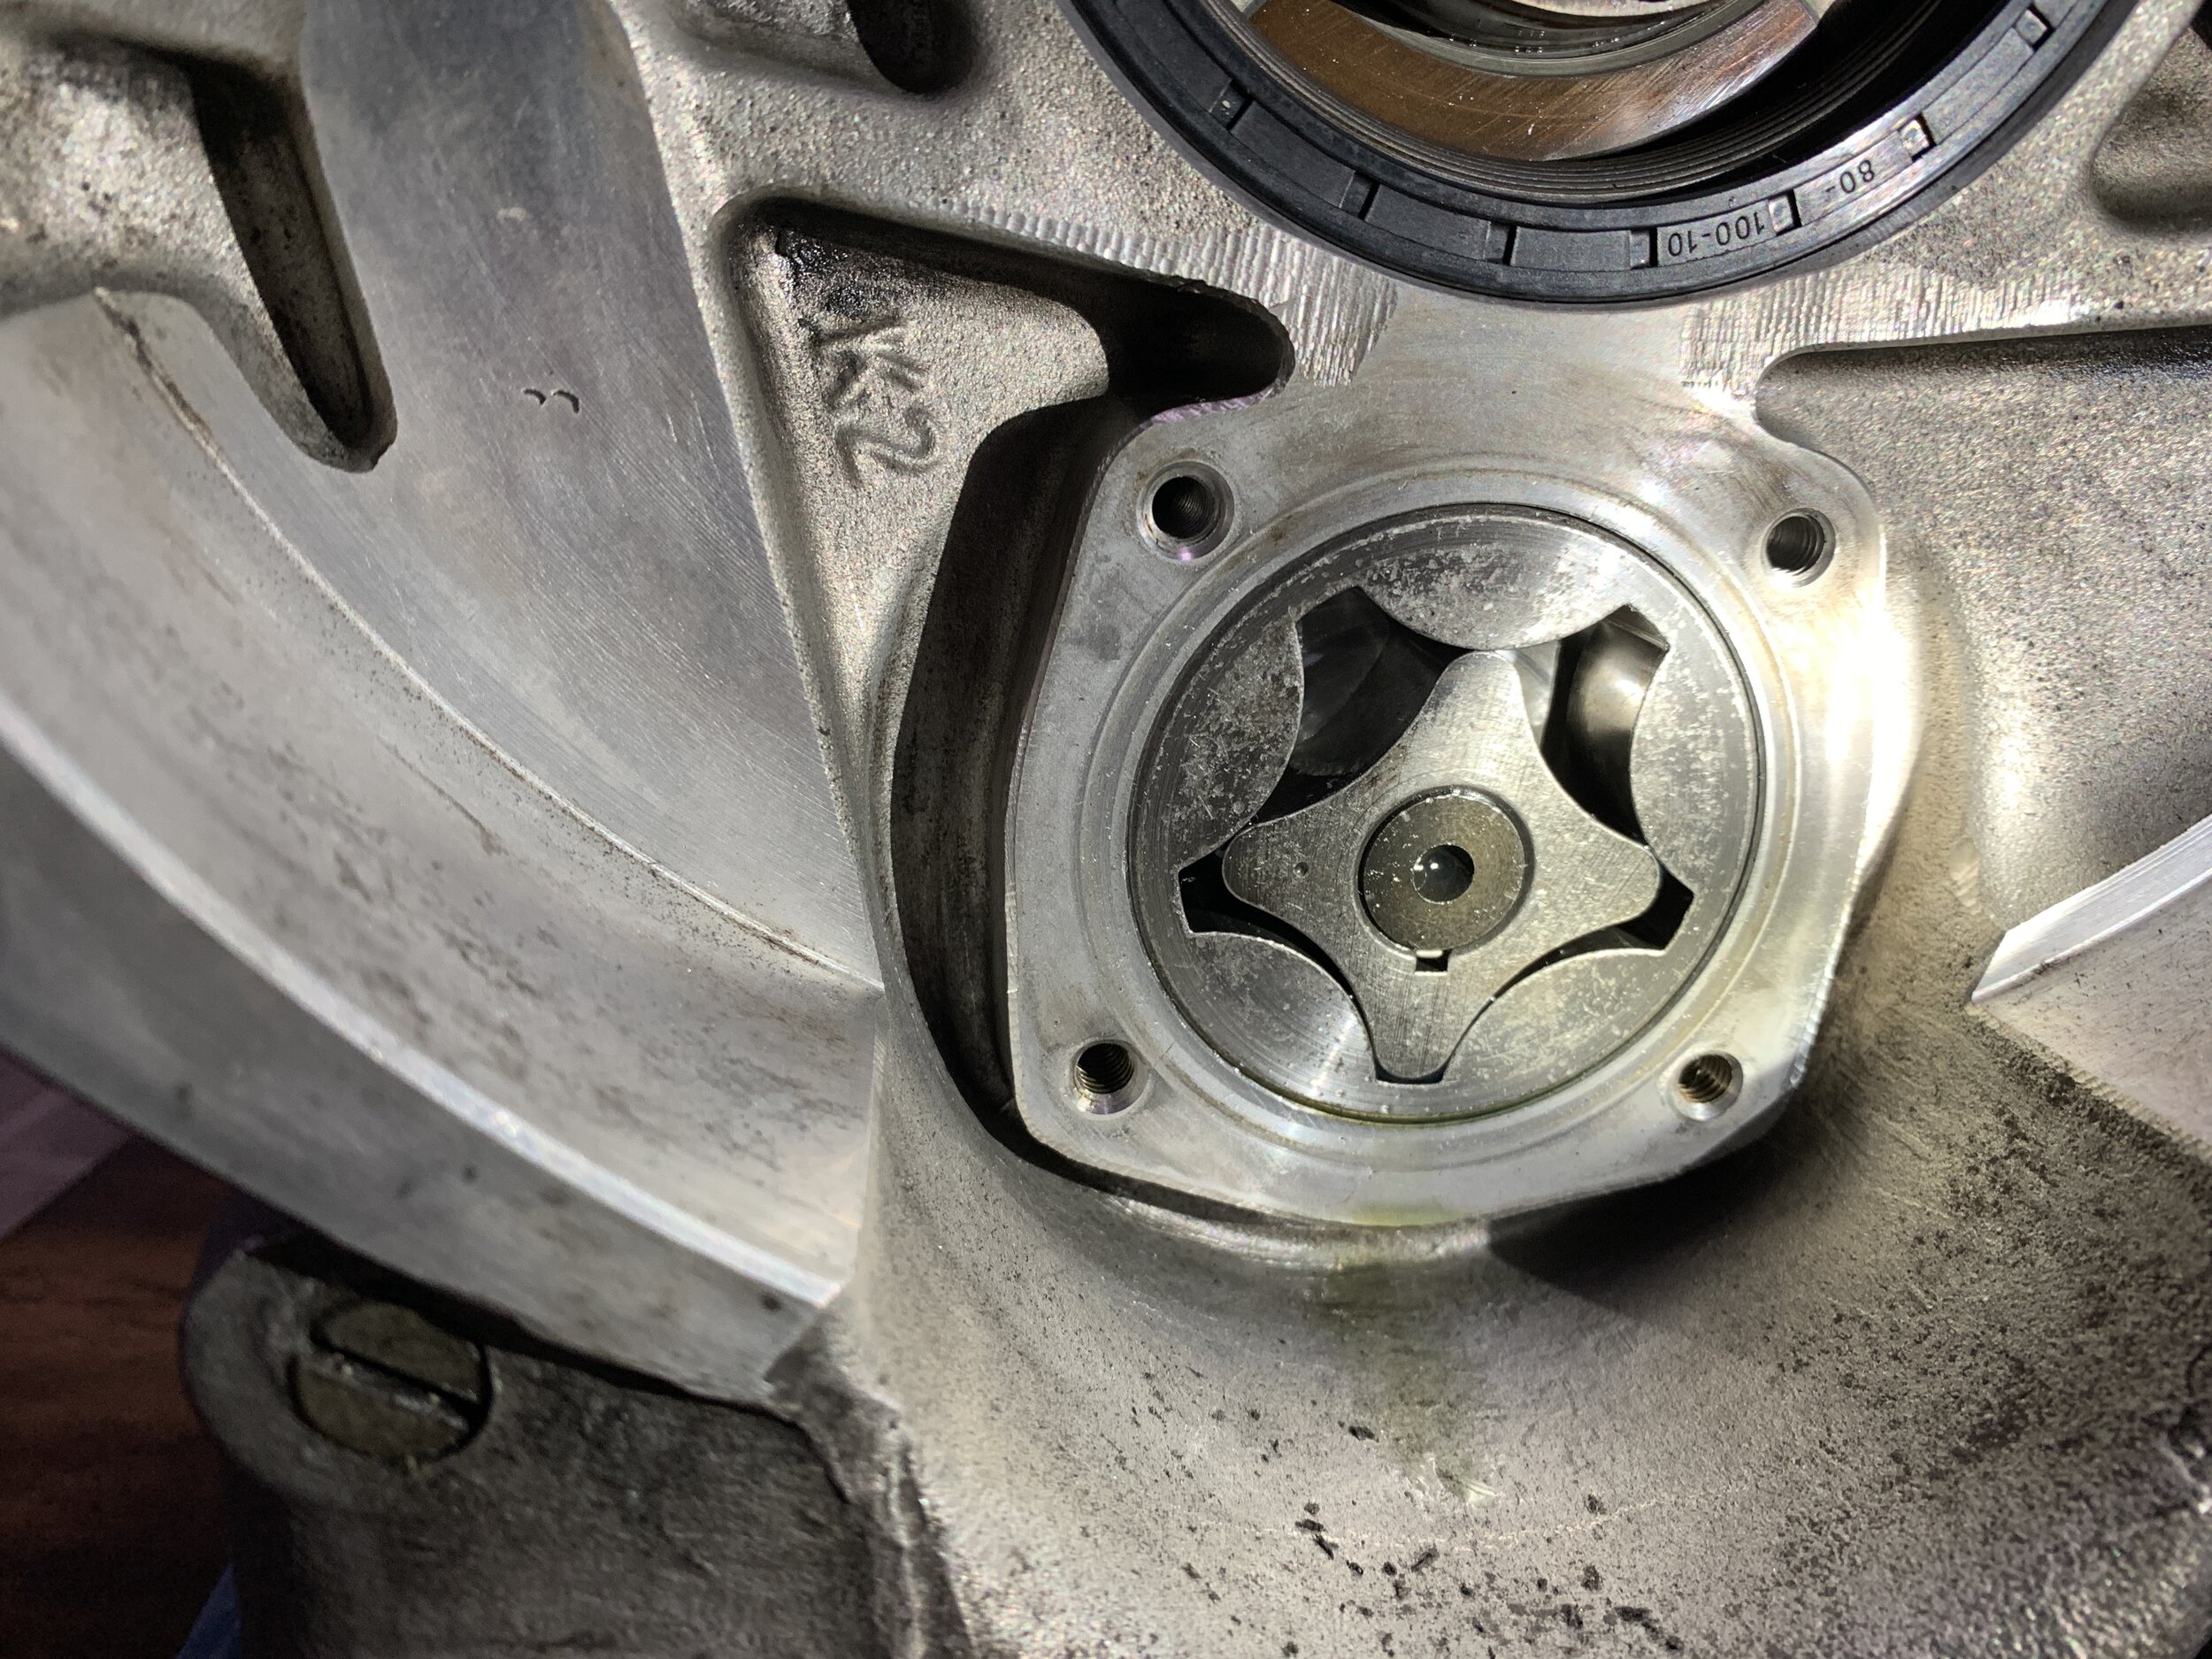
Next I remove the steering head bearing, which was really notchy and you can see all the grease bled out on the bottom of the stem. The steering head is beveled and tapered right after the outer race, I try cutting it a little, but it became clear that its impossible to remove without damage and without a special tool. I had a epiphany, I called Yermo. Sure enough he has the tool, and with the tool it came out in no time. The lower race was seized on the stem, I needed my brothers help to remove it. He cut side way slant groves to relief the pressure and one hit with the air hammer and it came out without any drama.


Next to remove was the rear swing arm, it was relatively pain free. I did not know that they use two pivot pin versus a through rod like most modern day swing arm. It took some research and some careful observation and the swing arm was out after removing the driveshaft bolts. I also got a good look at the wiring and cut all the zip ties. Previous owner definitely try to fix some things on the bike, and did a very poor job. Zip ties are use excessively and the battery tender wire up was dangling without it being secured. Unfortunately, this was not nearly the worst I have seen.
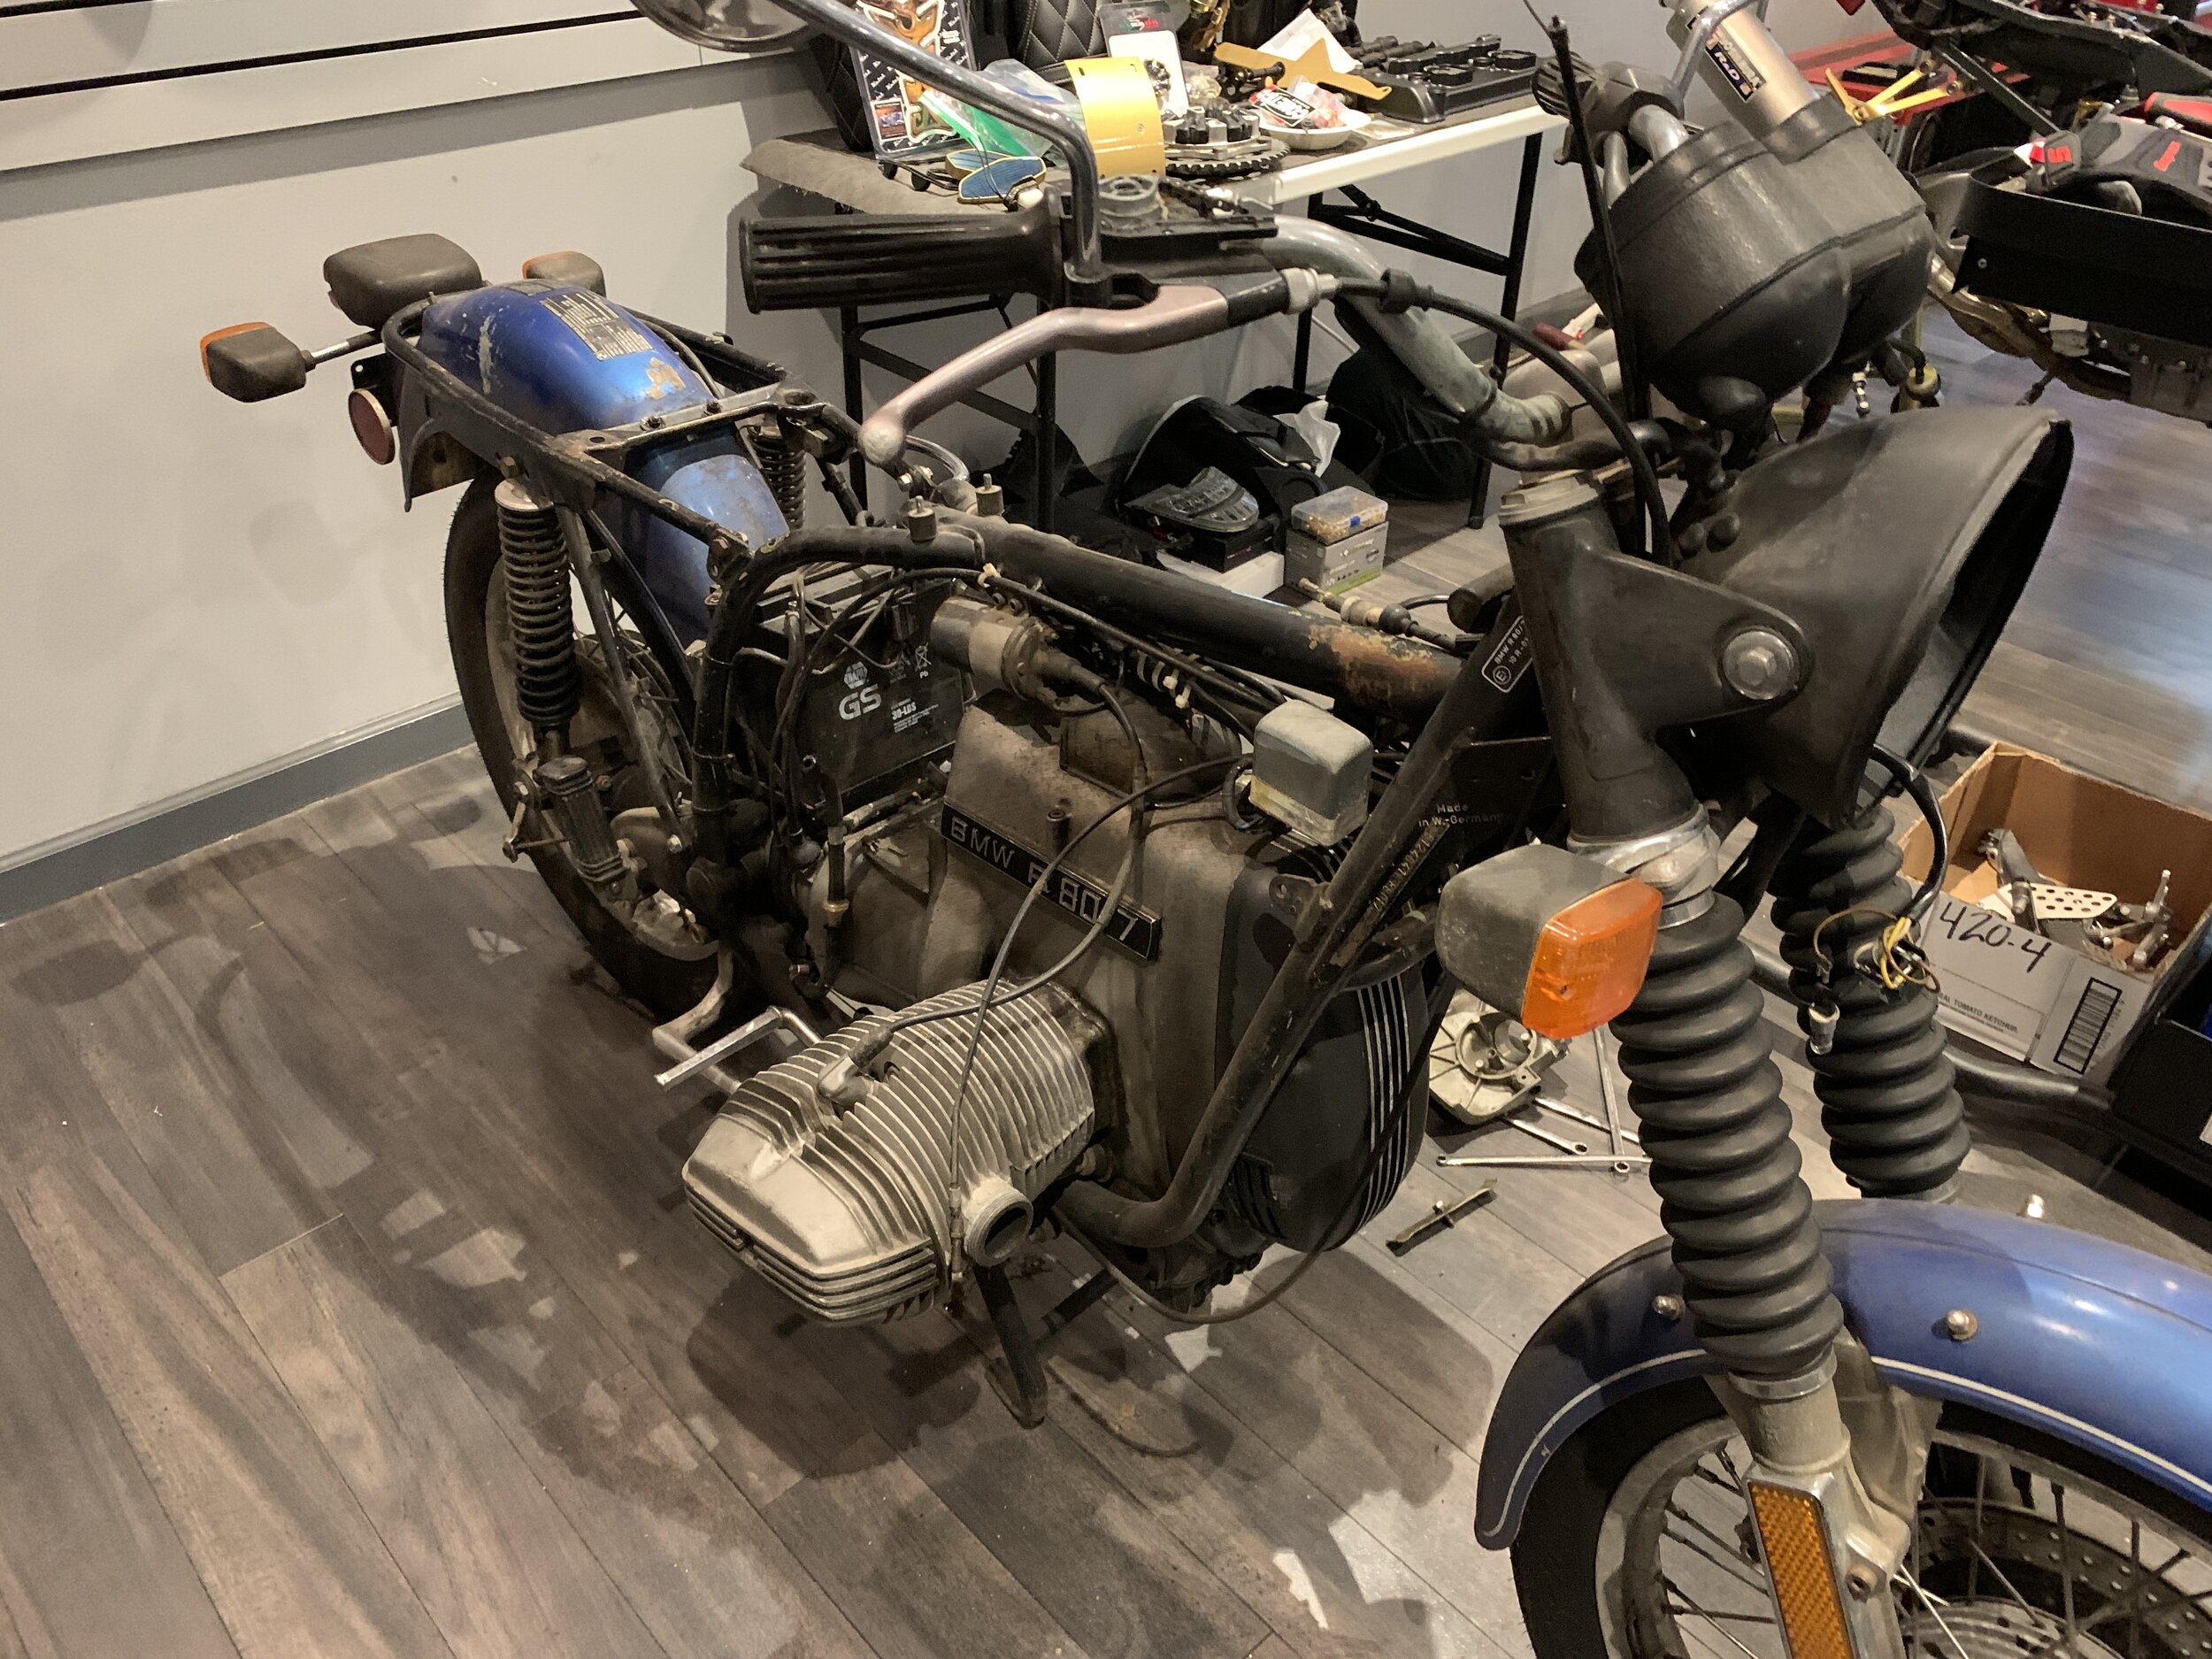
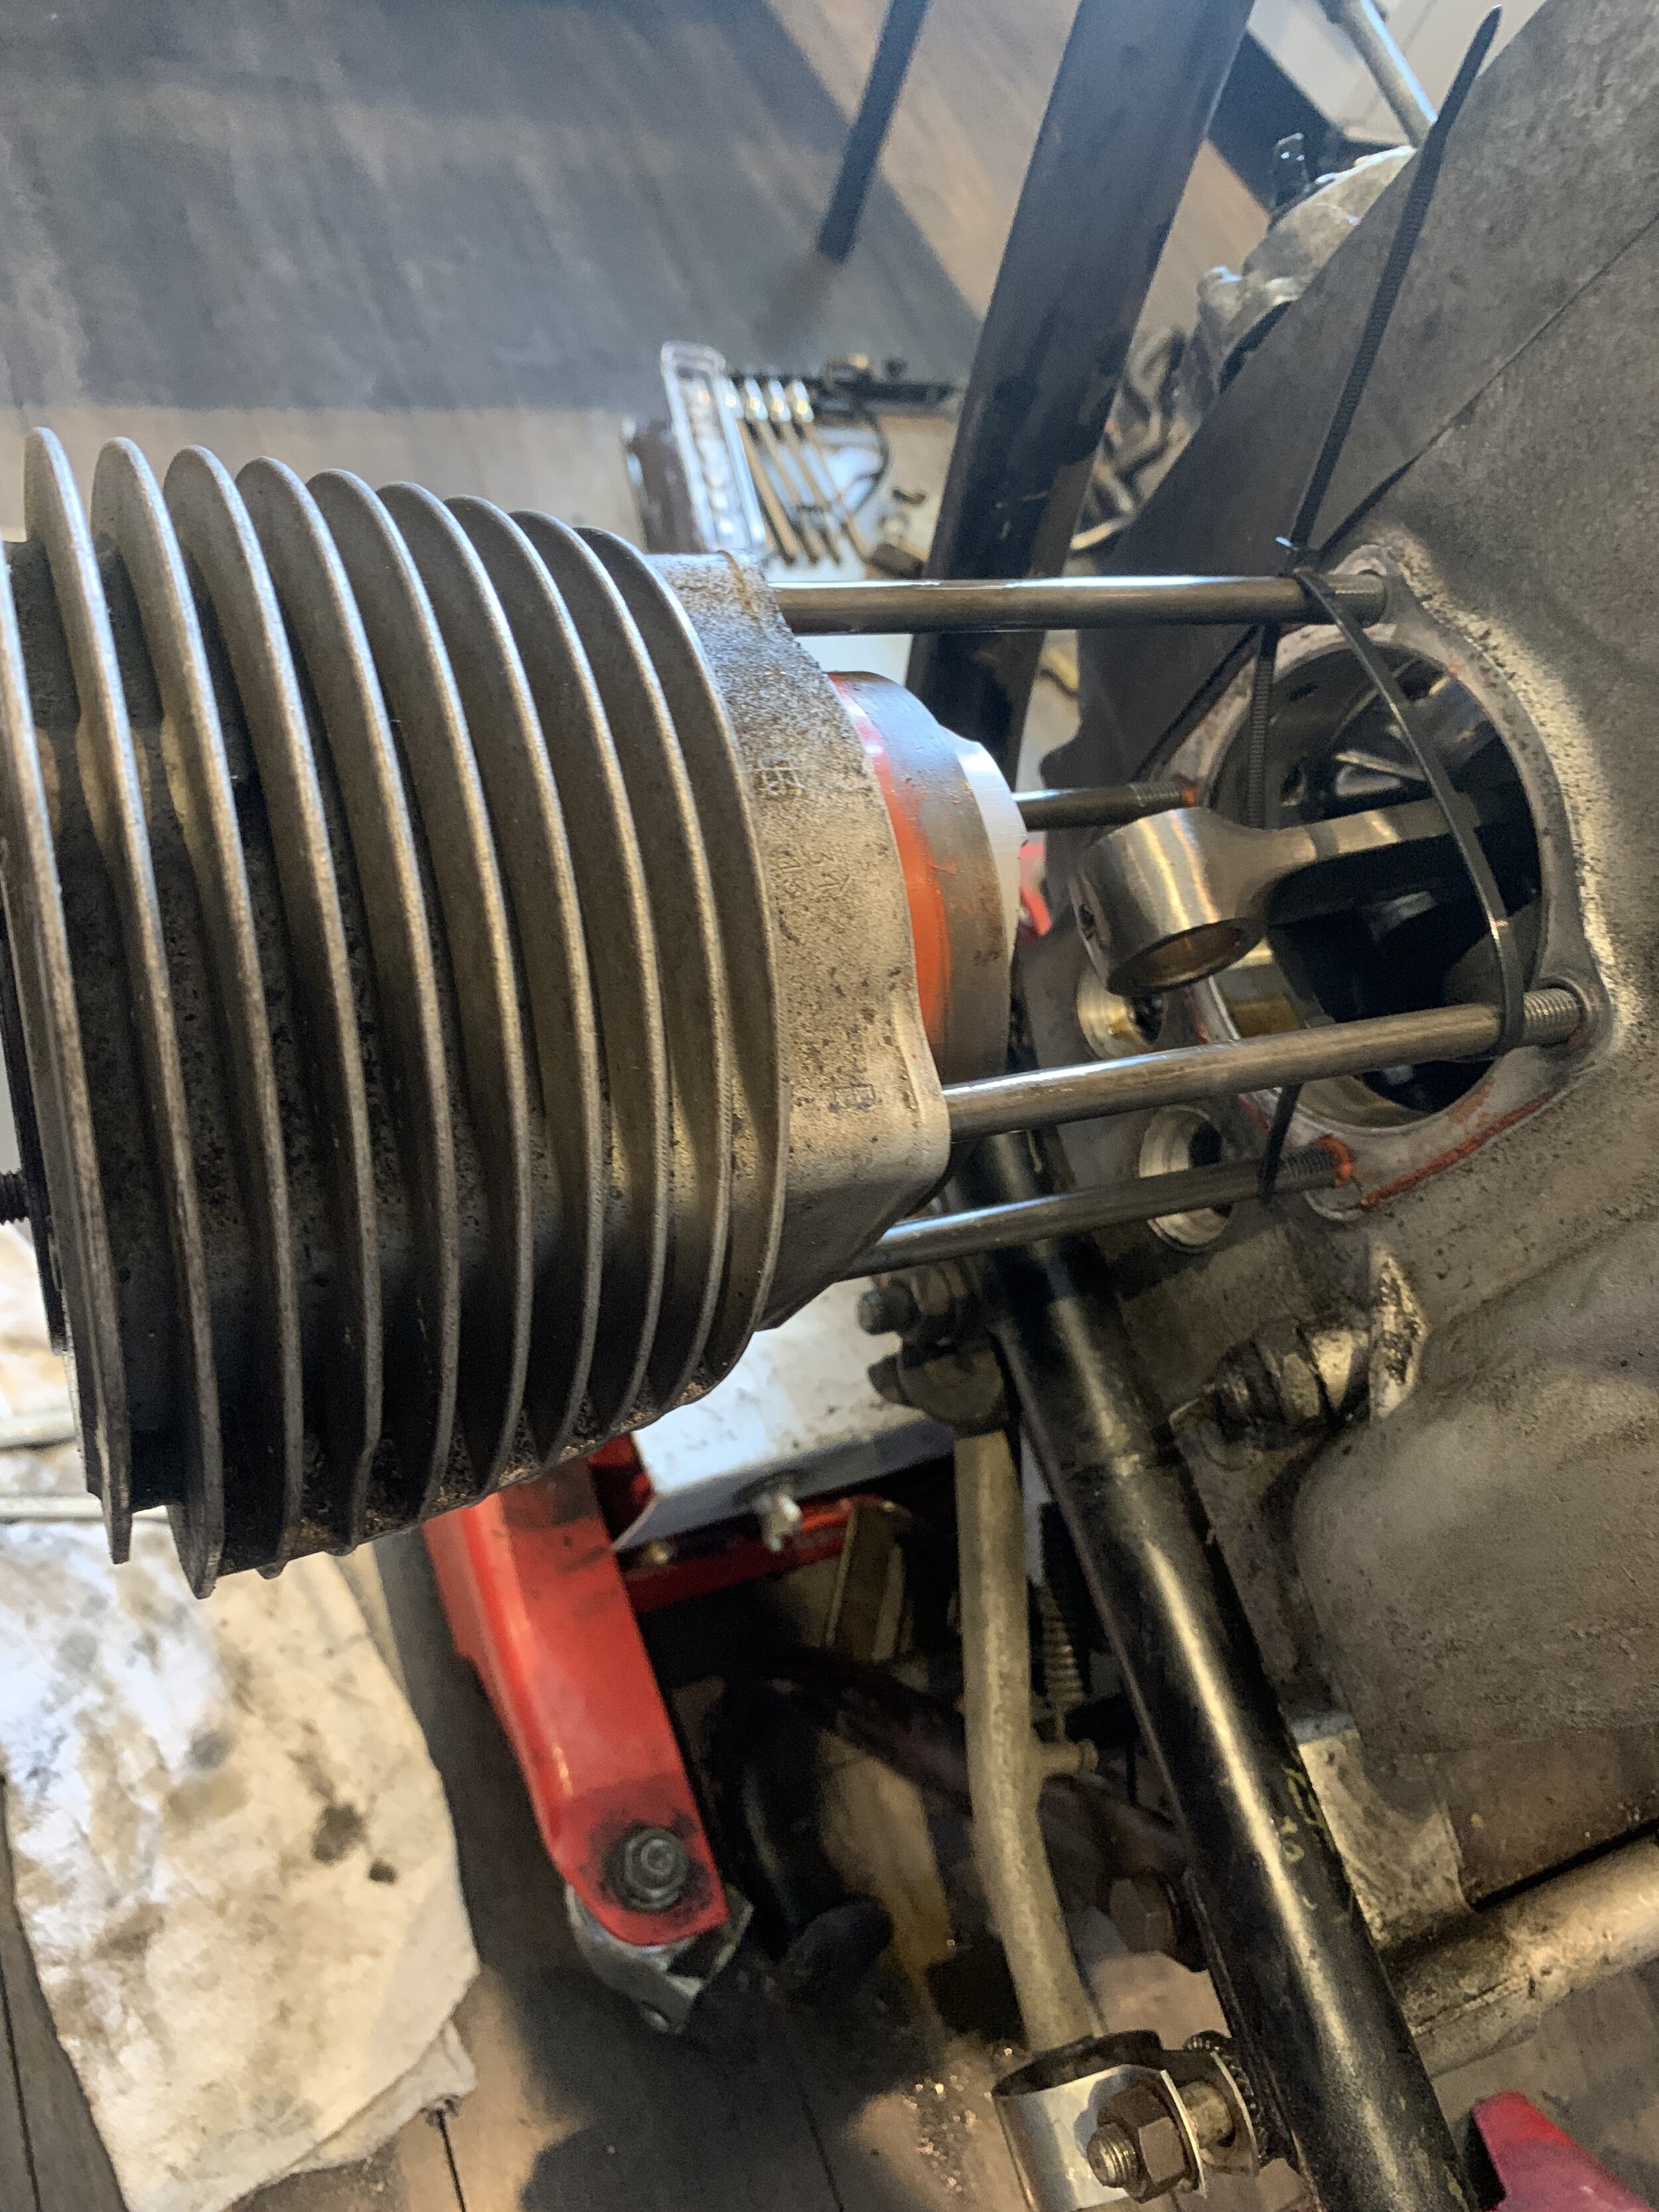
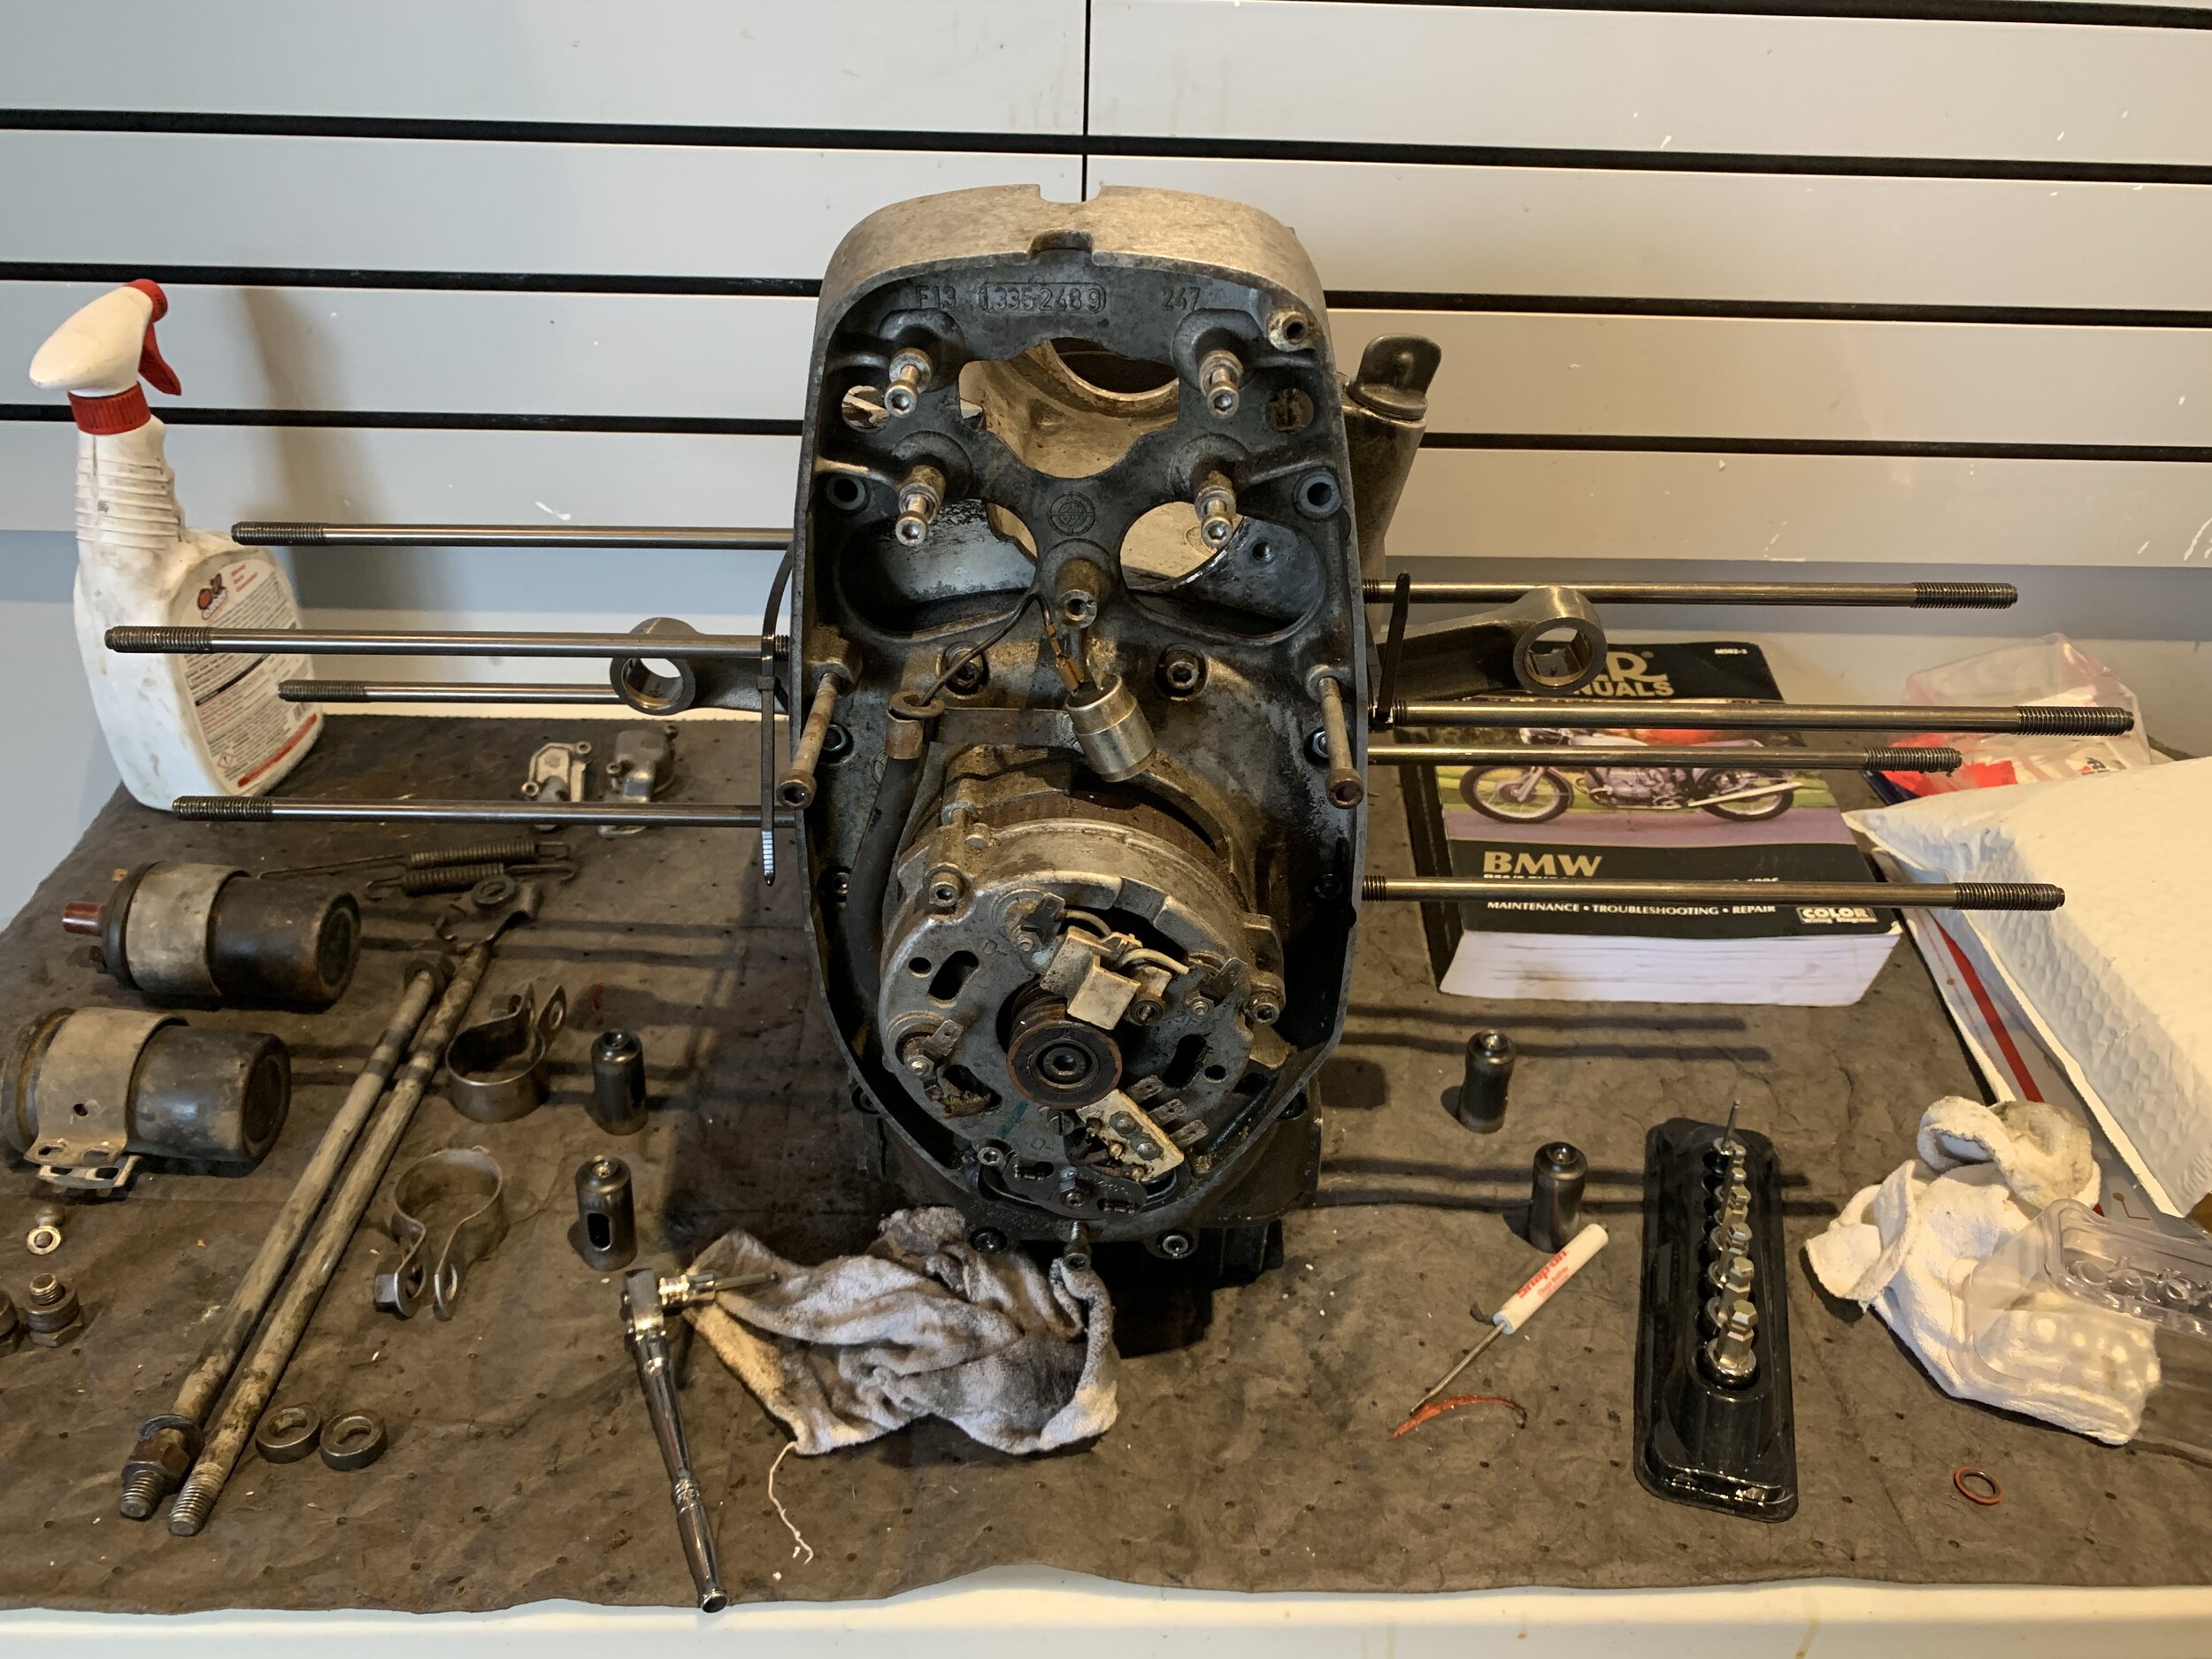
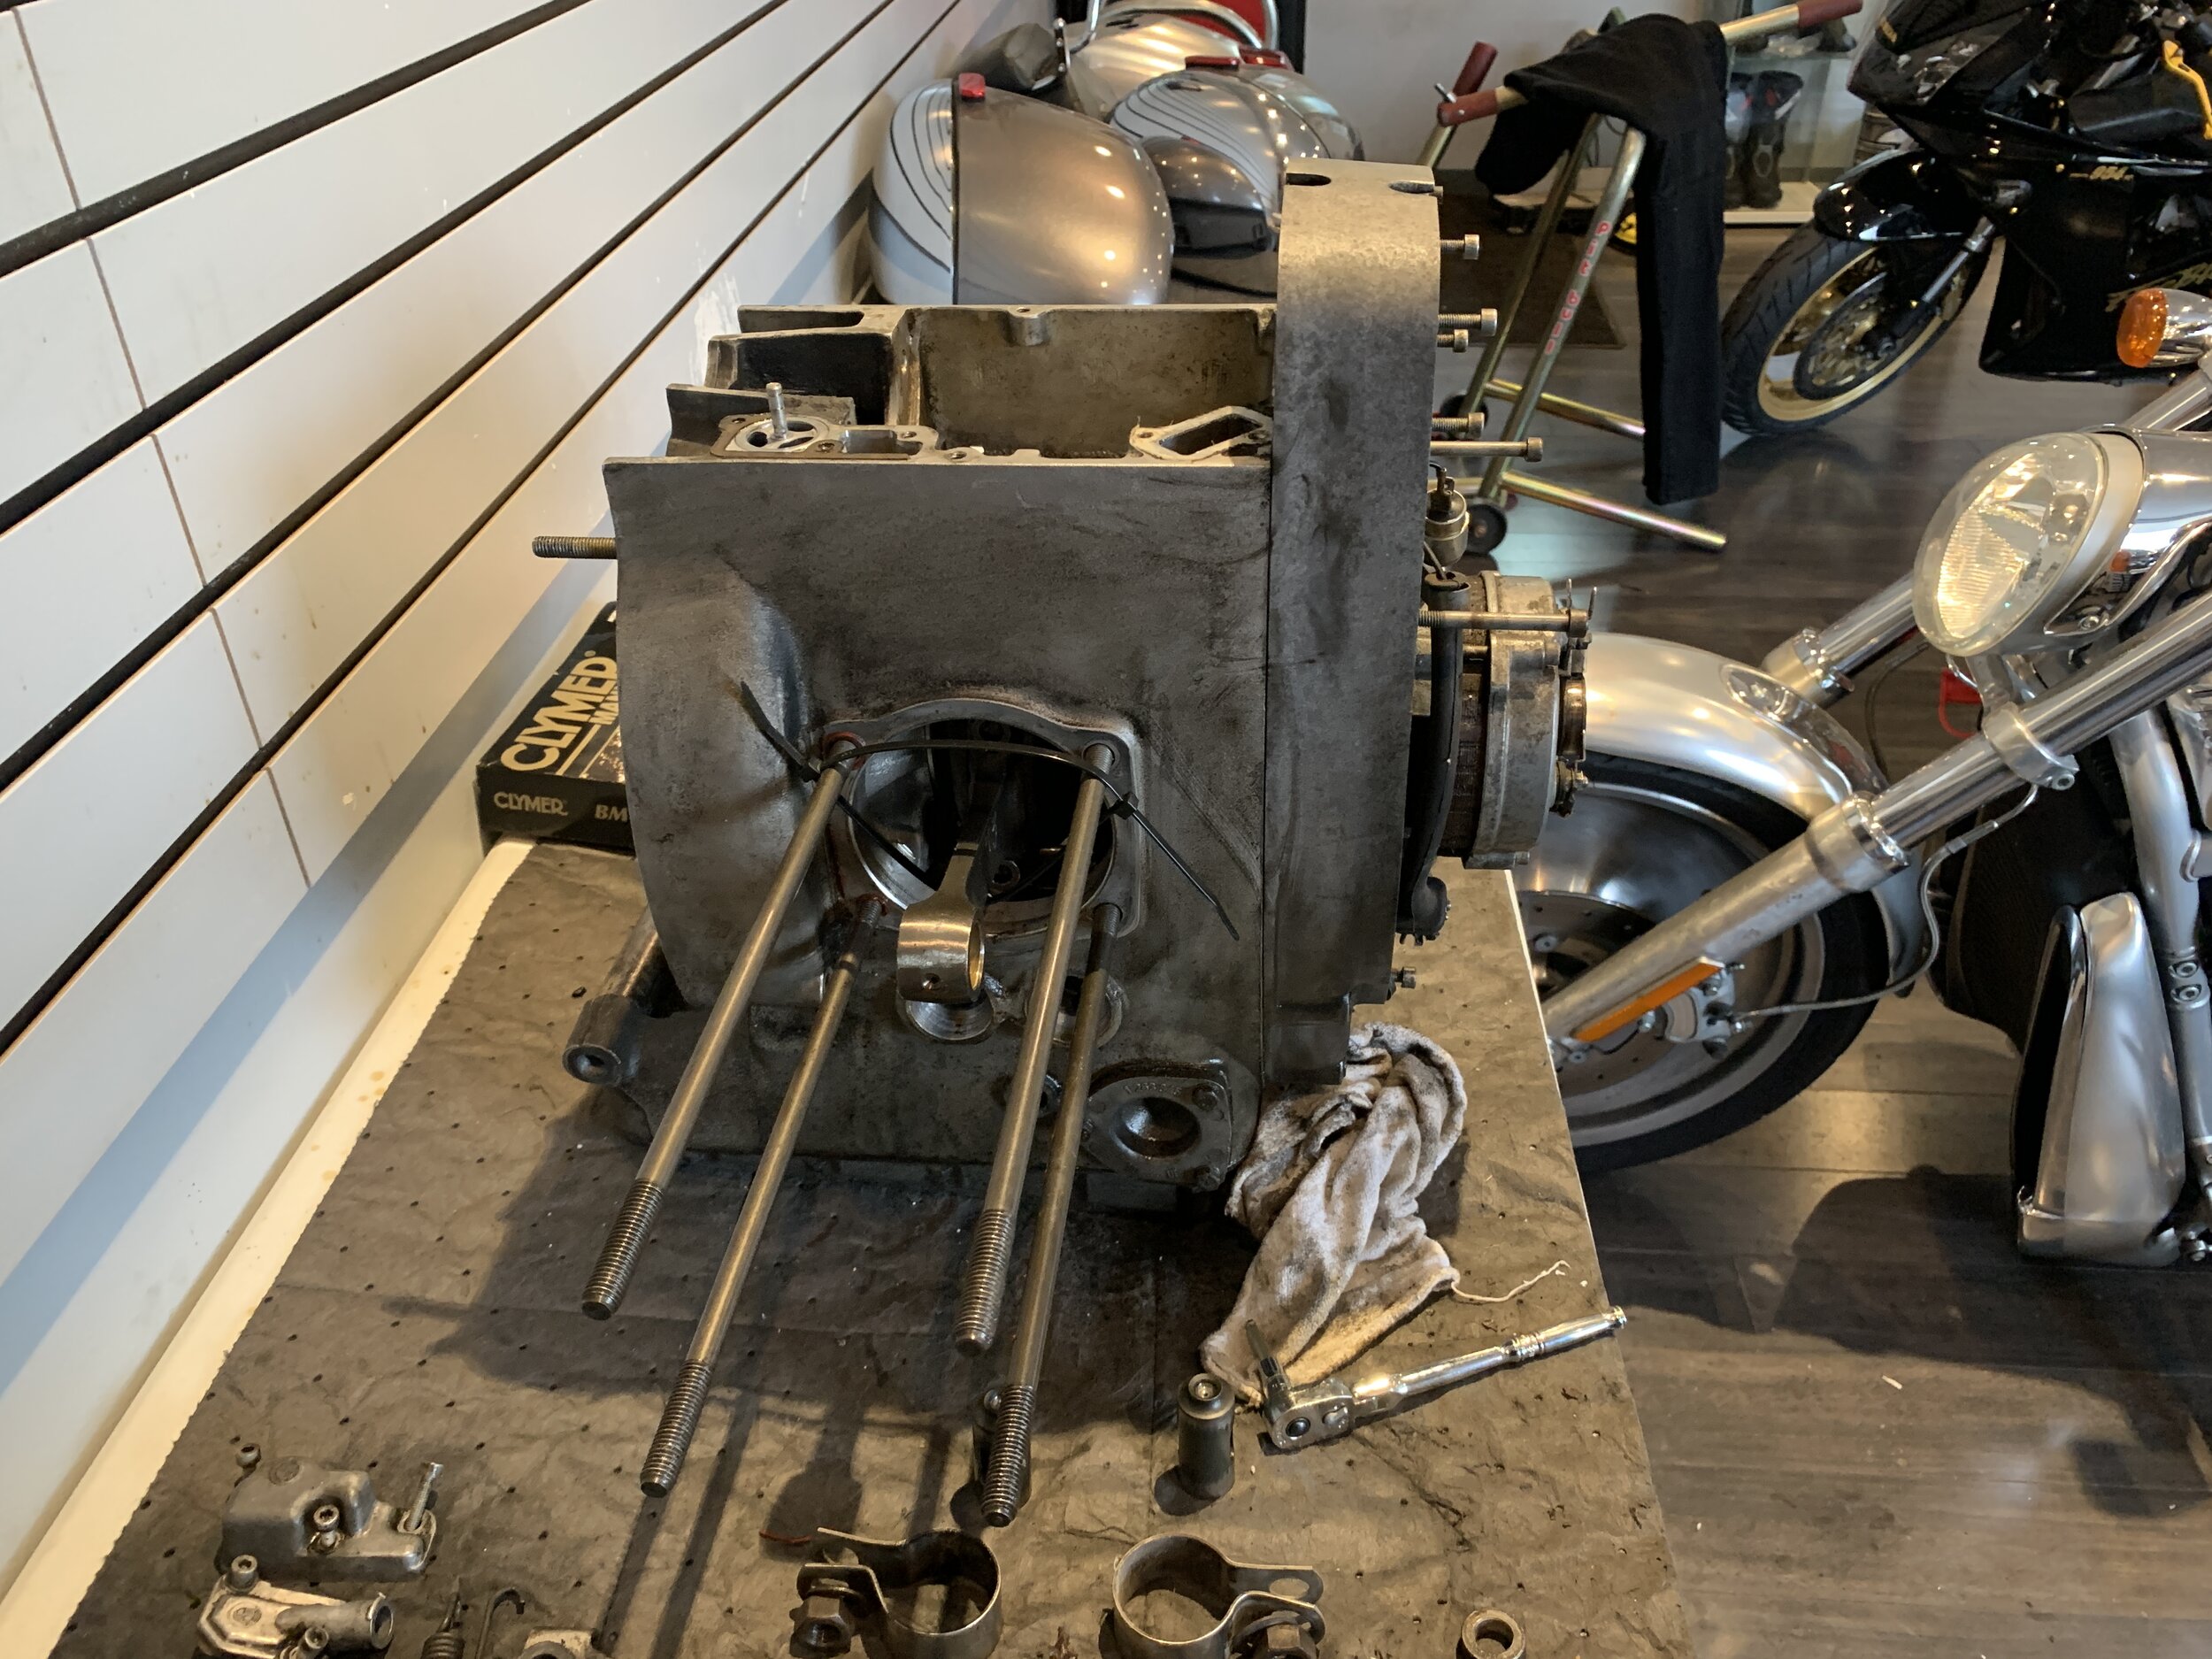
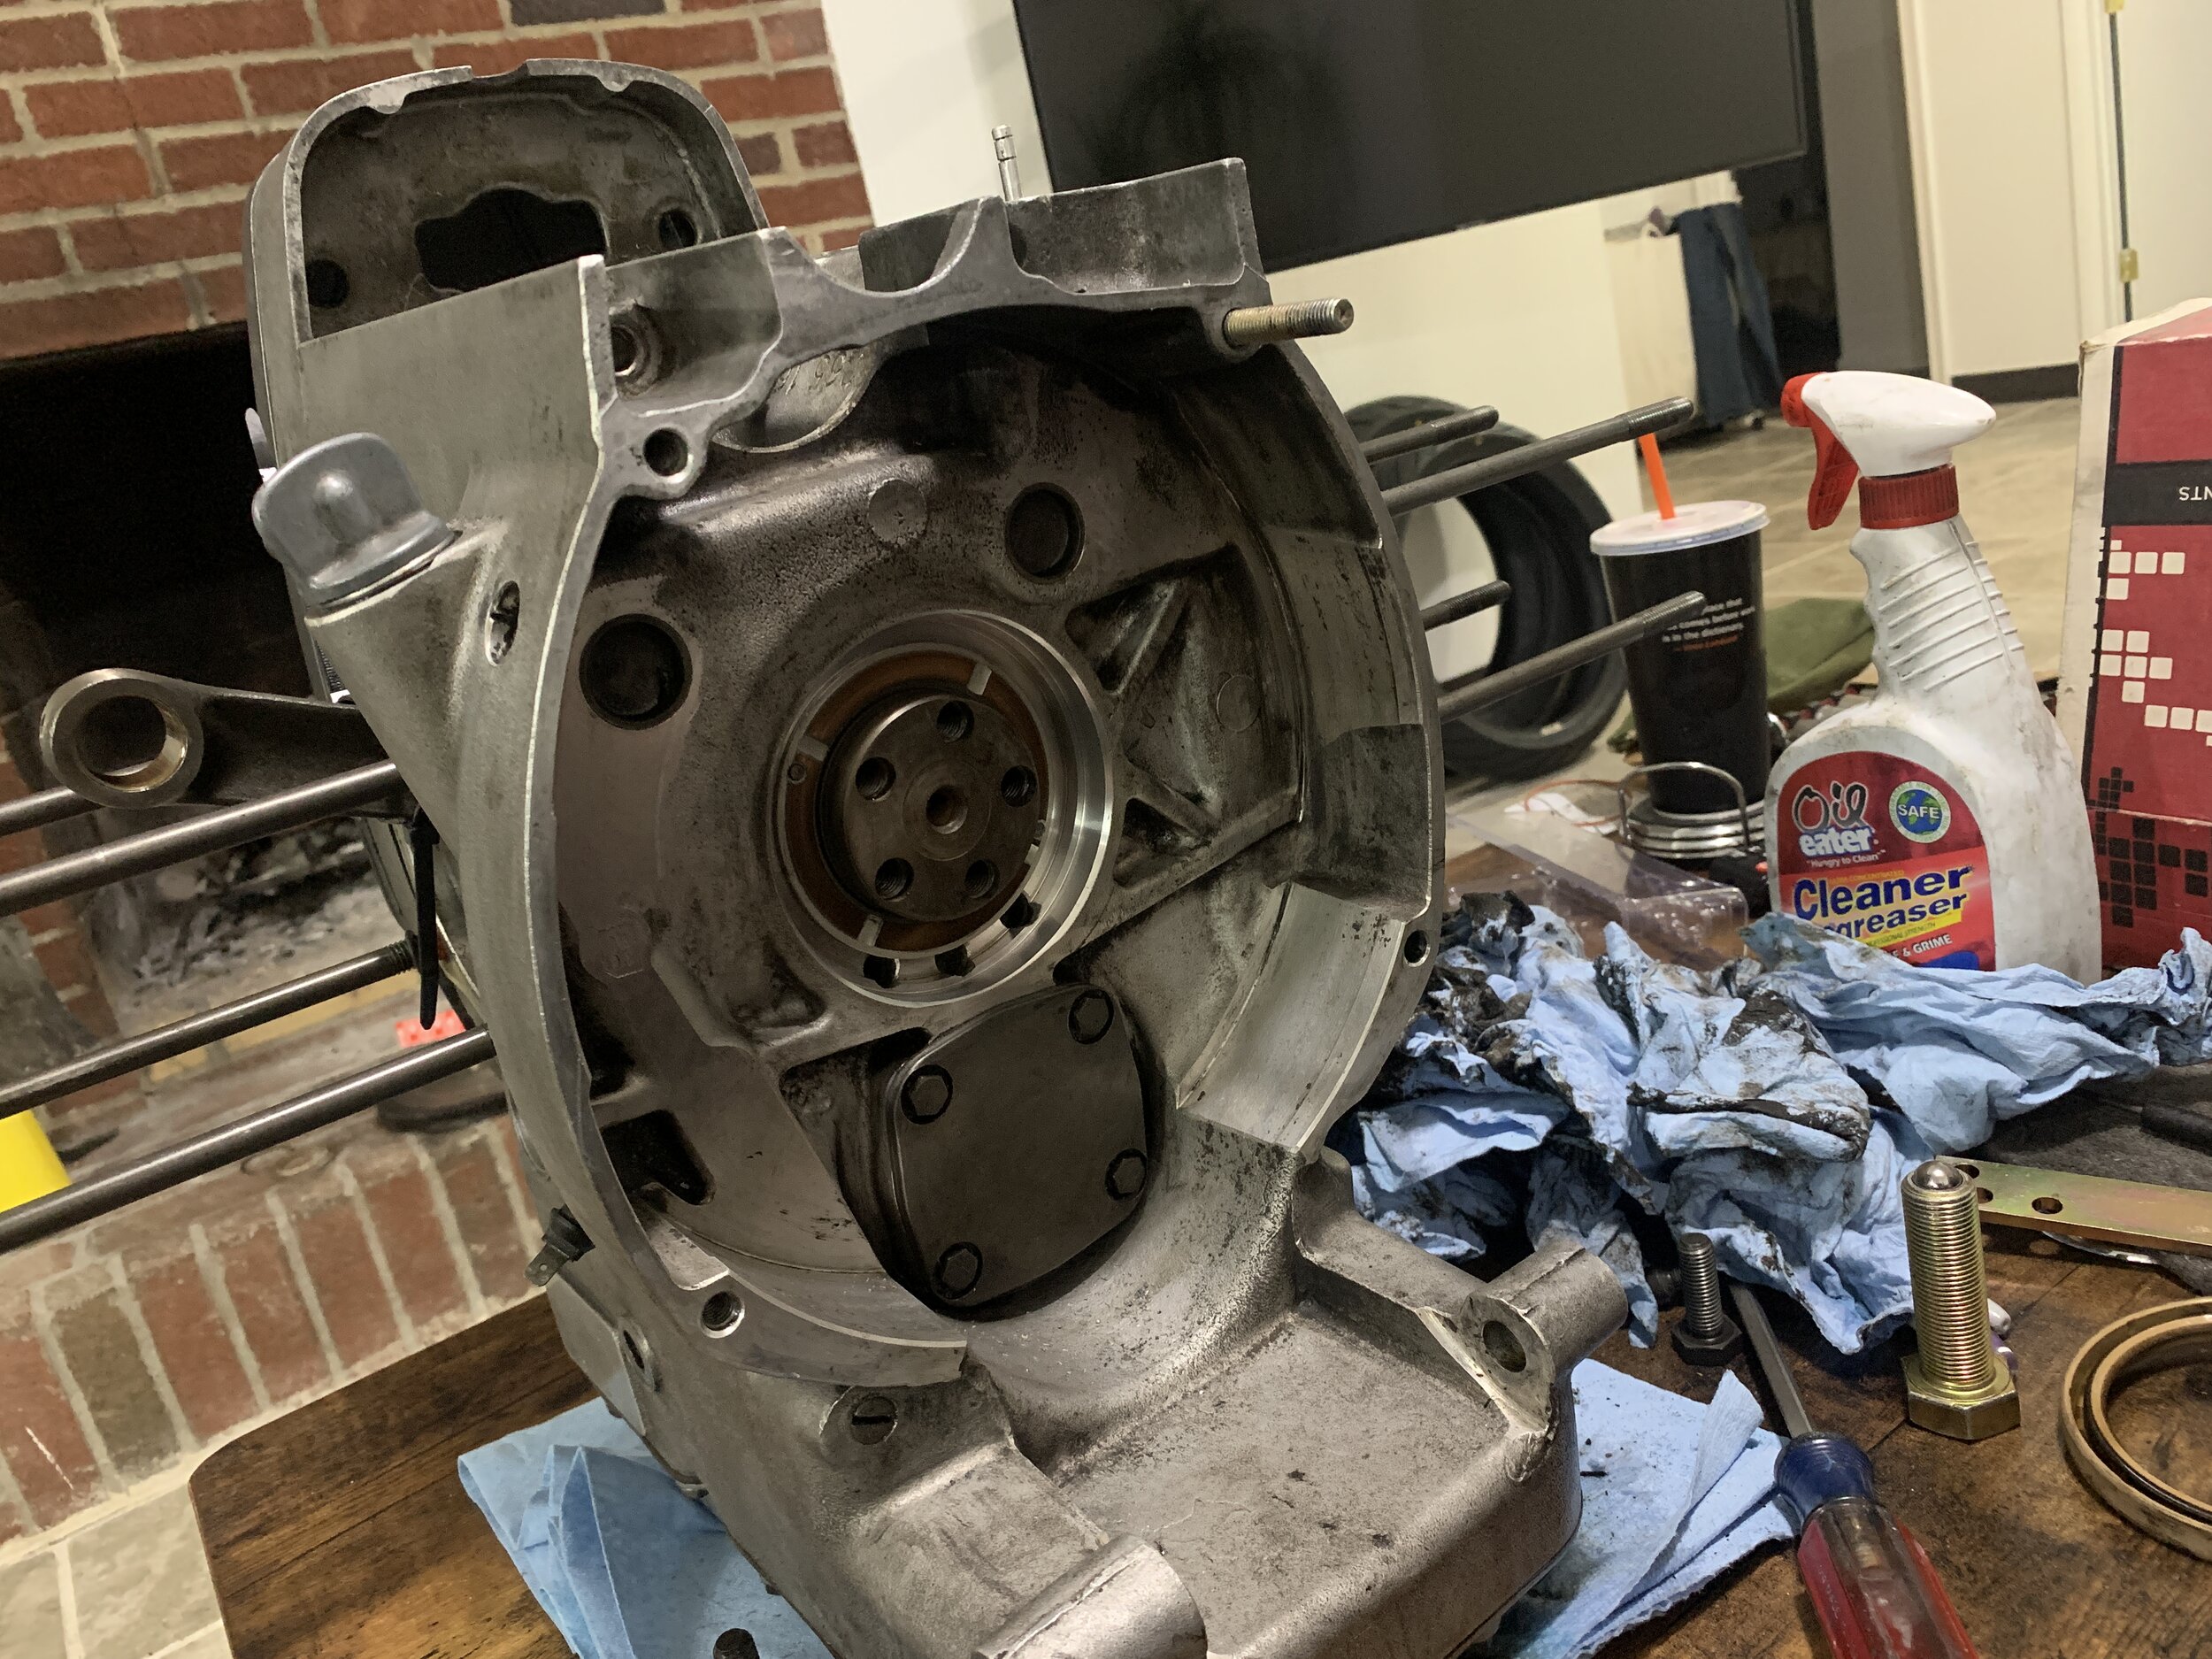
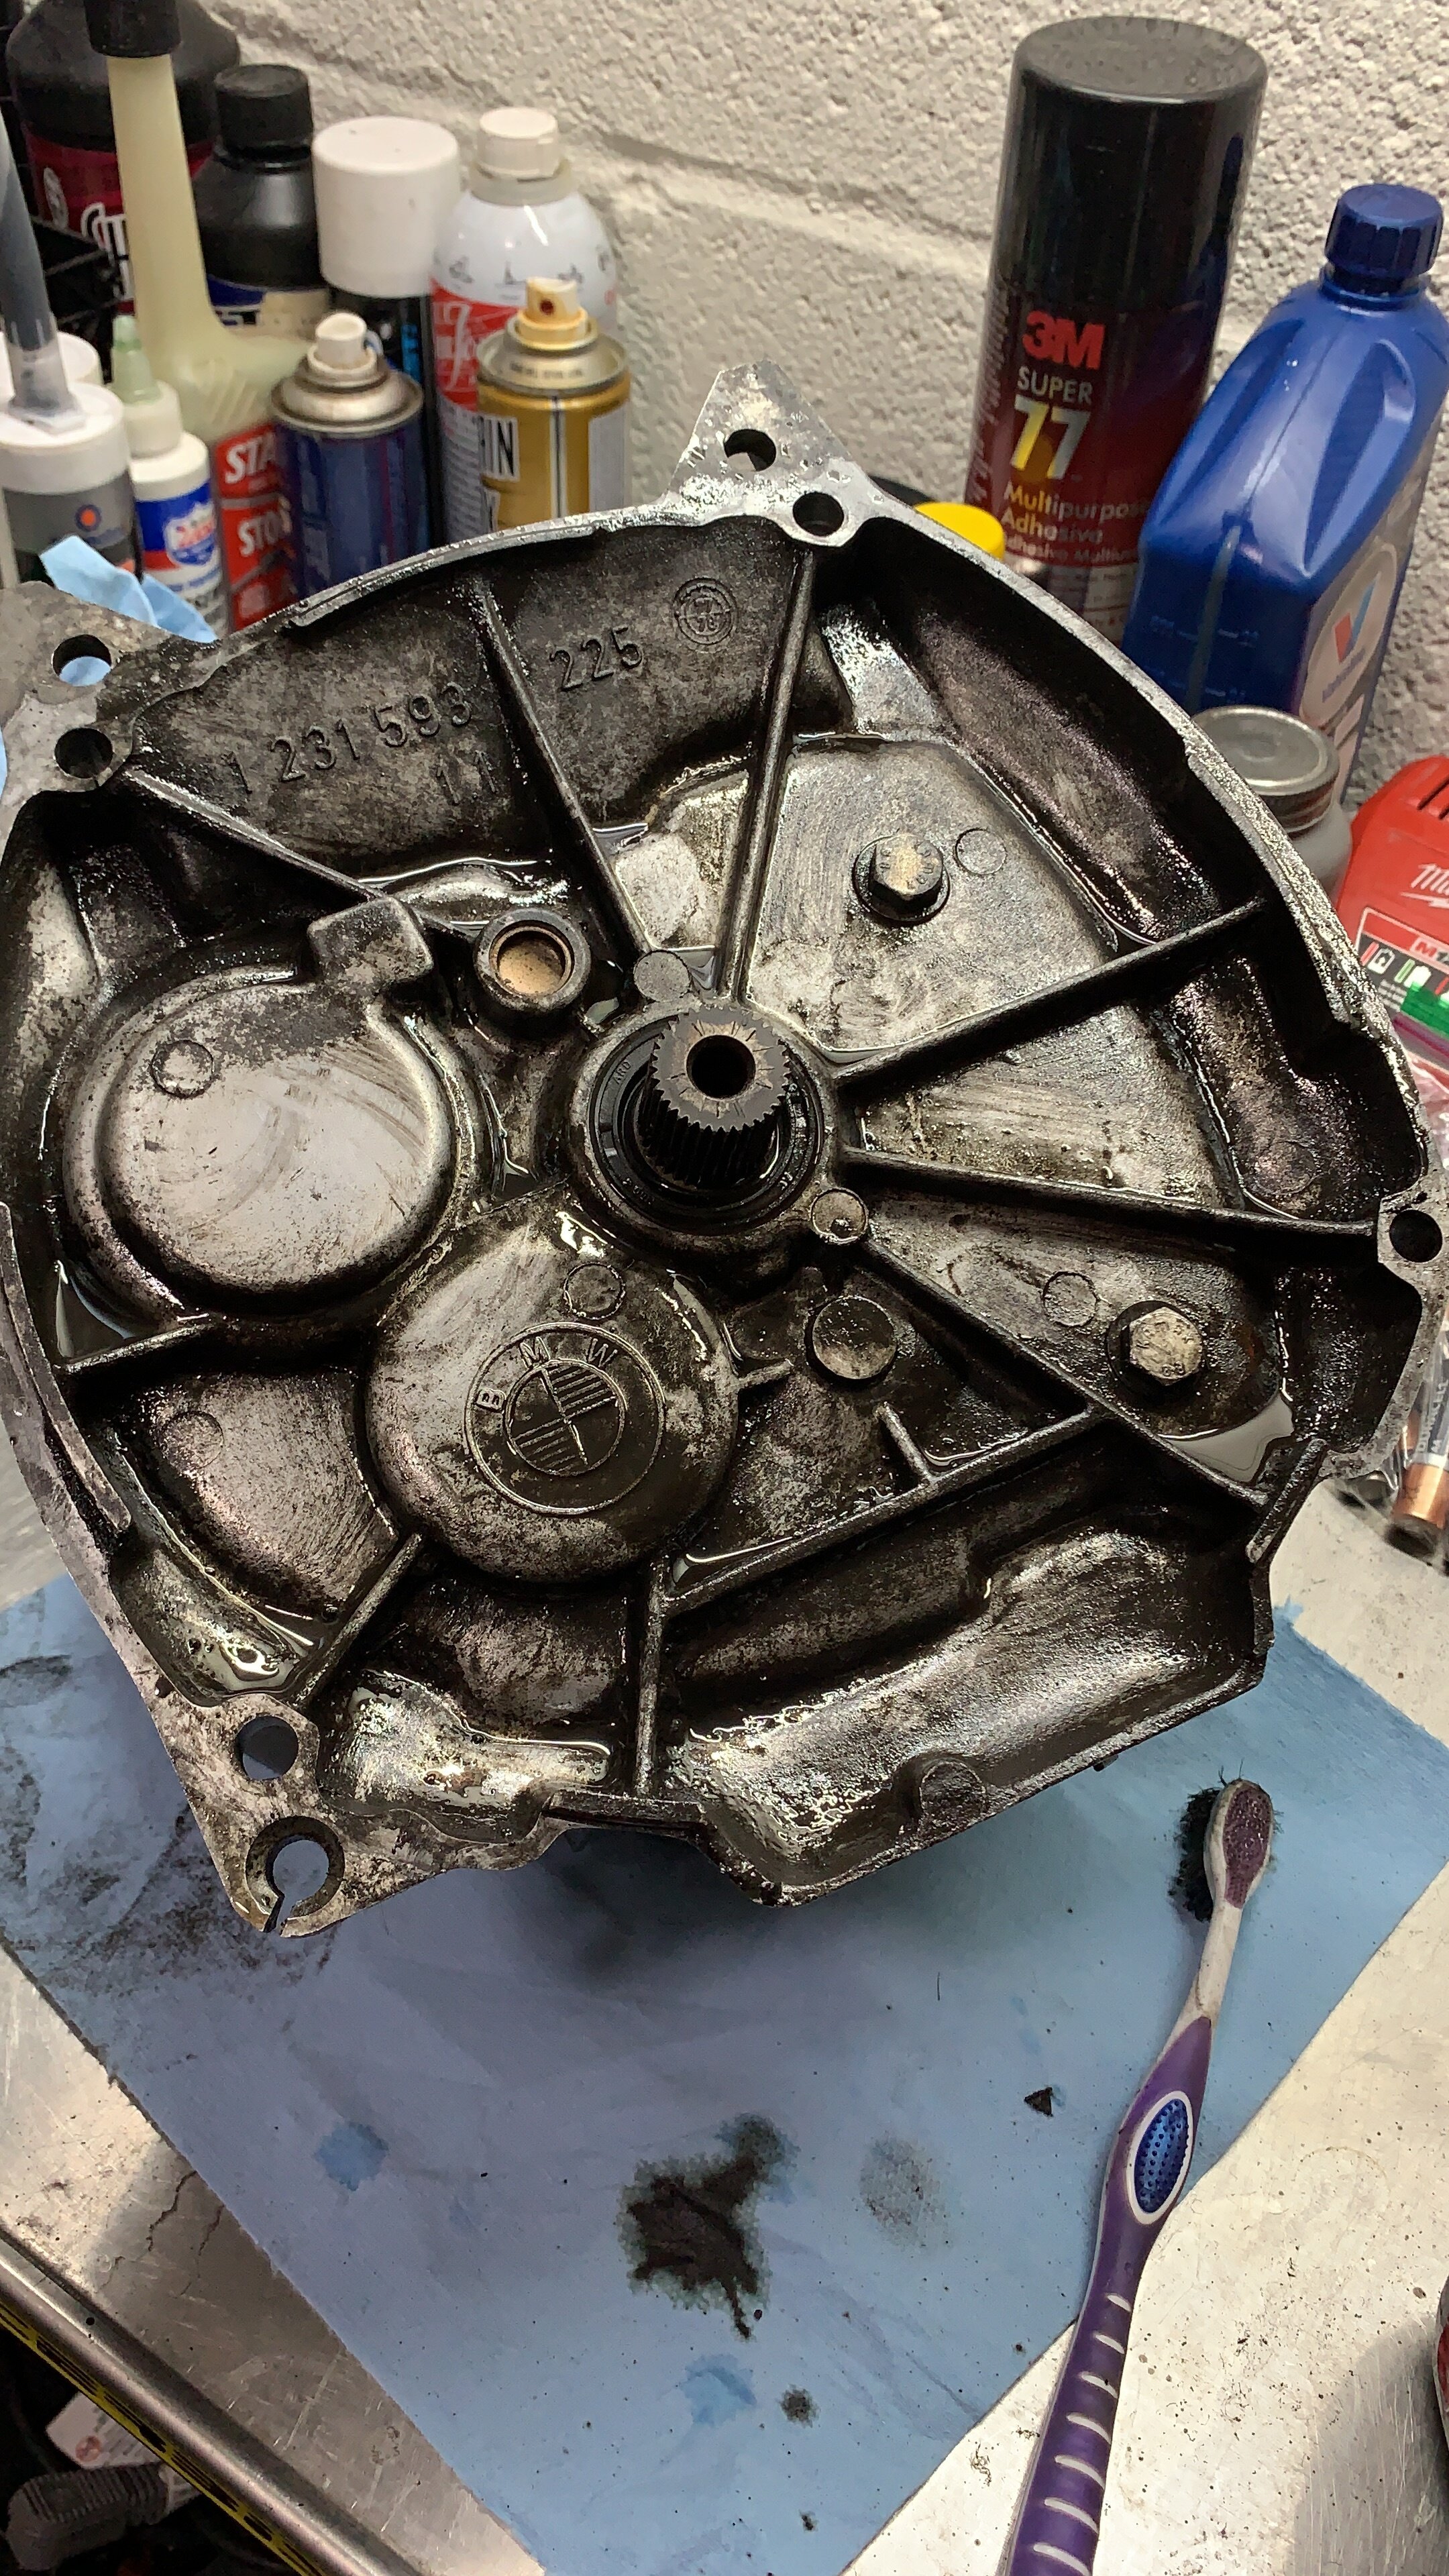
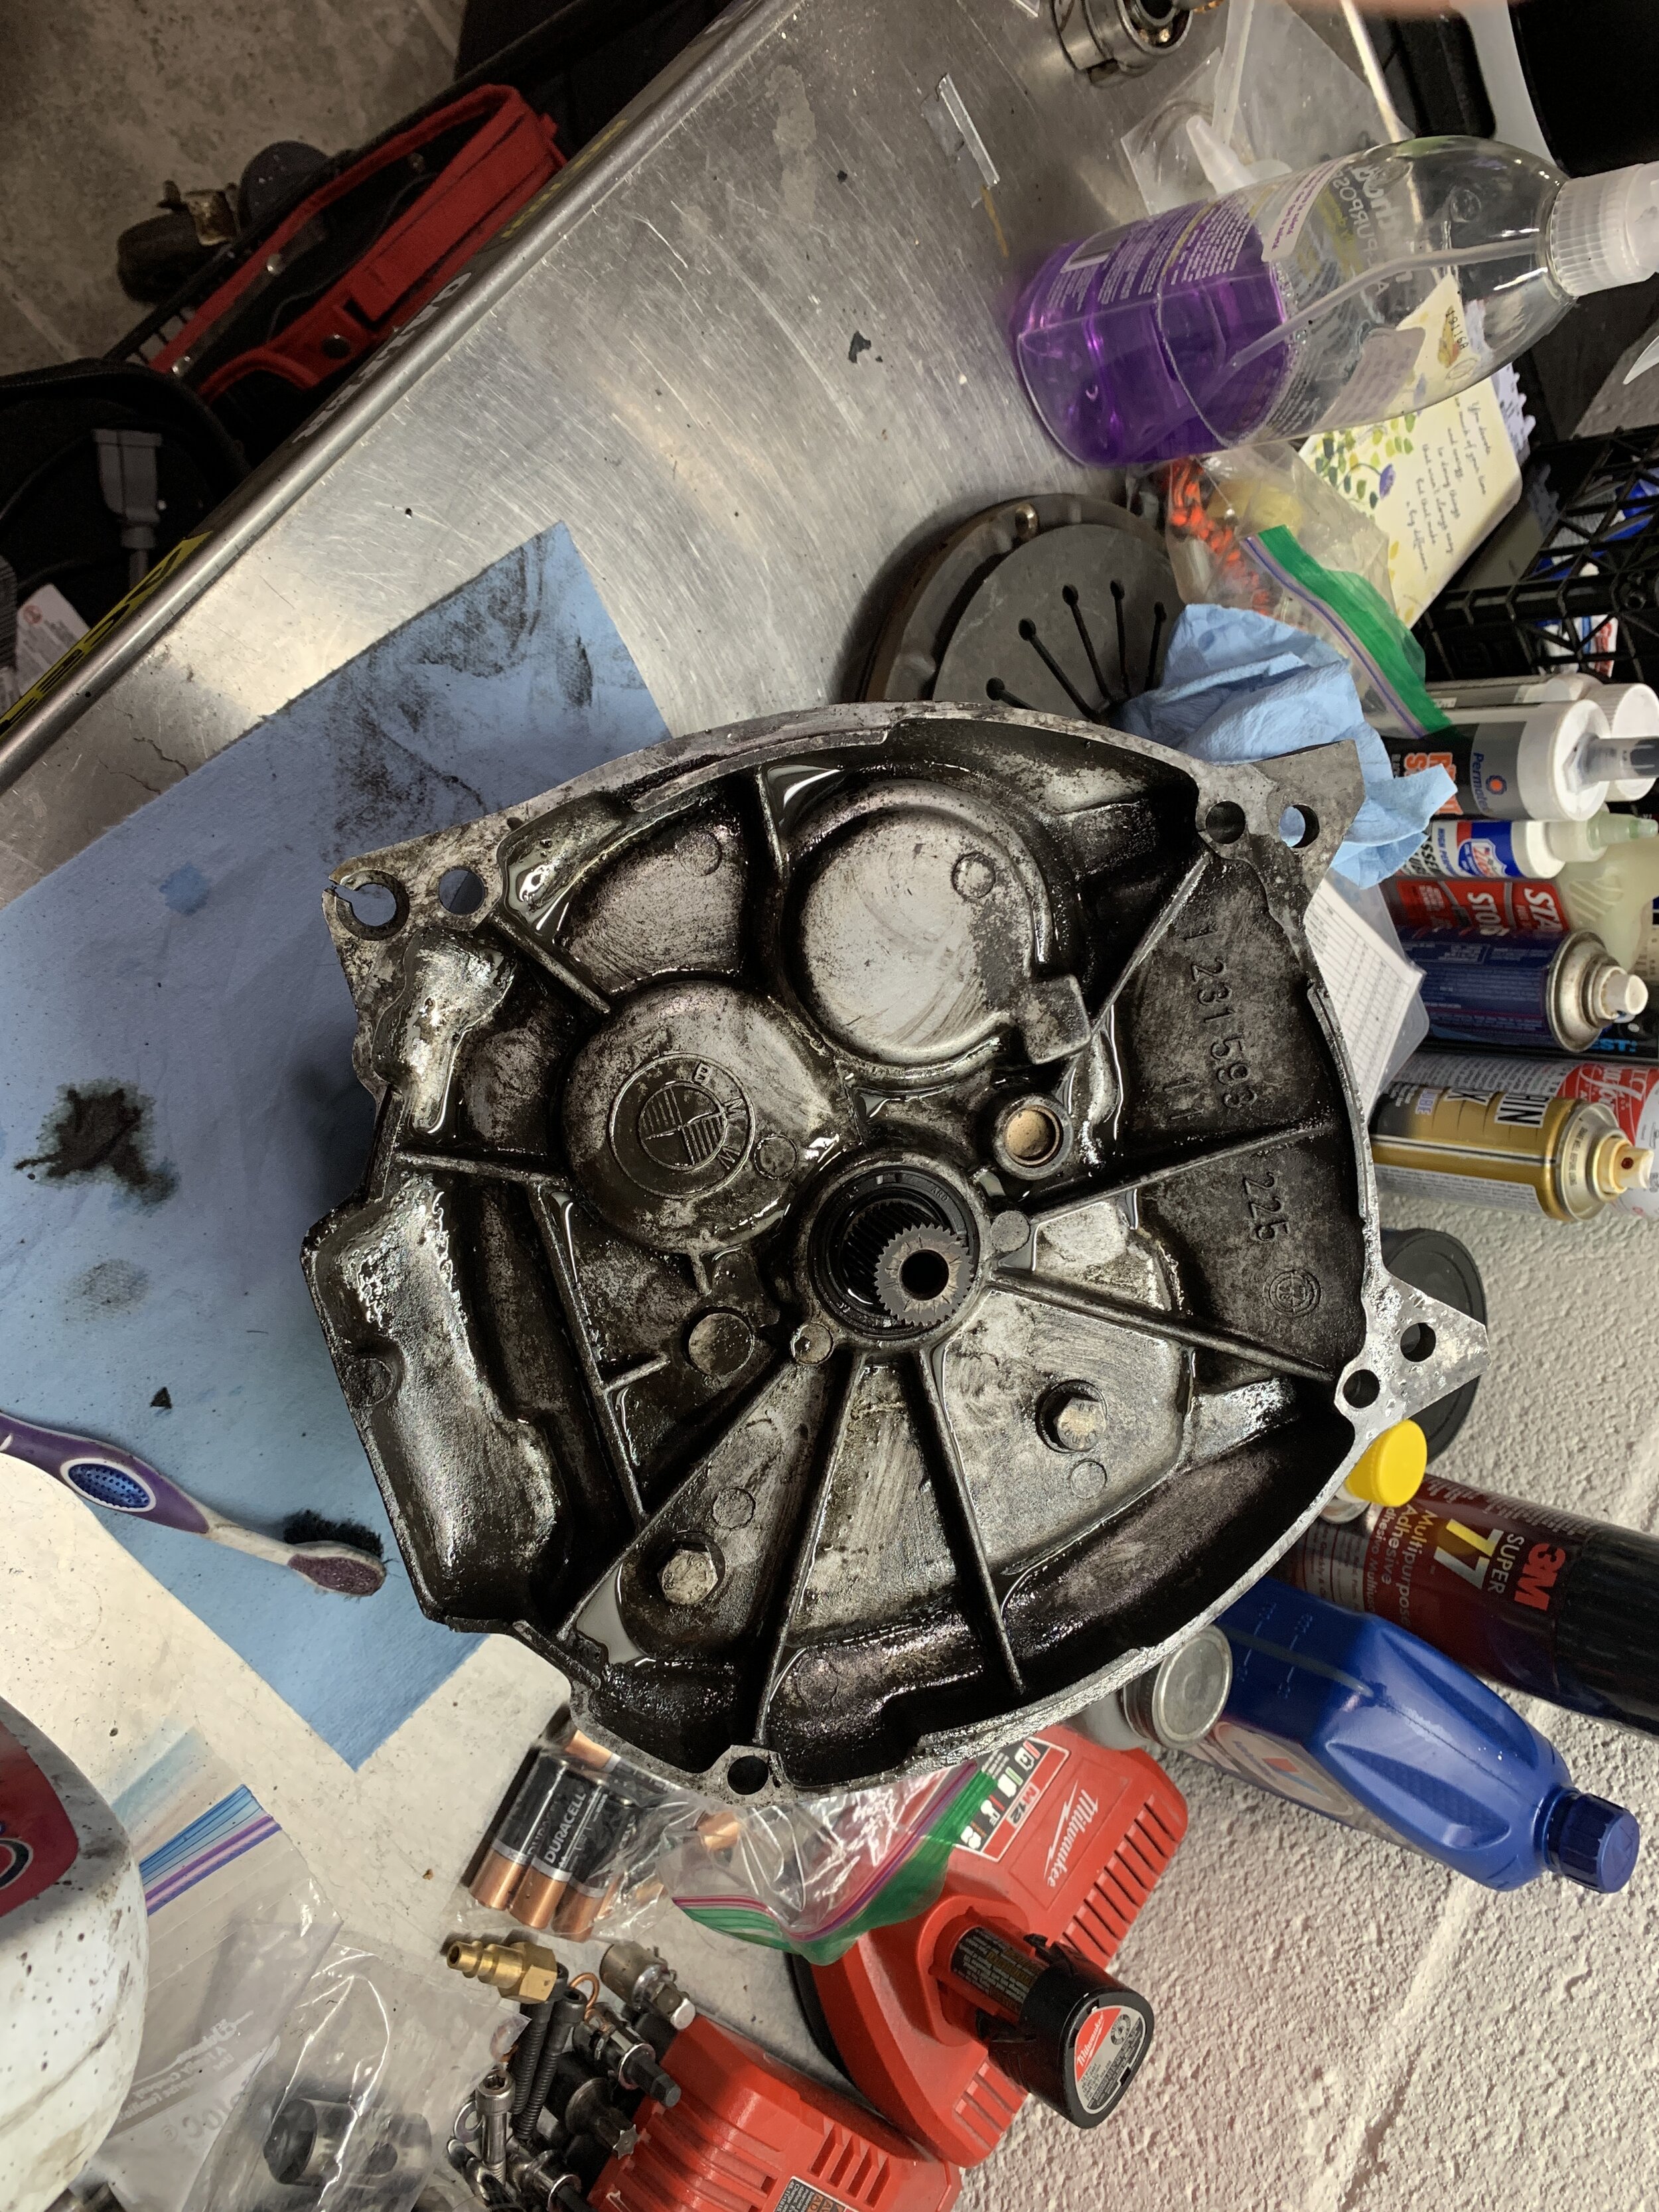
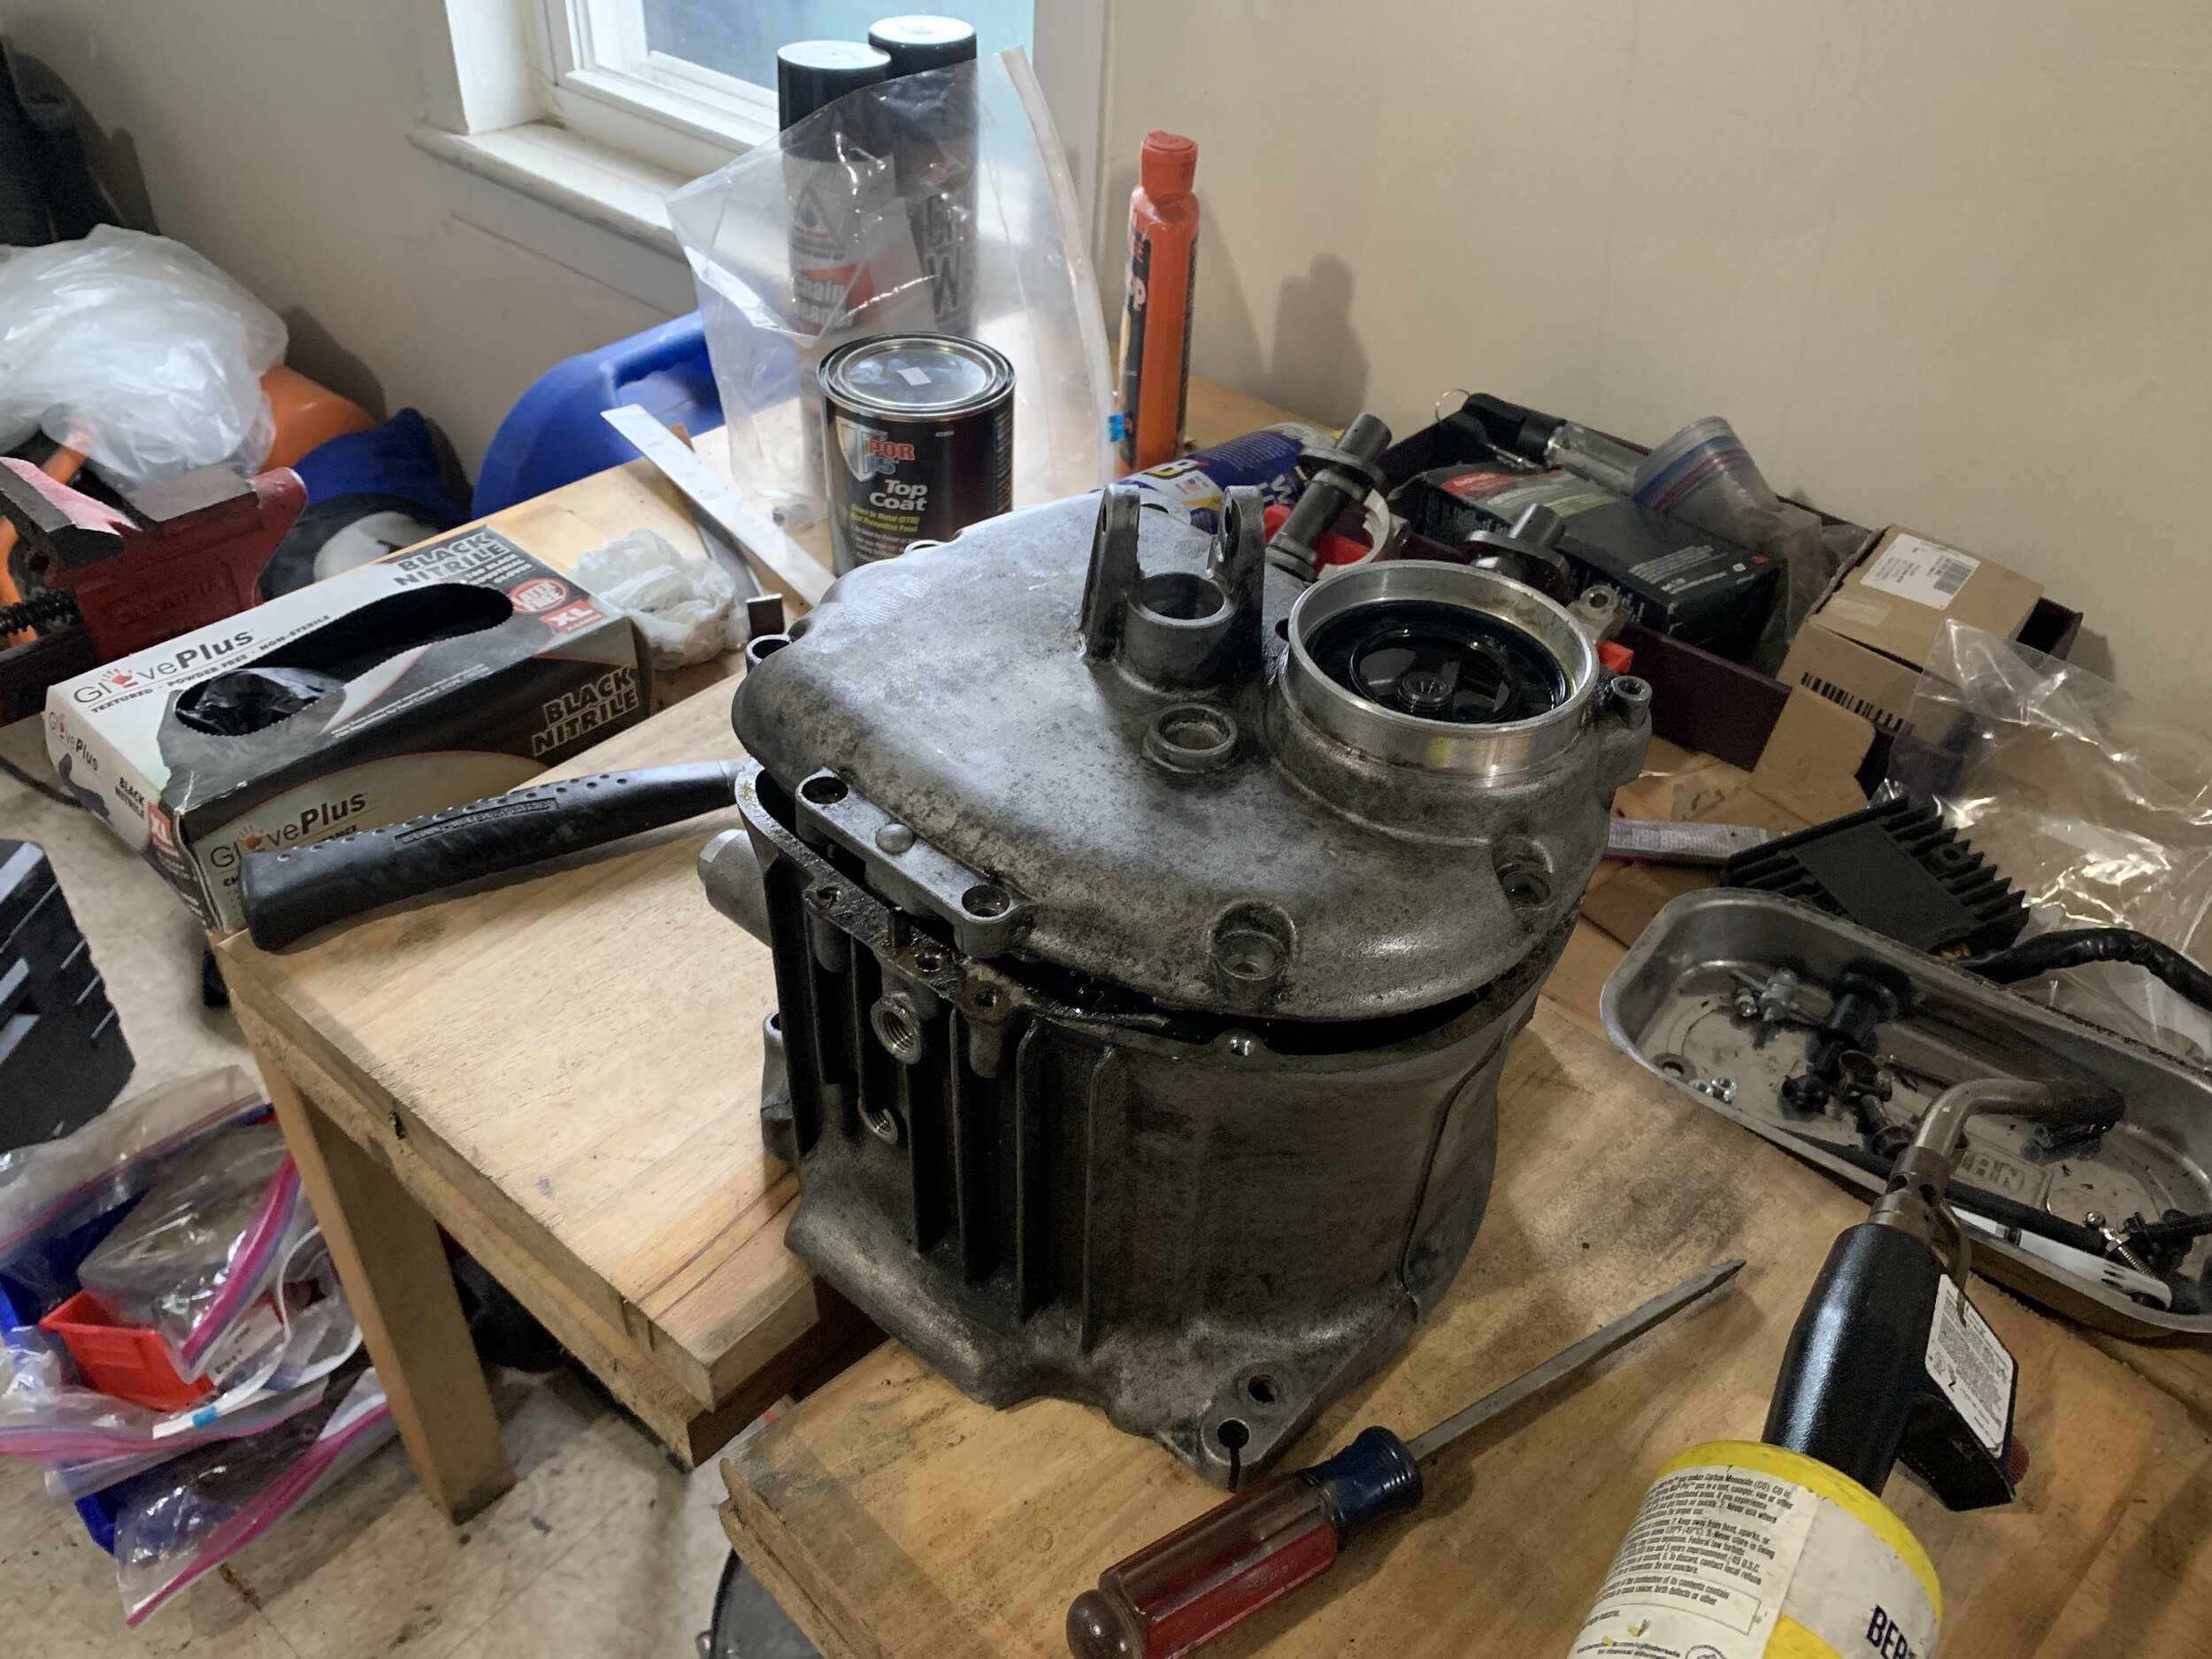
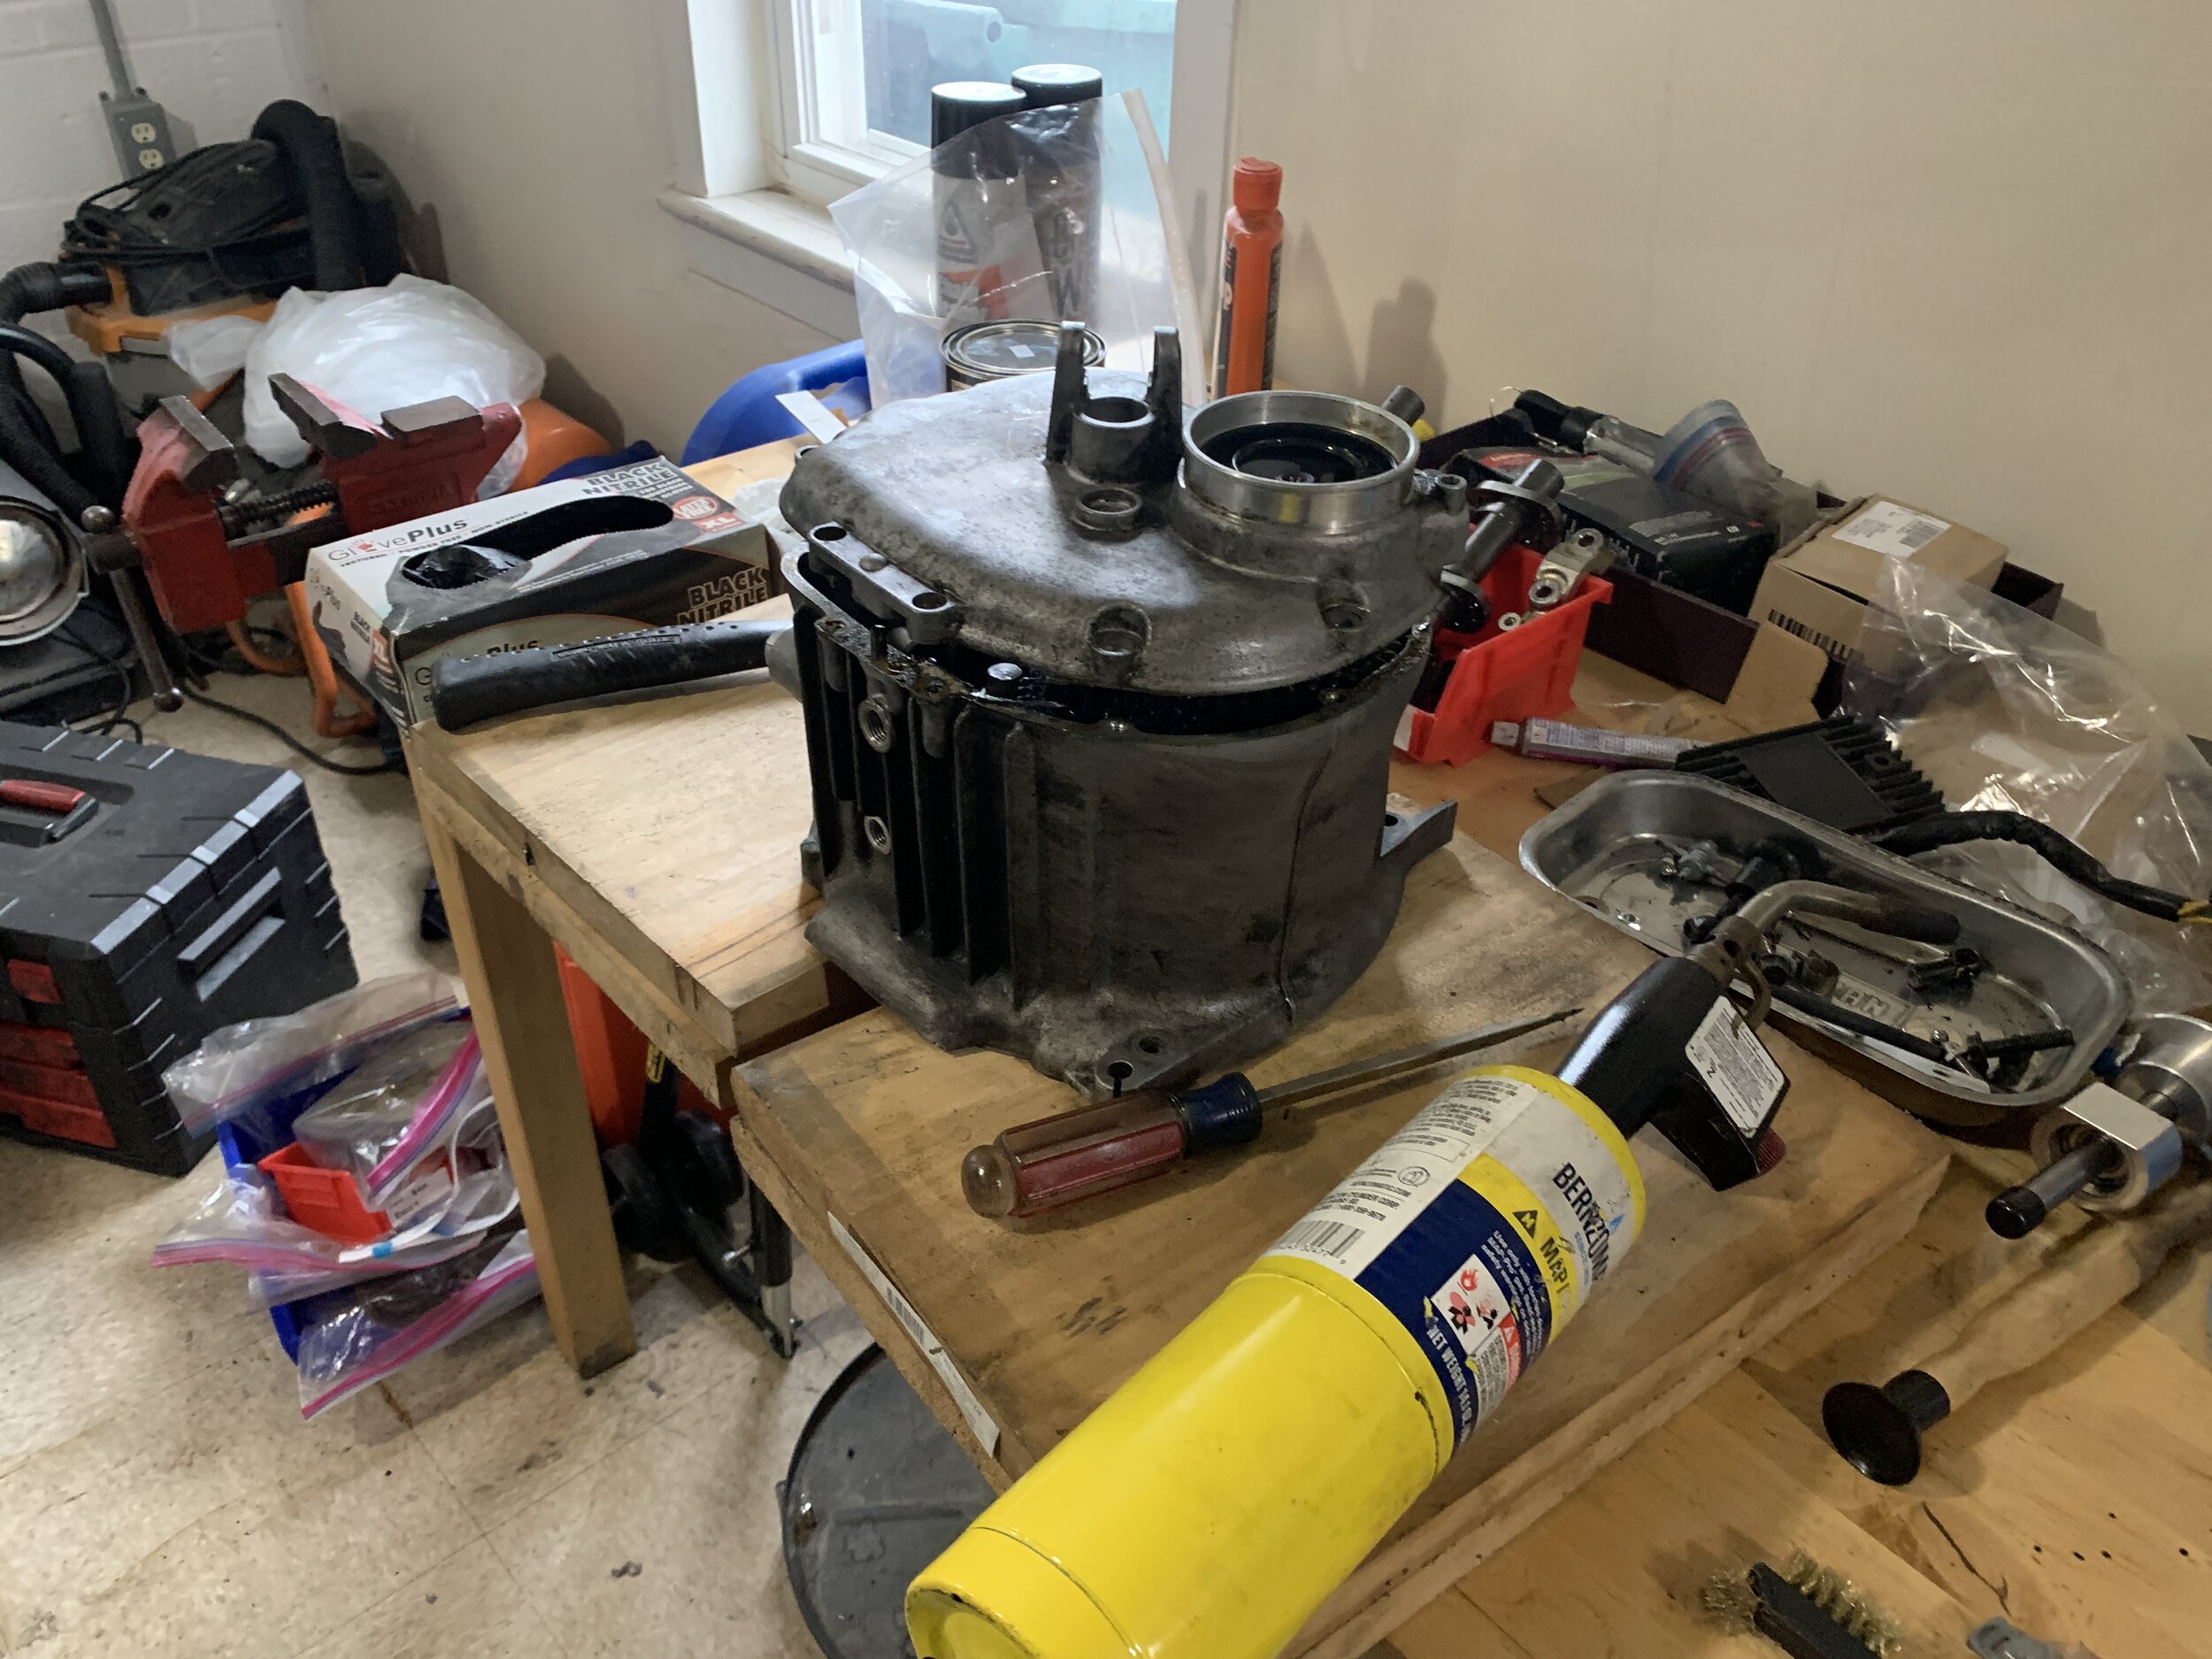
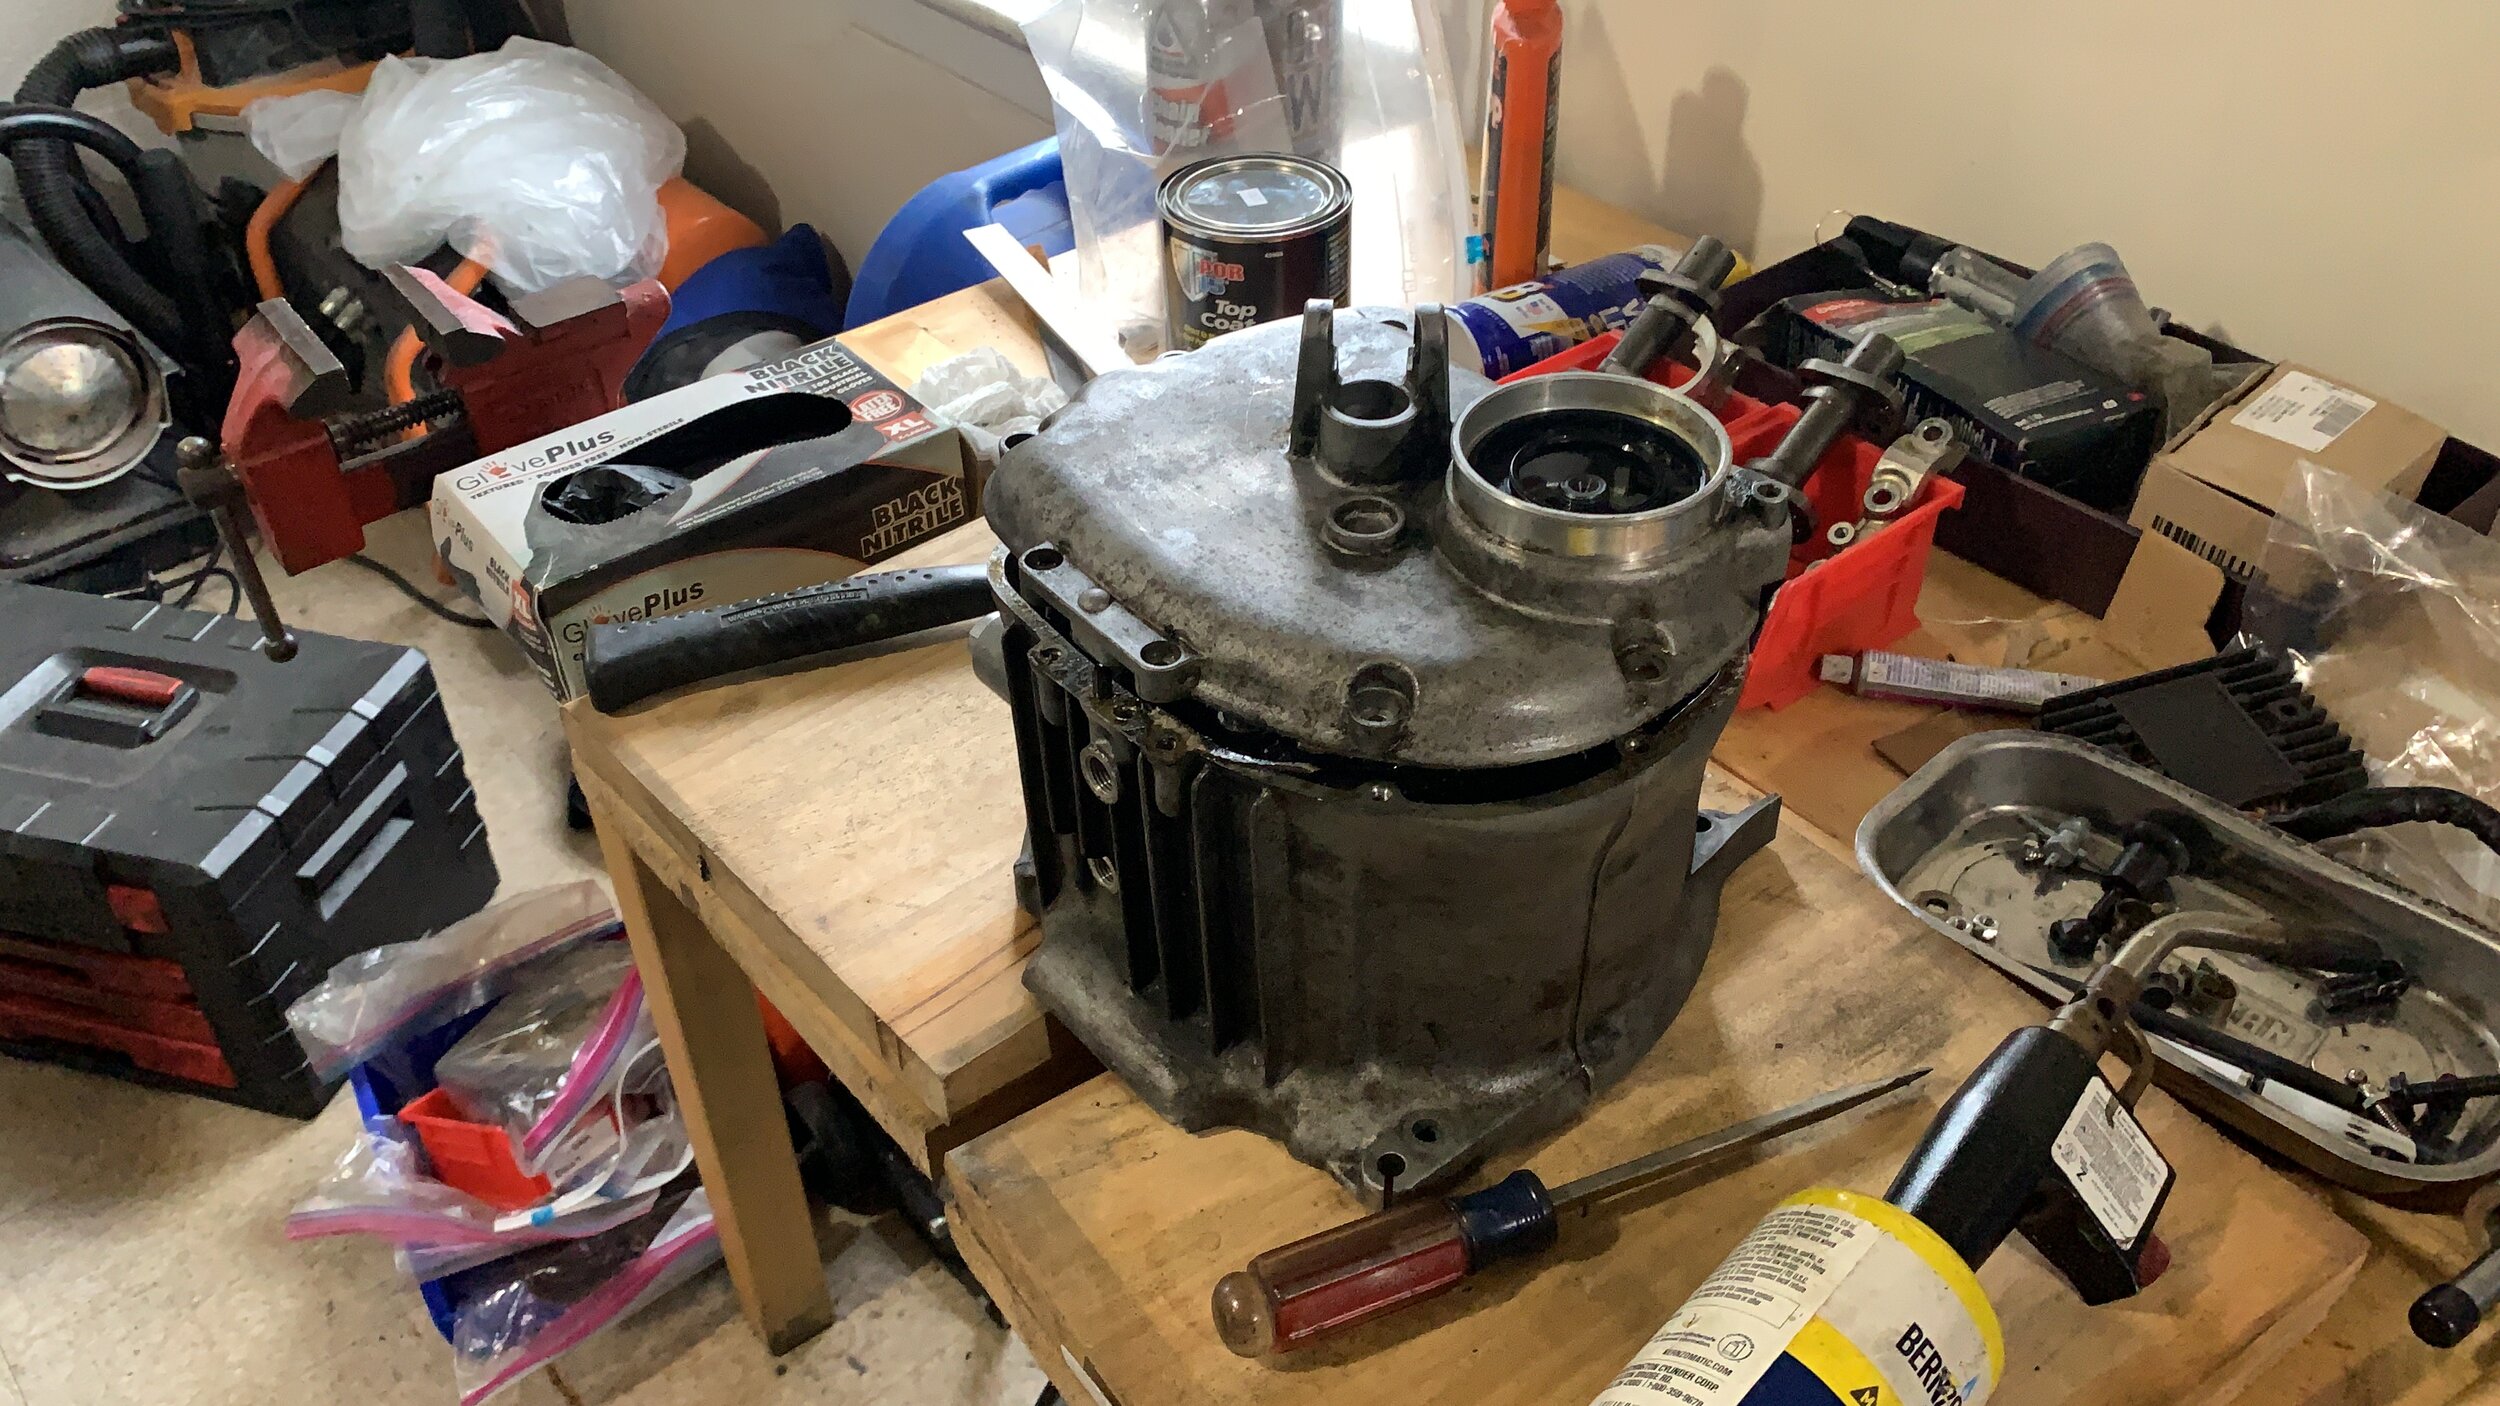
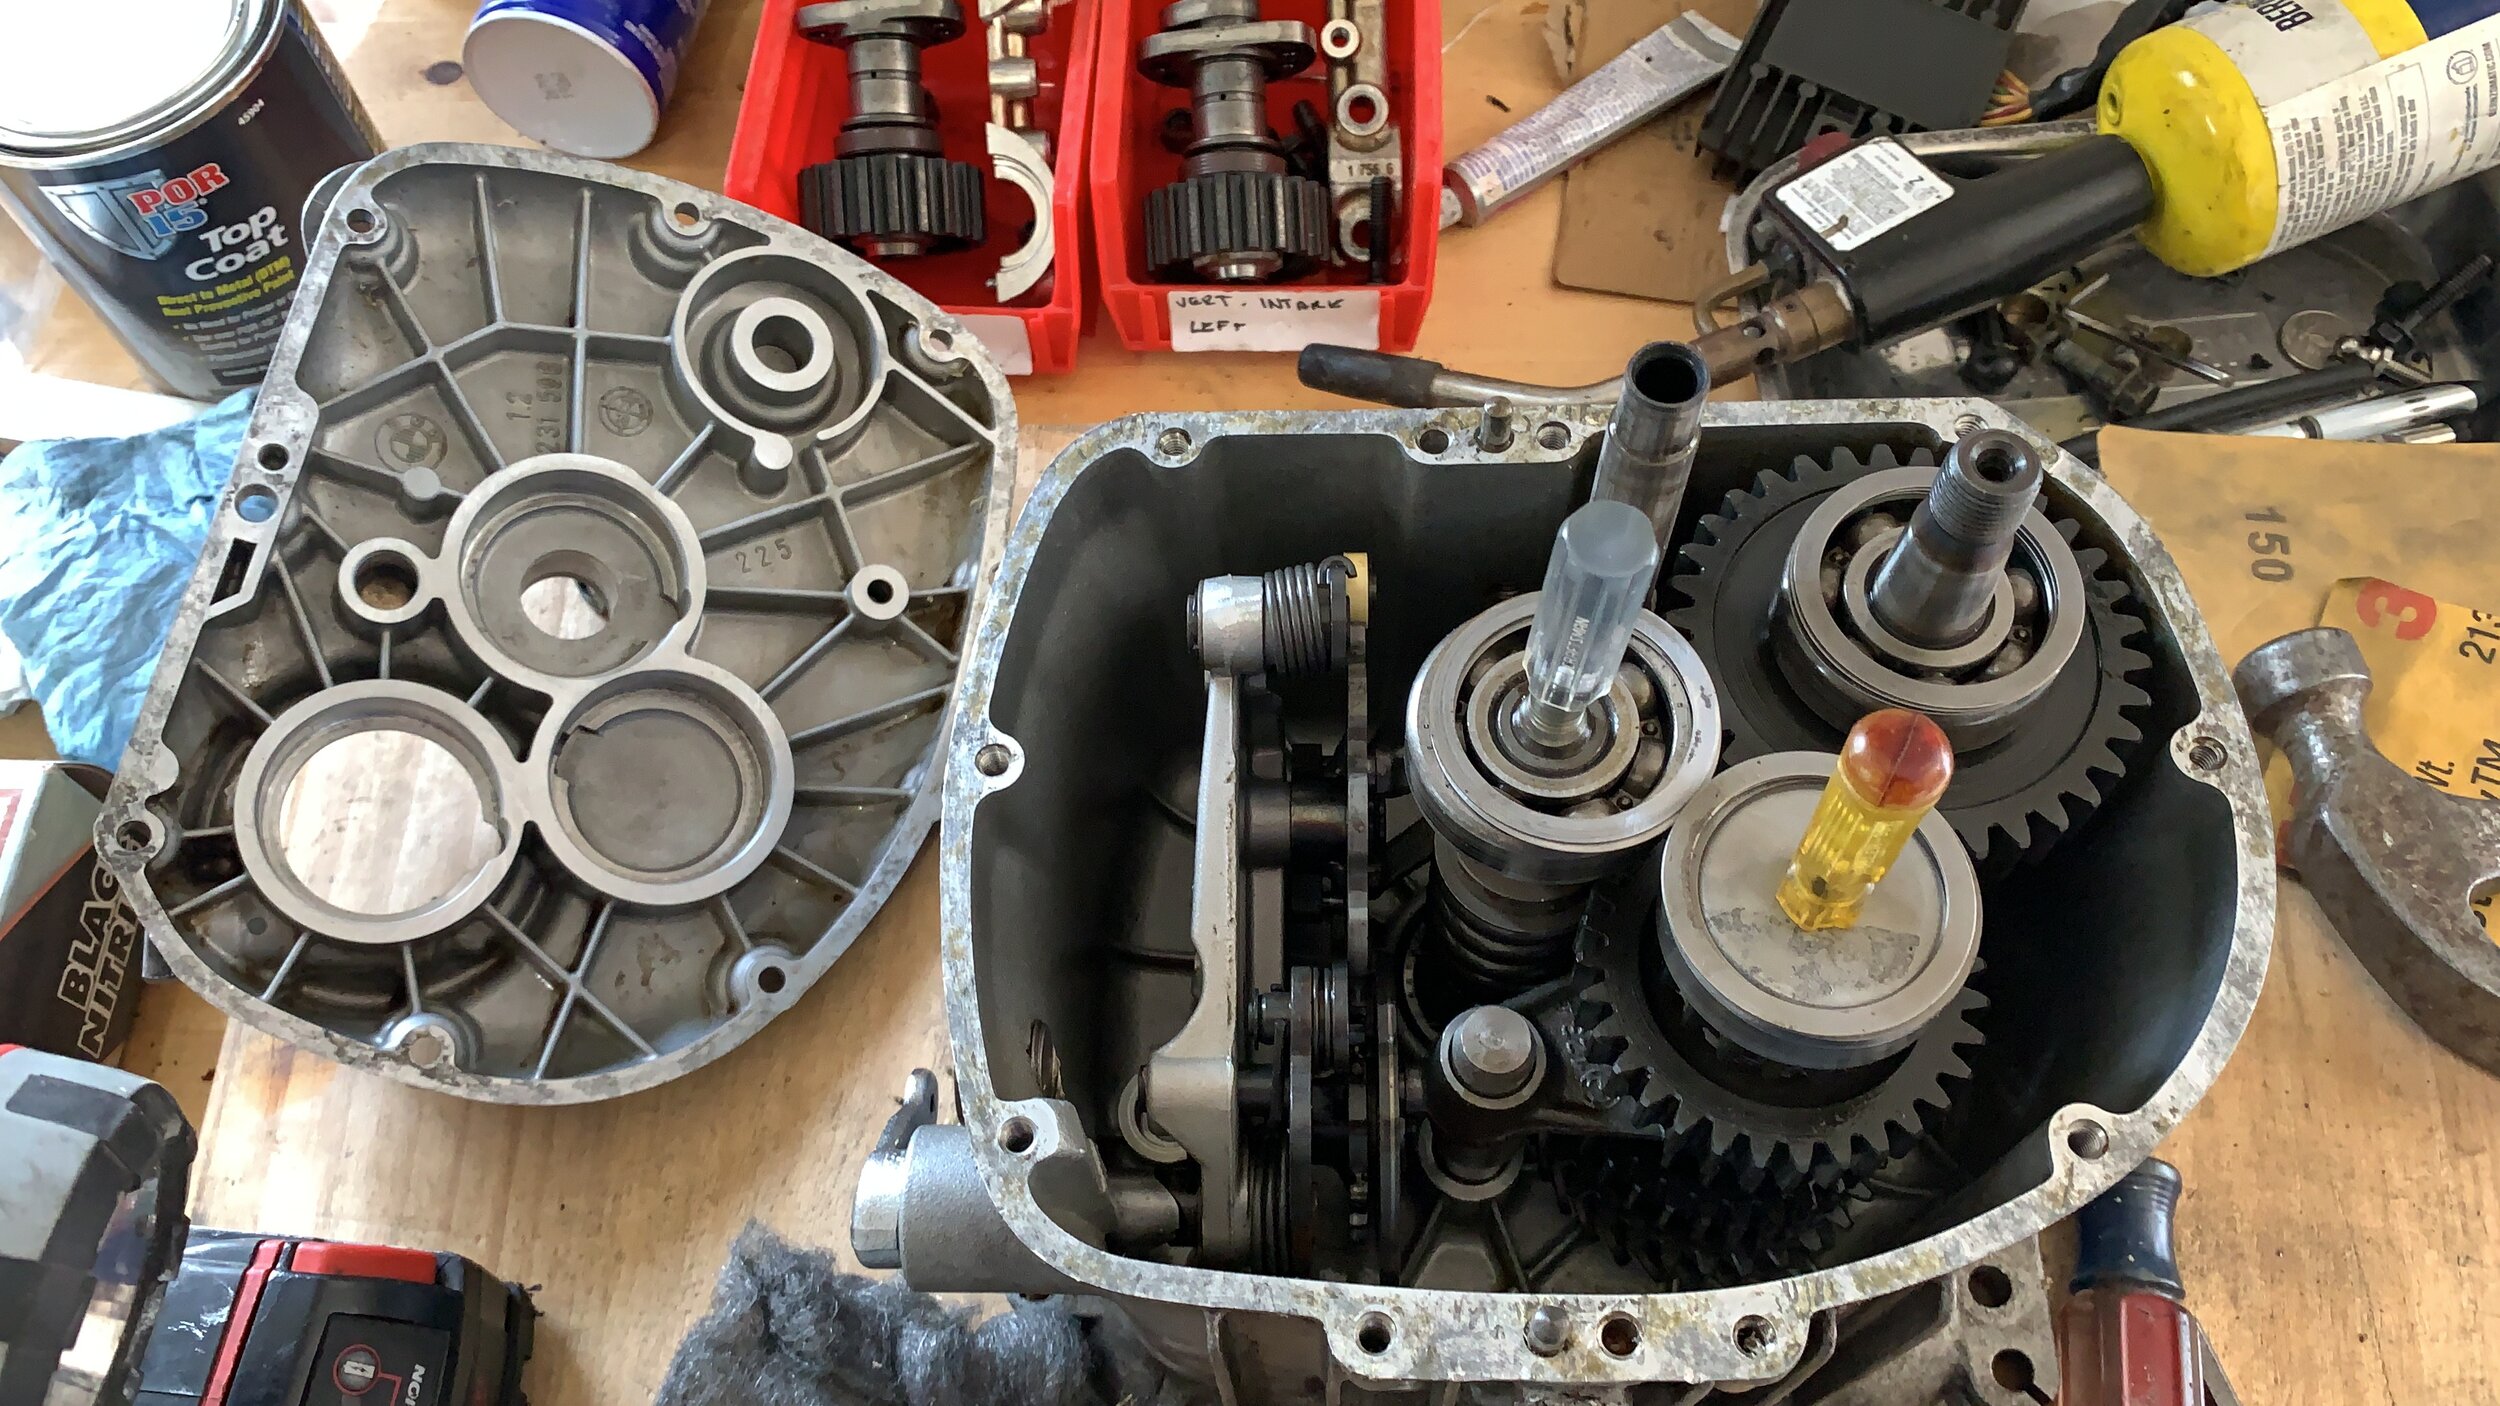
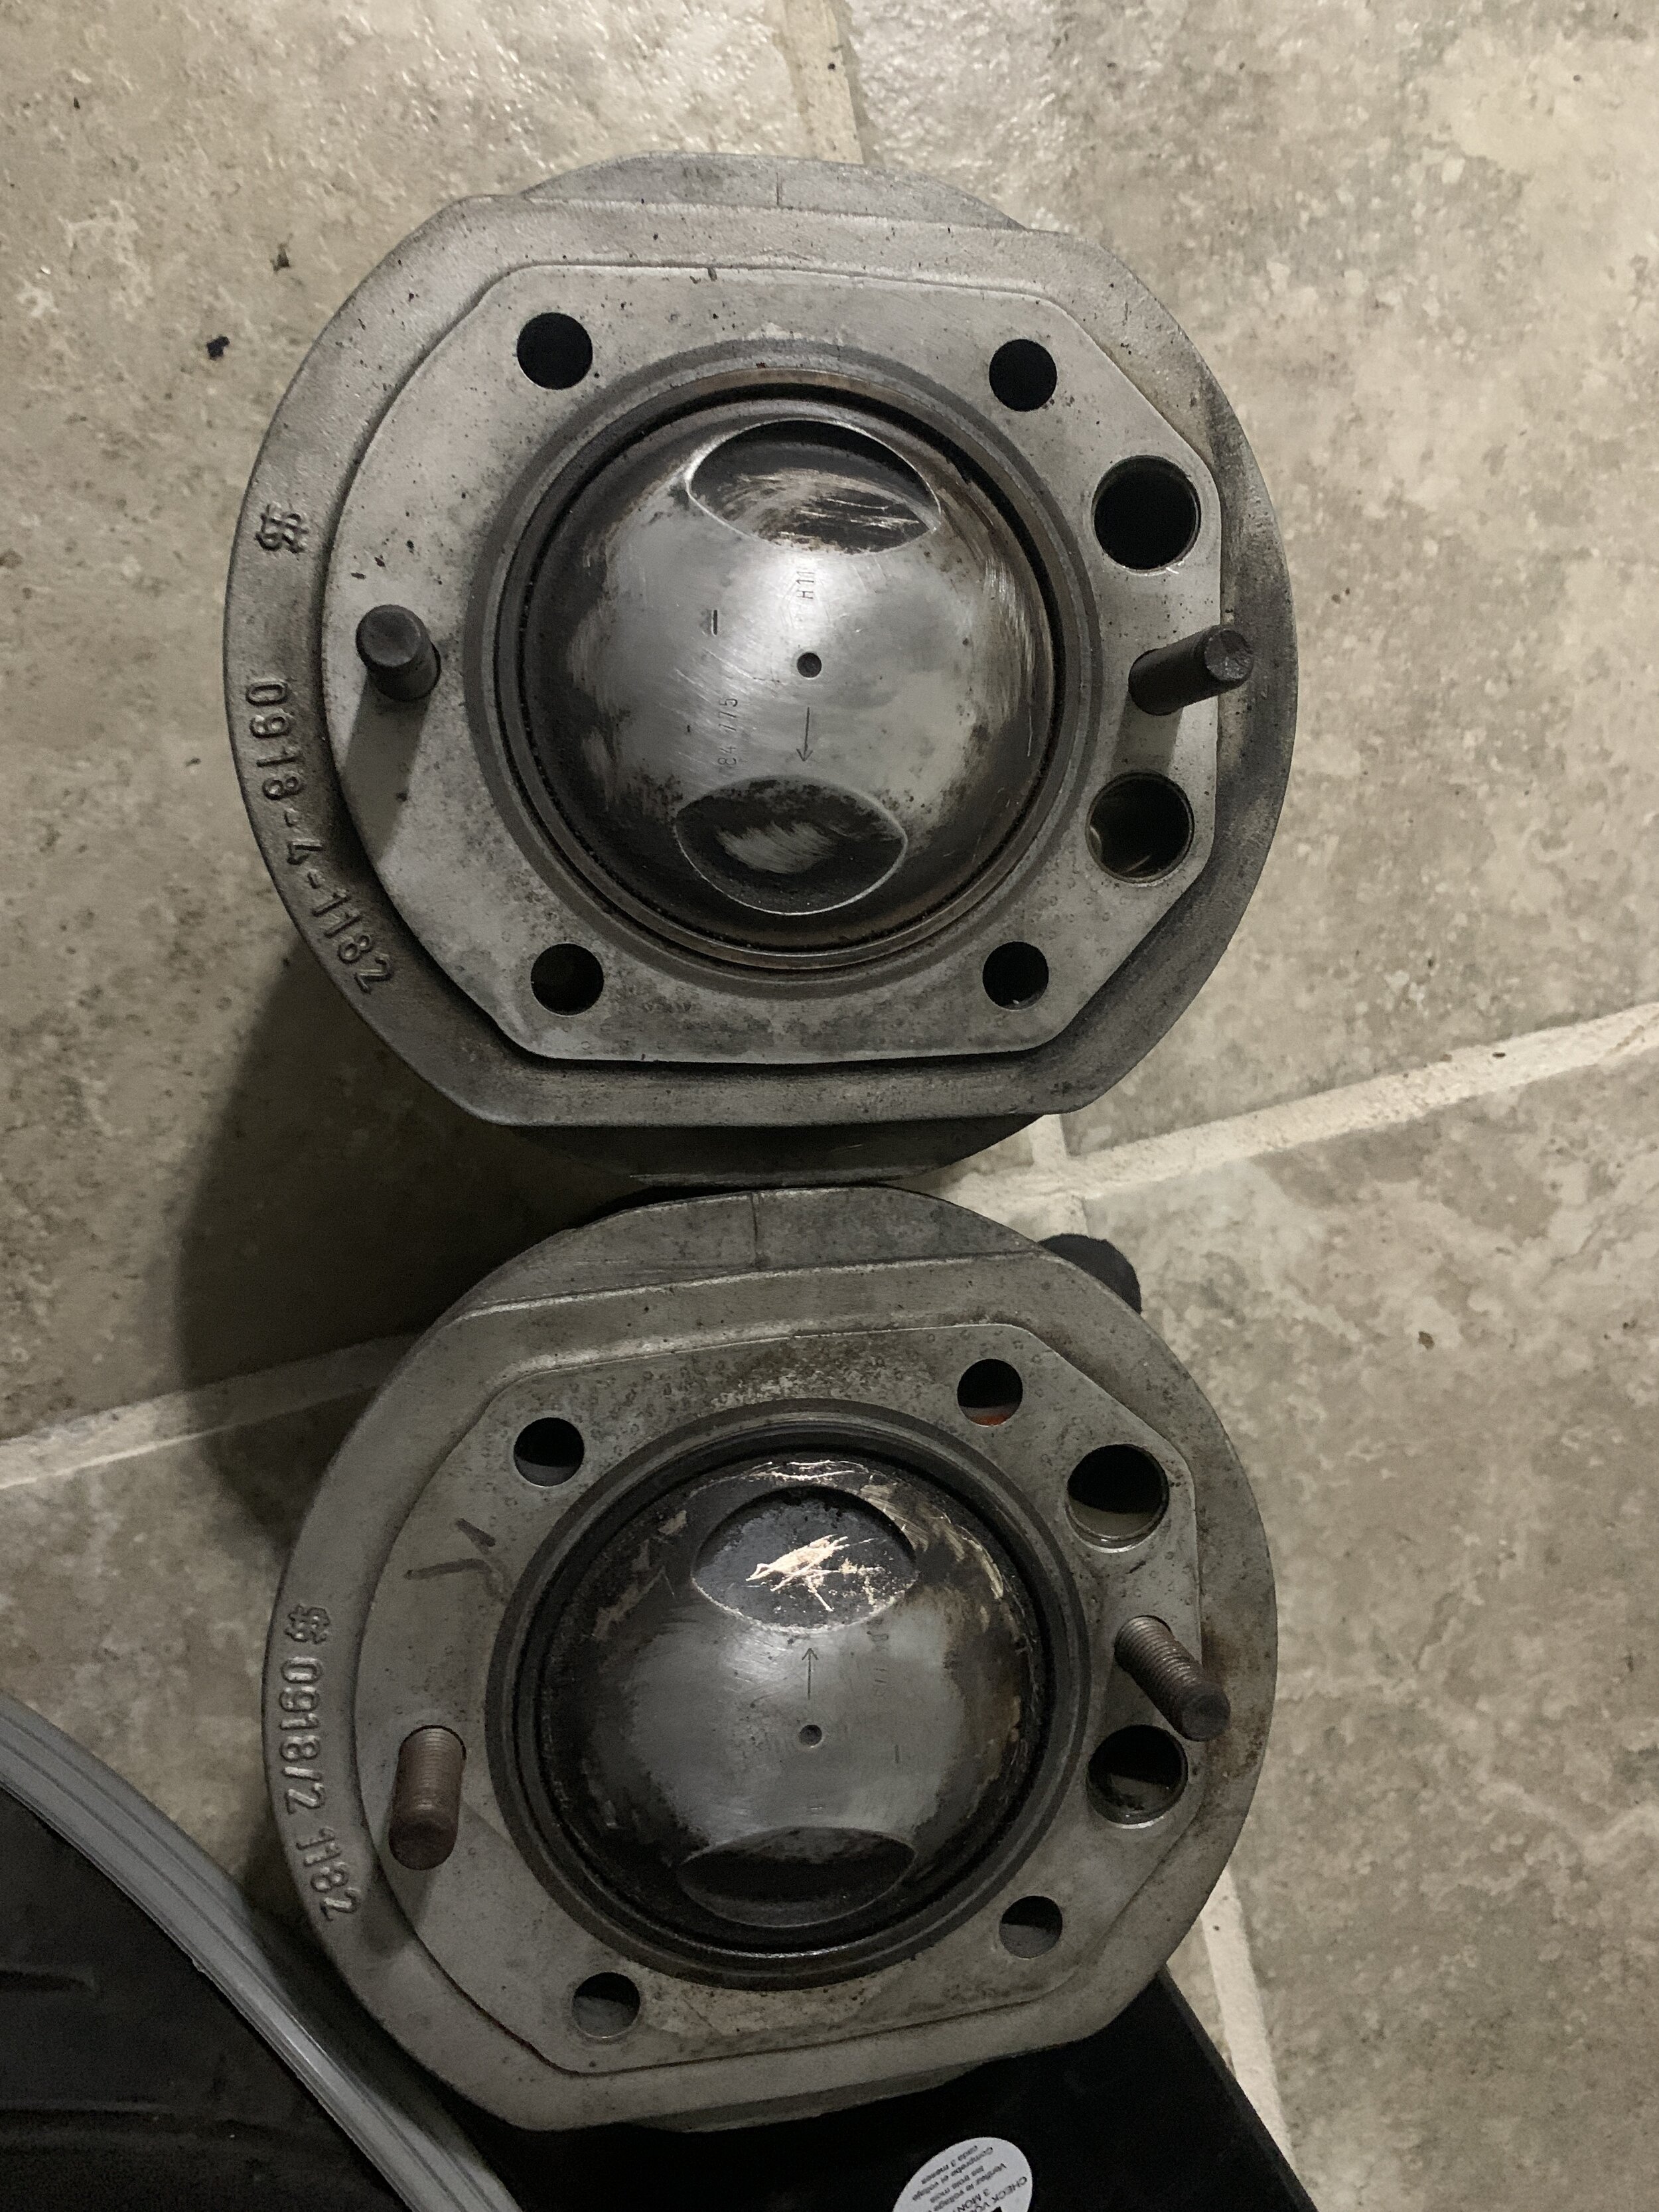
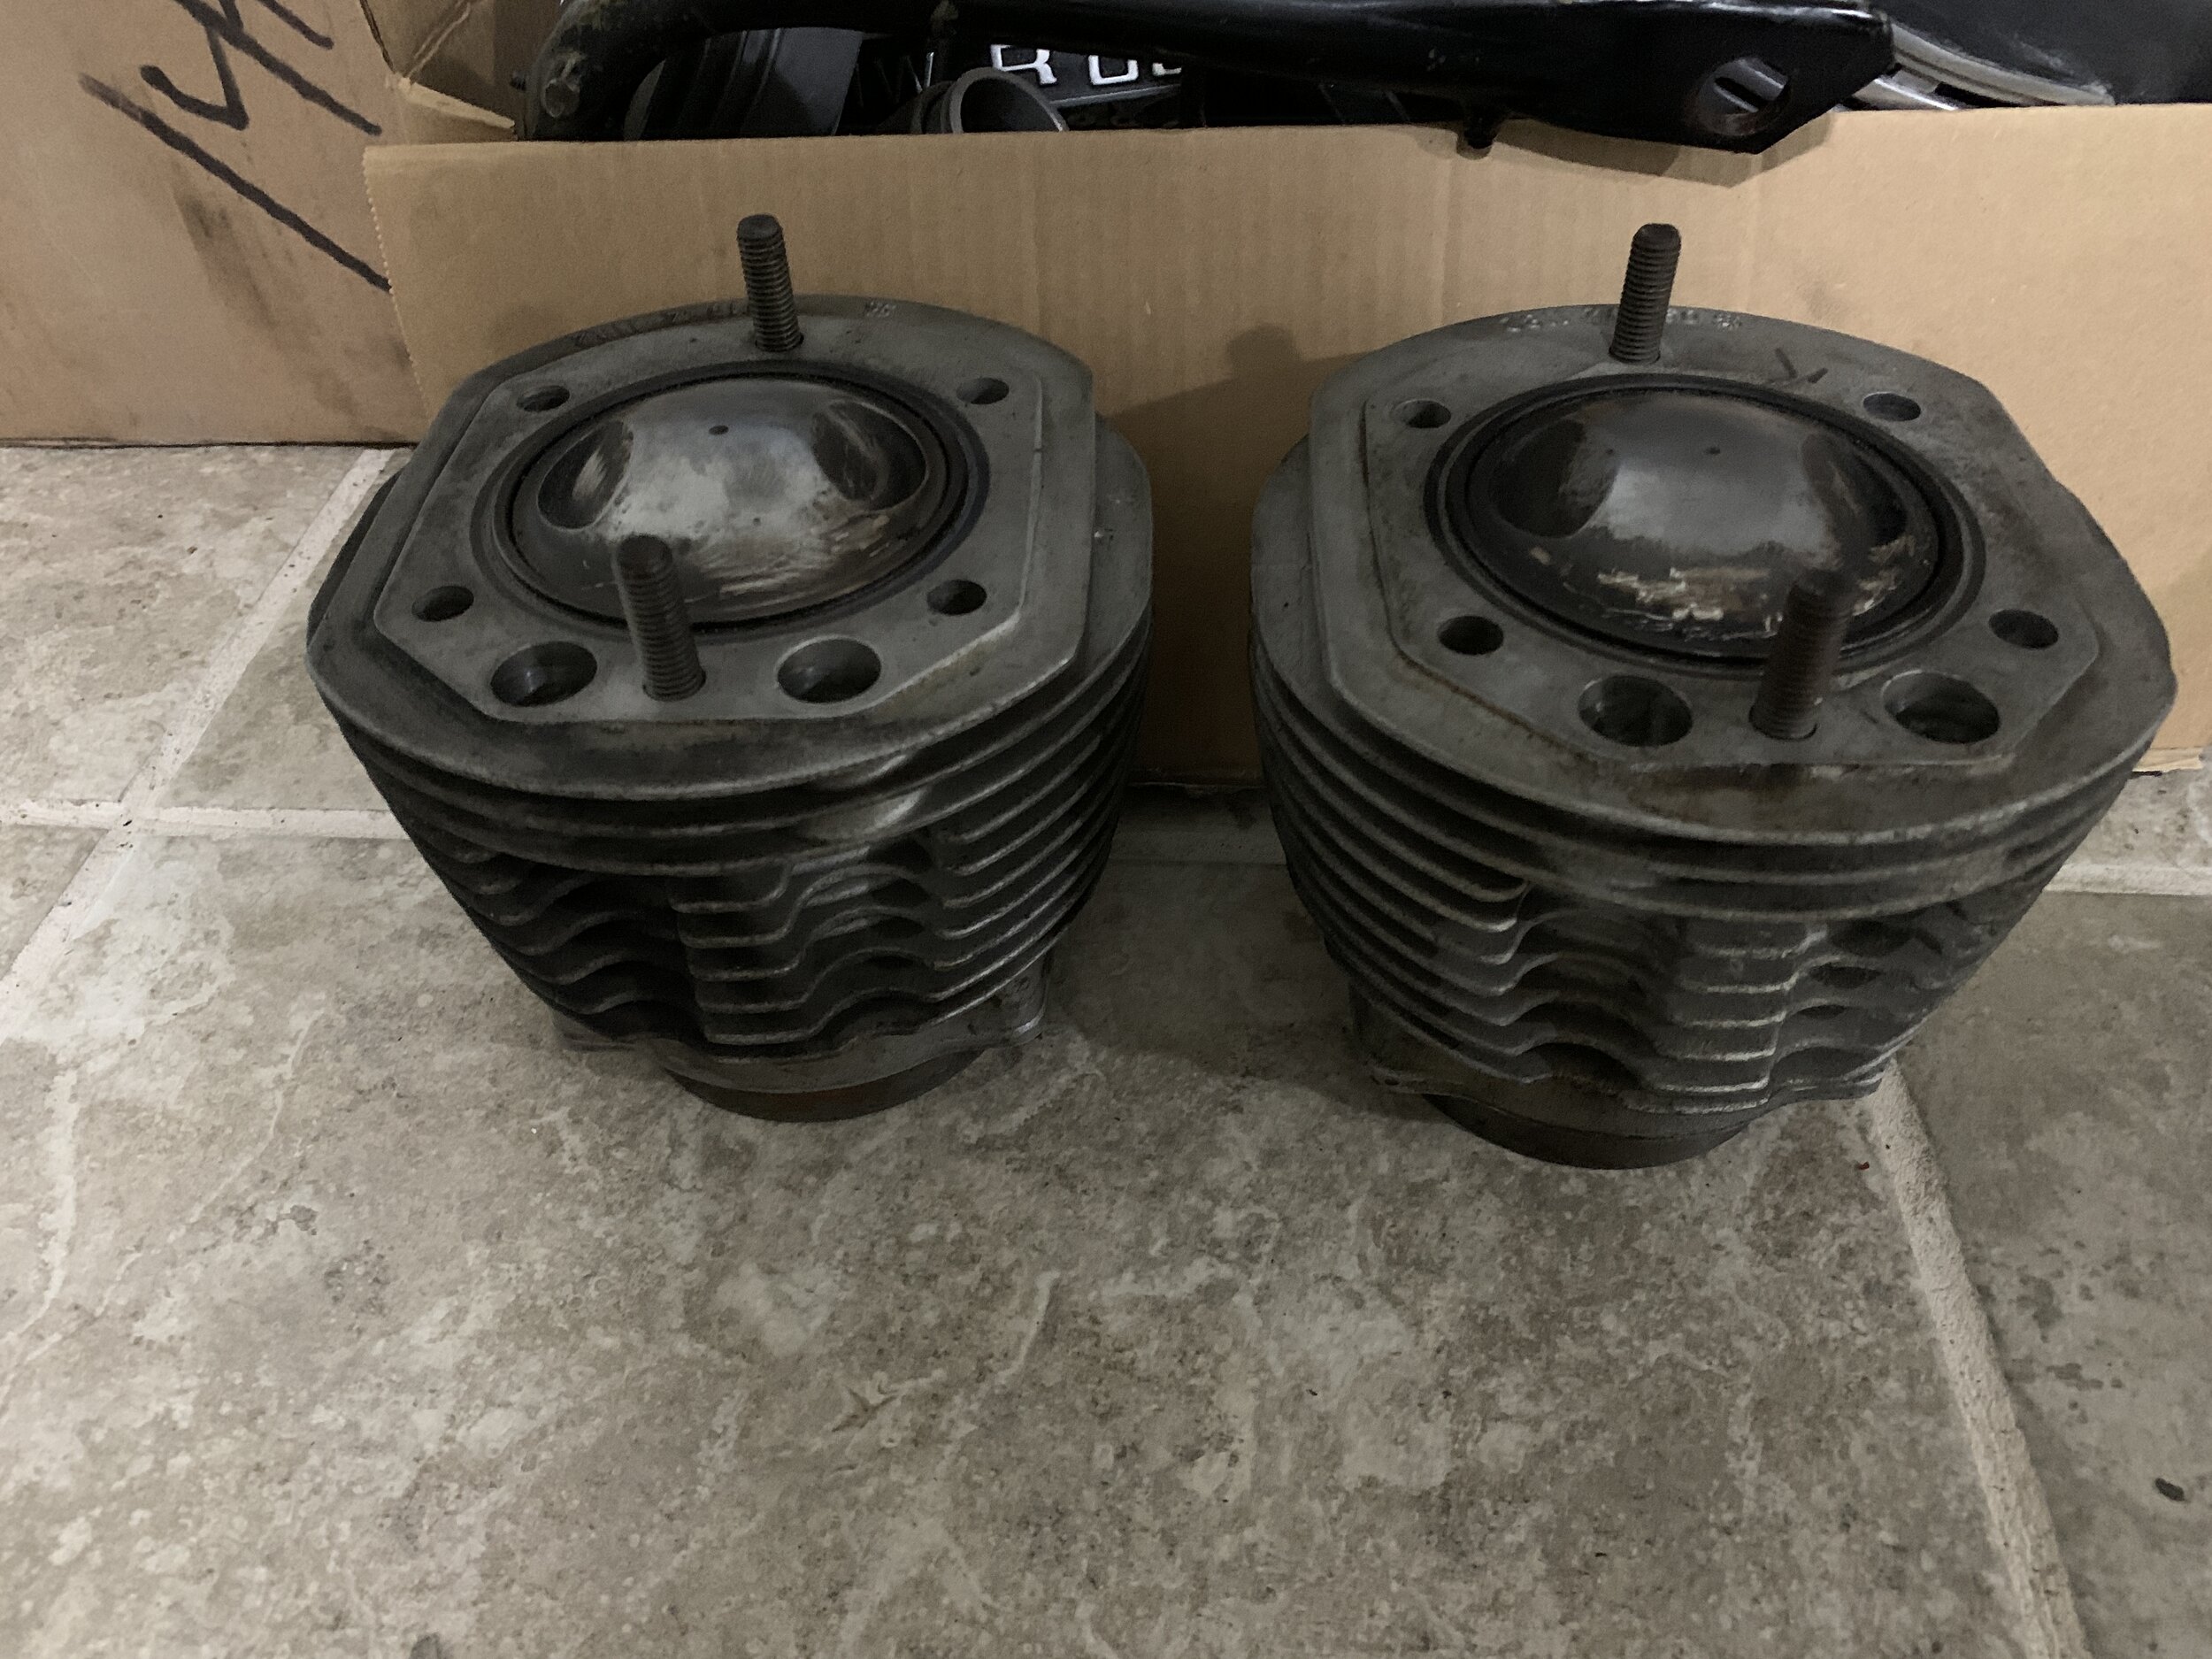
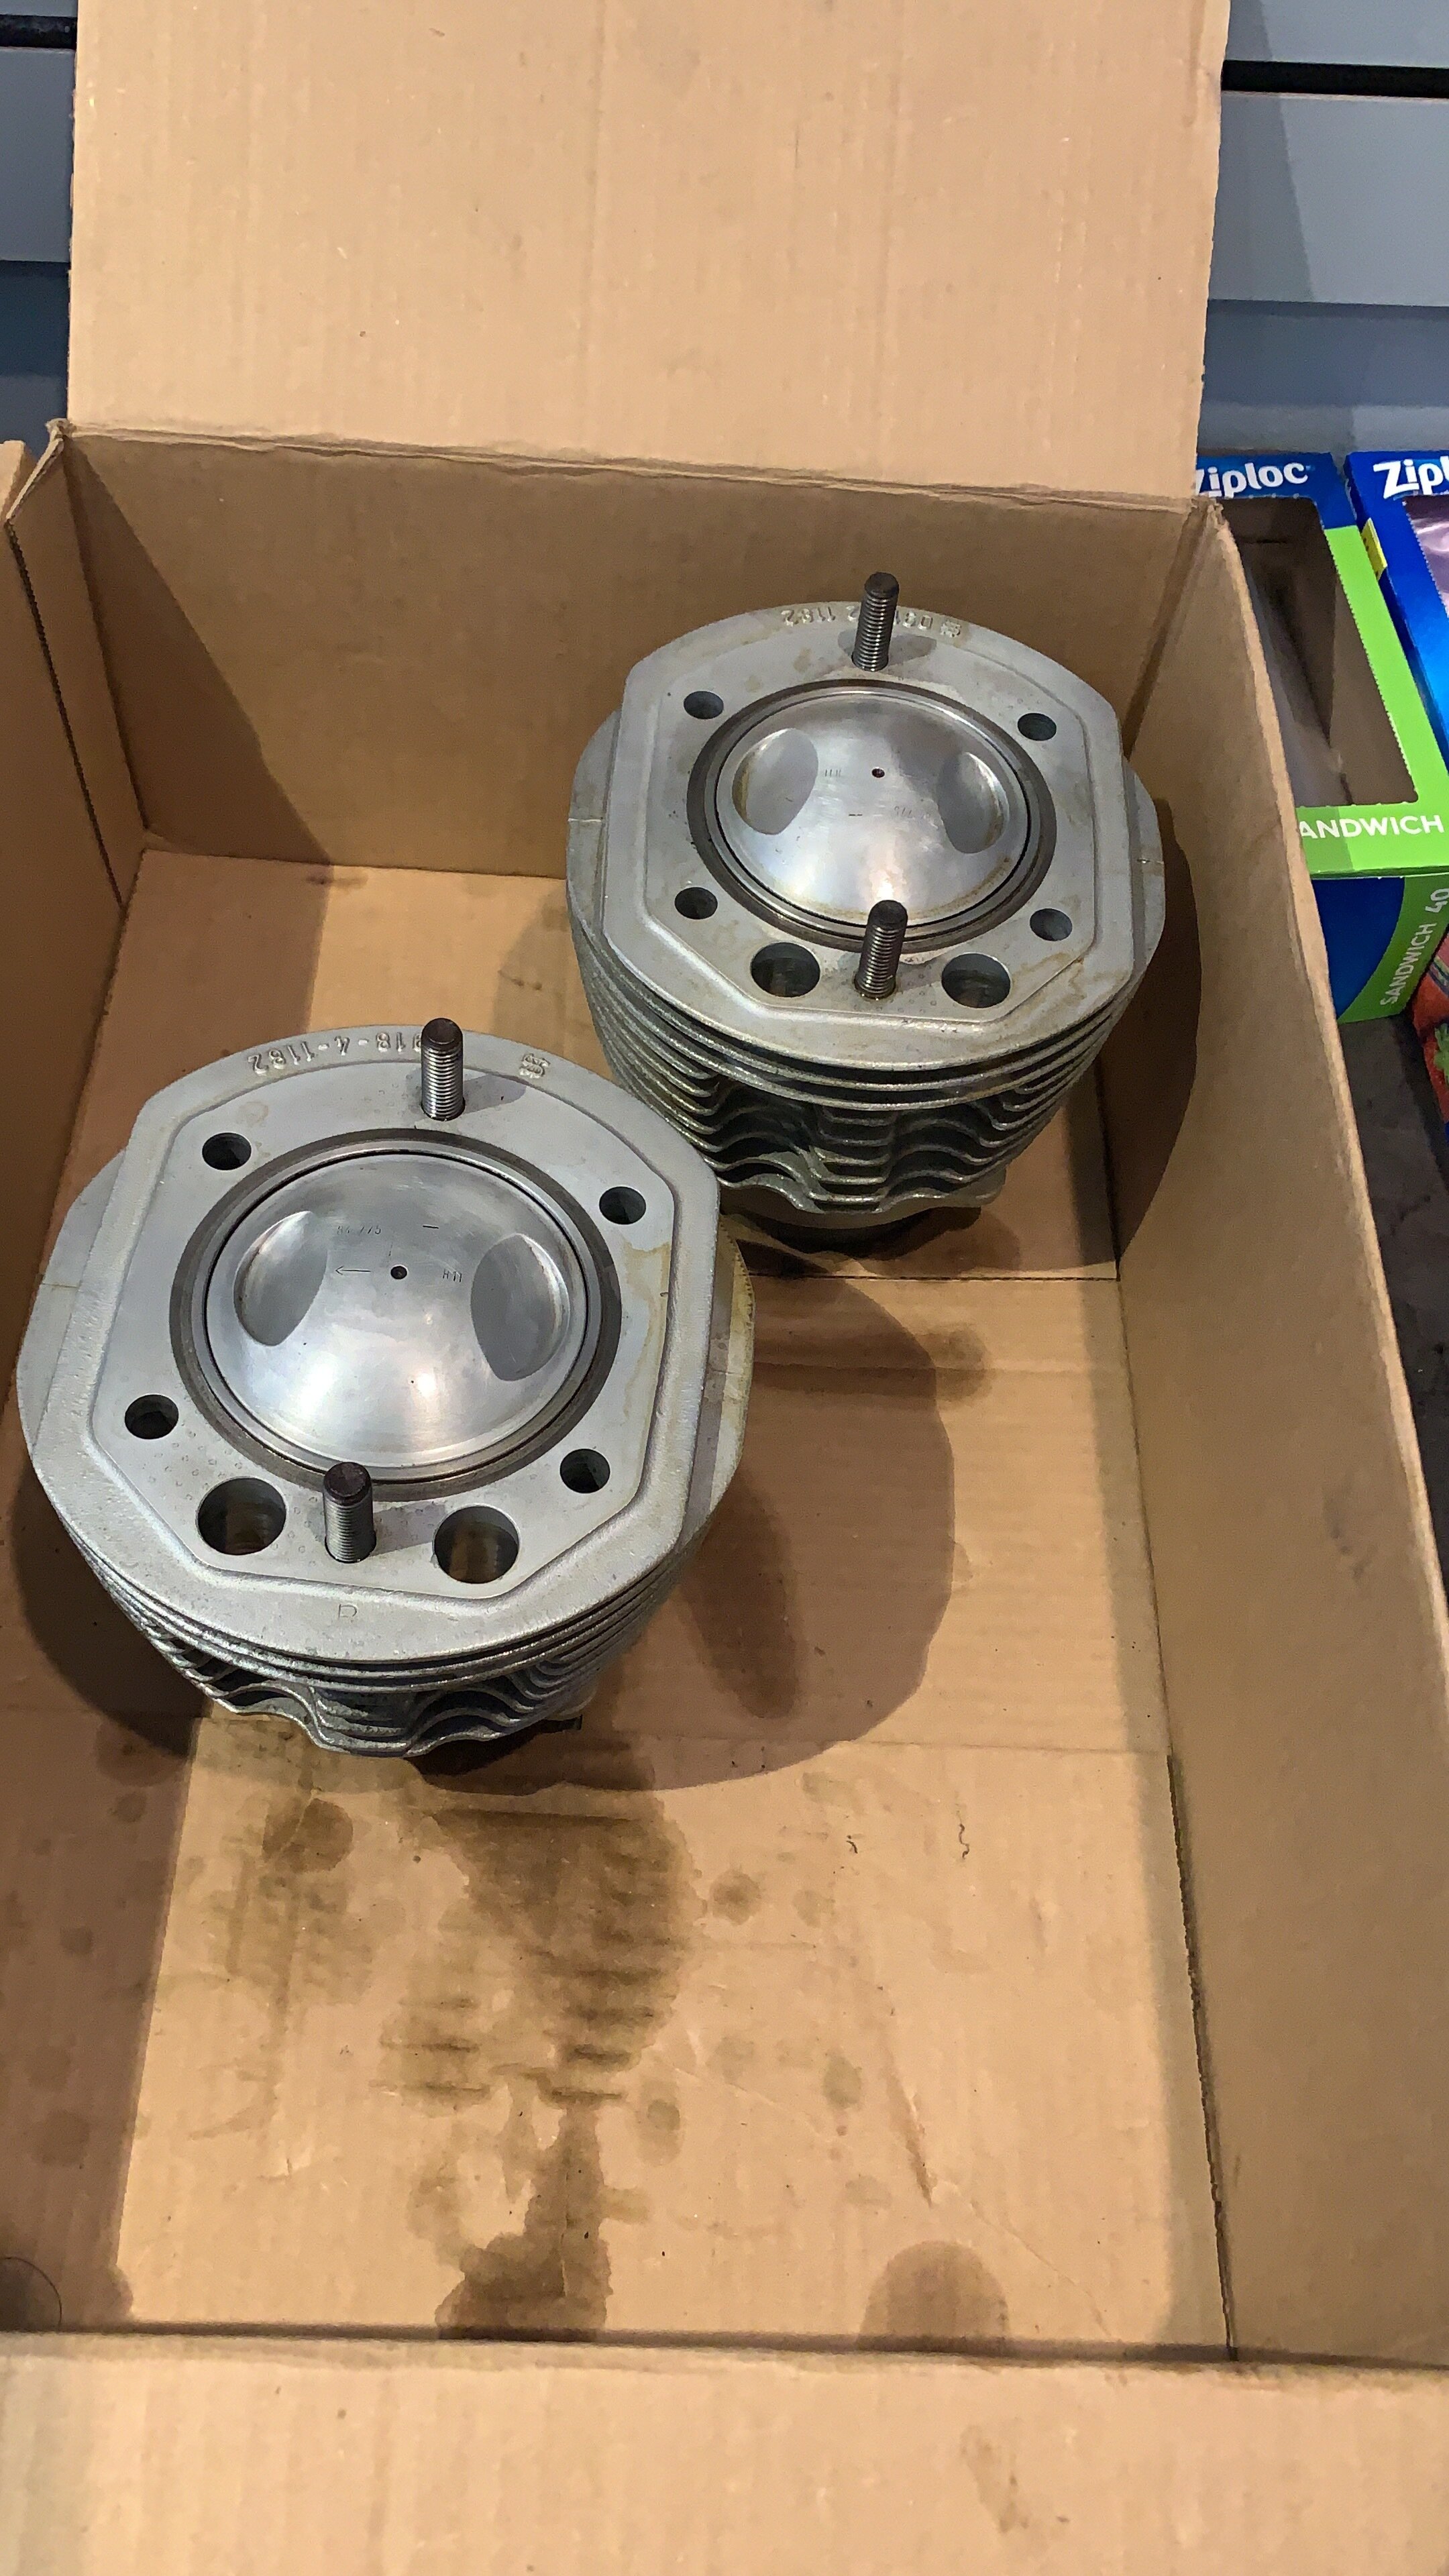
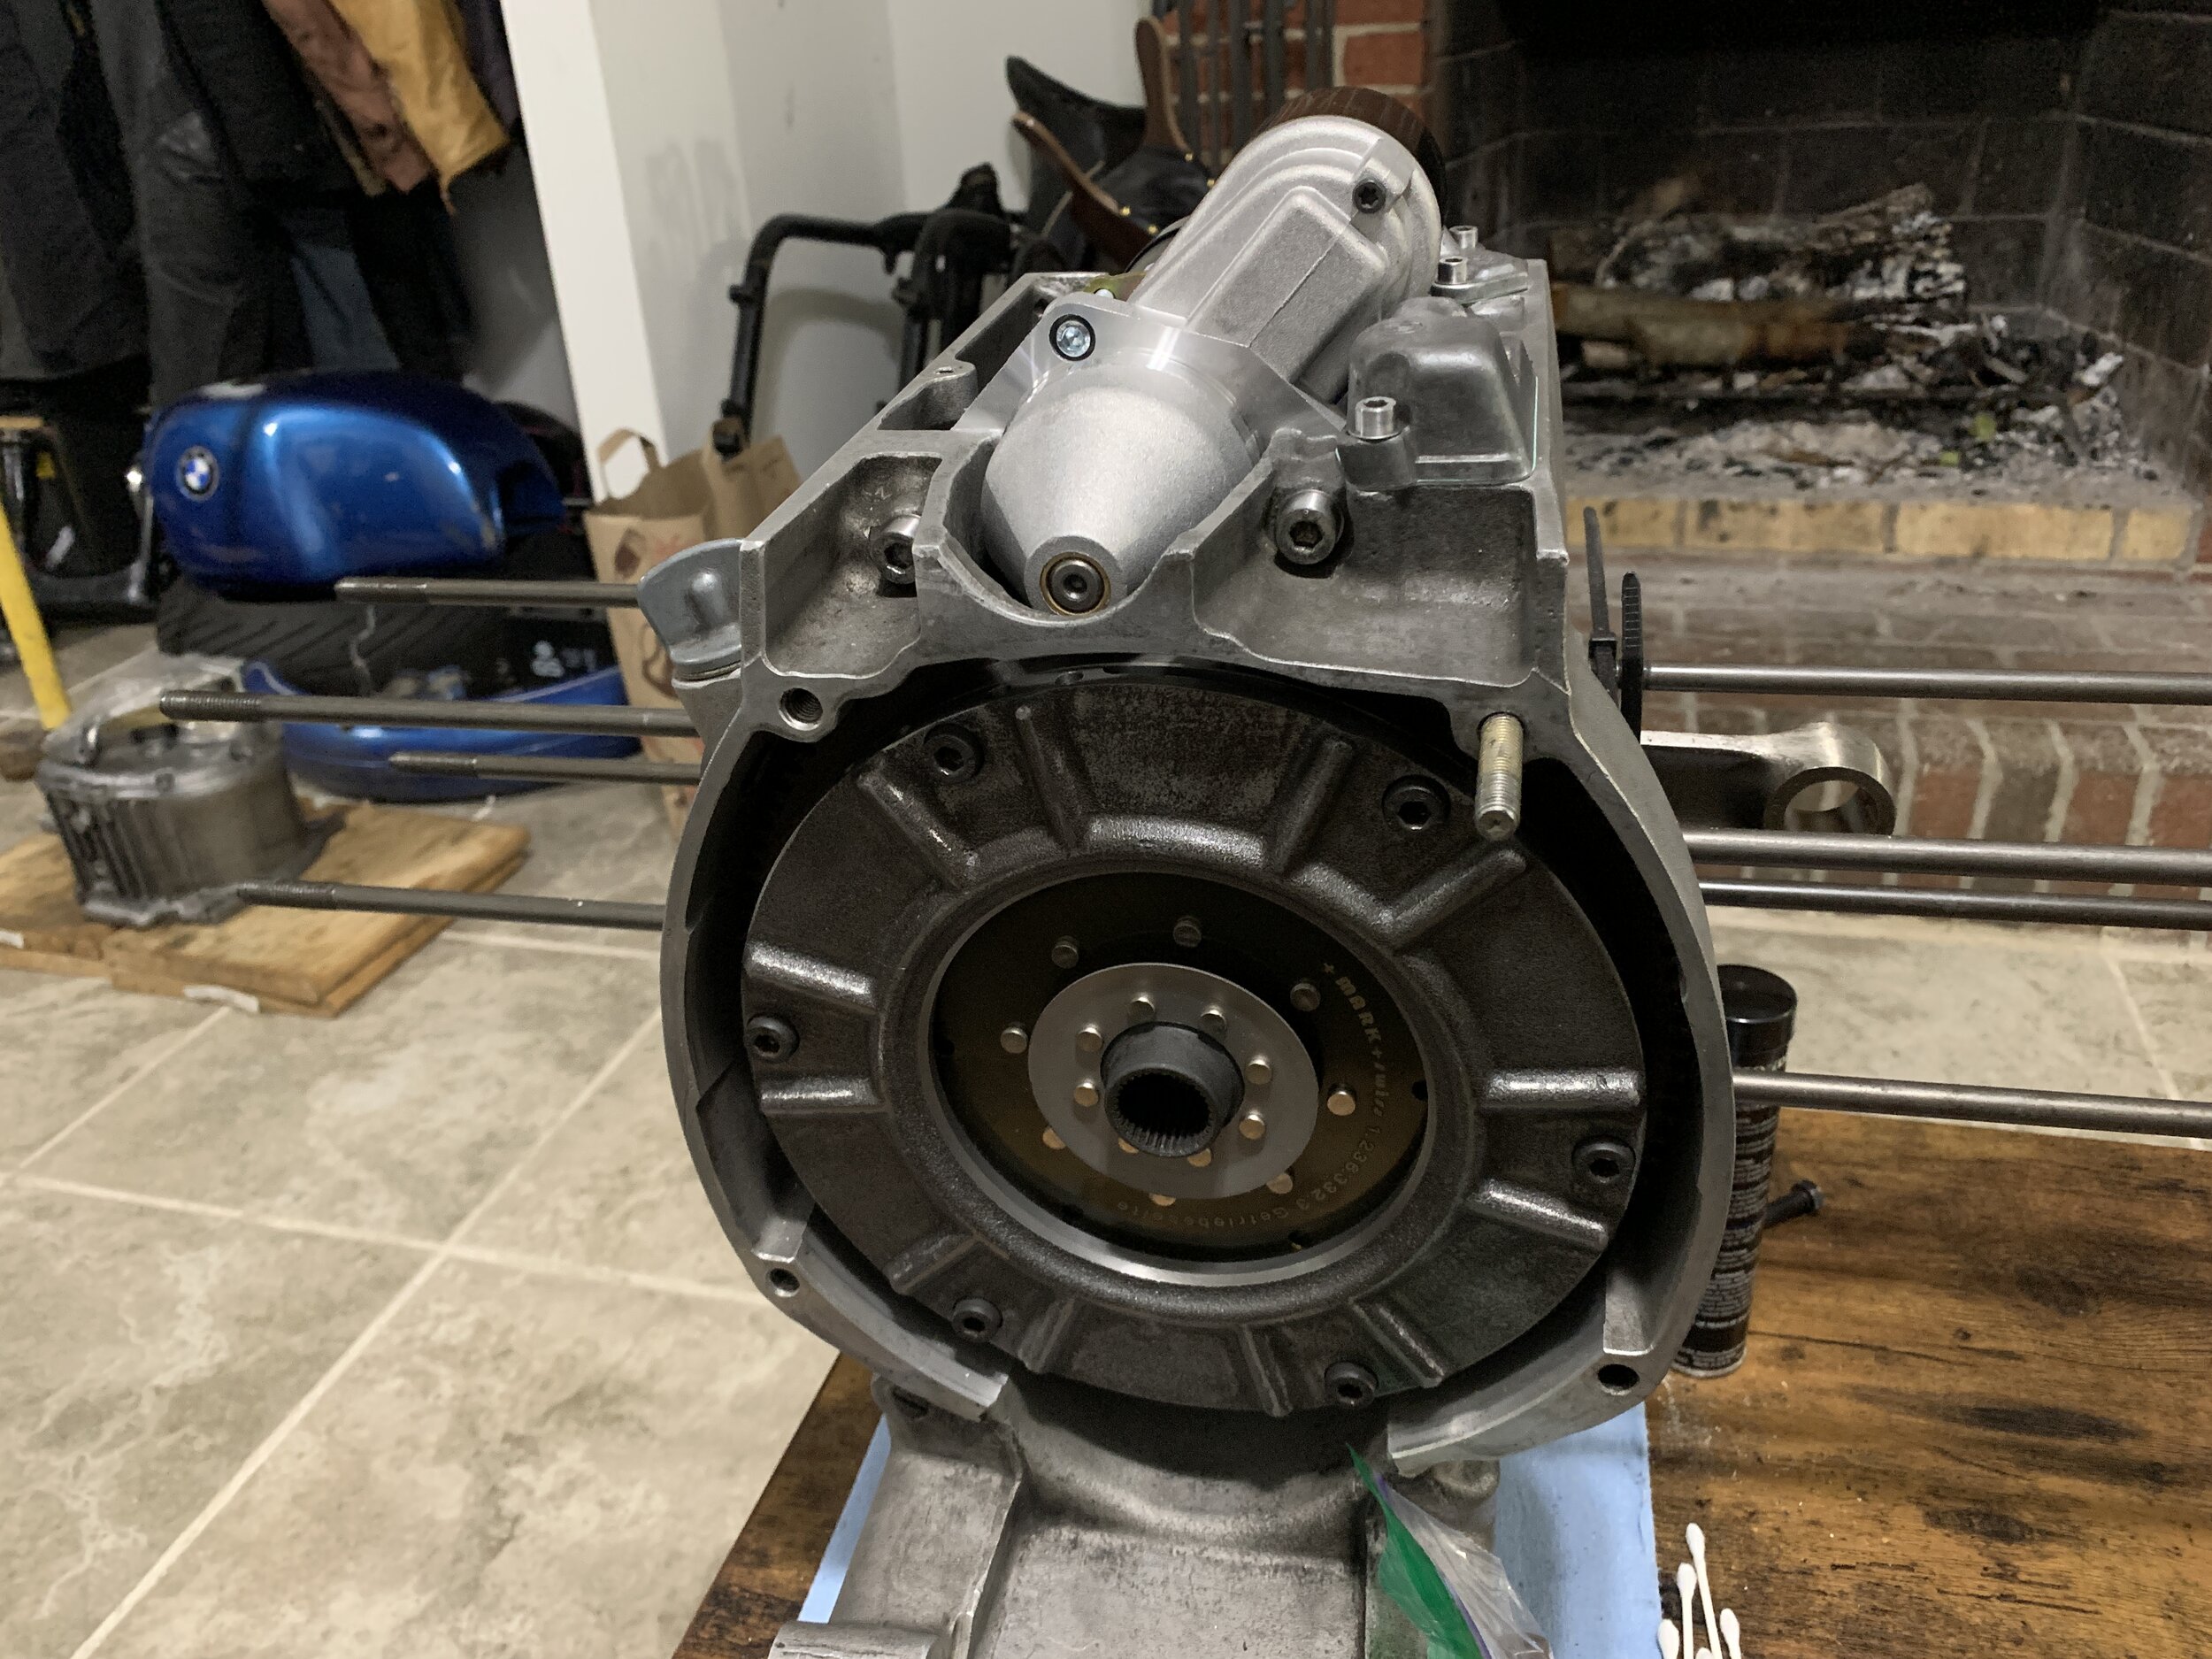
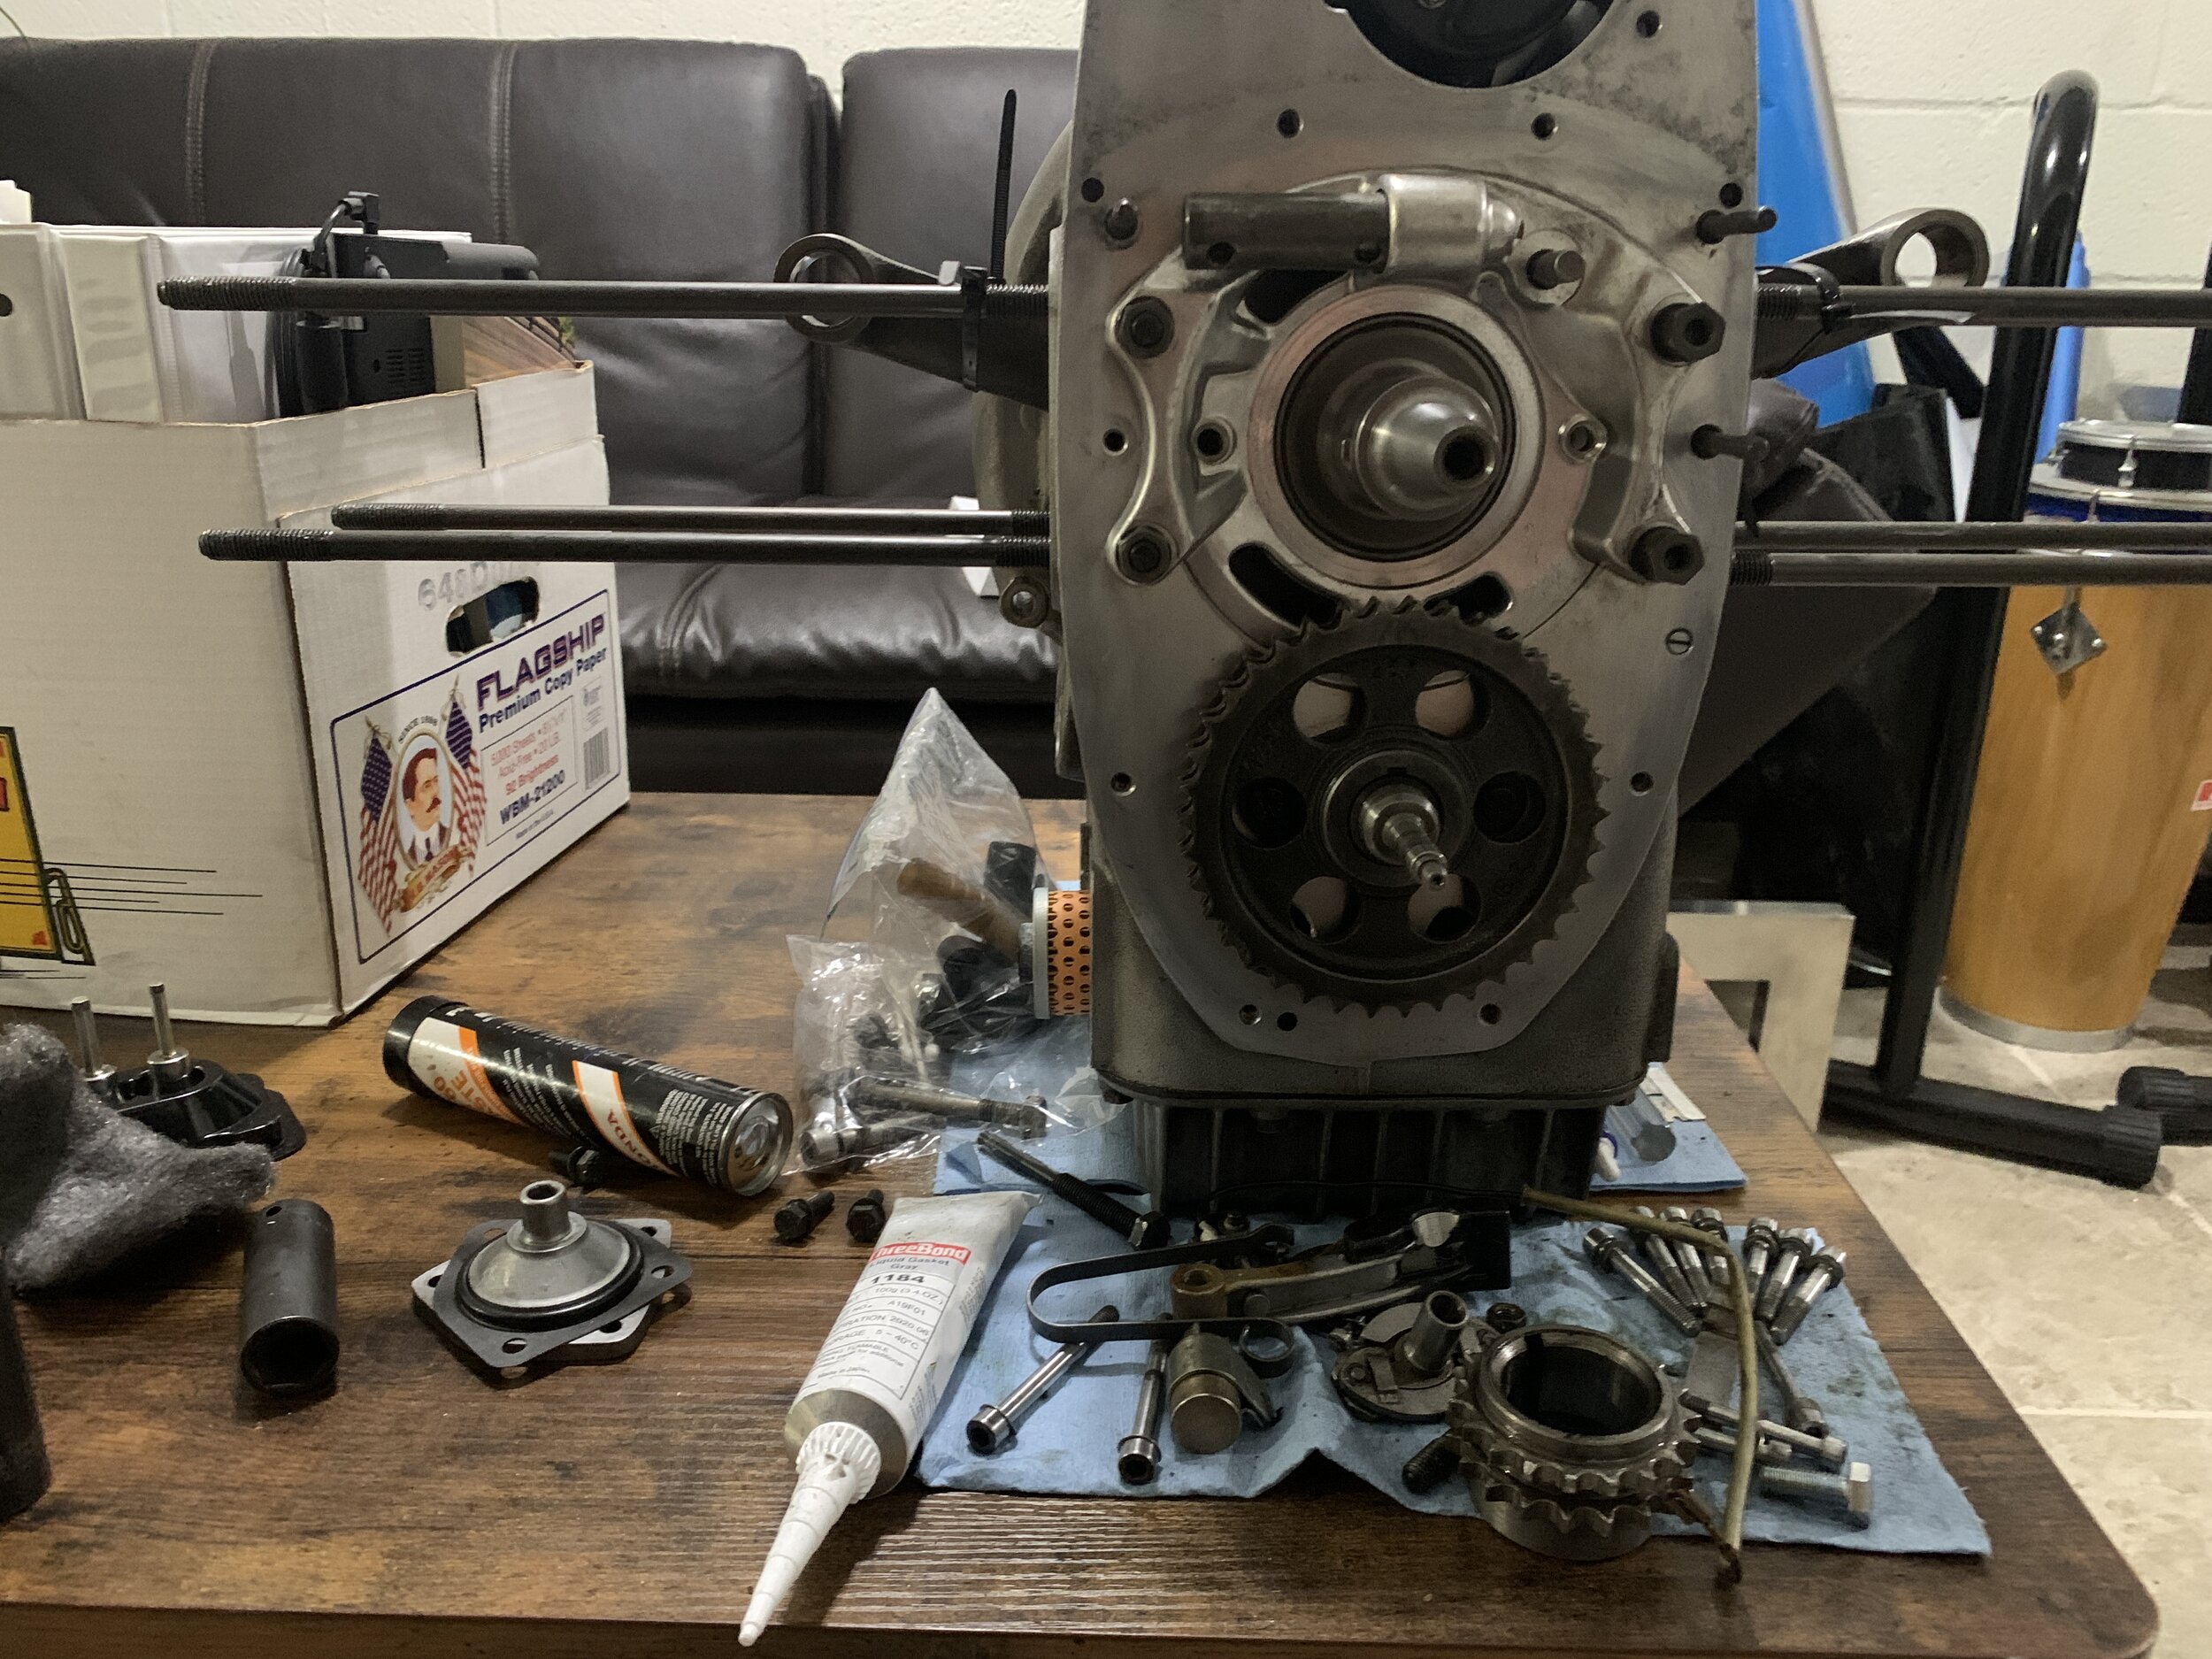
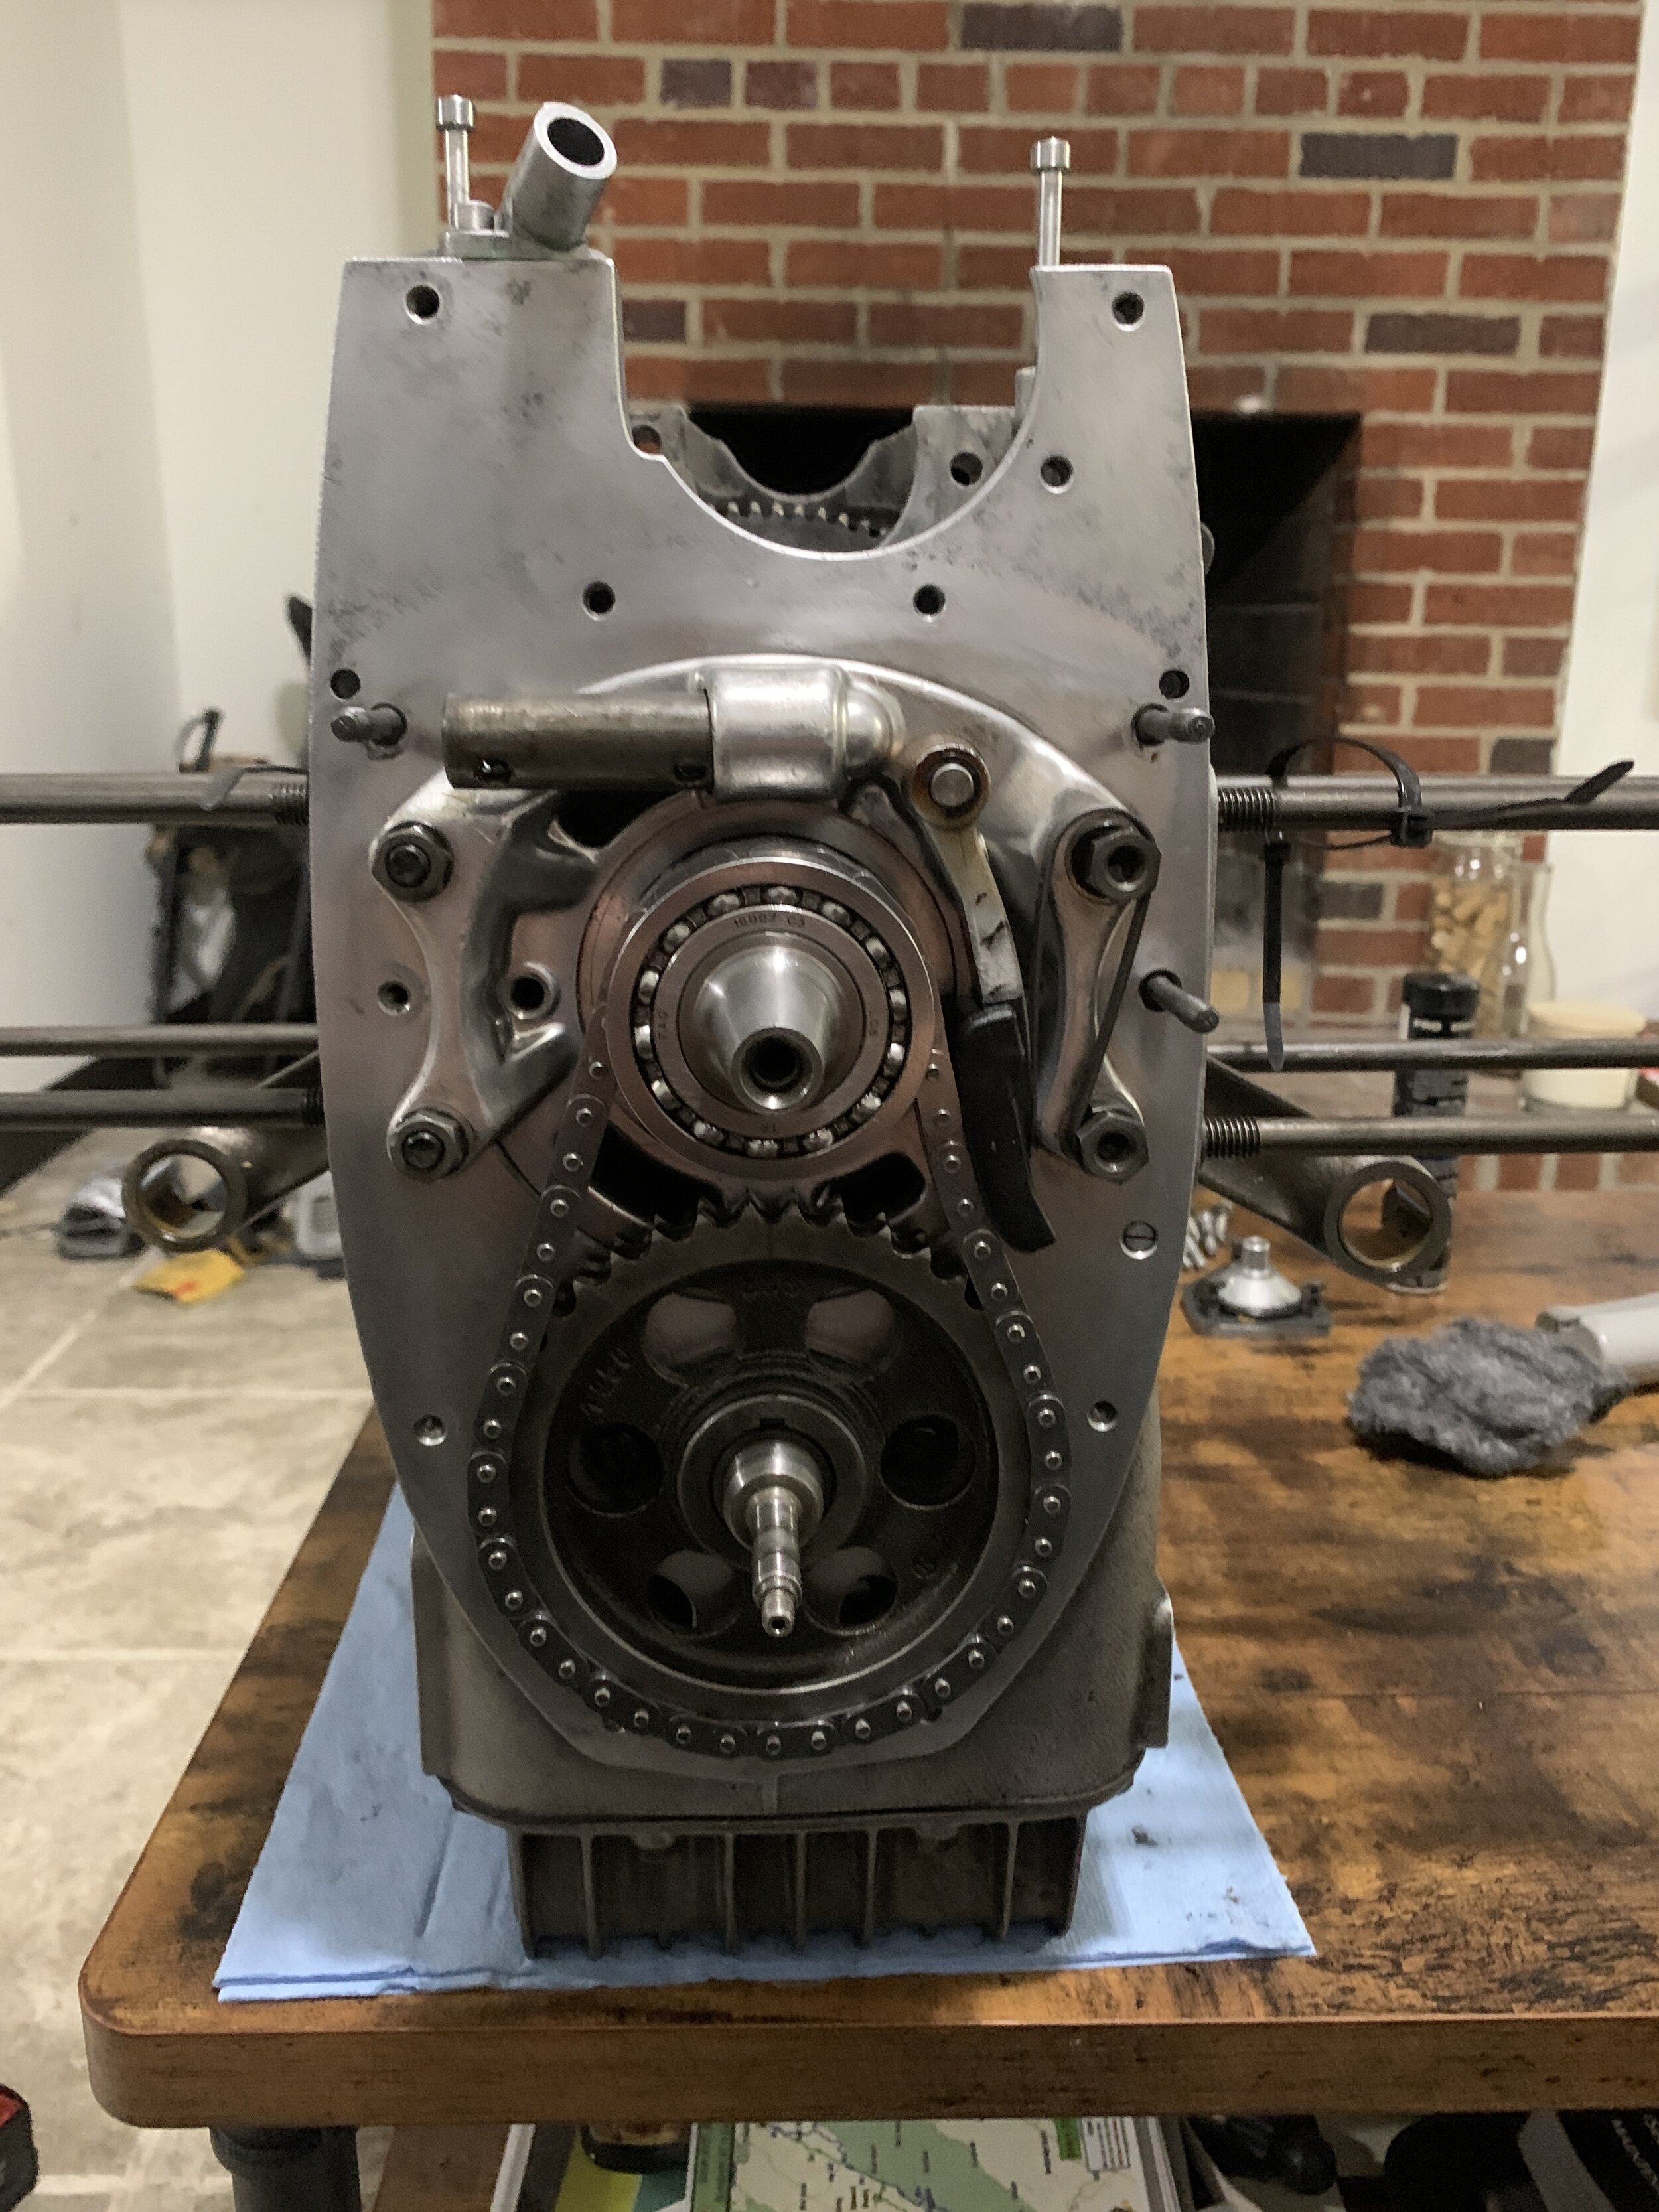
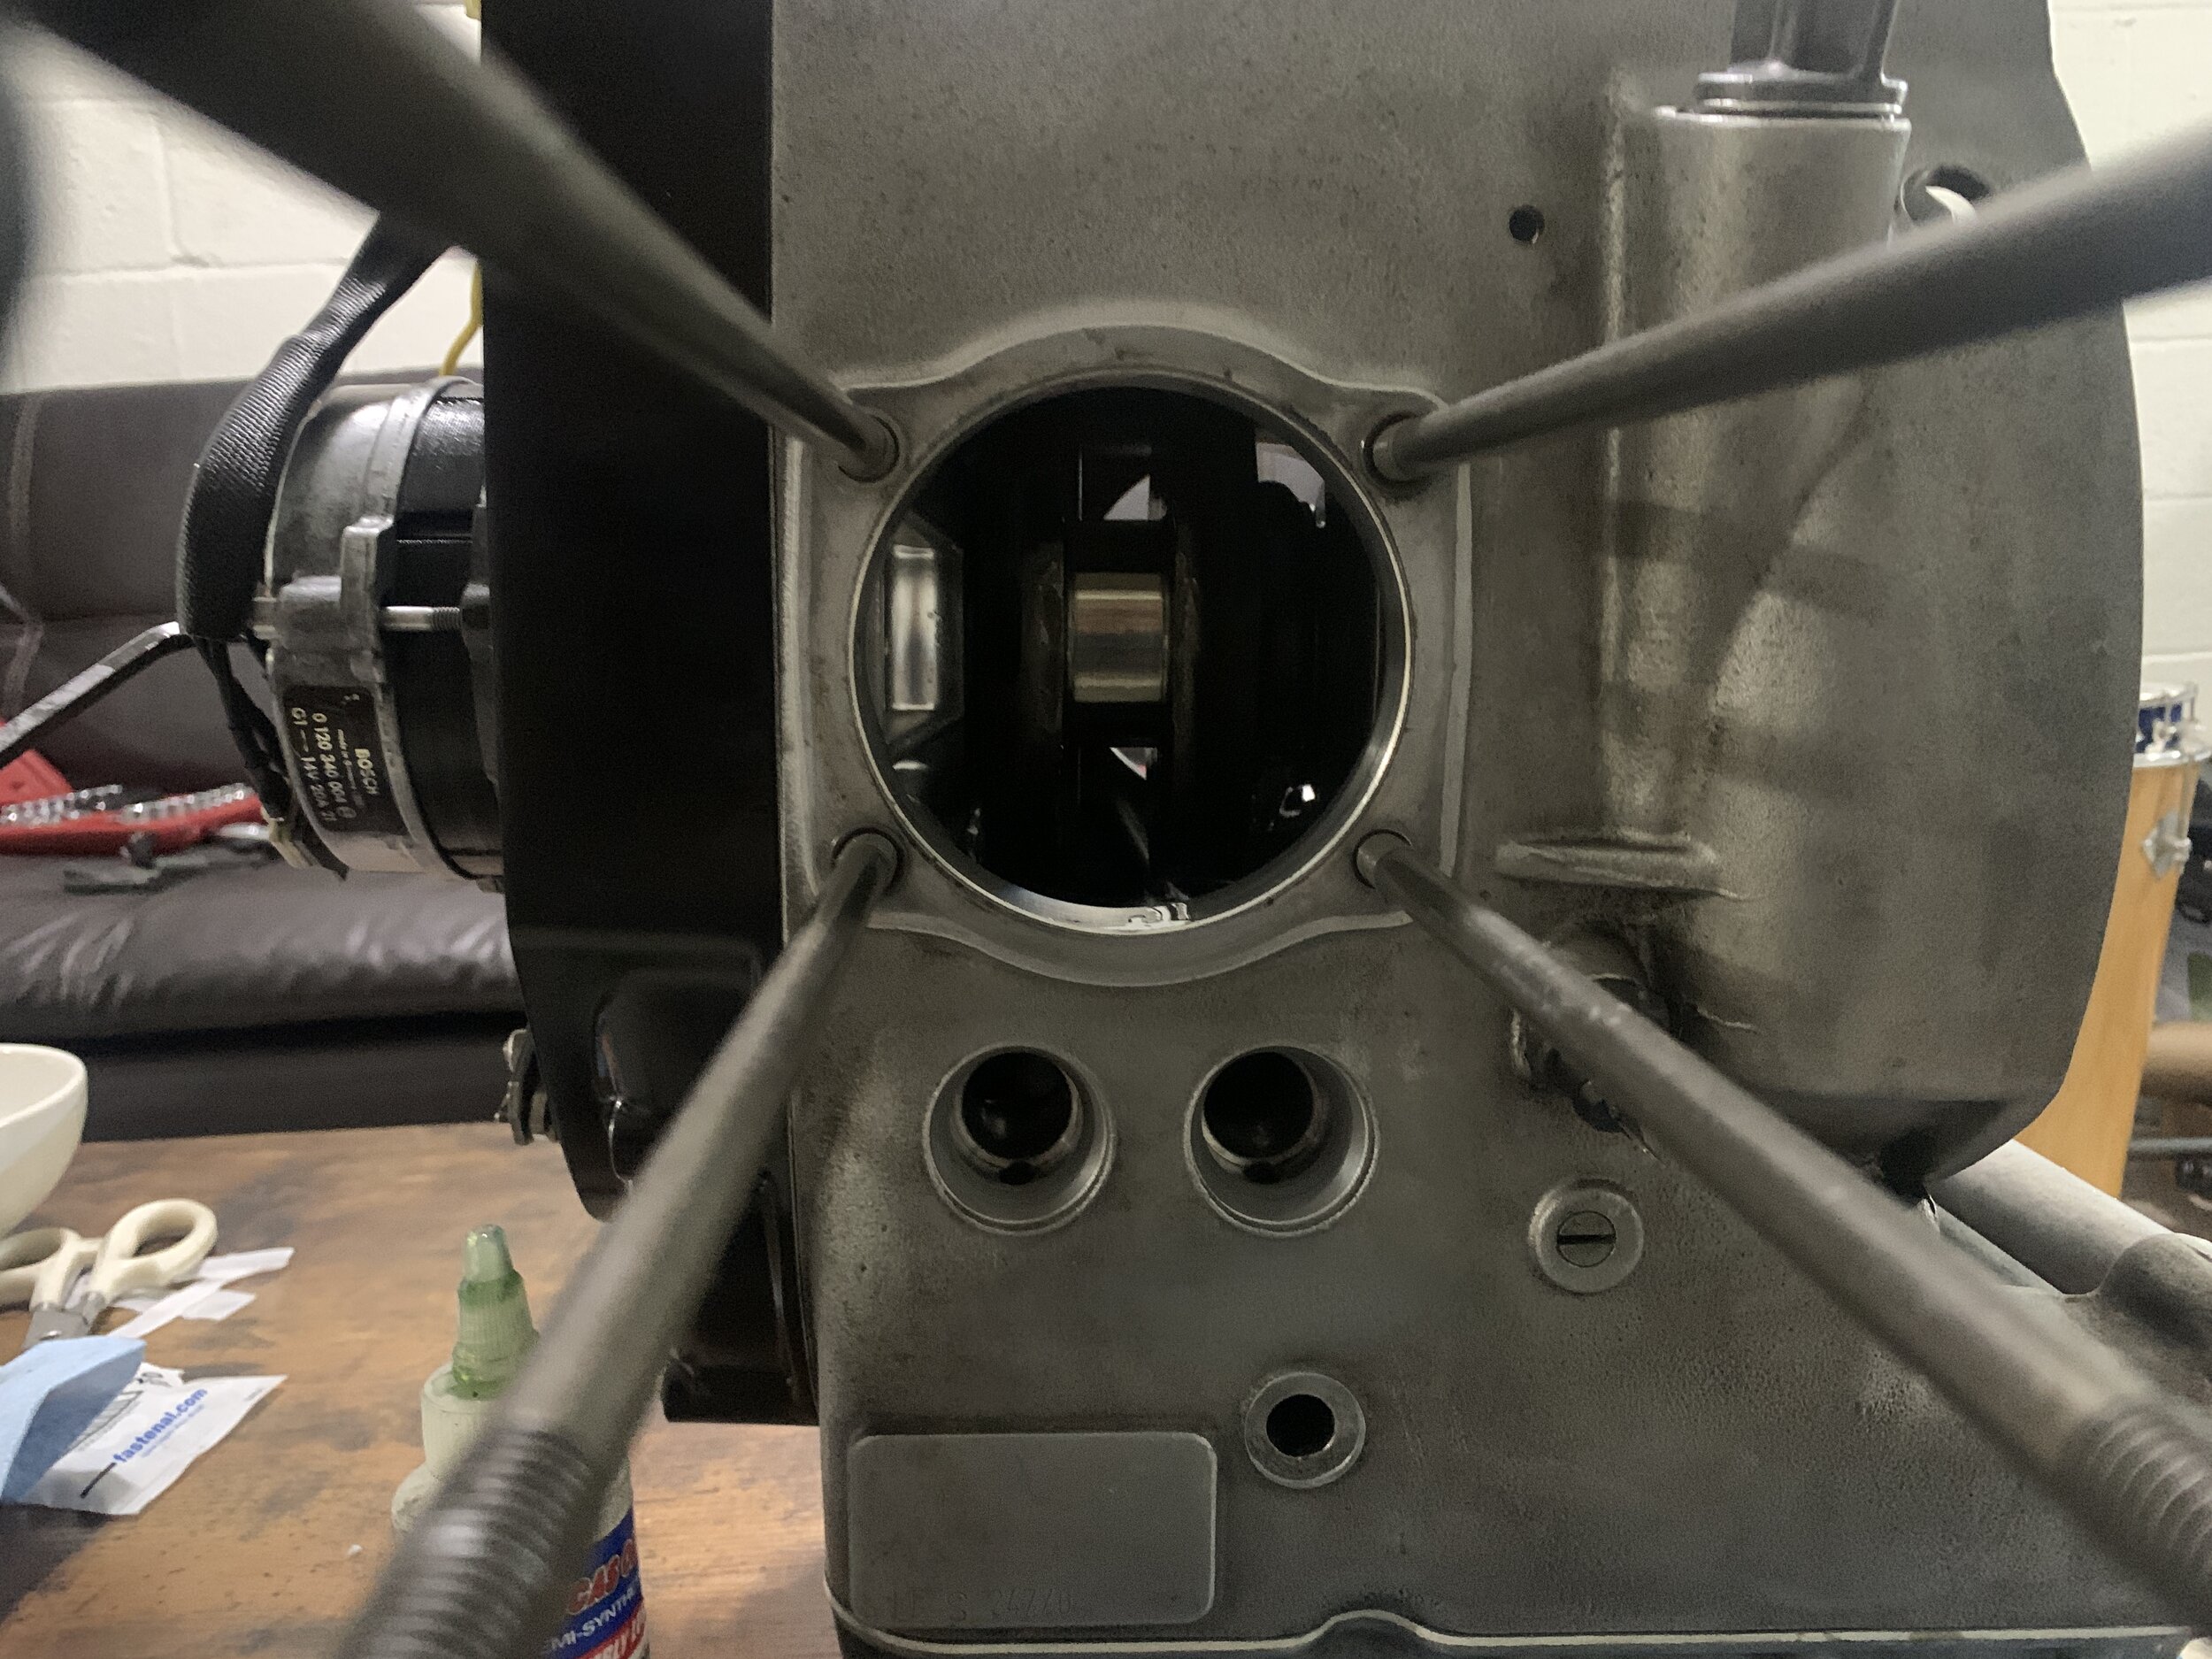
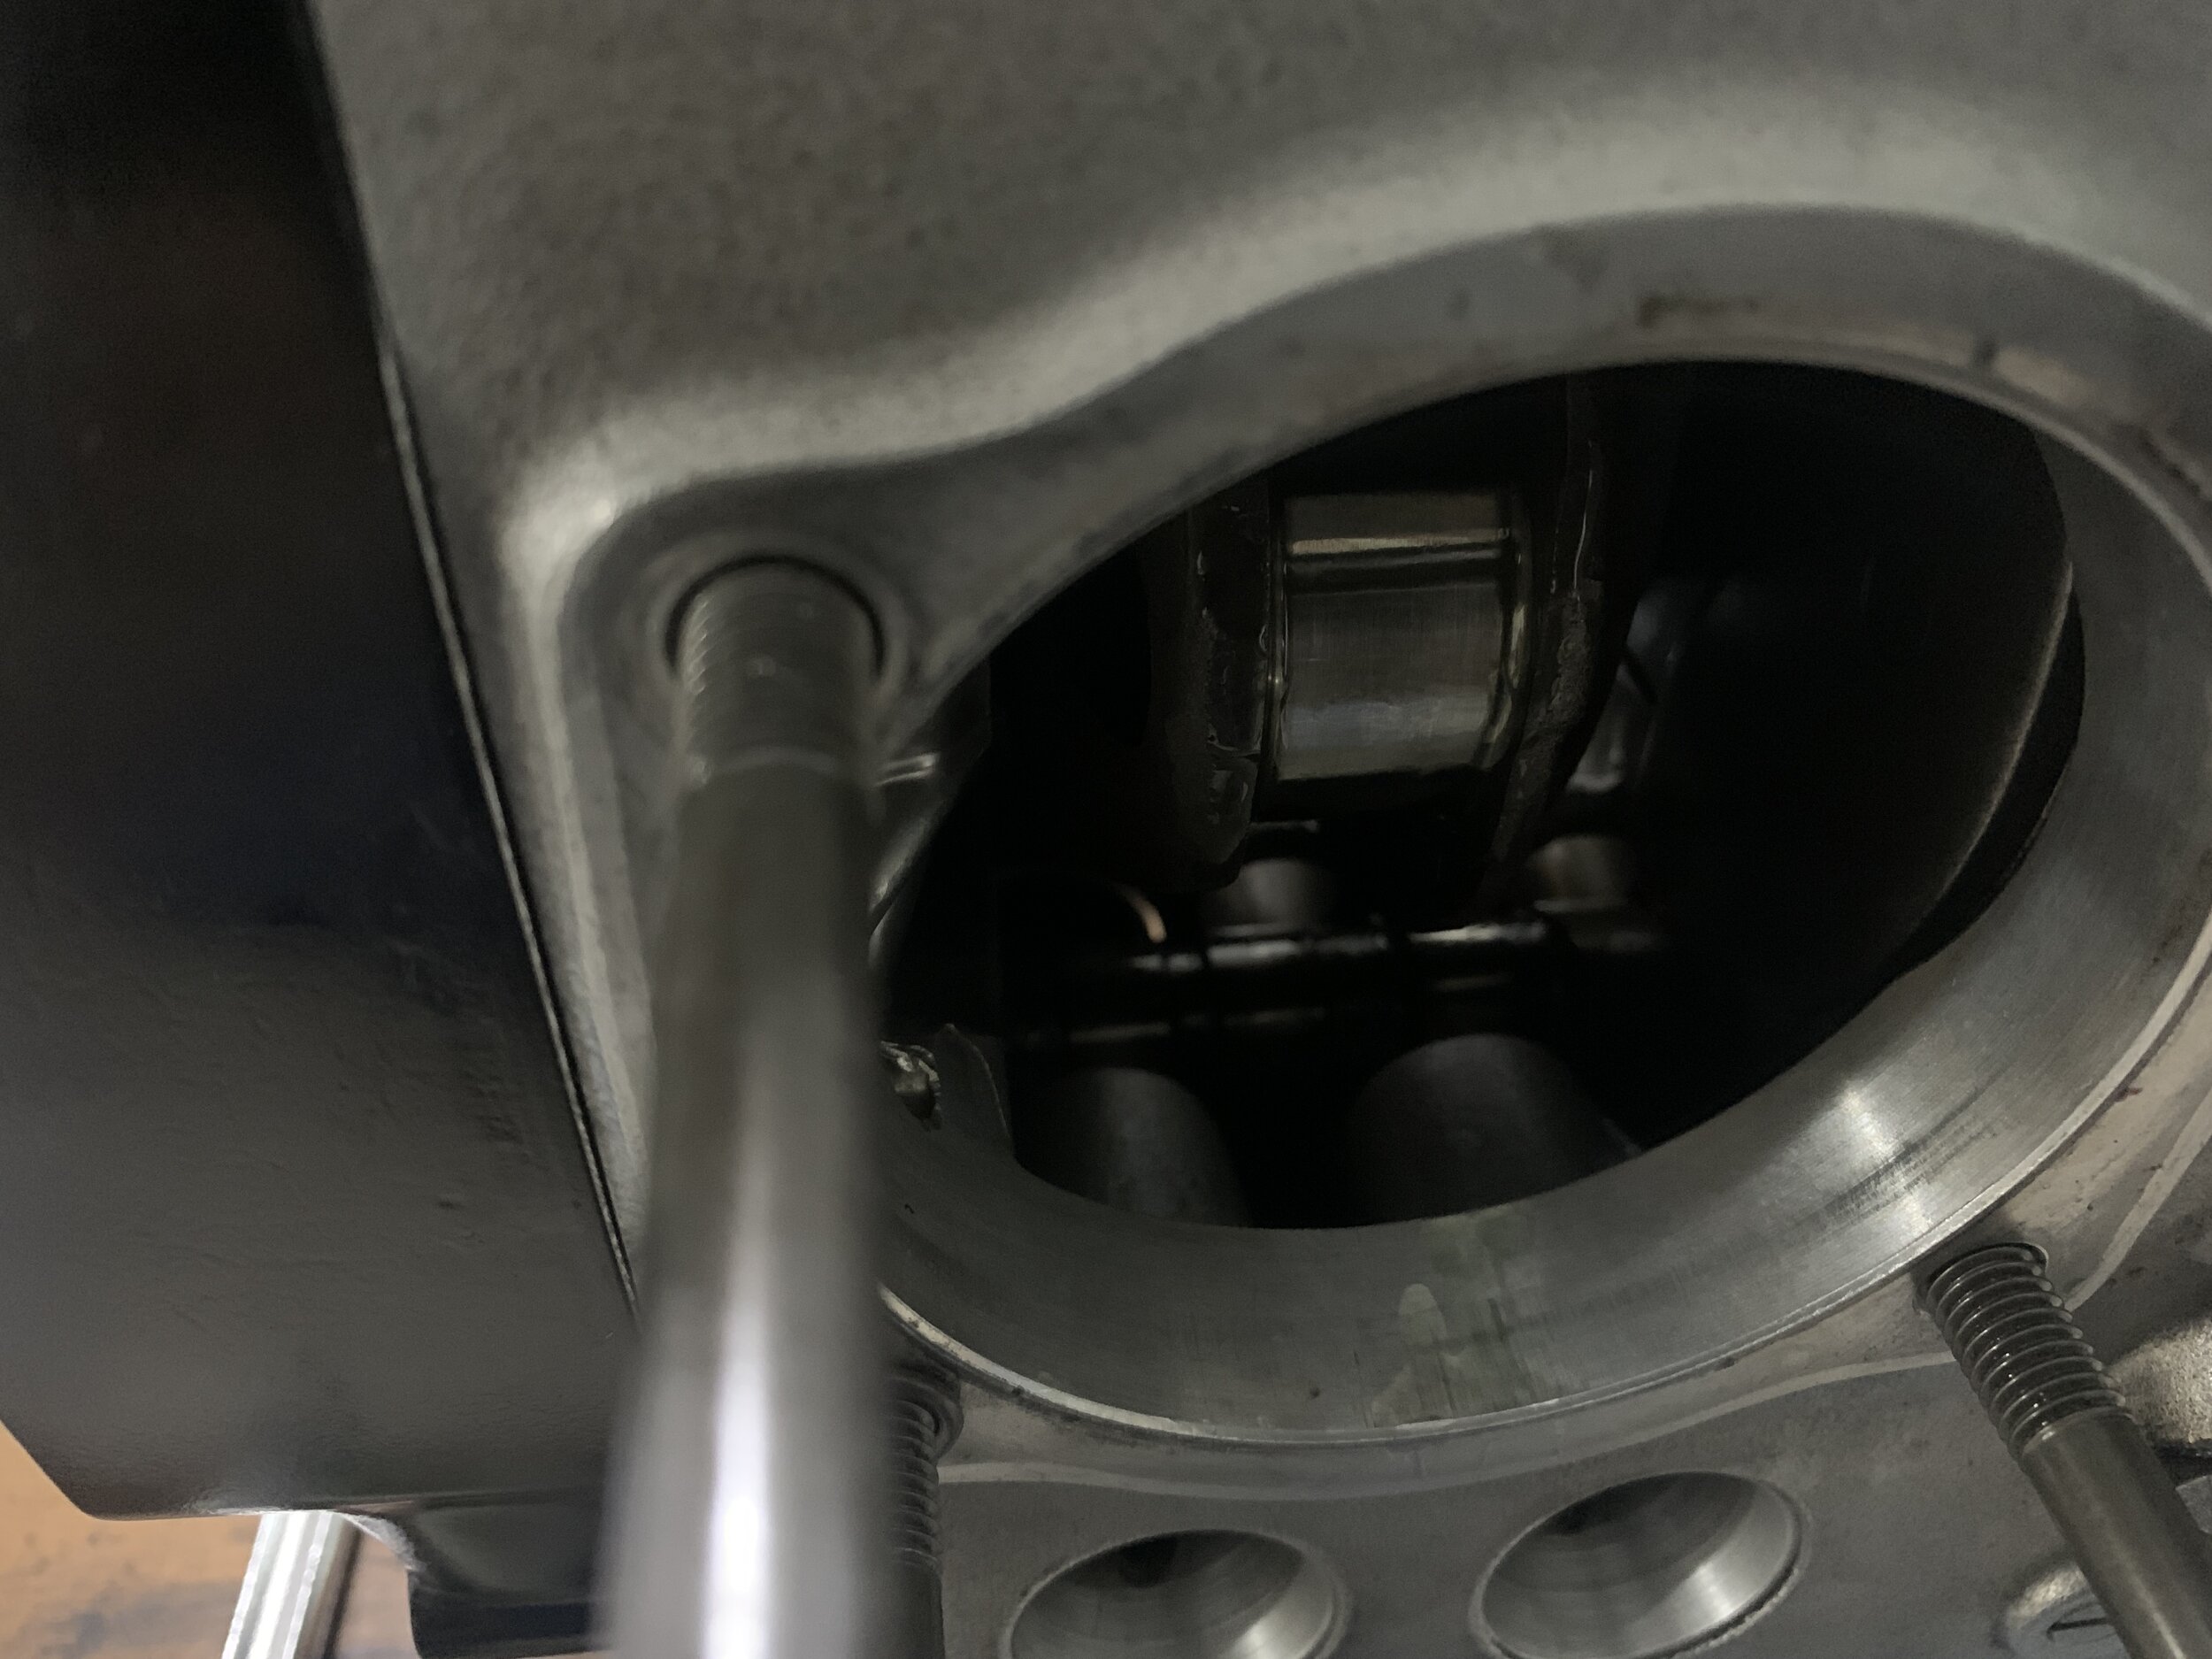
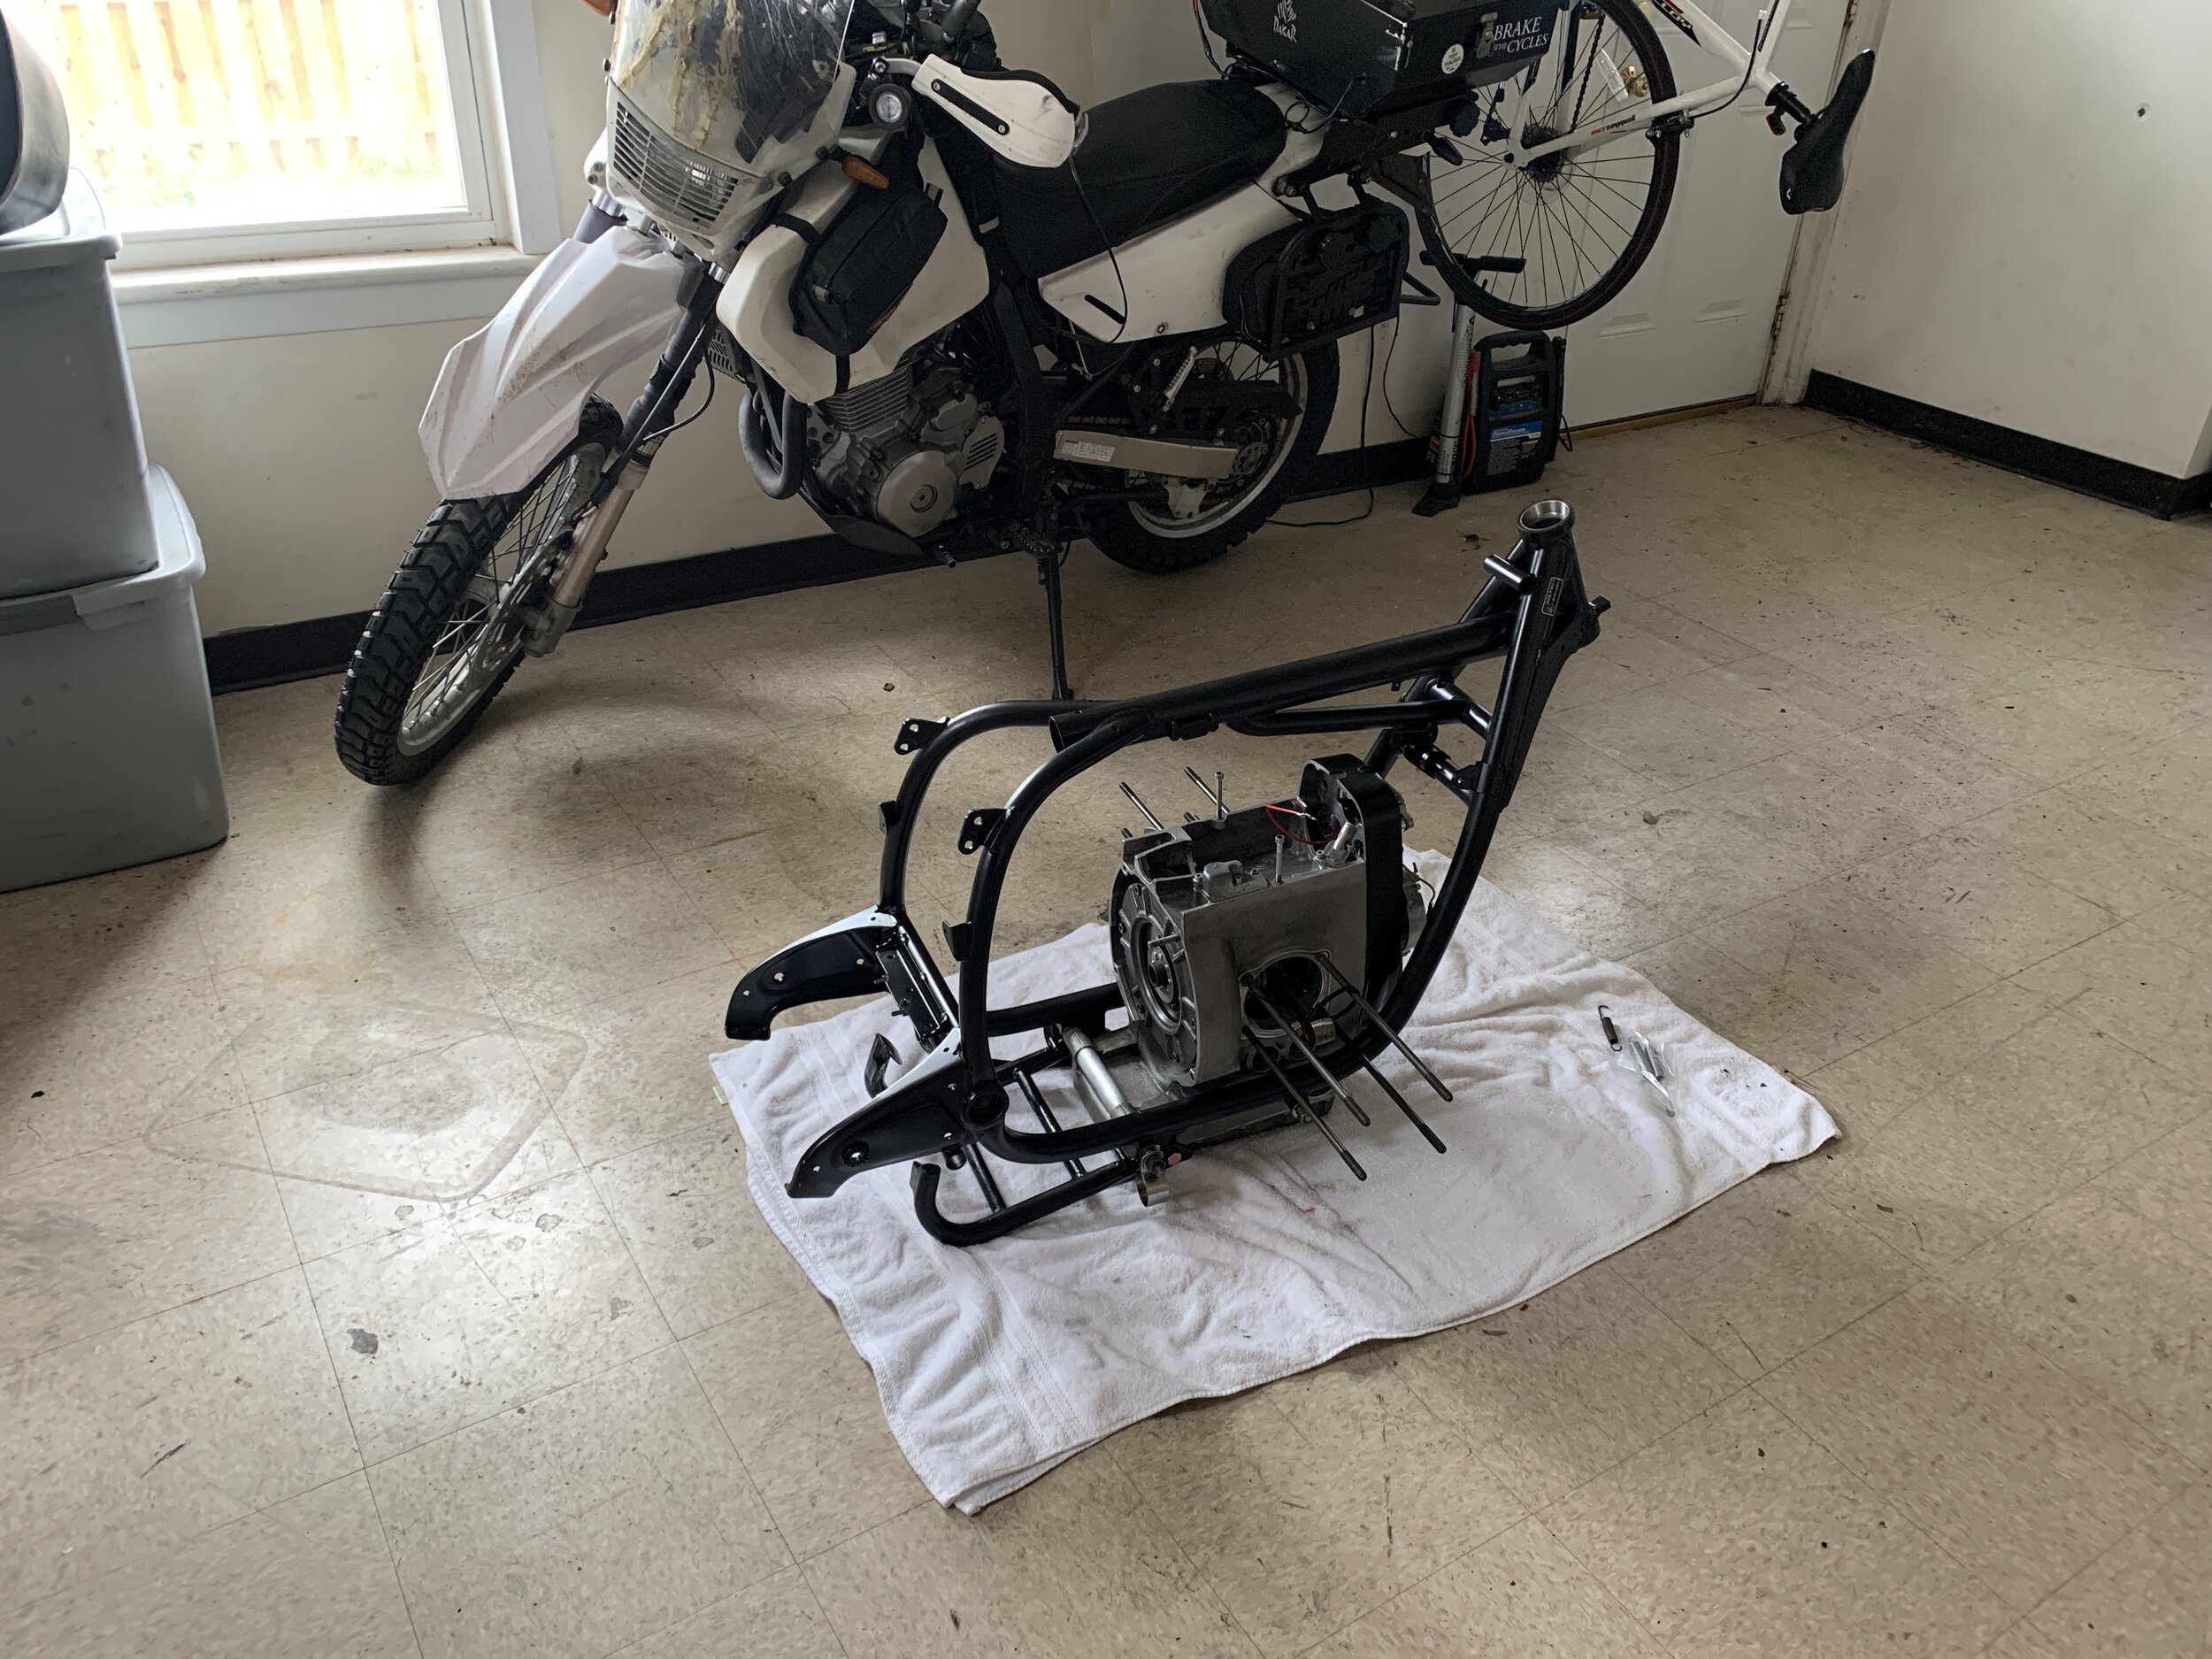
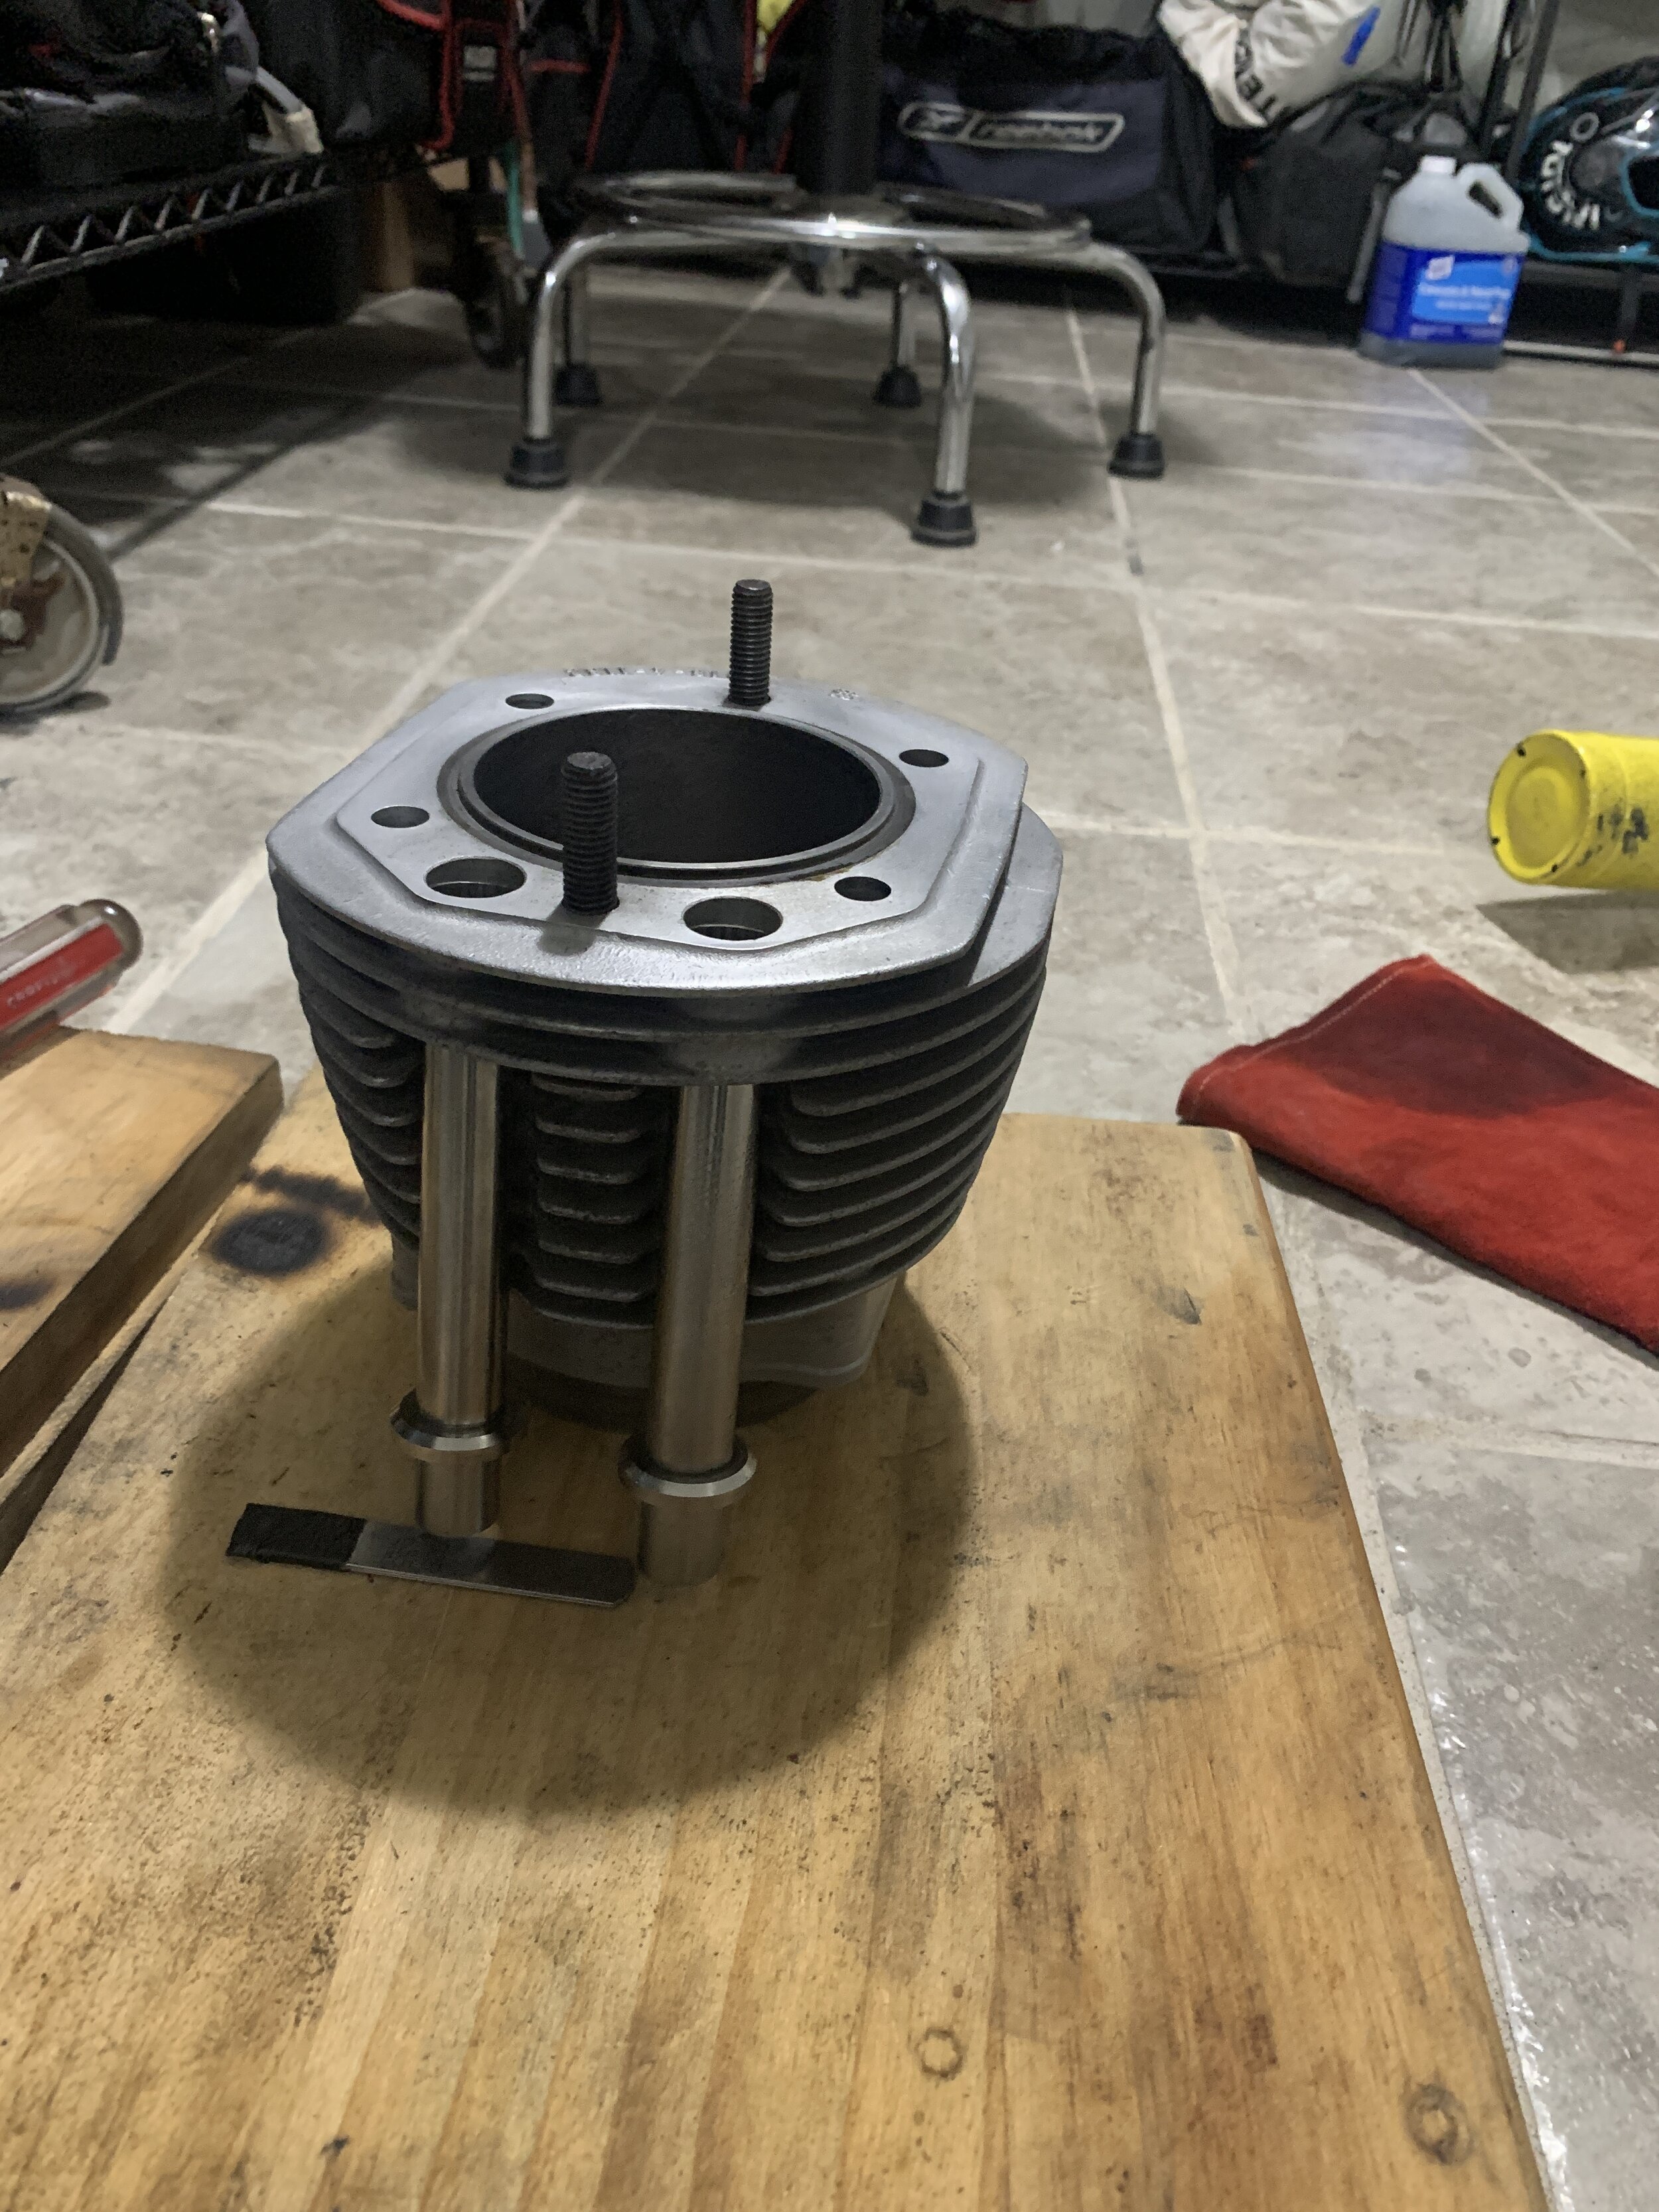
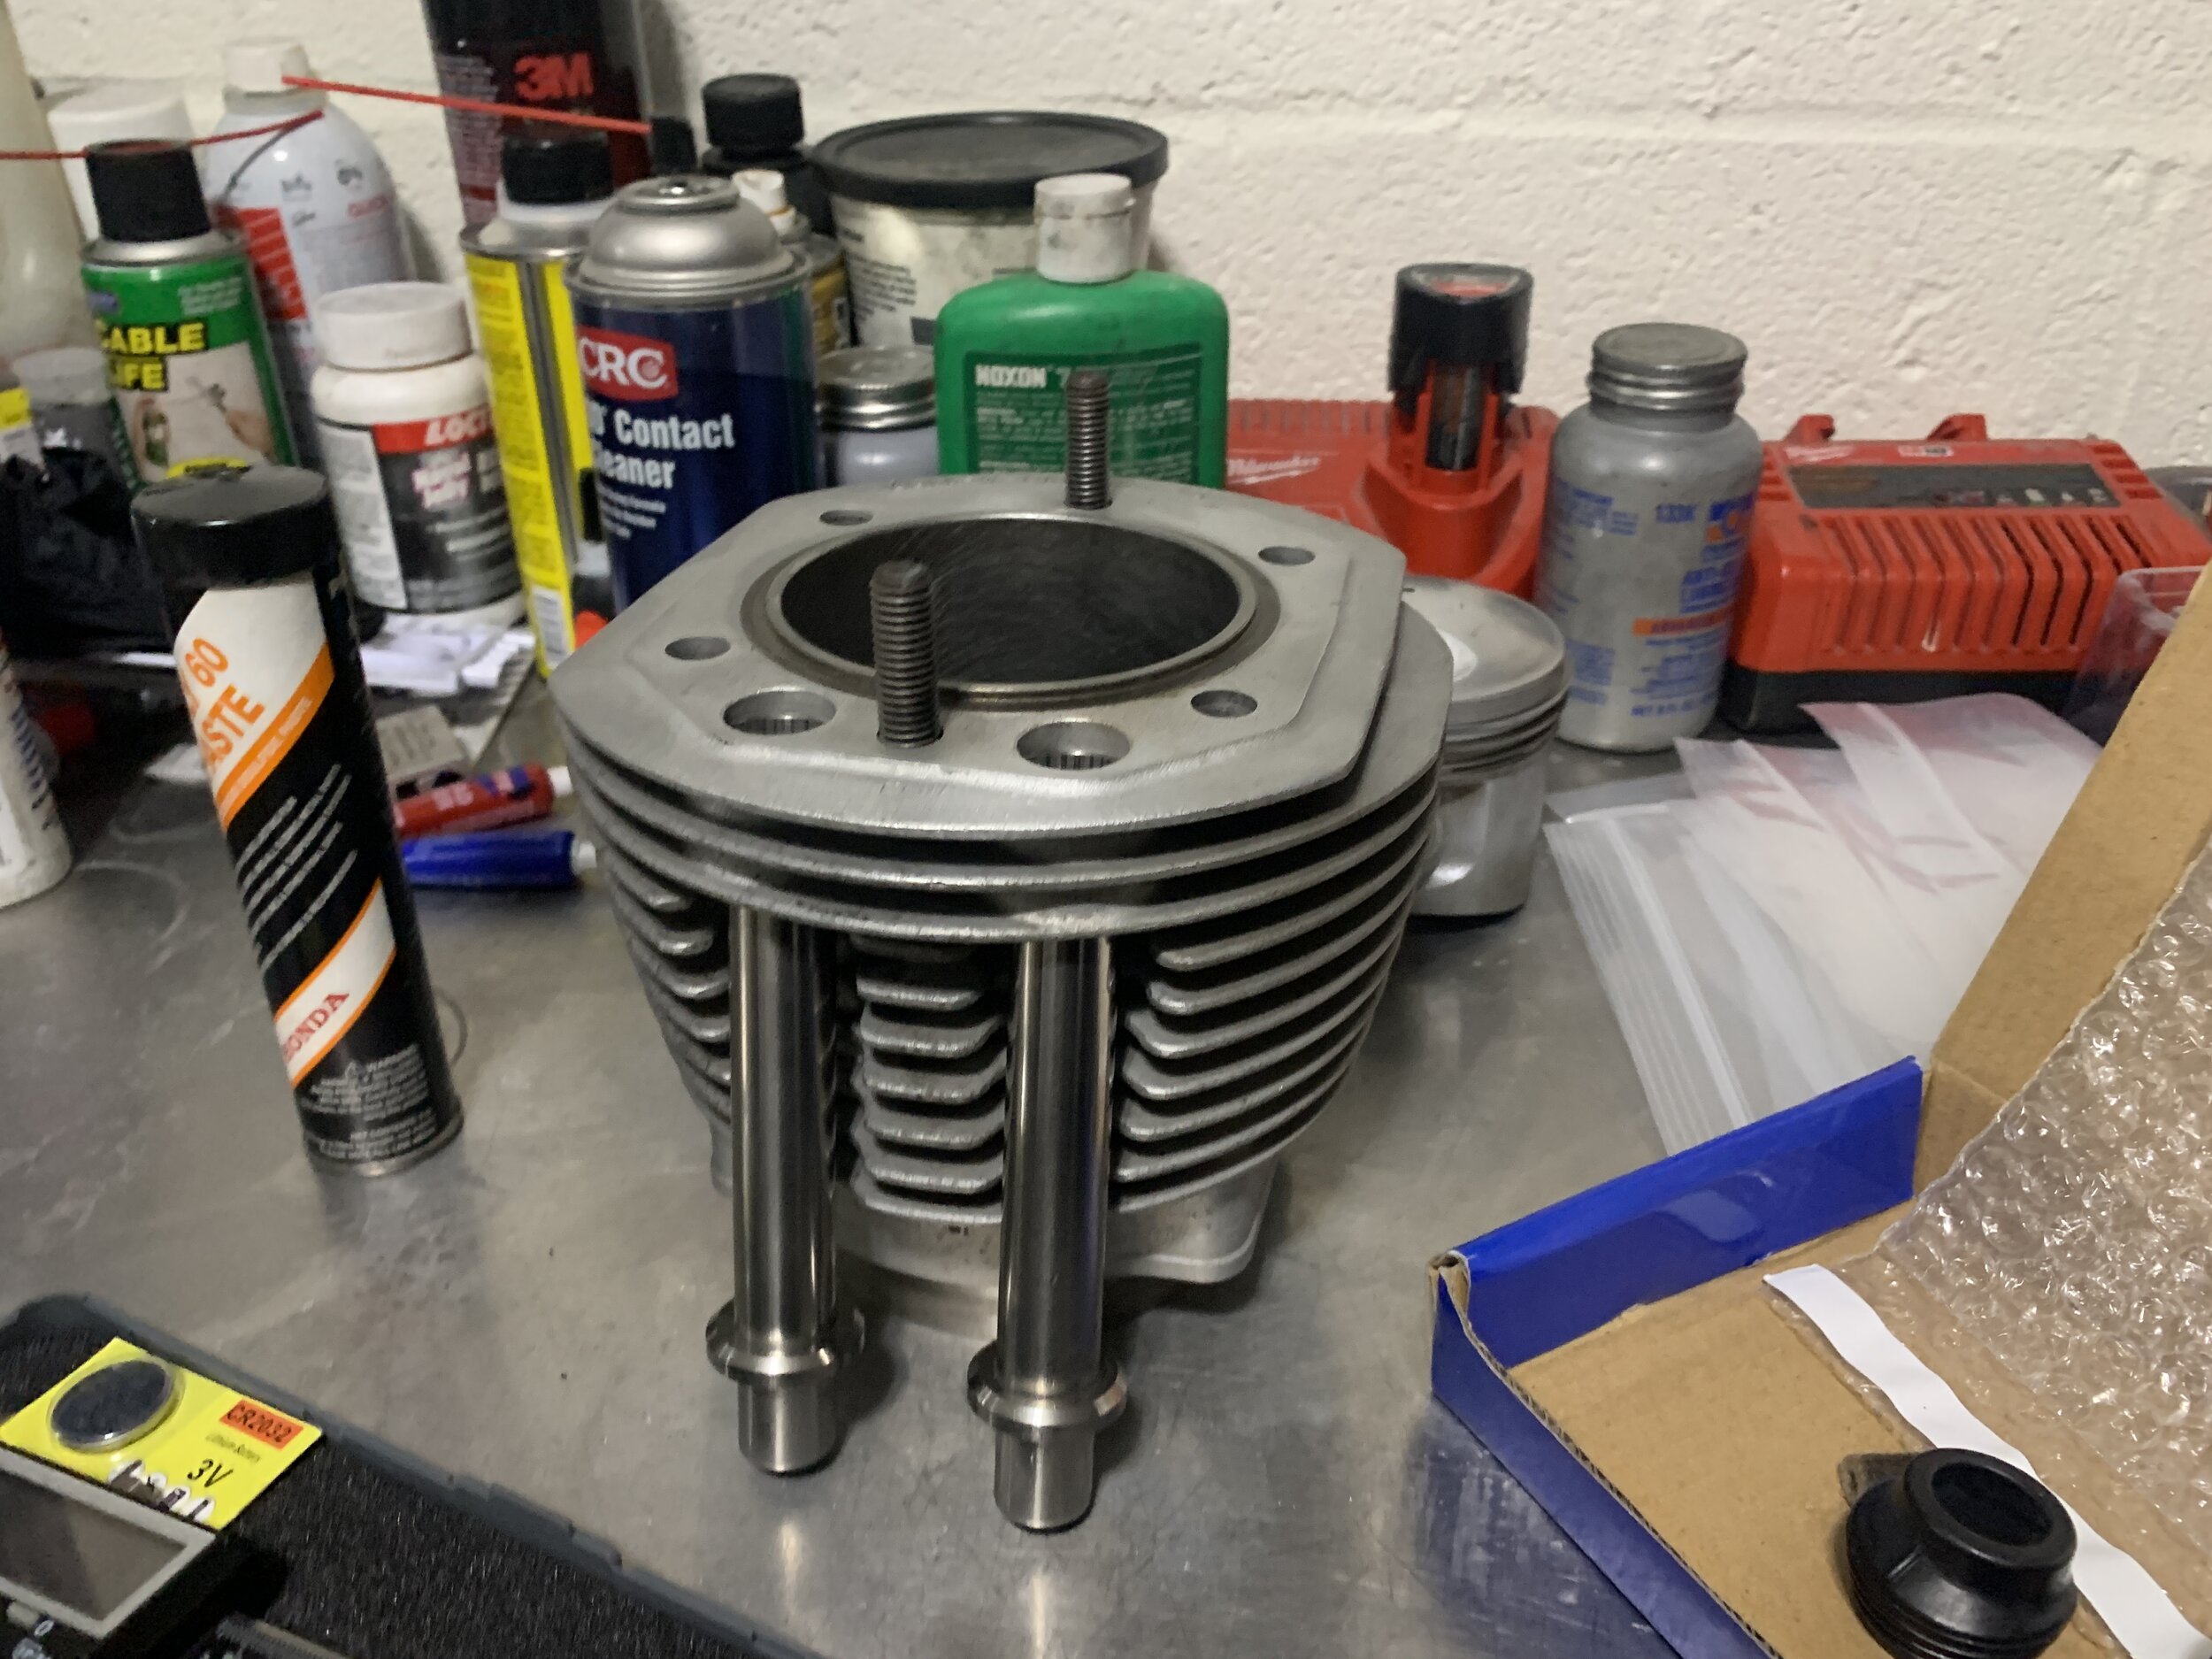
Transmission was remove next, there was zero drama, four bolts and it slide off and exited the side of the frame. I tested the compression and they were both at 150 each side. The numbers are very respectable. But the heavy amount of oil leak at the pushrod tube and the base gasket needed to be address. So I remove the cylinder leaving the piston in the cylinder so I don’t separate them. I took the block out the frame, it as surprisingly light. Then I discover more poor service from previous owner, they use random nuts to replace the chain cover. They are suppose to be 3 head key nuts, but they have some home depot bolts in there. When people do shoddy work it always makes me very nervous. I wonder what else they “try” to fix incorrectly that may have irreversible damage.
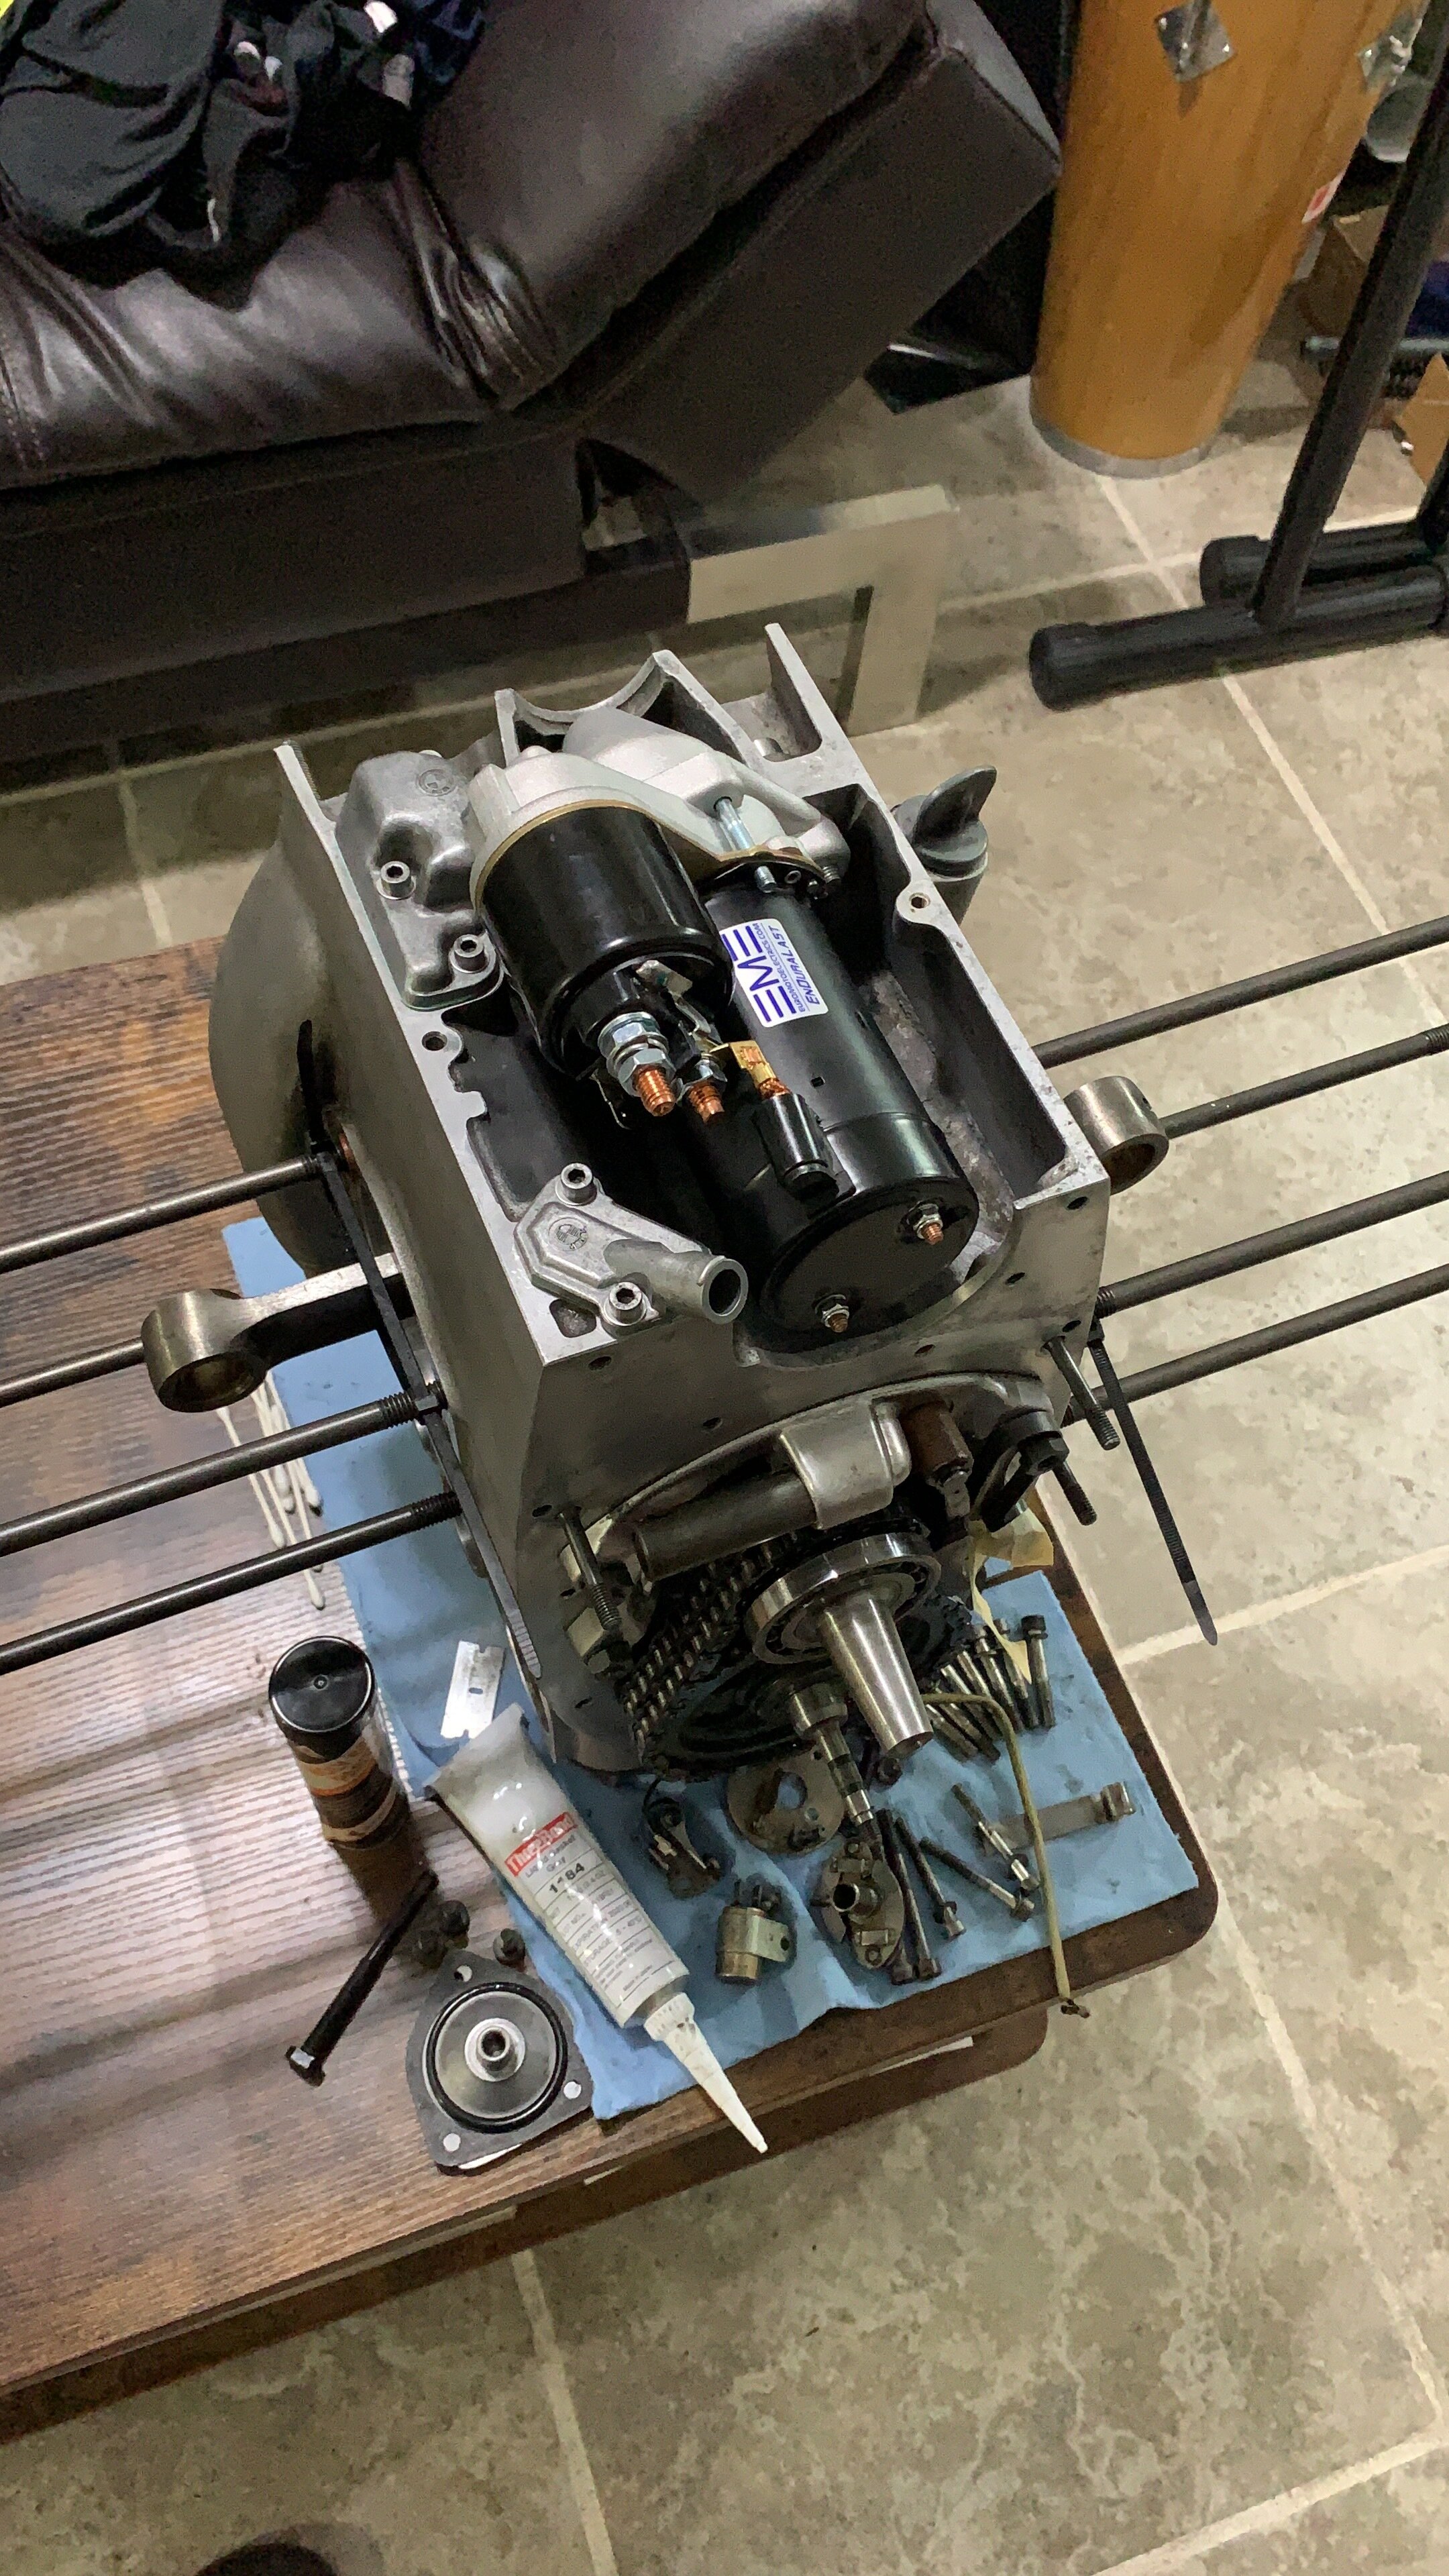
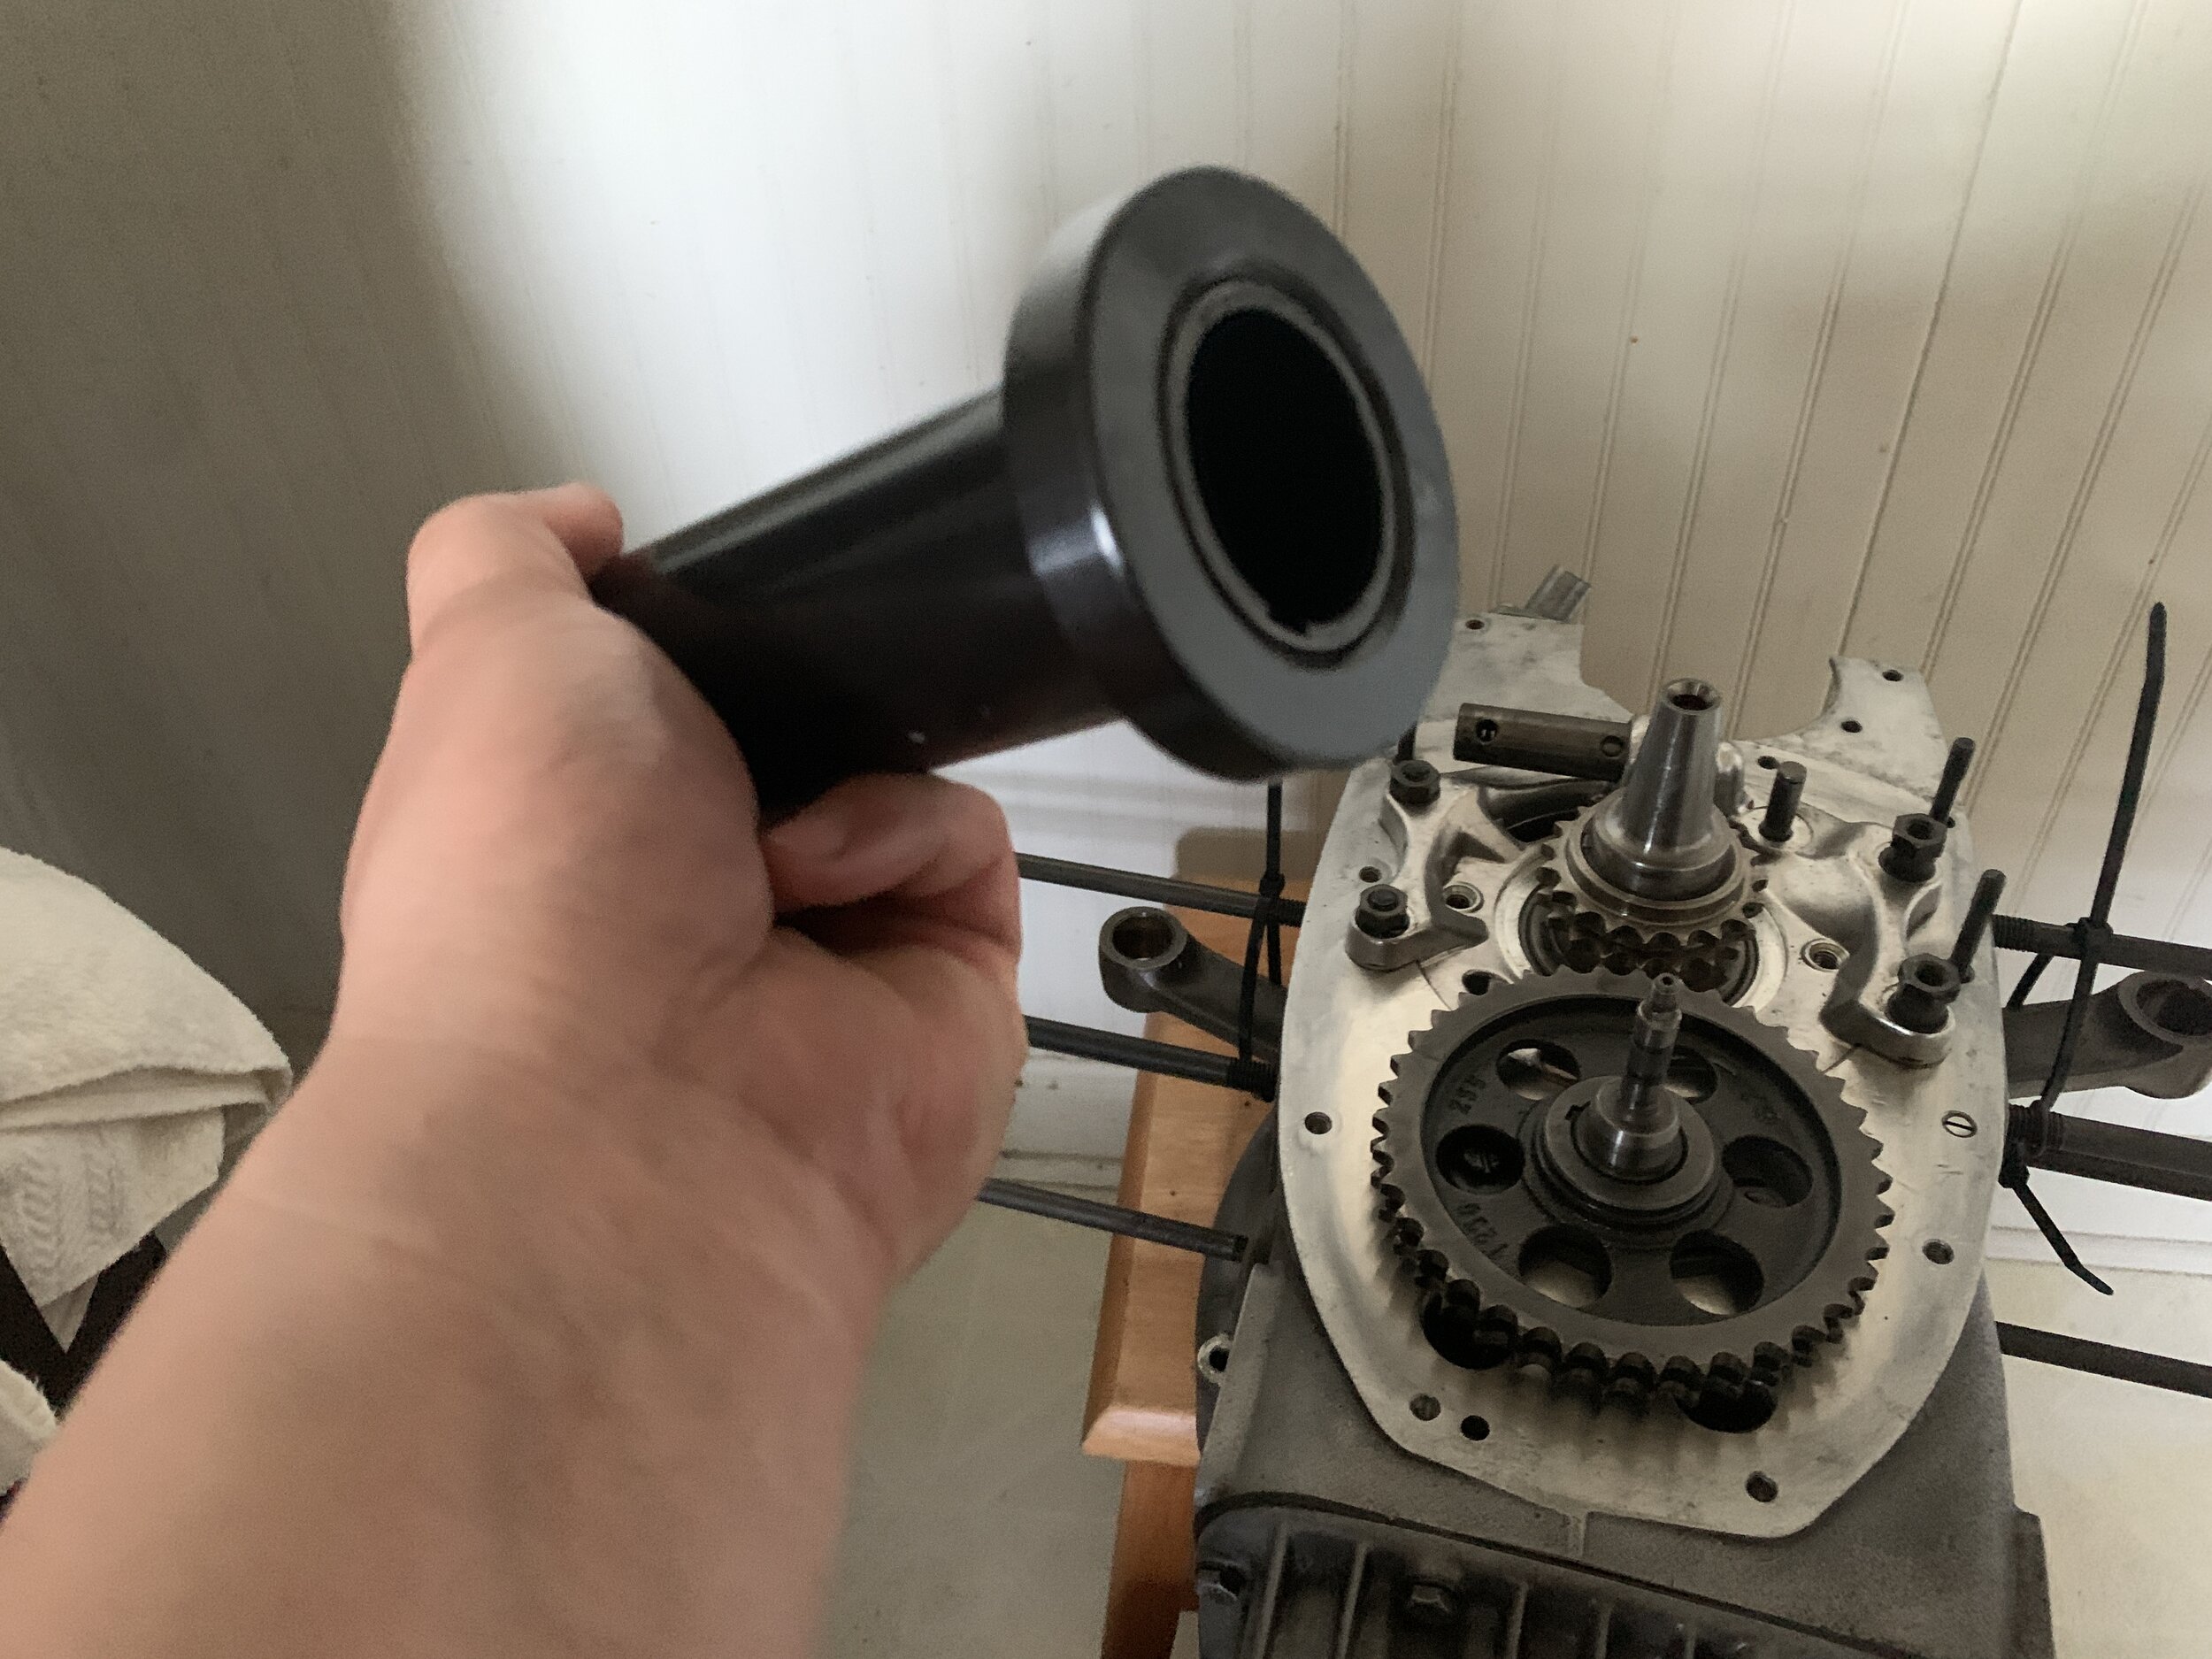
The original starter removal is very involved. The setup is odd with both ends having plates to bolt on and the starter housing are not threaded and require a locking nut on the other end. Another very odd set up and was very difficult to access and remove the bolt on the other end. There is also the problem that it felt like it weight like 15 pounds.
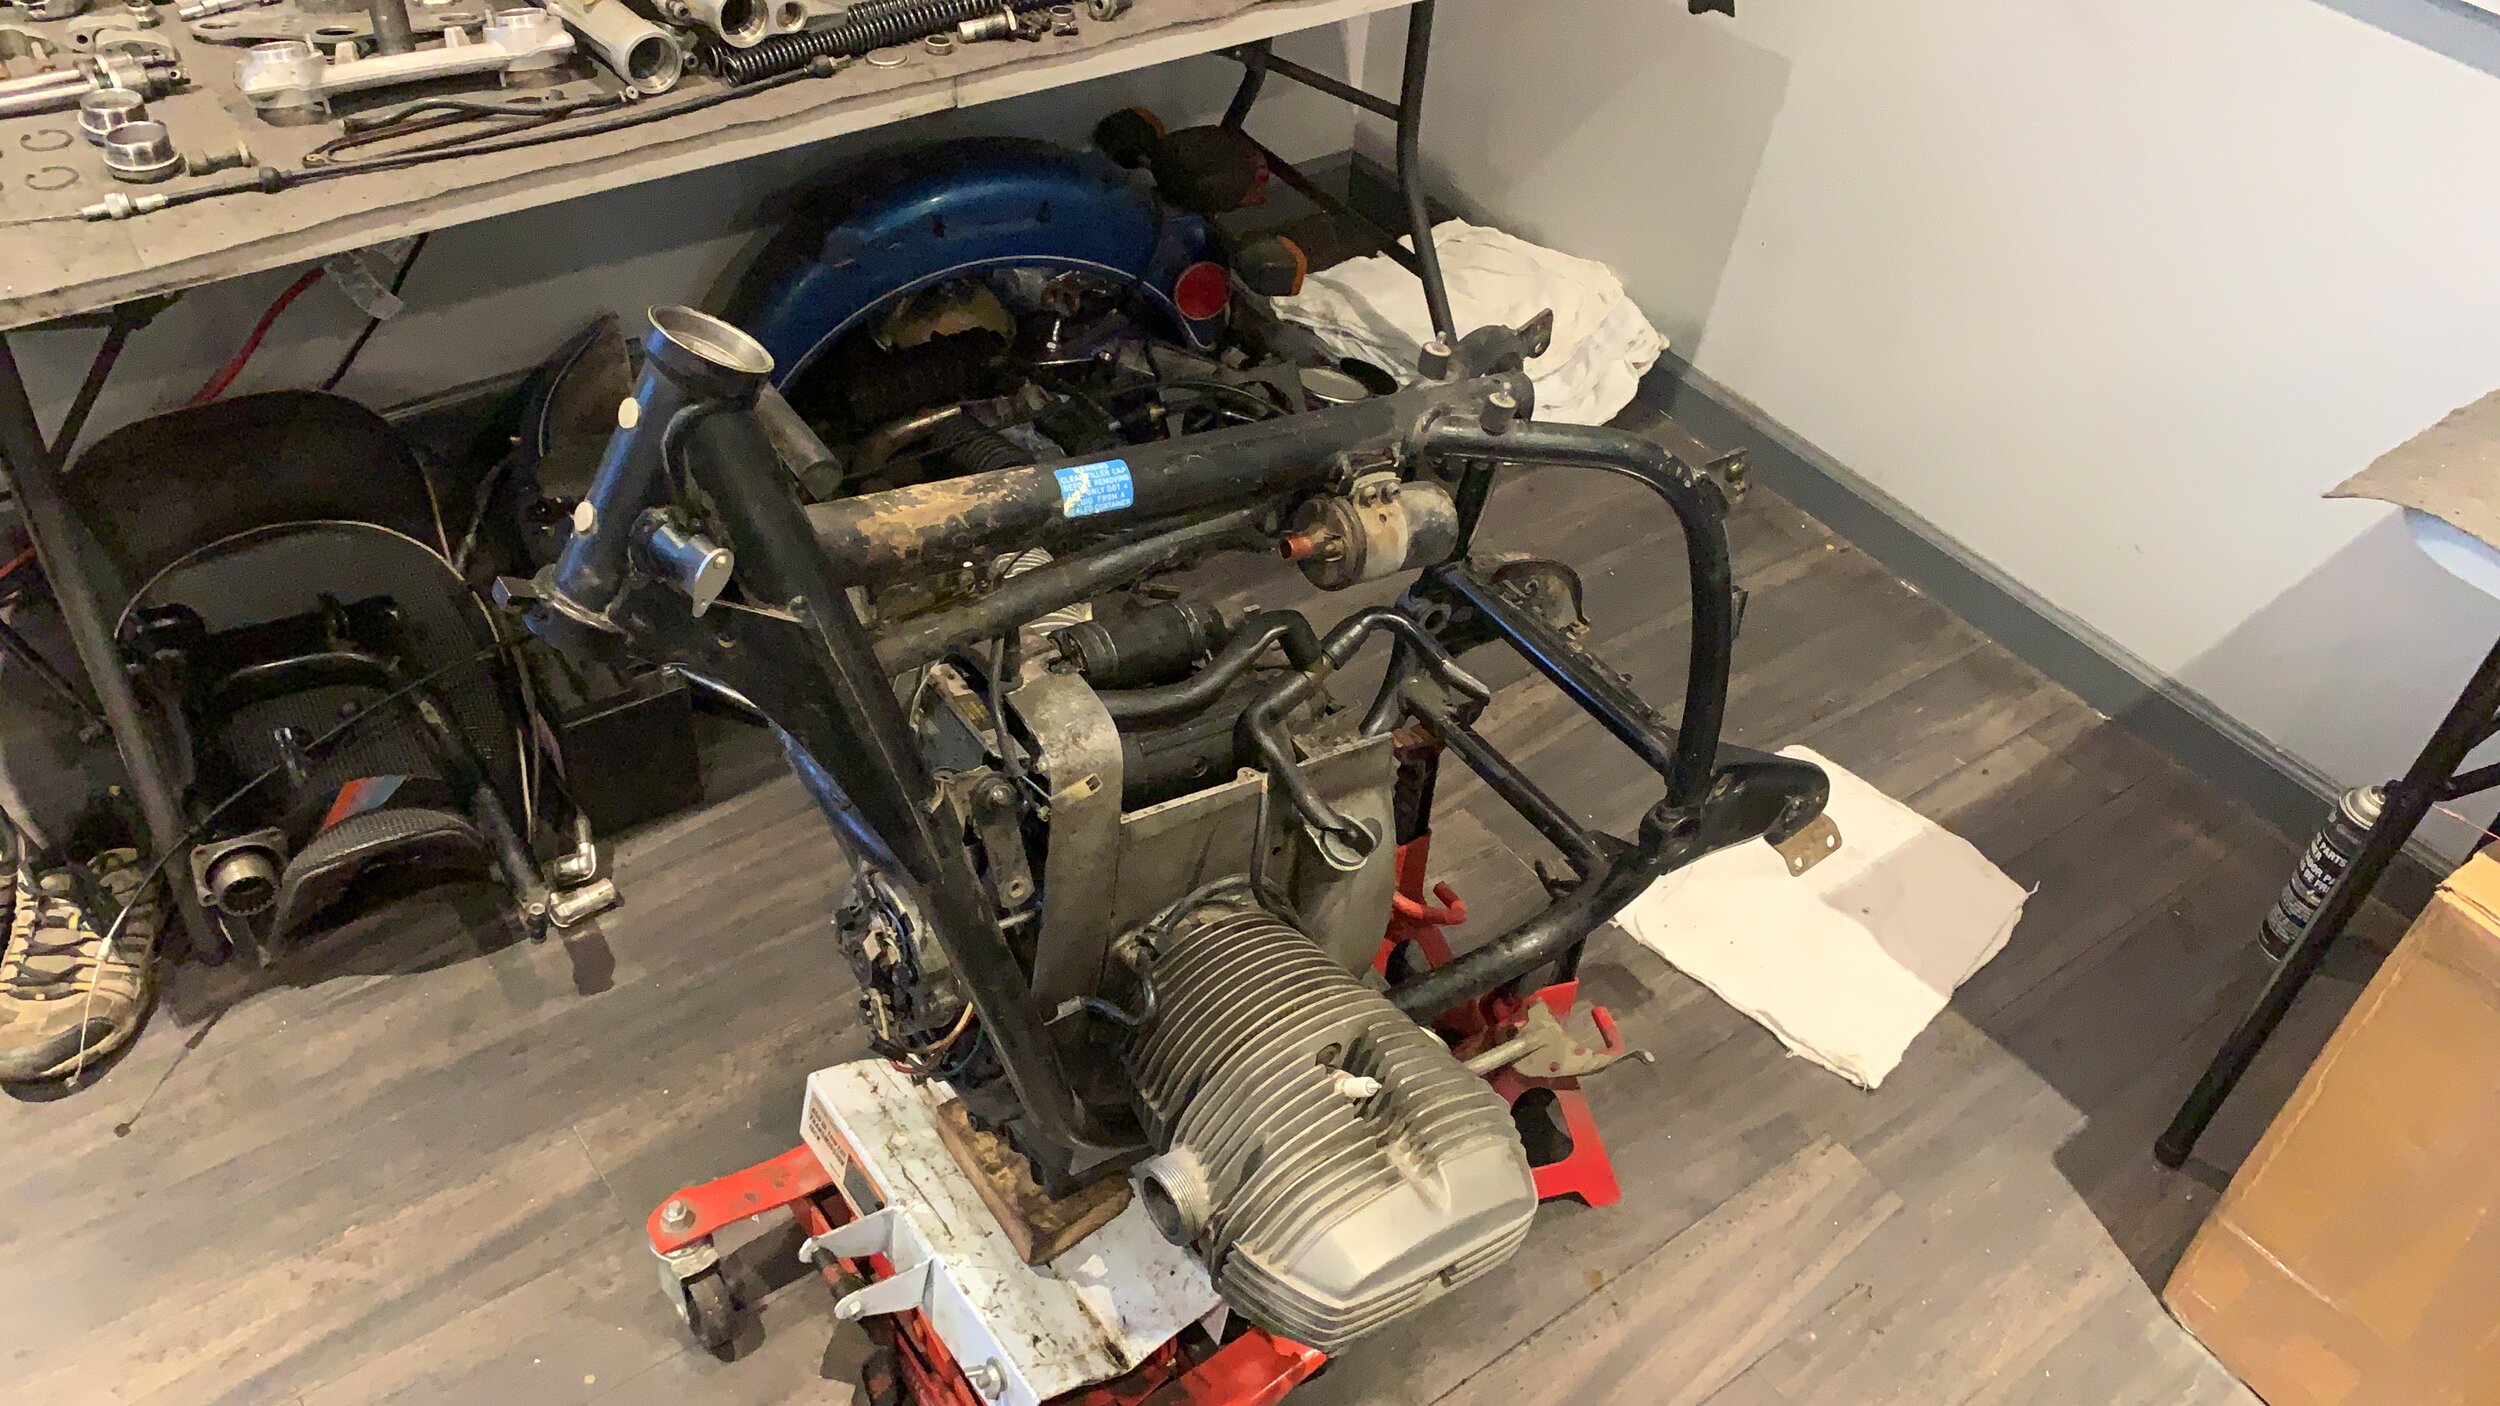


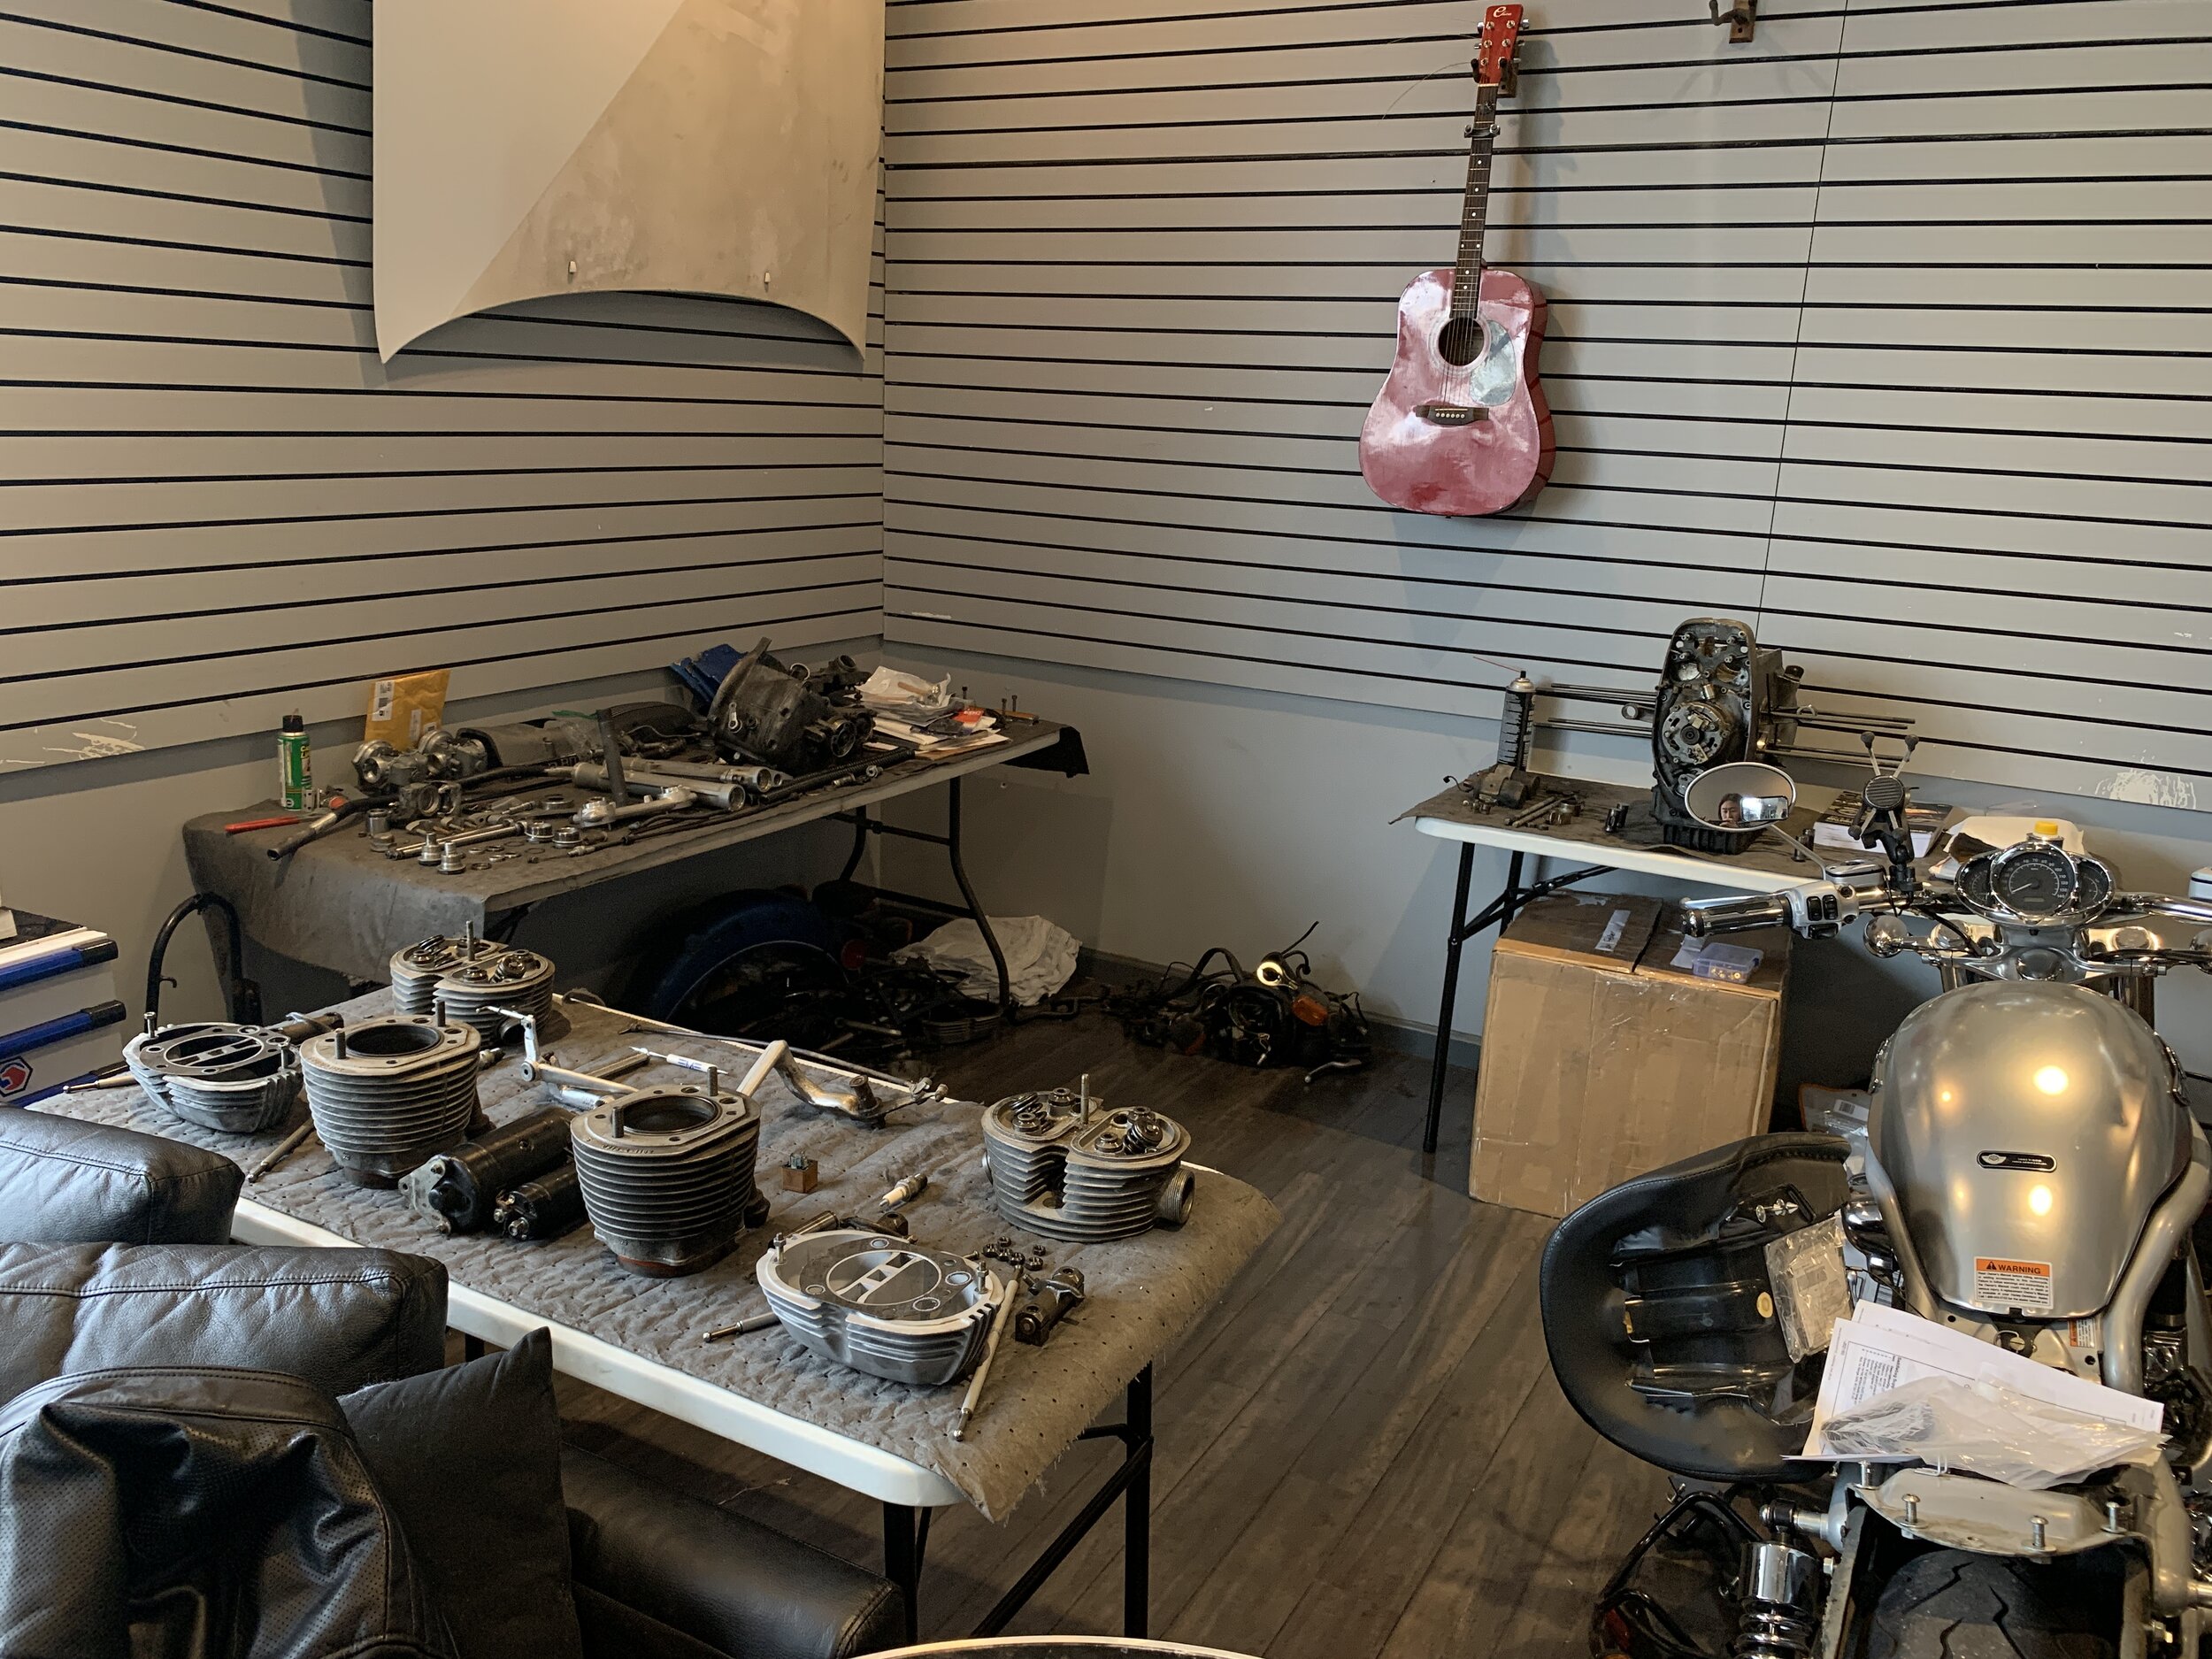
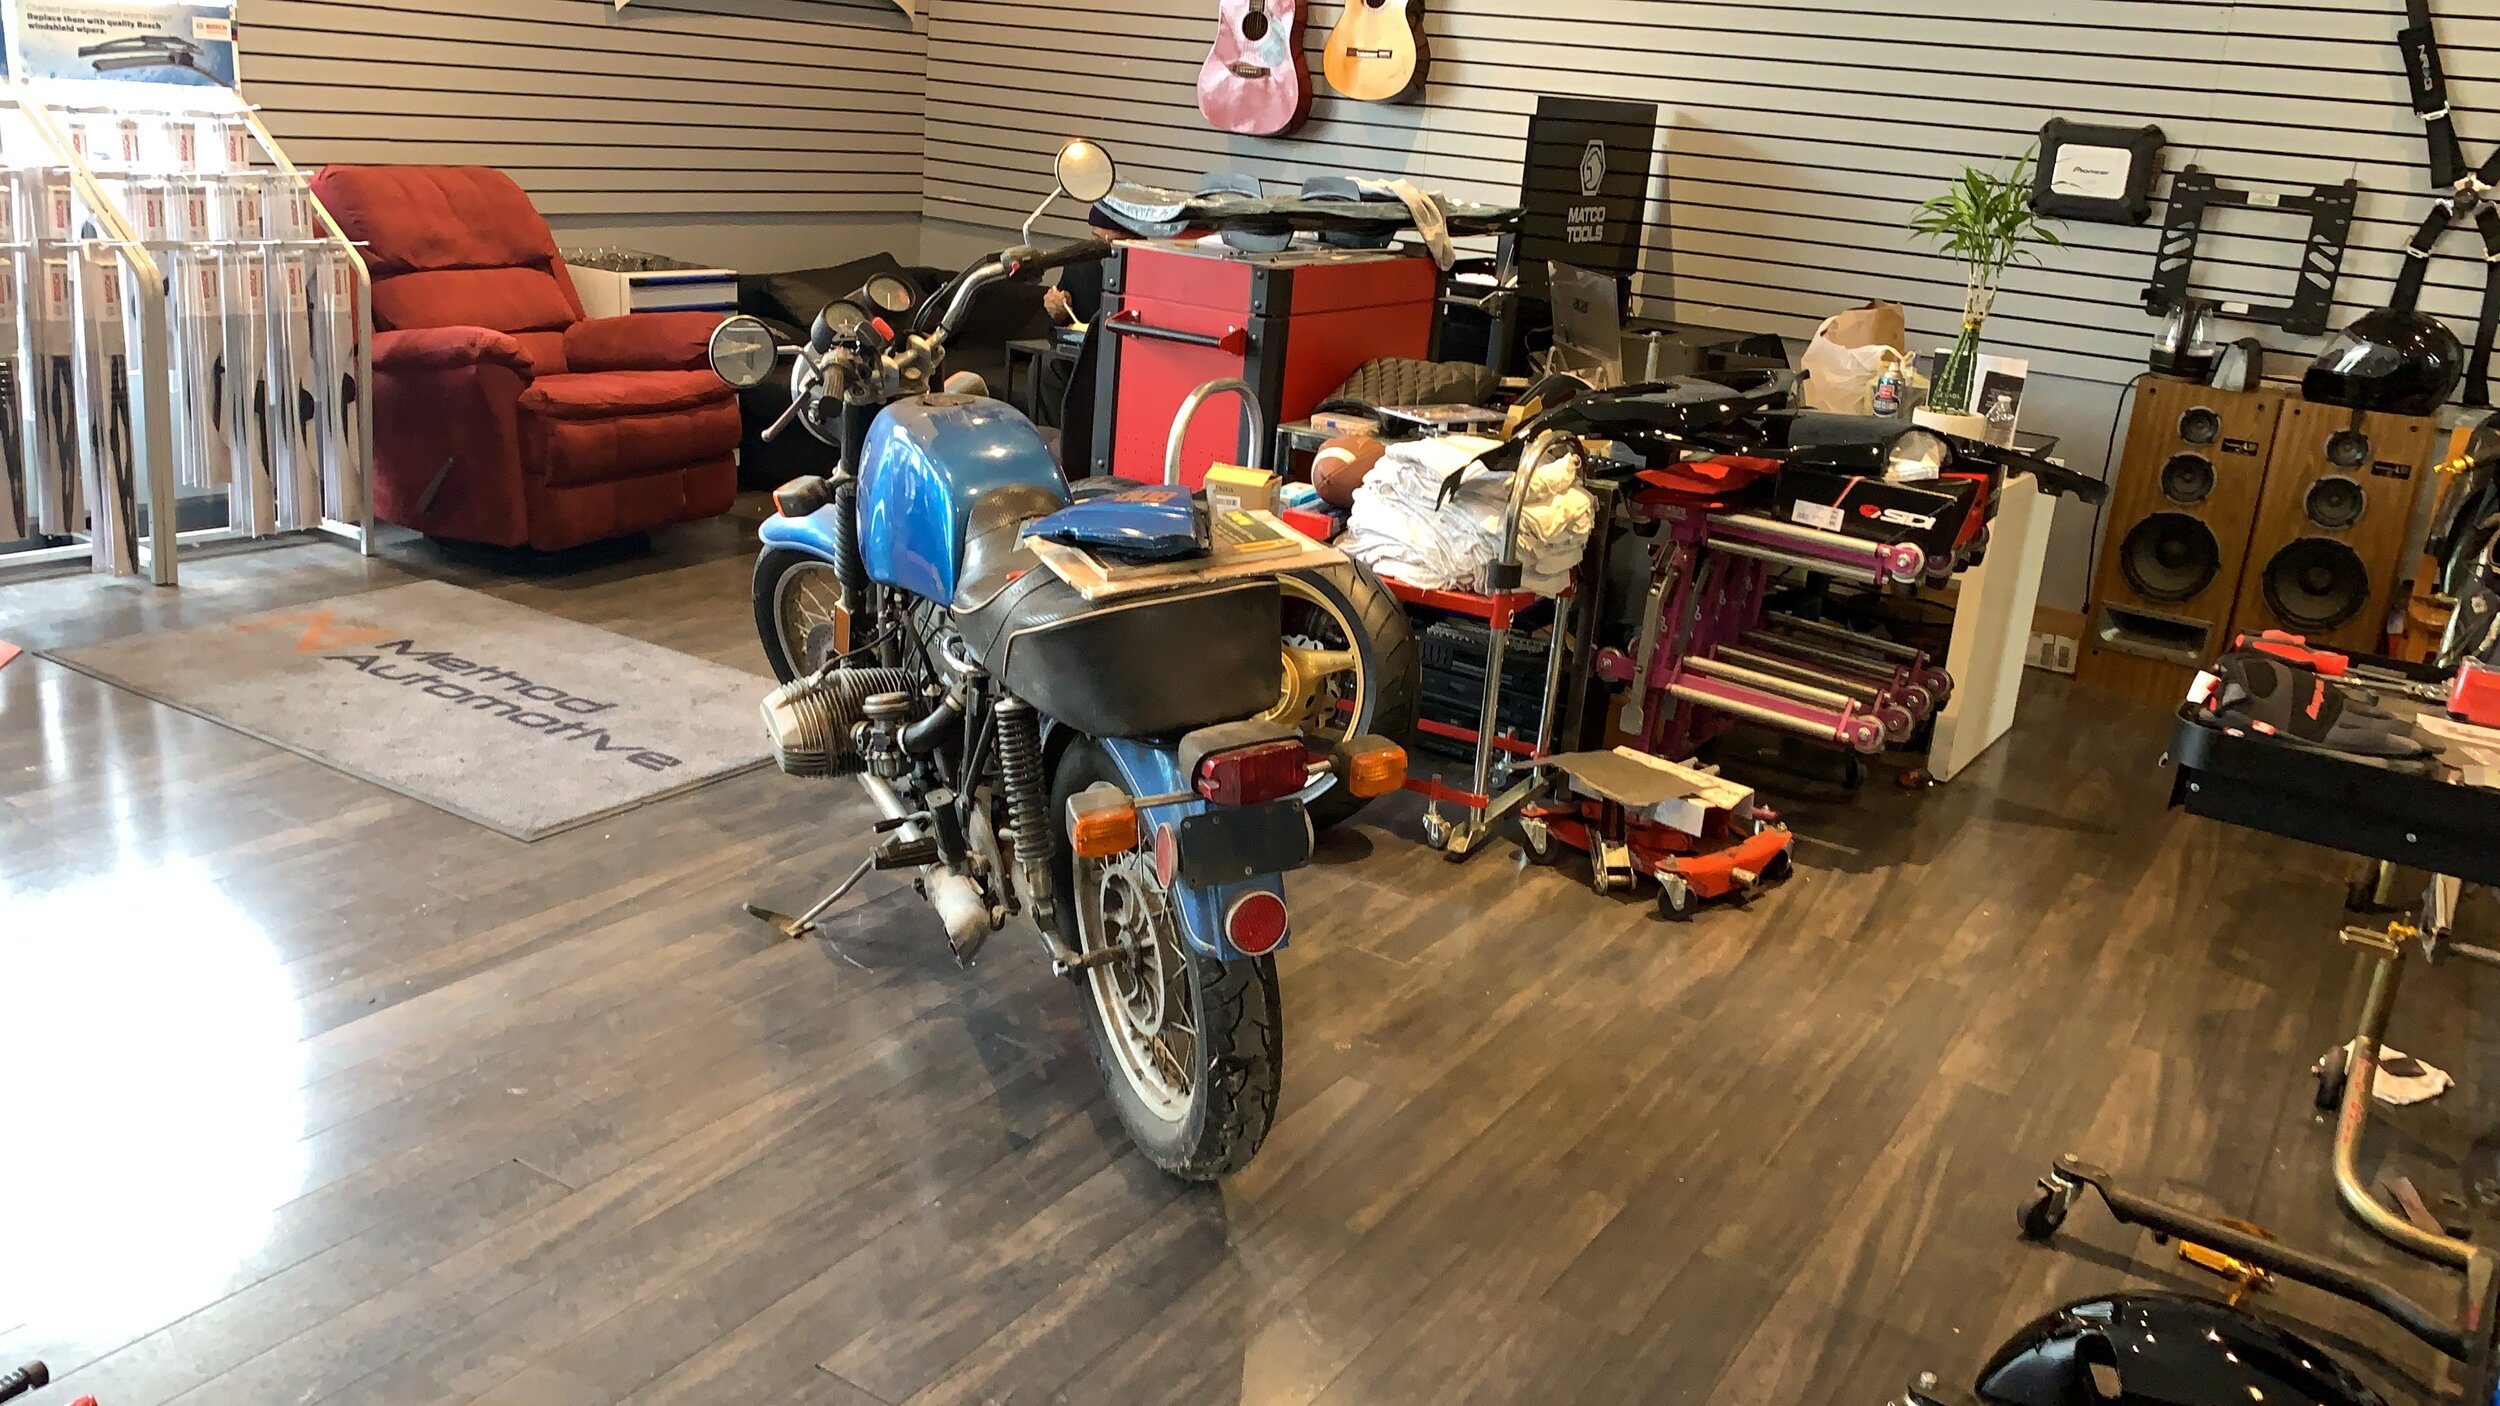
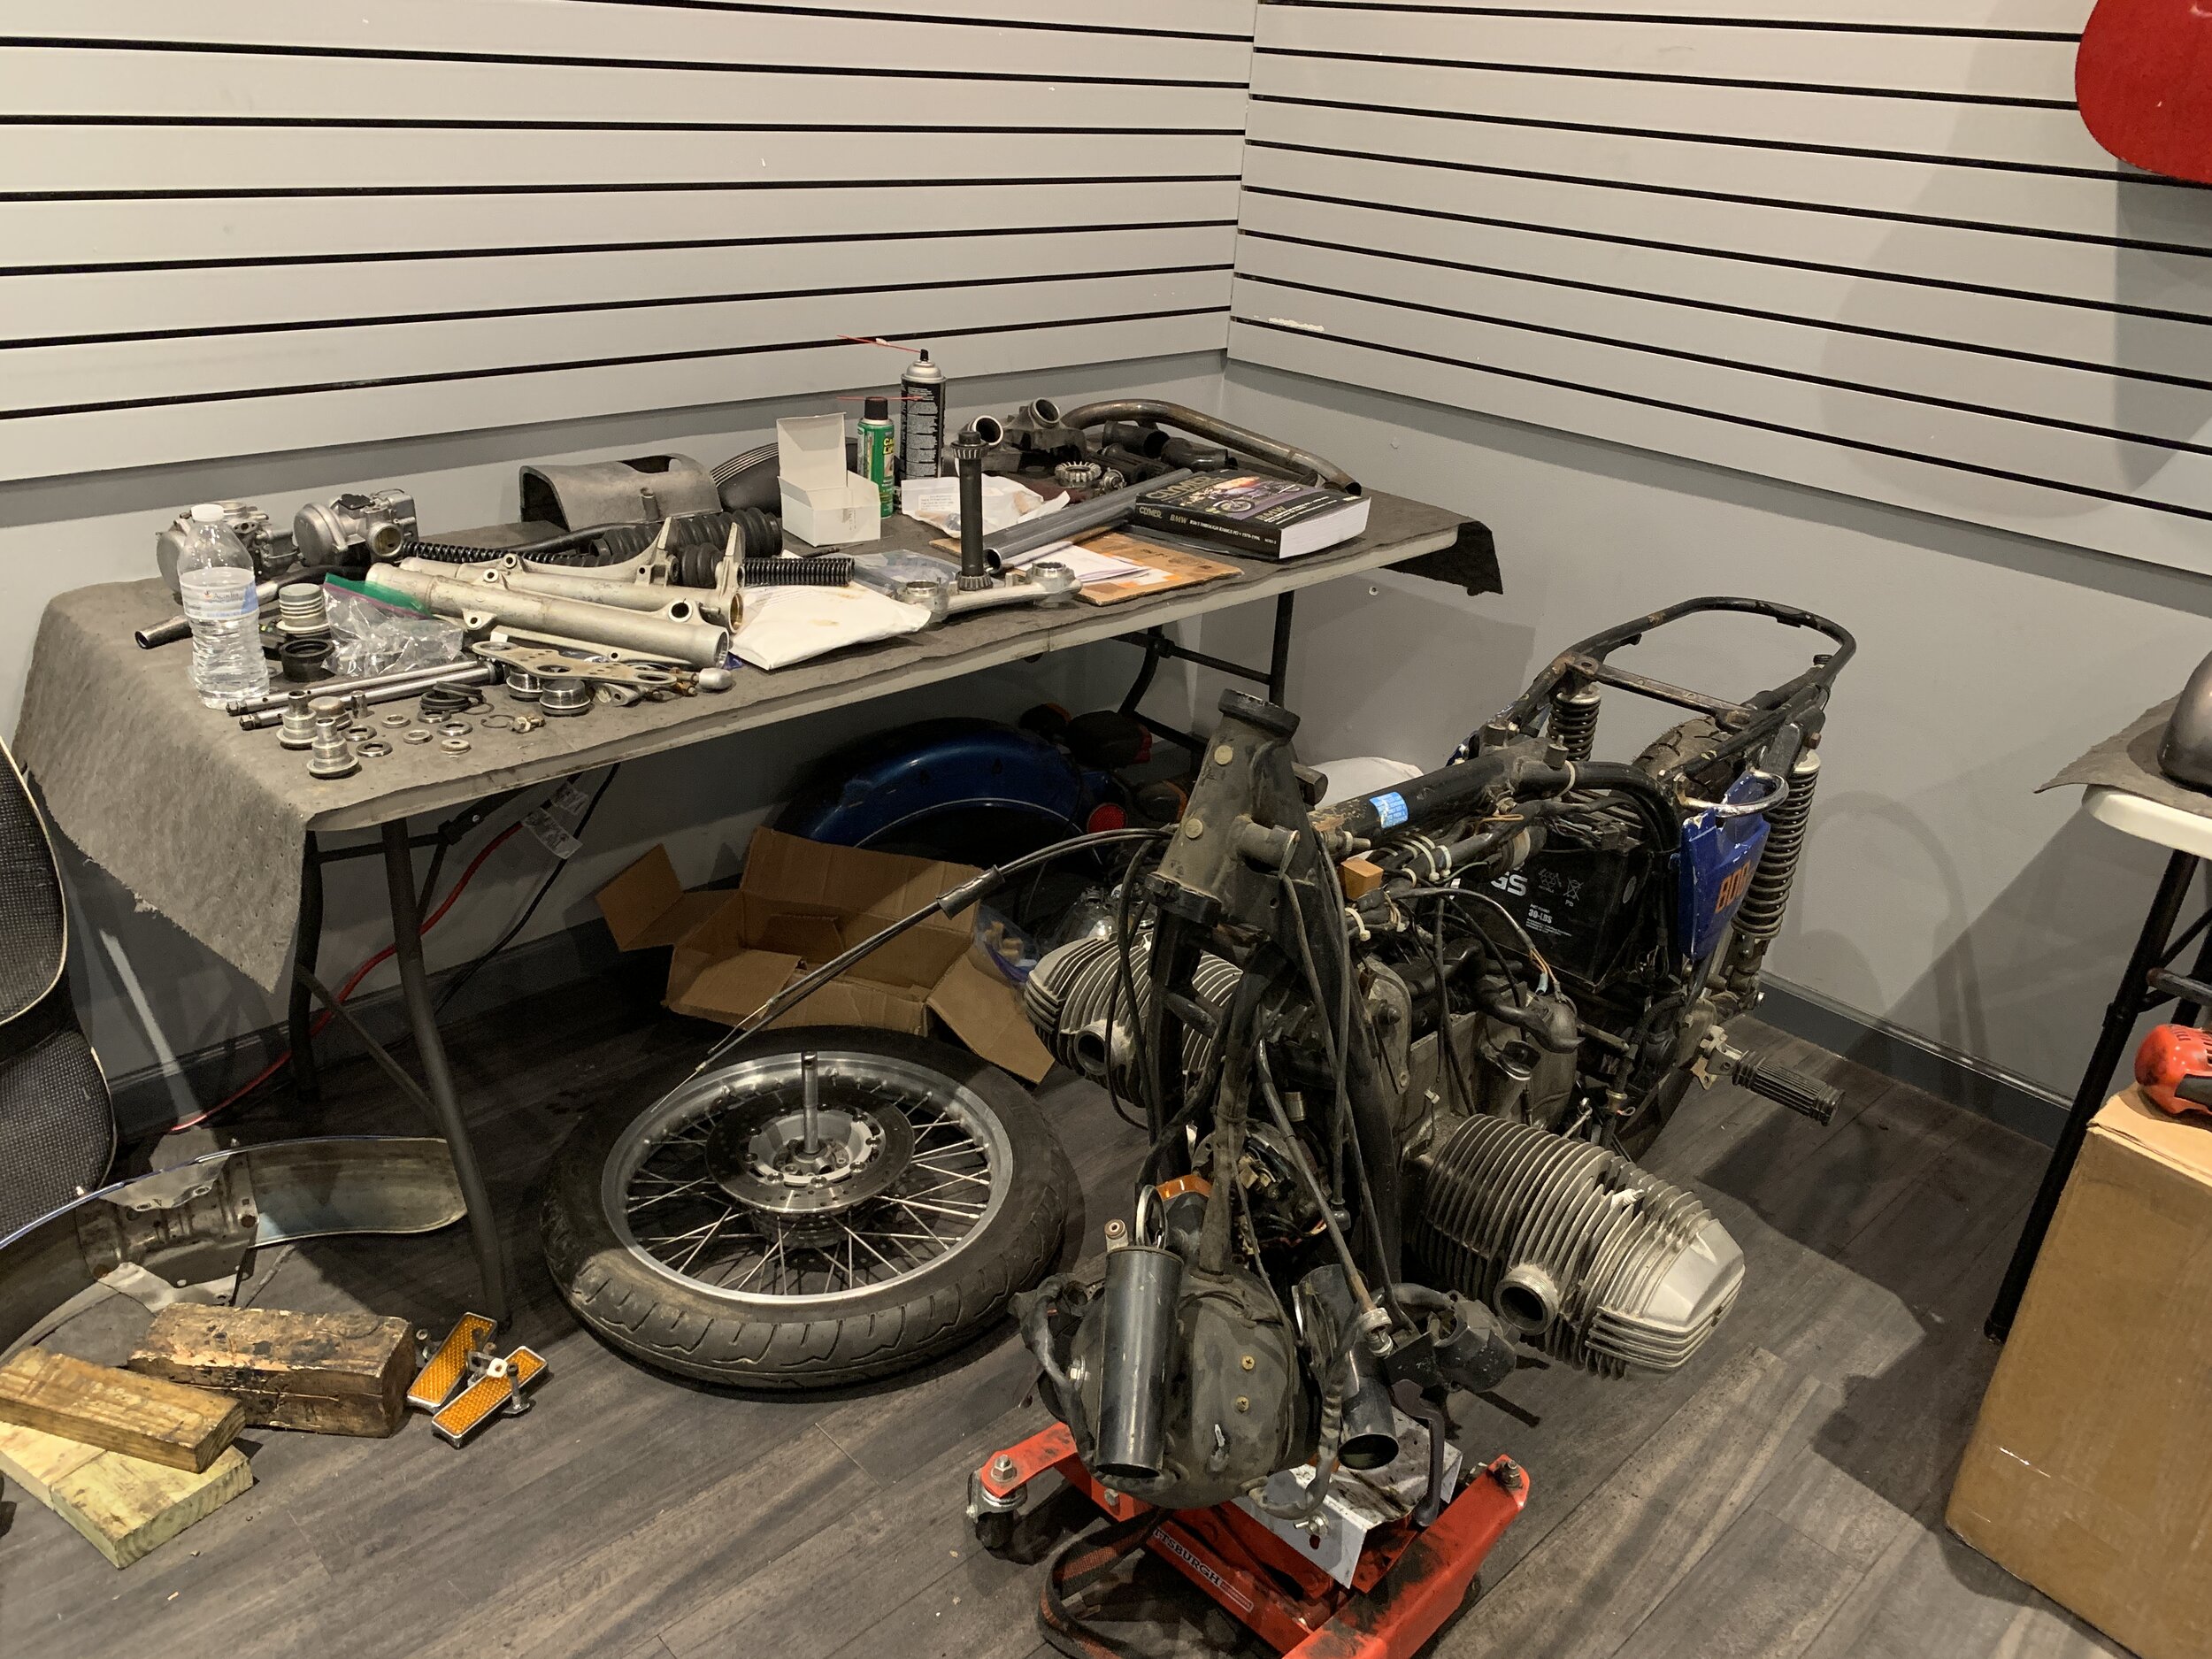
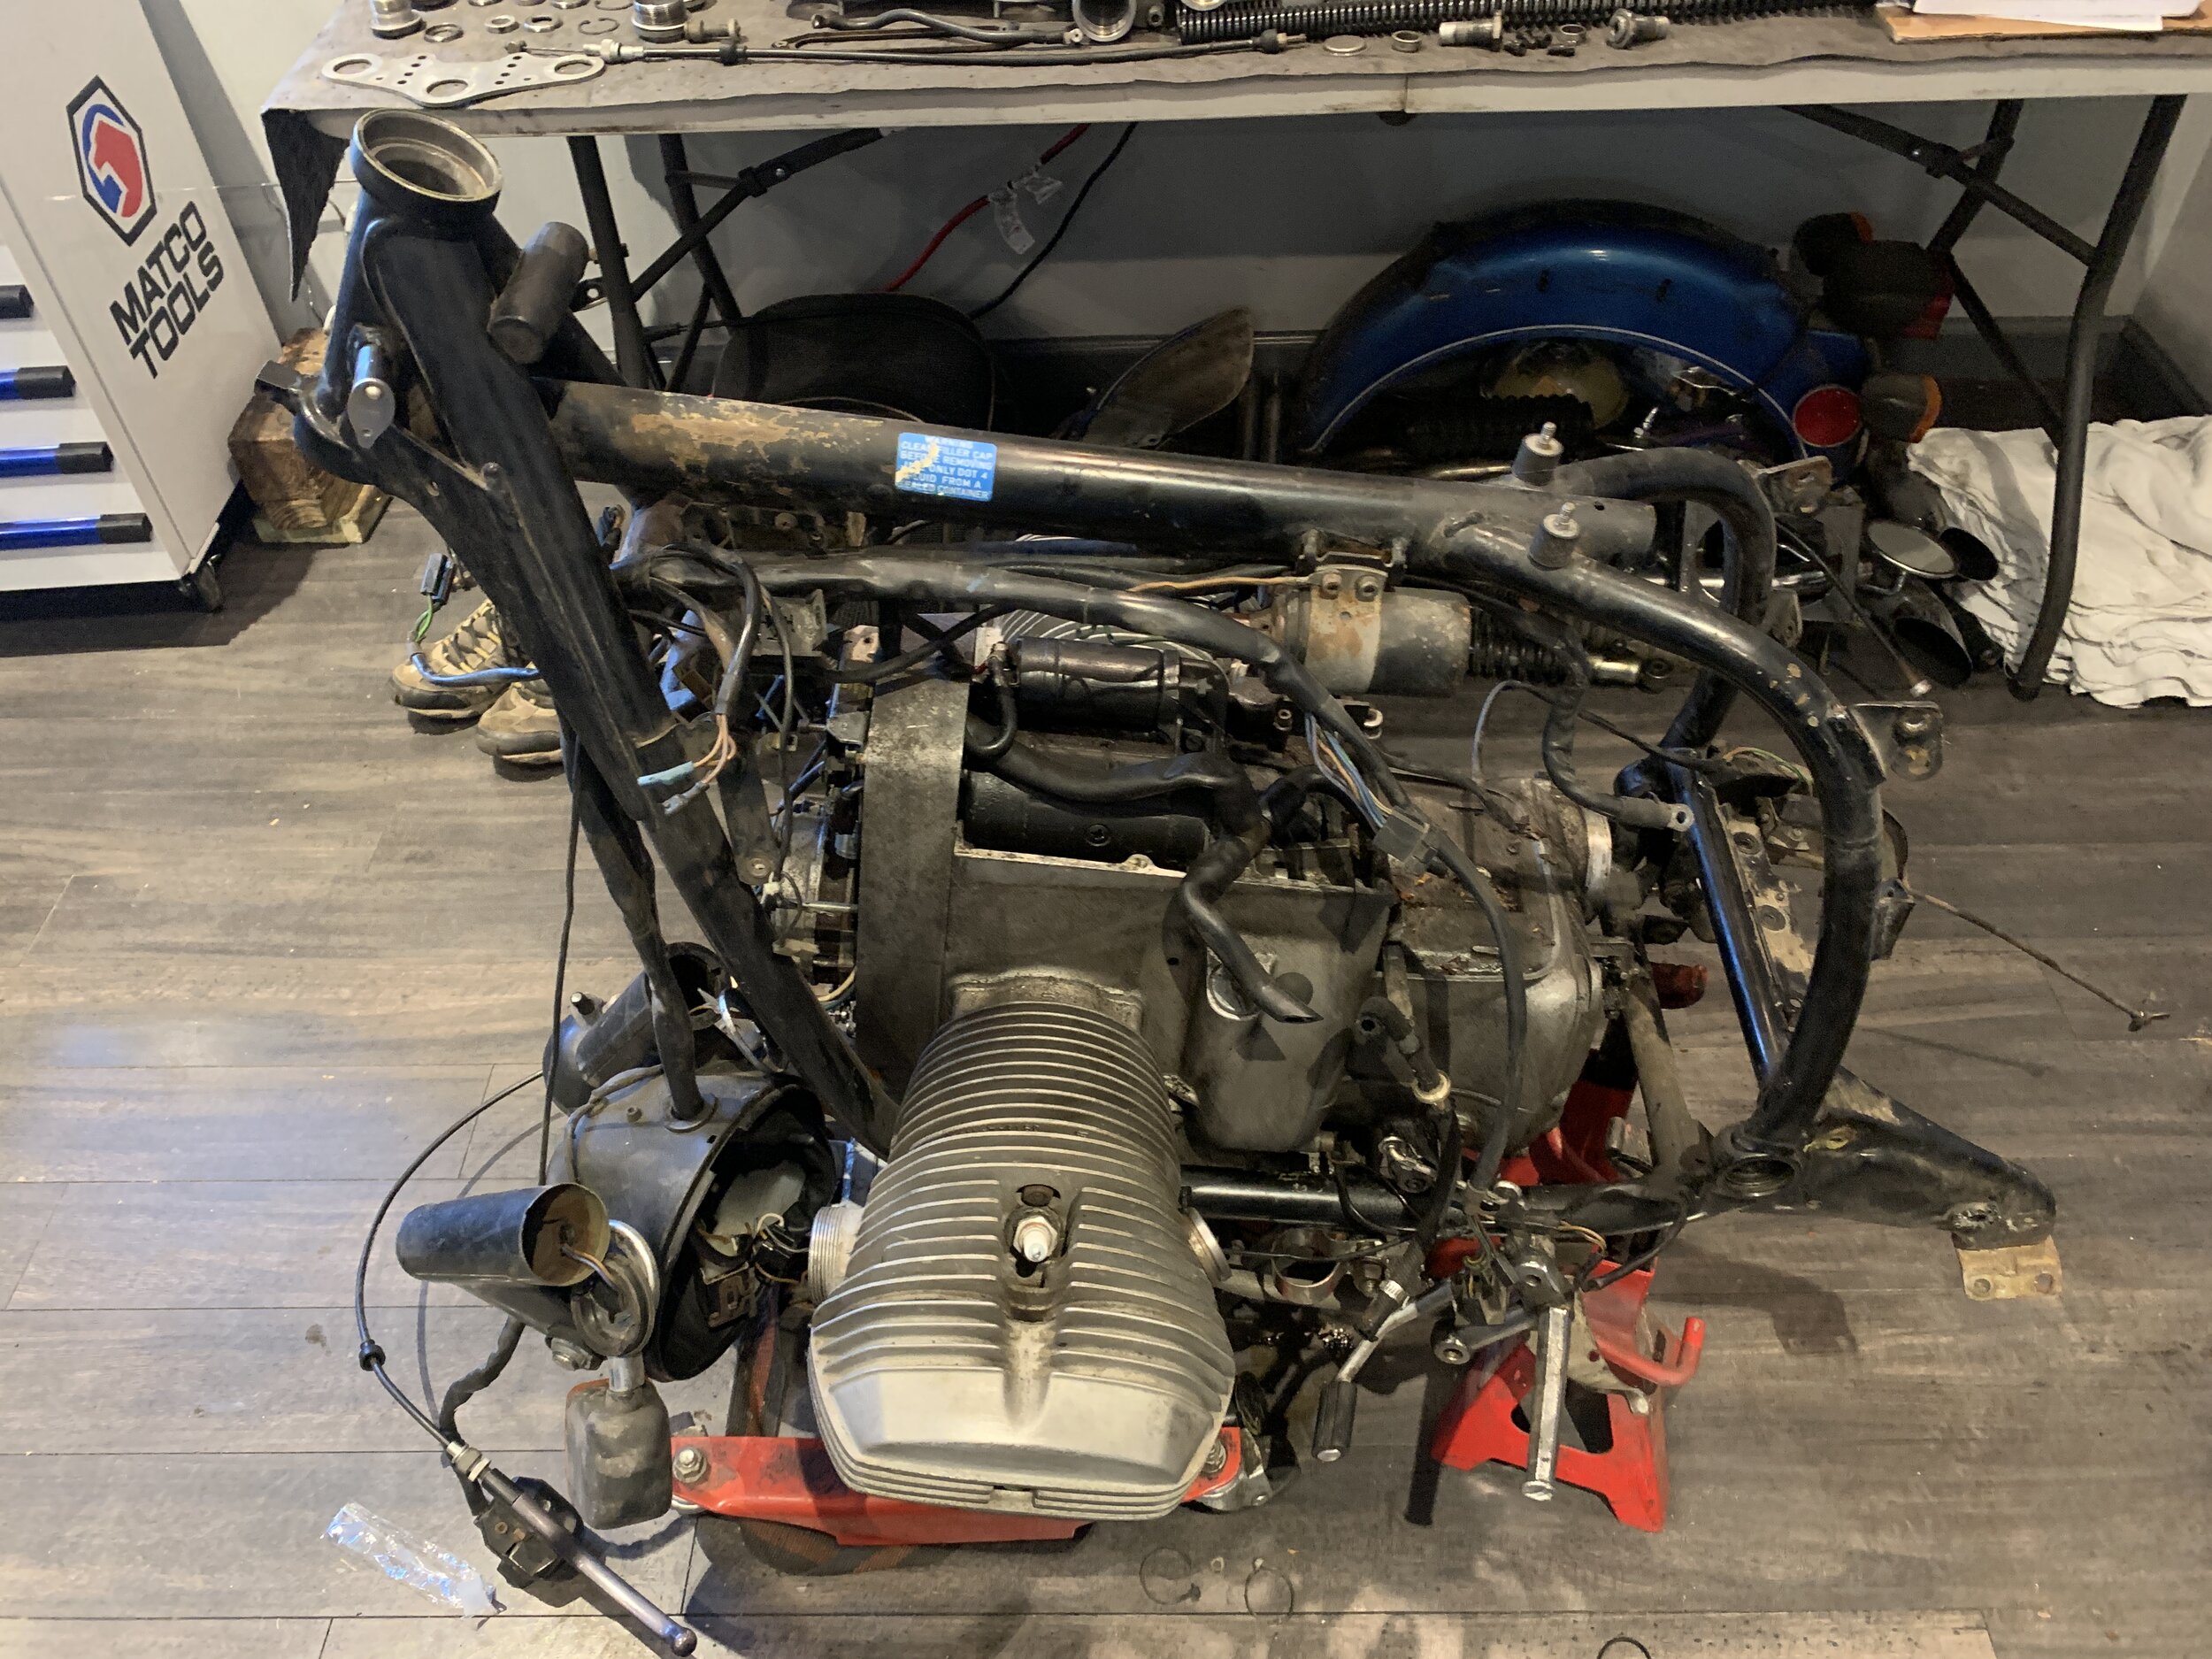
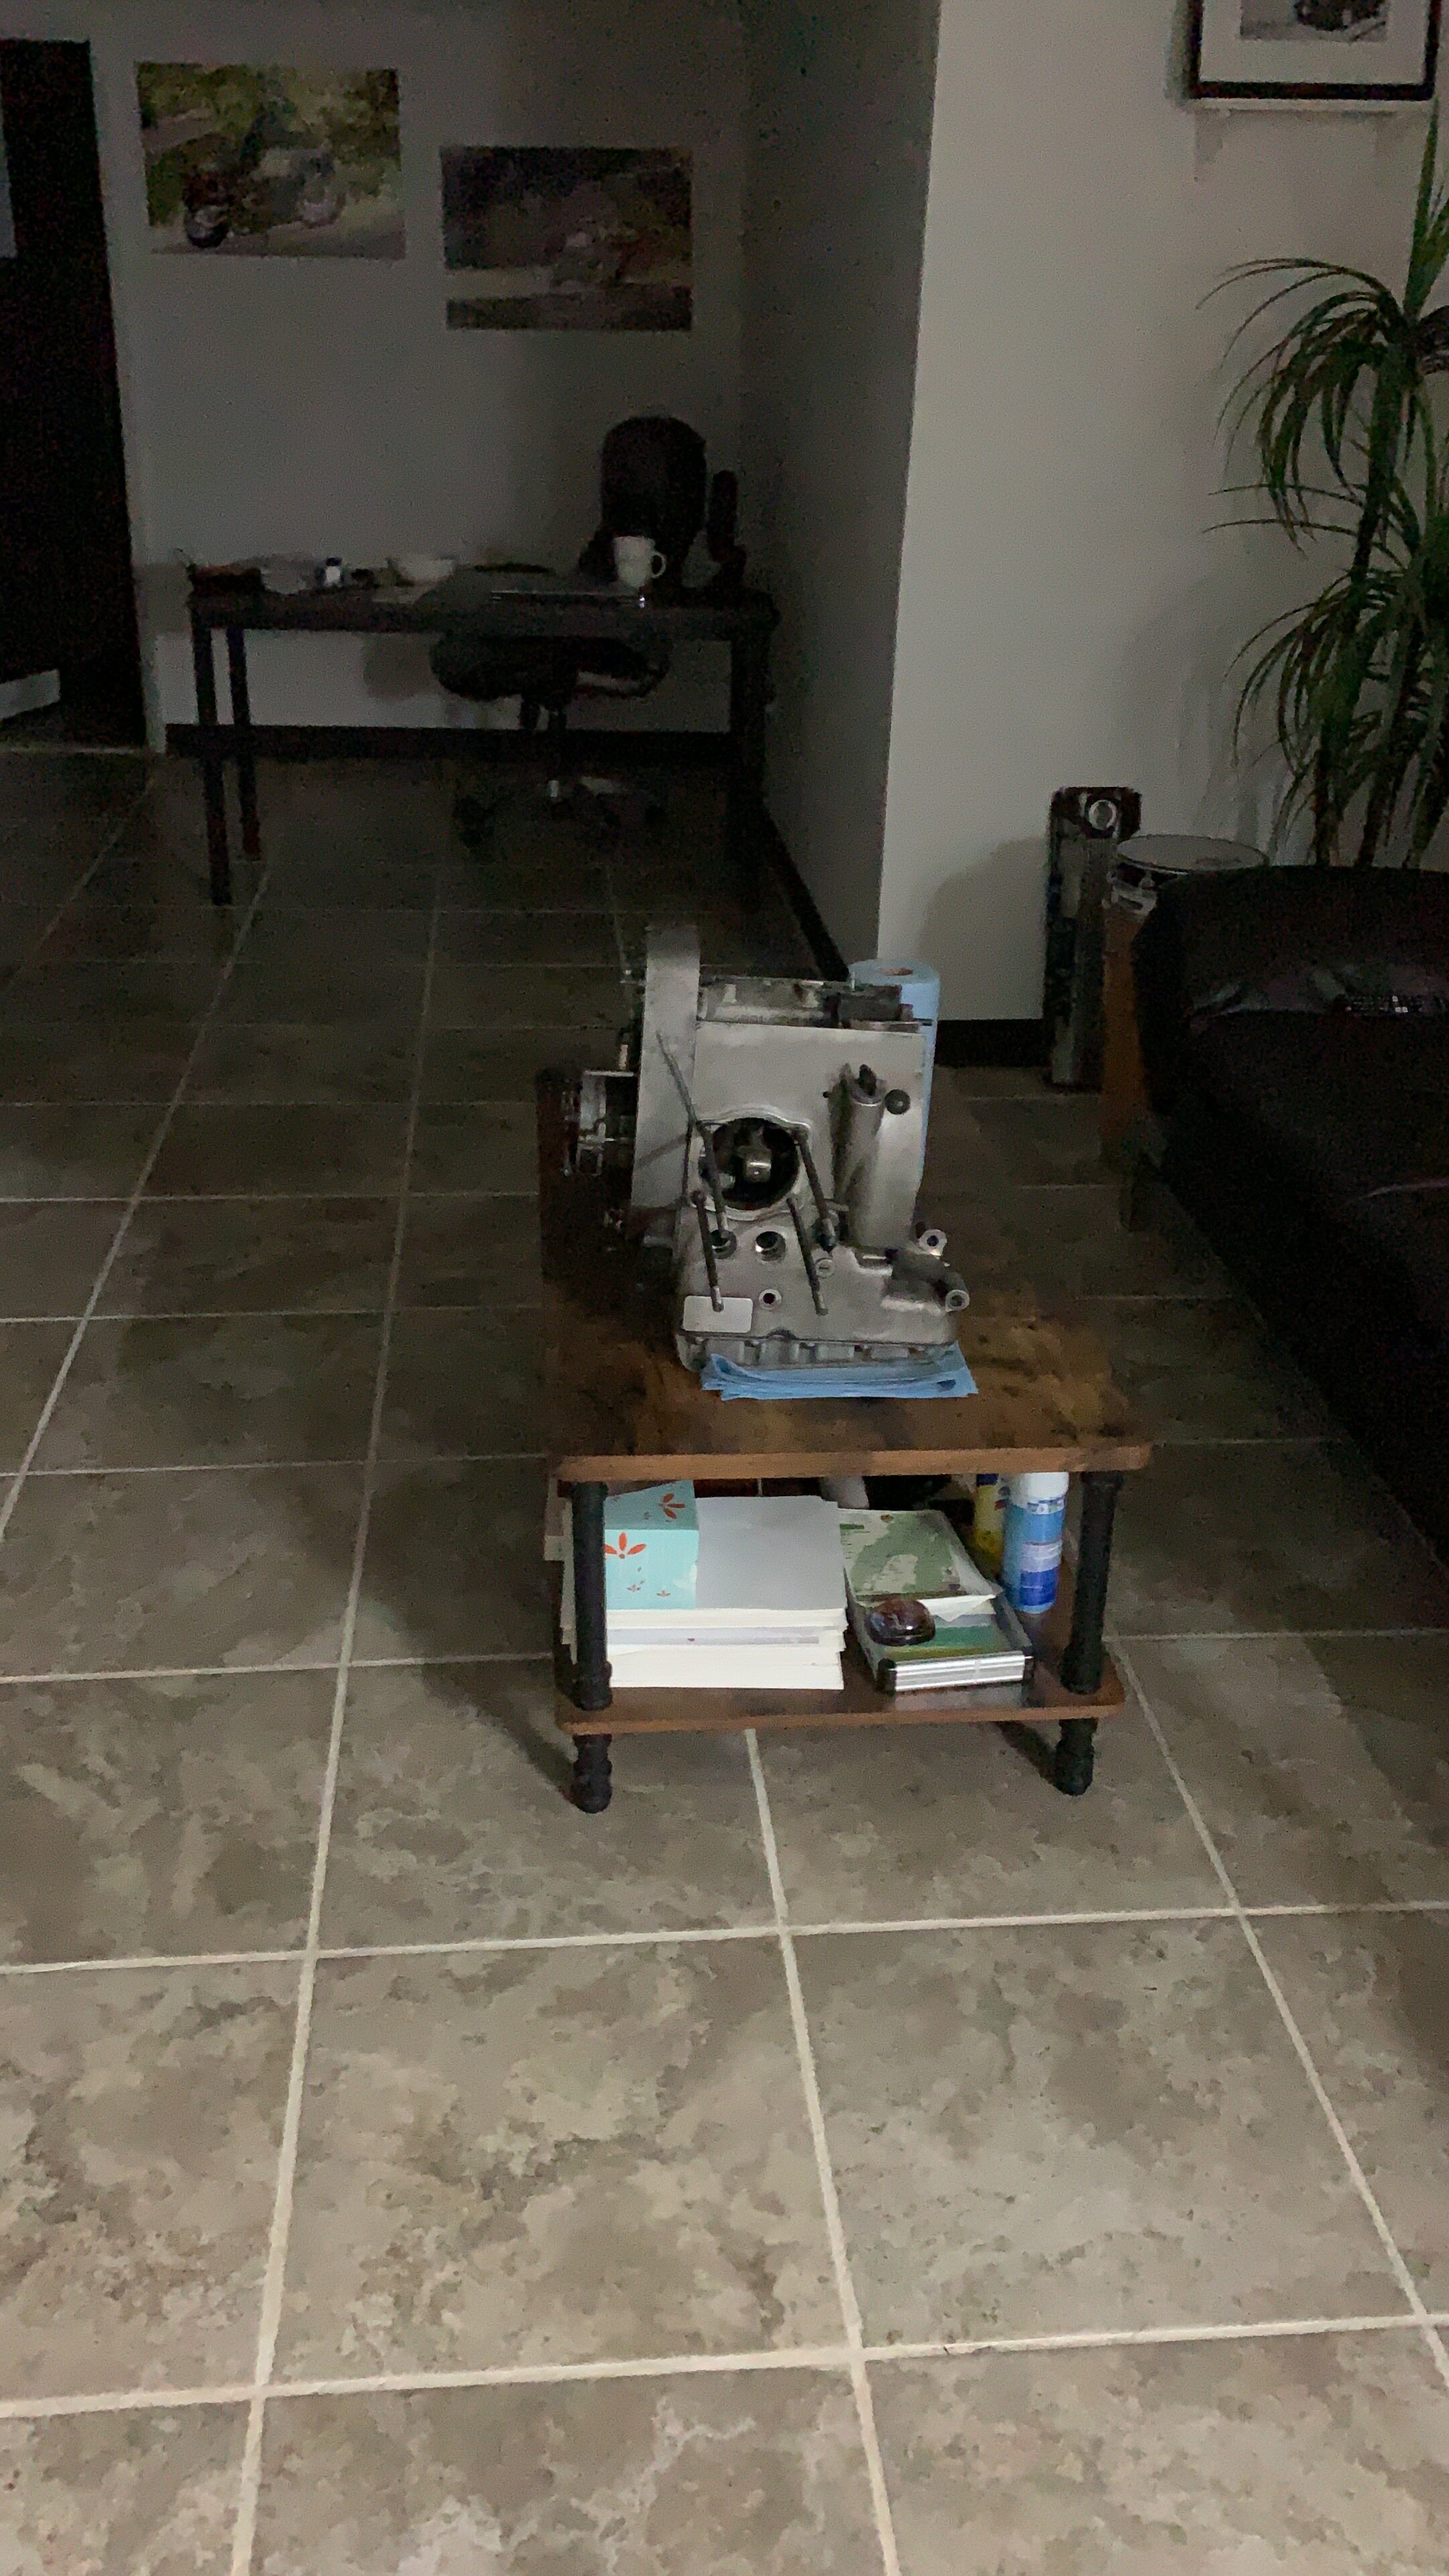
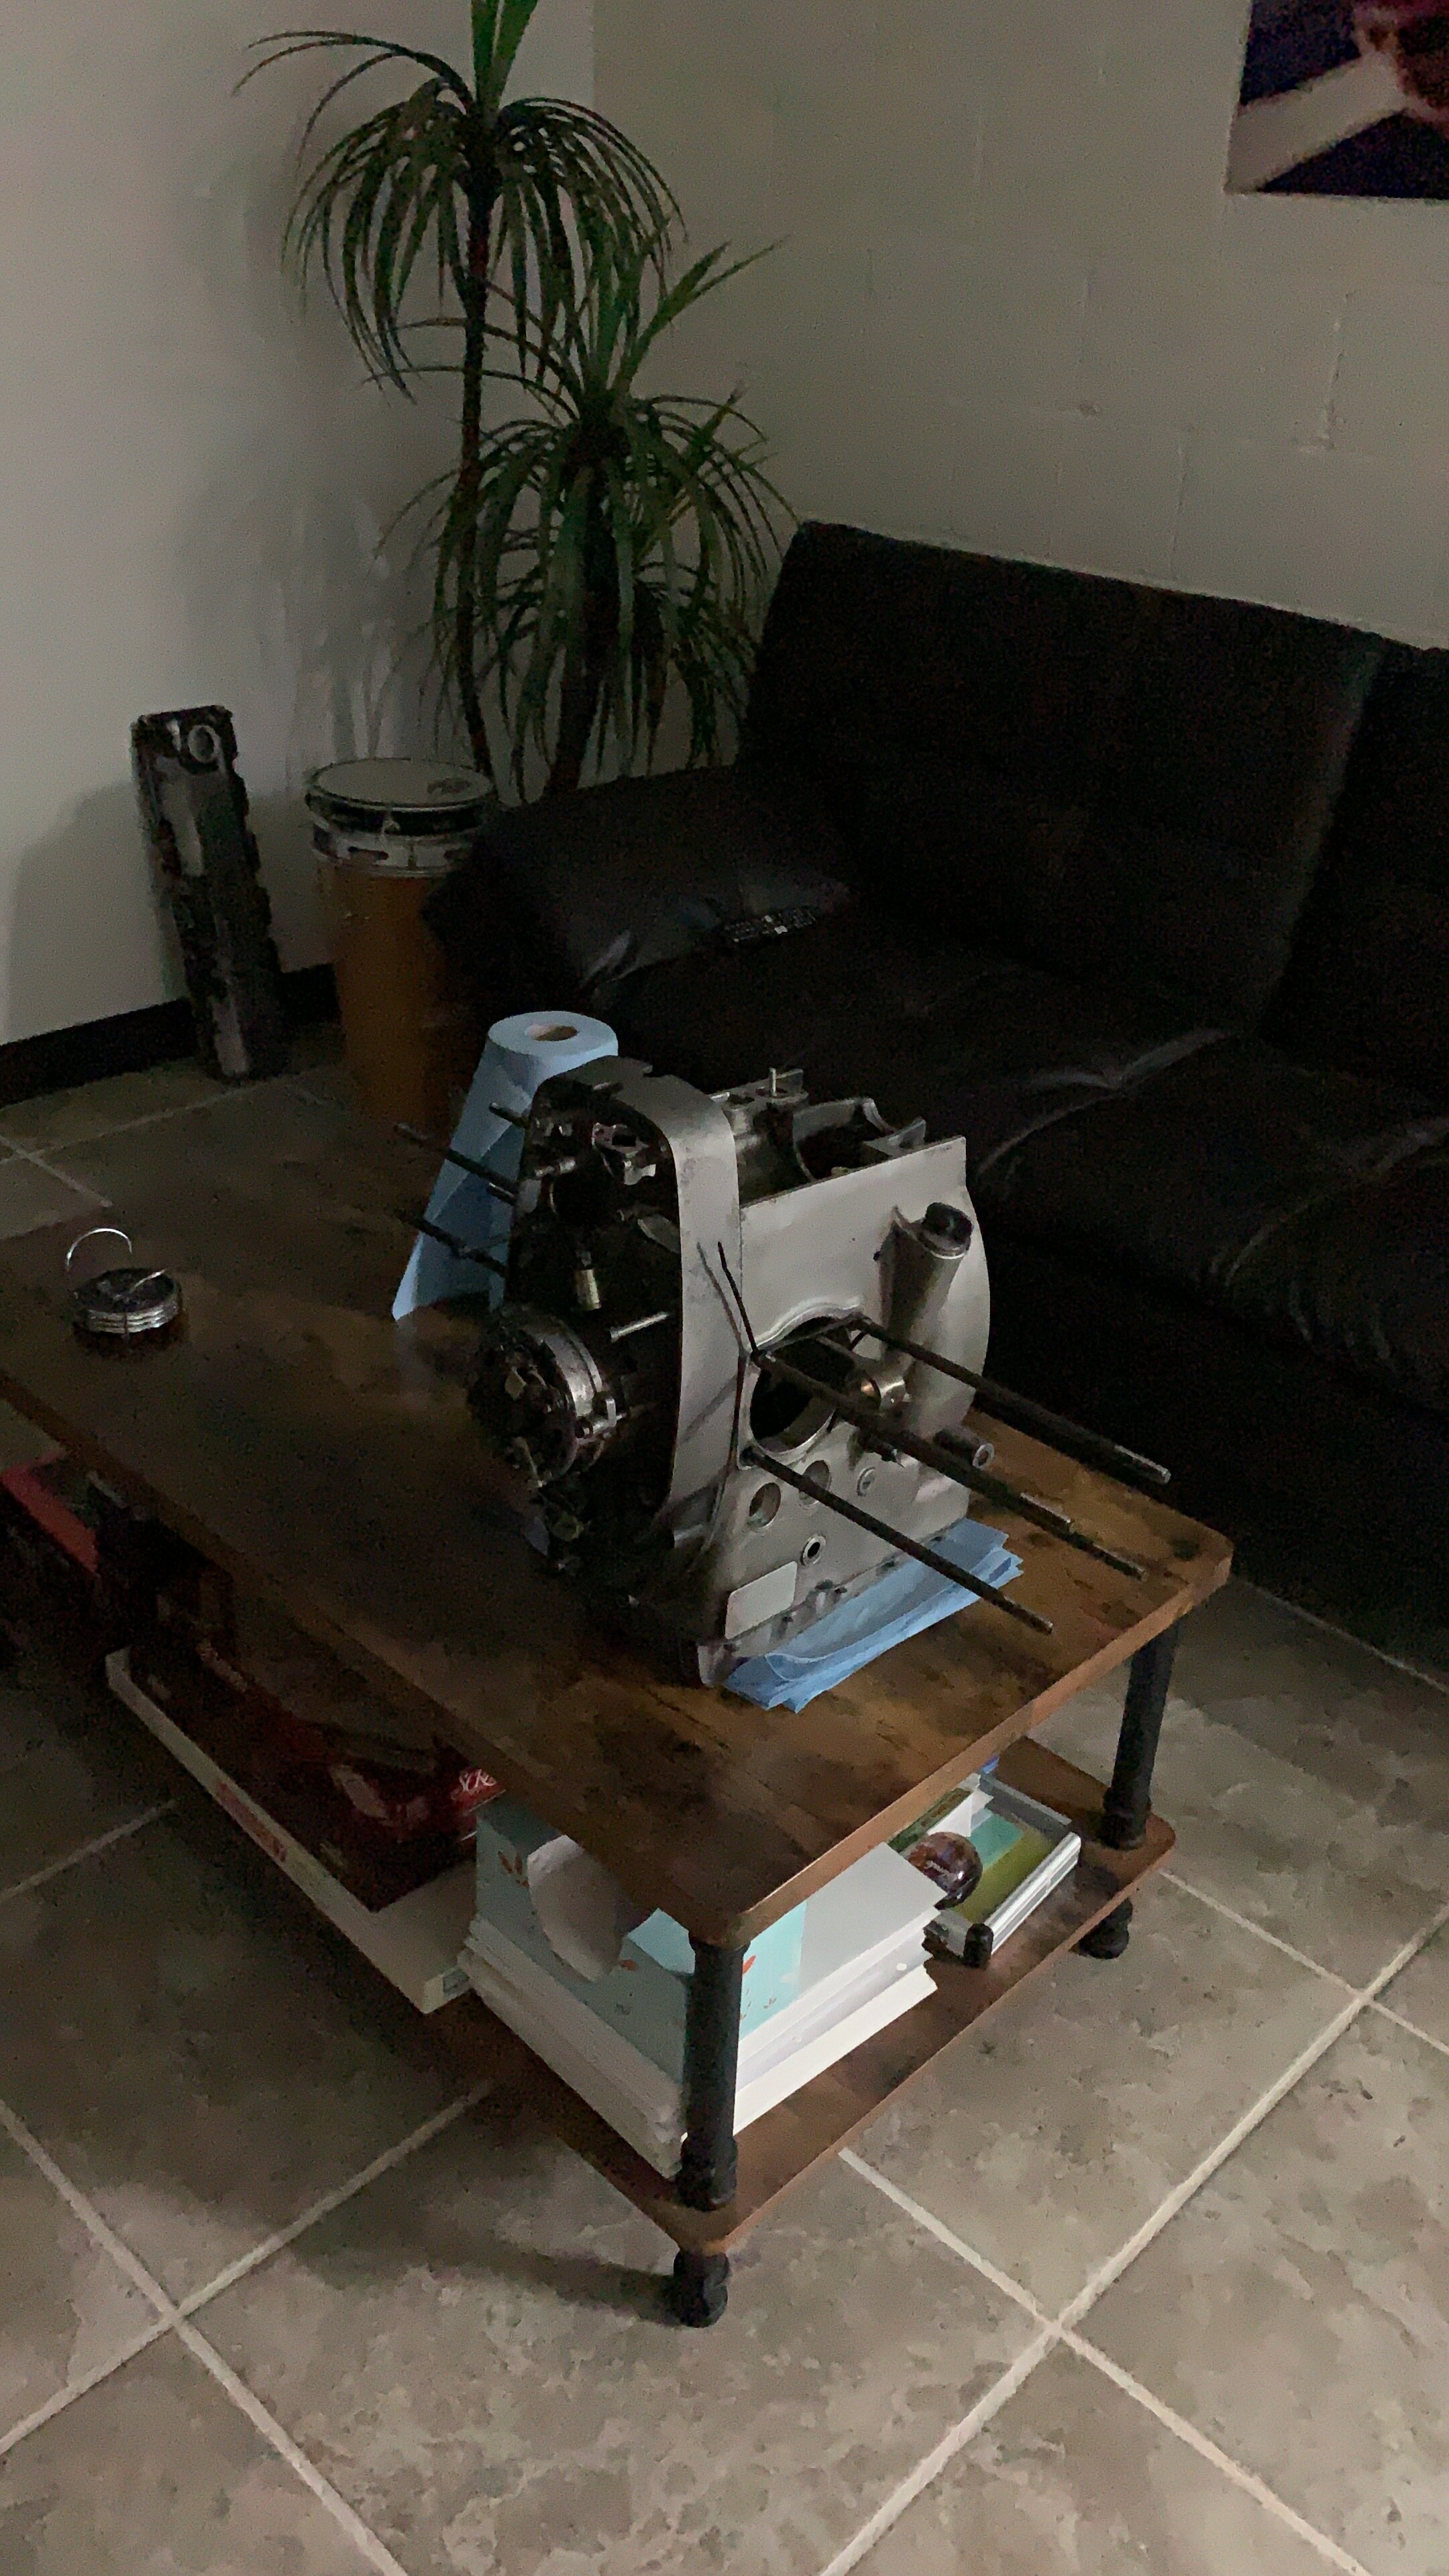
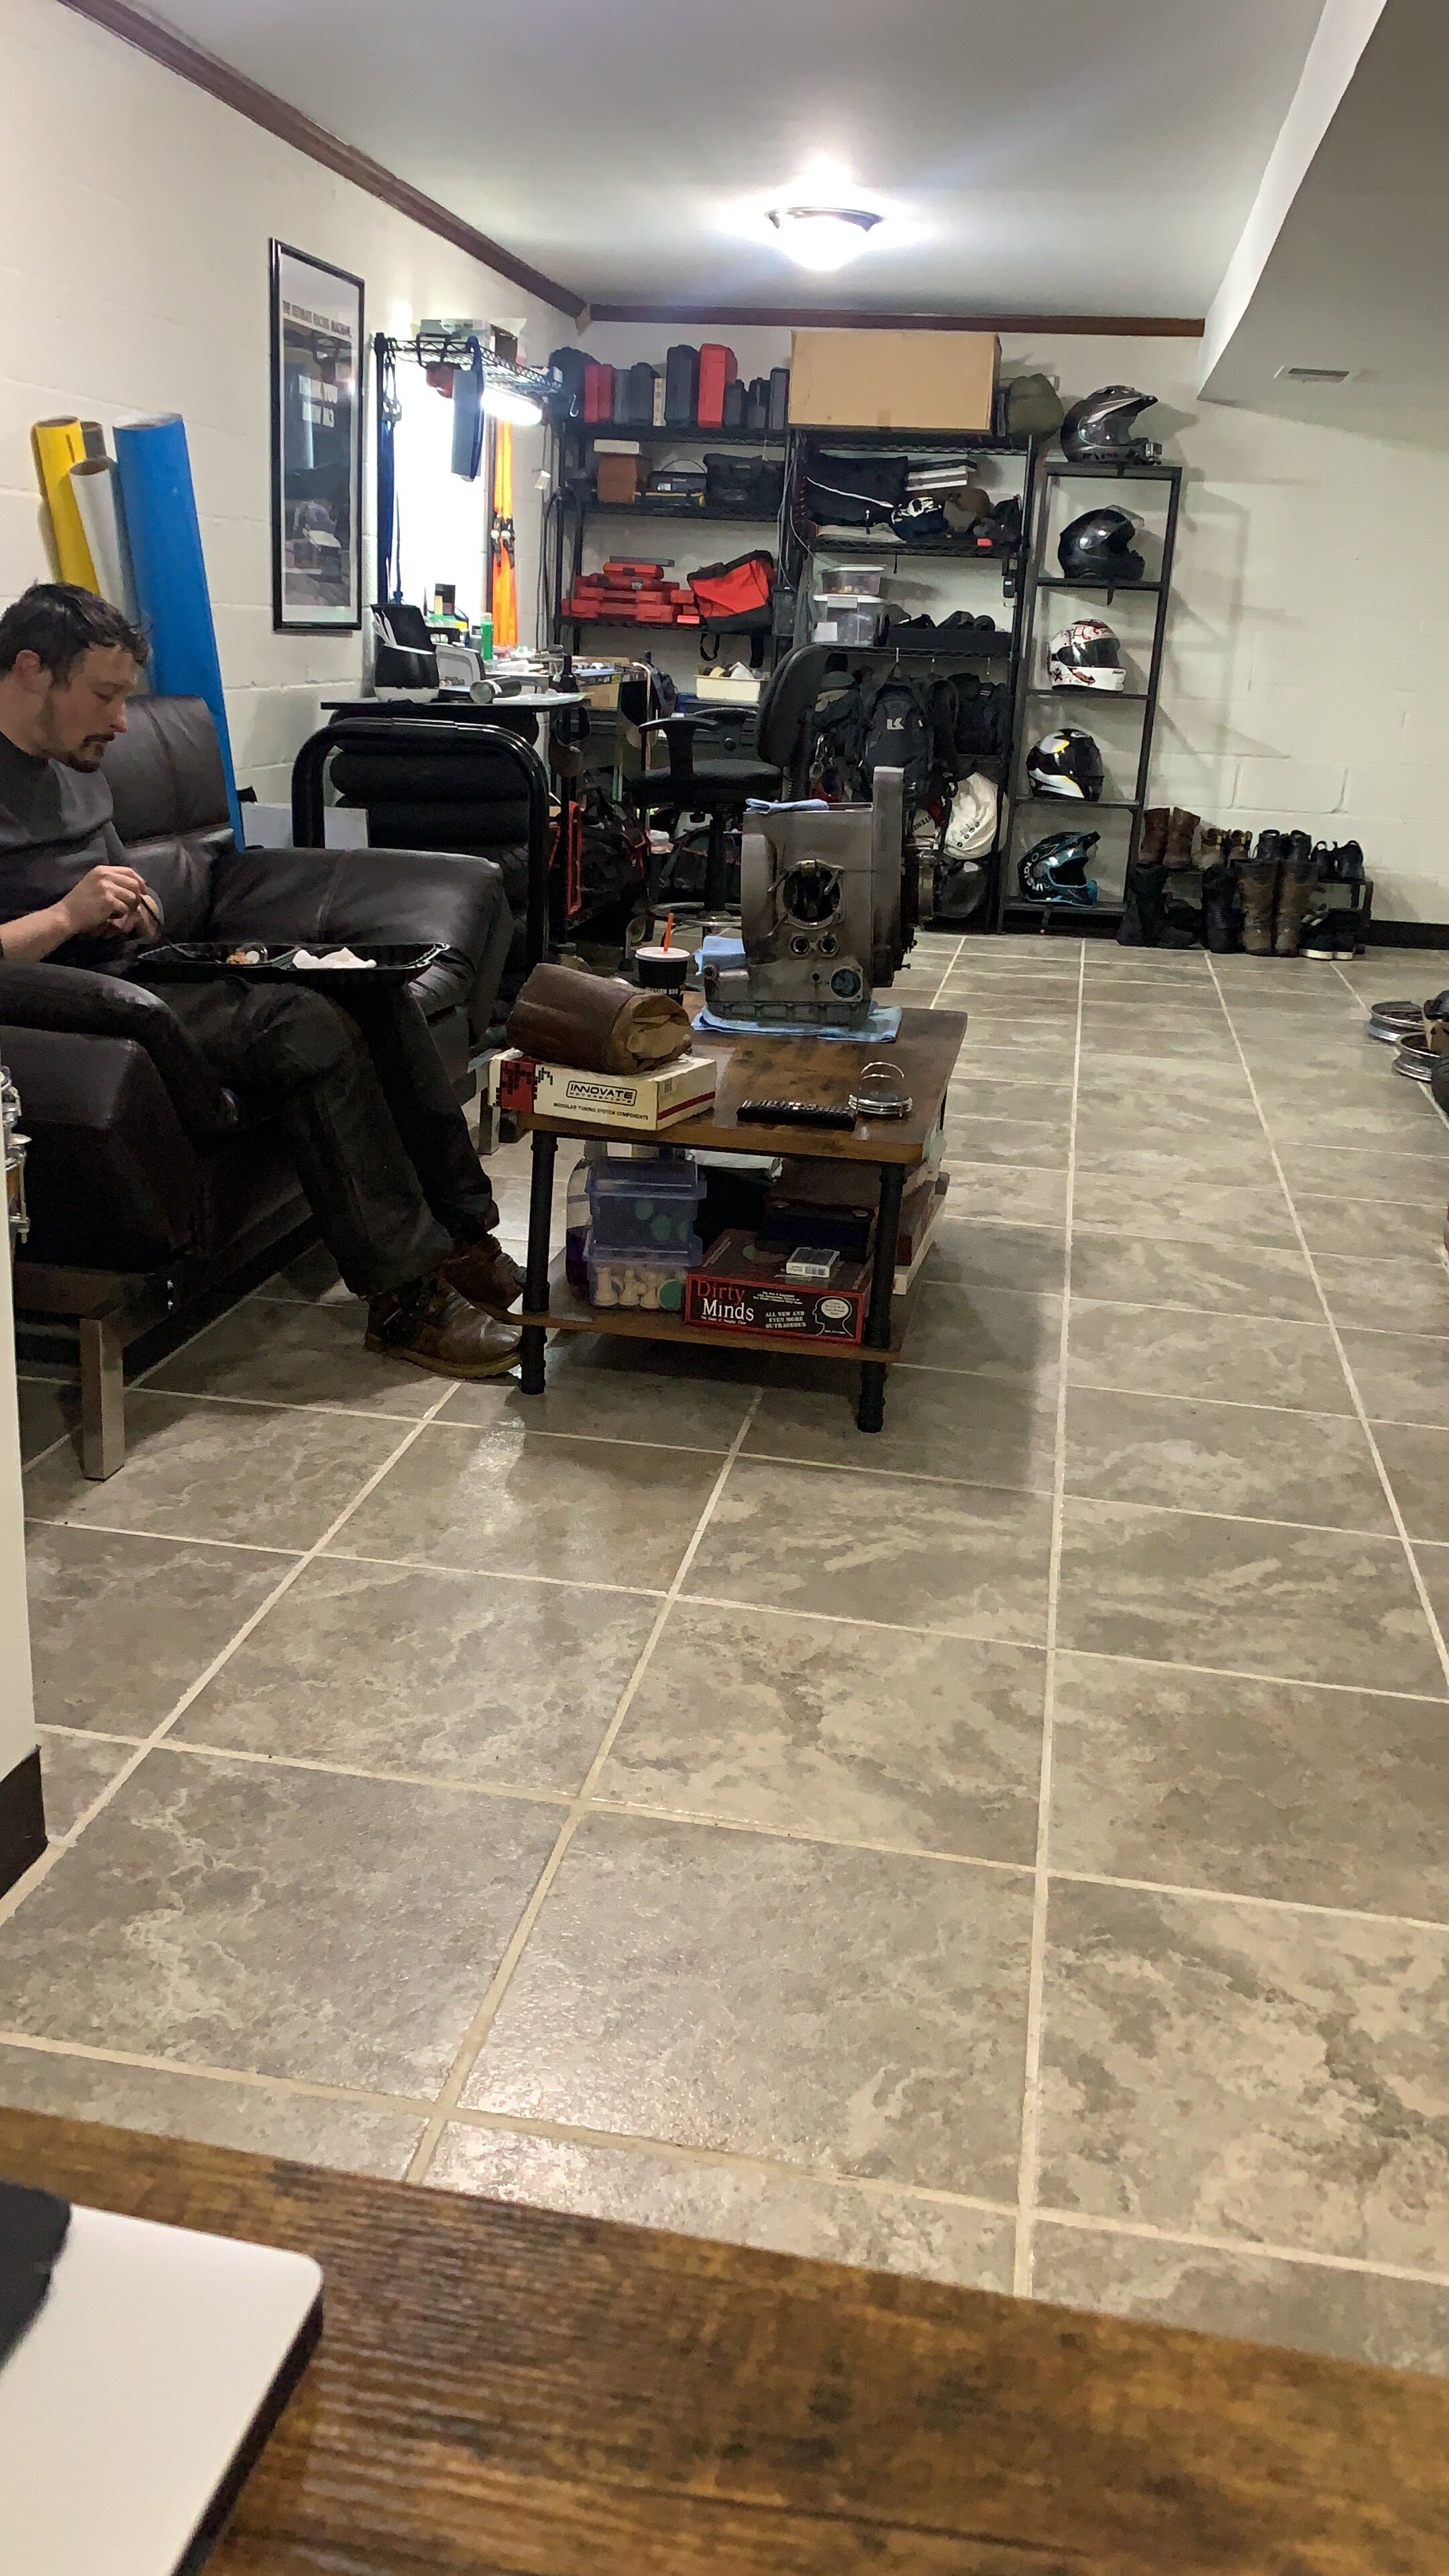
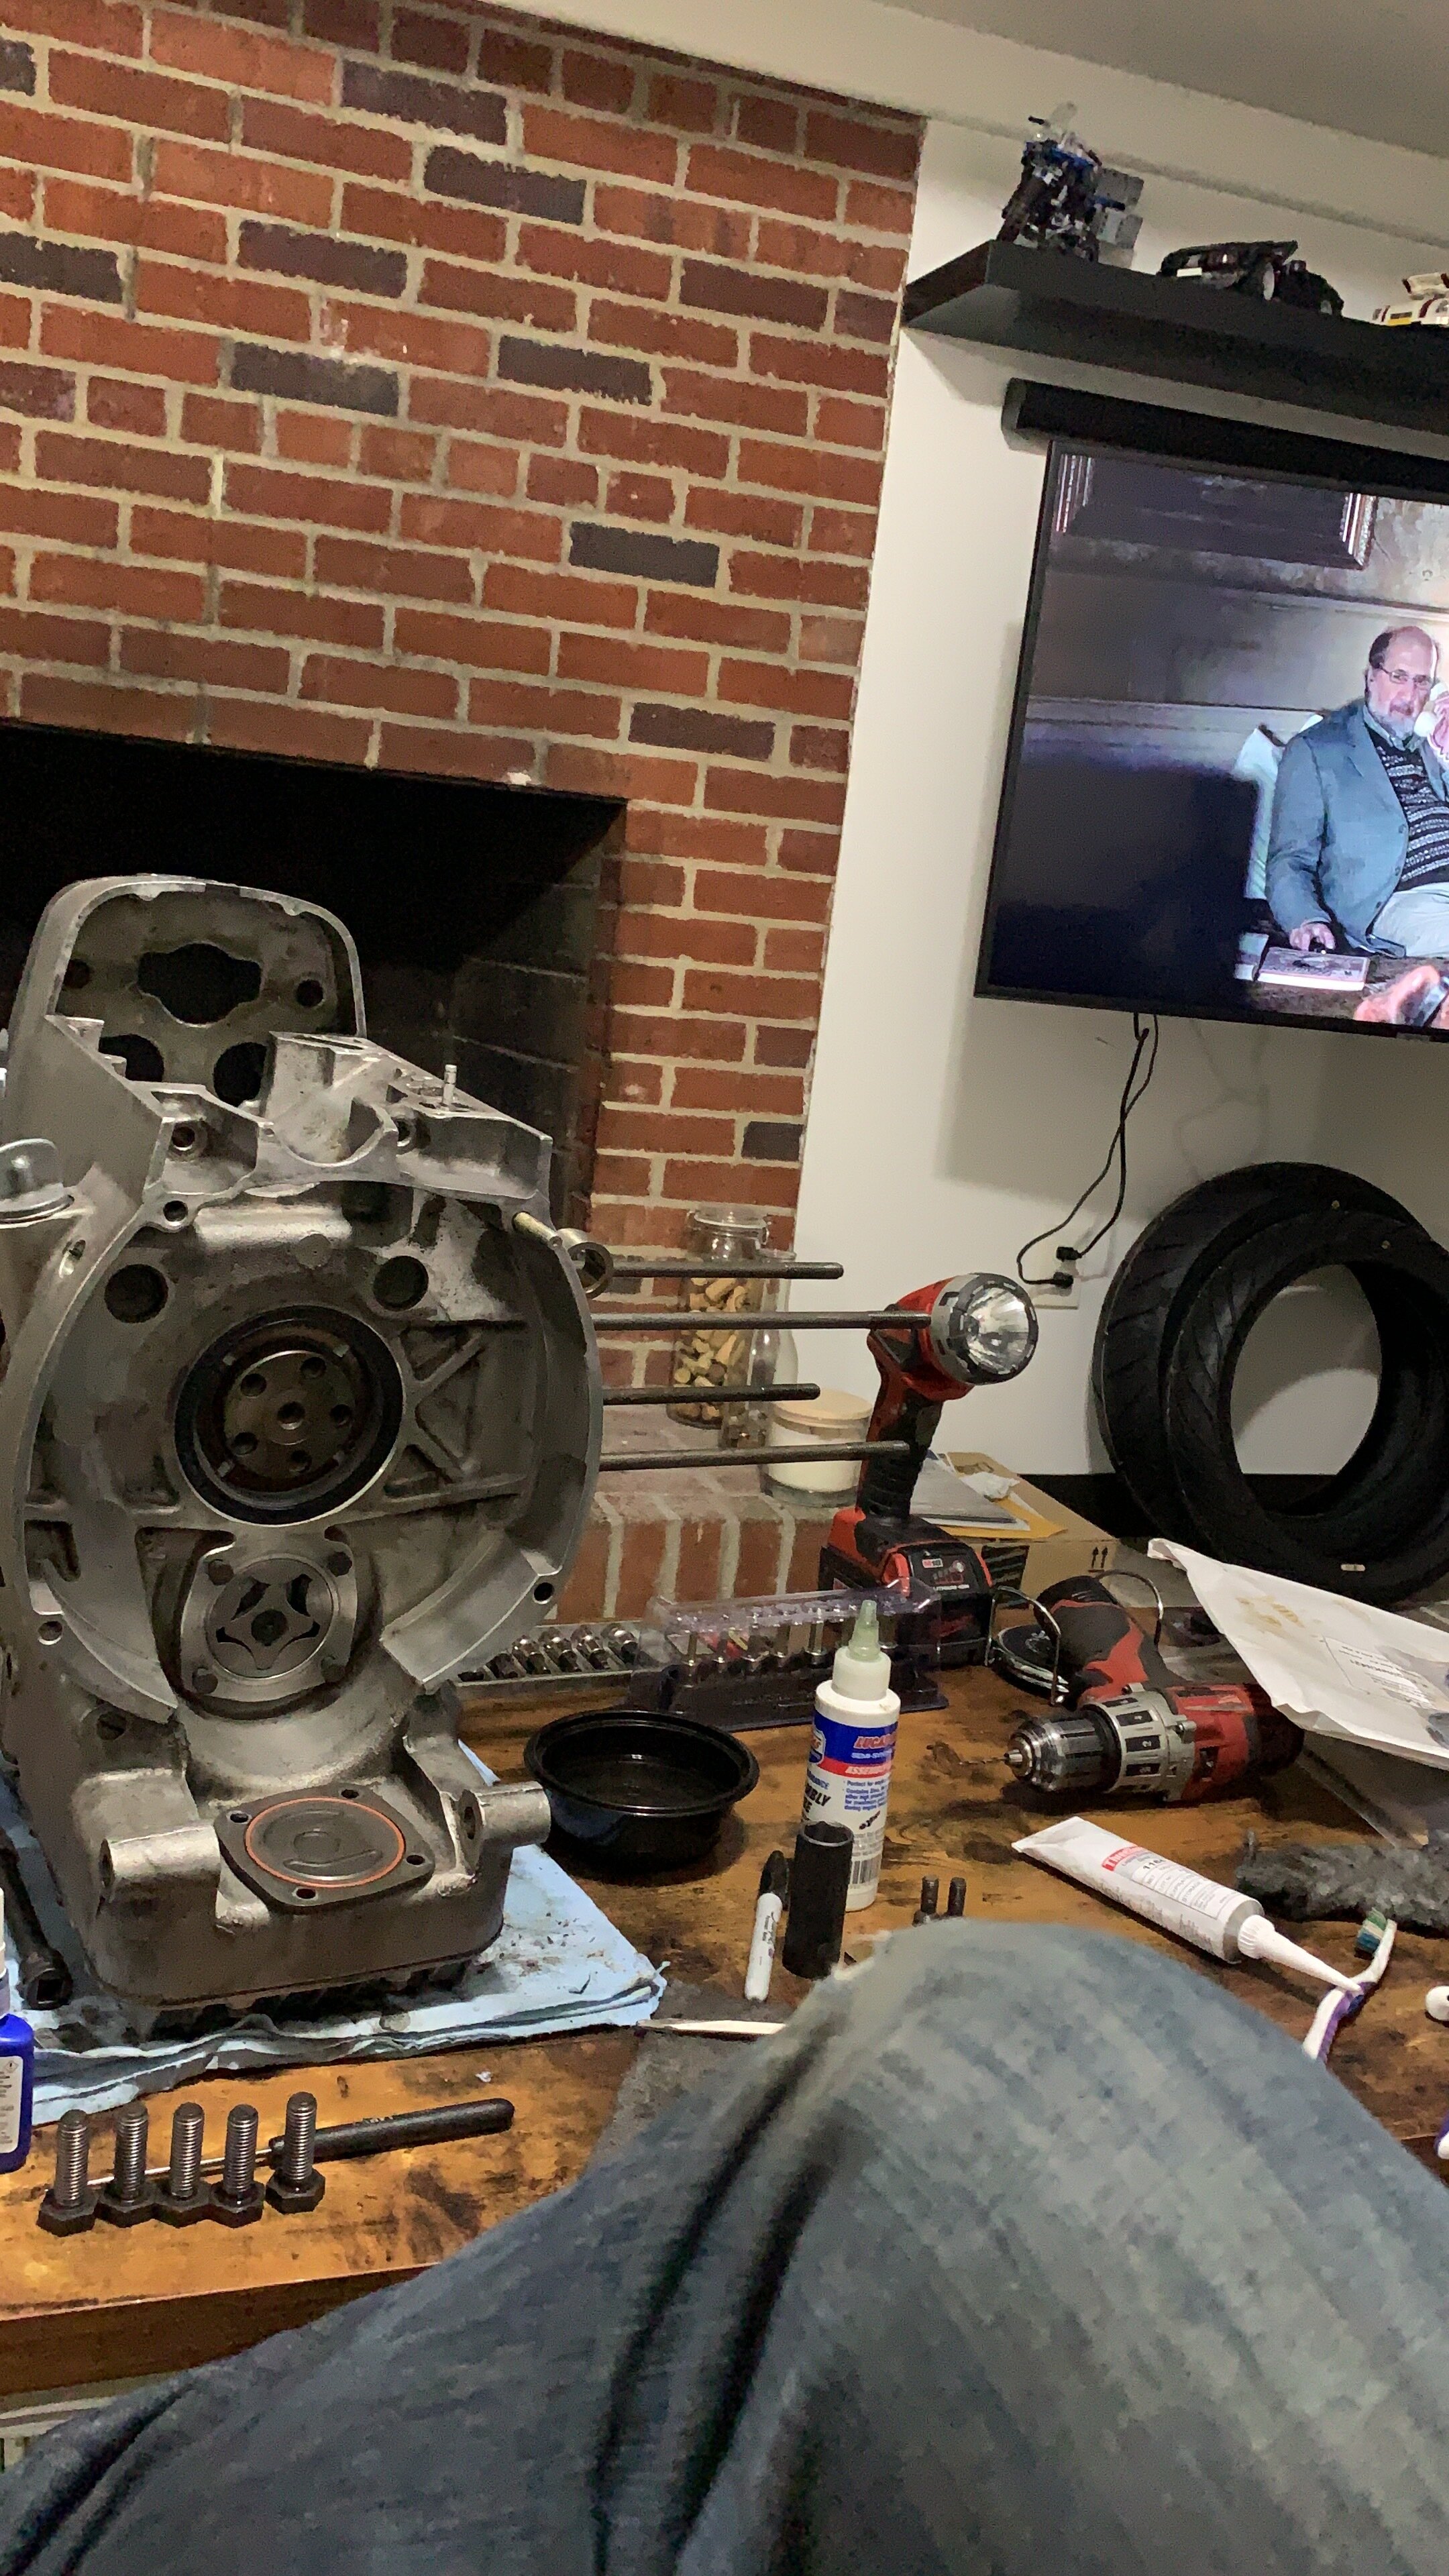
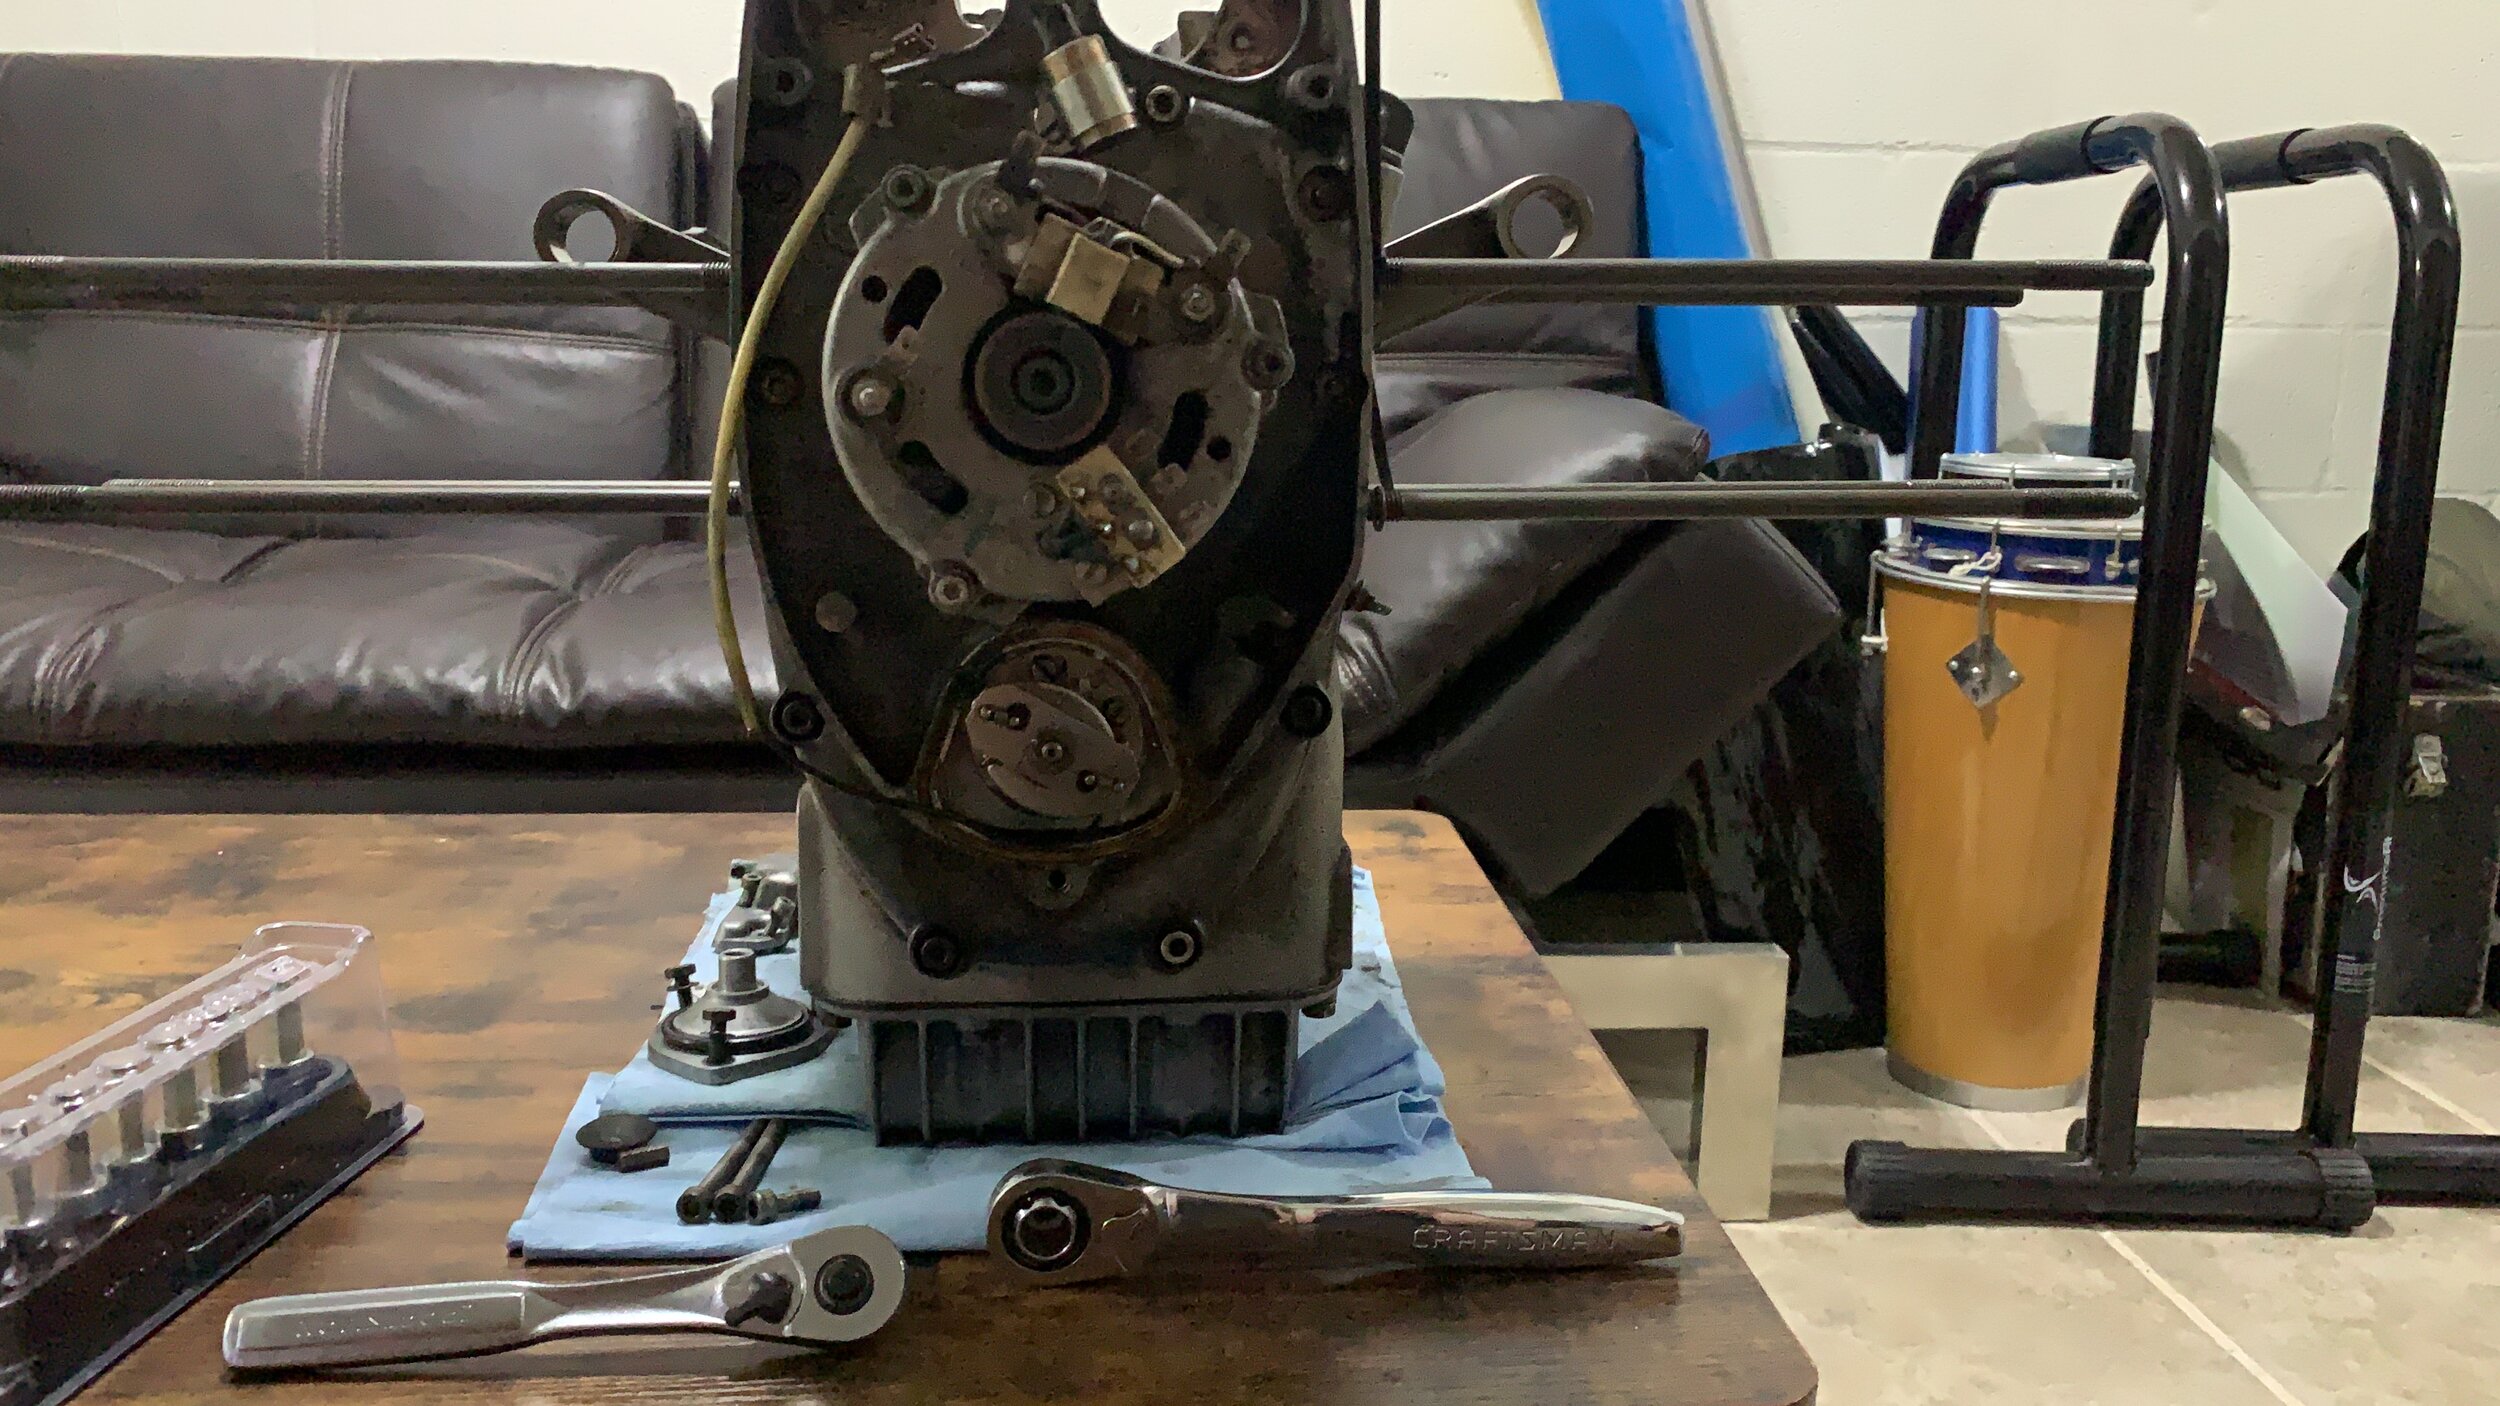
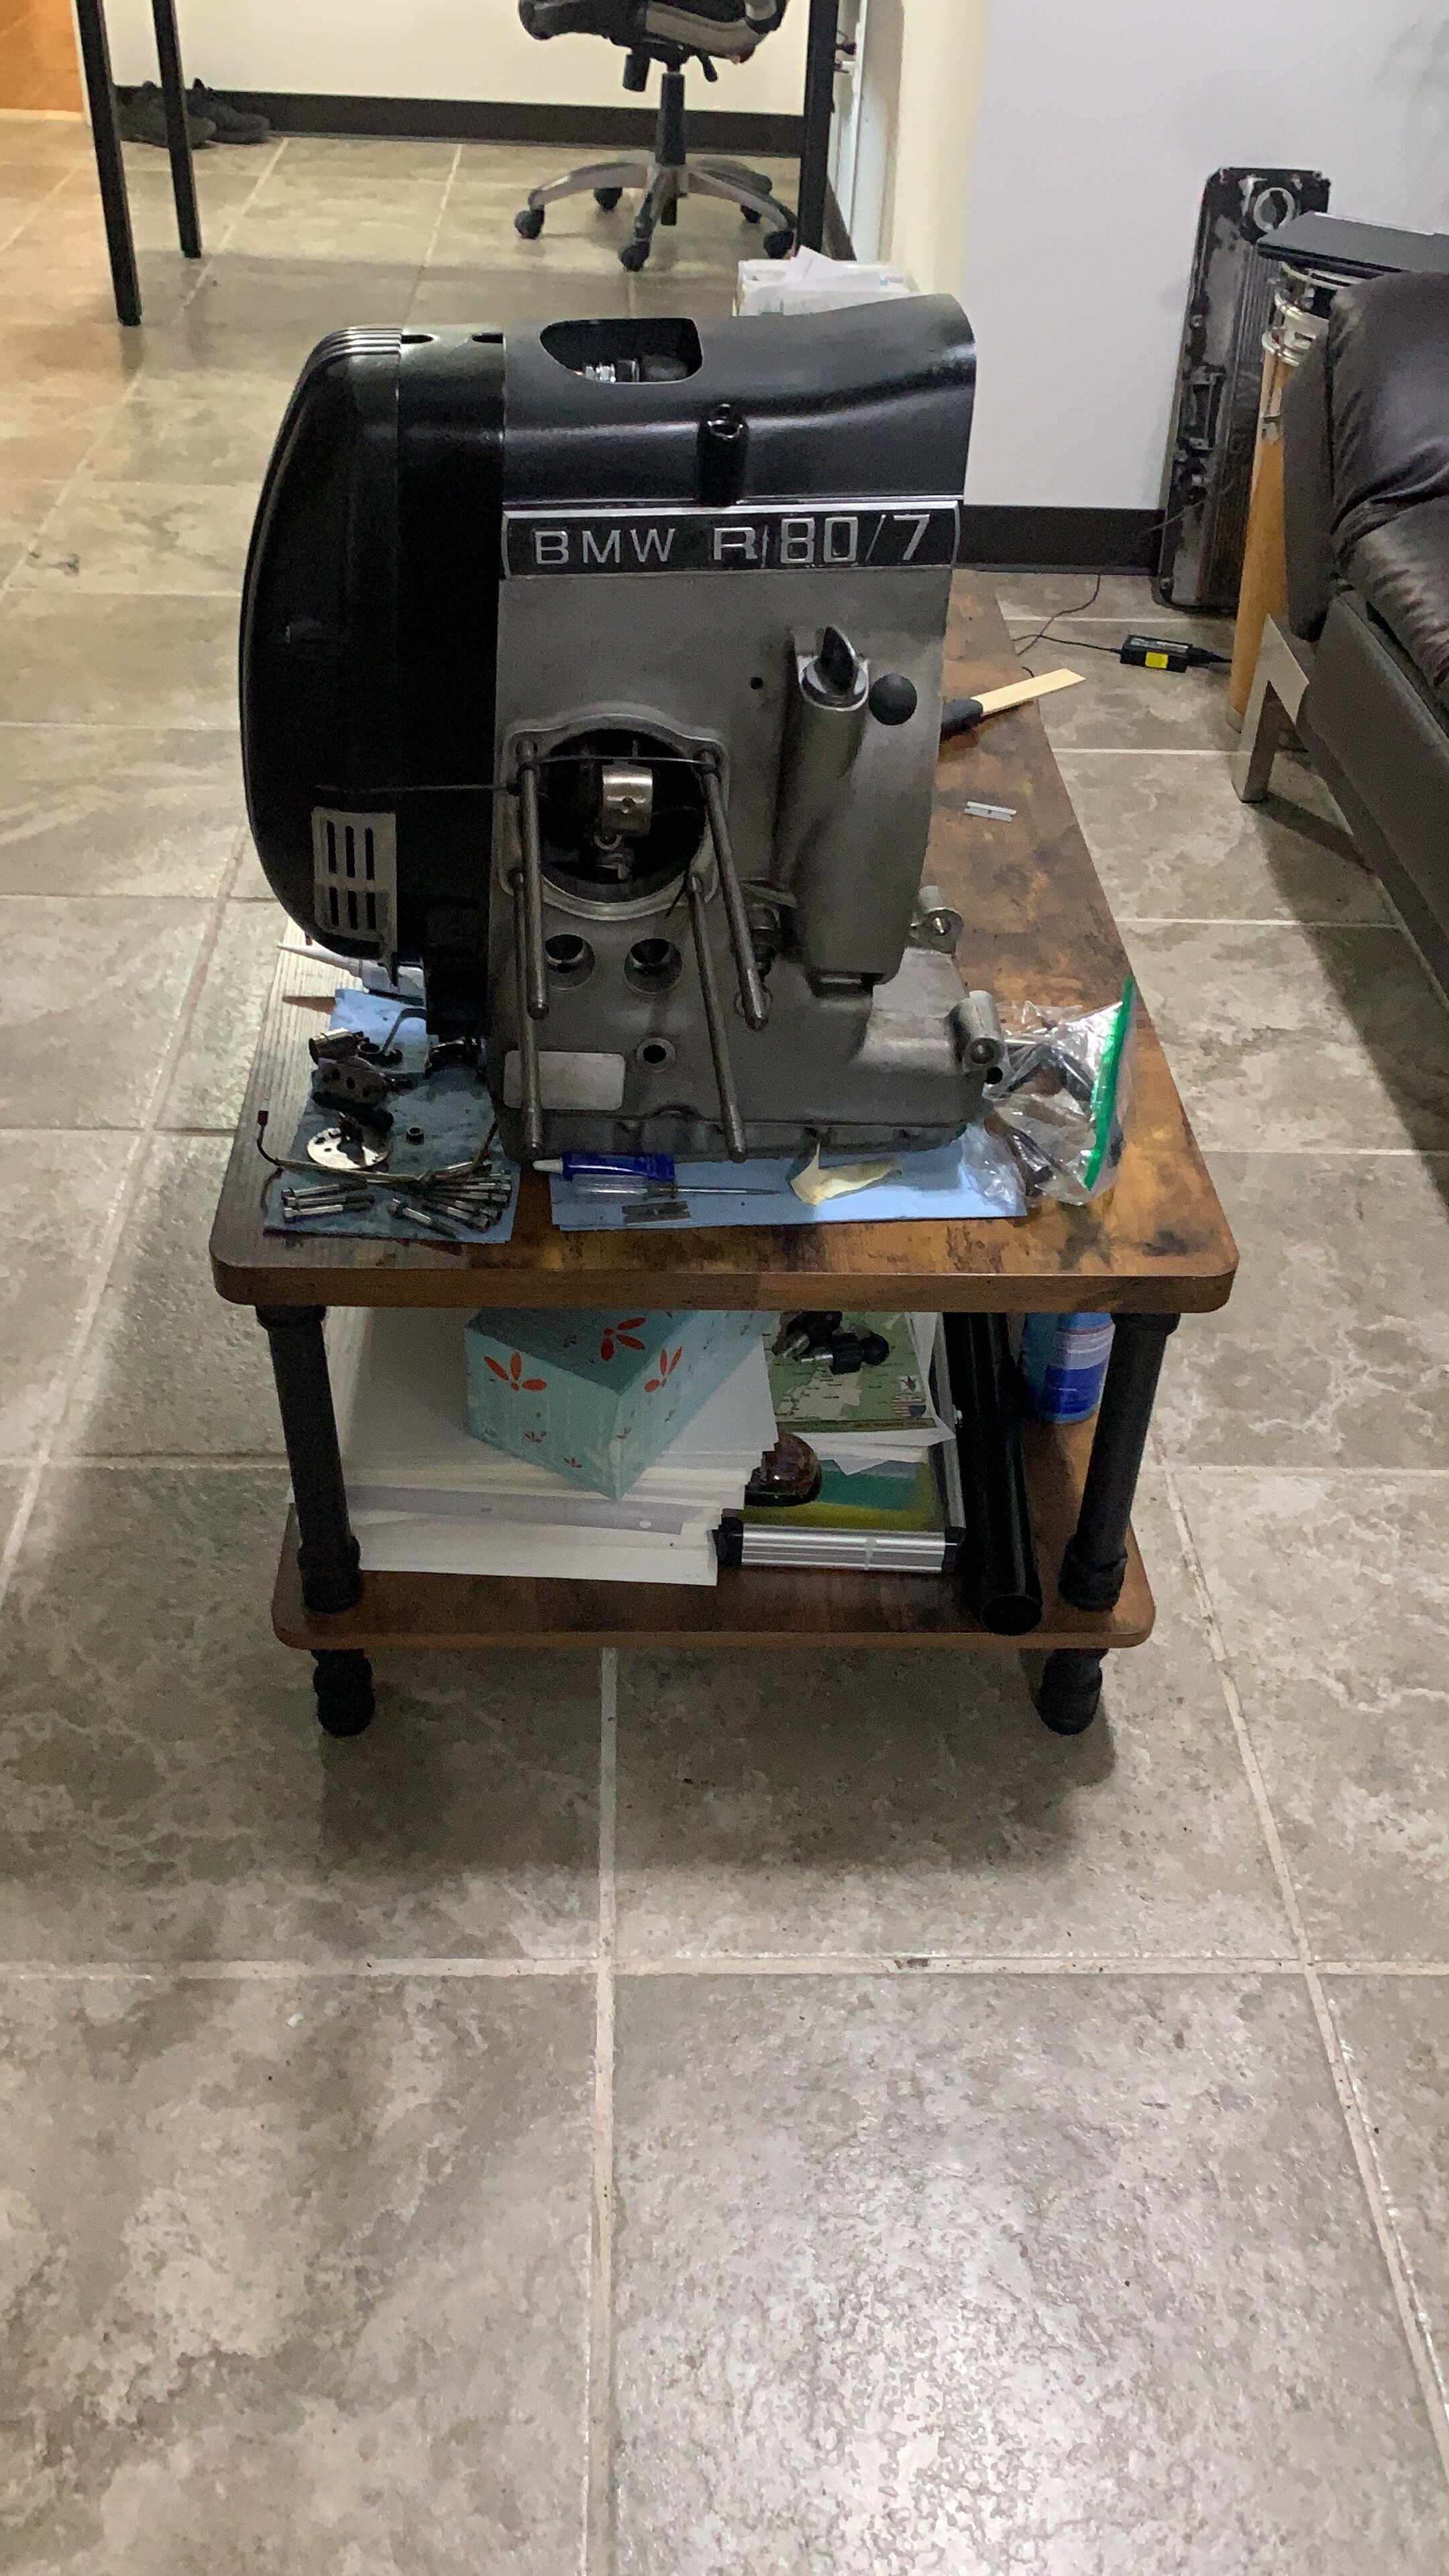
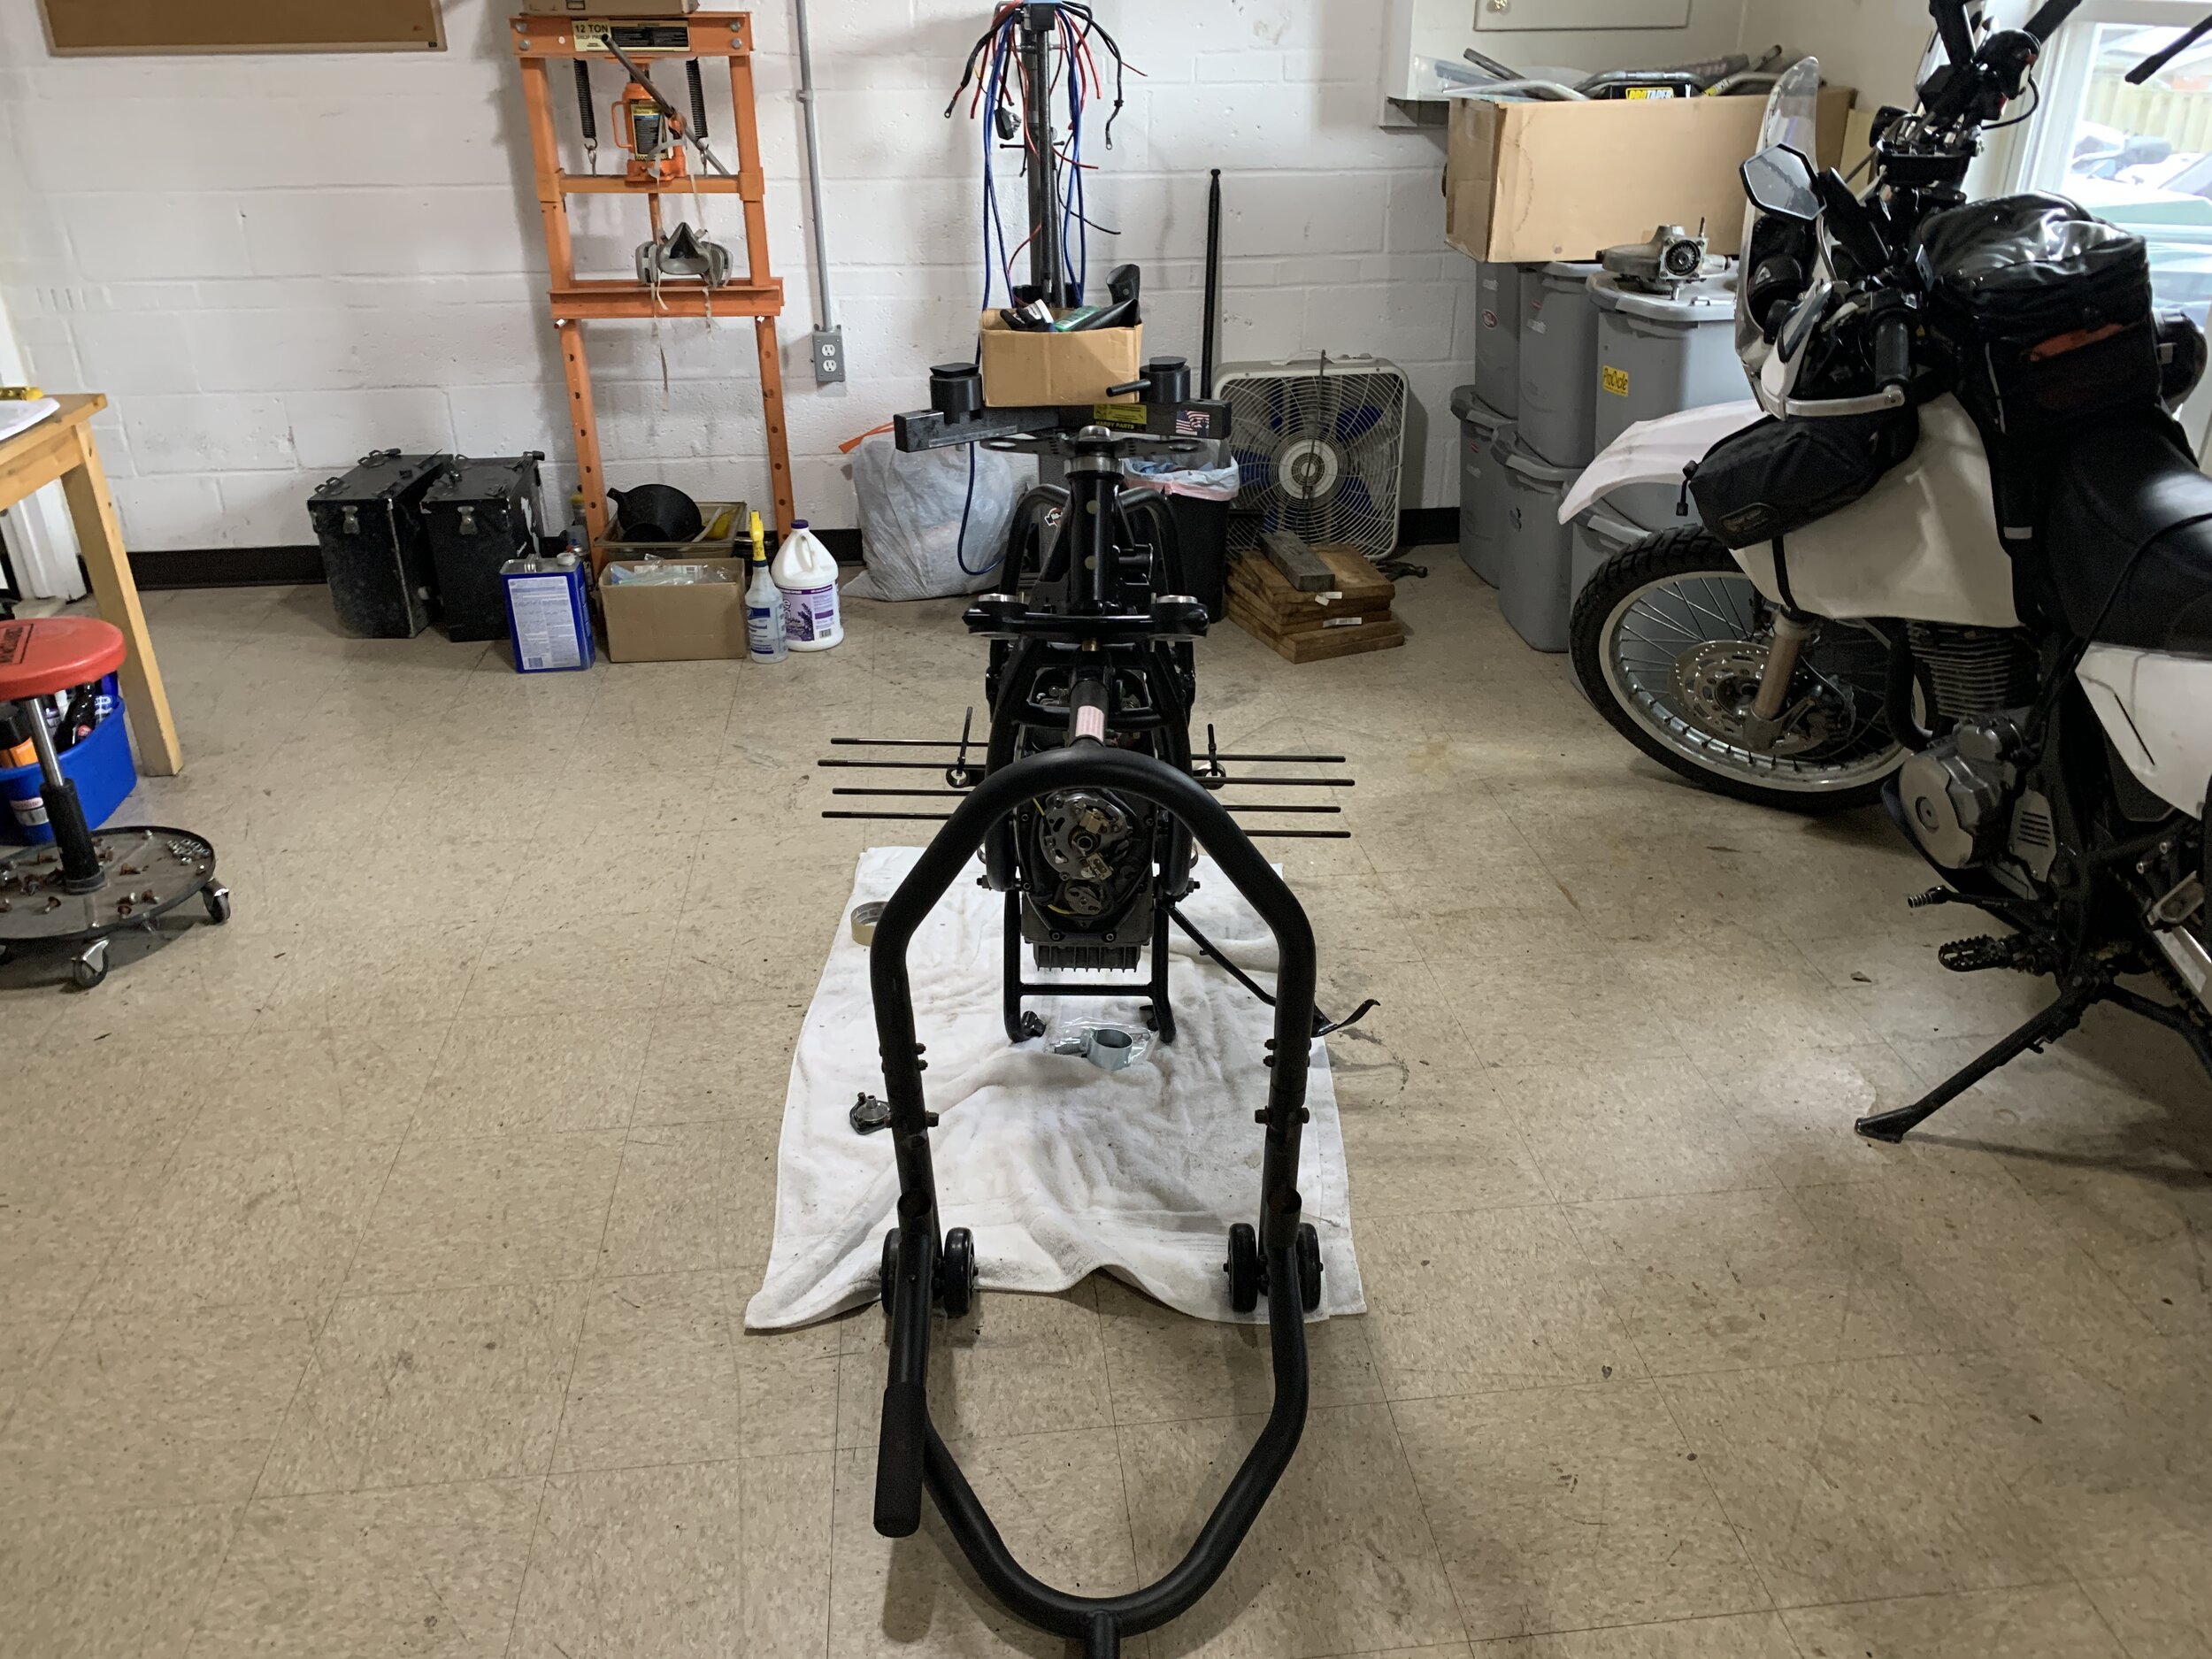
Soon after Covid shutdown happened, I took my bike home in parts. The engine block would live on my coffee table for 2 month. It seems like incredible amount of parts, little did I know that it was about to be more the more I disassemble the bike for inspection.
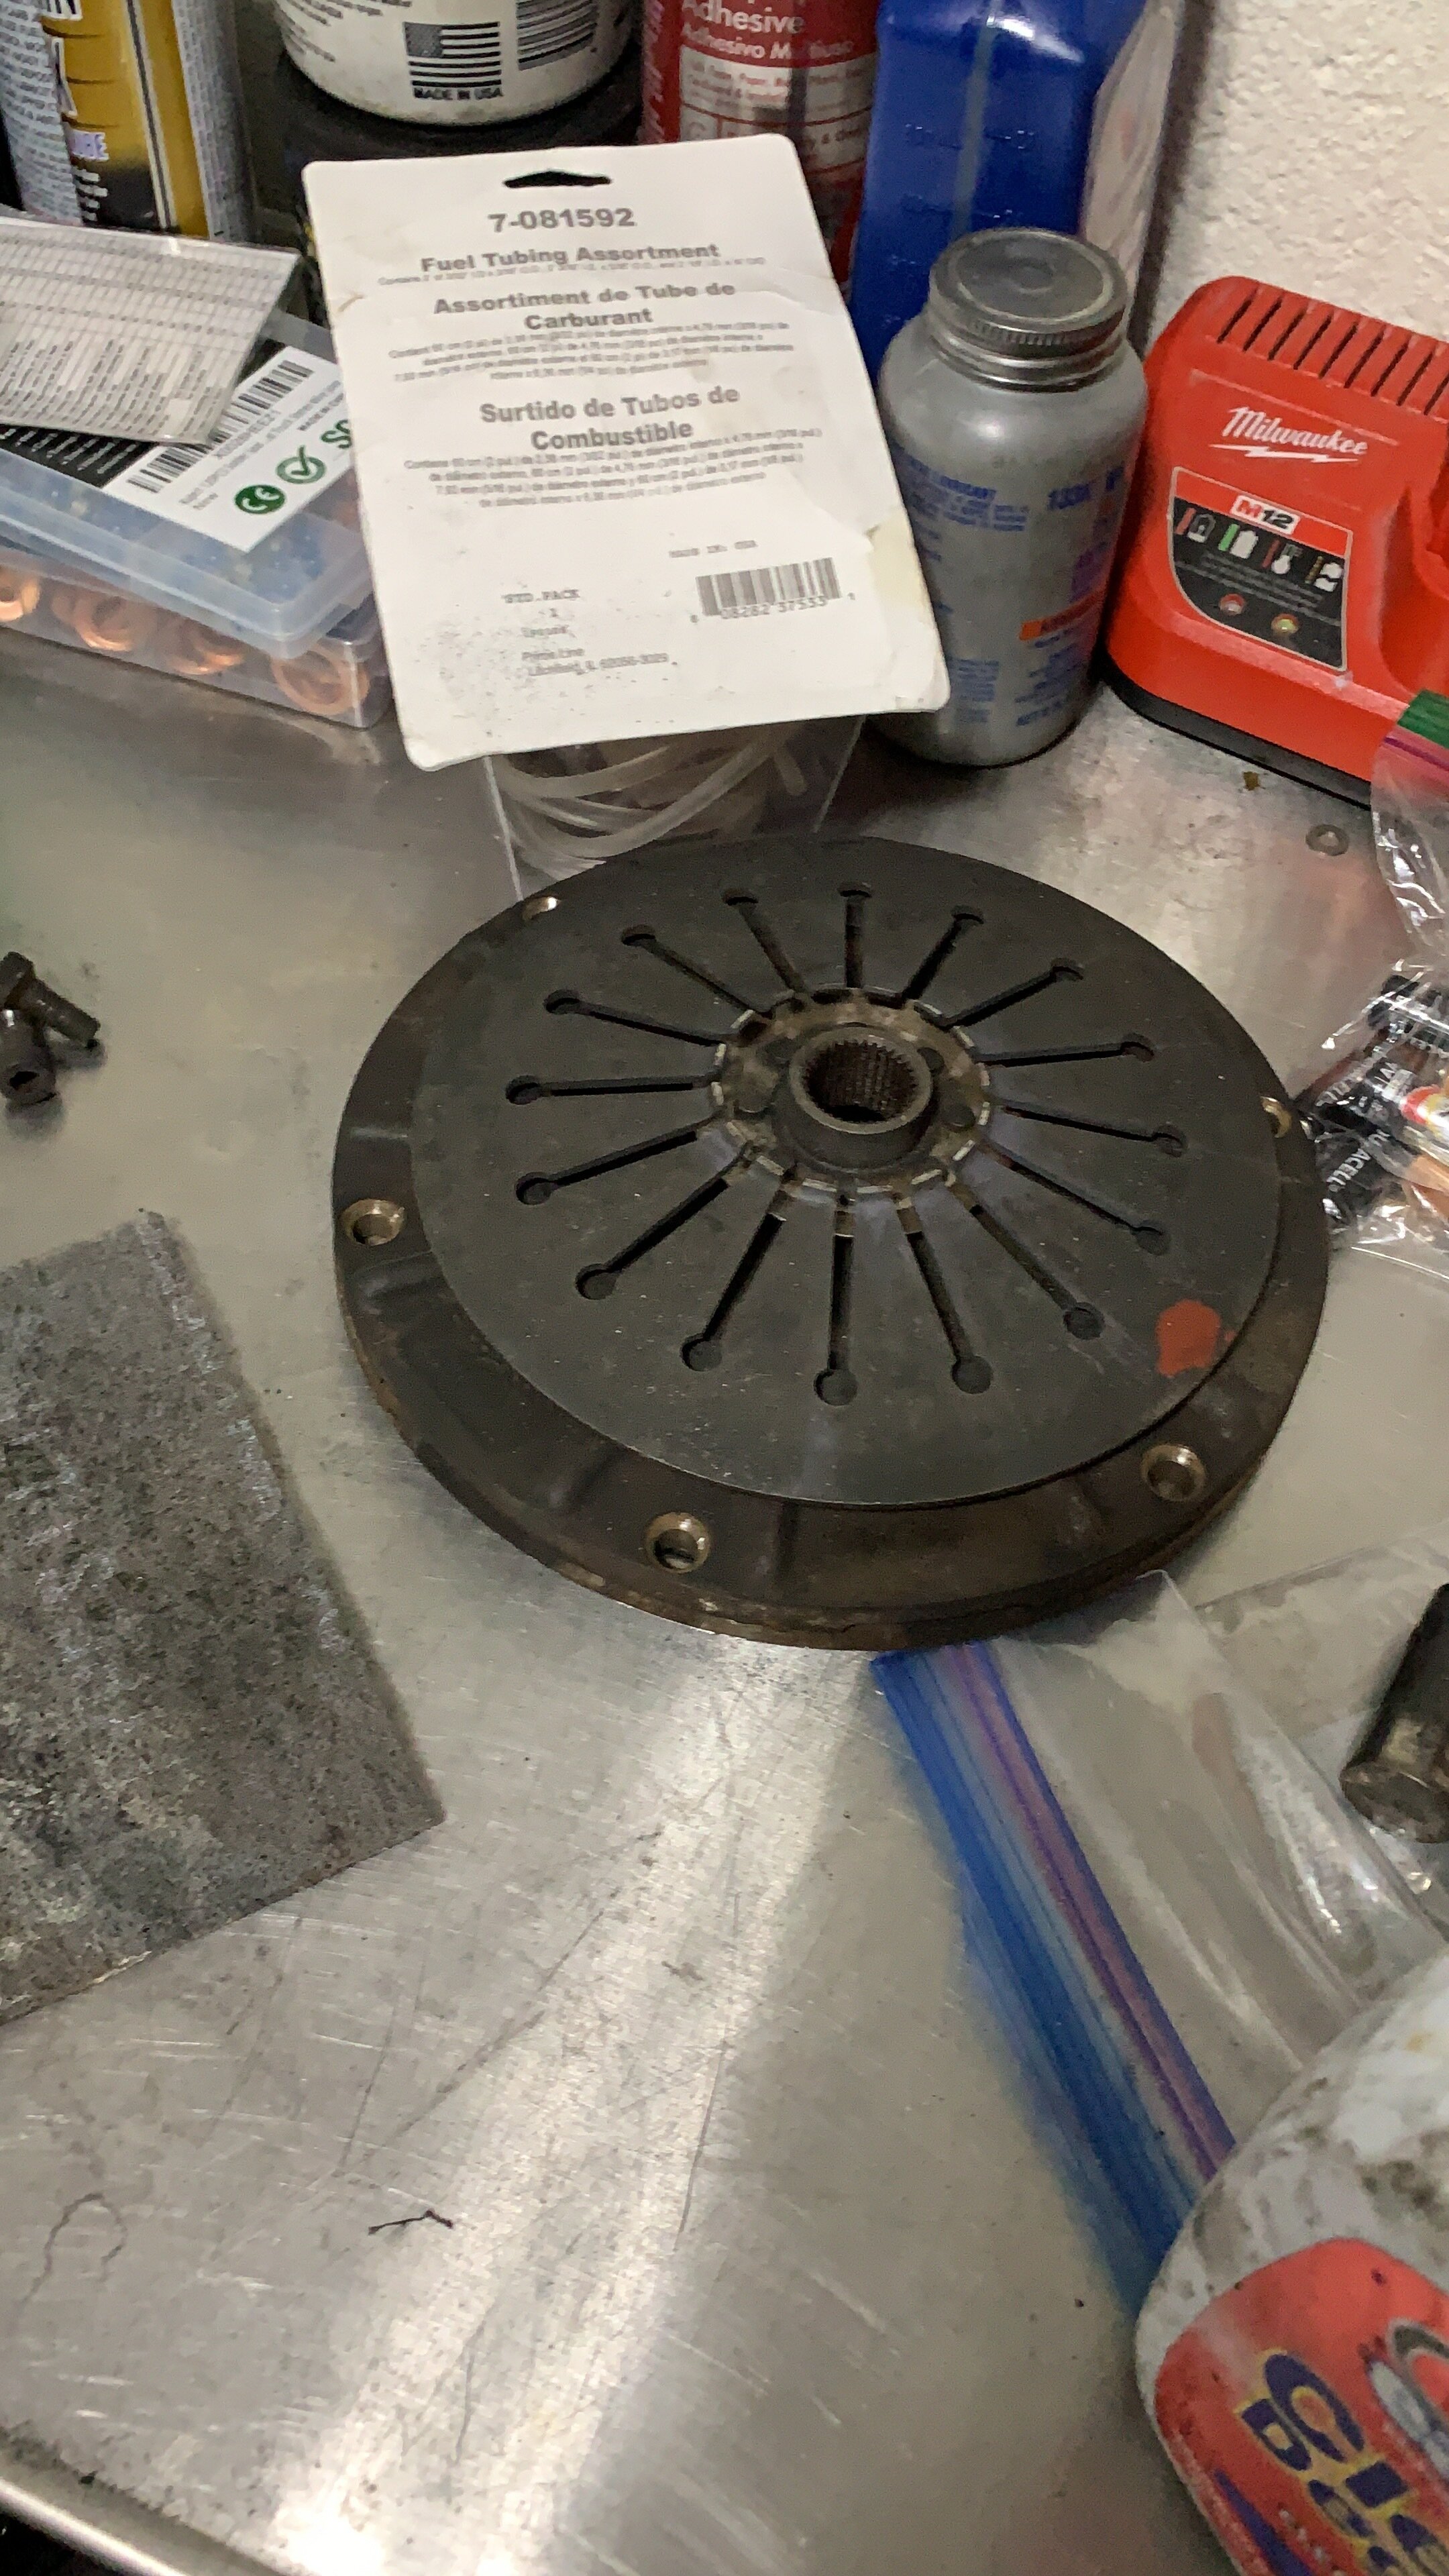
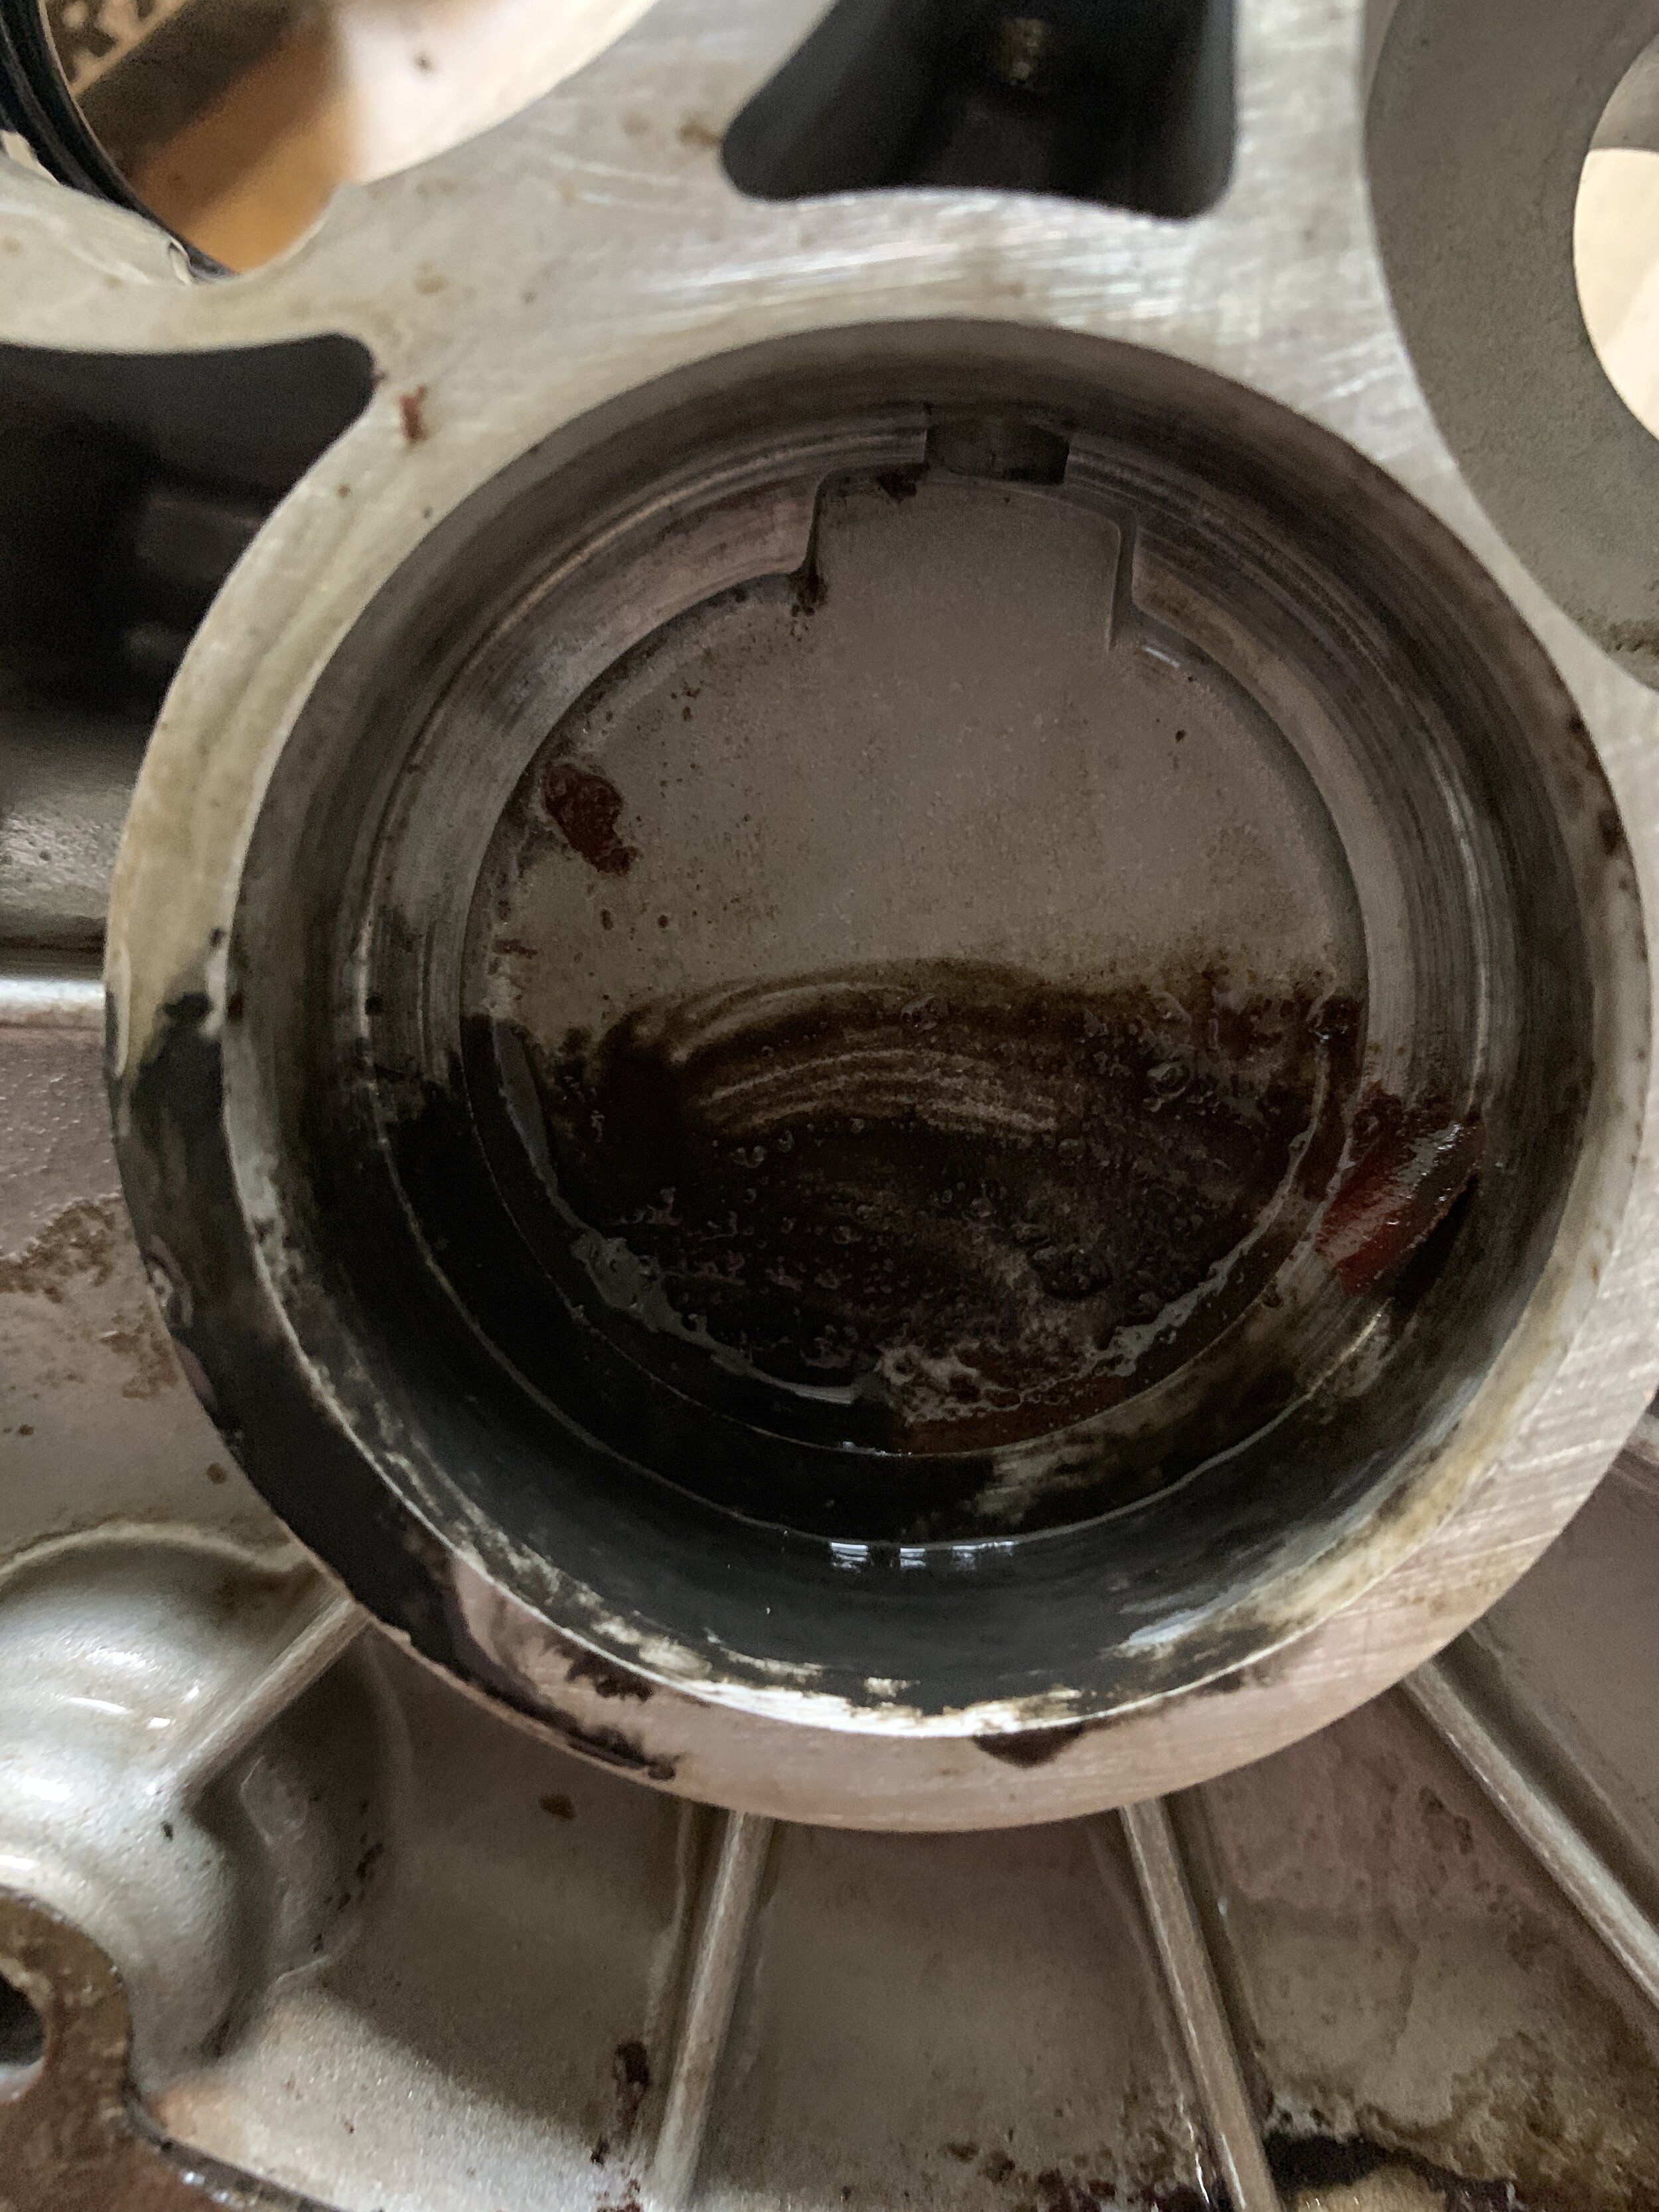
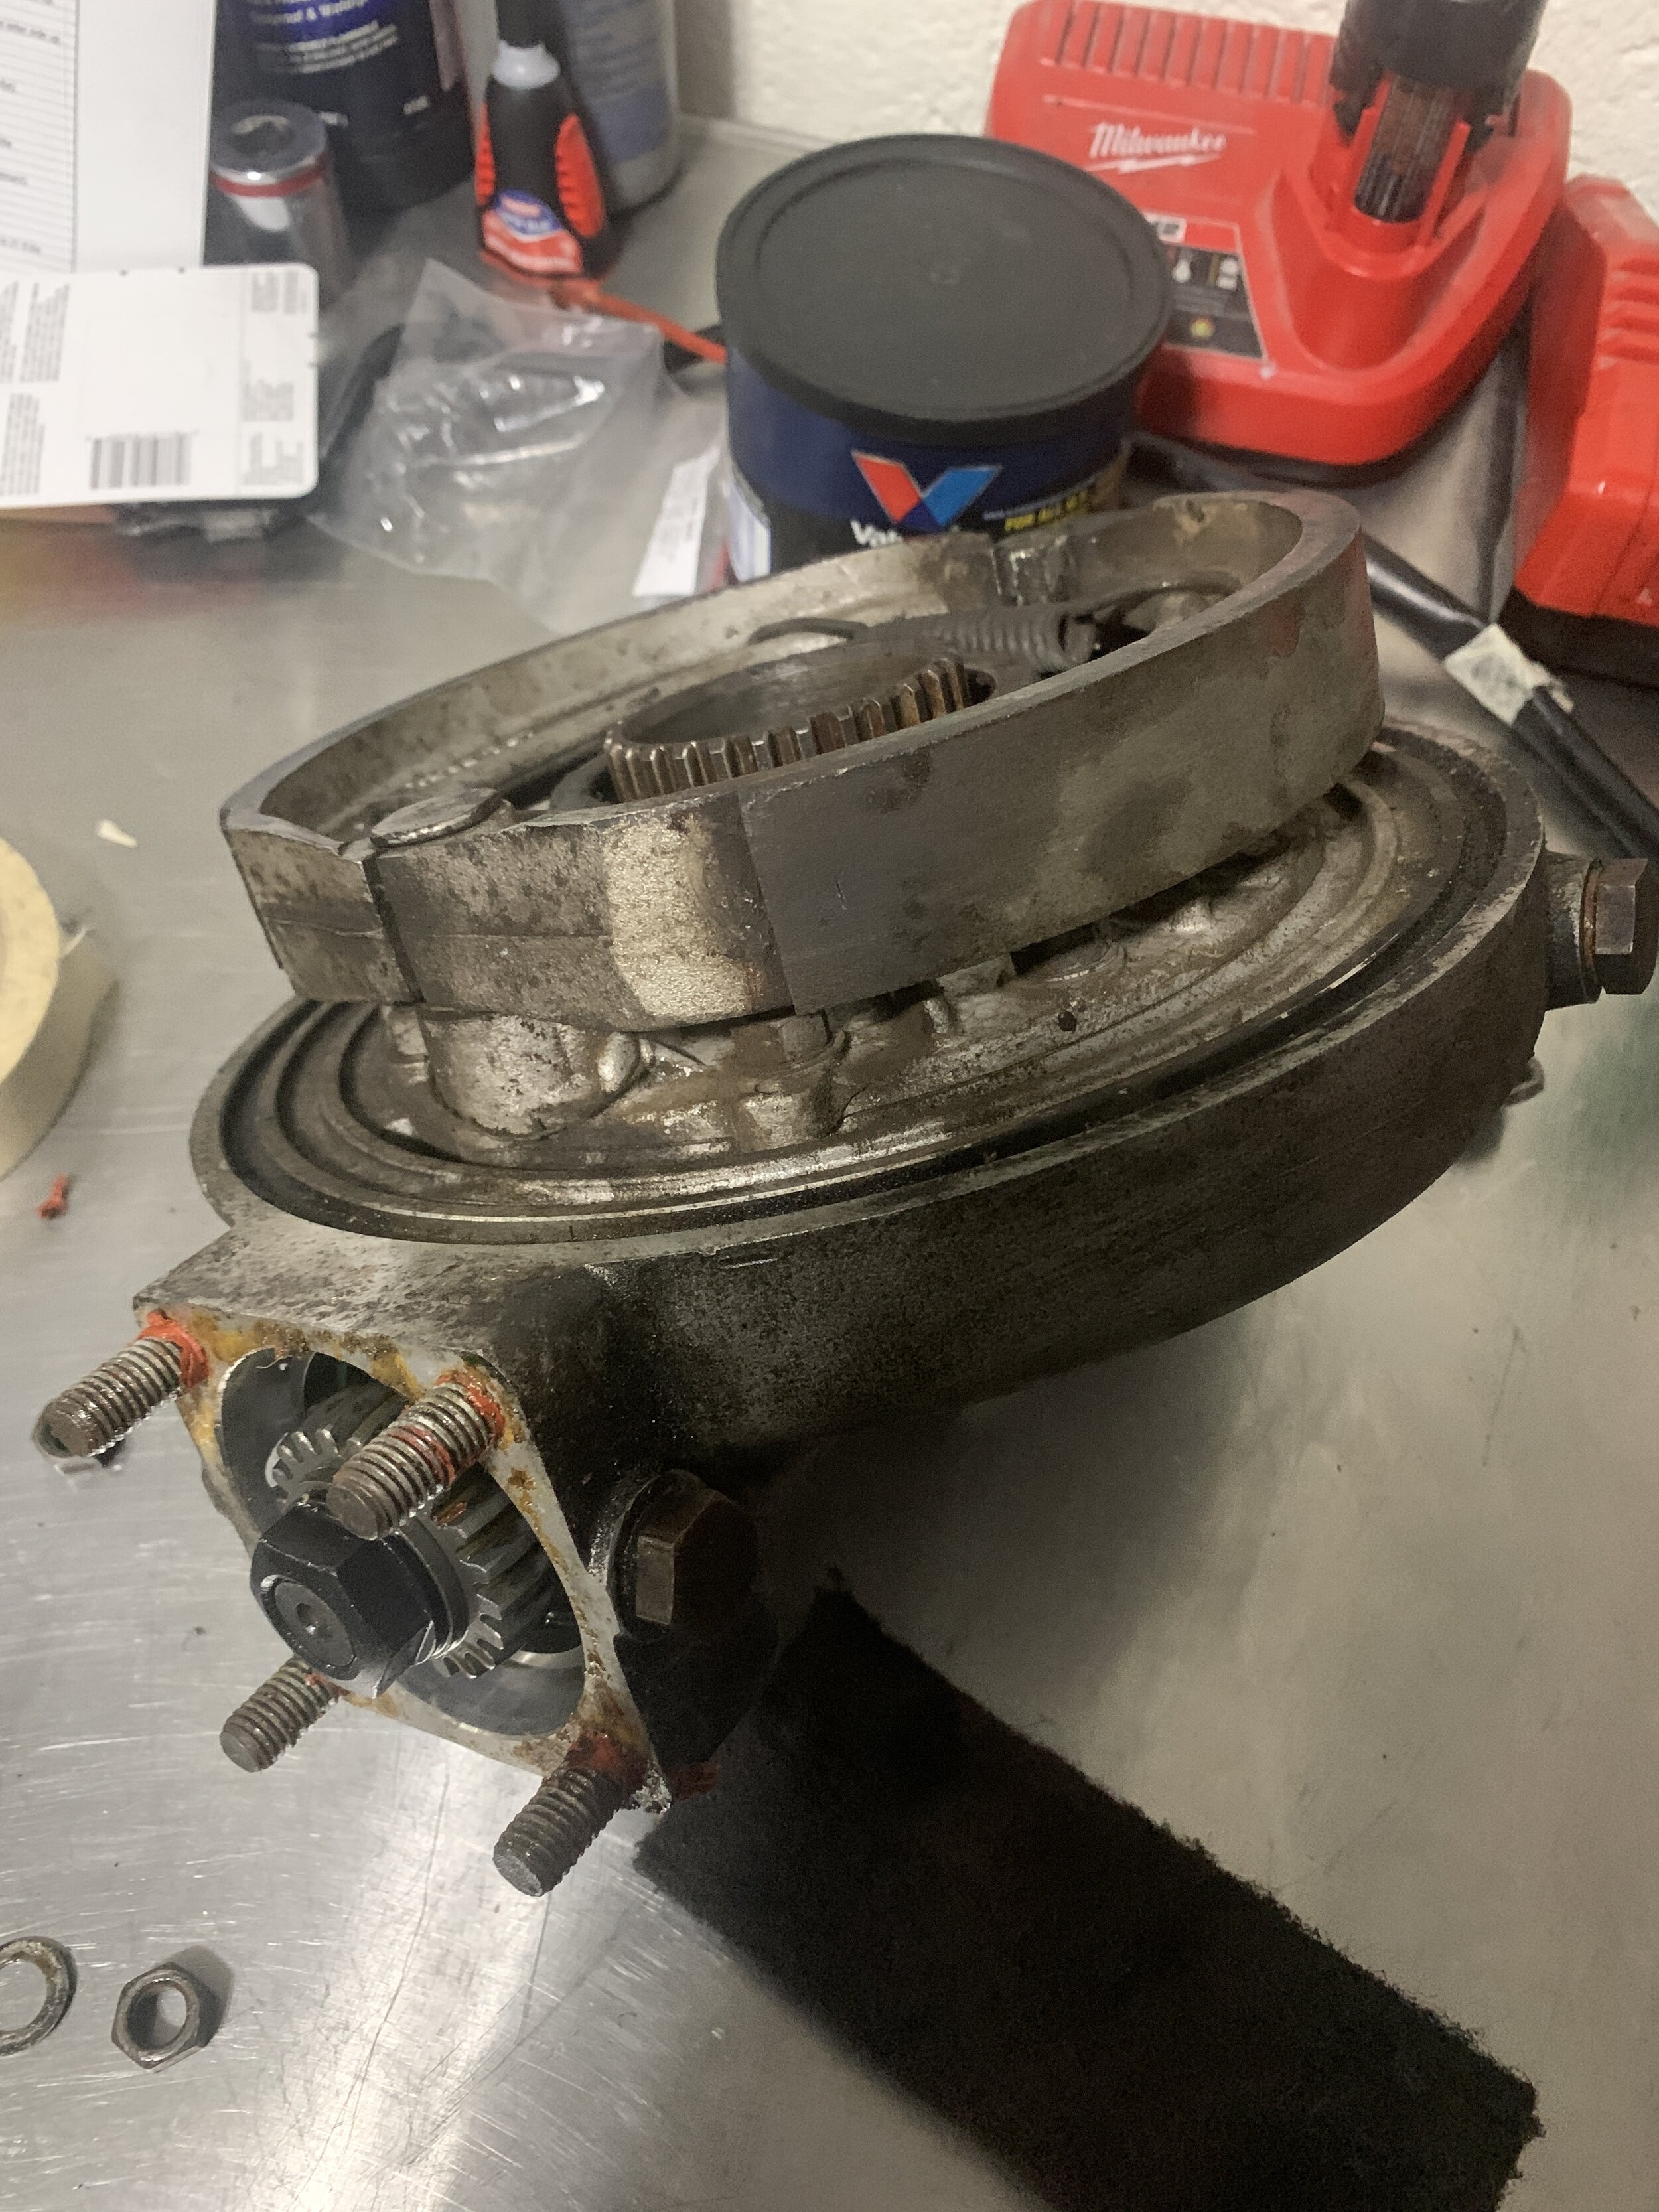
First thing I did was check out the clutch plate. When I looked at the housing and the whole mechanism, I saw a .5 mm of oil sludge coating literally everything. If the clutch was still good it could not have worked. There was so much oil leak from the rear main seal. I wiped everything down and took the clutch off. One photo online confirms that they are well beyond service and they need to be replaced. I could sent it out to California to get it redone and return rebuilt with shipping around 20 dollar difference versus buying new parts. If I was living in California or local I think I would have had them rebuilt it, cause the saving would have been significant over new parts. But as it stands, I just end up buying new clutch carrier and clutch and the pressure fingers.
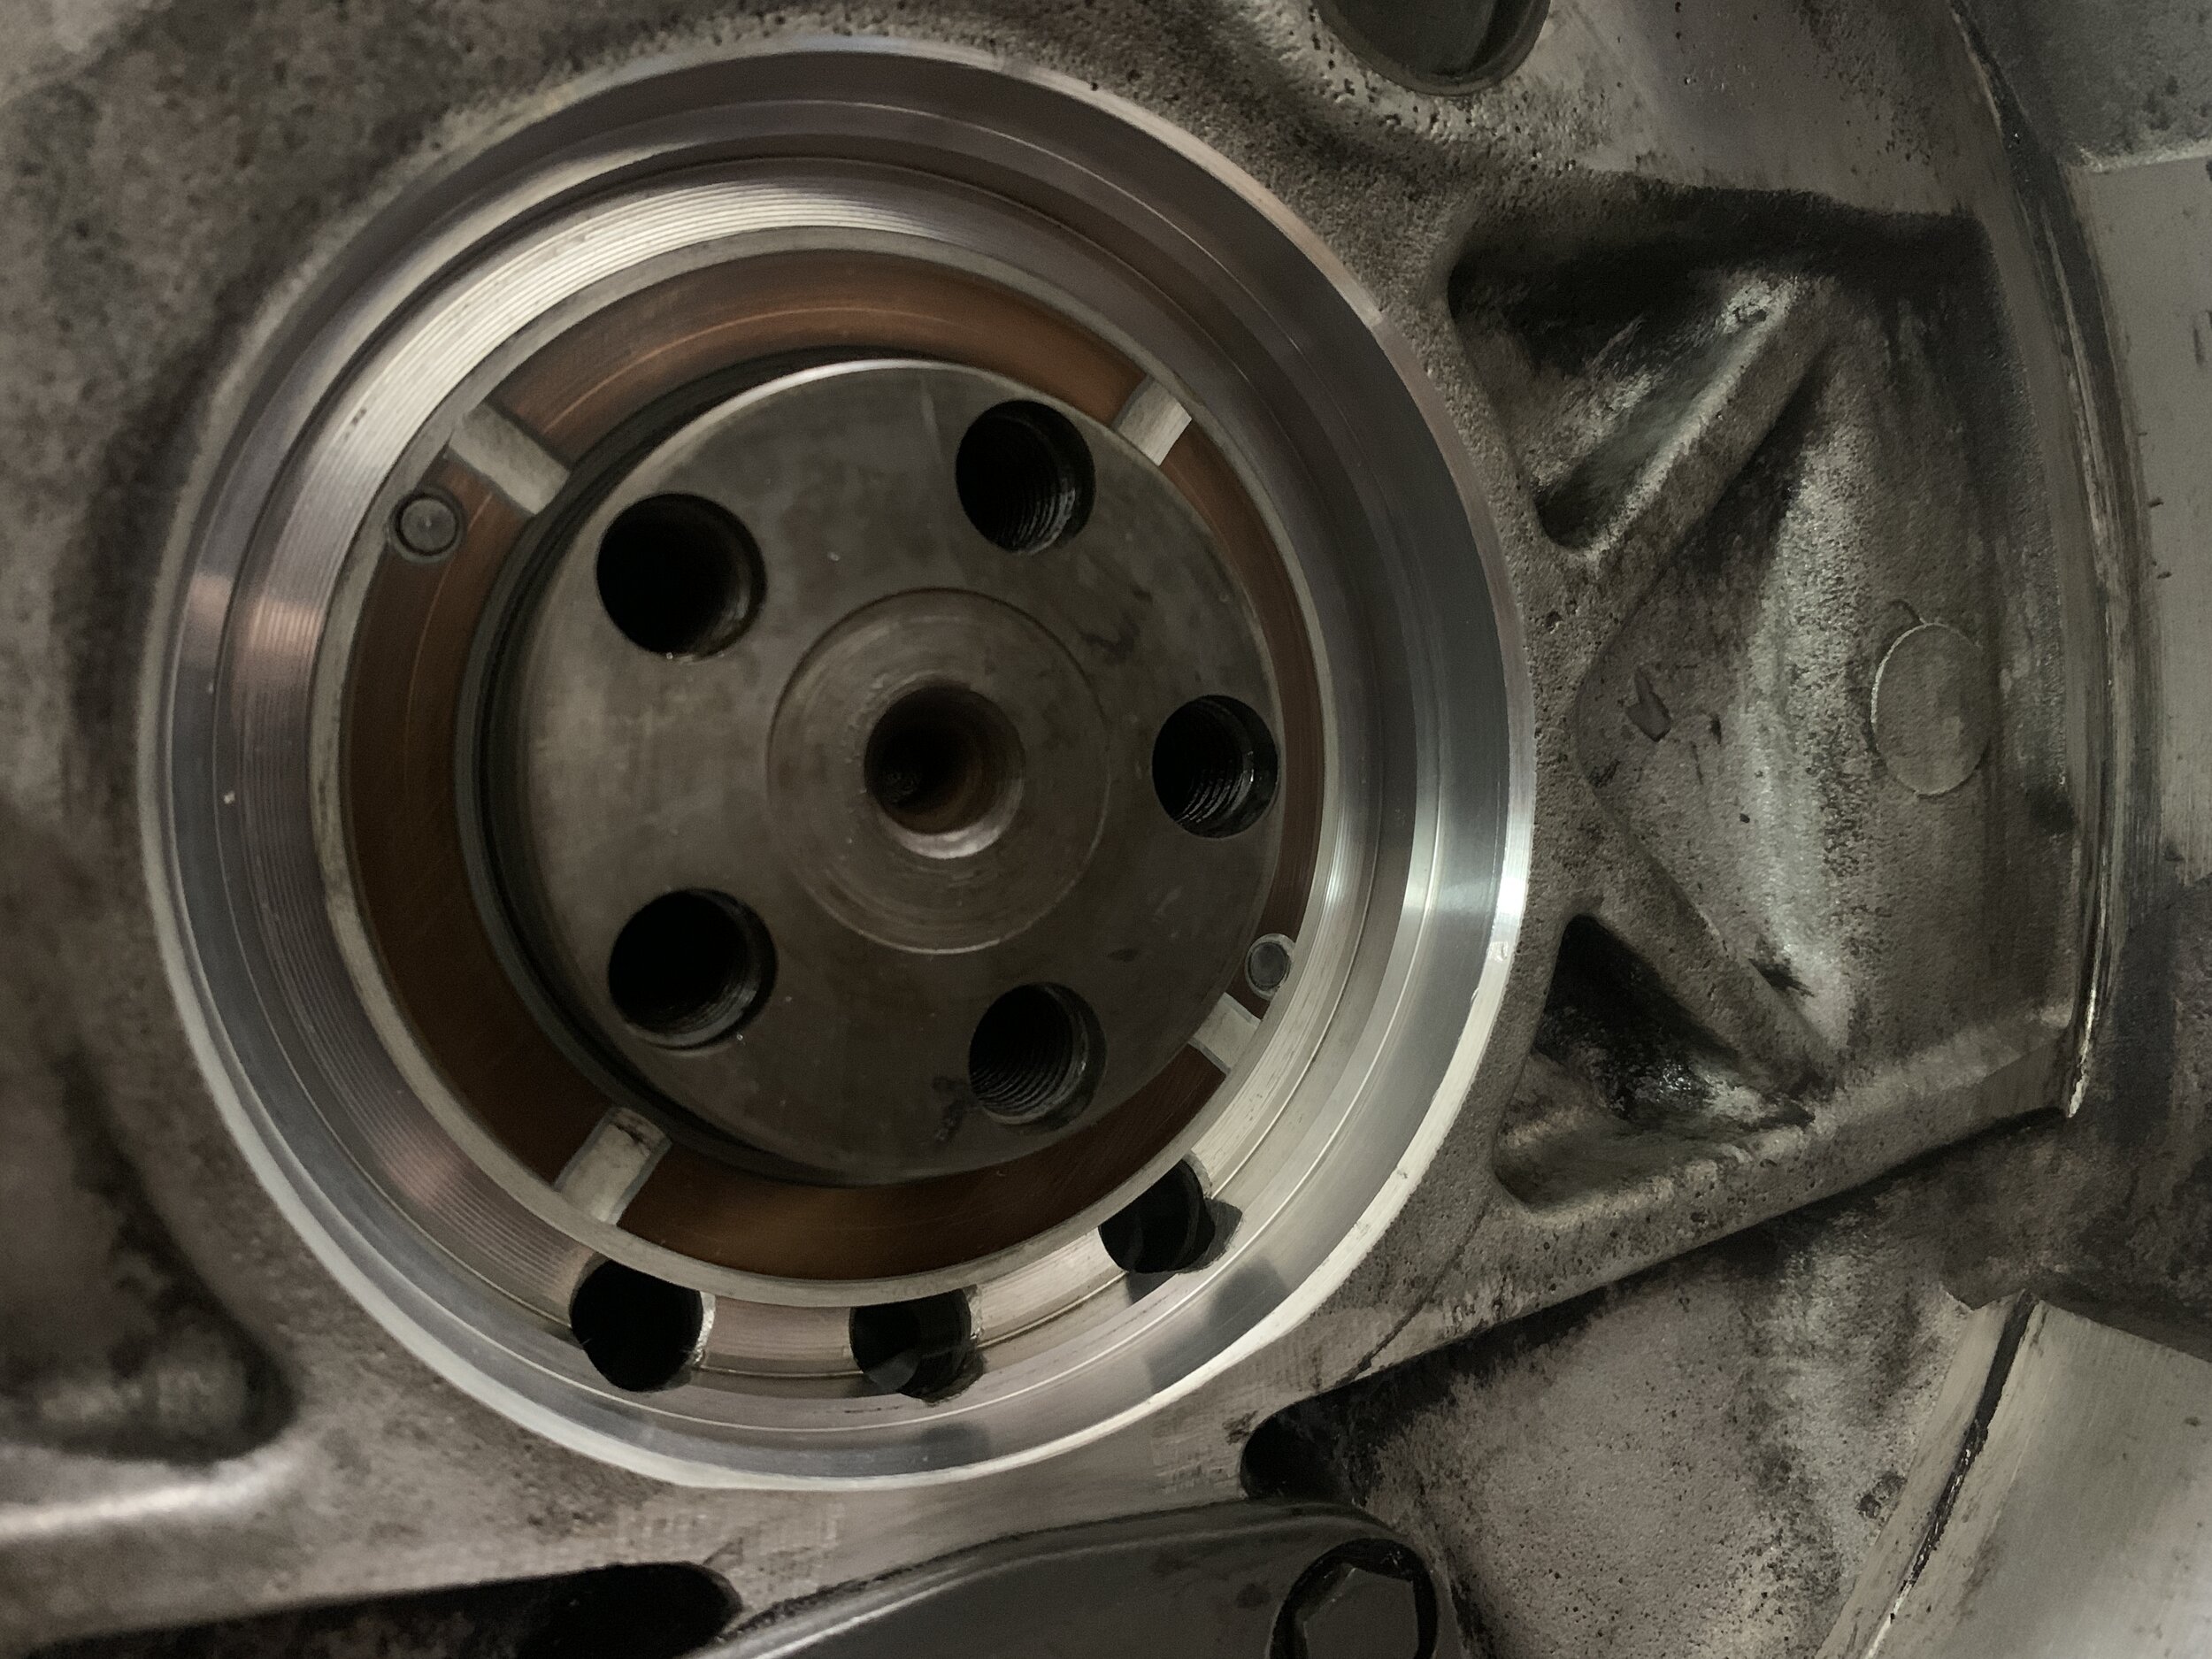
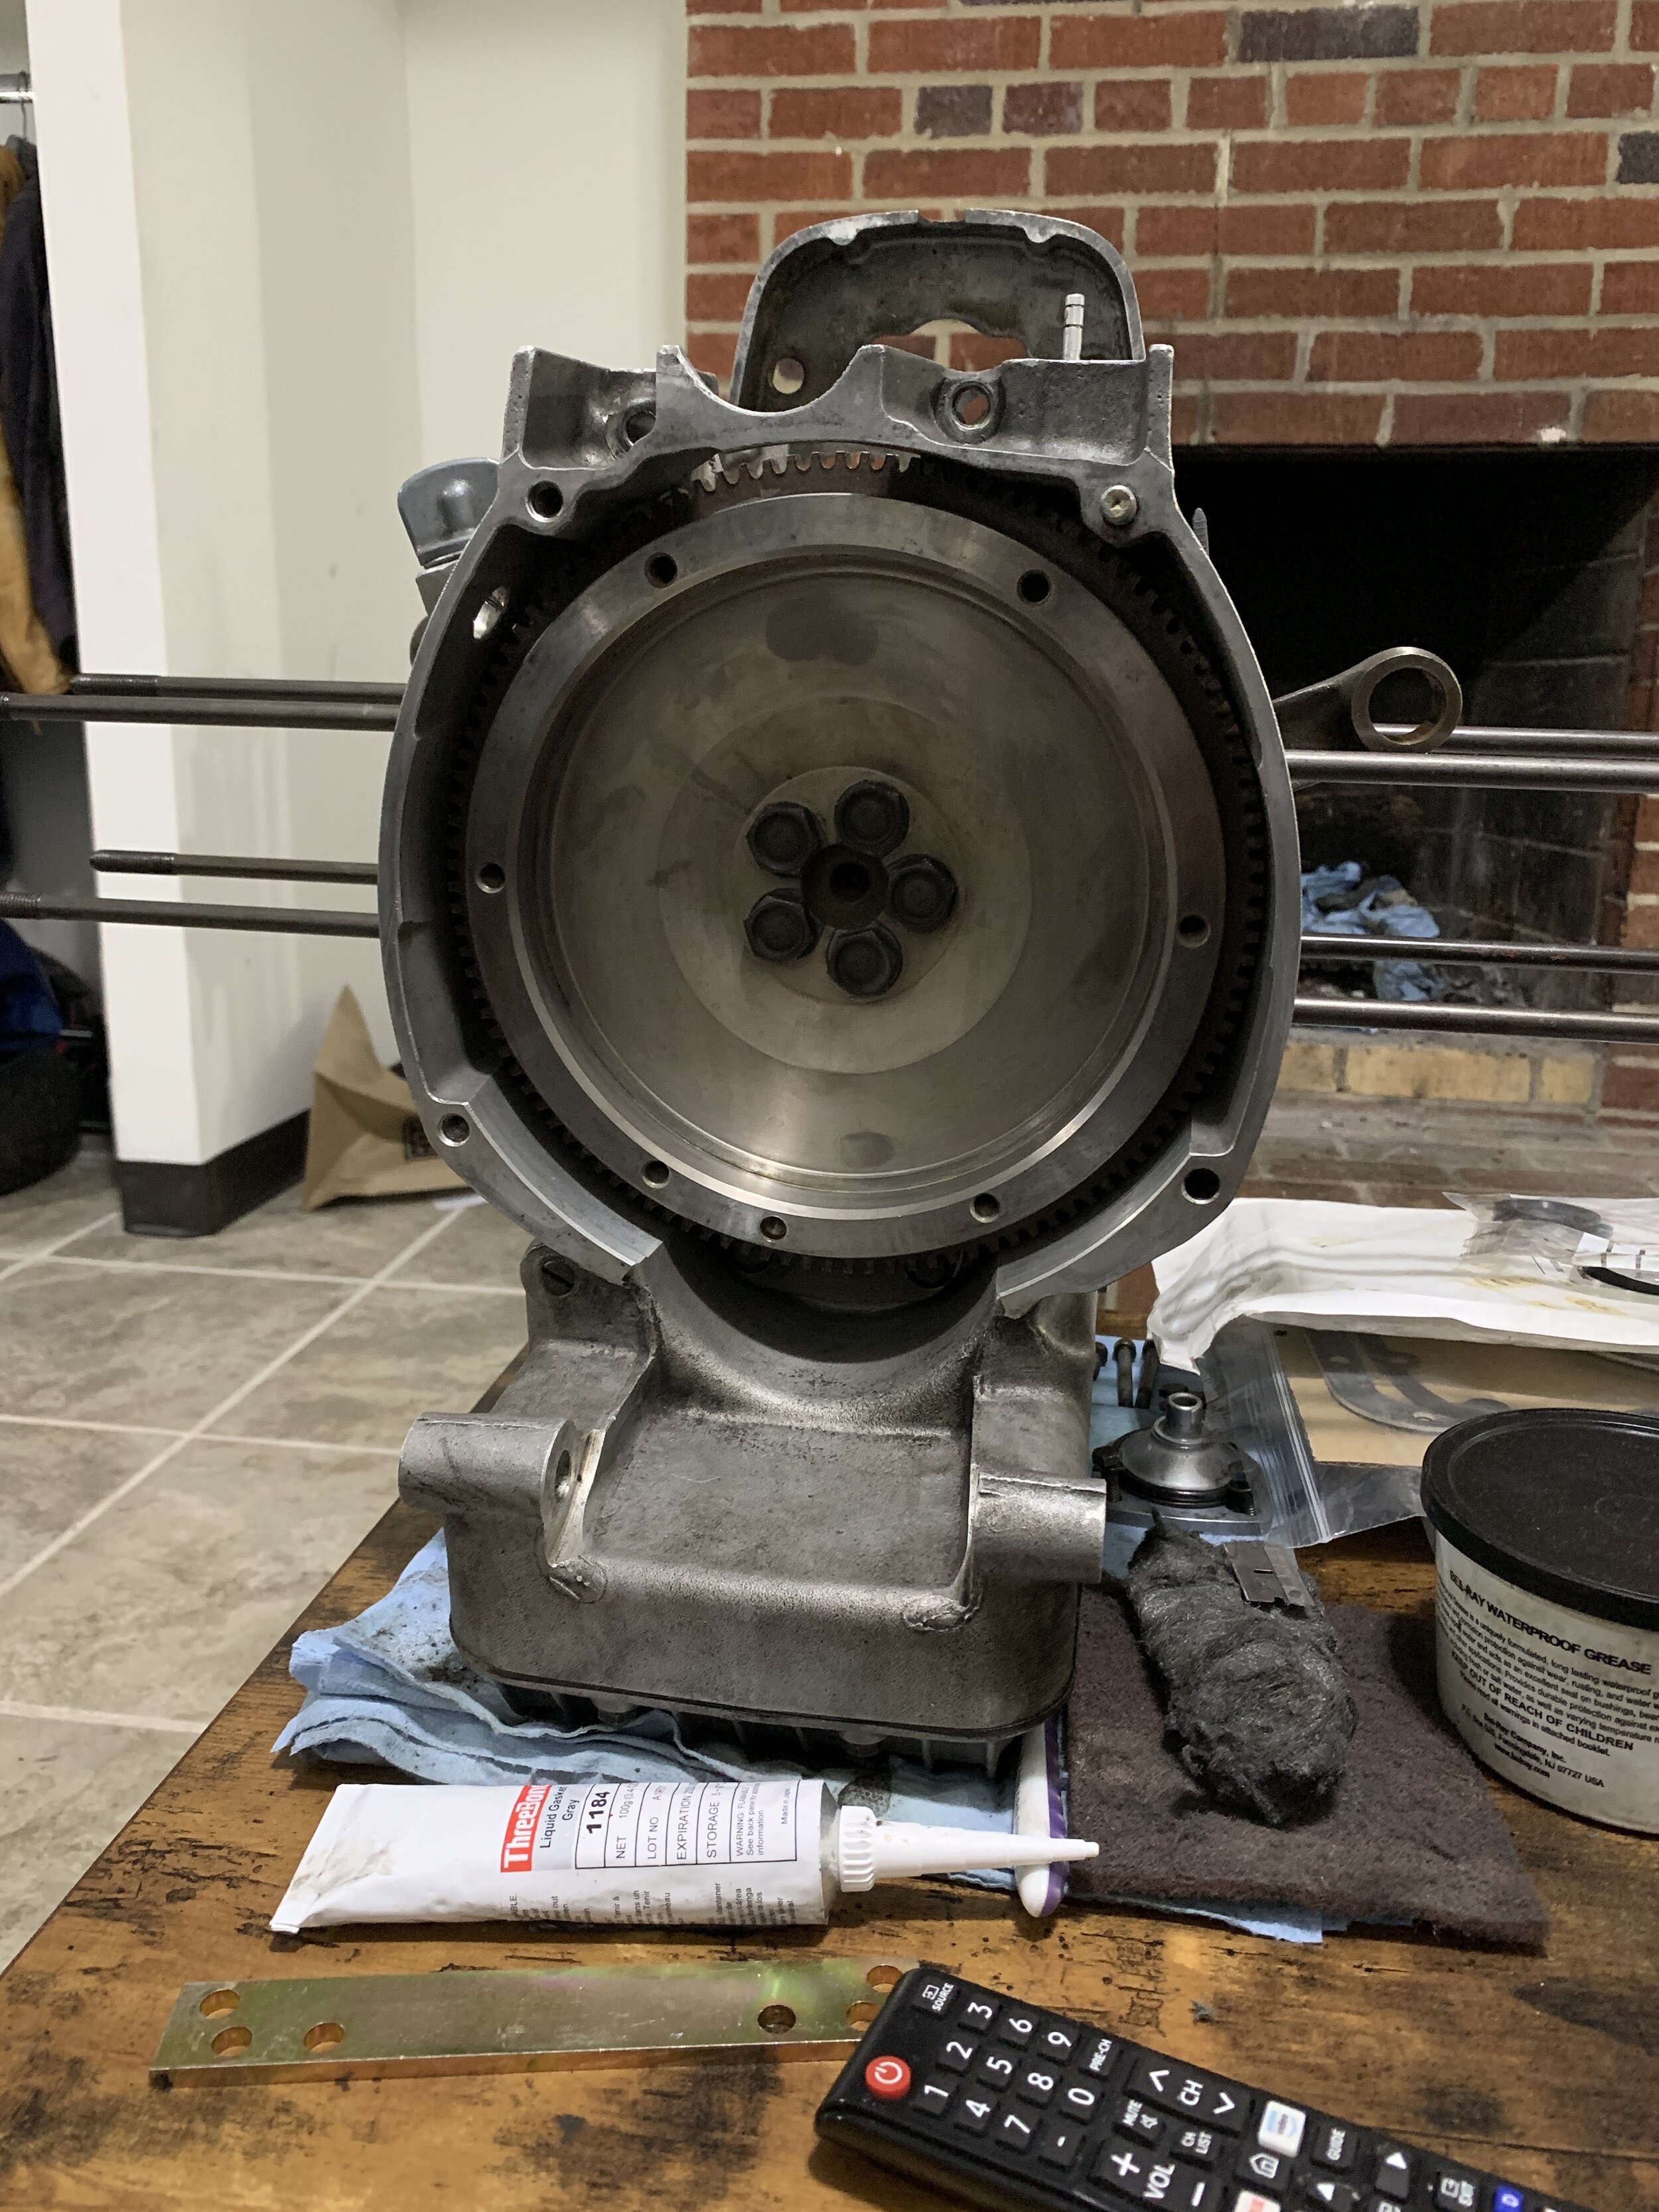
I invited my local Airhead veteran Brad to come assist me with supervision for the rear main seal. he also had the special tool for installation and removal of the flywheel. The installation went without any problems. Experience hand and proper tool matters at this situation, as faulty installation would result in a bad leak after I try to start the bike up again. Everything looked good I loaded the oil pump with assembly lube and replace the oring gasket and the flywheel went back on. Now I have to wait to install new parts. I ended up buying the wrong bolts for the clutch plates so I have to wait for new ones.
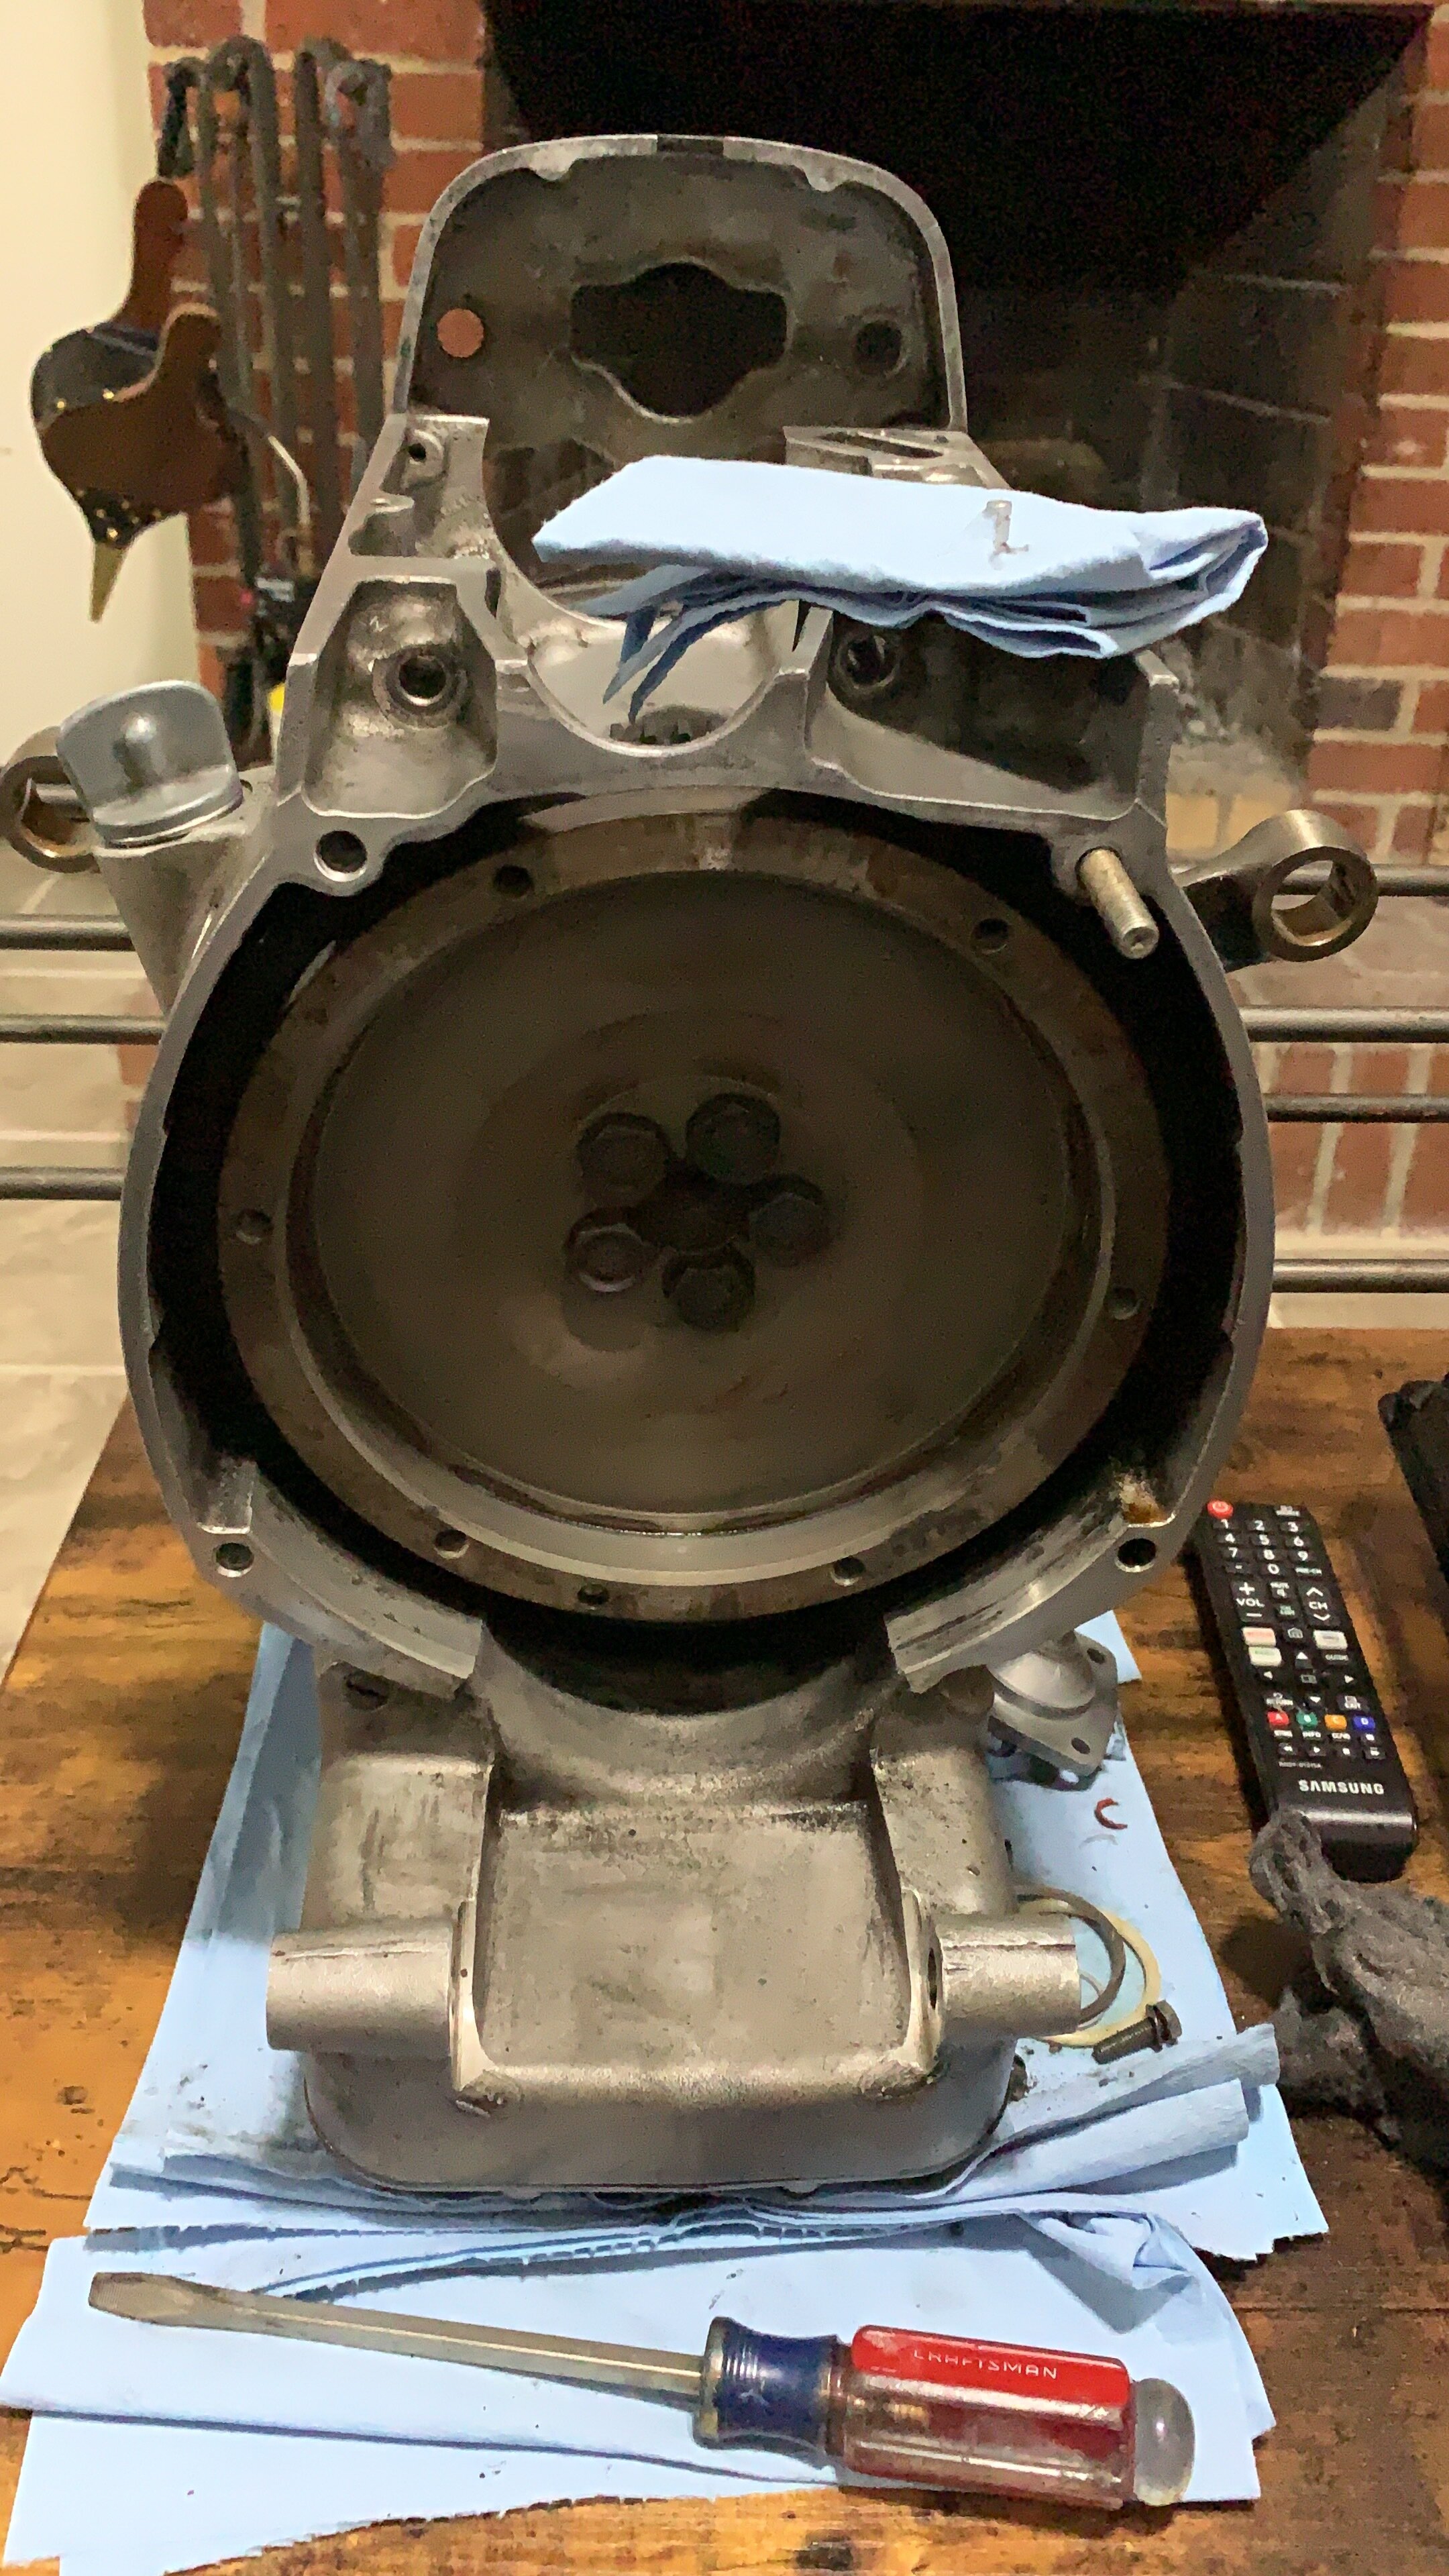
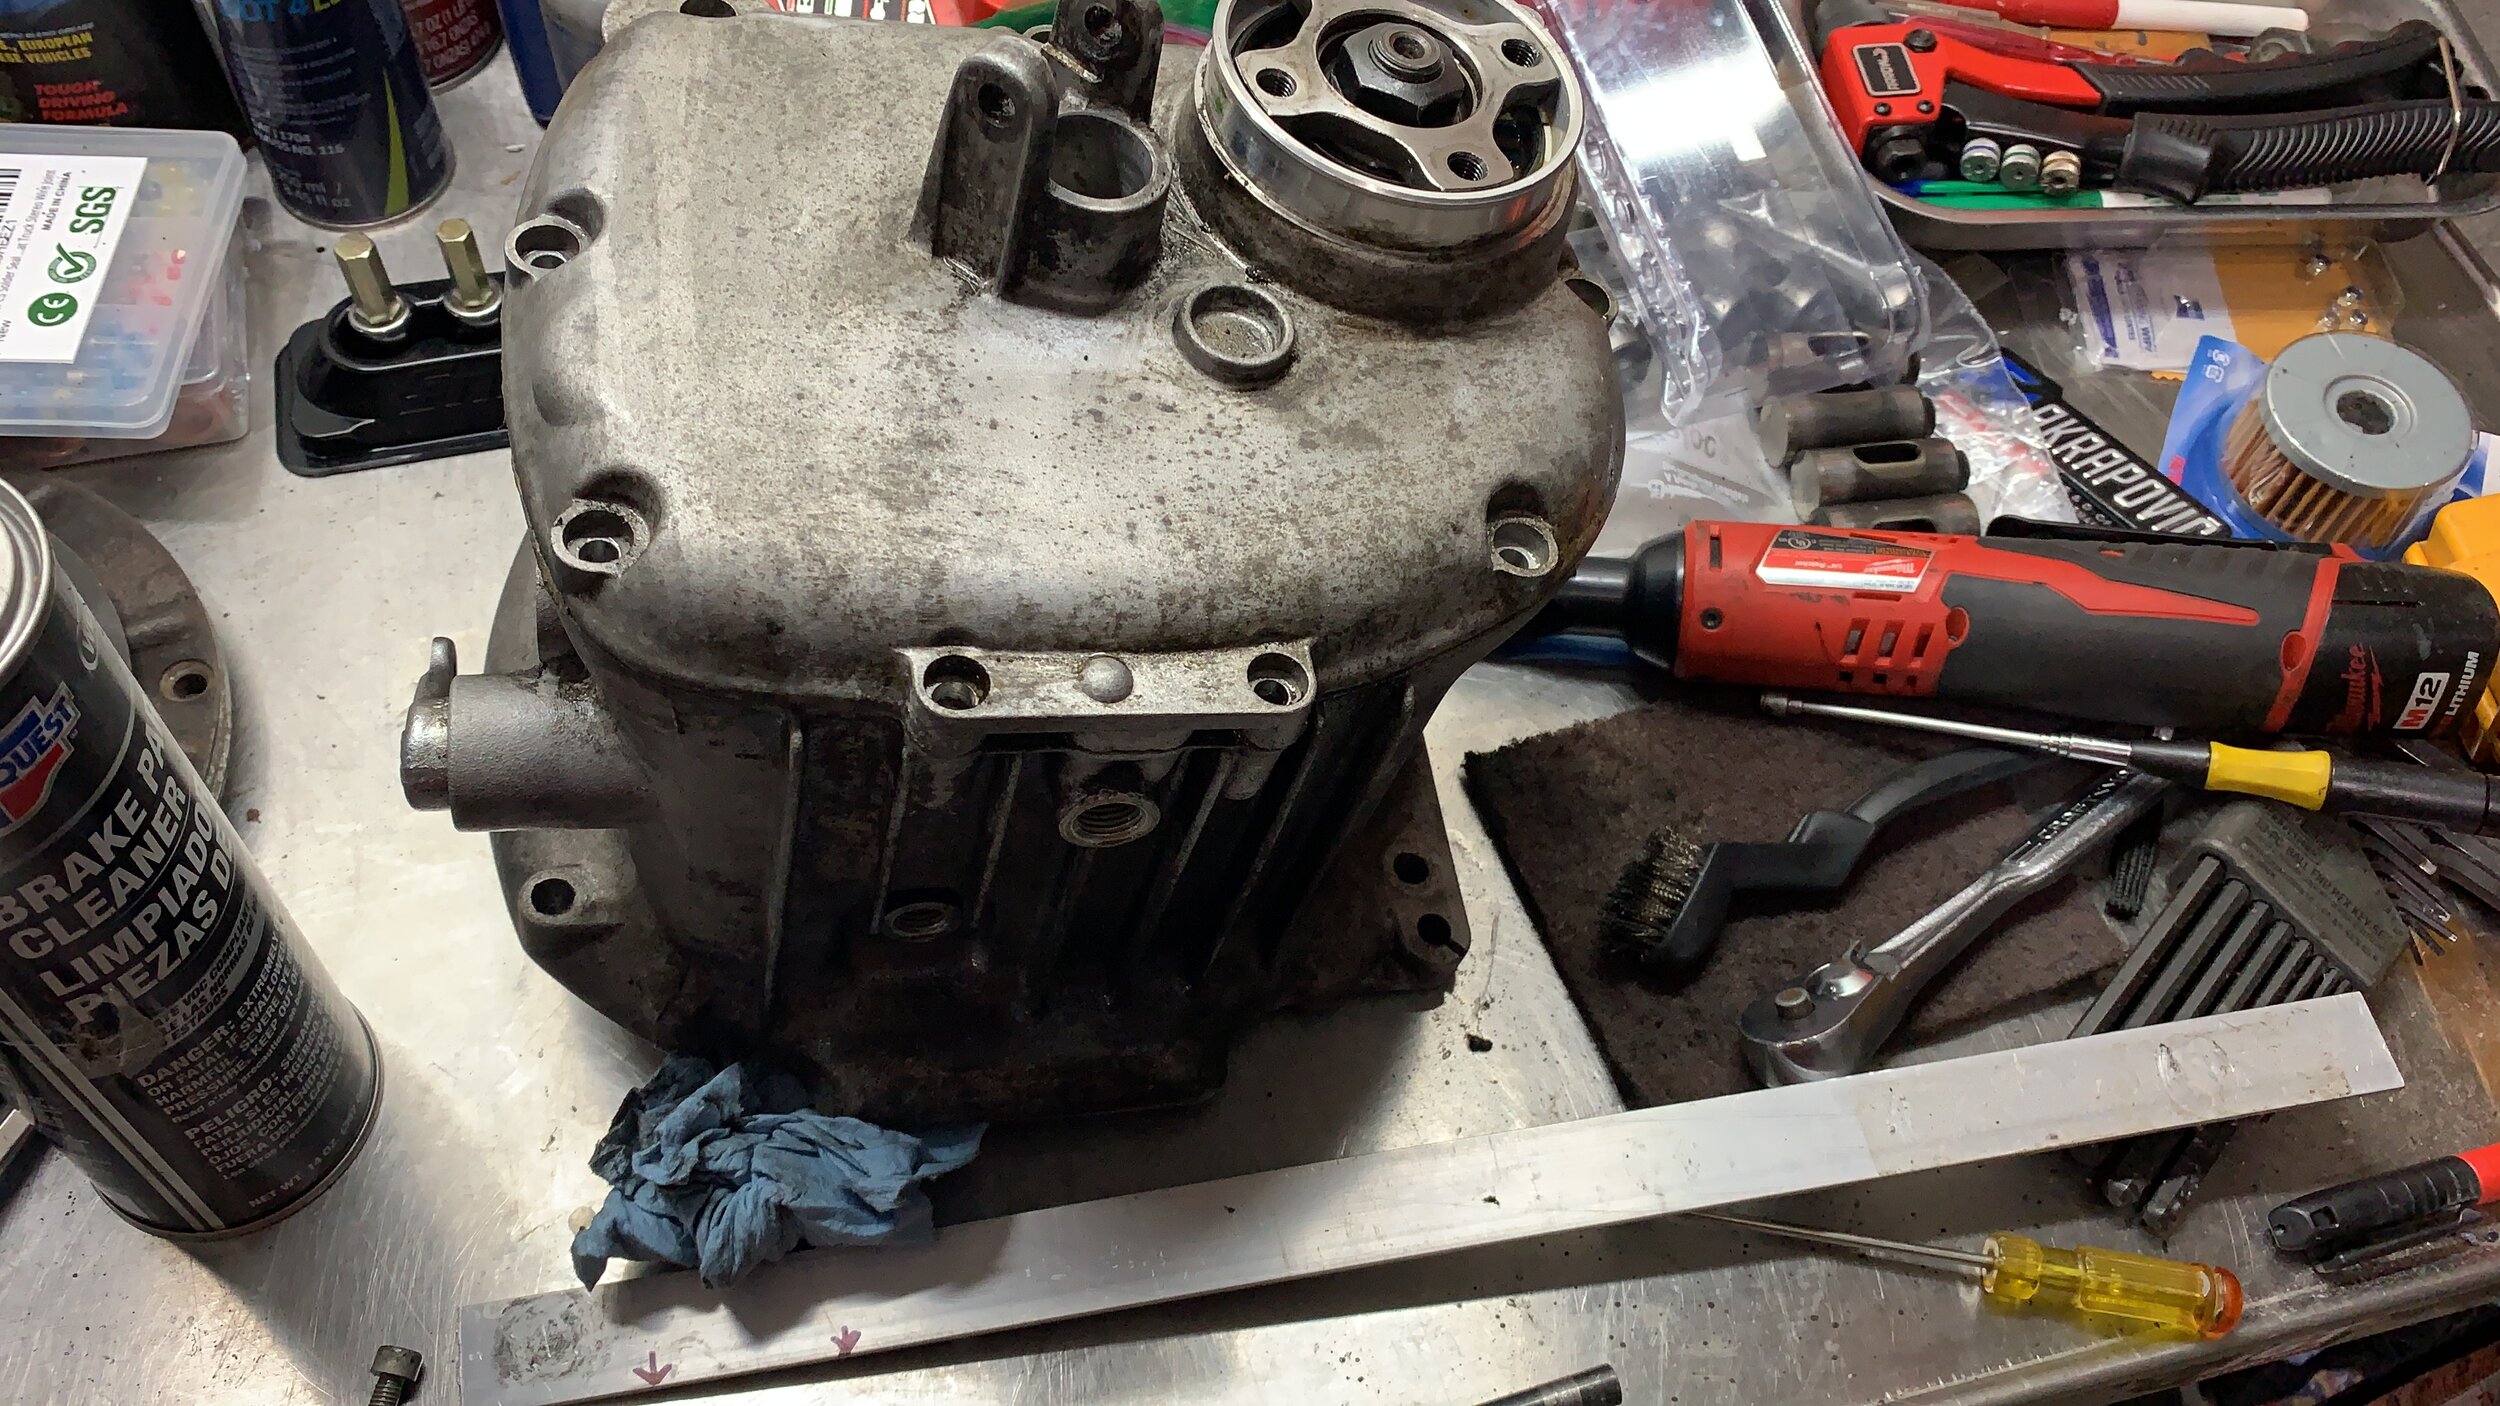
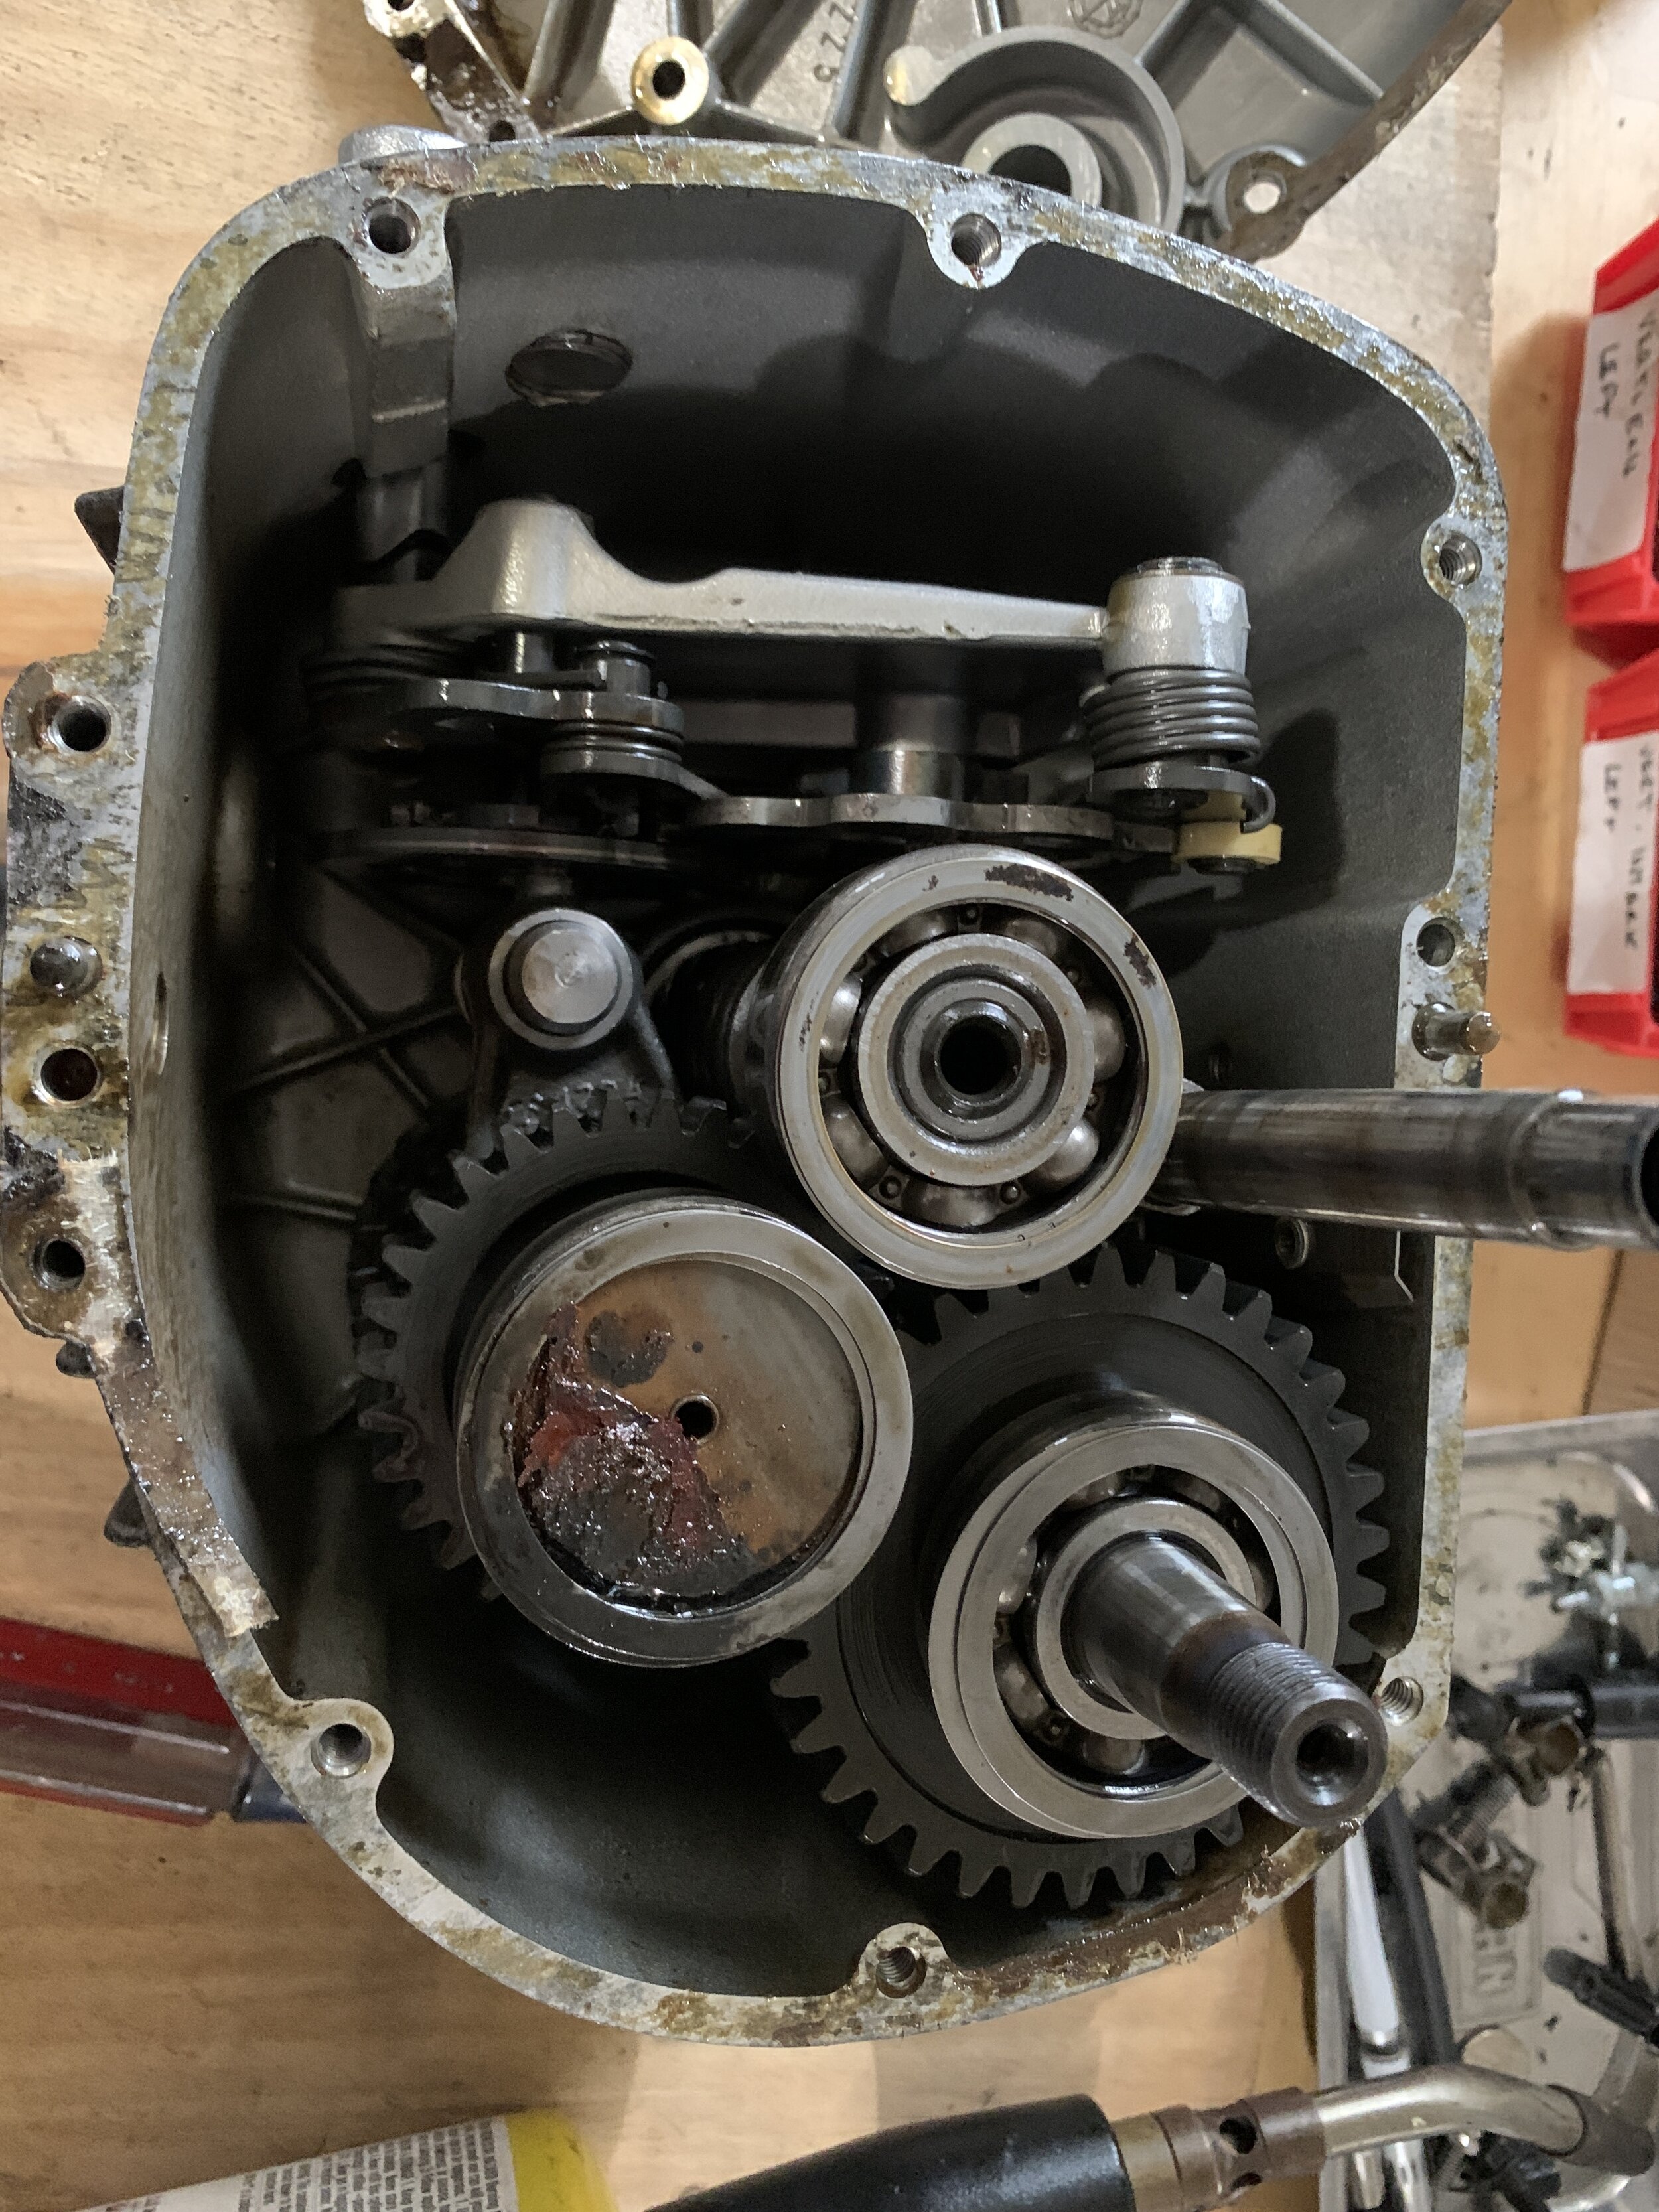
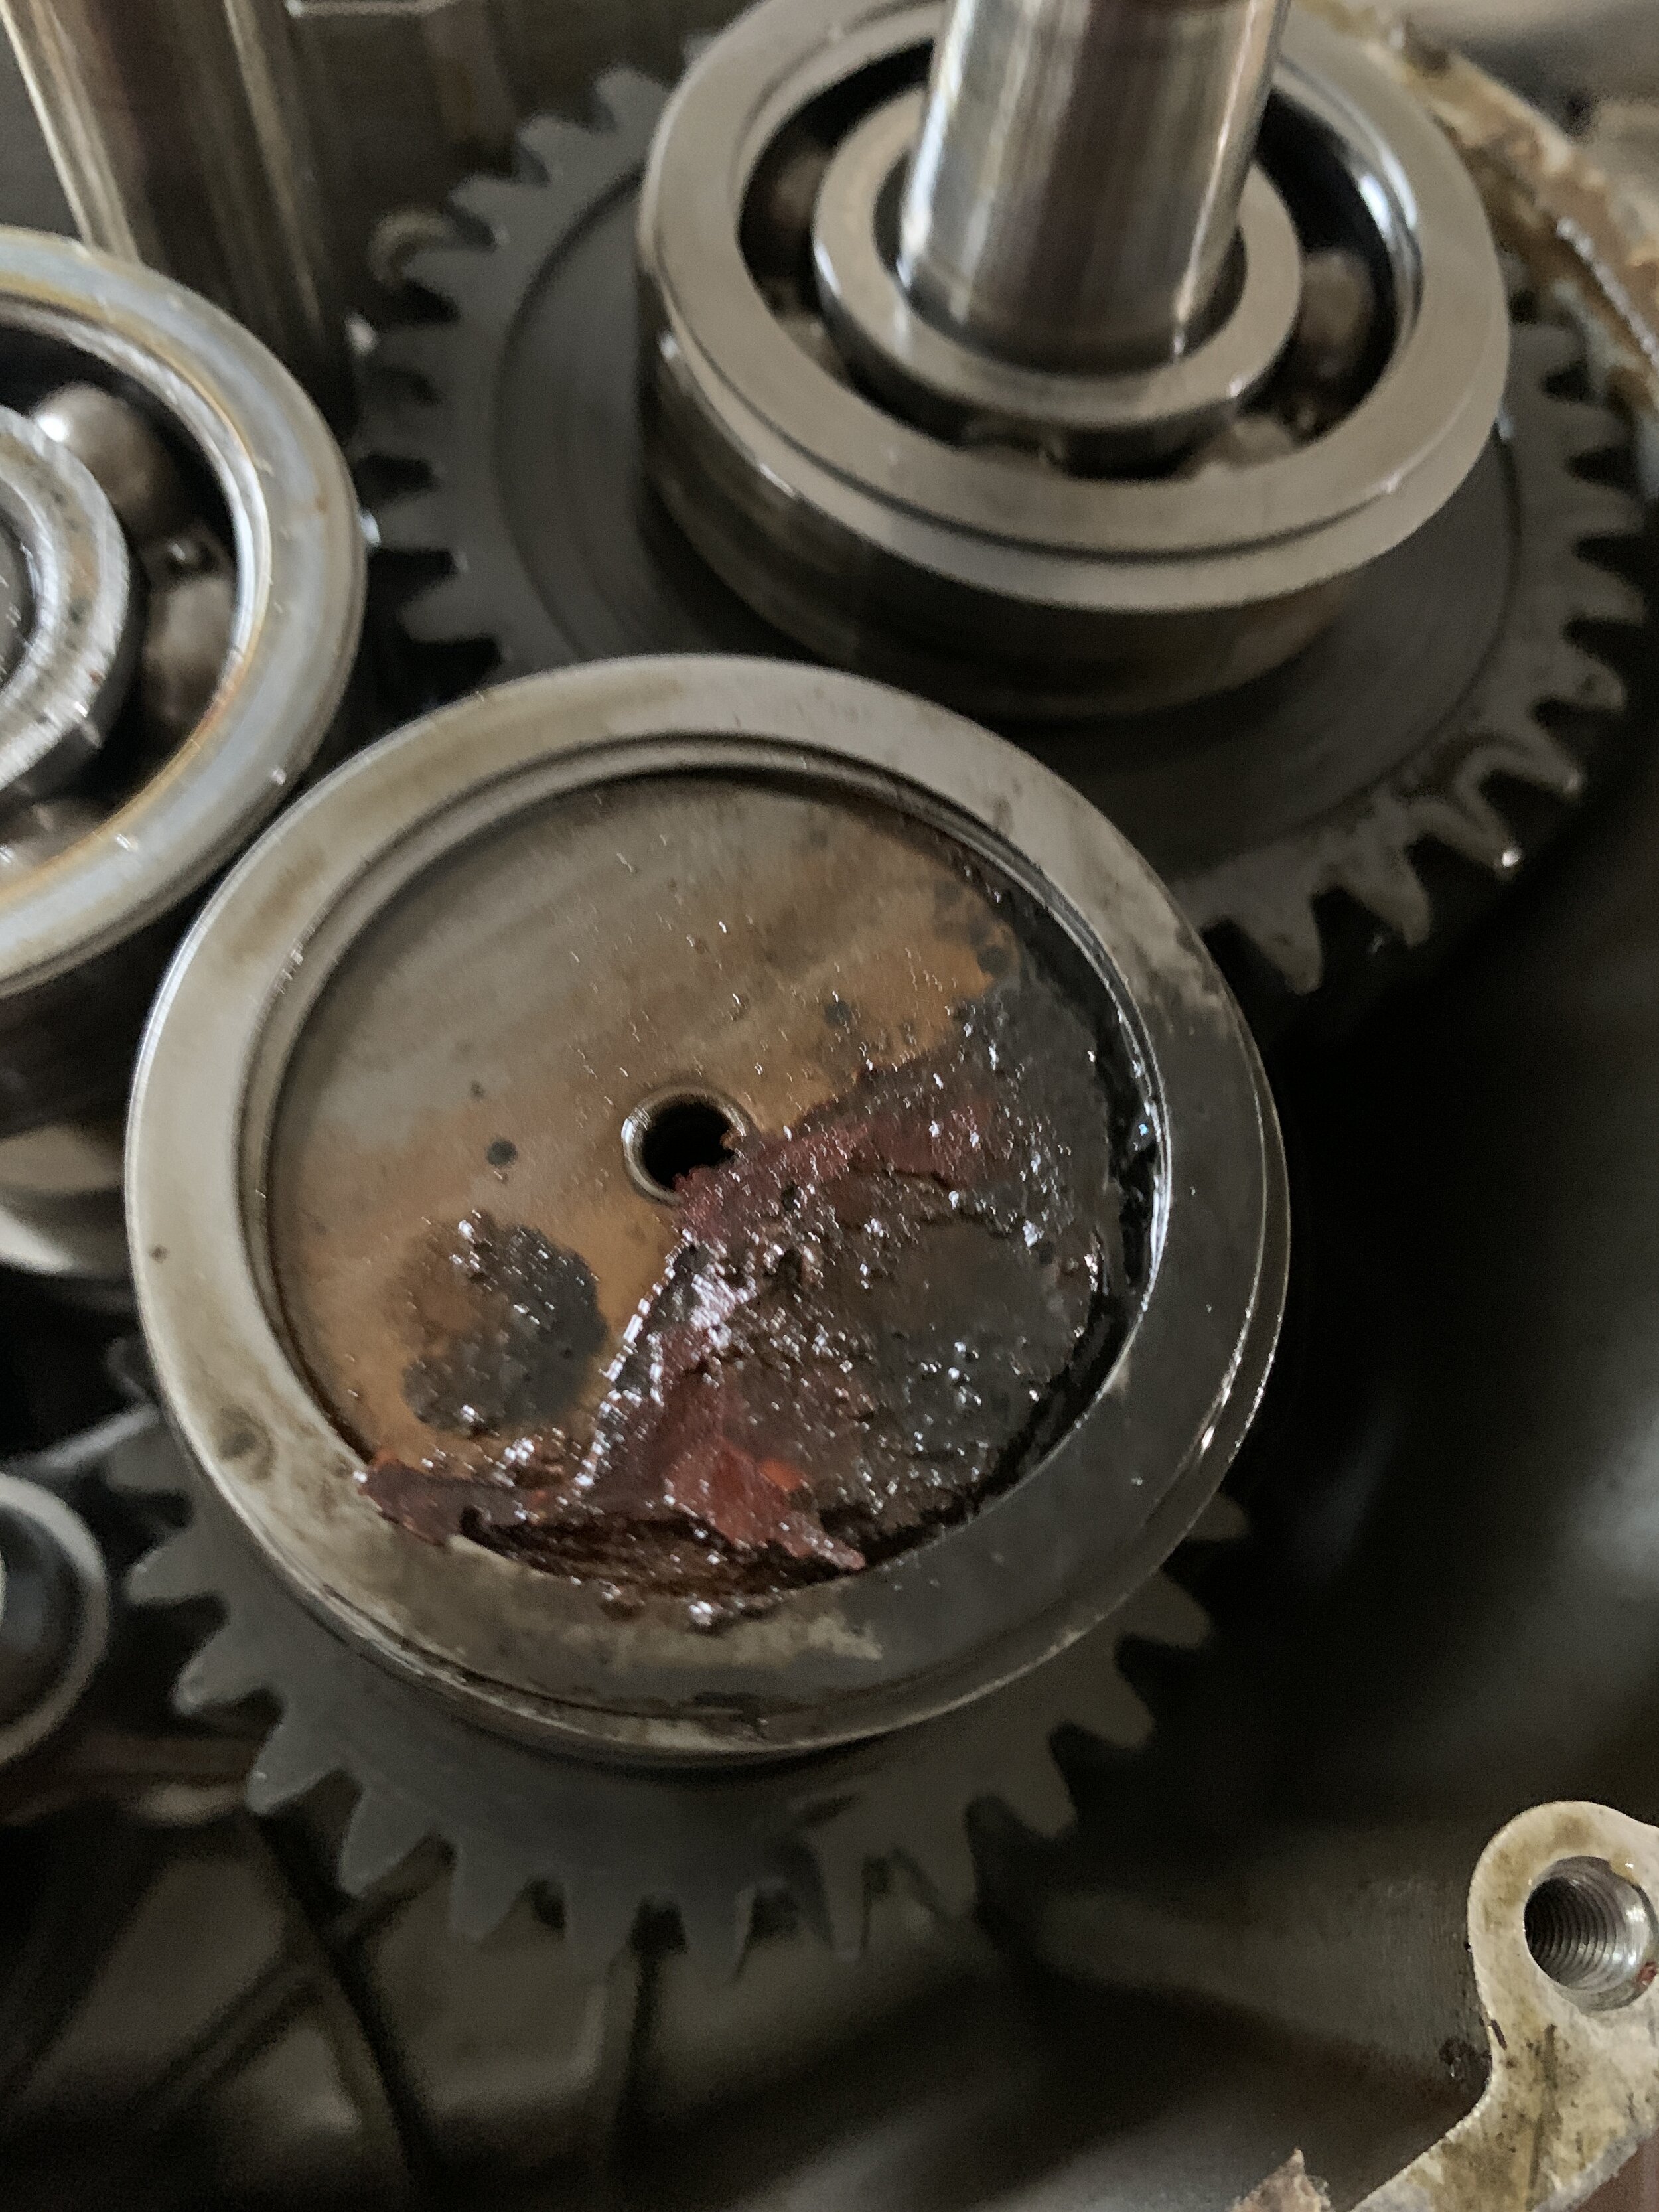
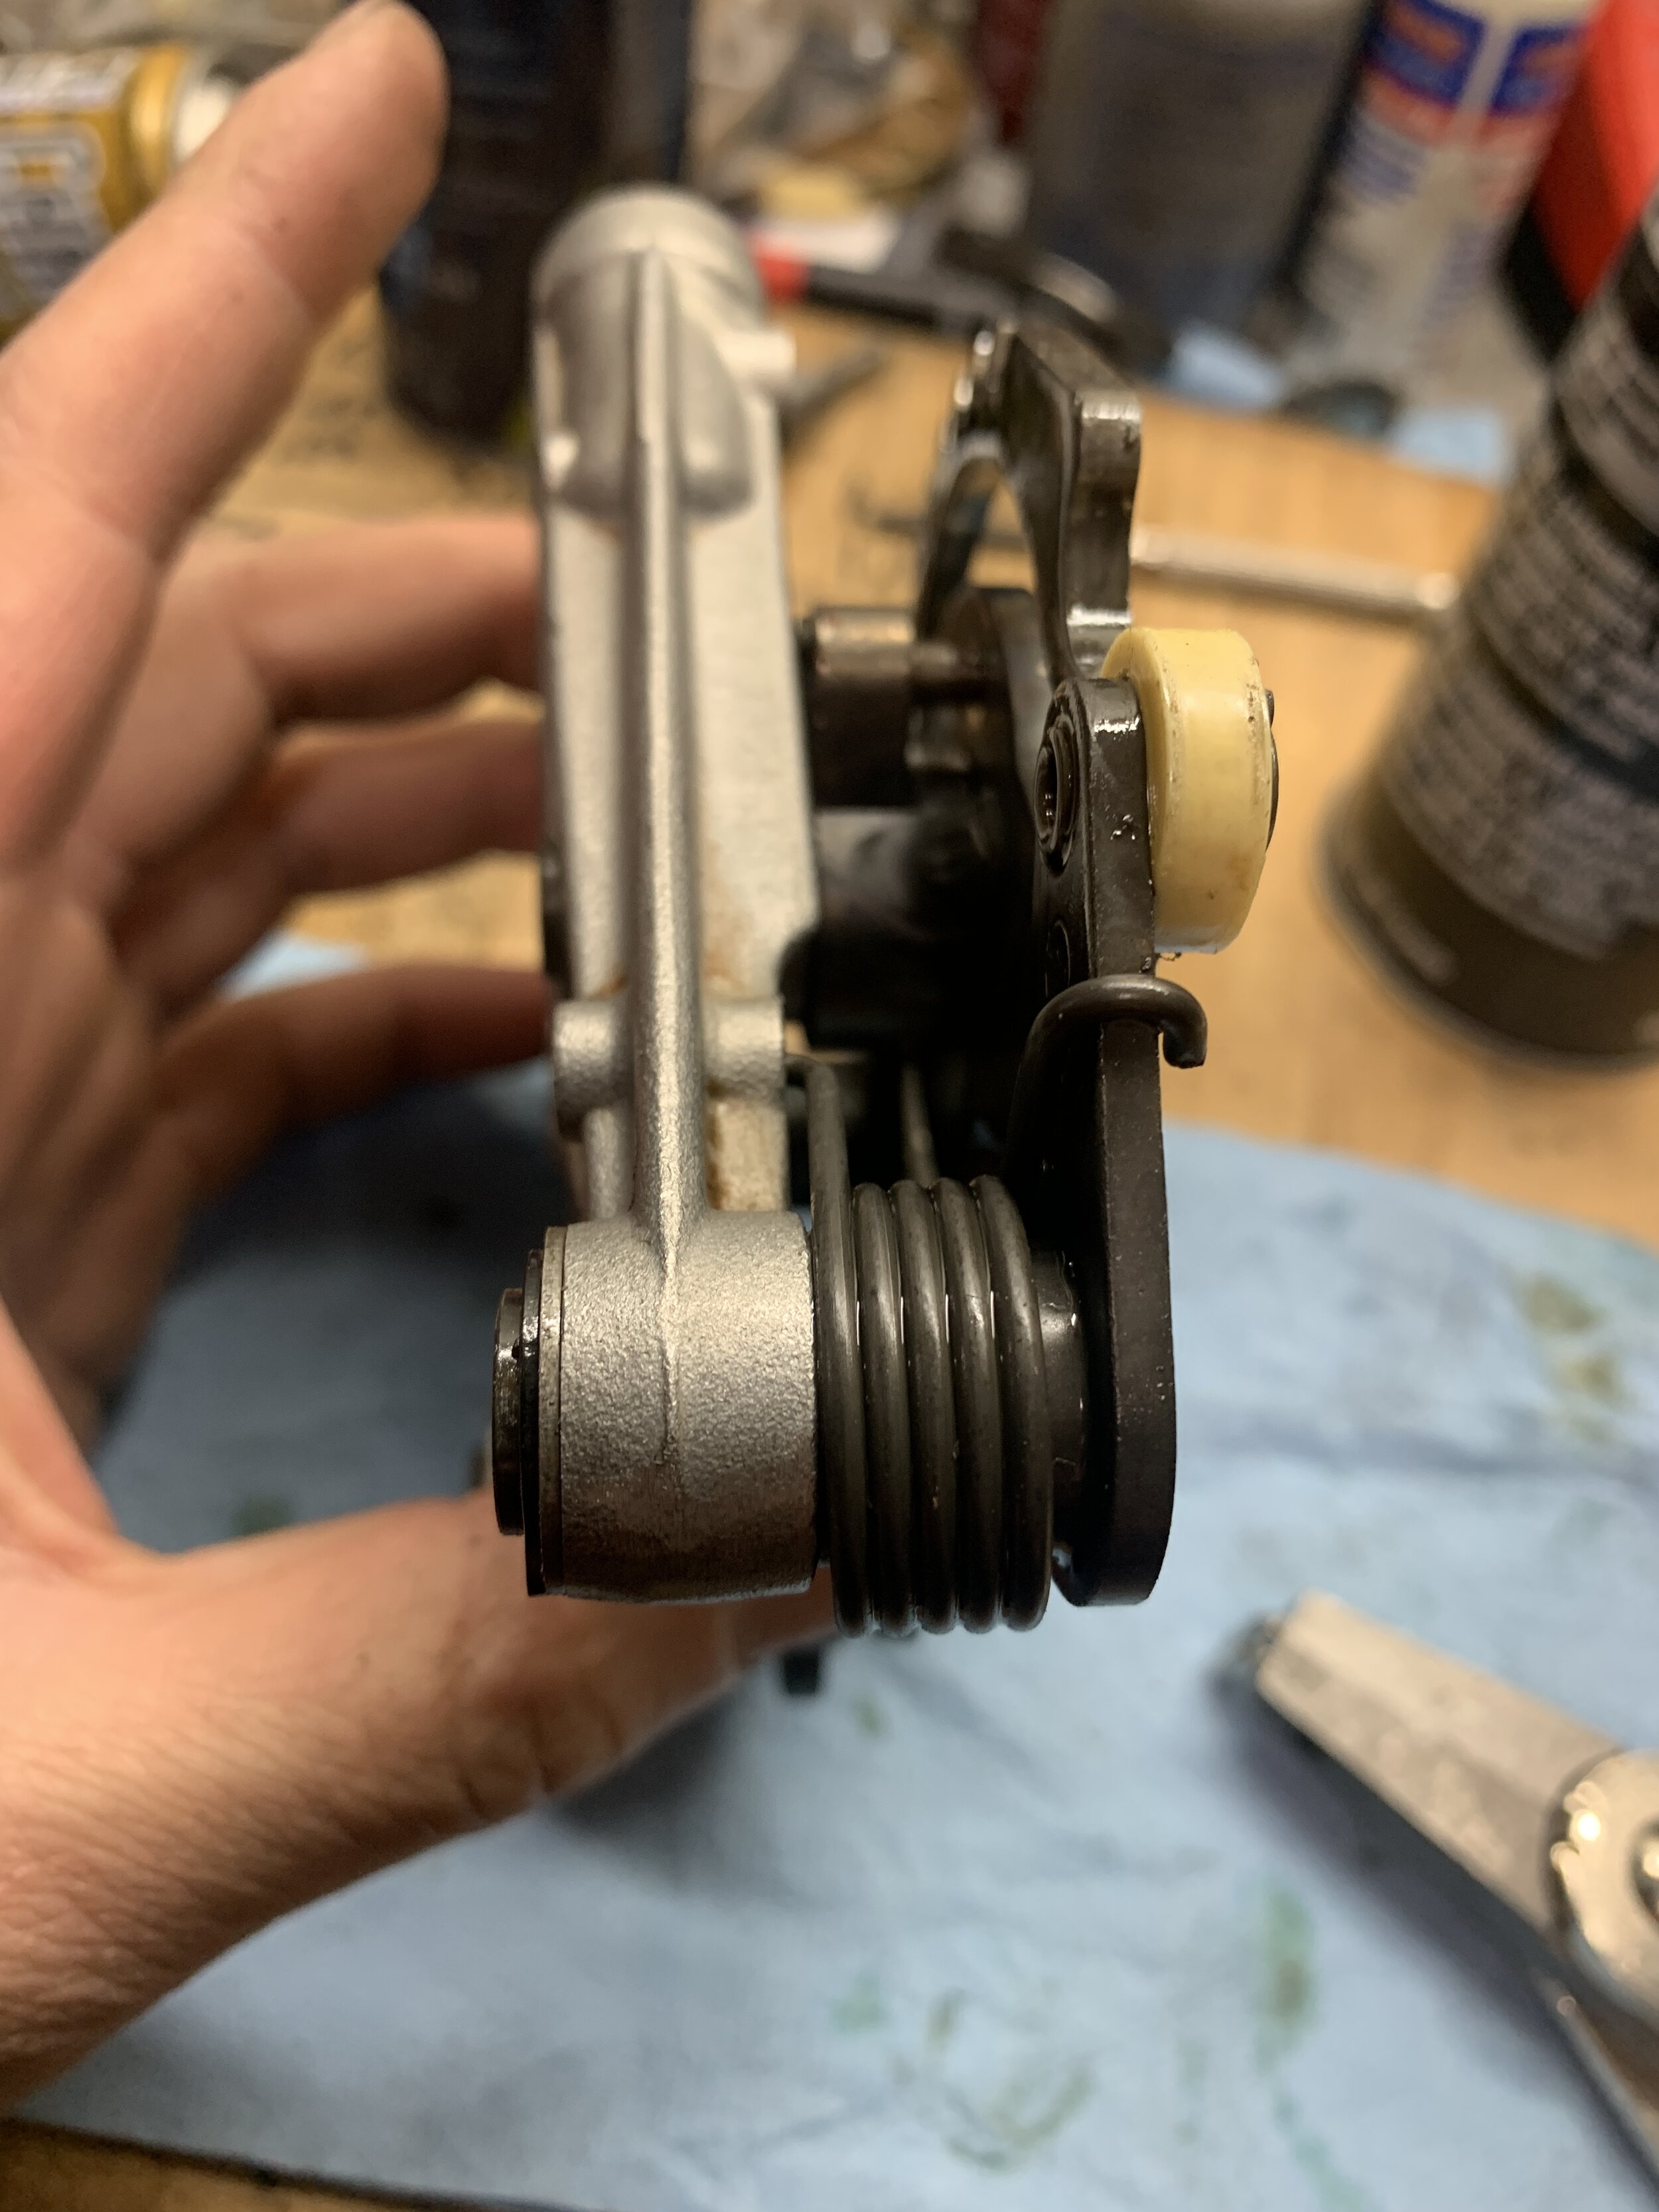
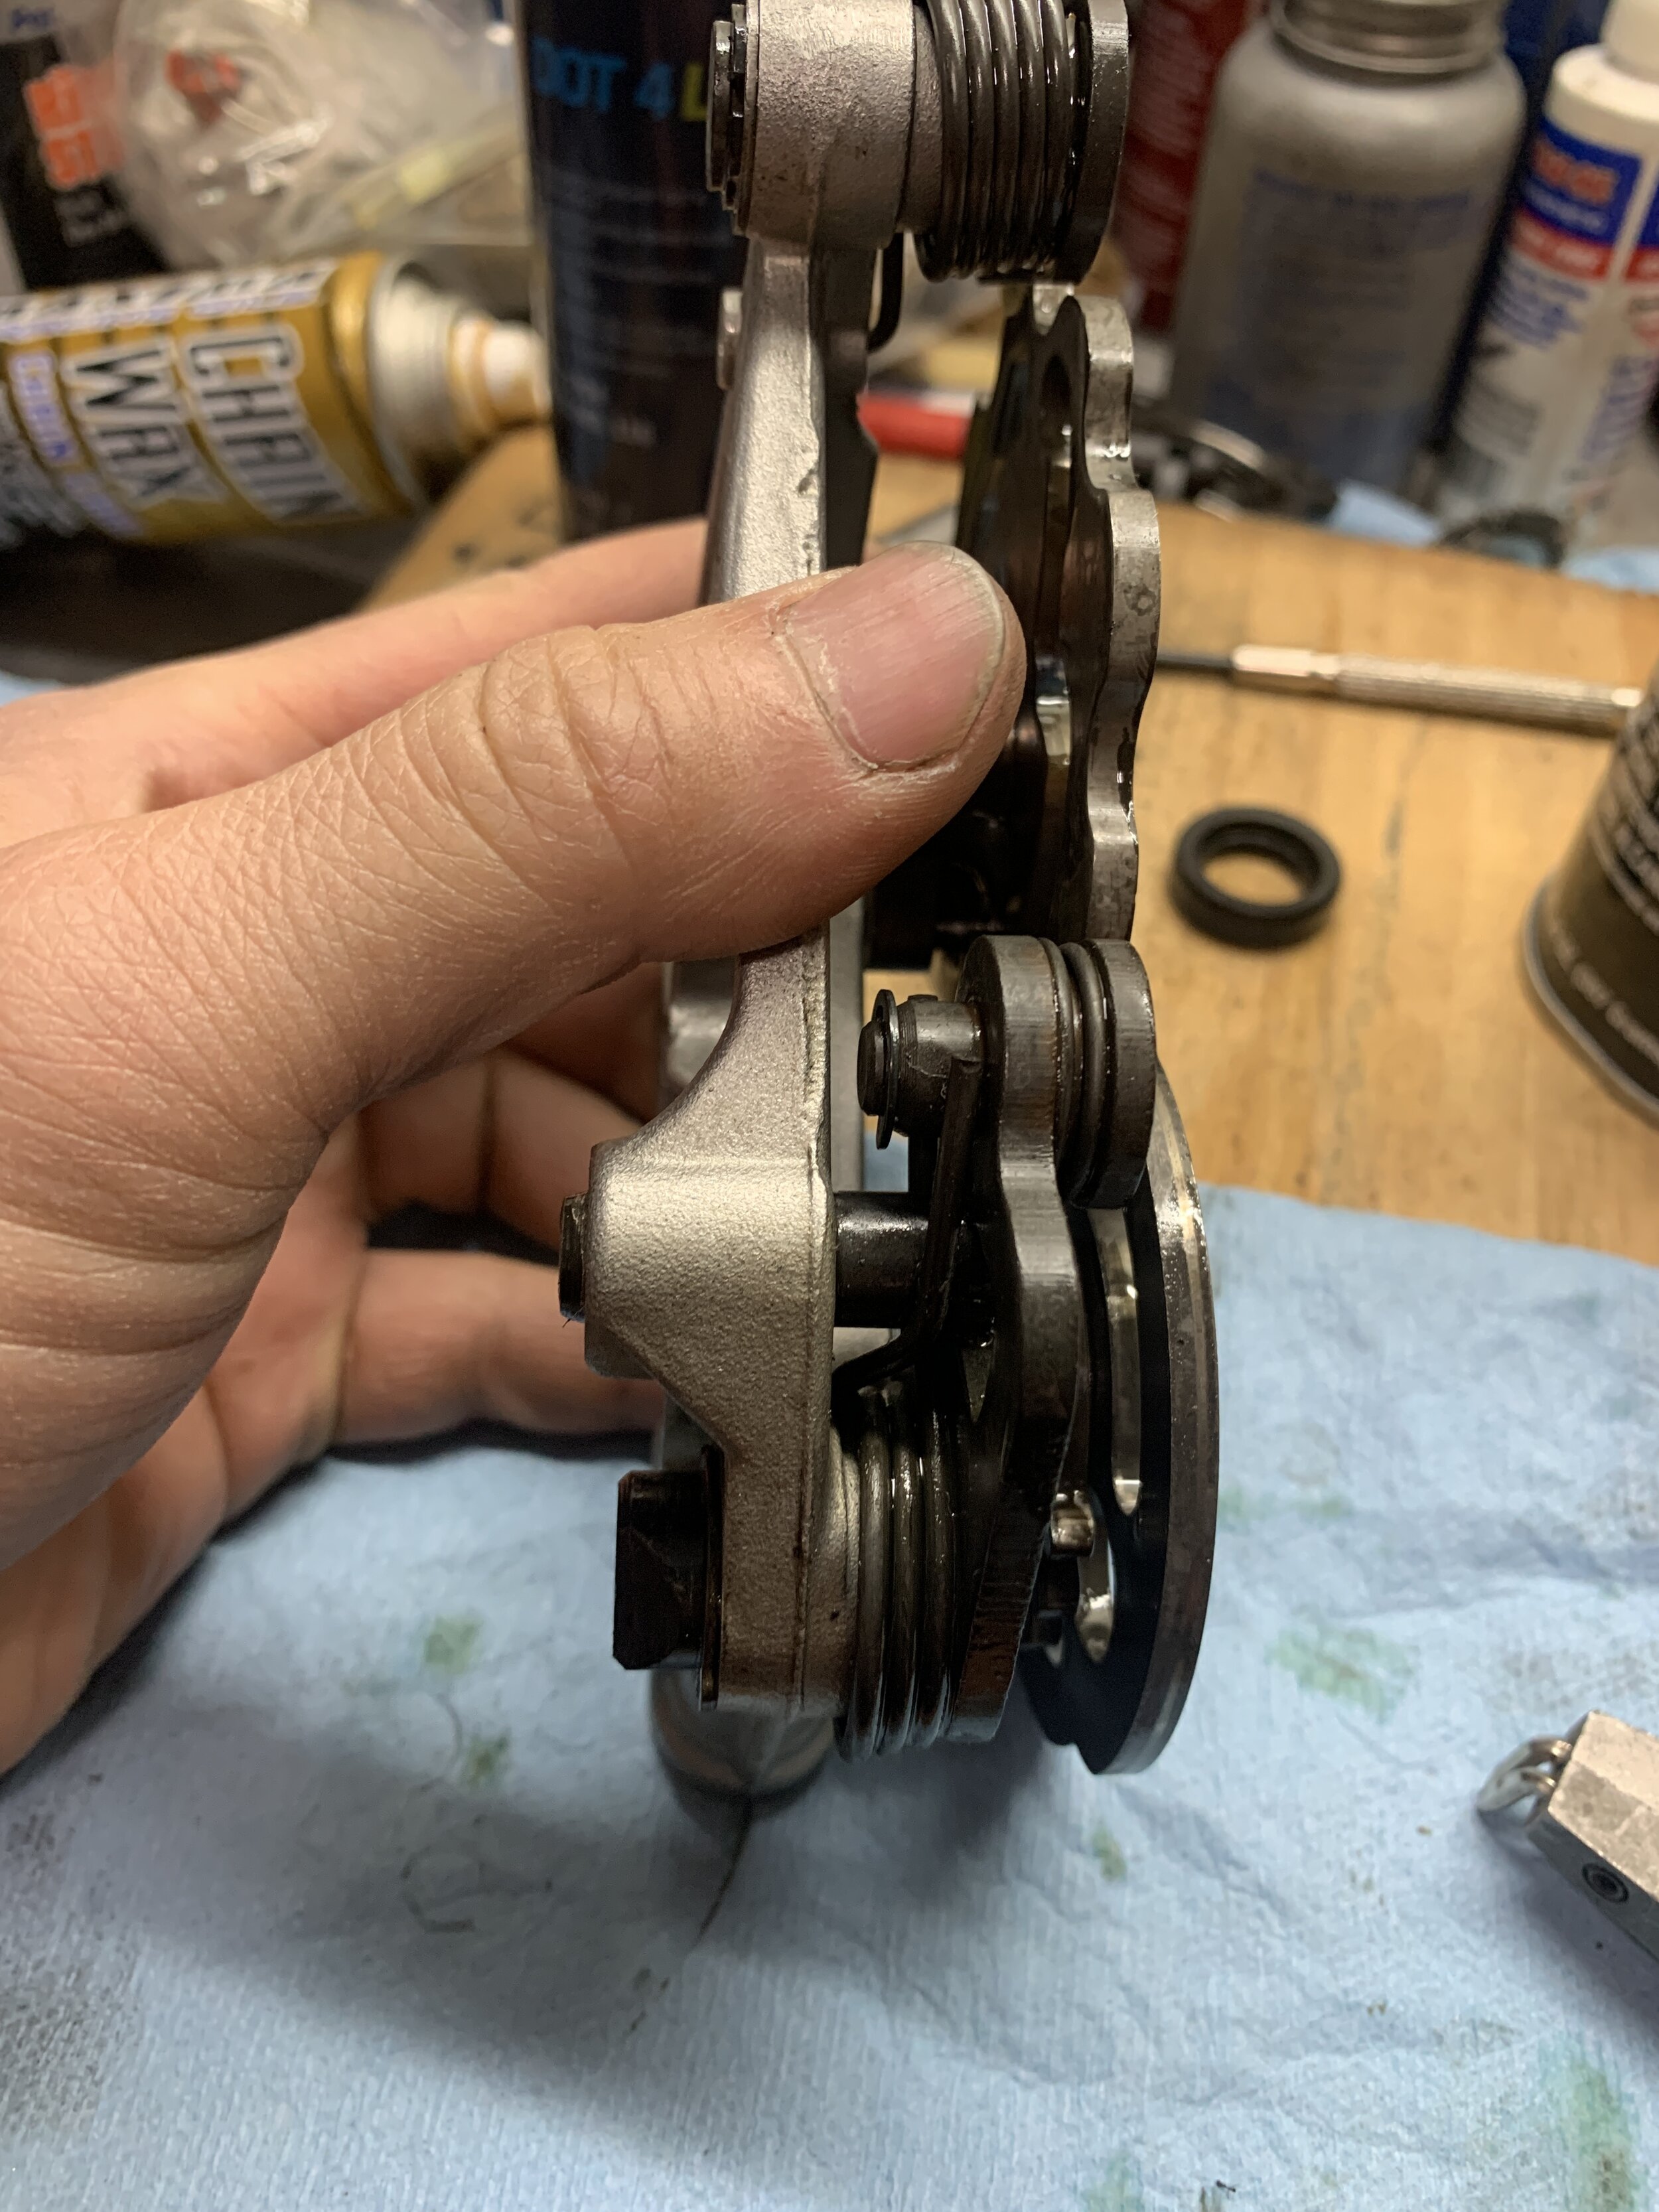
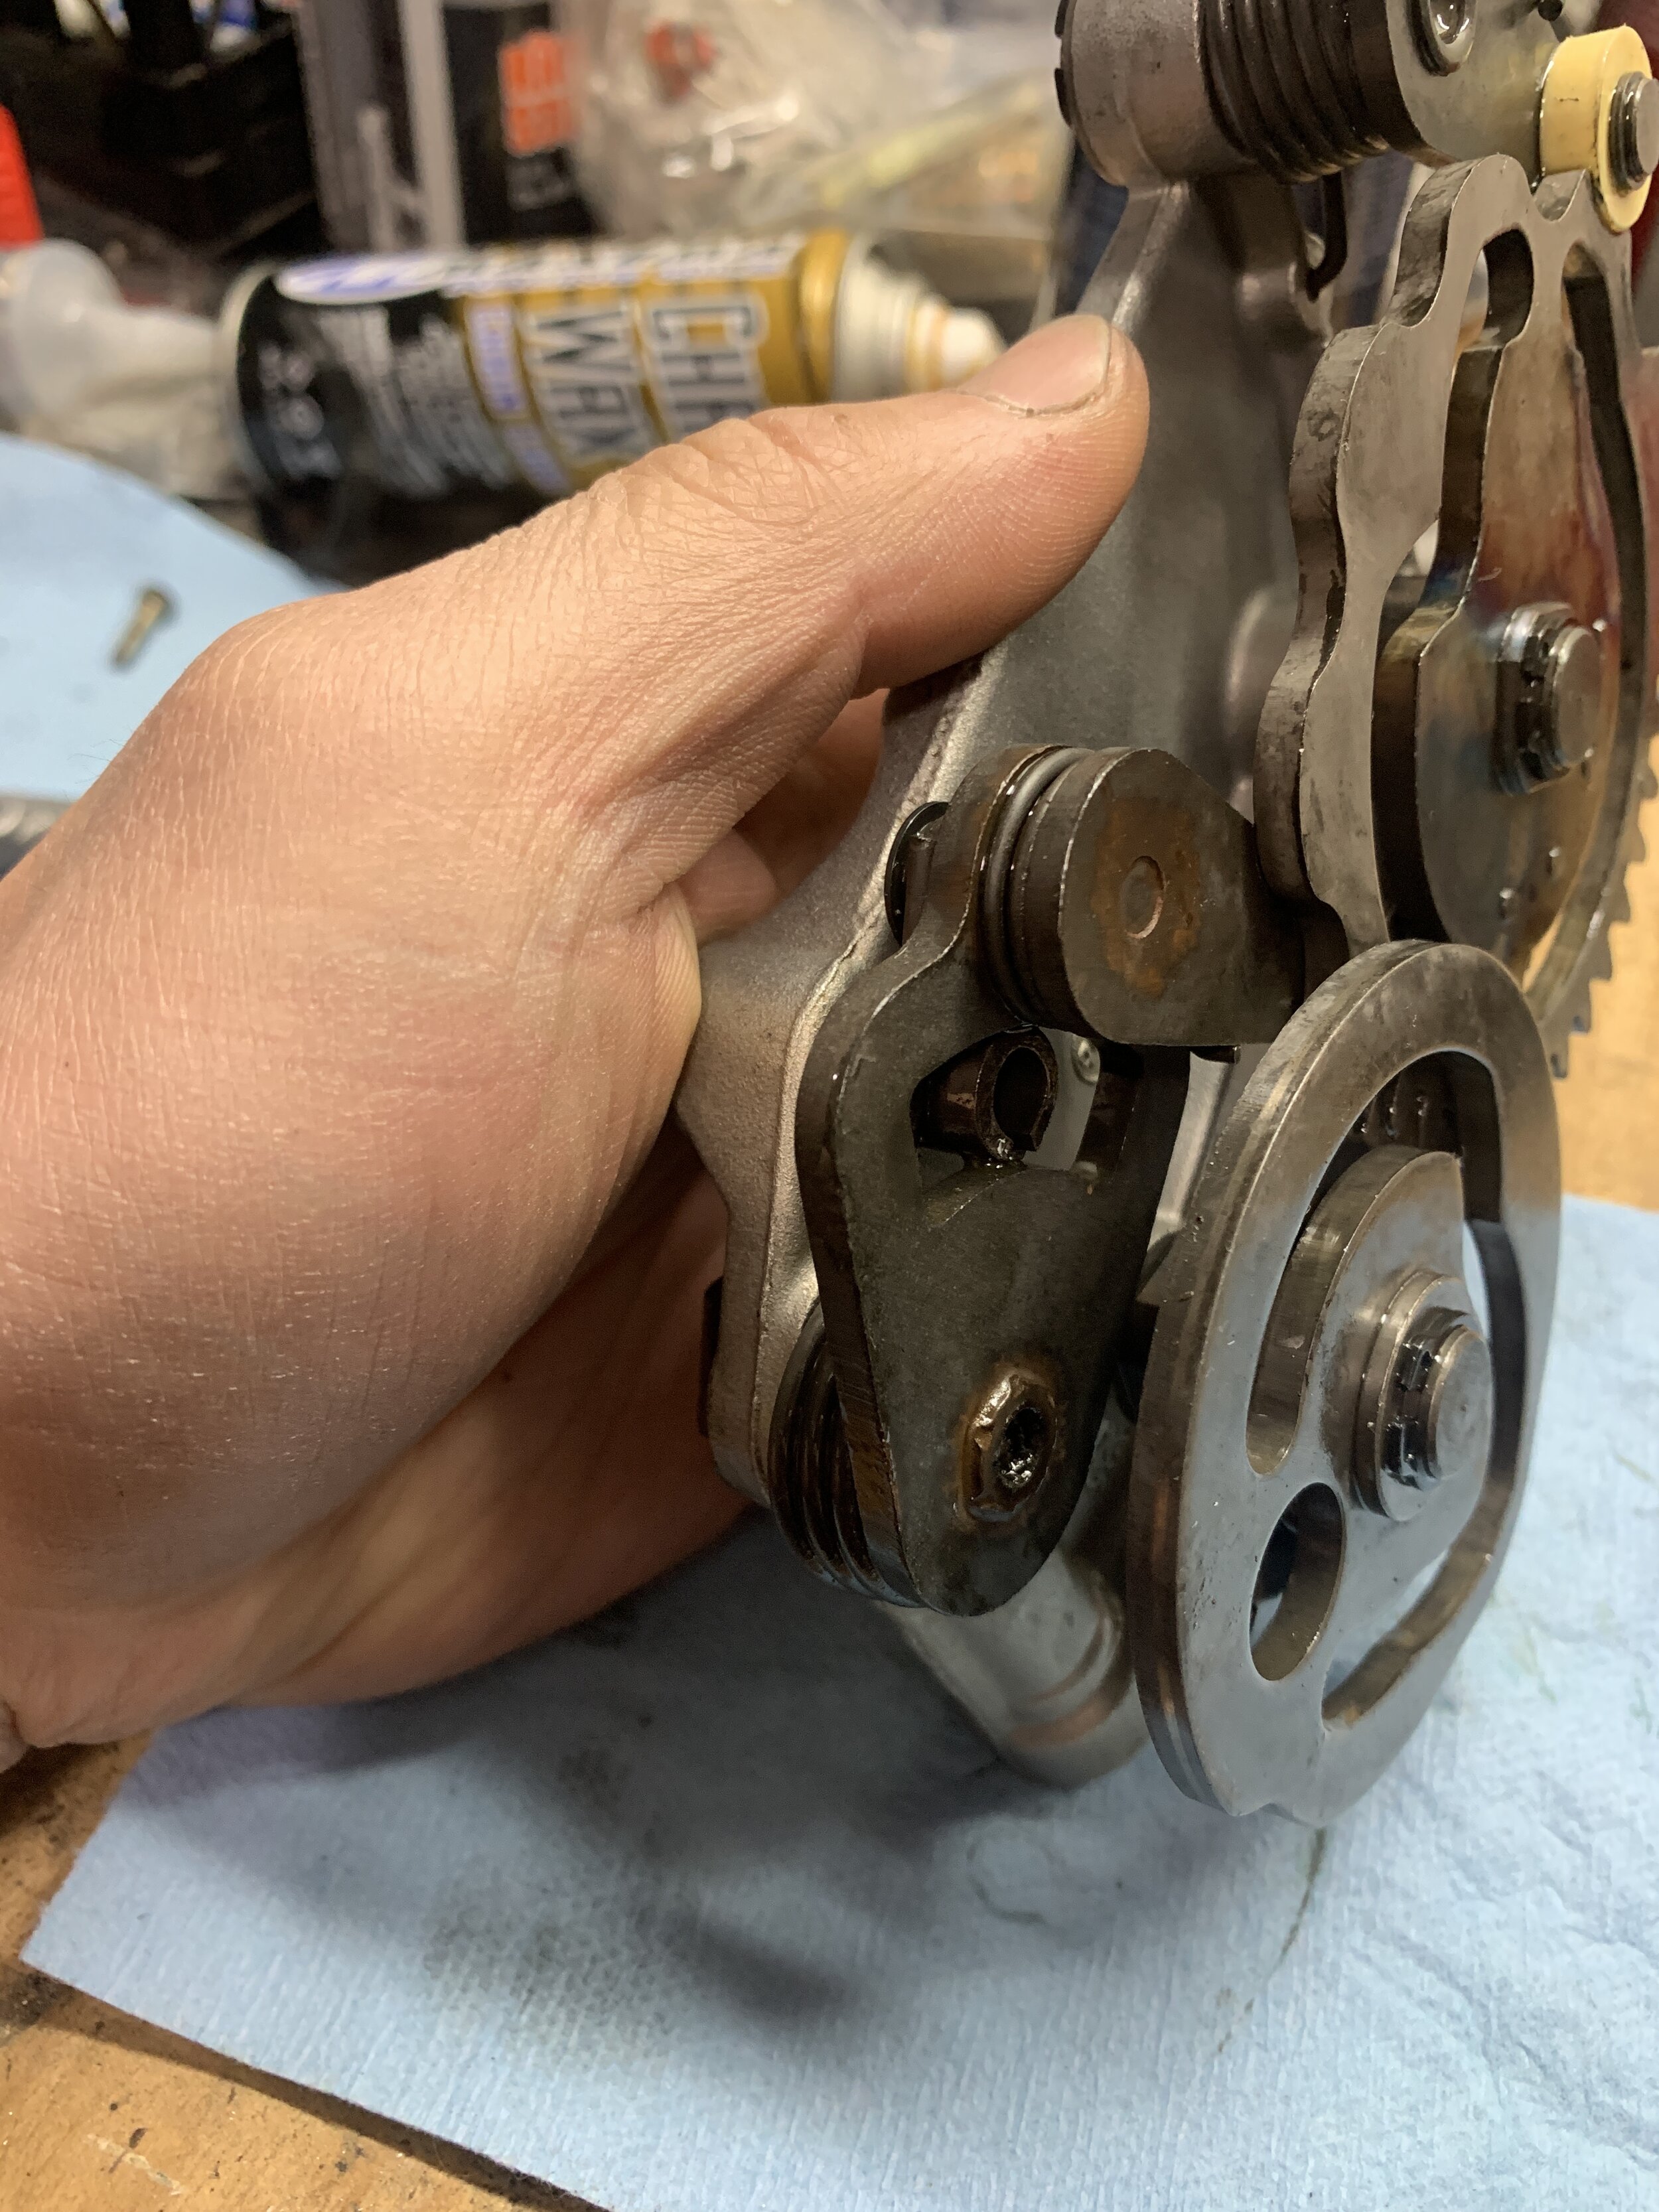
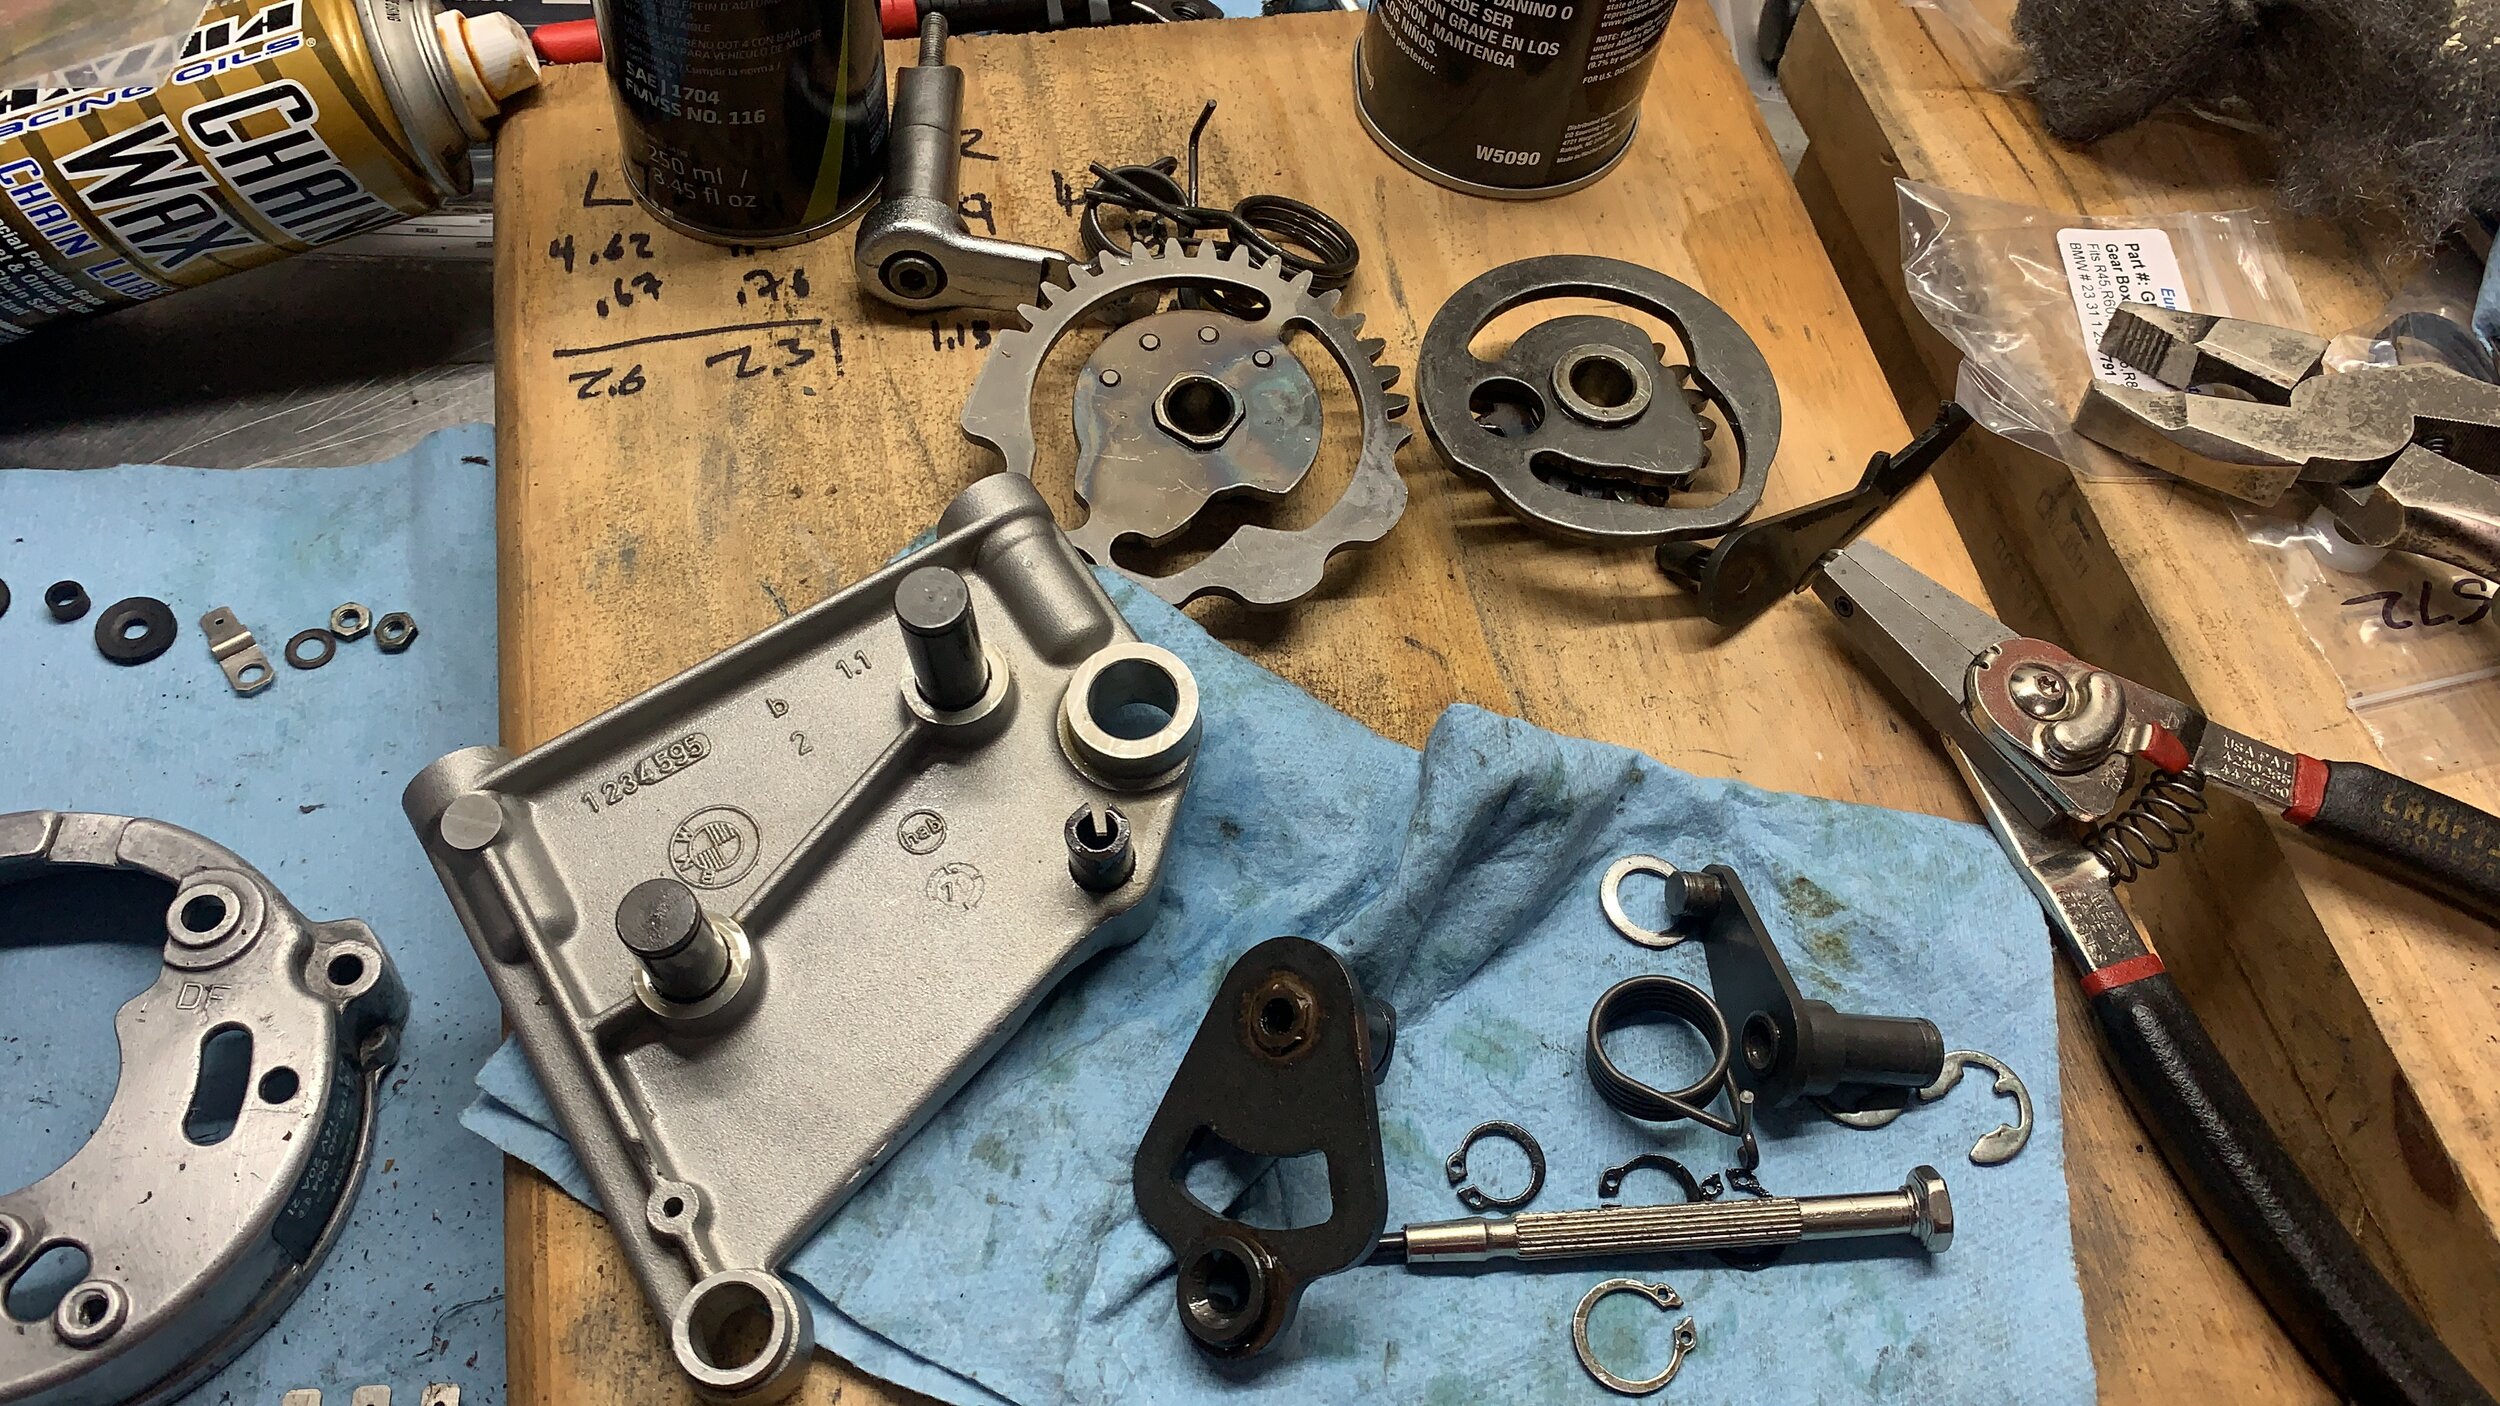
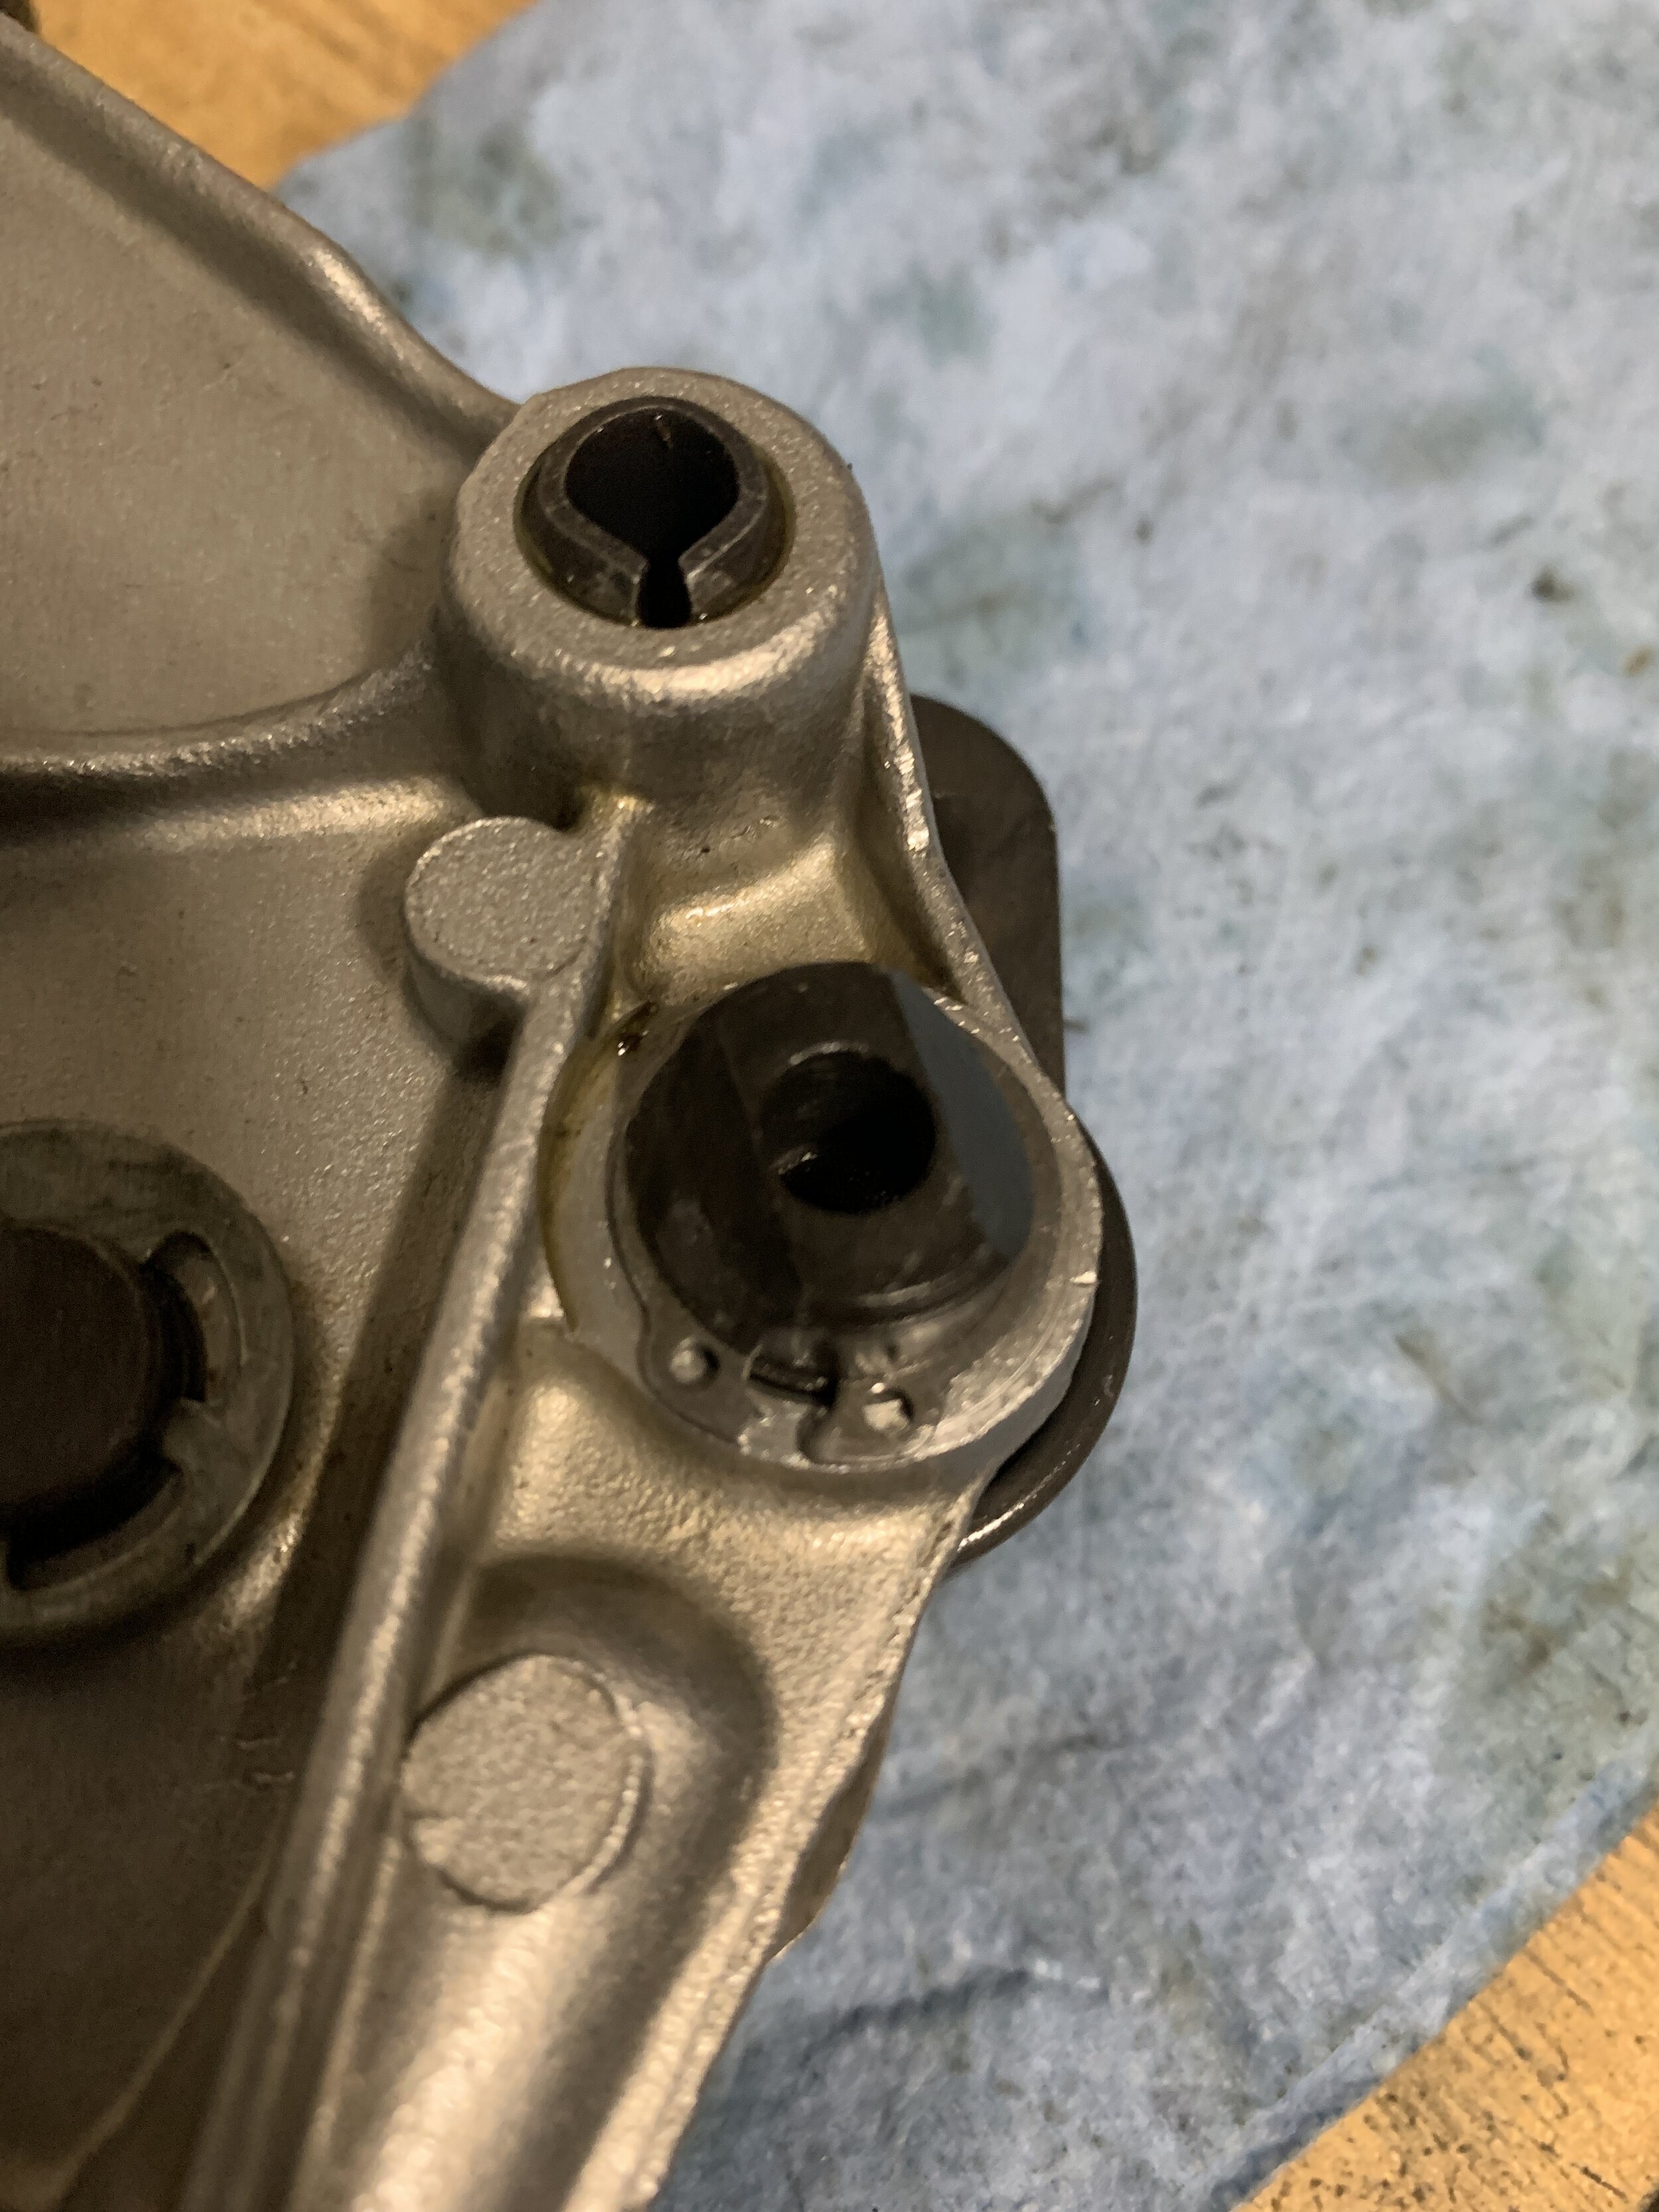
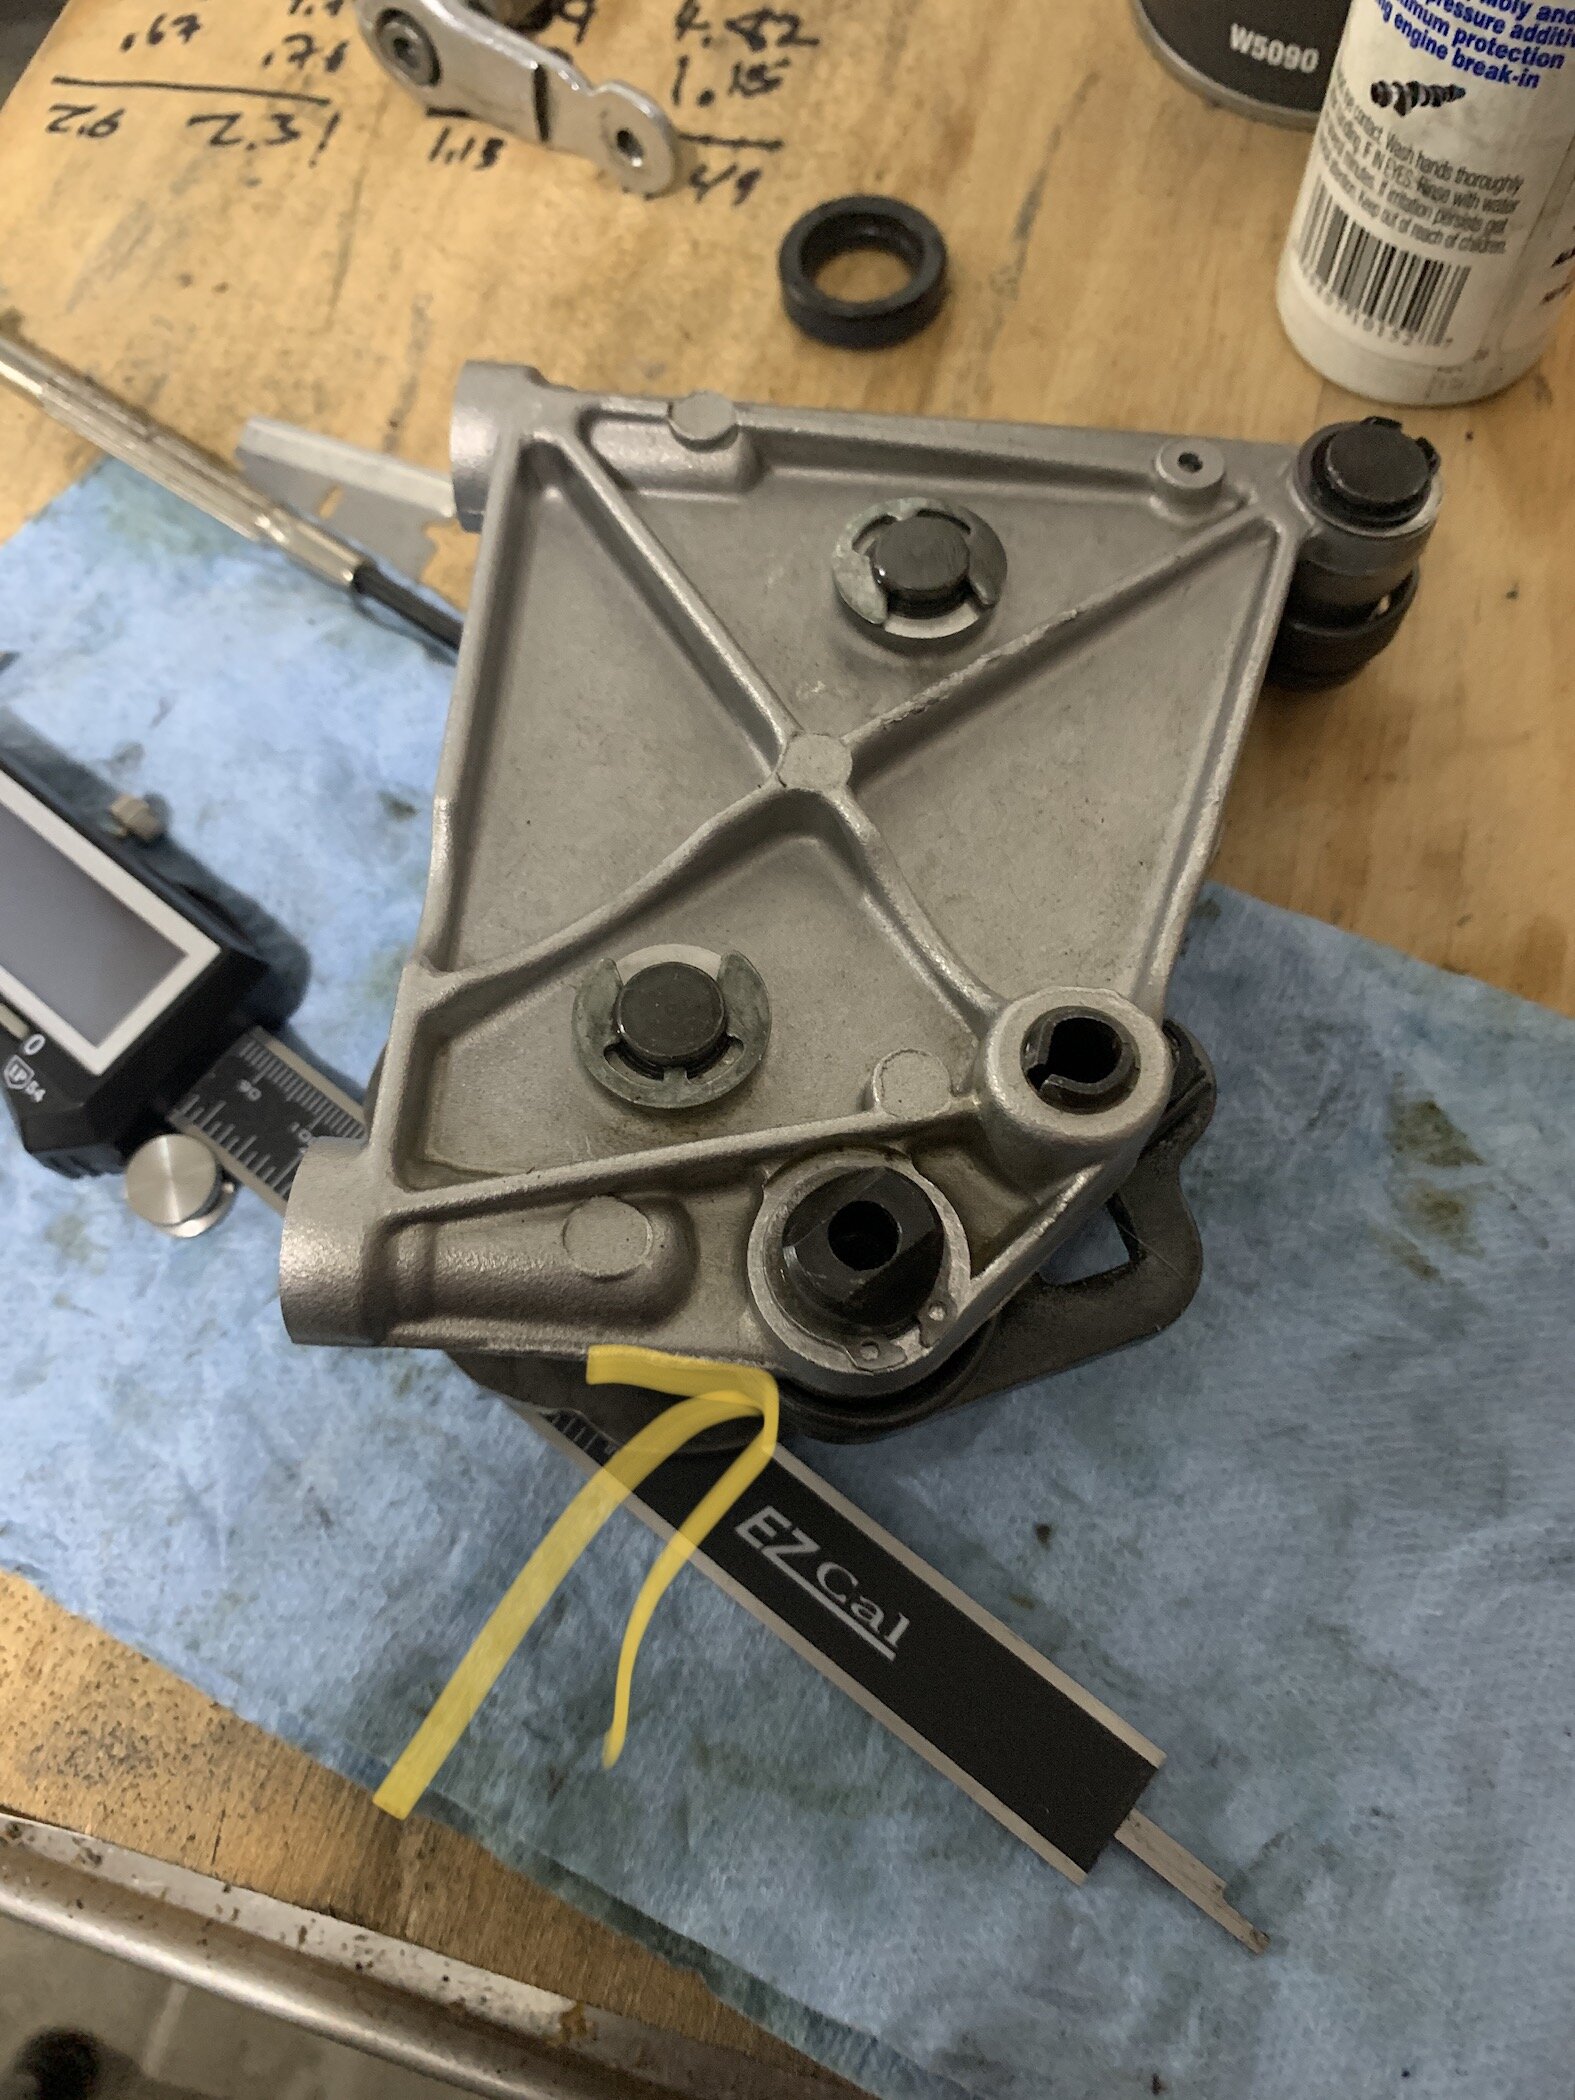
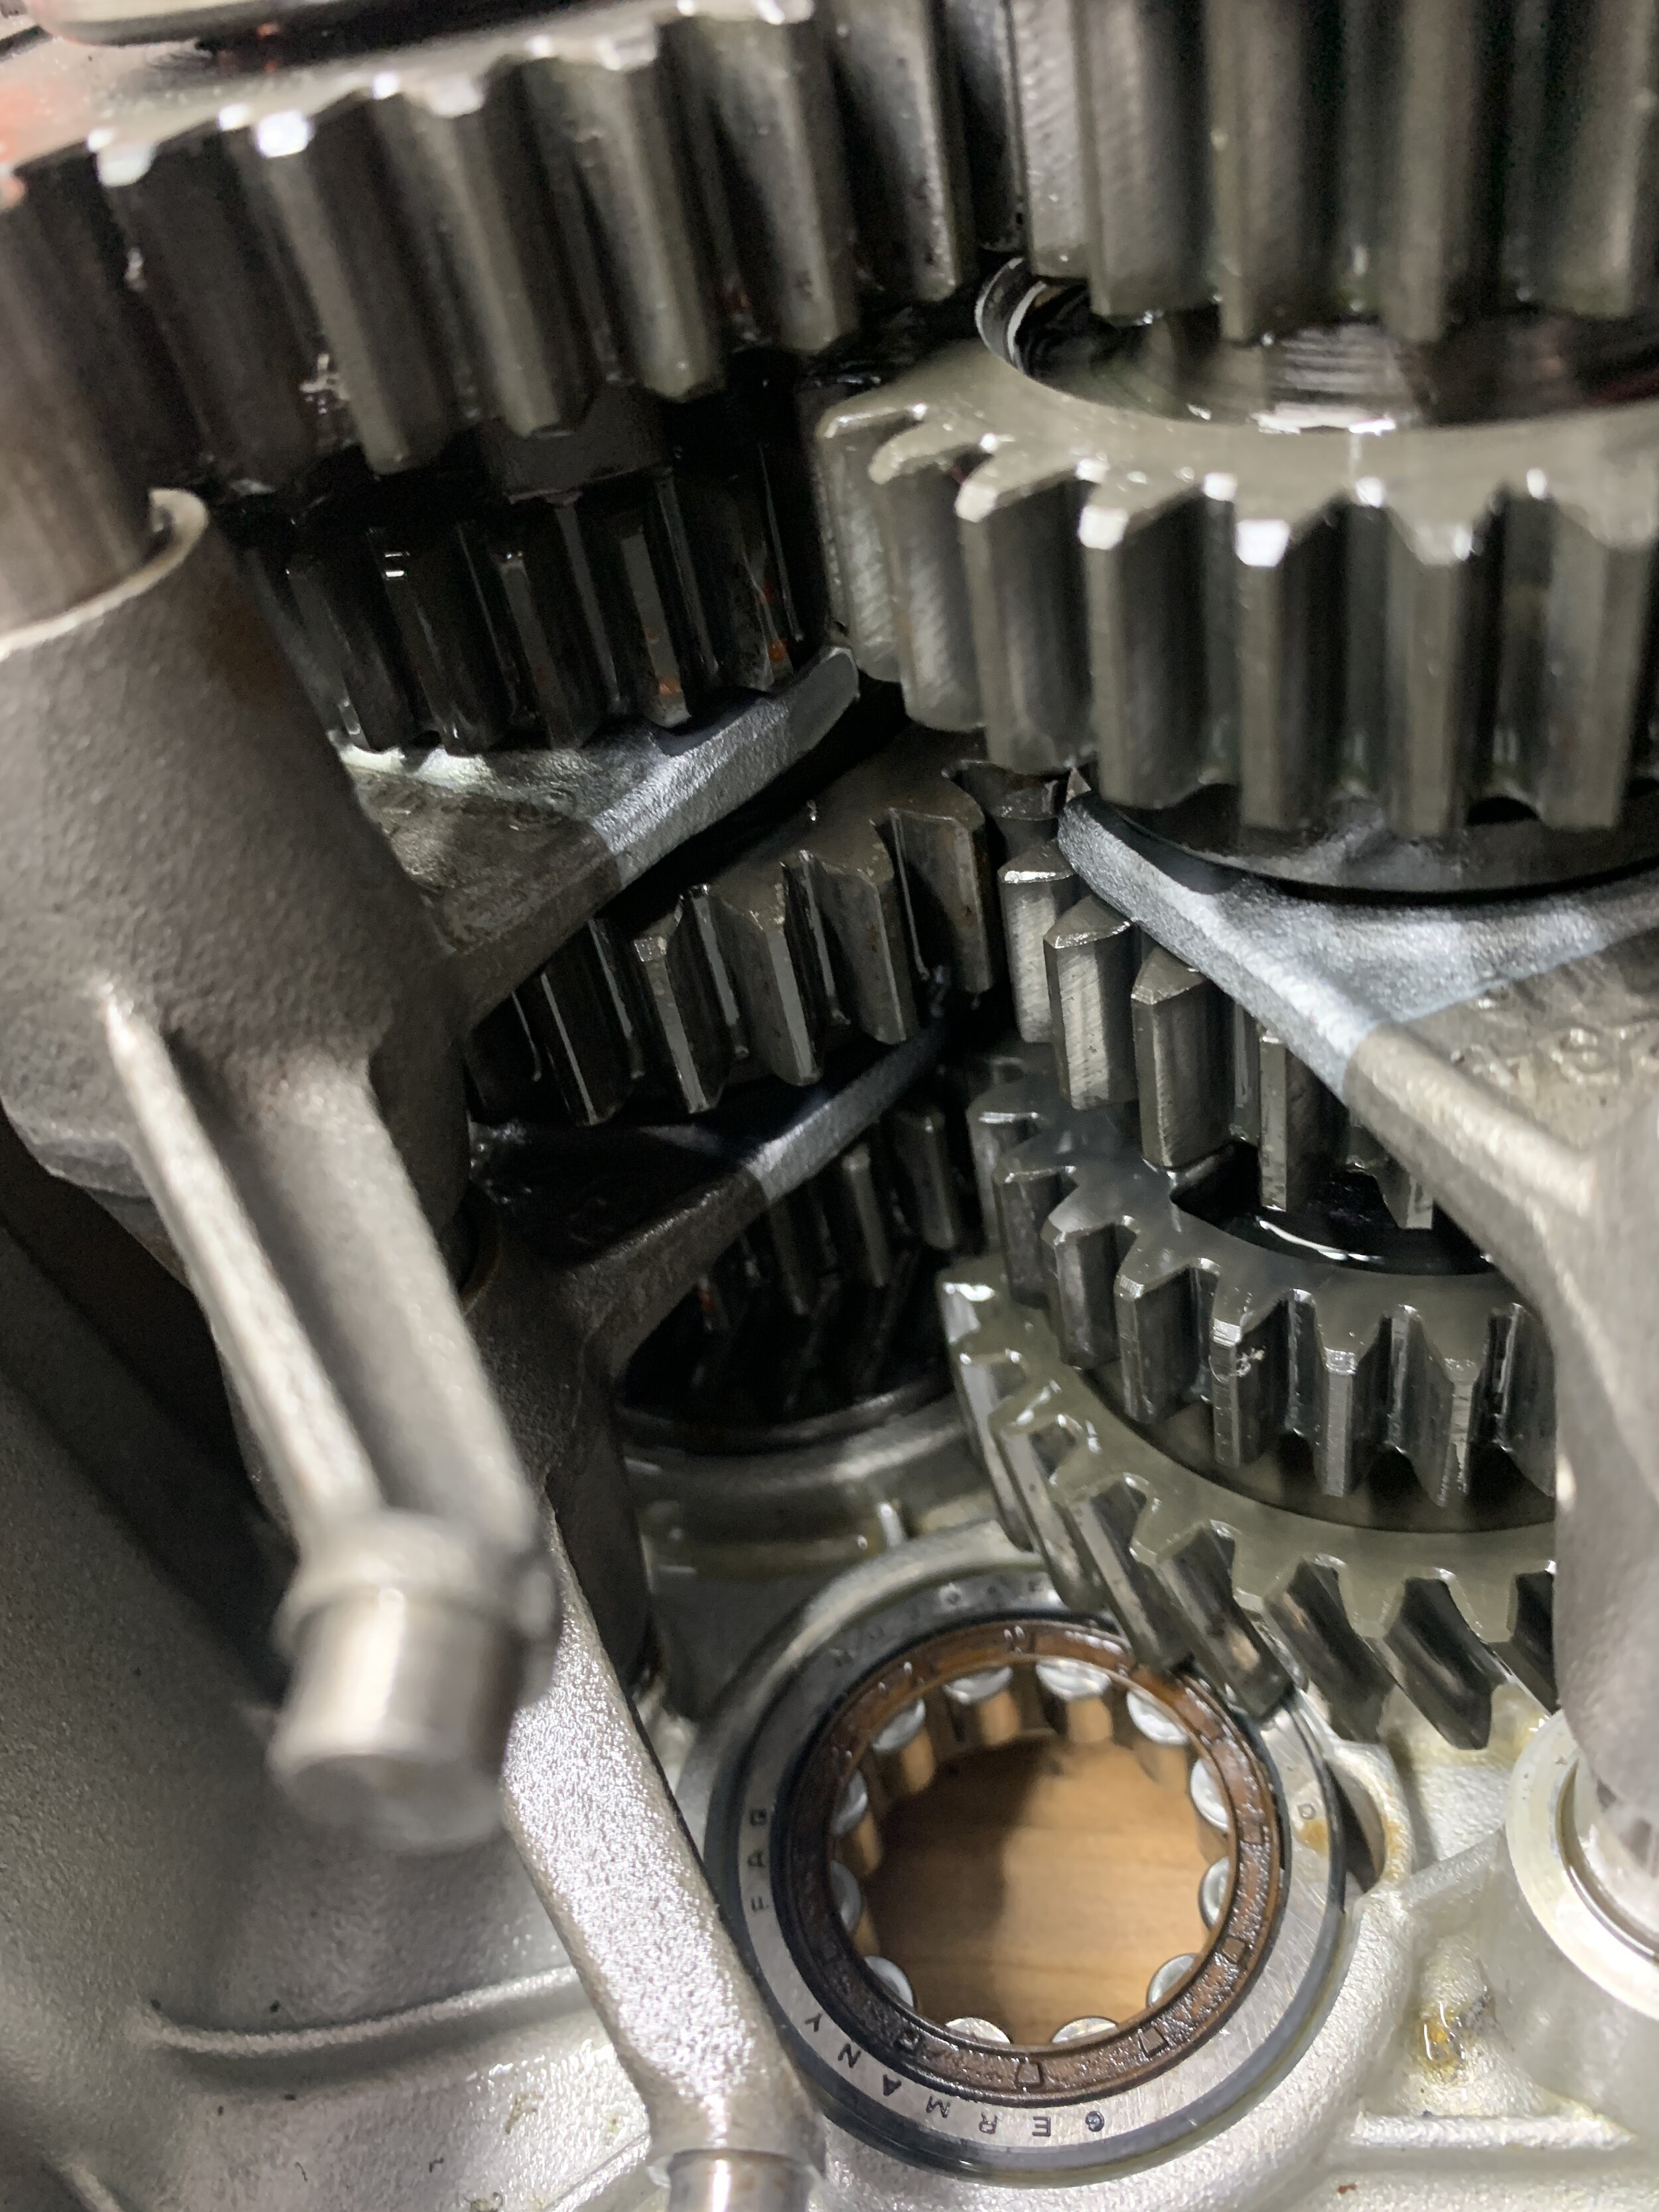
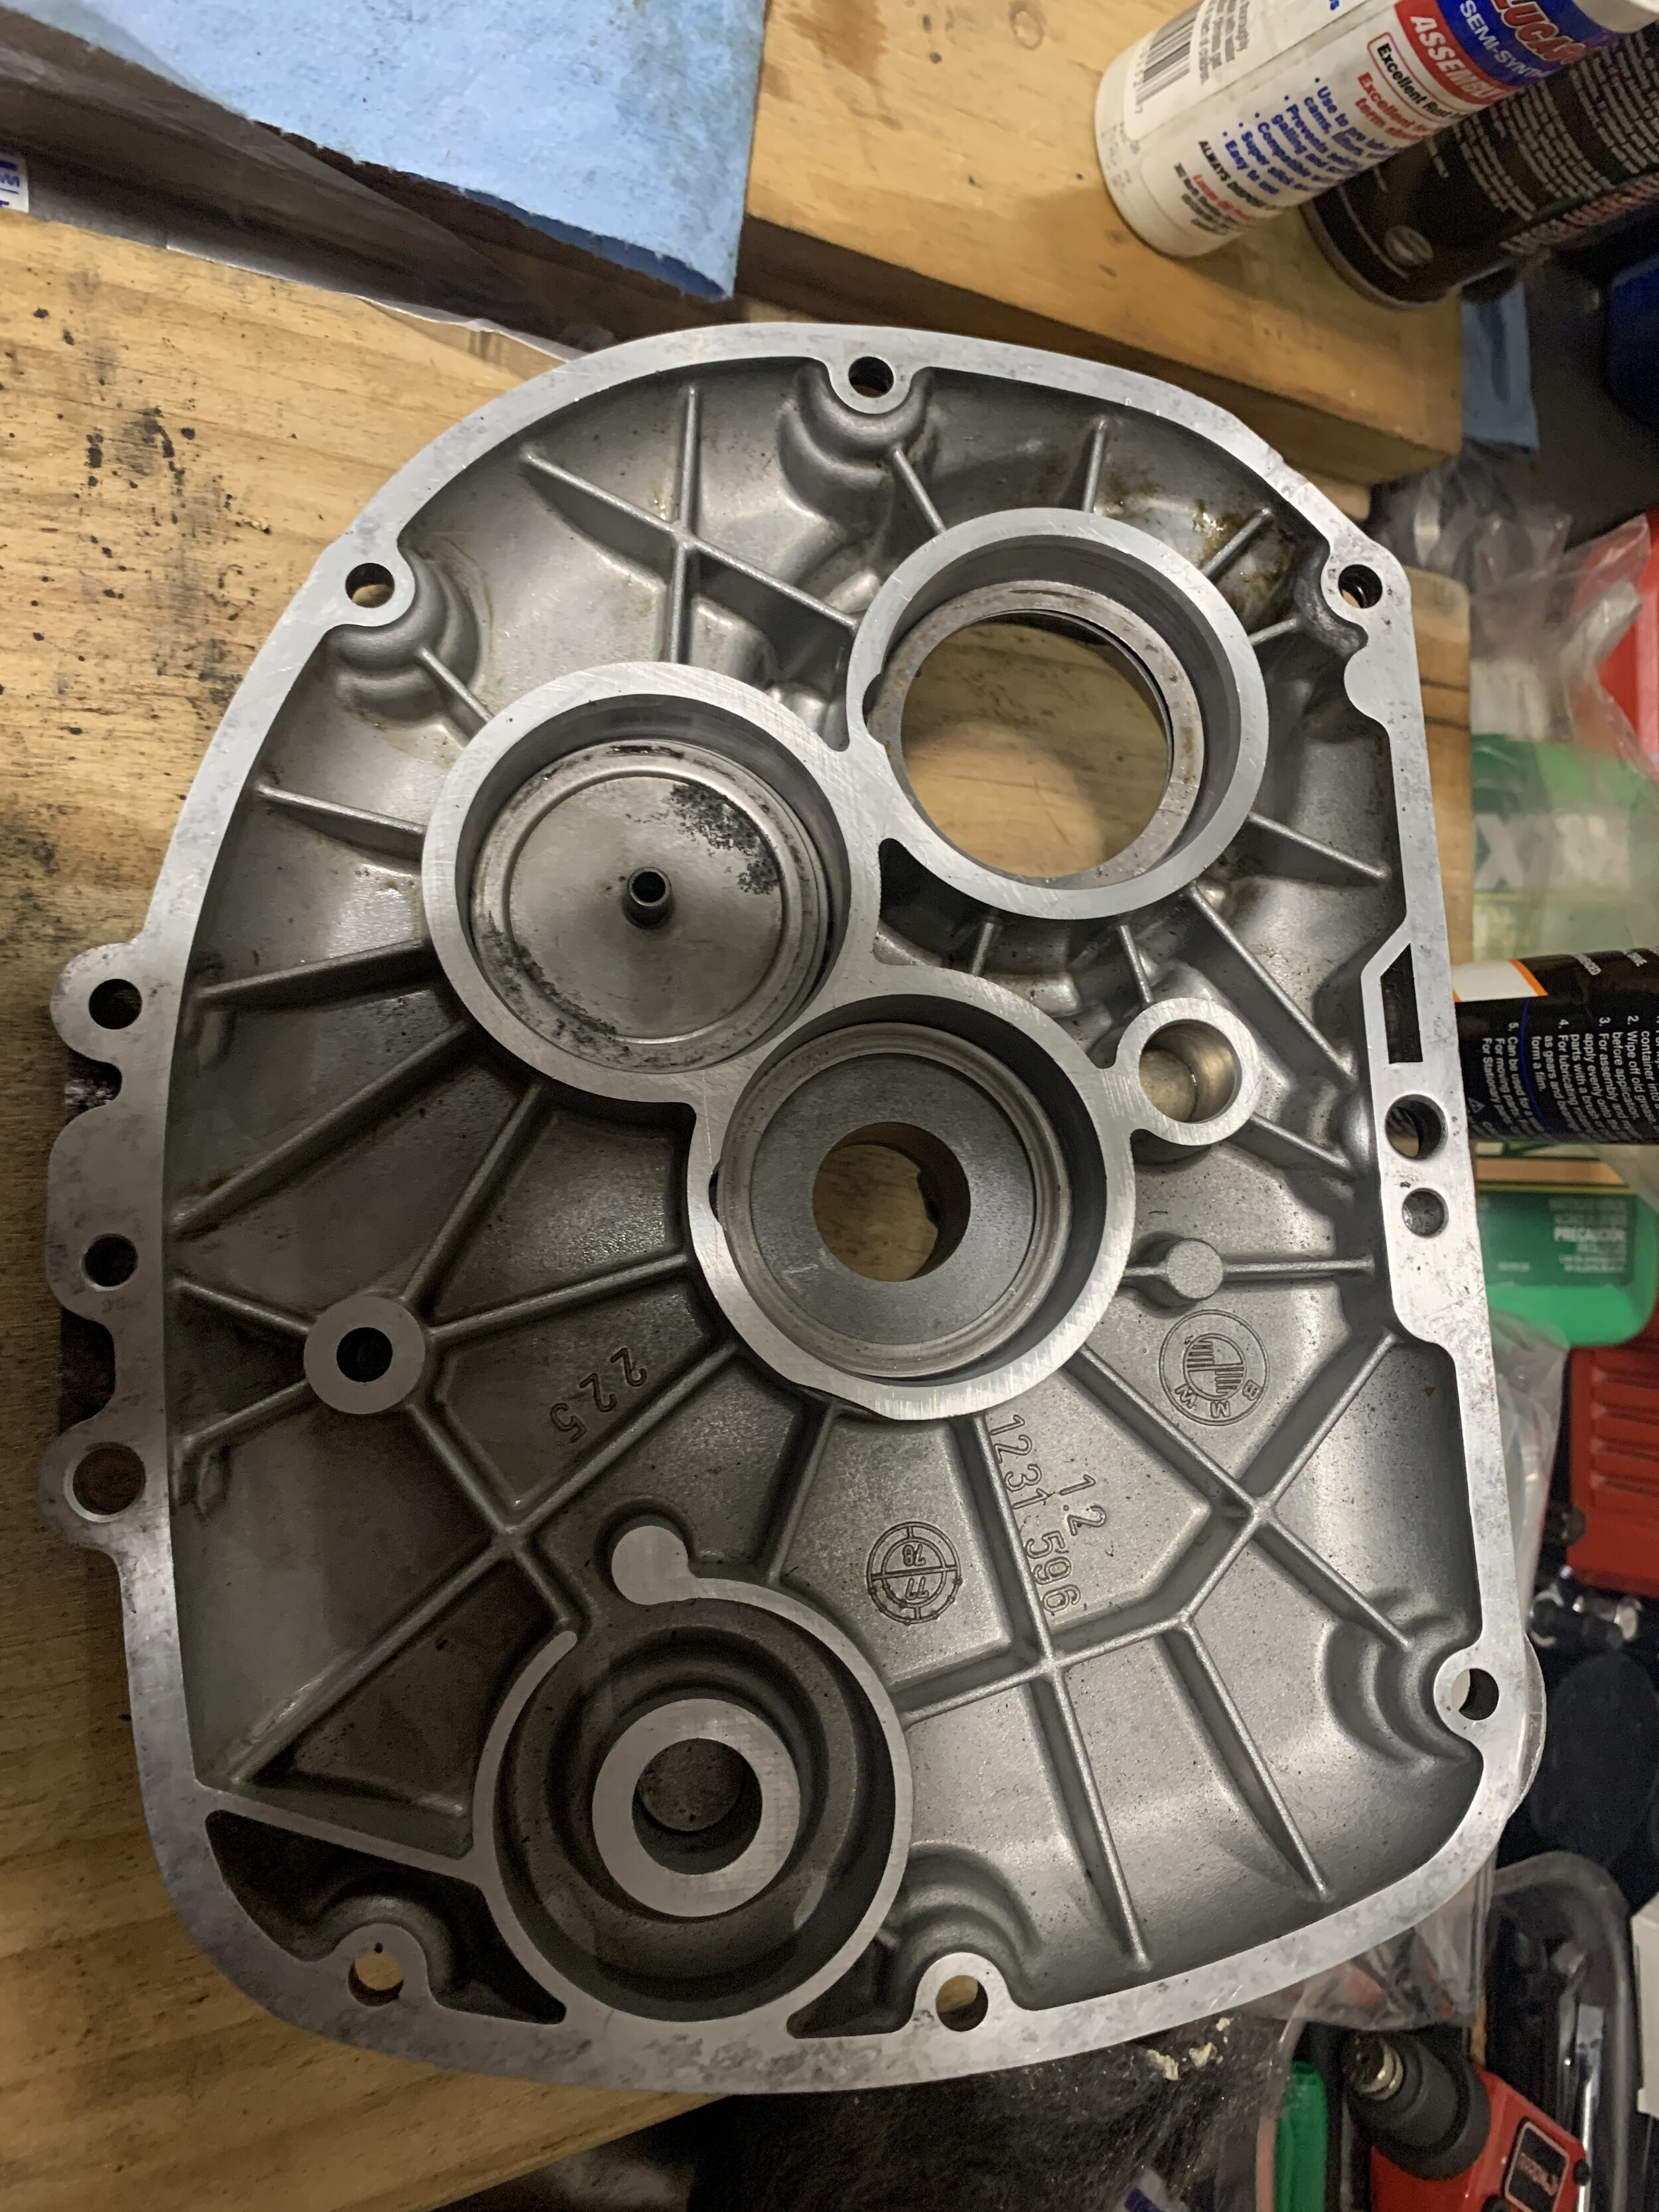
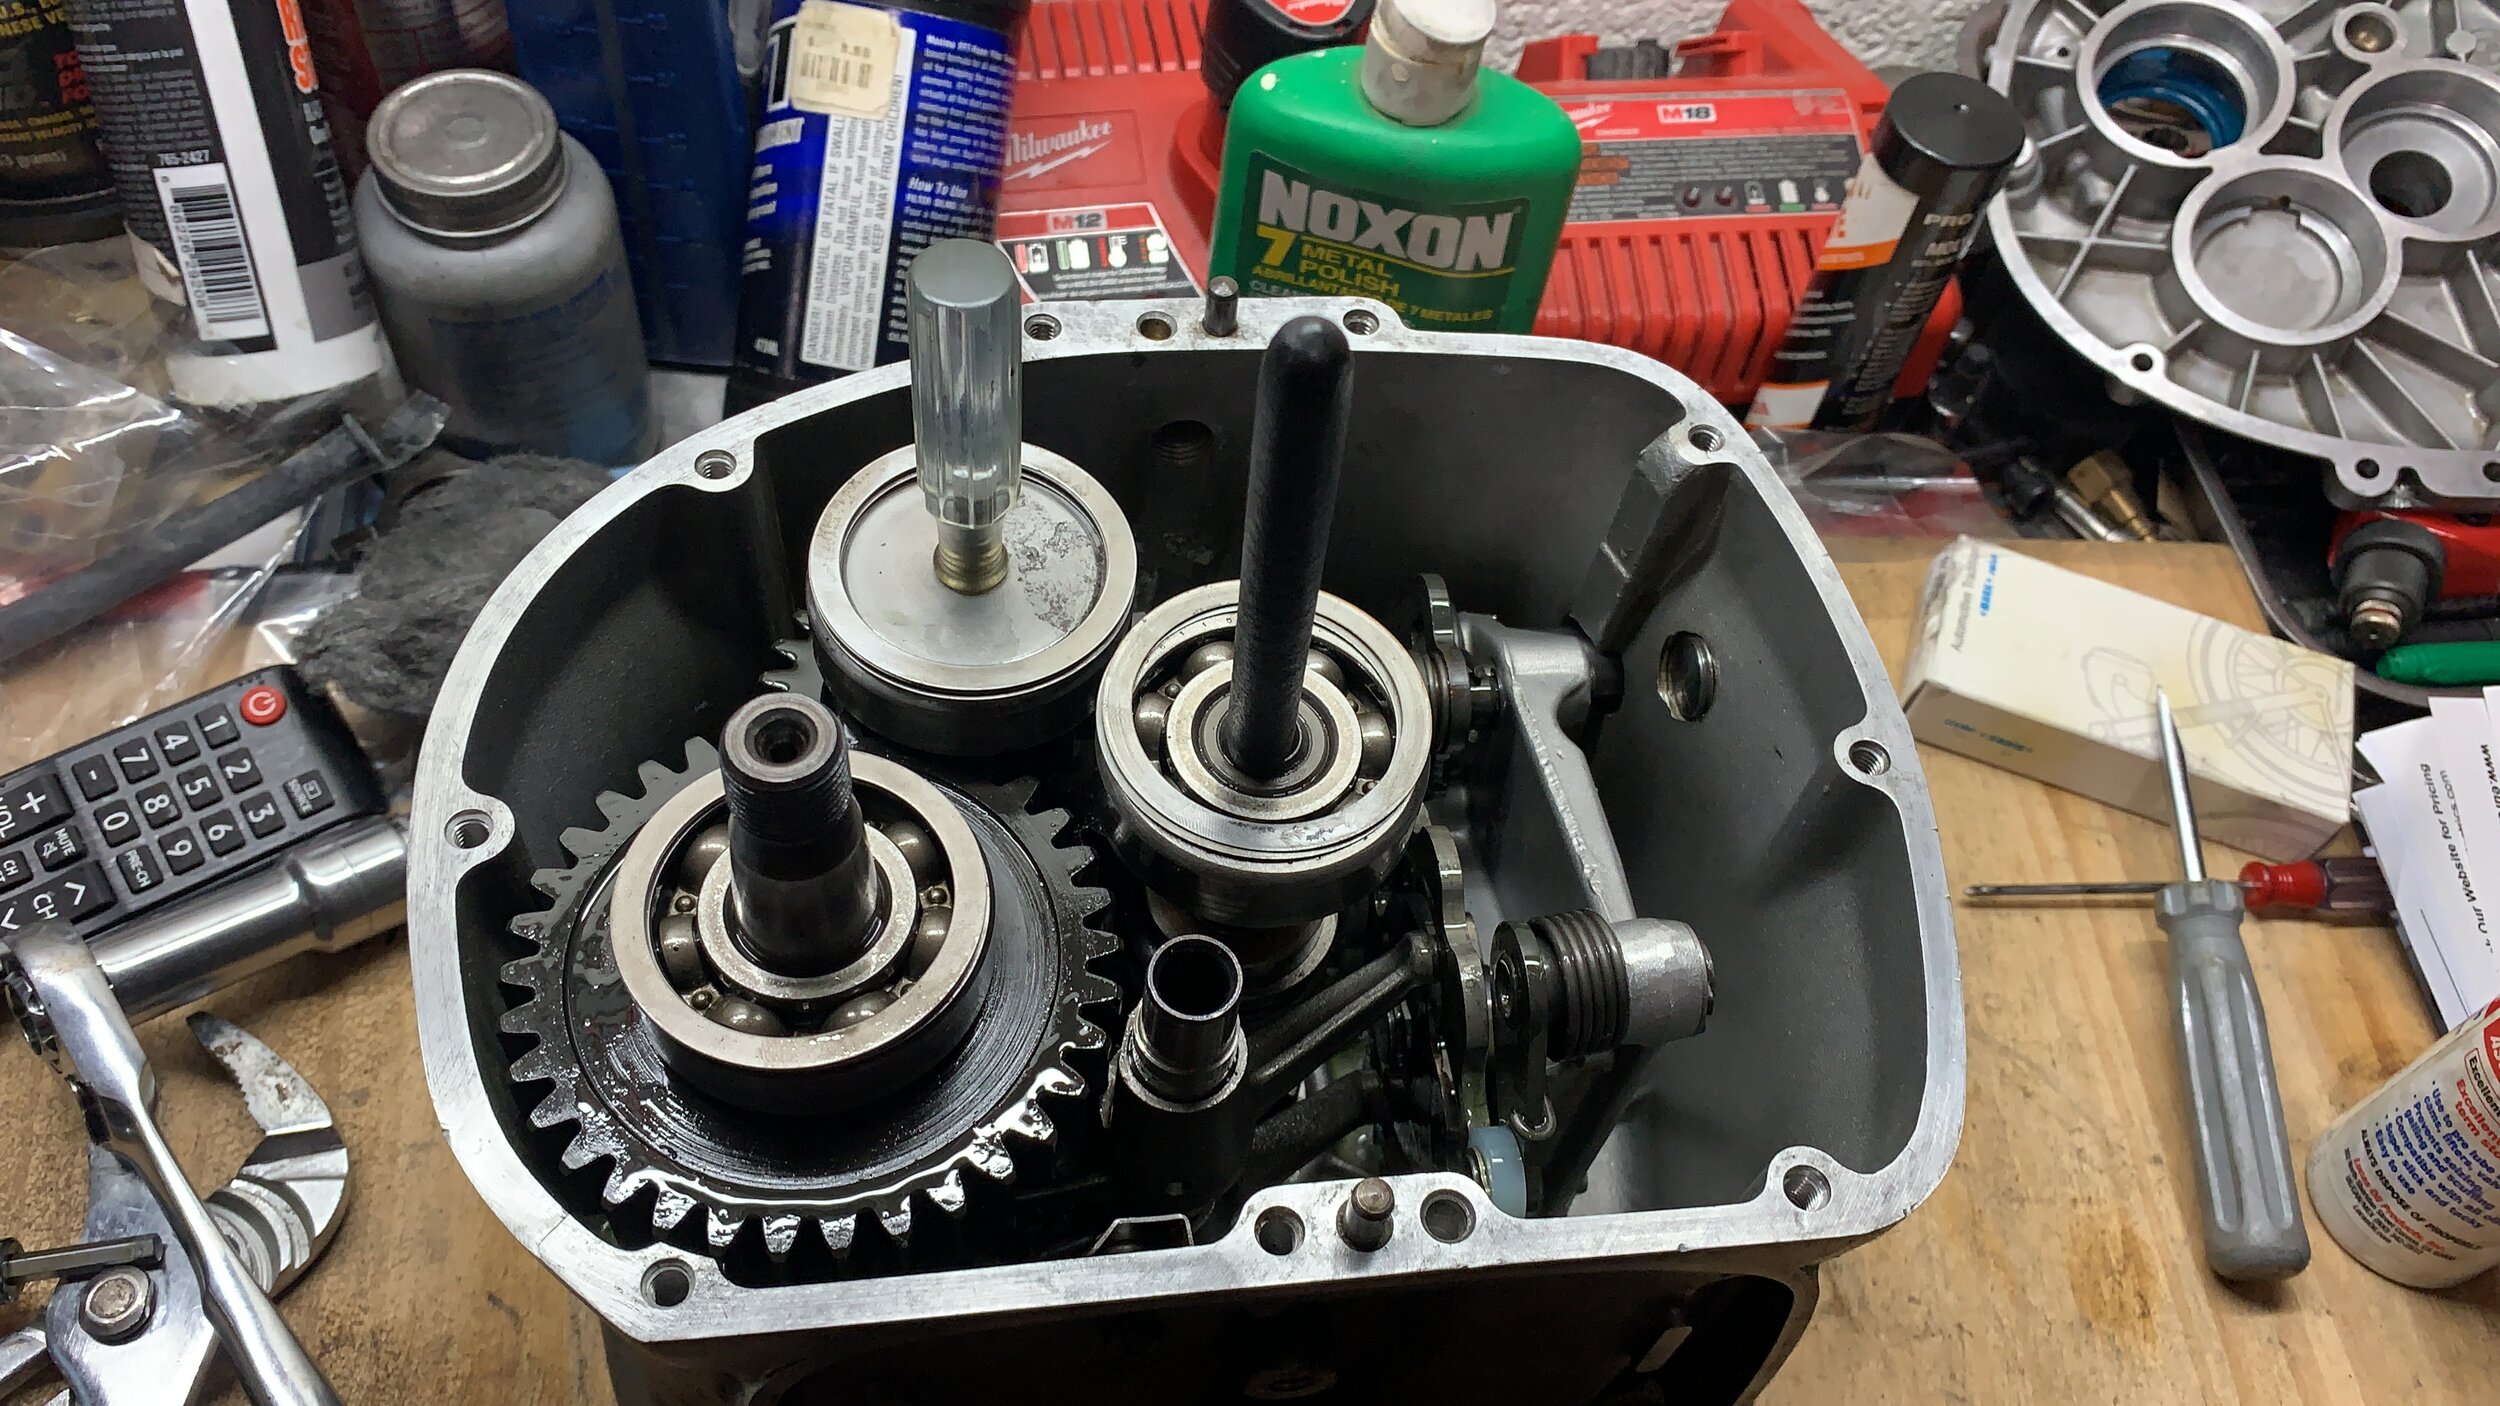
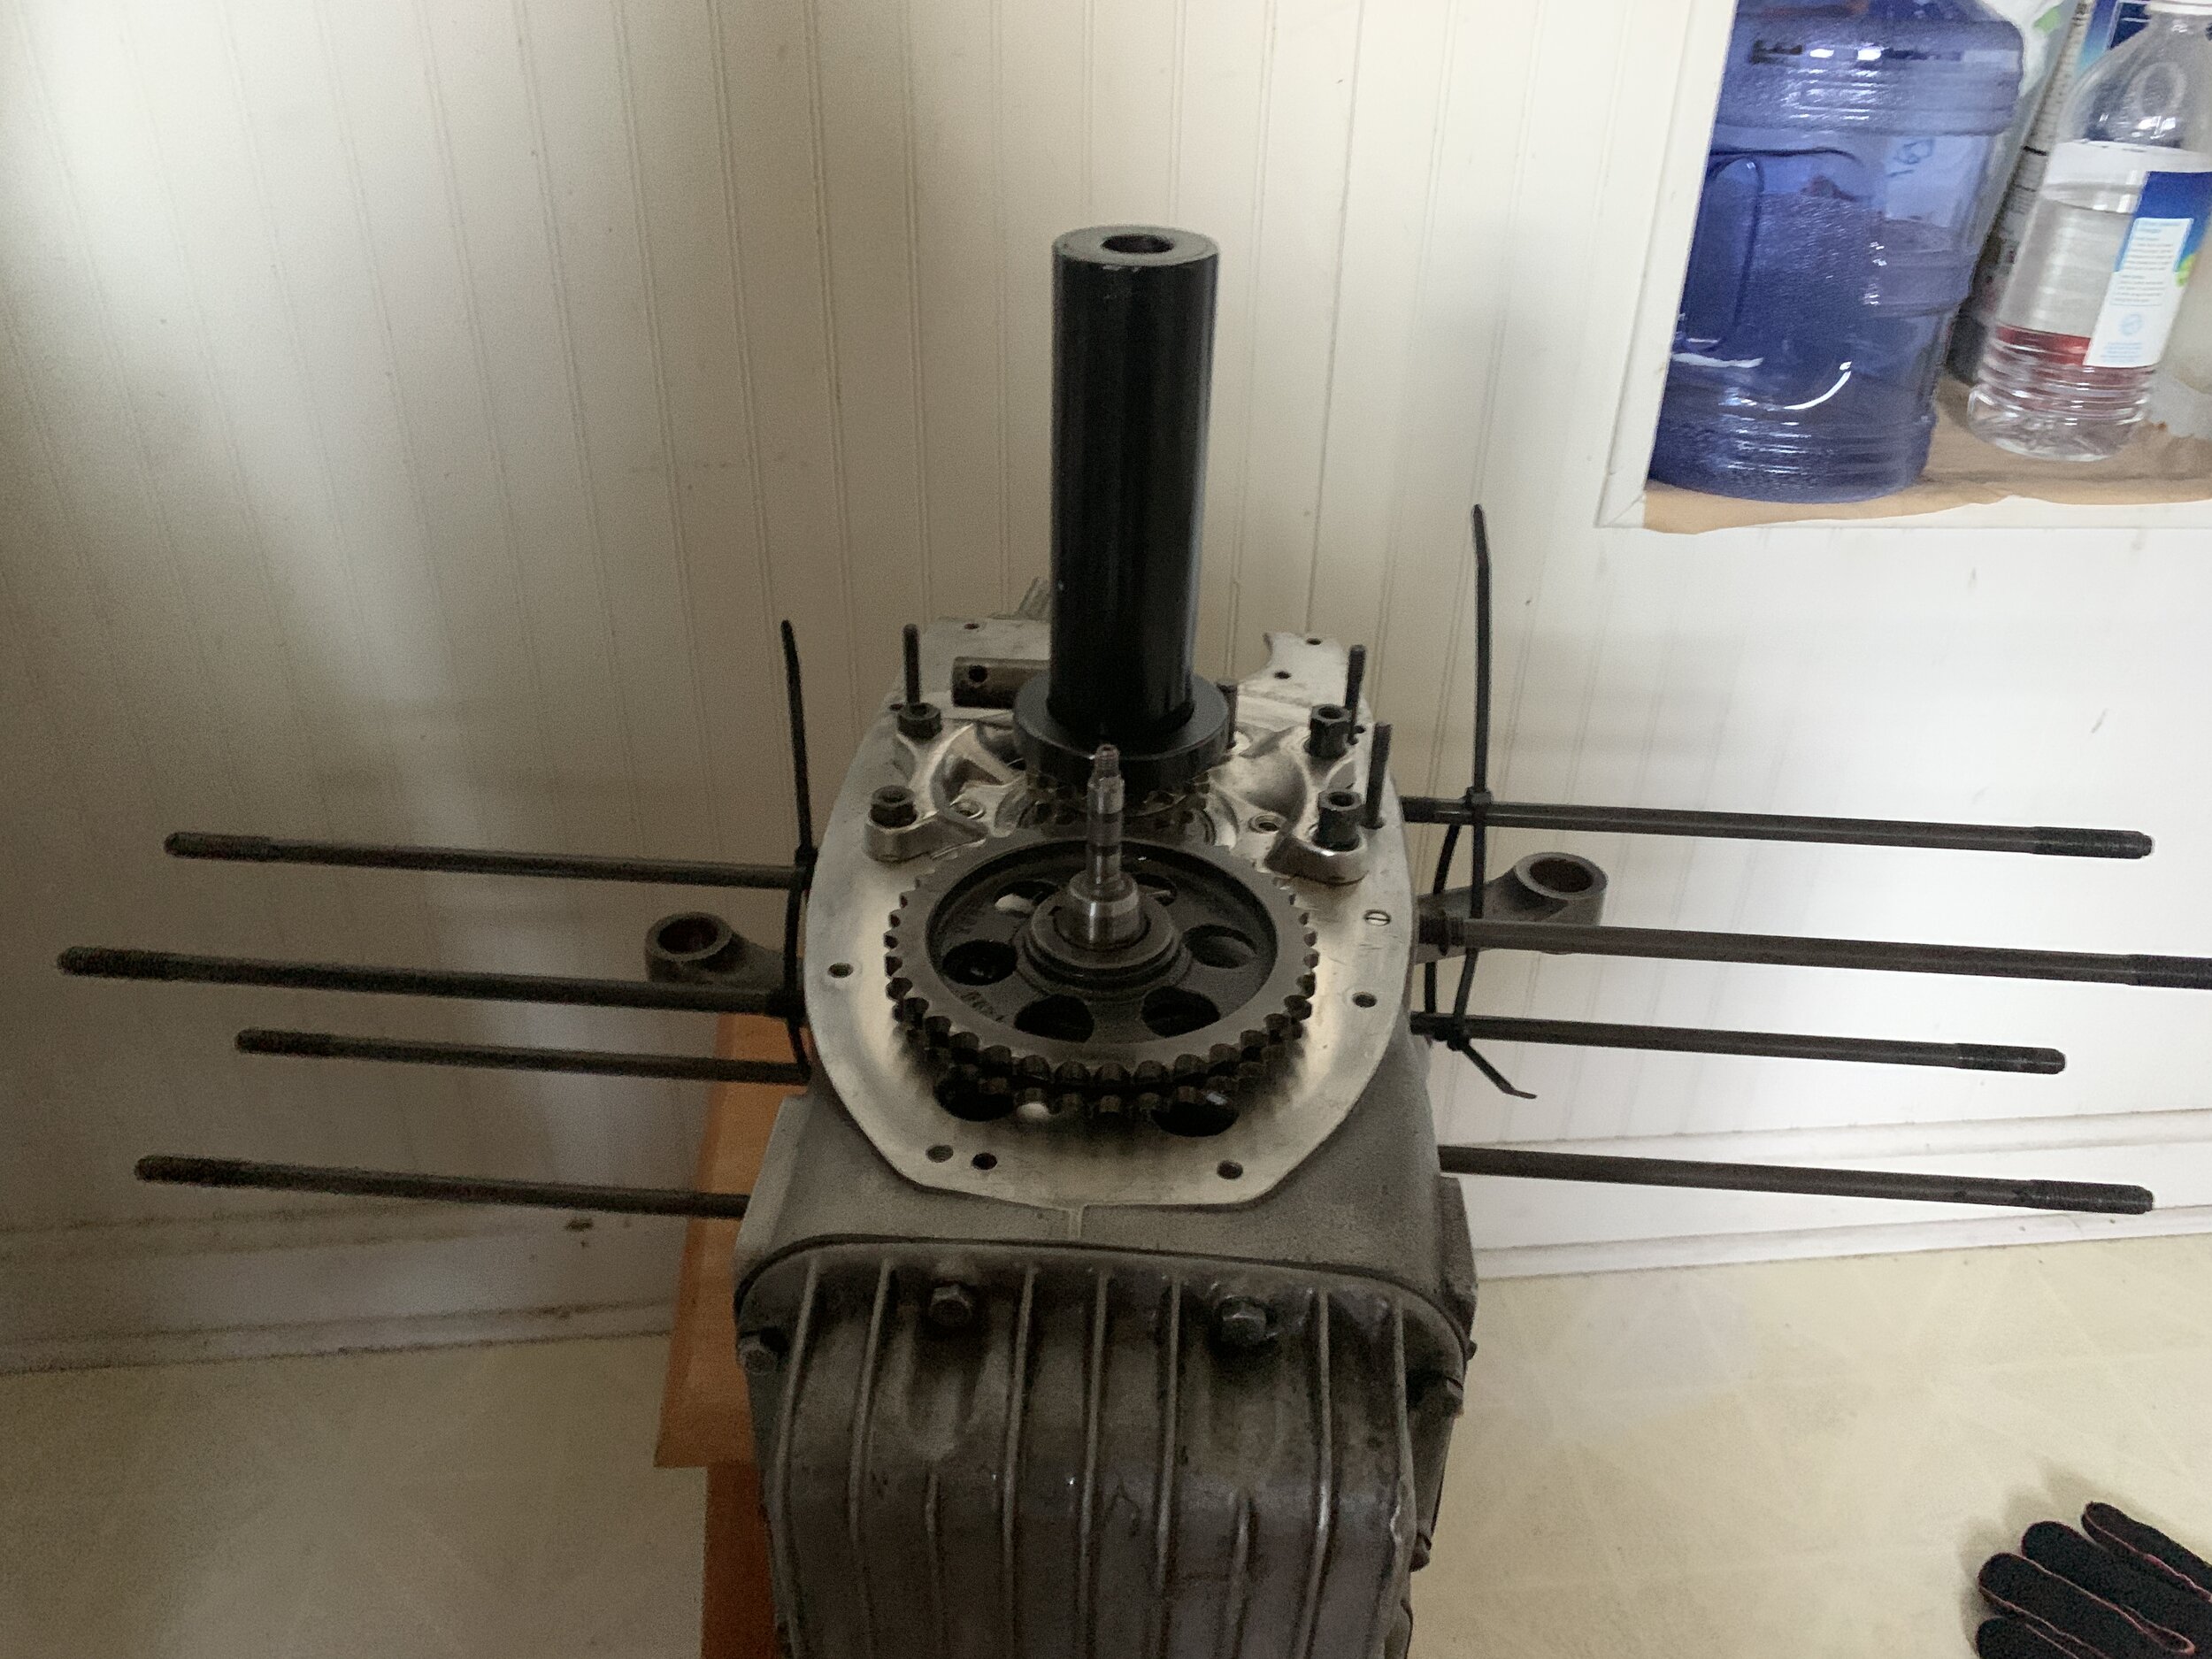
As I waited for the parts to arrive I started on the transmission, again it was coated in oil everywhere. When I drain the oil from the transmission I notice some water mixing in the oil, I suspect the worse as this was a bad sign. It was also somewhat expected as the speedo drive rubber boot was completely torn. Looking at online videos and my manual and reading snowbums articles, I realize the main nut is 250ft lb. And then I would have to heat the casing to remove the cover. There was also all these shims that I have to keep in place when I take them apart. It was daunting for sure. Little did I know, I would end up heating up the aluminum parts on so many piece of this bike and then installing or removing so many parts. It soon became a default of my skill sets.
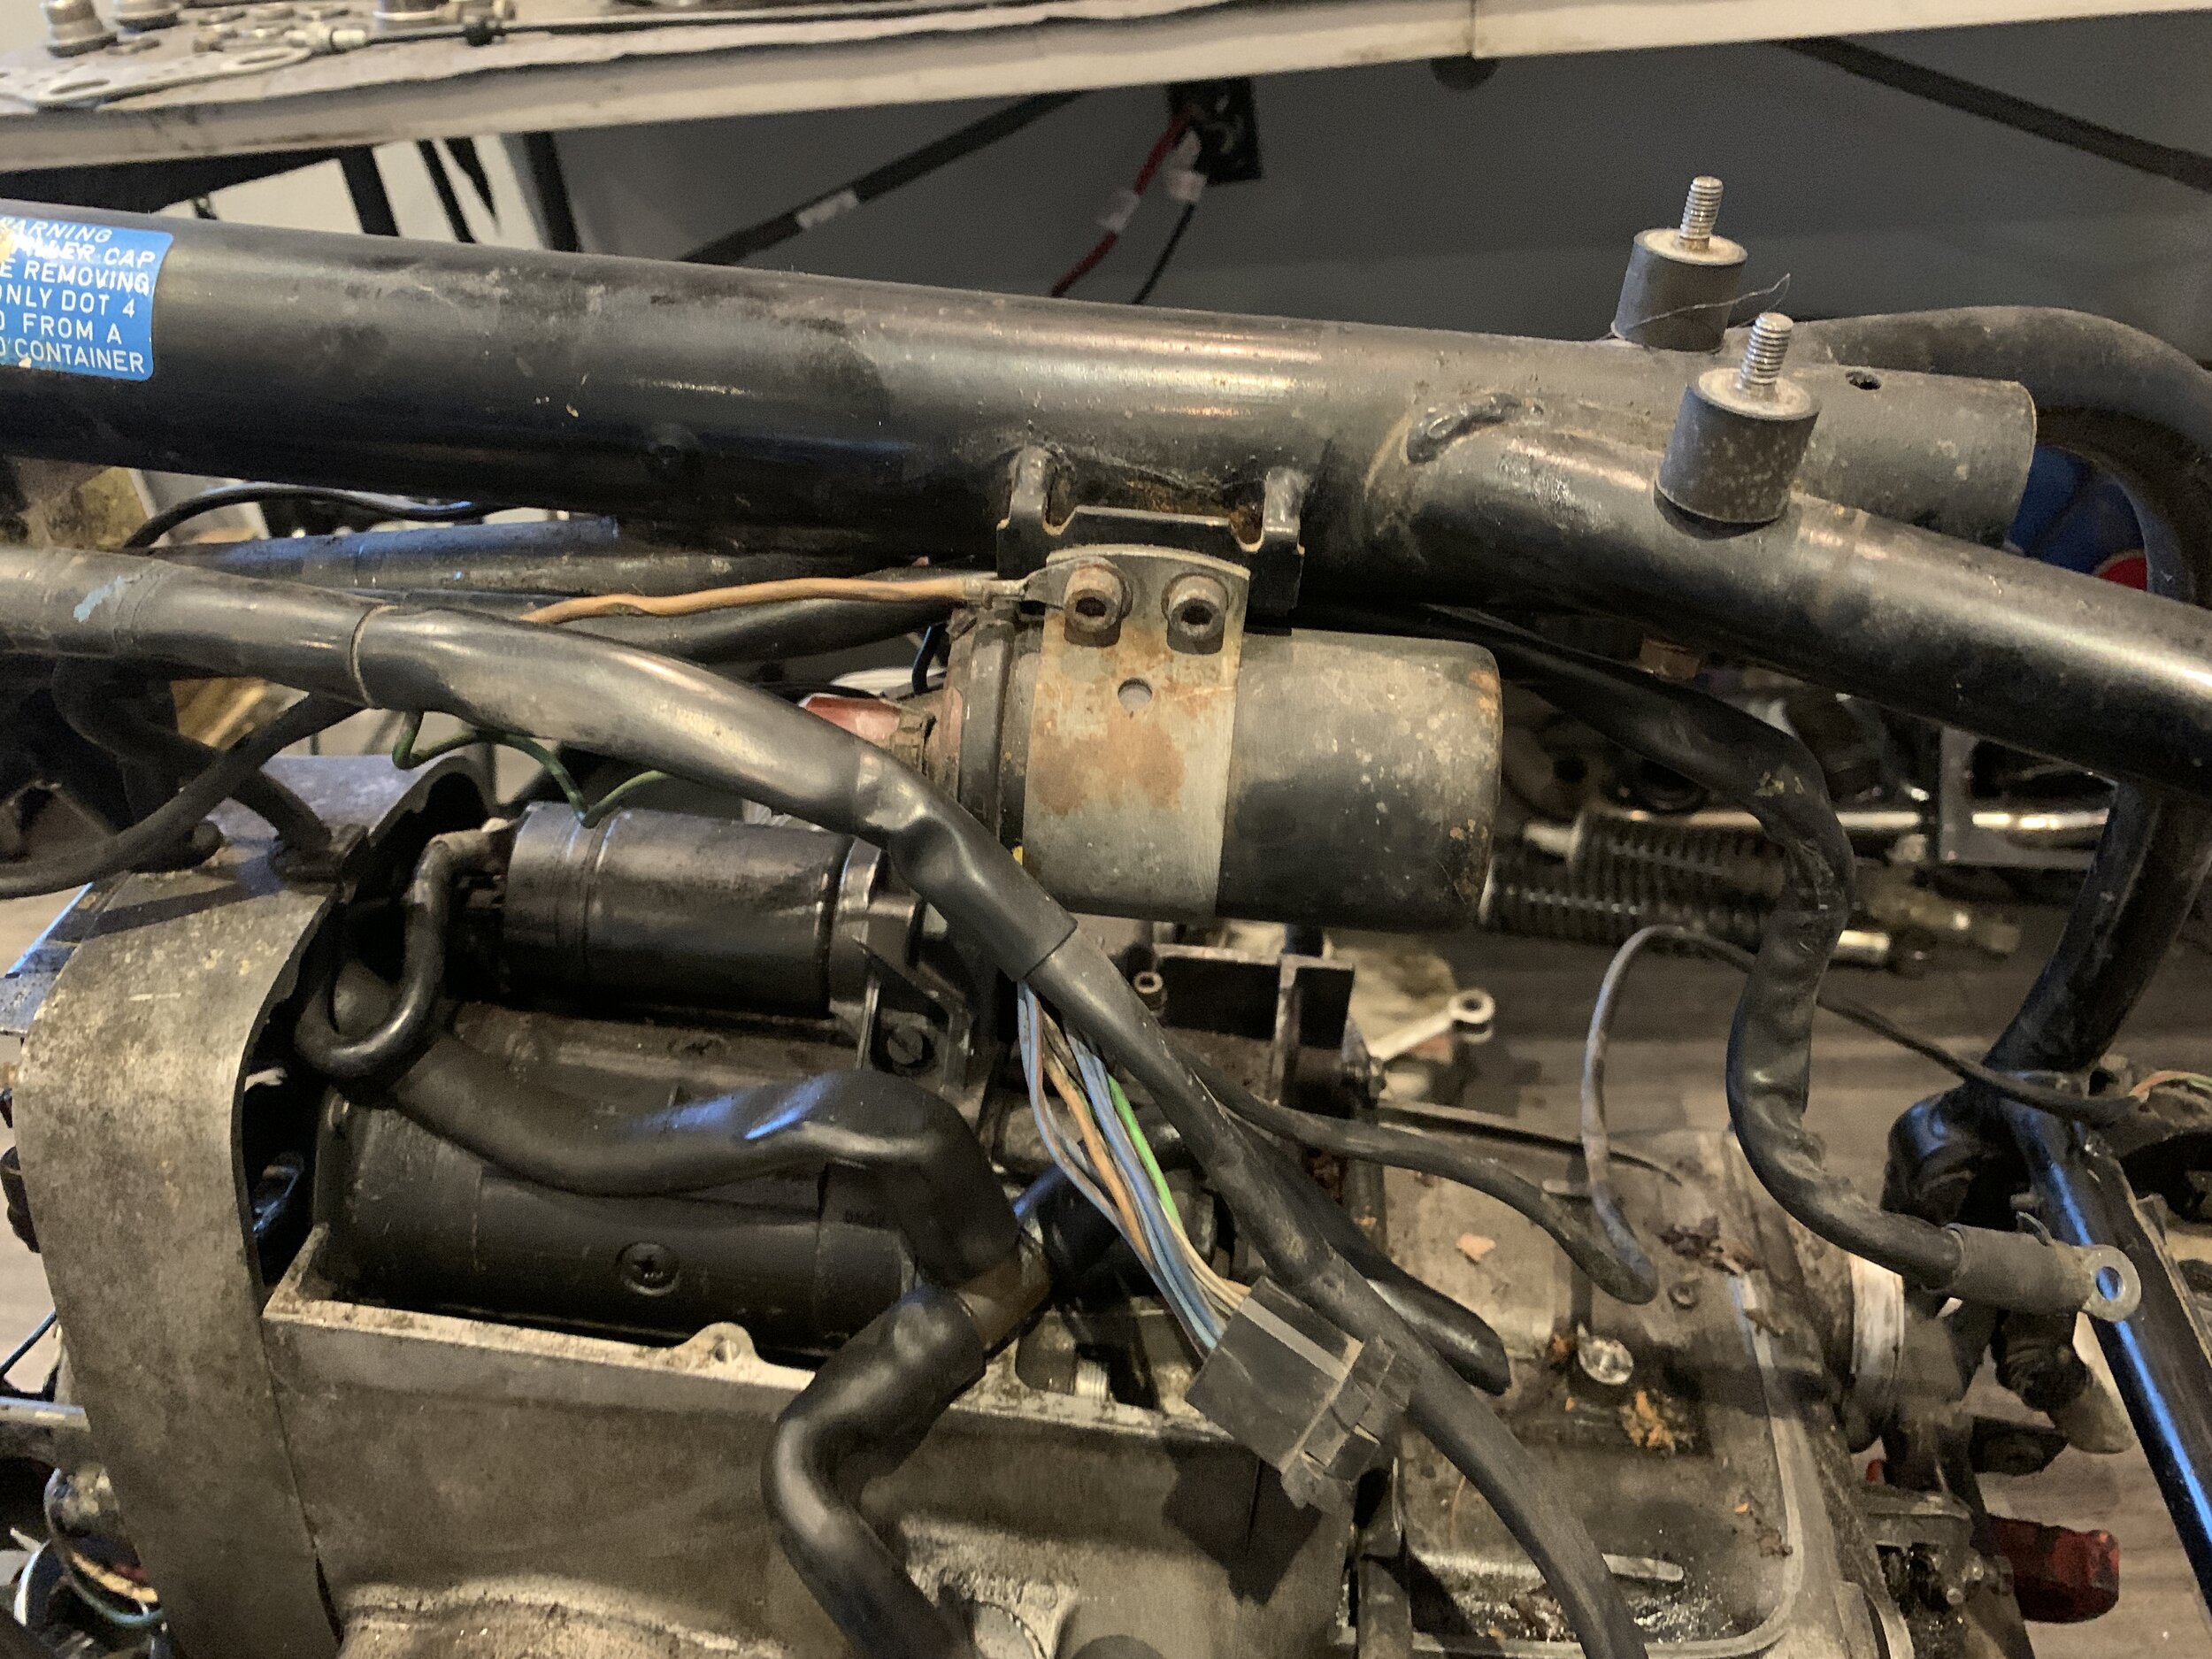
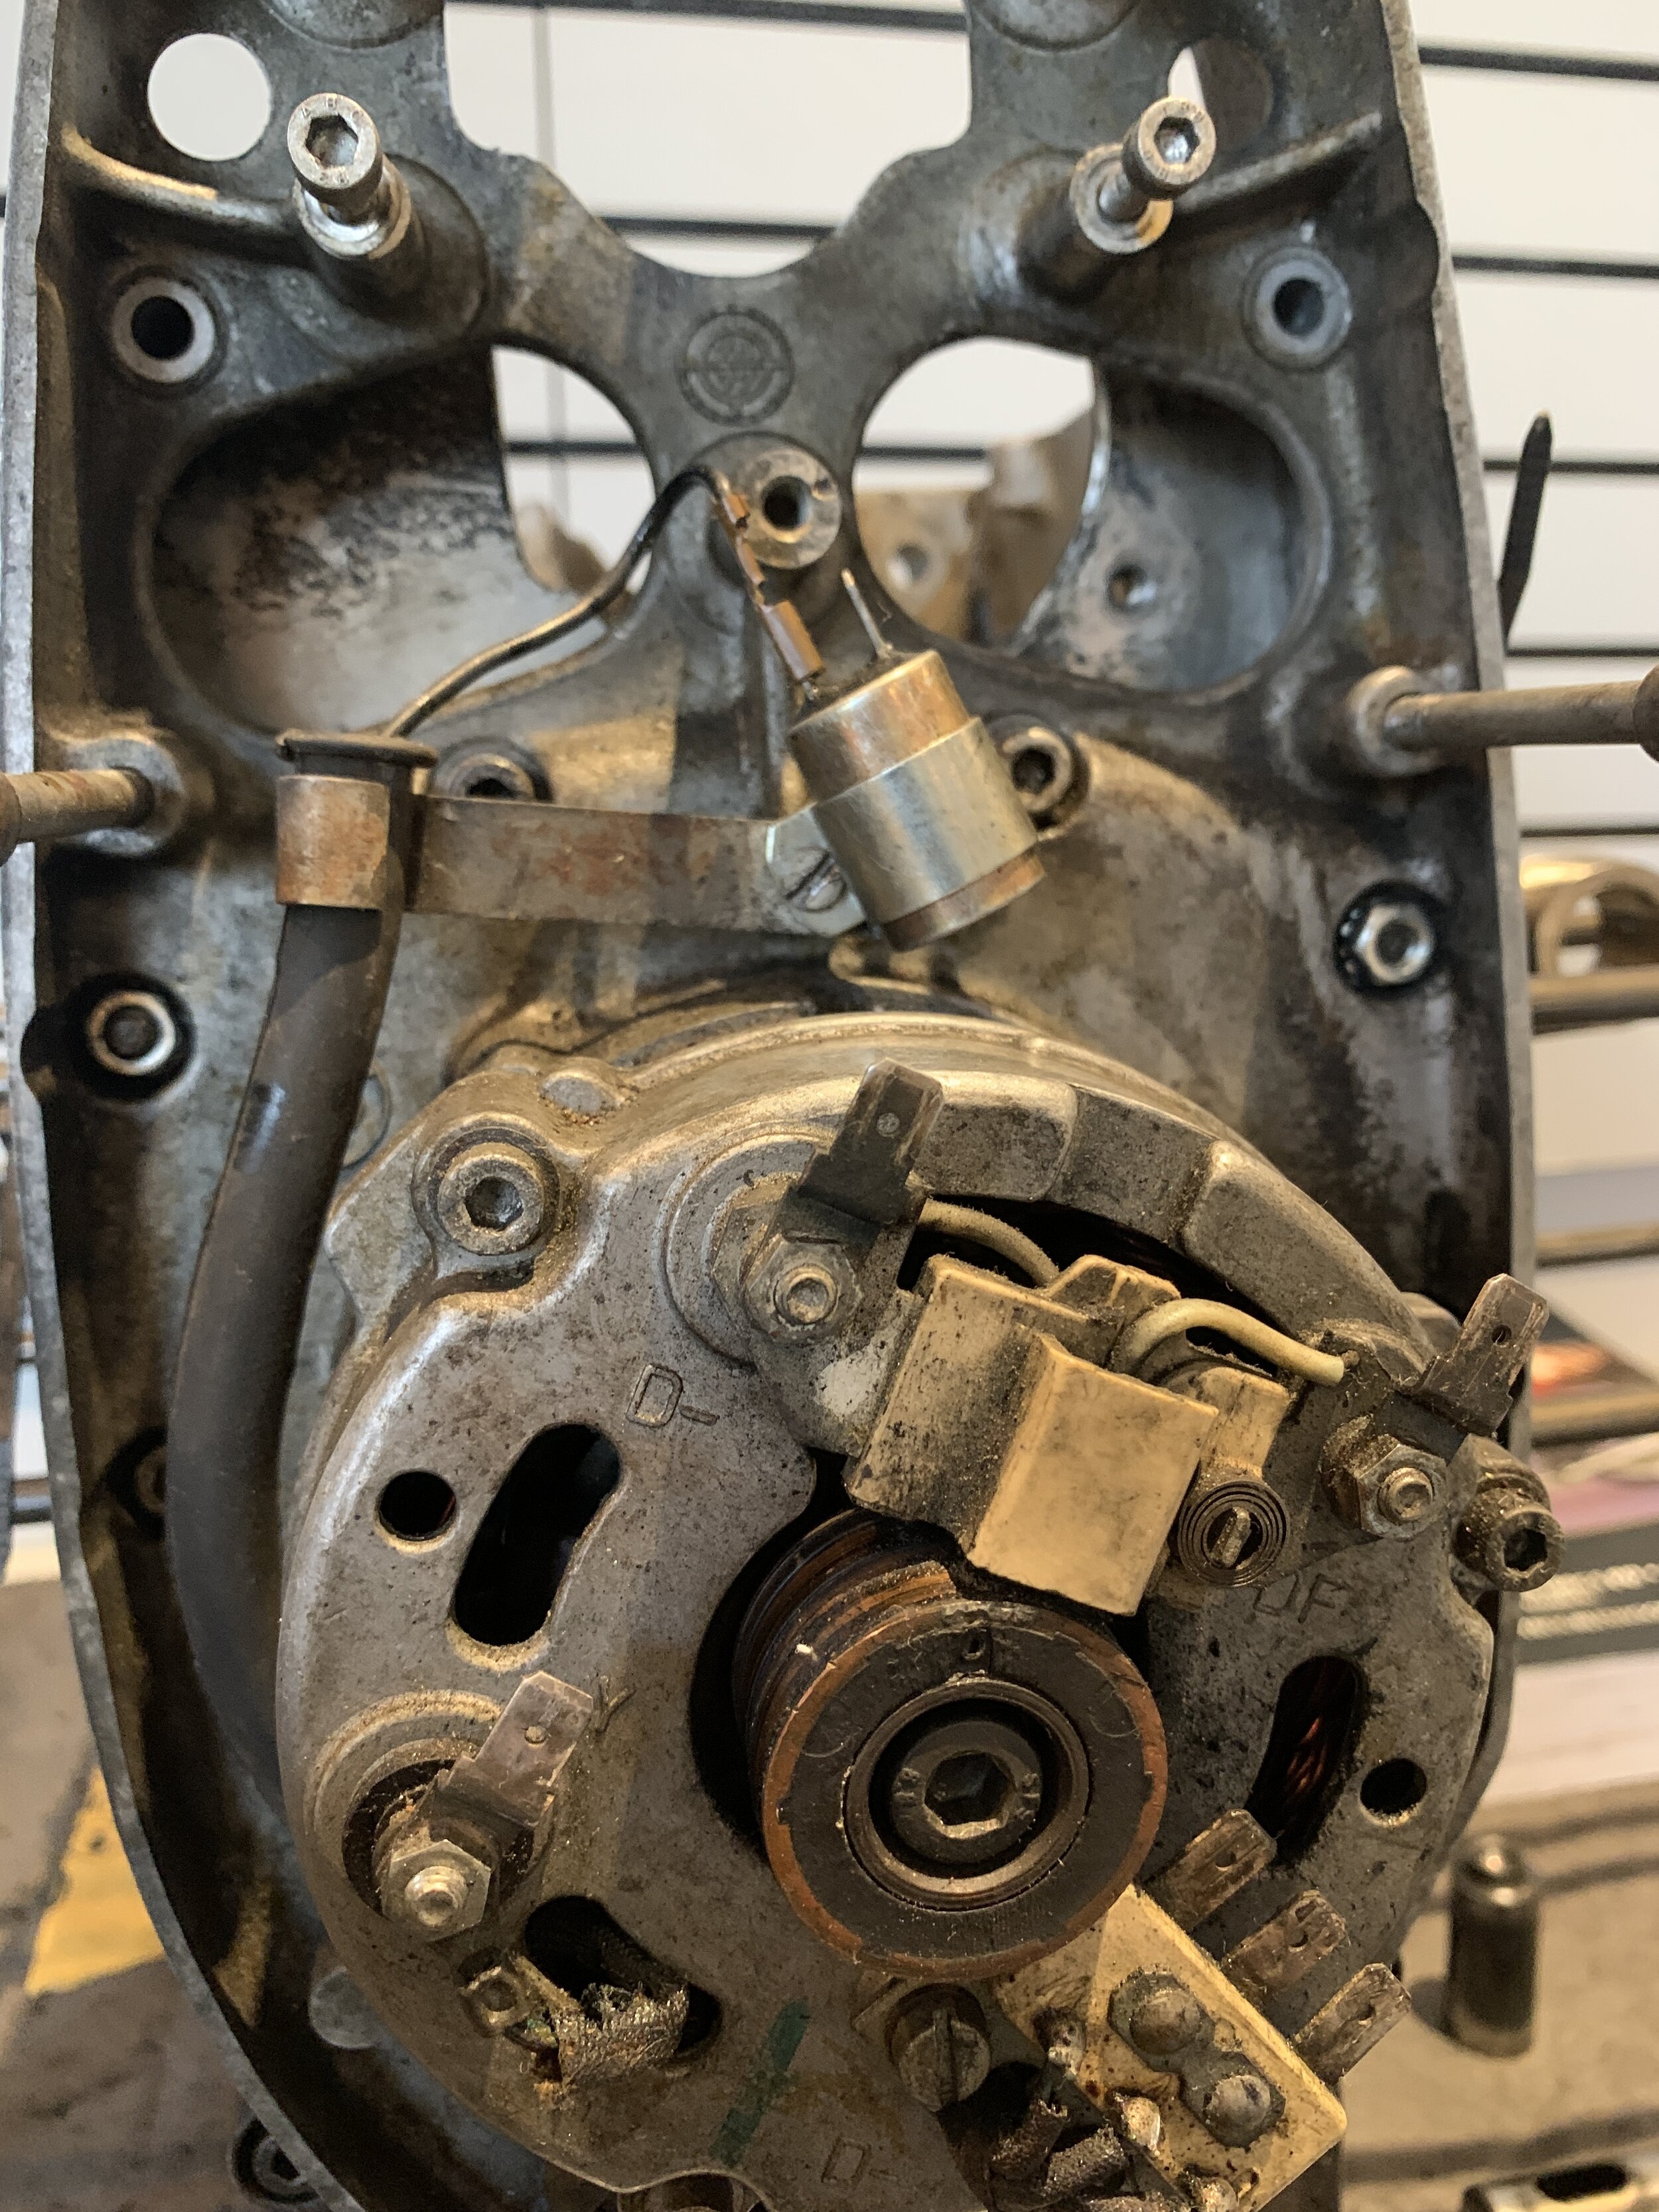
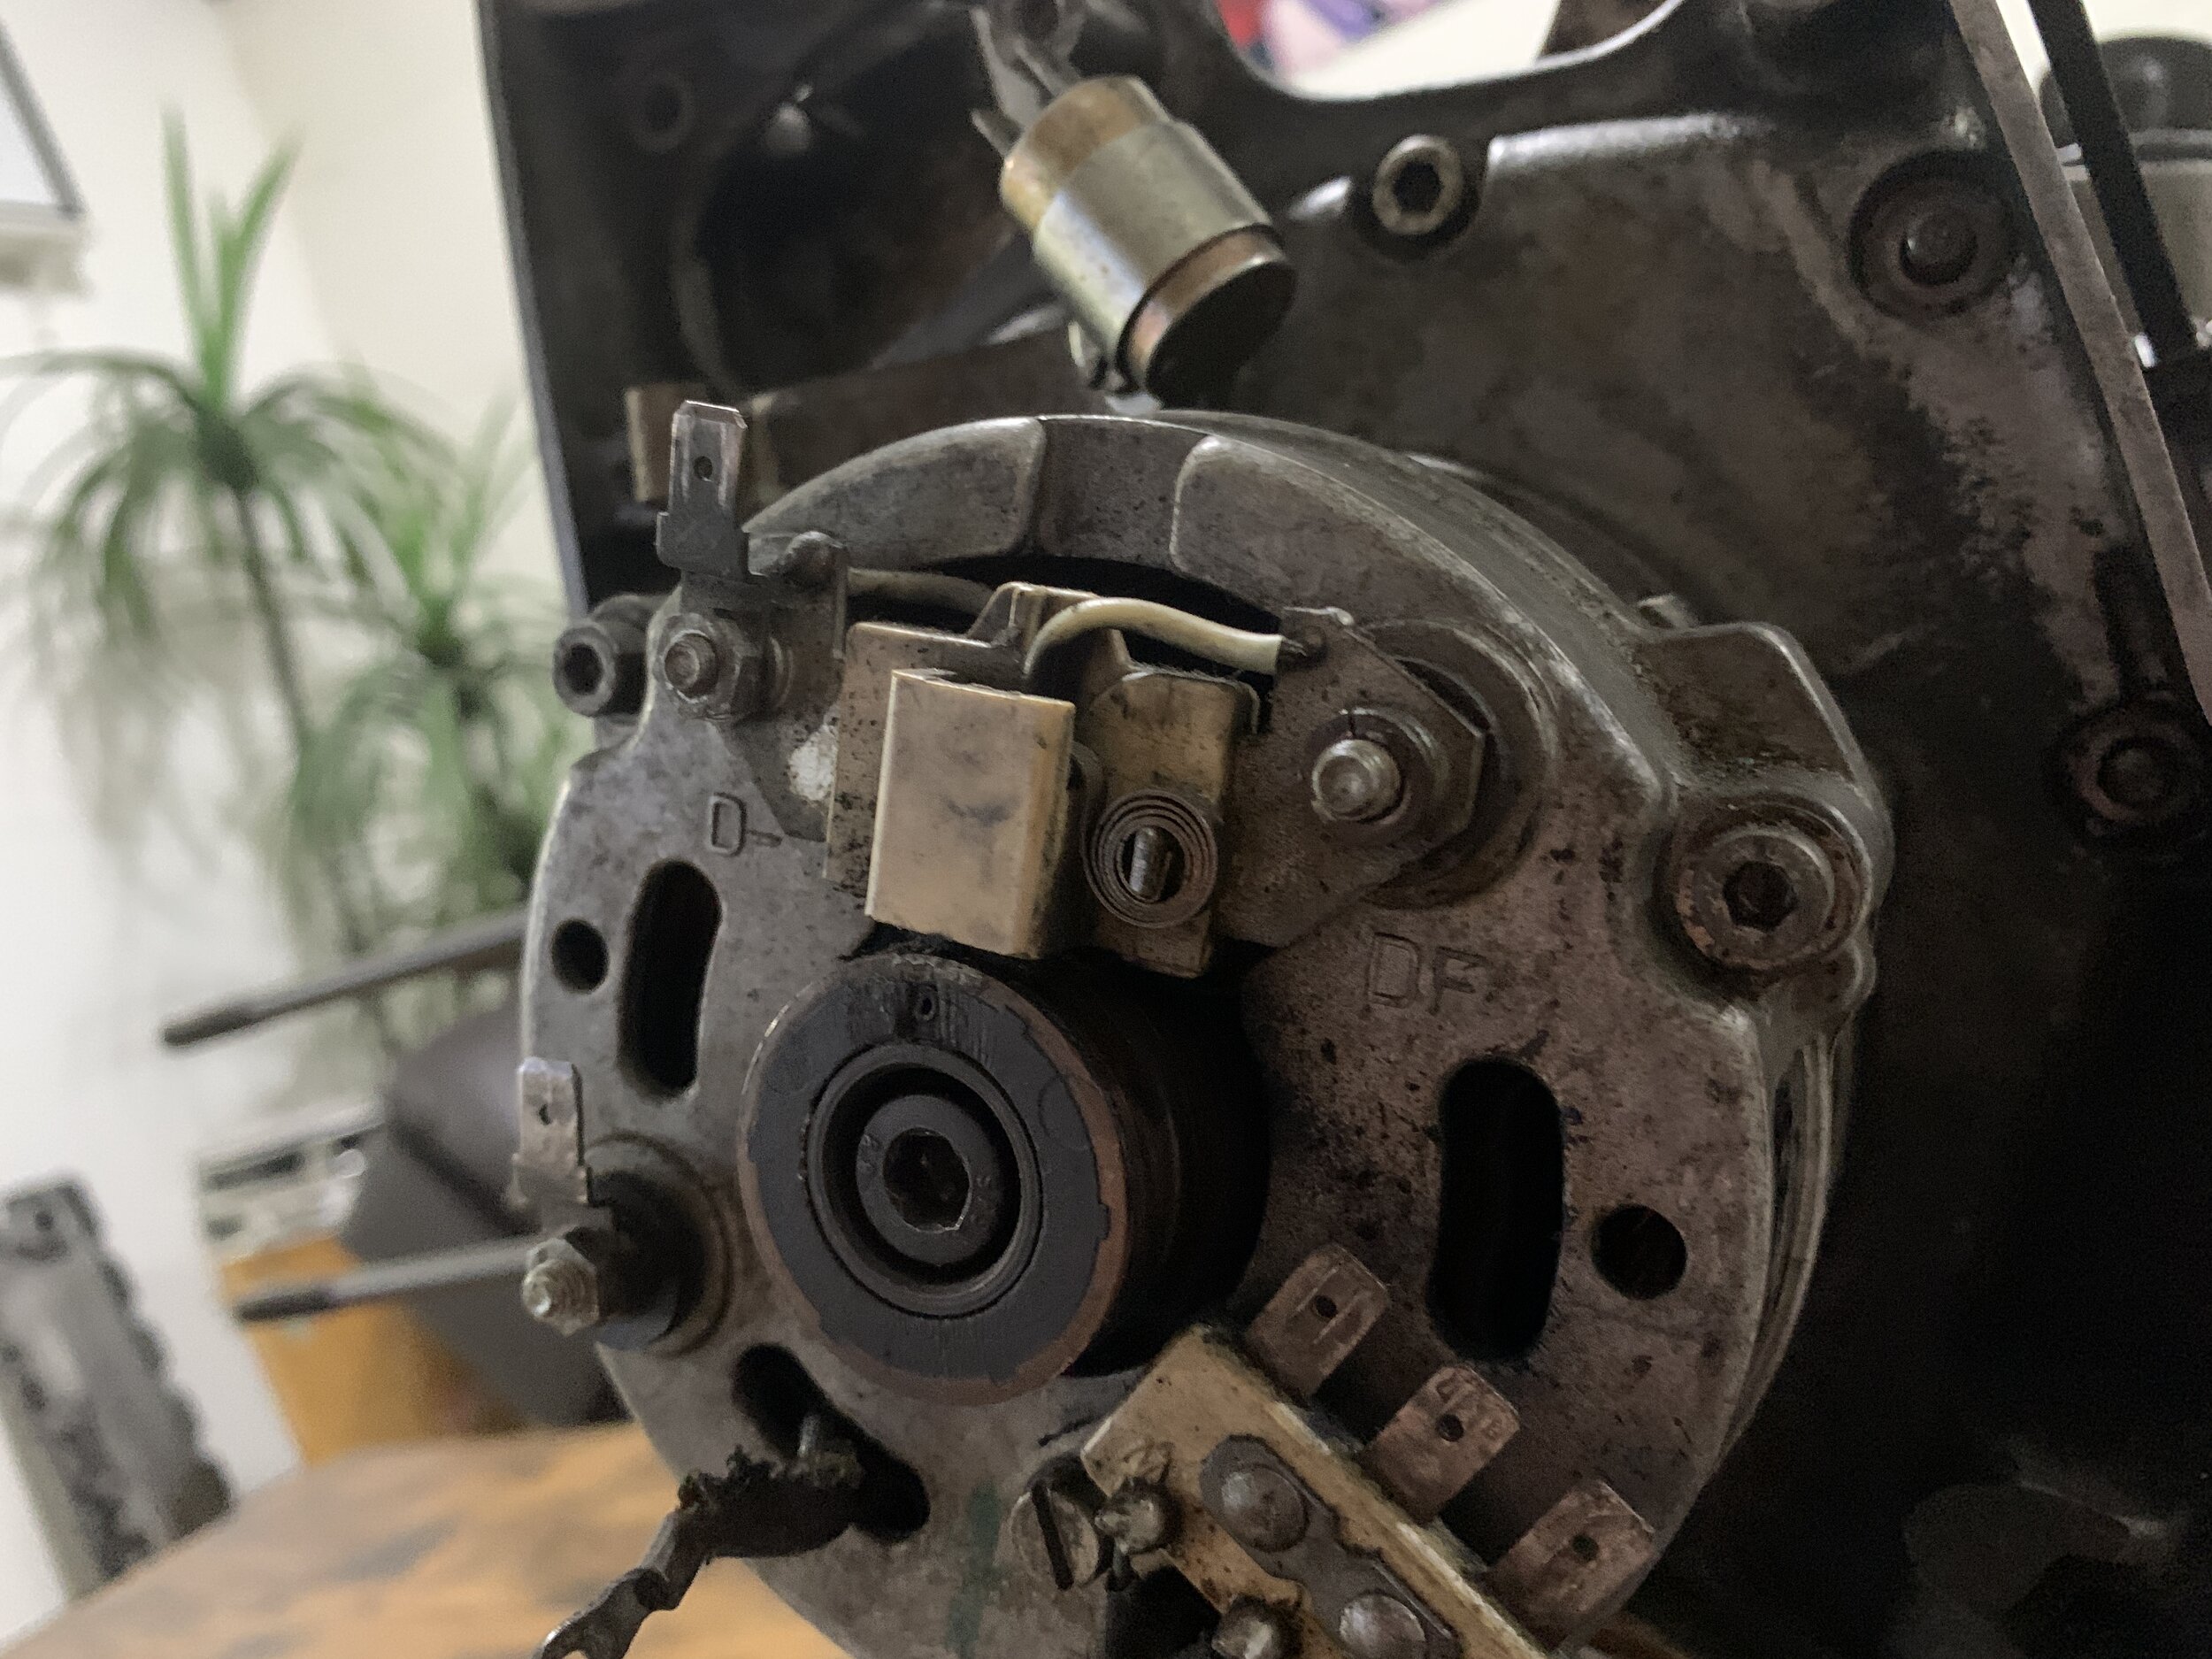
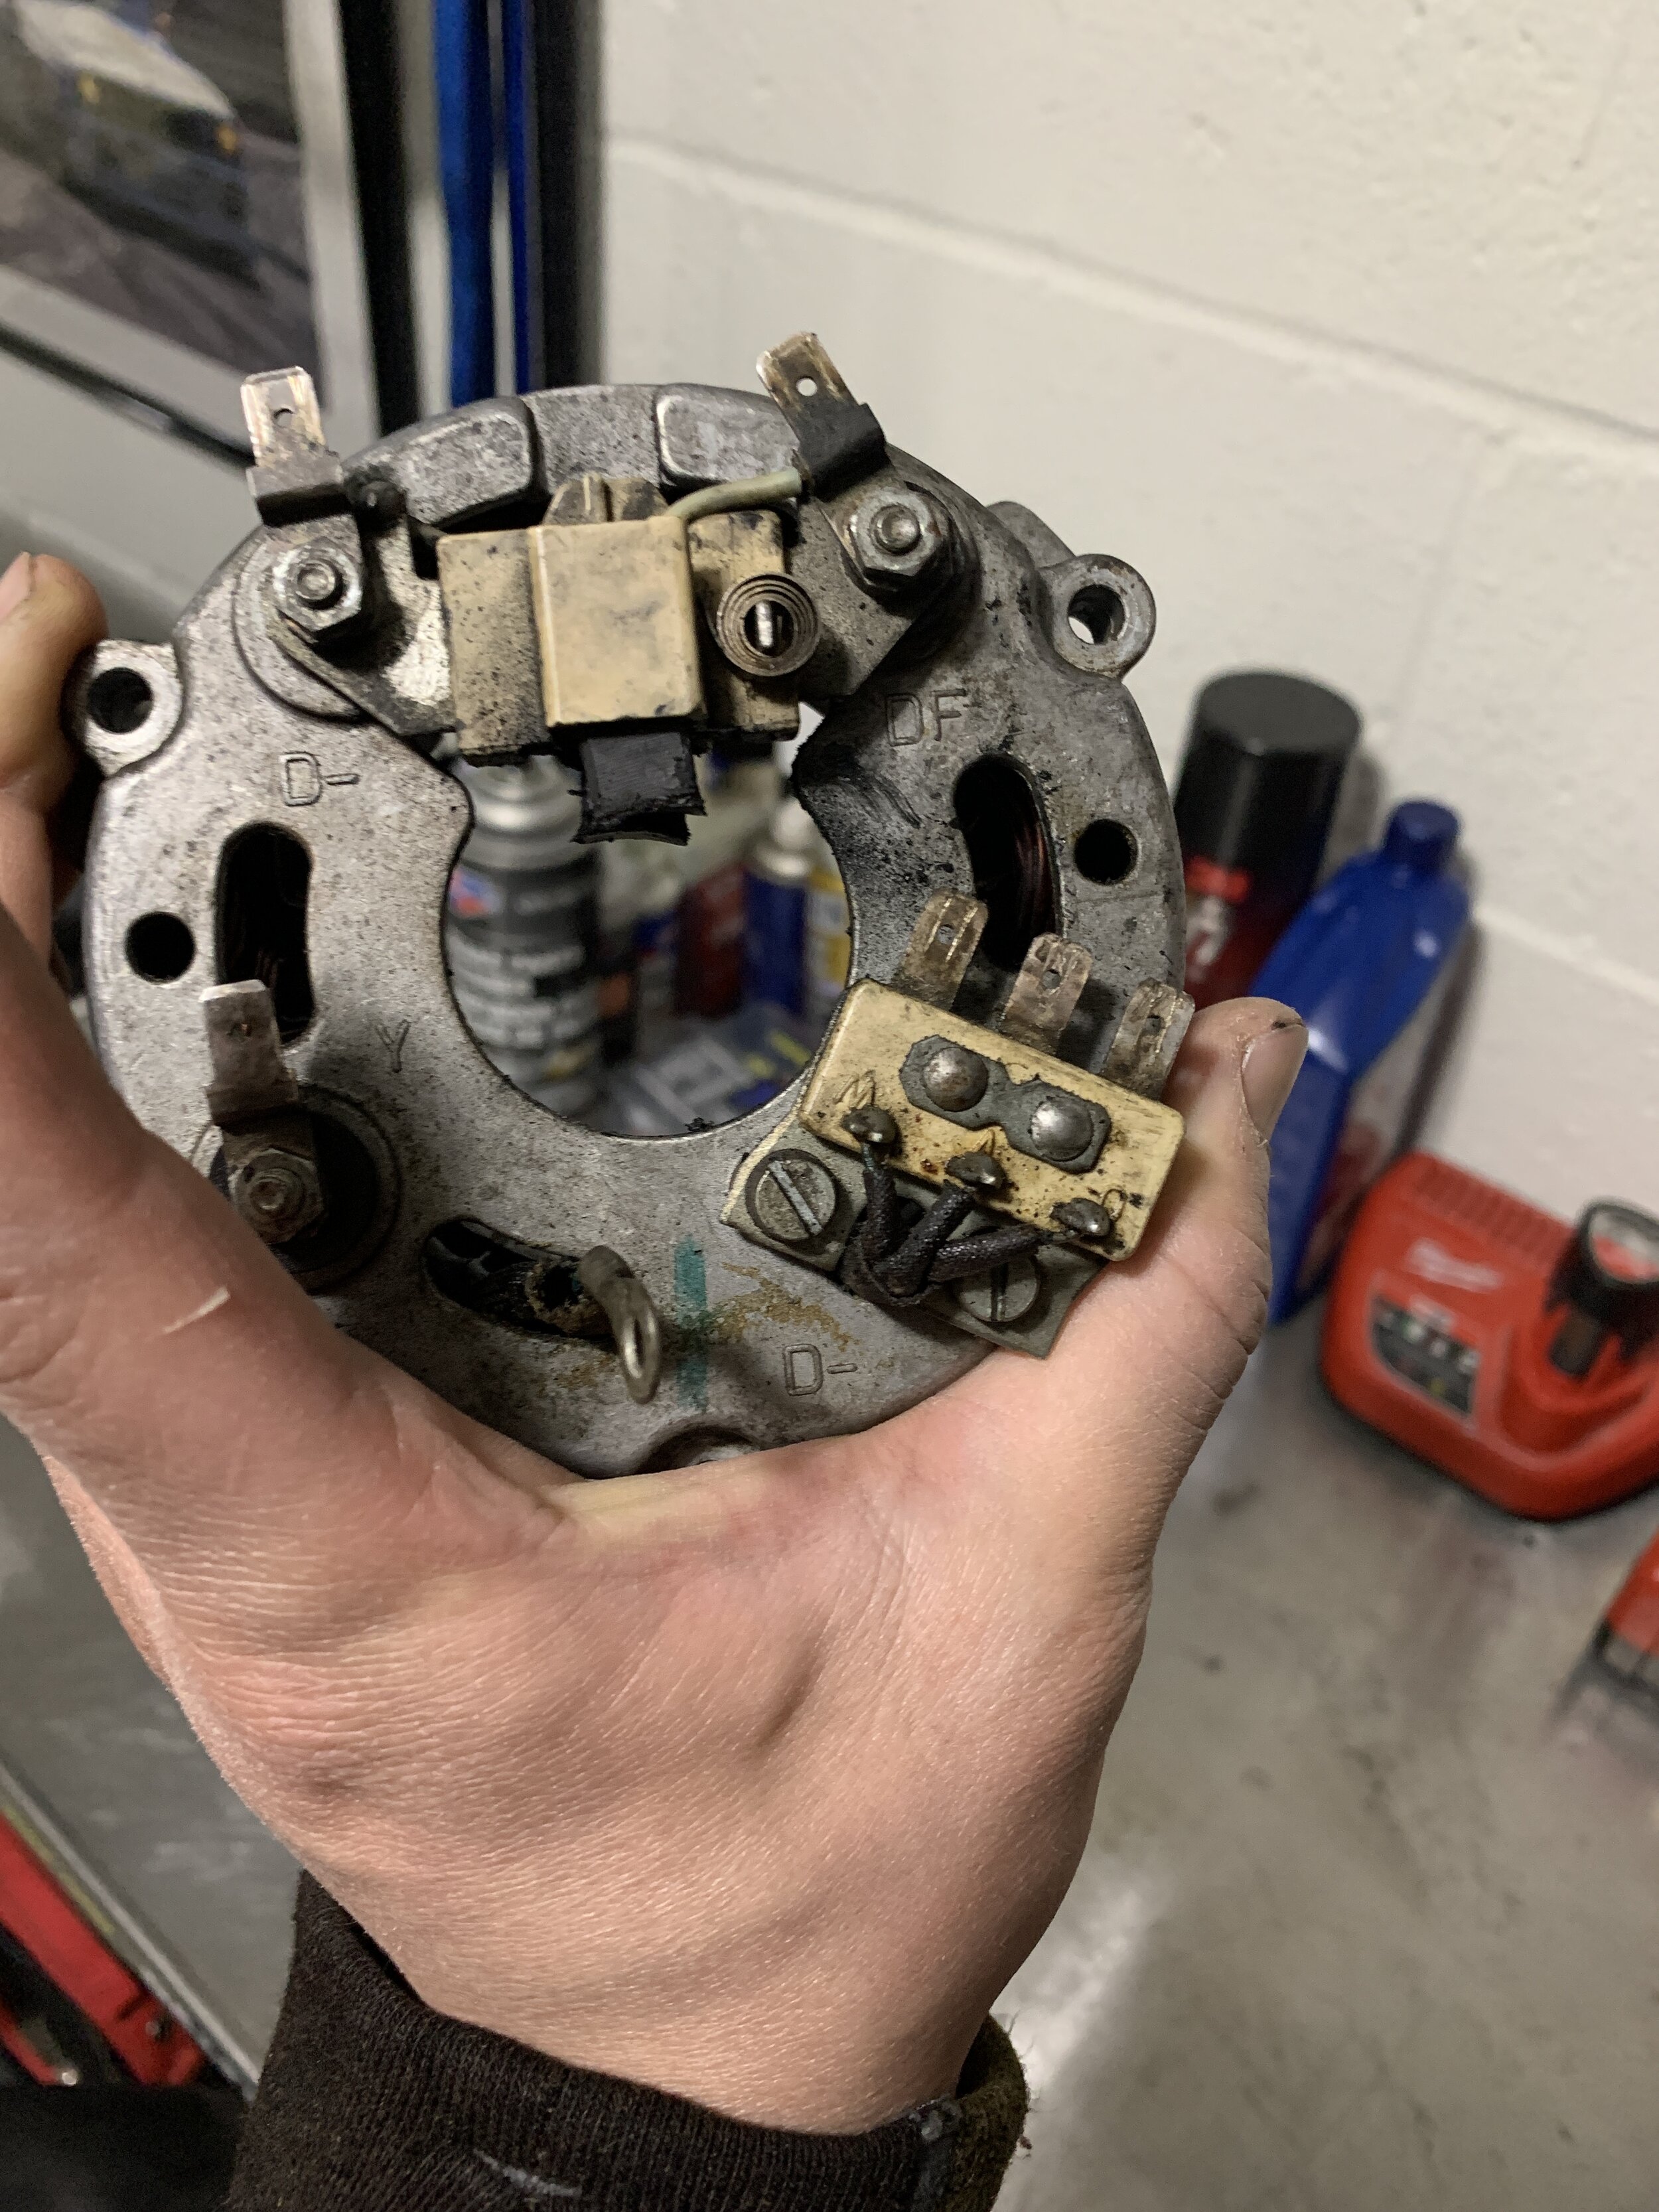
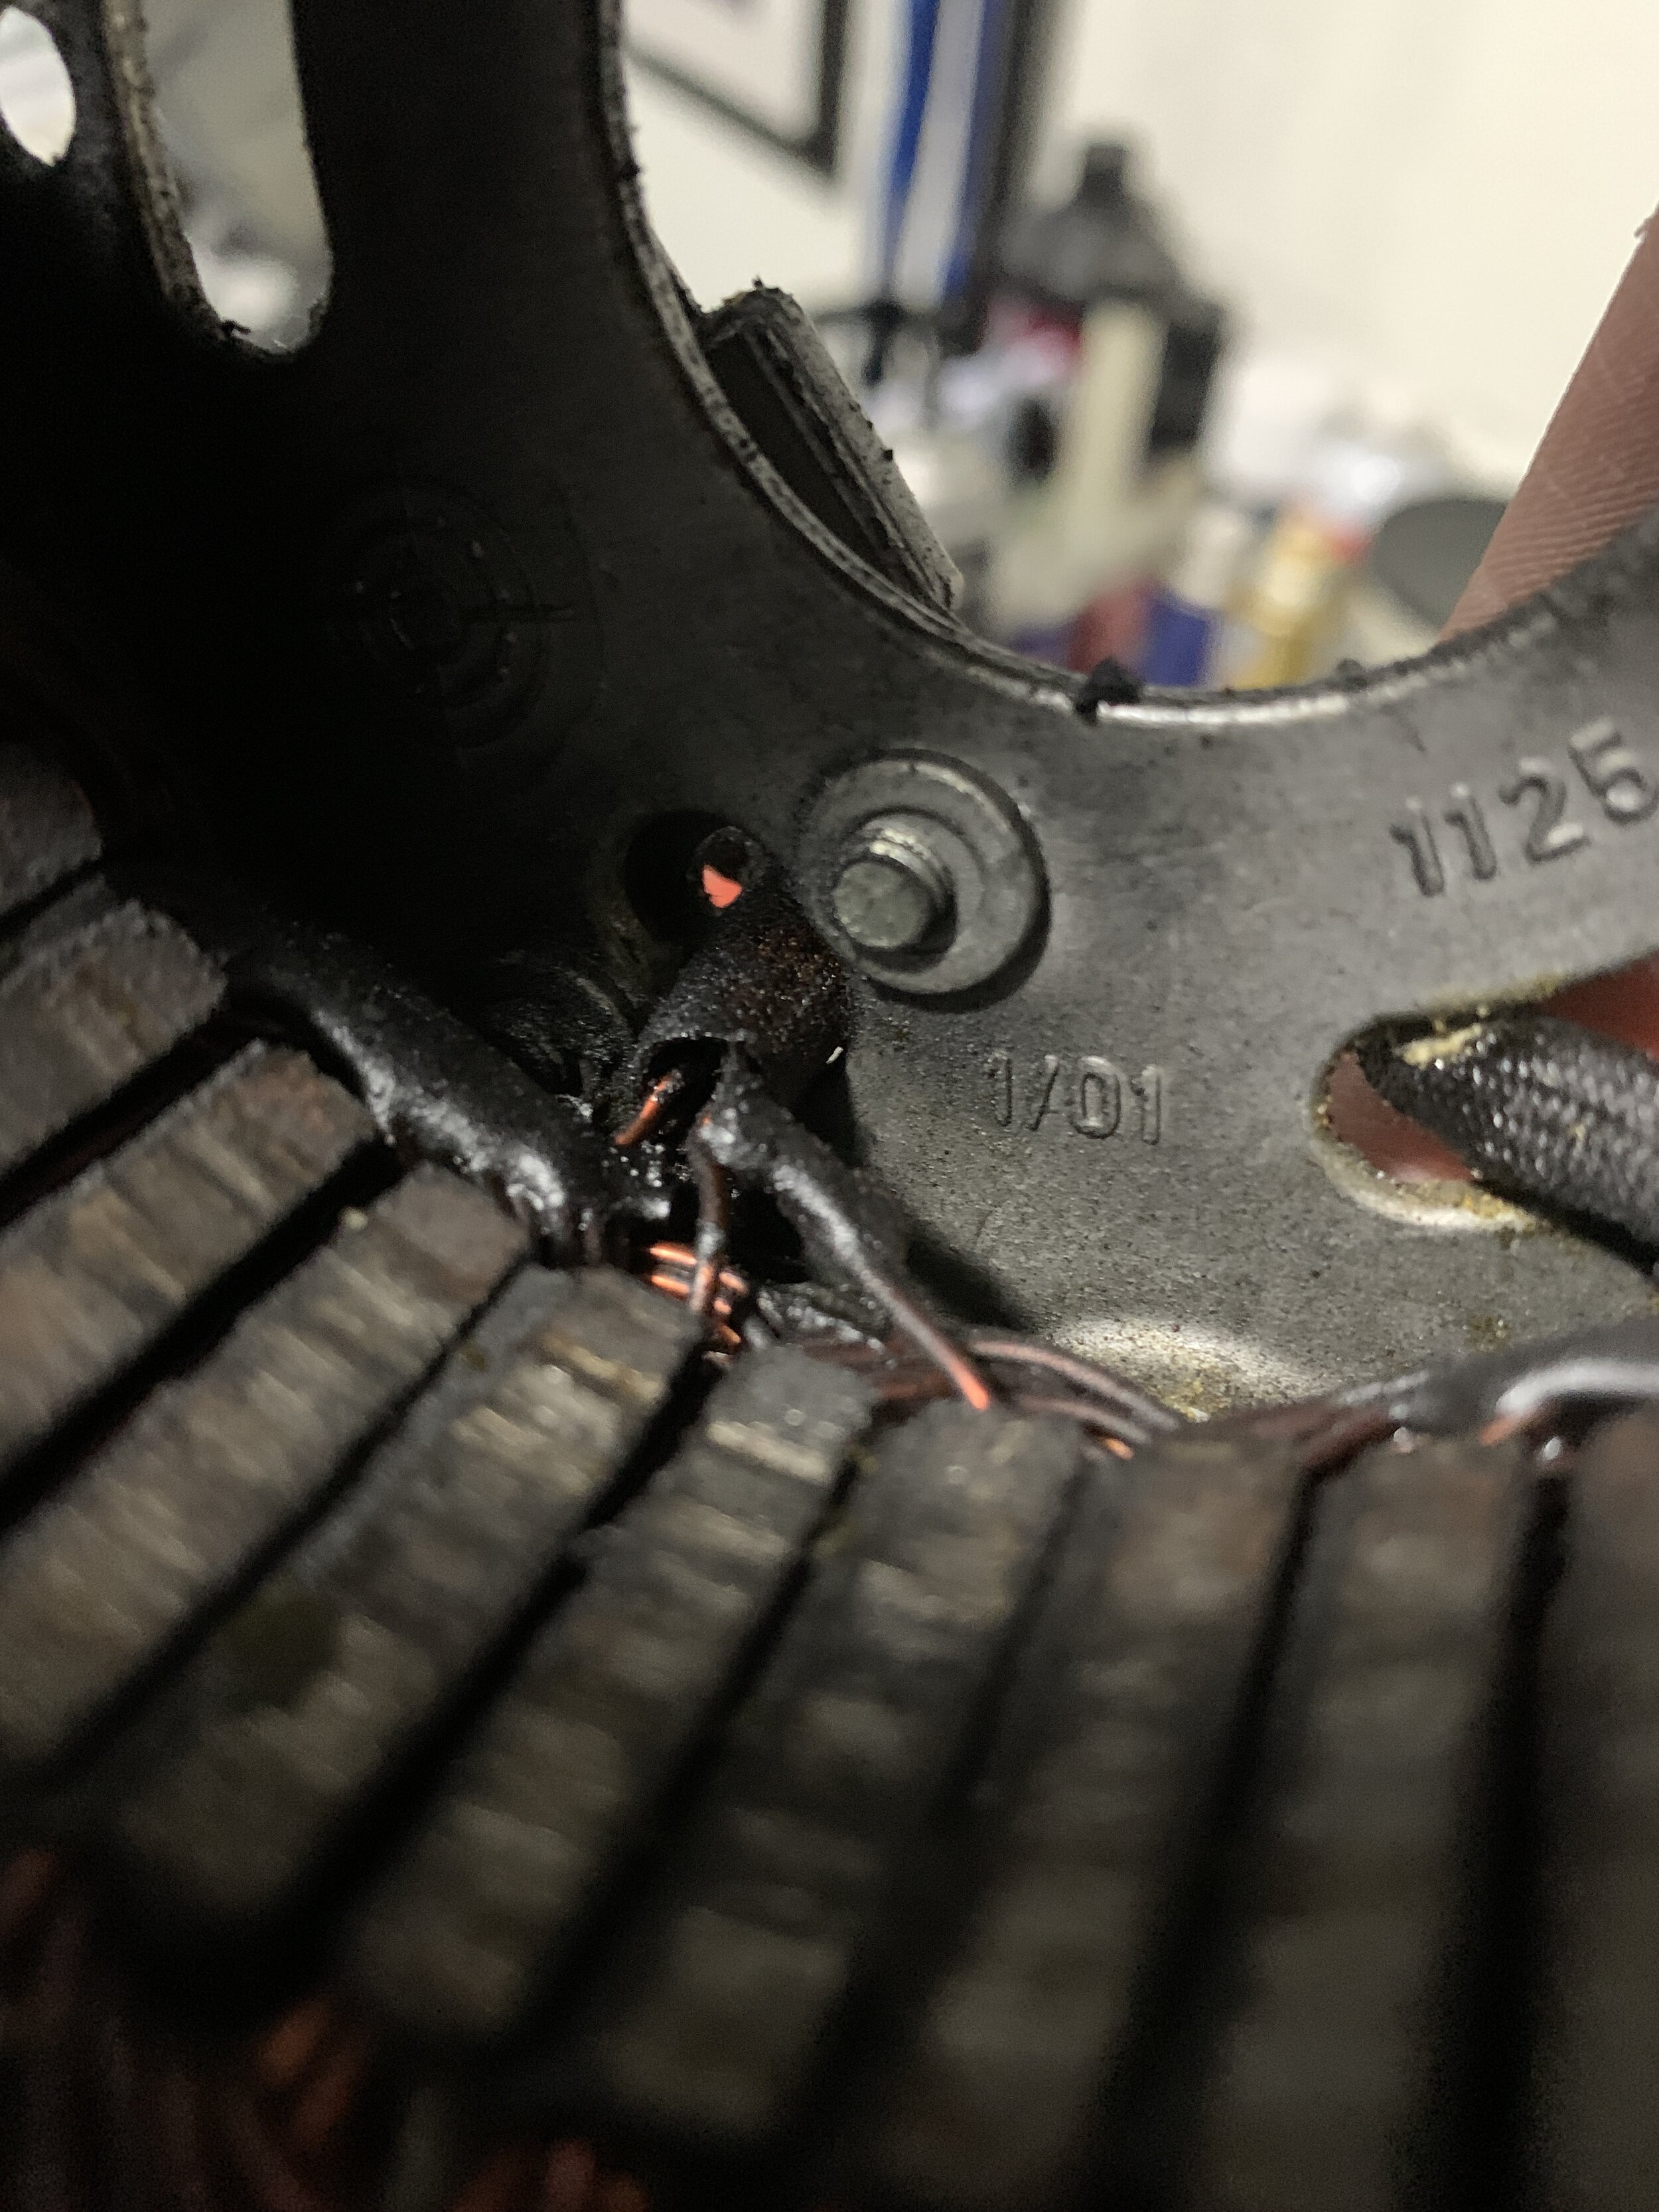
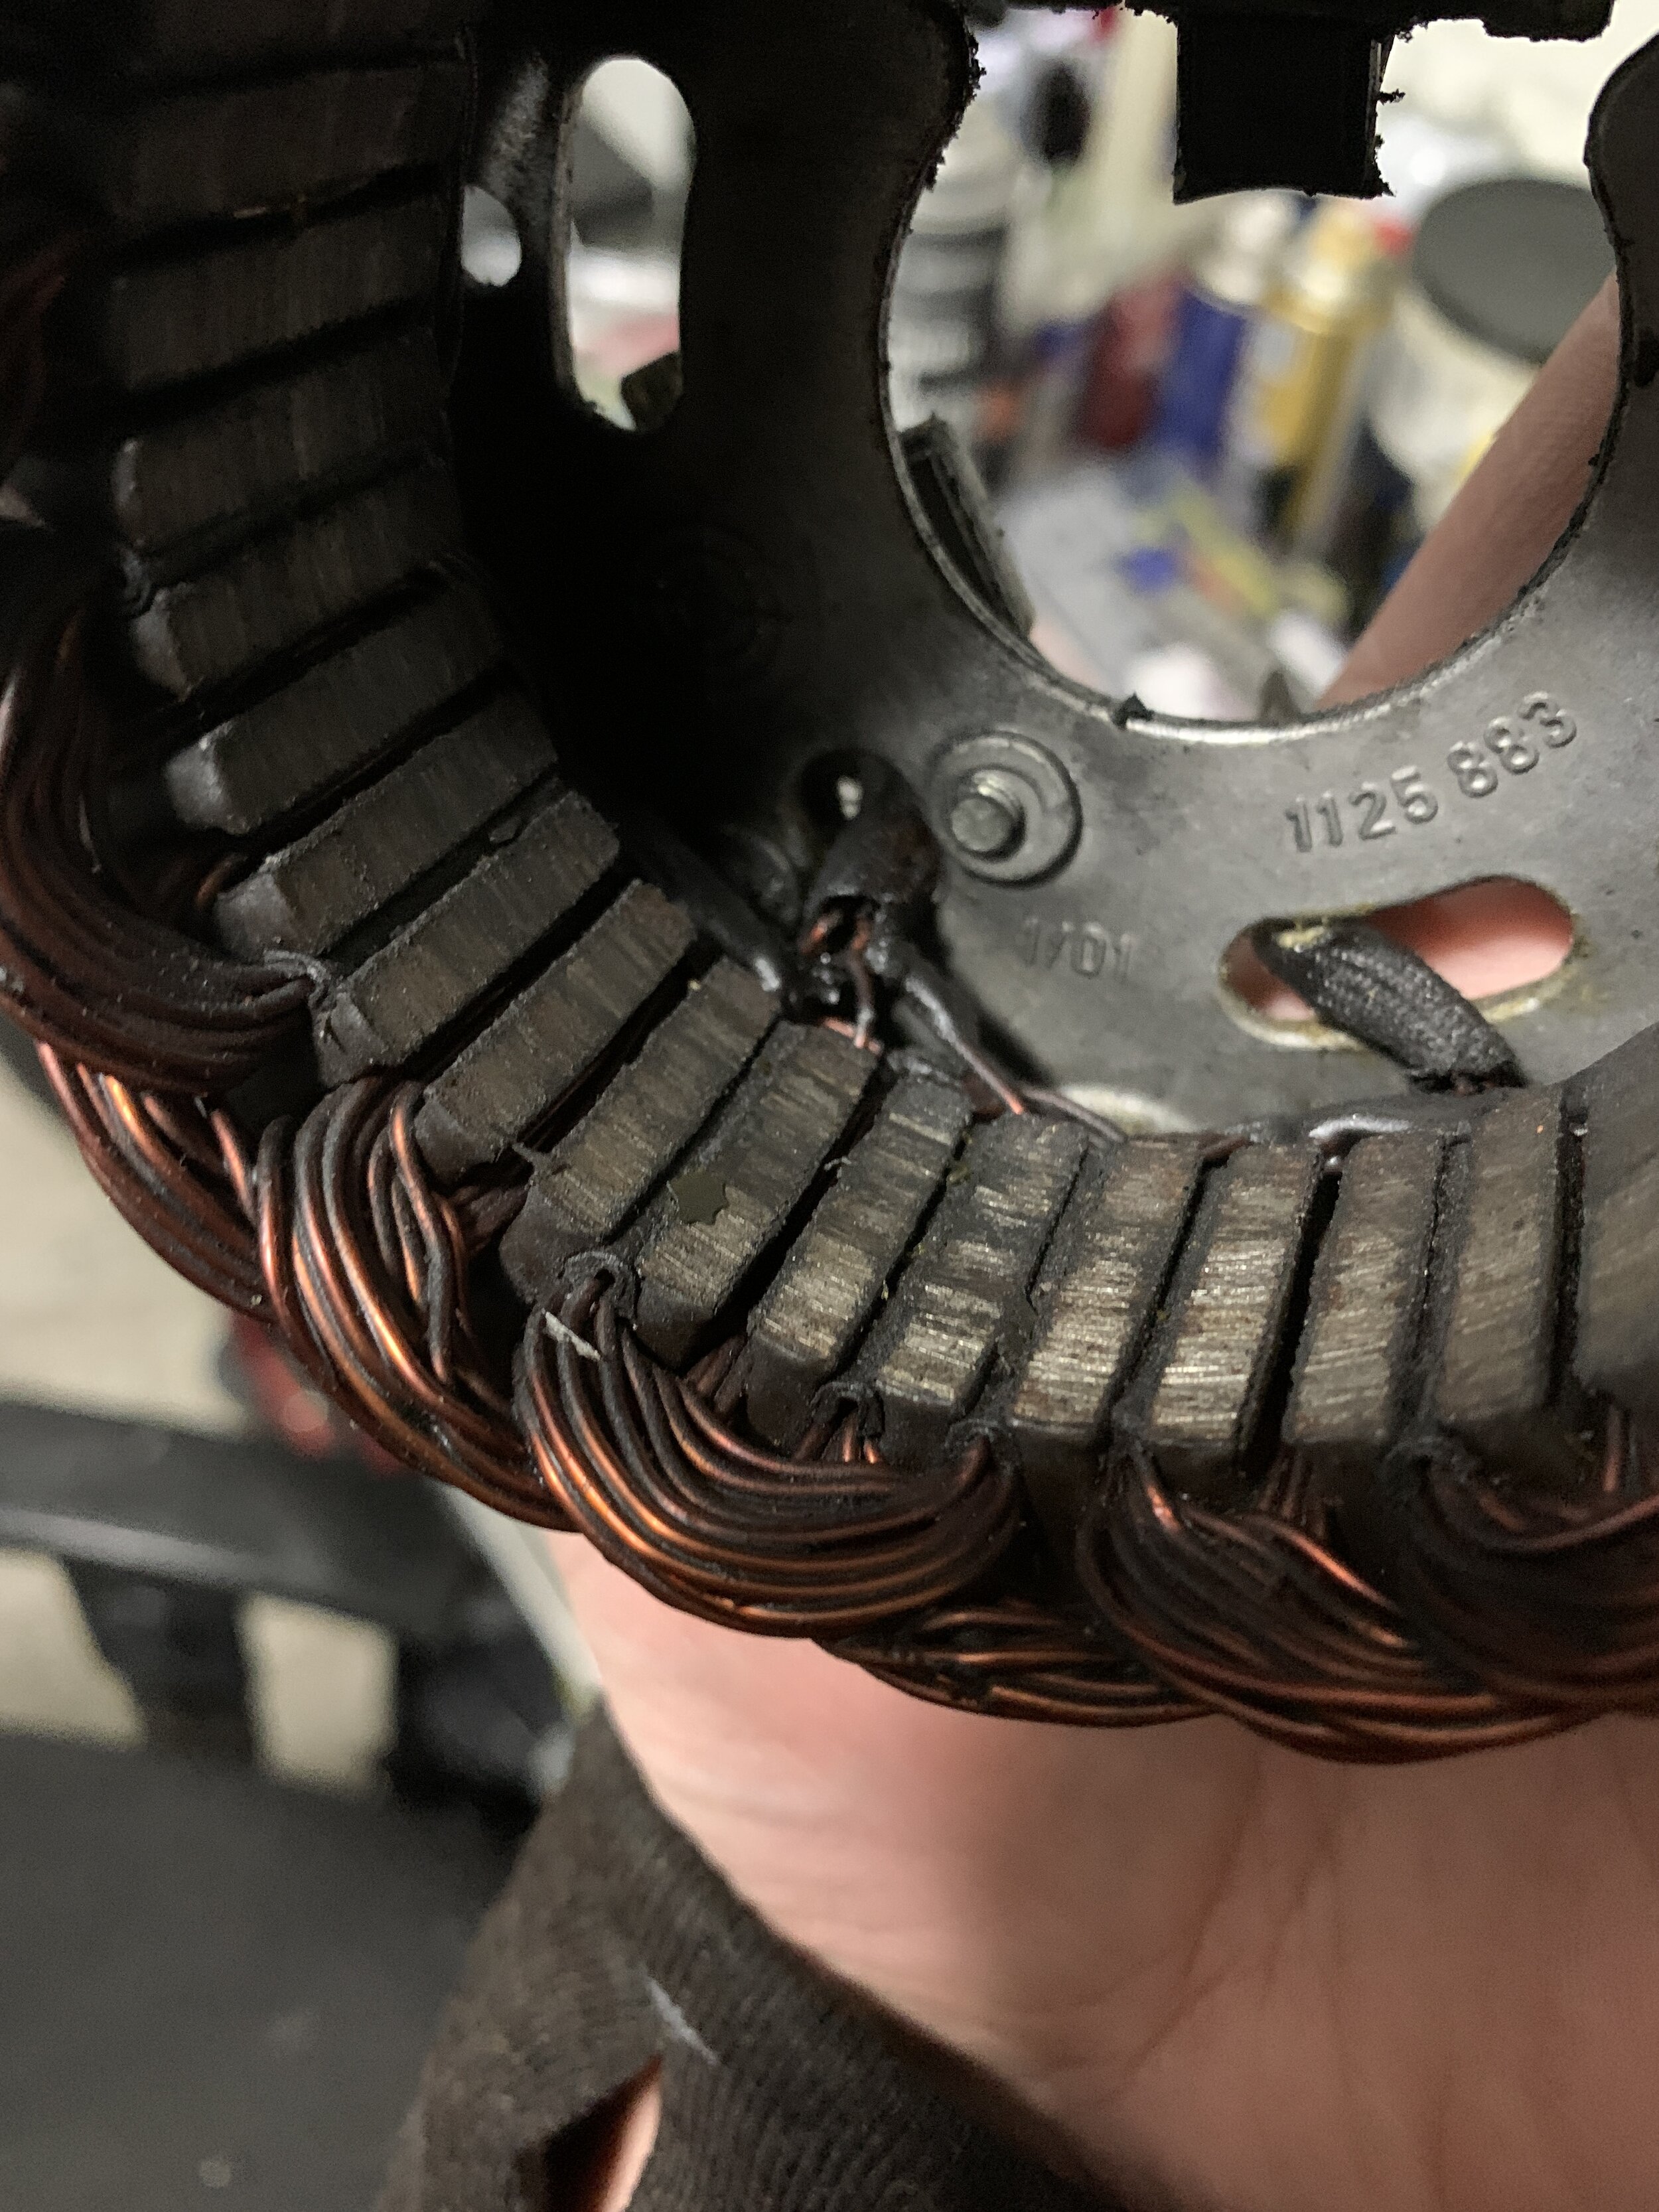
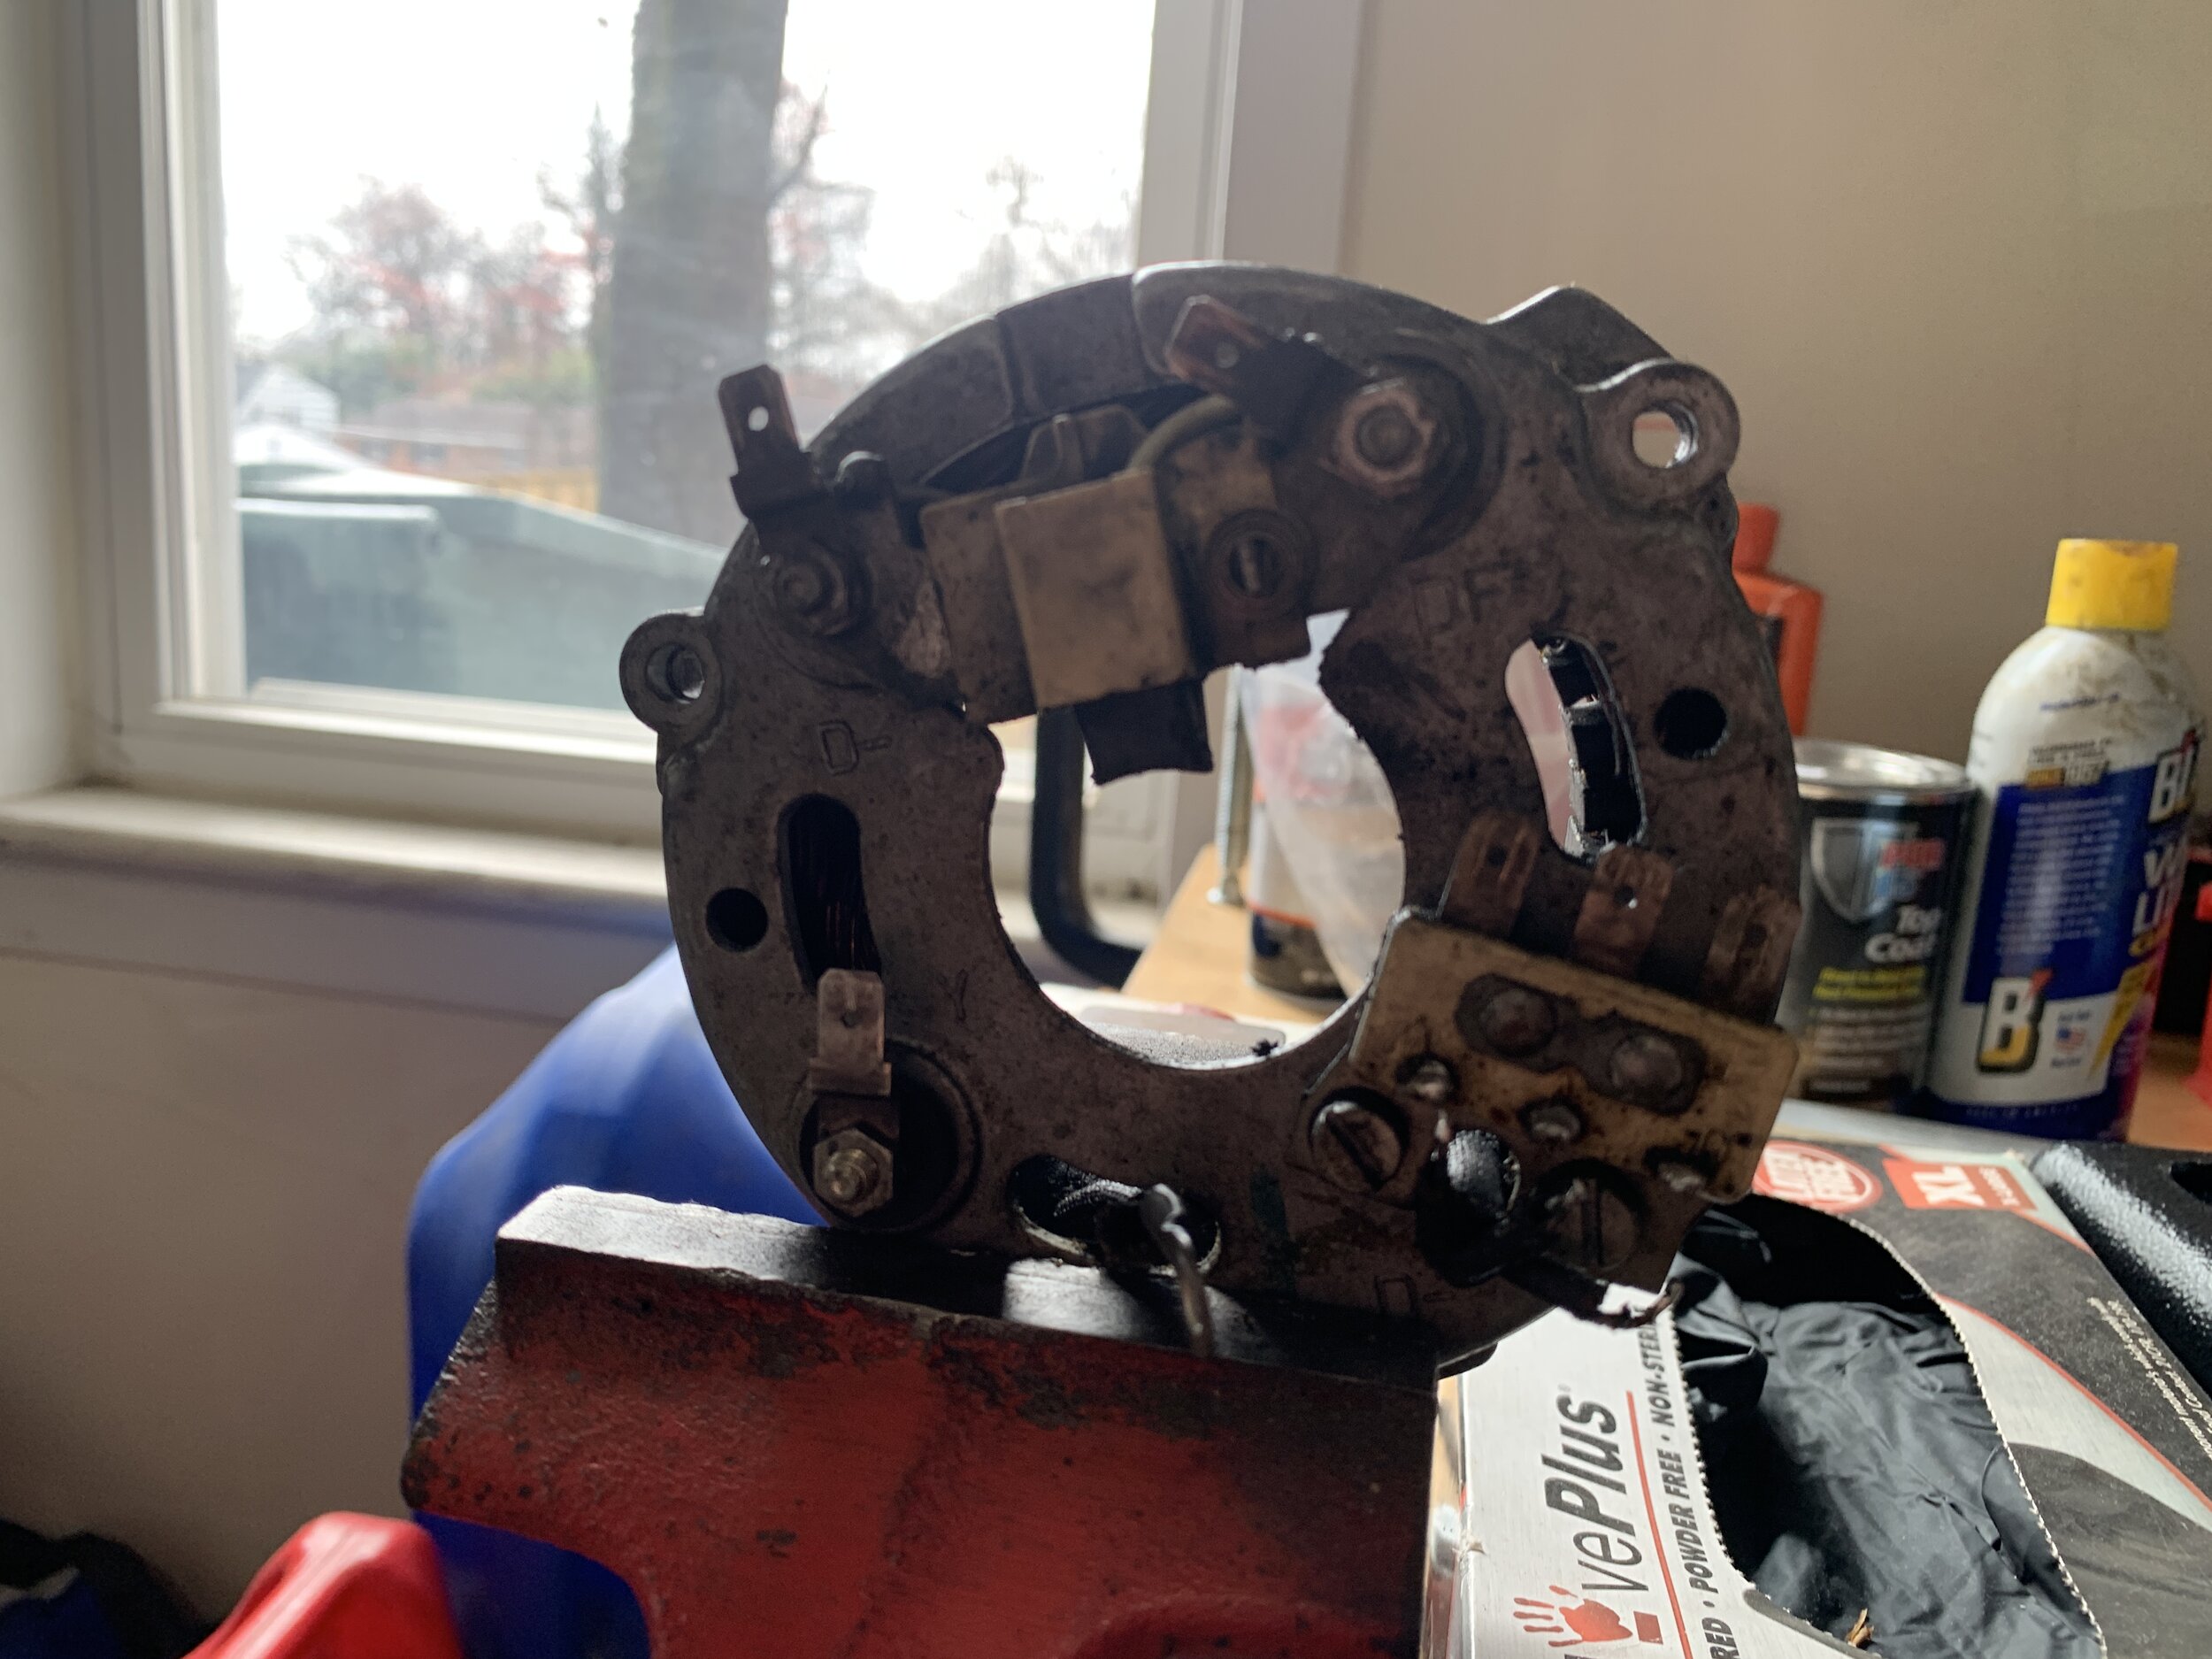
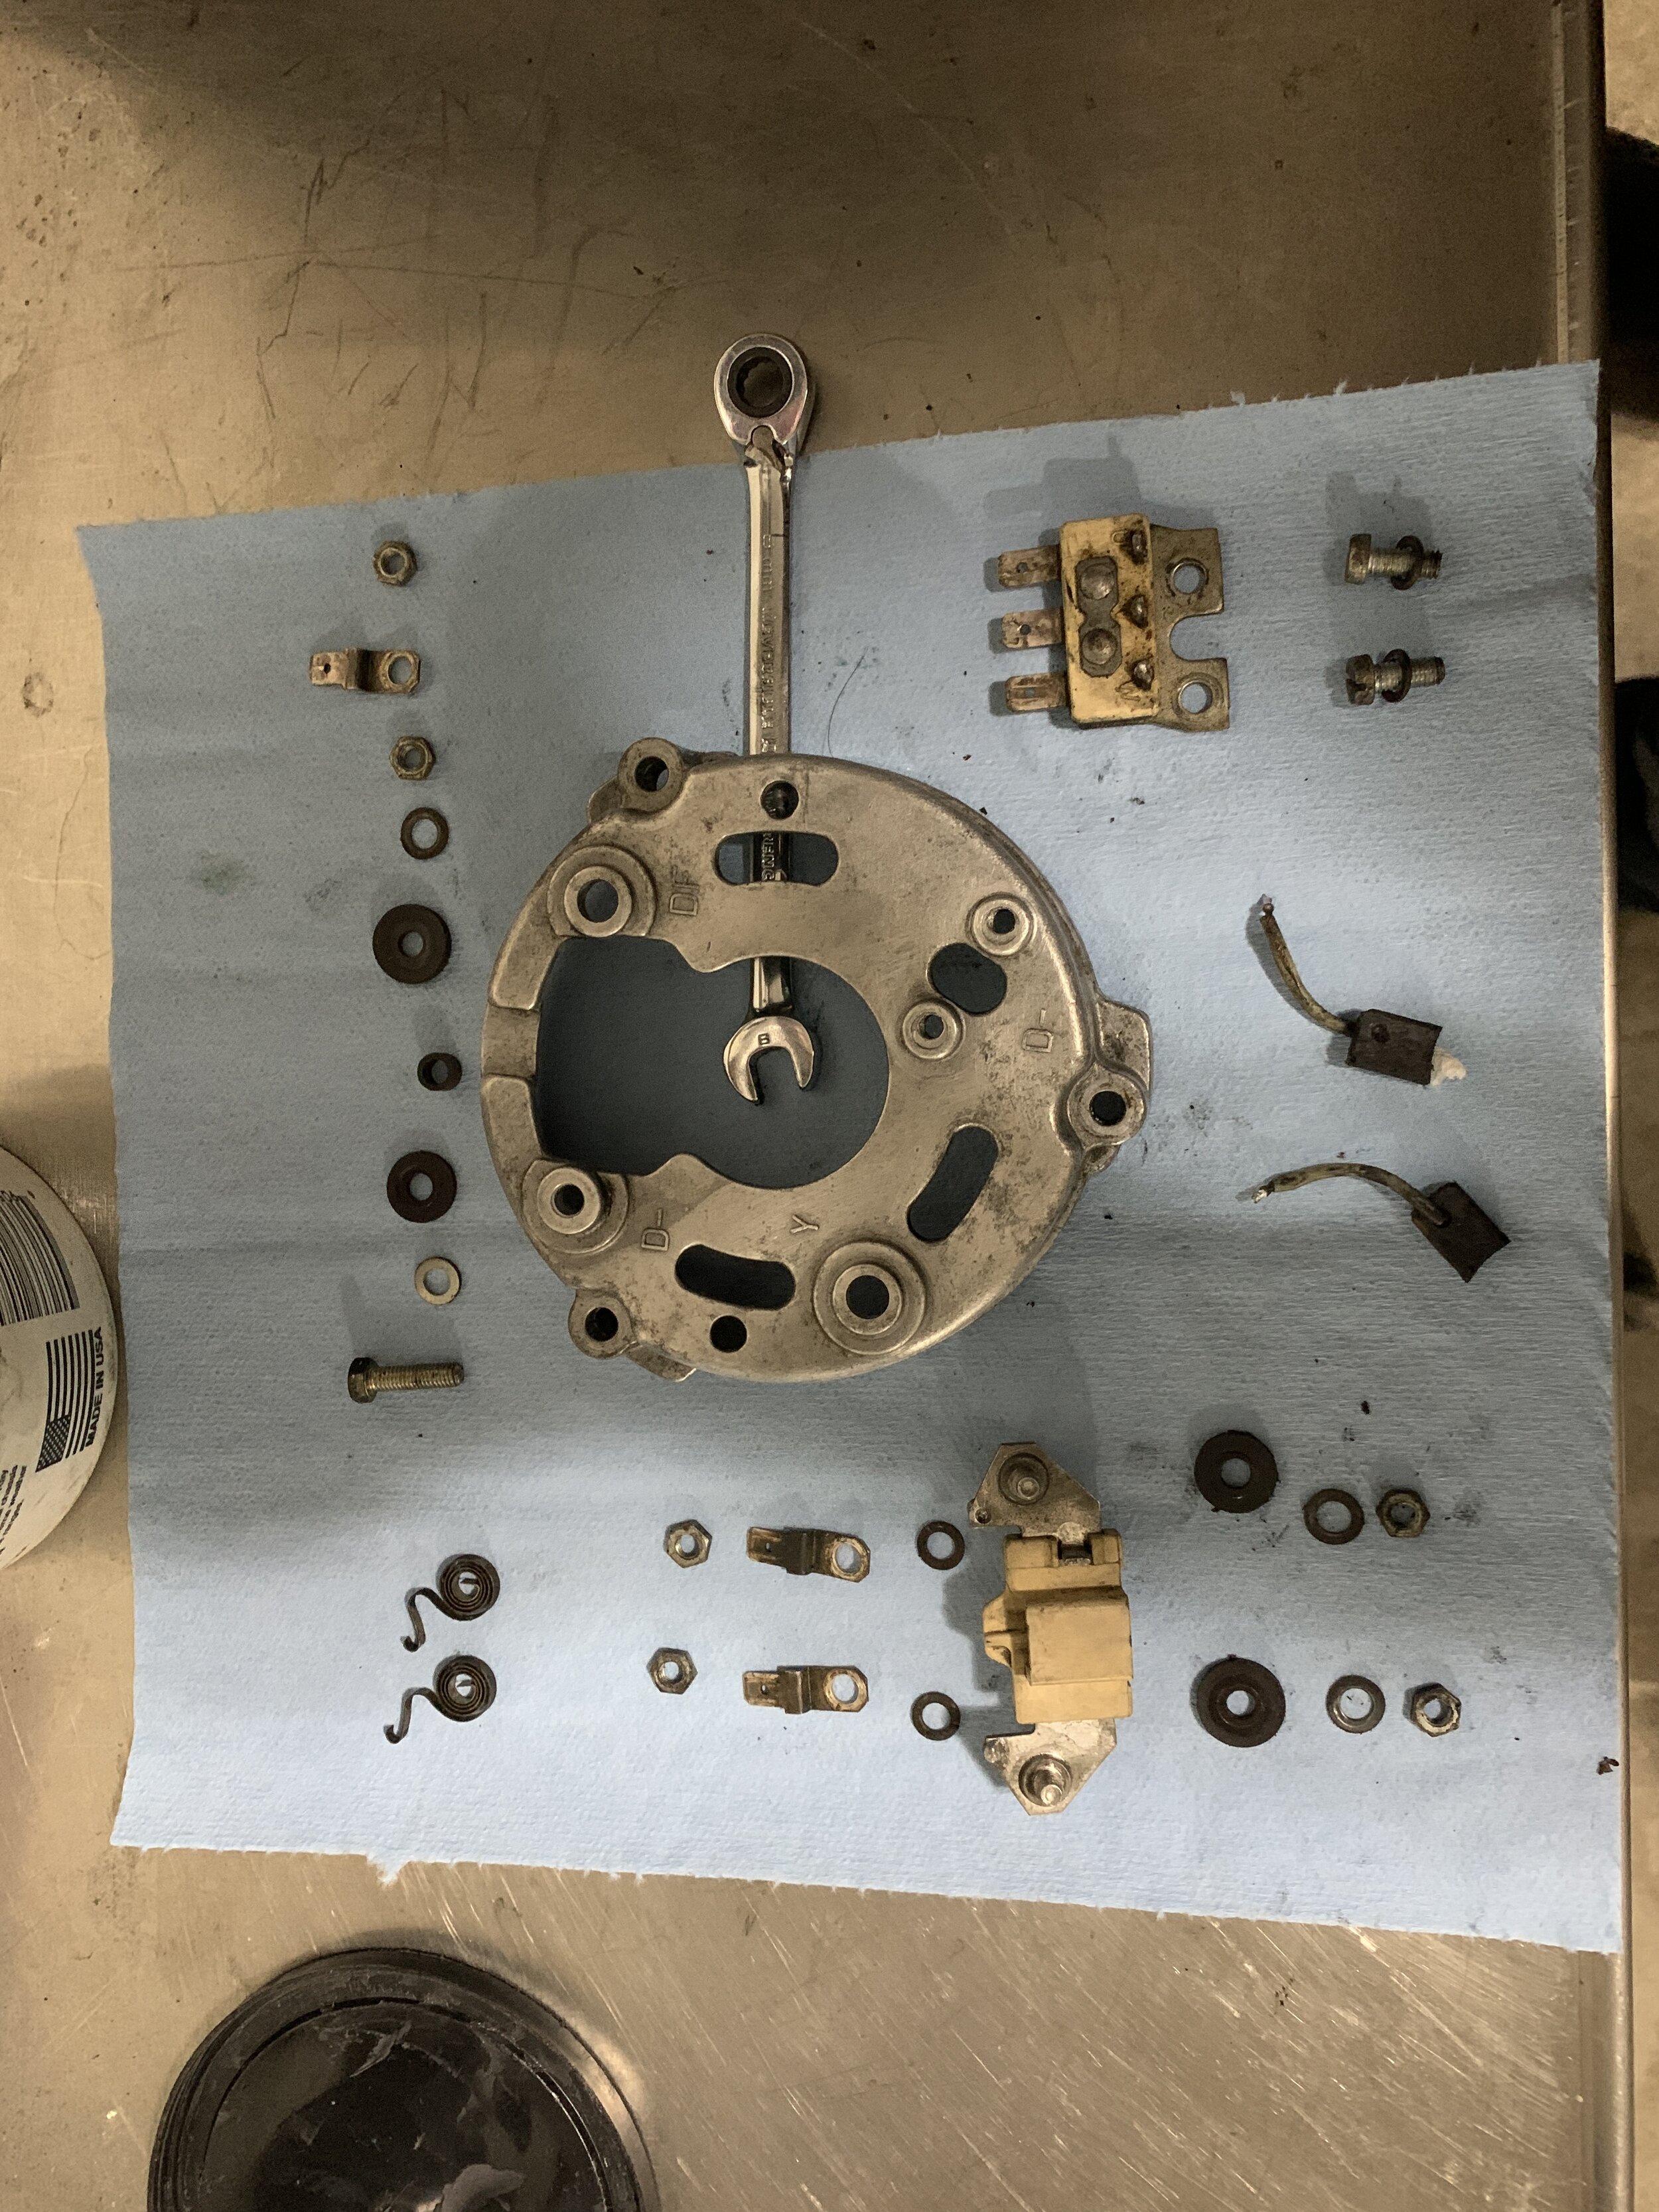
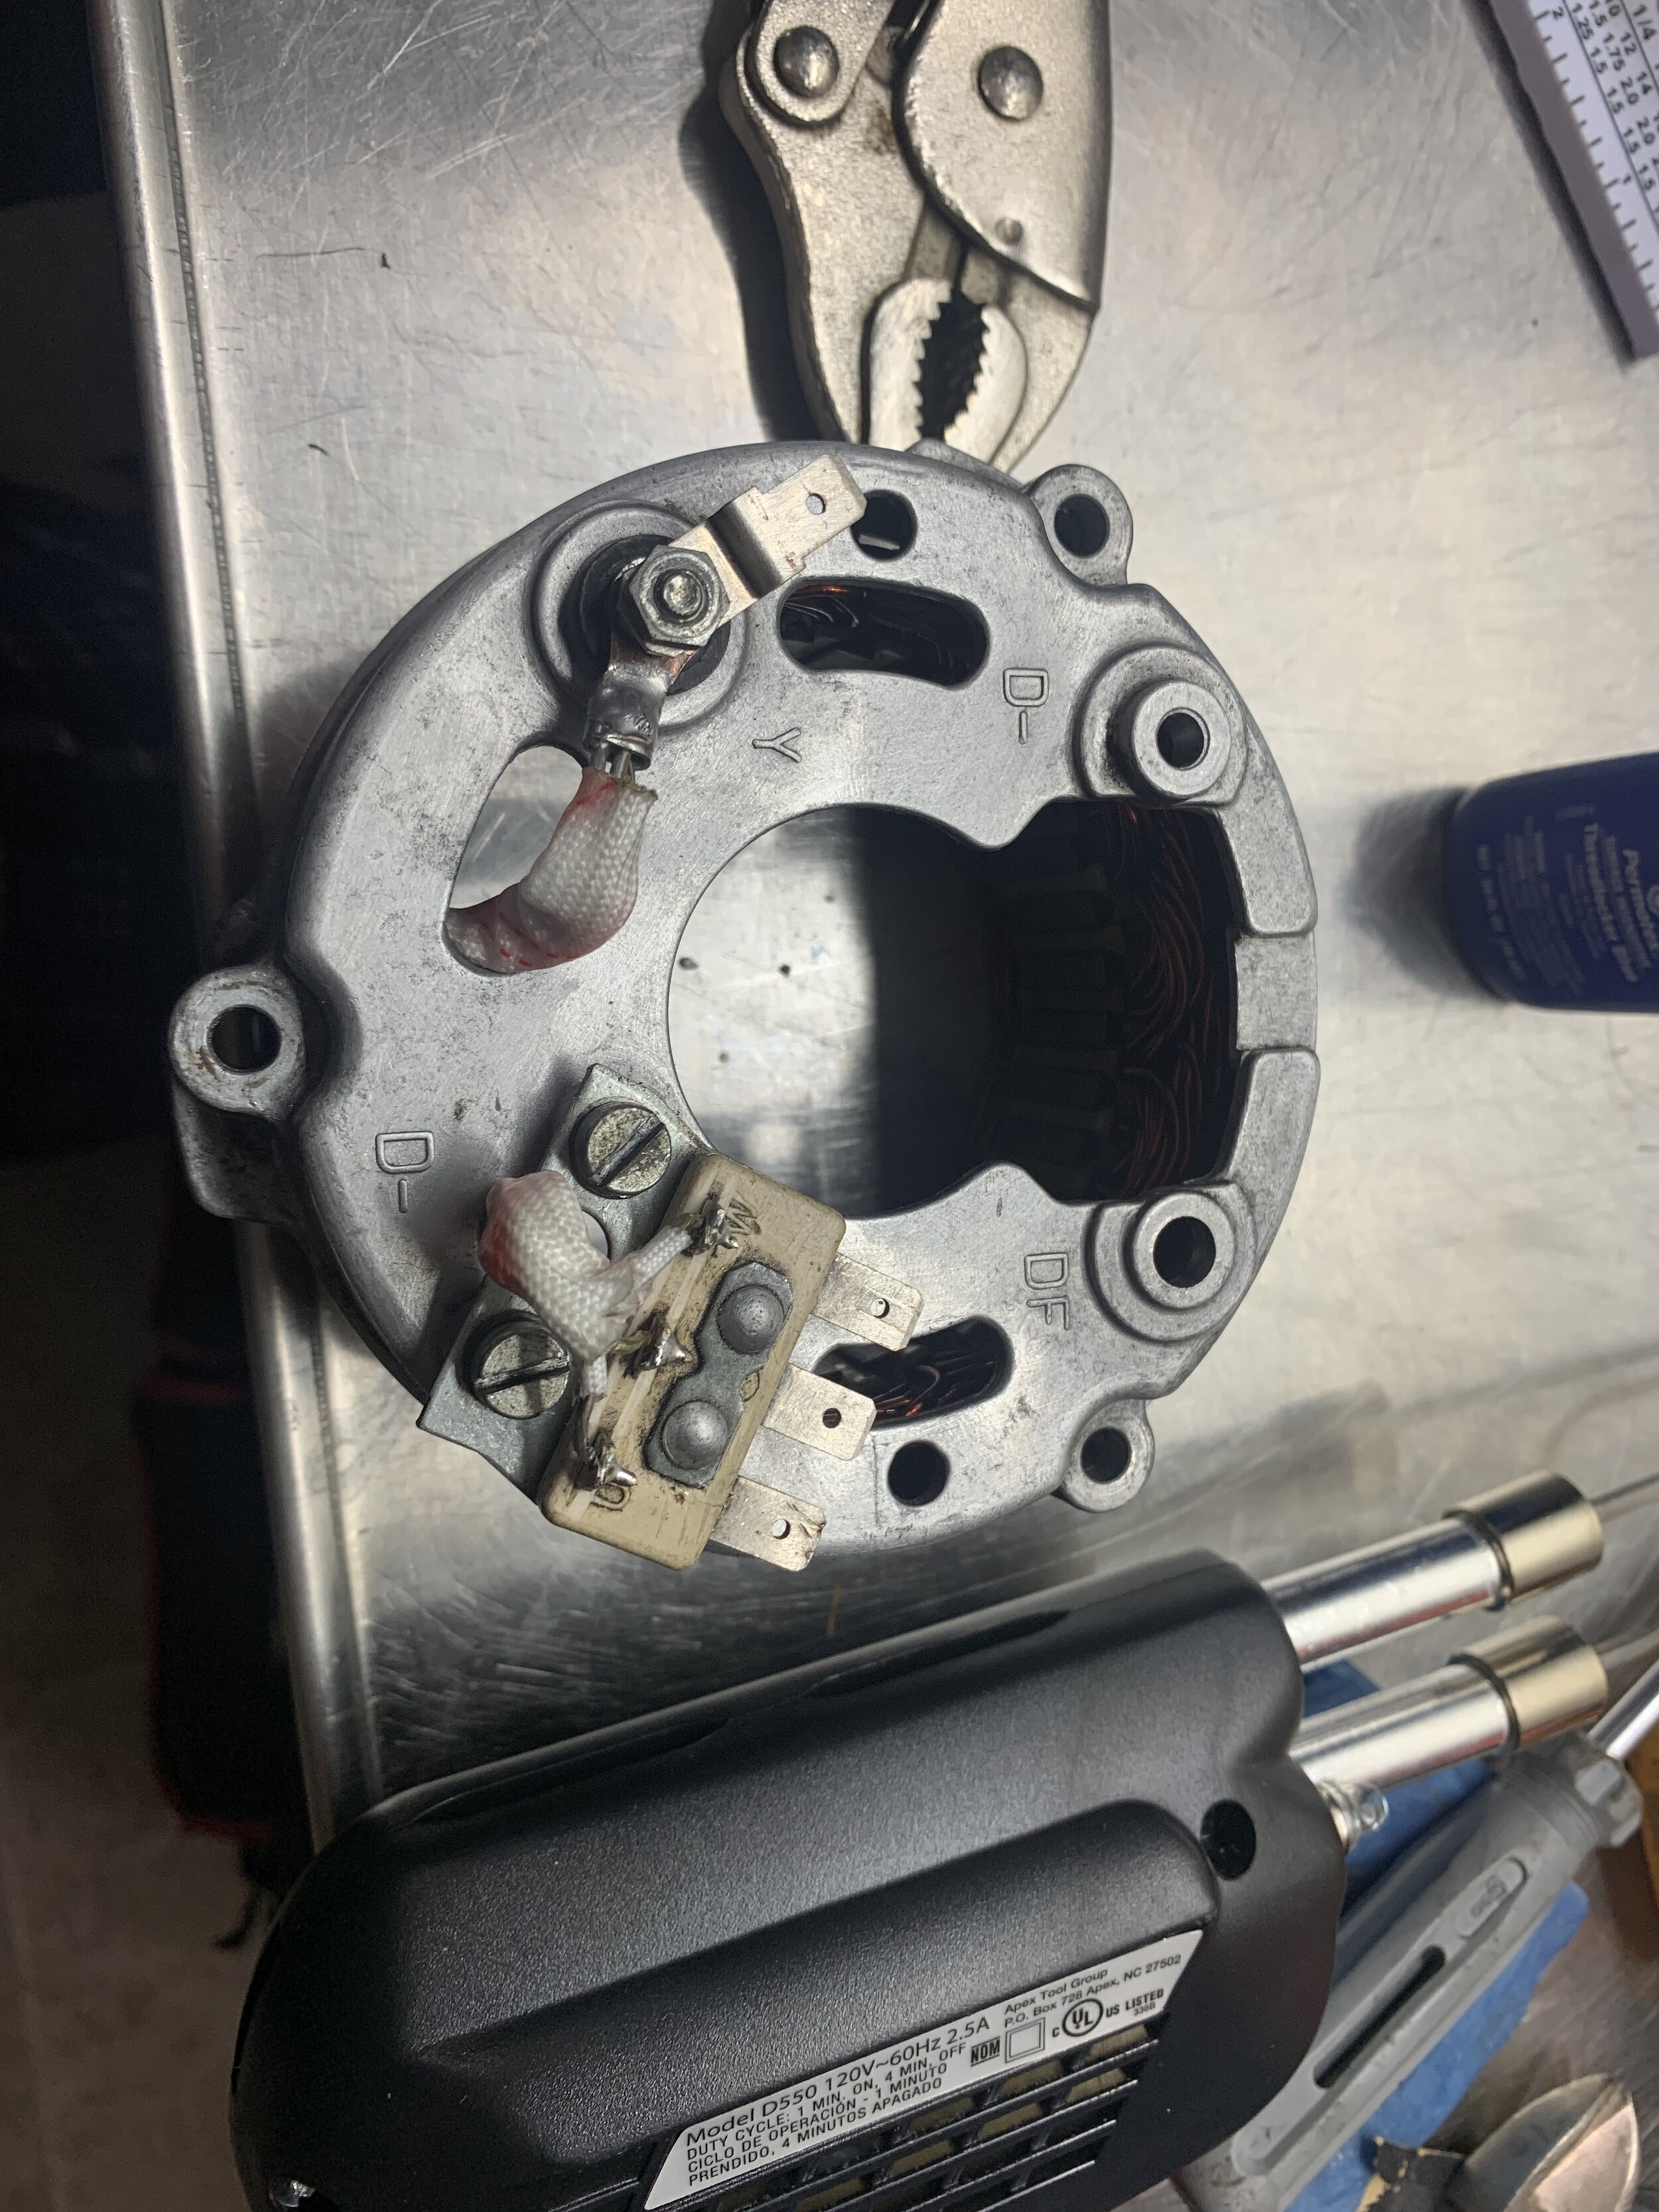
I have to wait for the special tool that I ordered and I bought new torque wrench as well, since mine only goes up to 150 ft lb. In fact I bought two new digital torque wrench cause my old one broke. It lasted me over 10 years and it was only 100 bucks. It wasn’t great, but it worked. Next I took apart the alternator, to my surprise it was also caked with oil. It means everything, literally everything on this bike is leaking. The seals on the coils are all flaking off and the everything look super worn out. I also notice the breather system is also worn out with spring that barely have any tension. I found a upgrade, but removing the original was difficult endeavor. I use some steel lines and rig up slide hammer while holding the block down and it came out with the proper persuasion.
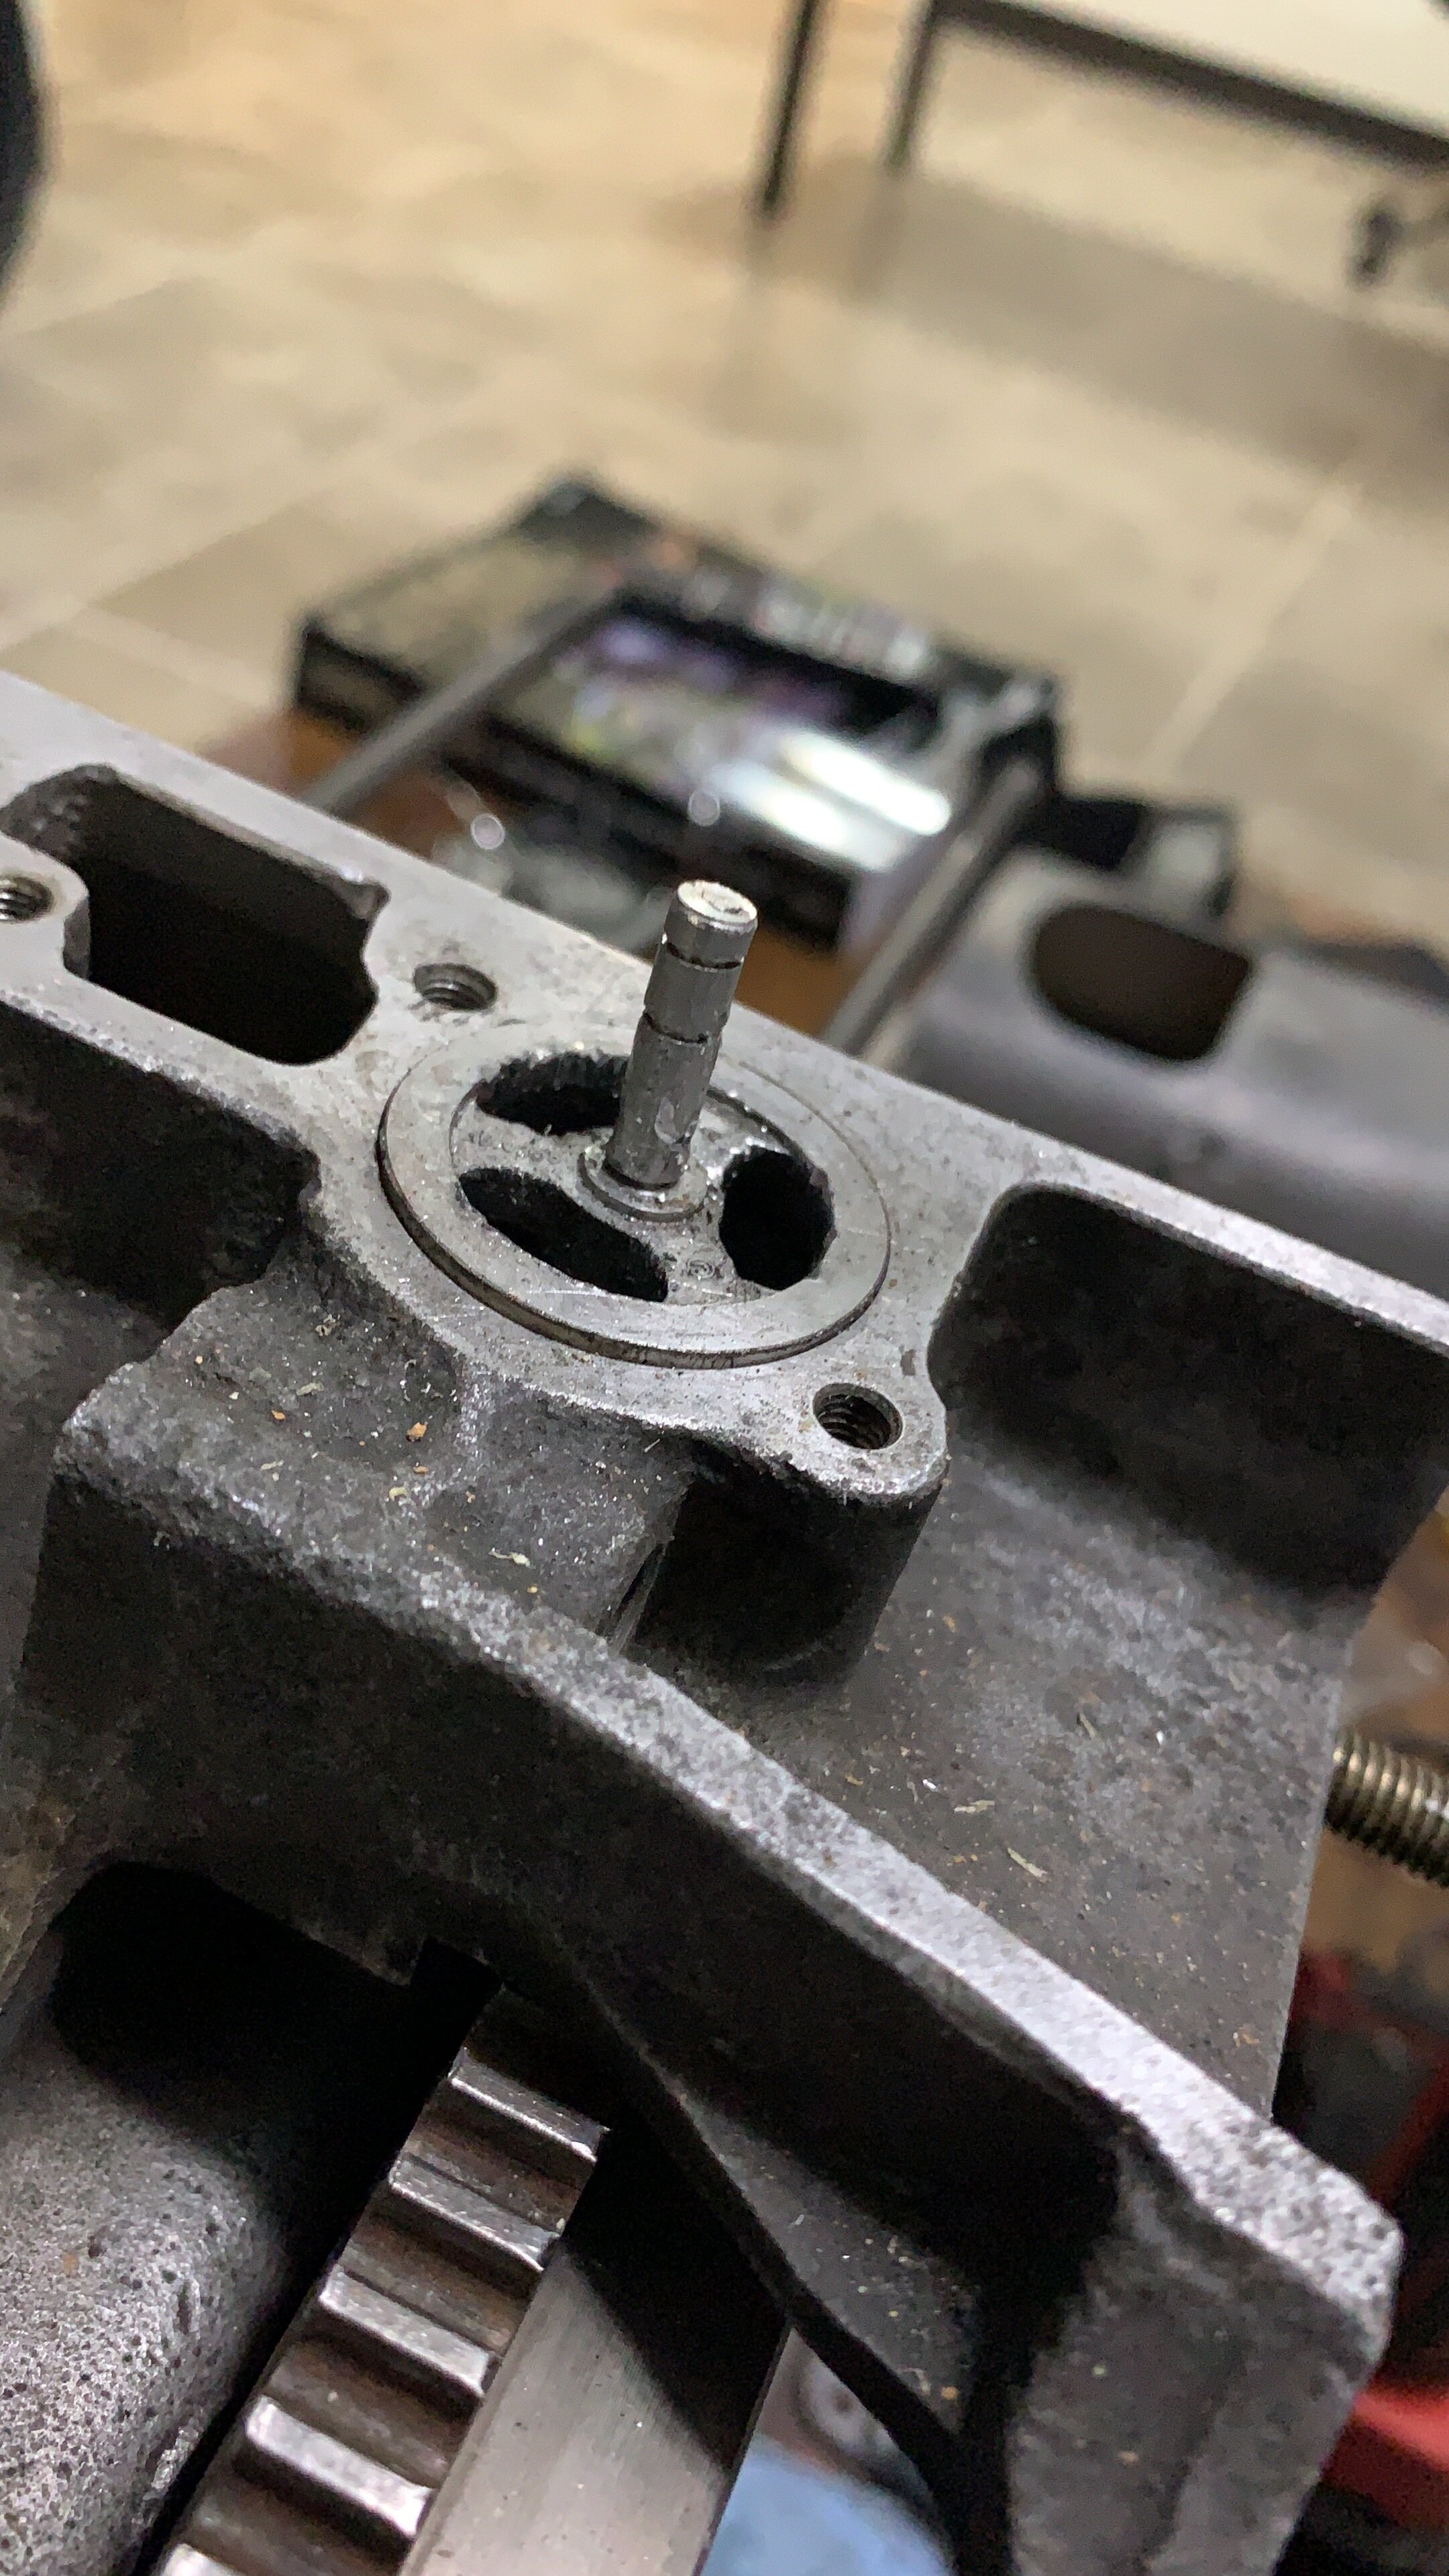
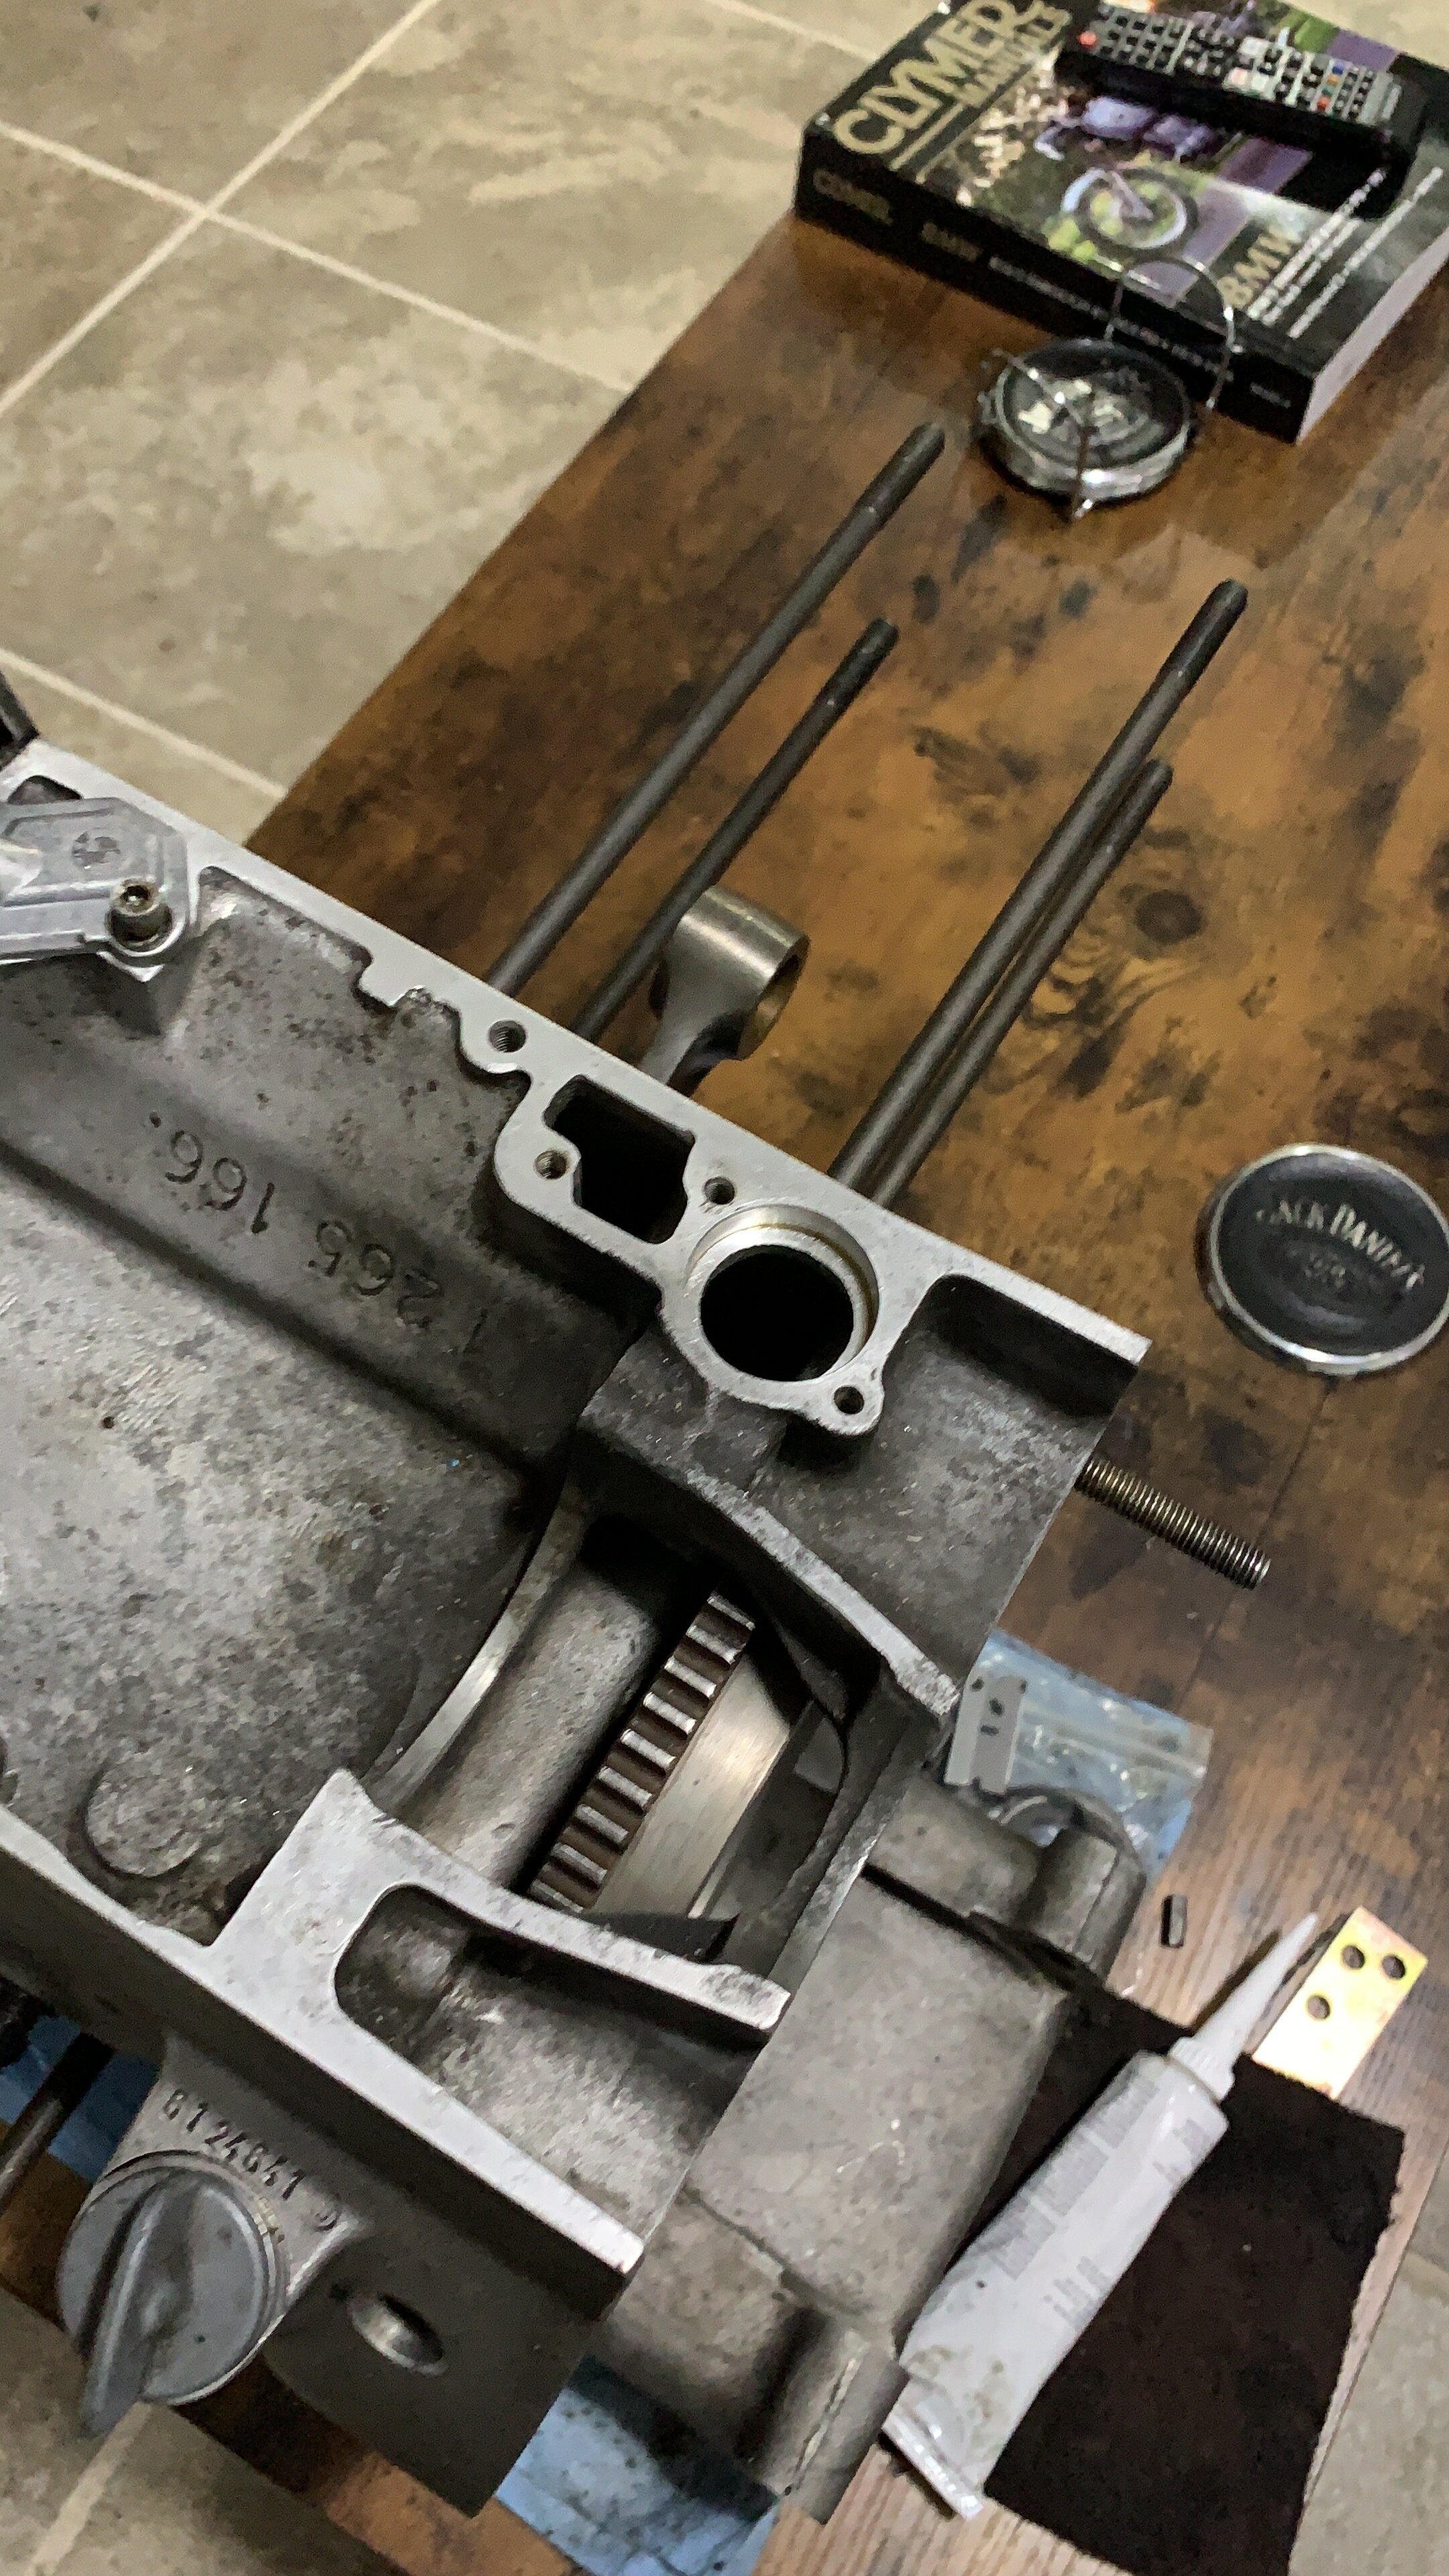
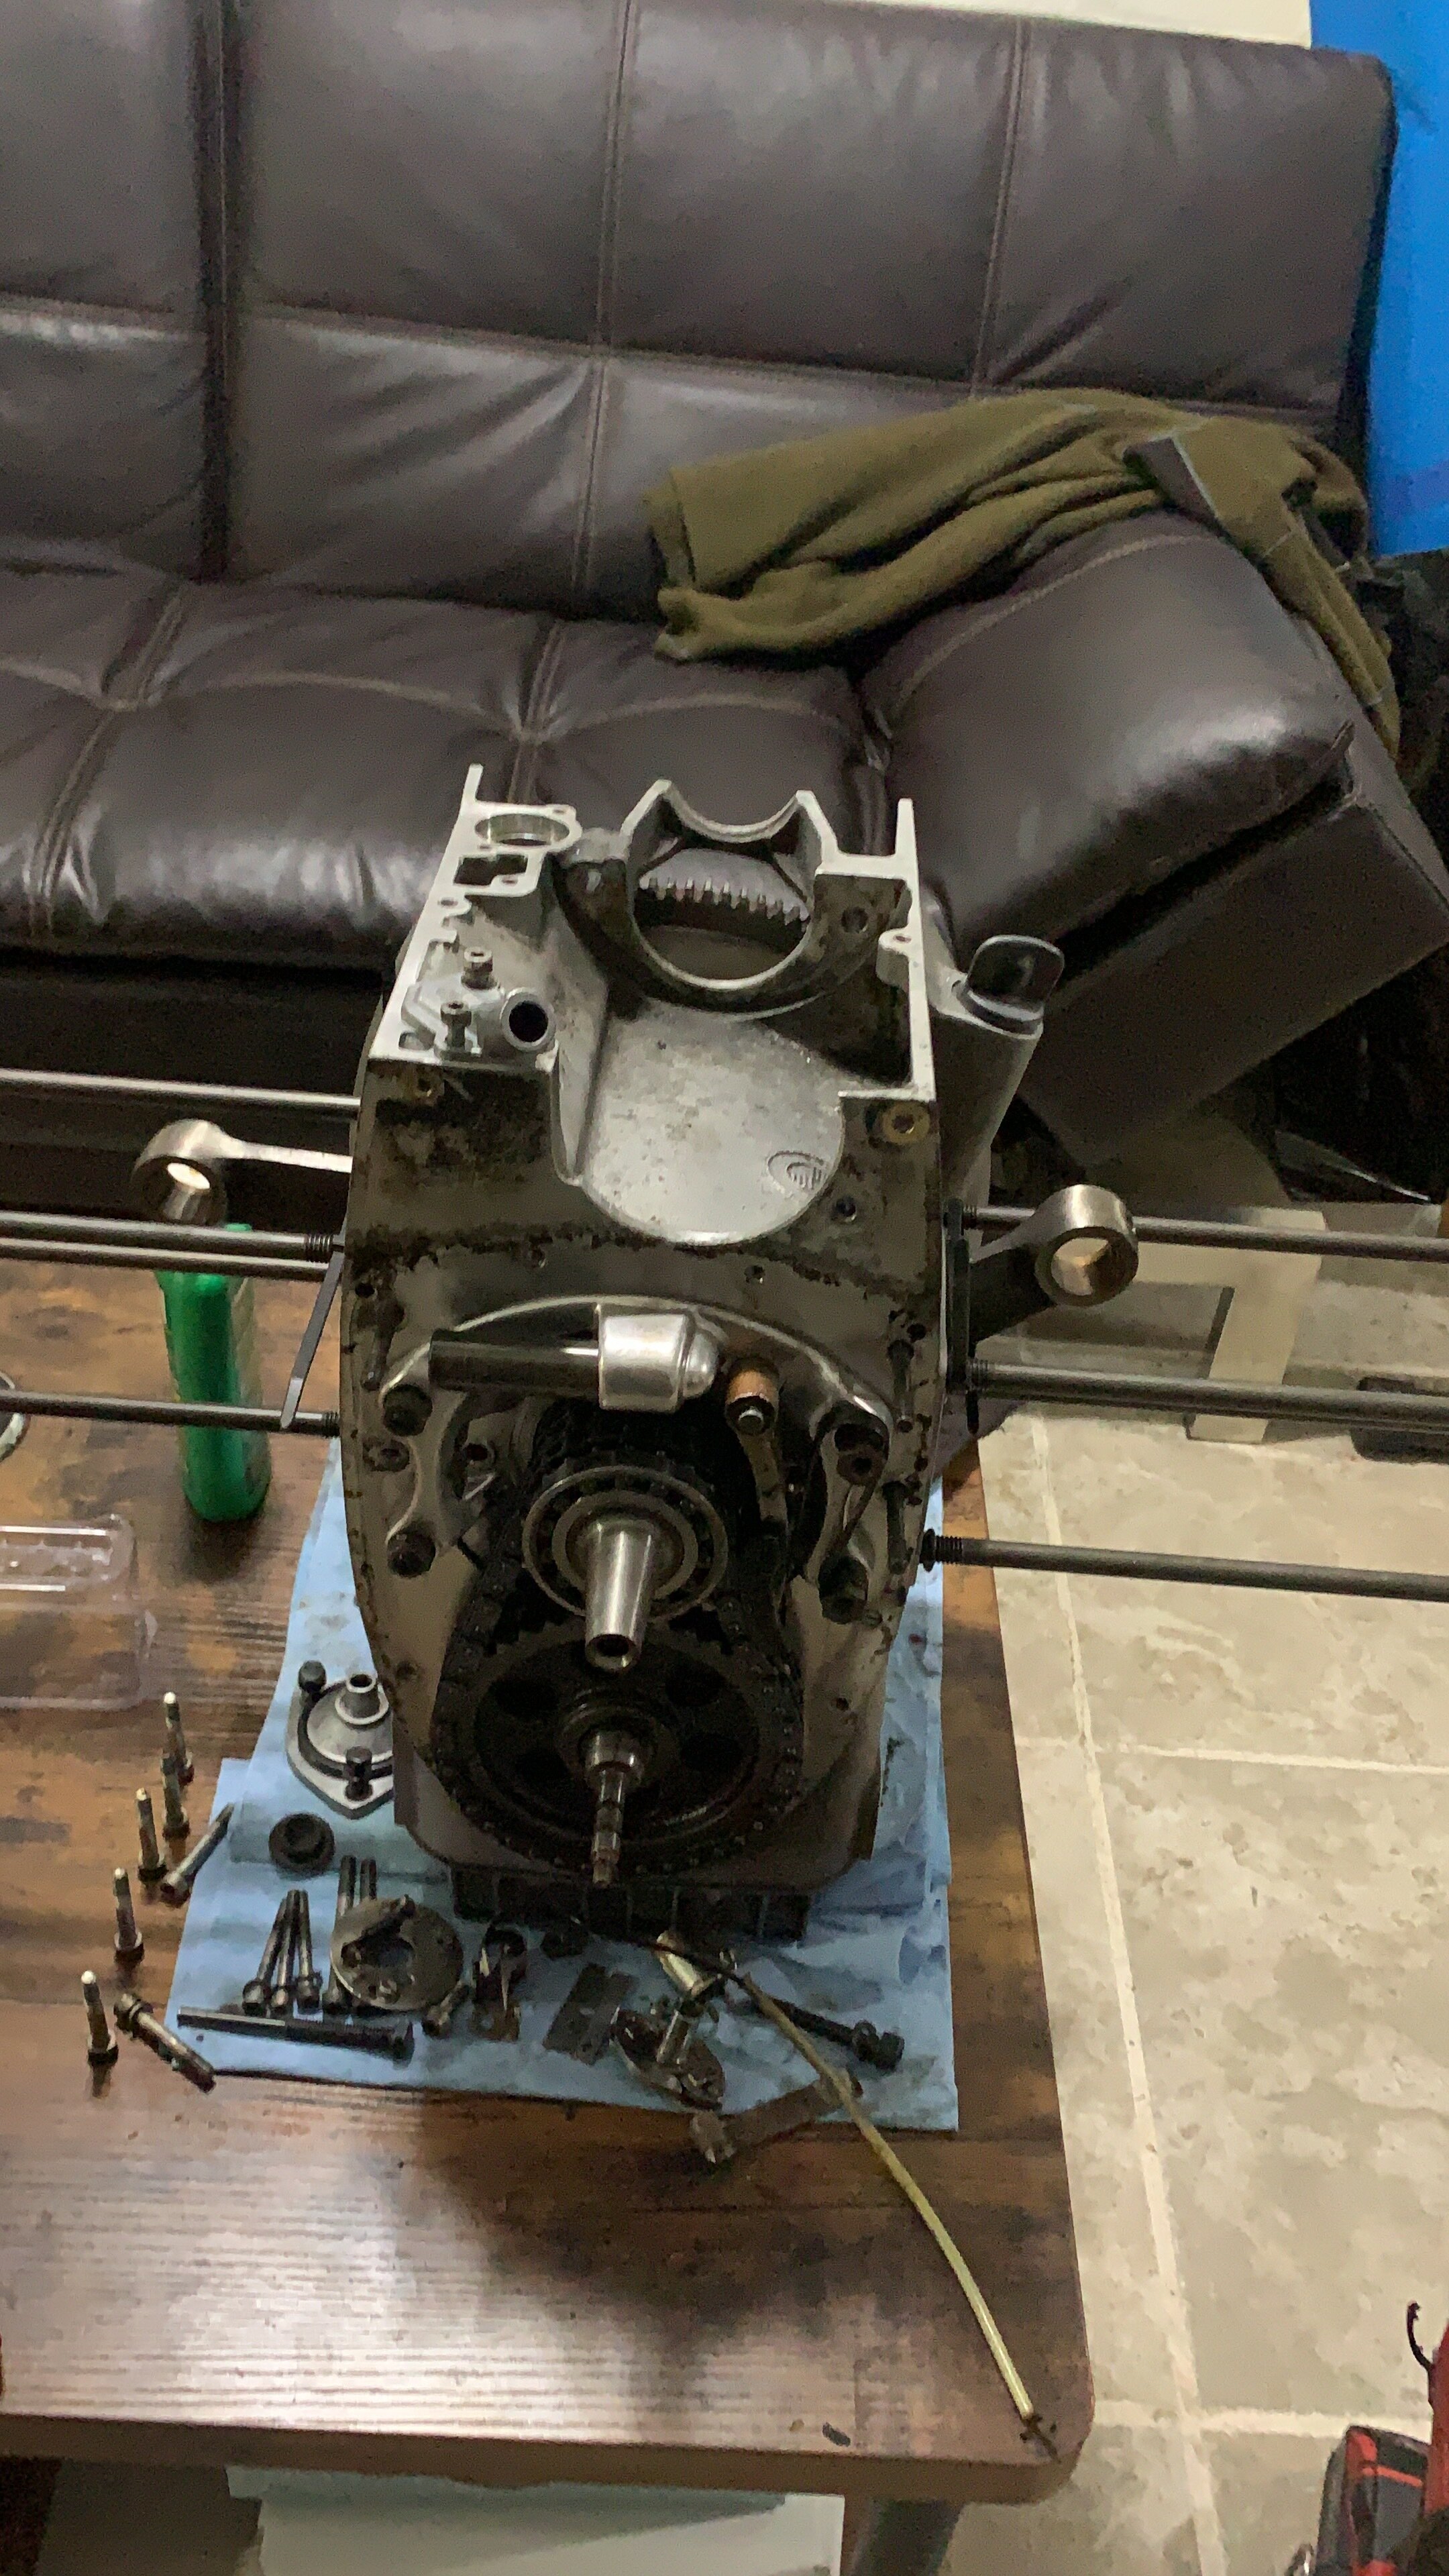
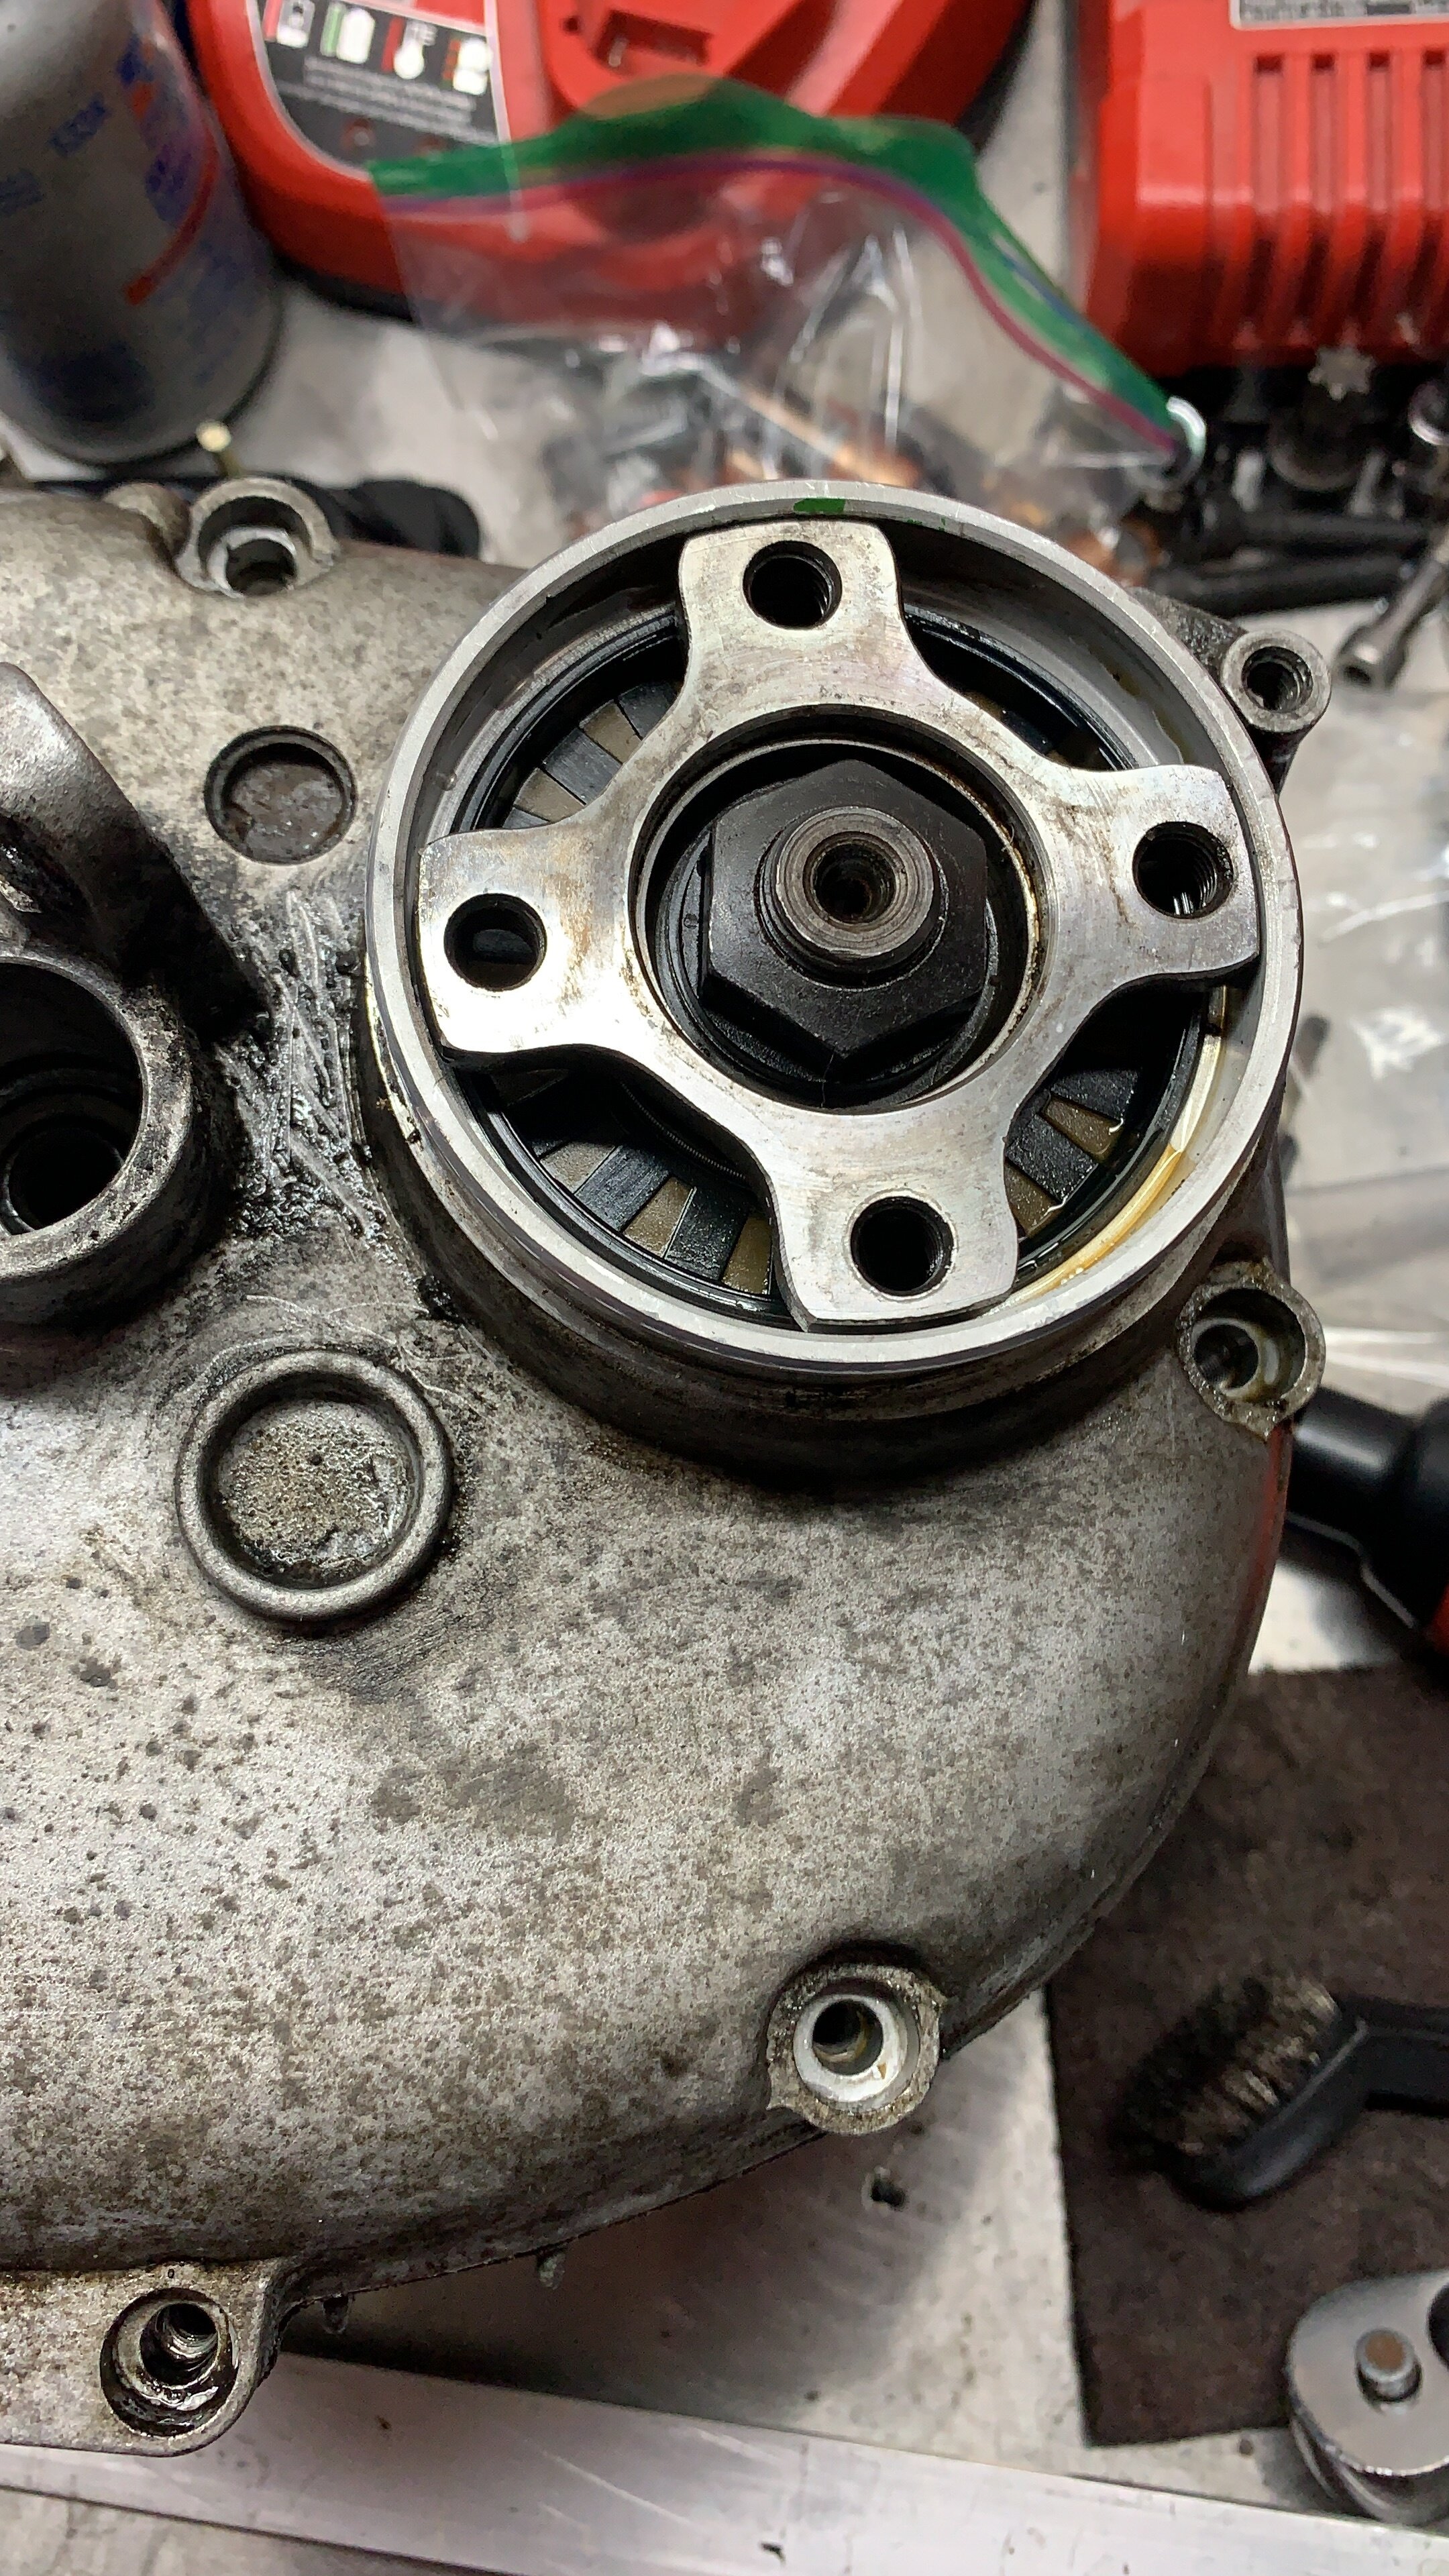
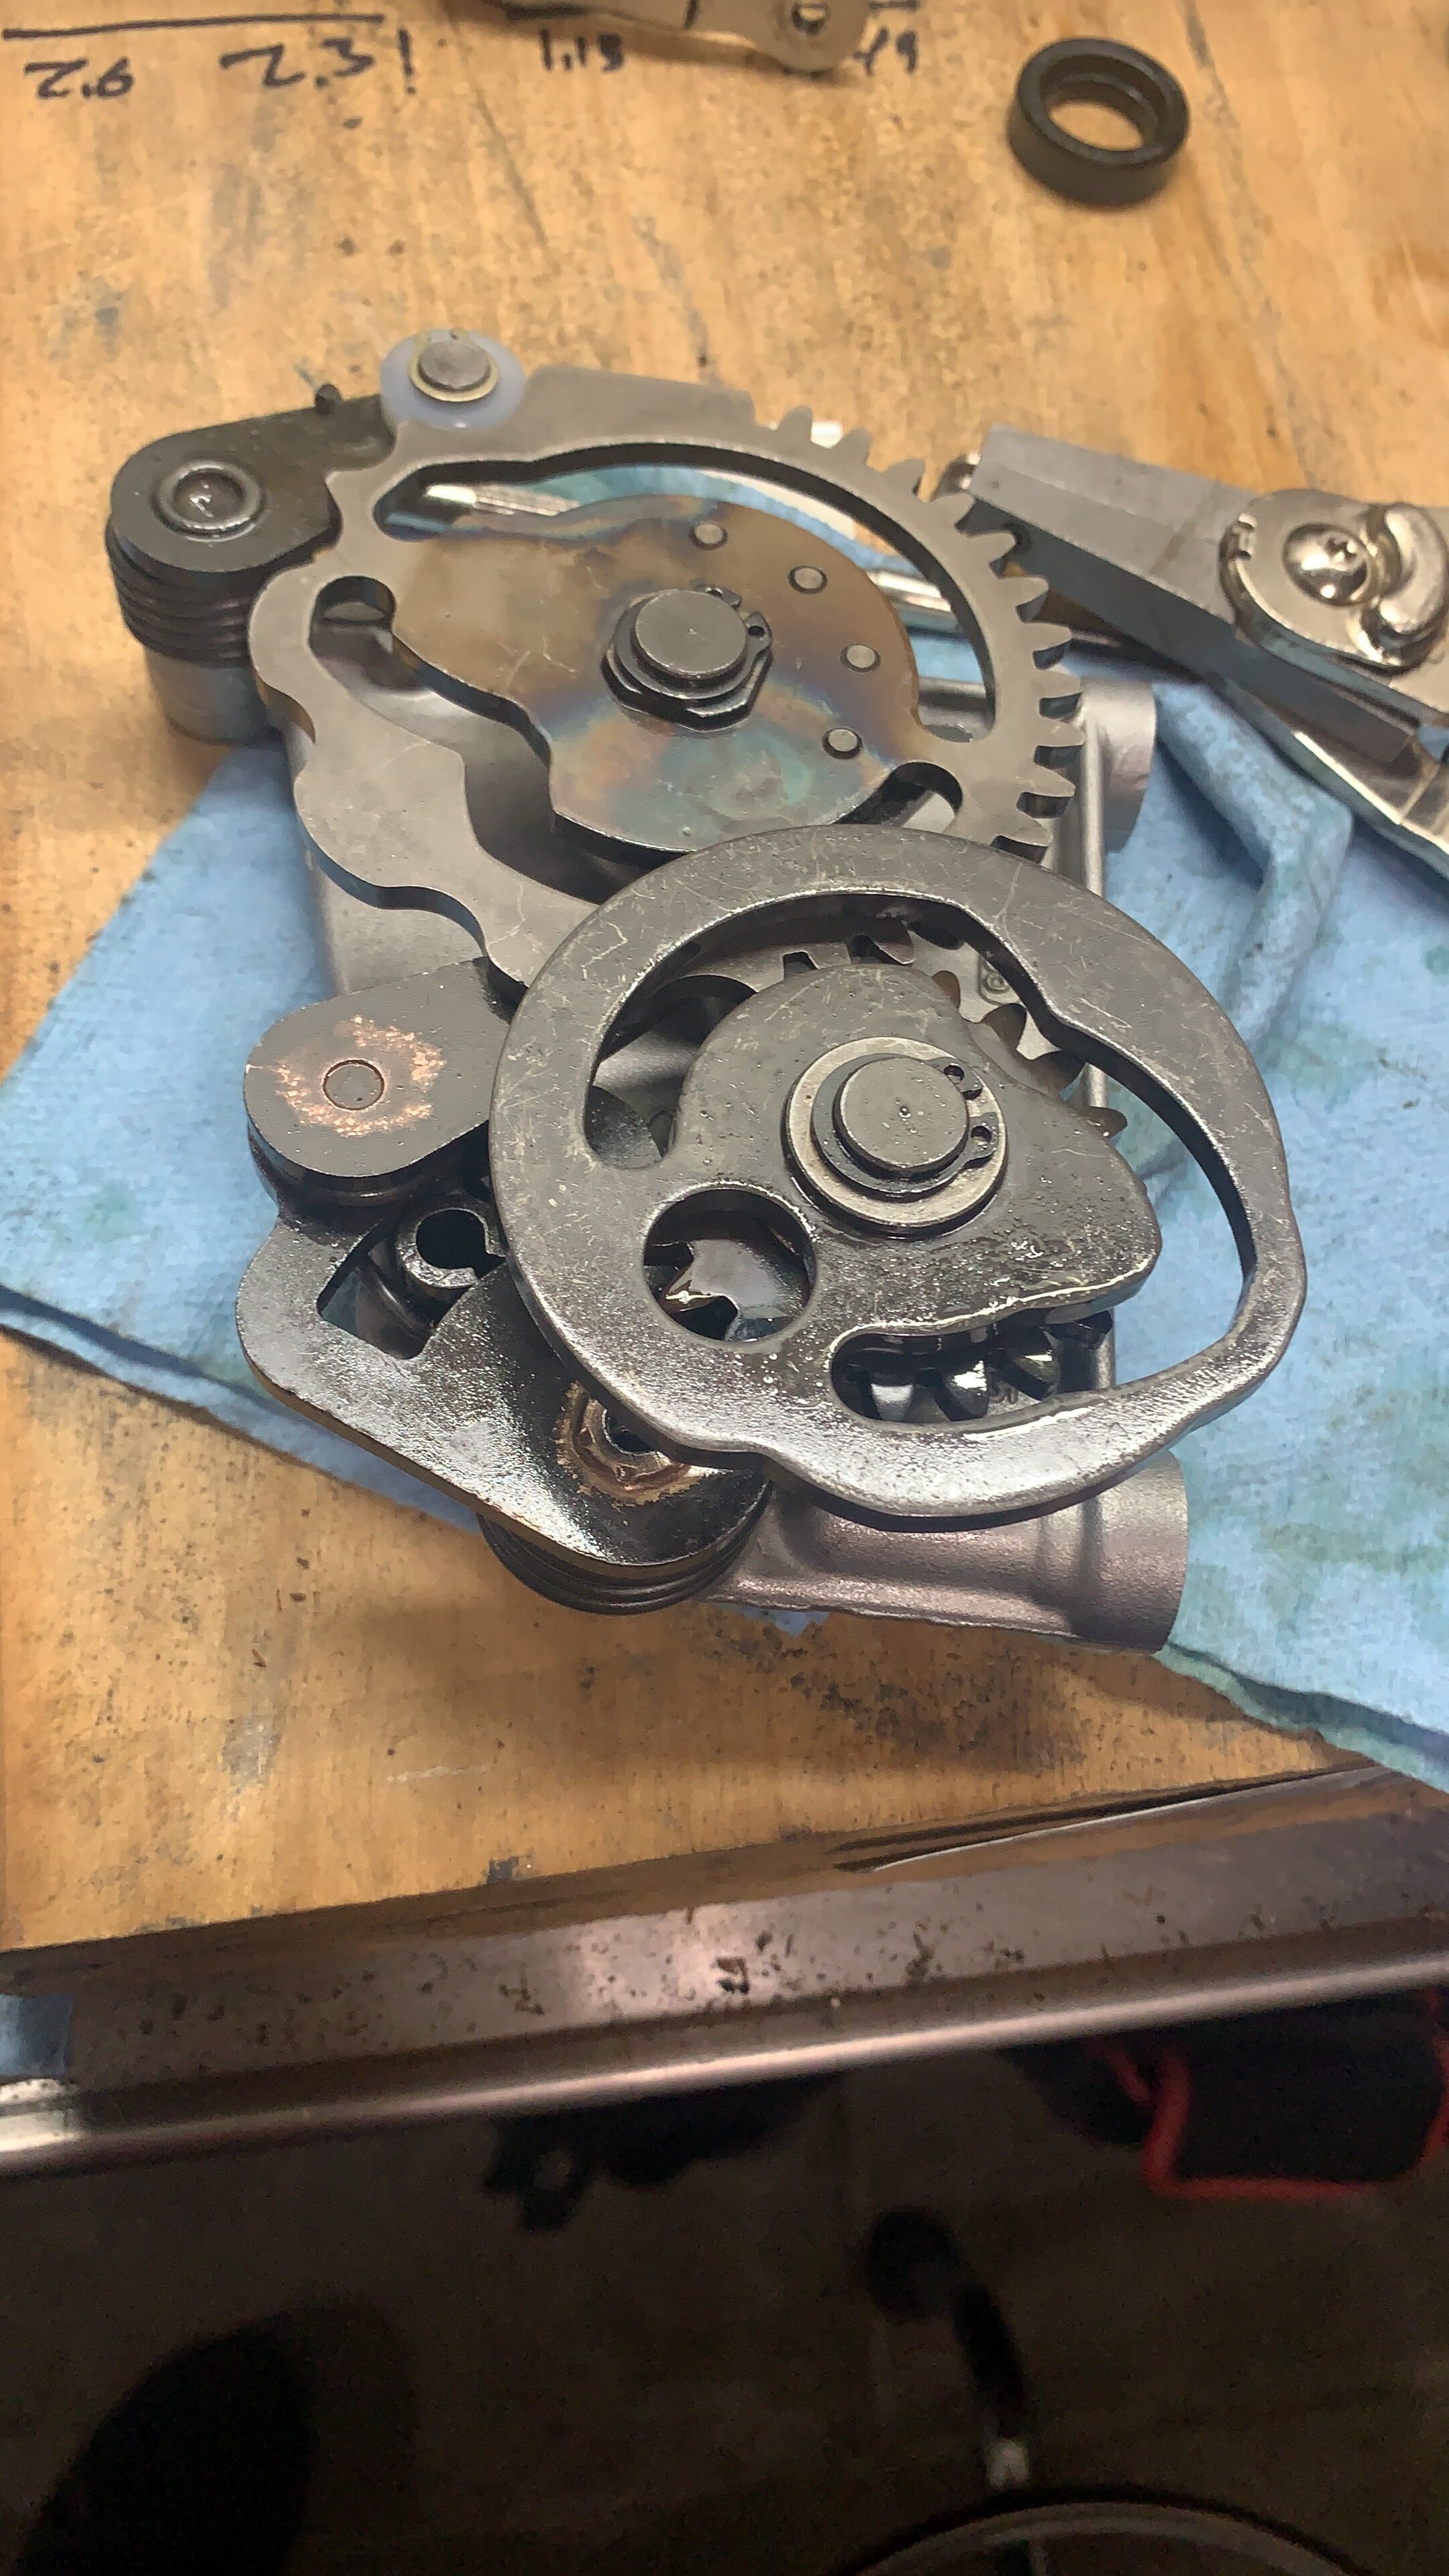
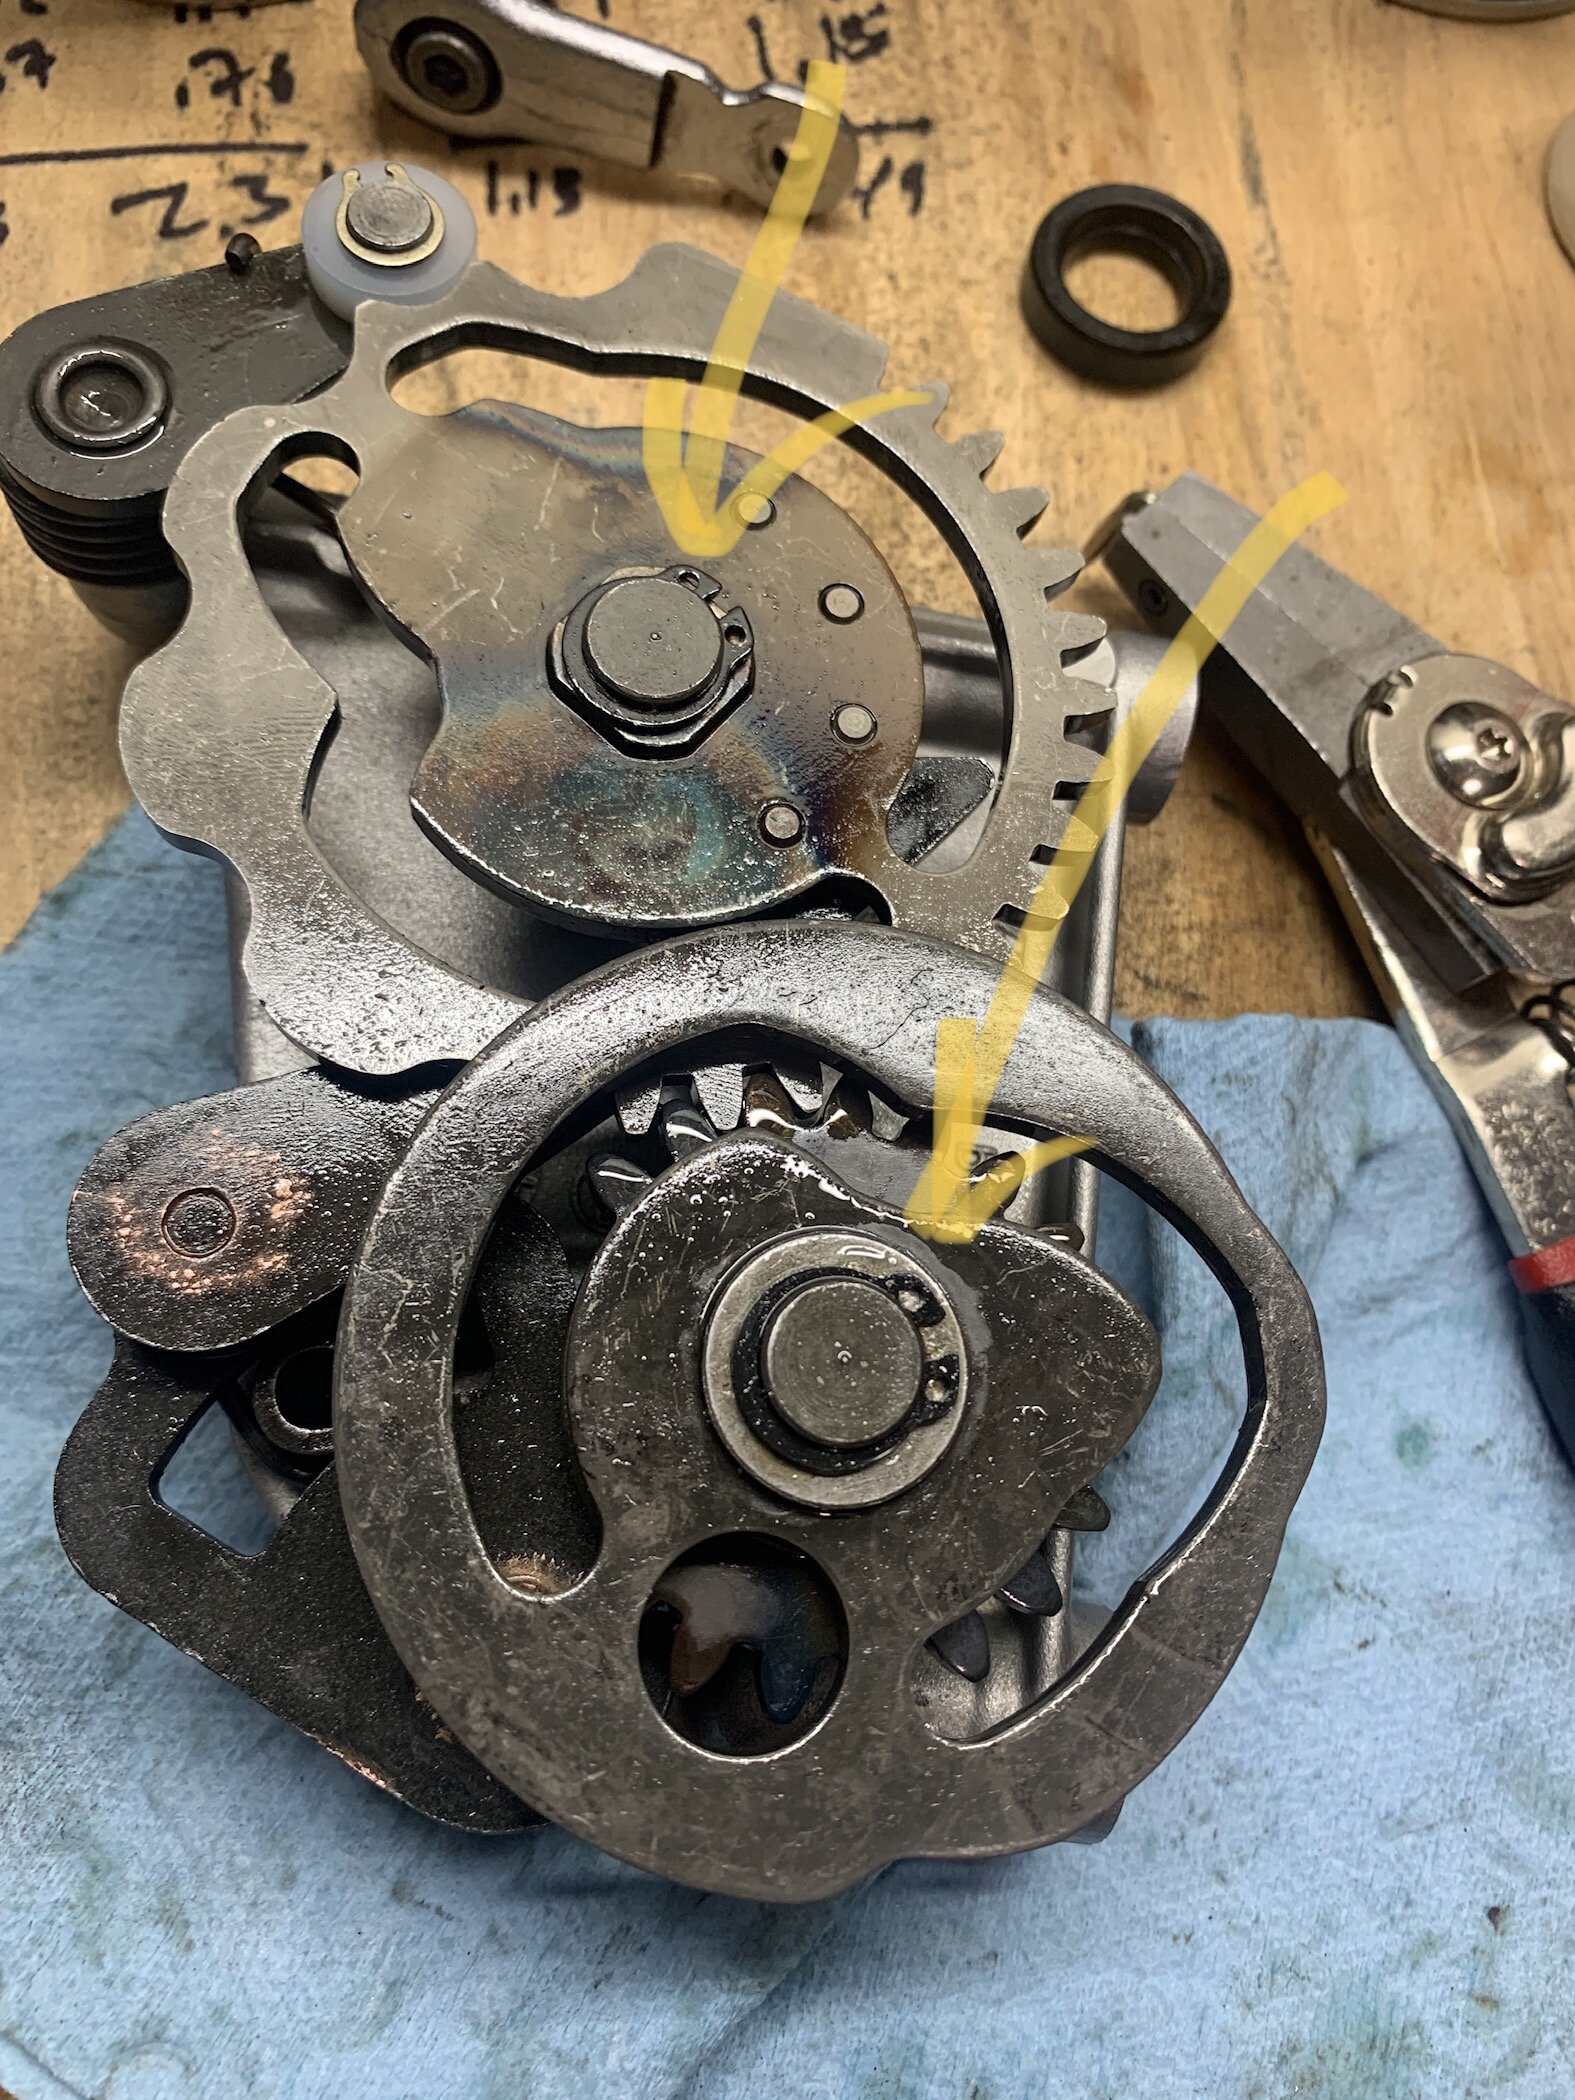
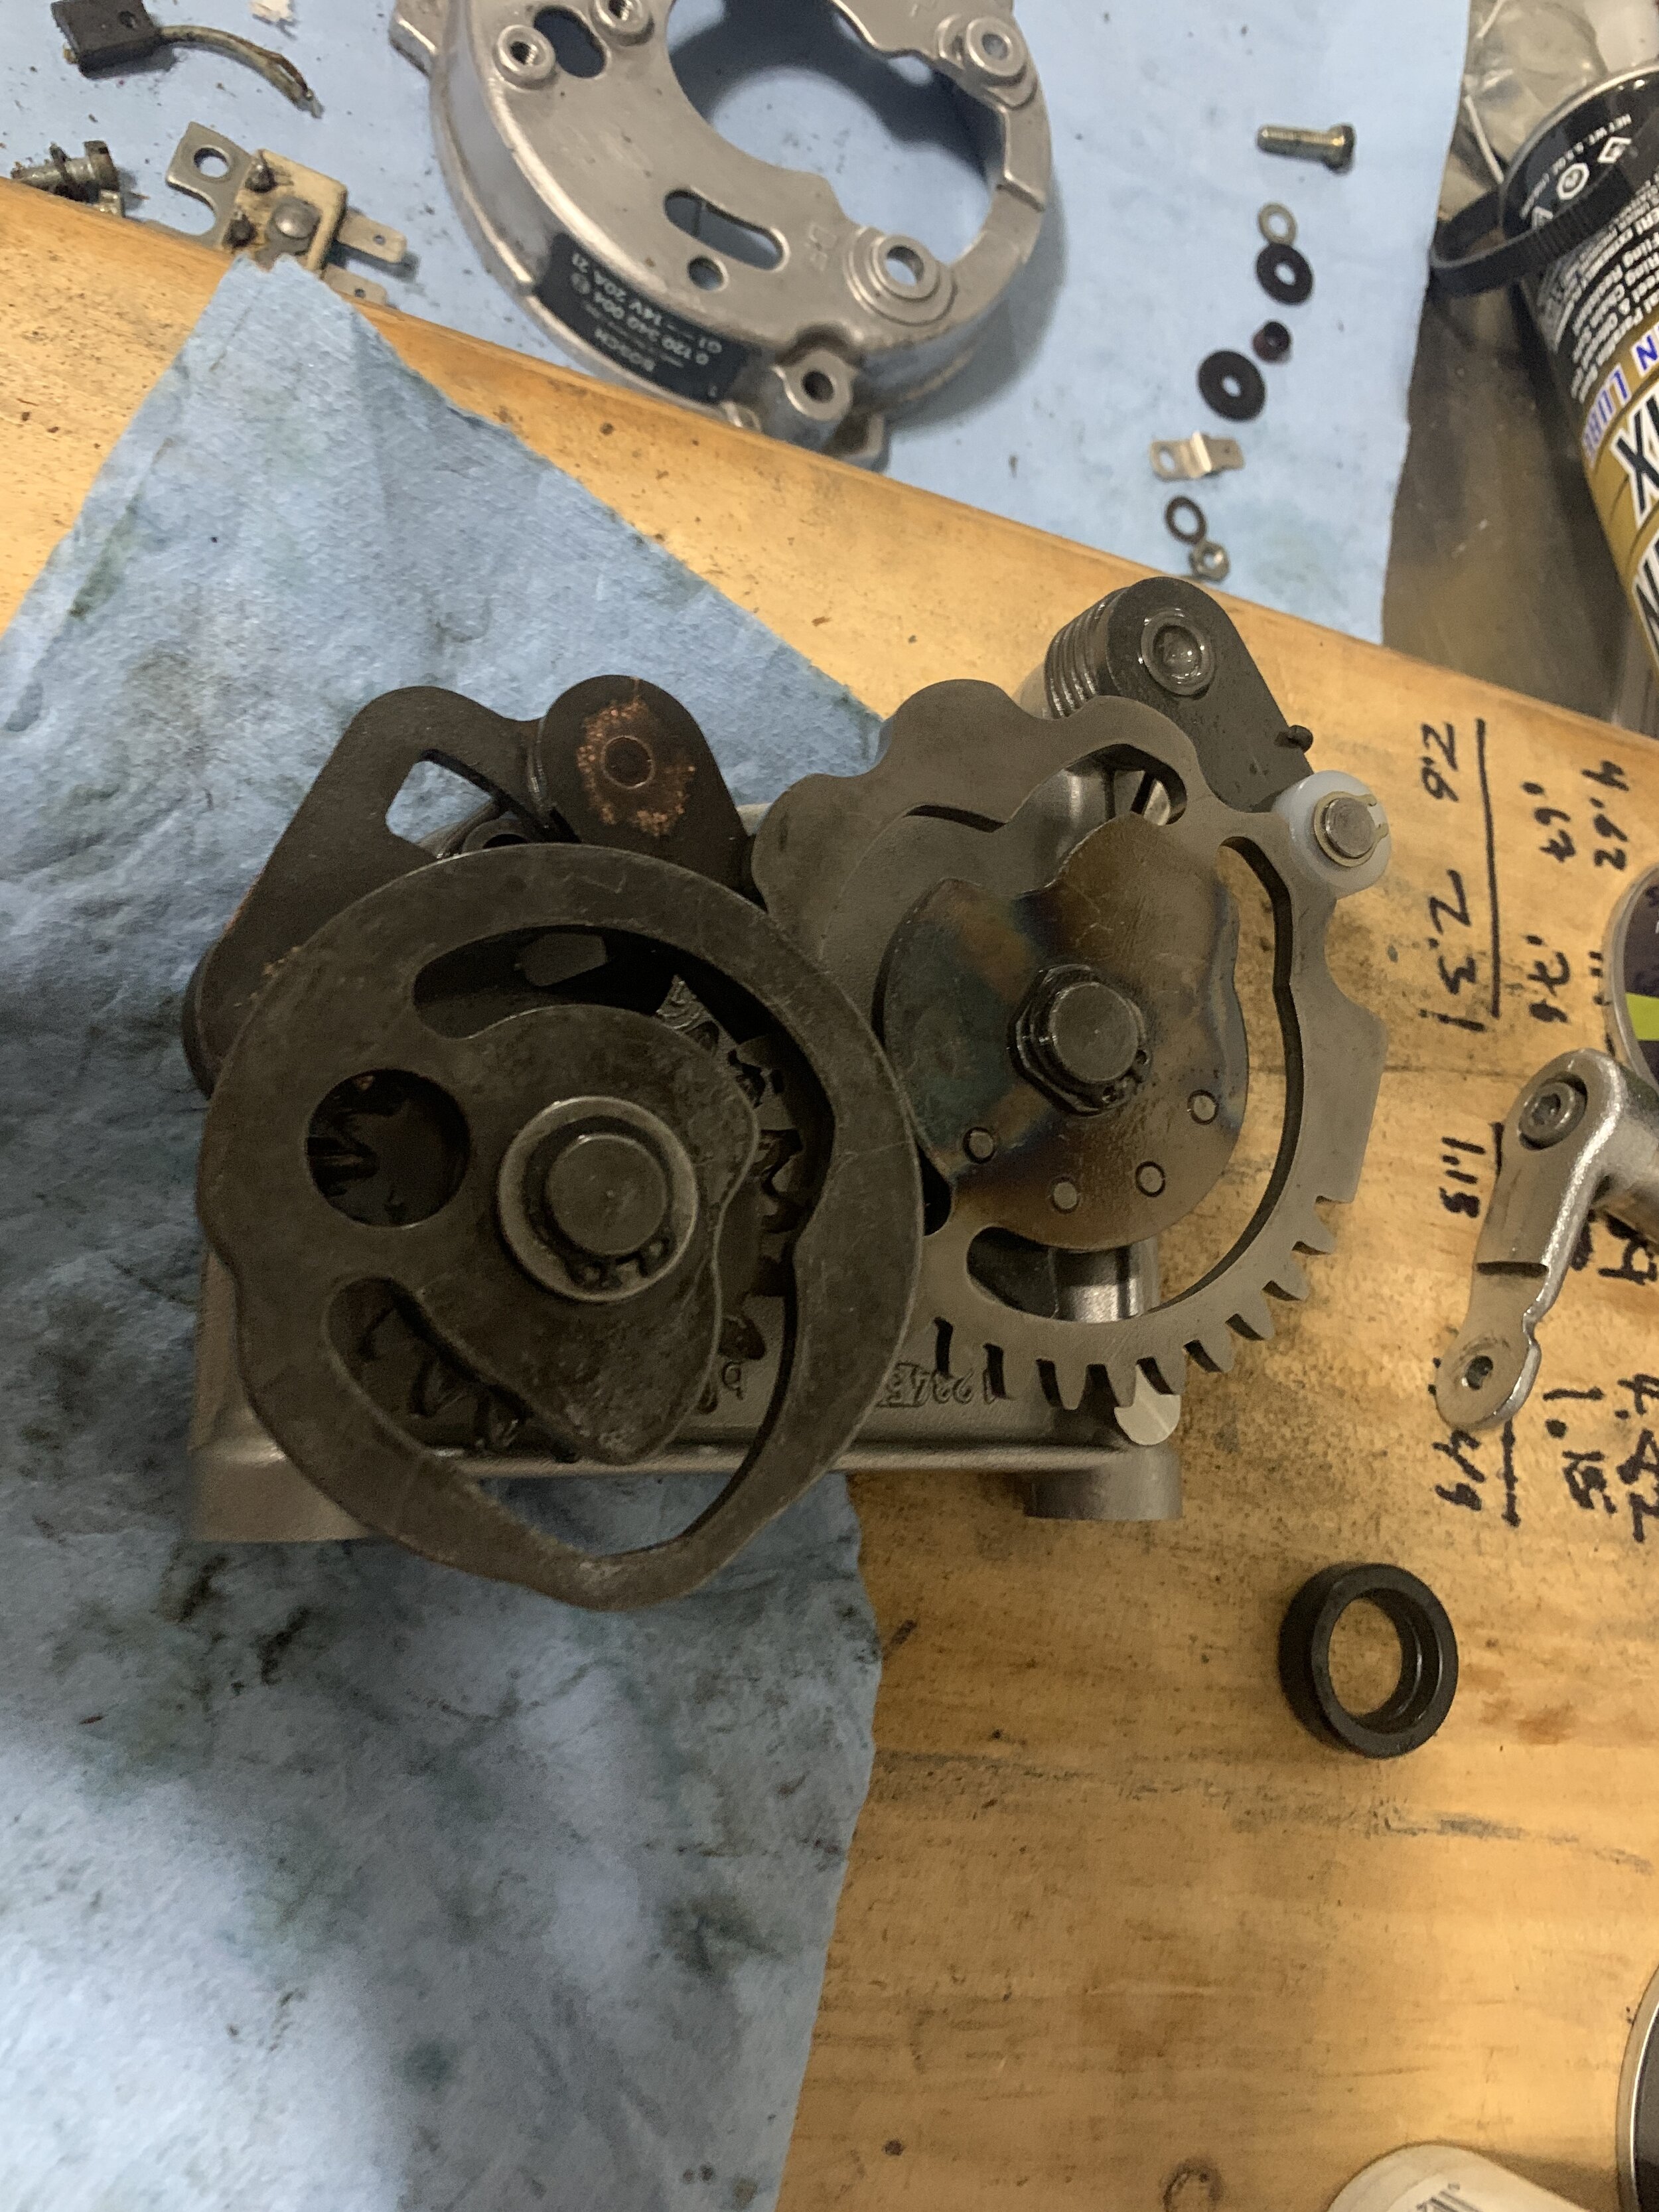
The tools arrived, so the extraction began. Lifting the cover was a matter of trial and error of how much heat is actually needed. I did end up gouging a corner cause I was frustrated and try to lightly pry it with a screw driver. I did not know how soft these aluminum pieces are, but its not terrible and it can be addressed when I reassemble with some sealant. When I opened it up I was in horror the rust on top. I soon discover there is a bearing cover on top of that one bearing and the bearing cover is rusted because the water is trapped from the speedo insert only at the top side. Nothing else is rusted, but definitely there are some water mixing with the oil. I cleaned the rust off, and to my surprise after measuring with a vanier caliper there was no need to replace the any parts. However, I notice the wear on the plastic parts on the shift mechanism so I order parts for that as well so I can rebuild that while everything is out. I also tested the bearings and they all are freely rotating.
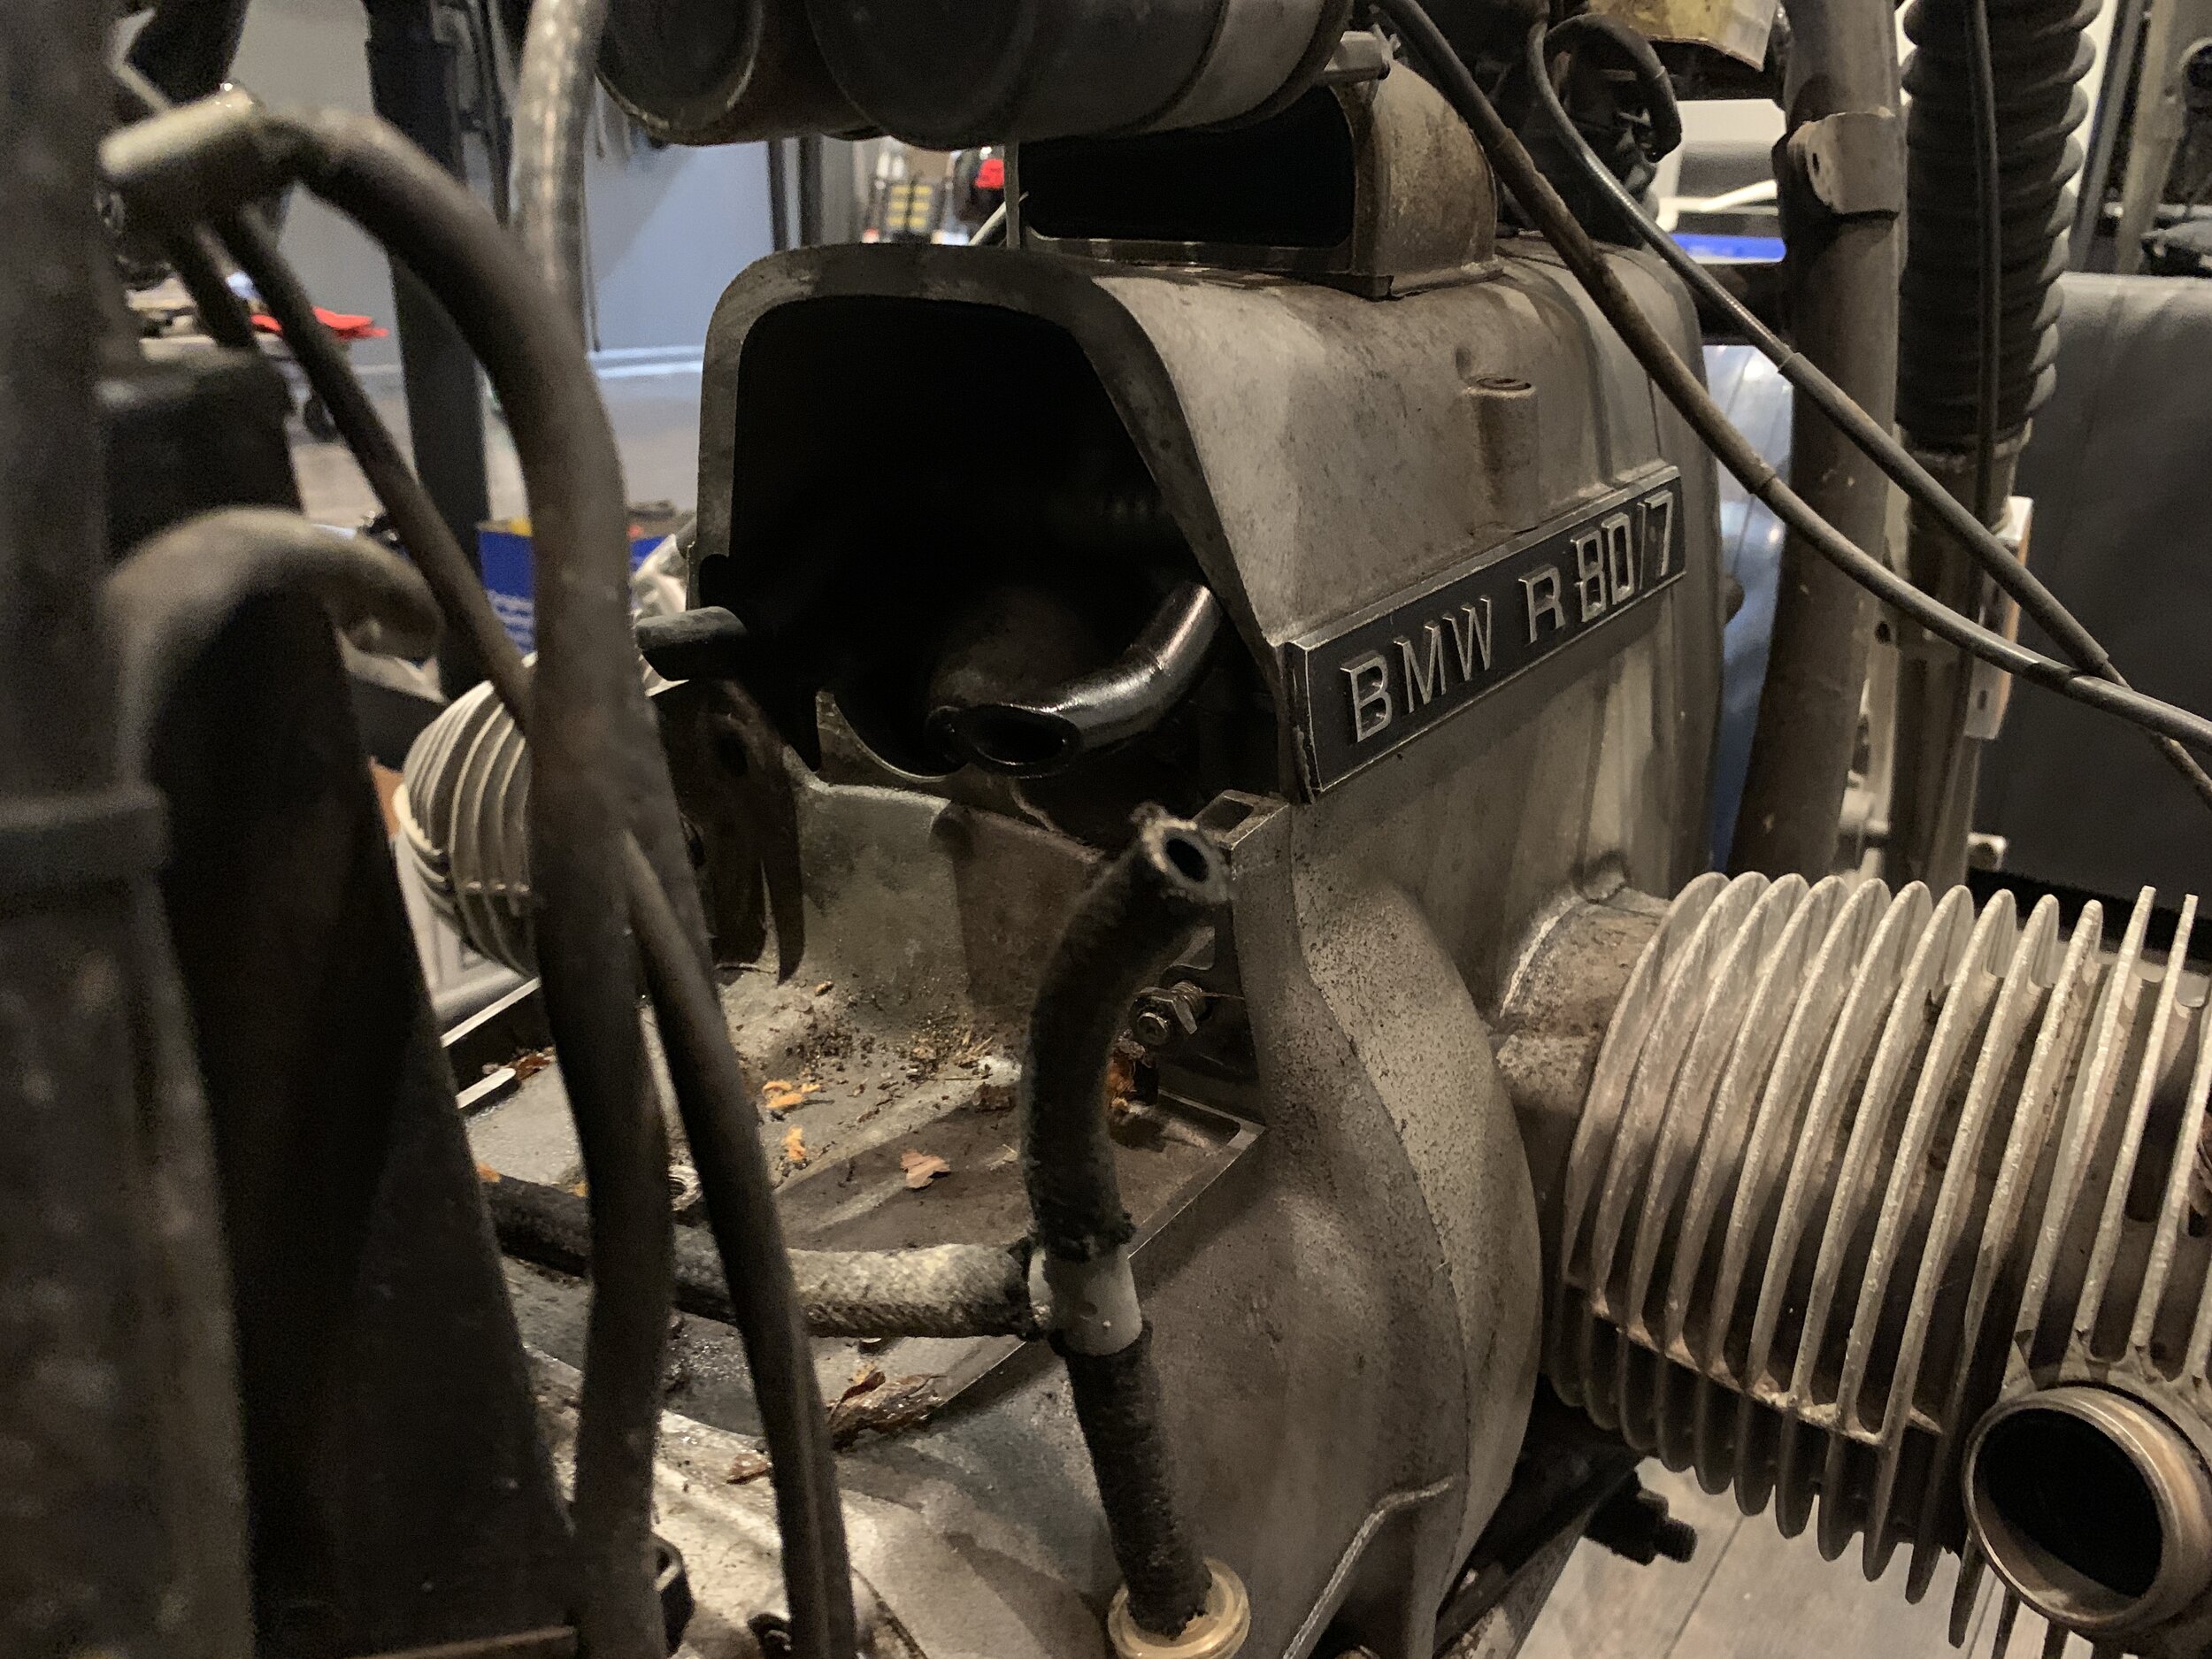
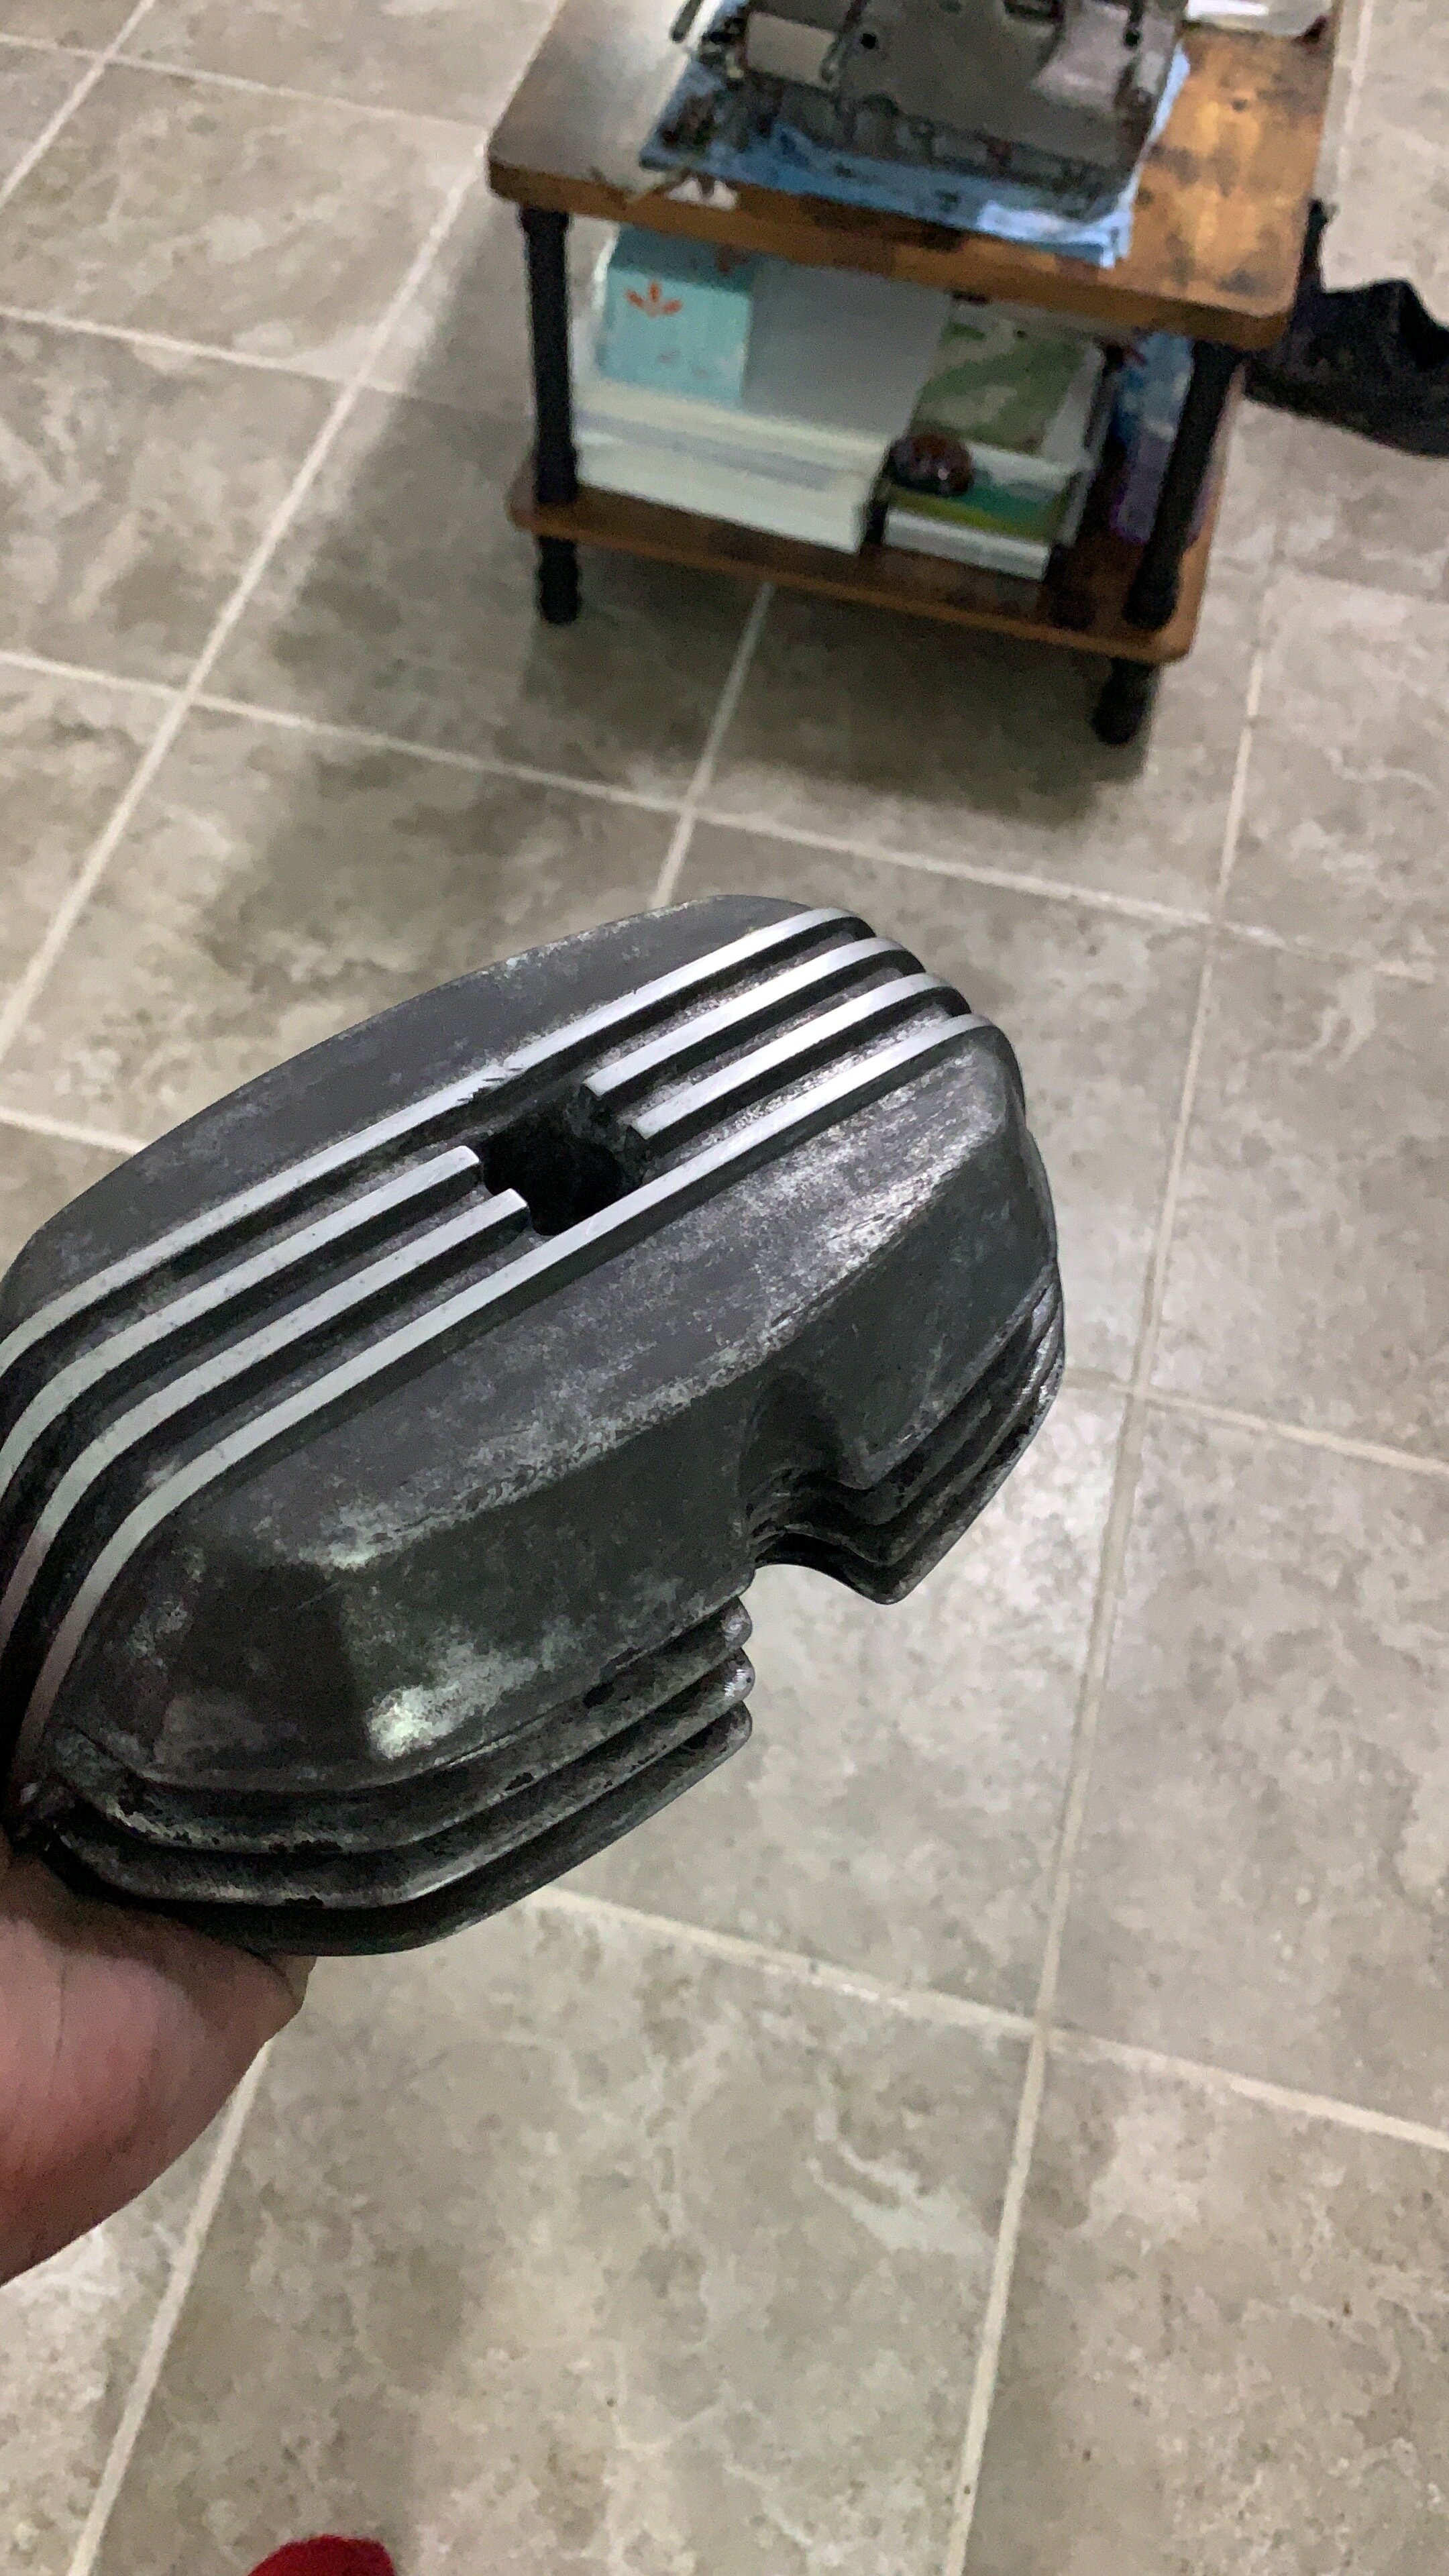
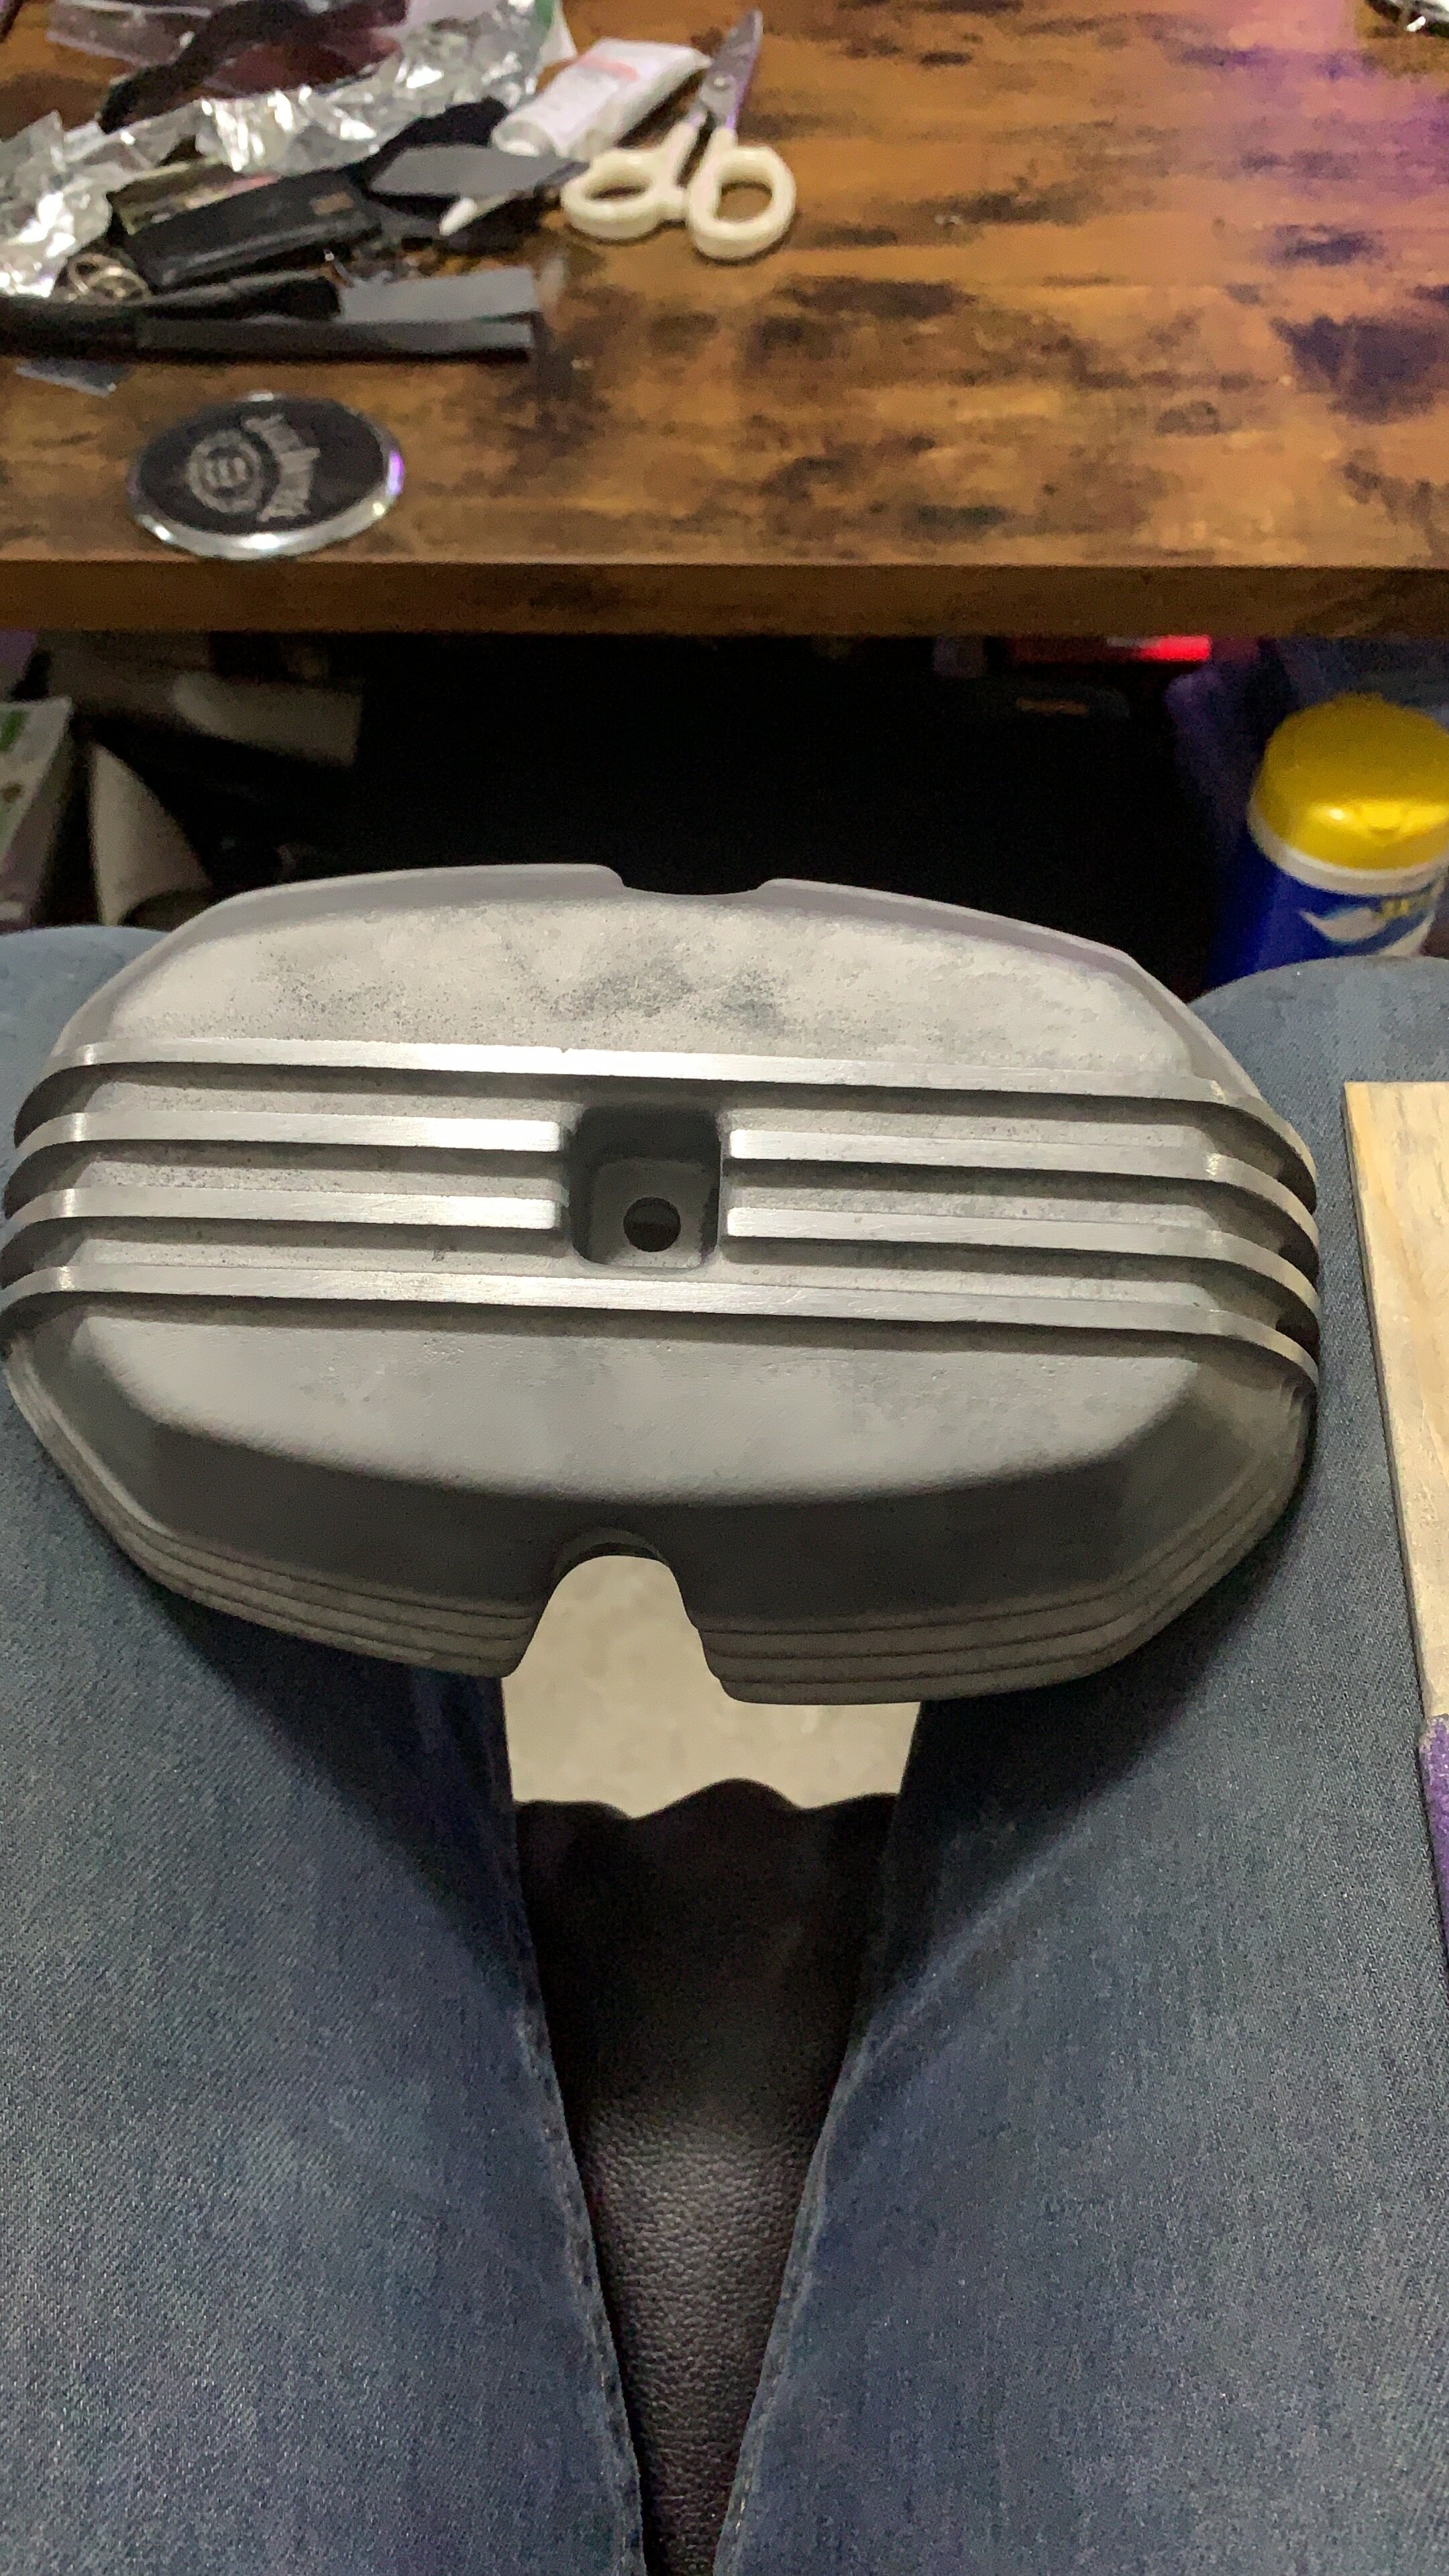
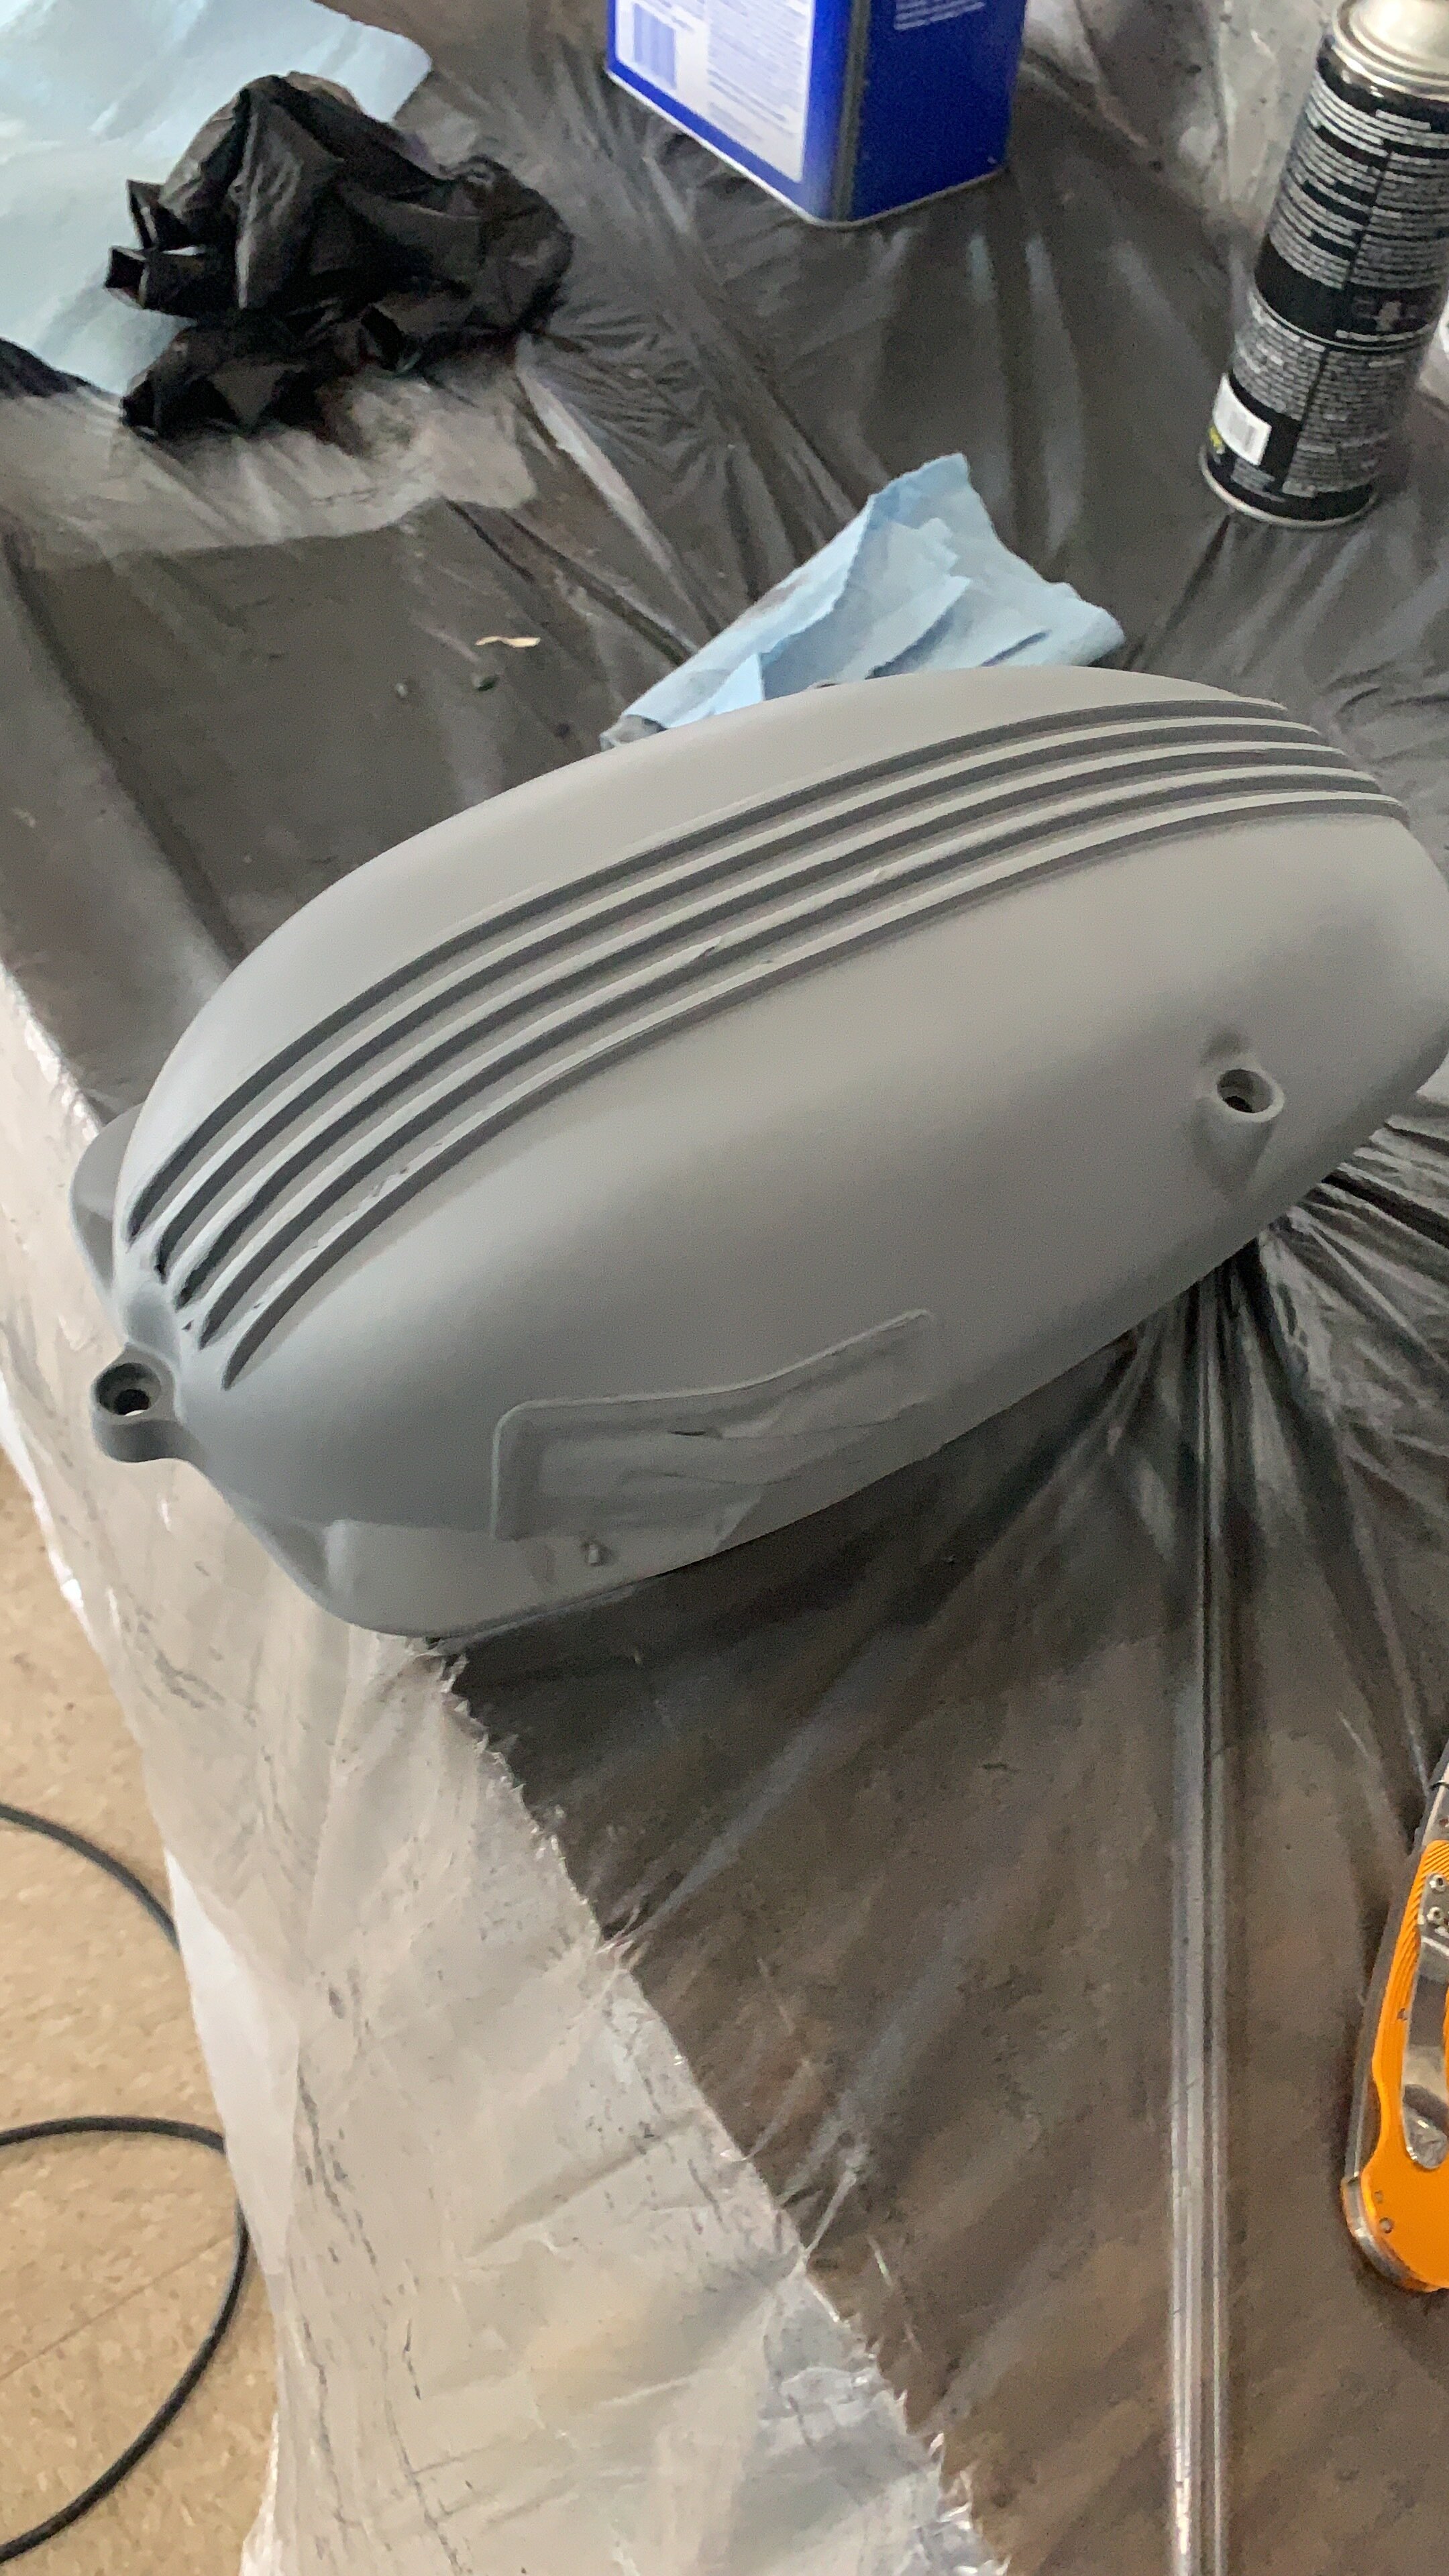
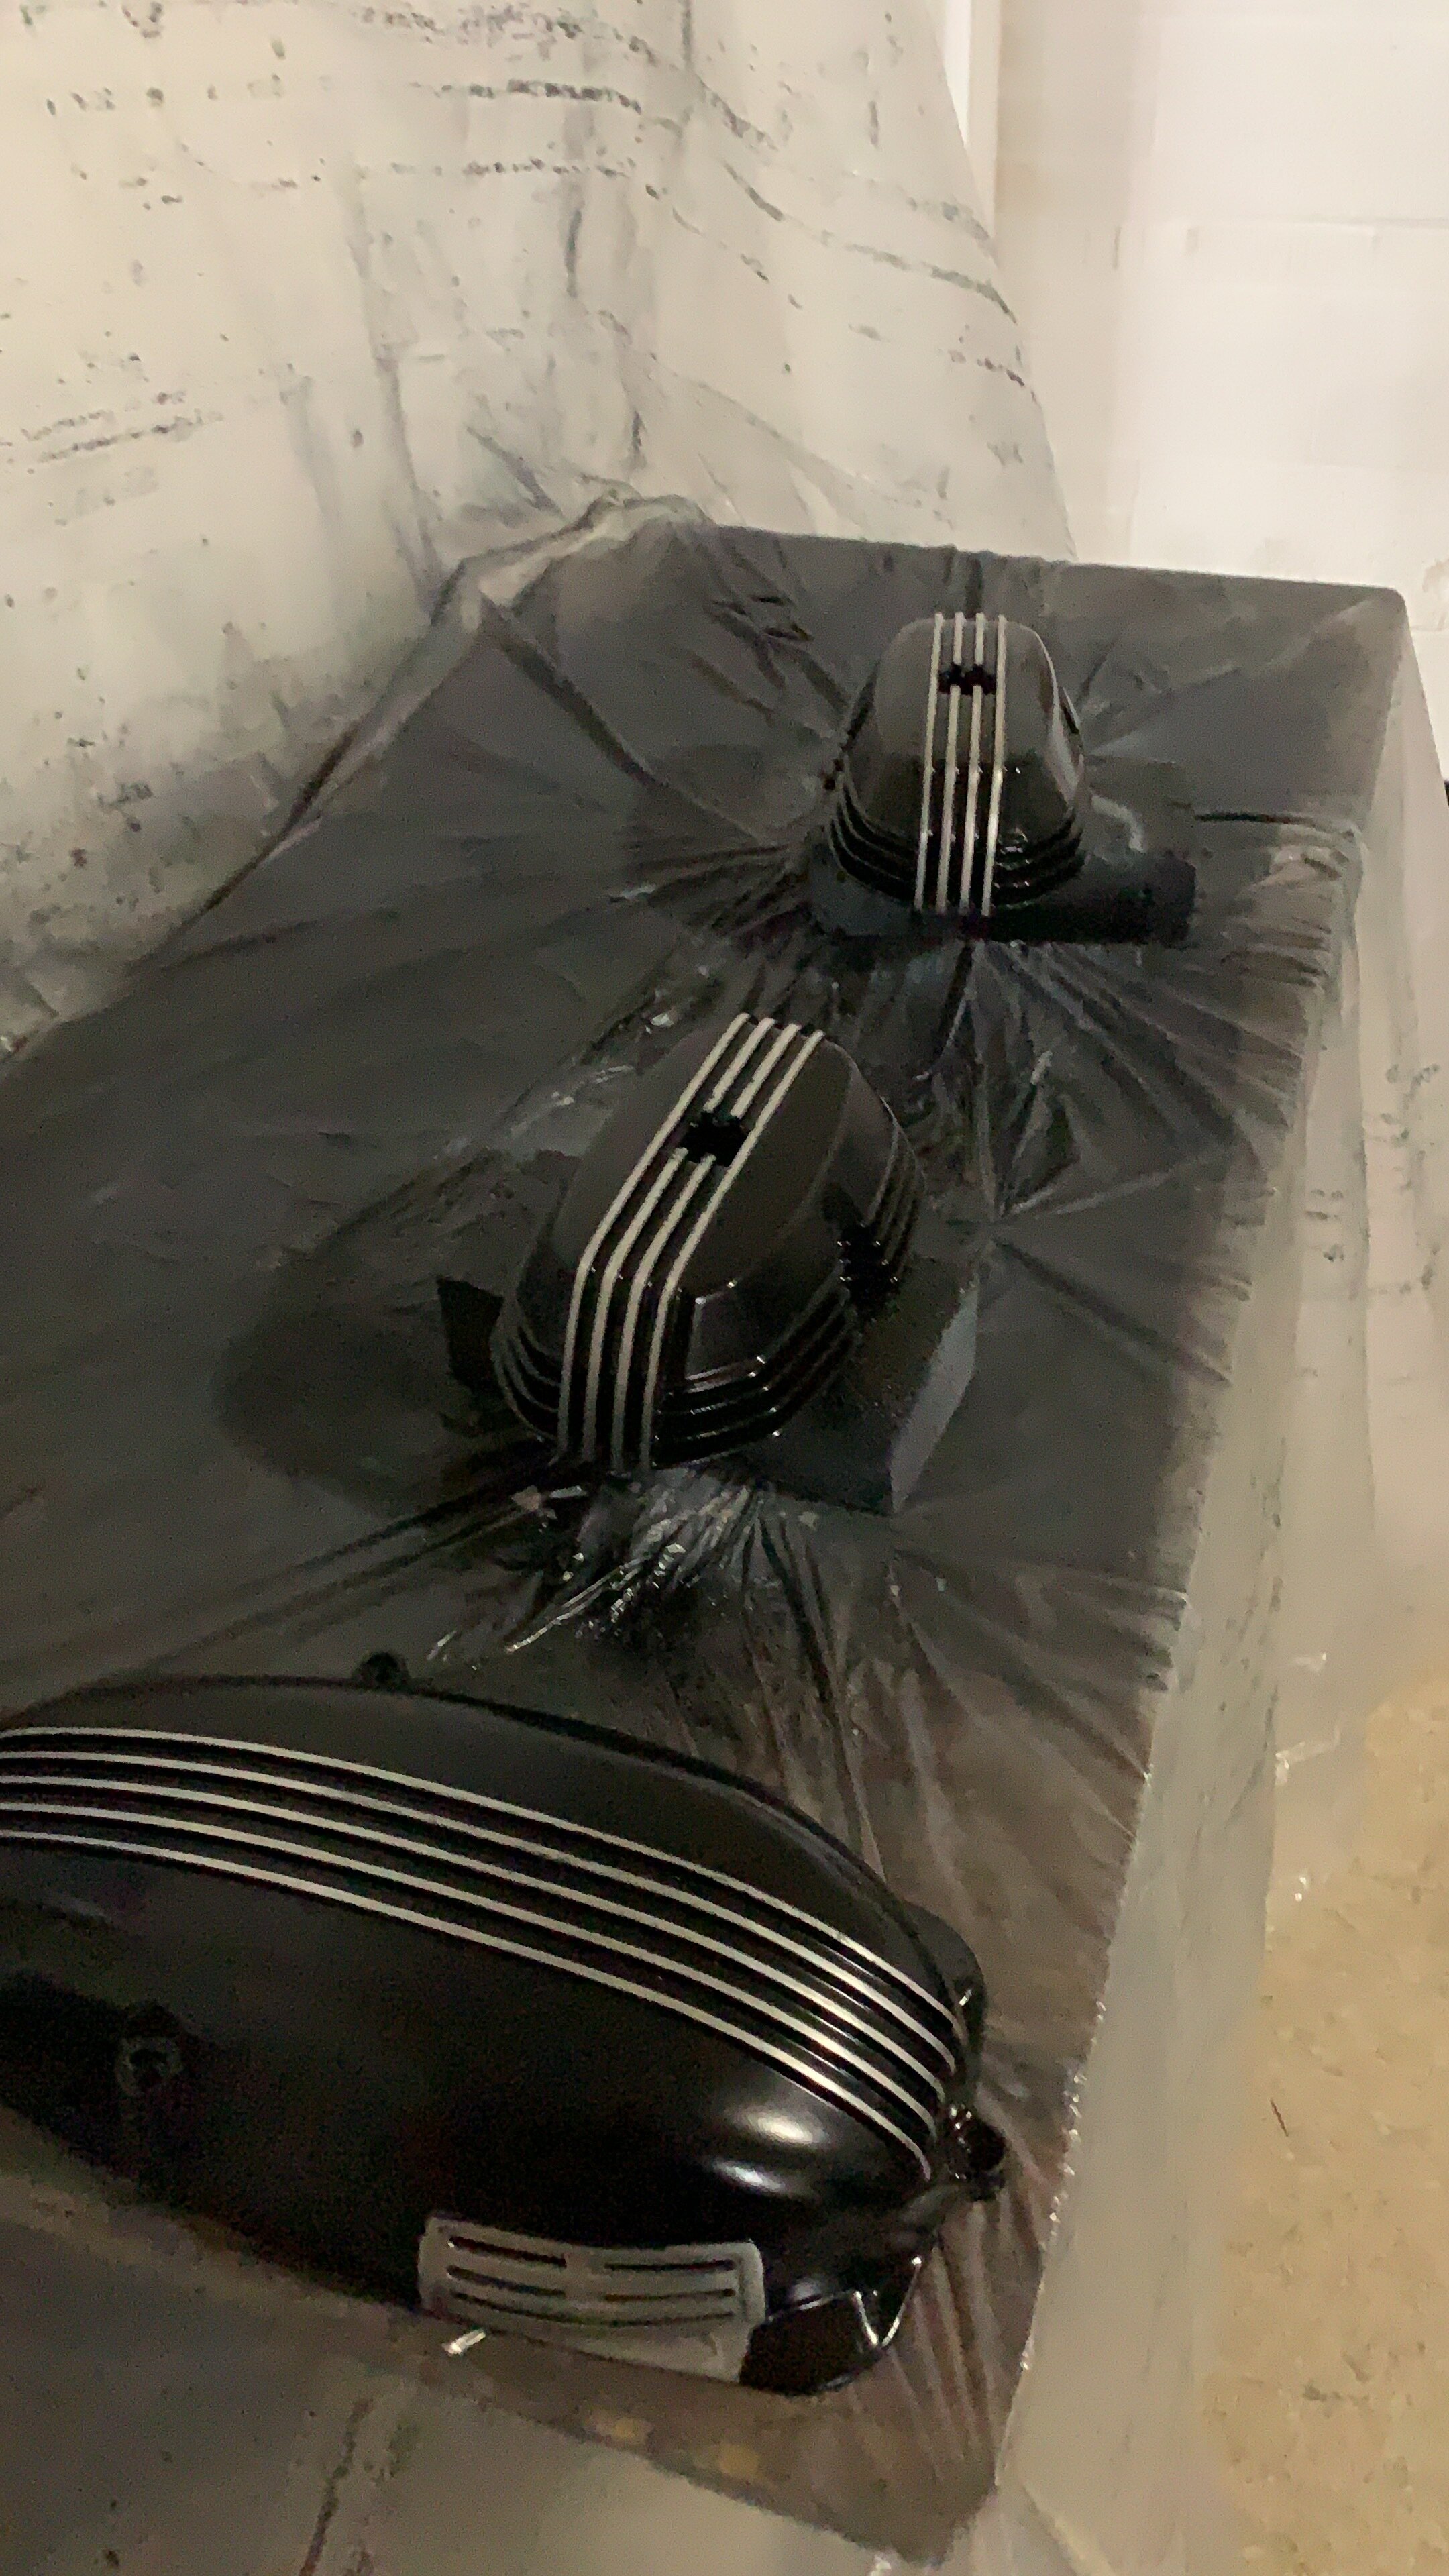
I started looking at the parts bin and decided the valve cover that was on the bike was too badly scratch up to repair. I ended up buying two from Hucky BMW parts. Other parts all seem serviceable. I’m coming to the conclusion as I service this bike, that this bike was never maintained, but the excessive oil leak kind of kept everything undamaged. The more I got into this bike, this proof to be very true. All the parts are worn, but nothing is overly worn that had created any damage that is irreparable or needing special work. The fork tubes insides are clean, the pistons cleaned up nicely, did not see any issues.
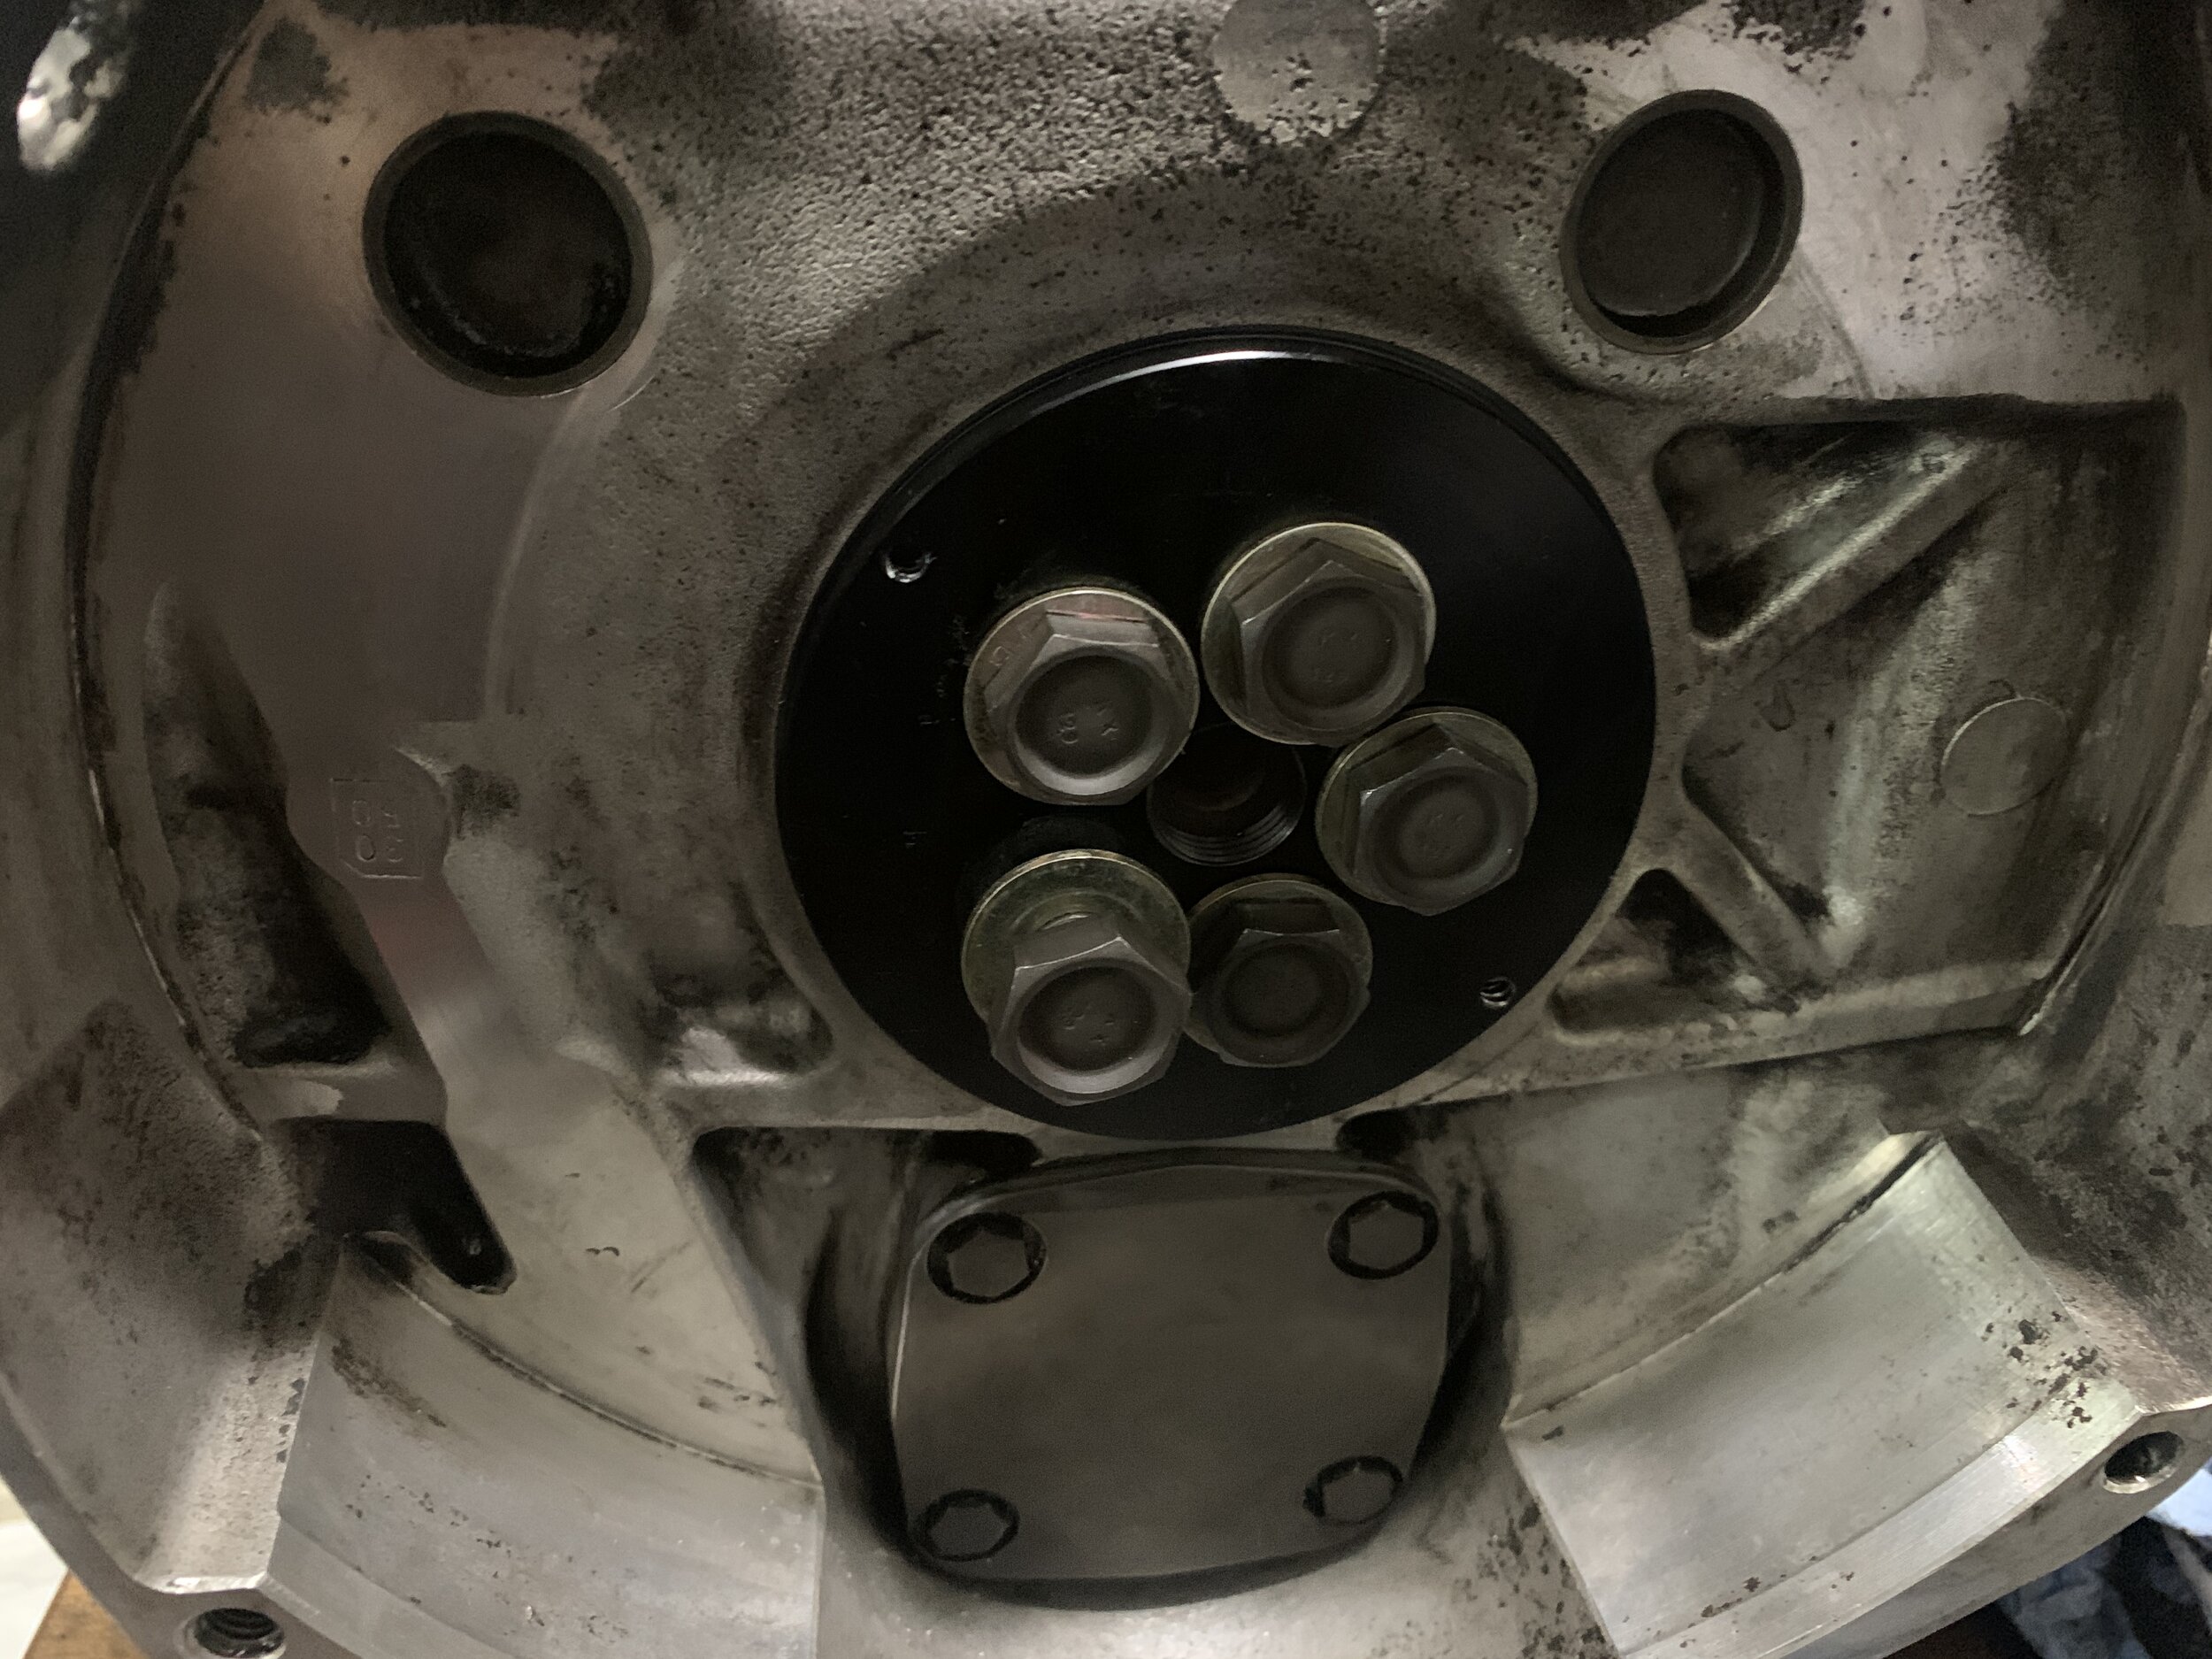
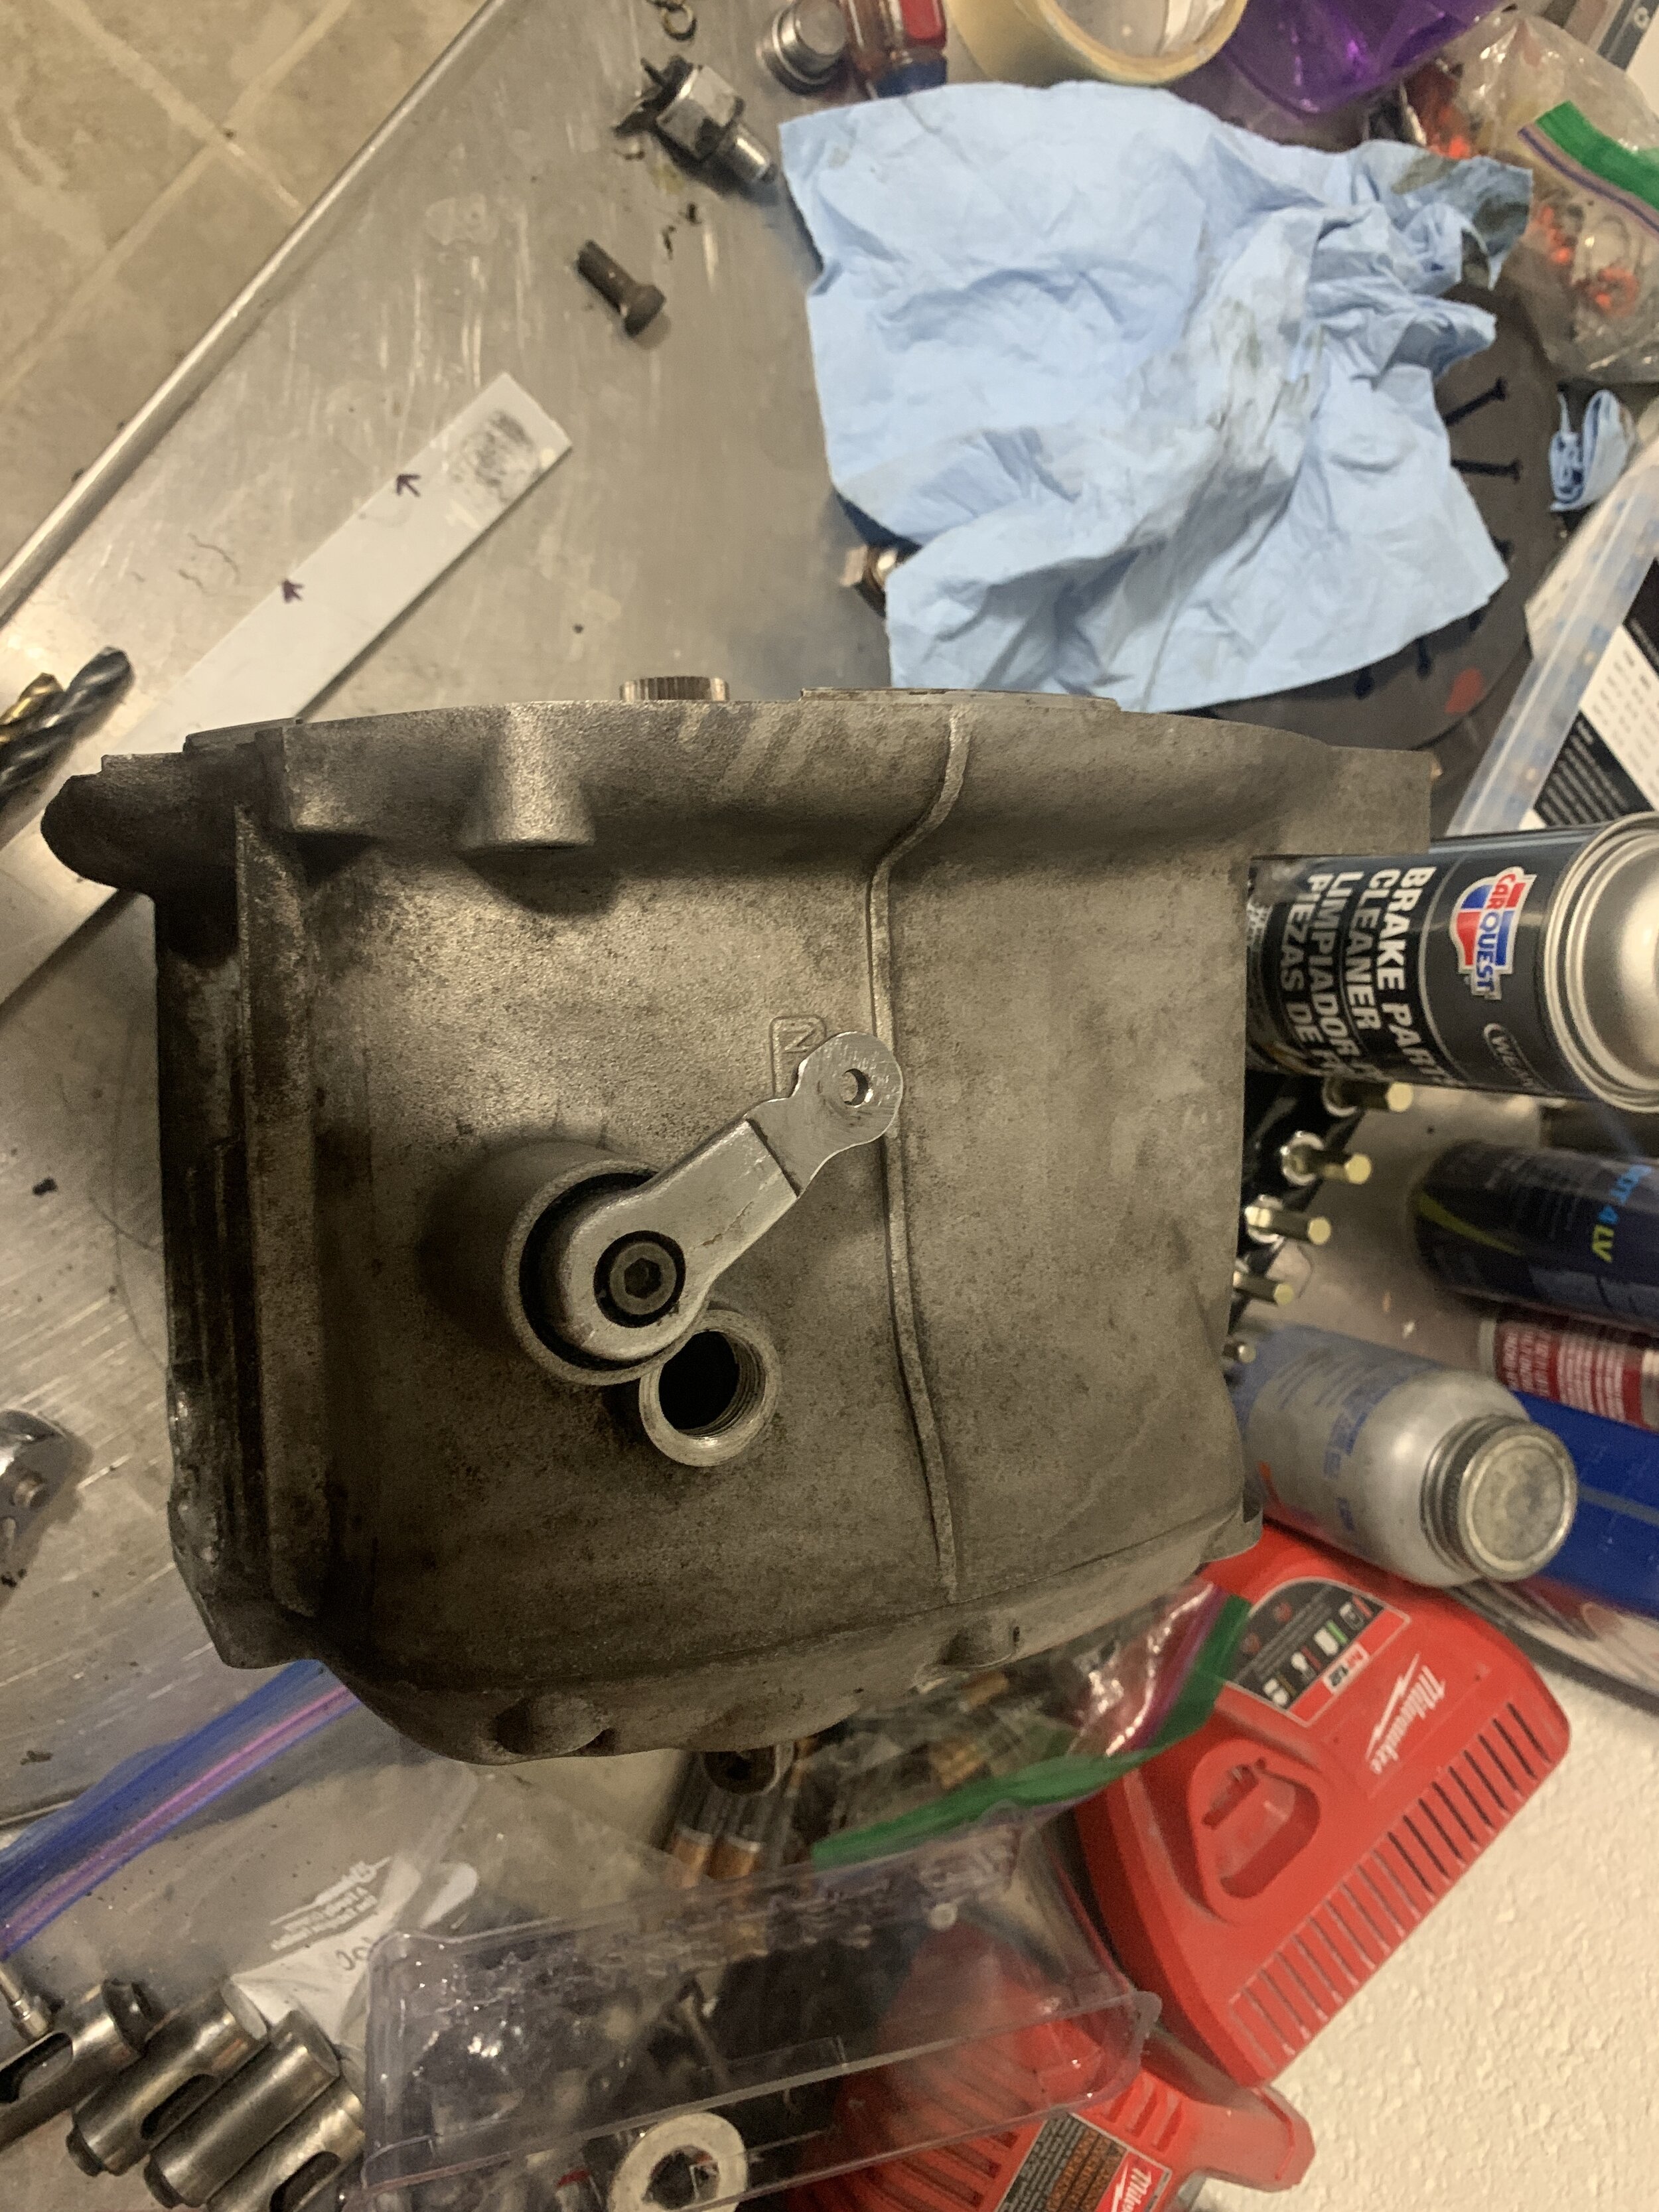
Finally the parts arrived and I took apart the shift mechanism and replaced all the worn items including the shaft seal on the lever and the main seal that sits in front of the spline. There is some discoloration on the metal on the shift mechanism that had me a little worried but it seems okay. Nothing else looked damaged. I also forgot the snap rings, so I ended up driving up to Bobs BMW who happen to have just enough snap rings for my project. Assembly was rather easy, pop the cover on, heated up and rubber mallet tap and it went on without a problem. Torquing the nut was also just a matter of using the tool and torquing to spec.
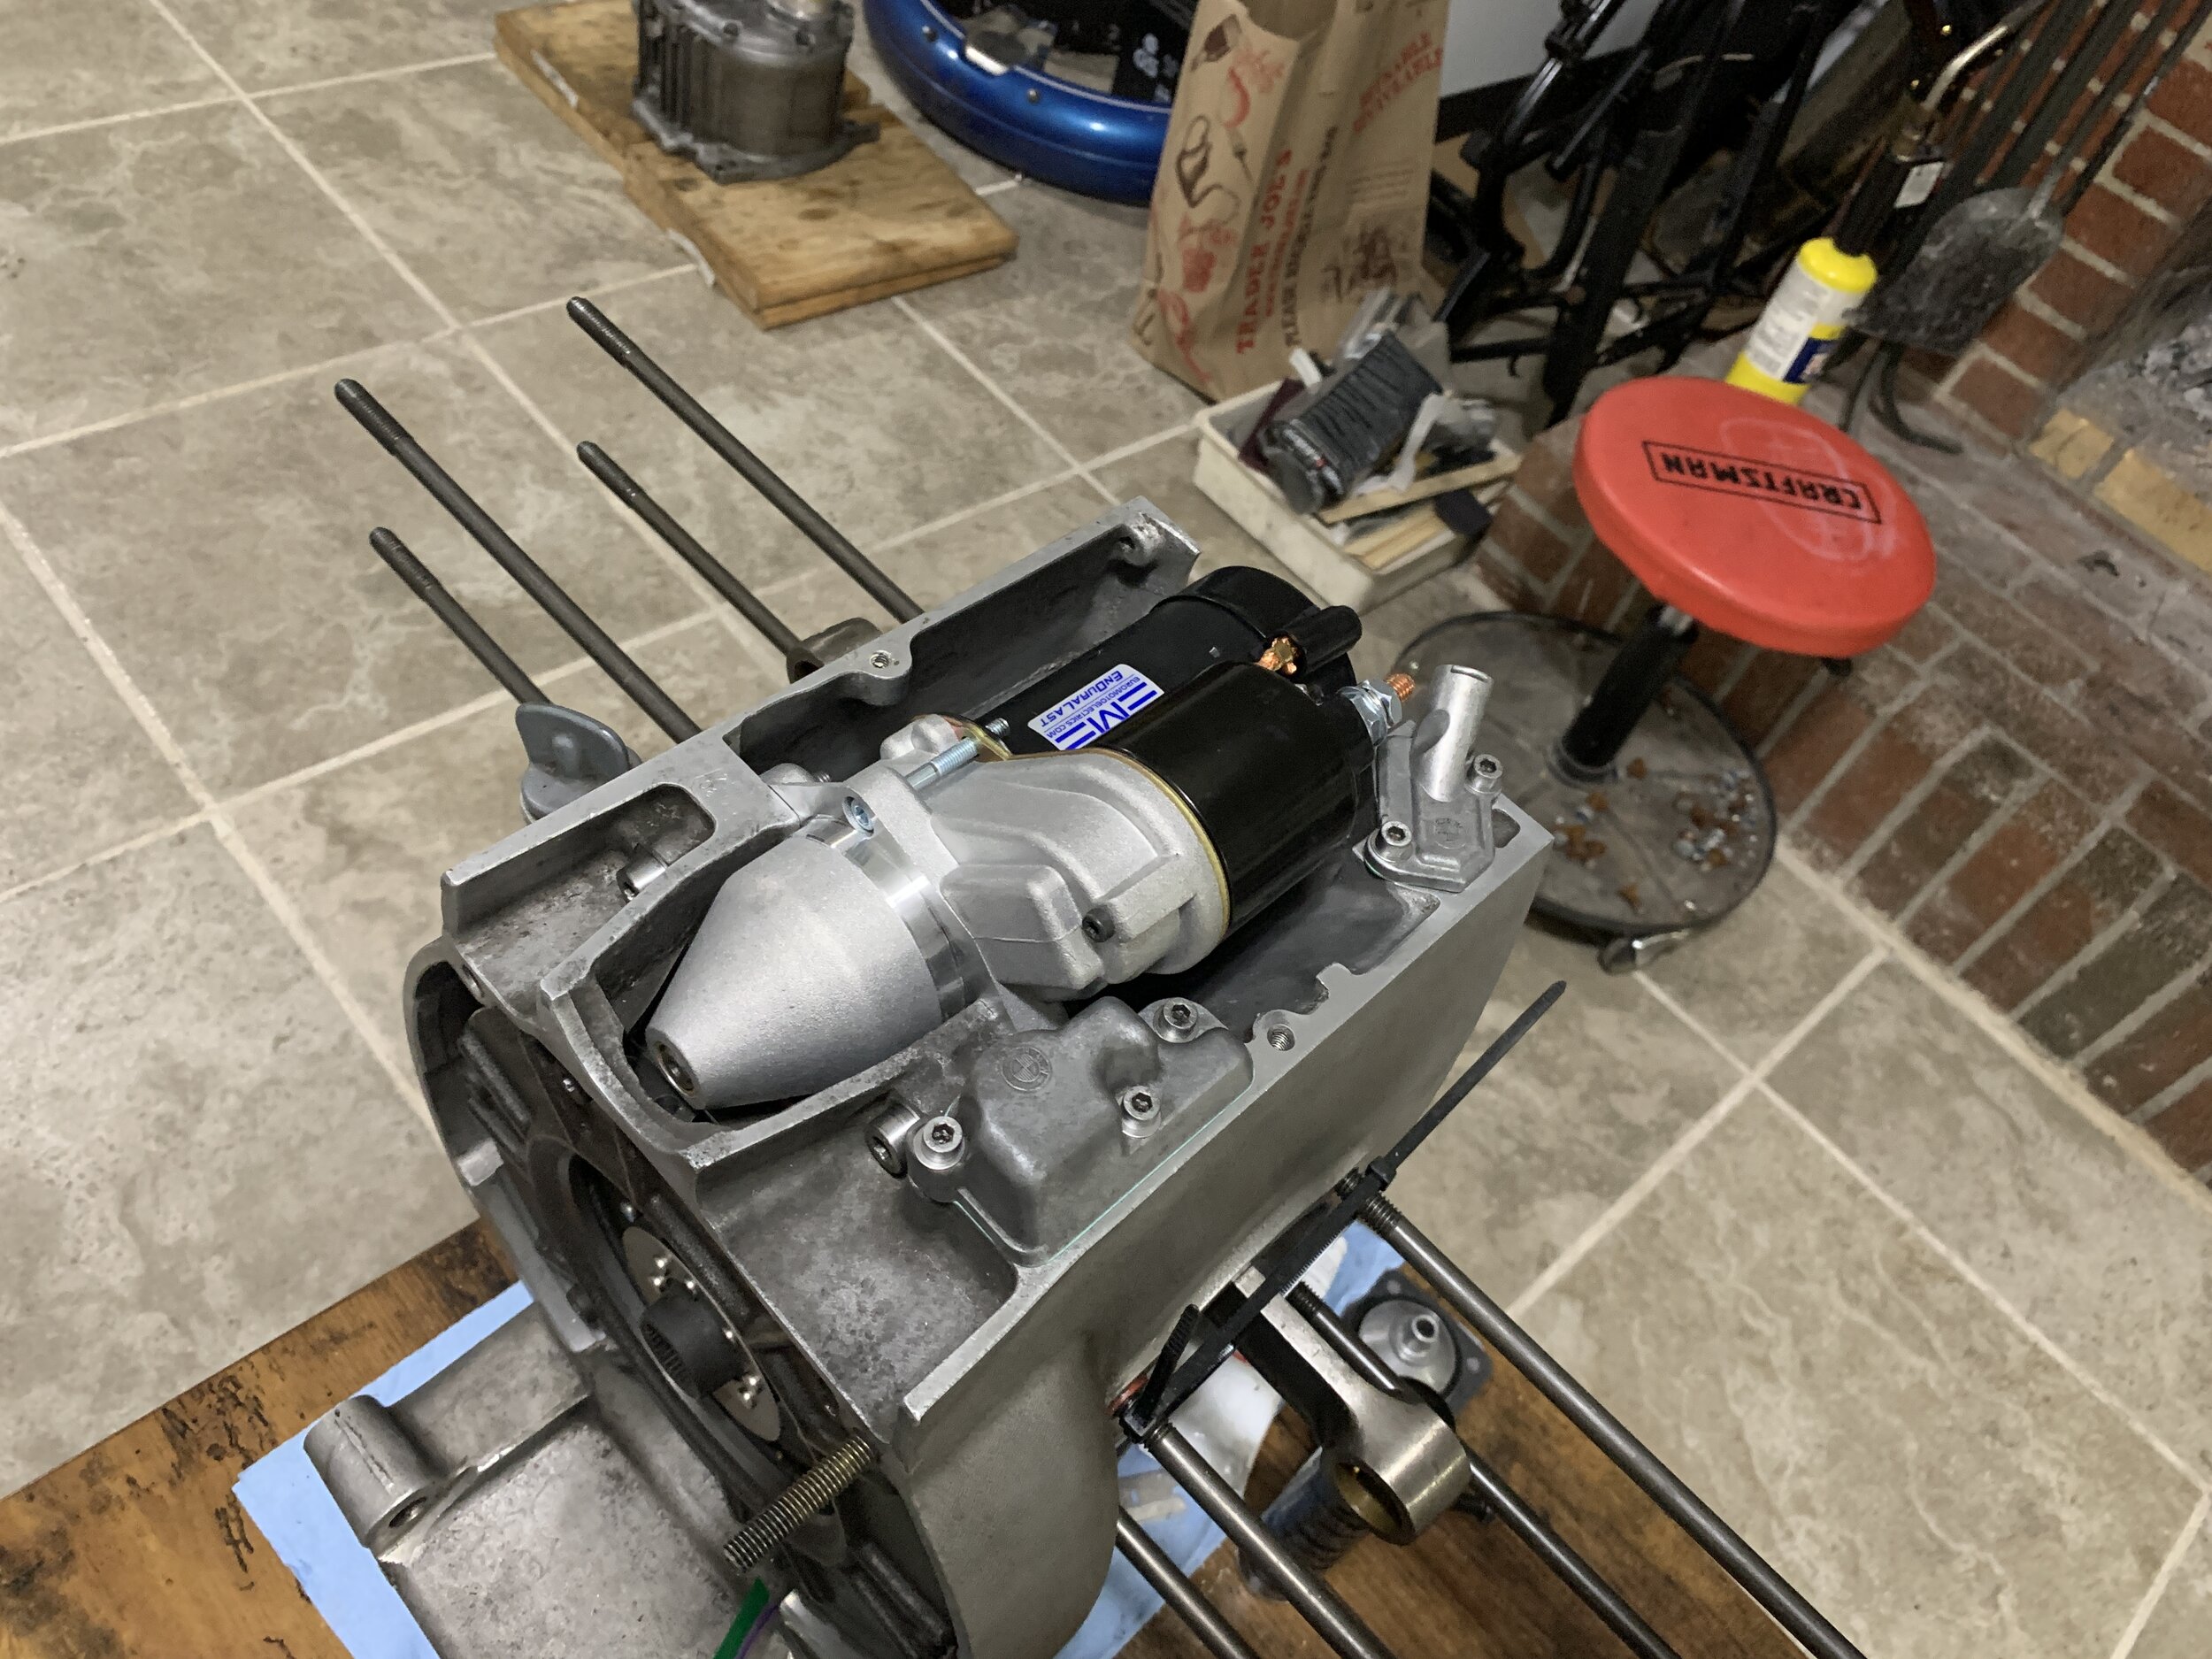
Next I test fit the new start from EME. Mine seem to sit flush and does not have the problem of it riding higher on one side. But I use a level and sanded the corner anyways. I install the new style reef breather, which pop in but was a little loose, so I use some bear retaining loctite and it was solid.
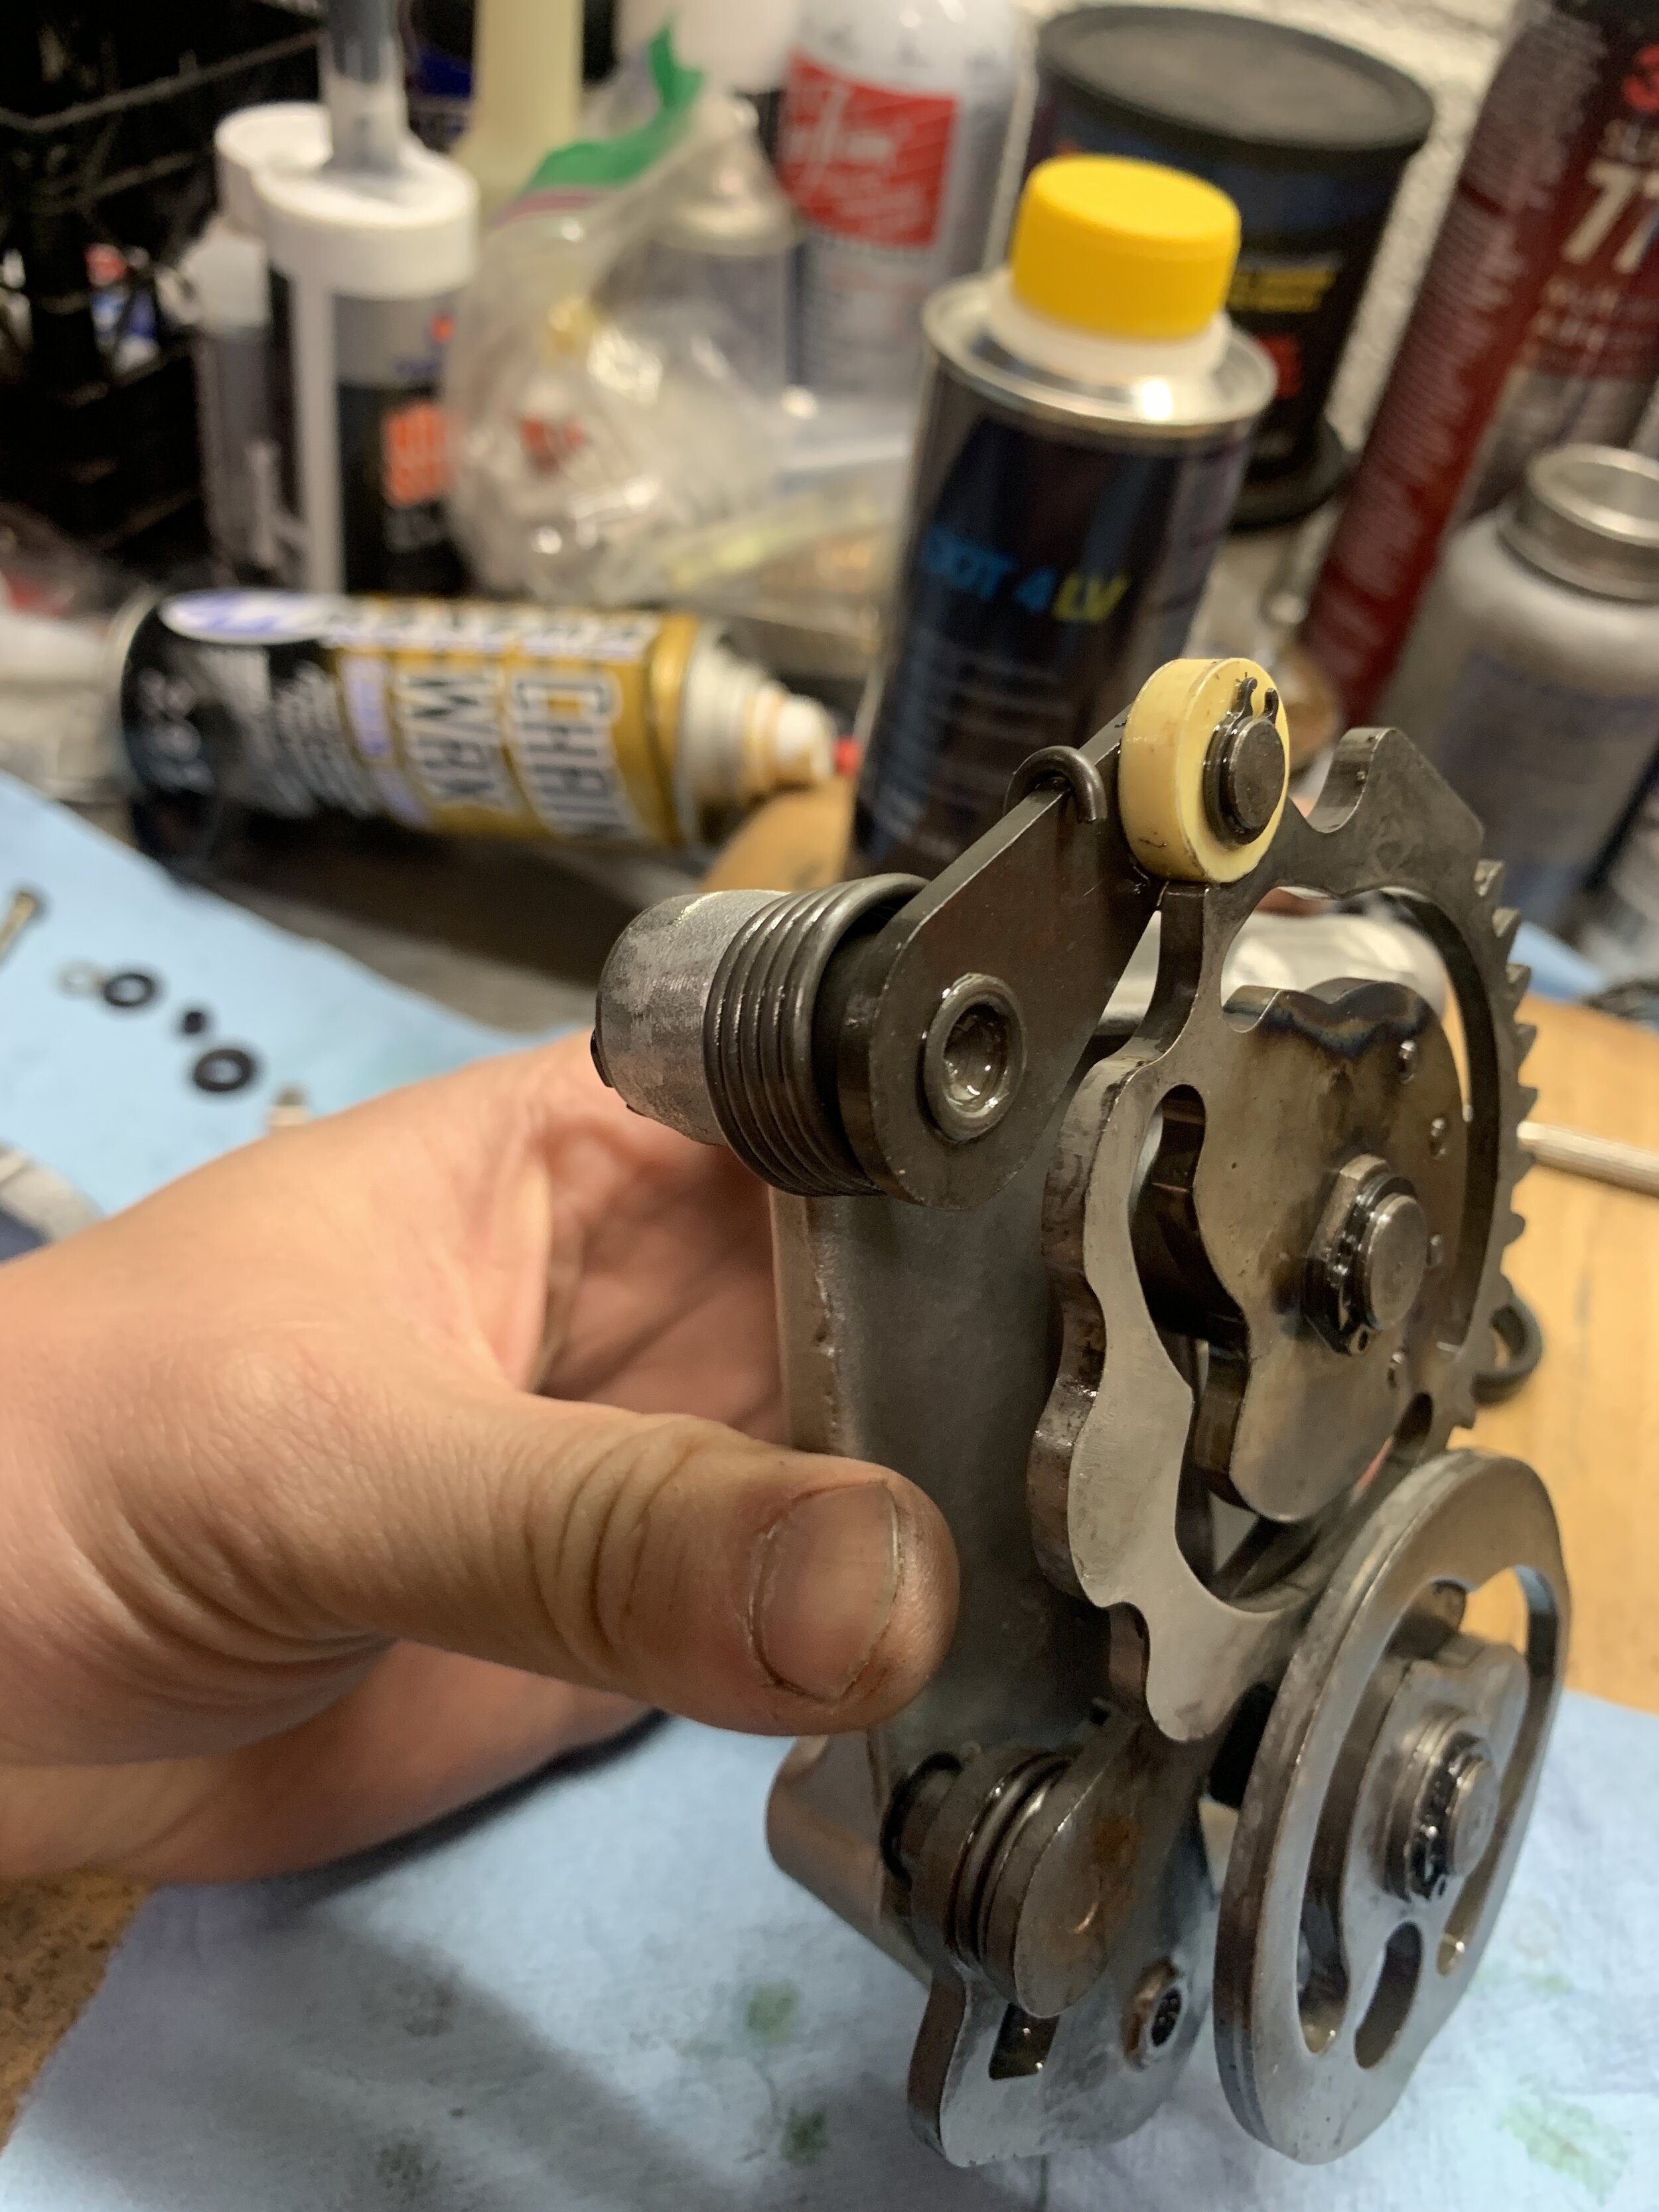
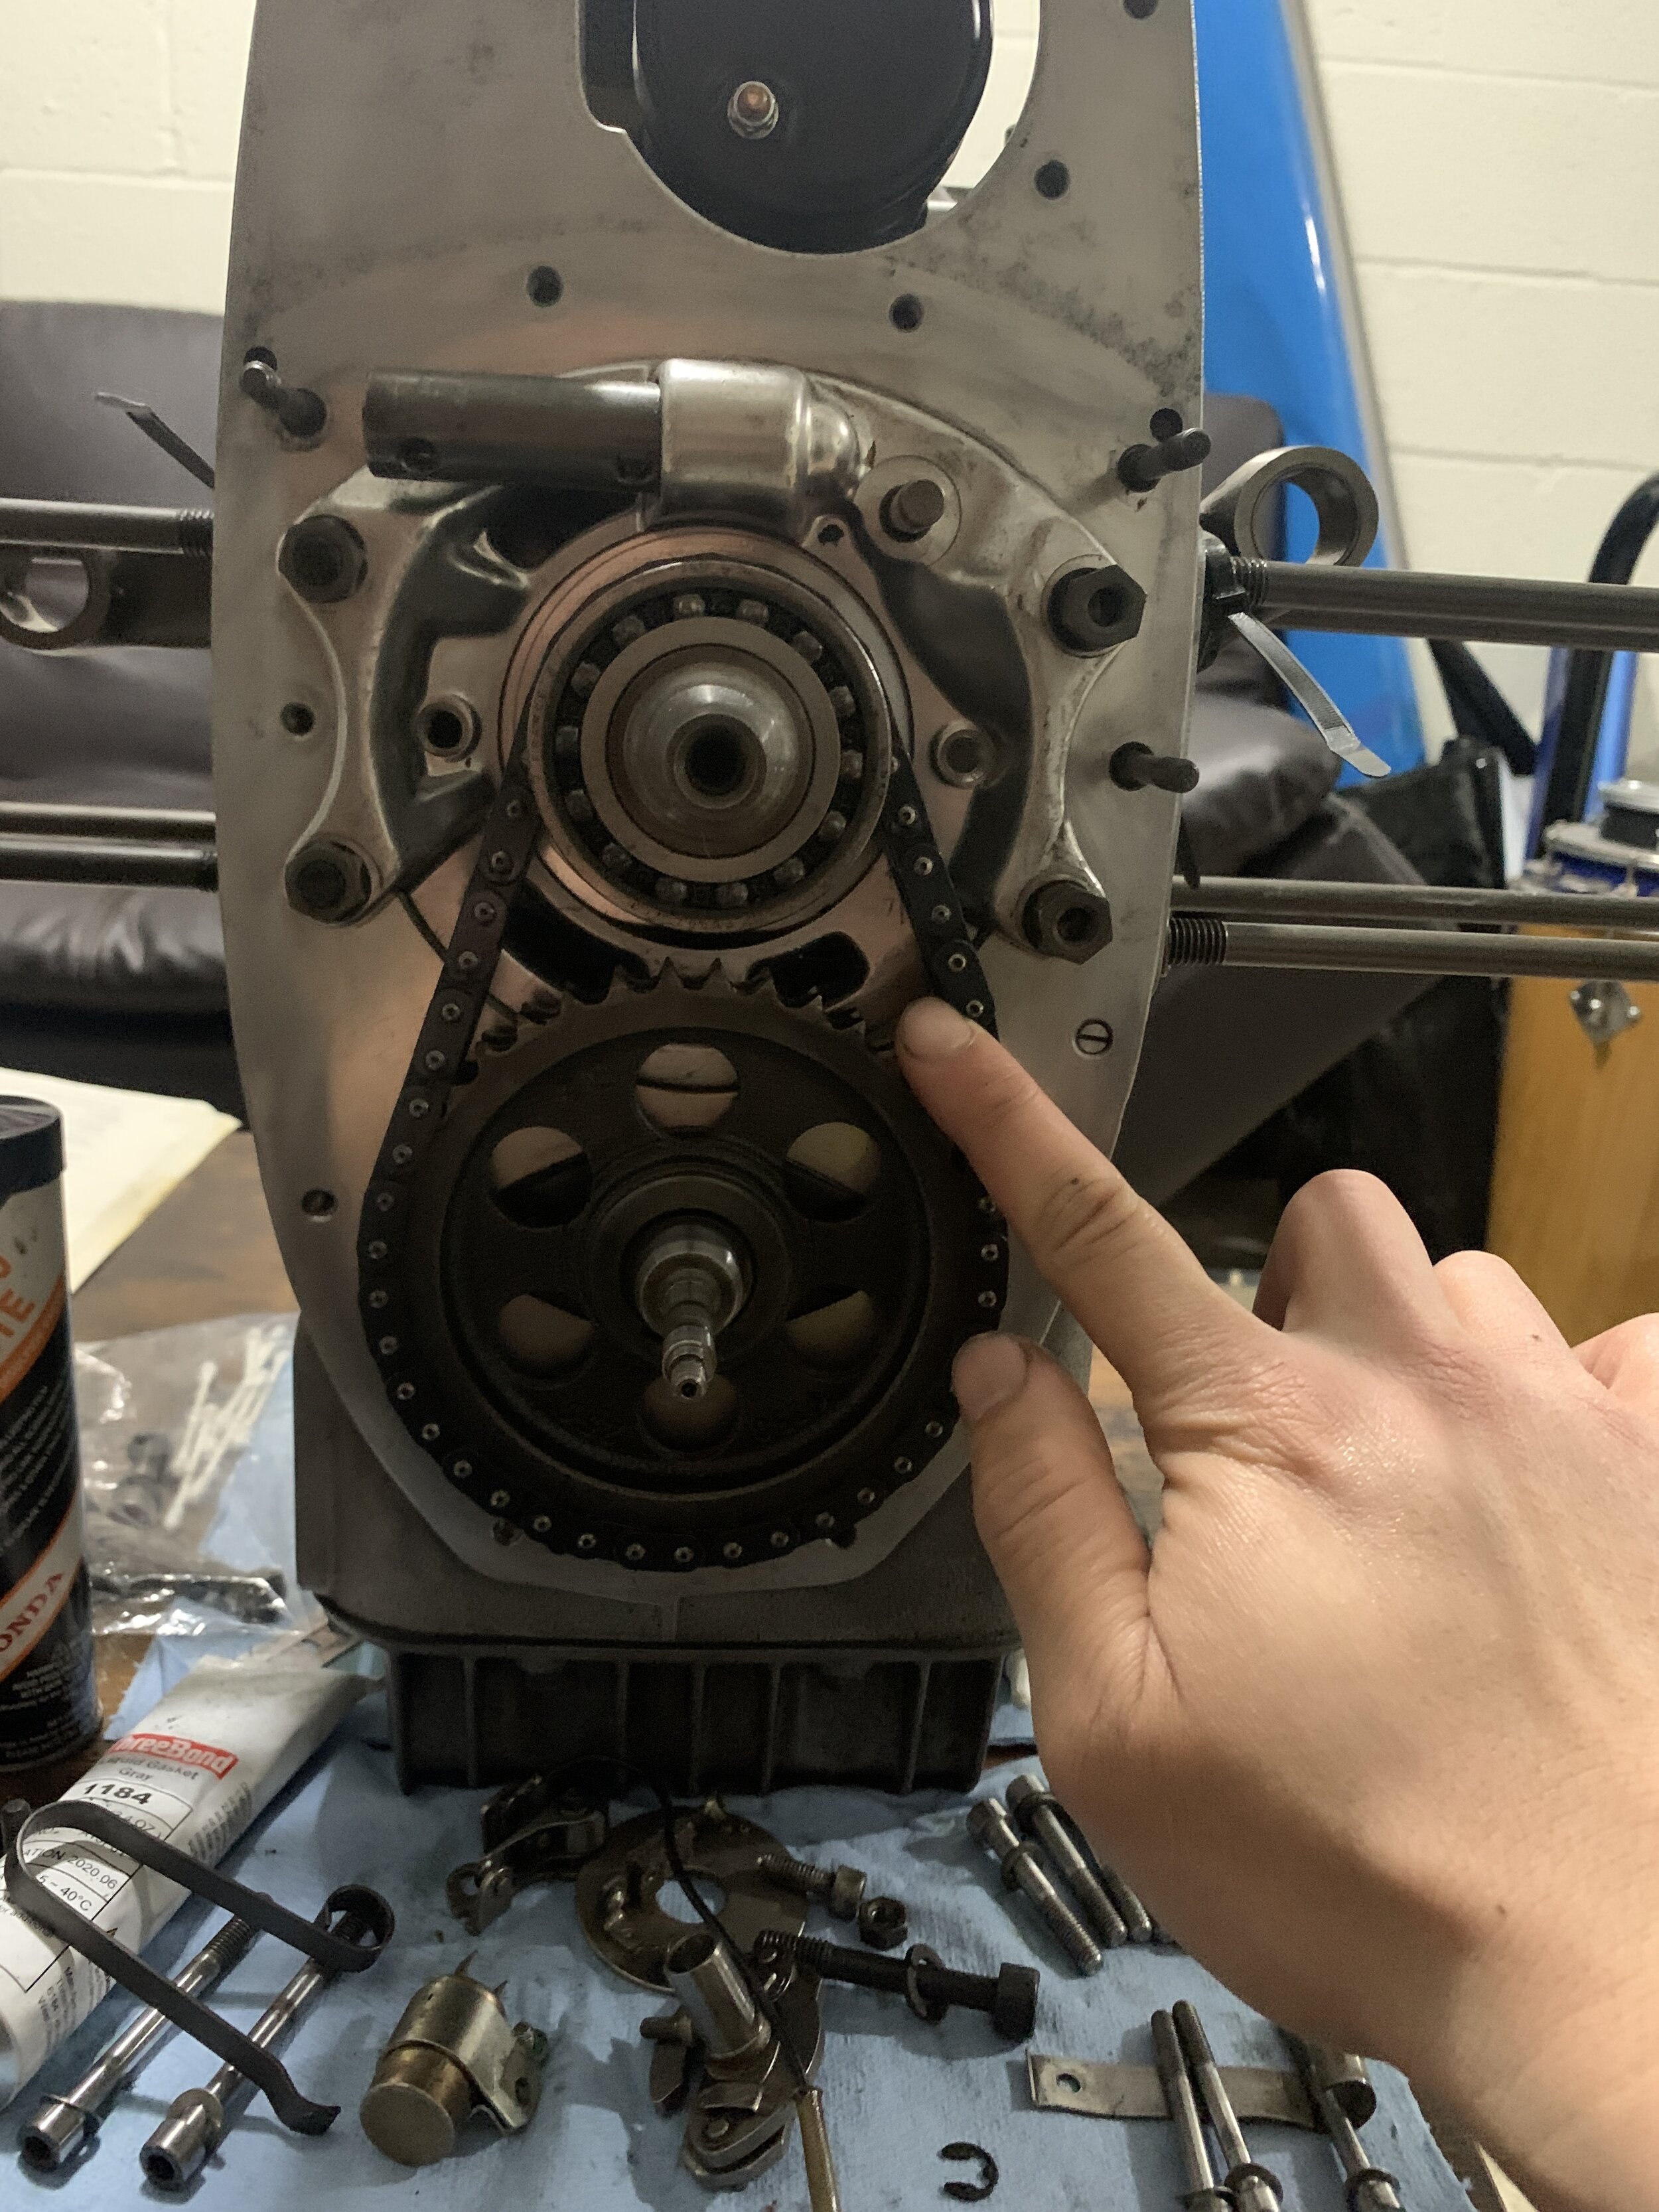
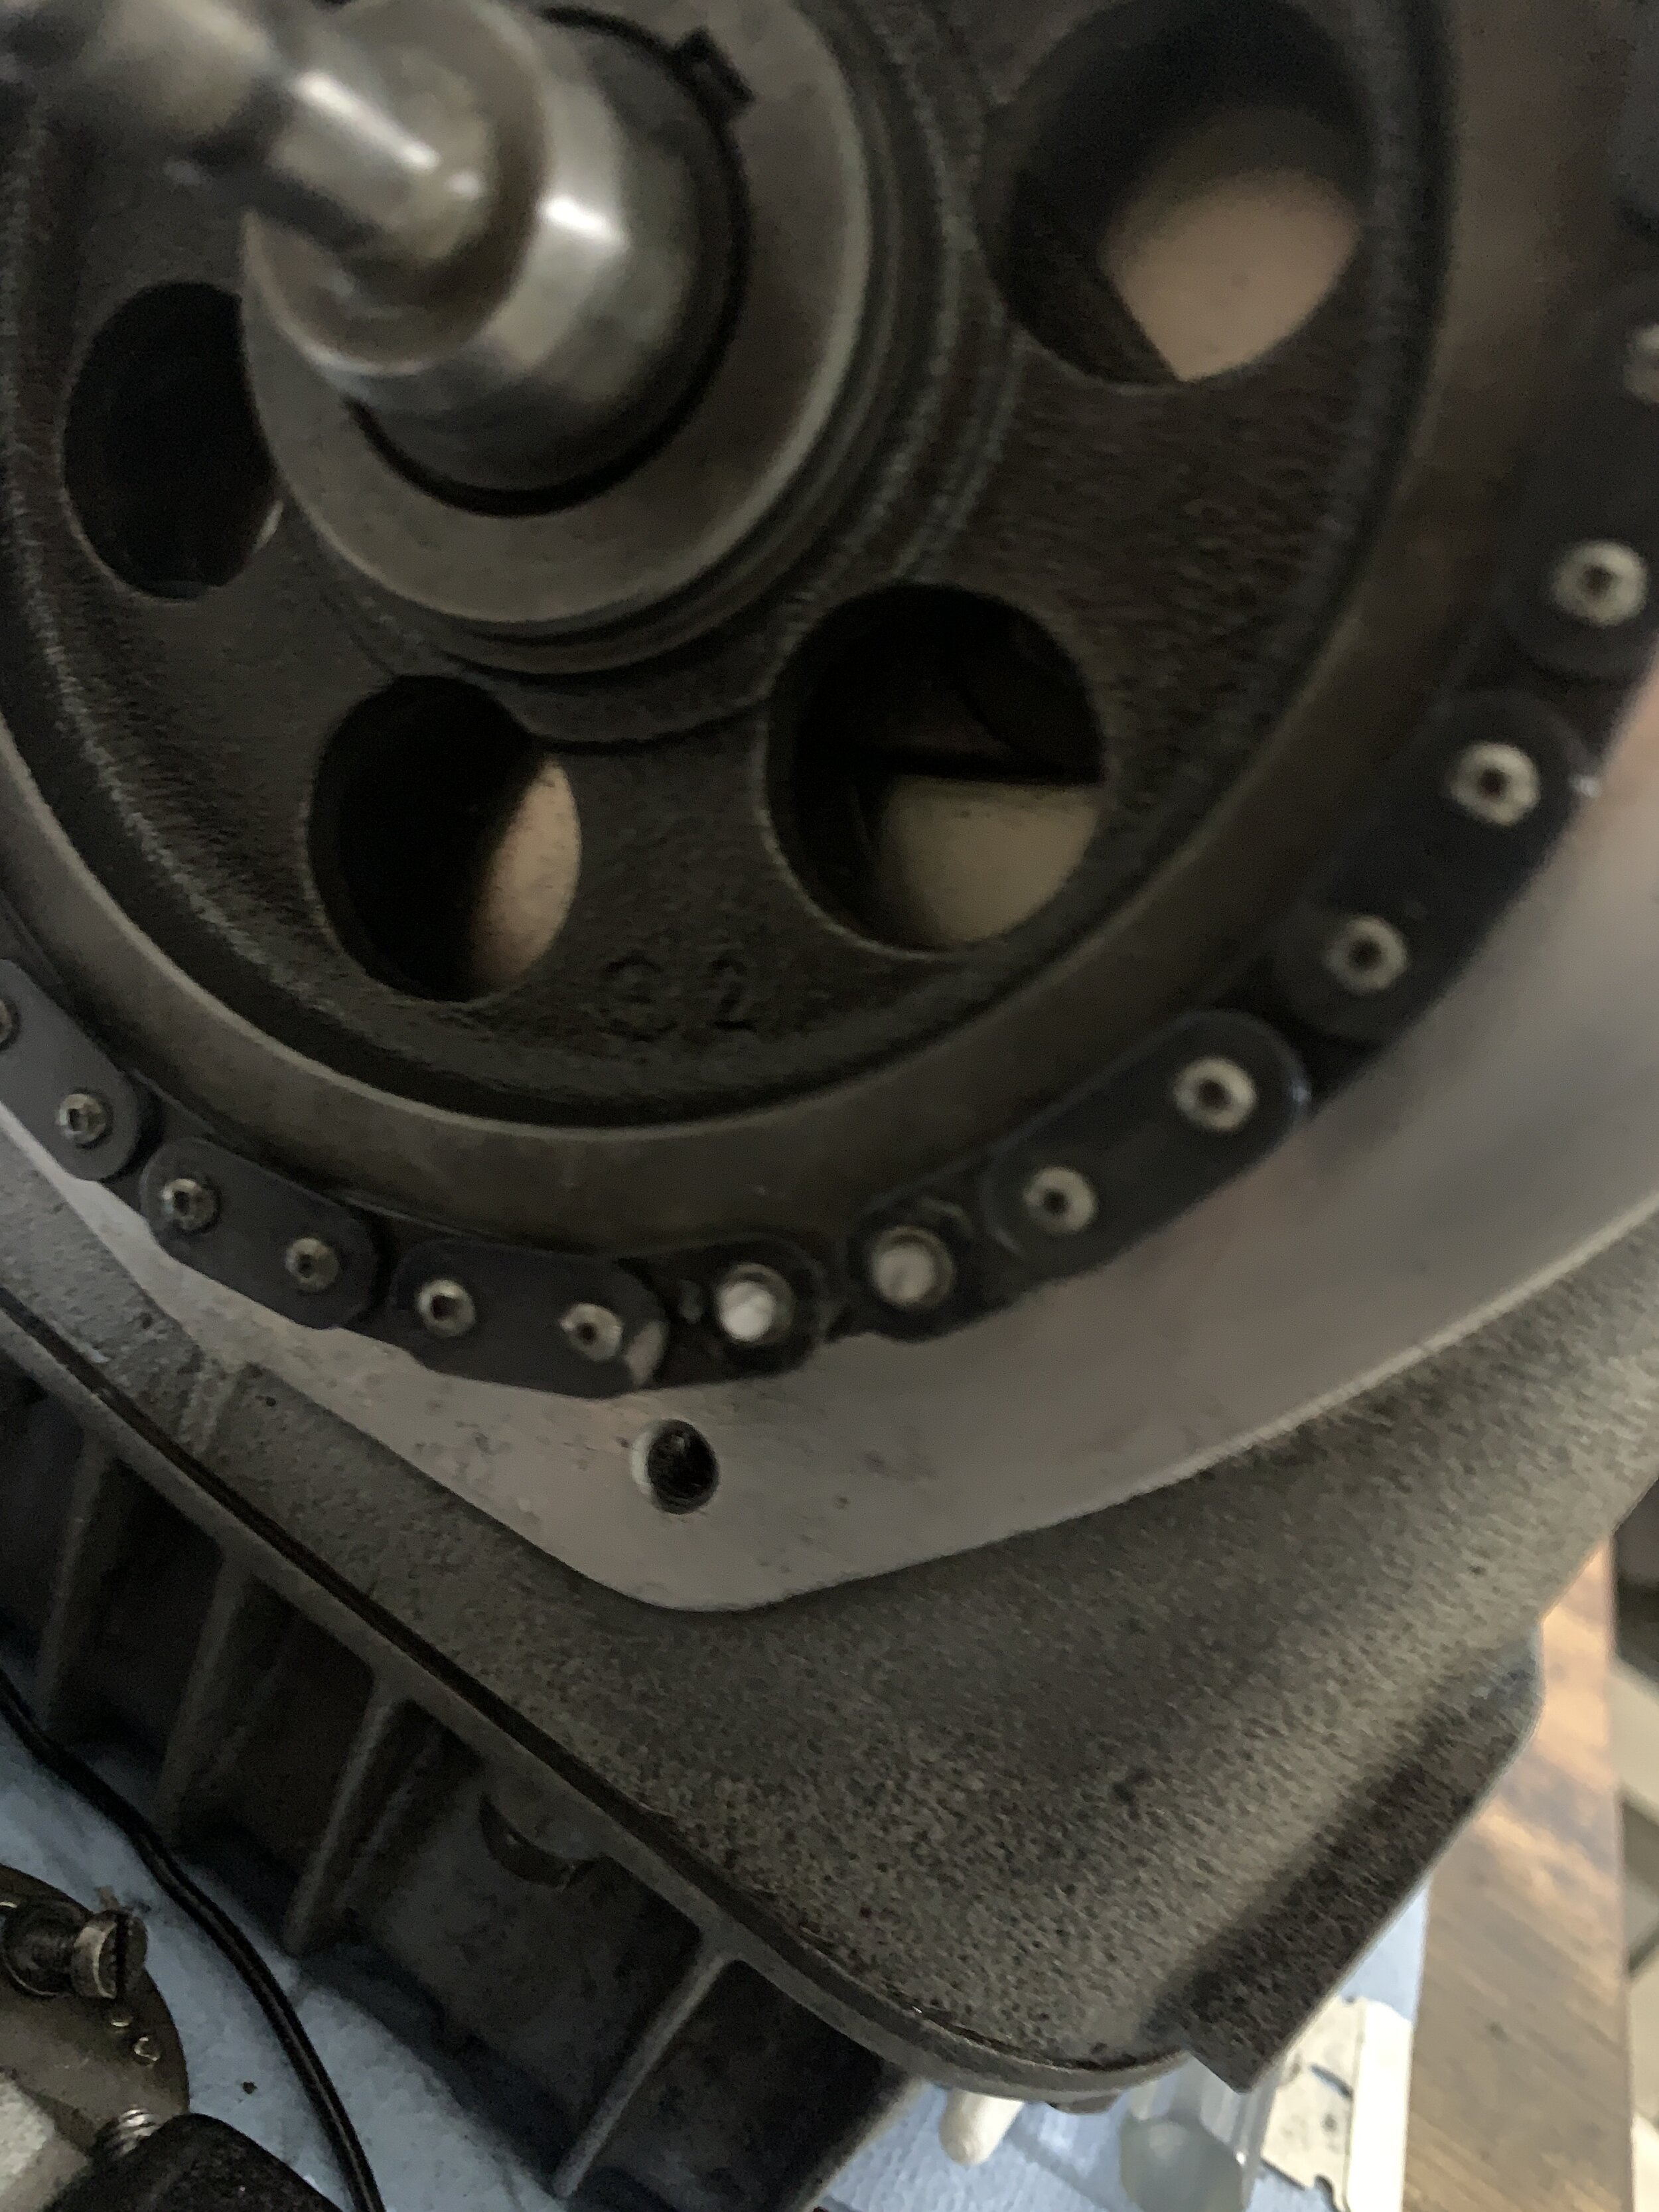
Next was a sad discovery. I notice the amount of slack on the chain, and the sprocket teeth are all worn out on the crank. I check the price, the early model dual row sprocket is a shocking 150 dollars. The later model one with a single row is a shocking 50 dollars. I have the dual row… fml. Chain wasn’t too expensive, but removing the mechanism was not easy. I borrowed a professional puller from my brothers shop, and it did the job, but it still took a lot pressure to remove the sprocket.


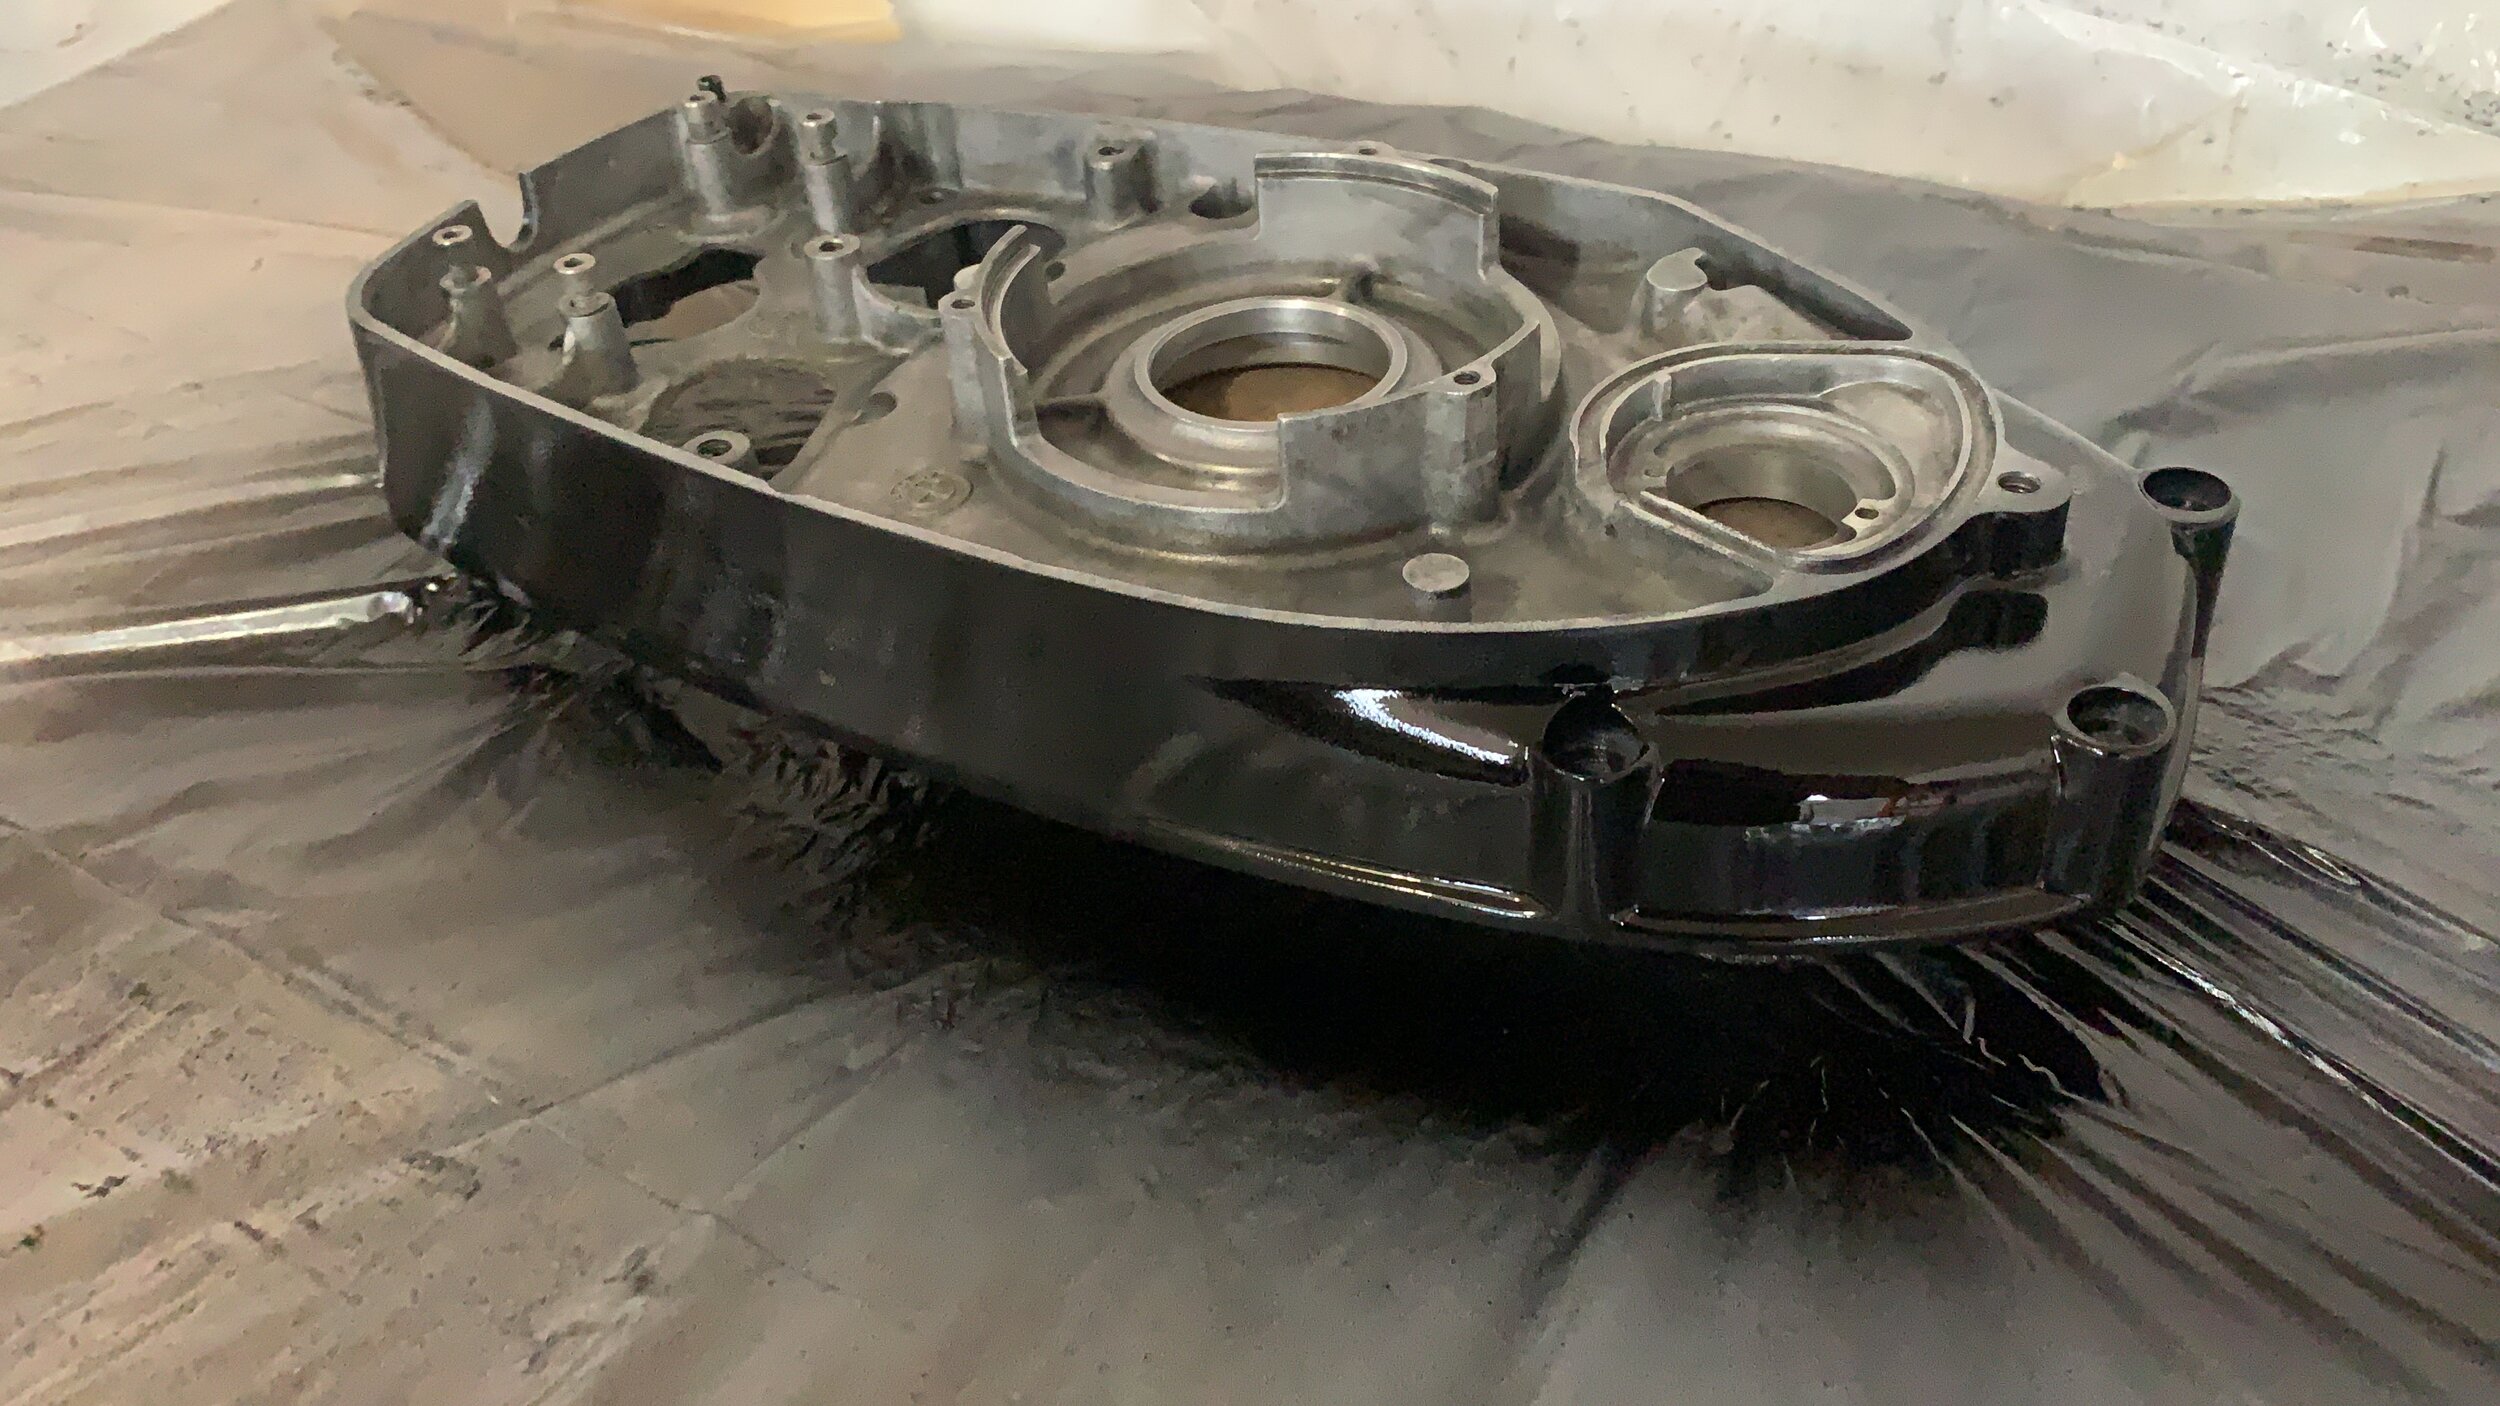
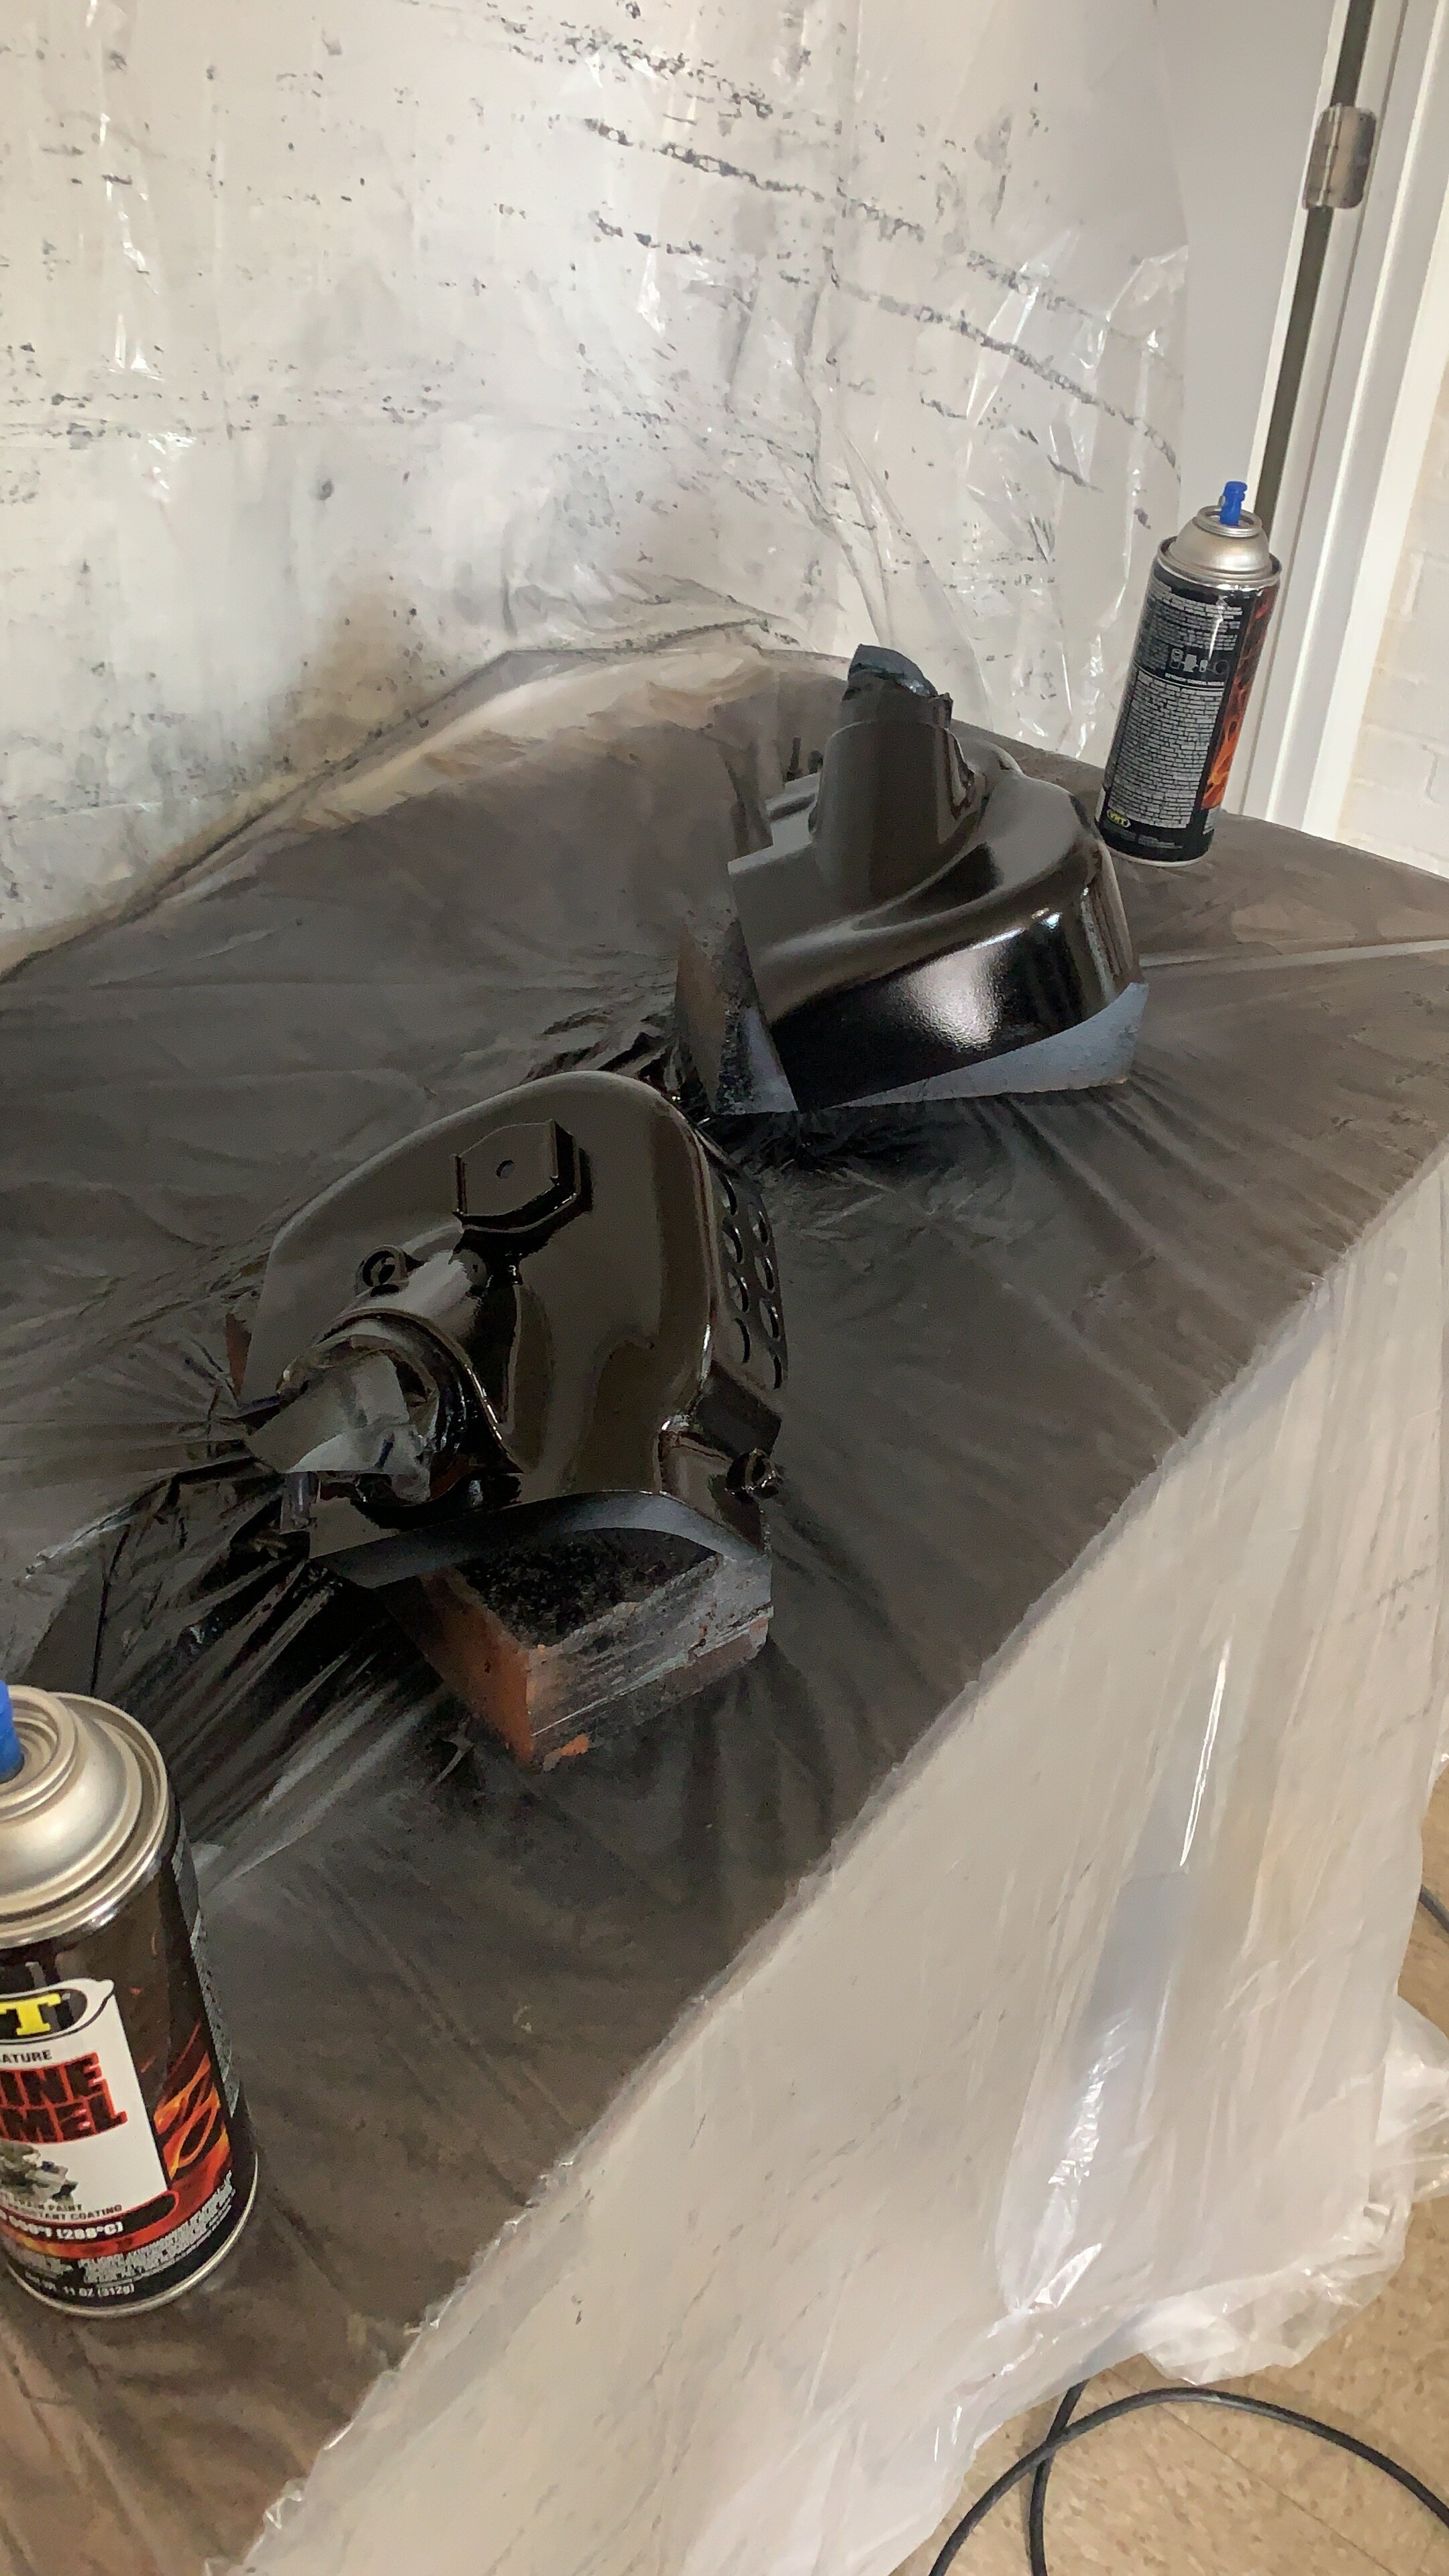
A lot of this project is just waiting for parts and working on stuff a little bit at a time. I had to wait for a few things so I painted the covers and baked them. There was a few issues that I discover, that the aluminum have to etched very well or else it’ll bubbled when you paint and bake the paint. I had to do a few pieces over again because the paint bubbled. I later found out its better to clean with acetone before painting rather than using the paint prep solution. It seems that the acetone acidic nature etches the surface better for the aluminum before painting.

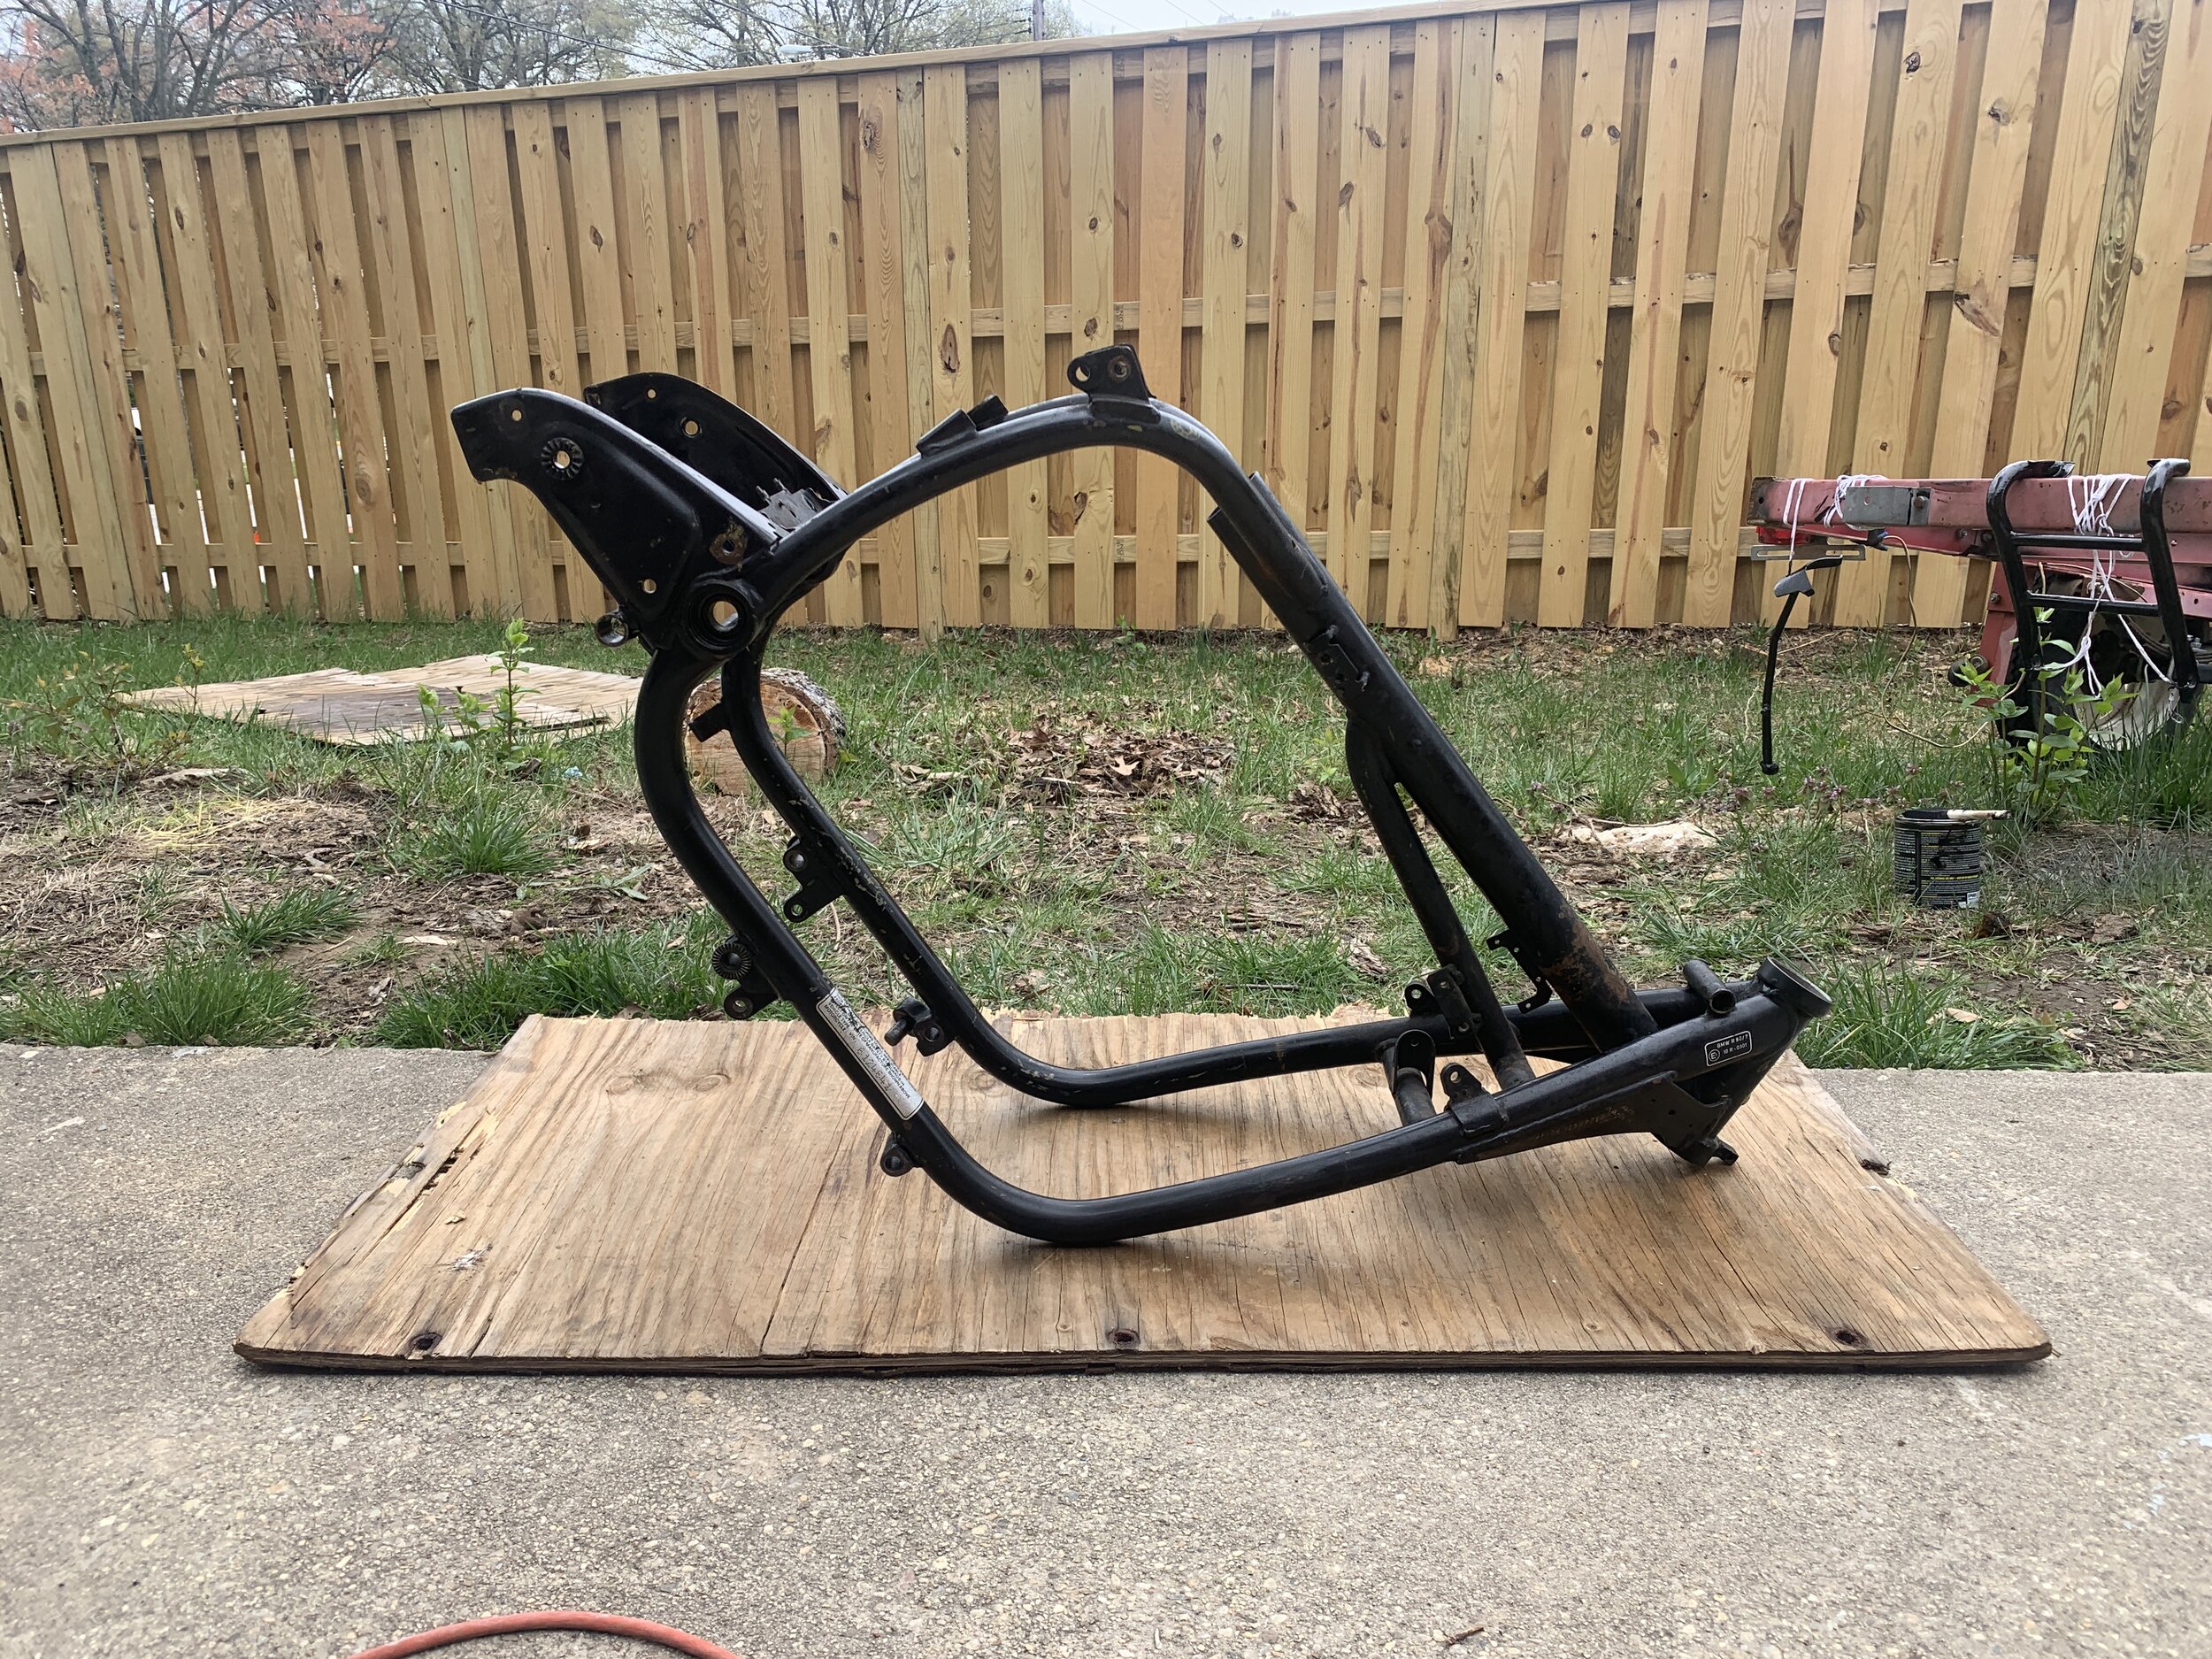
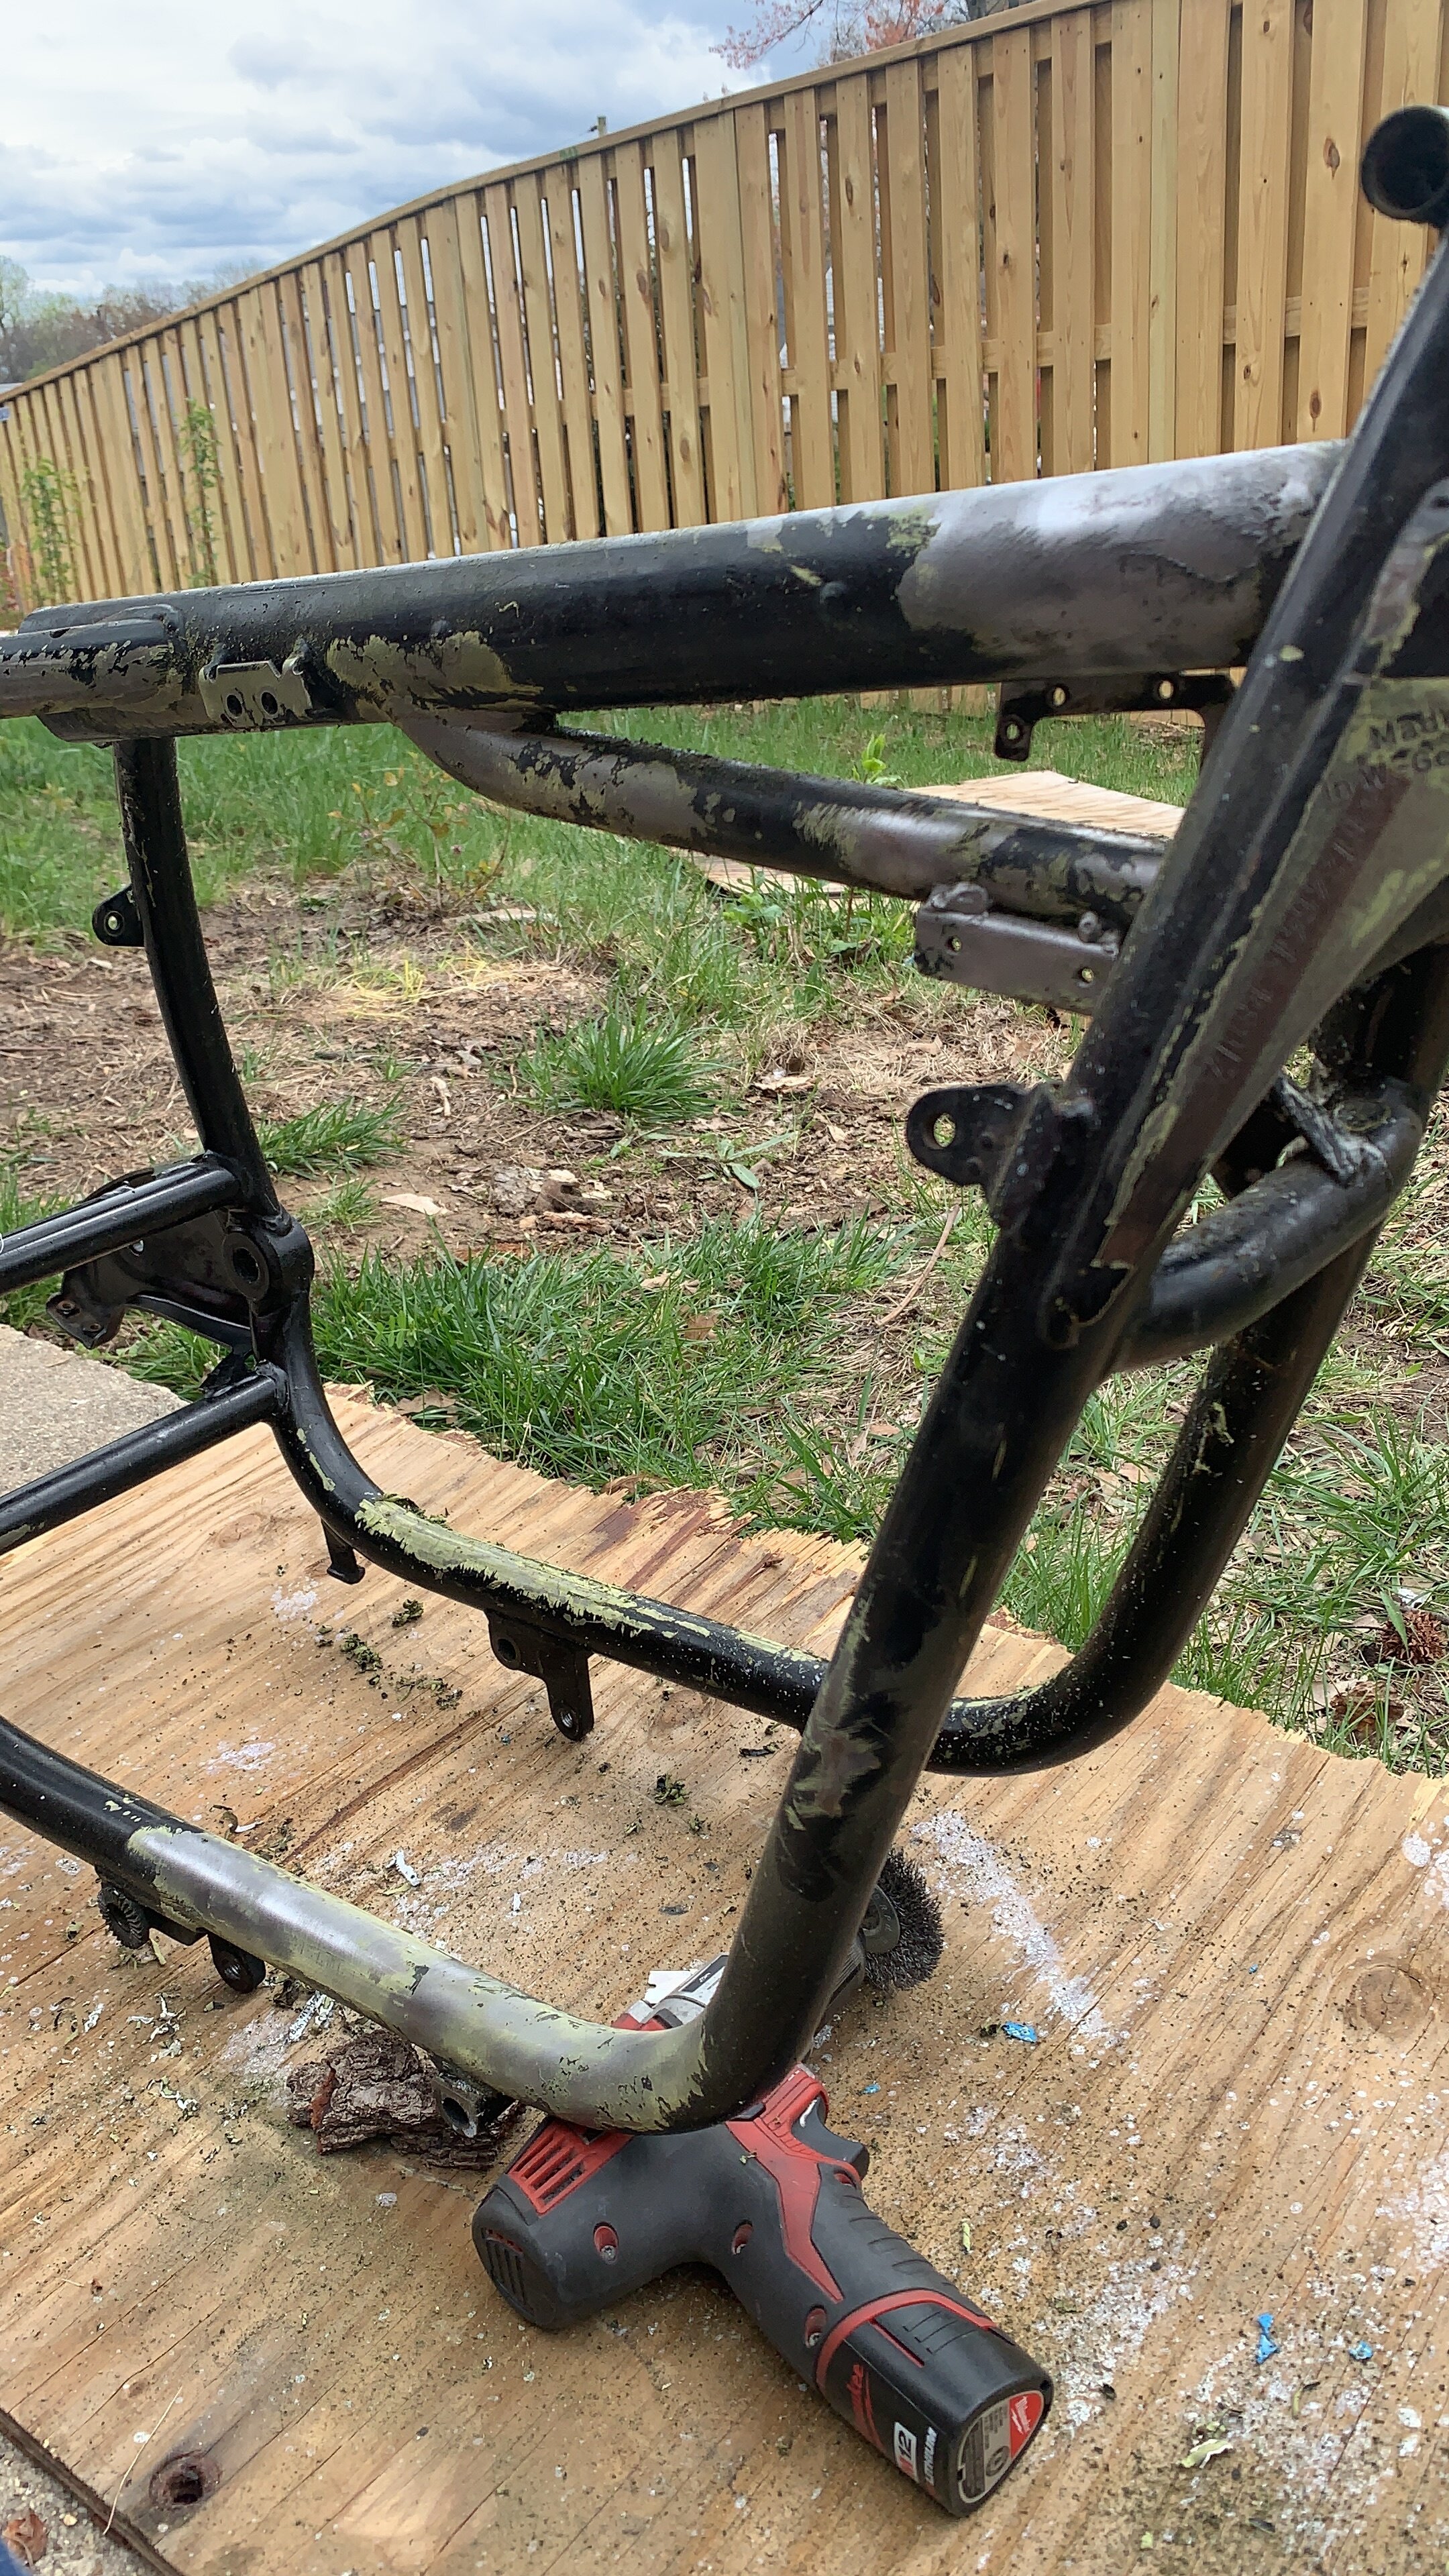
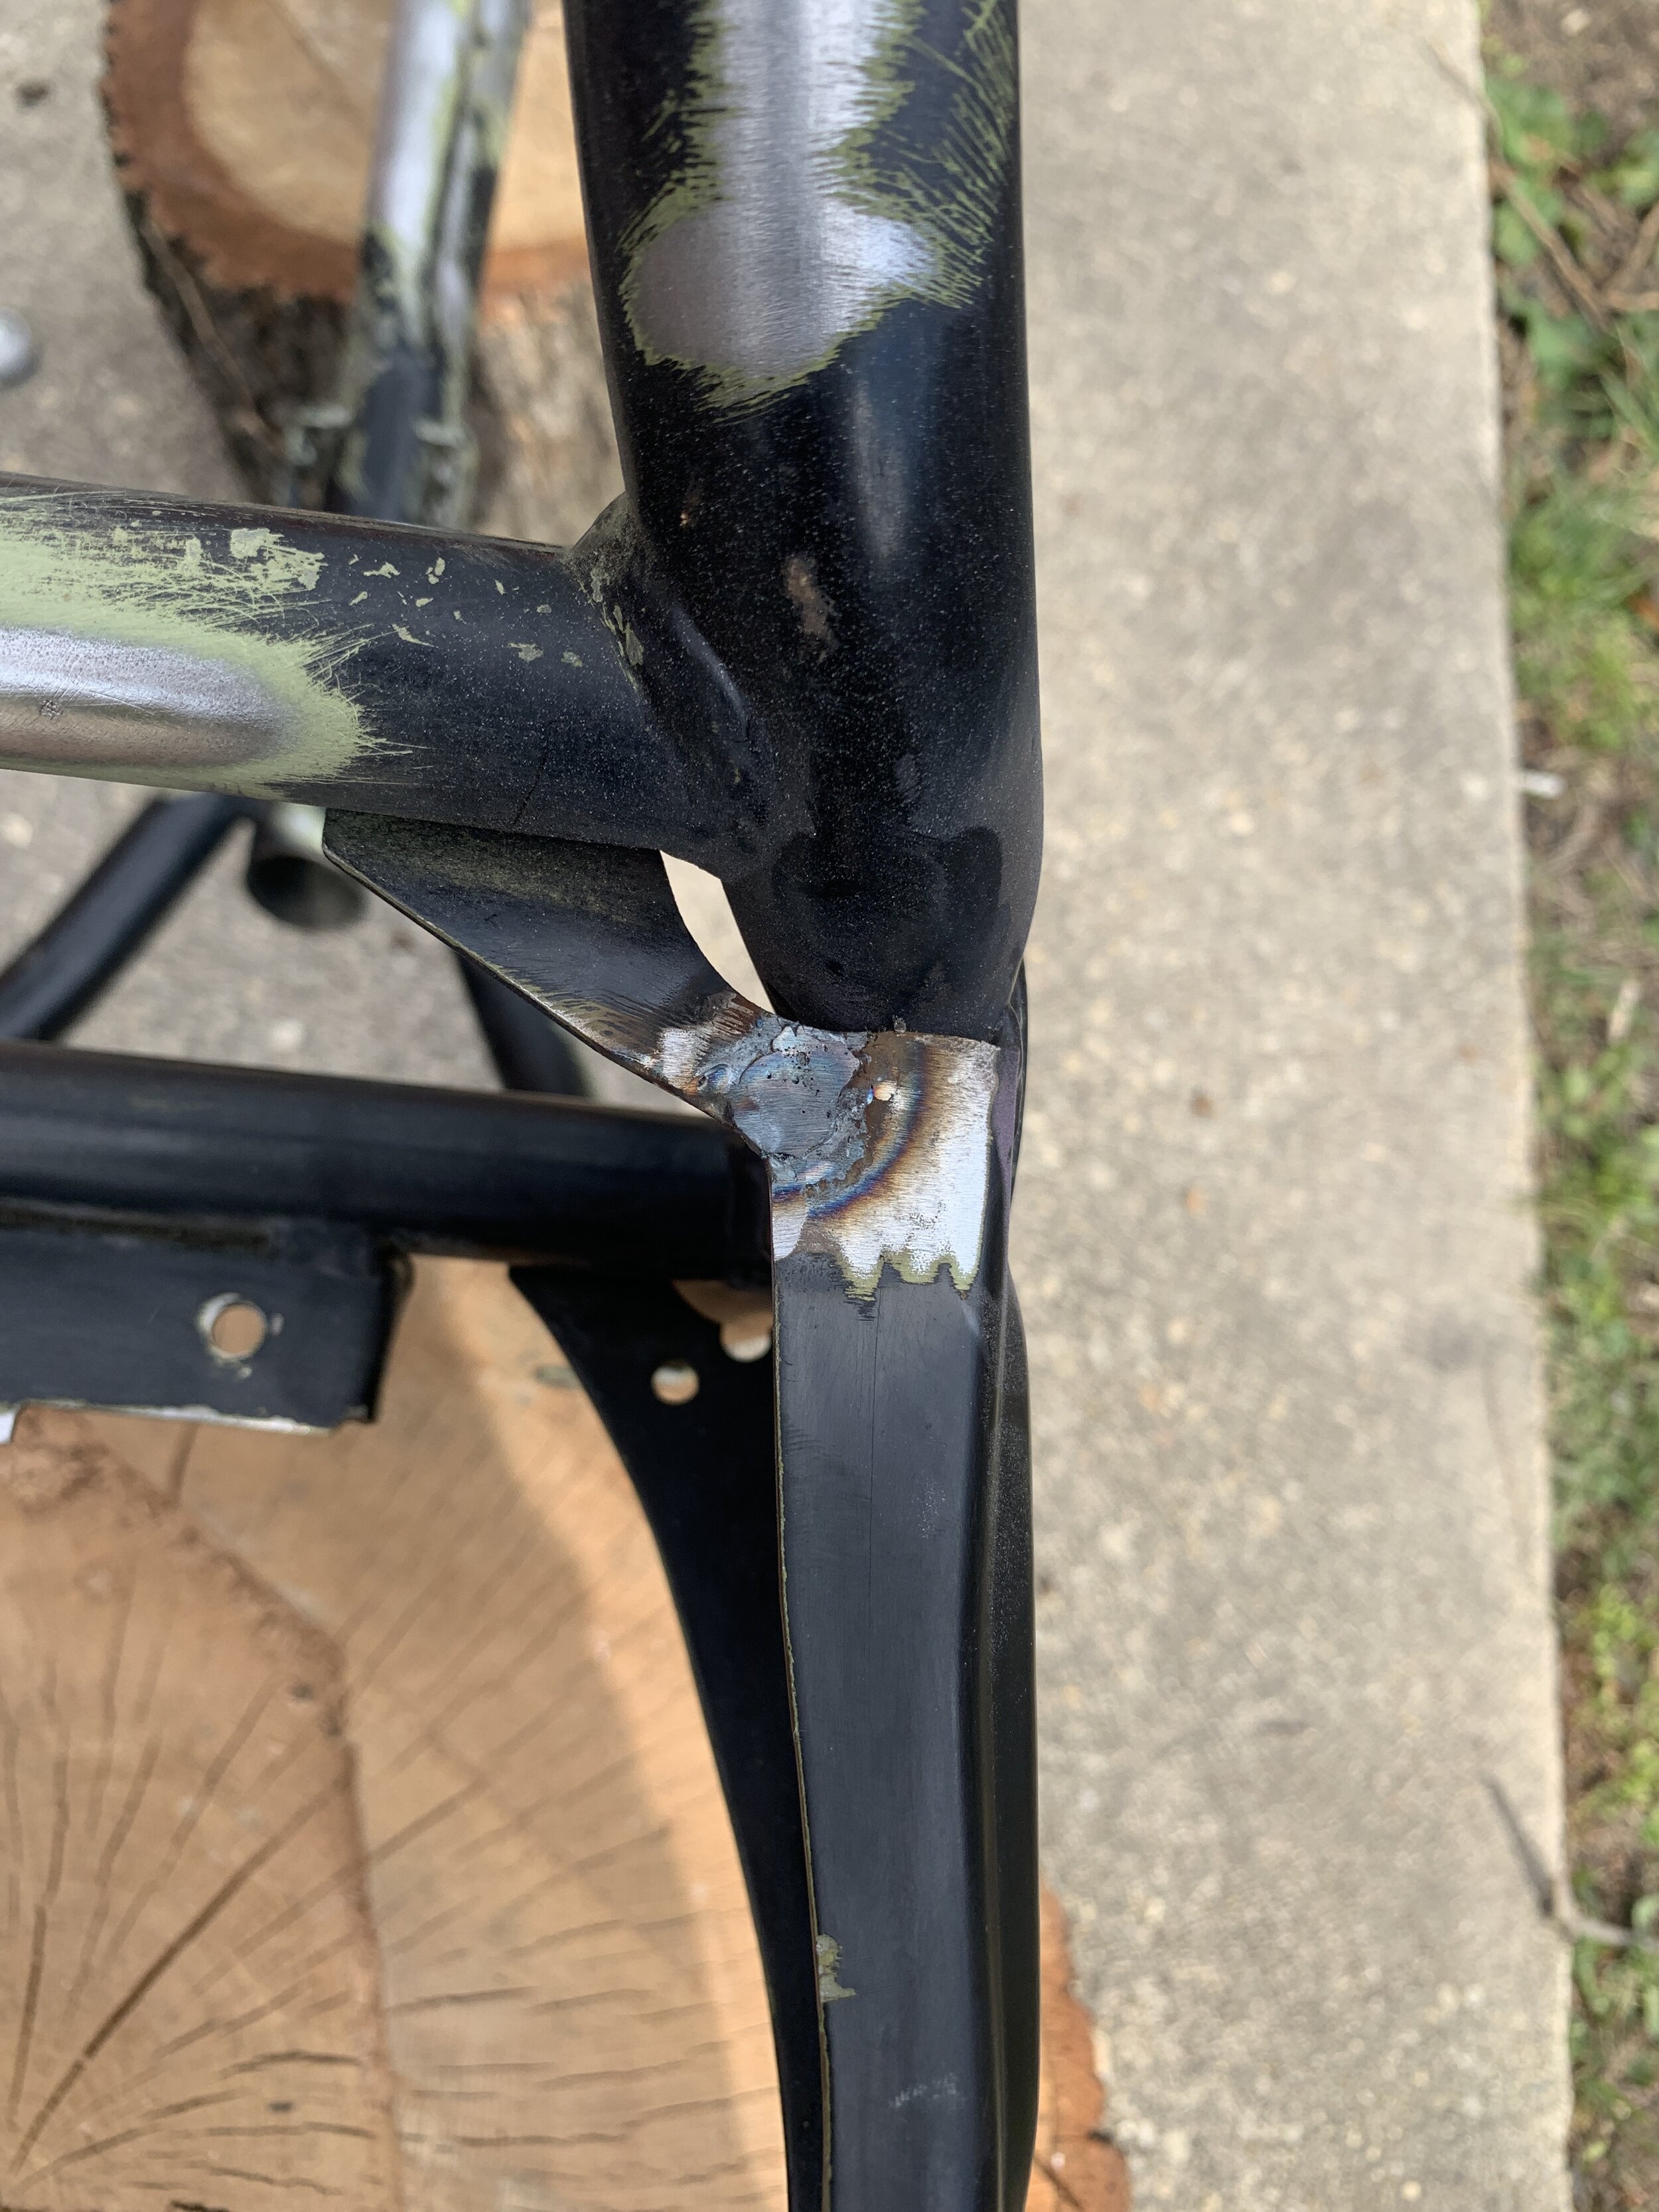
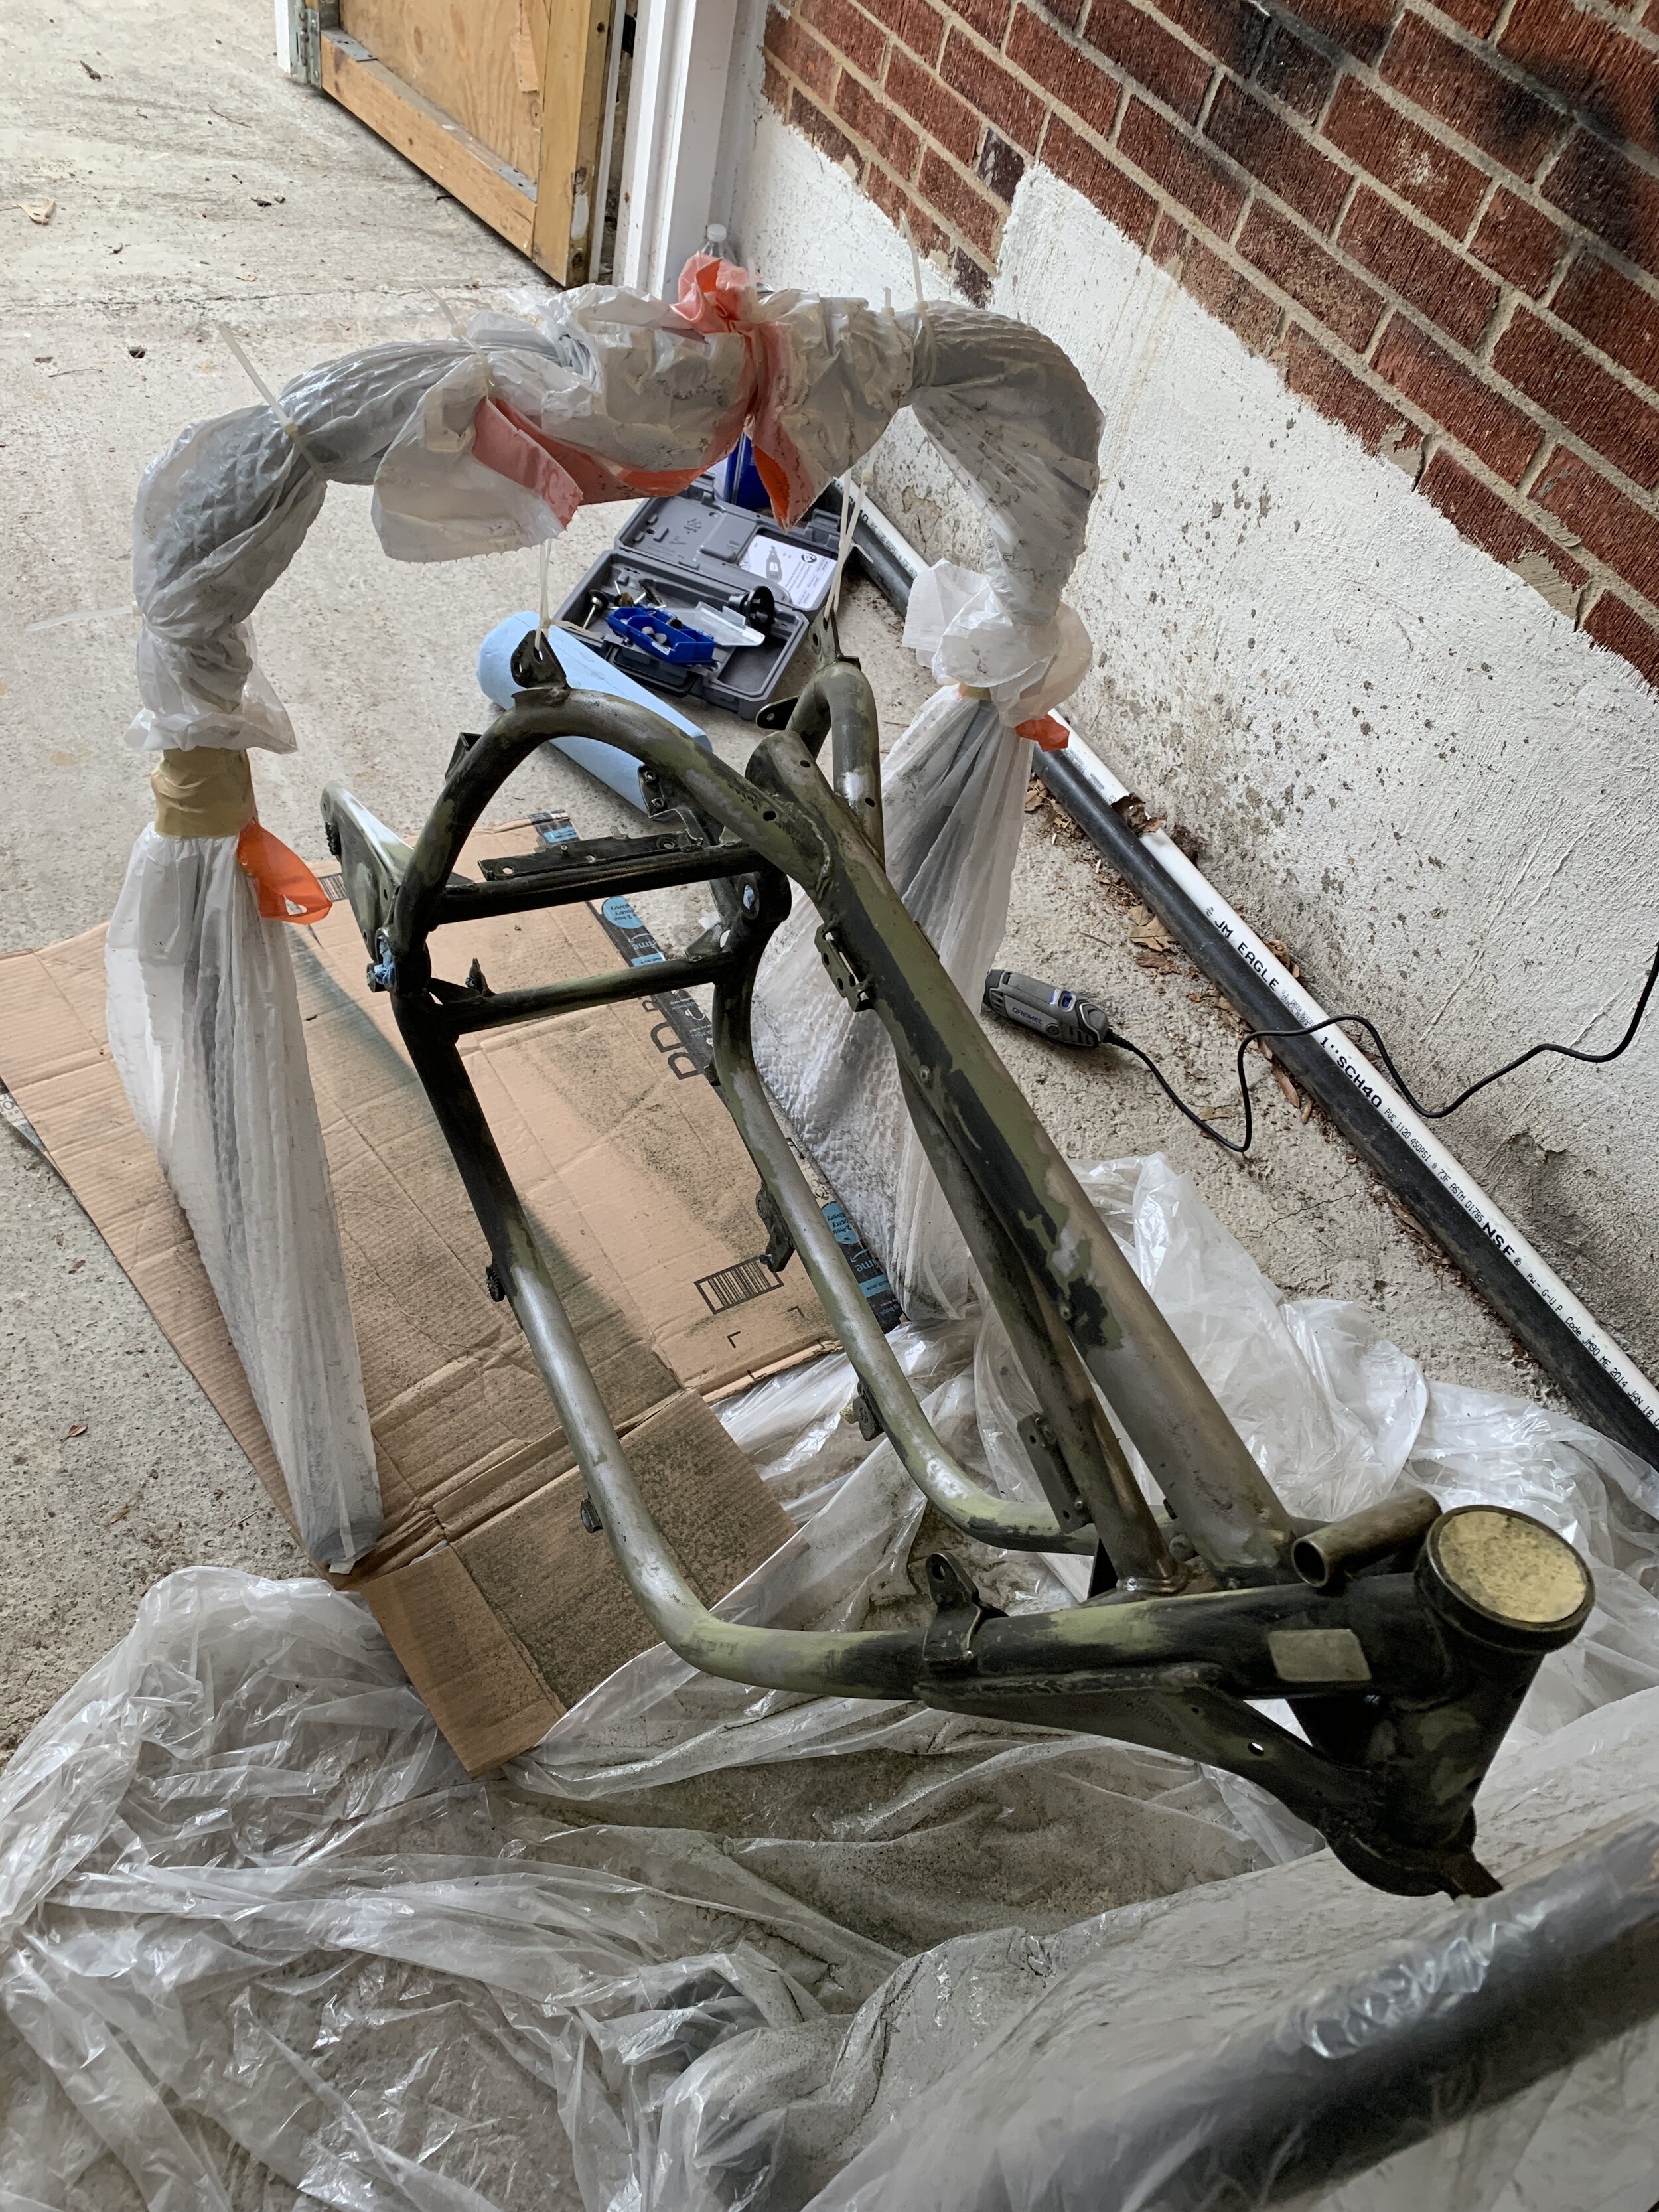
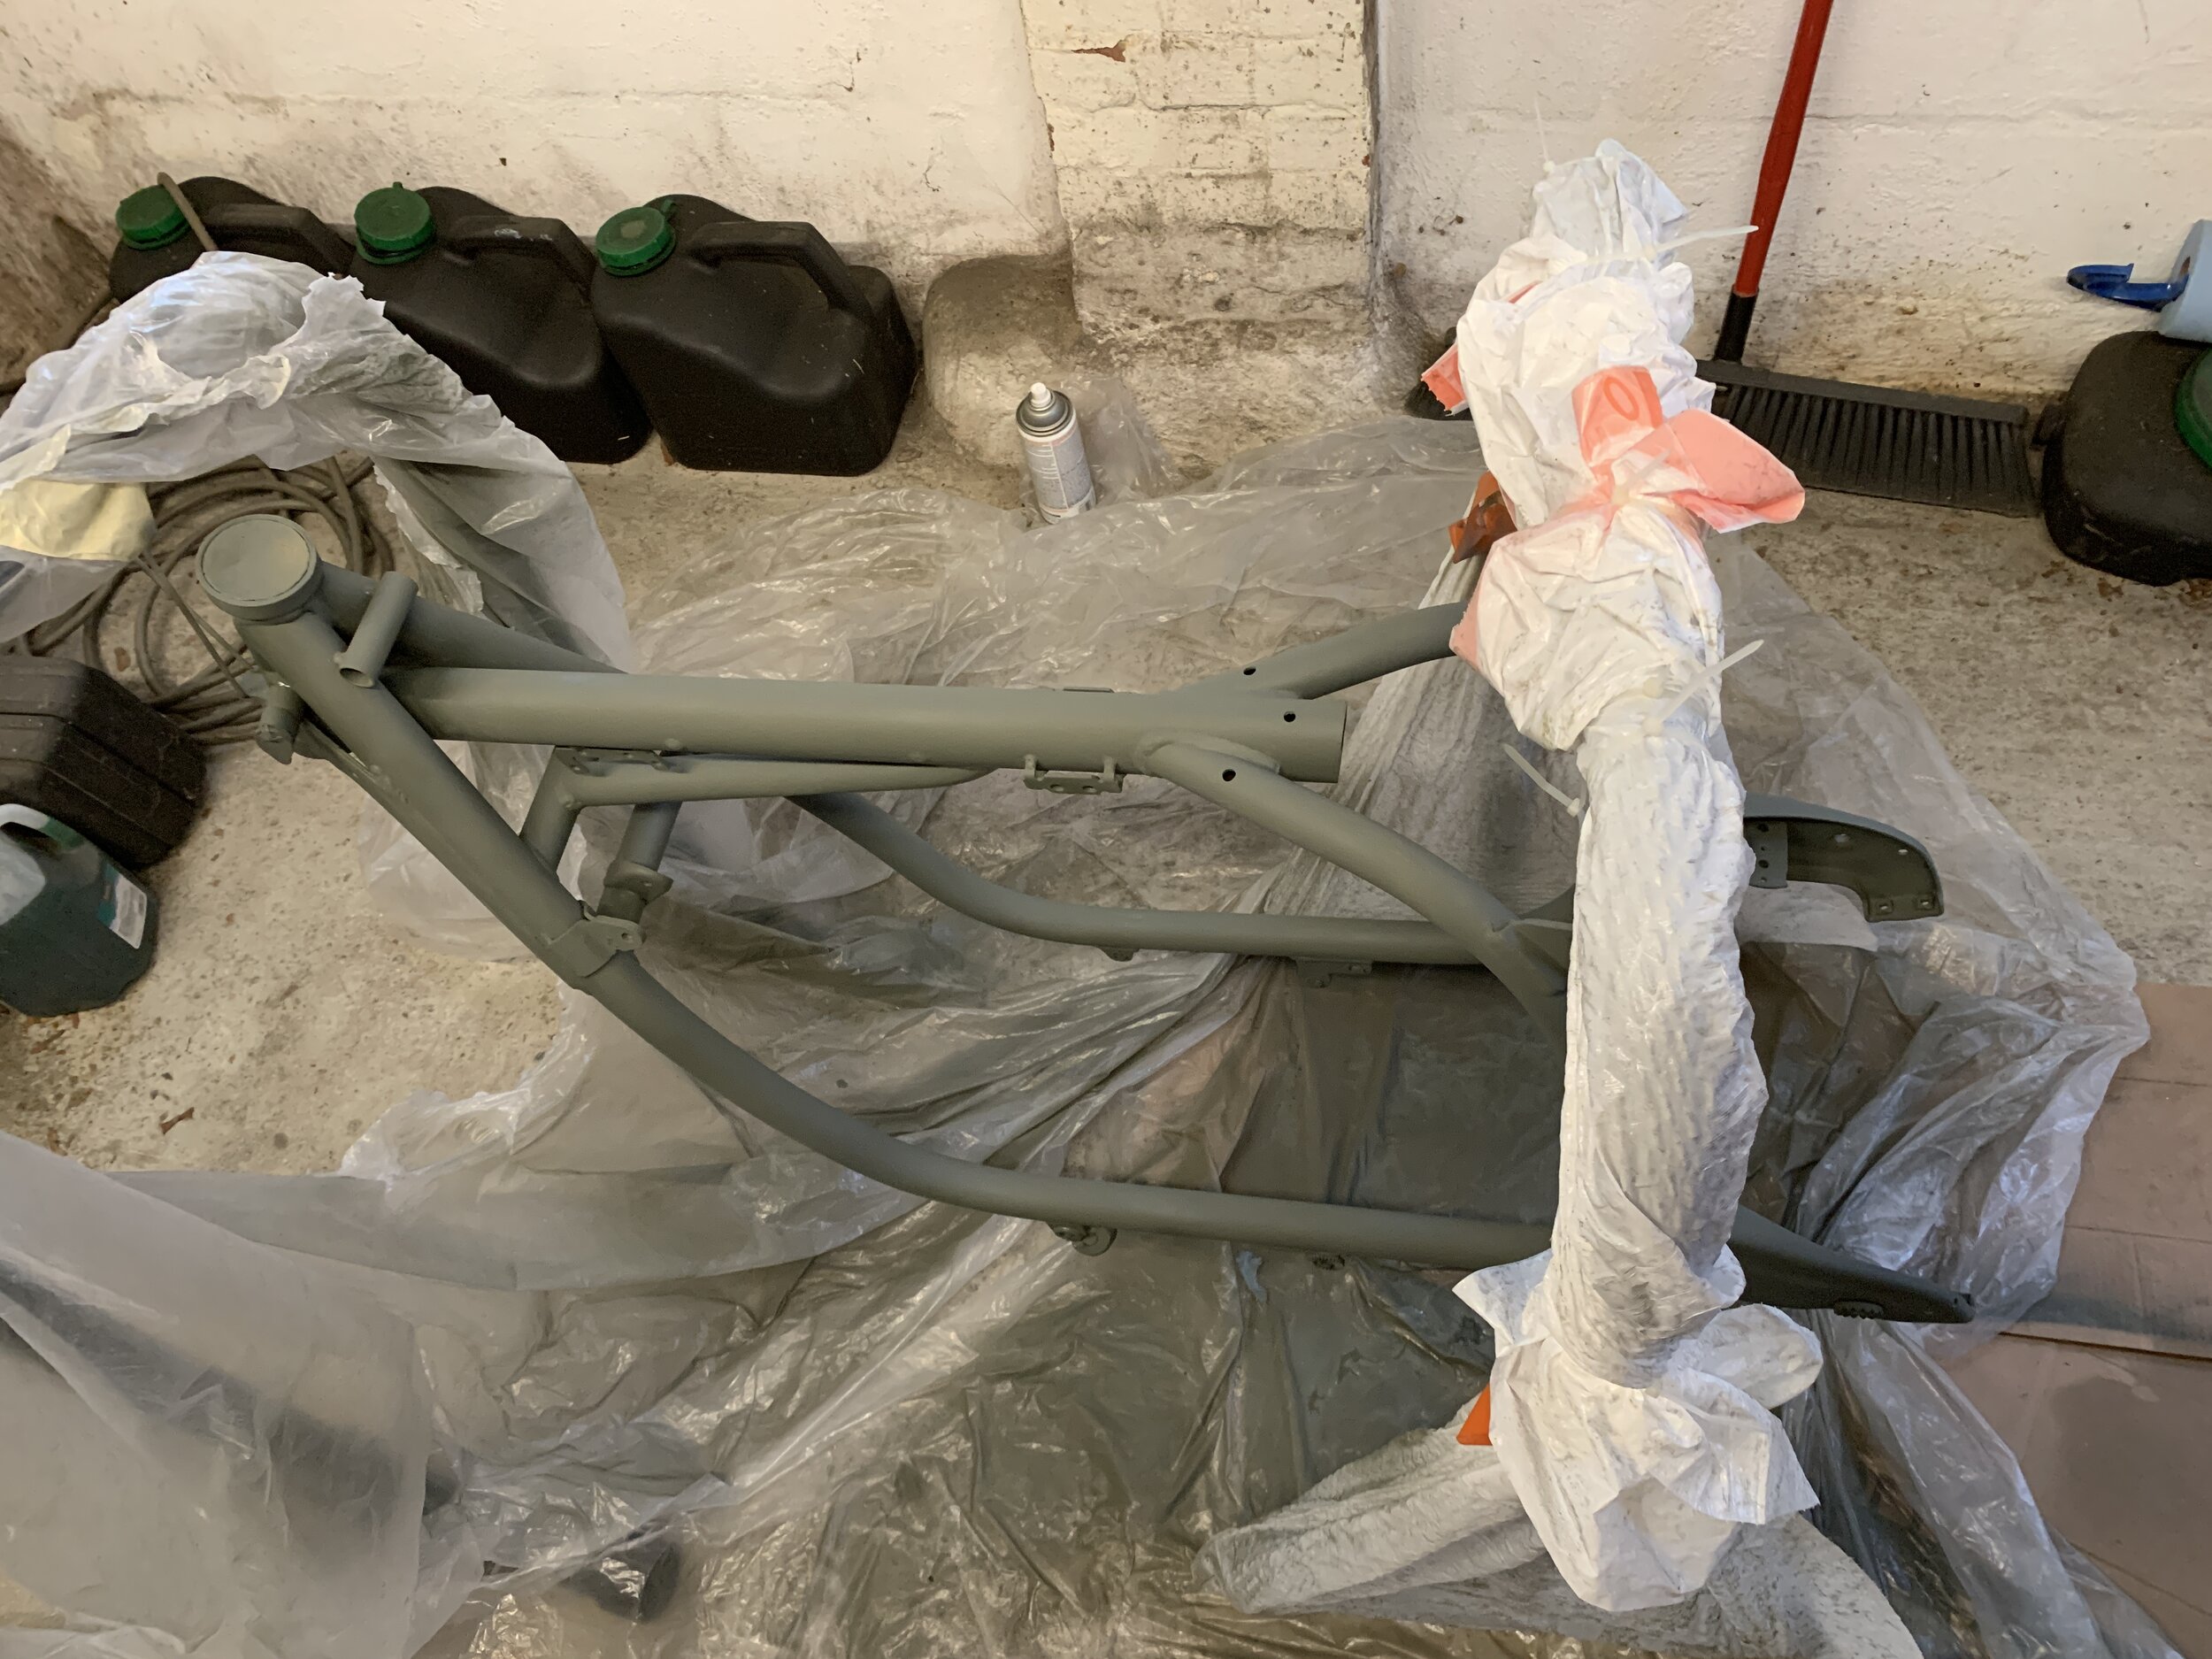
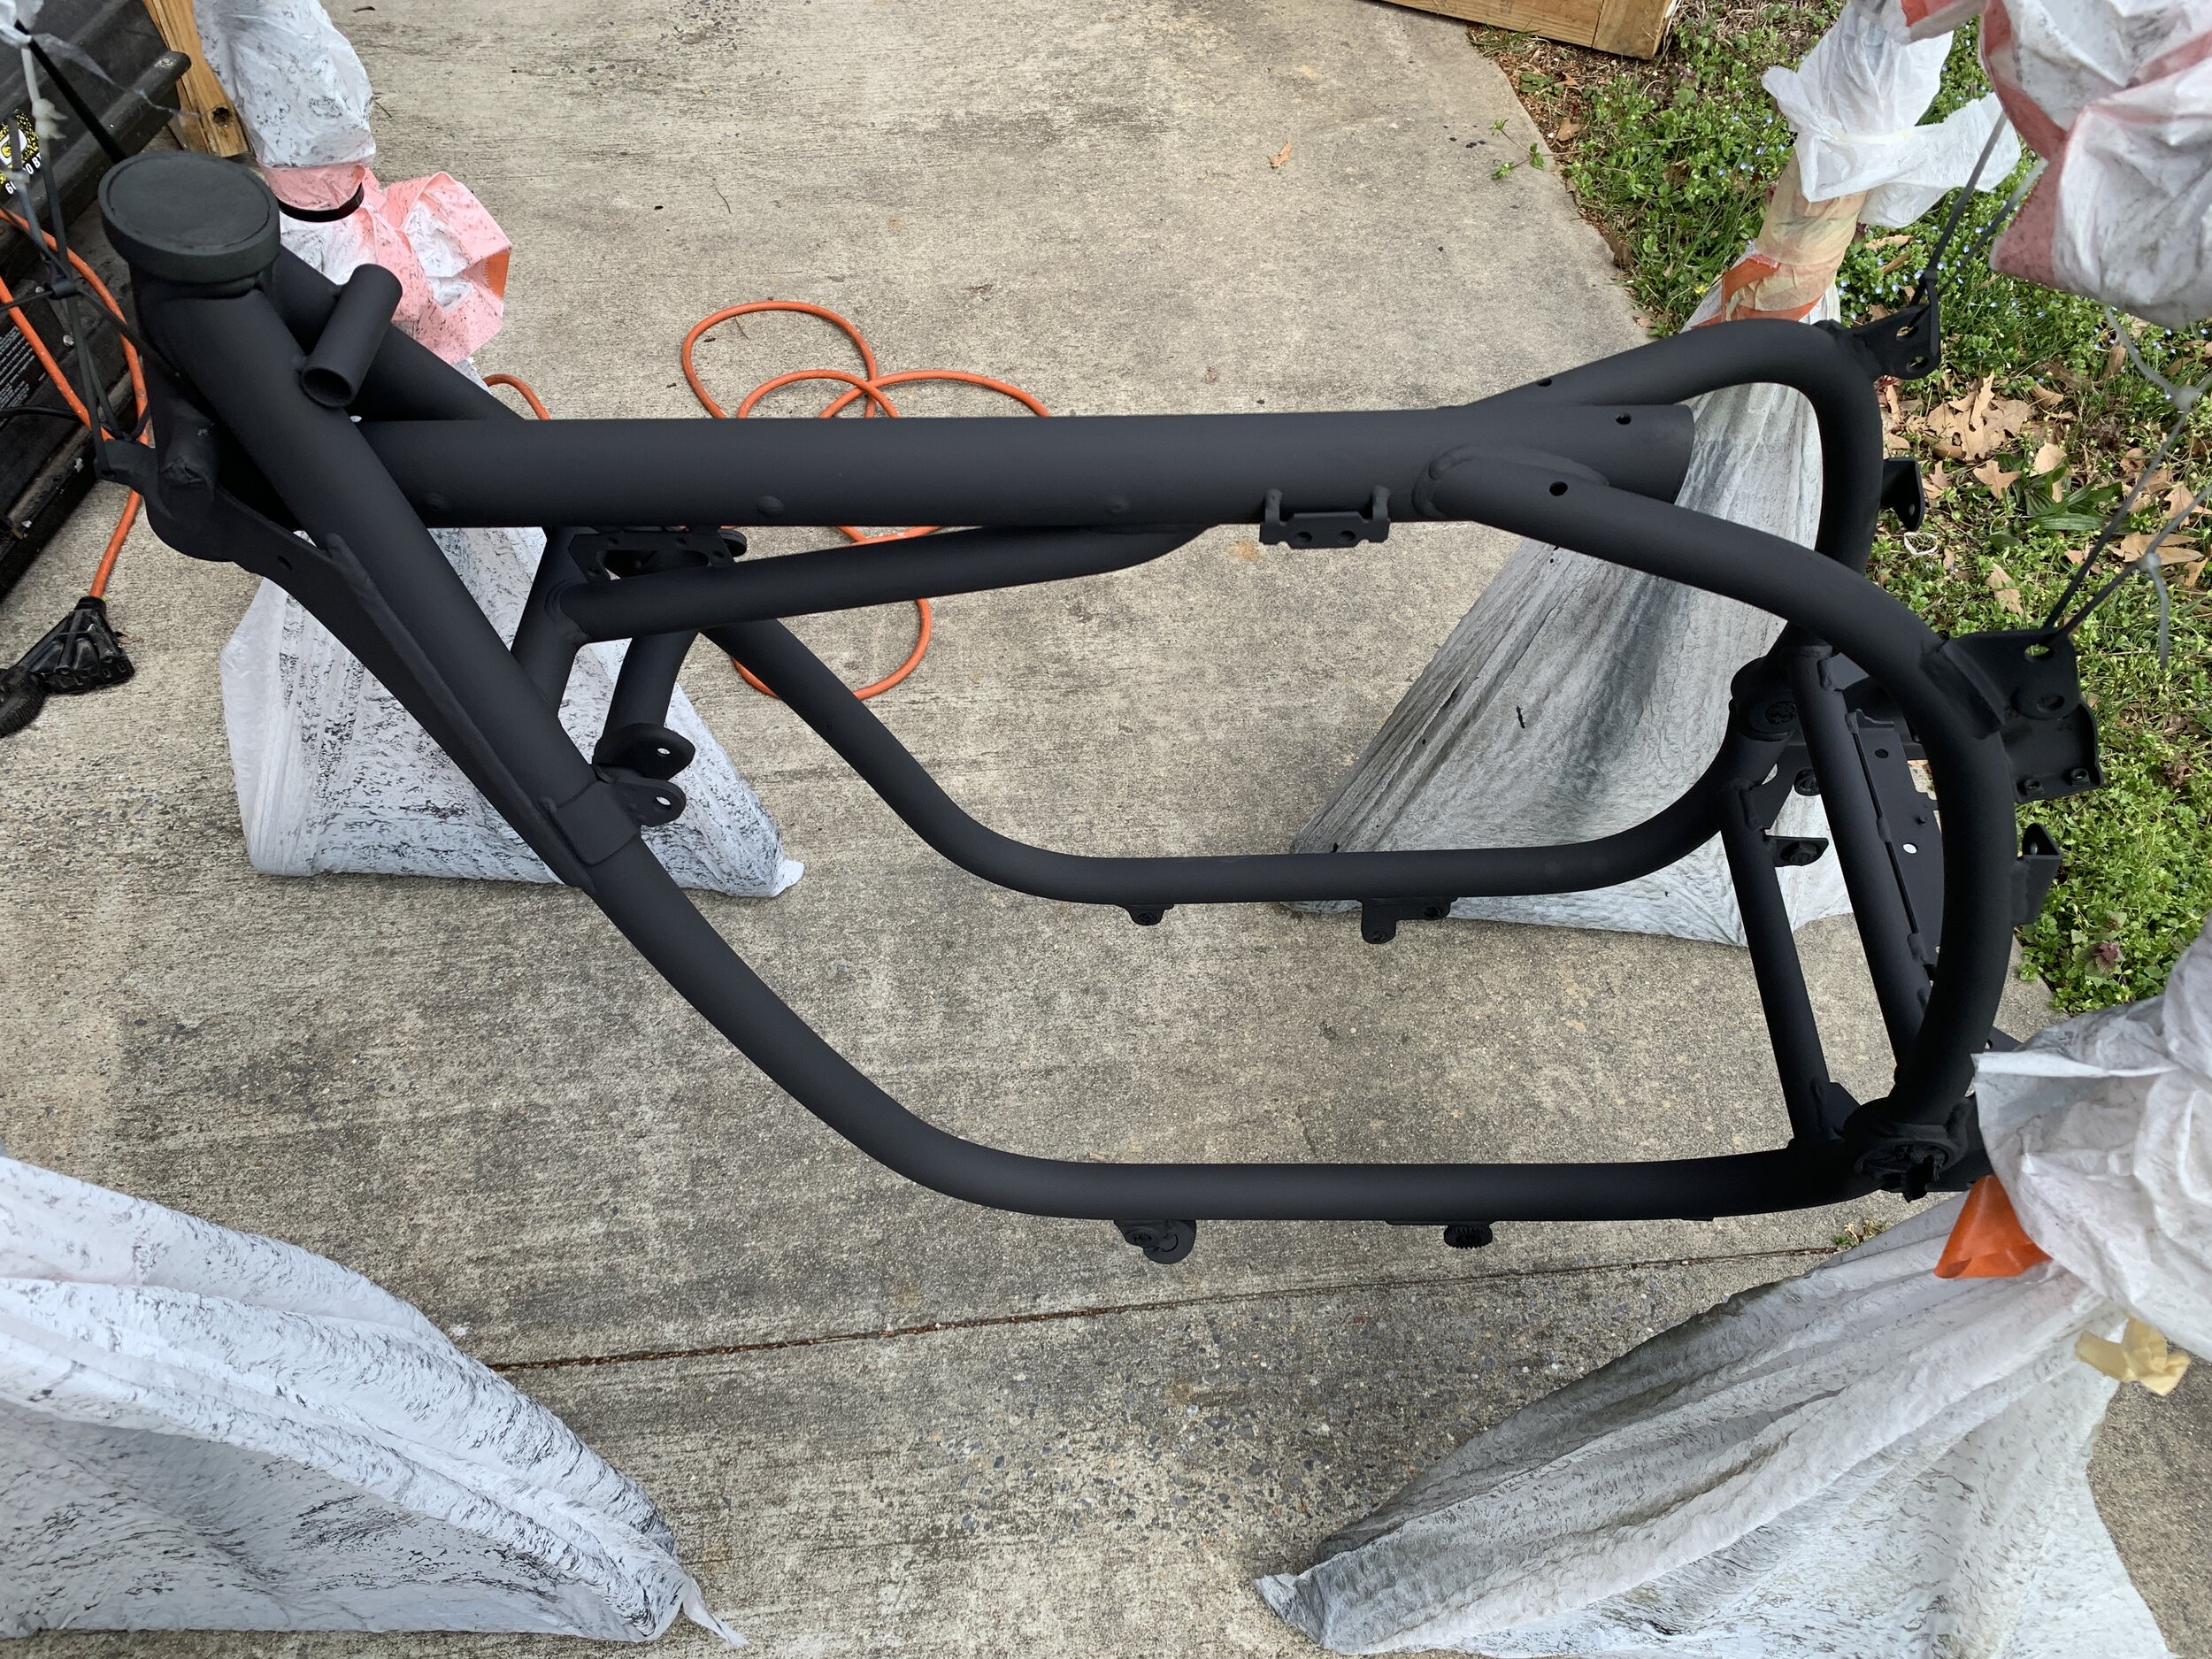
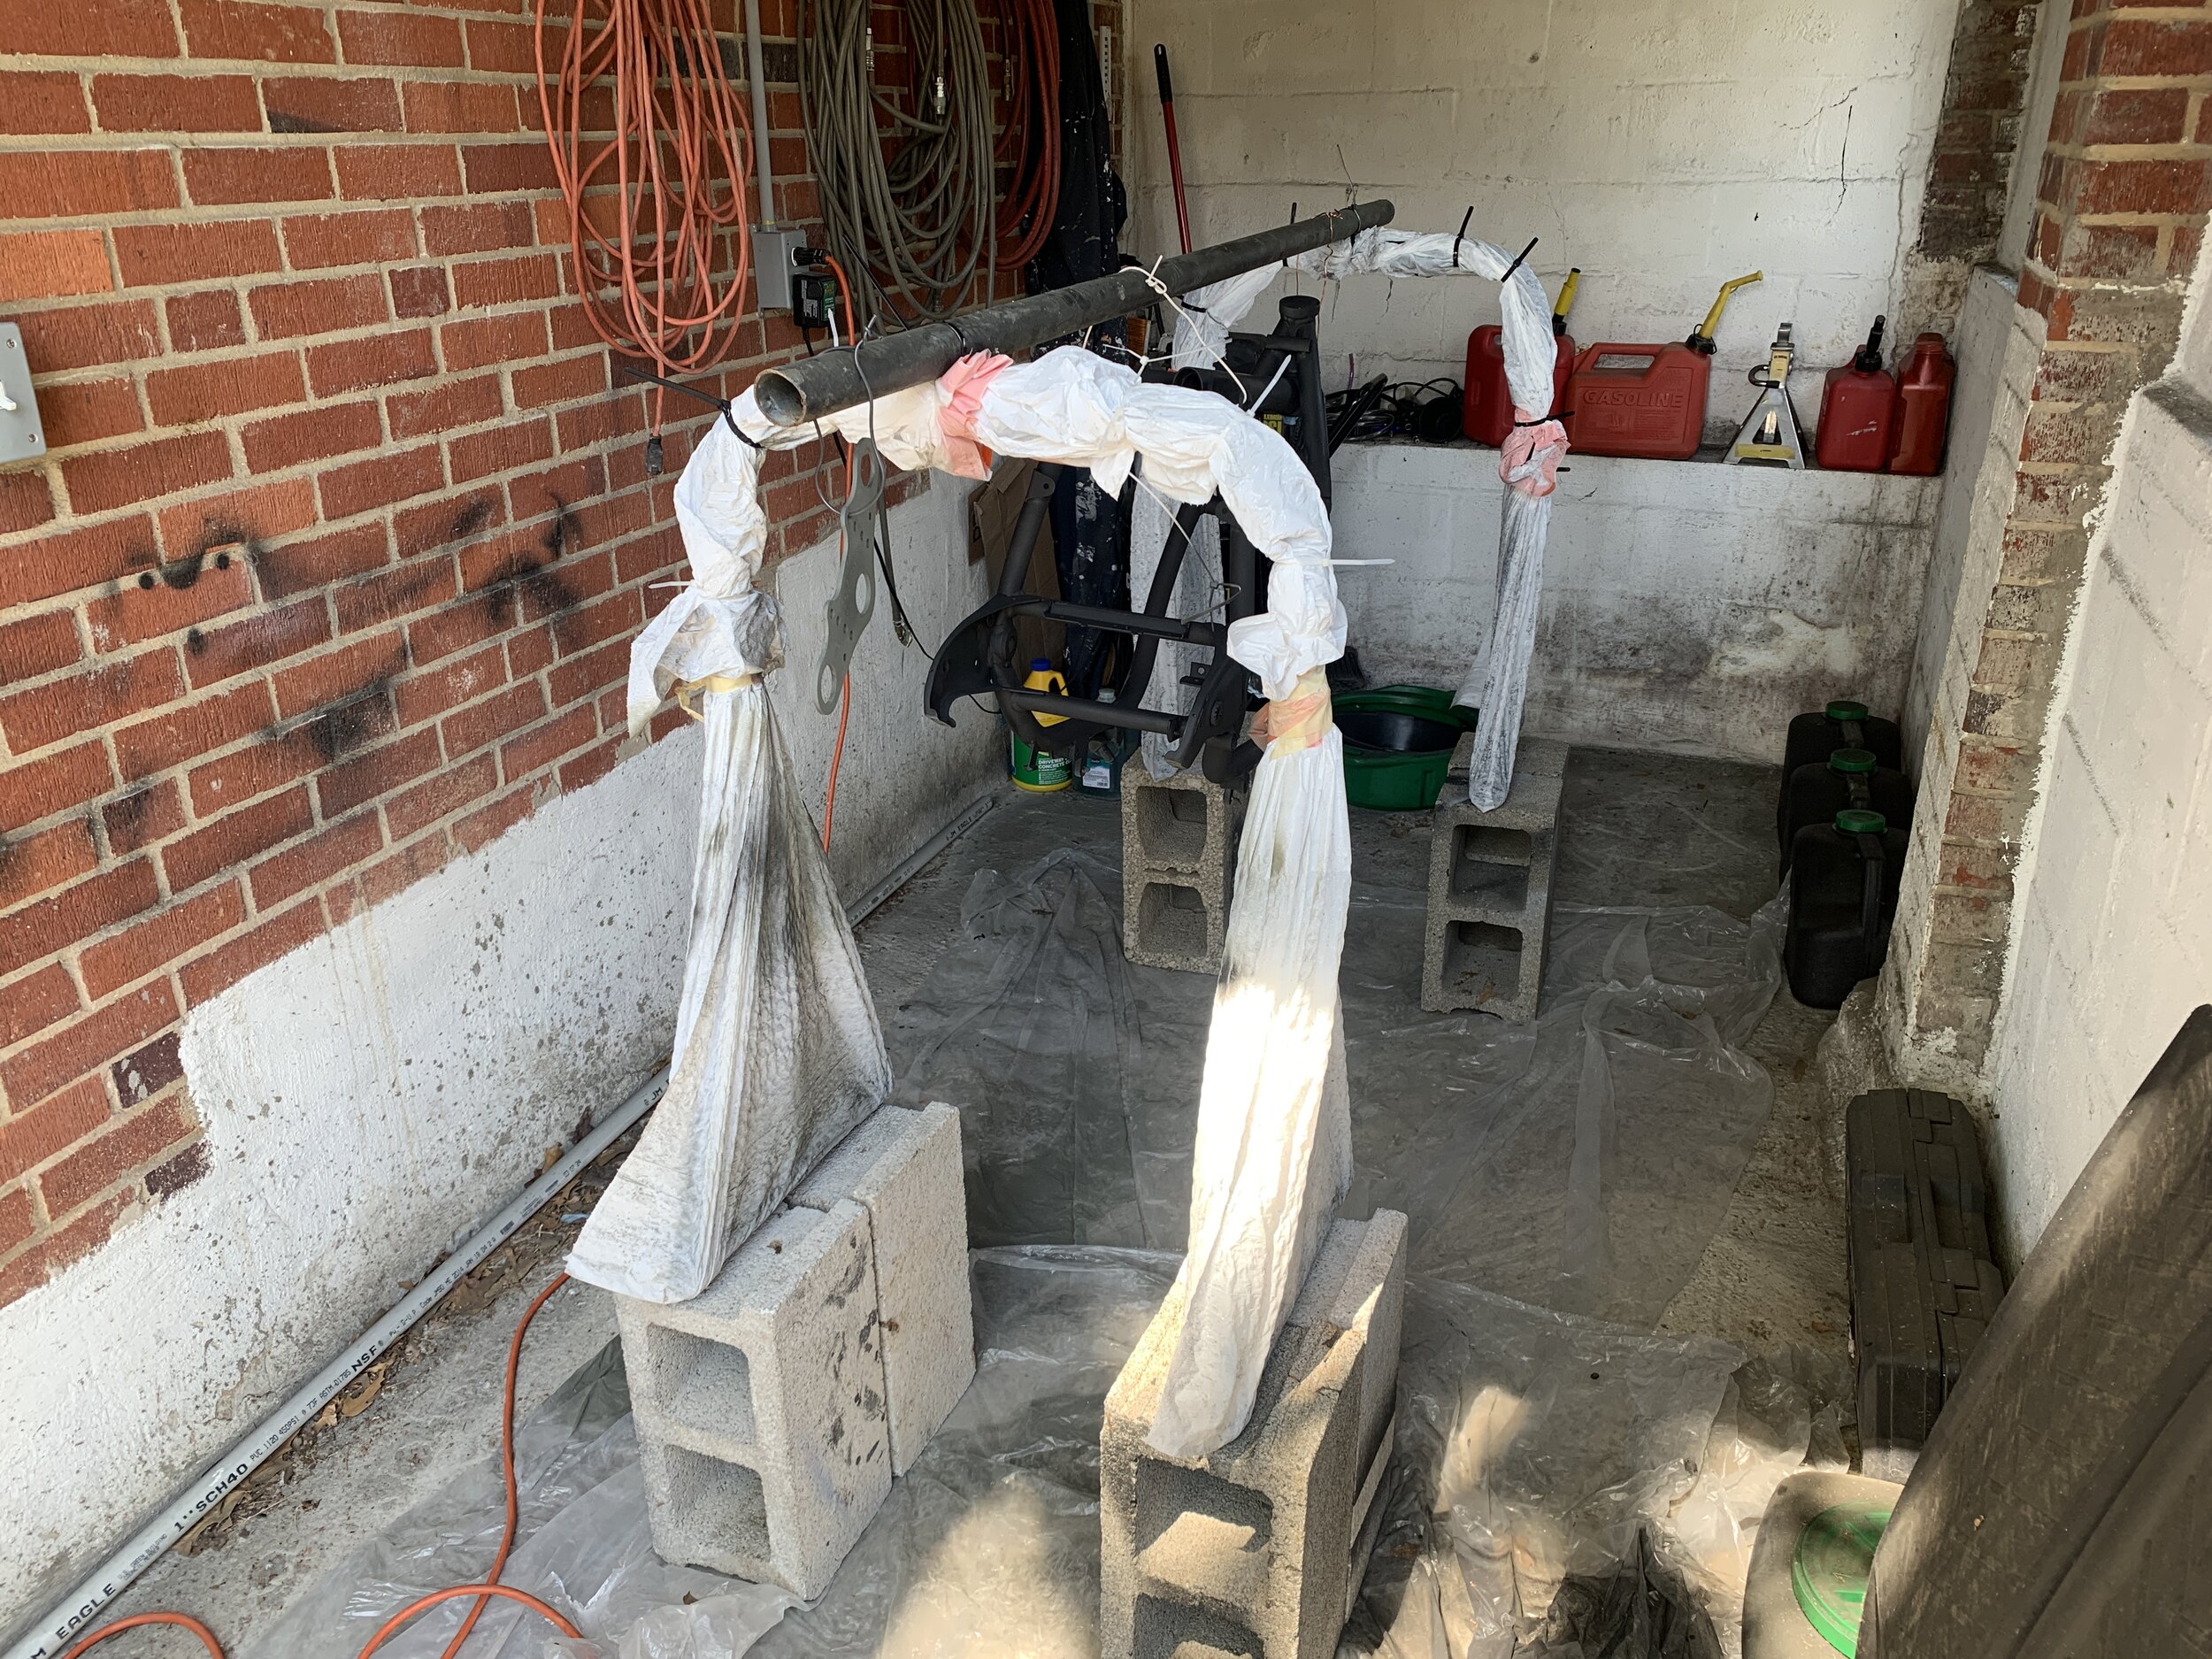
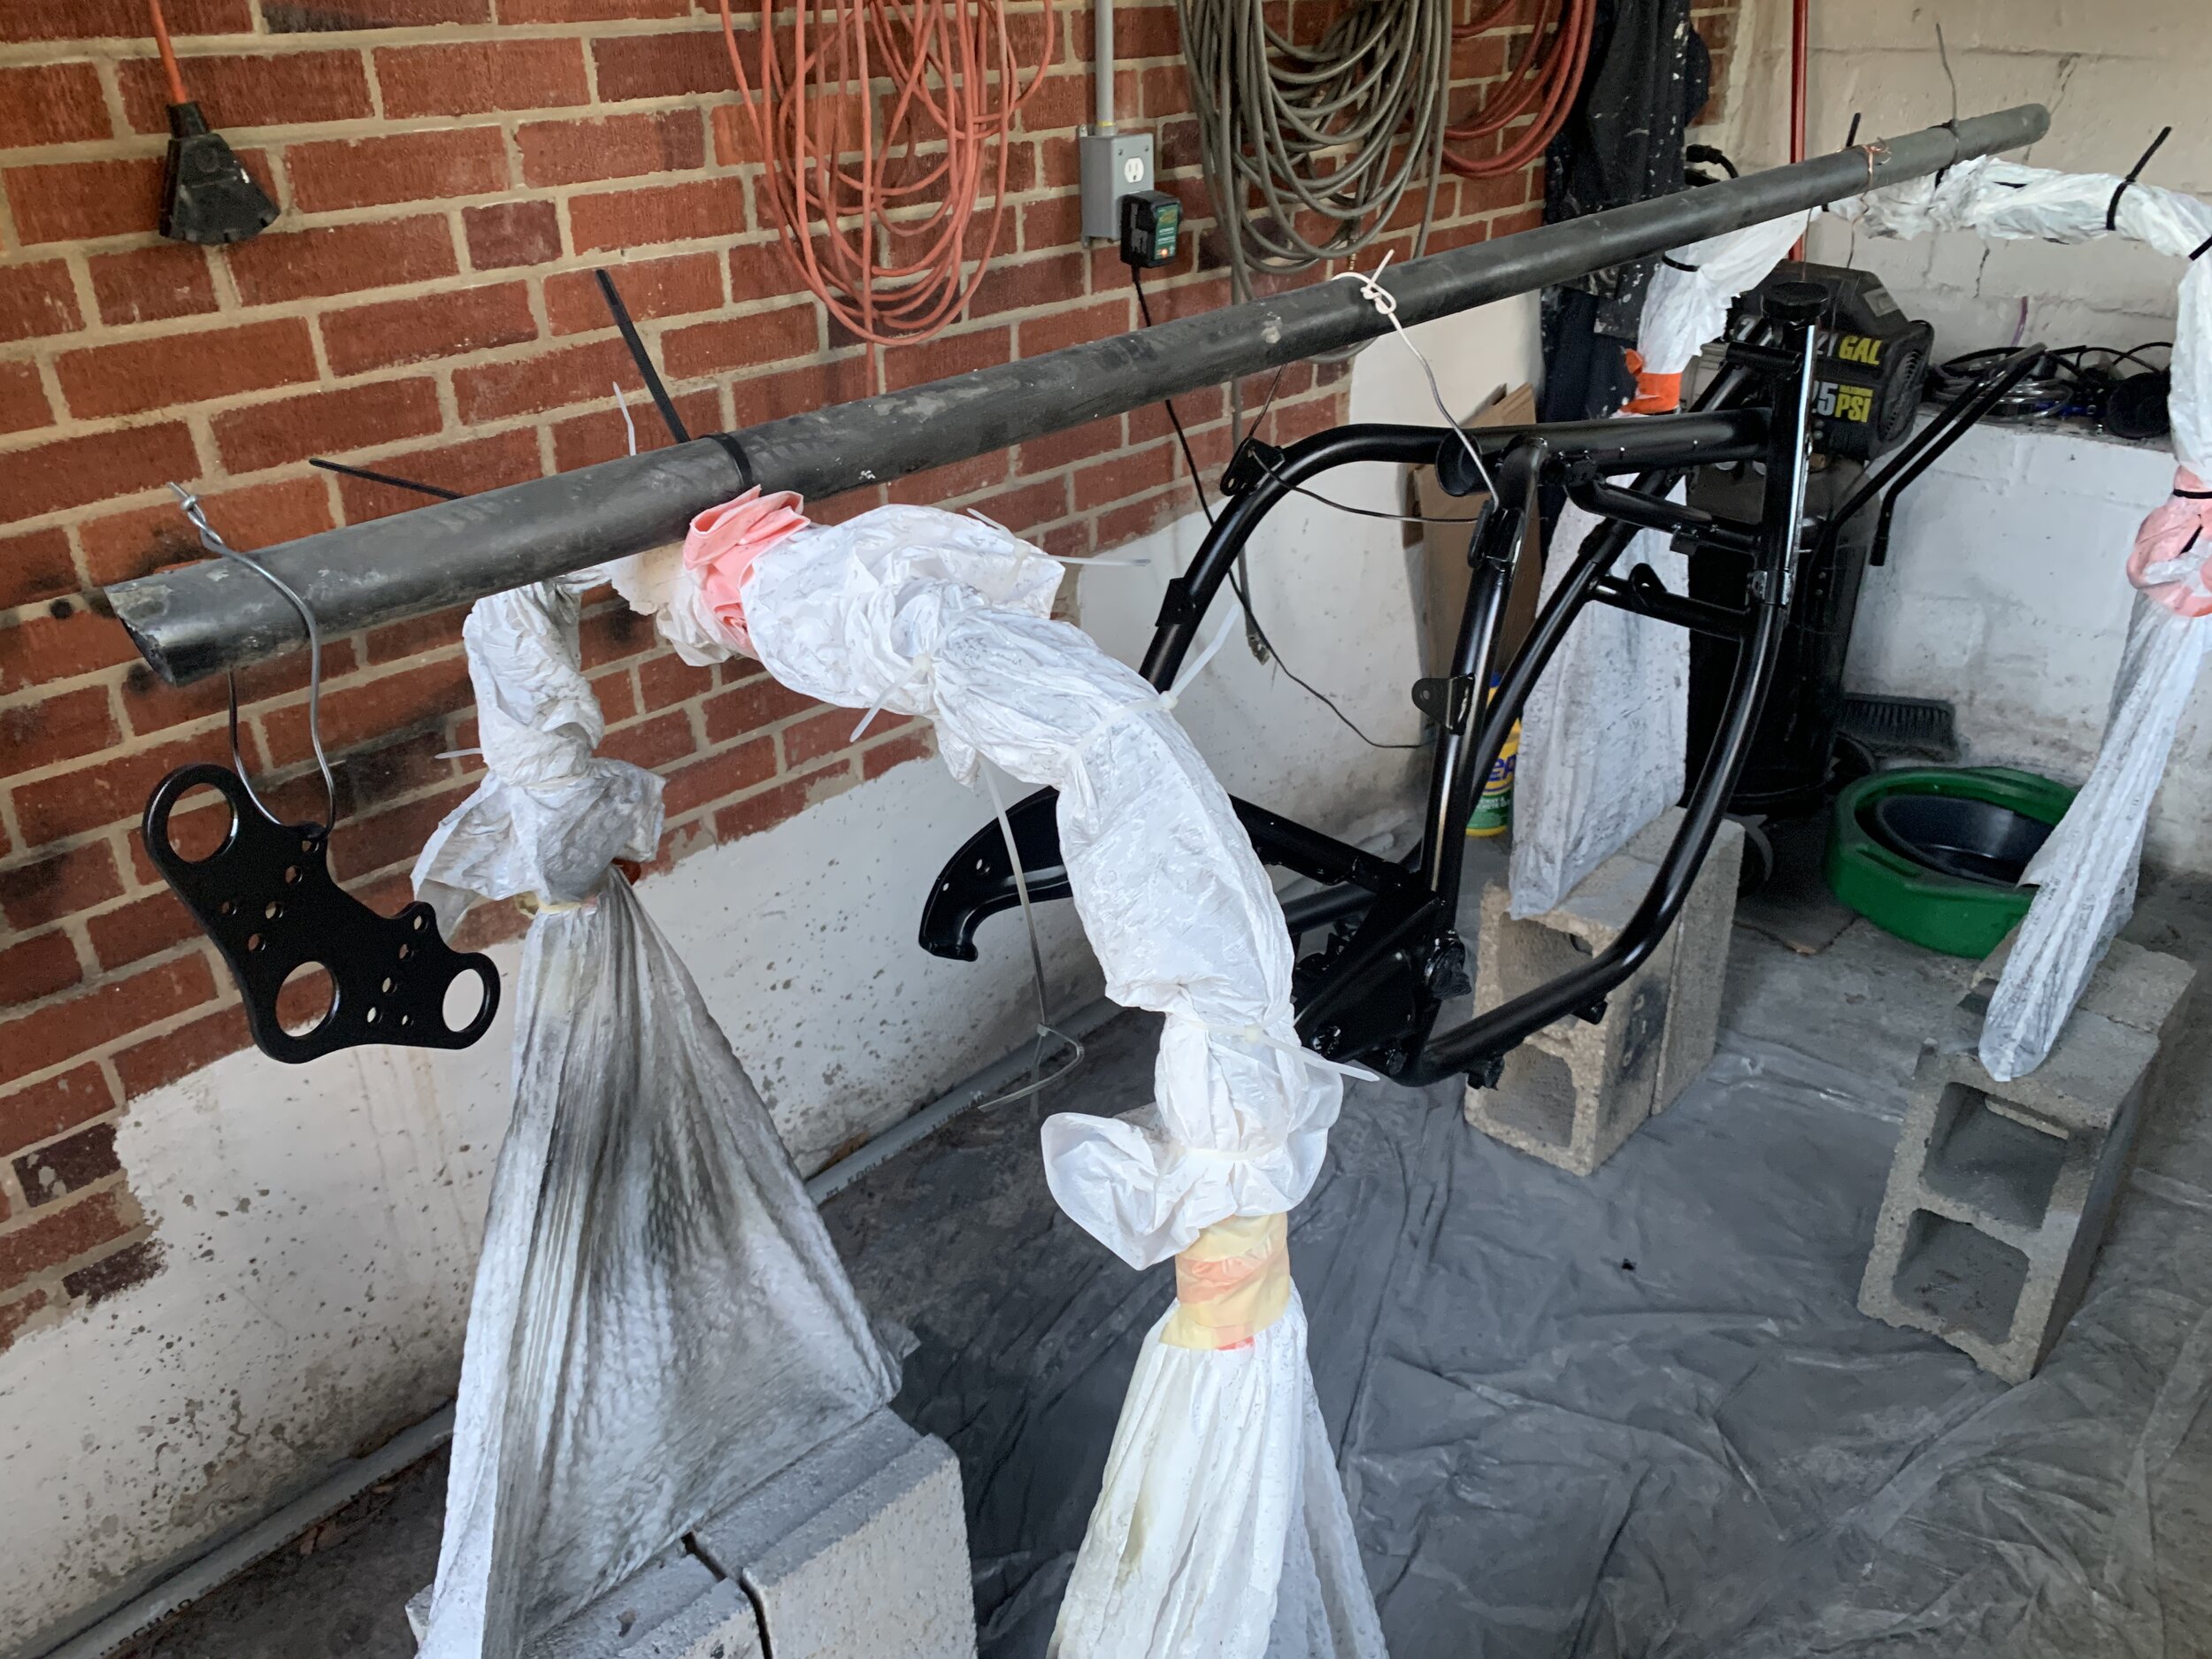
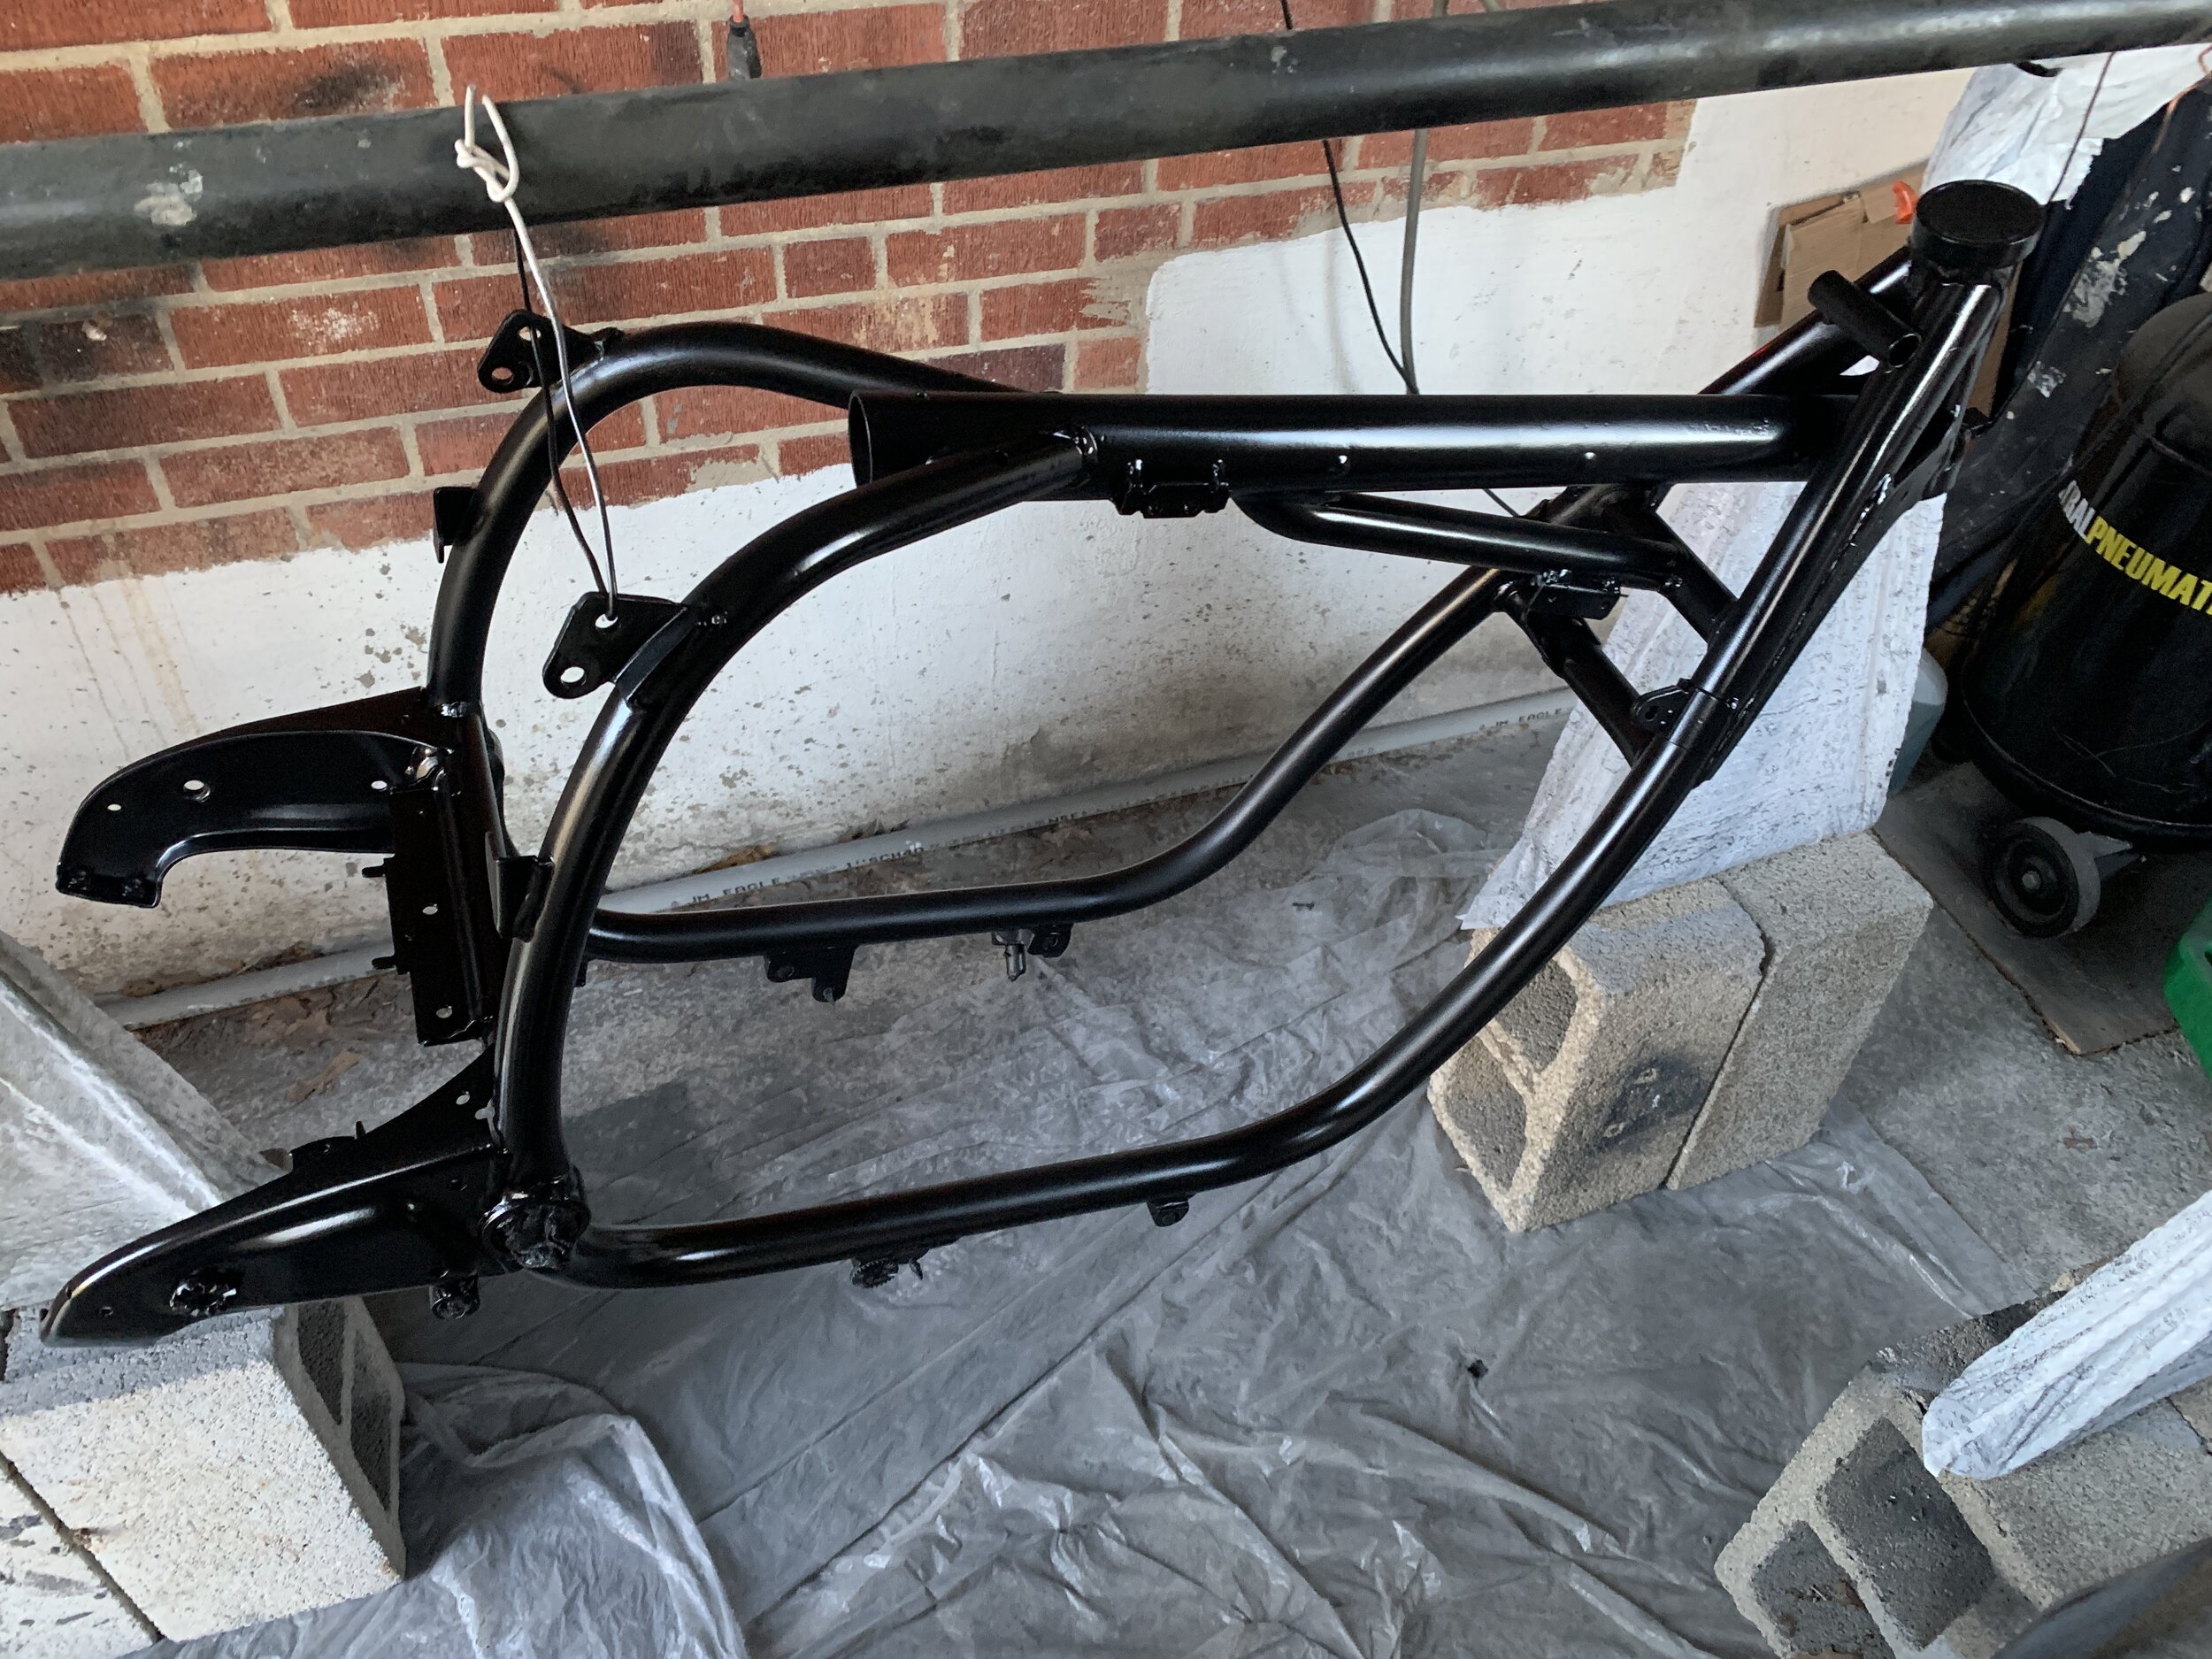
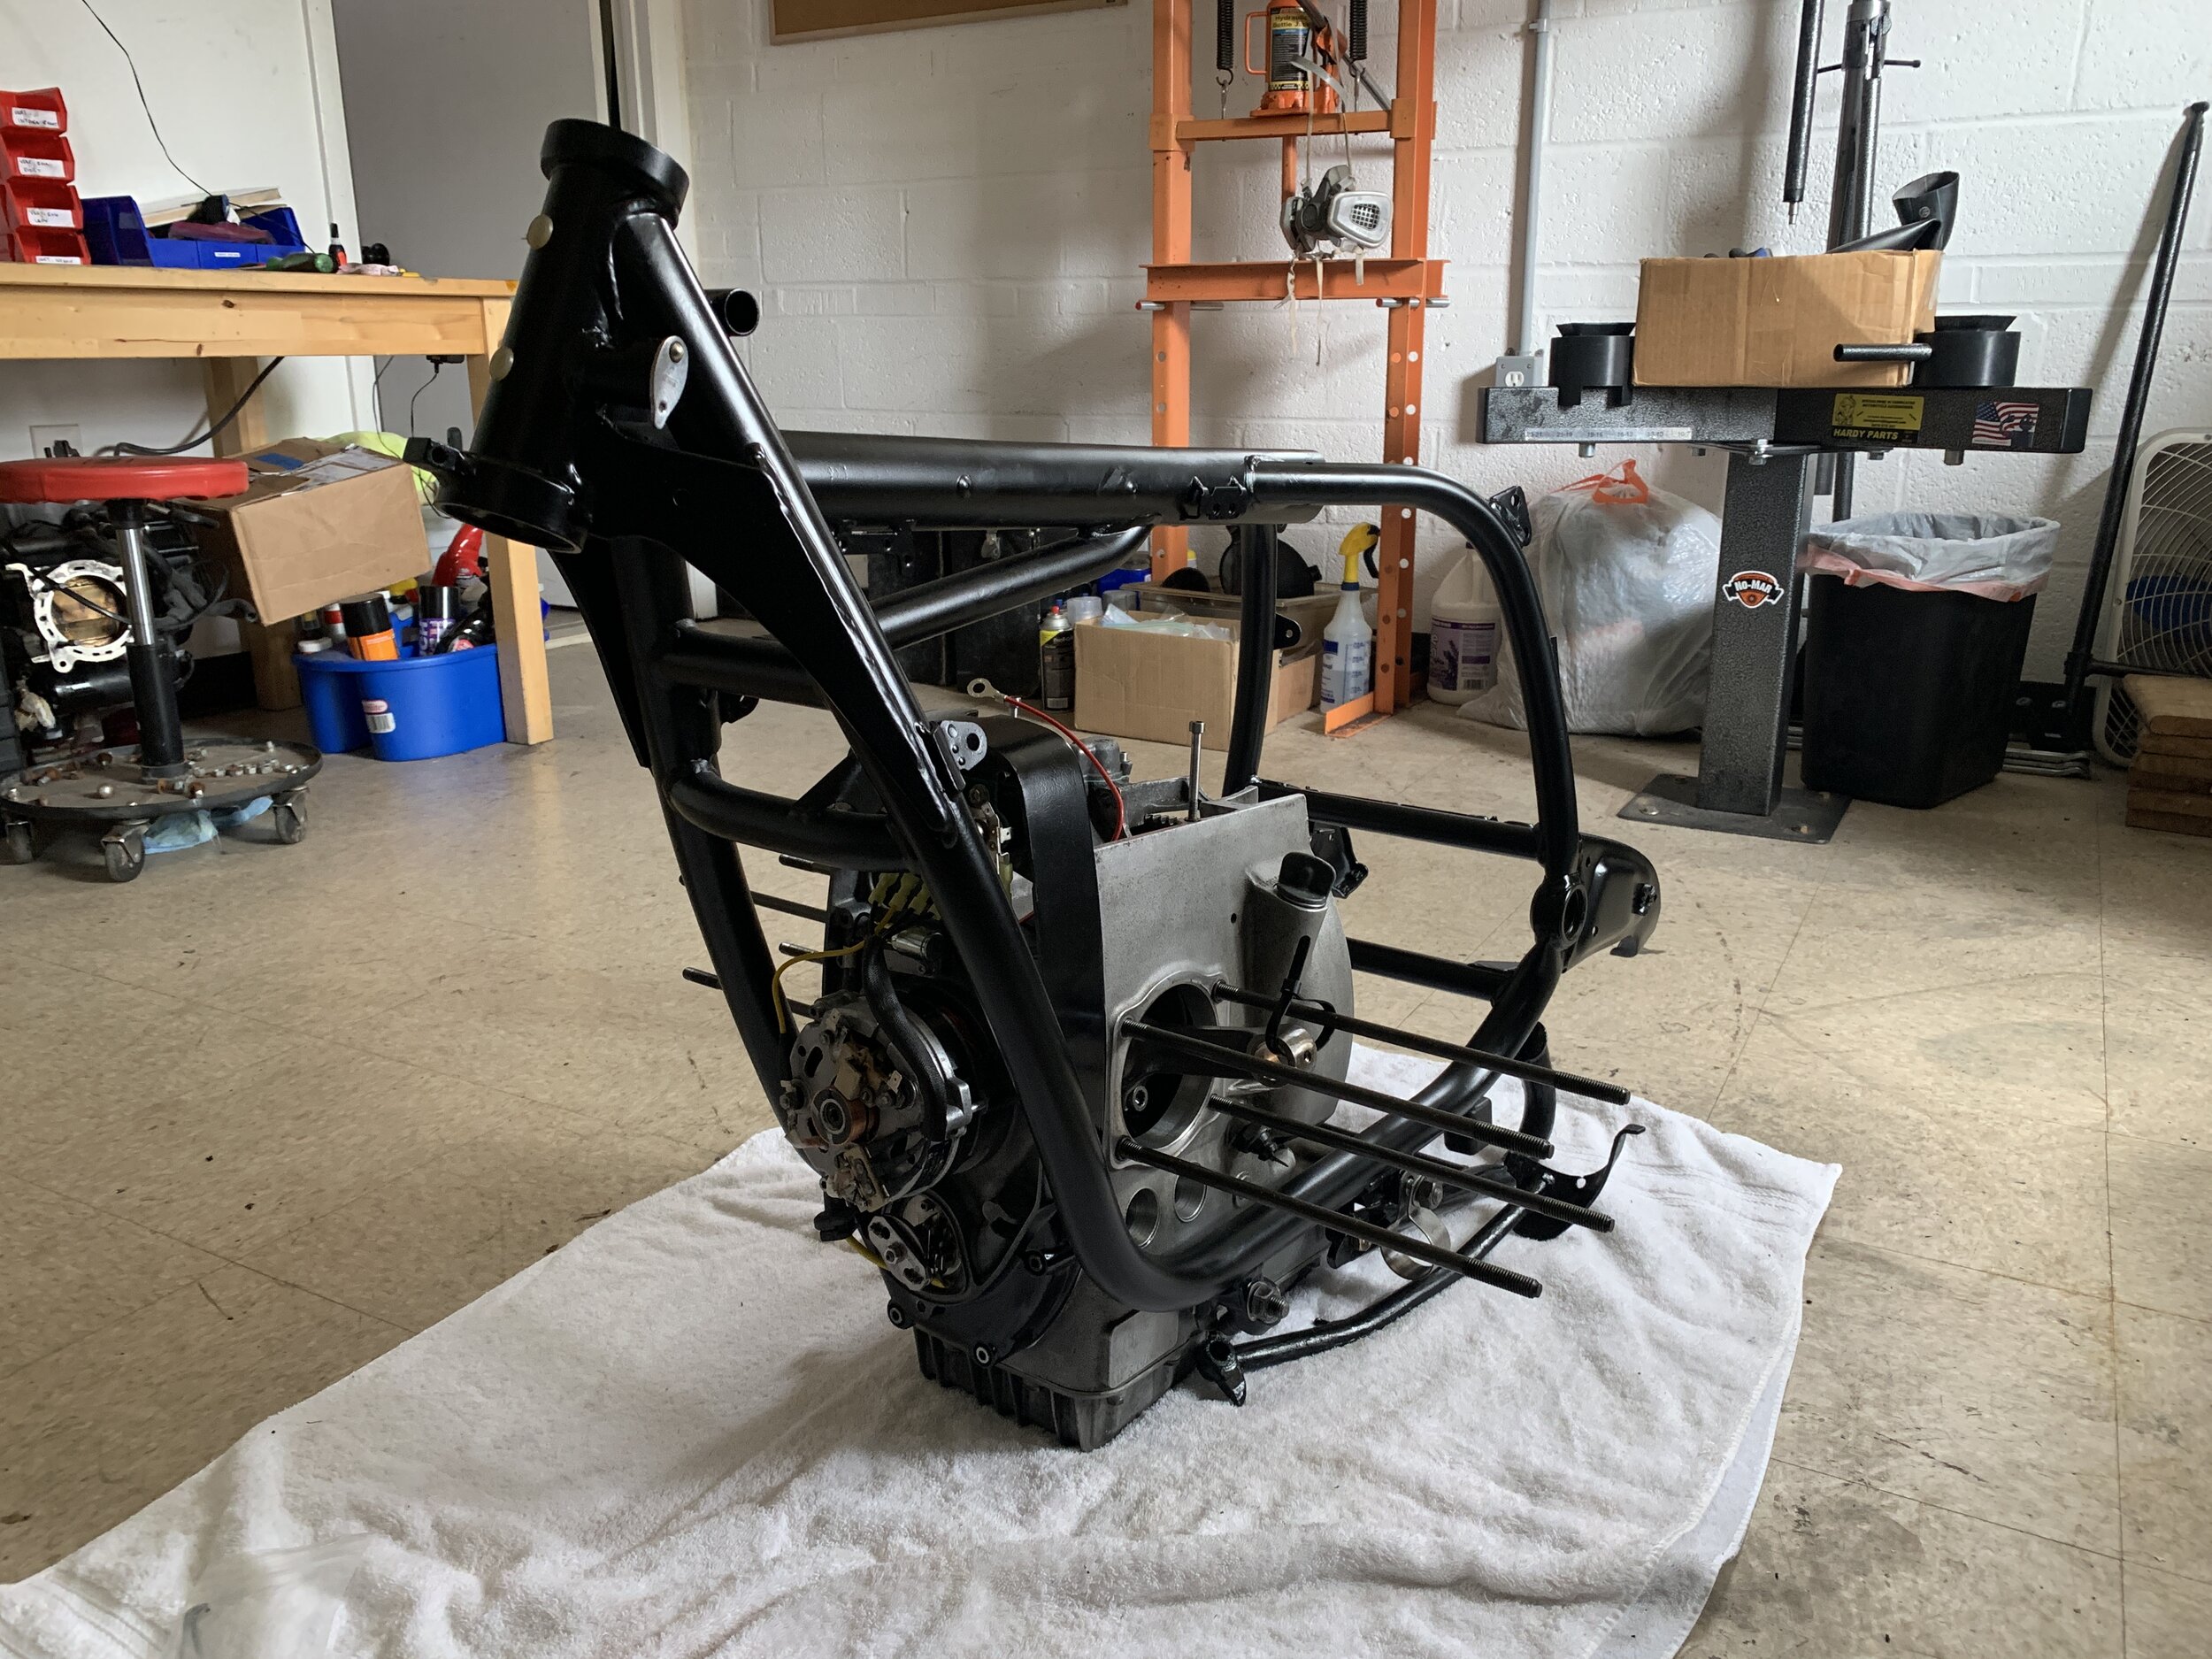
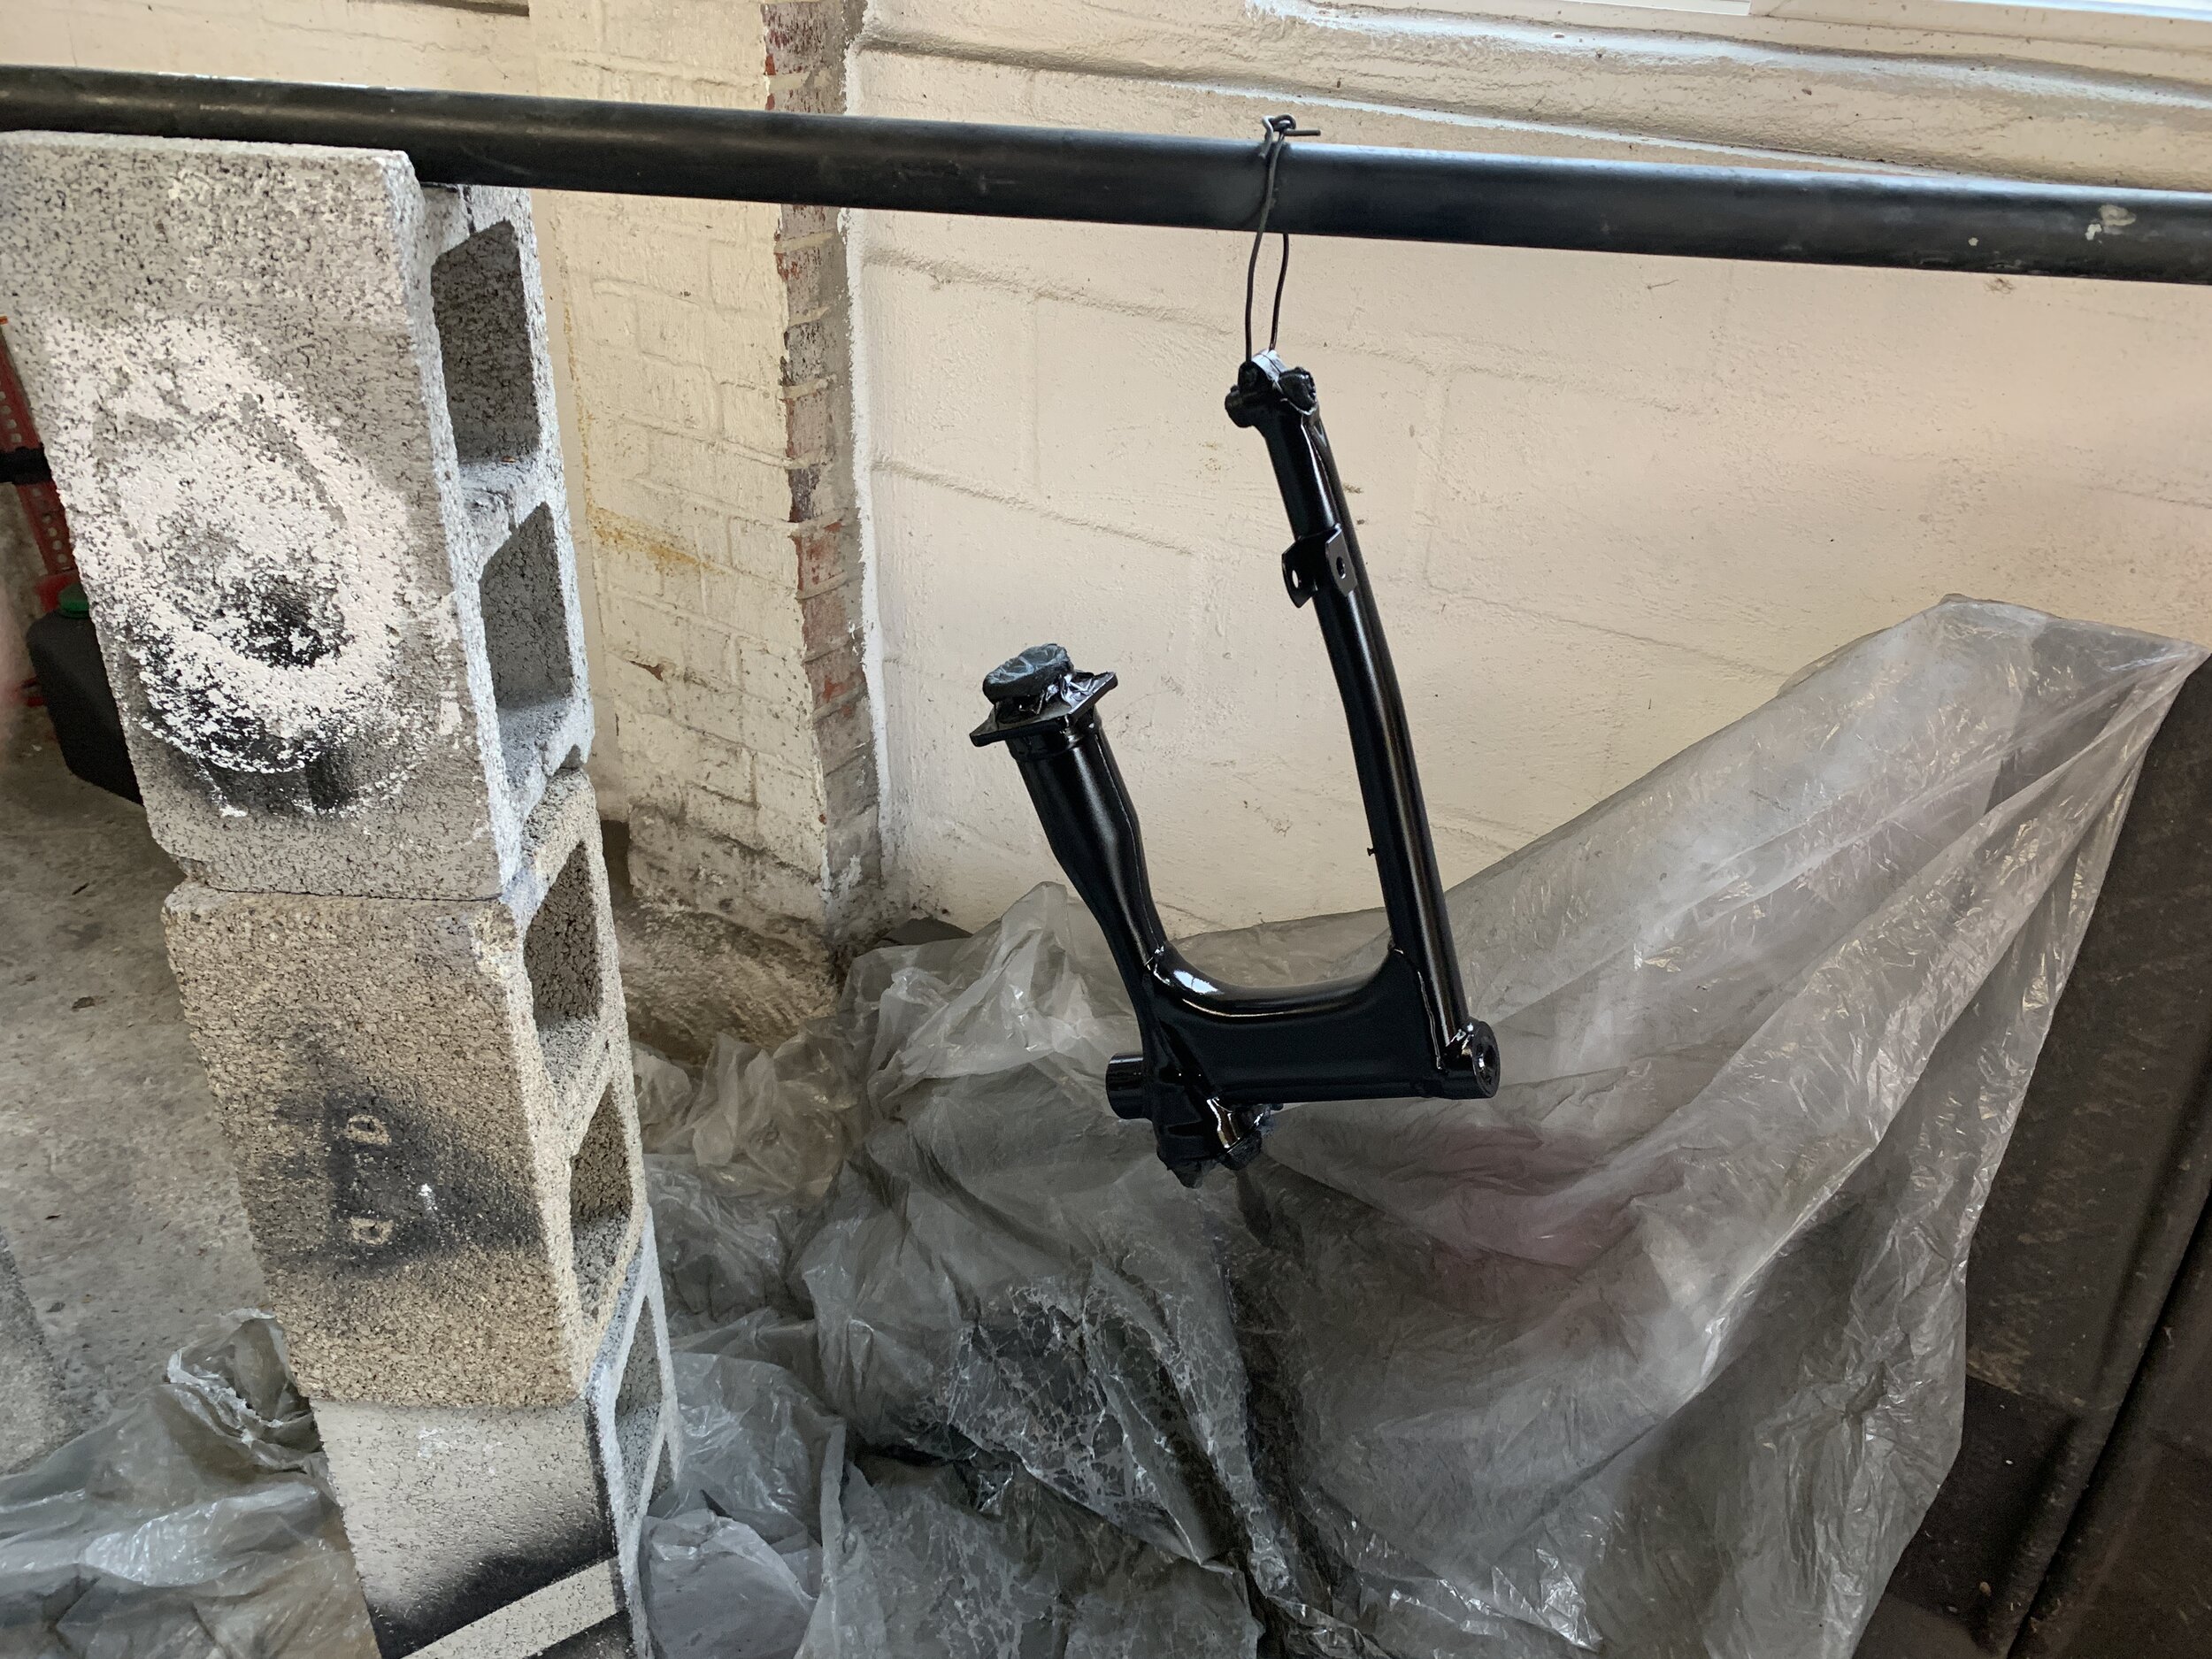
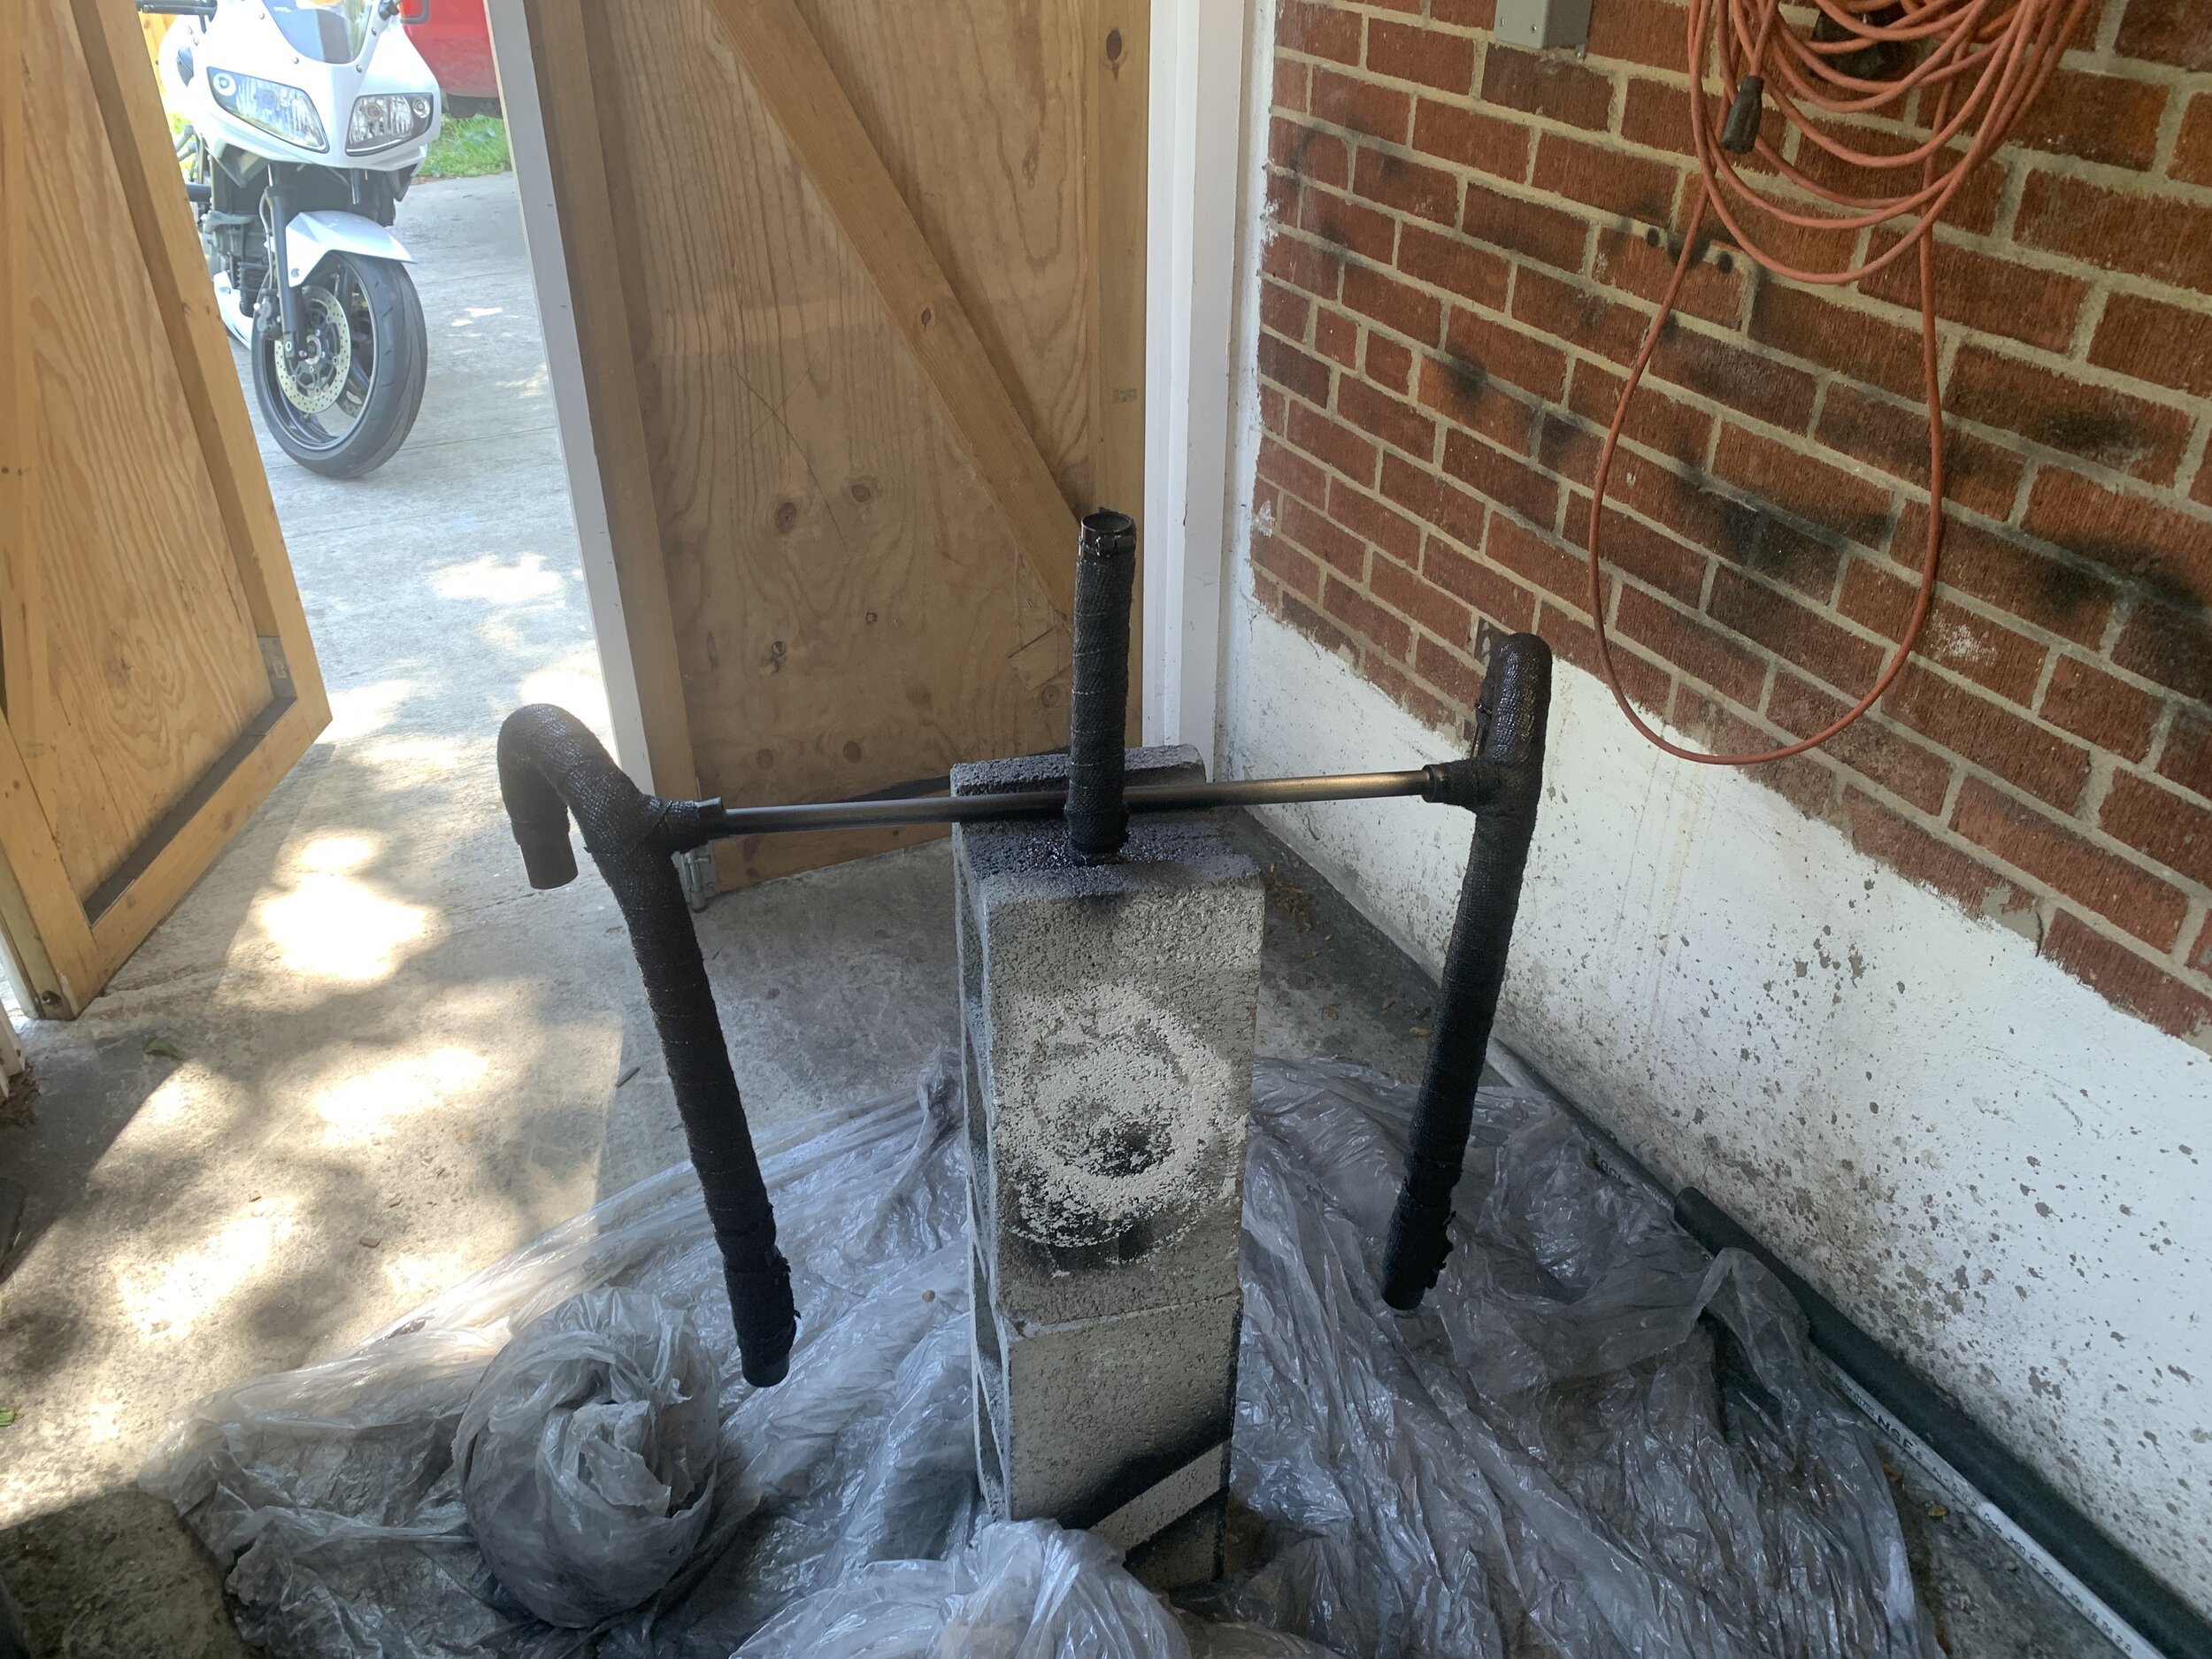
Next I worked on the frame, and found a common crack that seems to be from the center stand impact. Noah helped me weld the piece up and we grind it down and I started prepped and paint the frame. There was a lot of surface pitting and embedded rust for a 40 year old steel frame. The prep work took some time. The primer went on without a hitch, at first I started with the rustoleum flat black, high temperature paint. Then I discover its grey, not black. 7 dollars wasted. I heated dried the paint with a torch and then wet sanded the frame before spraying it with VHT engine satin black. Looks a lot better.


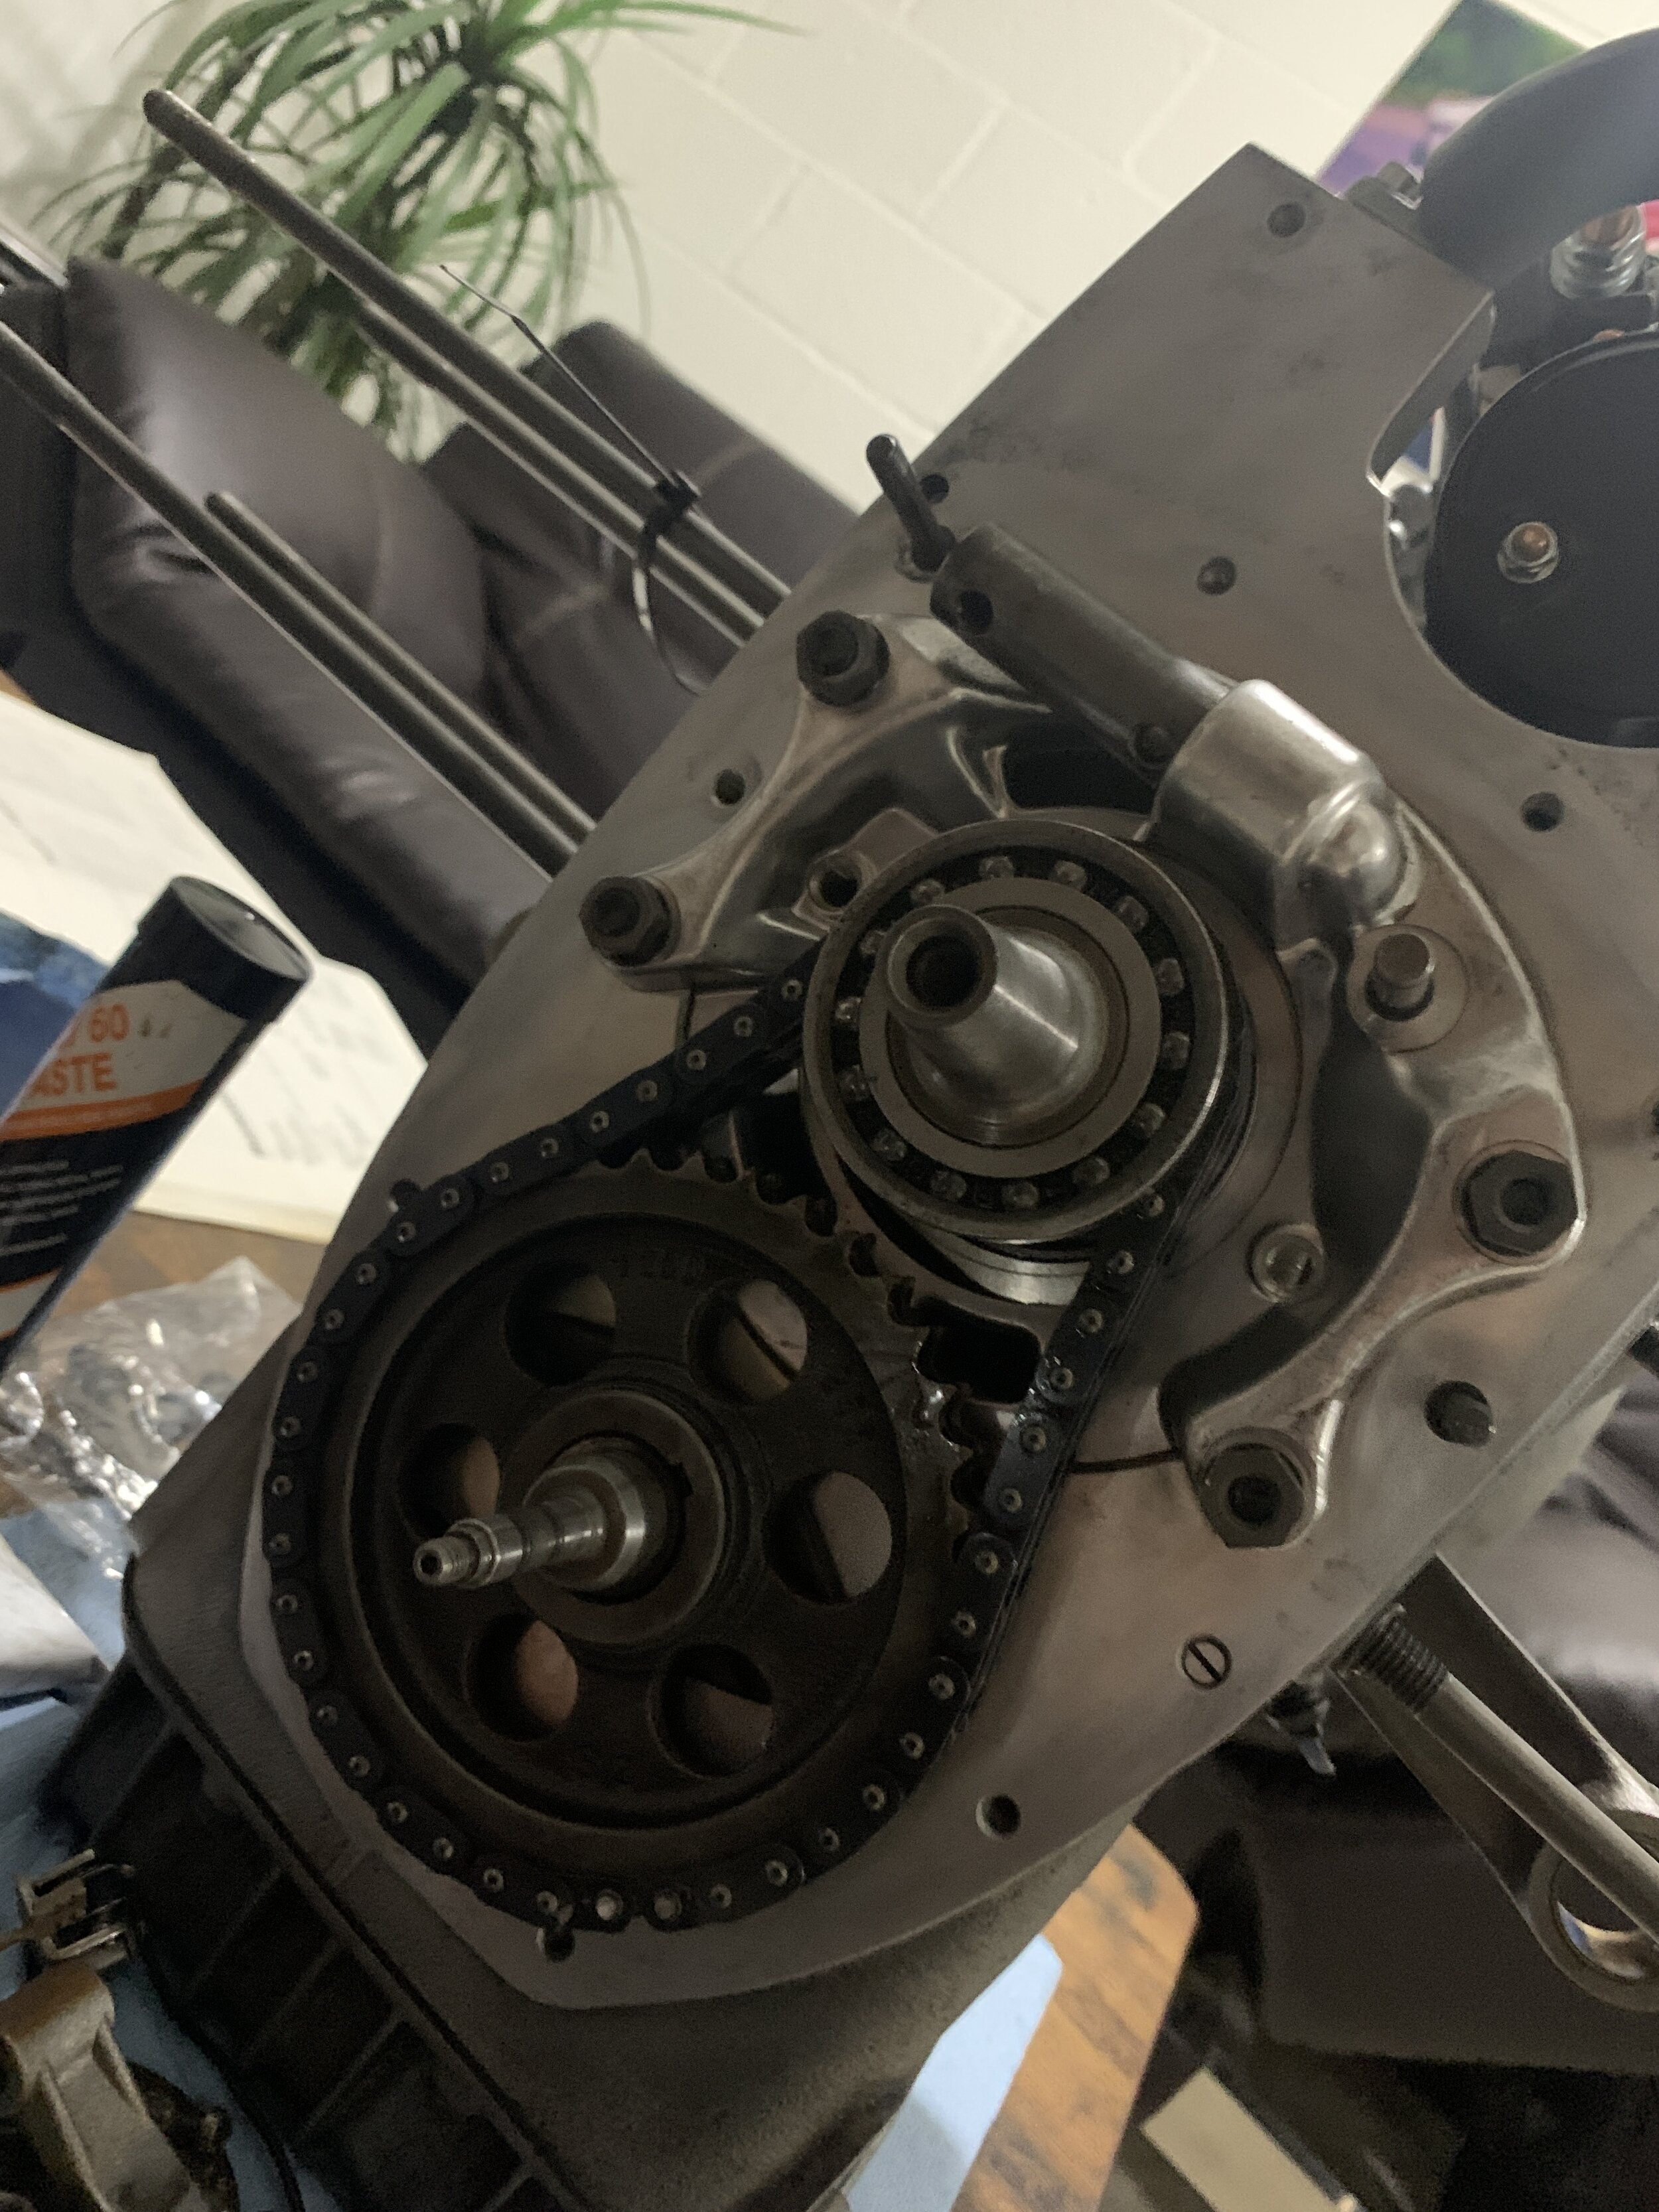
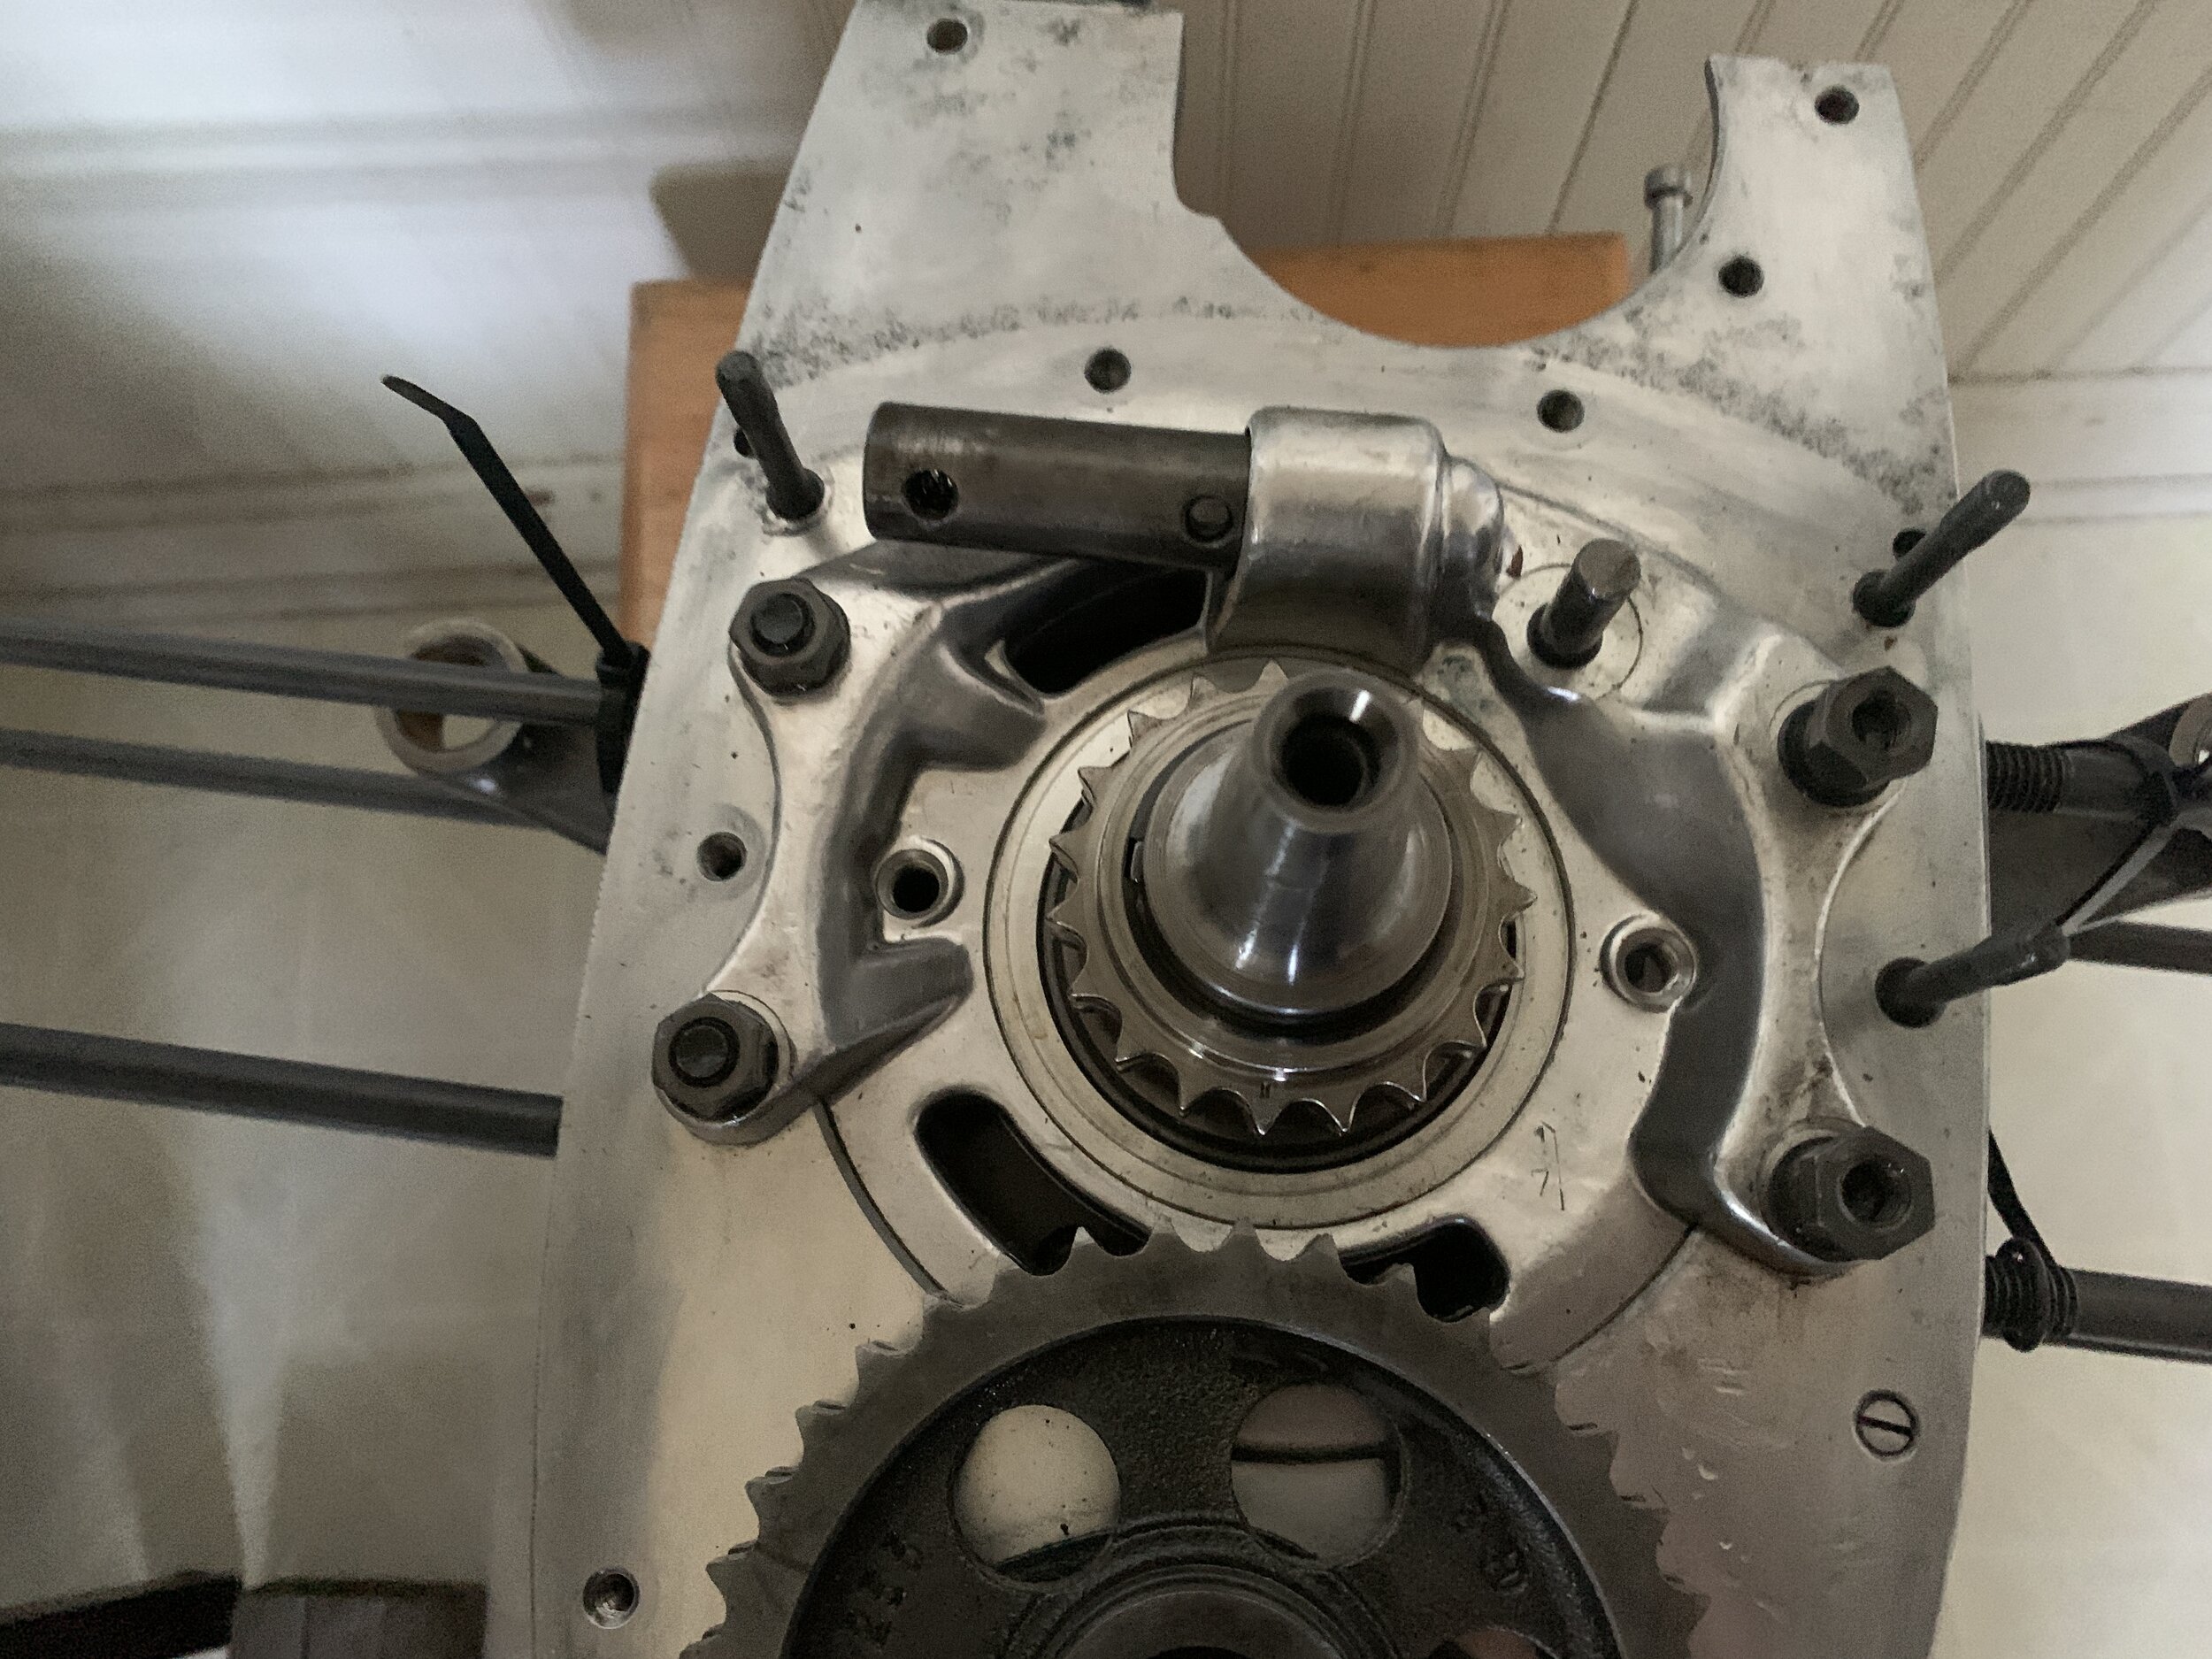
The chain and sprocket arrived. The sprocket removal was bear, I borrowed a very heavy duty 3 jaw puller my brother had from the shop, and with some heat and other persuasion it came off. Installing the new sprocket was also a huge undertaking. People (people online) have suggested that heated the sprocket up that the sprocket would simply slip on, FALSE. I made one attempt and it was stock half way and I pulled it out with the old chain around the sprocket and luckily there was no damage. Next I found my crank puller tool which happen to be the perfect size and with the proper hollow middle to use a drift. Good thing I did not have to buy another 150 dollar special tool. Heated up the sprocket slid on halfway, and 3 hammer tap/ hit and the sprocket sat in without any drama. The top bearing also went on the same with with the drift tool, and that only took 2 taps and went on flush. The chain and tensioner went on easily.
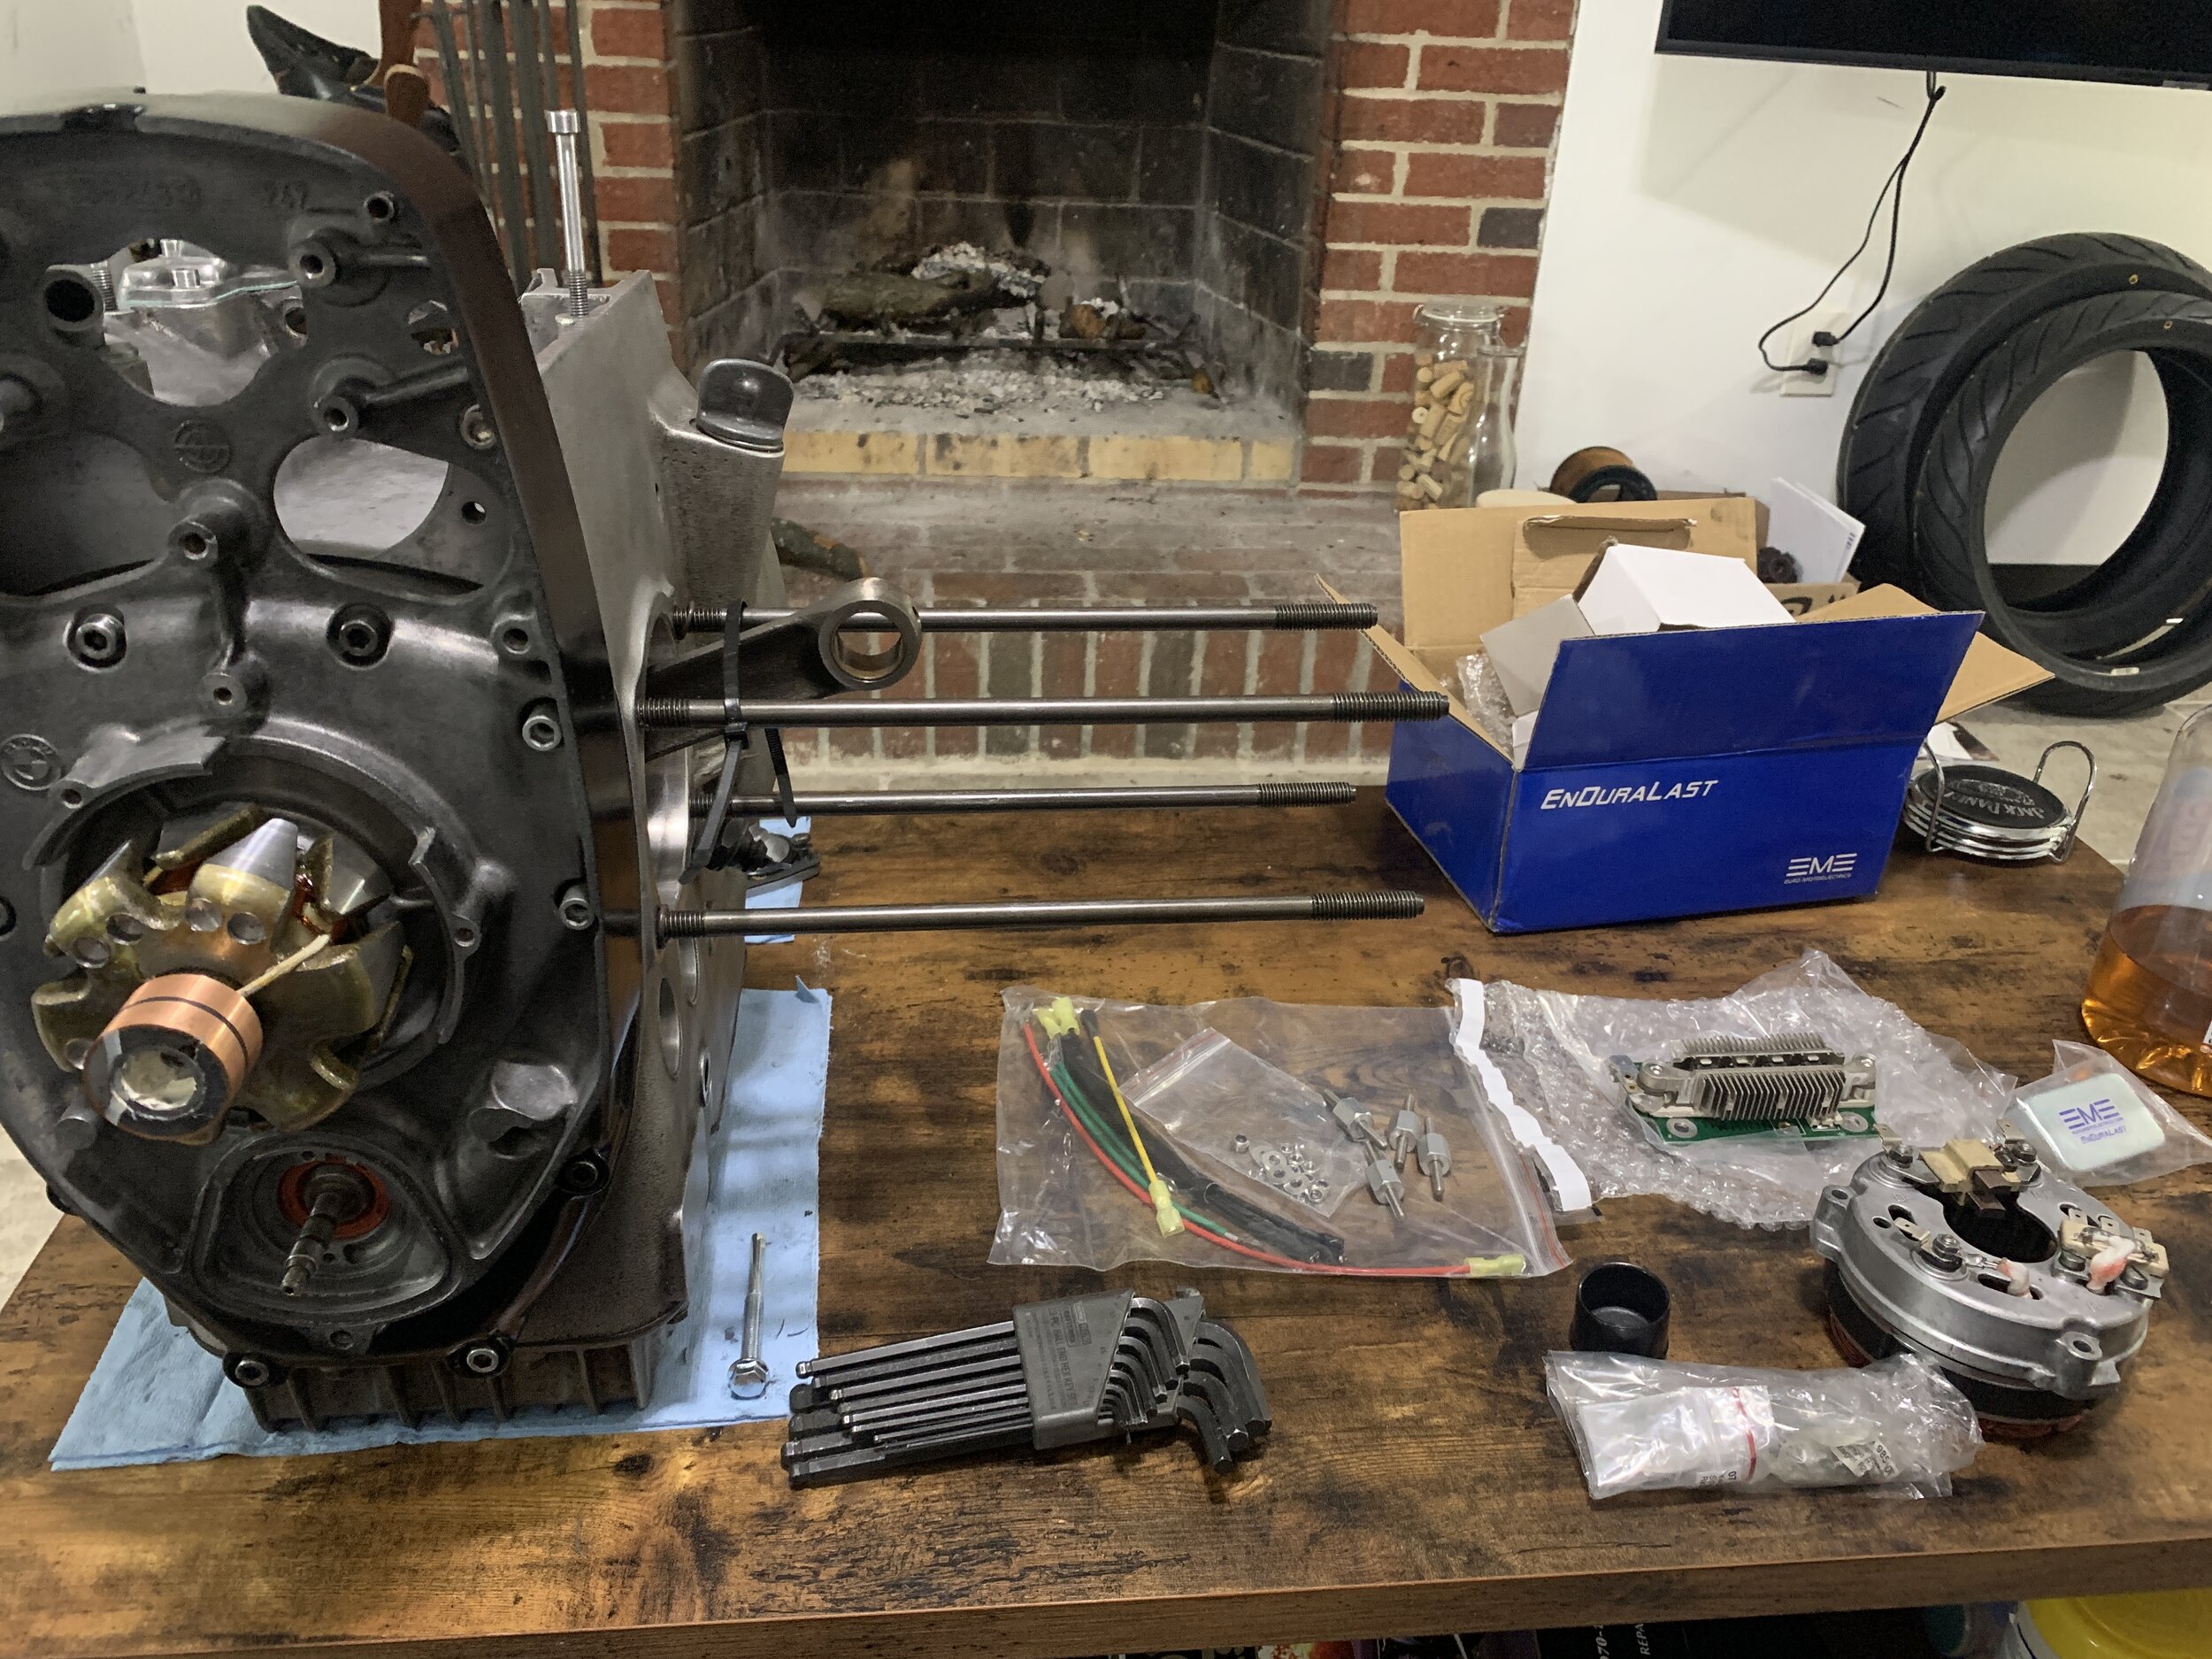
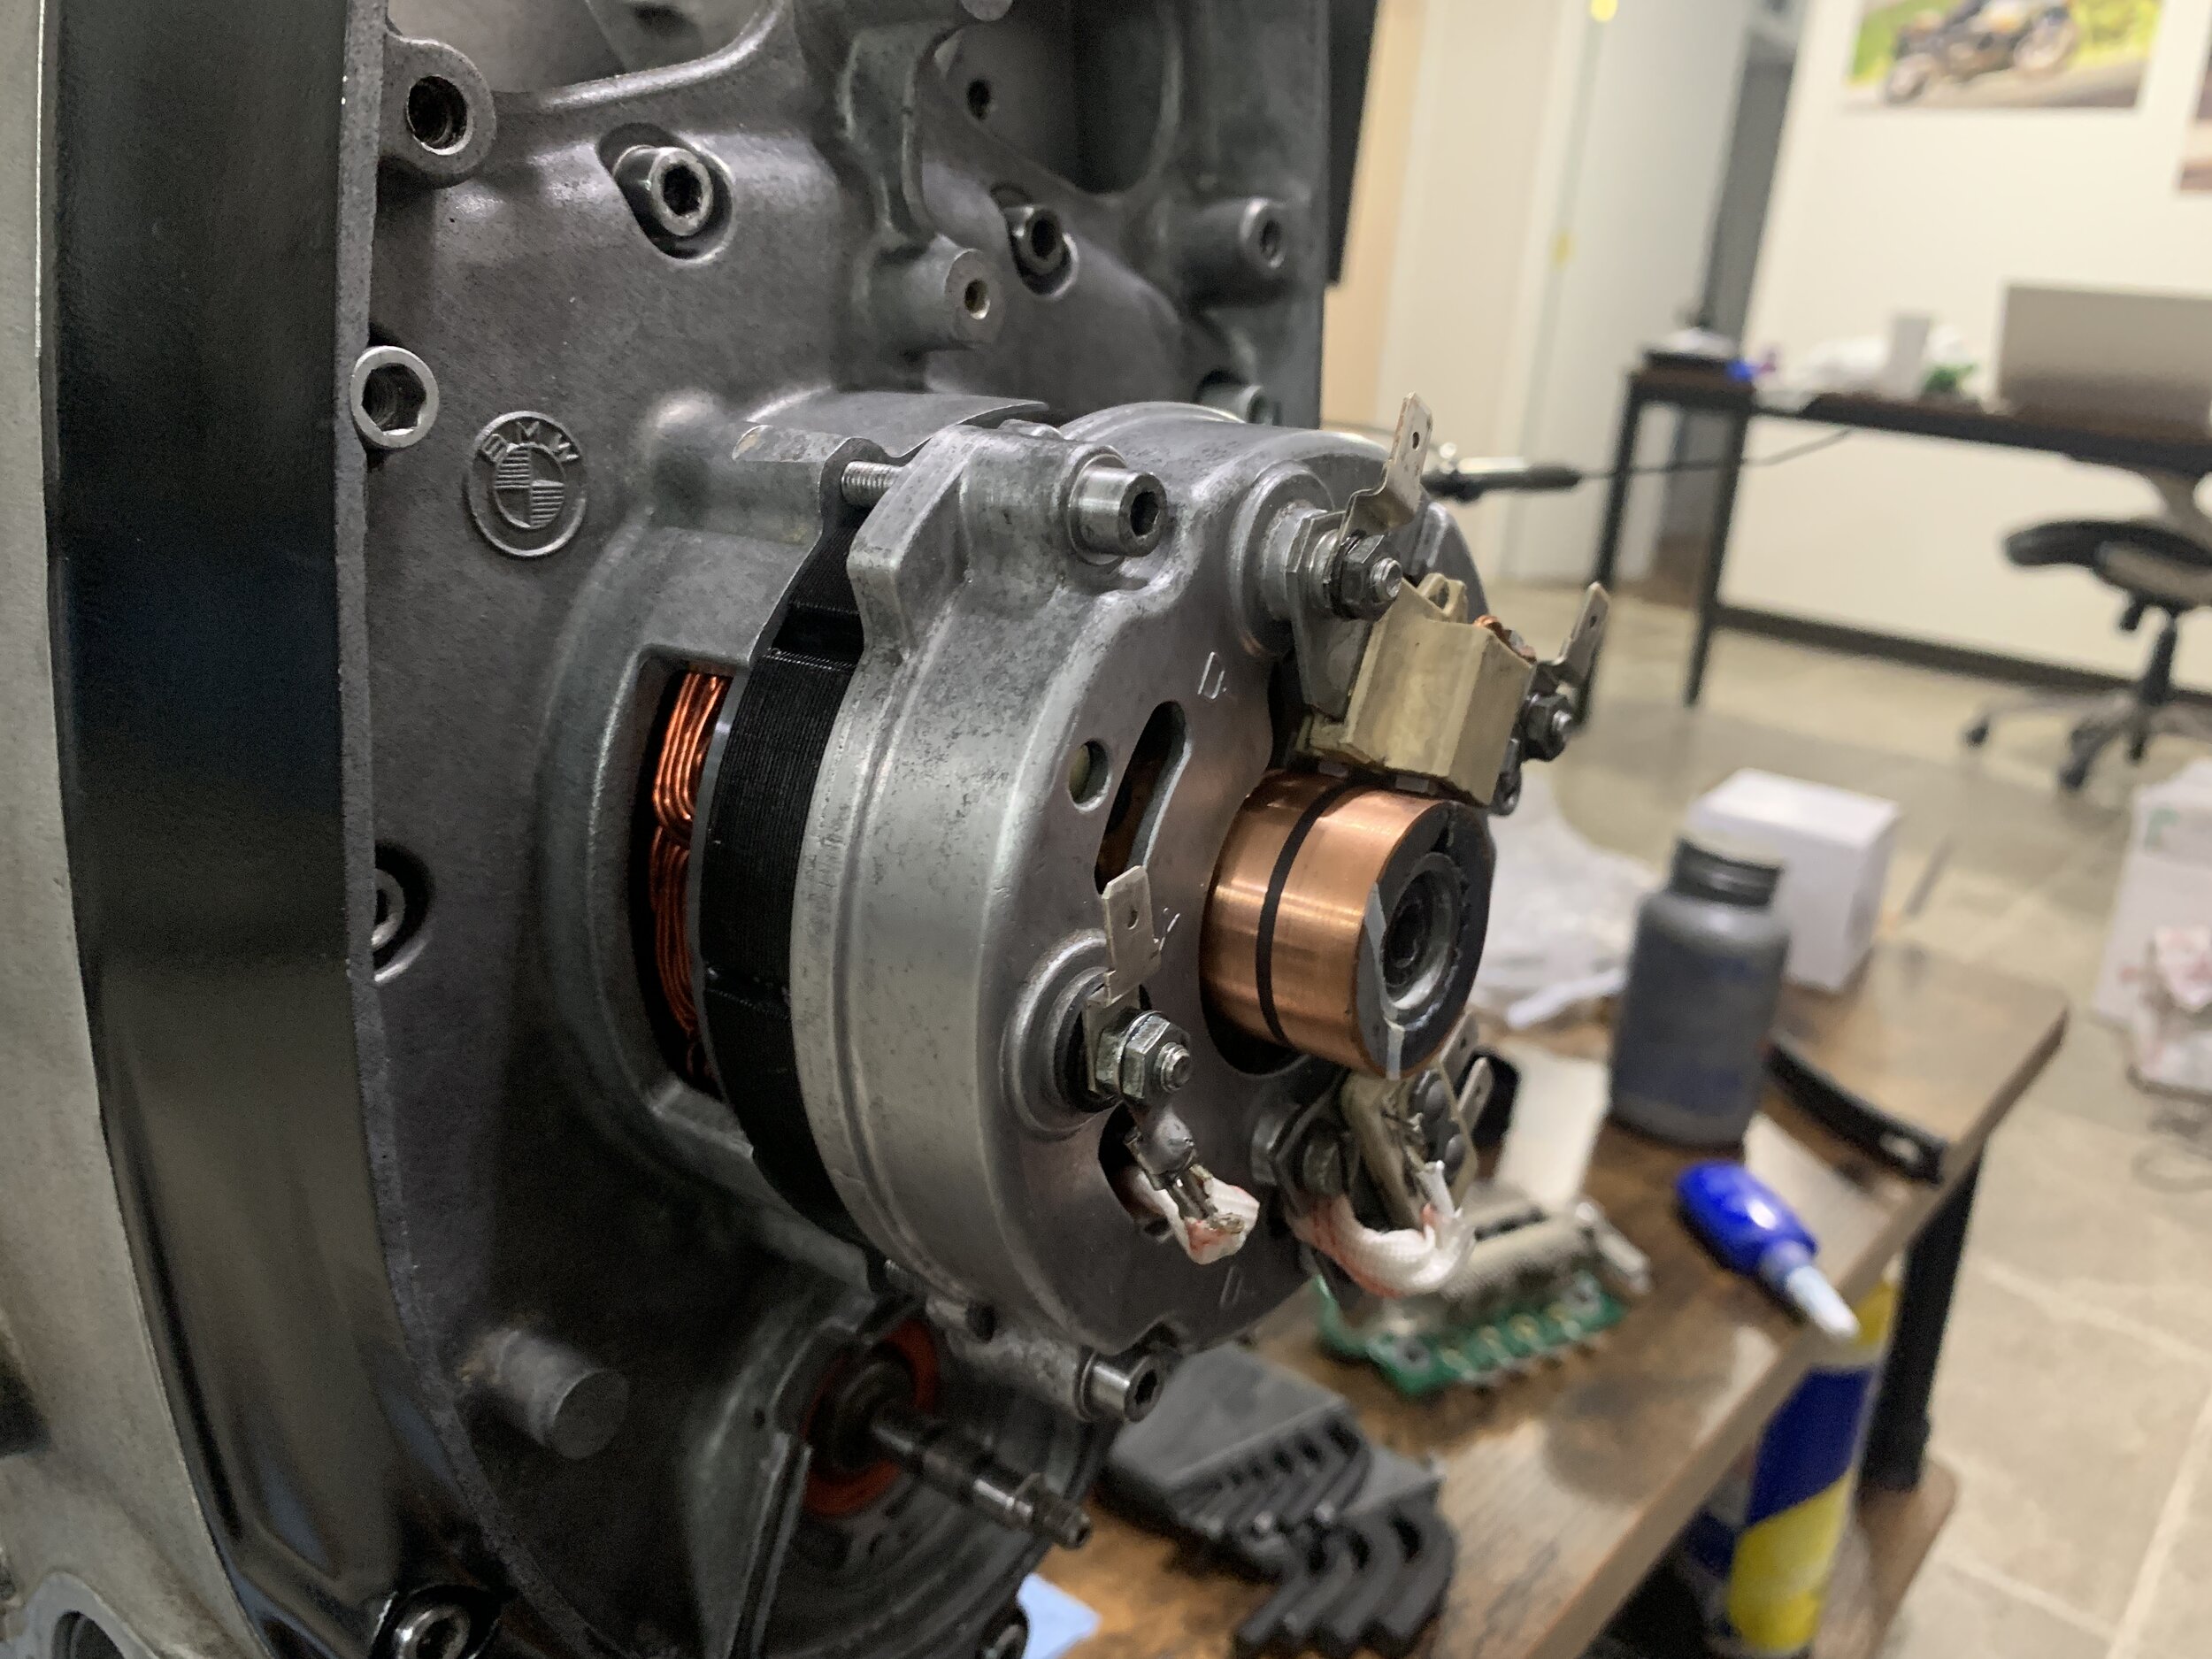
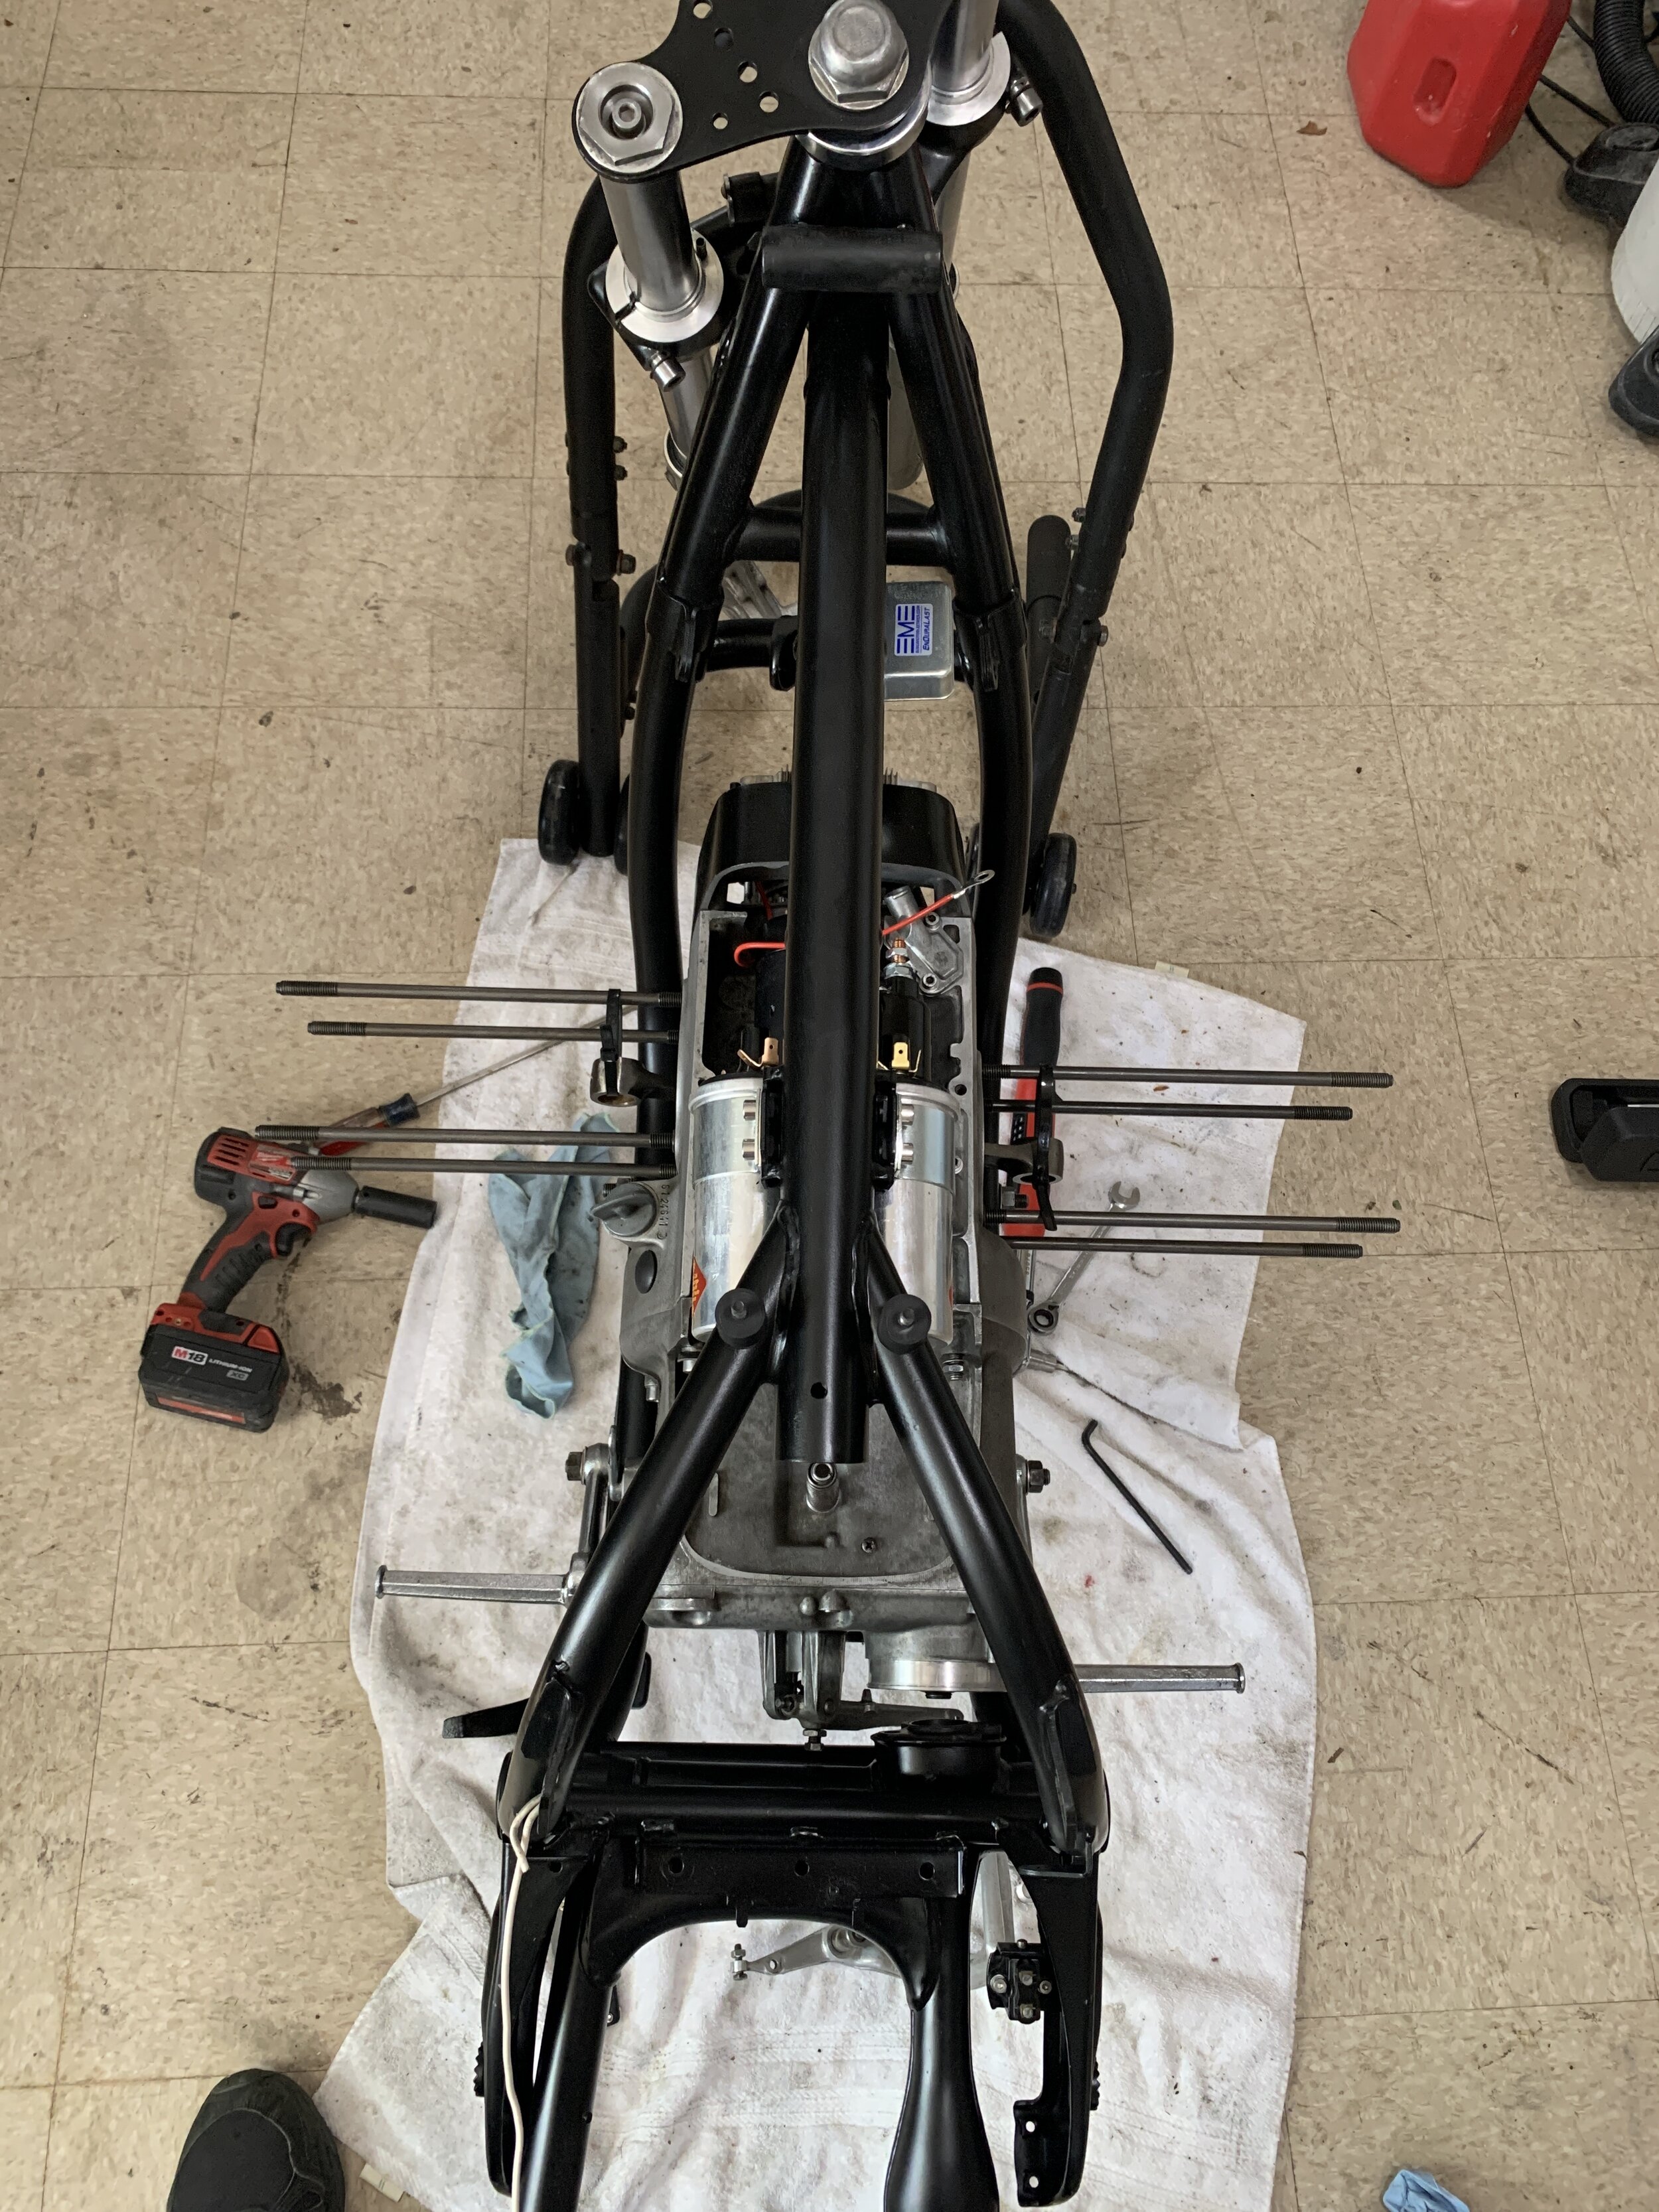
Next I install the Enduralast 400 watt charging upgrade. My old alternator was literally falling apart flaking apart as I took it off the motor. The cover however is in good condition. I was able to salvage all the component and install all the hardware. I also found gasket for the oil pickup. A little bit of leaning and the motor is almost ready to be dropped into the frame.
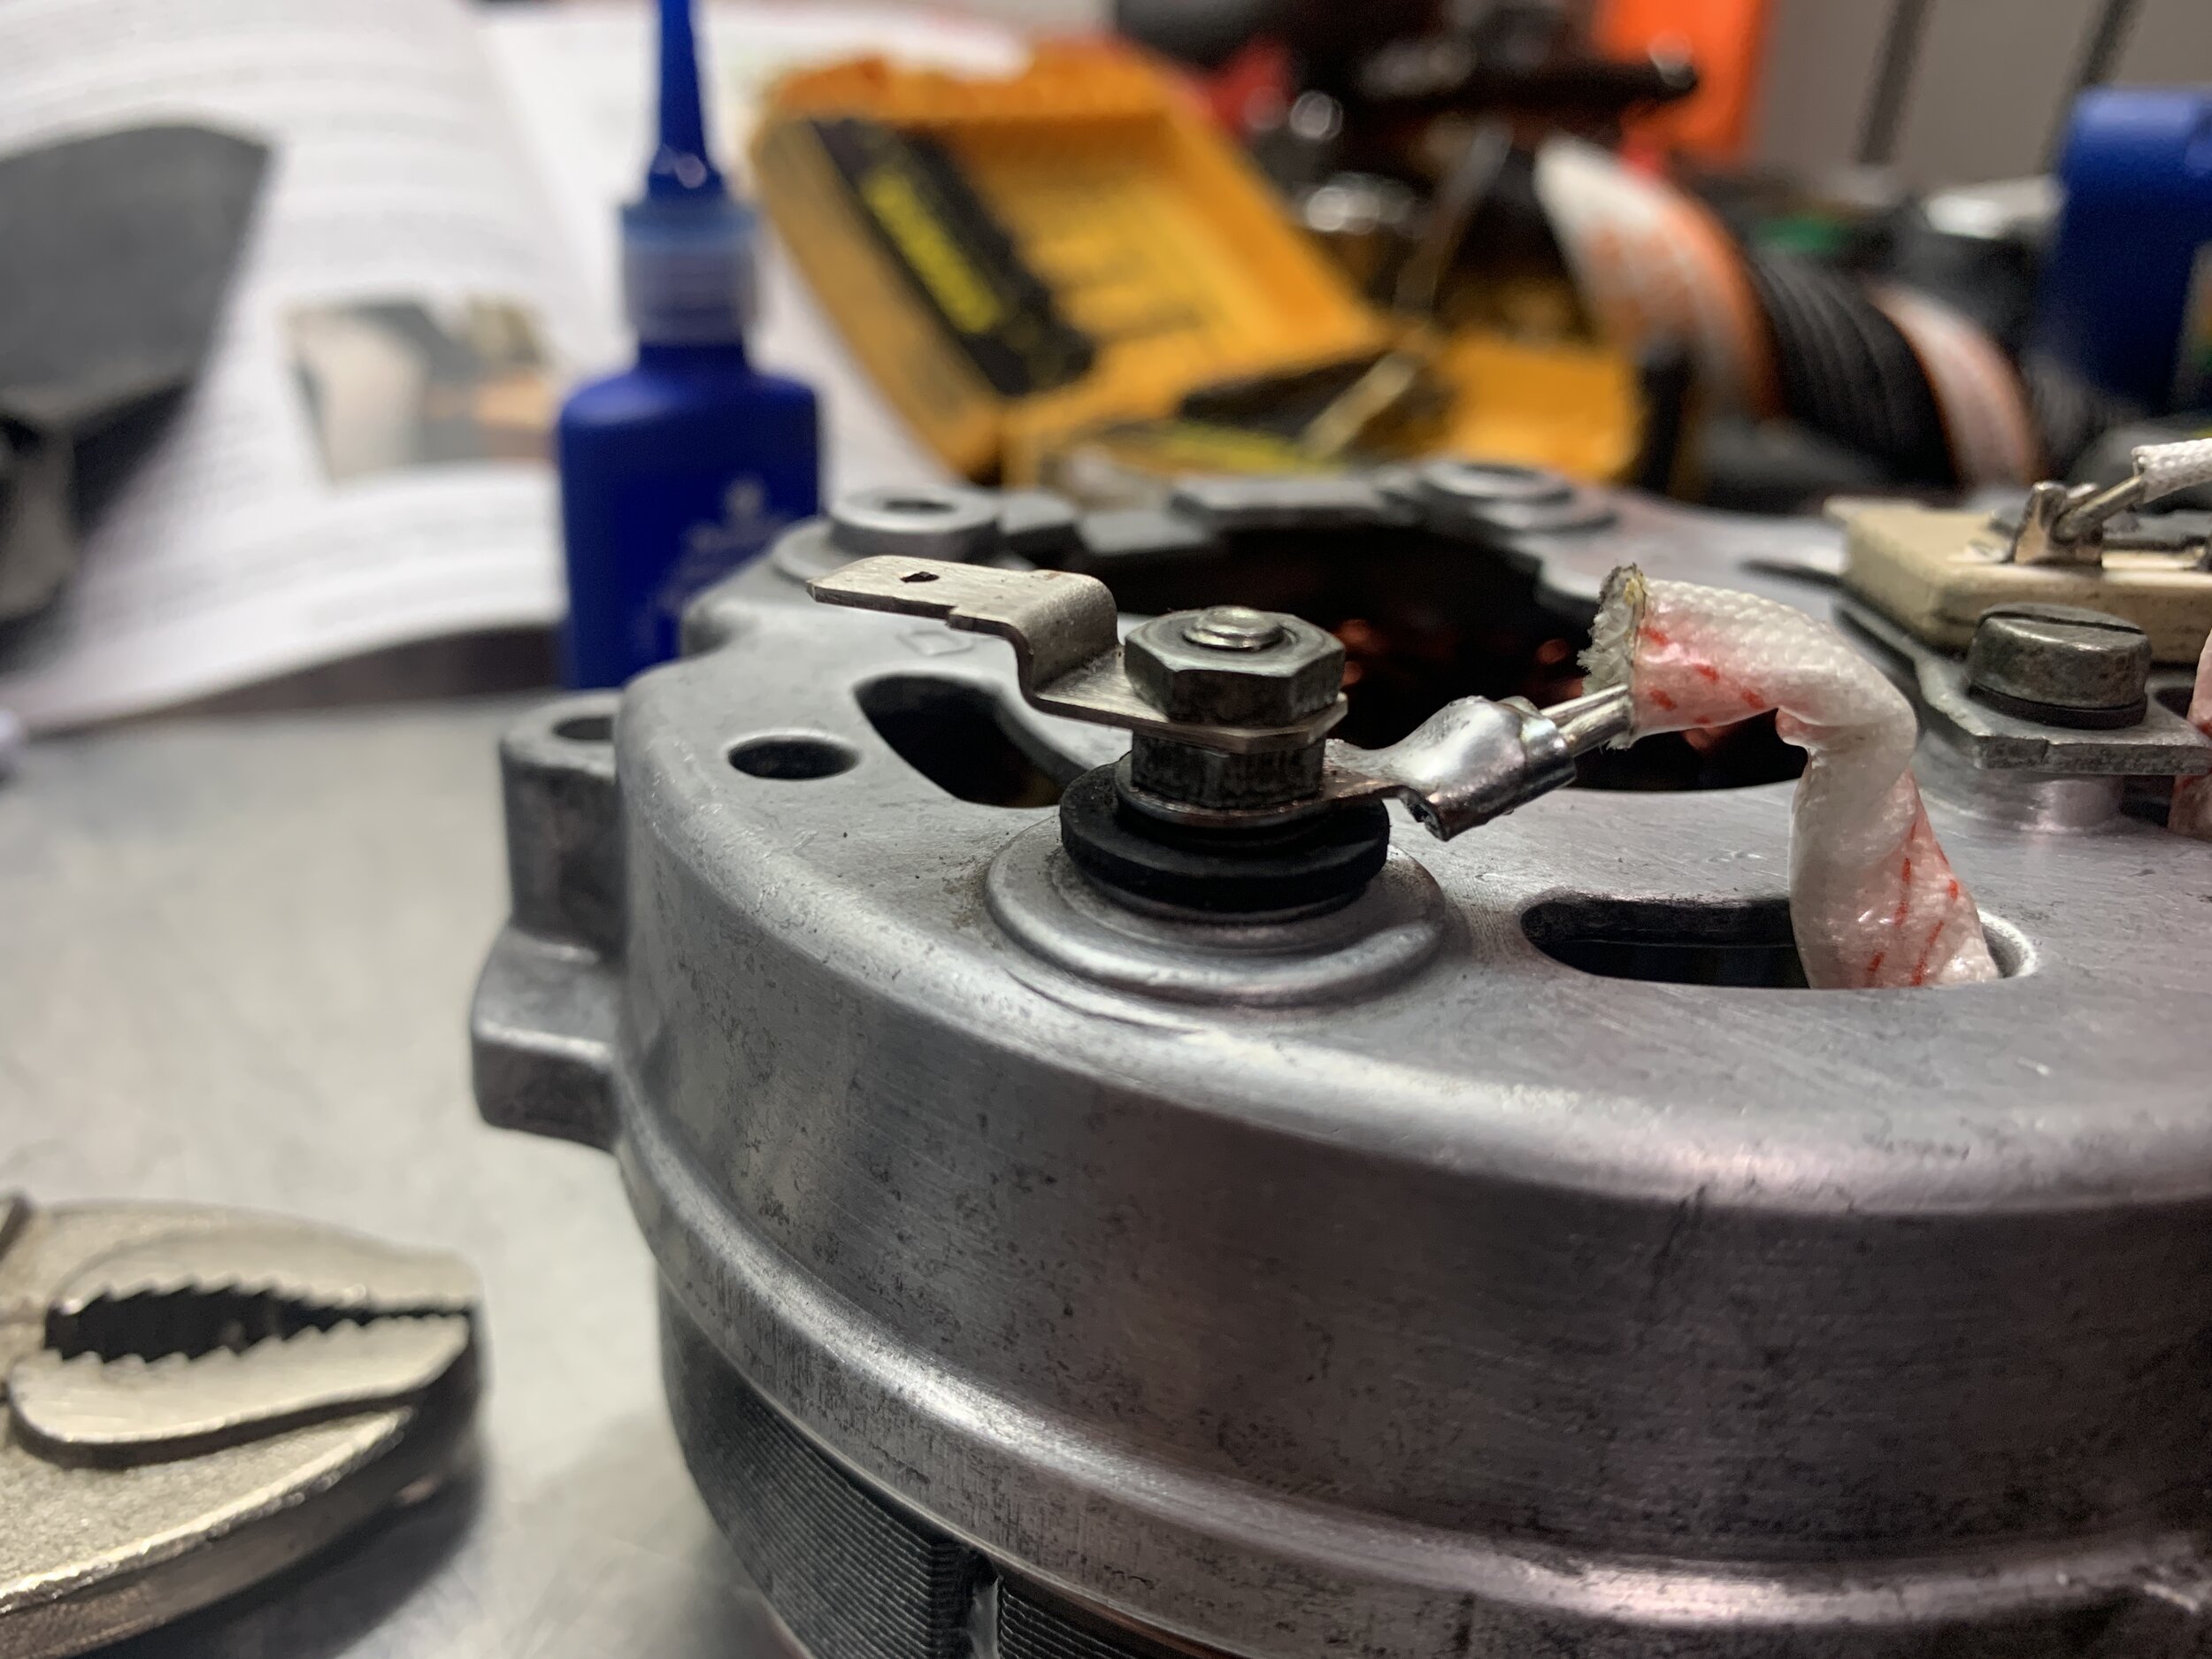


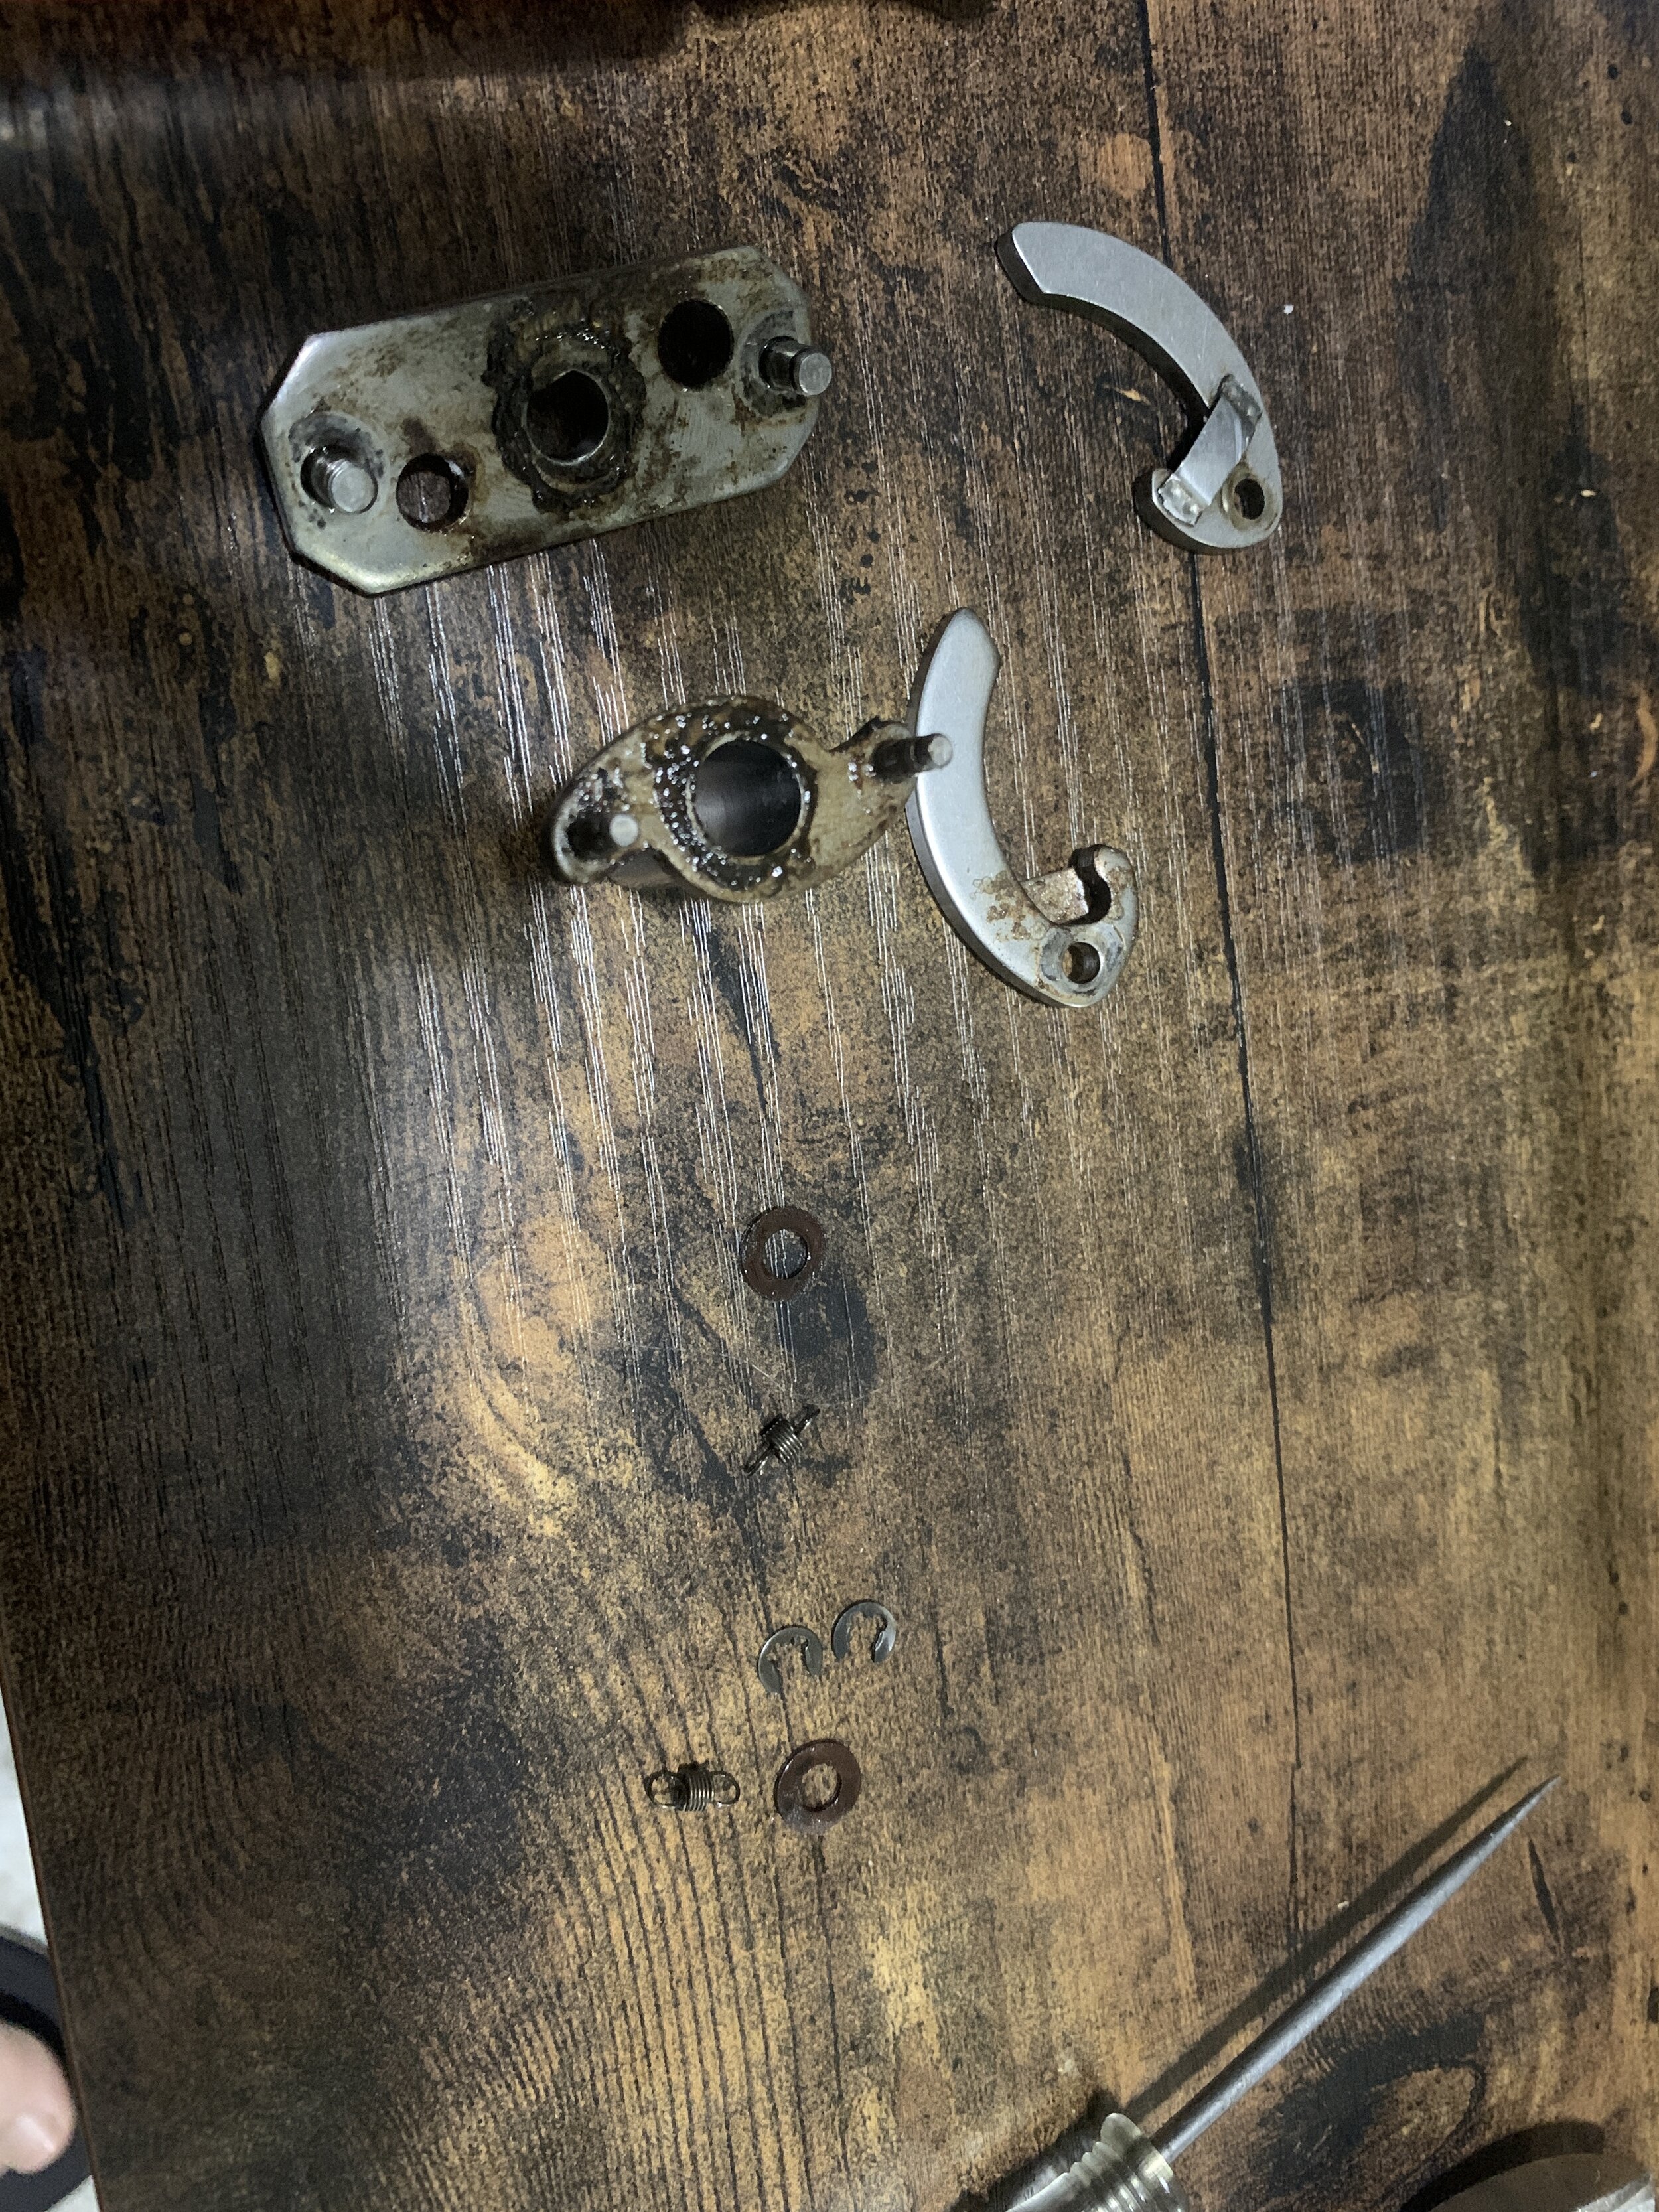
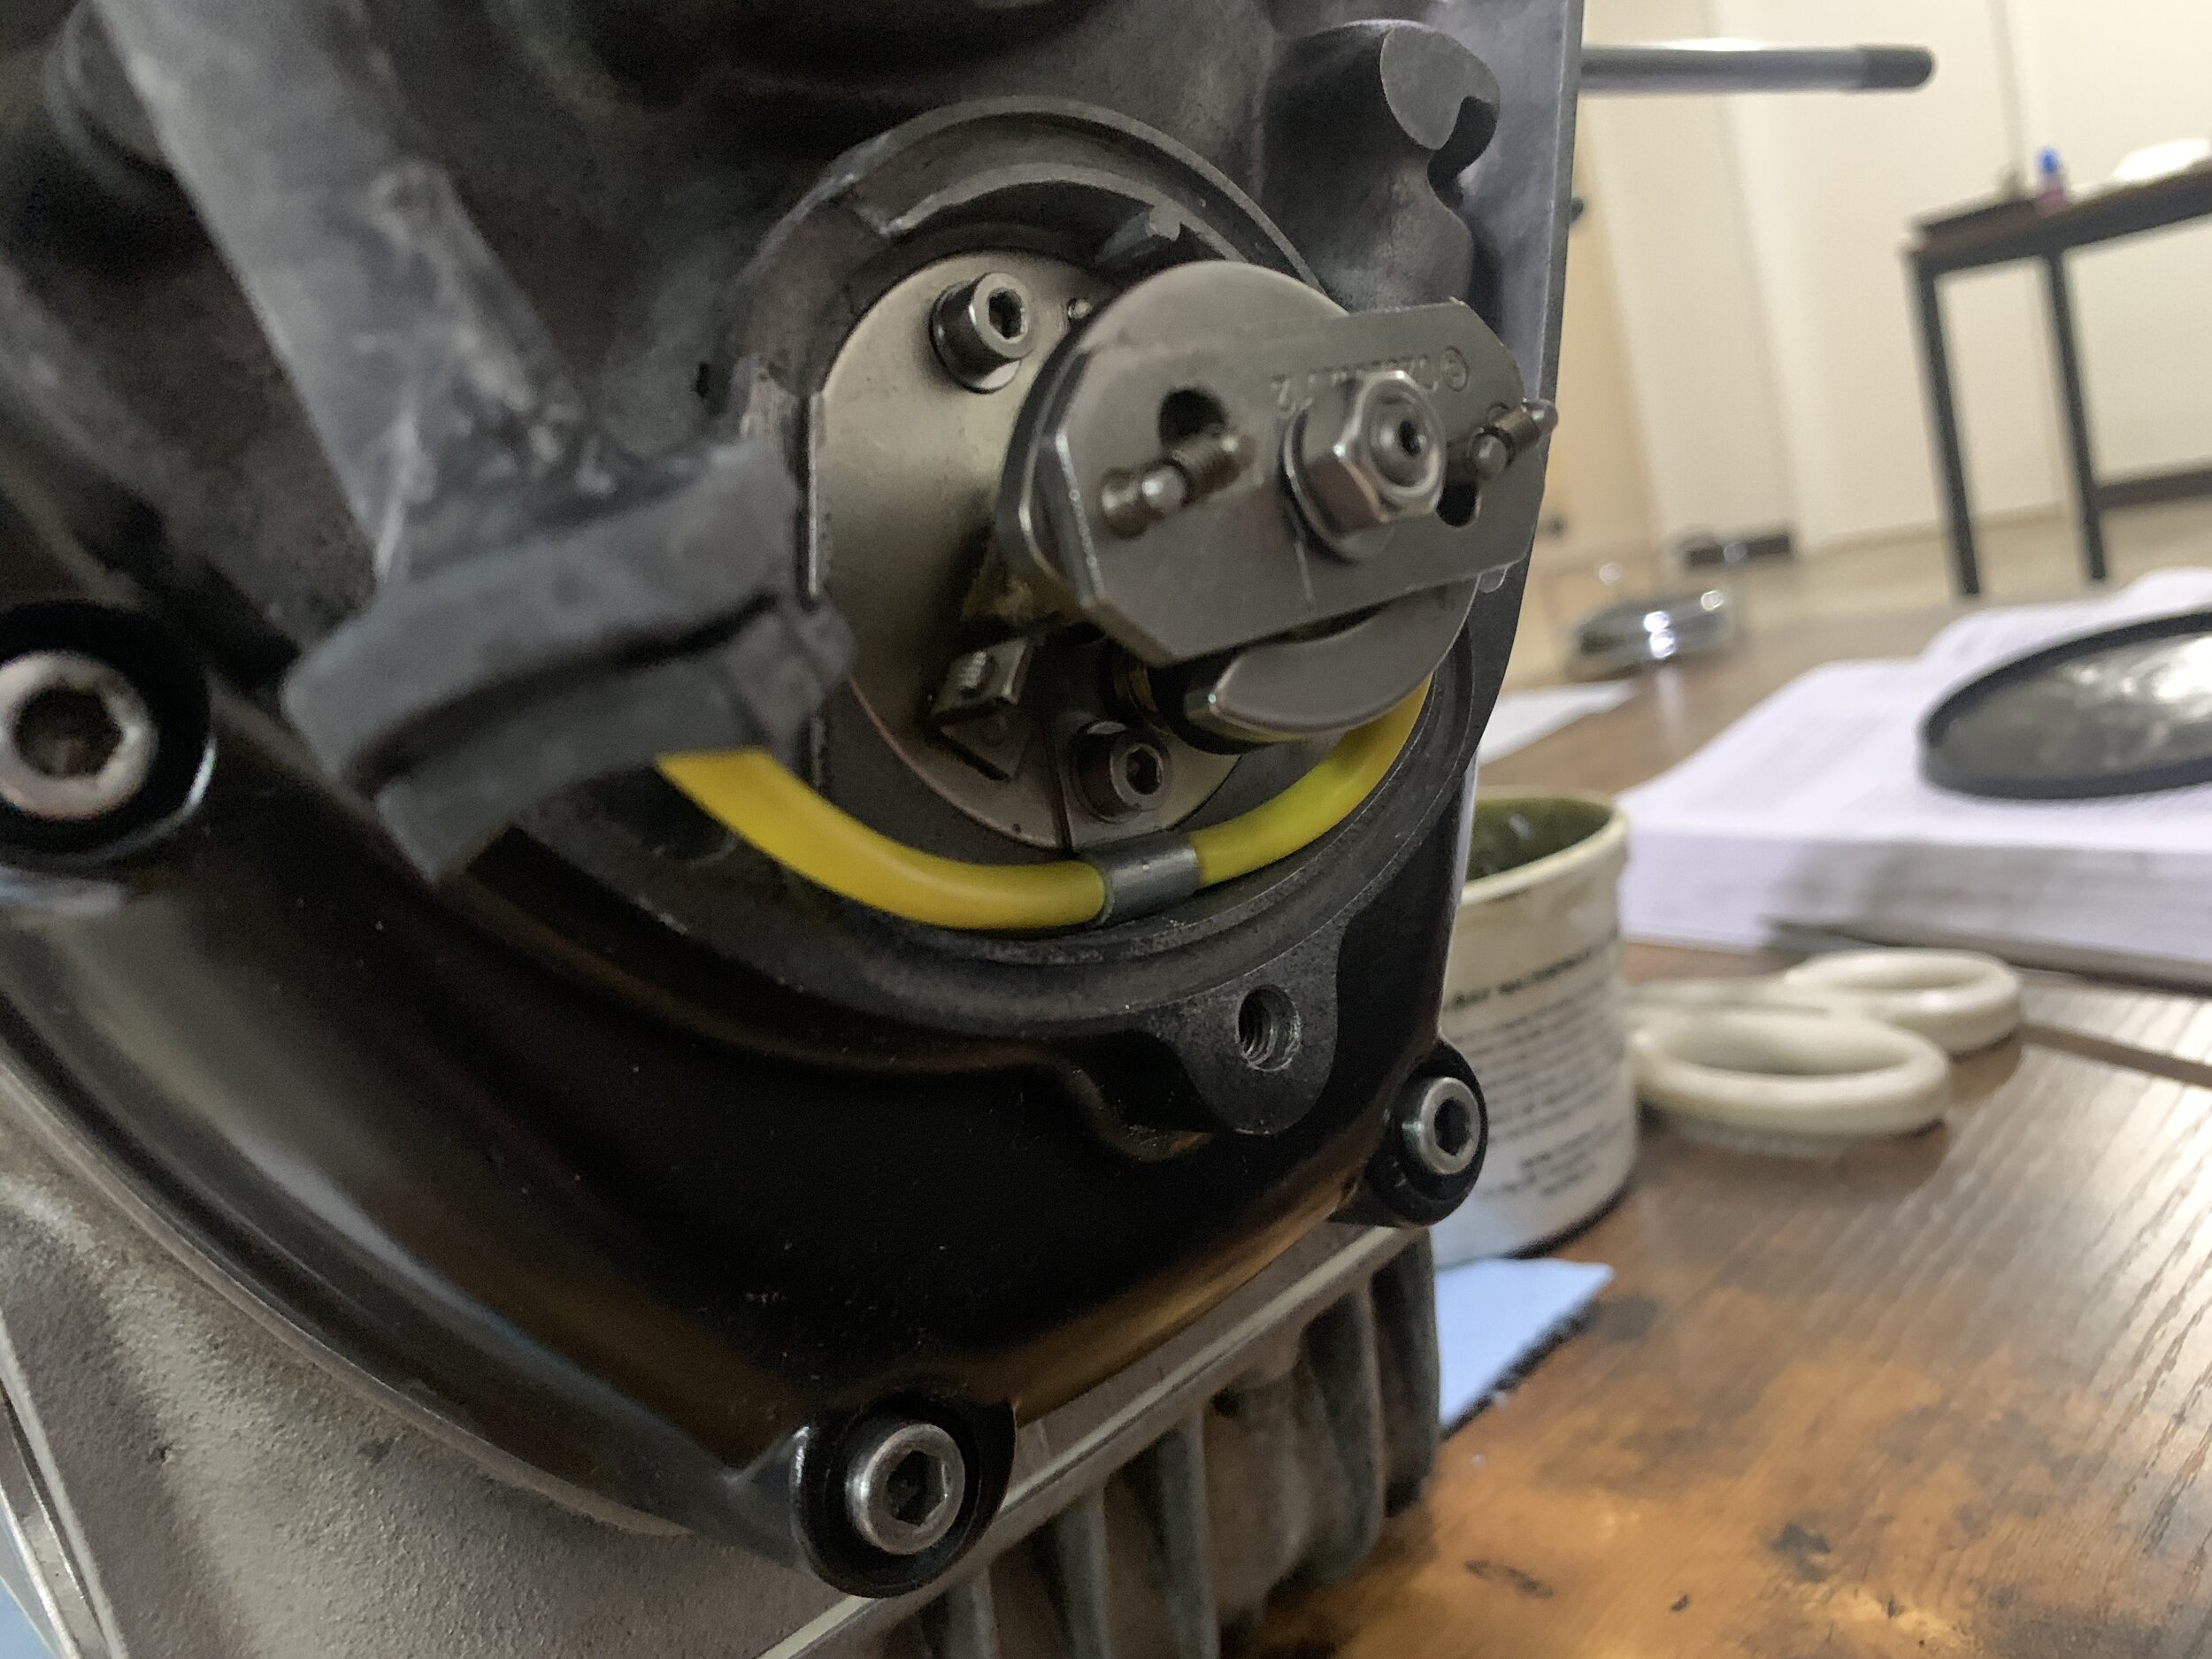
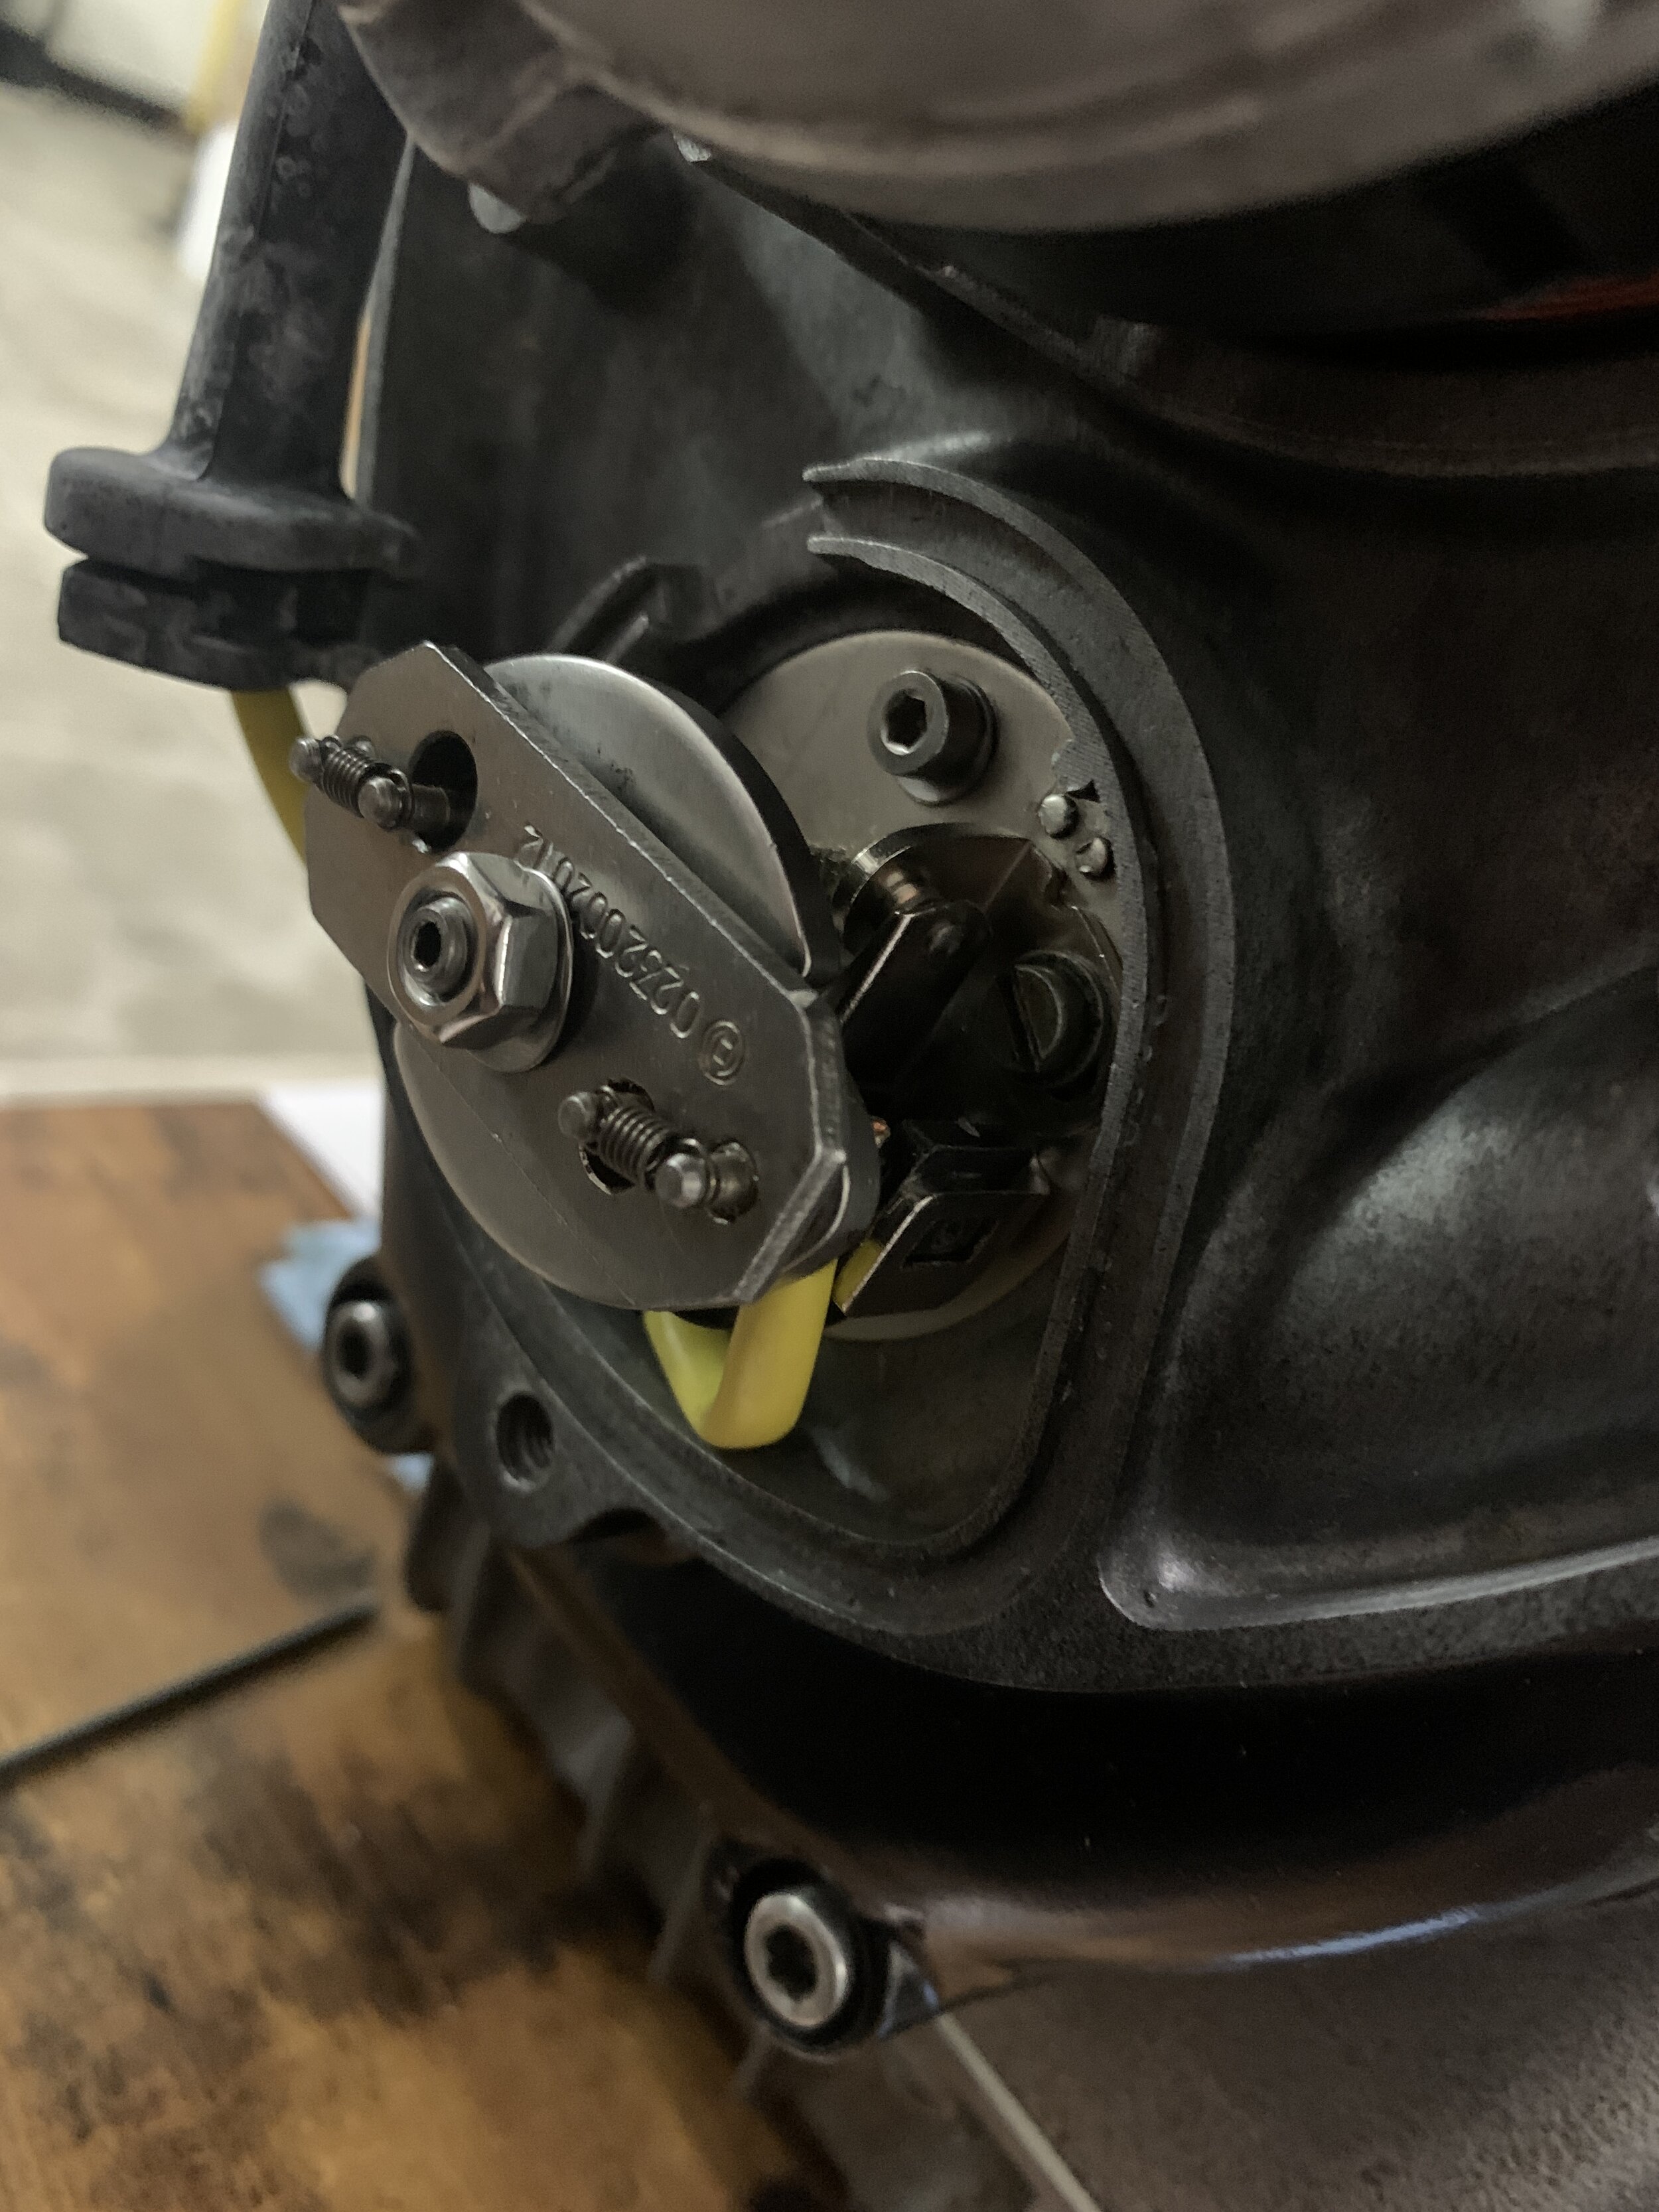
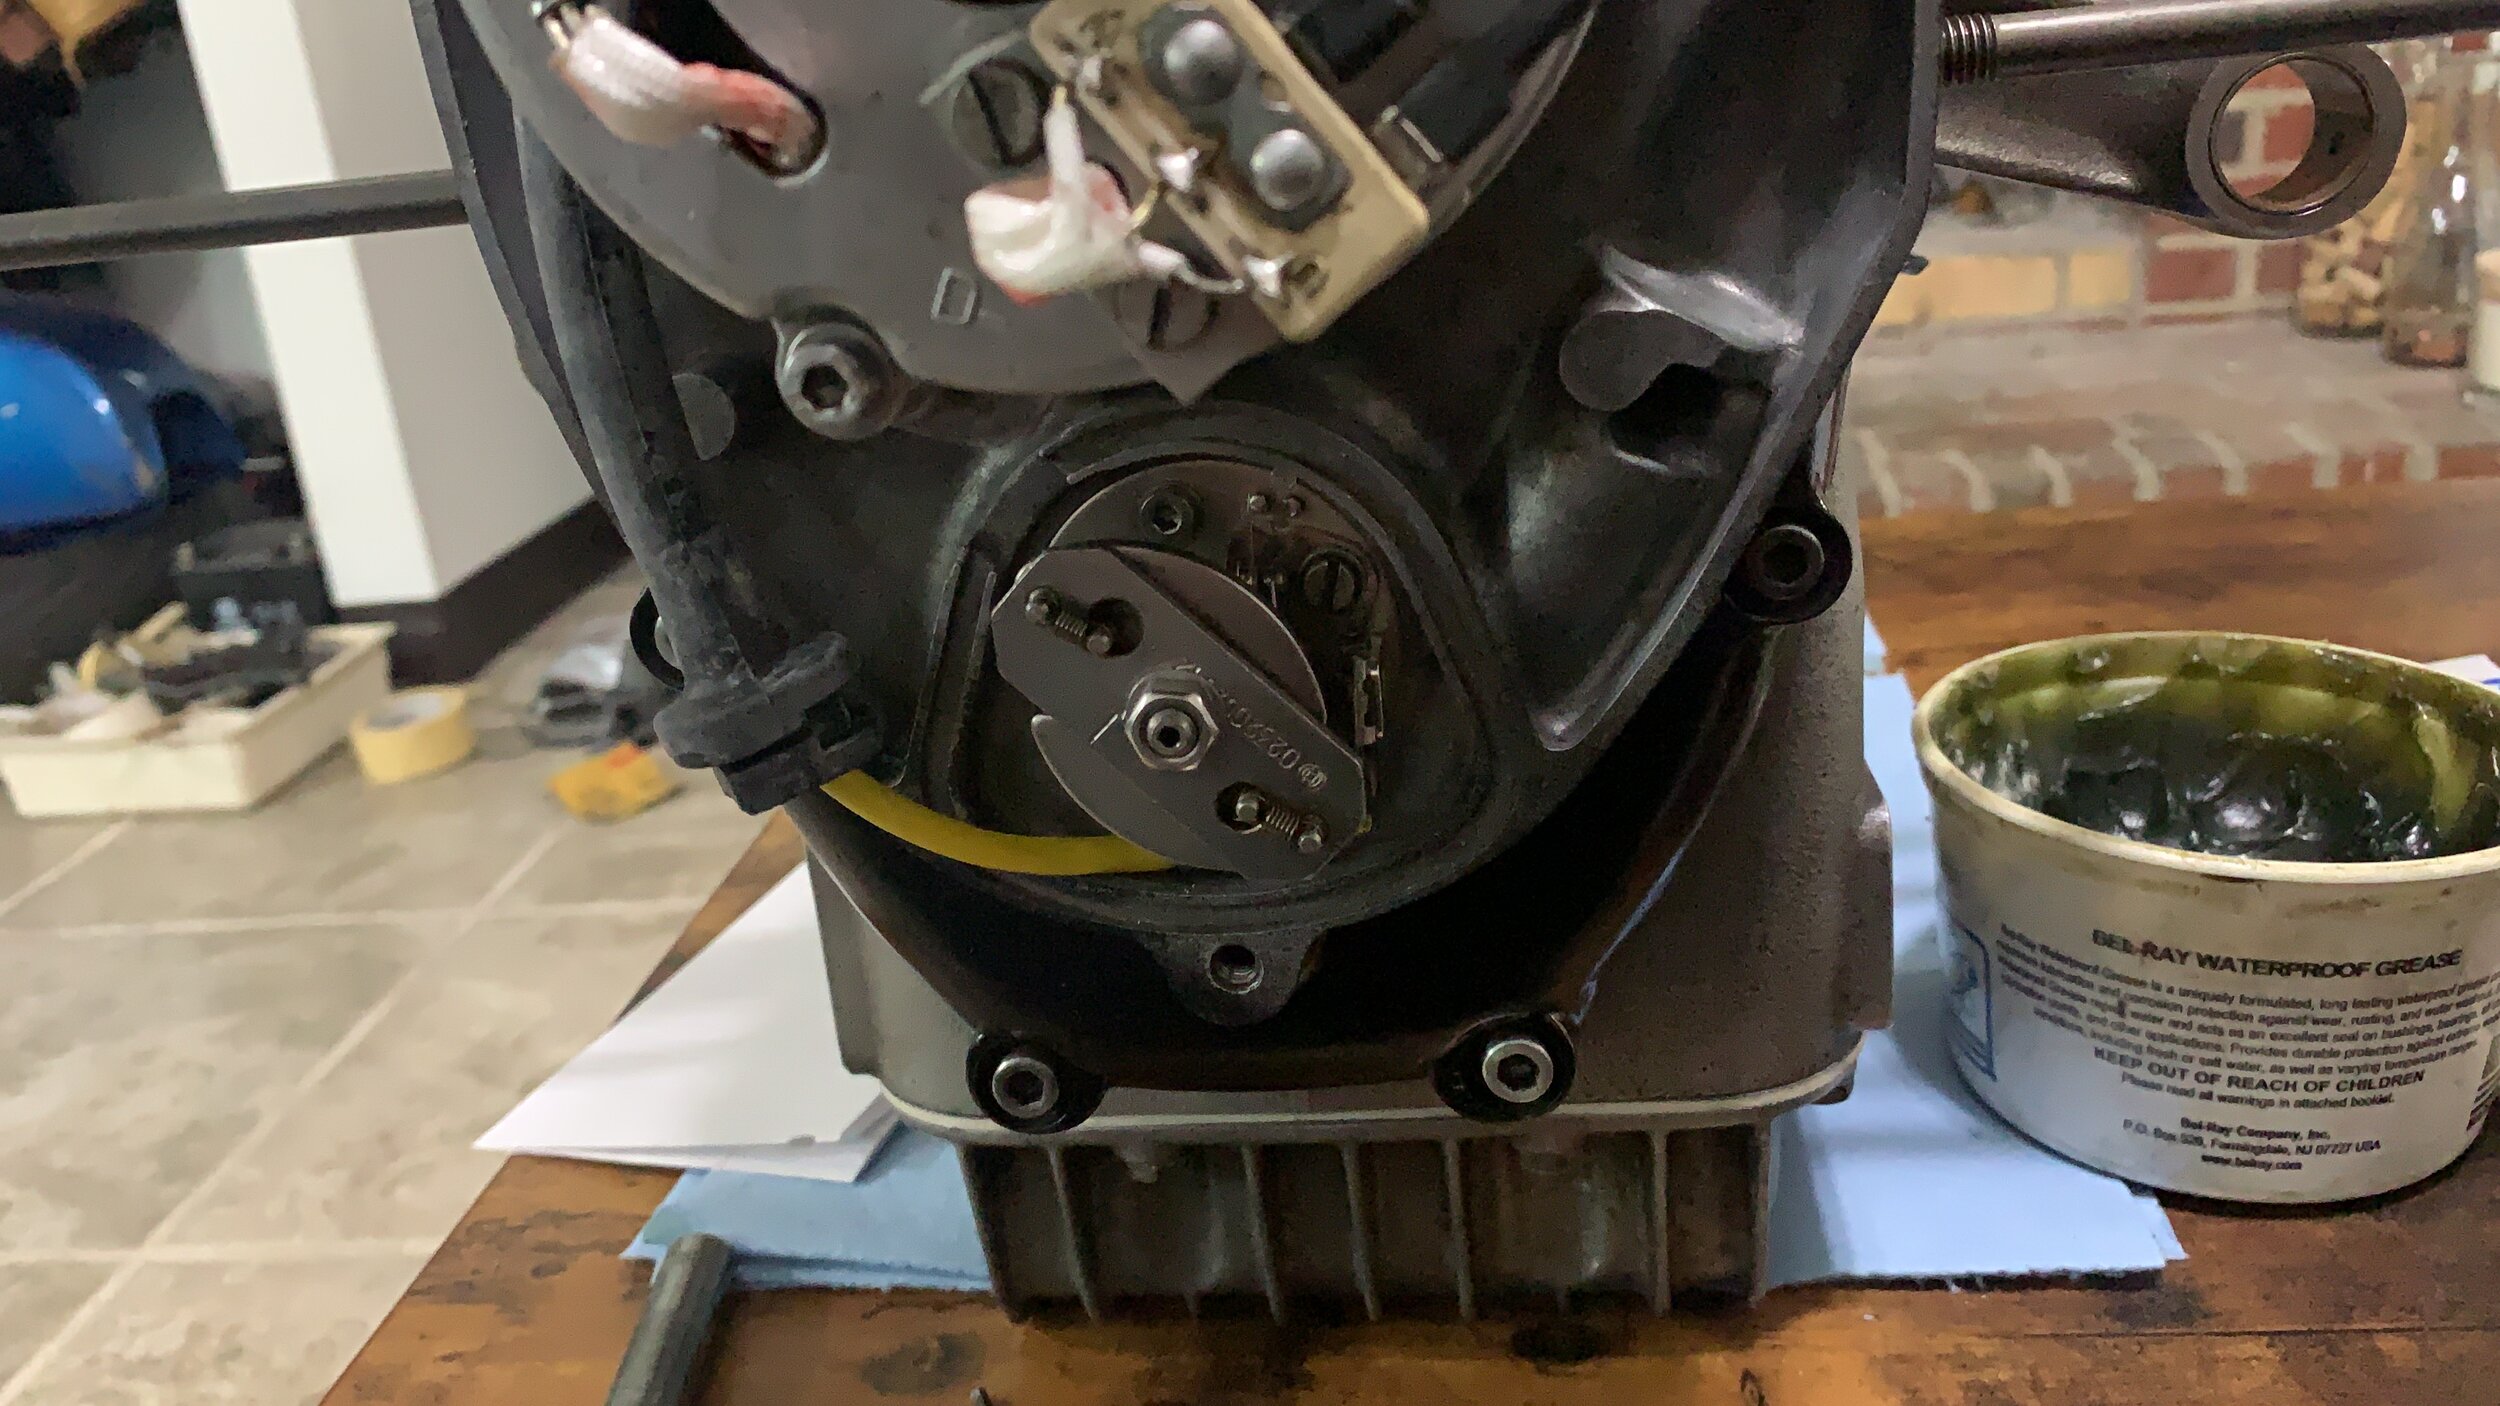
Found more things to repair. The points and contact needed refreshing. Full disassembly and new points and new bolts. I’m very glad nothing was “broken” considering the poor mechanical work I saw on this bike.
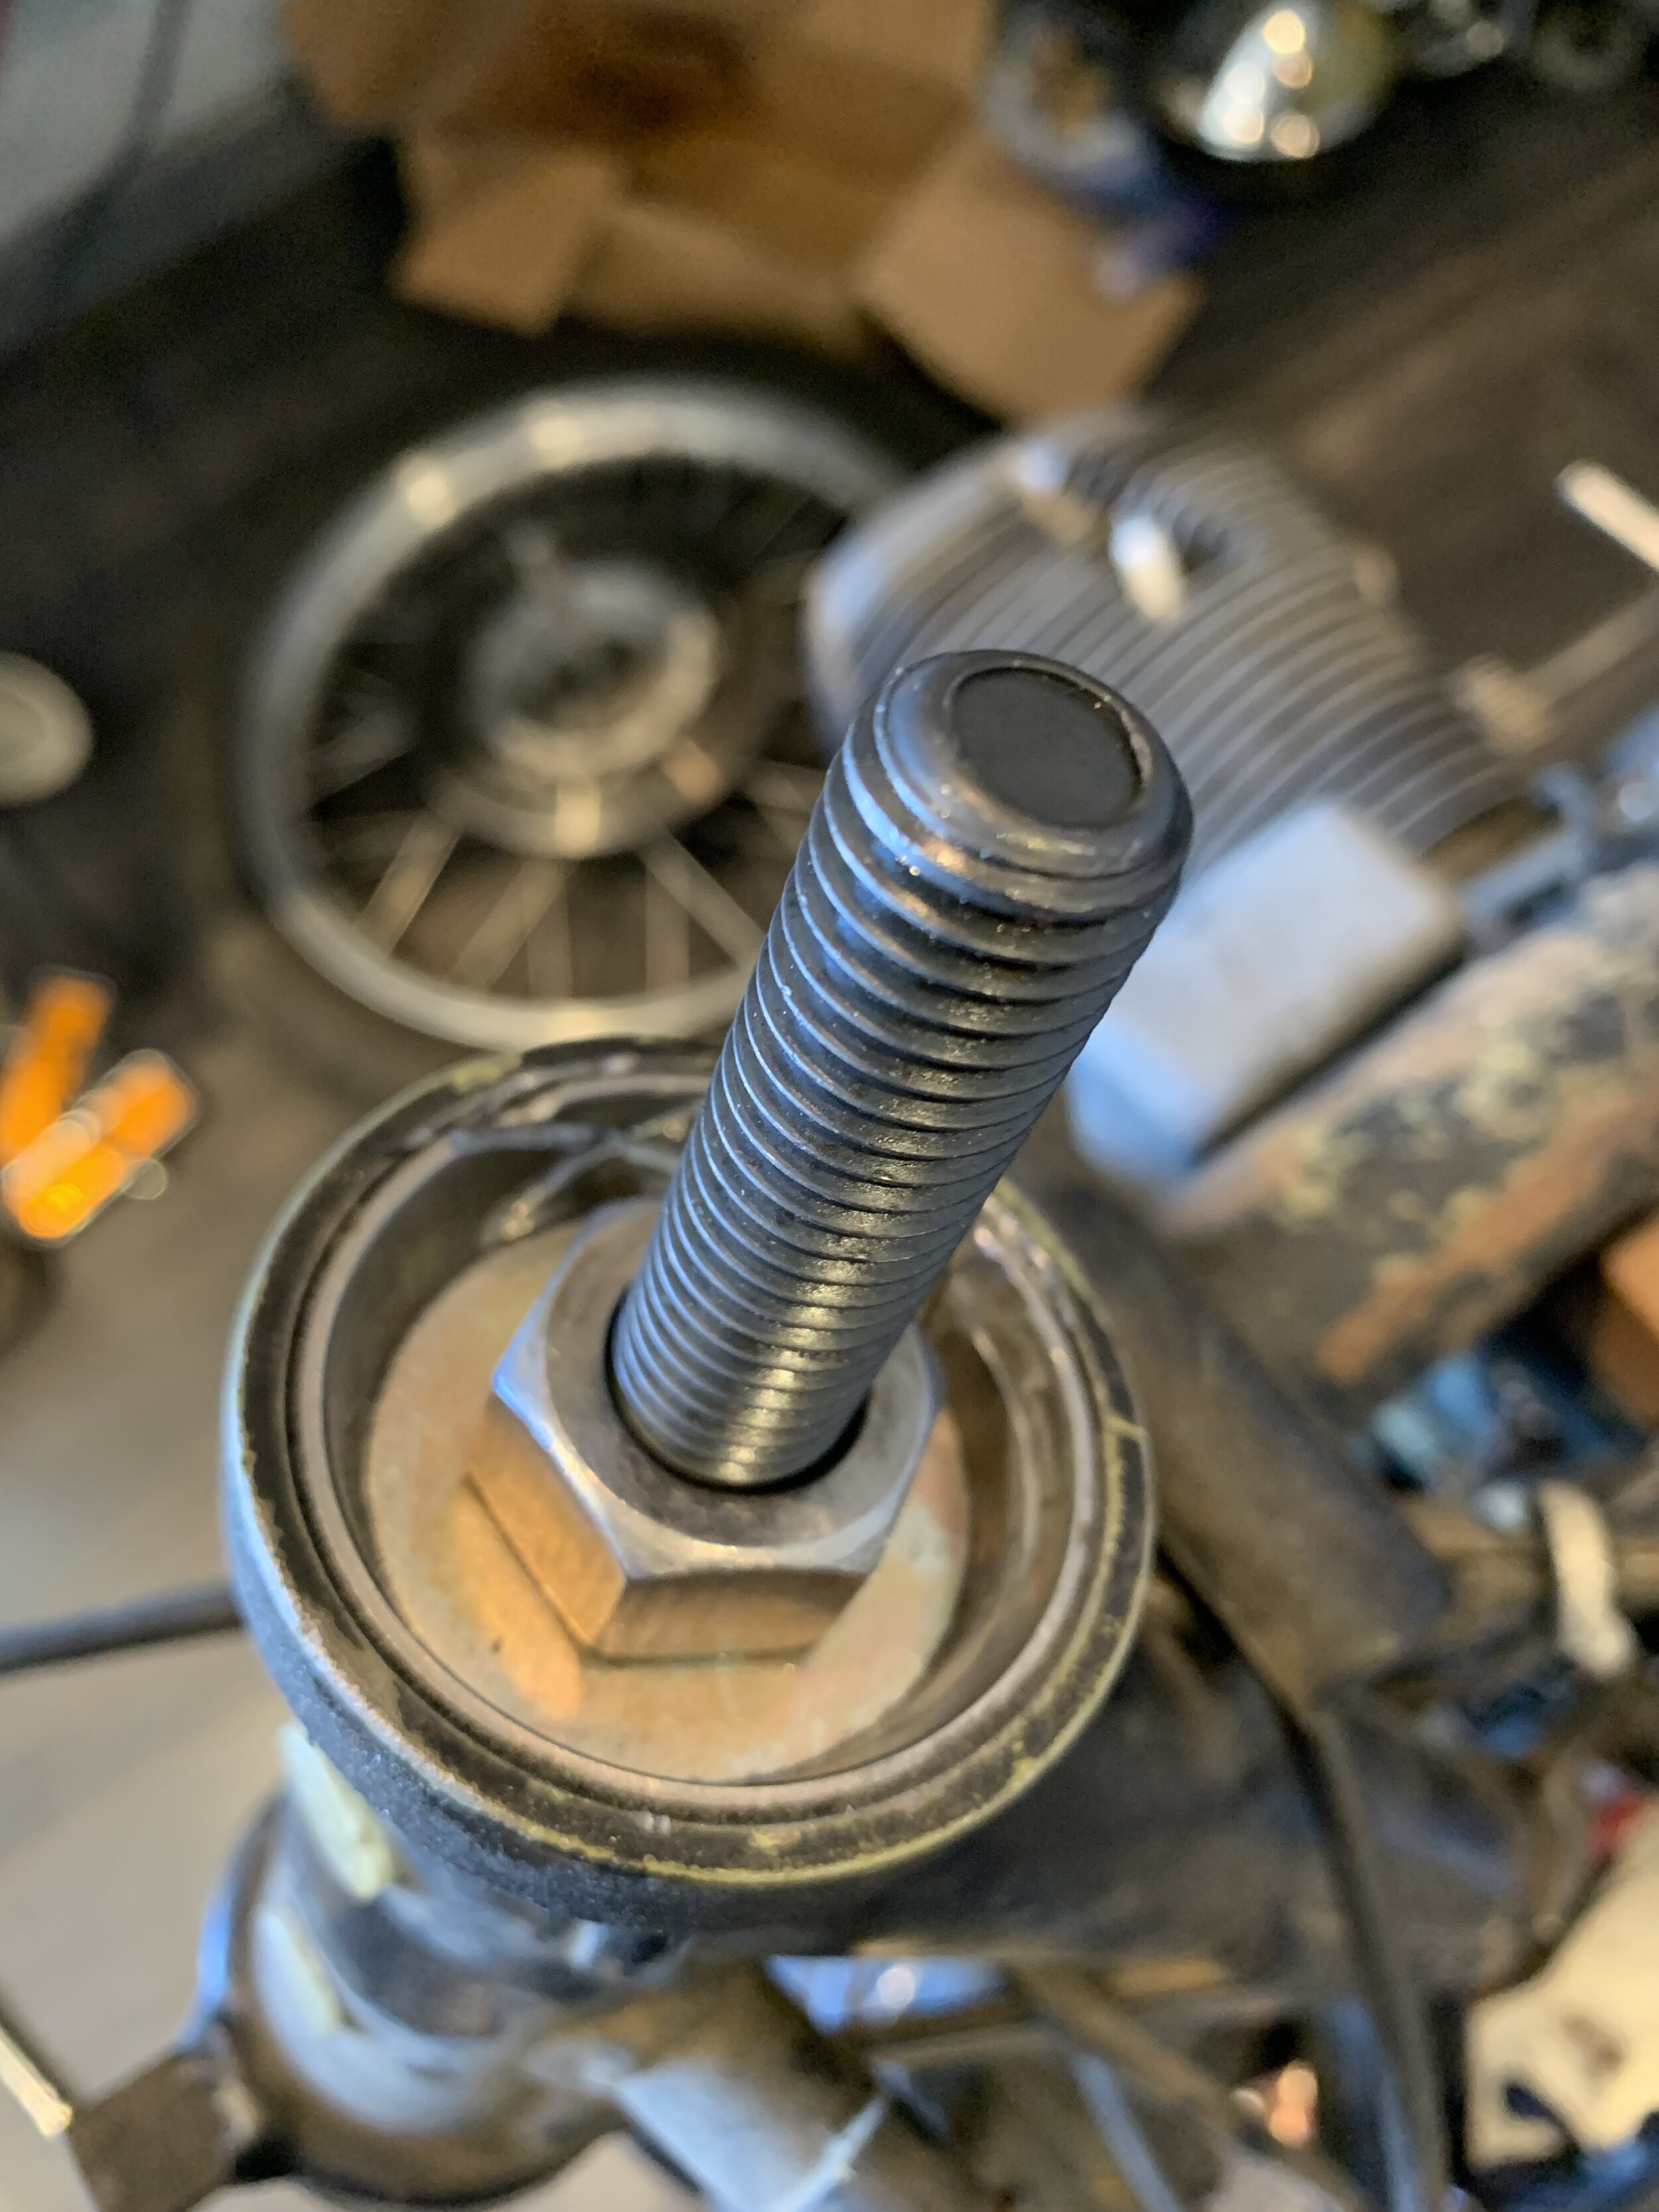
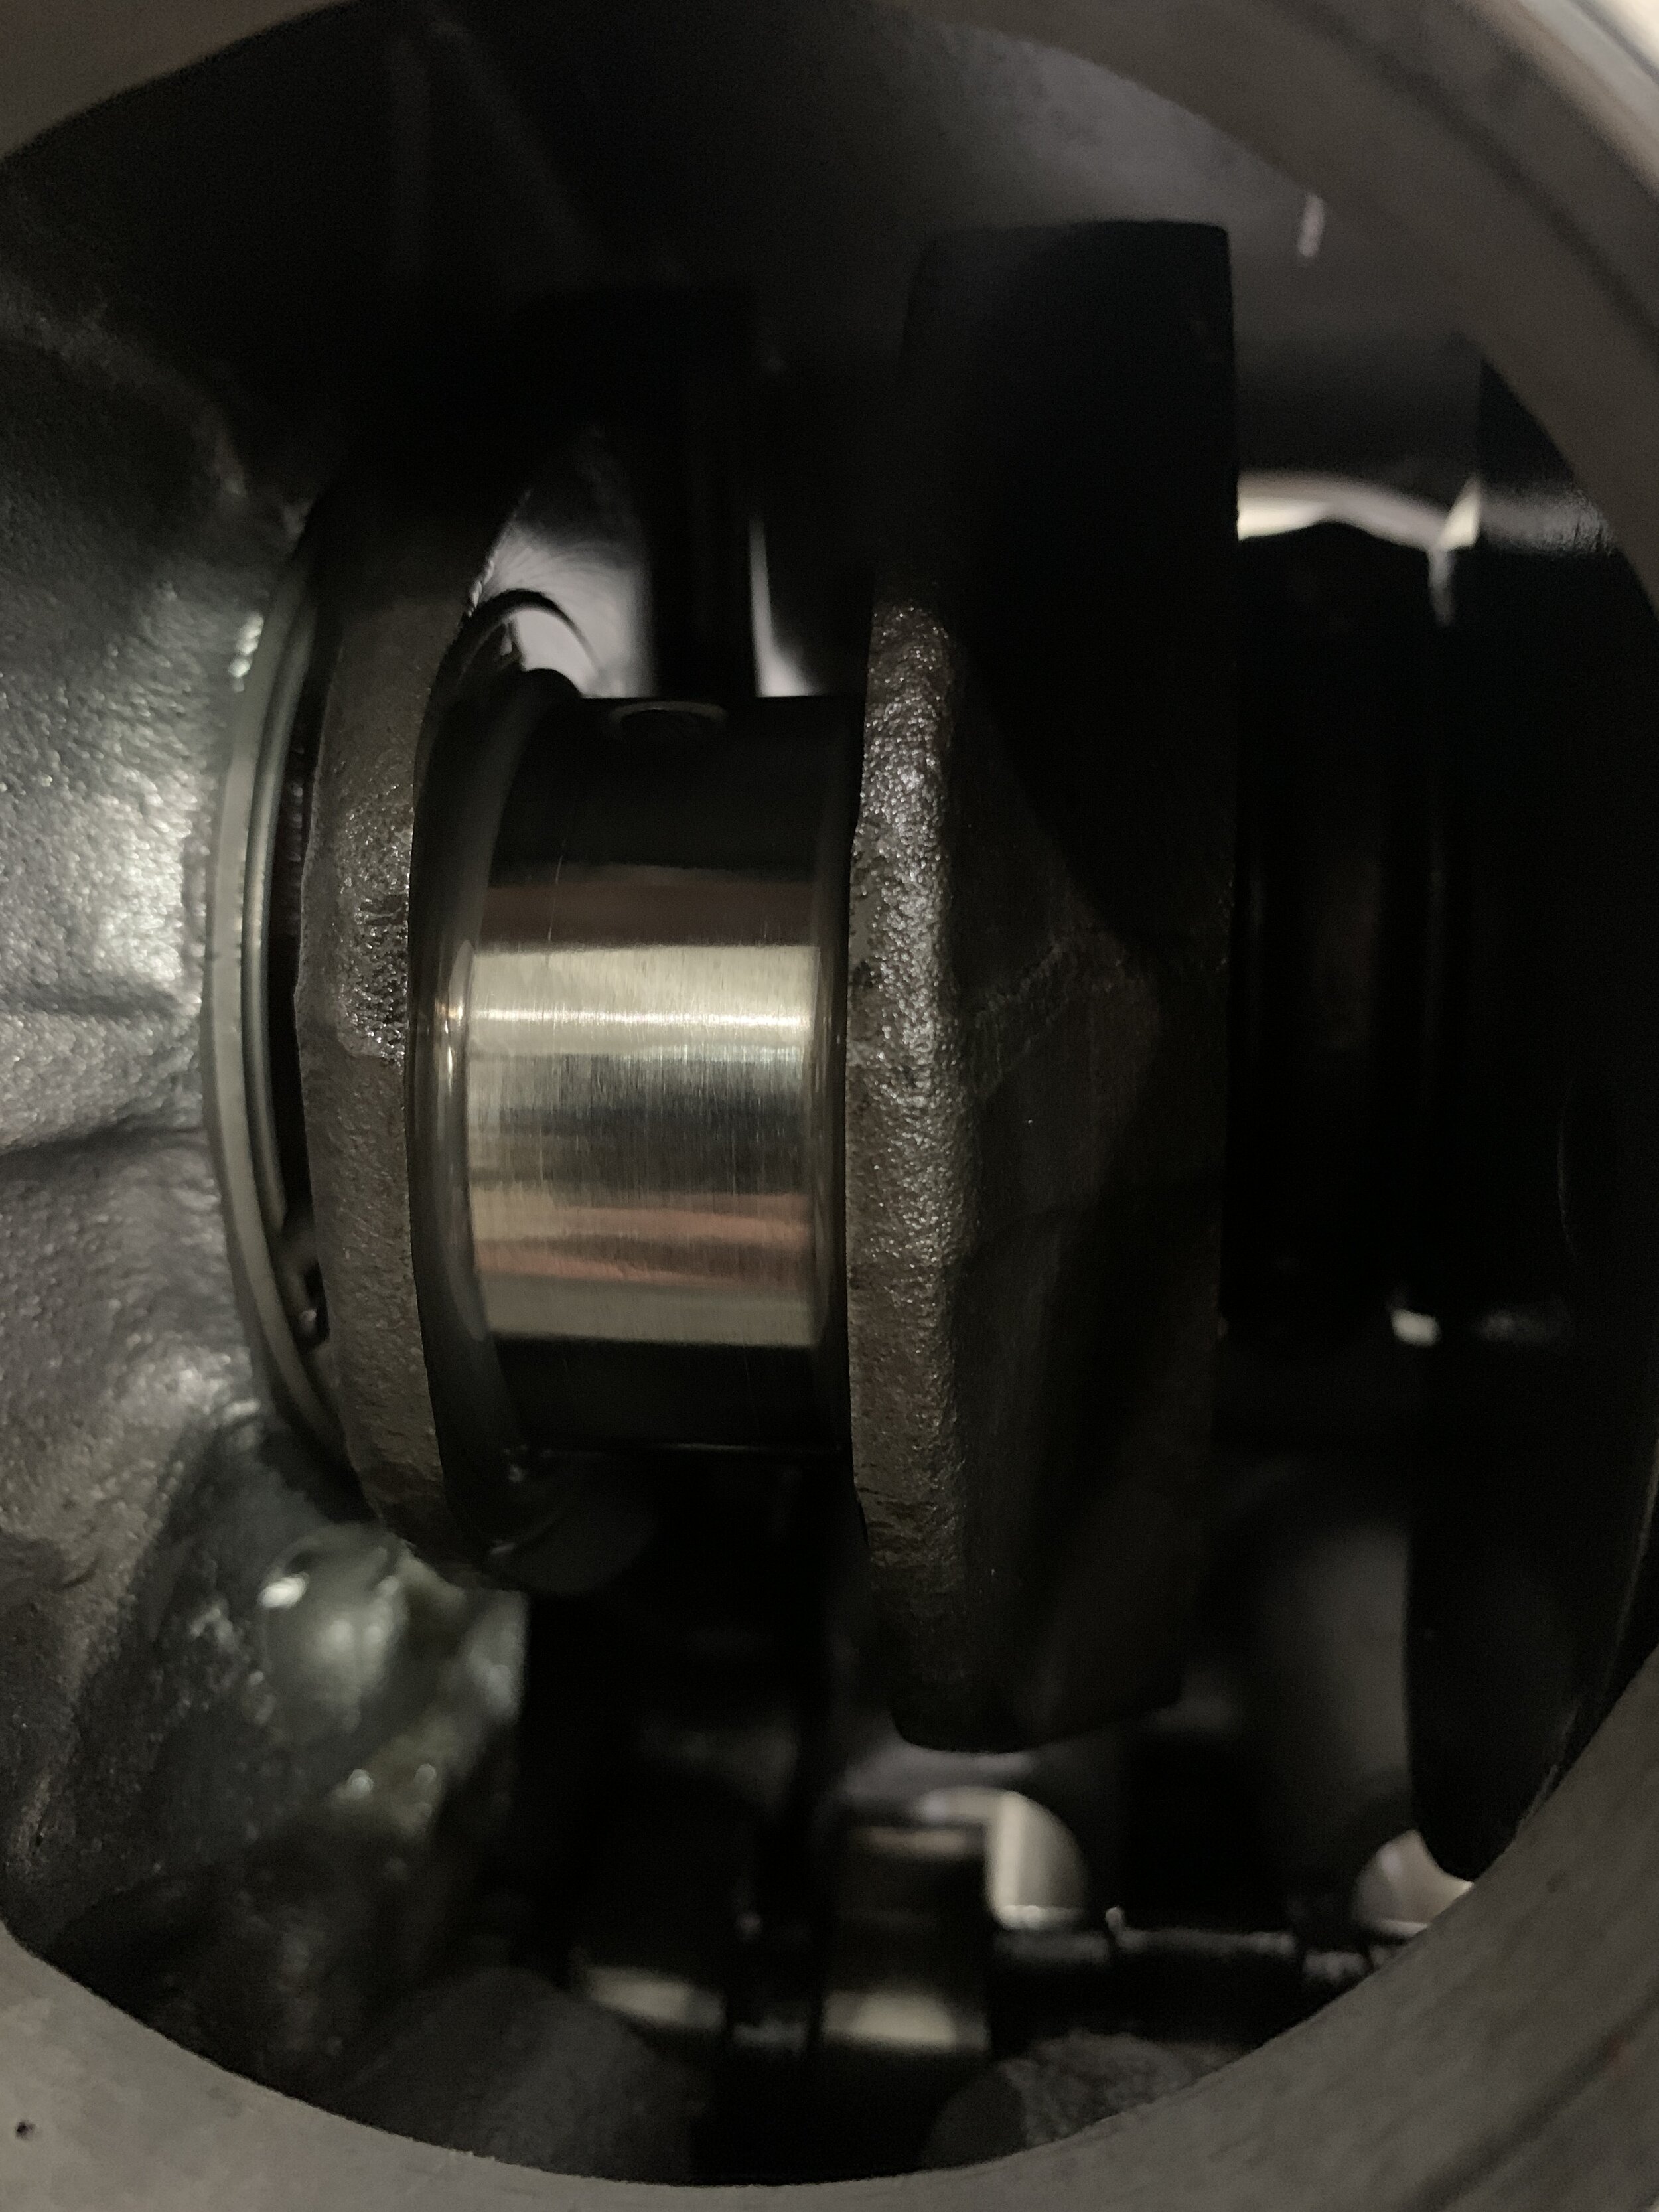
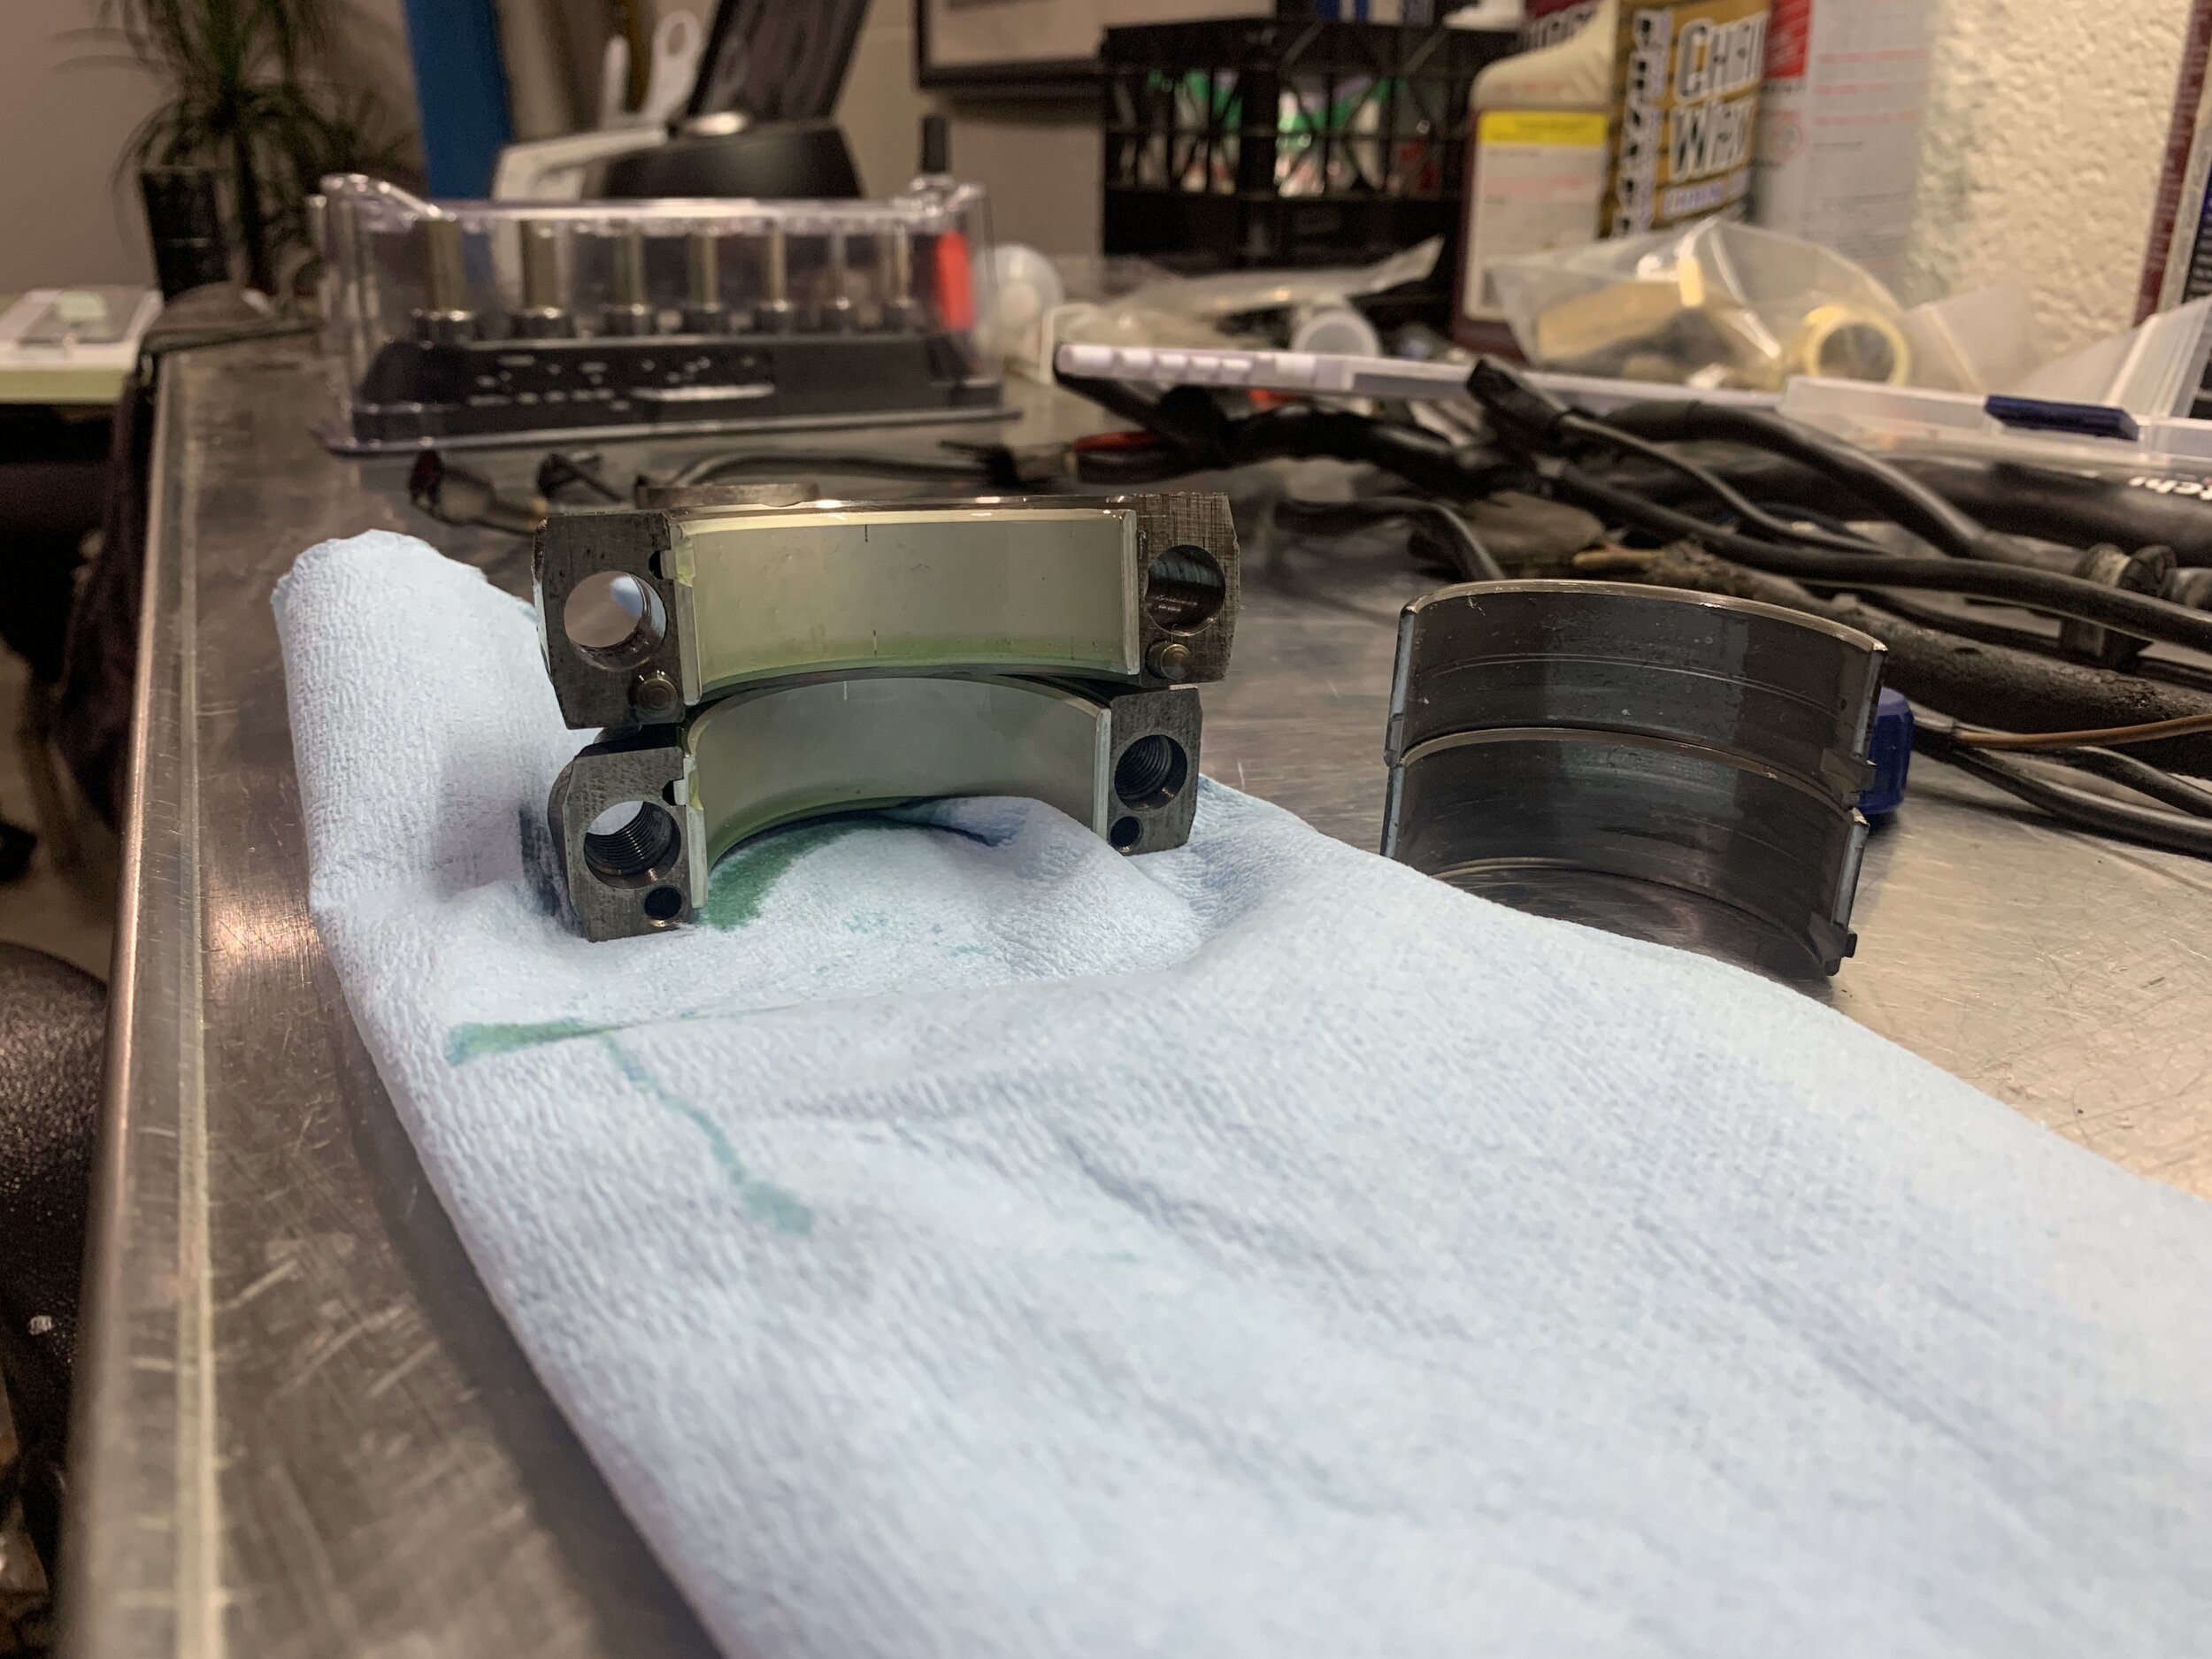
Alas I found more things to replace. lol. The big end bearings aren’t “bad” and there was no play on the rods, but there was some light scoring, so replacement was more than prudent. Just throwing money at it now. When I tighten up the bolt, I posted on the facebook forum inquiring whether the bolts are torqued wet or dry, and everyone out of the woodwork said it was dry except the ultra reputable bmw airhead experts who came out to say that they are suppose to be torqued wet. Internet information is only reliable from reliable sources, and most people really have no idea what they are talking about, so be very careful what information you follow online.
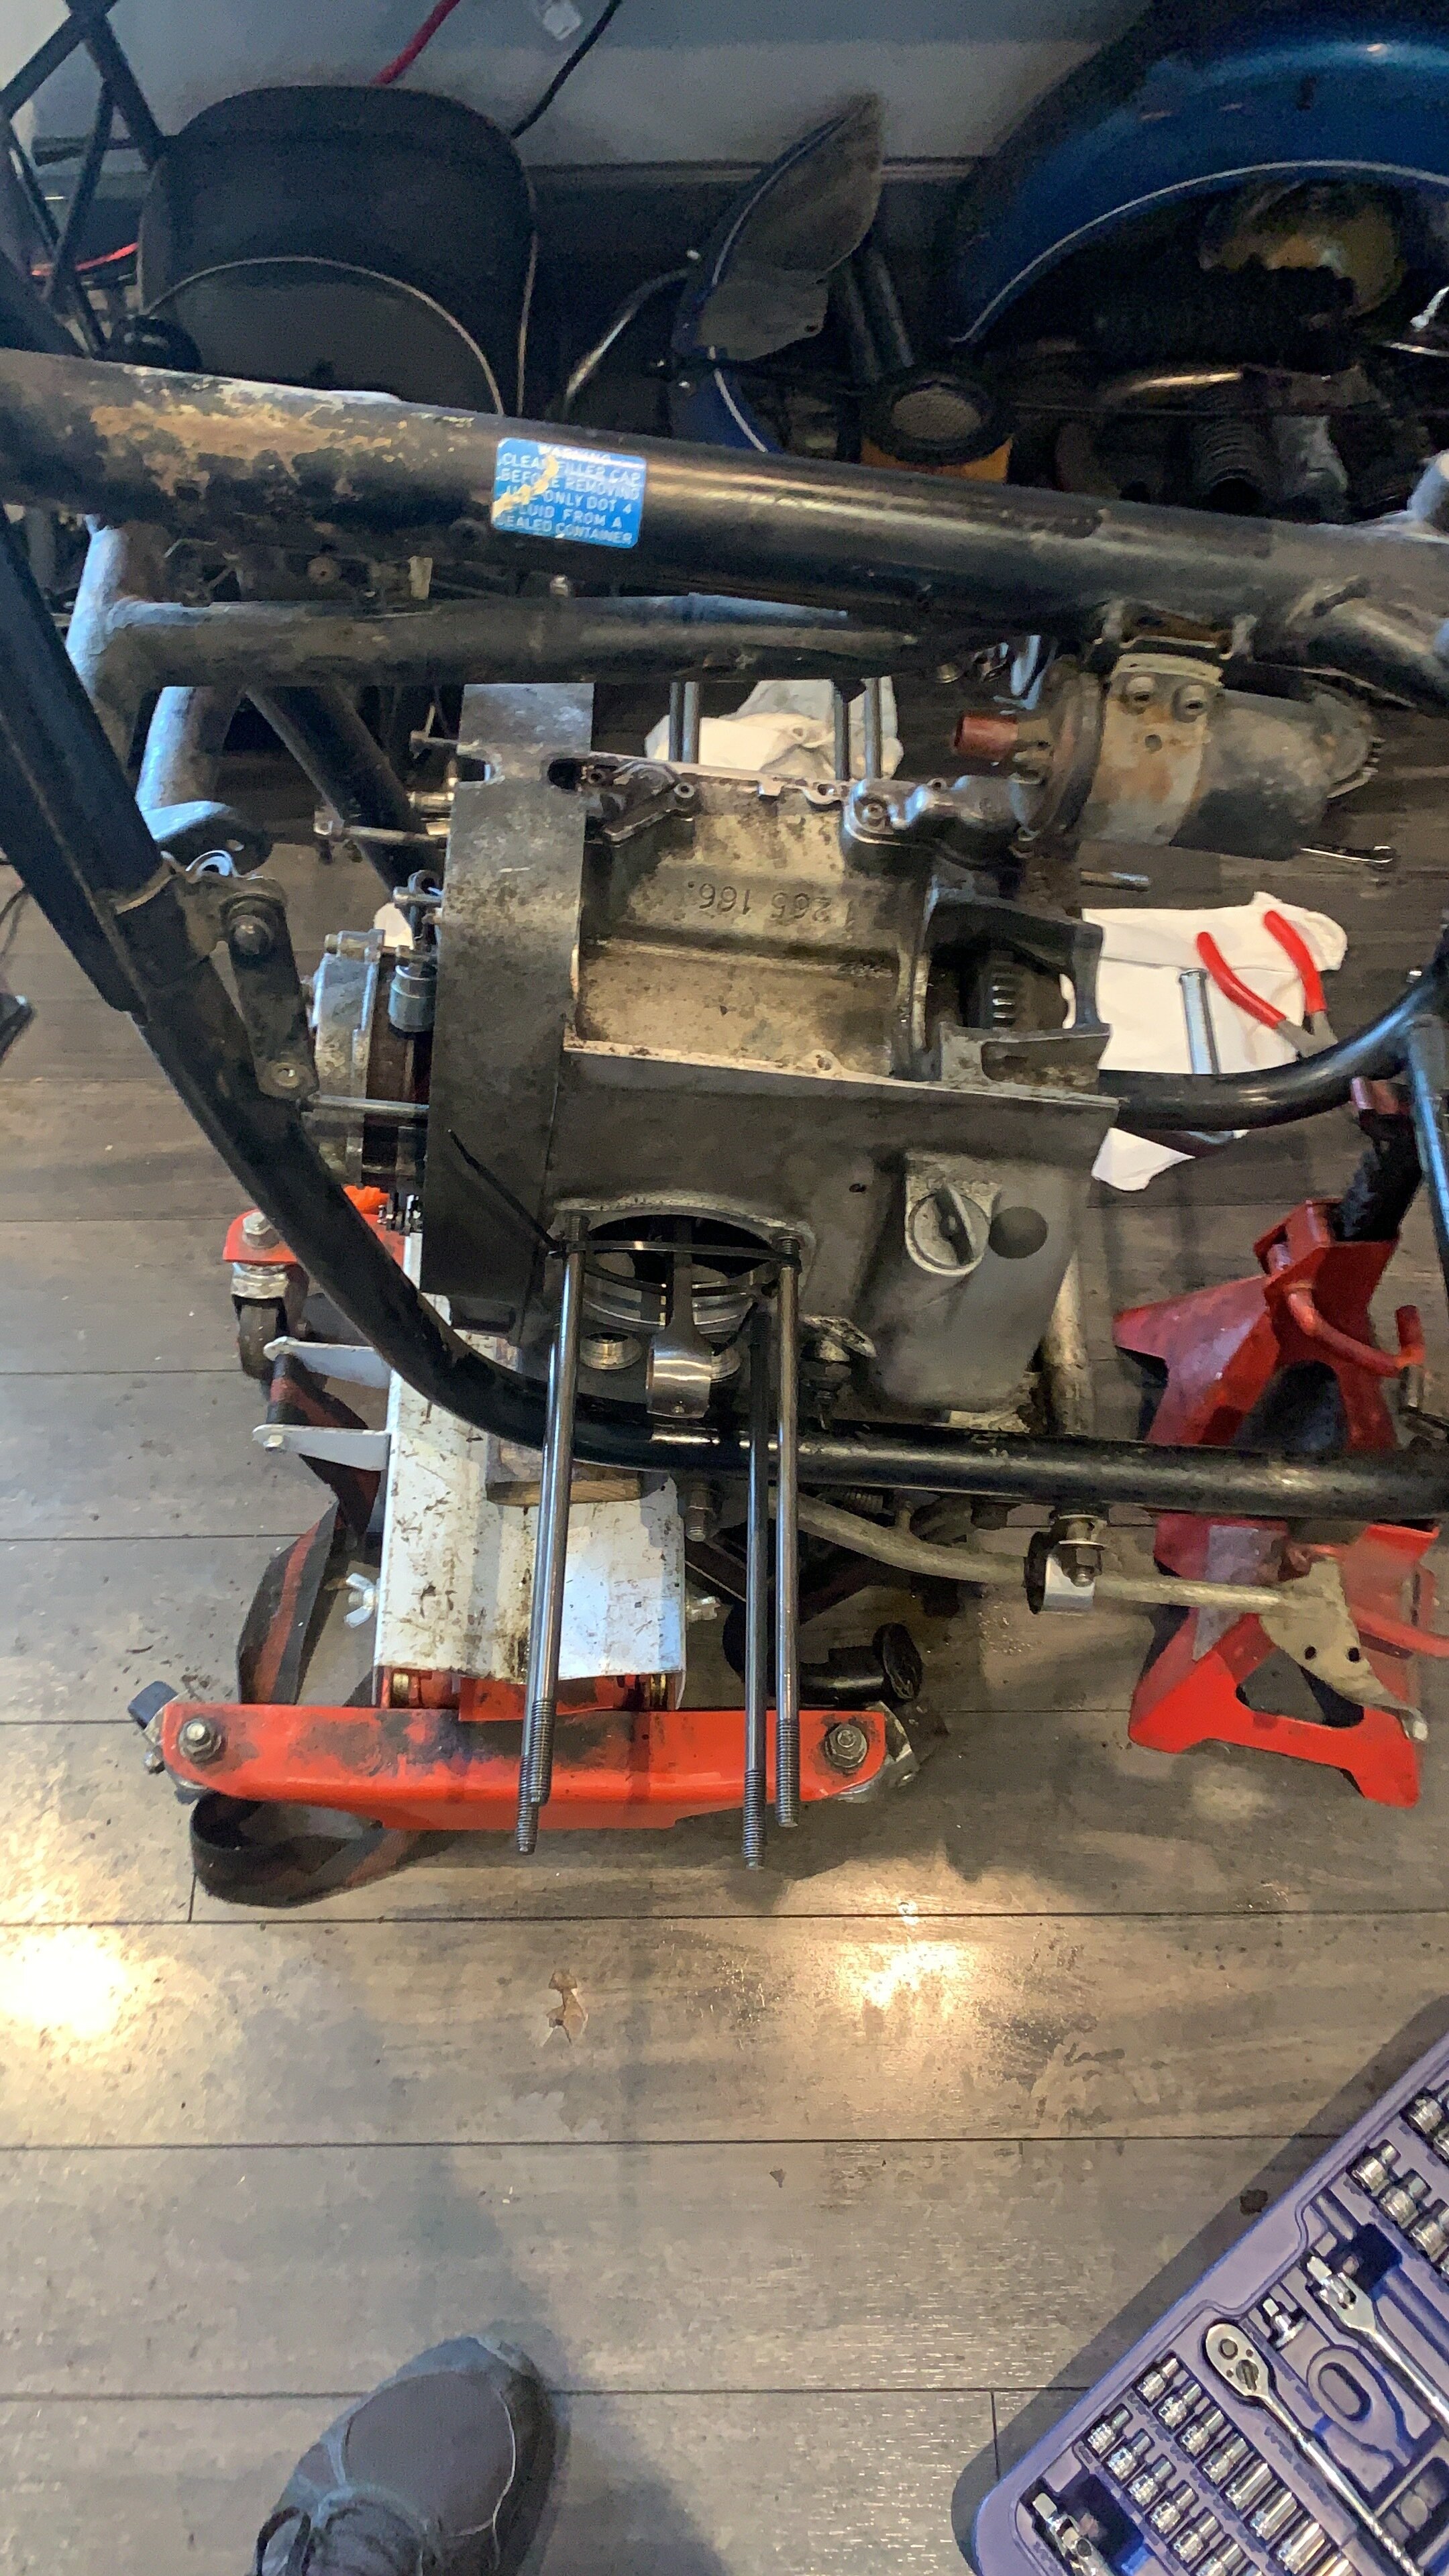
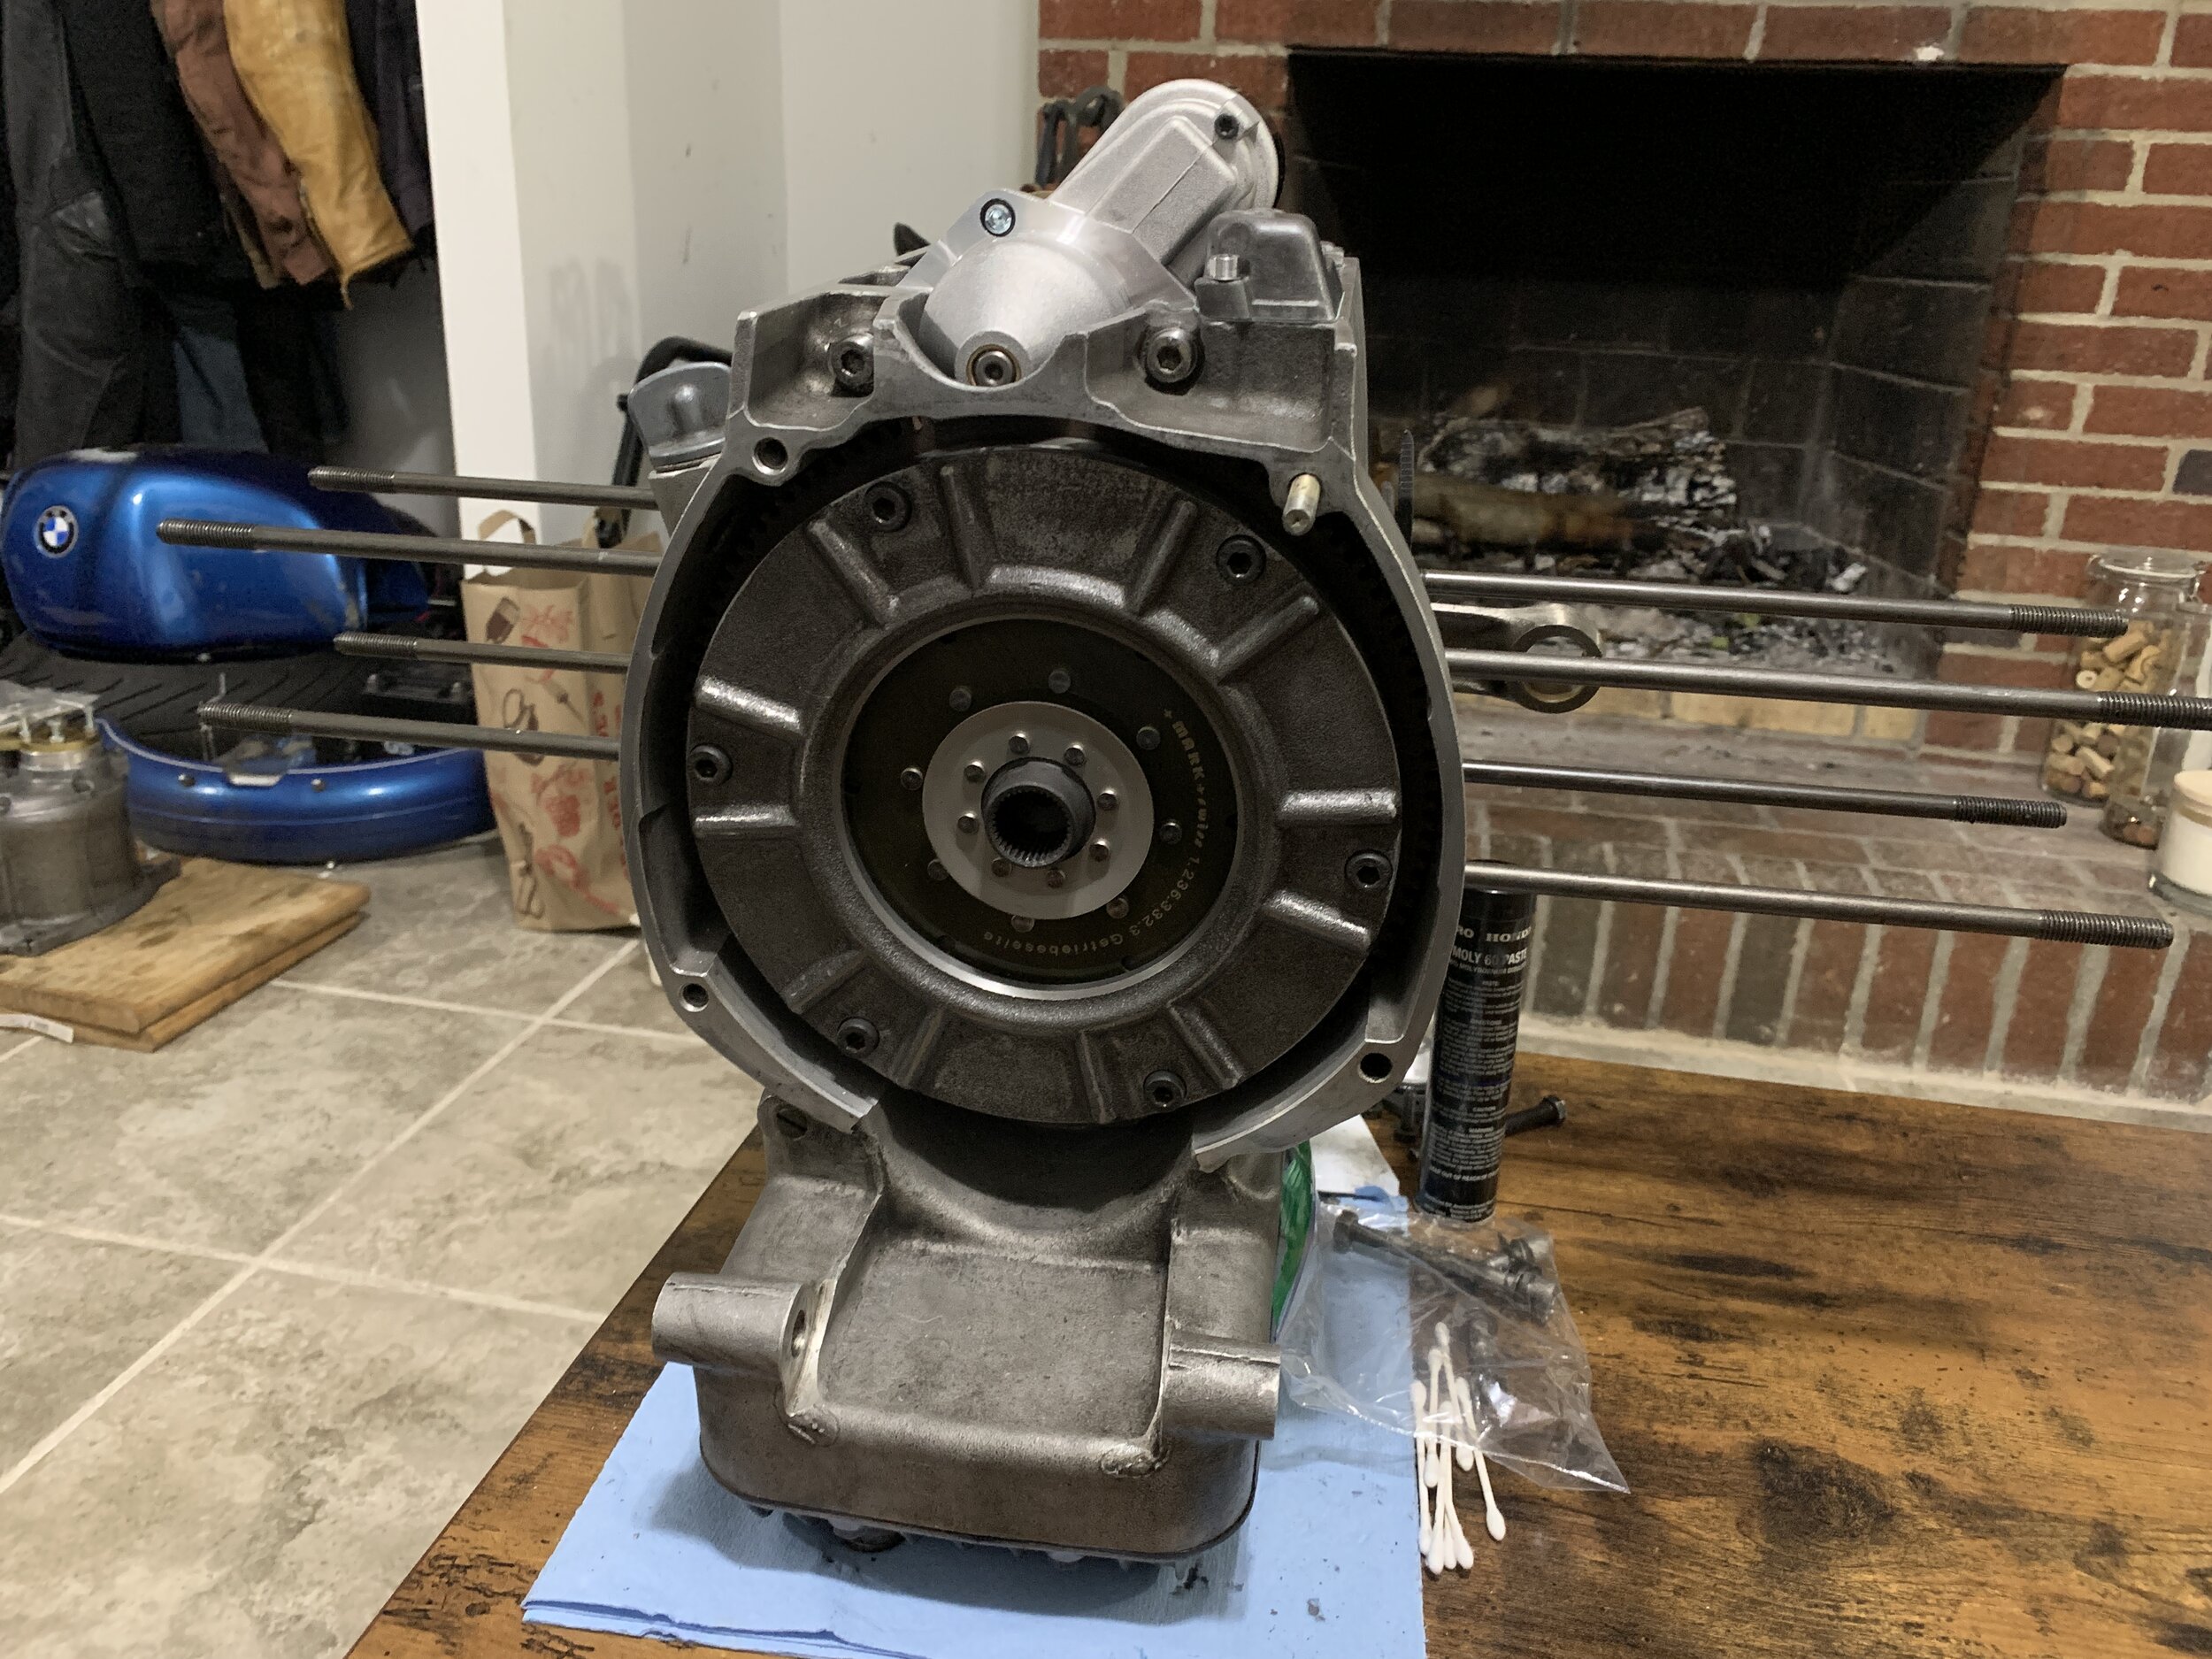
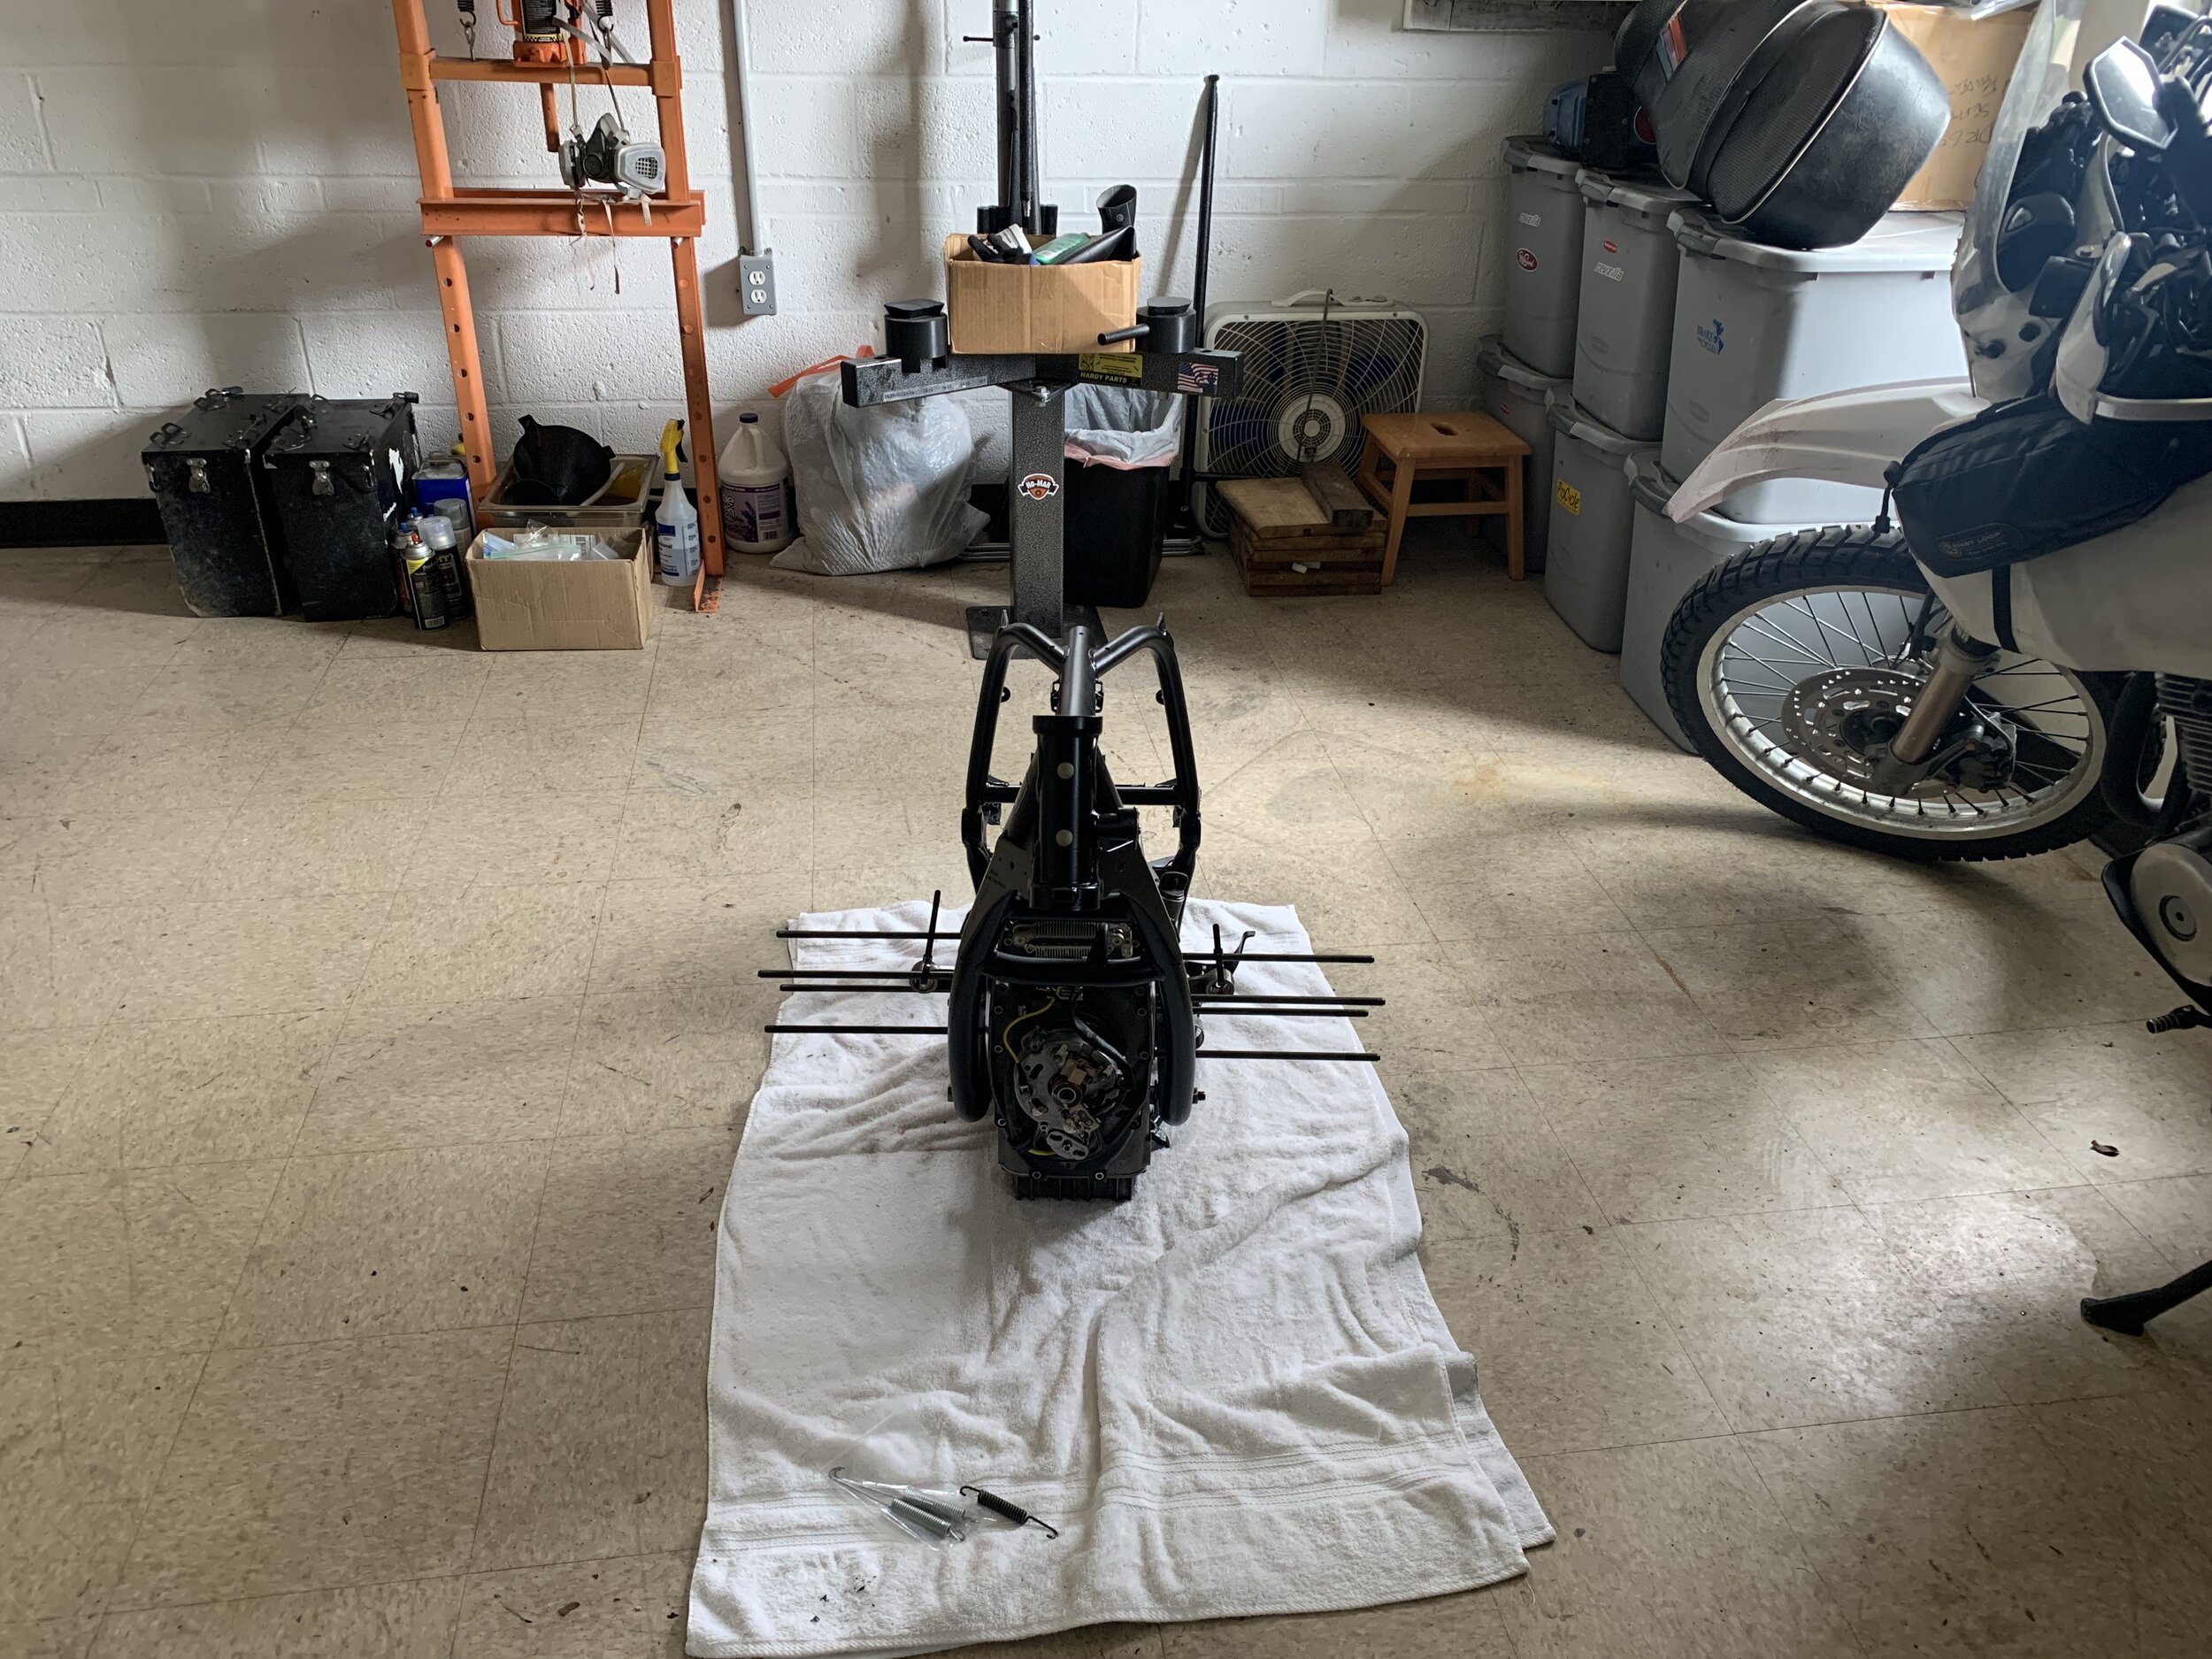
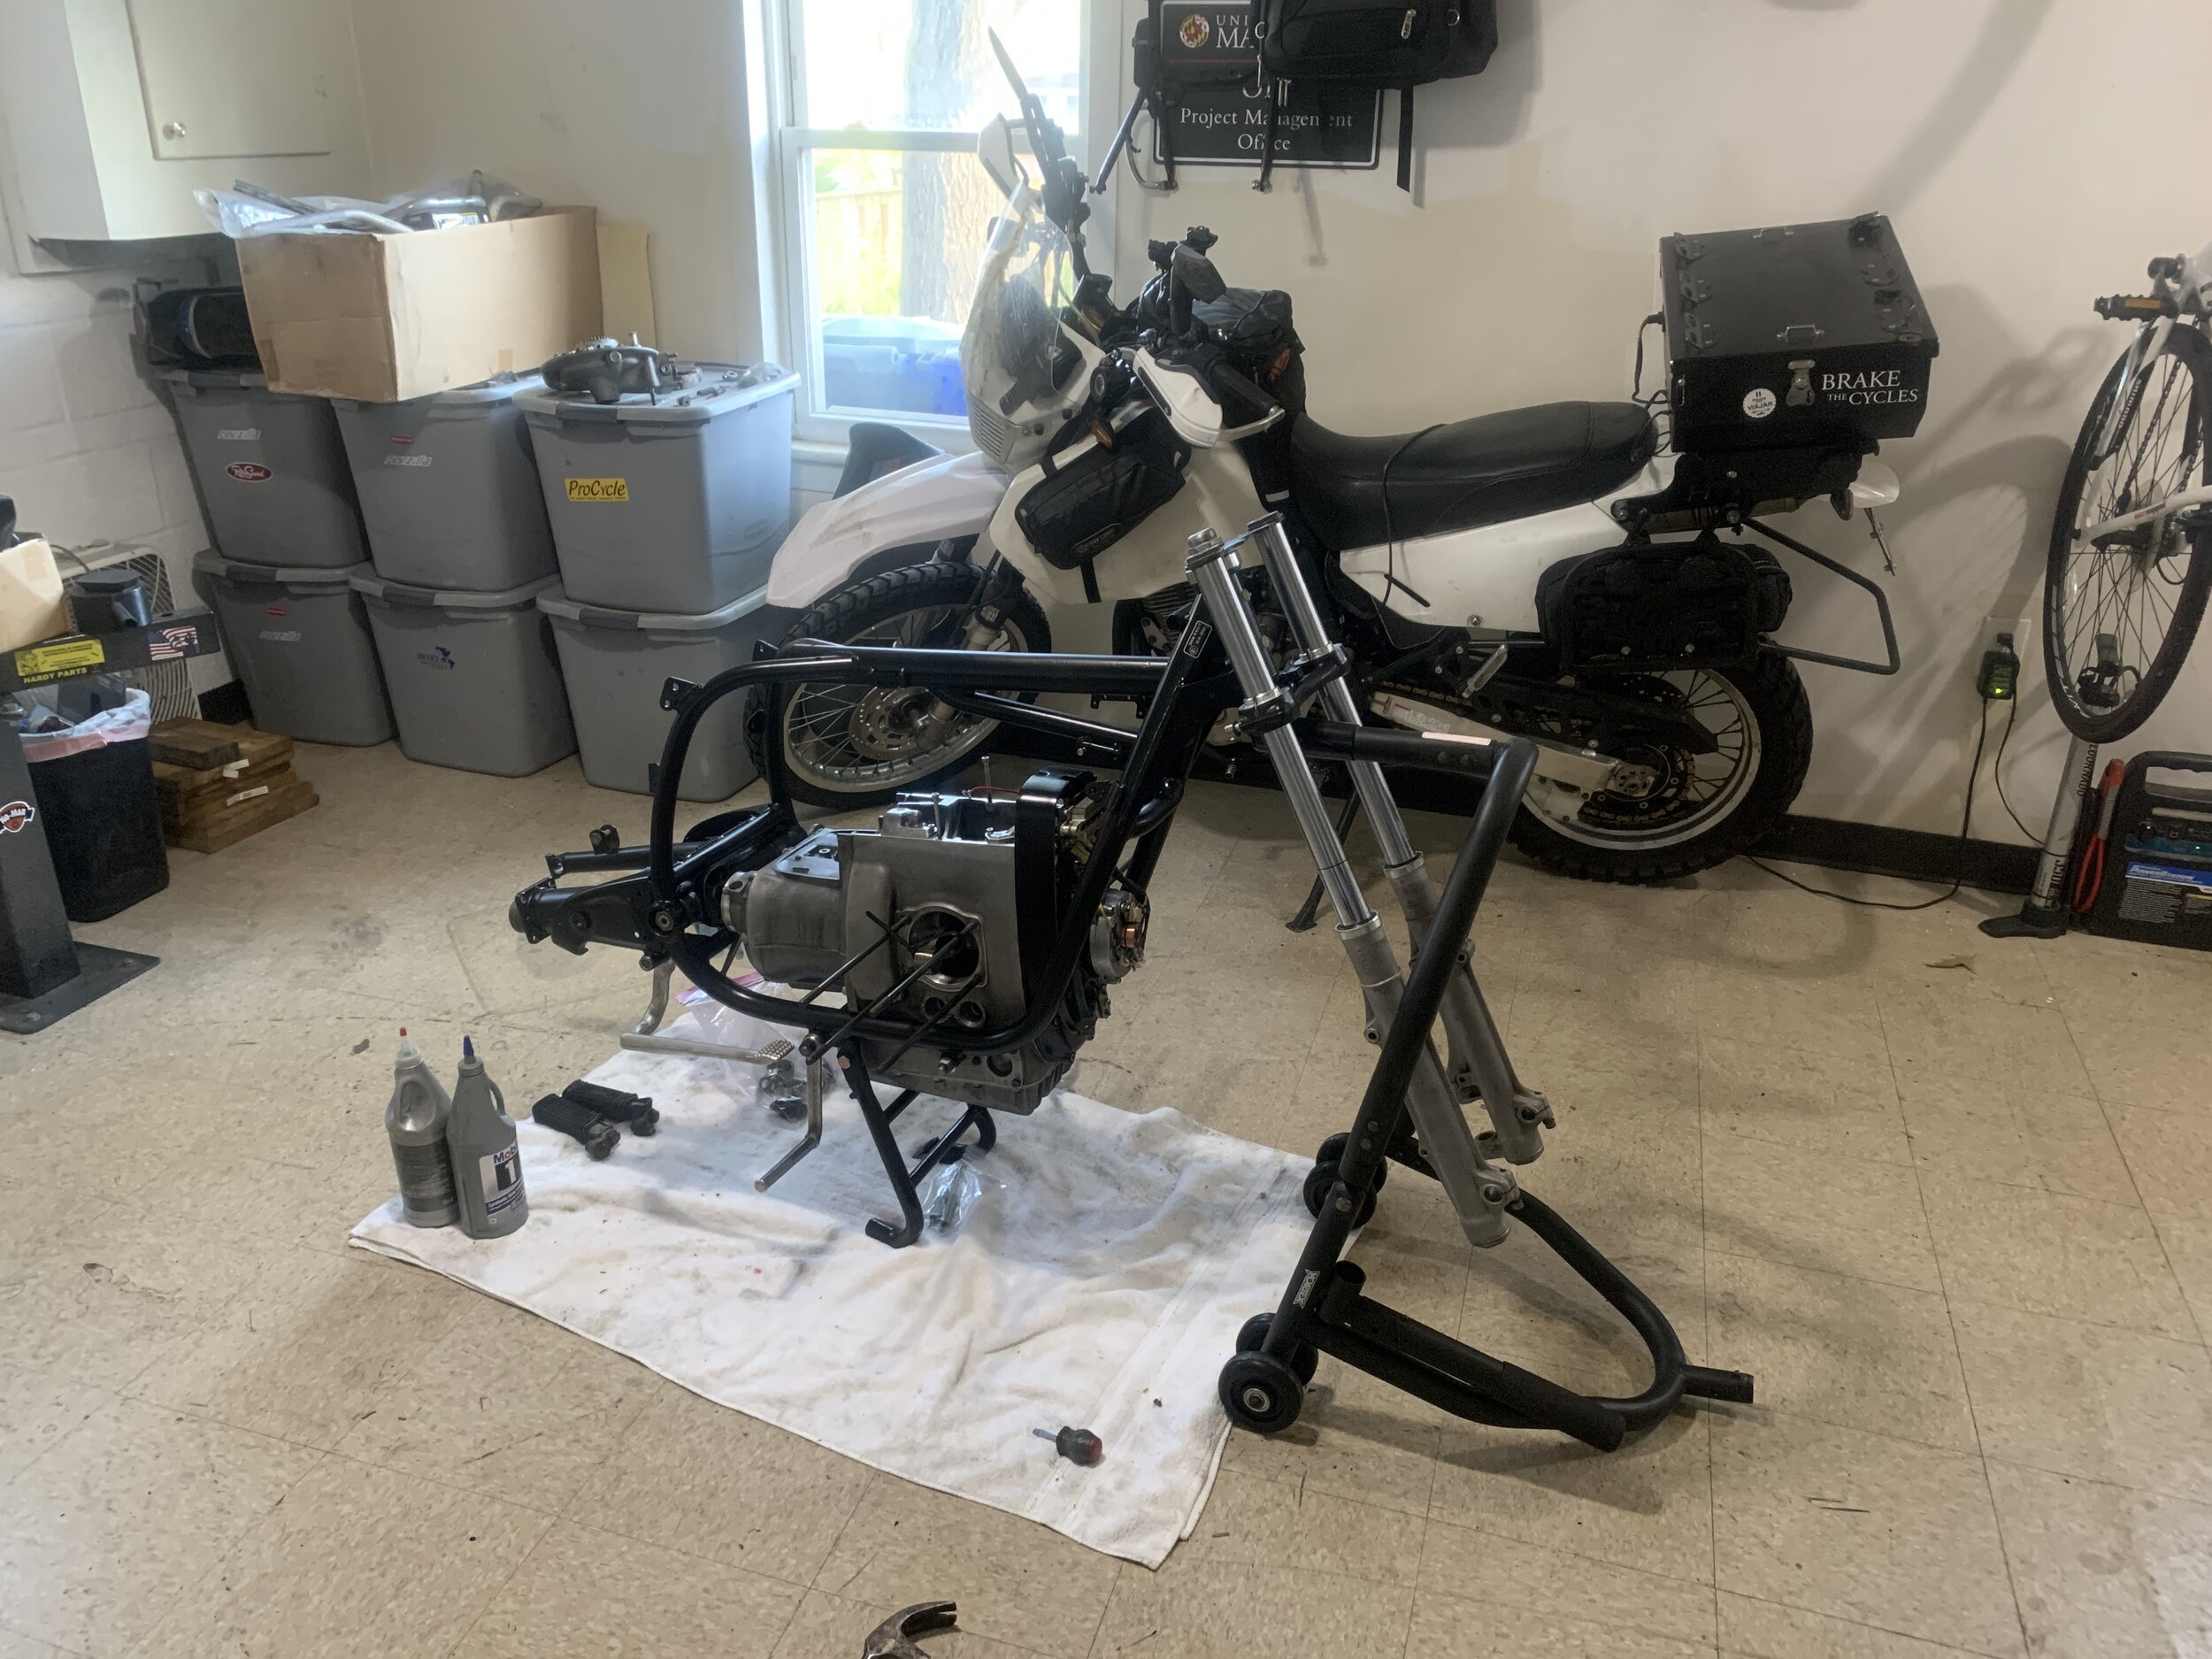
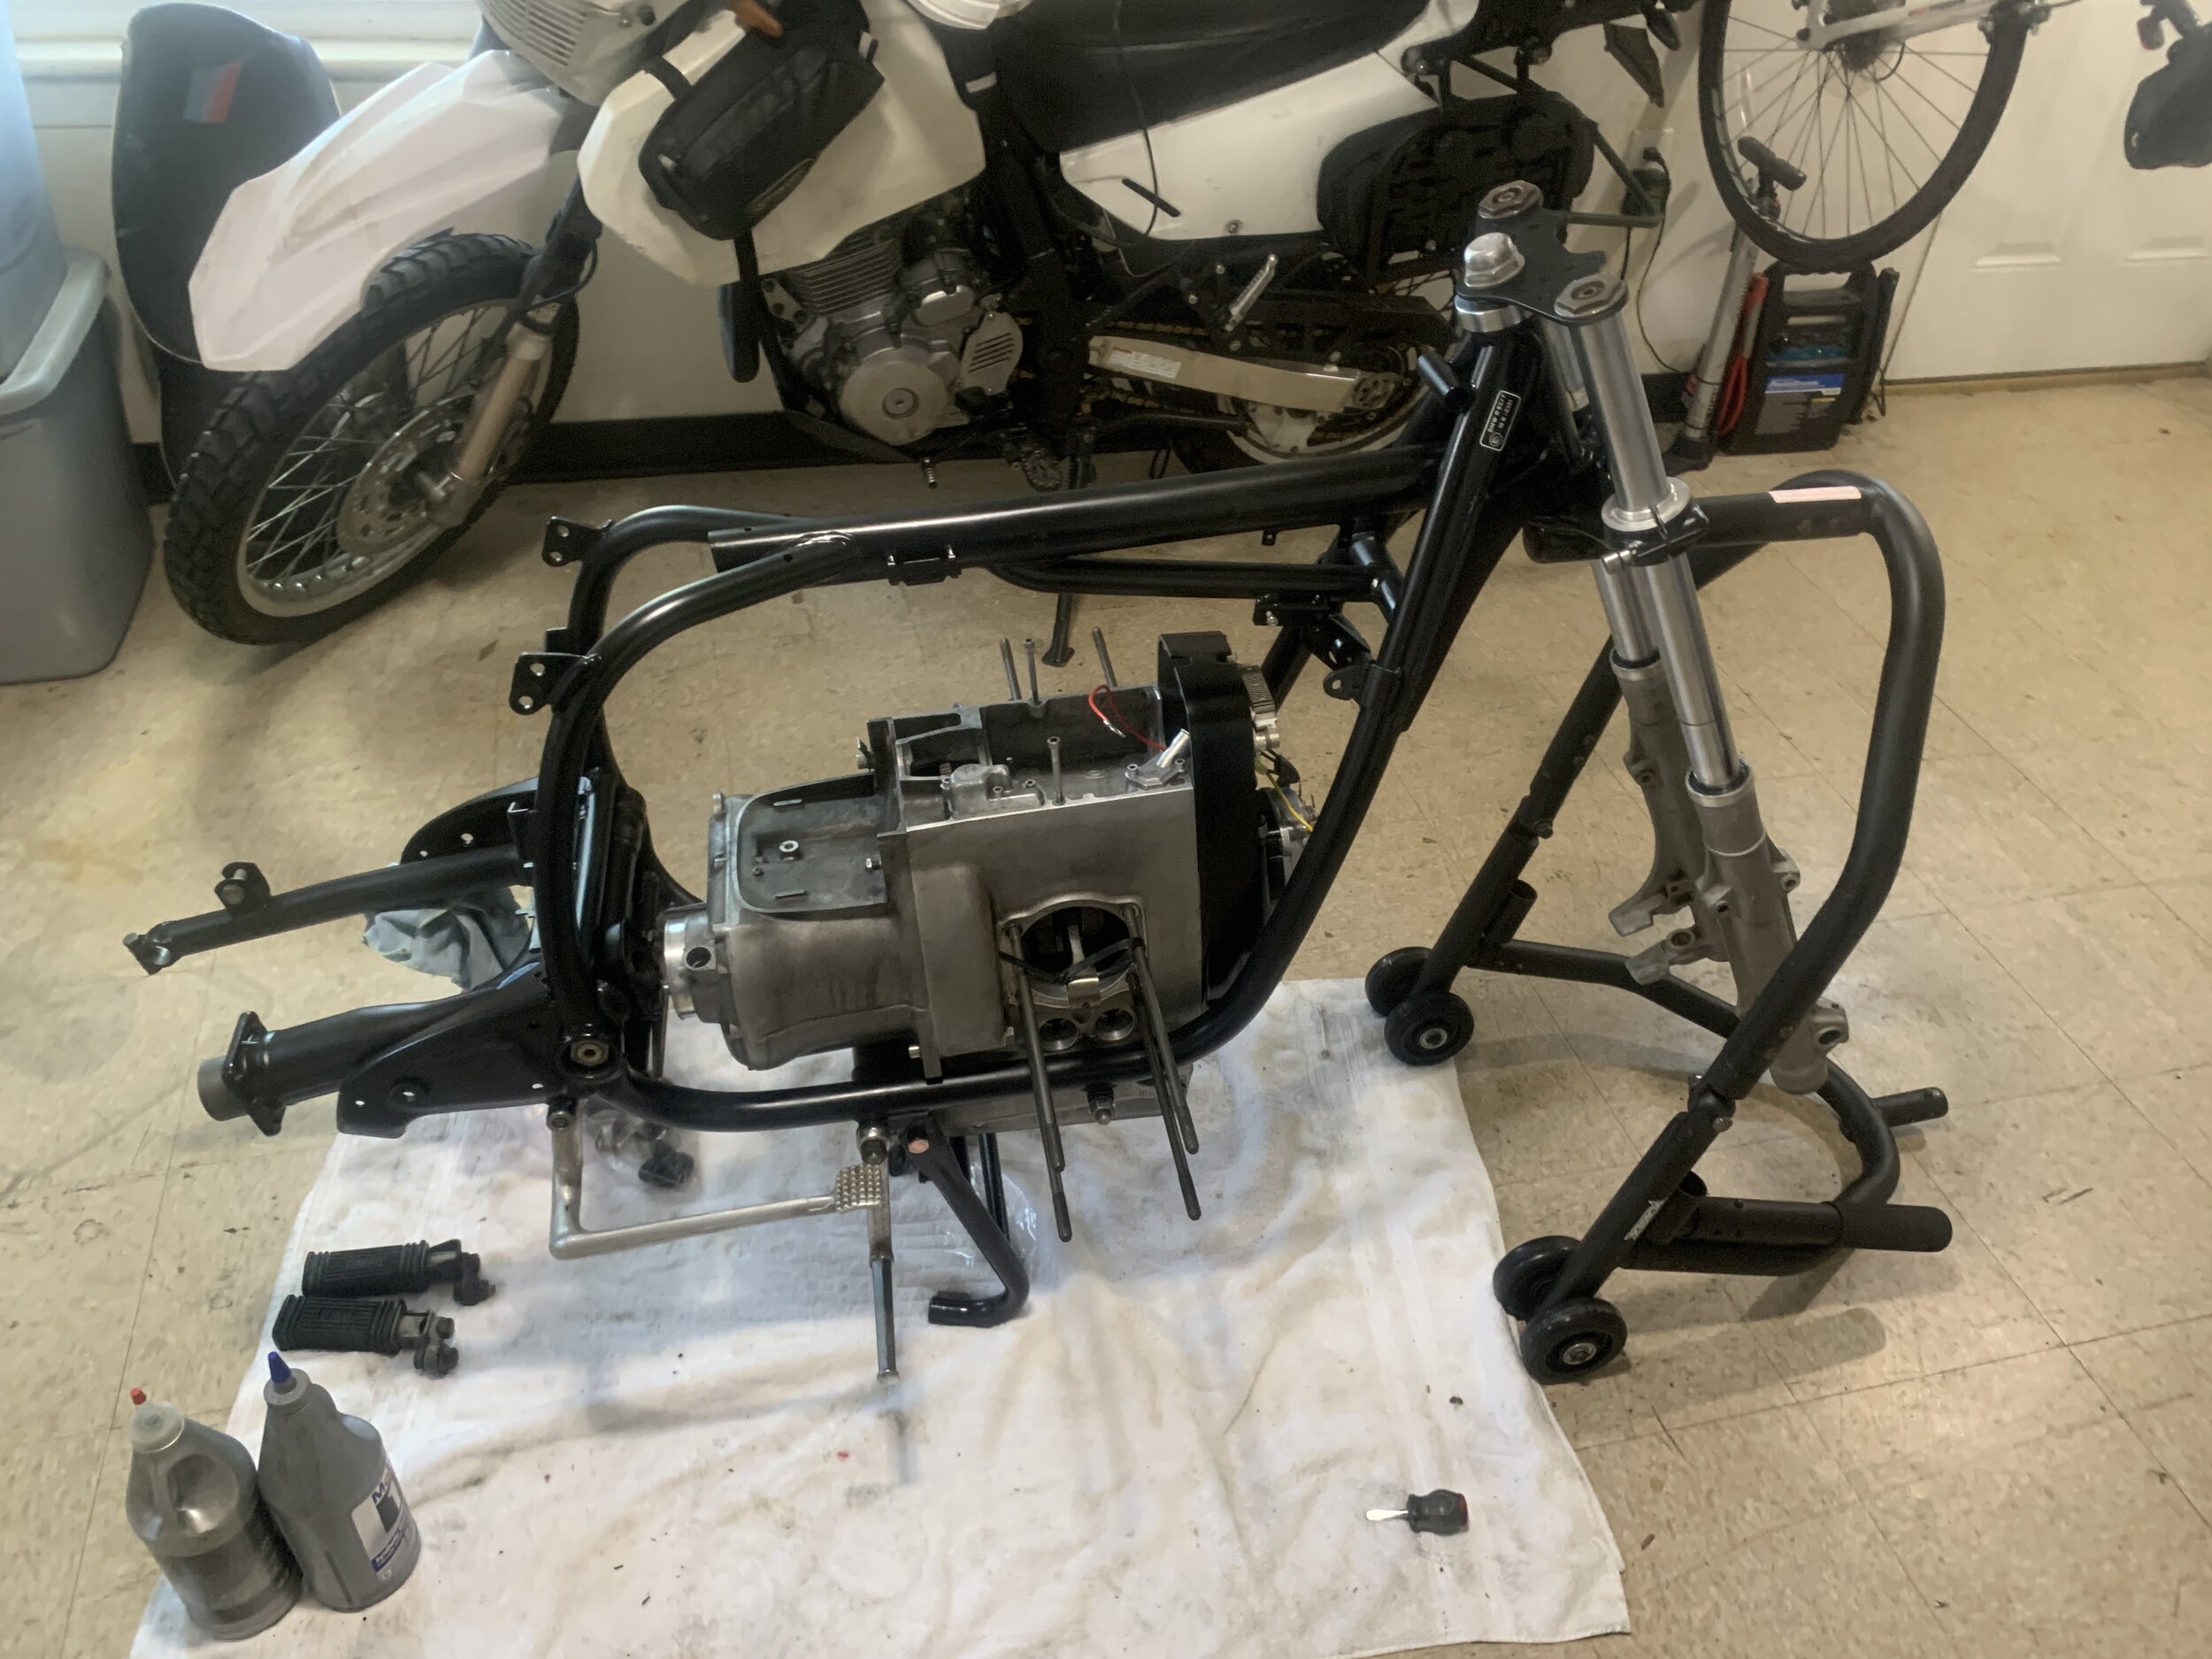
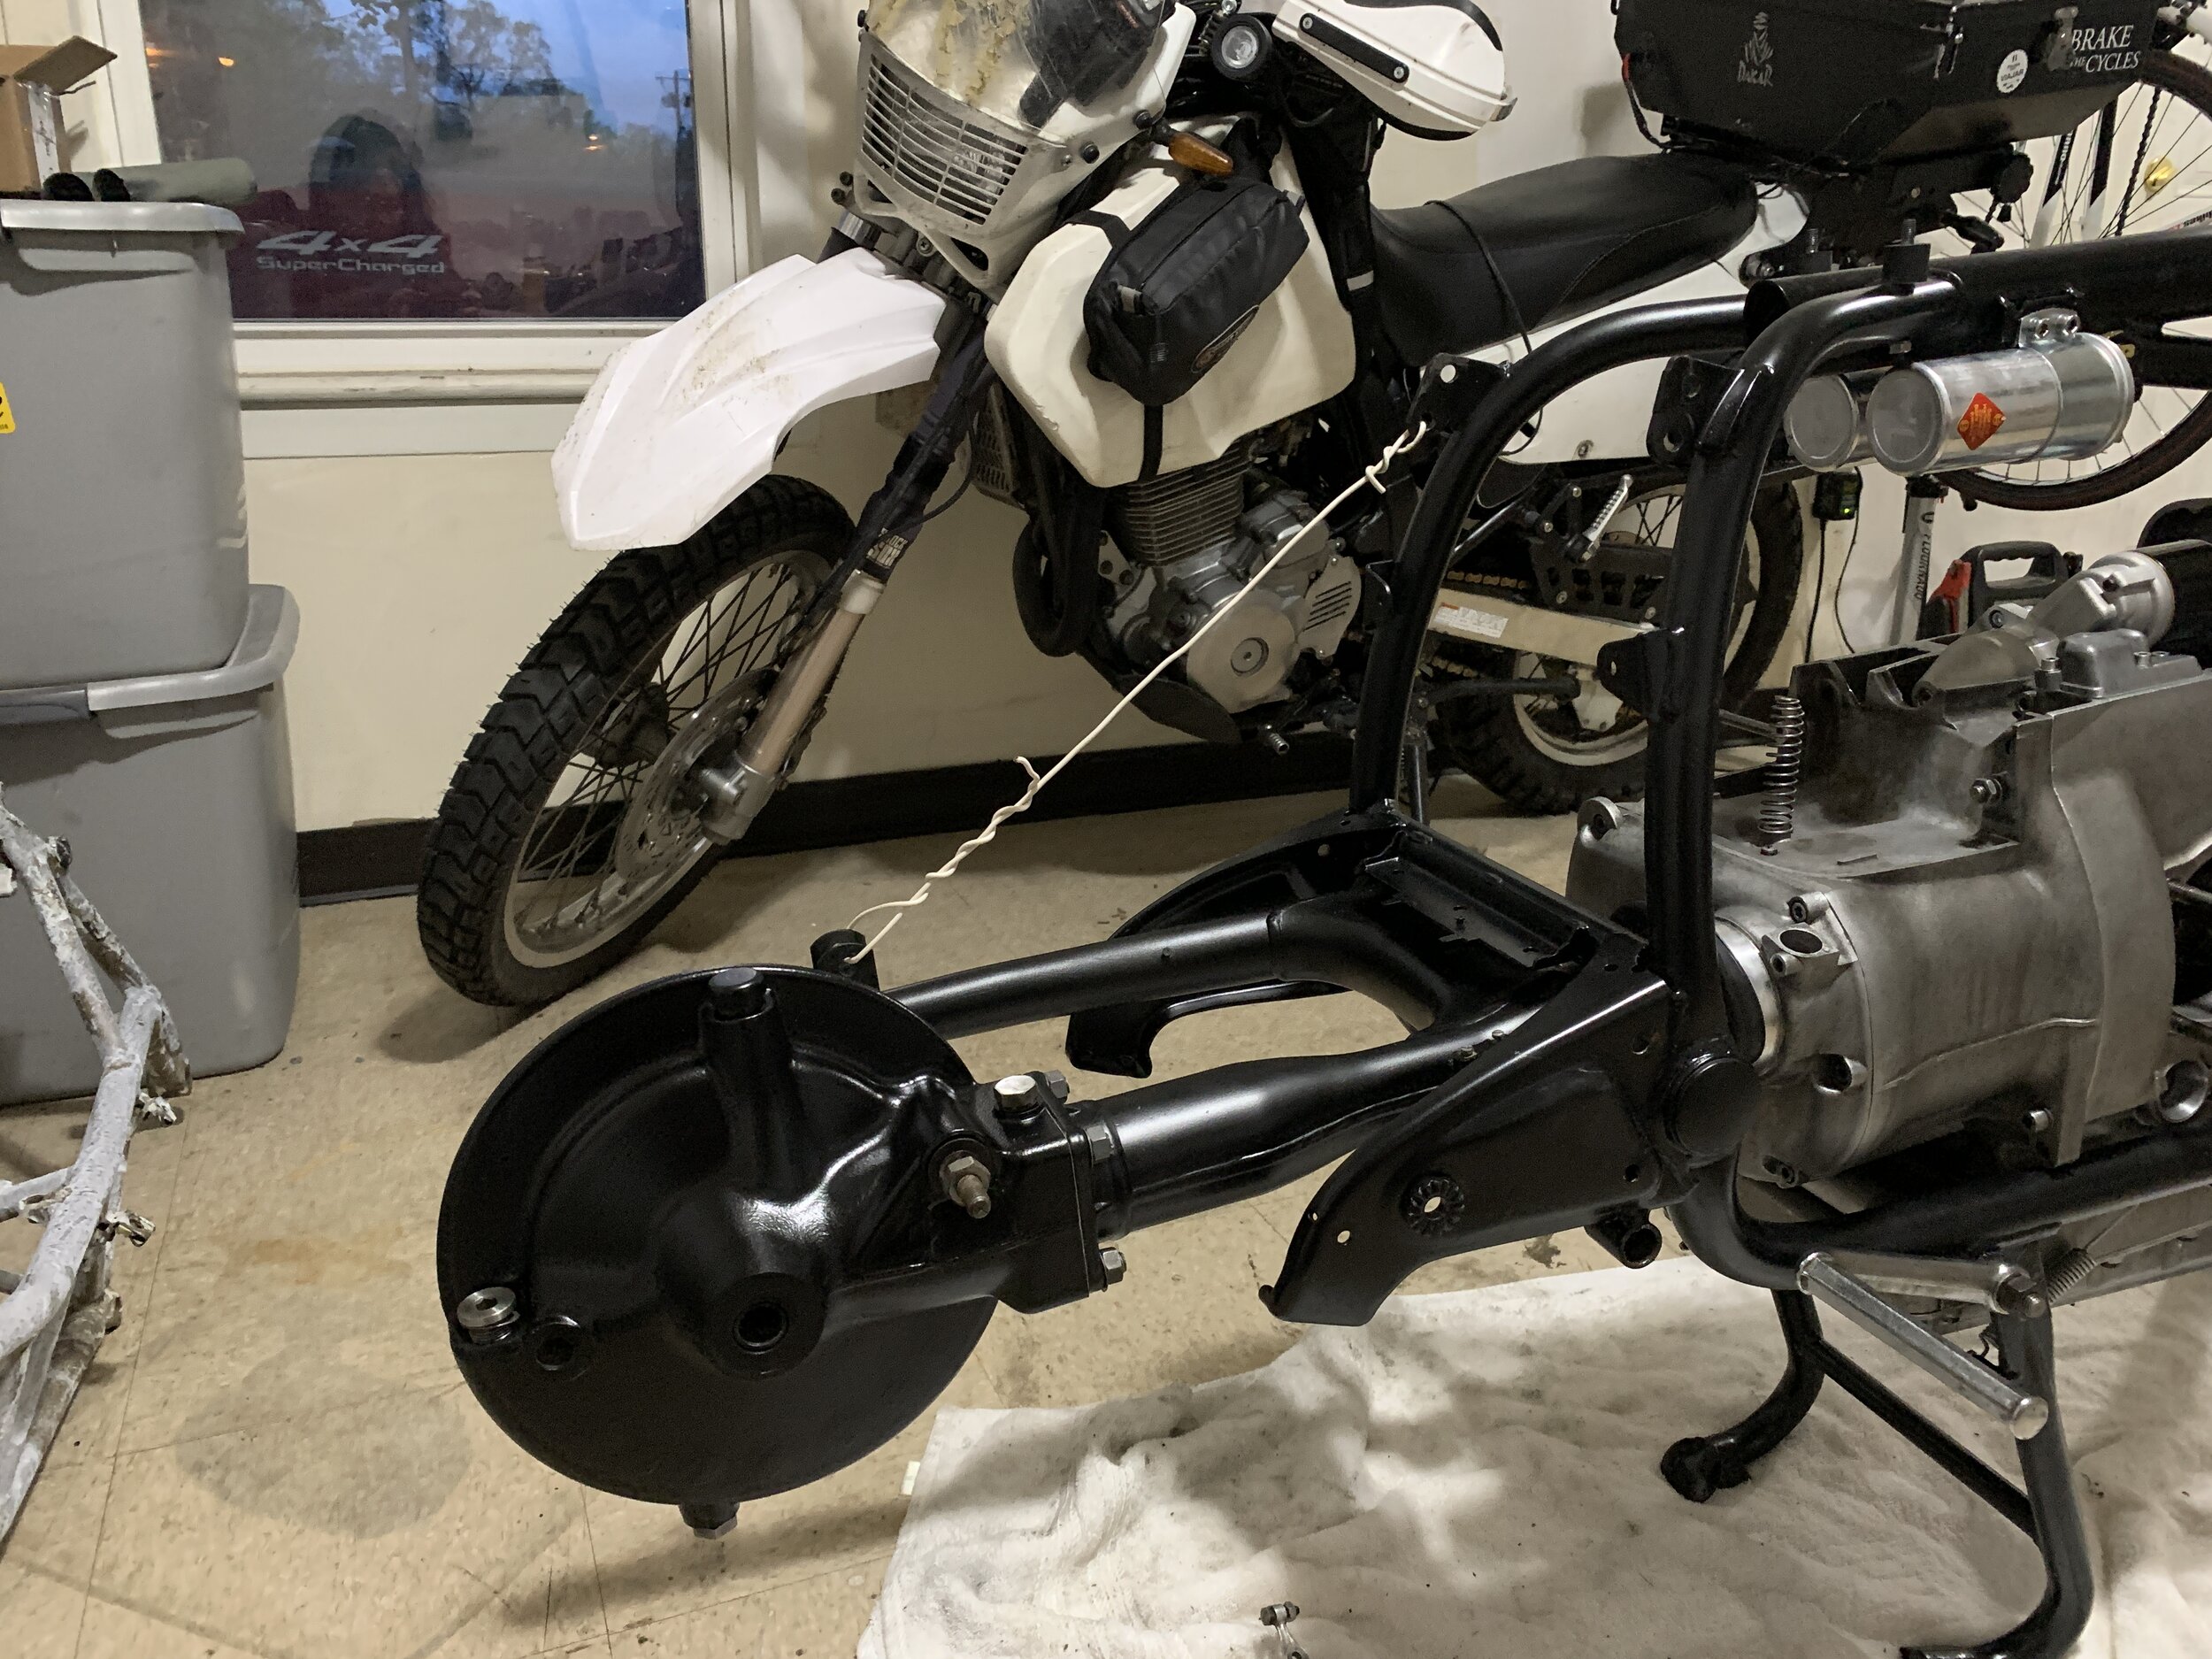
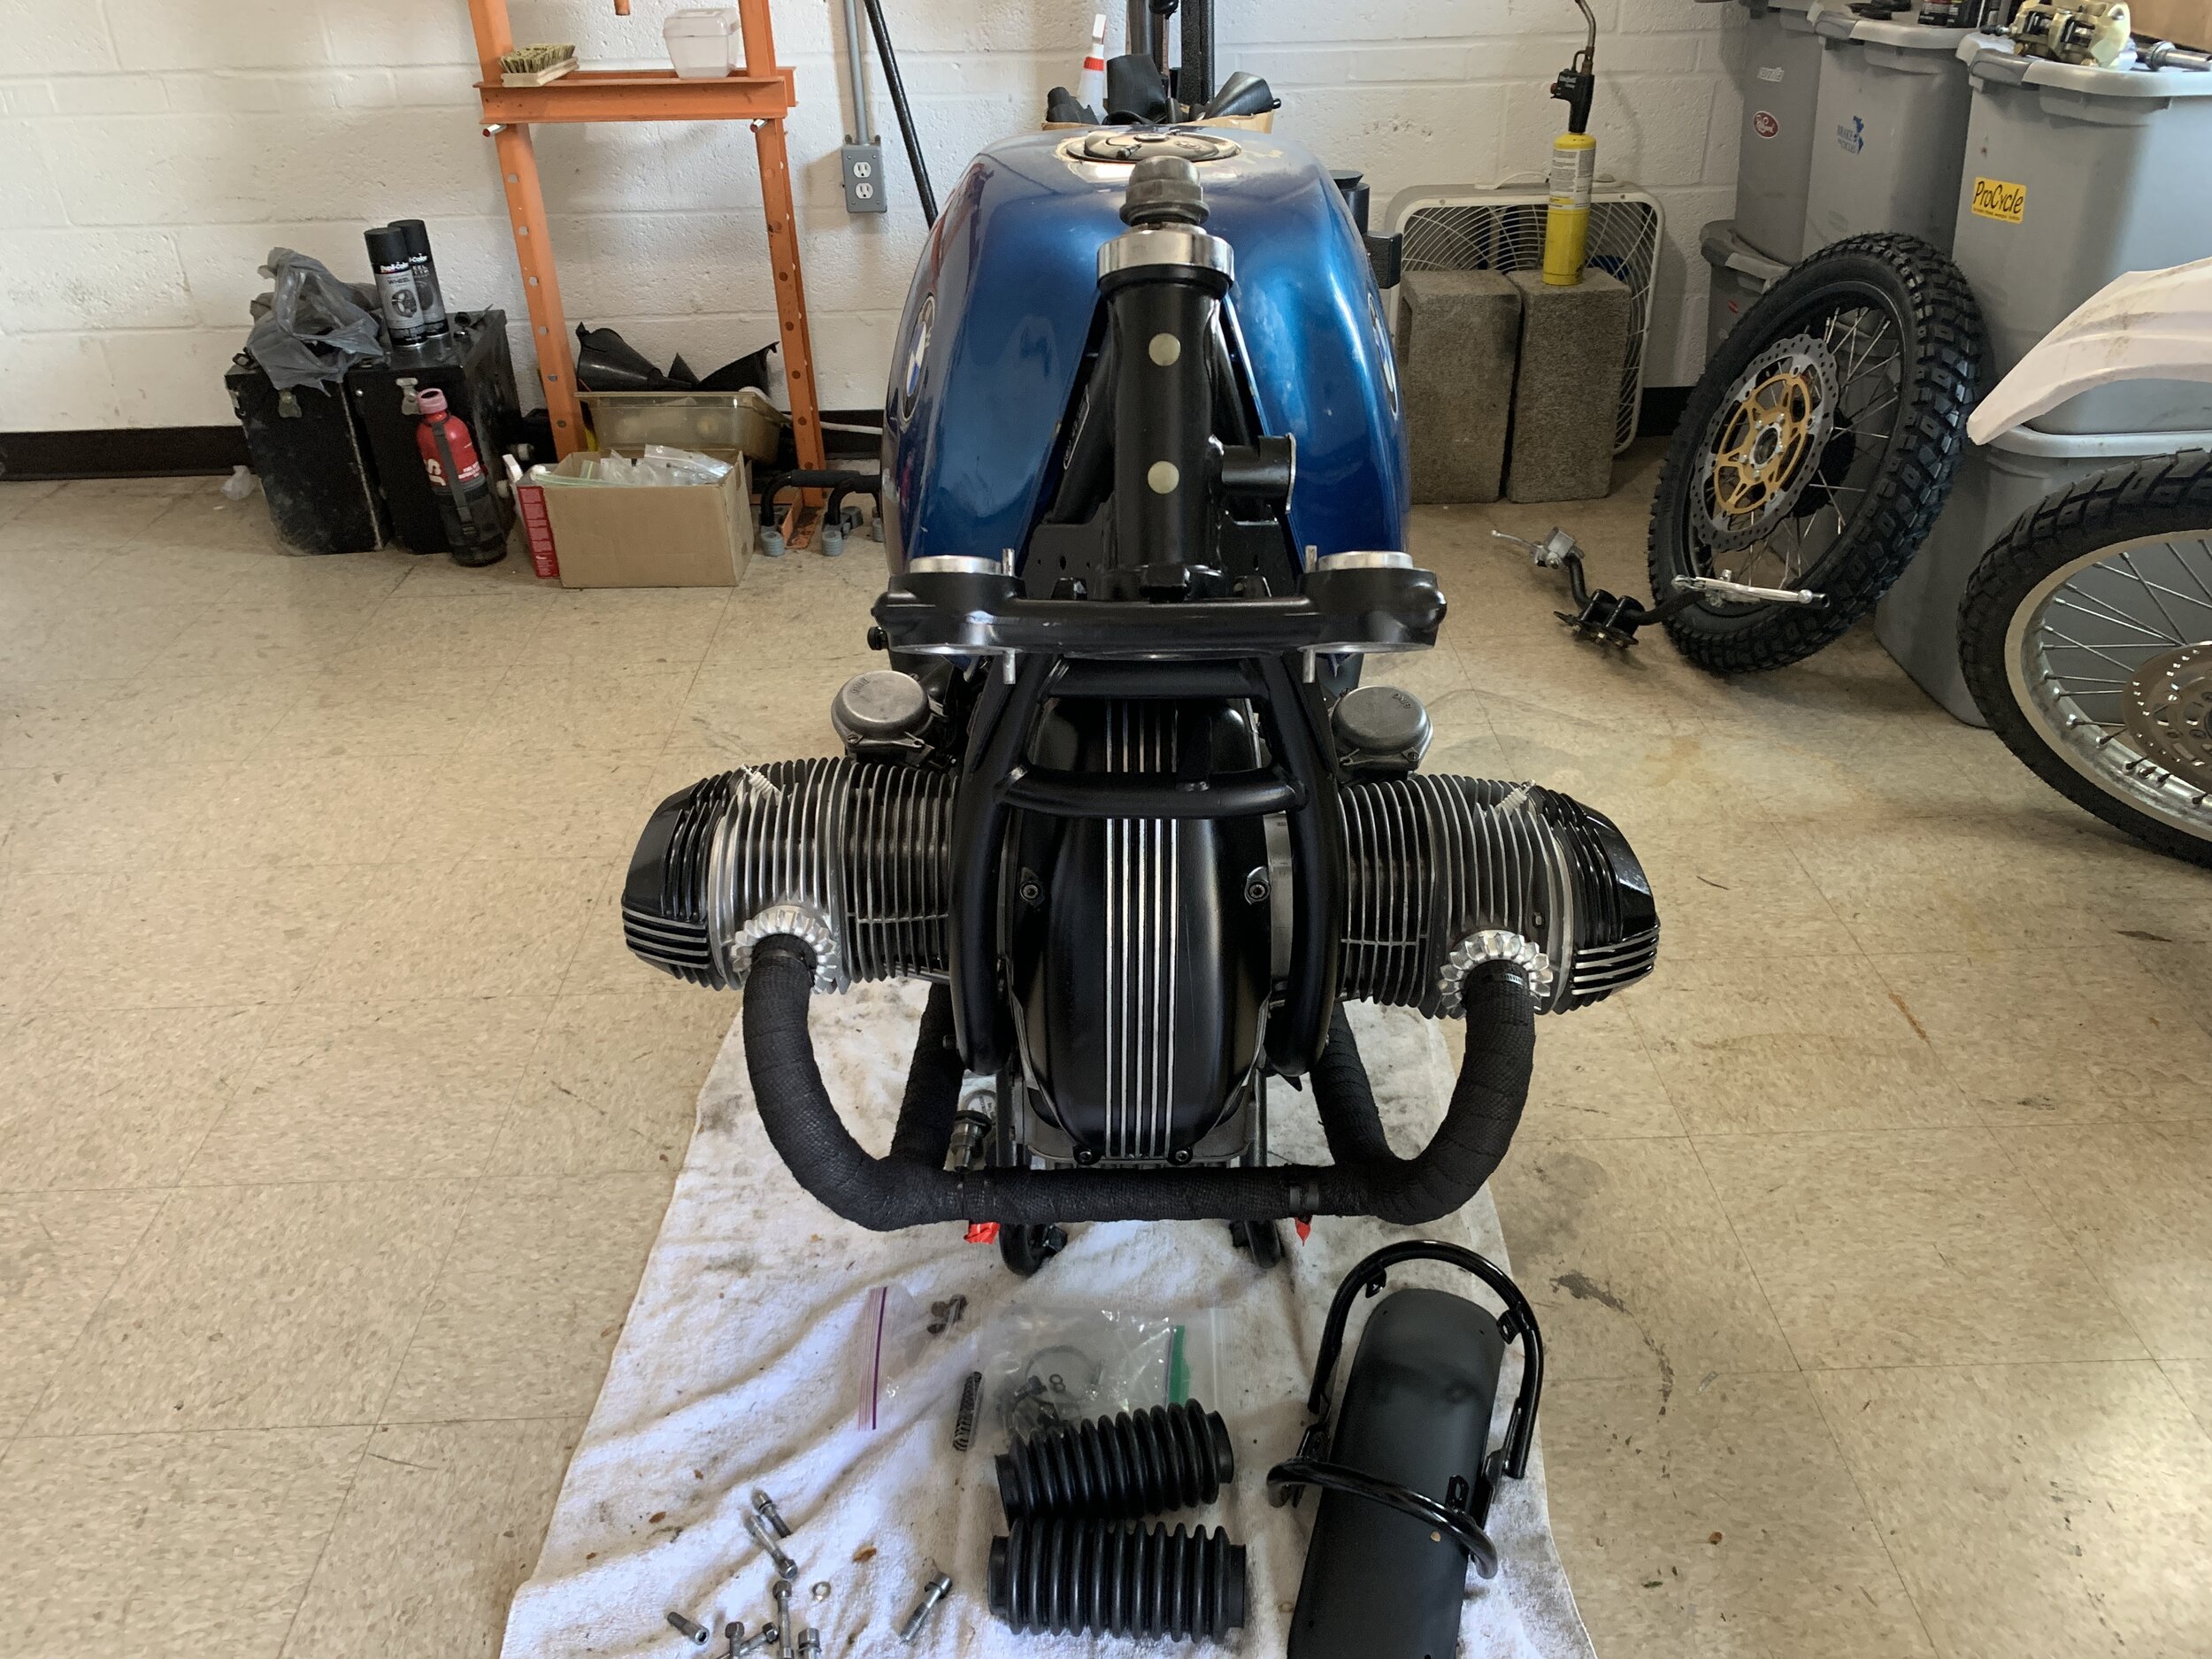
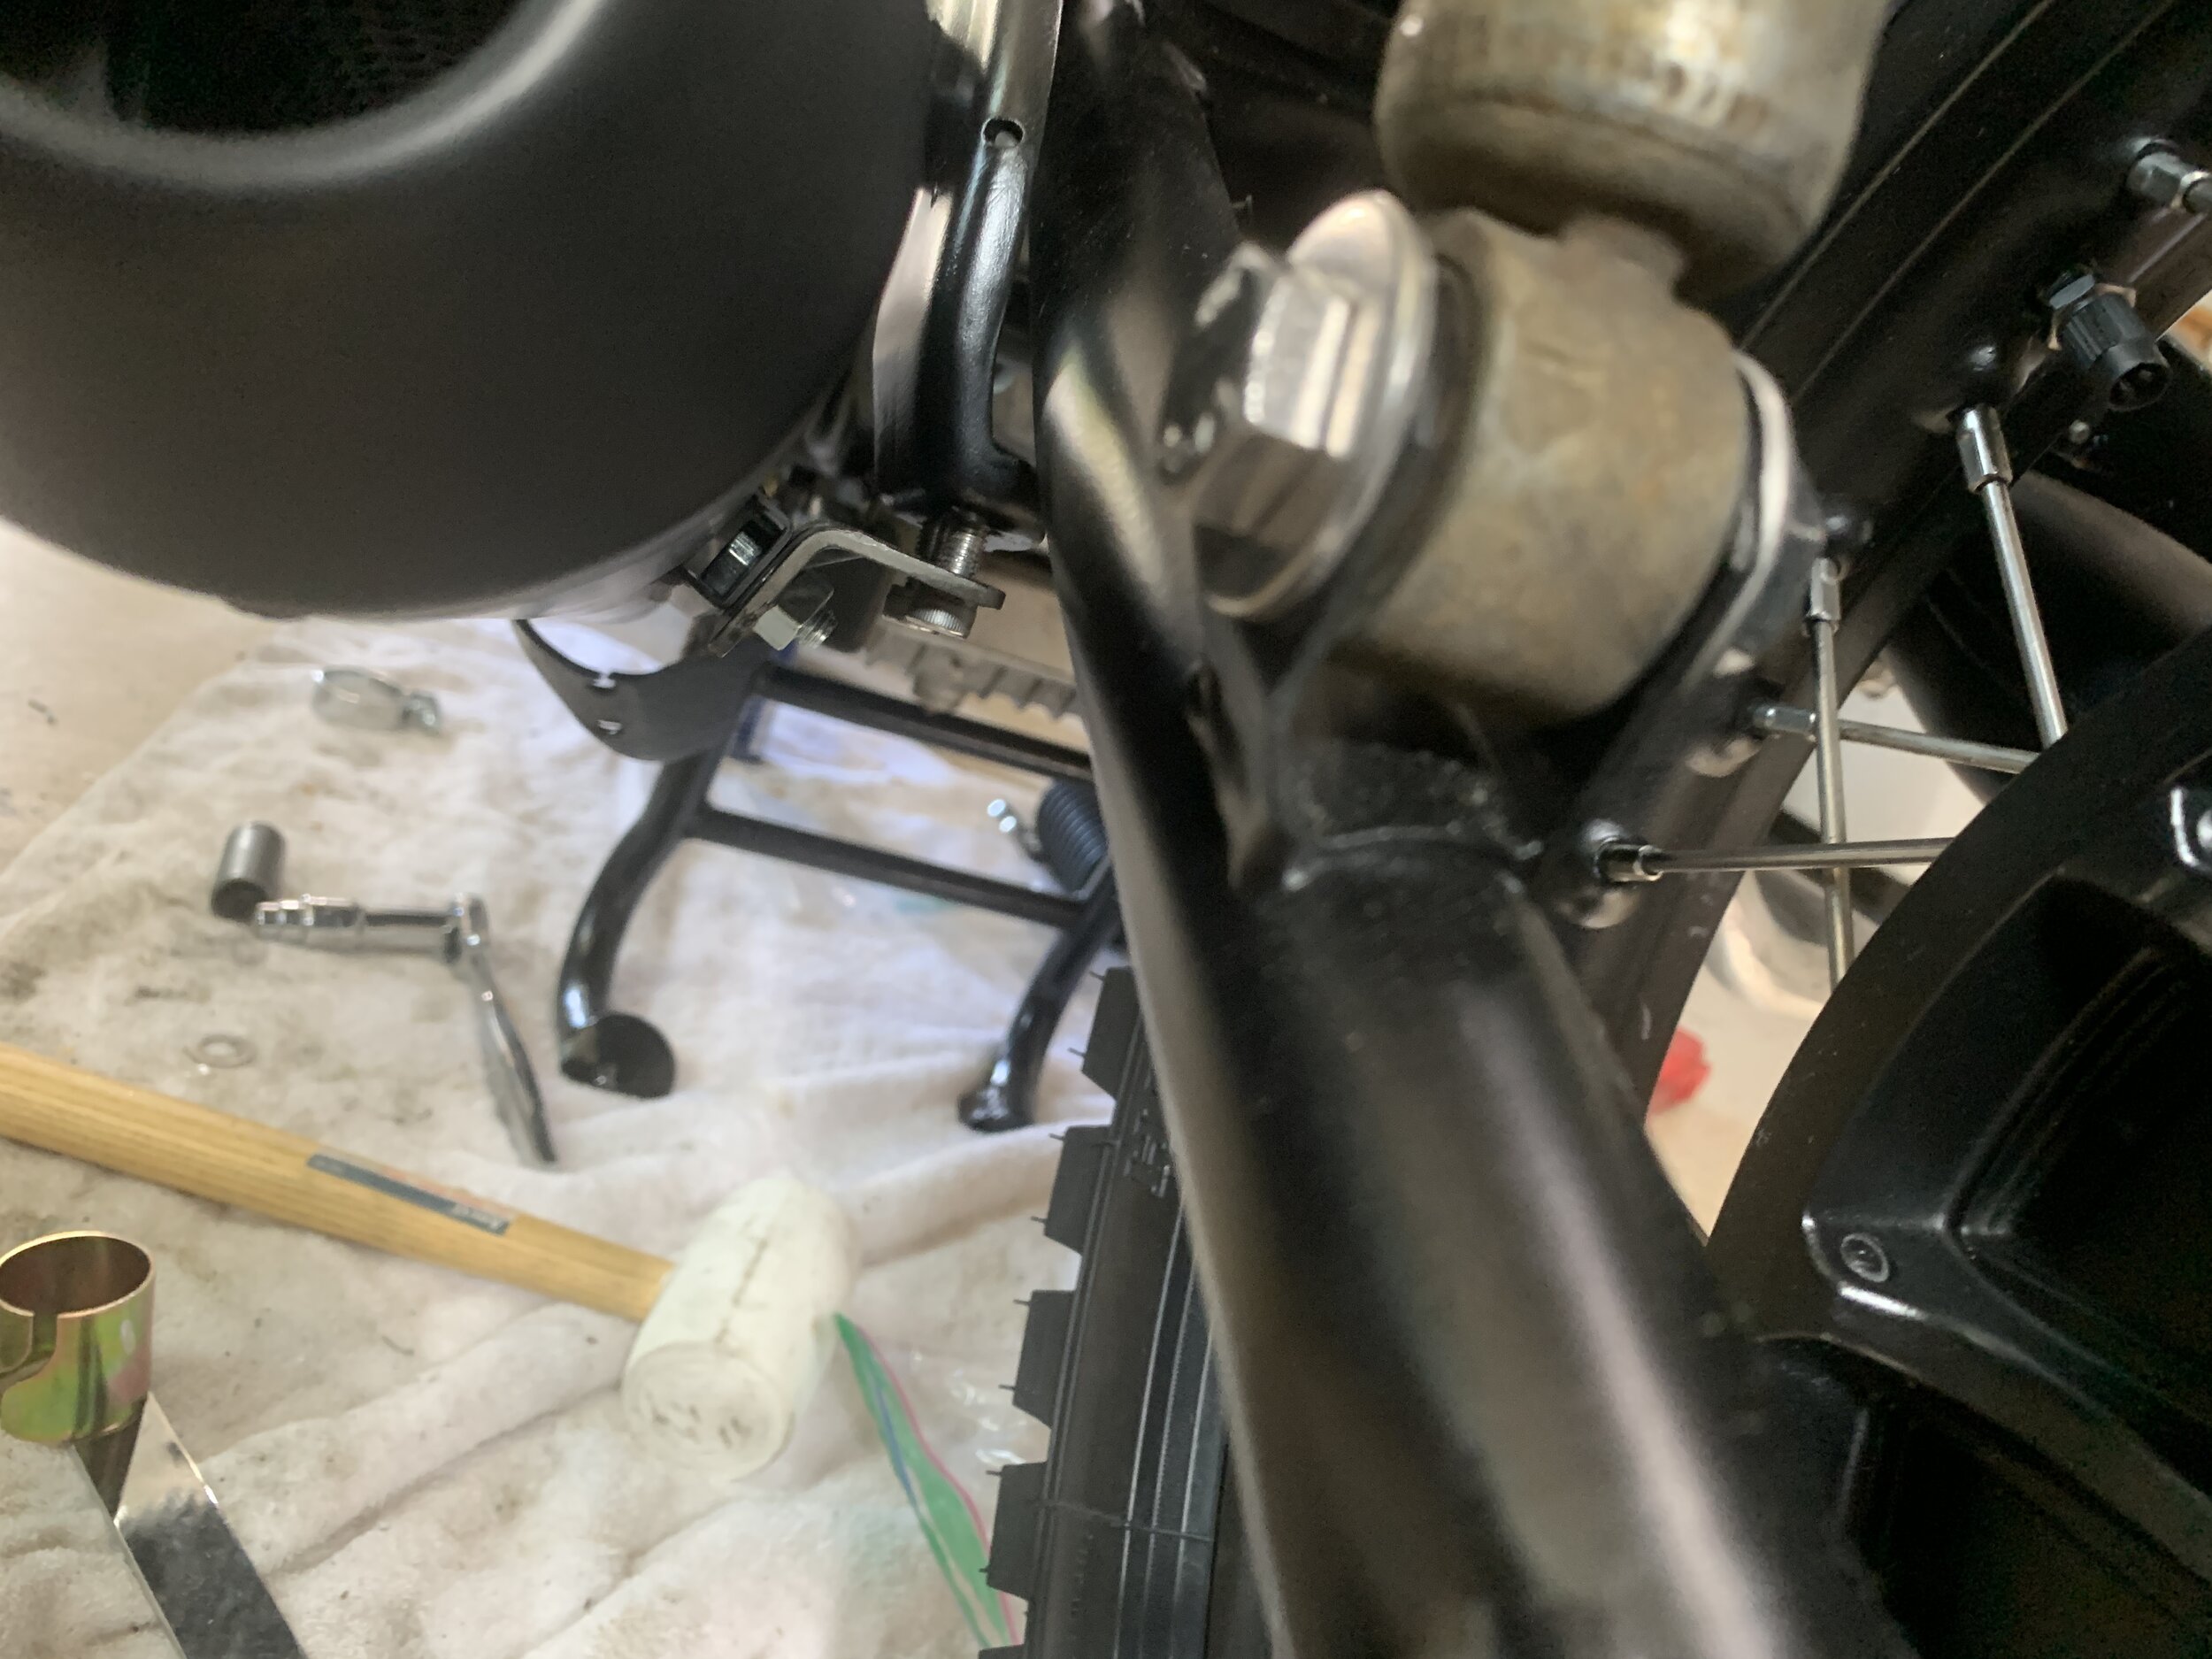
Assembly begins, at this point, I already know the budget will be way exploded. Aside from fully rebuilding the final drive or replacing the crank bearing, I literally replaced everything on this bike. Every gasket to every wear and tear piece. I put the frame down on some towels and balance the front using a block of wood and then fitted the block through the frame. I only nicked one tiny corner, I did cover it up when I put it in, but the protection slid off when I was moving it around and ended up removing the paint on the inside of the frame. Easy enough to touch up, and it will never been seen even if you try really hard to look for it.
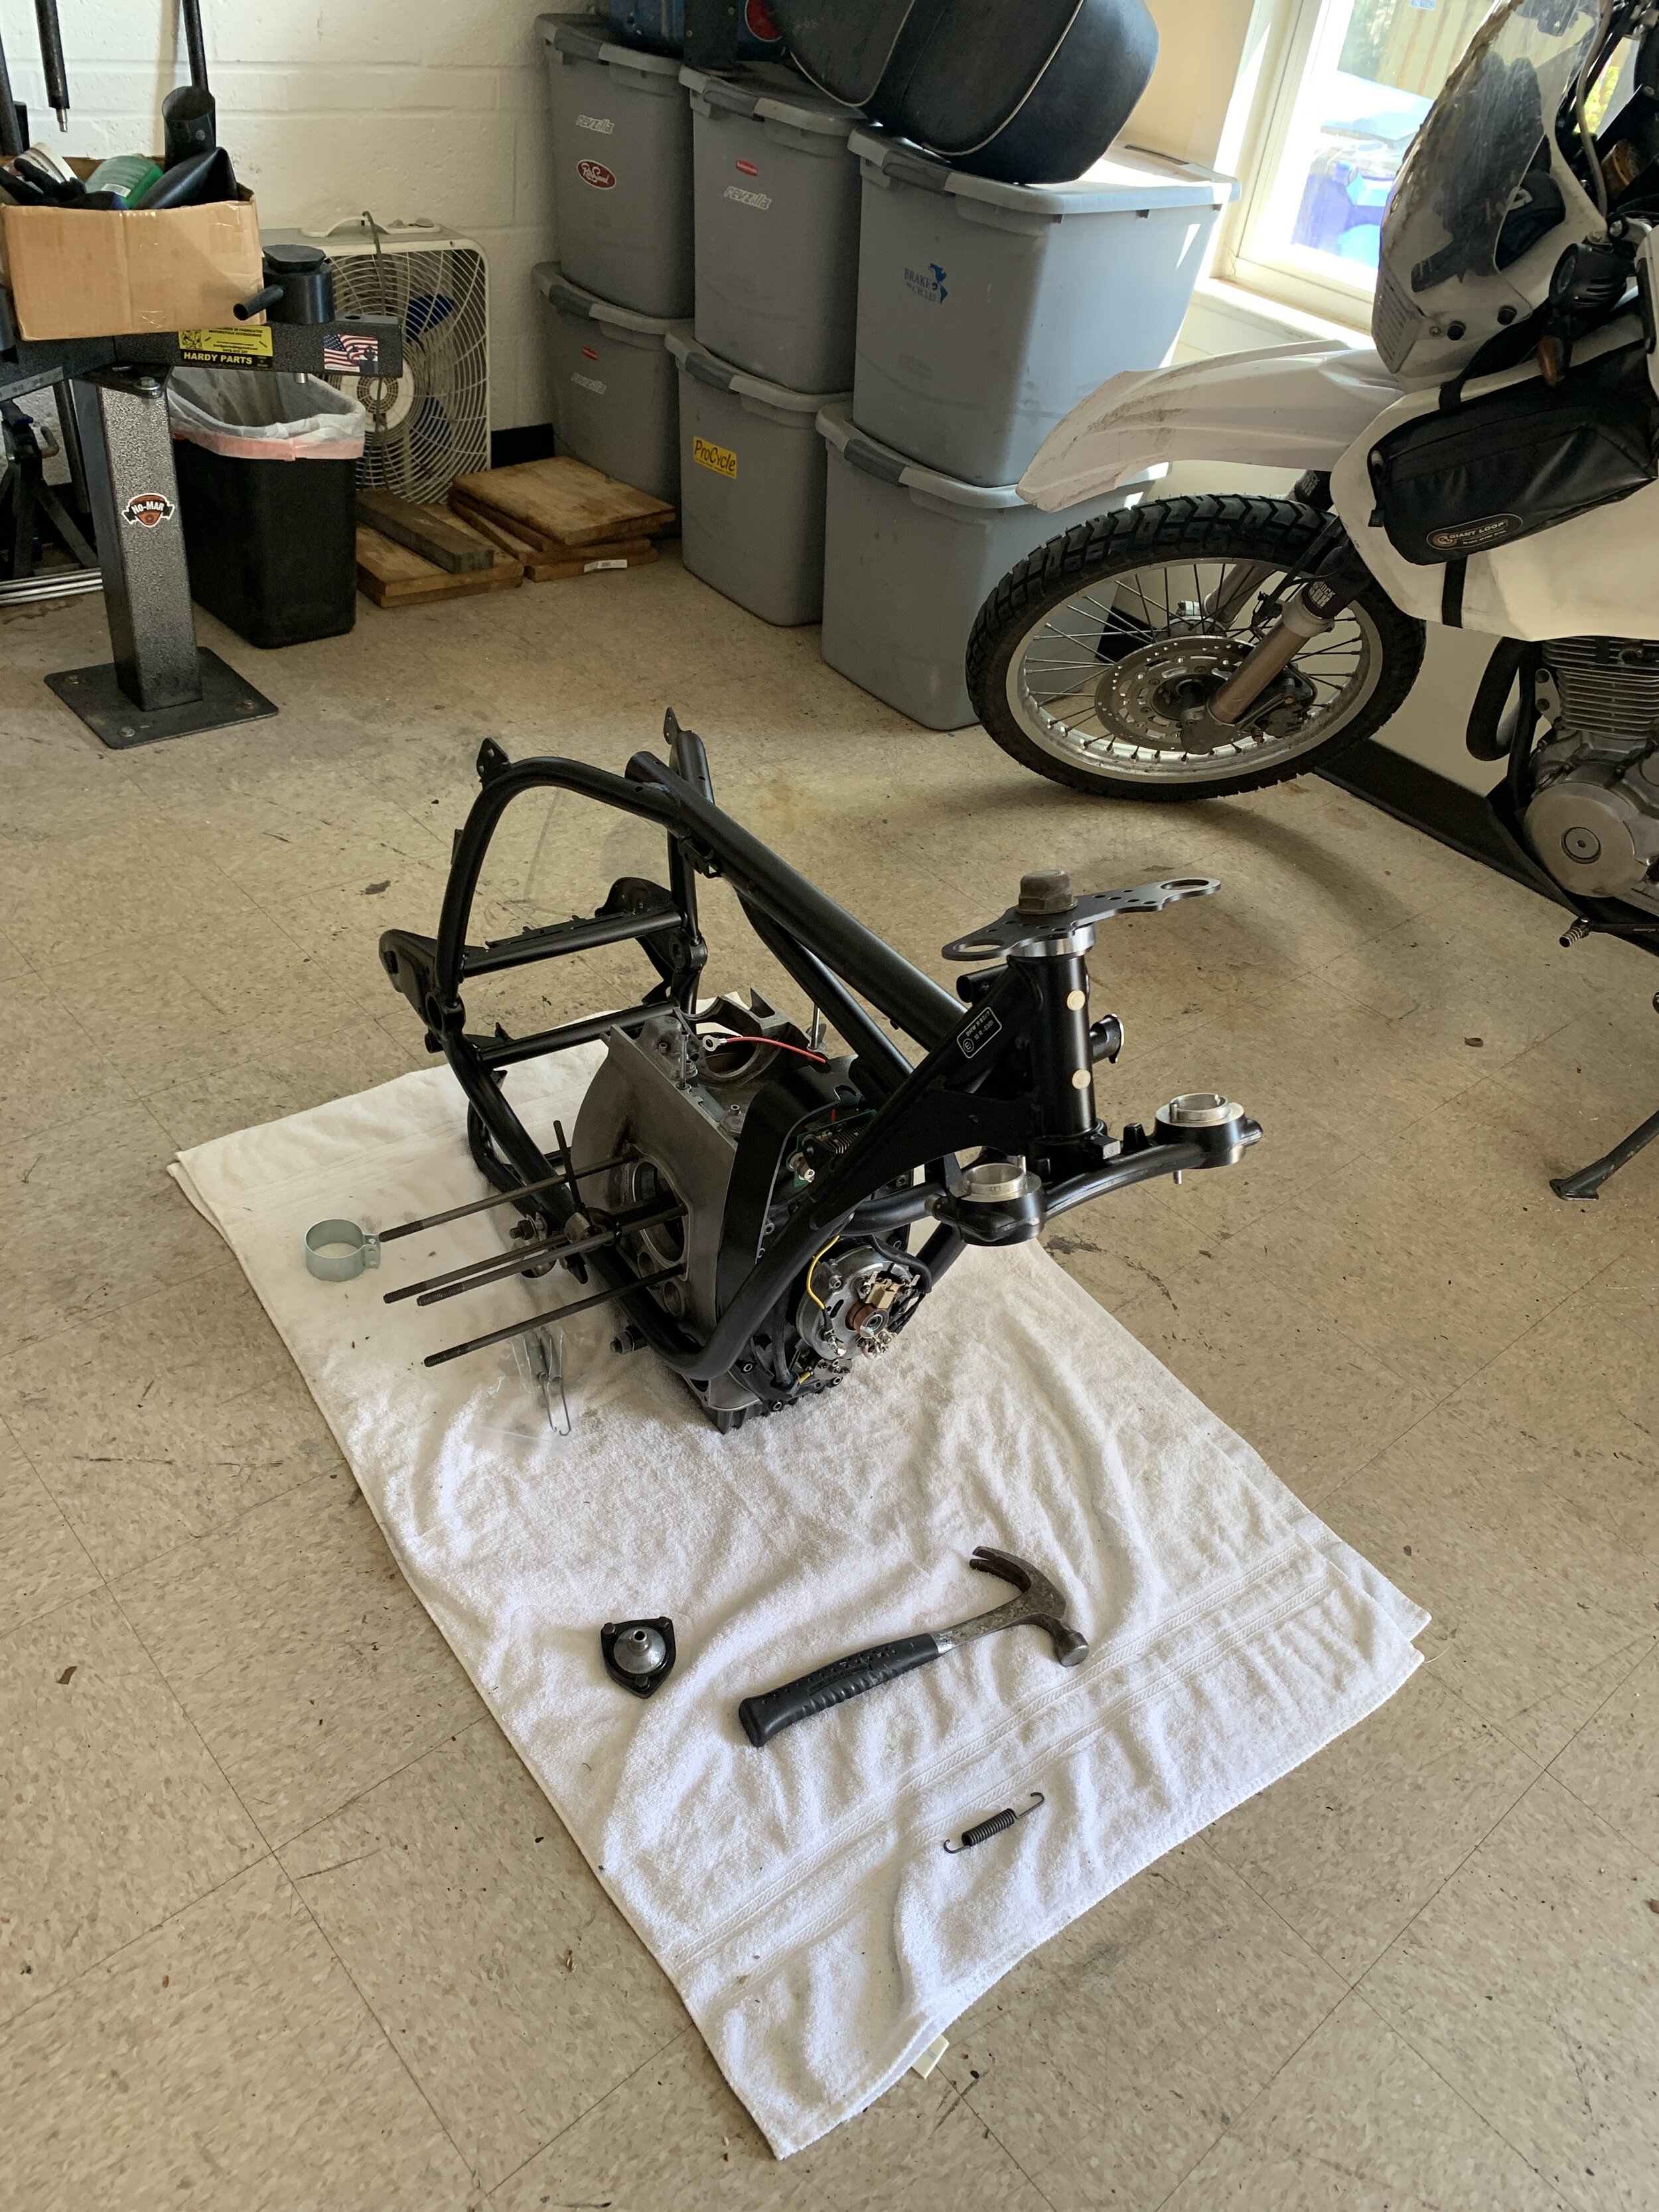
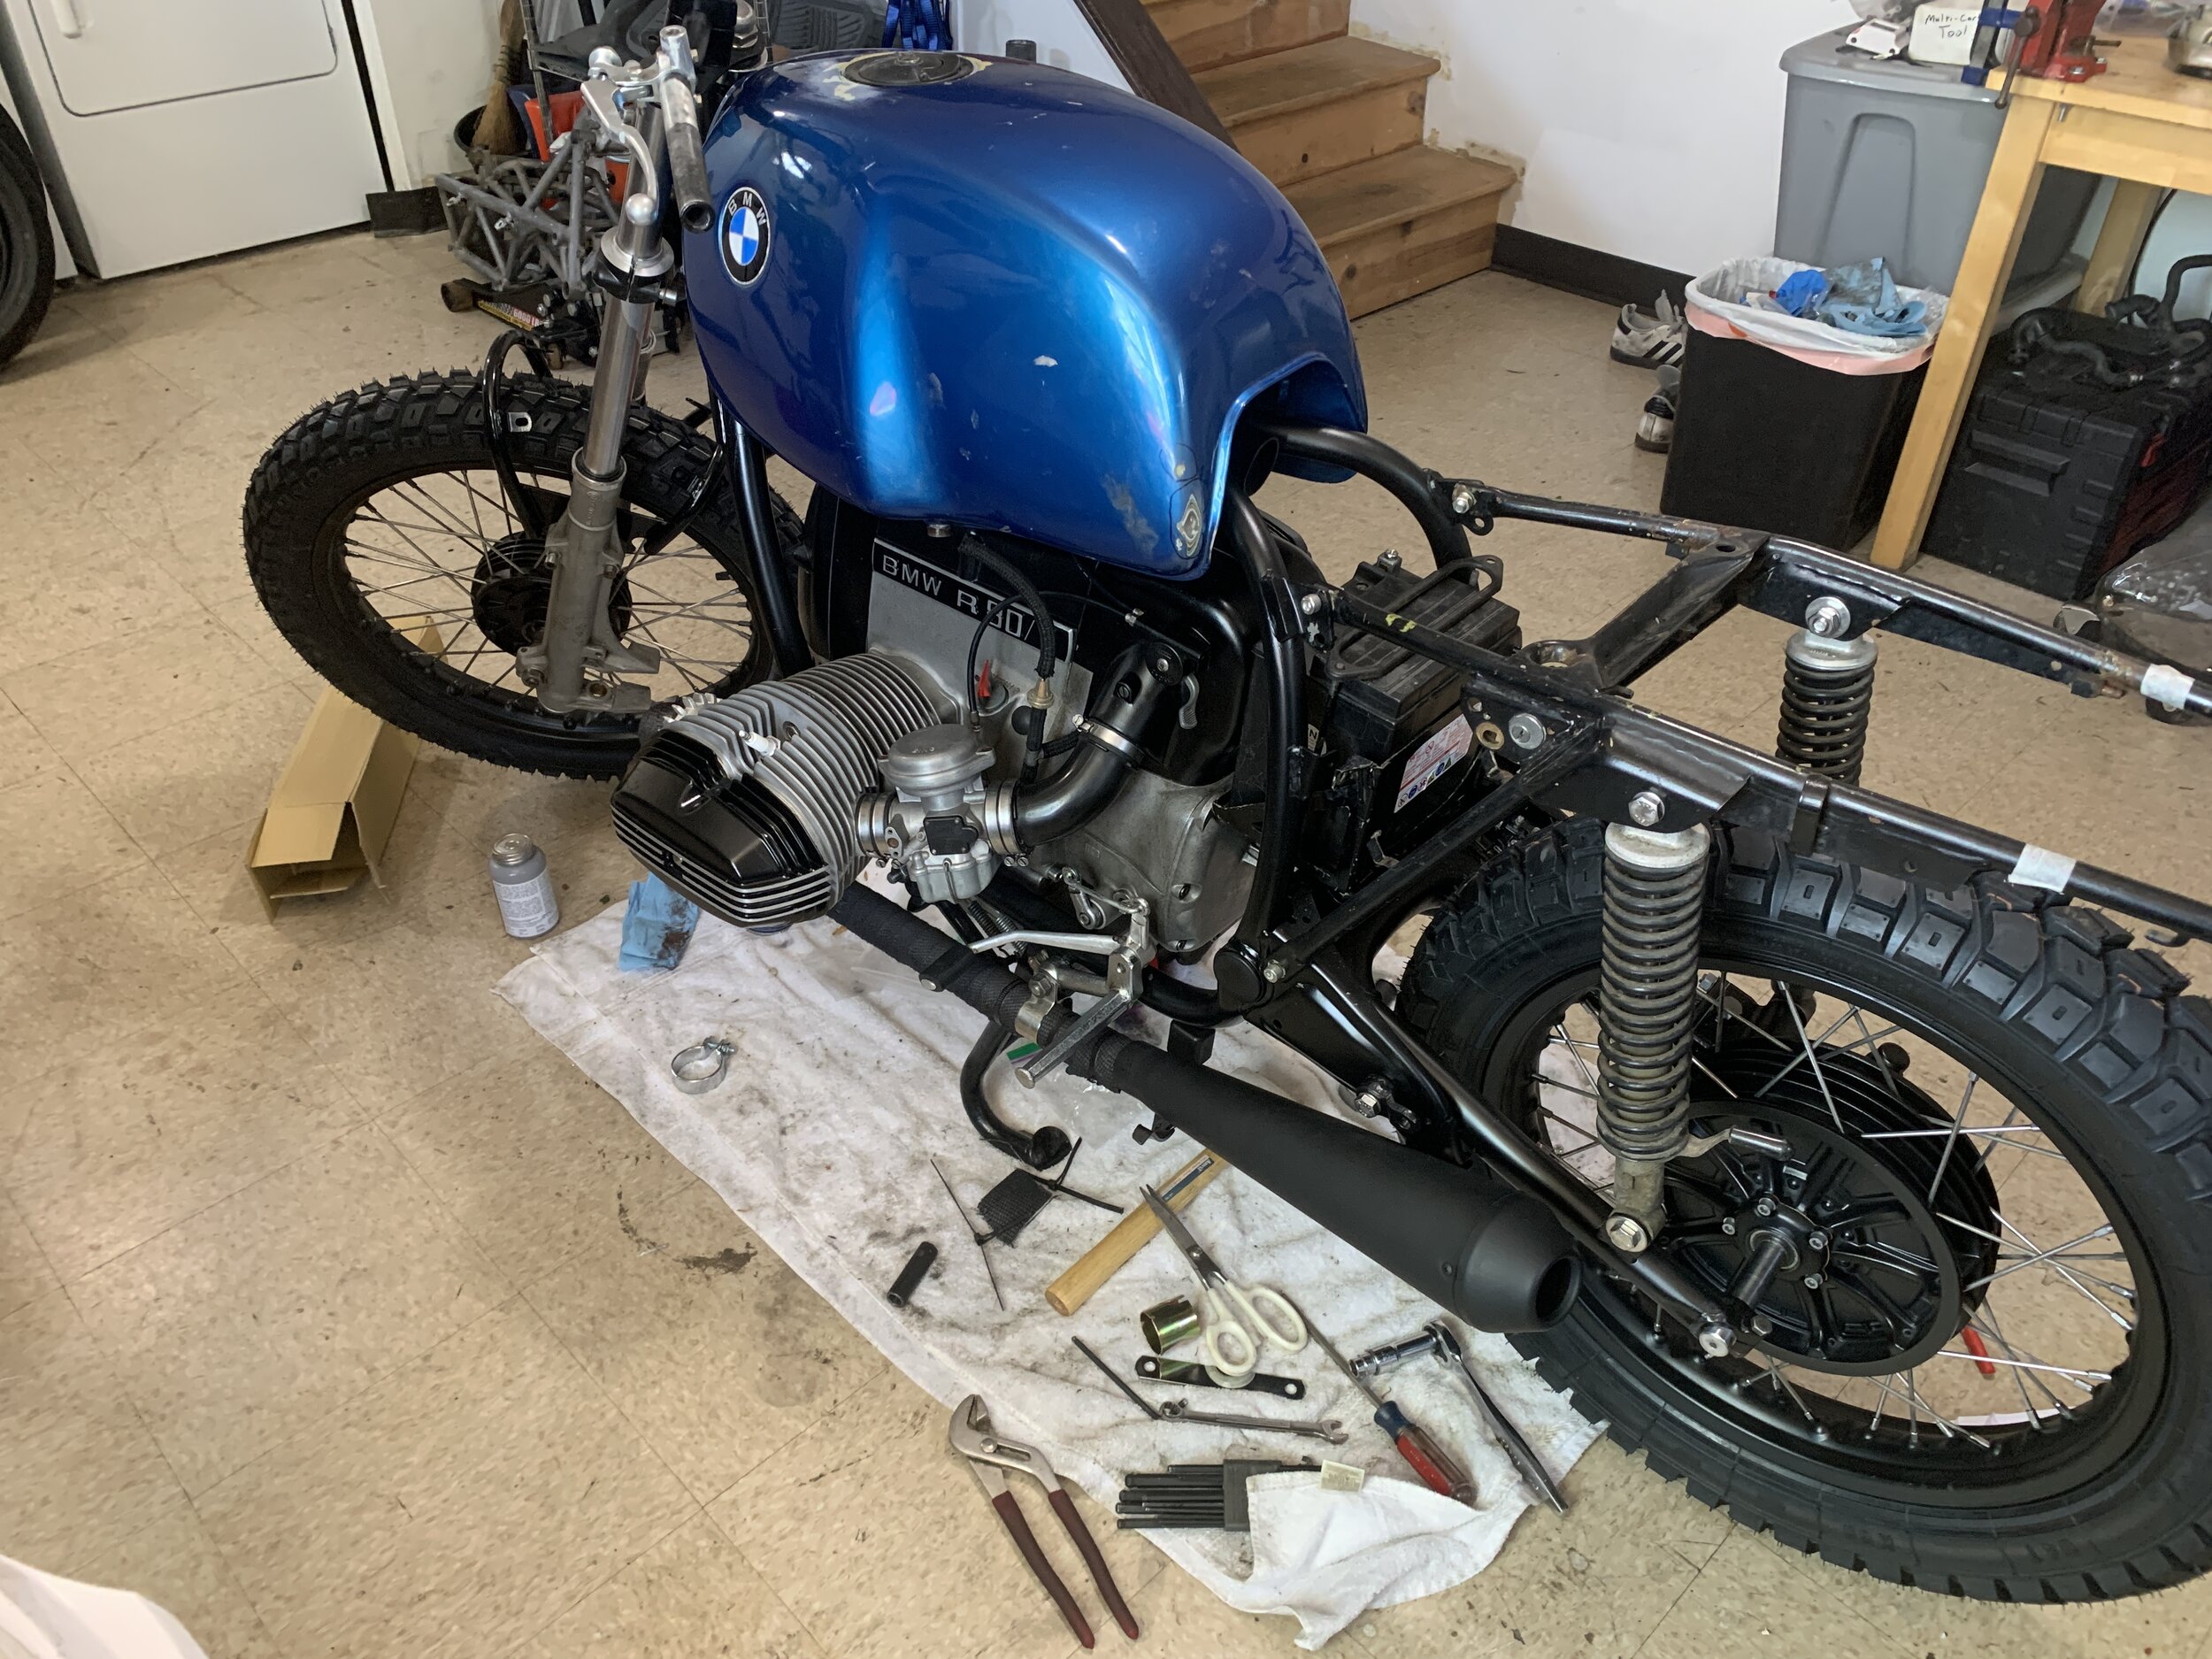
First photo is of my idiocrasy. thought, how convenient, let me just pour .8 liter in from the fill plug from the side… except there is nothing preventing it from coming out from the speedo cable spot. So I ended up with about 6 dollars or half a quart on my work bench. I had a good laugh later. Afterward, I de-rusted the swing arm and then took off the brake disc bracket from the bottom. Then I painted the swing arm. I attached the center stand and front fork tube. The forks were there to mock up. So now it stands on a fork stand and center stand as a lump of motor start to look more and more like a motorcycle. Final drive was cleaned and degreased. There was no leak from the unit, all the oil spray was from driveshaft oil seal failure.
Final Drive is painted and cleaned up. I started to visualized how the wiring works on this bike. Bare in mind, when I took it apart, I didn’t really study it, I had some pictures, but I didn’t really understand what did what. I install the rear brake switch, and mock up the final drive with the wheel and the rear brake pedal.
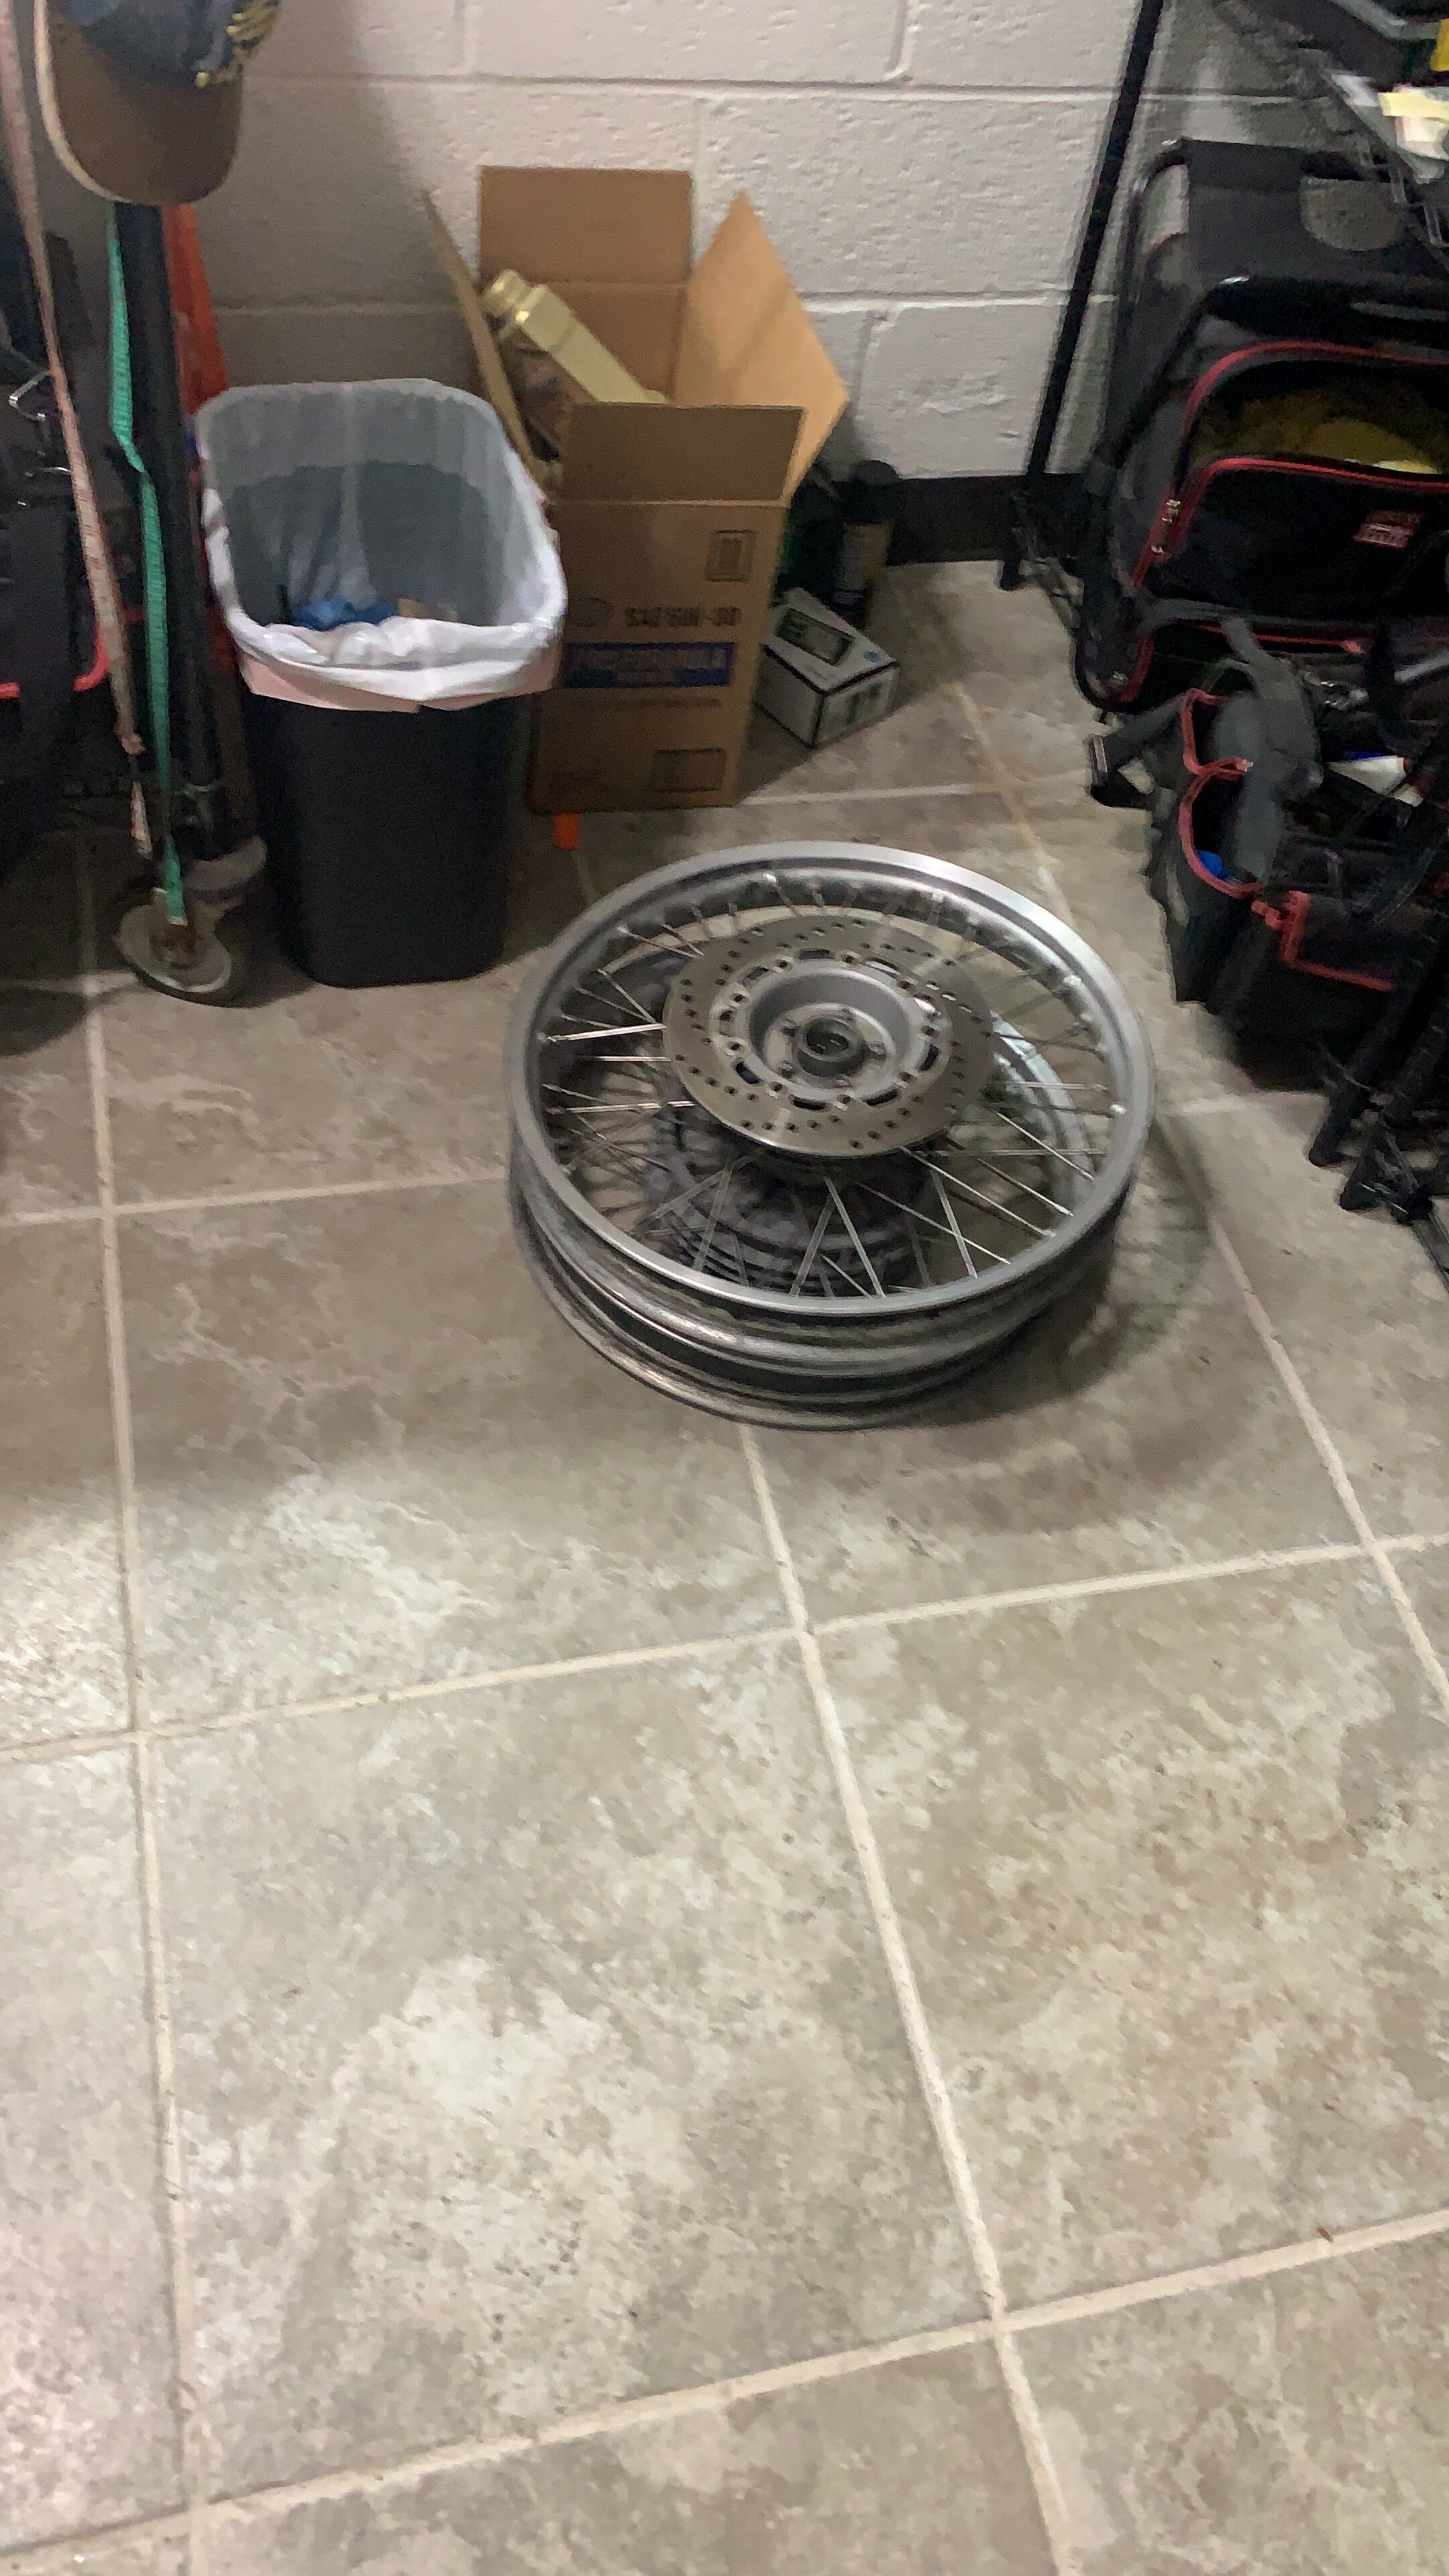
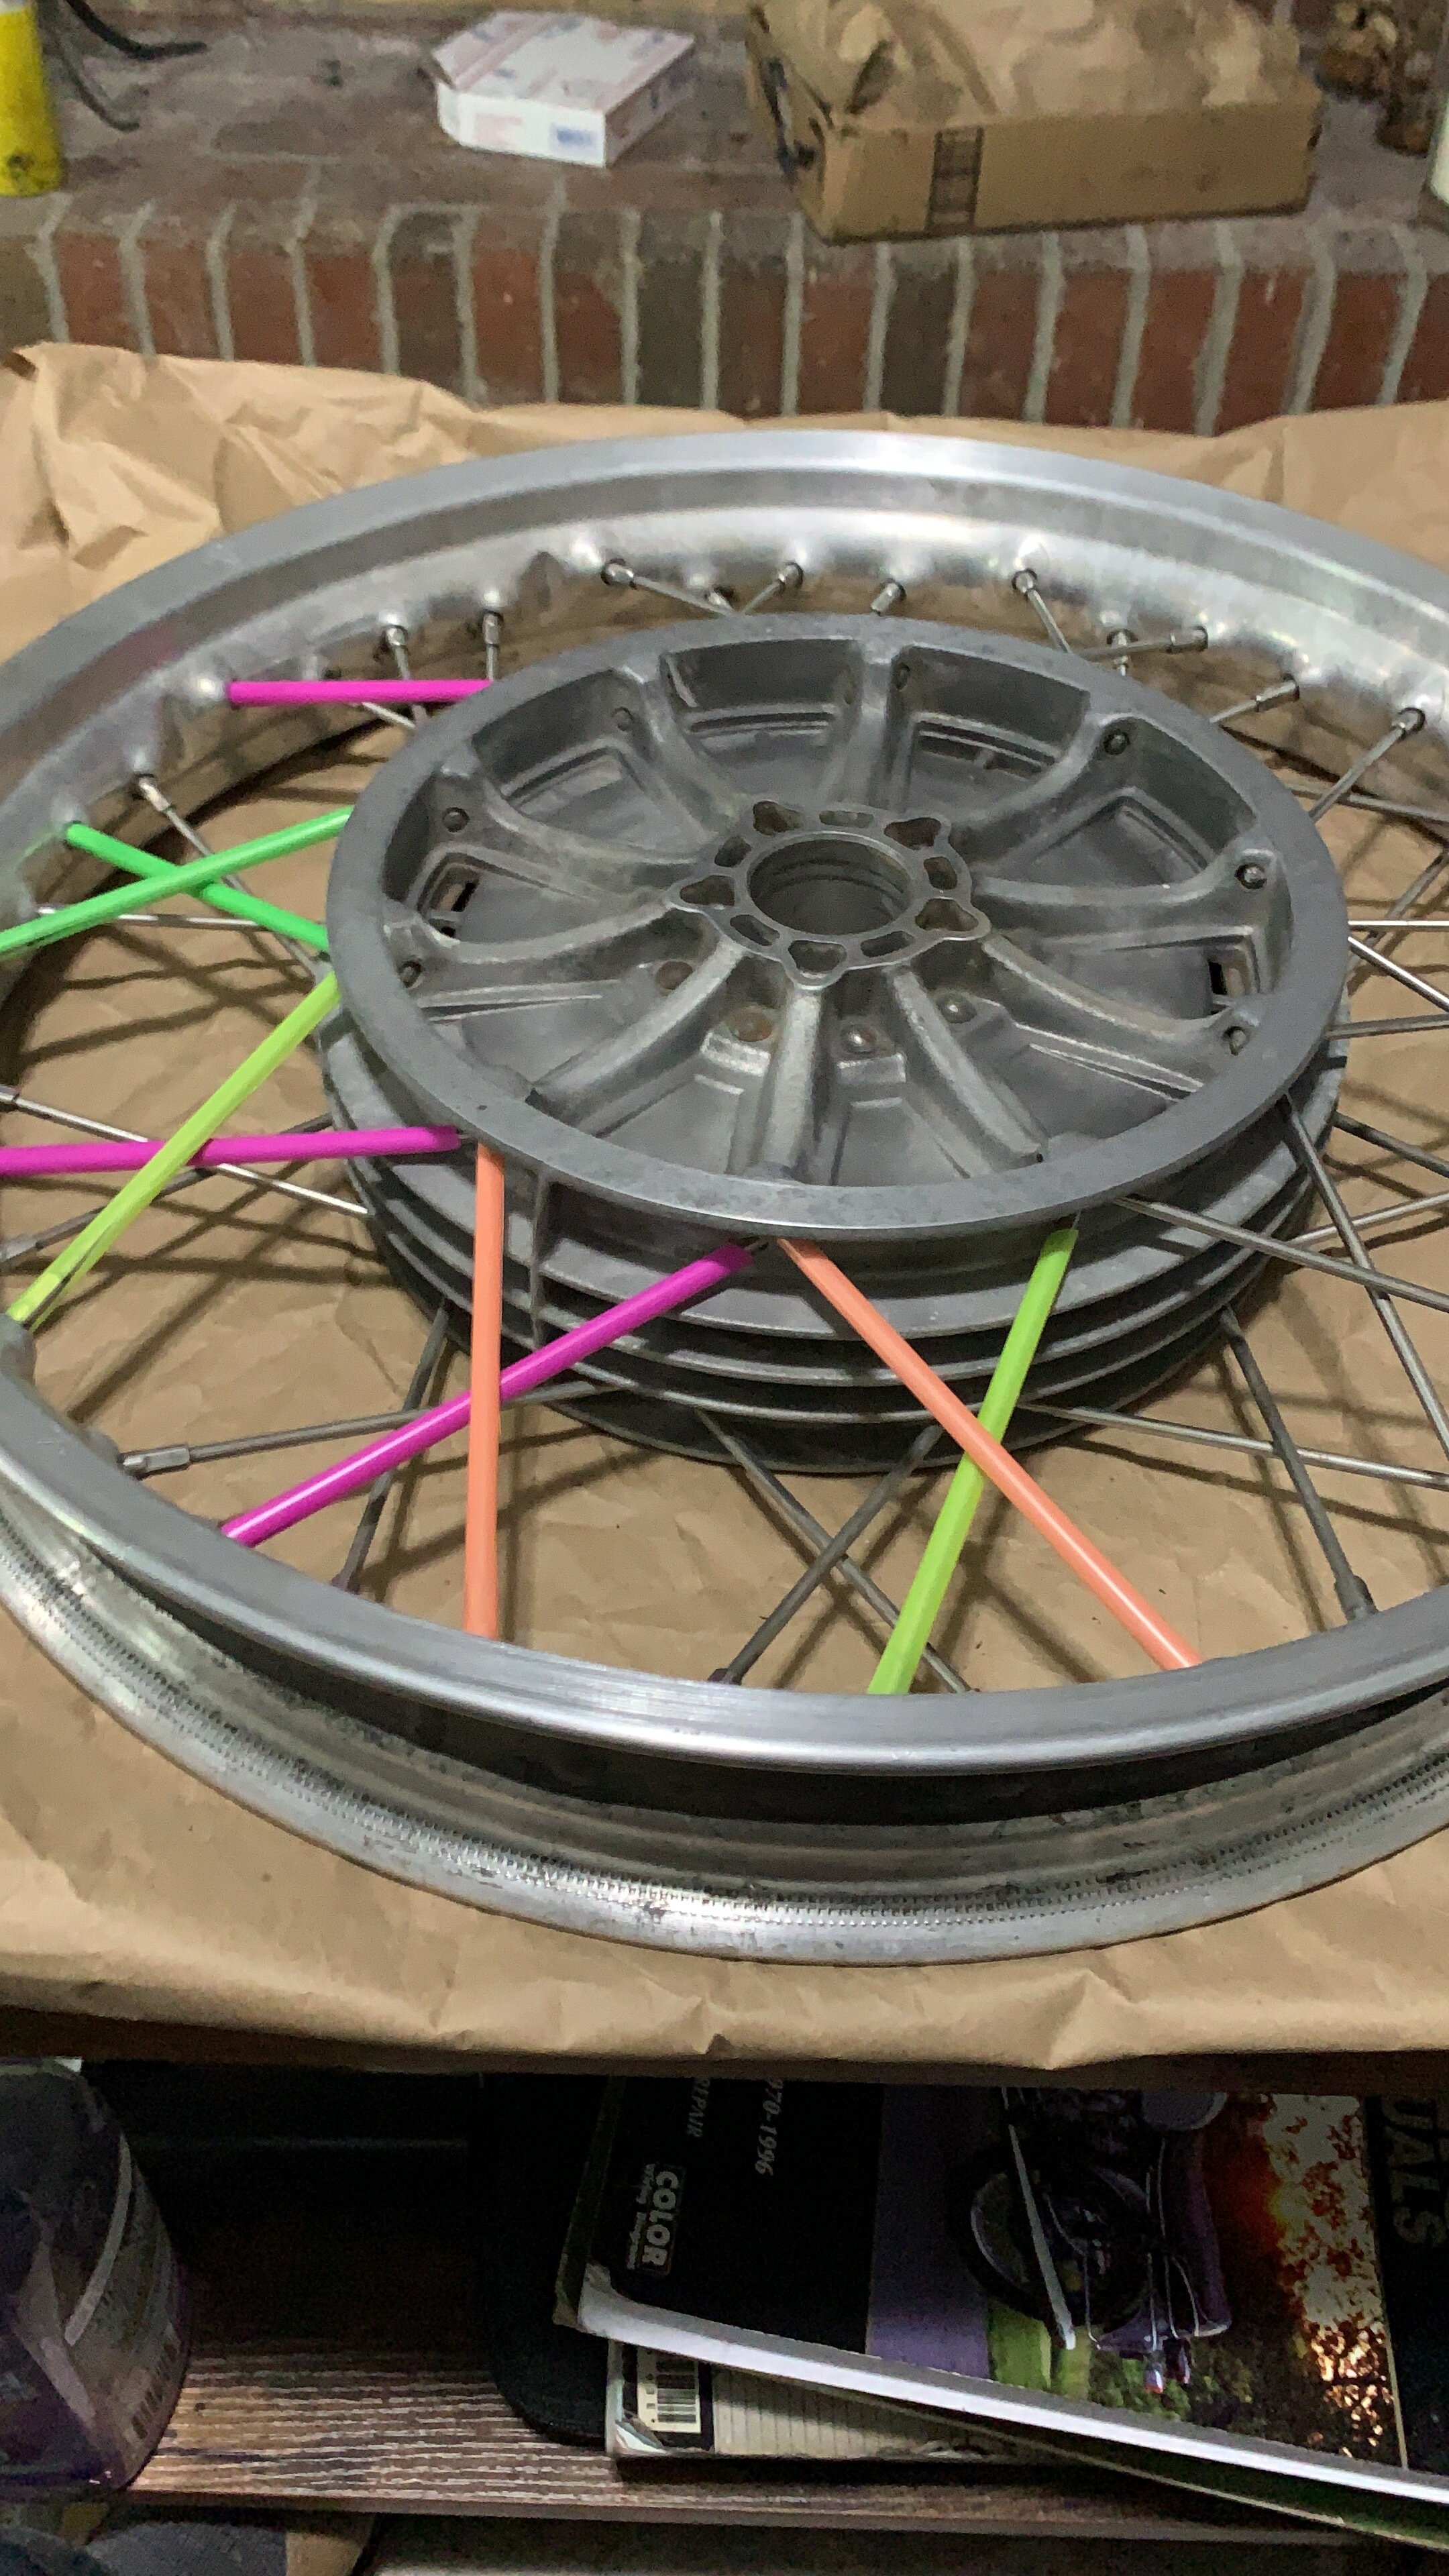
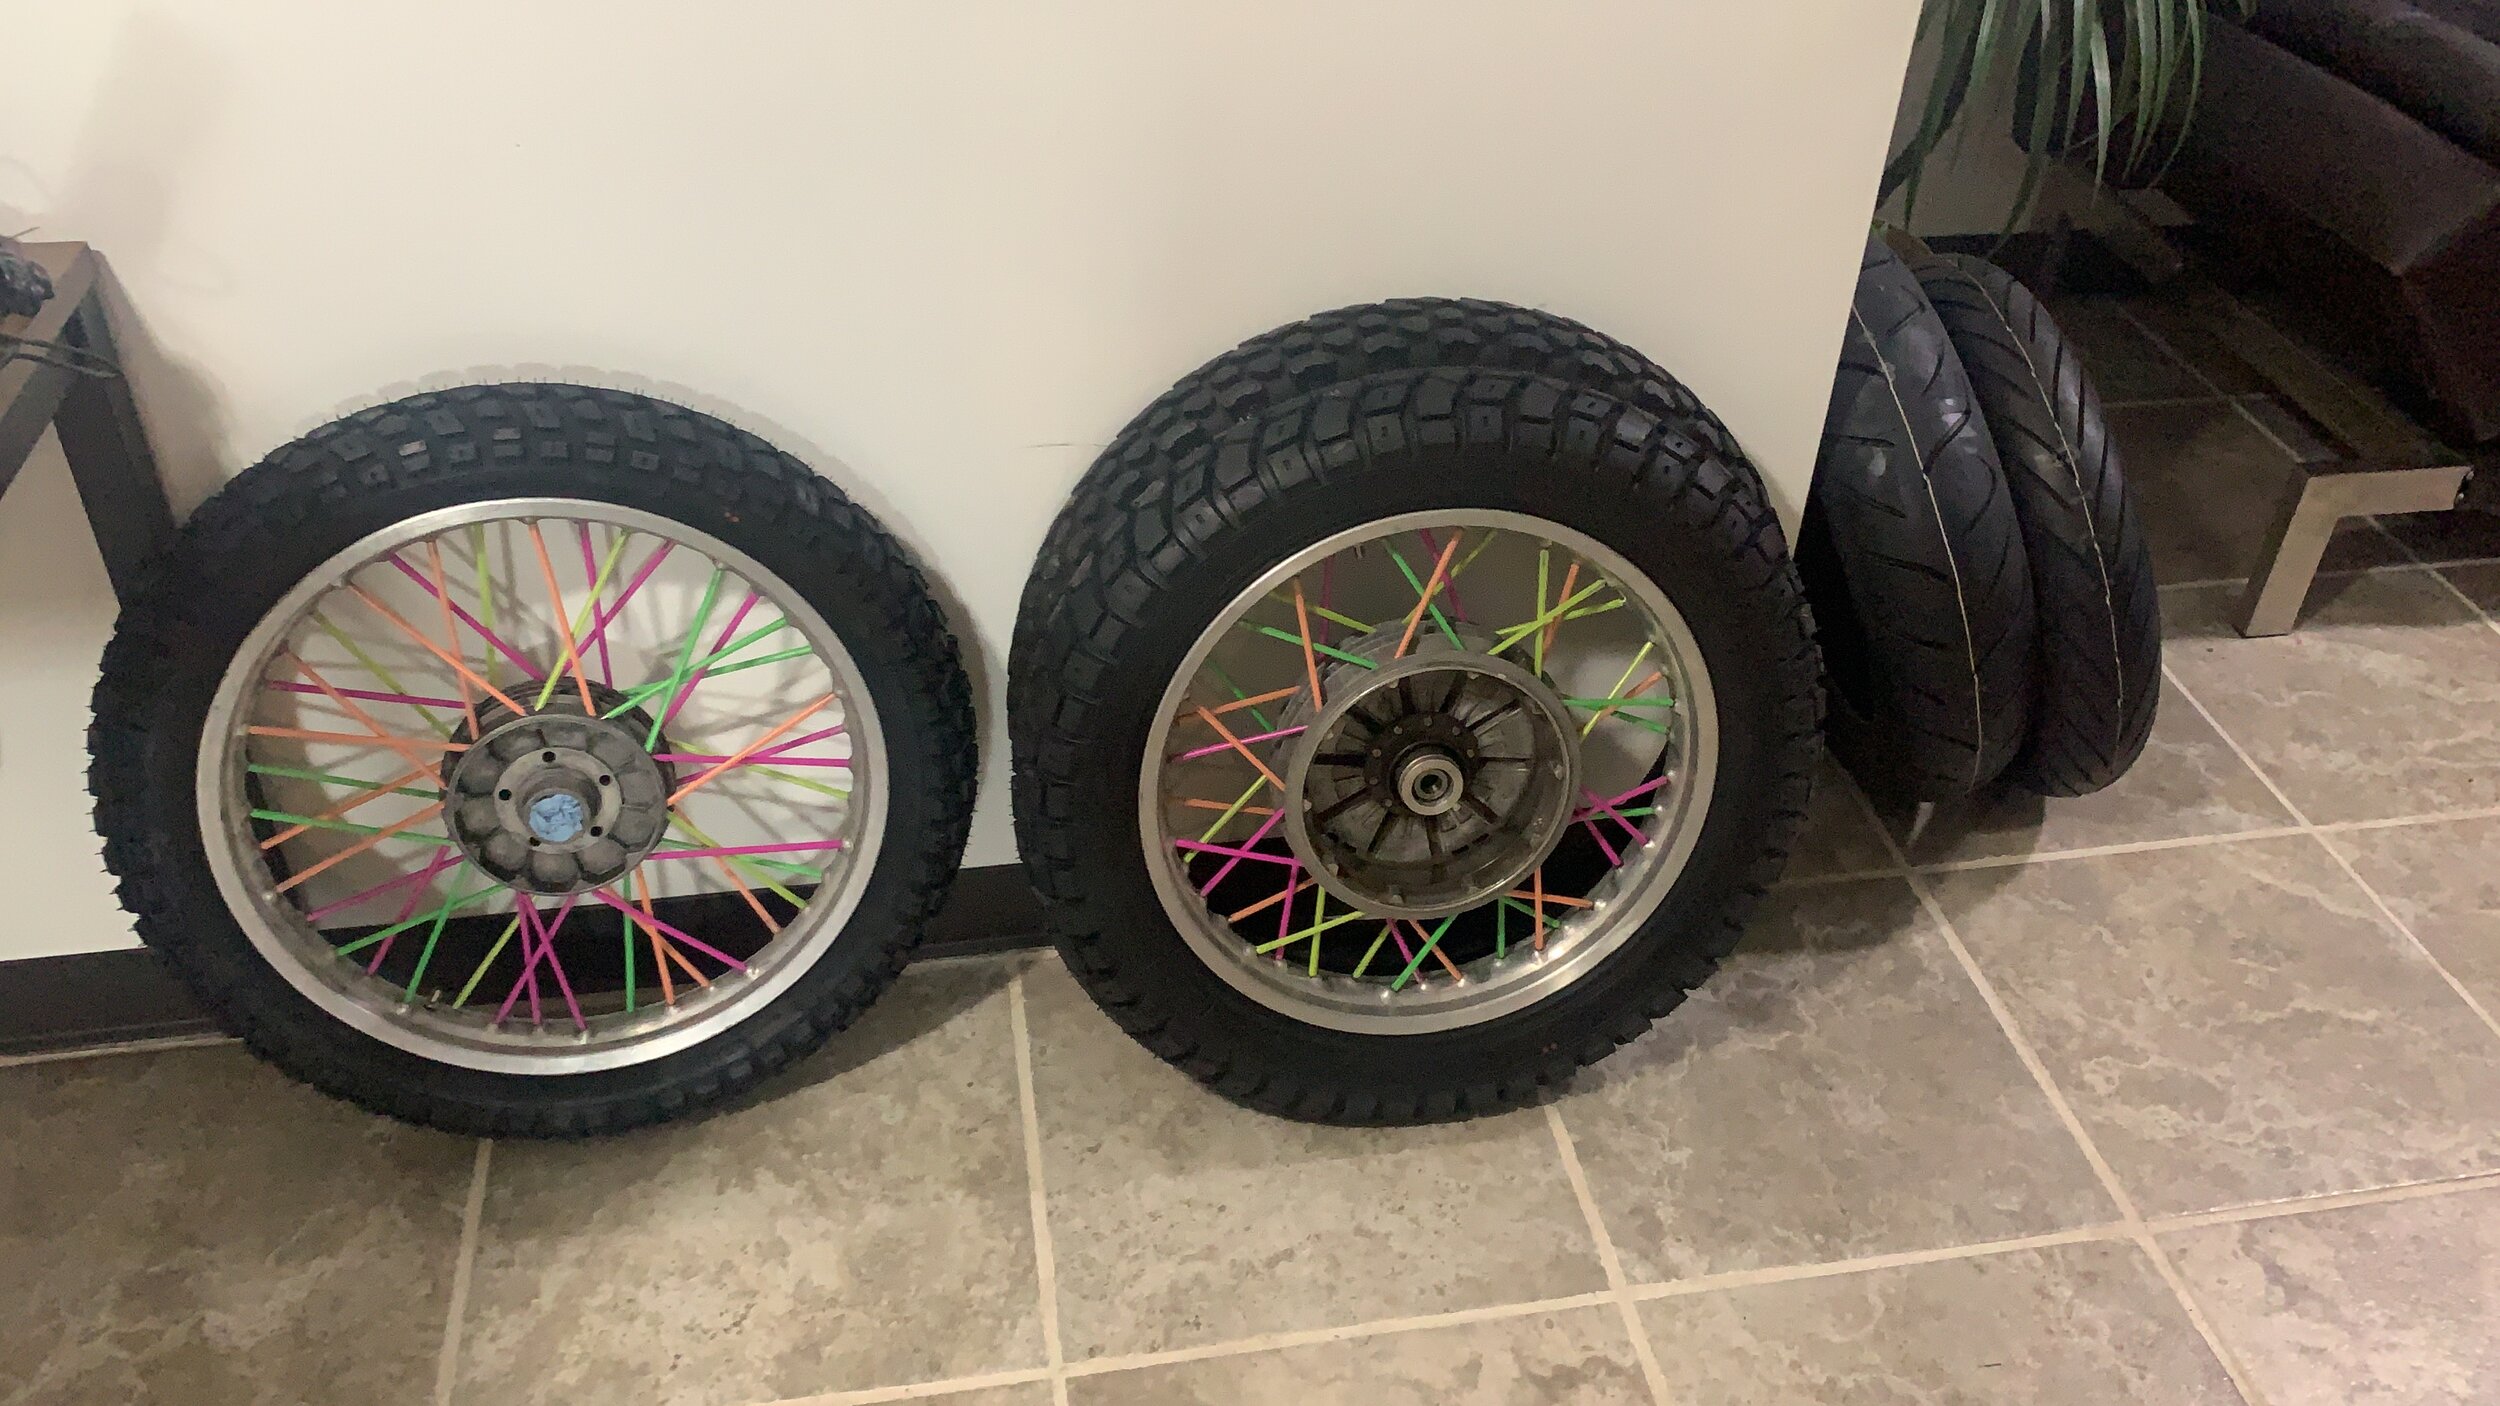
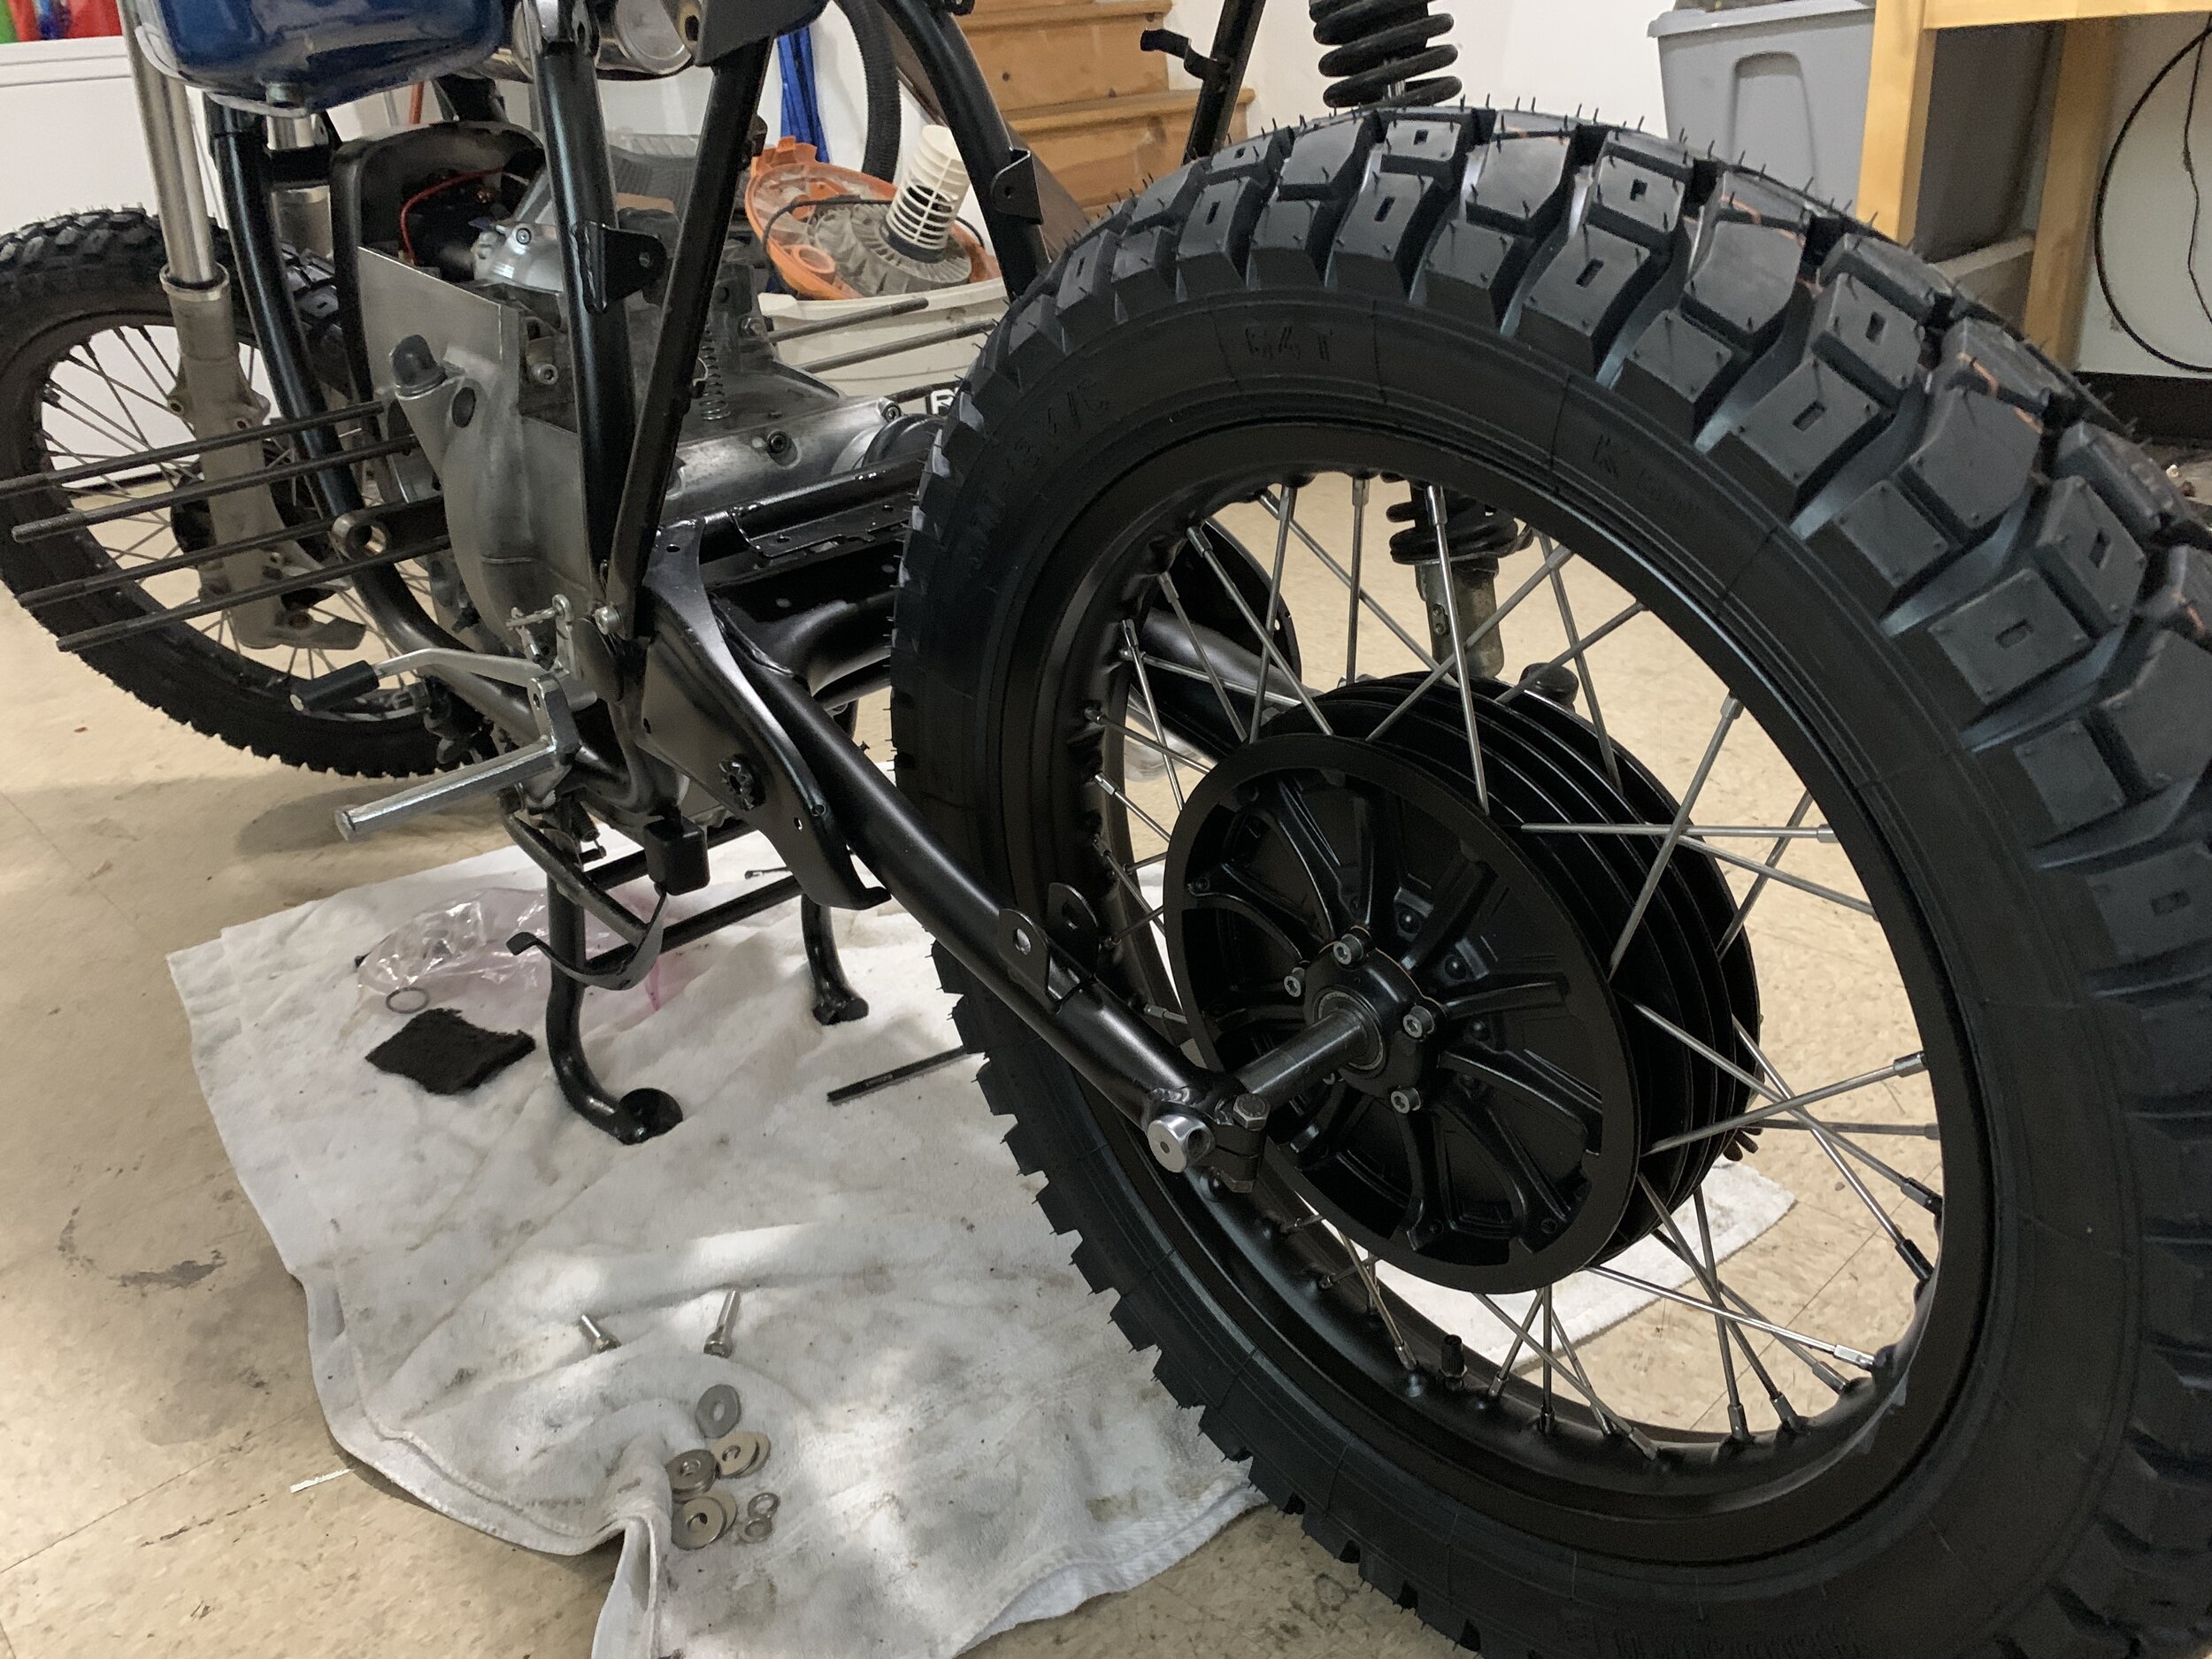
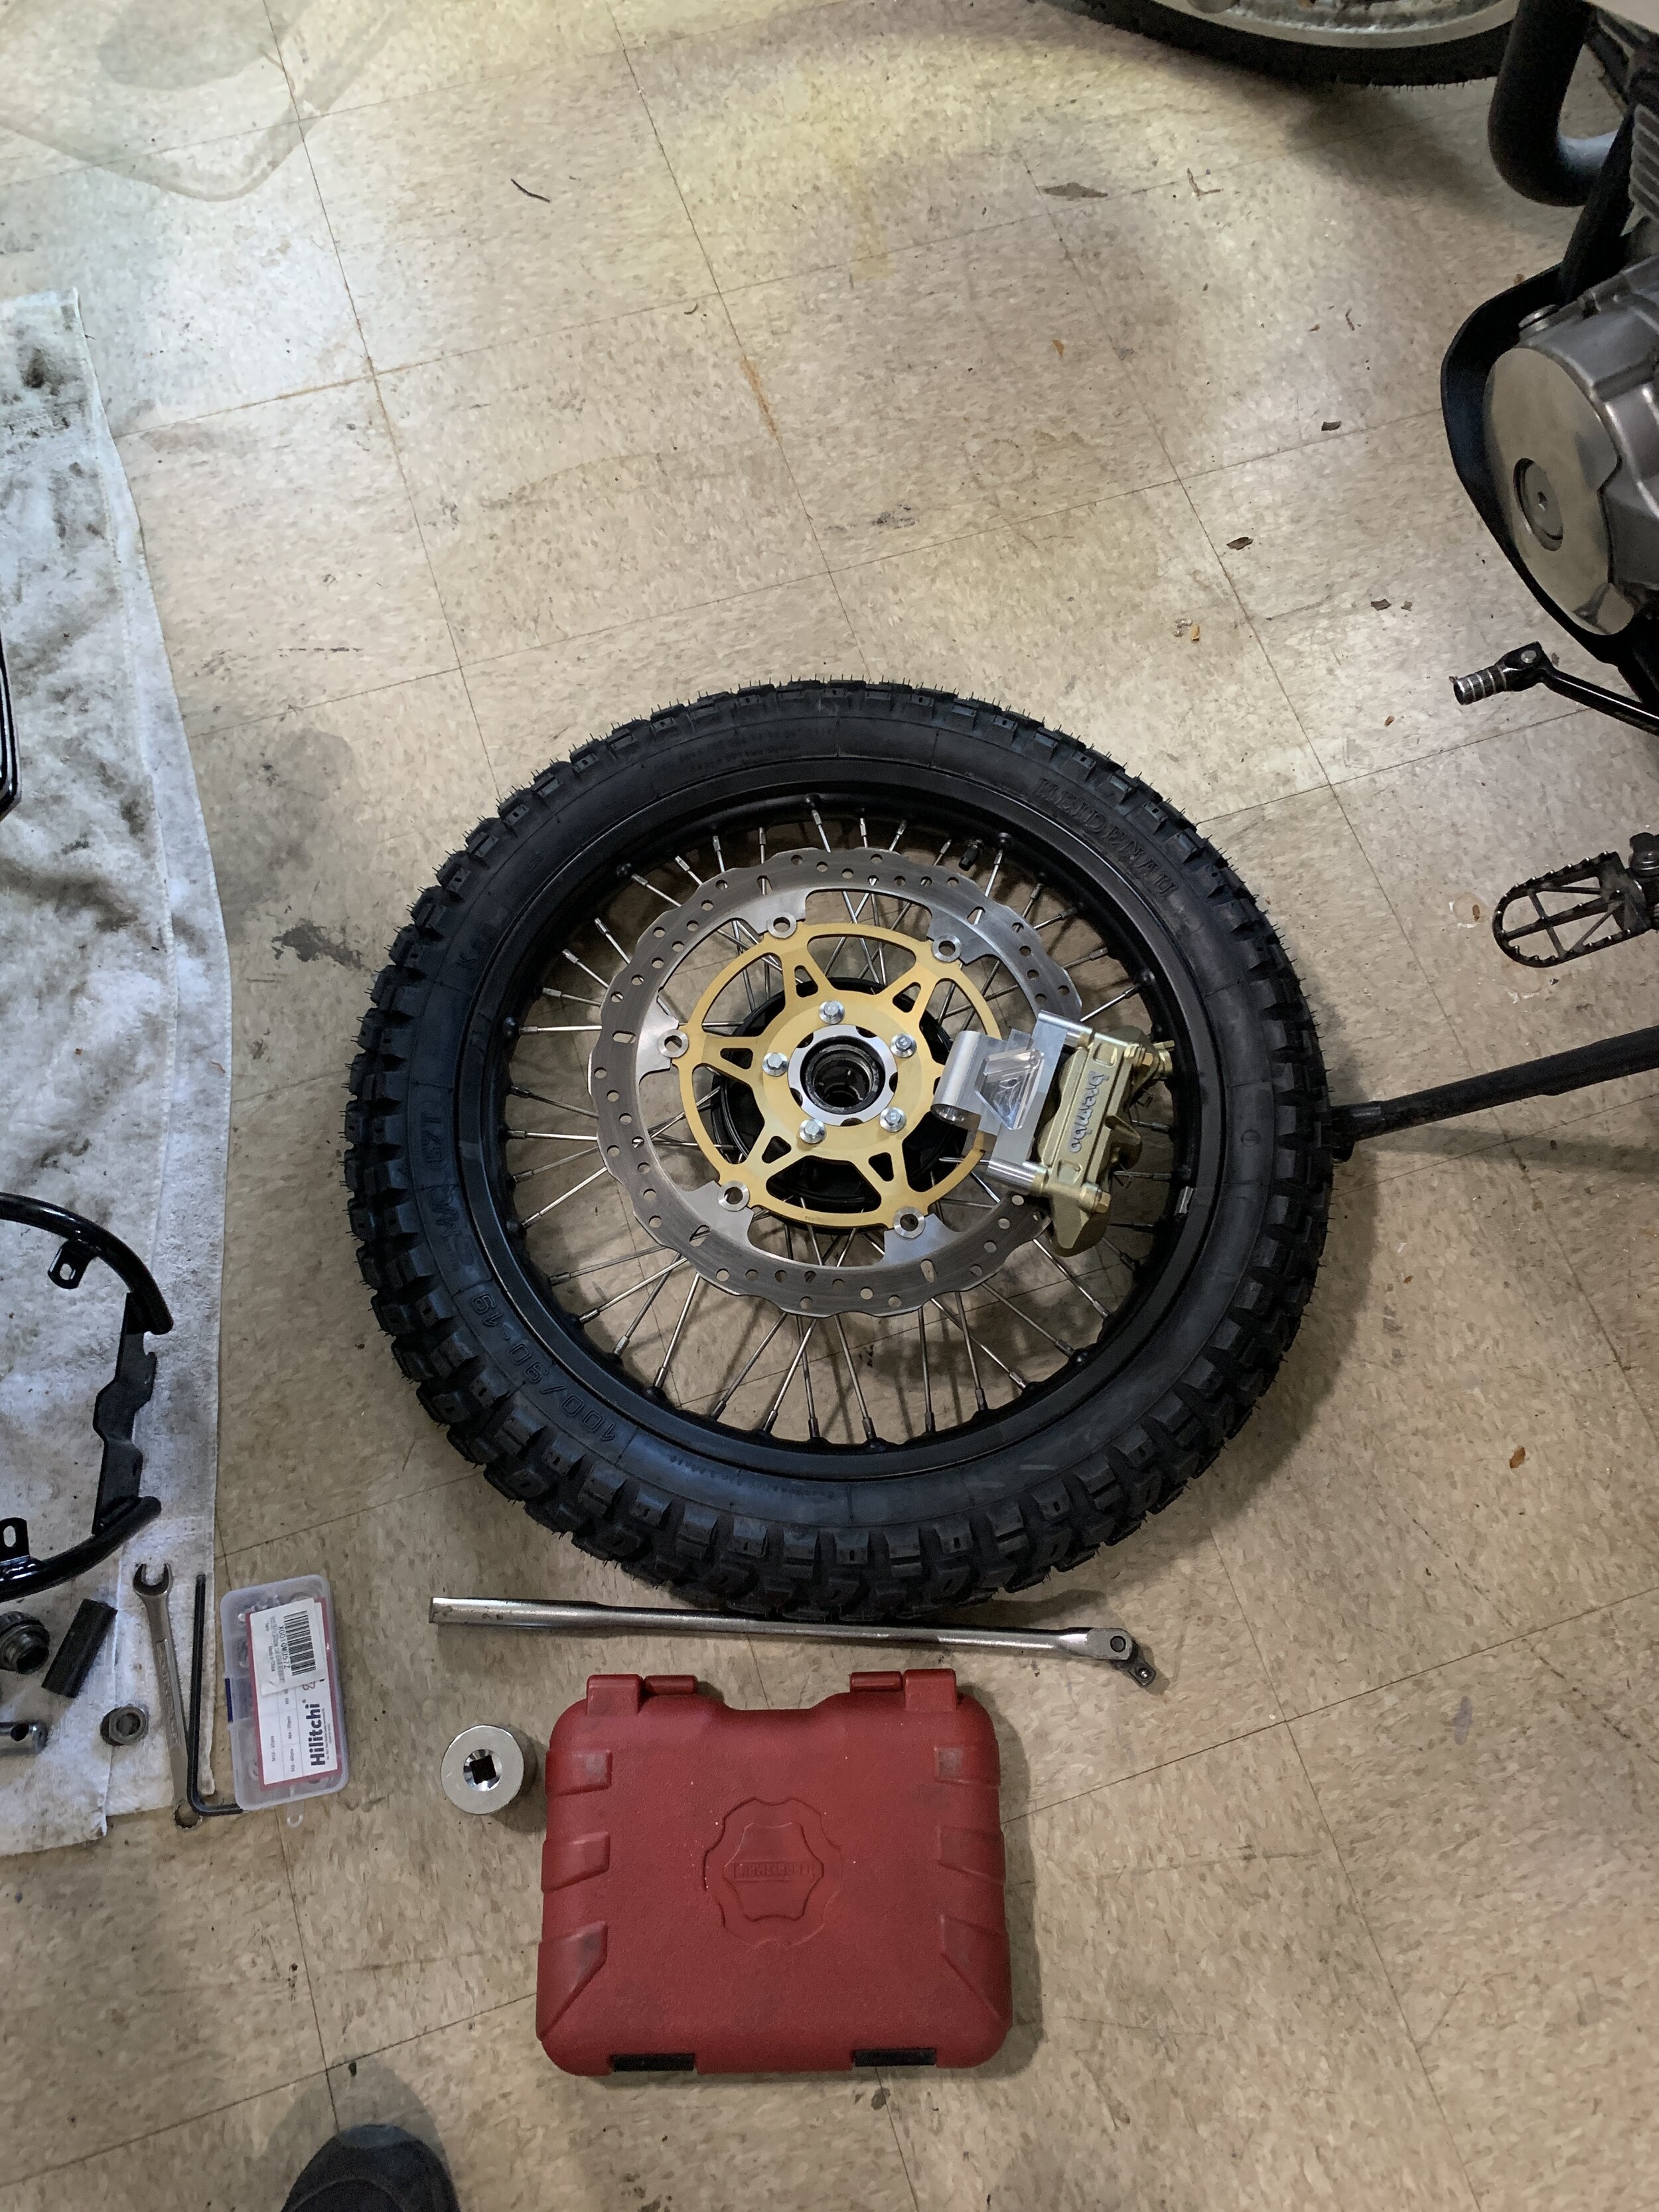
Refinishing the wheel was a very tedious process, not only was everything dirty and cover in oil, but the rims were pretty nicked up. I decided to remove the bearings, and that process require a bit of learning curve of heating the hub and removing the whole unit as one. One of the bearing was bad, so I replaced both. While I was at it, I replace the fronts even though they were good from the rotational test. It was just such a hassle to set everything, I figure I might as well replace them while I’m already doing it.
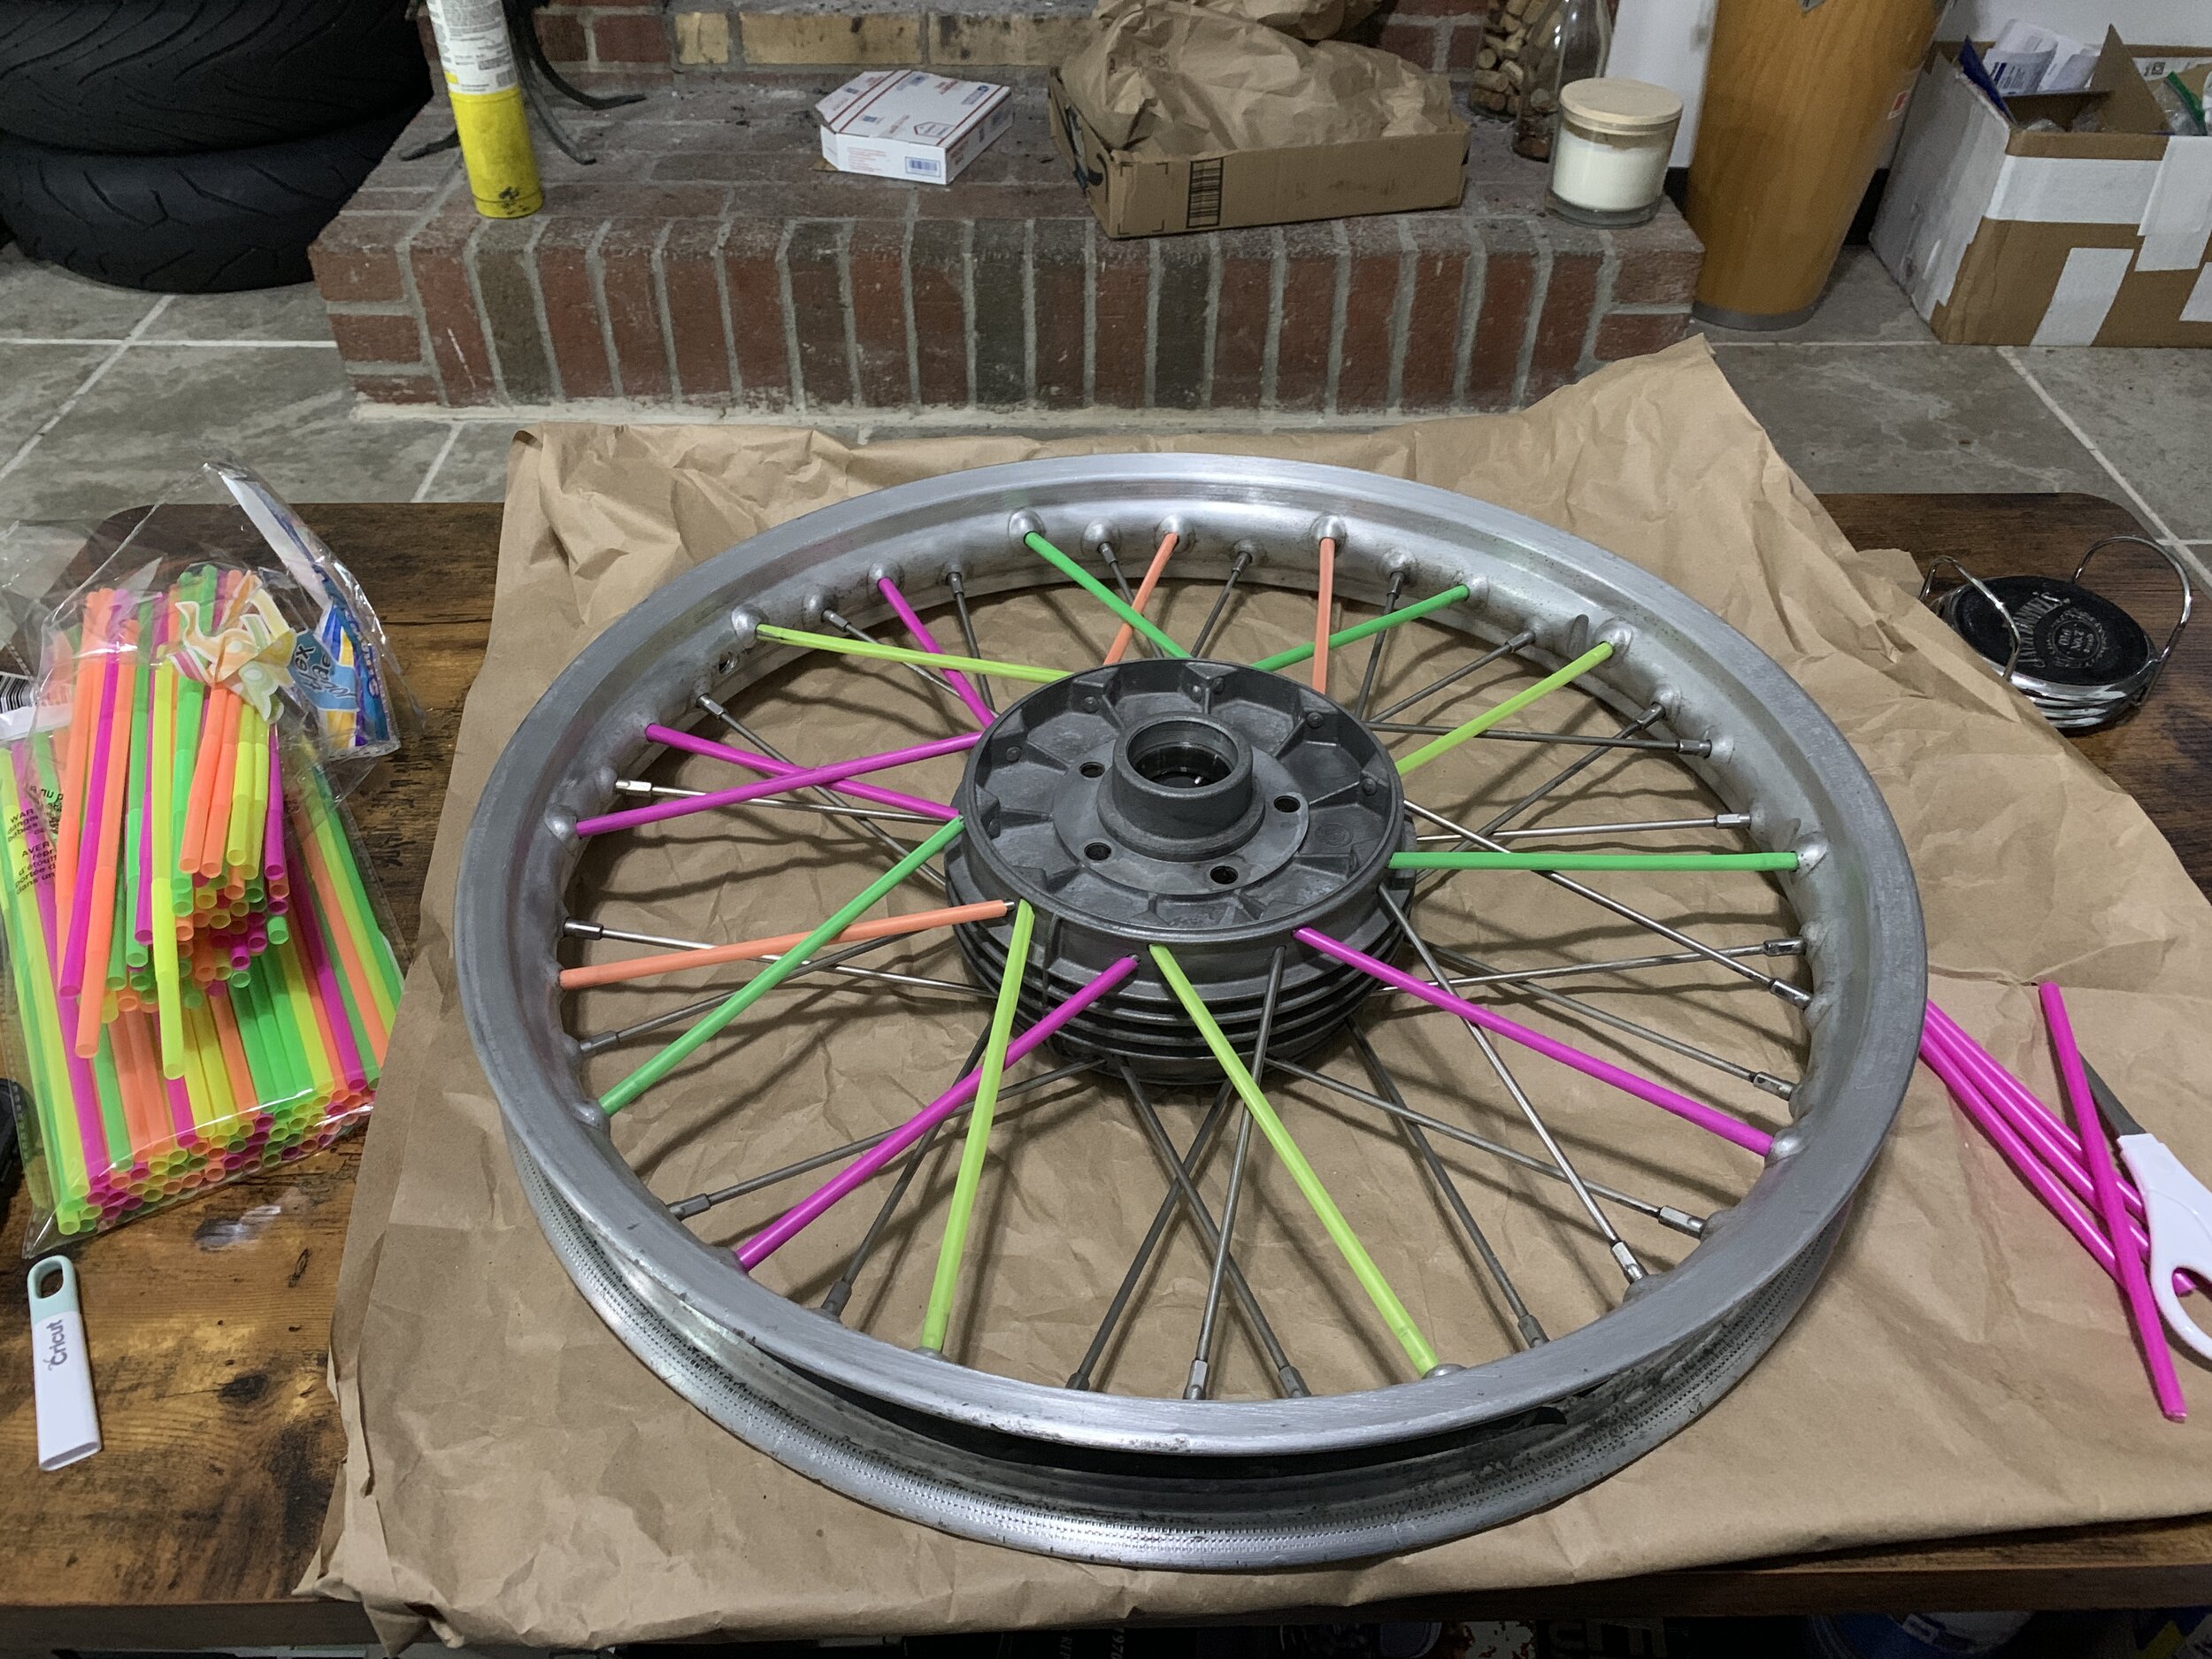
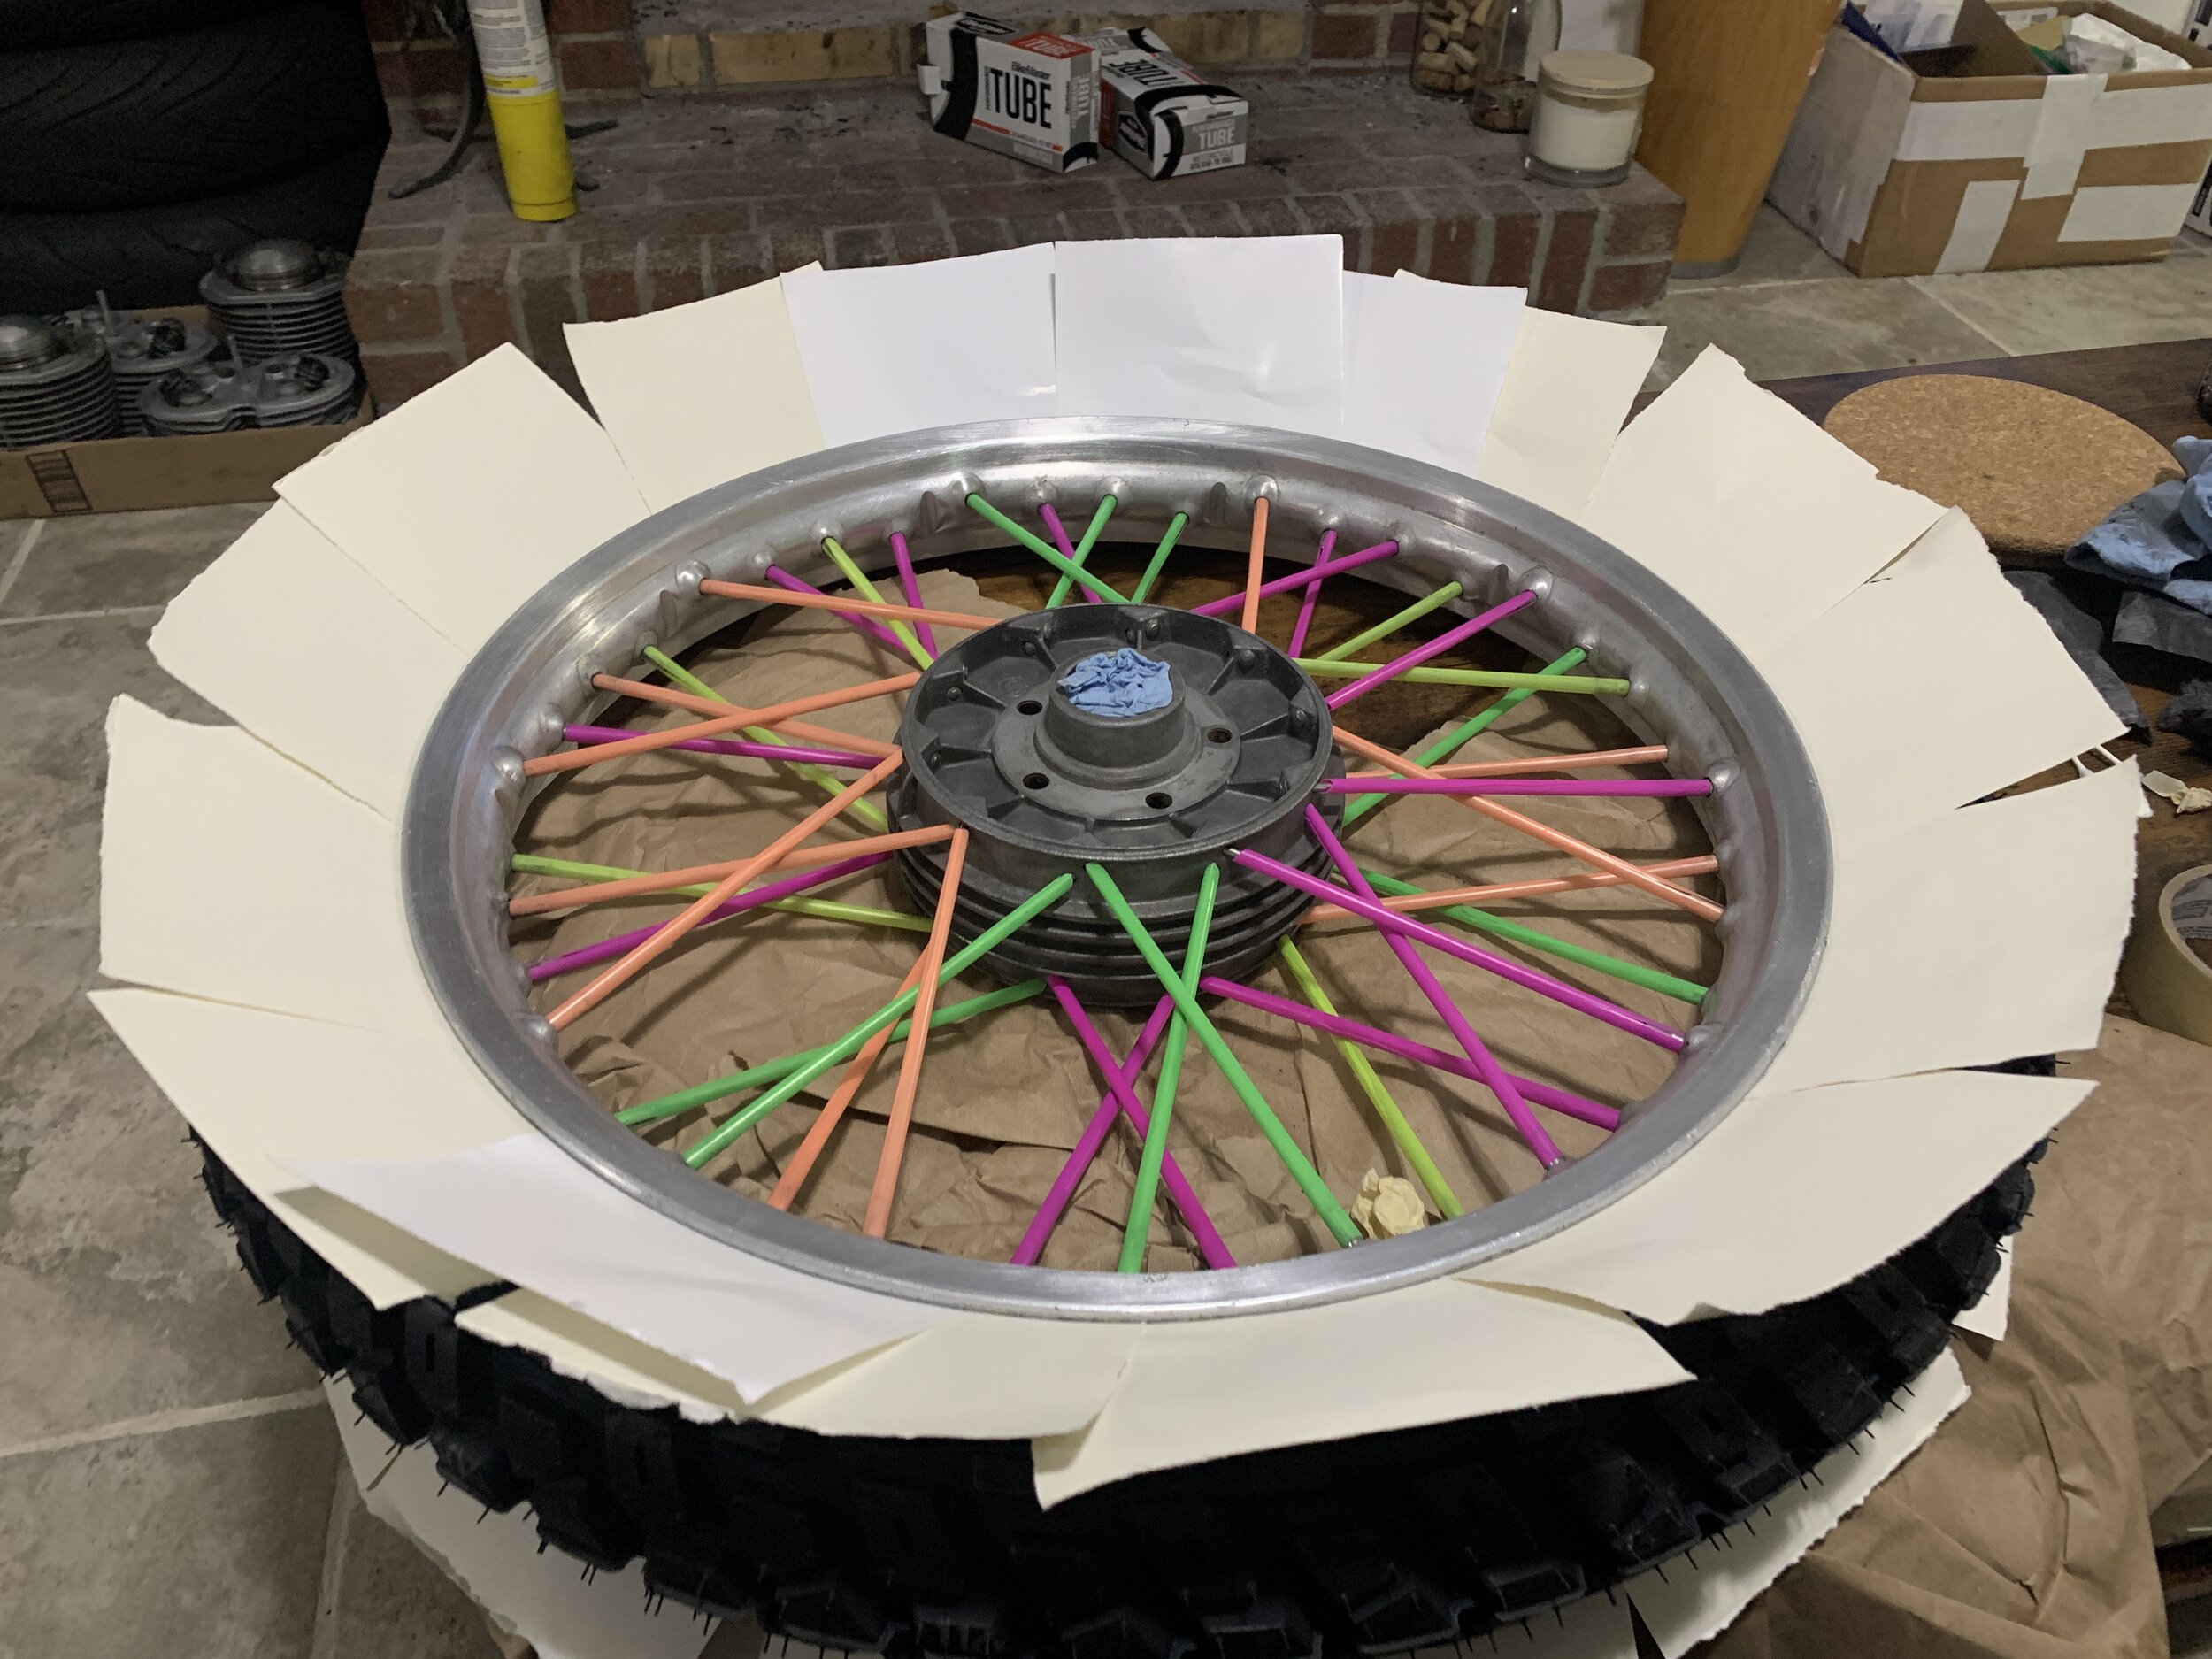
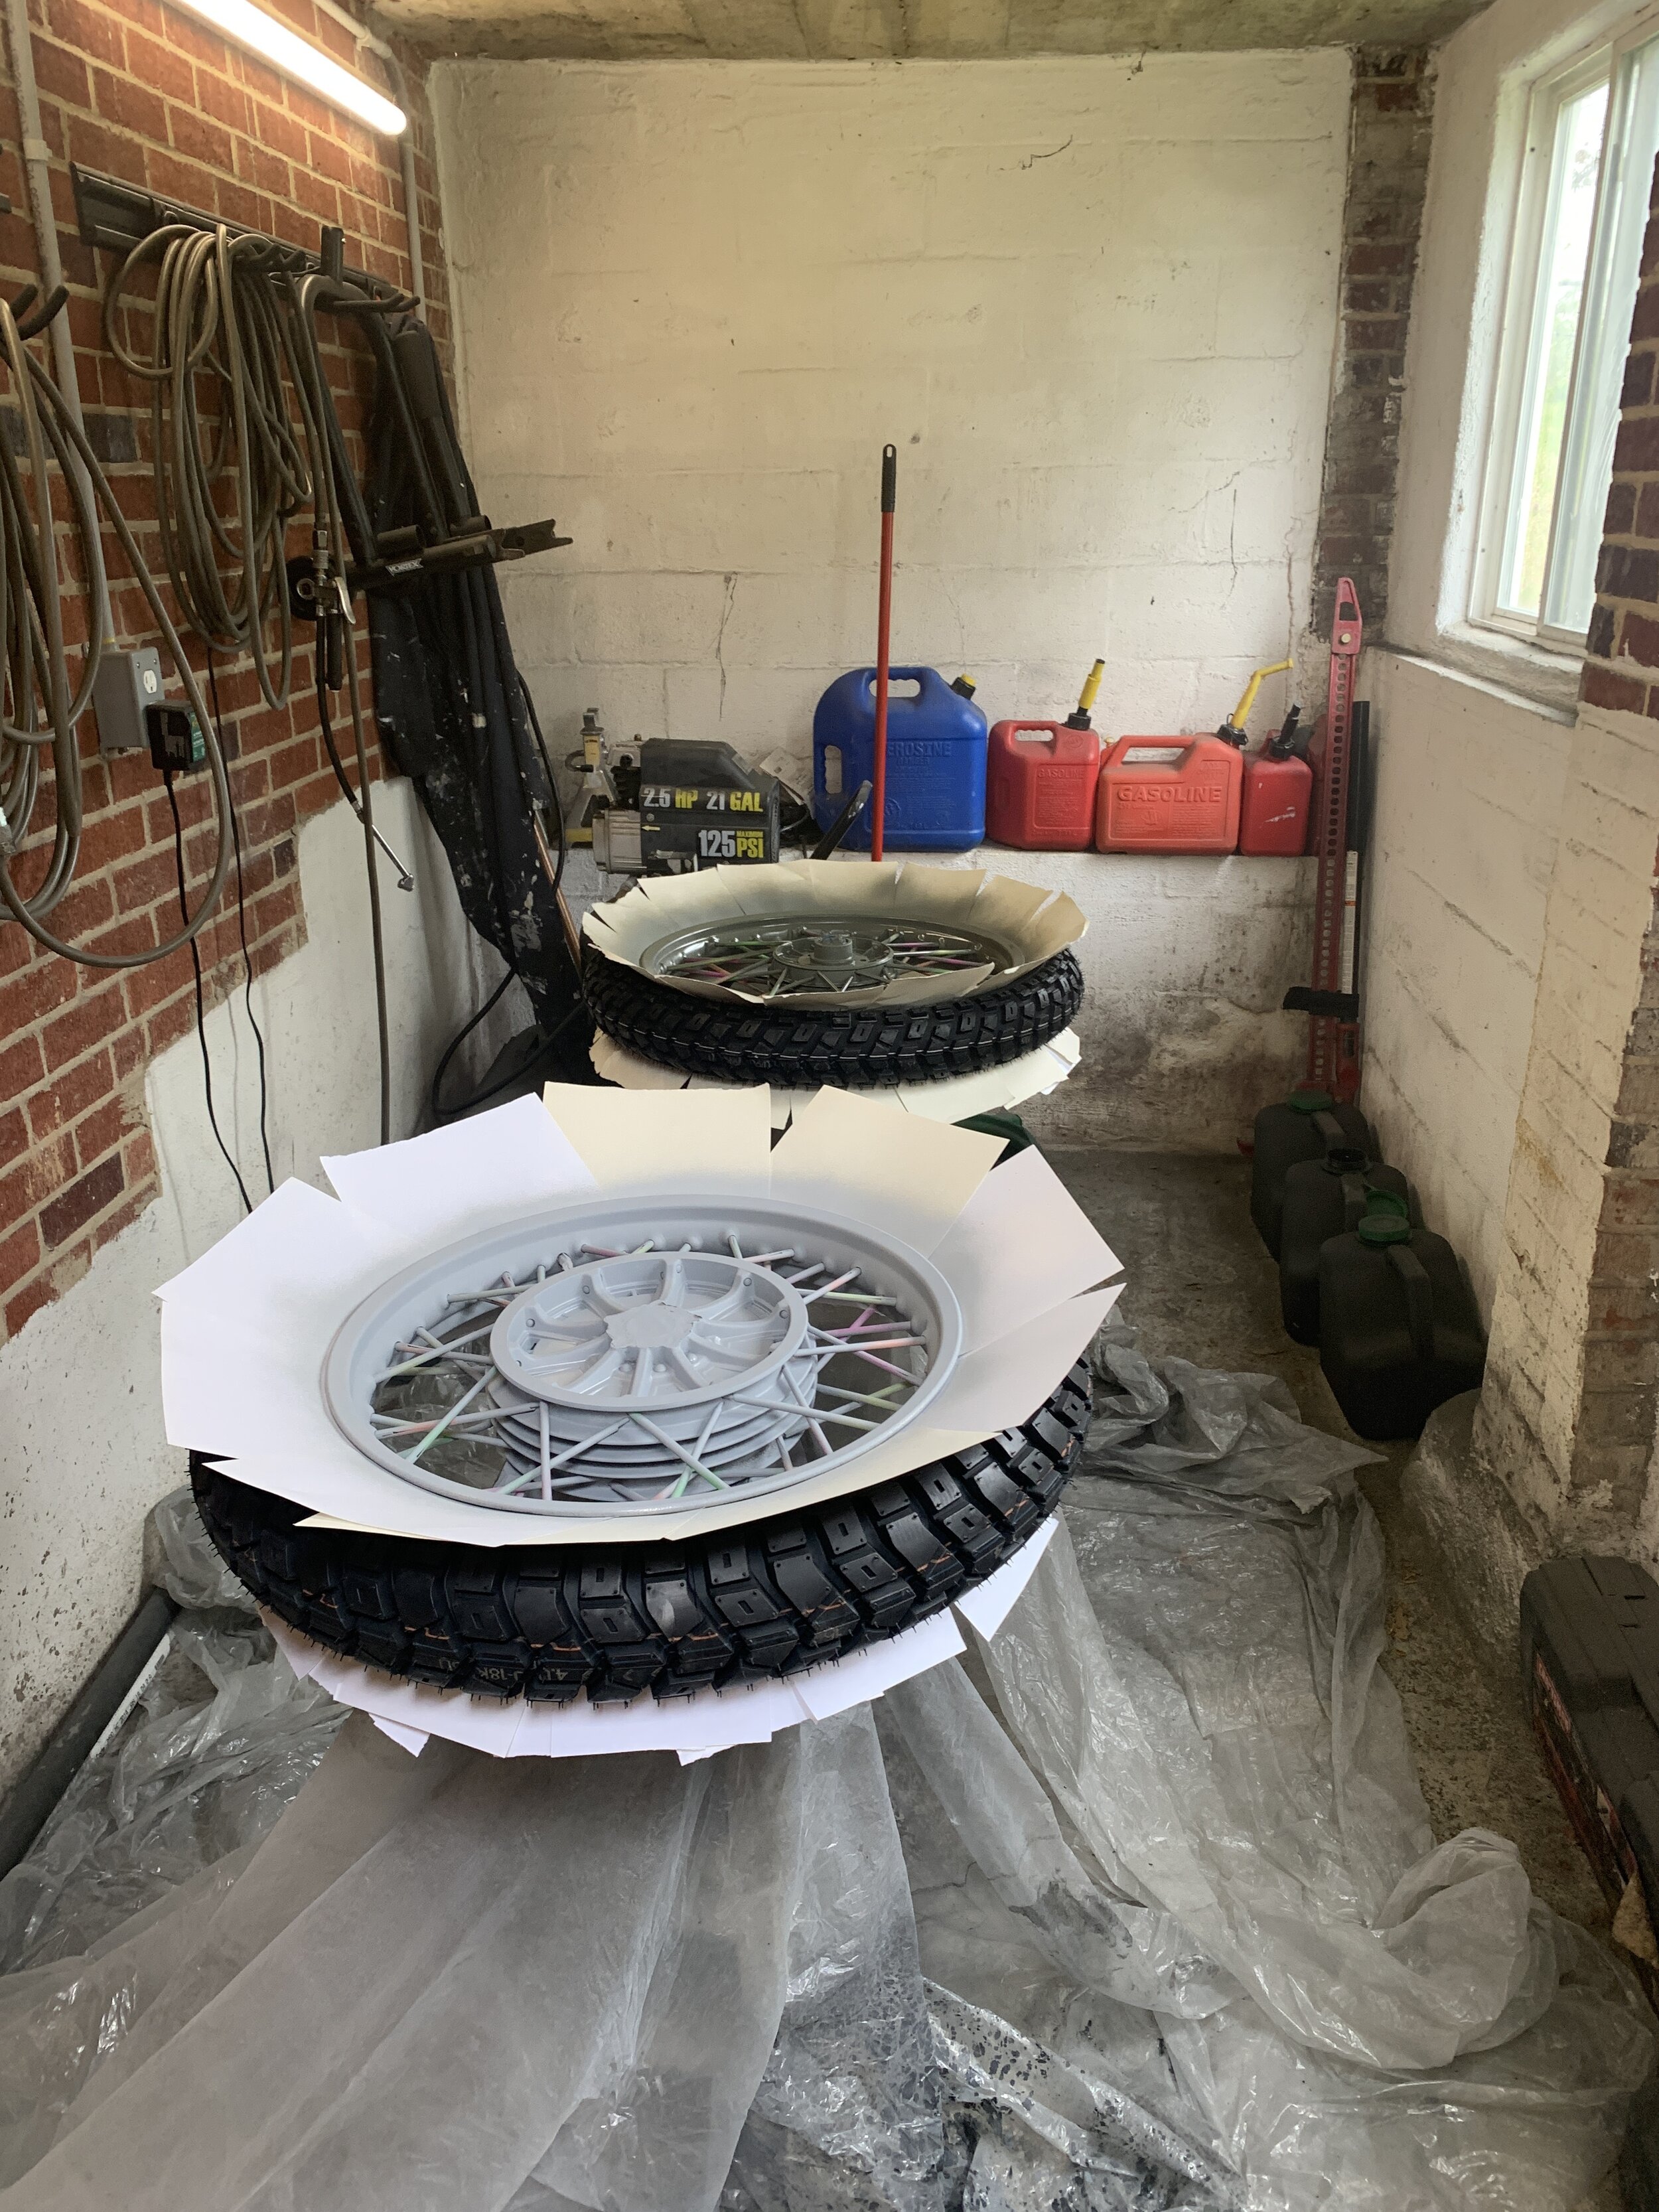
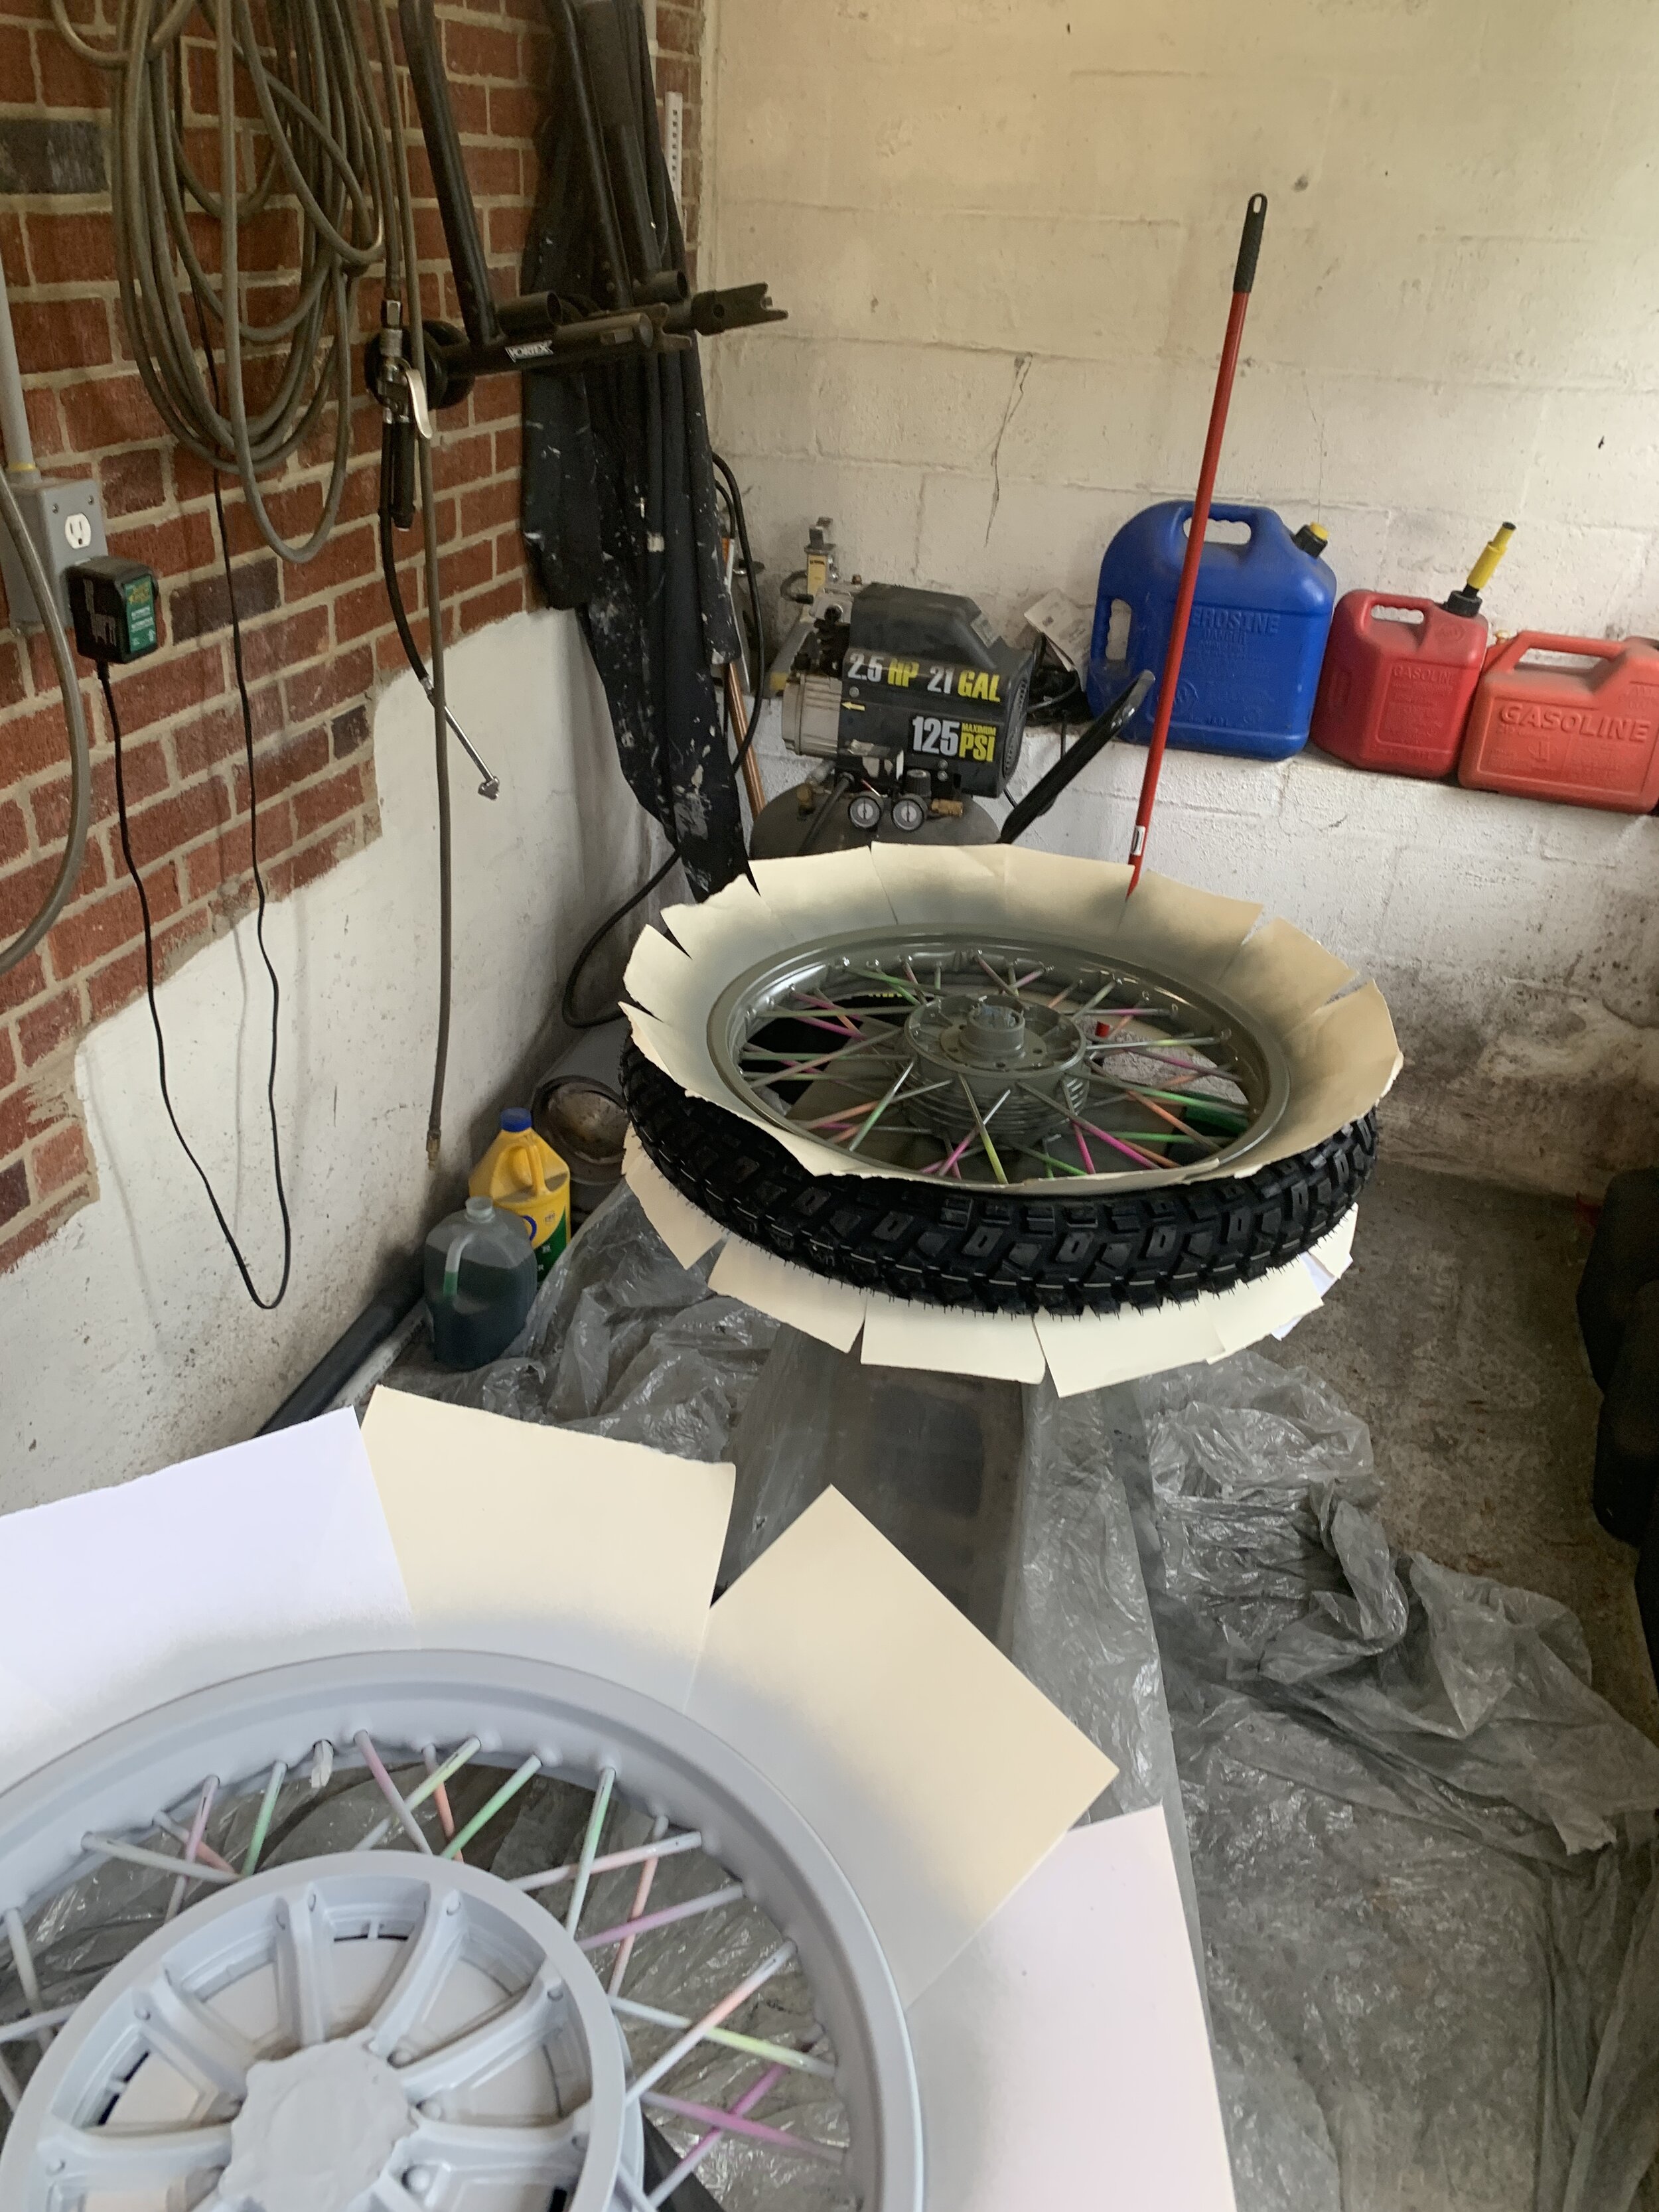
I figure out the best way to paint the rim without disassembly was to buy two packs of straws from the party supply store for literally 3 dollars and but them to length. To my surprise there were a lot of variability and different length. after I mounted the tire, knowing that if I mounted after painting I would scuff it up really good. So I mounted the tires and use card stock to block the tires. Once everything was painted and I remove the spoke covers, I was surprise how well they cleaned up.
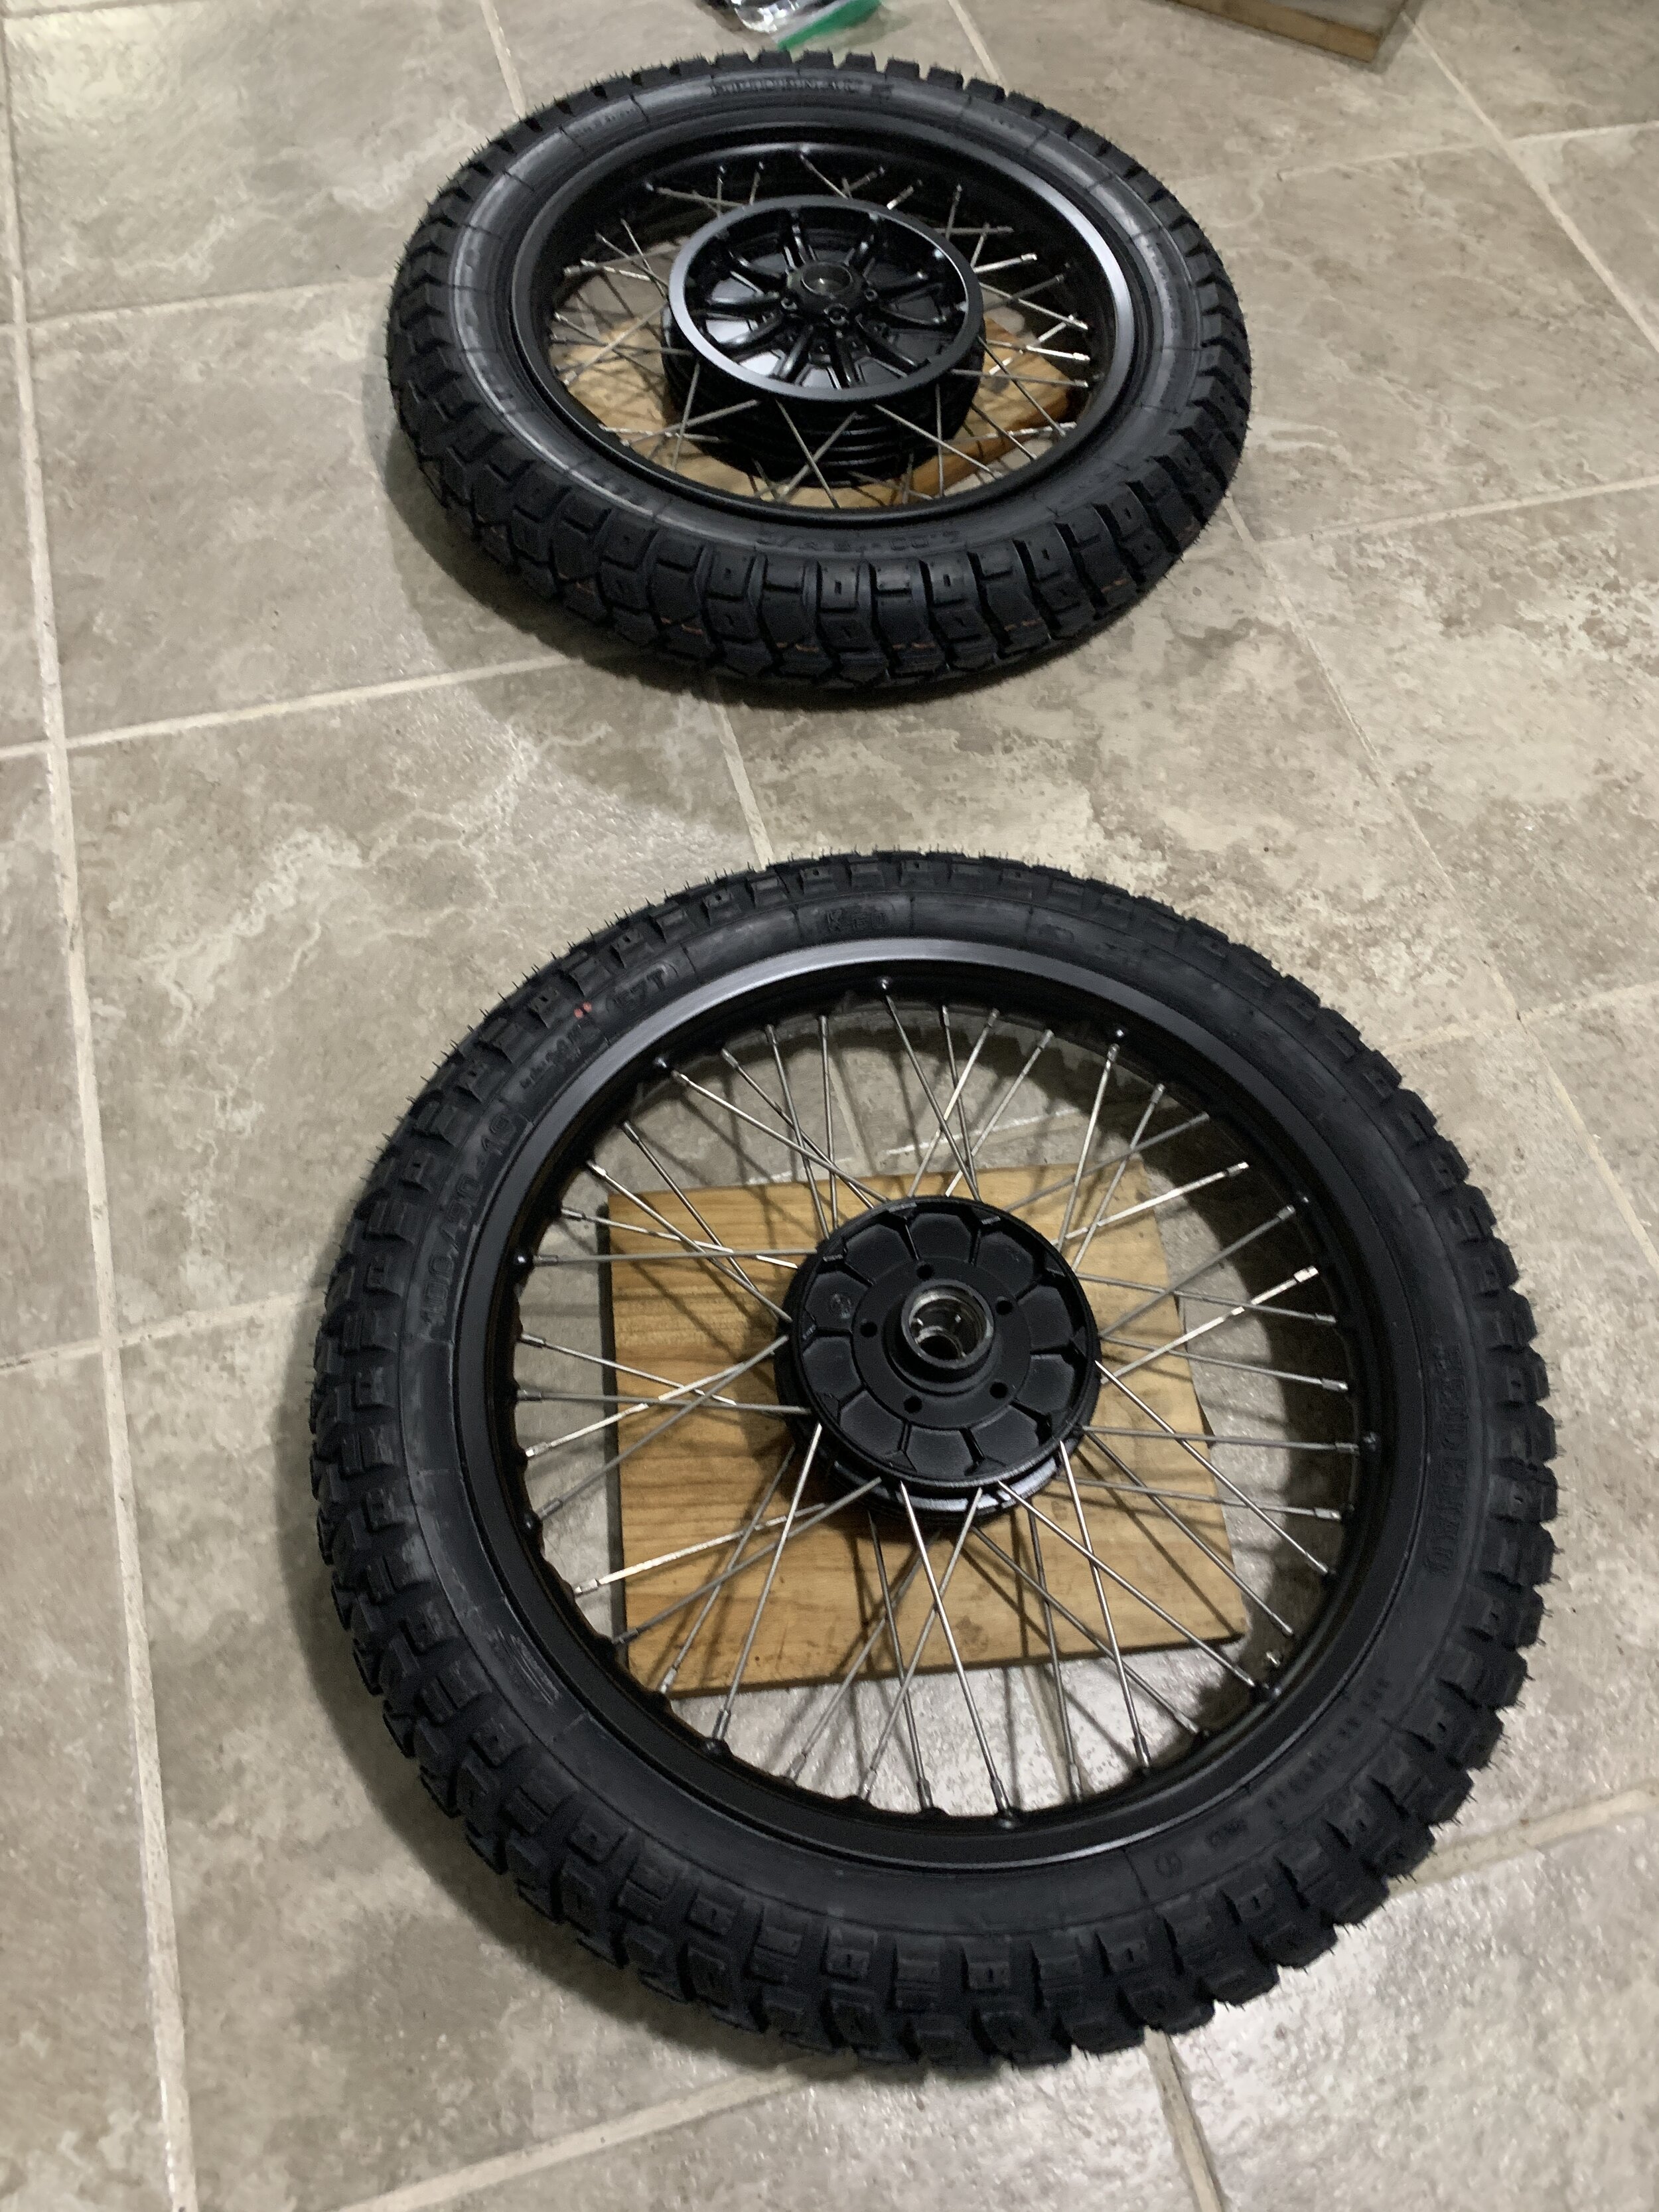
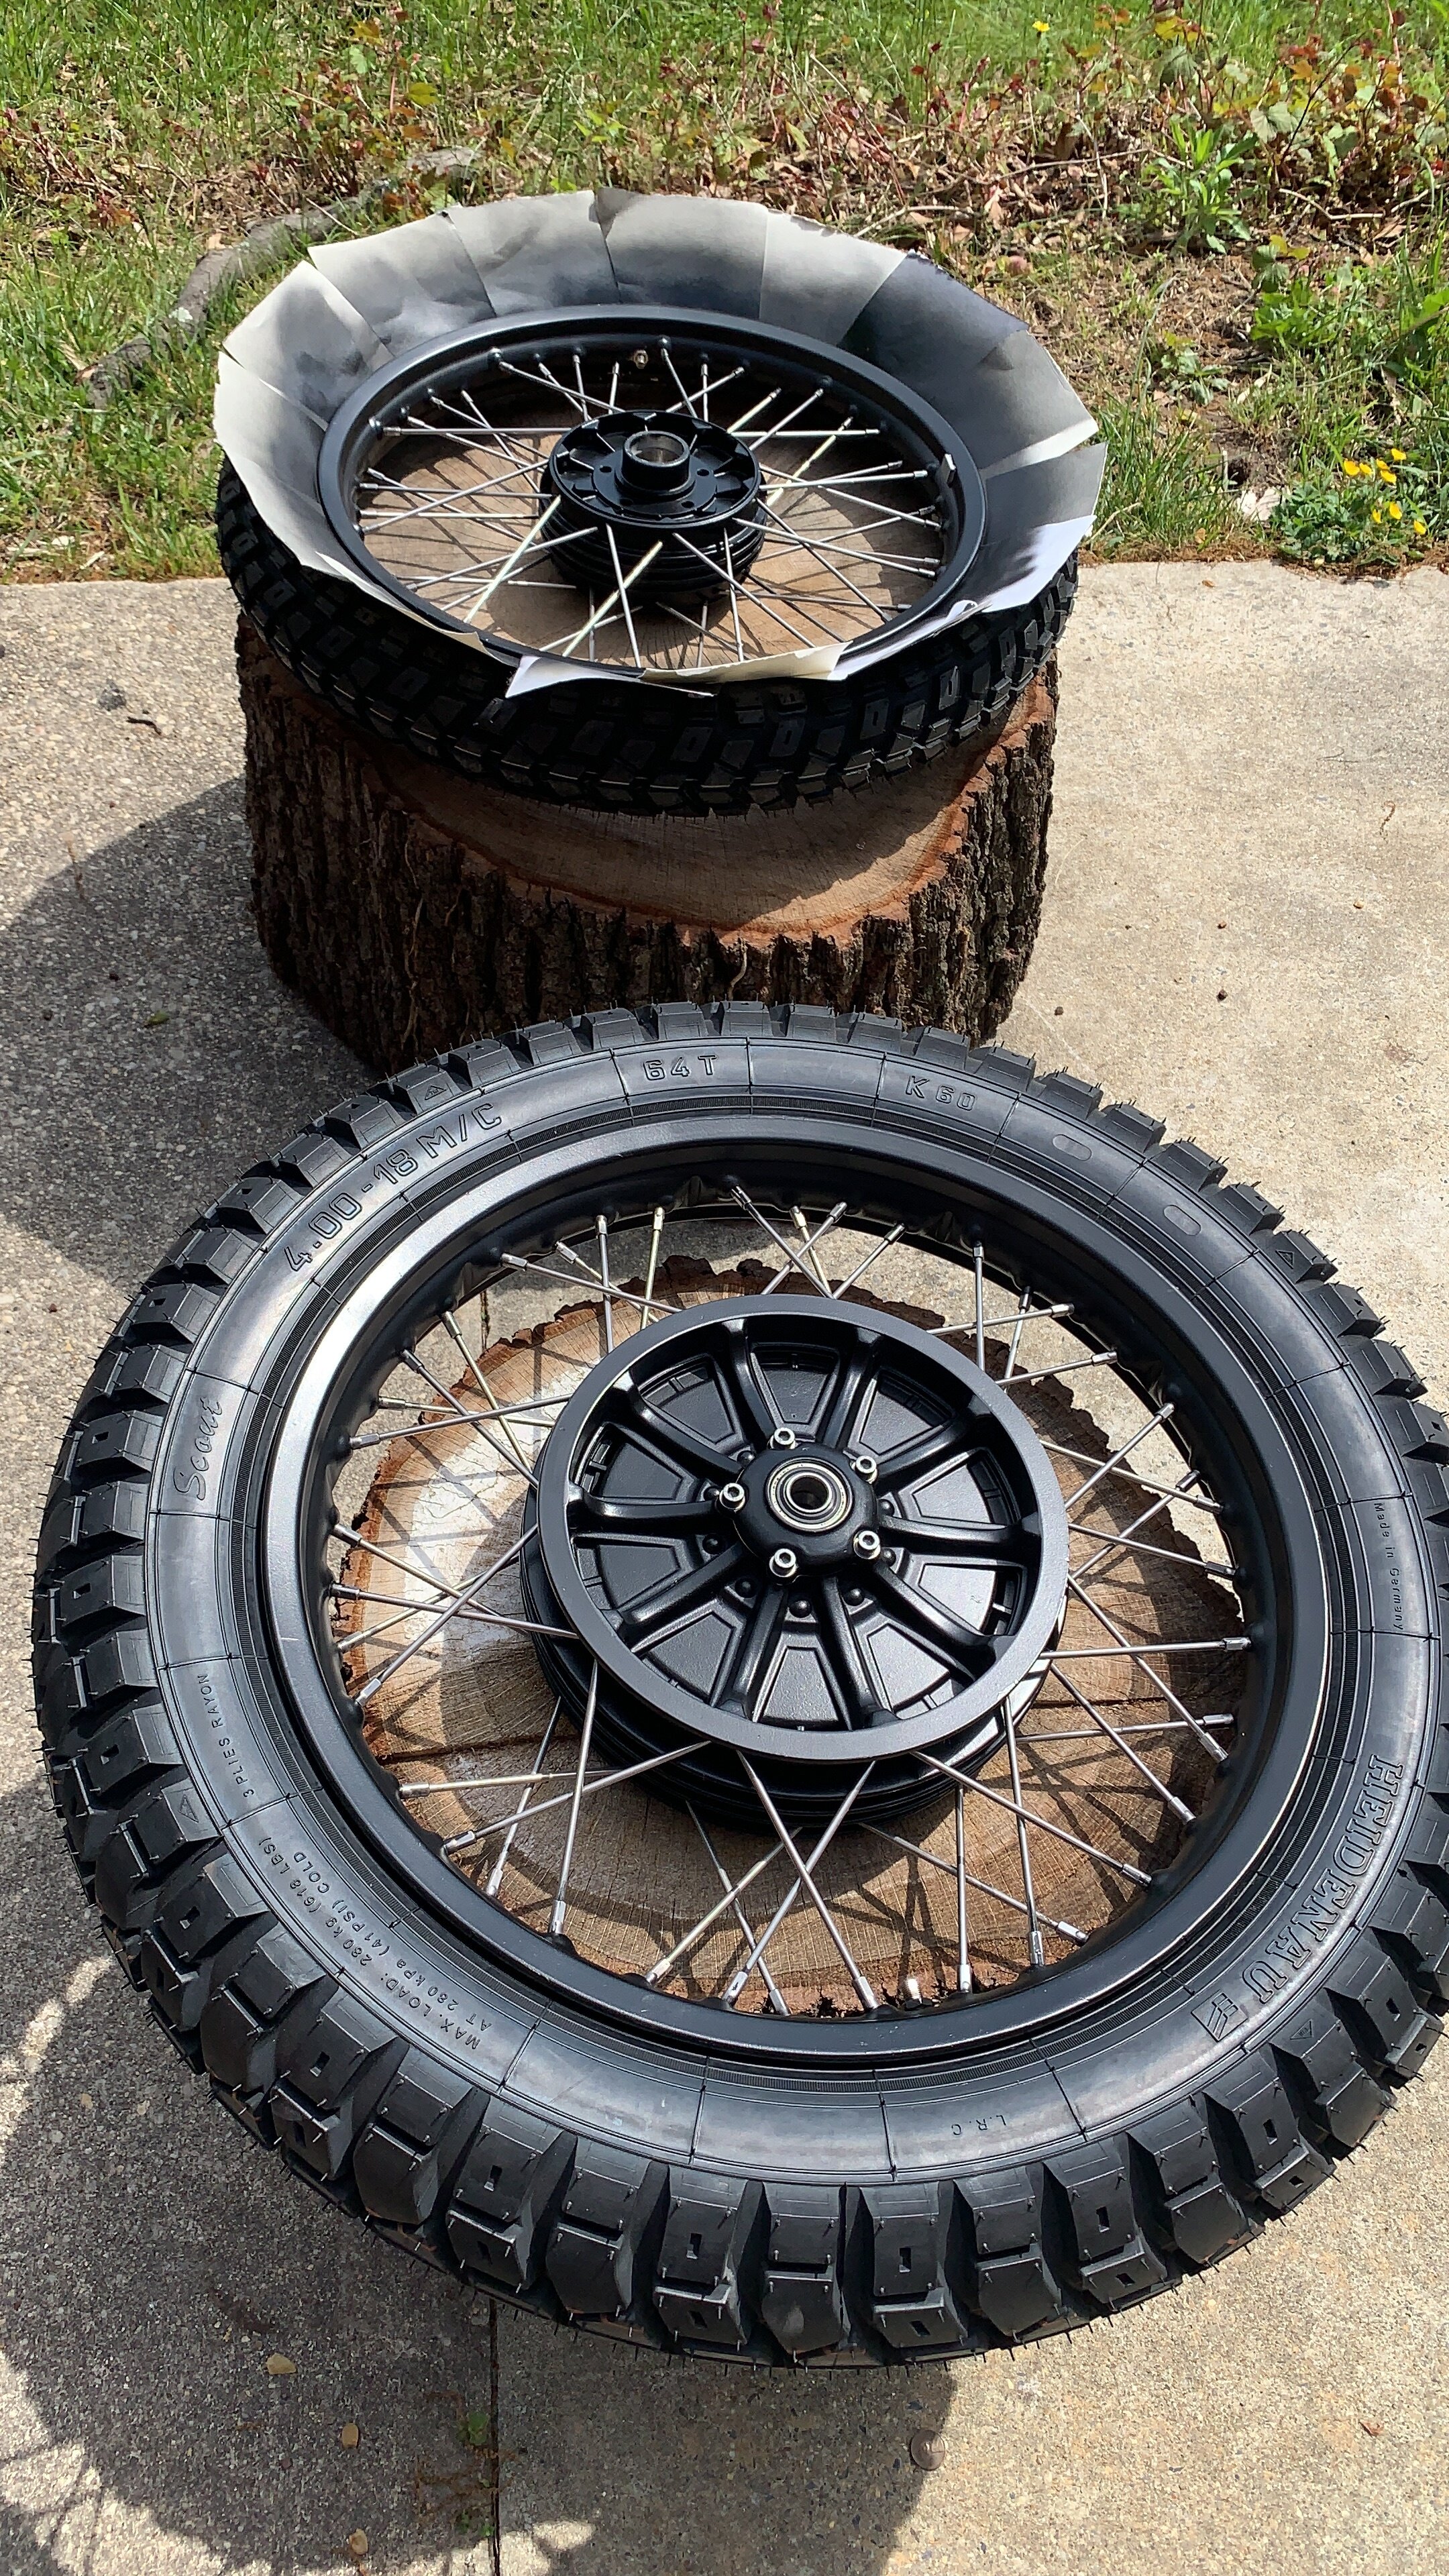
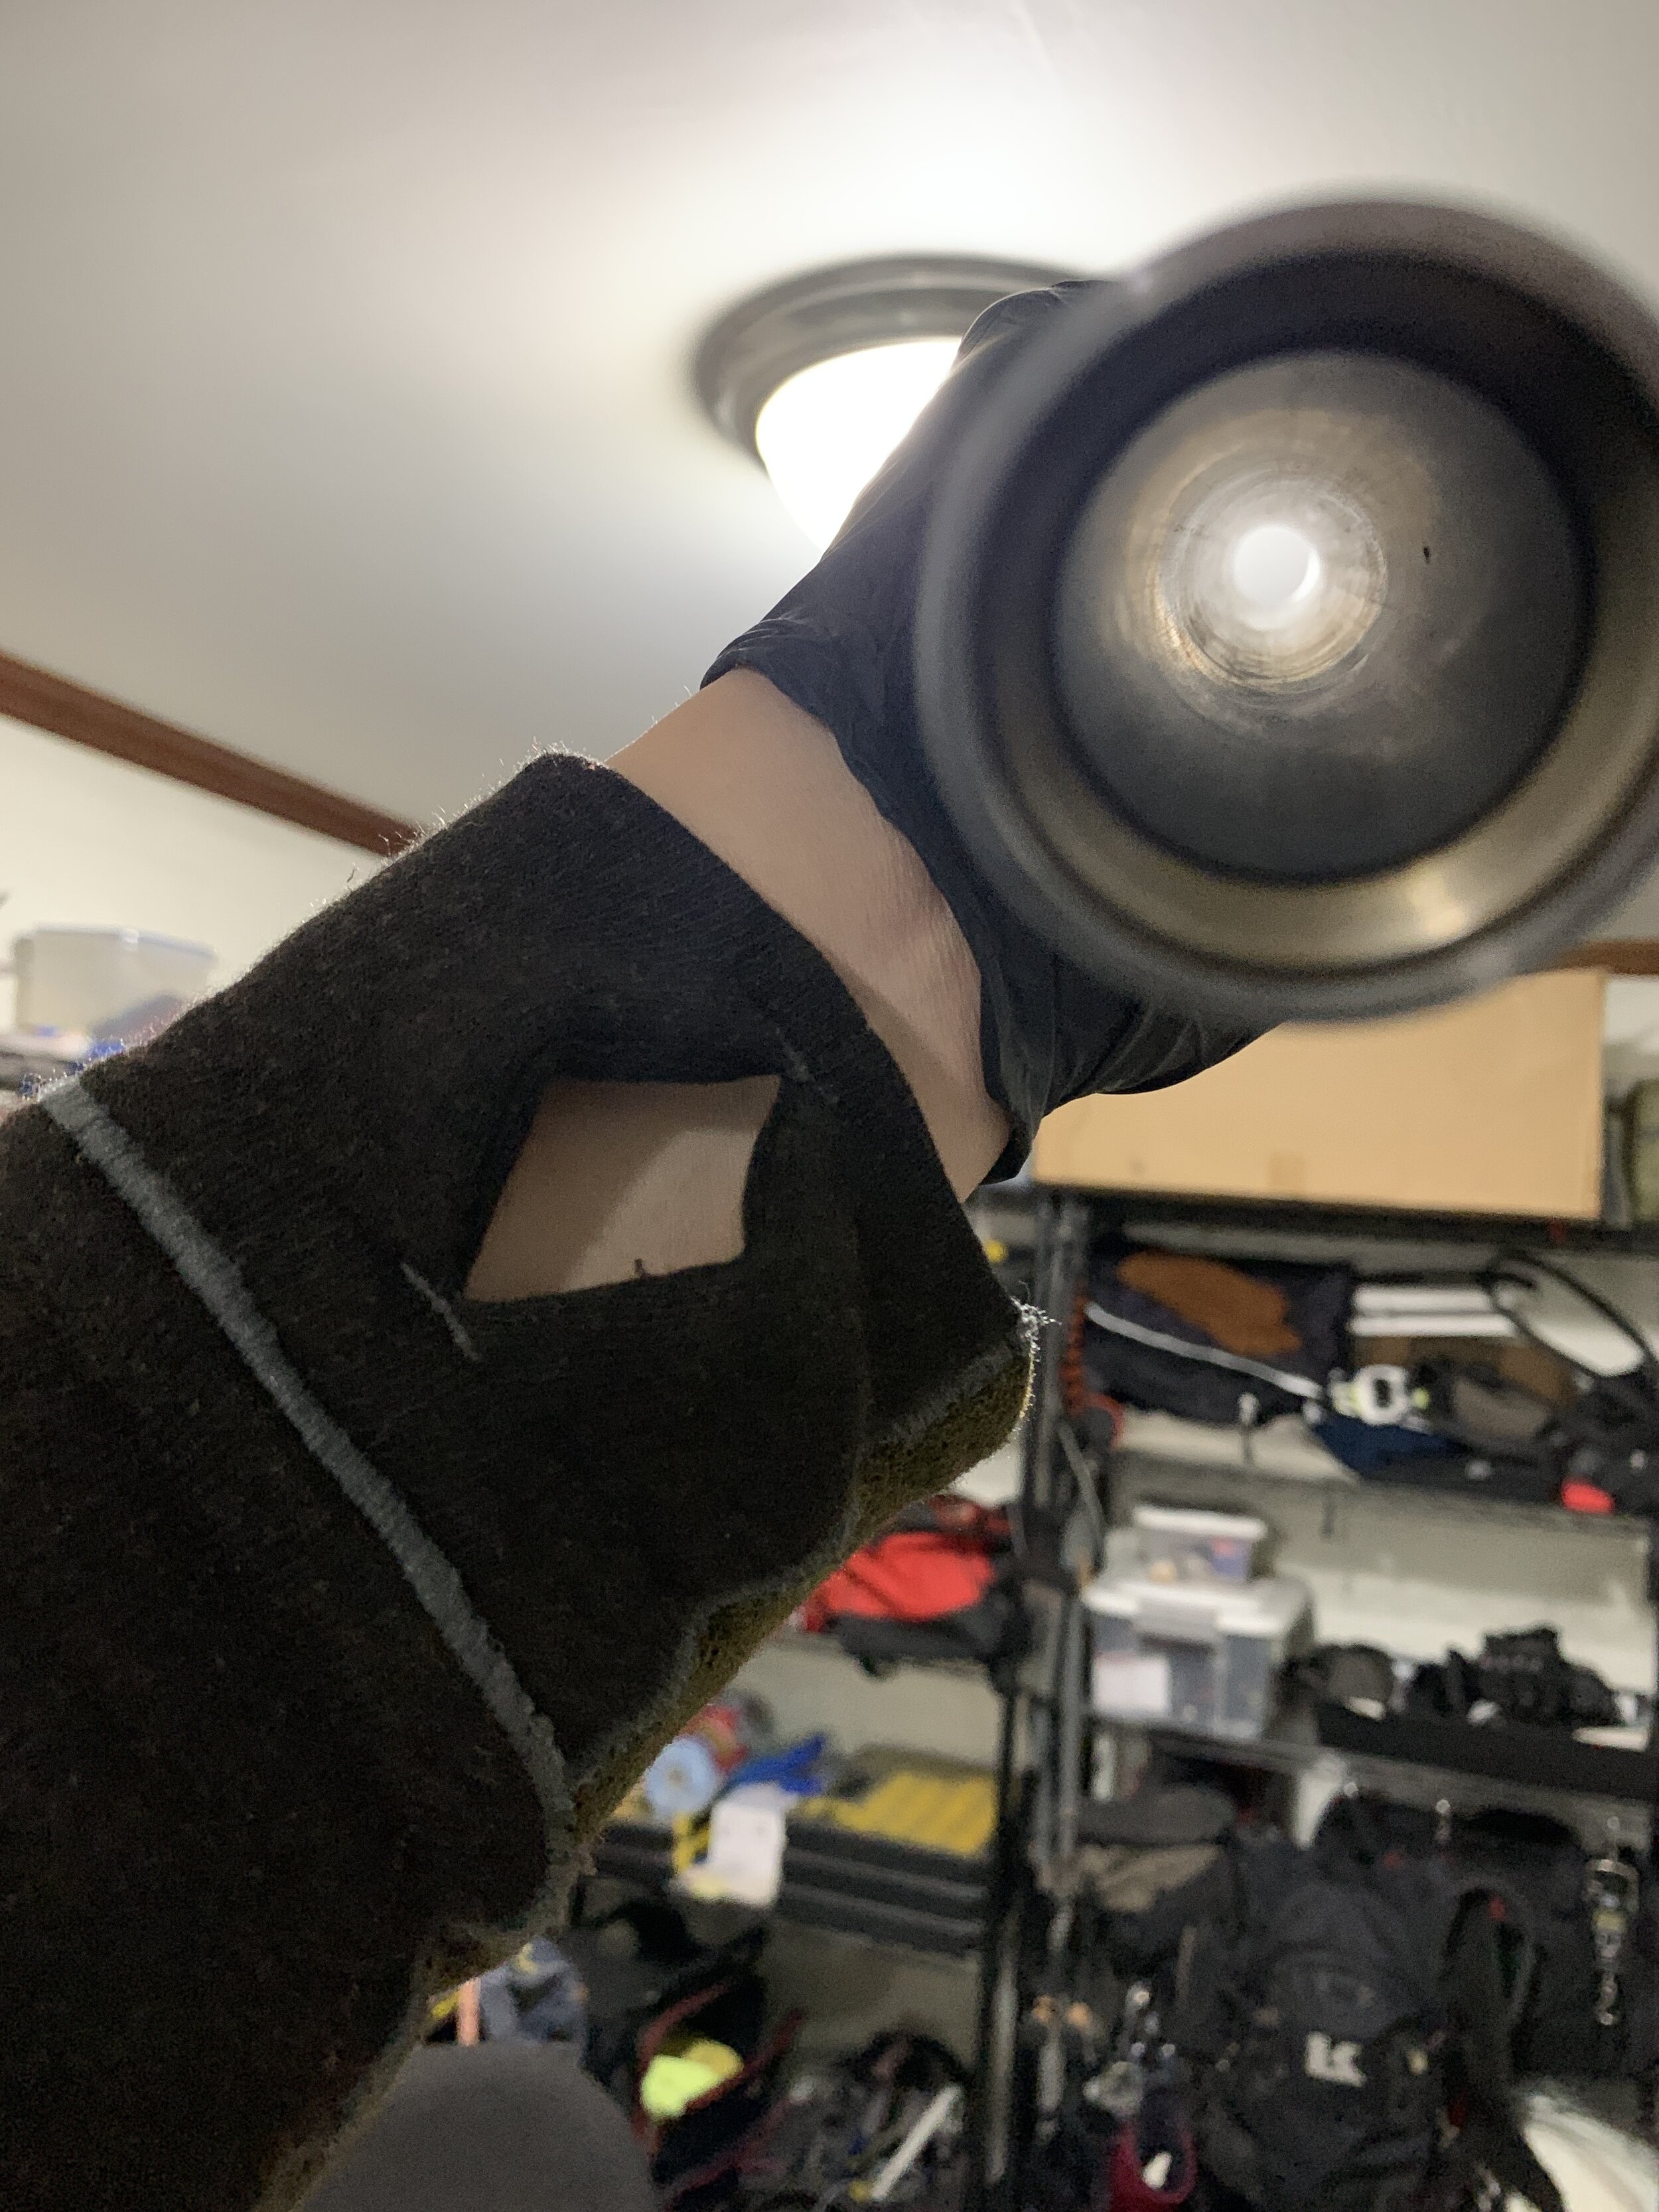
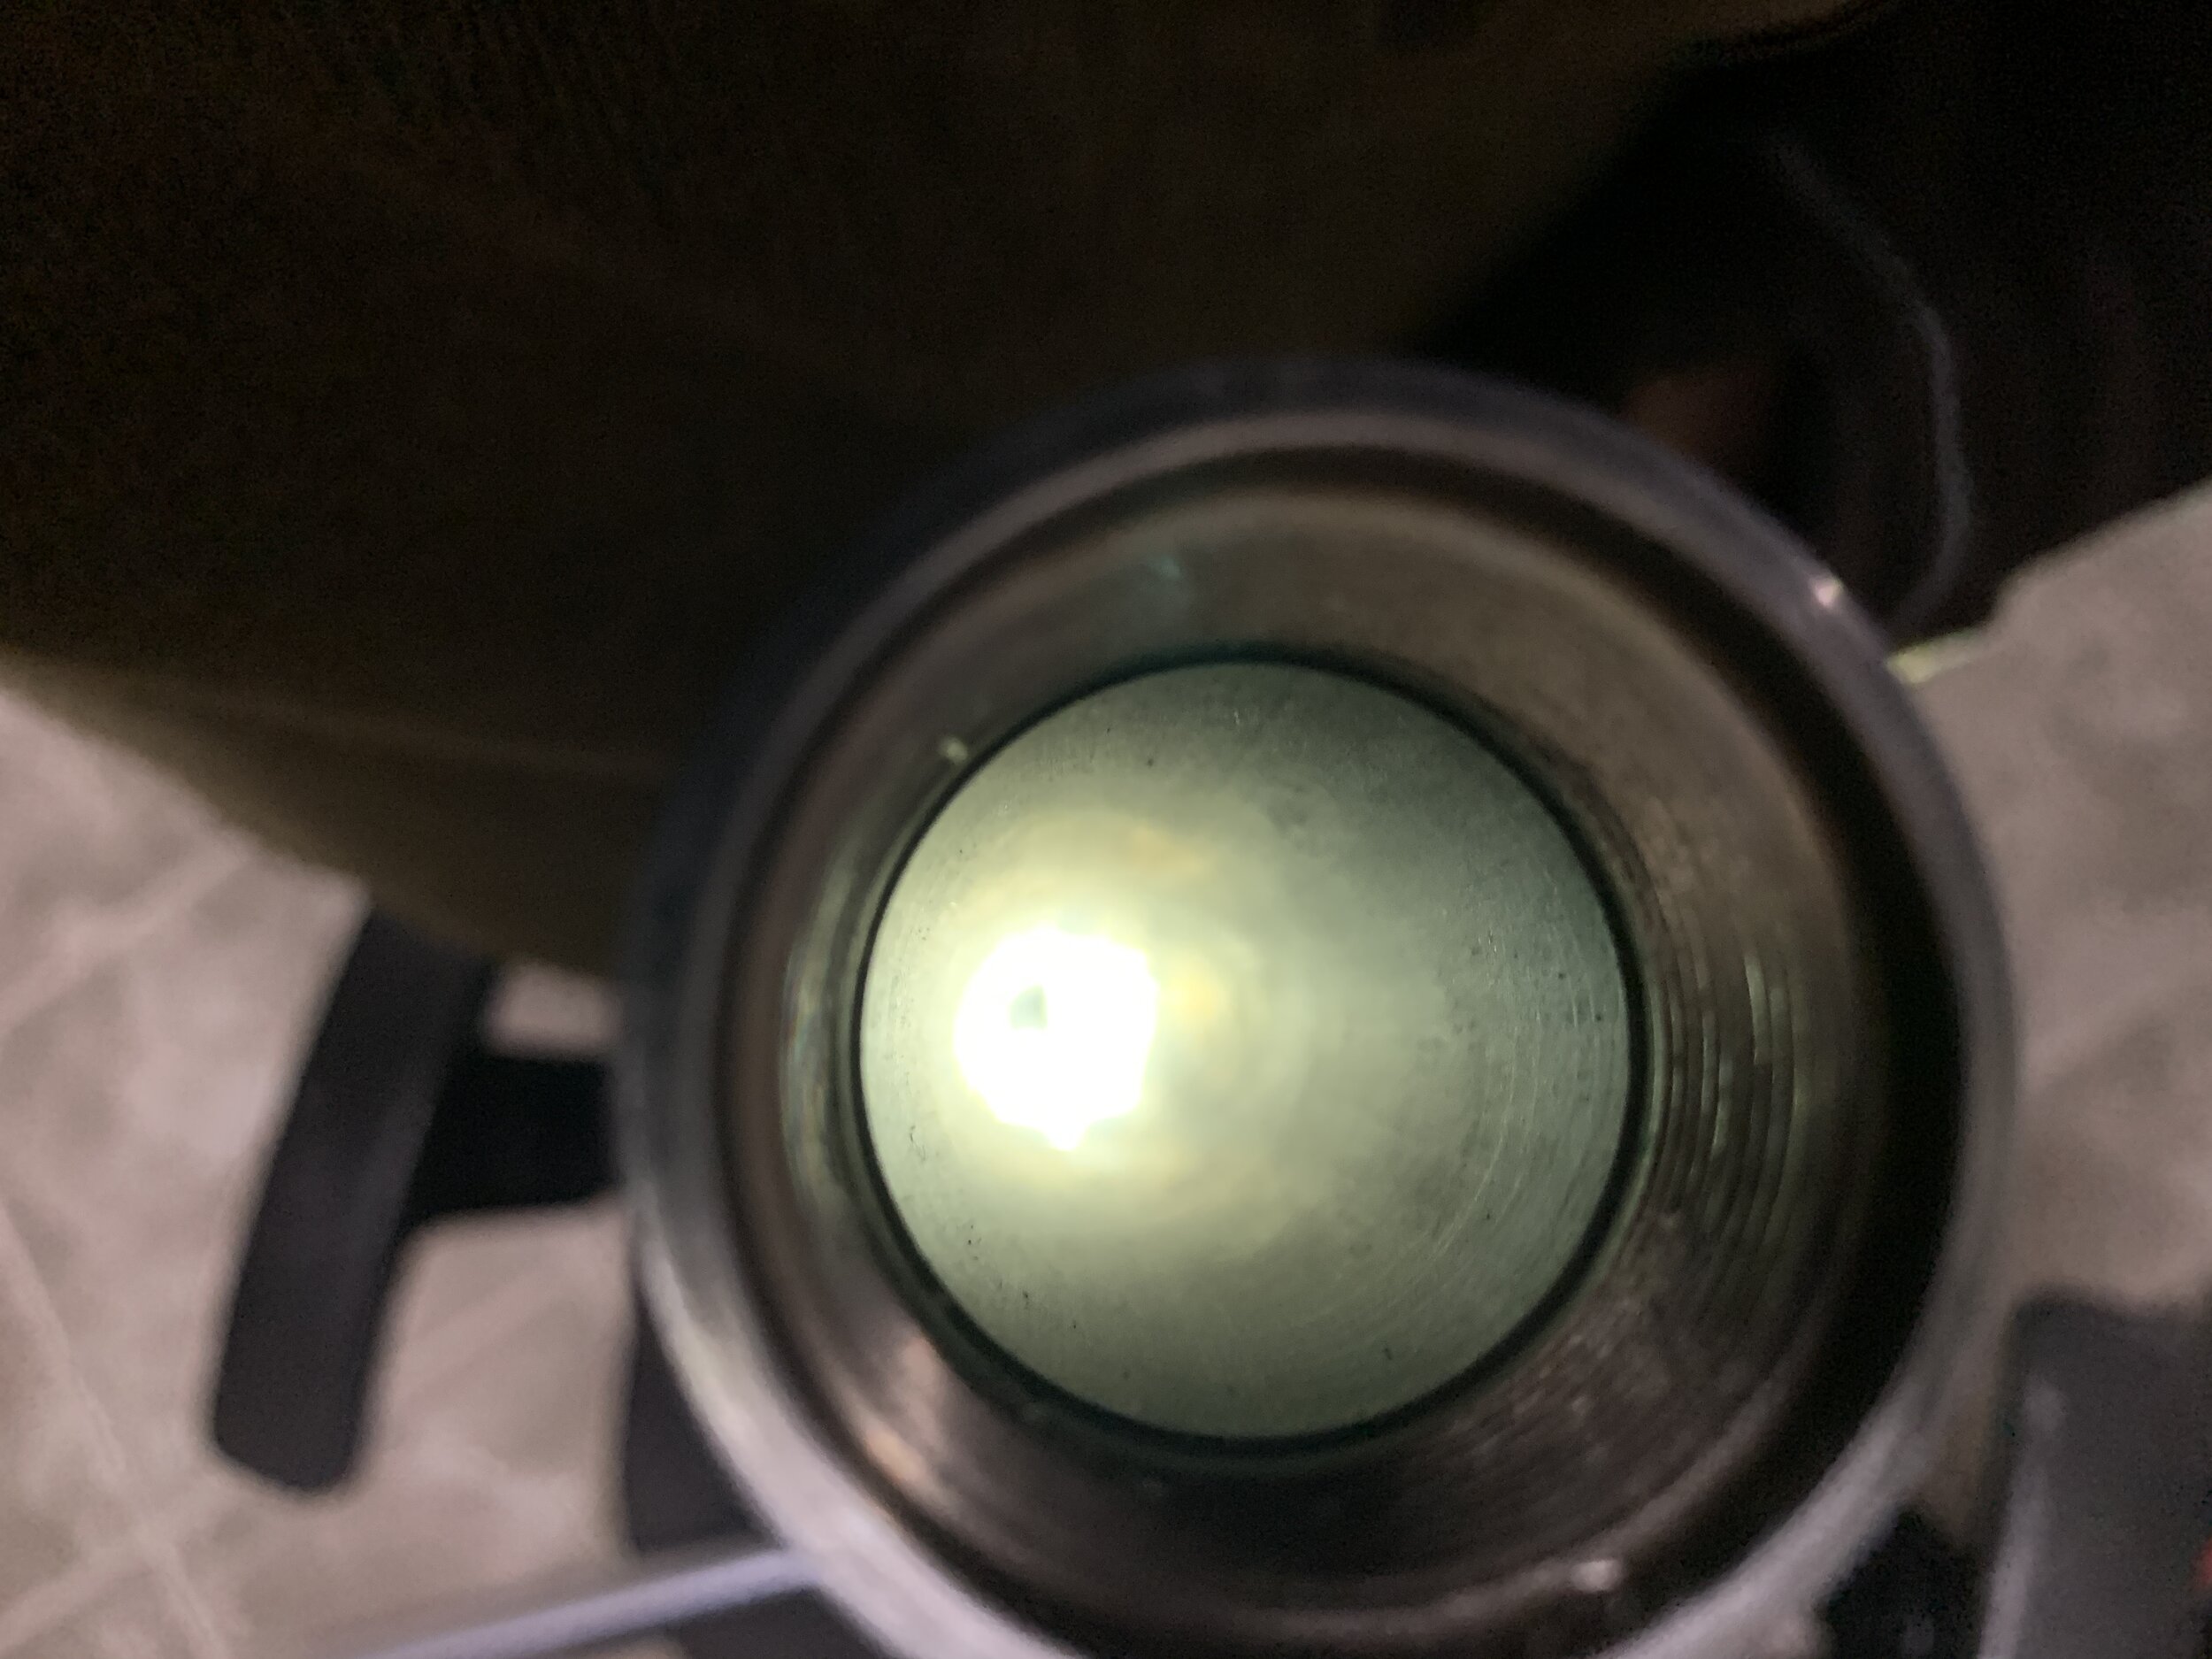
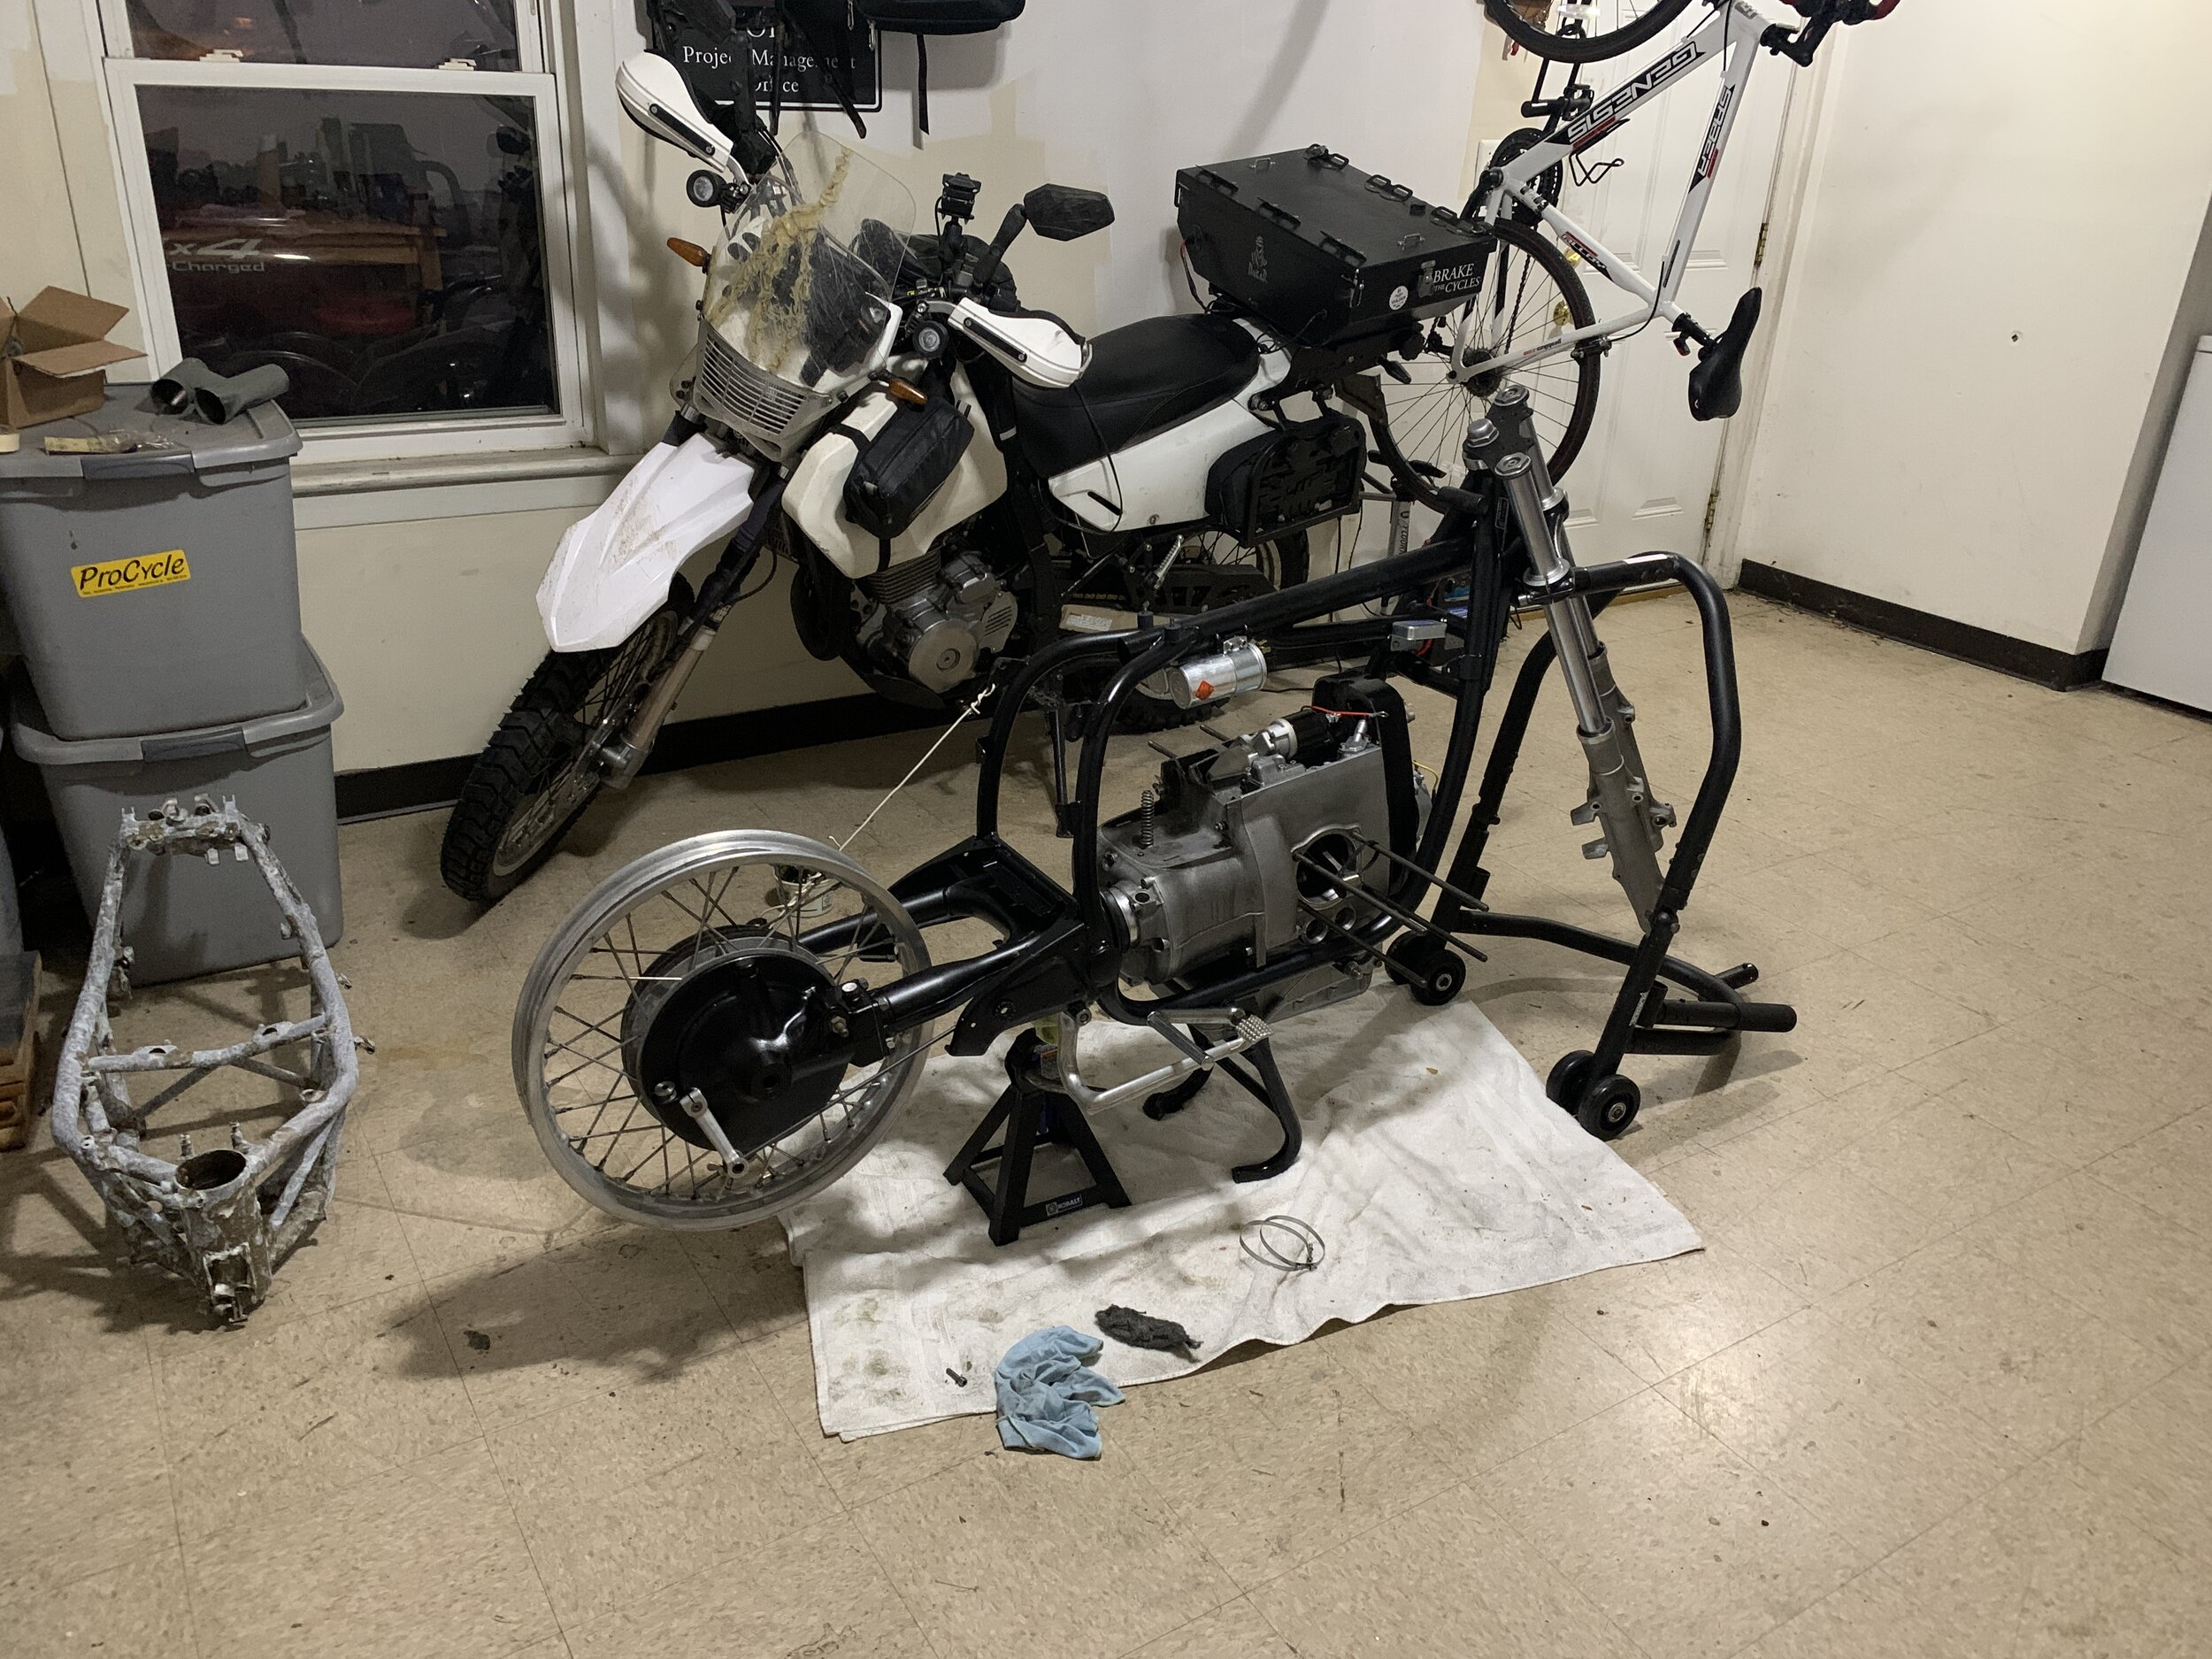
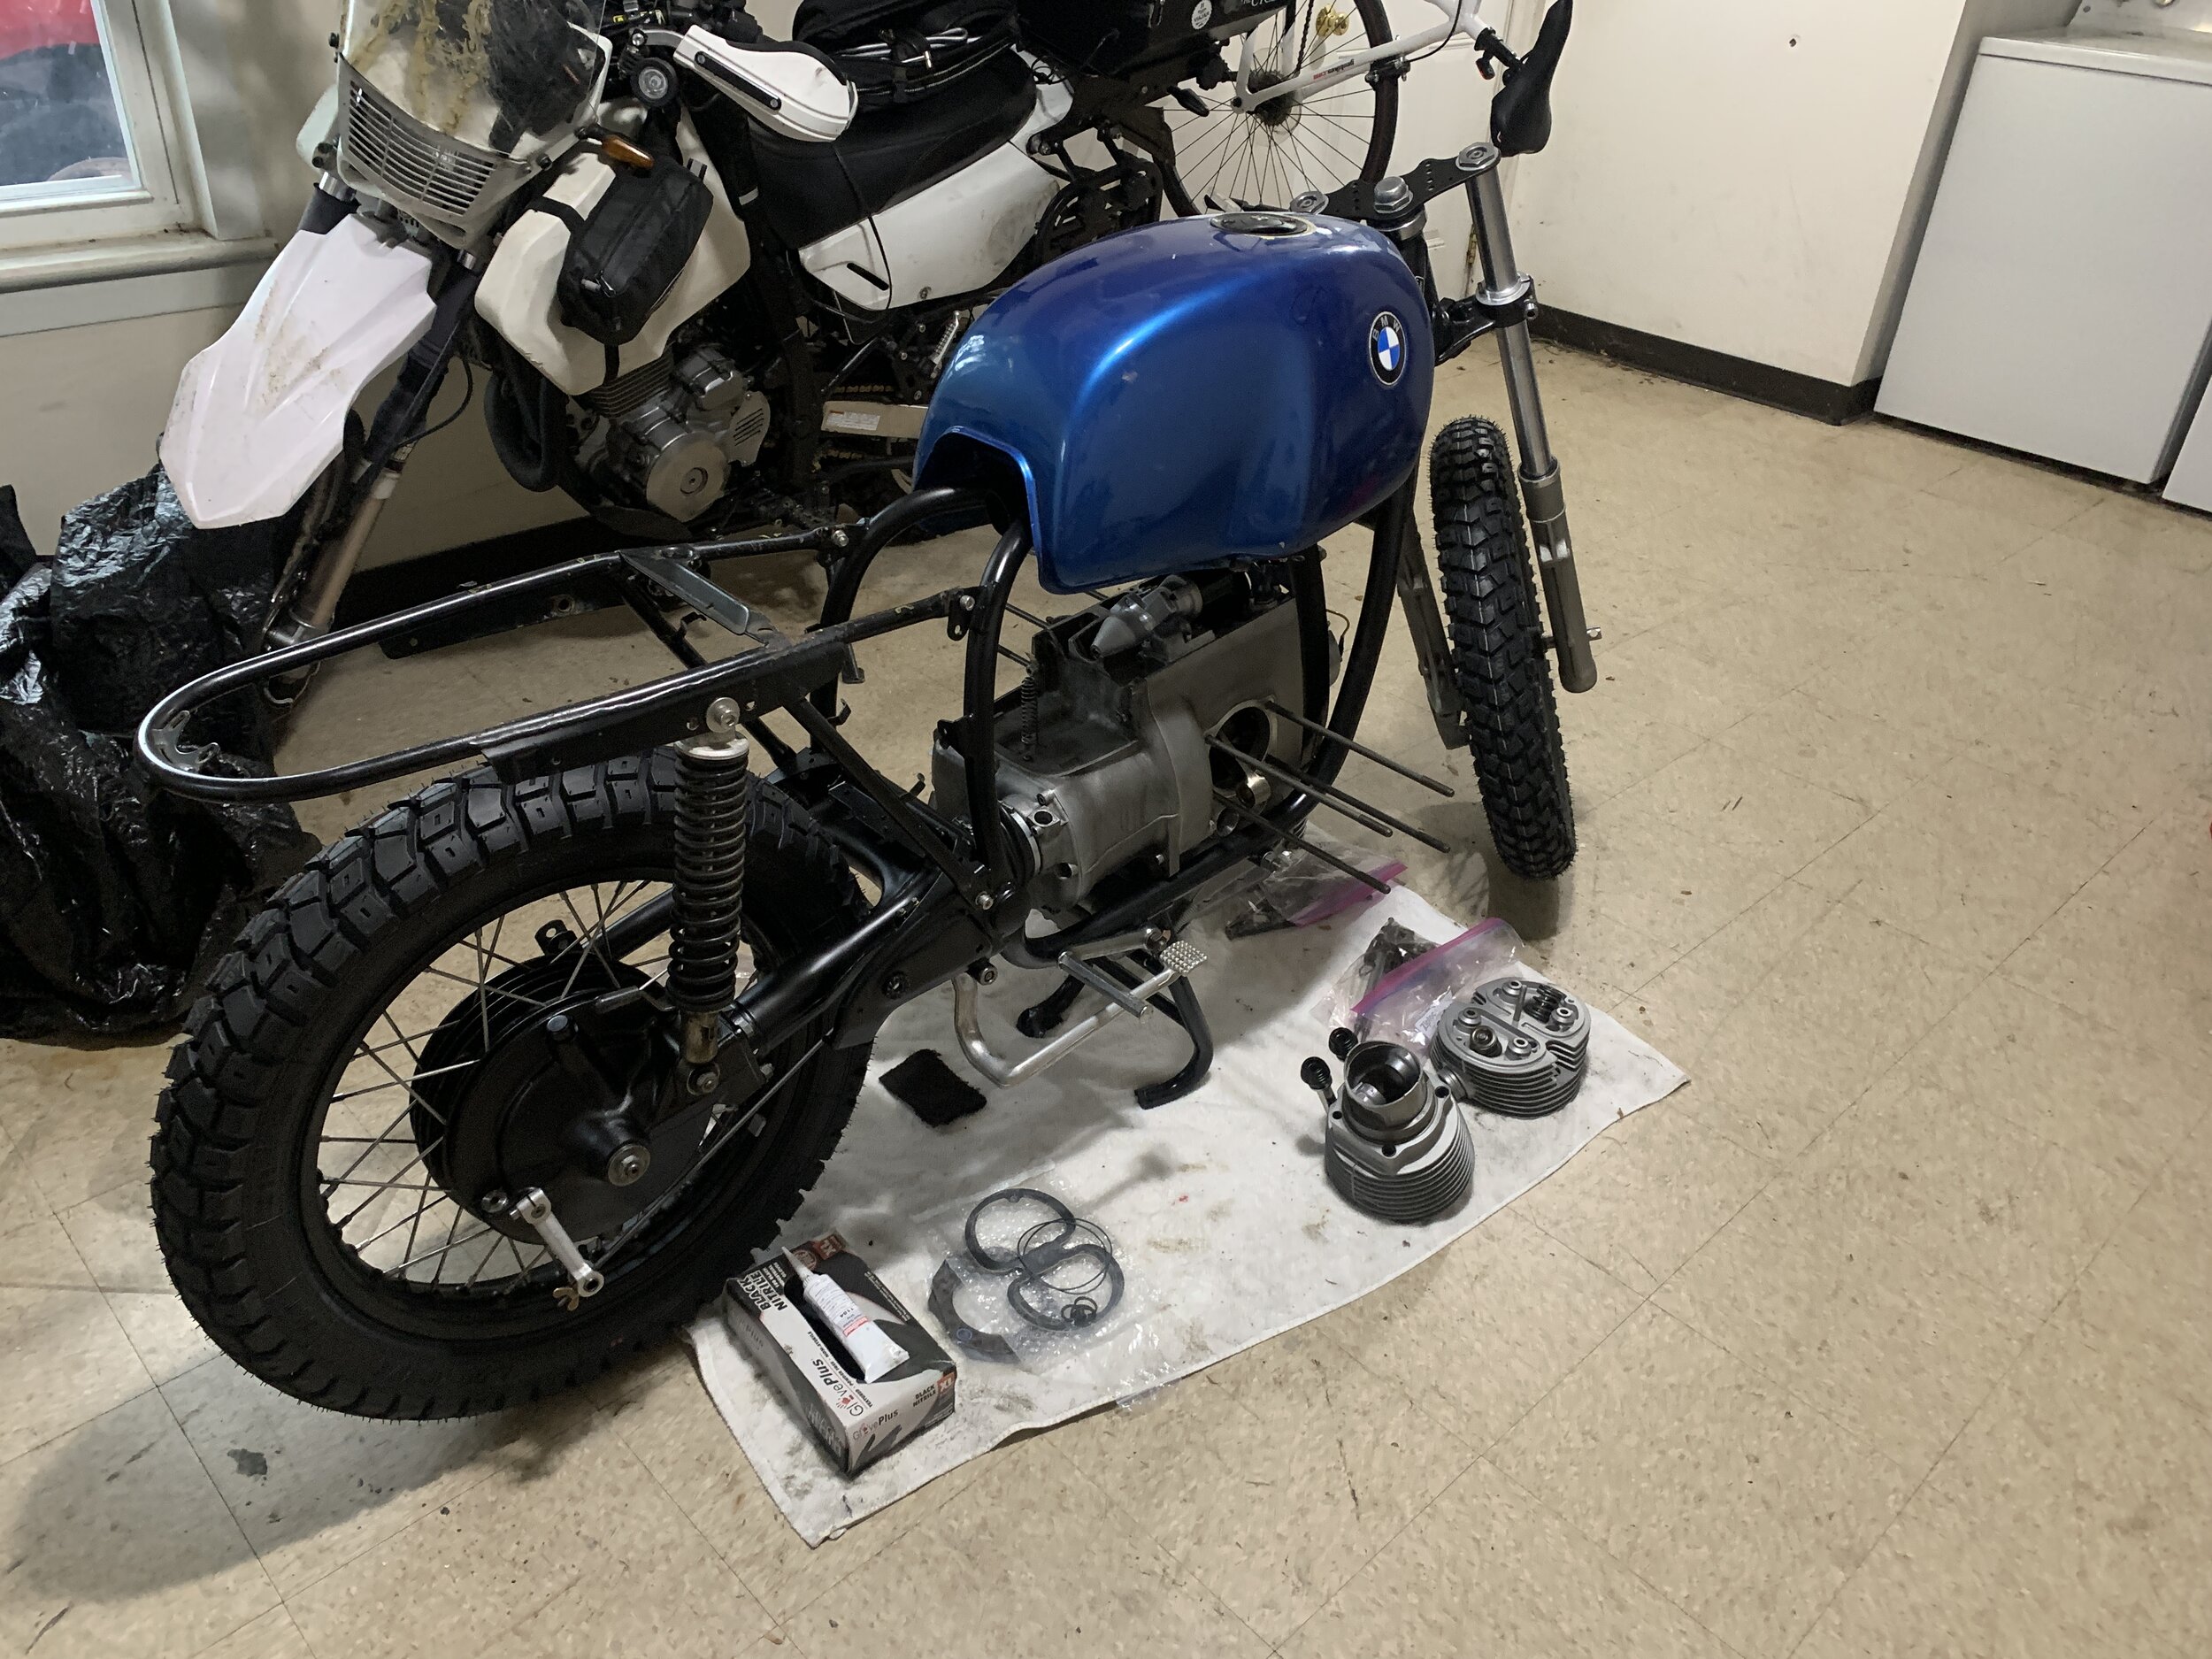
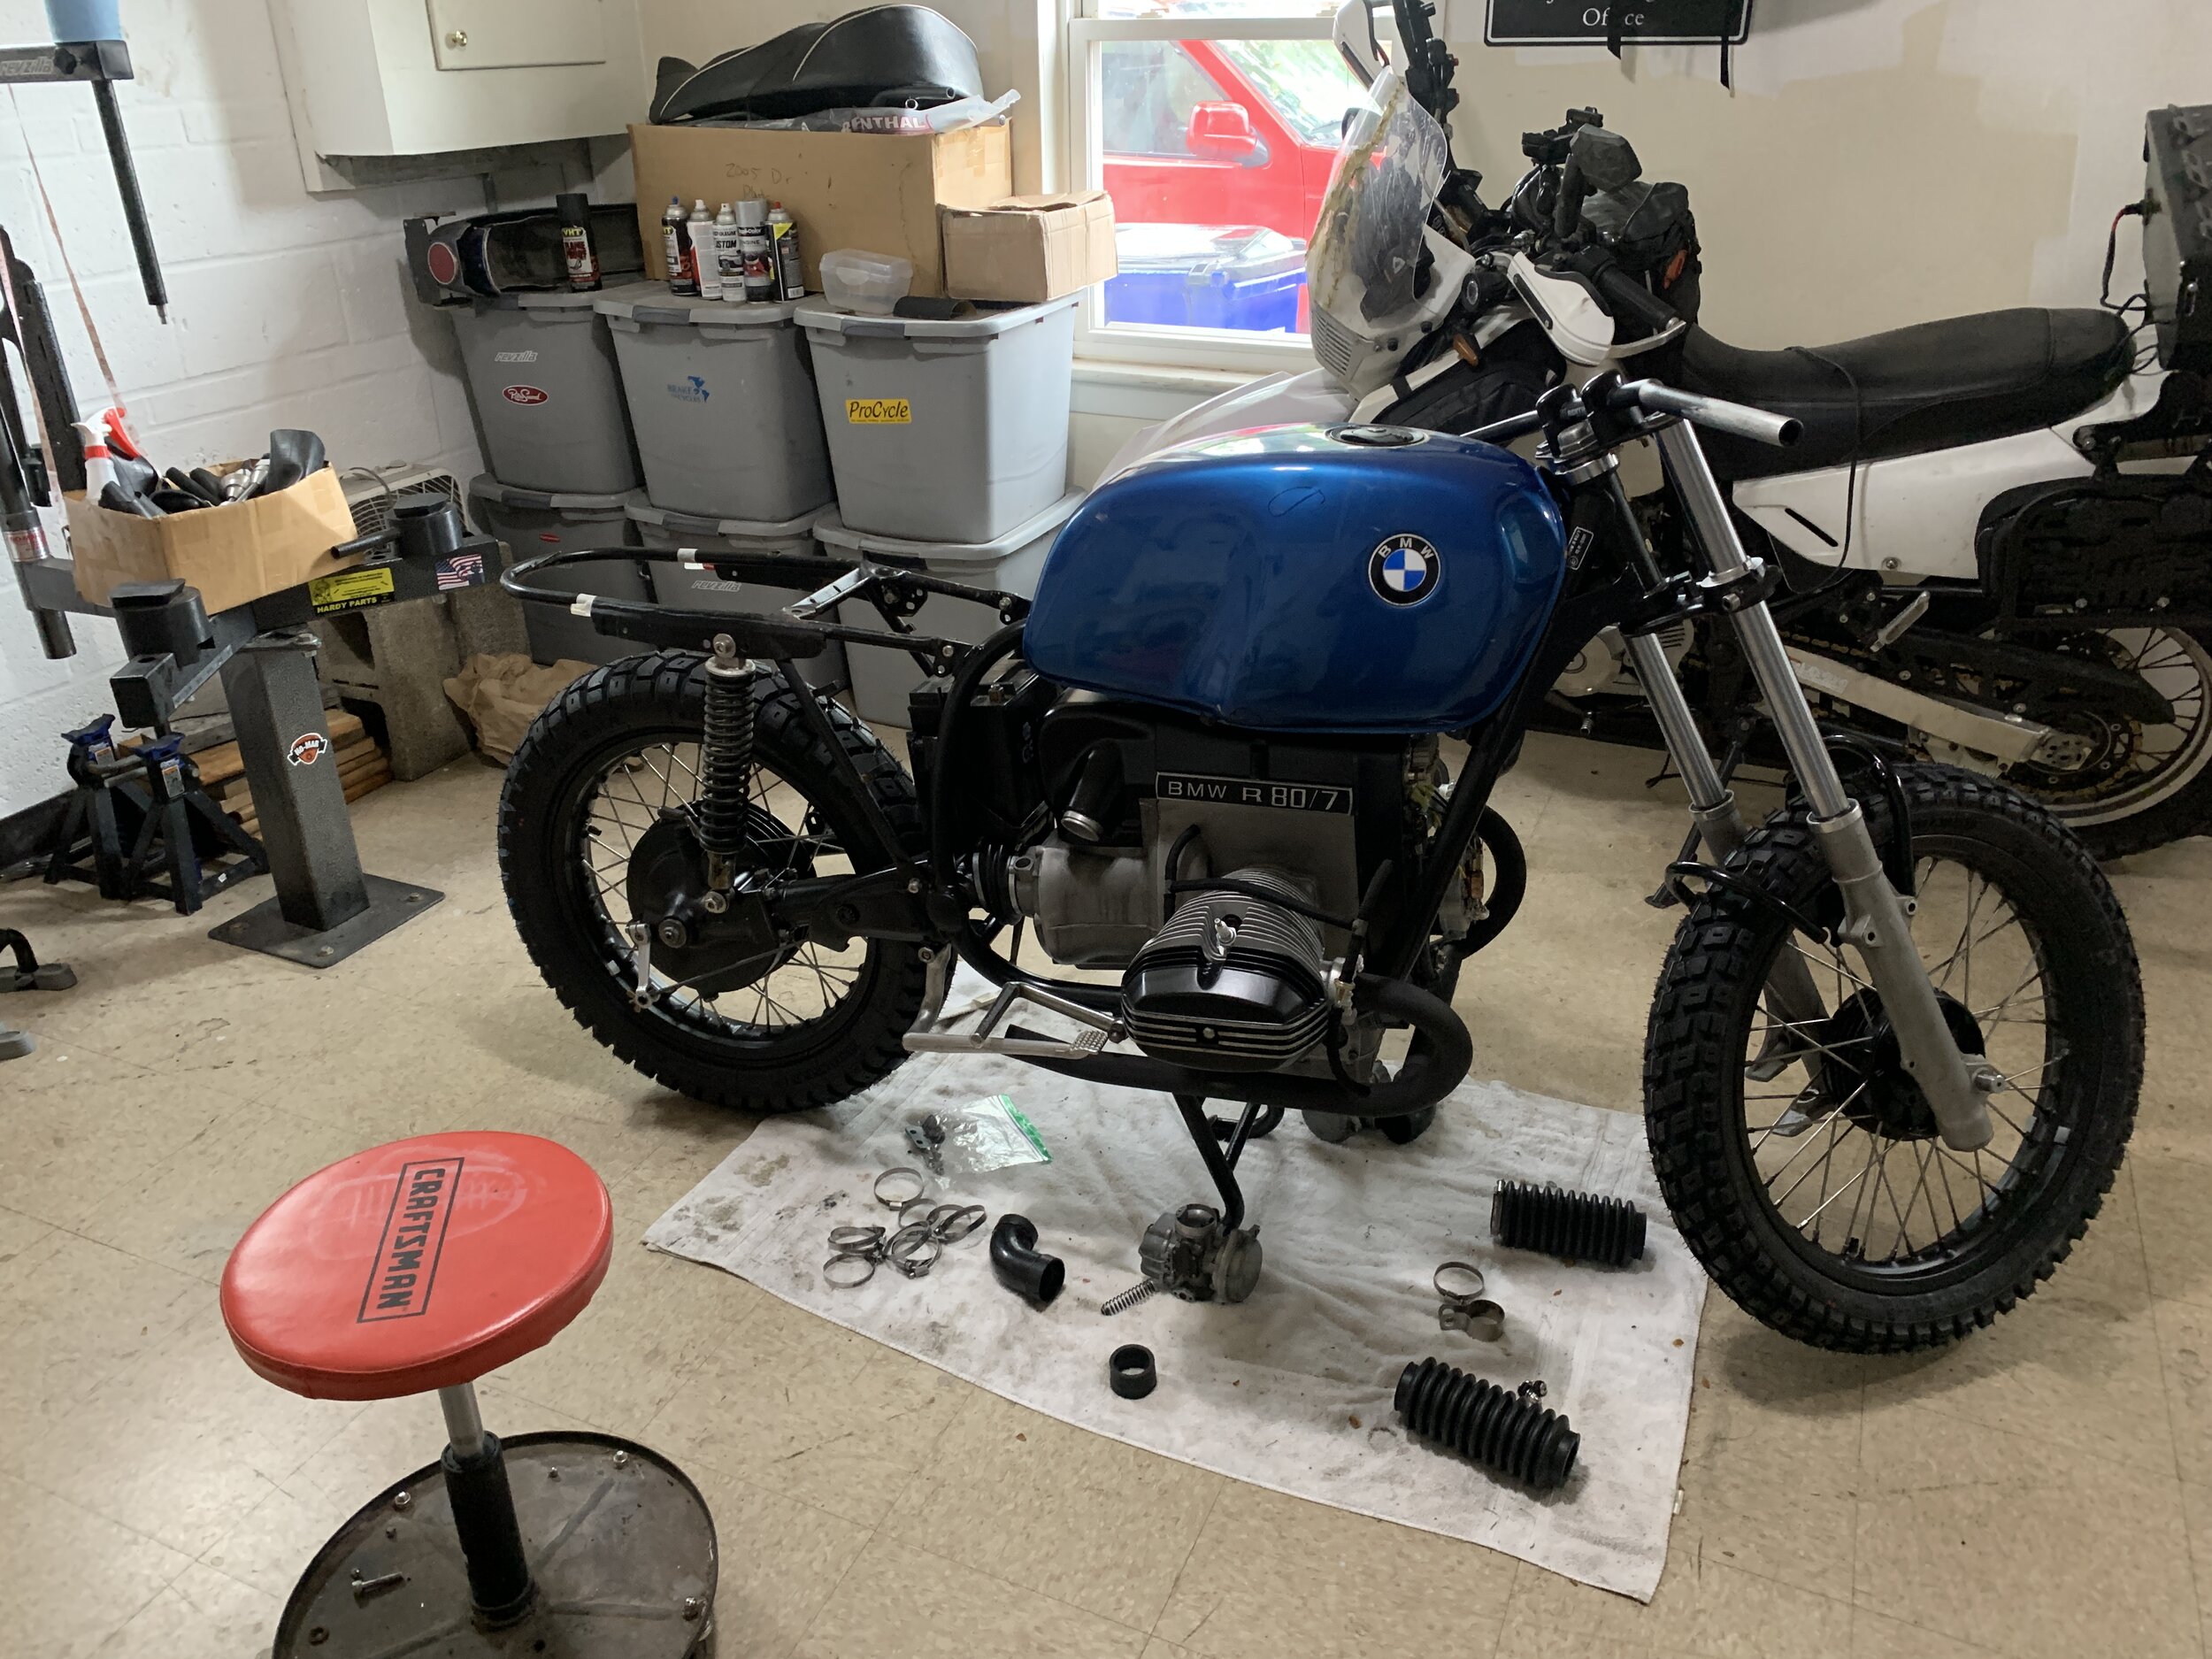
Once the bearing came in, and the seals came in (this took a really long time, cause now we are in the pandemic already), I mounted the wheels. I polish the axles by using the nut at the end and a impact driver and some emery cloth. It came out pretty good. I finally got the cylinder honed and the rings set. Then I staged everything and cross my finger and try to install everything. It sees to be on there, and quickly the bike is coming together. Final picture is the choke assembly, its very ironic I bought new cable for this first, and the whole rebuild… and I did not get to it until most of the bike is back together.
BBK - Big Break Kit
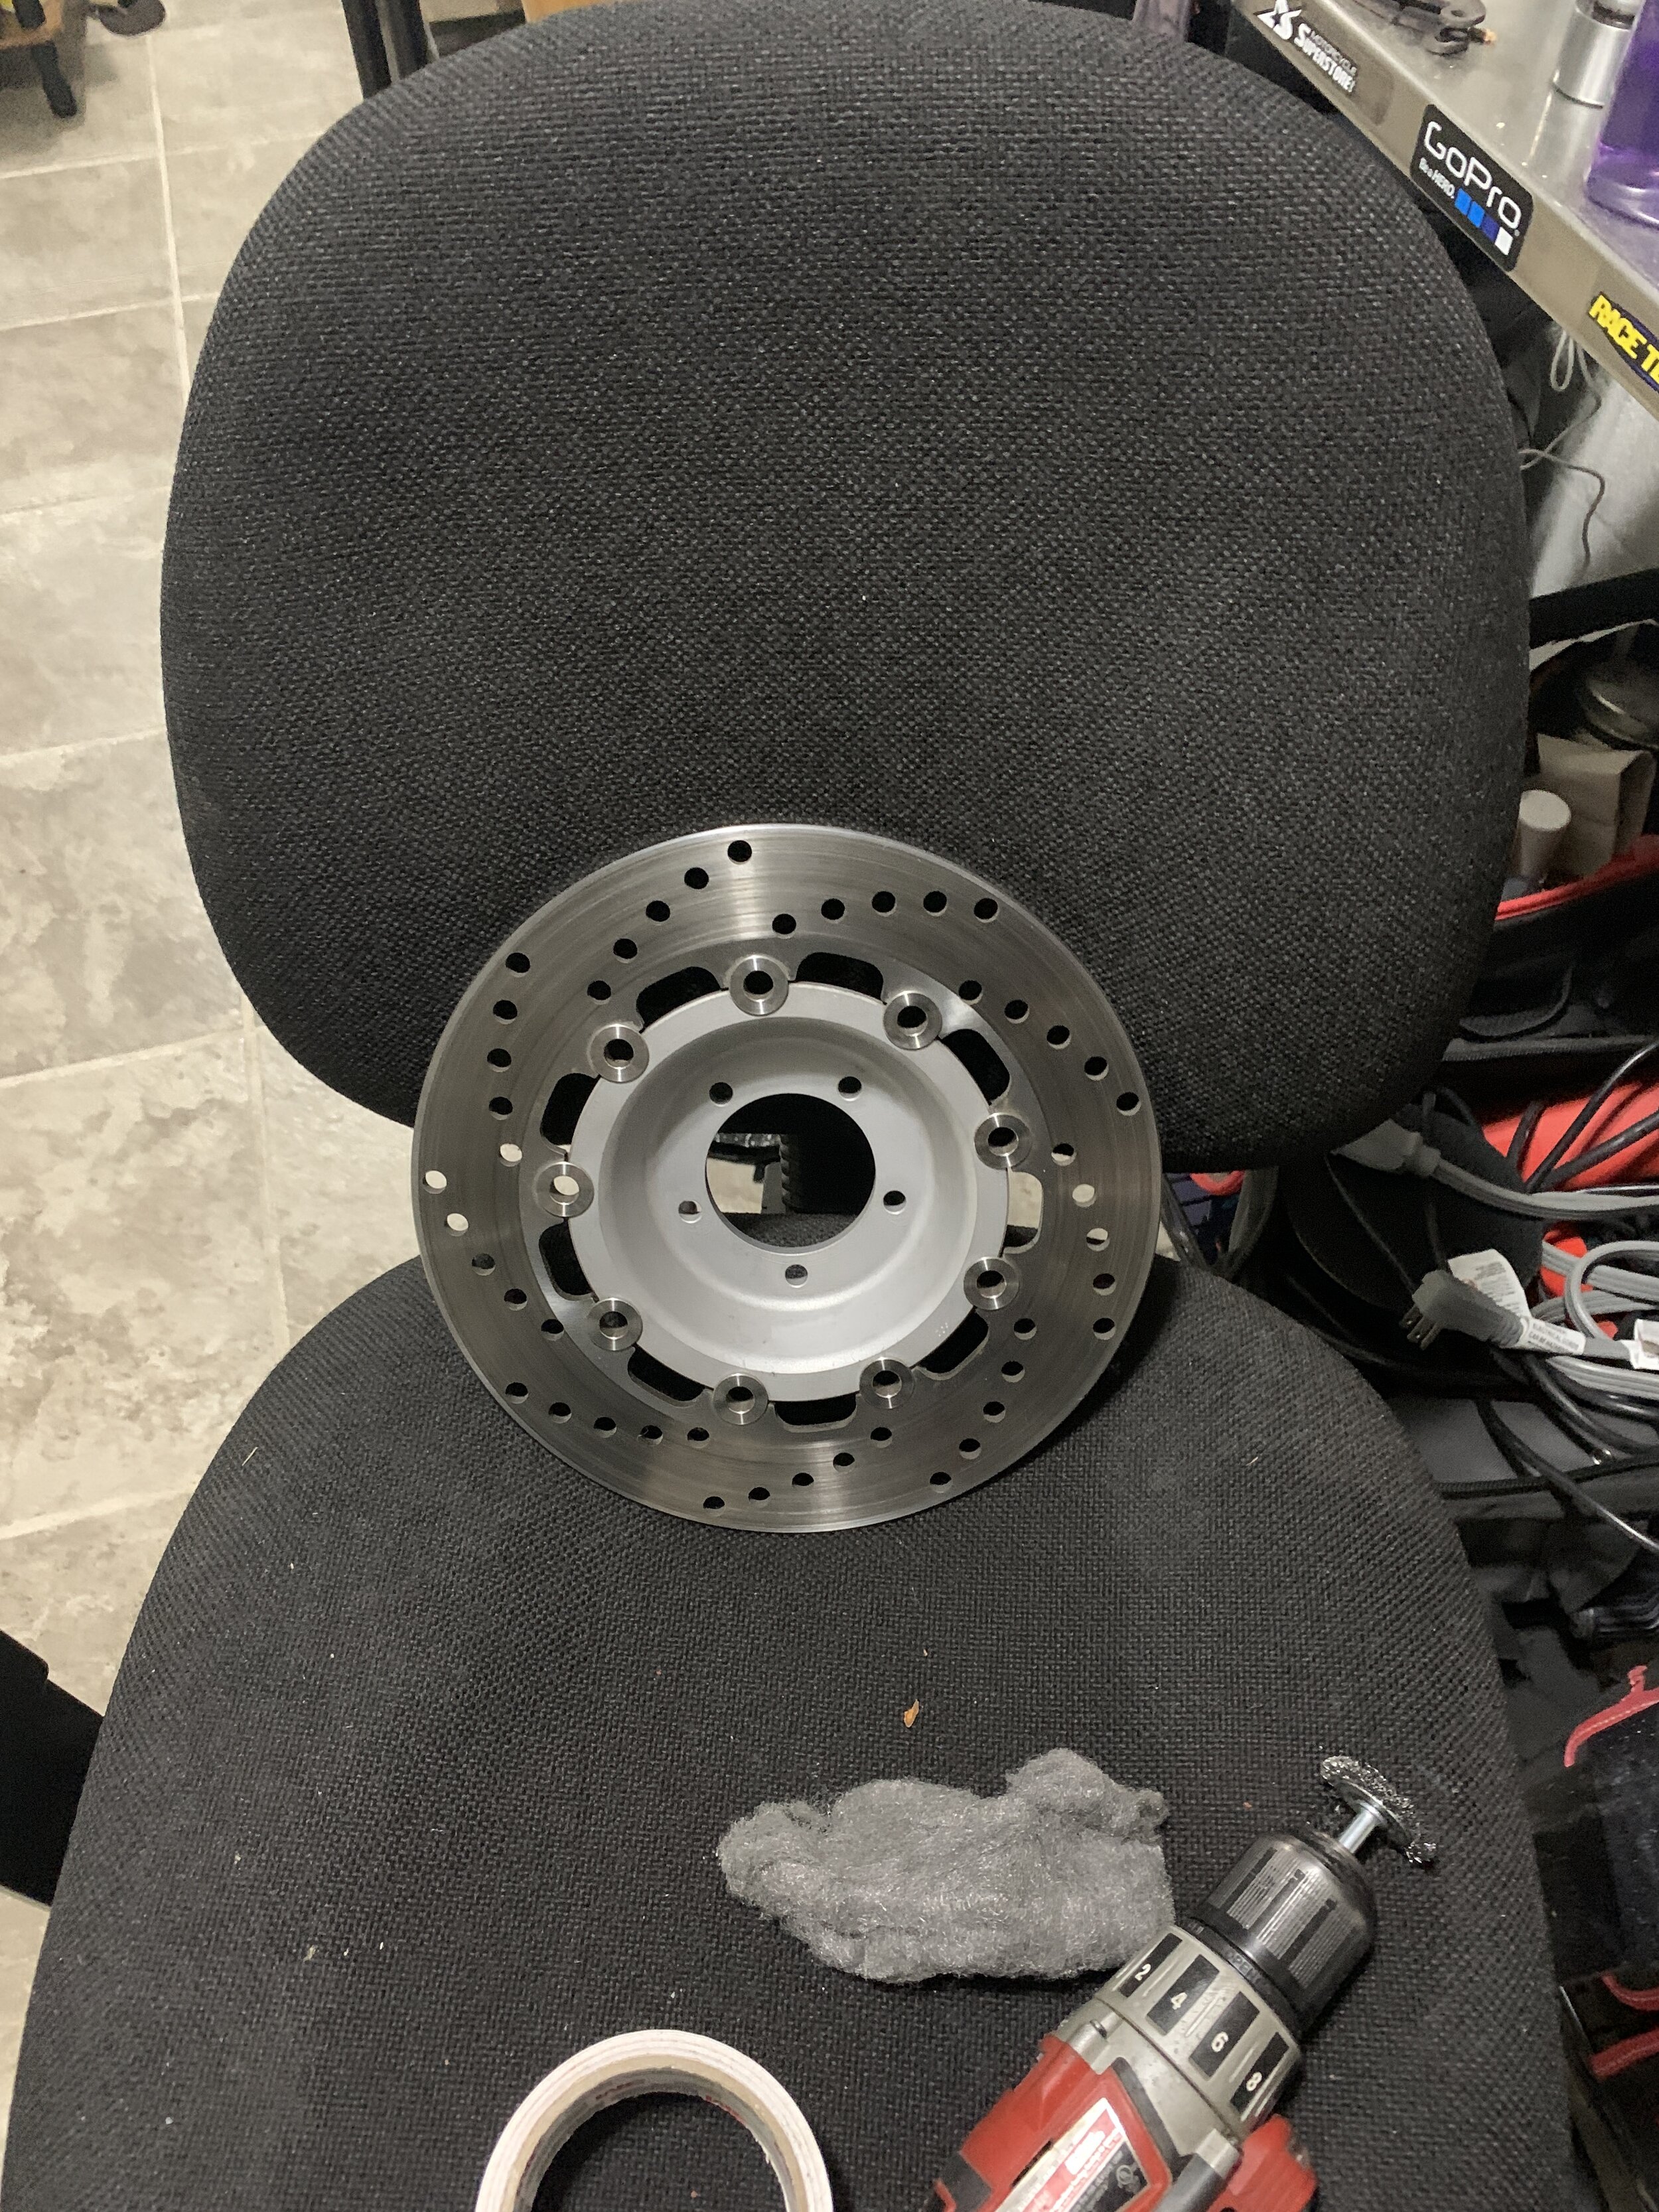
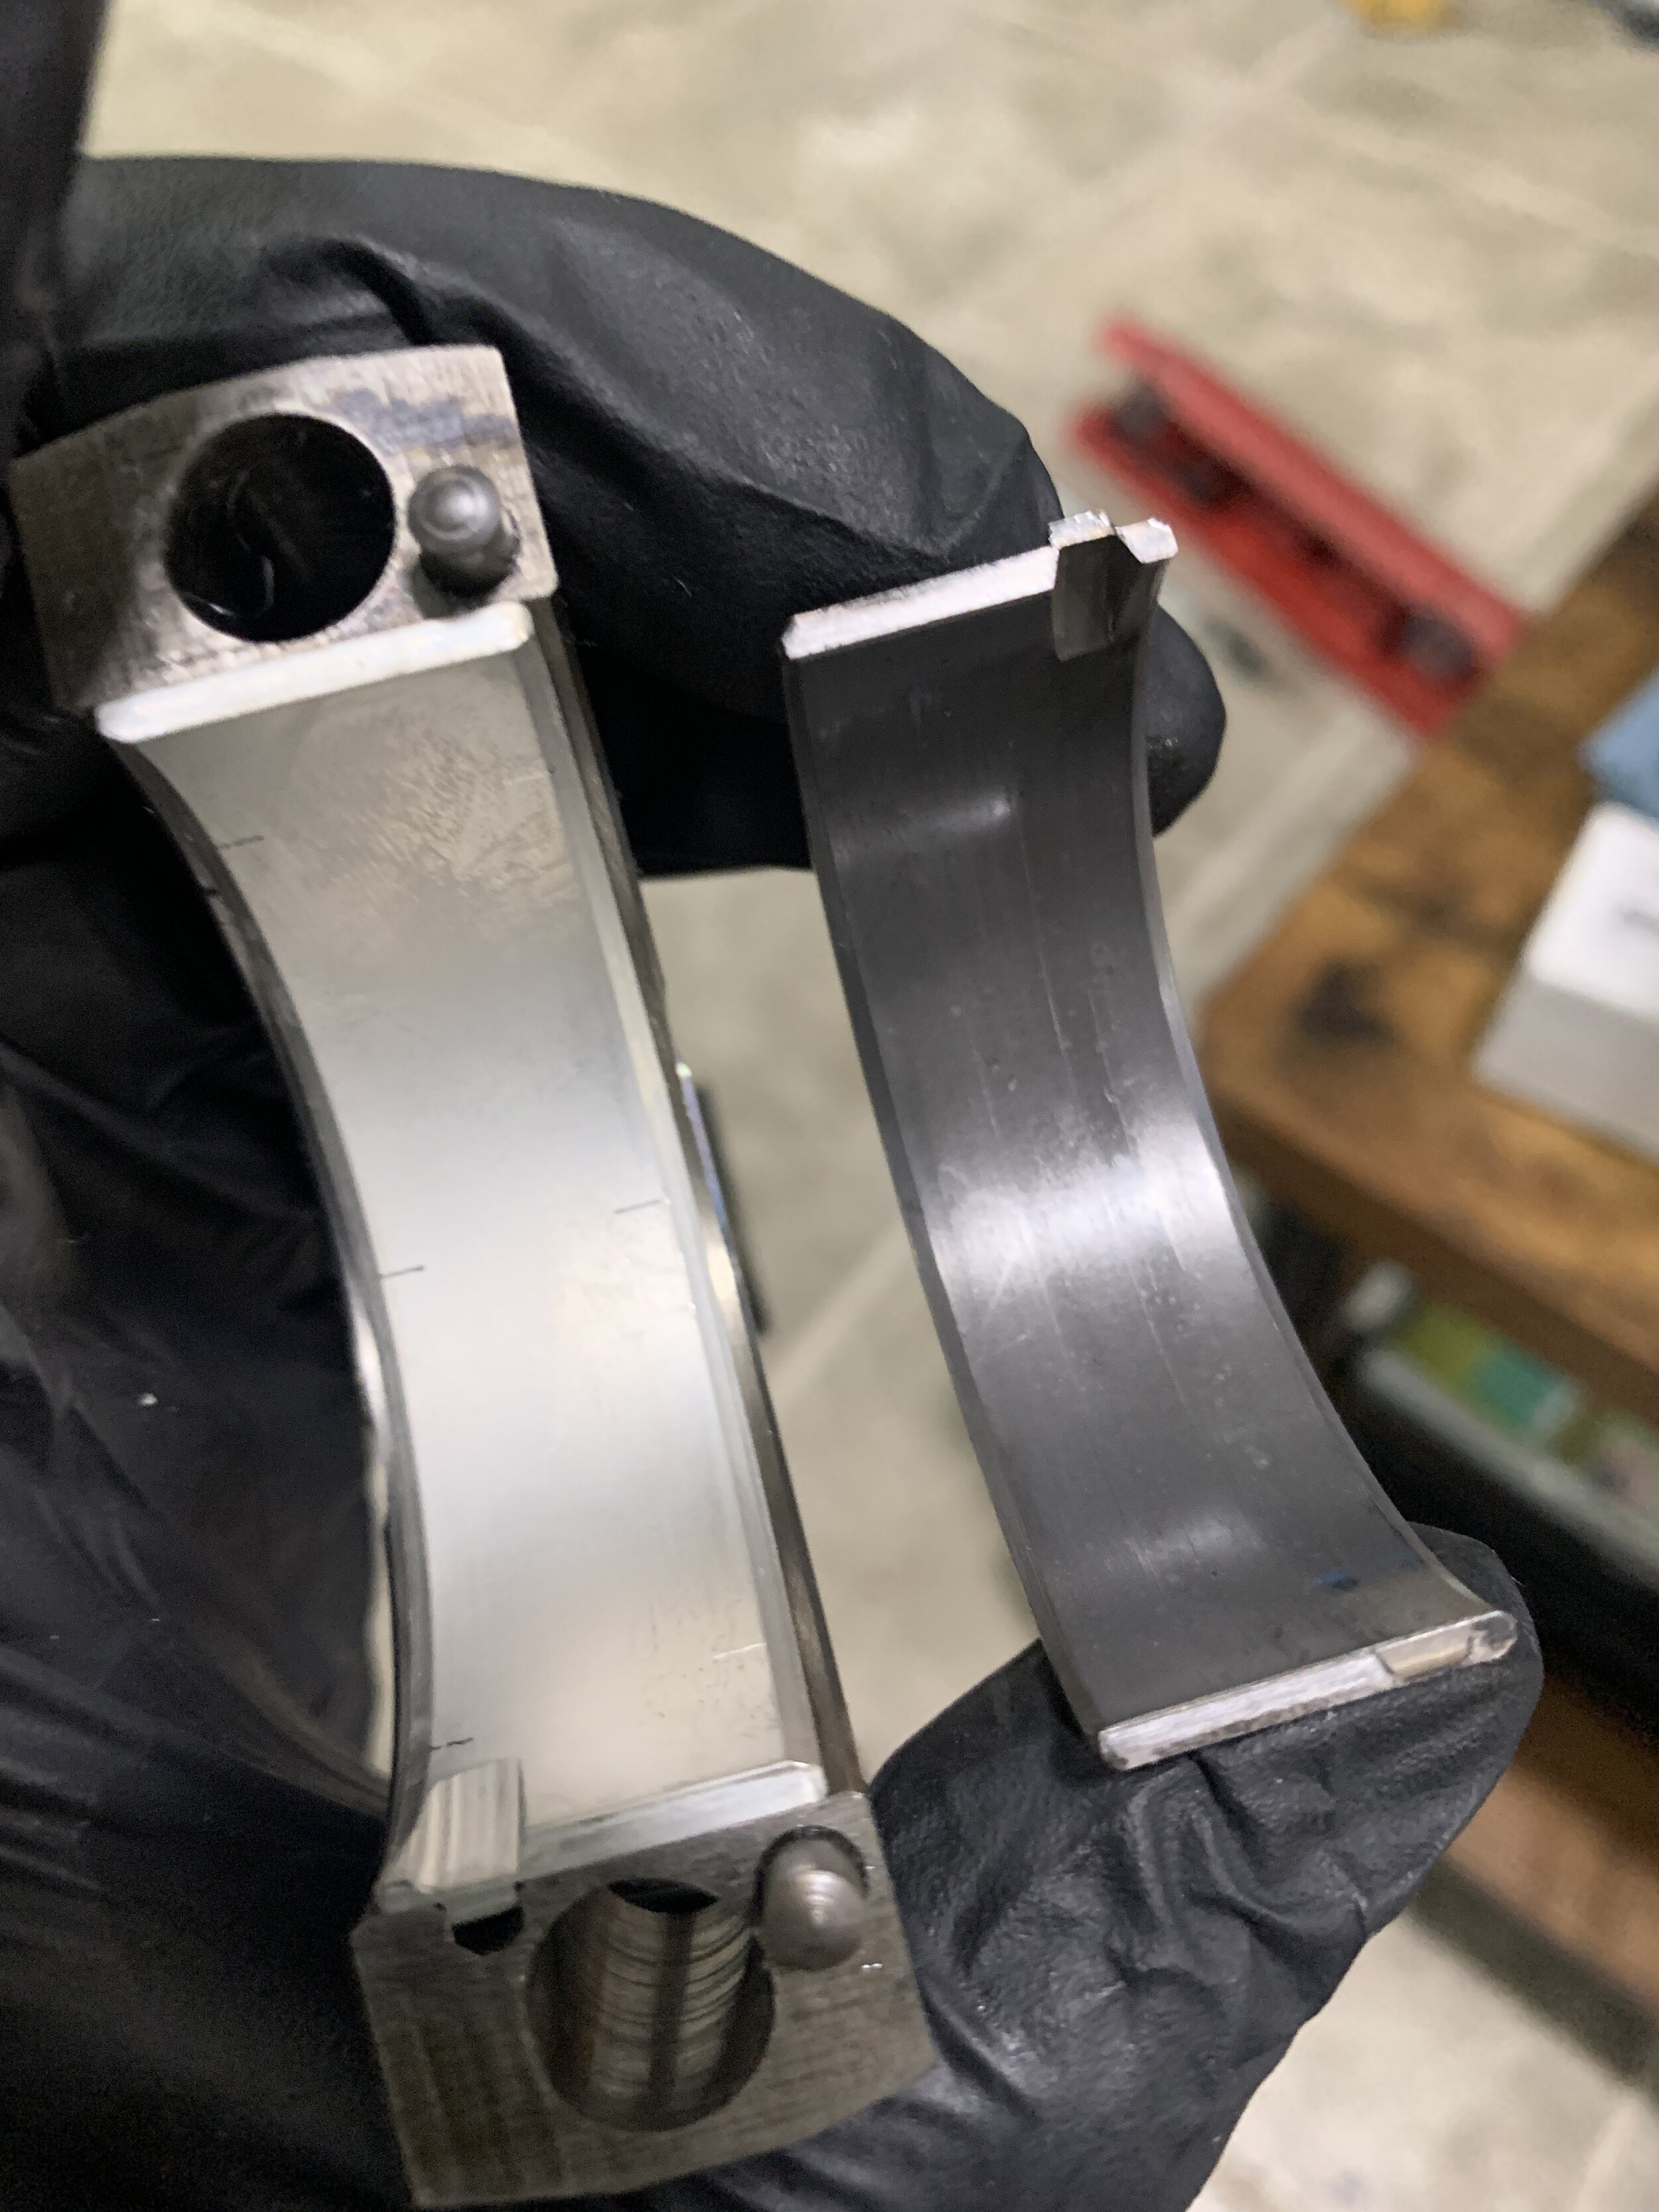
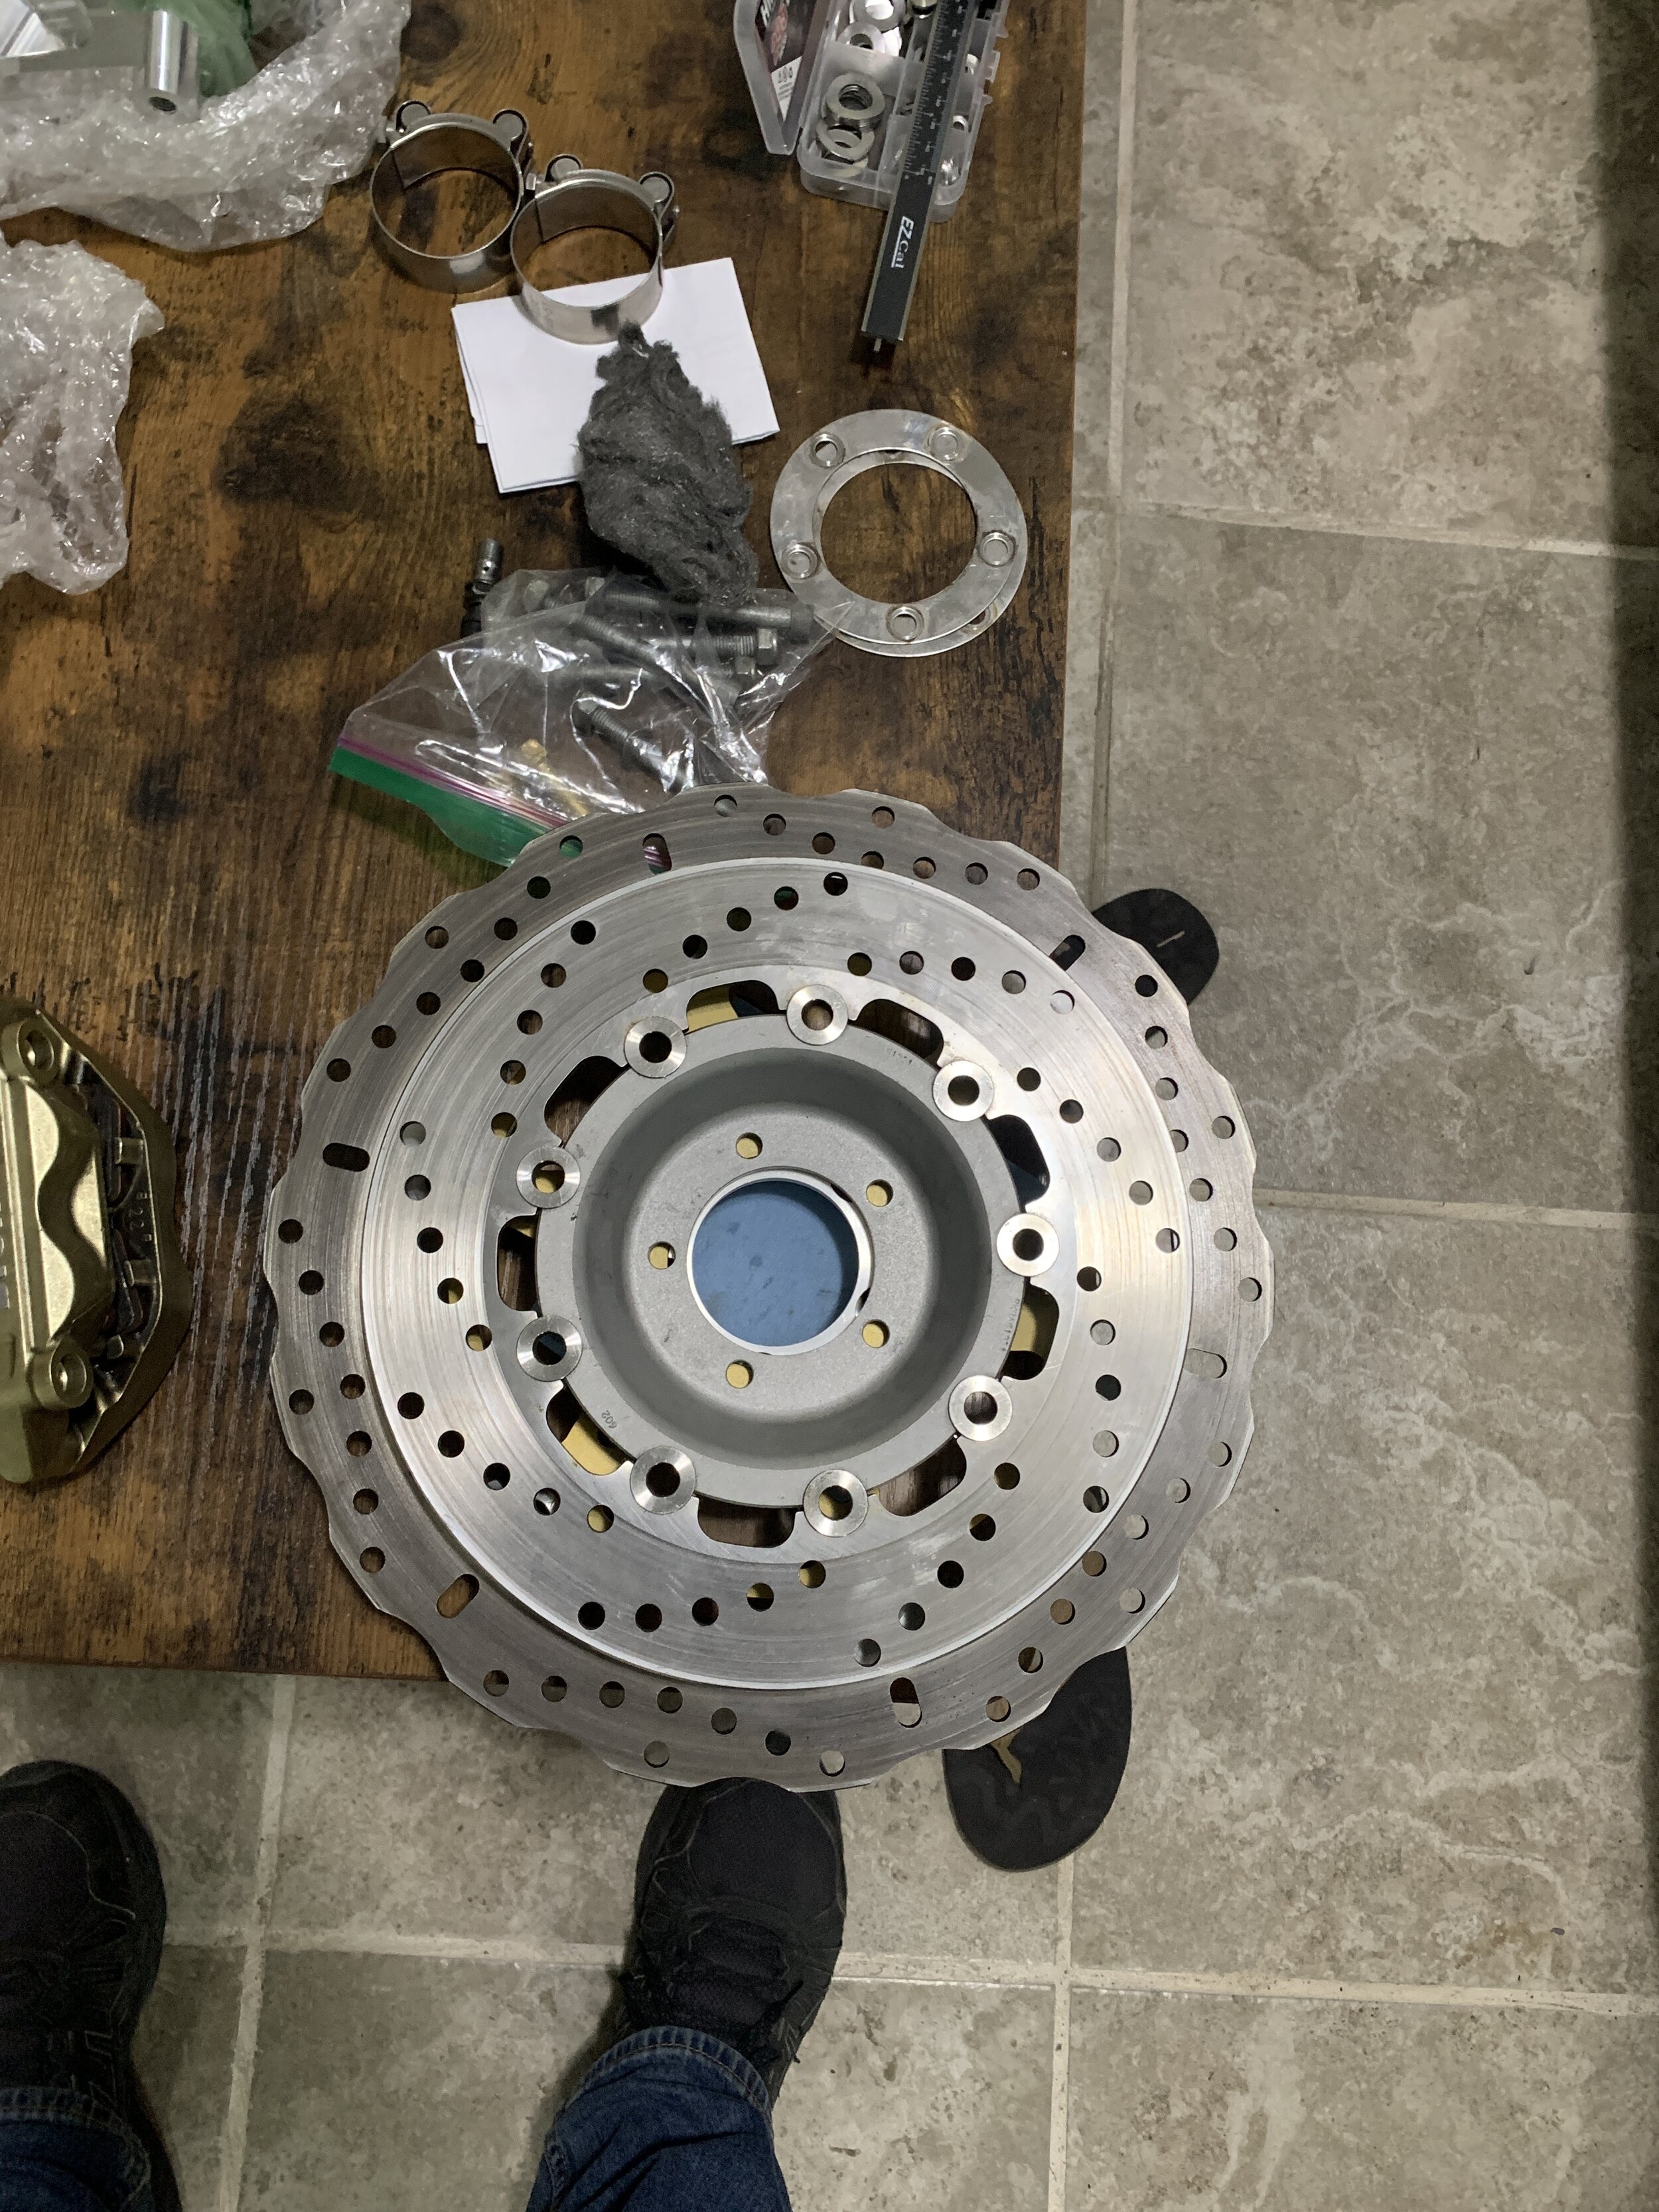
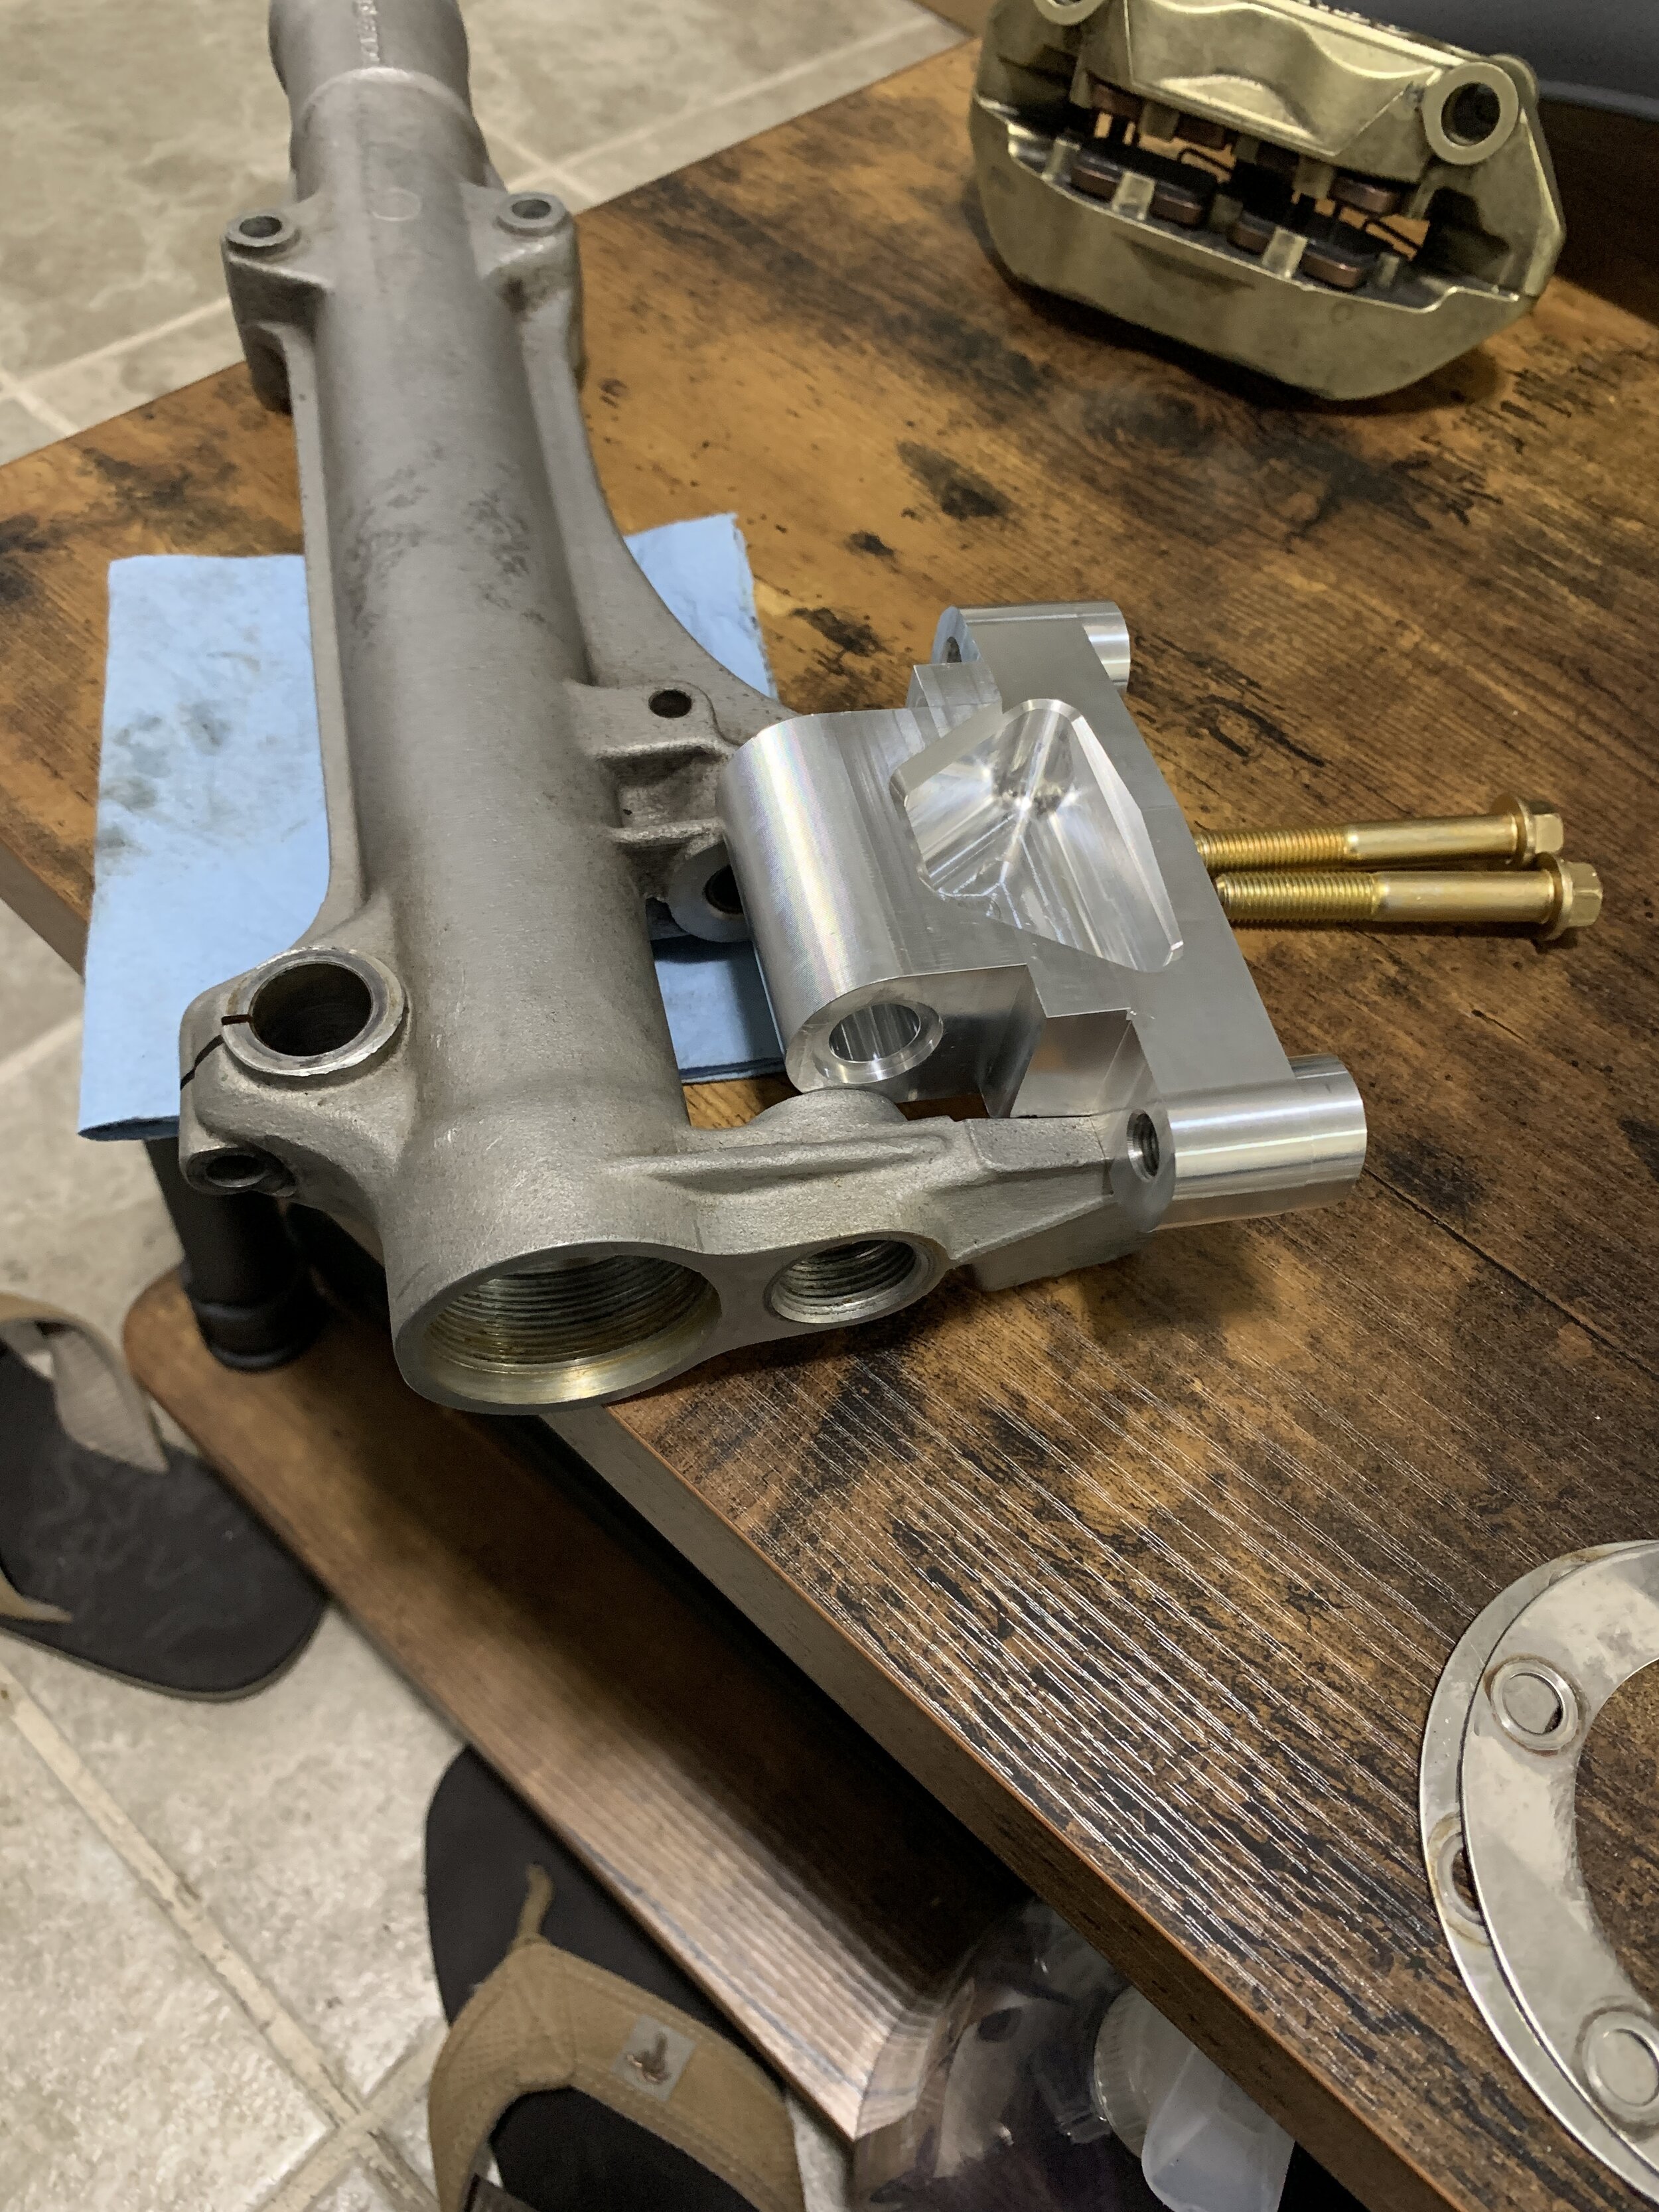
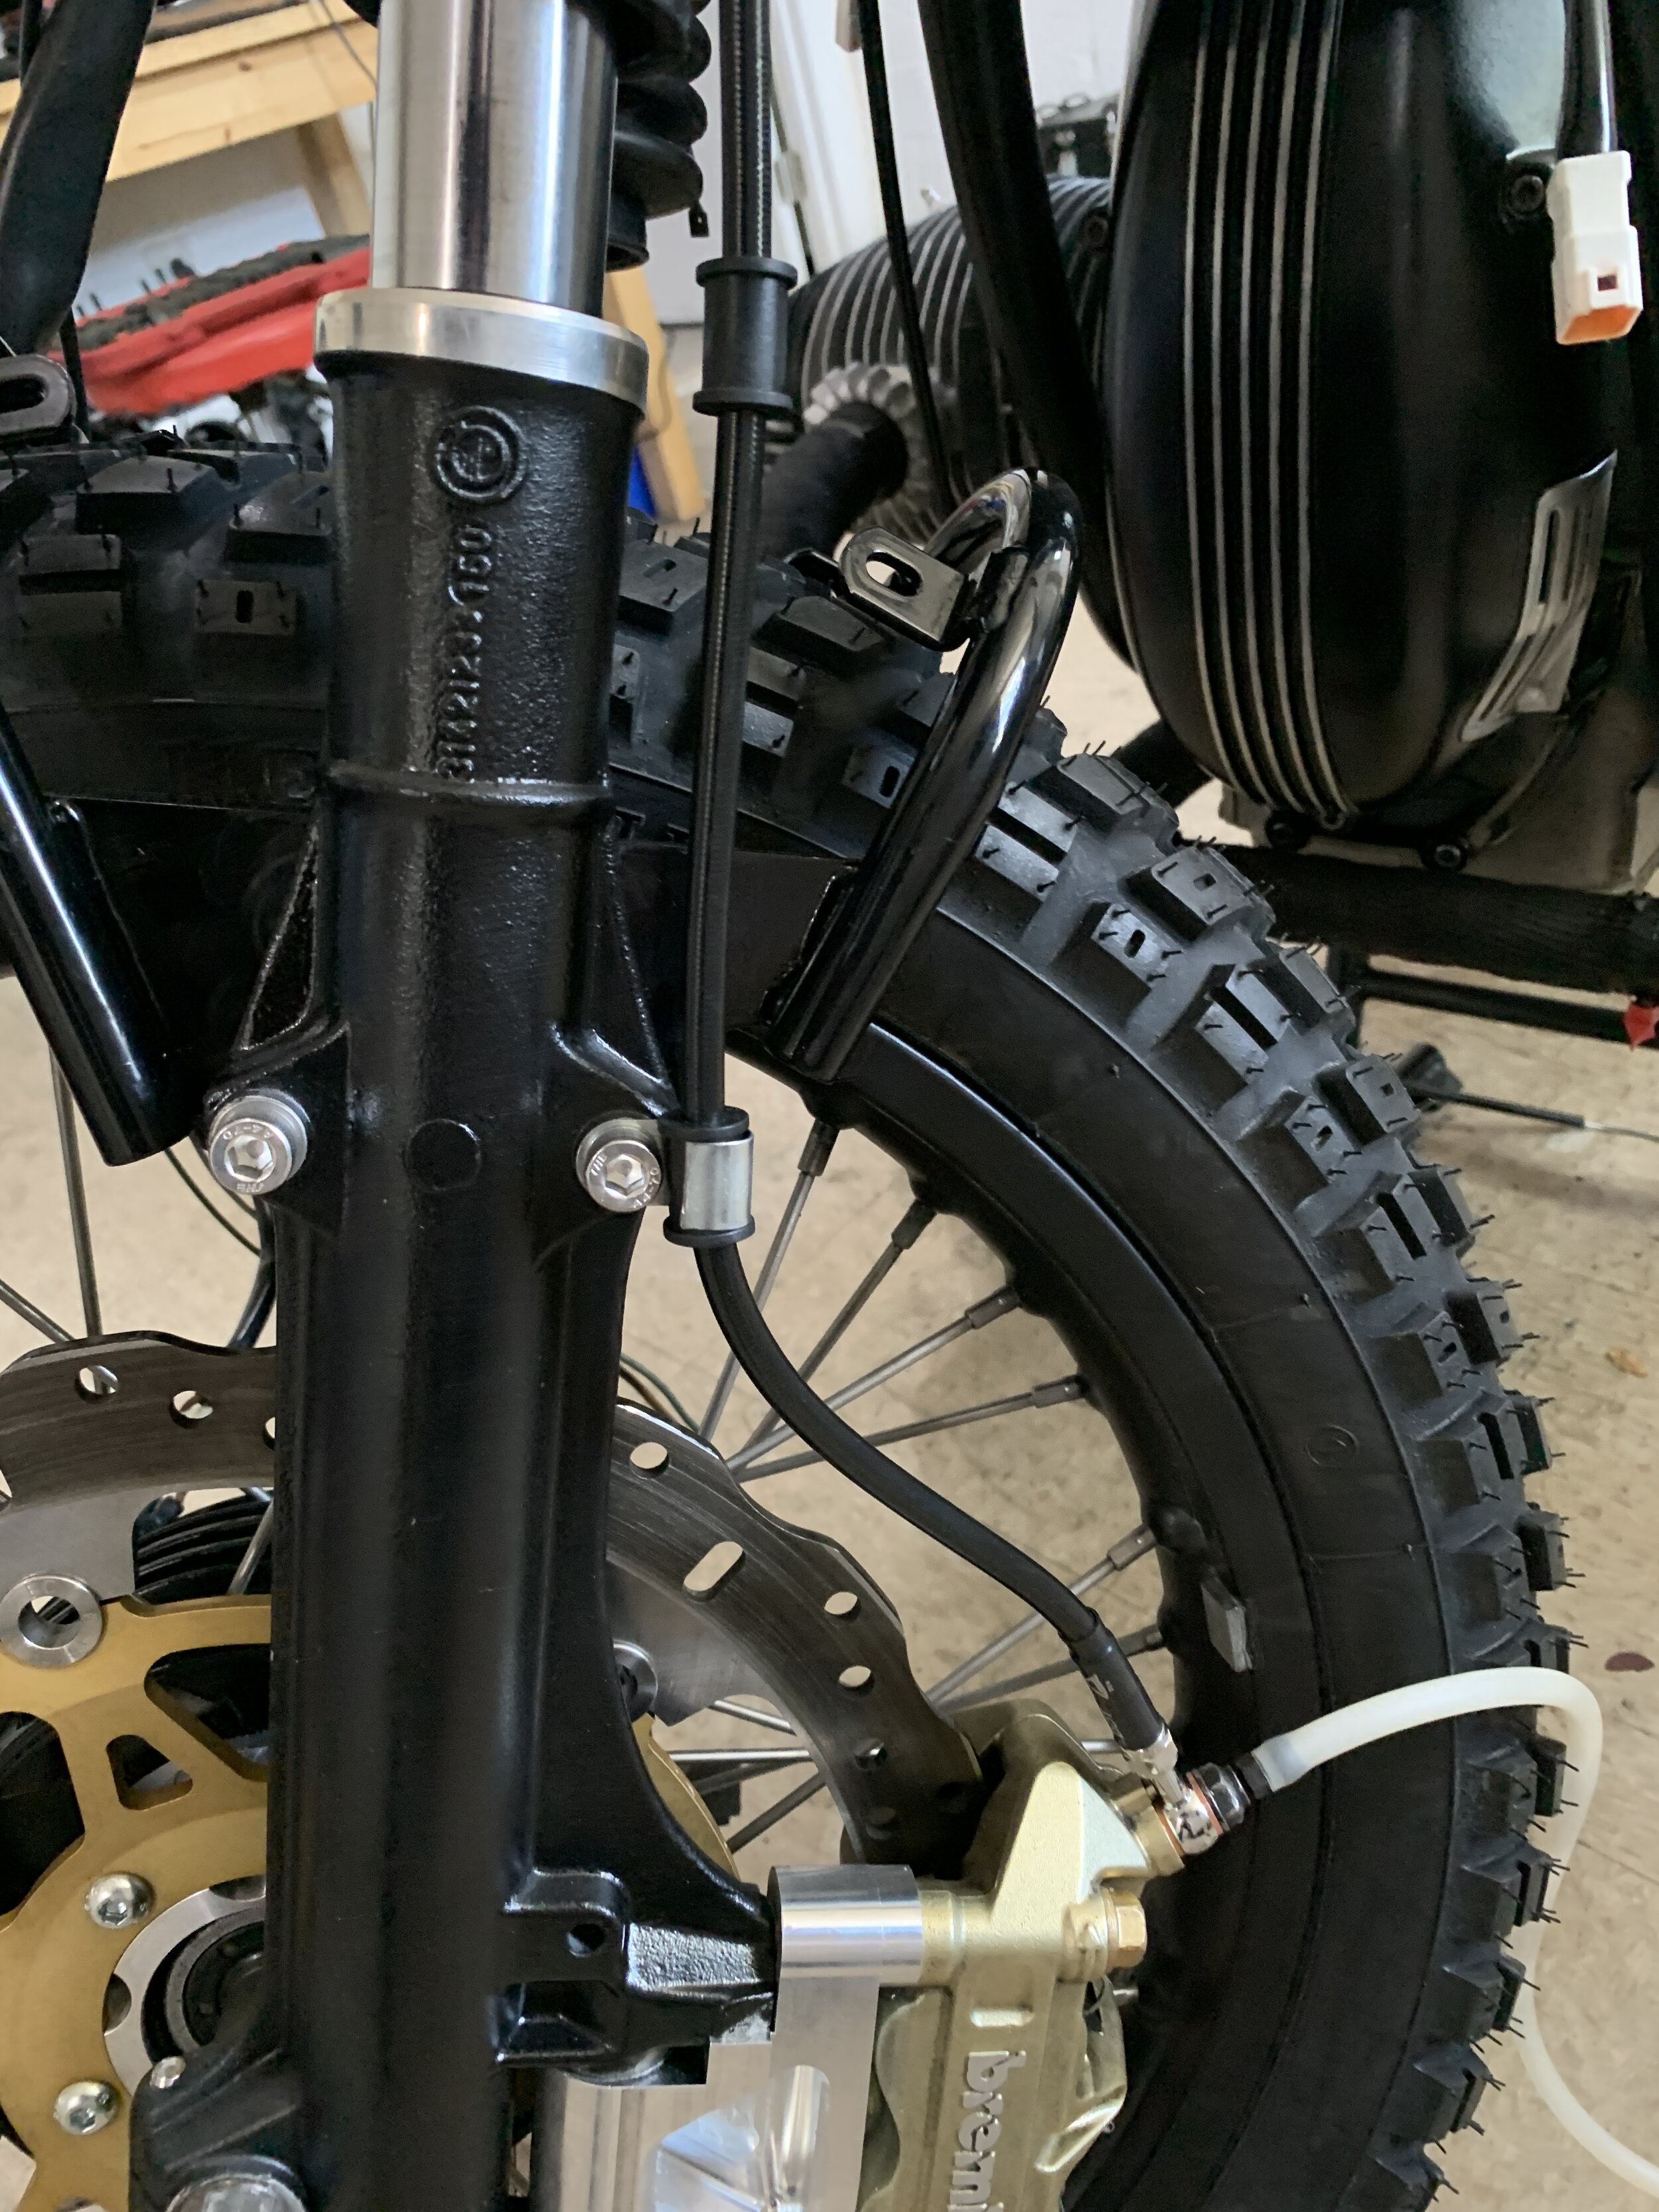
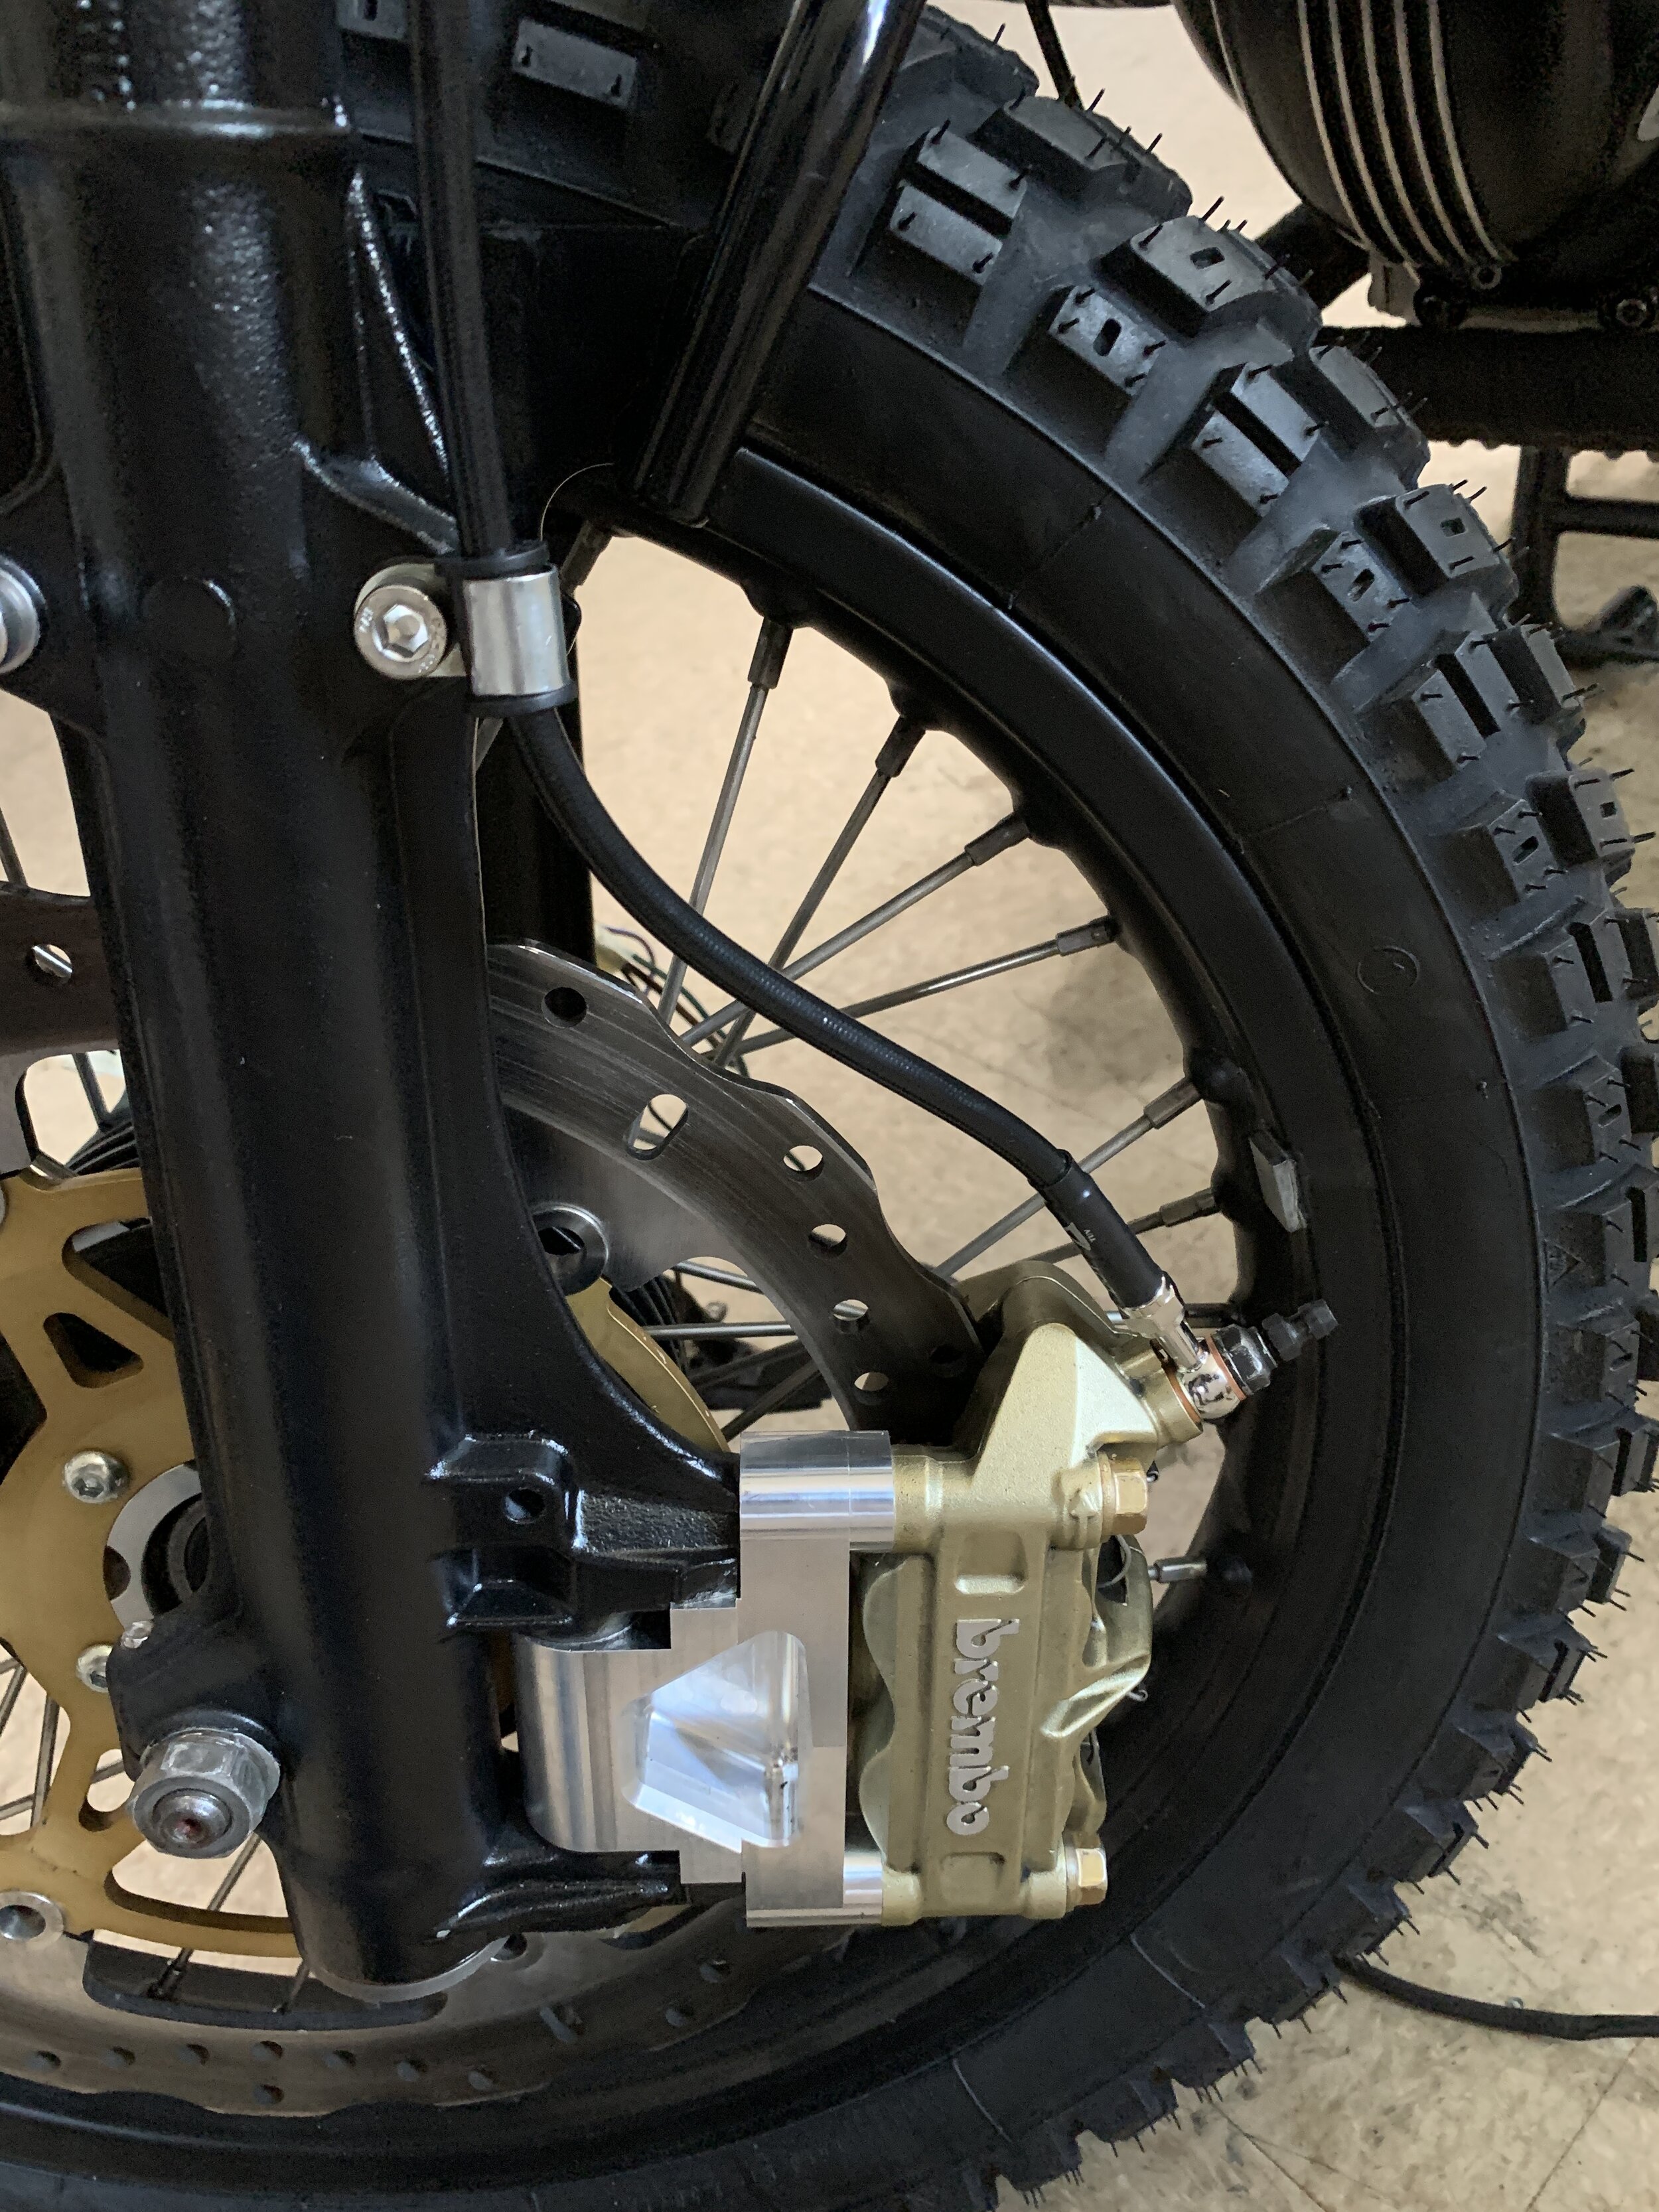
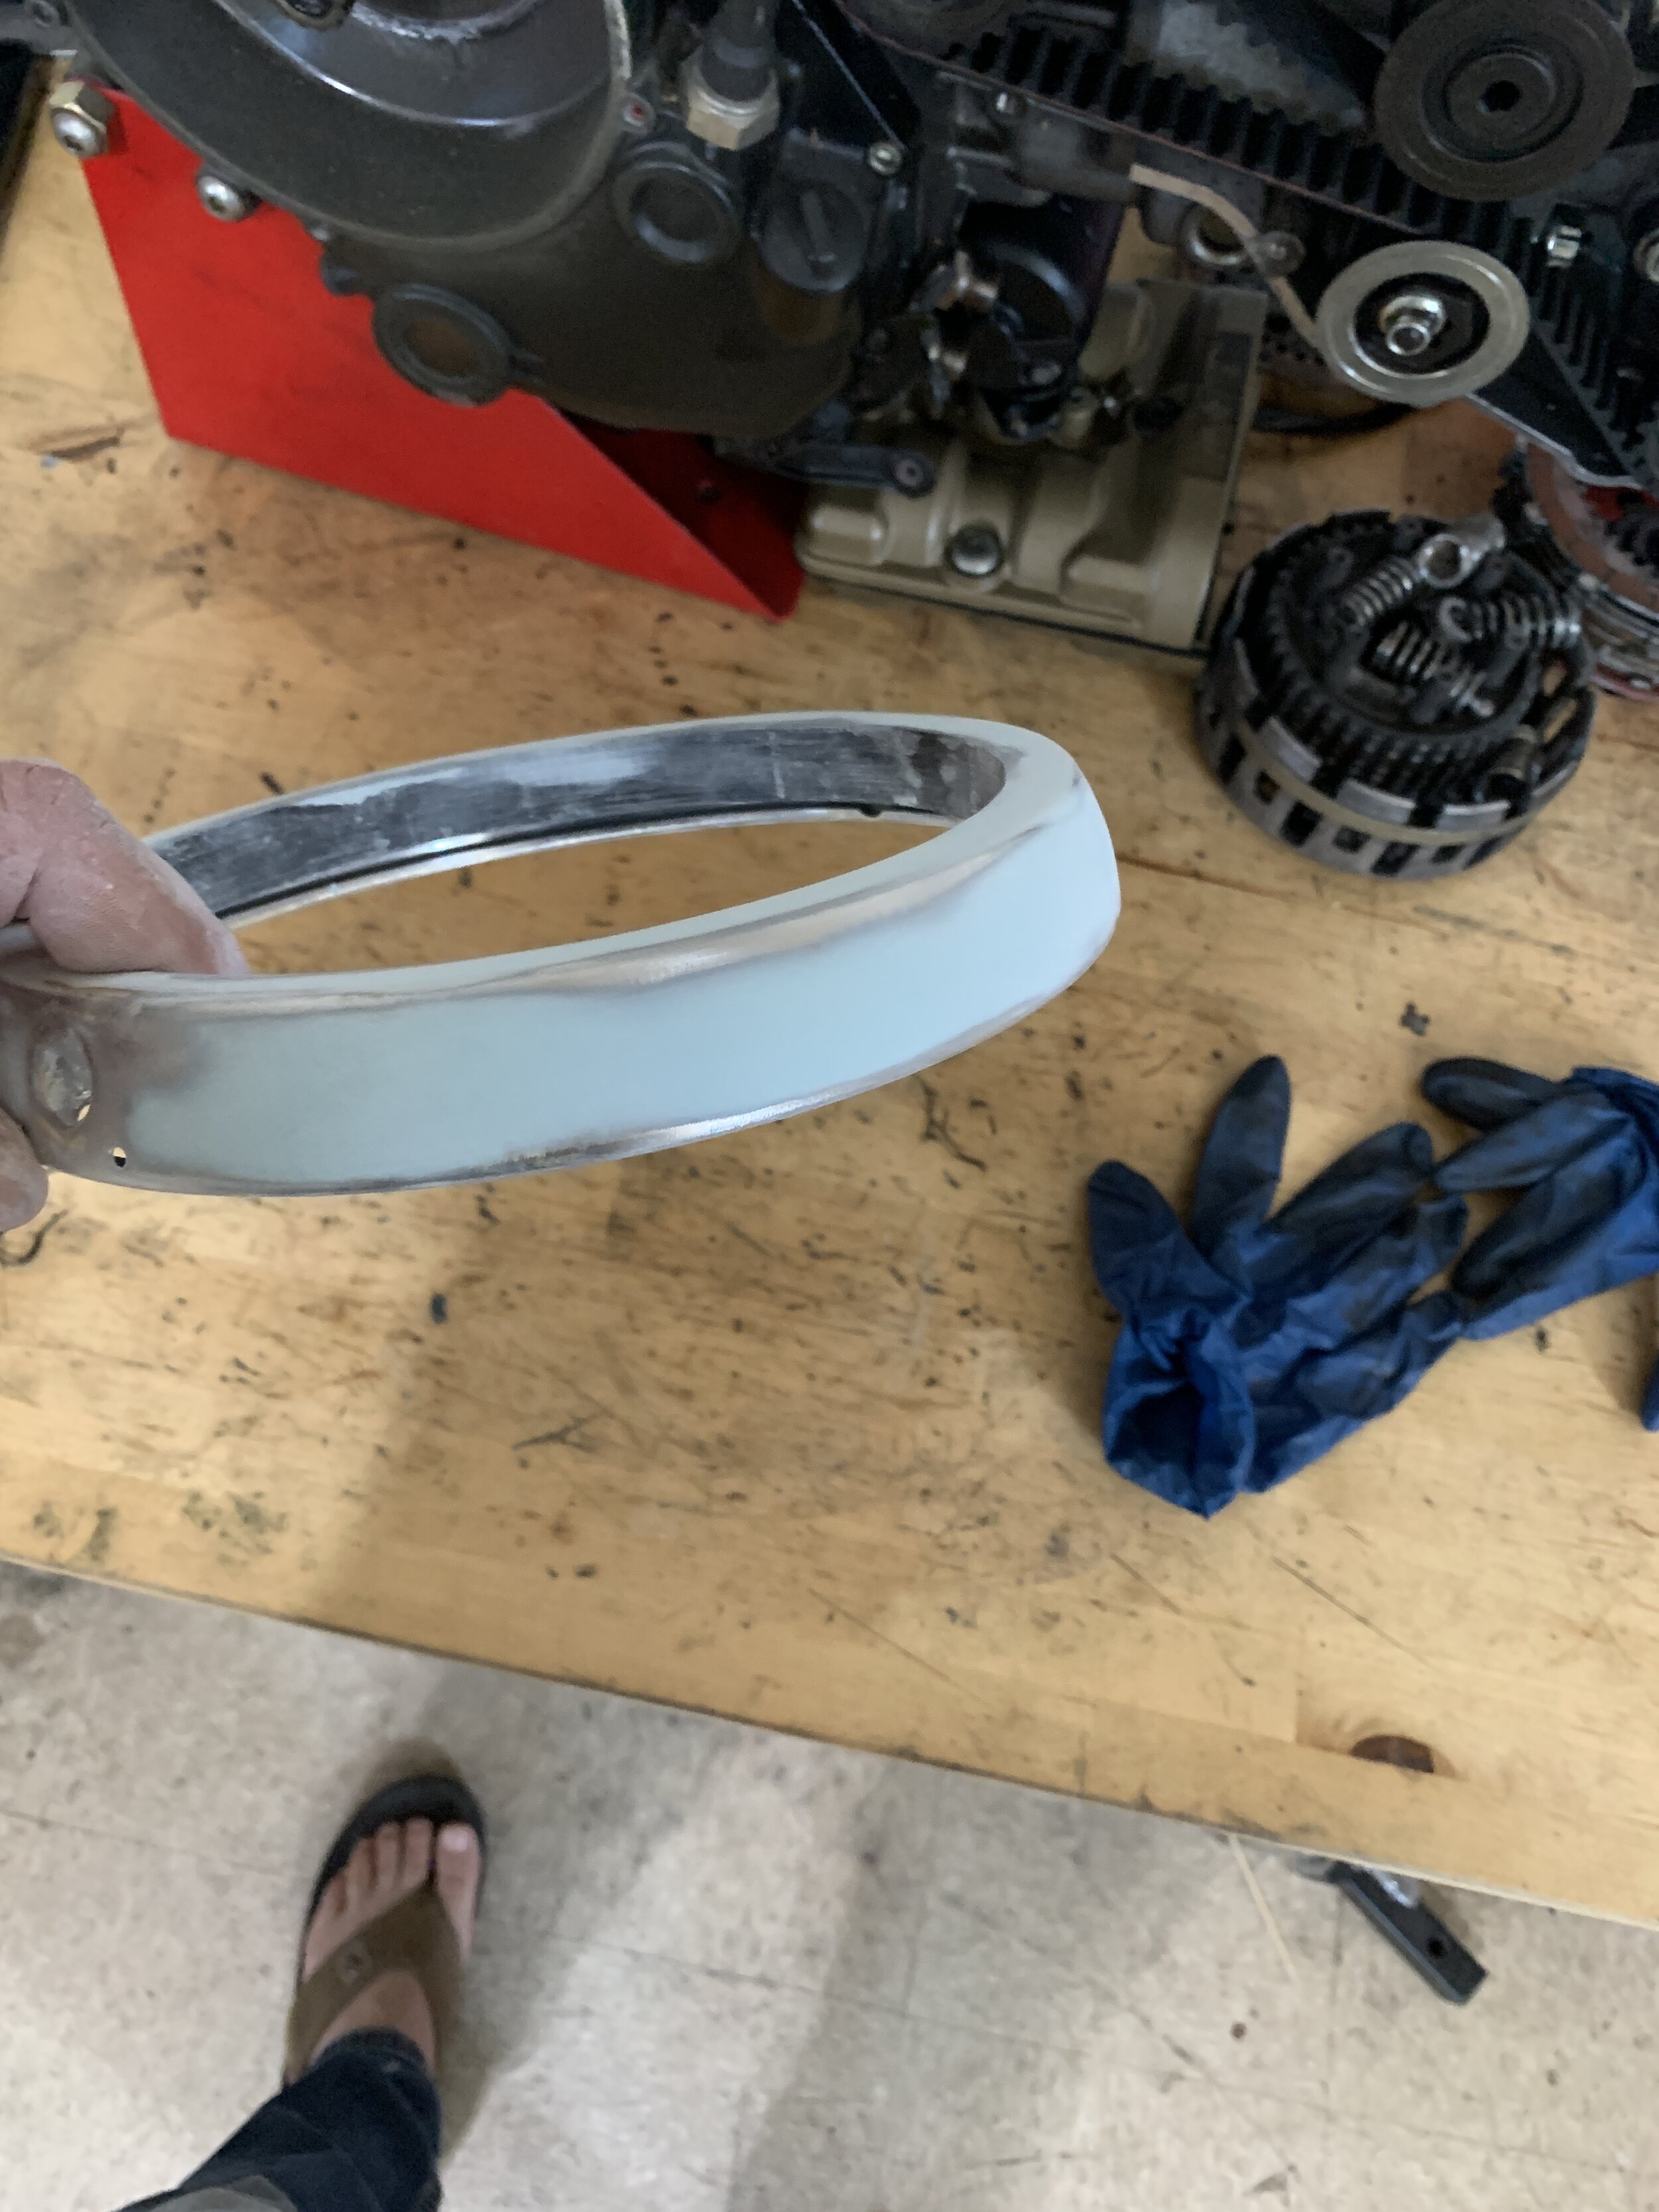
I was looking for brake options on the airhead forum and found this guy Cooper who makes conversions for early model airhead to use Ducati rotors and GSXR radial mounted rotors. It looks amazing to say the least with massive brakes of modern tech on old school chassis. I spoke to him online and told him that I’m trying to keep my cost down and finding GSXR caliper for only one side is not only difficult, its impossible to find the side I need. I wanted to keep the single rotor styling for my scrambler build. We started the conversation and I ask him why we couldn’t use euro bike Brembo calipers. I told him the European bike Brembo are very cheap online. He was shocked that they were cheaper than the GSXR calipers. After a week or so he did some research and found that the S1000rr calipers are even better than the GSXR calipers and require 0 modification. 3 month later he sent me his first prototype with the S1000rr caliper and the Ducati 1098 rotor. It is a piece of art, I was super excited. I overlay the rotor from the original on top of the new rotor you can see the size difference in the second picture.
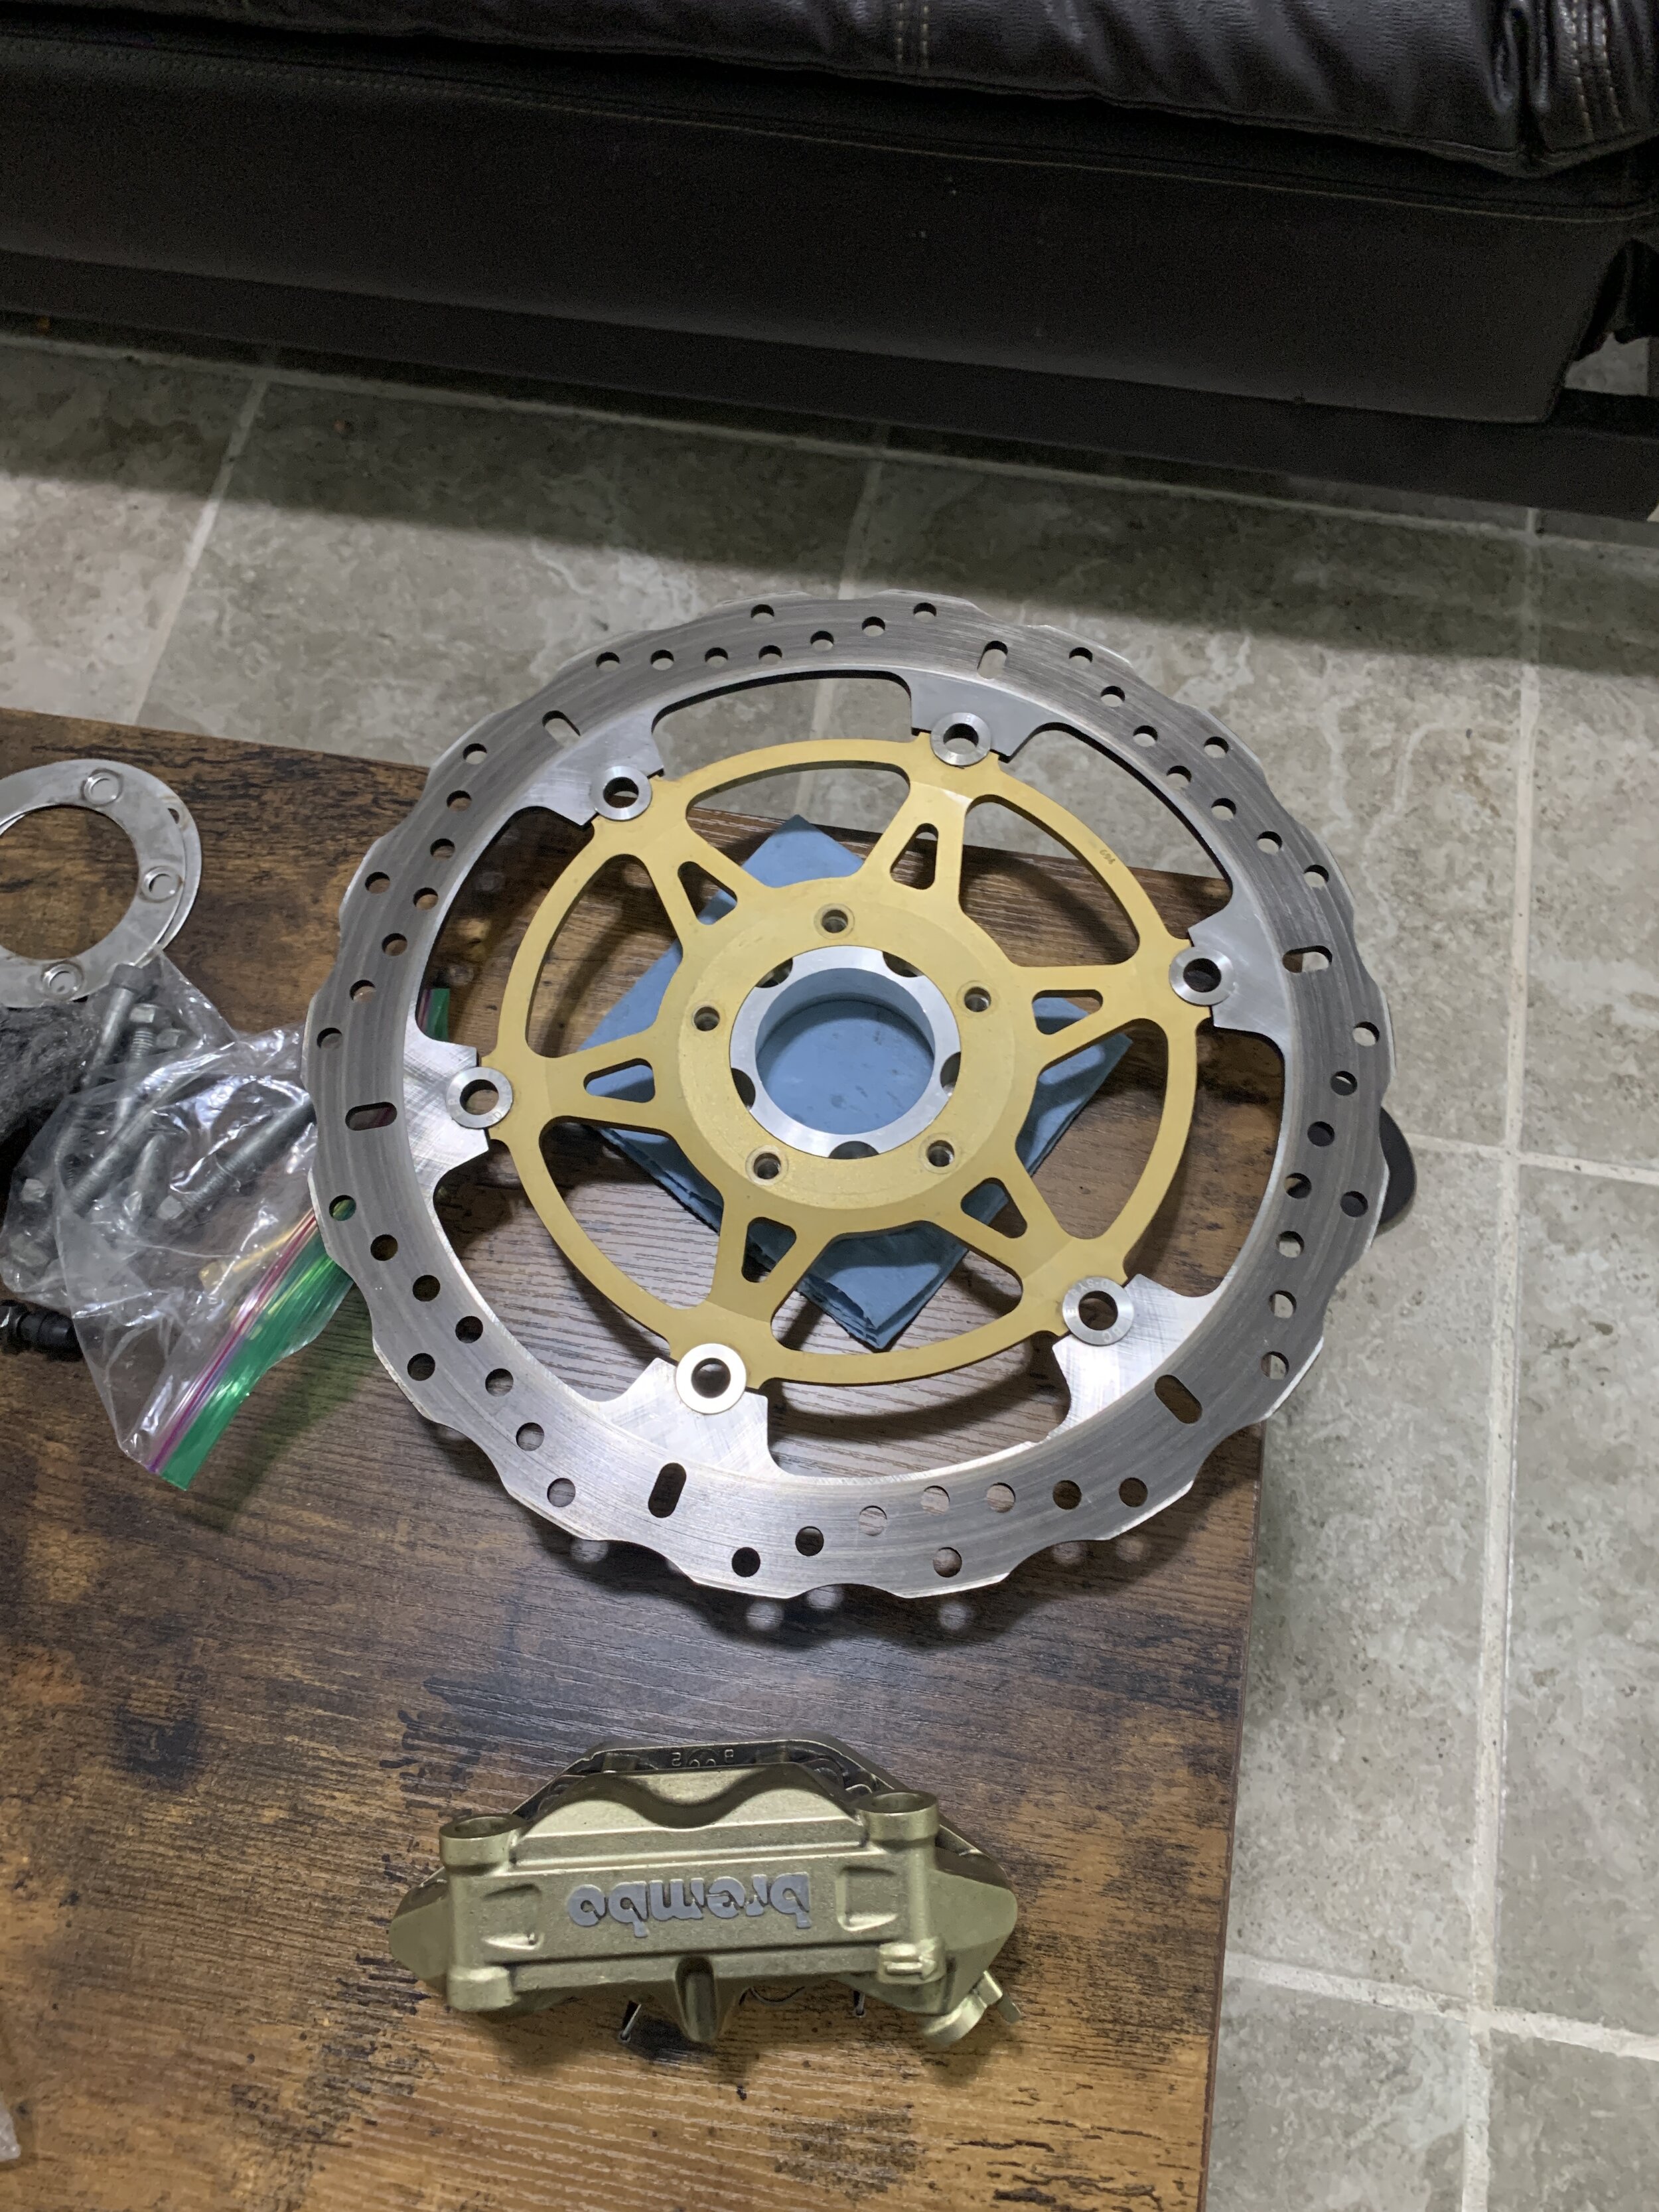
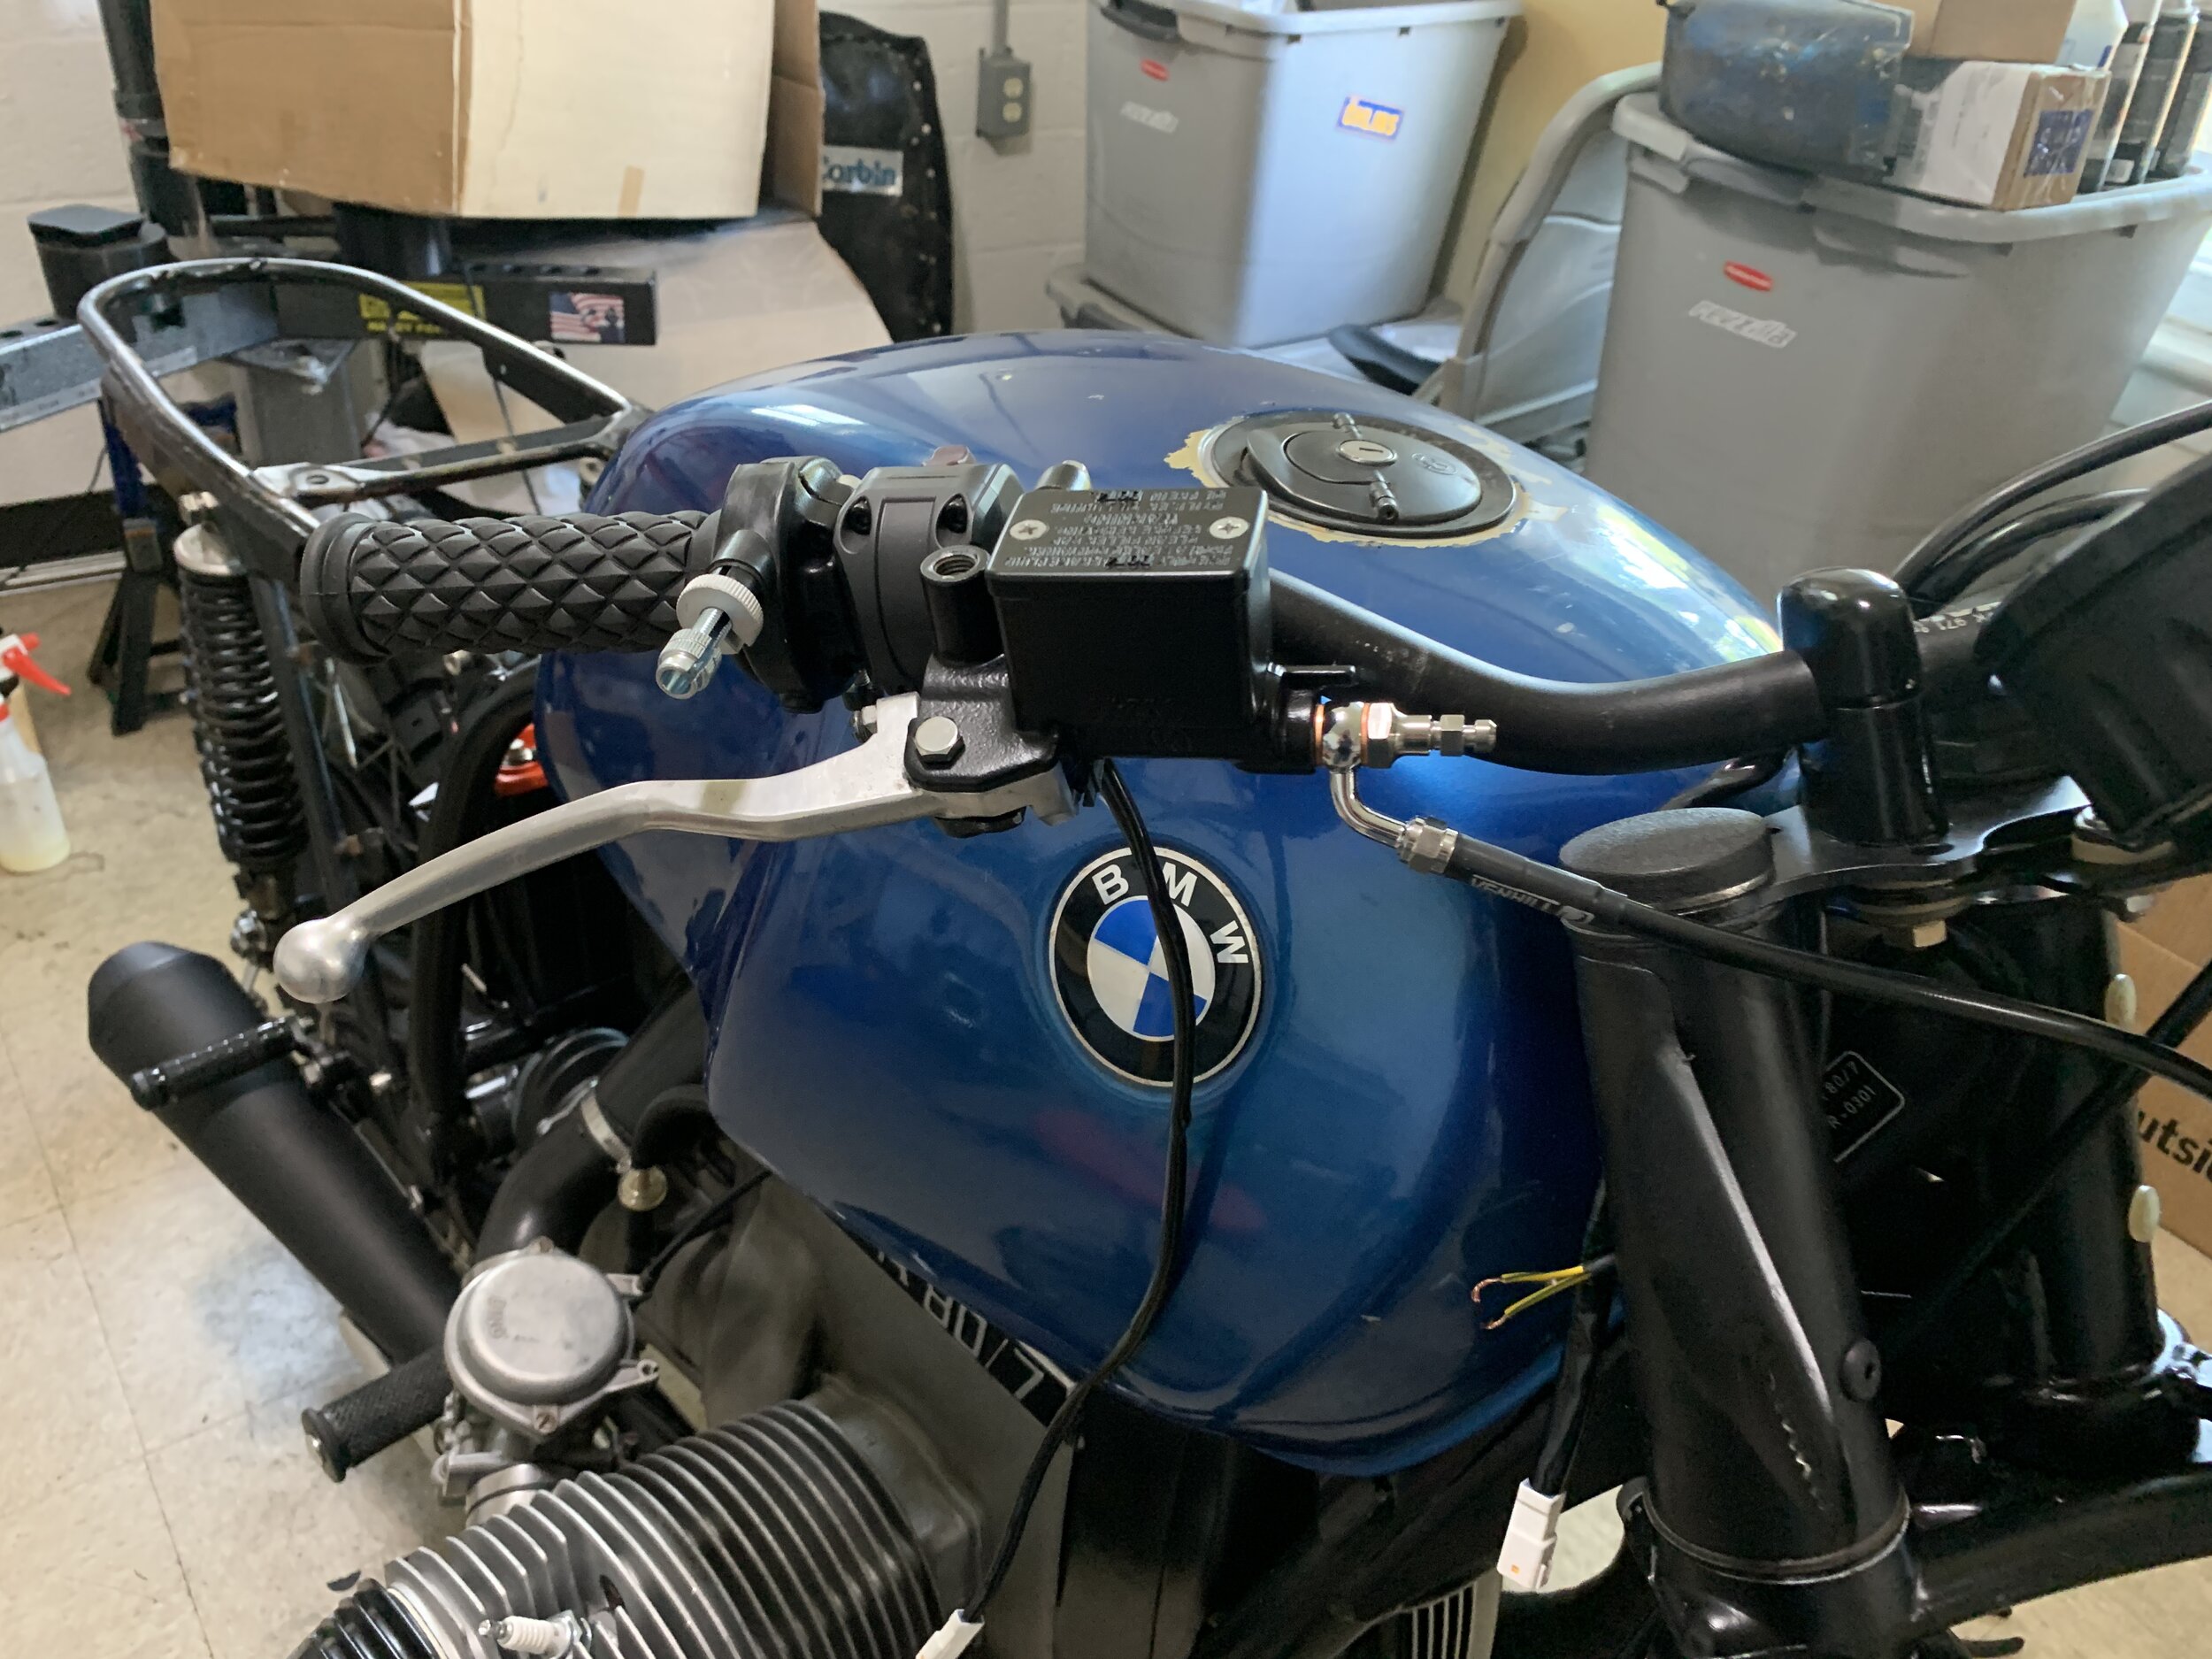
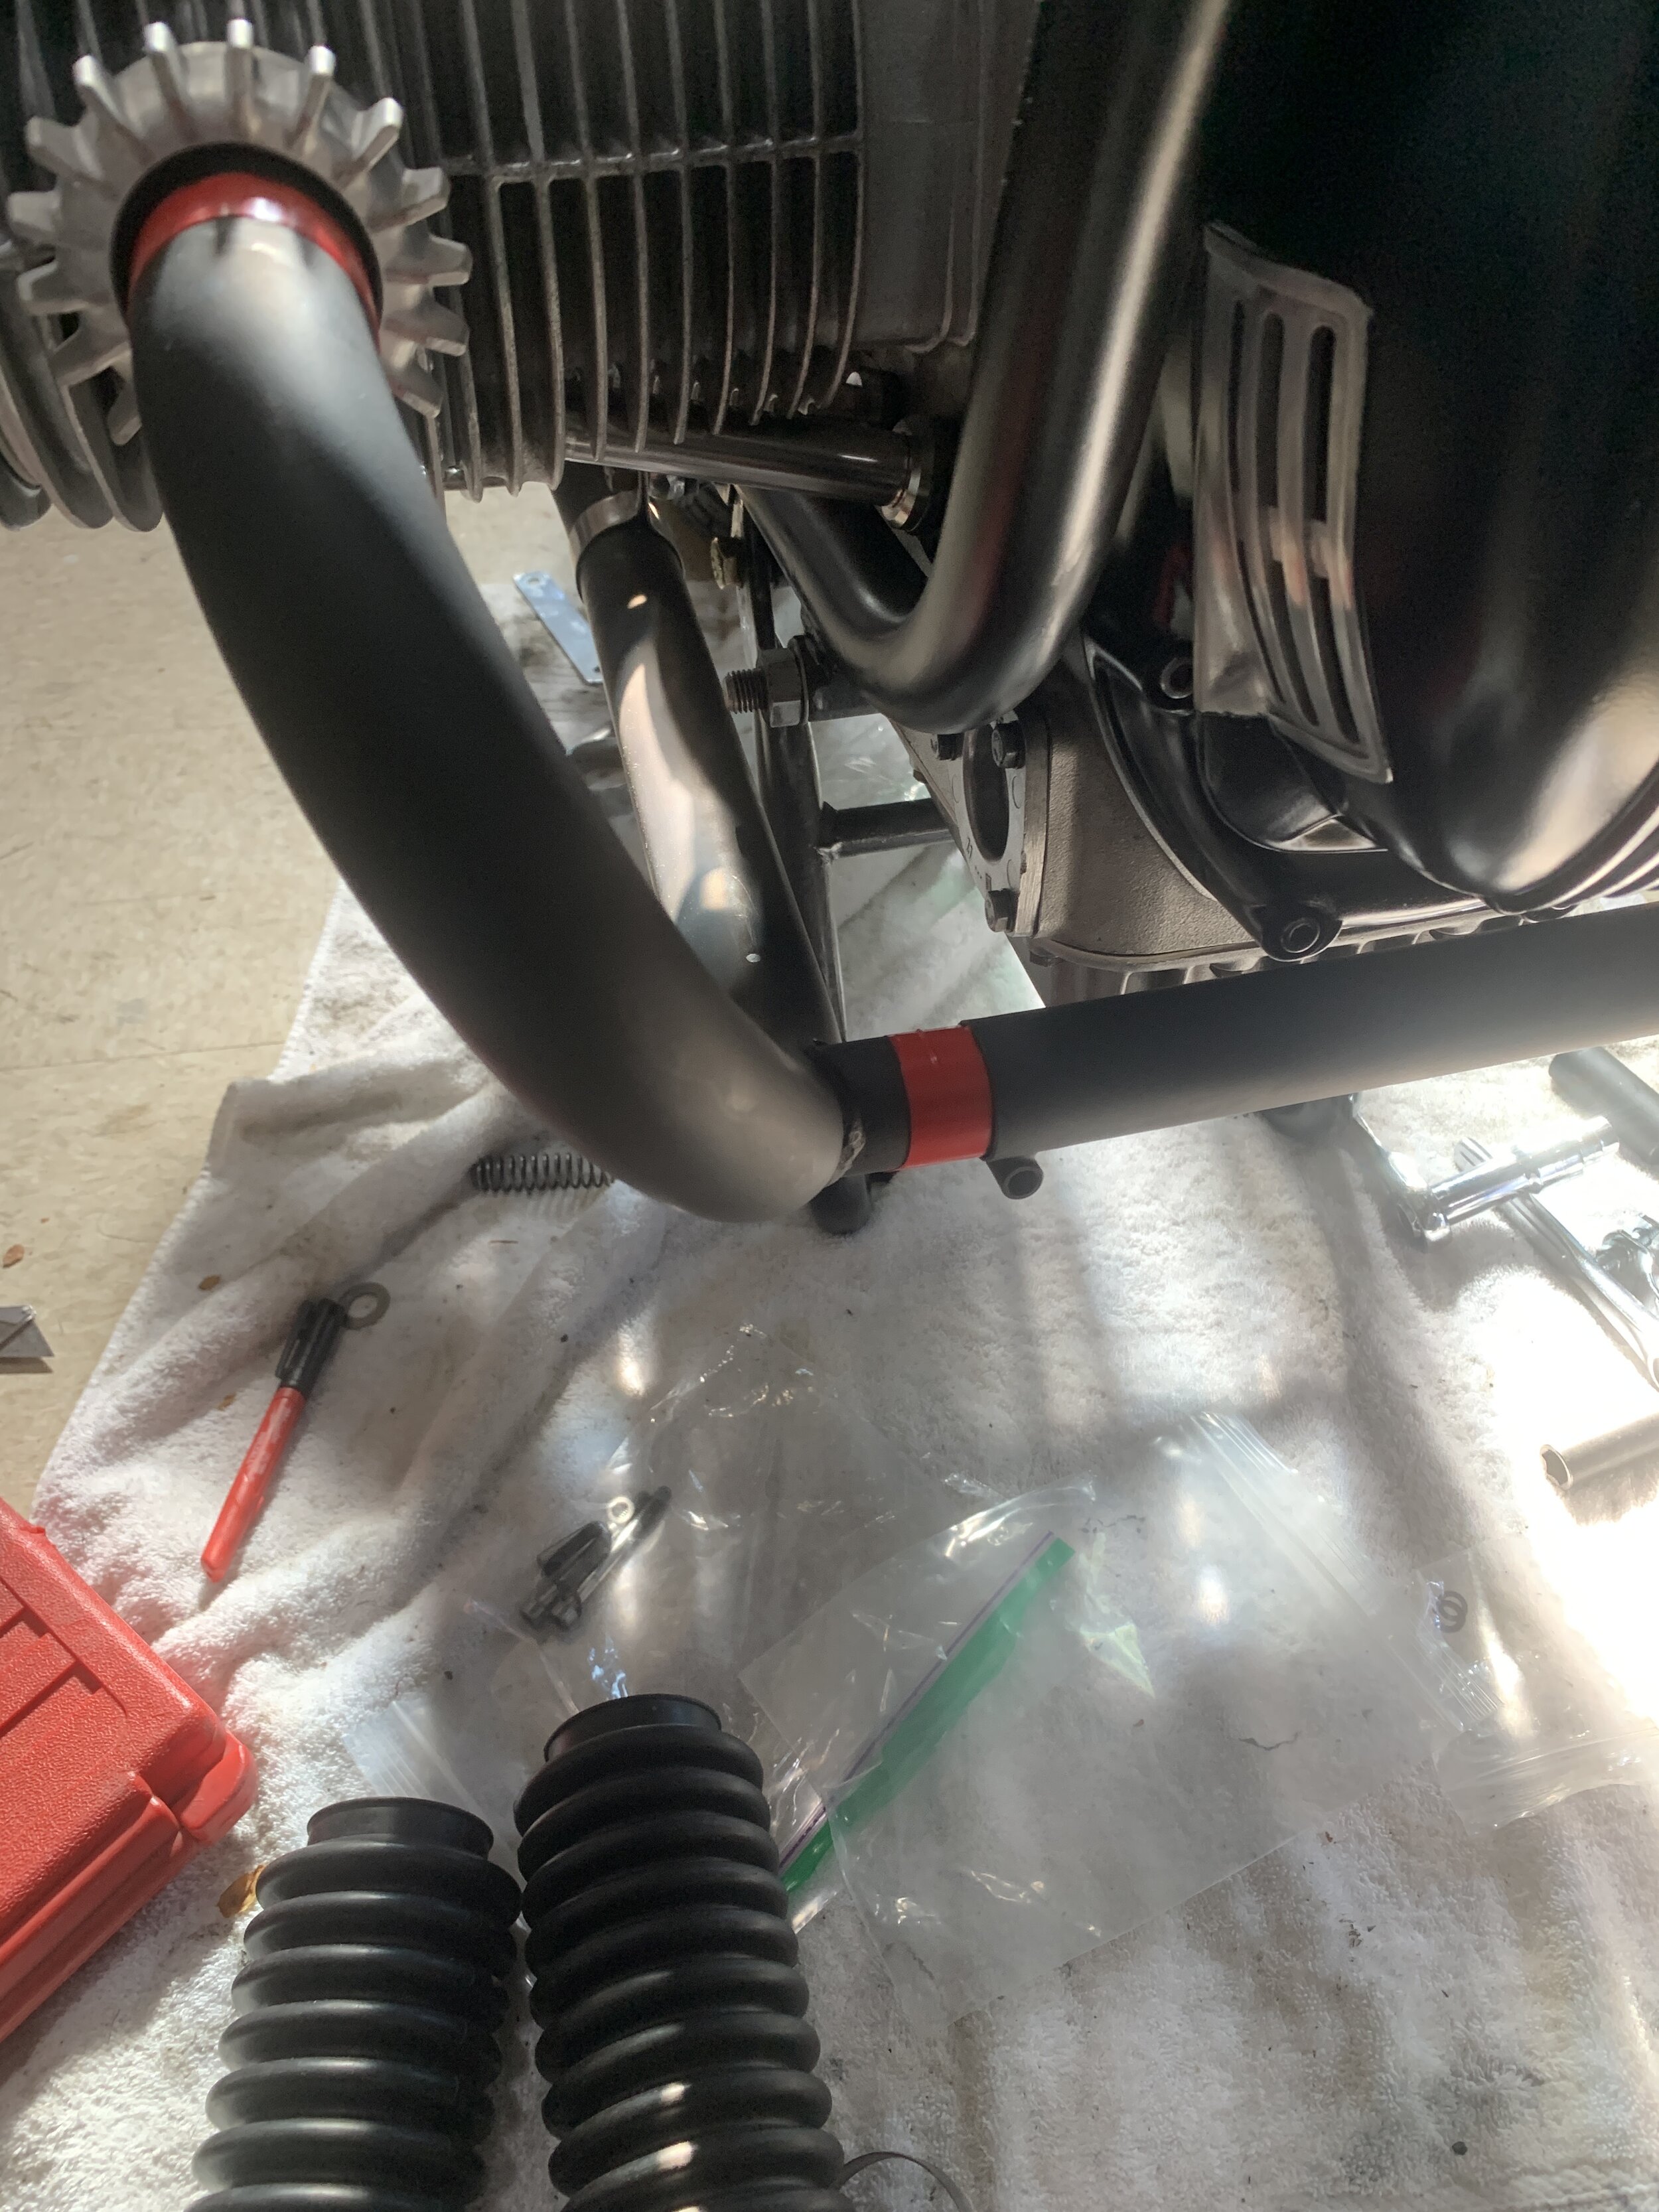
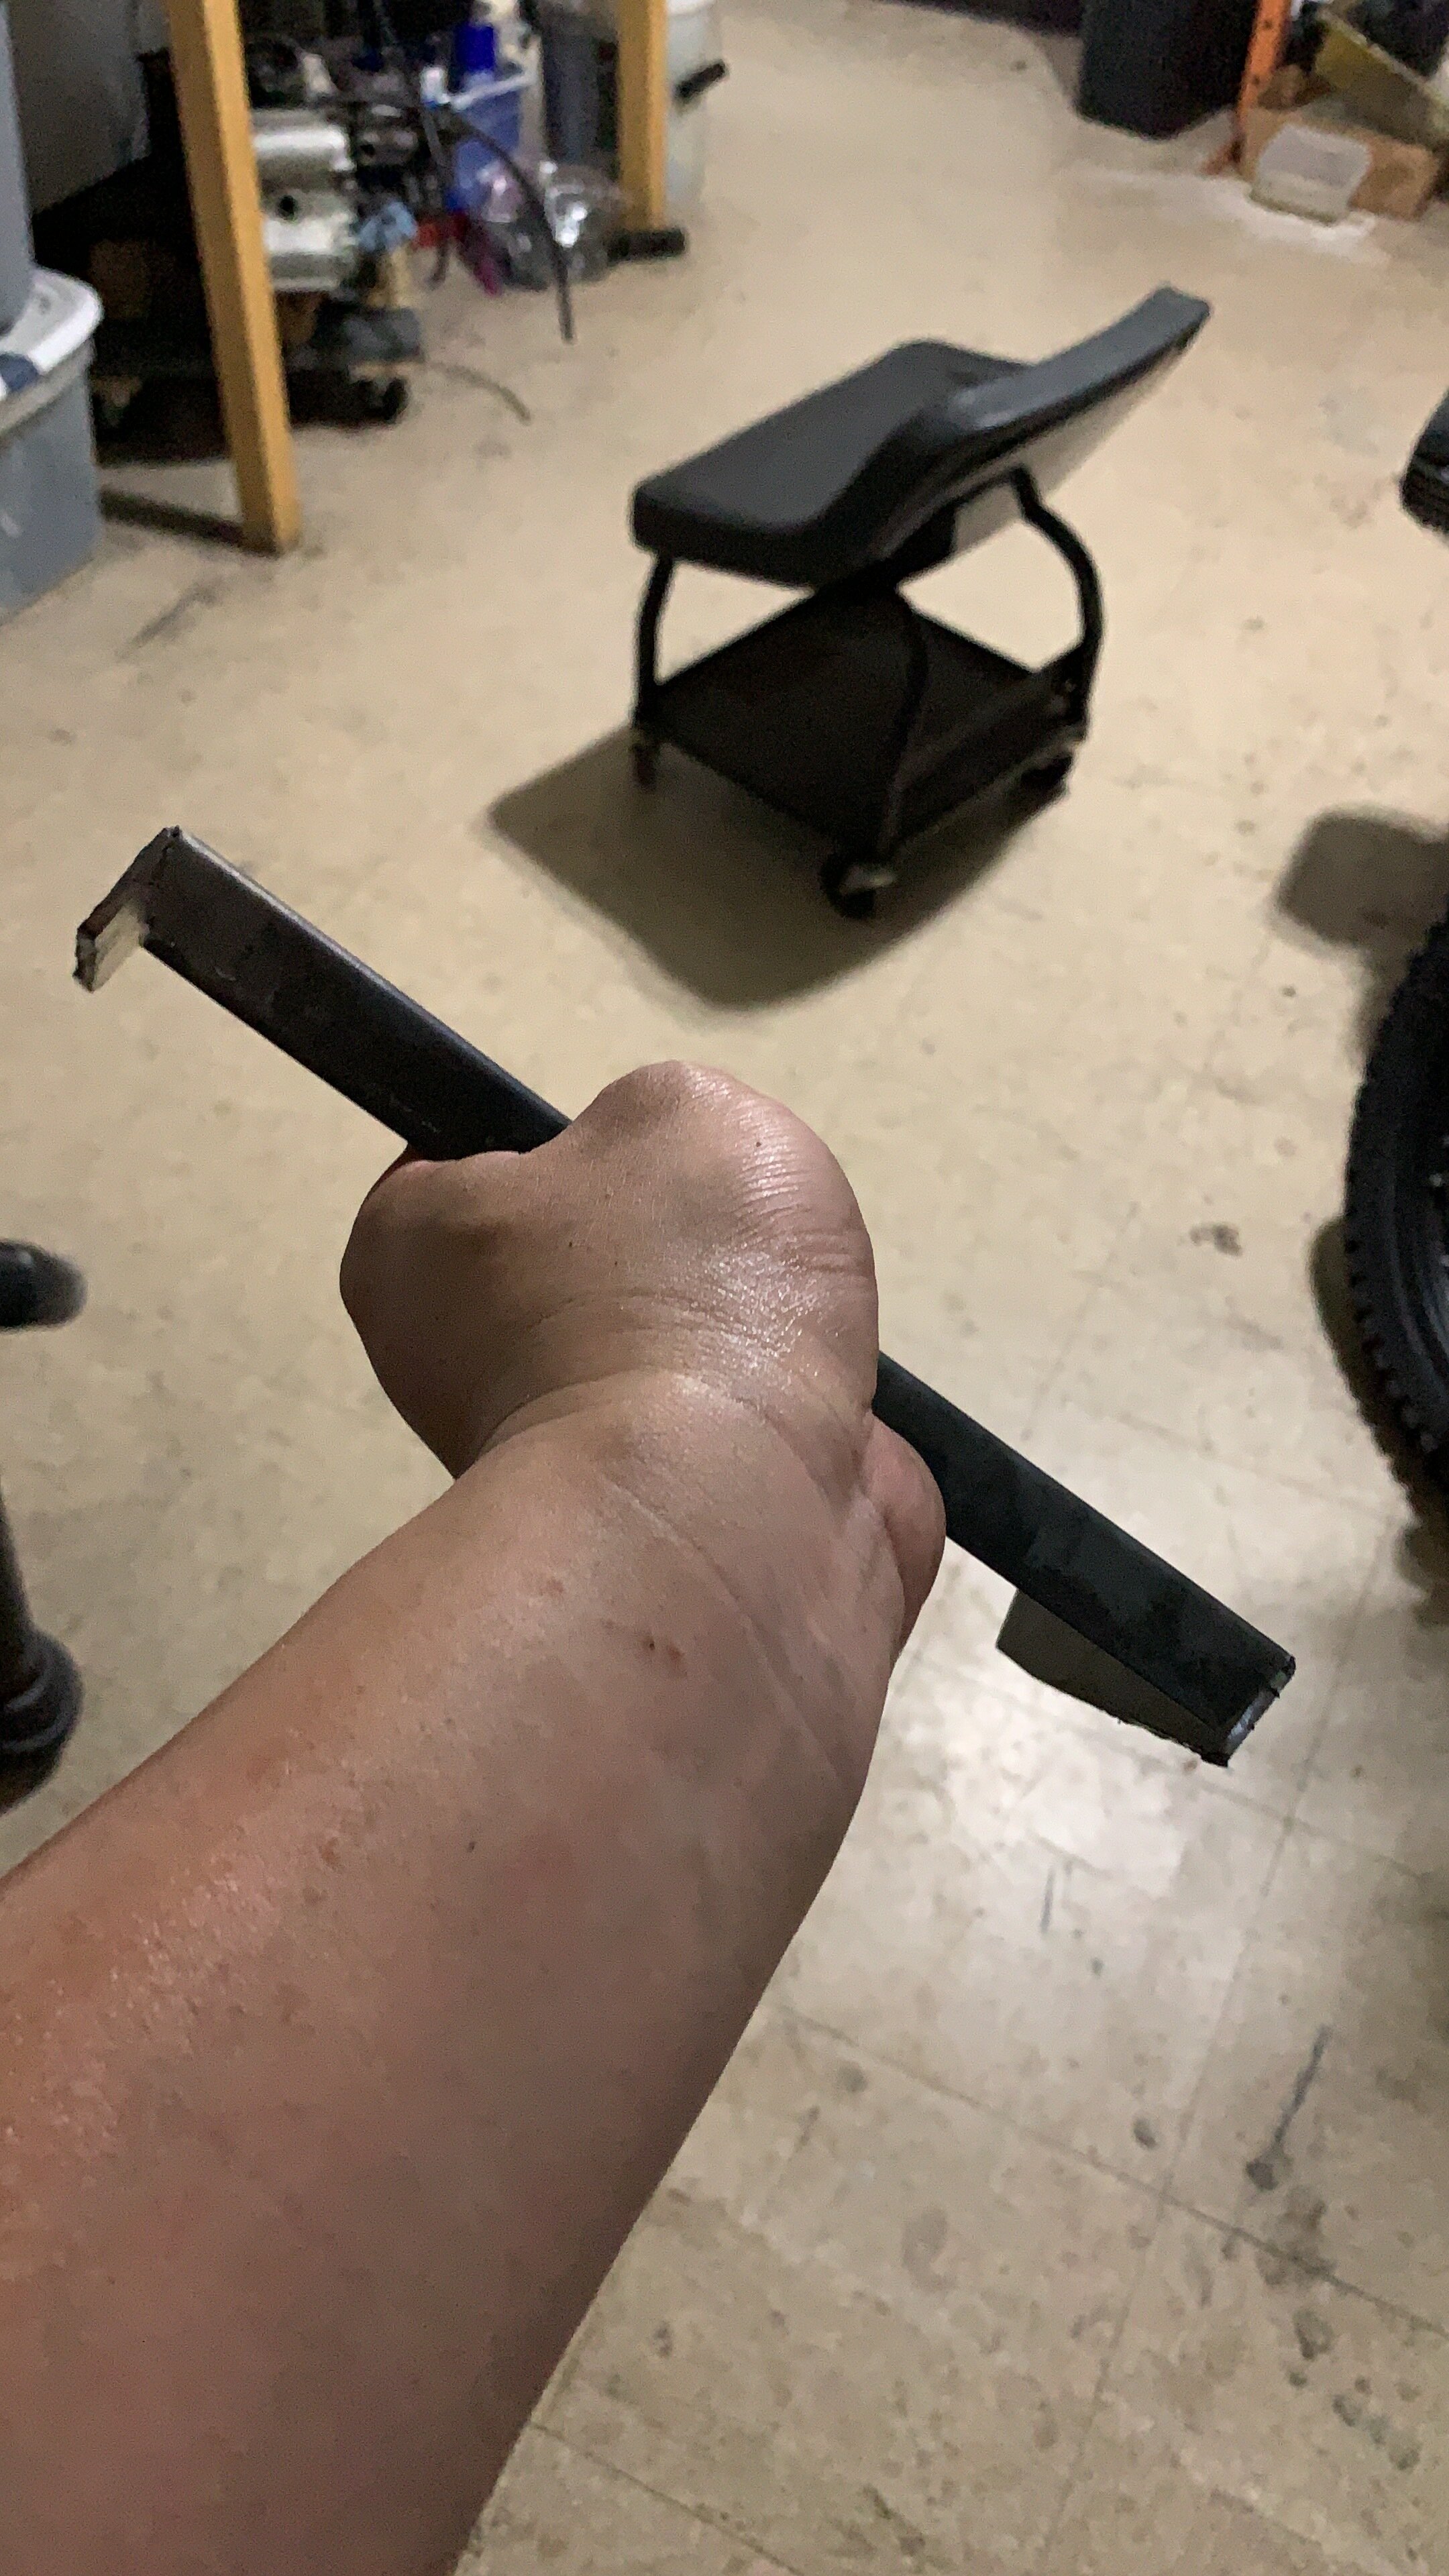
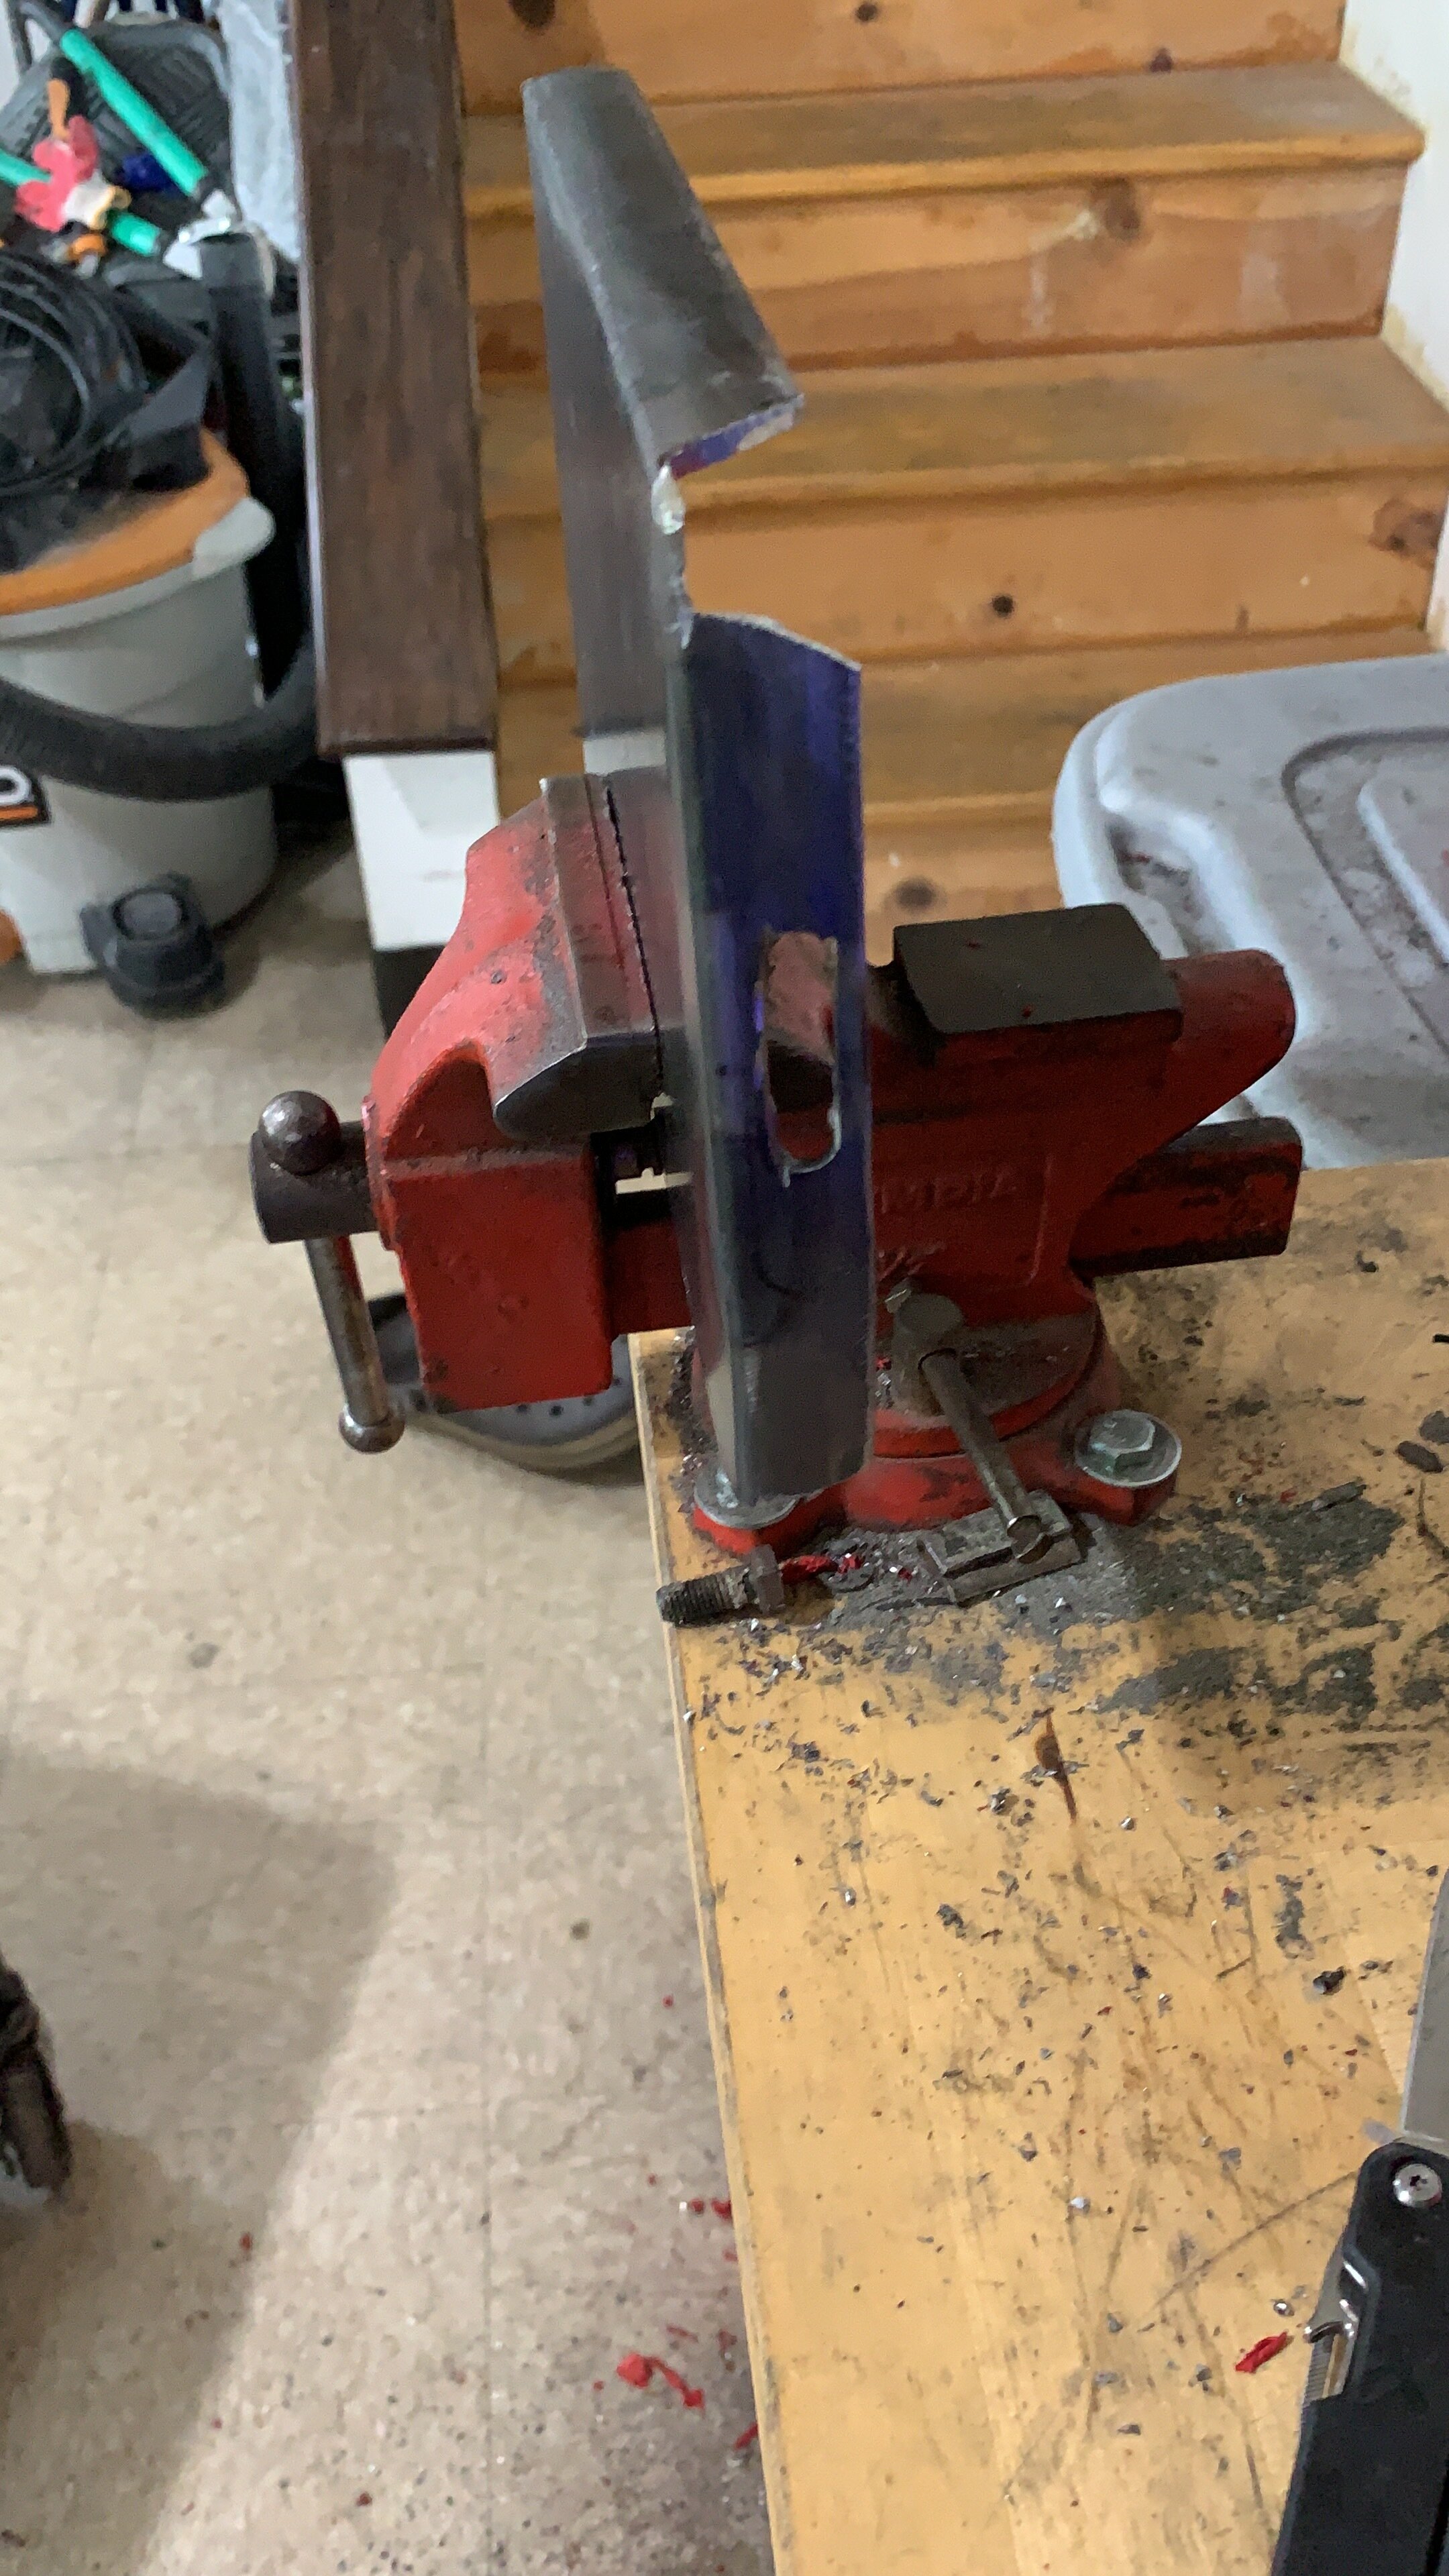
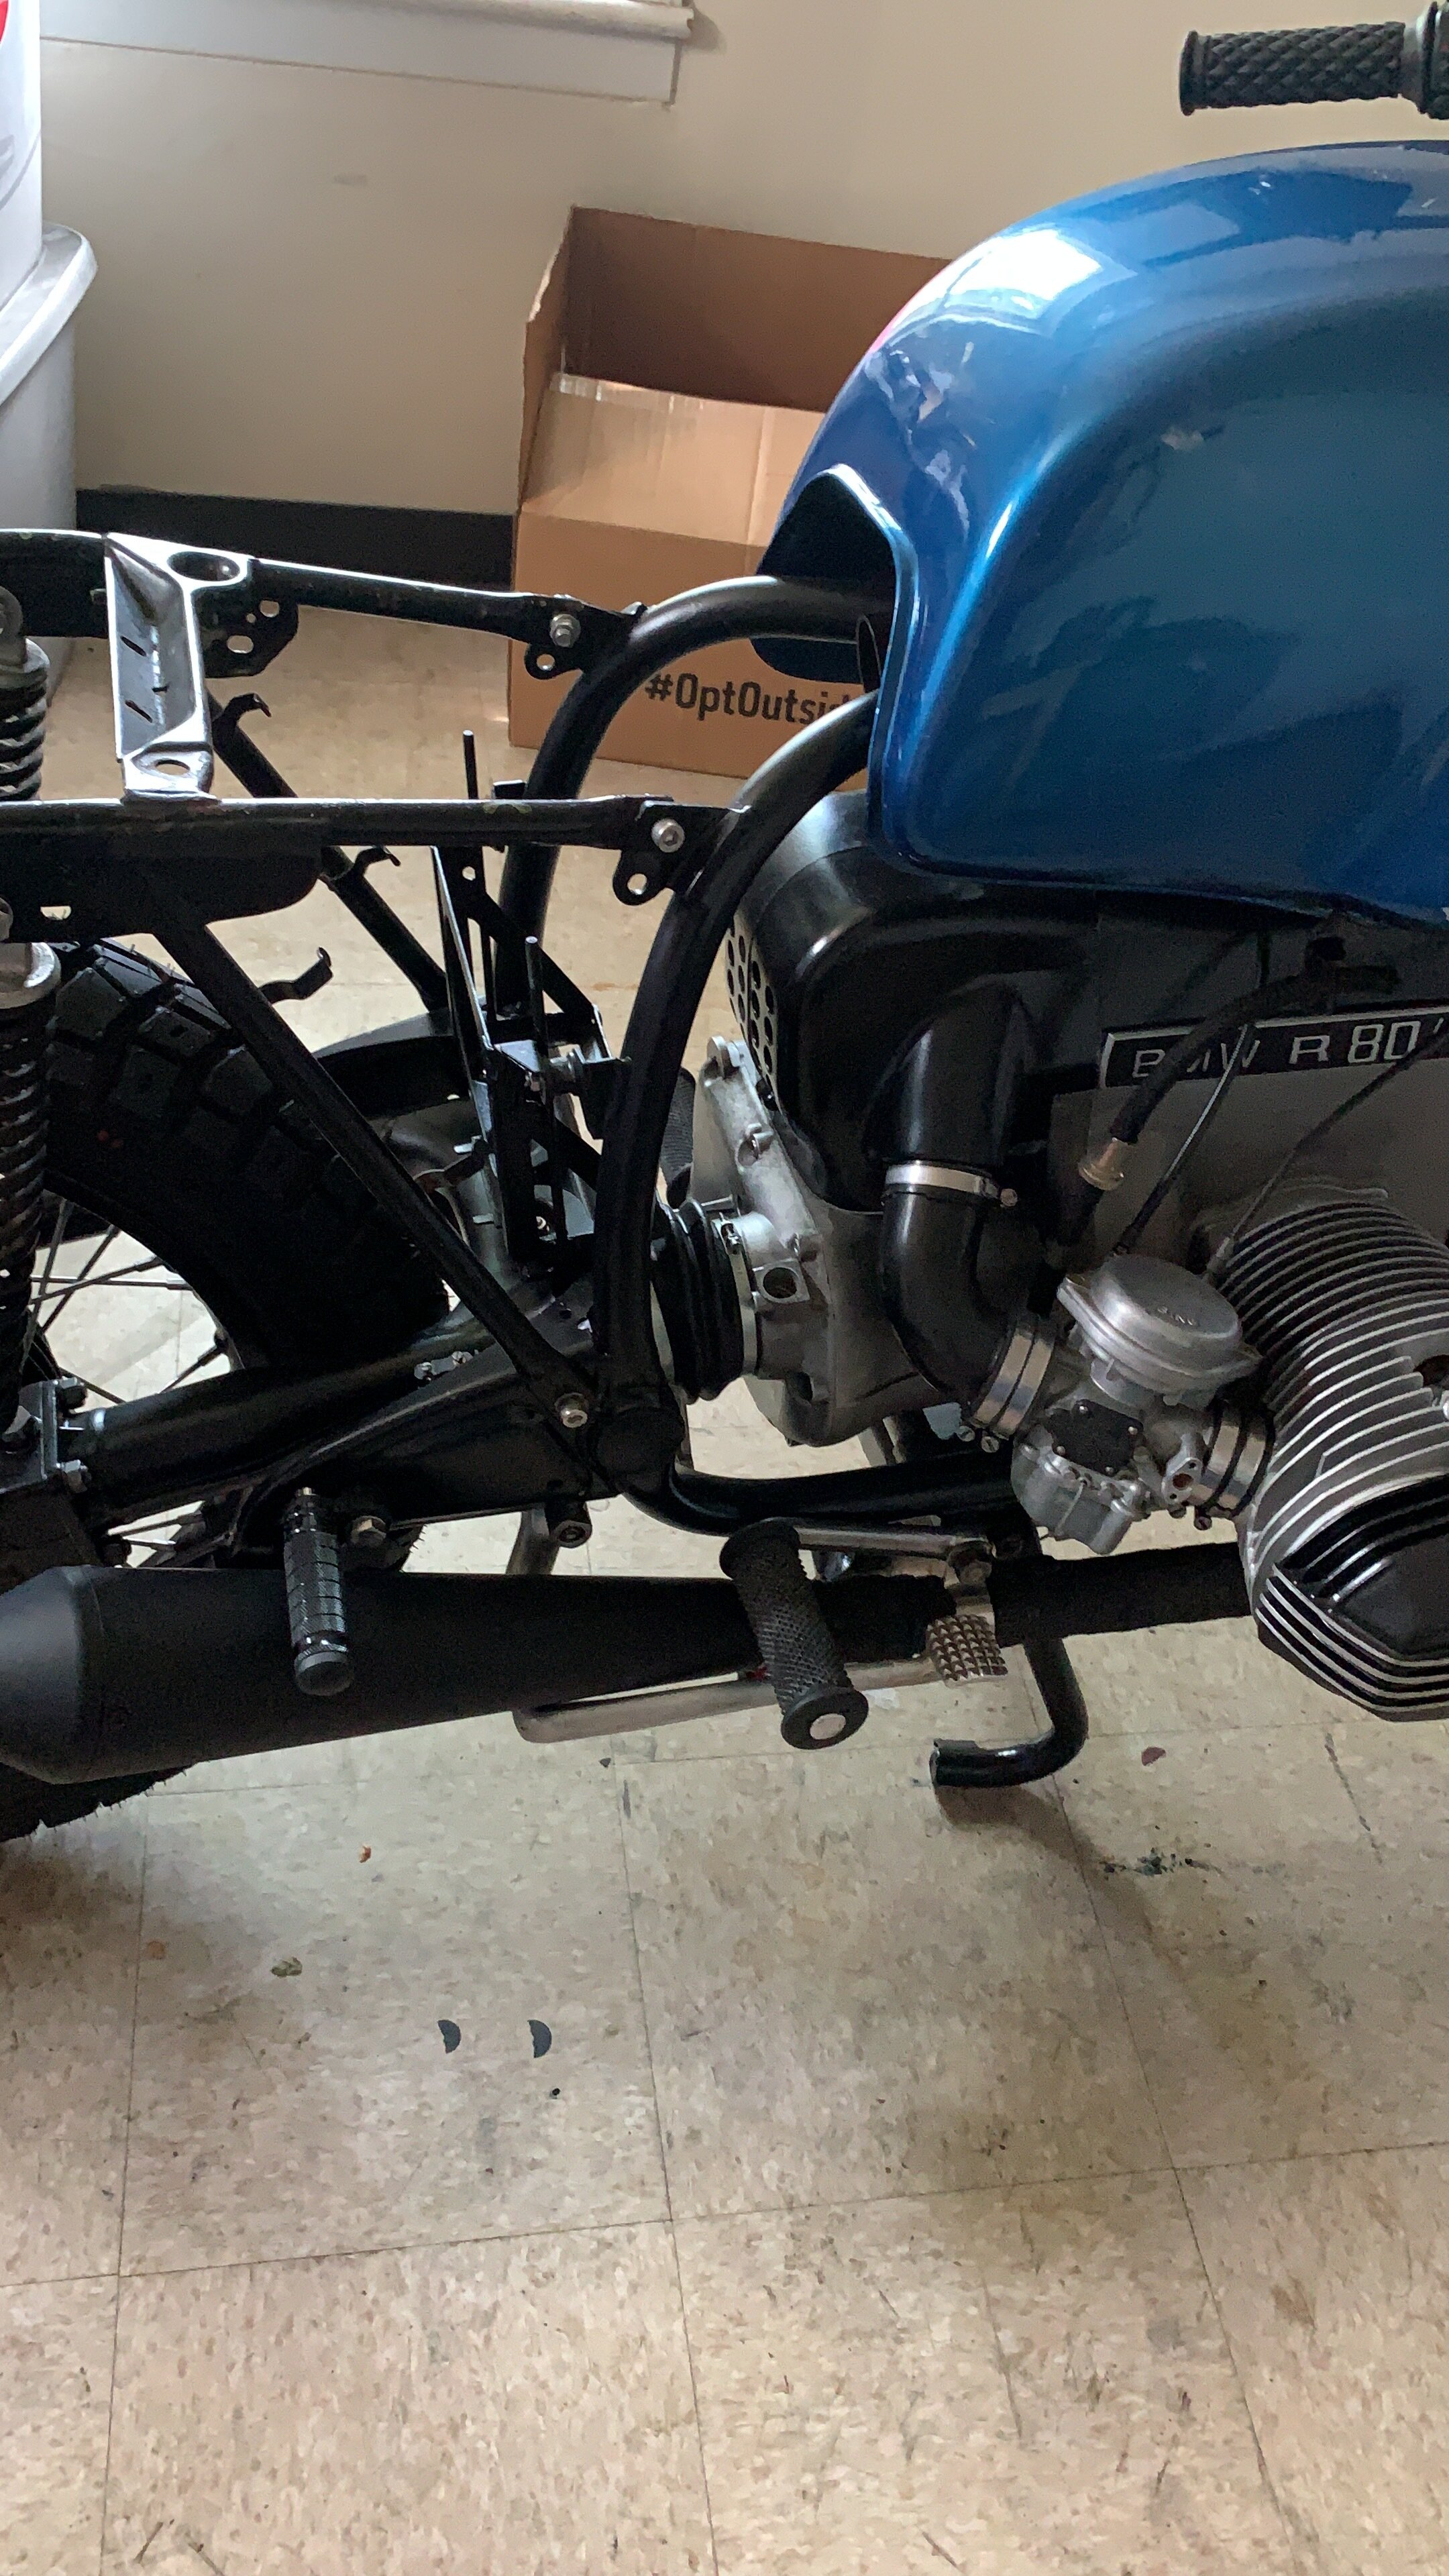
The brake install required the shaving off the extra metal in the end of the fork. I took it over to my brothers shop to cut this section off as he did have a better vice set up. After I cut it, I tested the assembly and it looked good. So I painted everything and let it dry outside in the sun, including the dog ears. Installed on the bike looks beast, but this is the easy part. Second part comes with figuring out how to mount the brake lines and how to route the brake lines, and how long of a length of a brake line to use and which angle the brake hose should bend. These are all new to me. After doing this, I can make these decisions in about 5 minutes, but as a first timer it does take a lot of learning and understanding and what to use, there are a million ways to do this, so I opted for a DR400sm master cylinder and vanhill brake line.
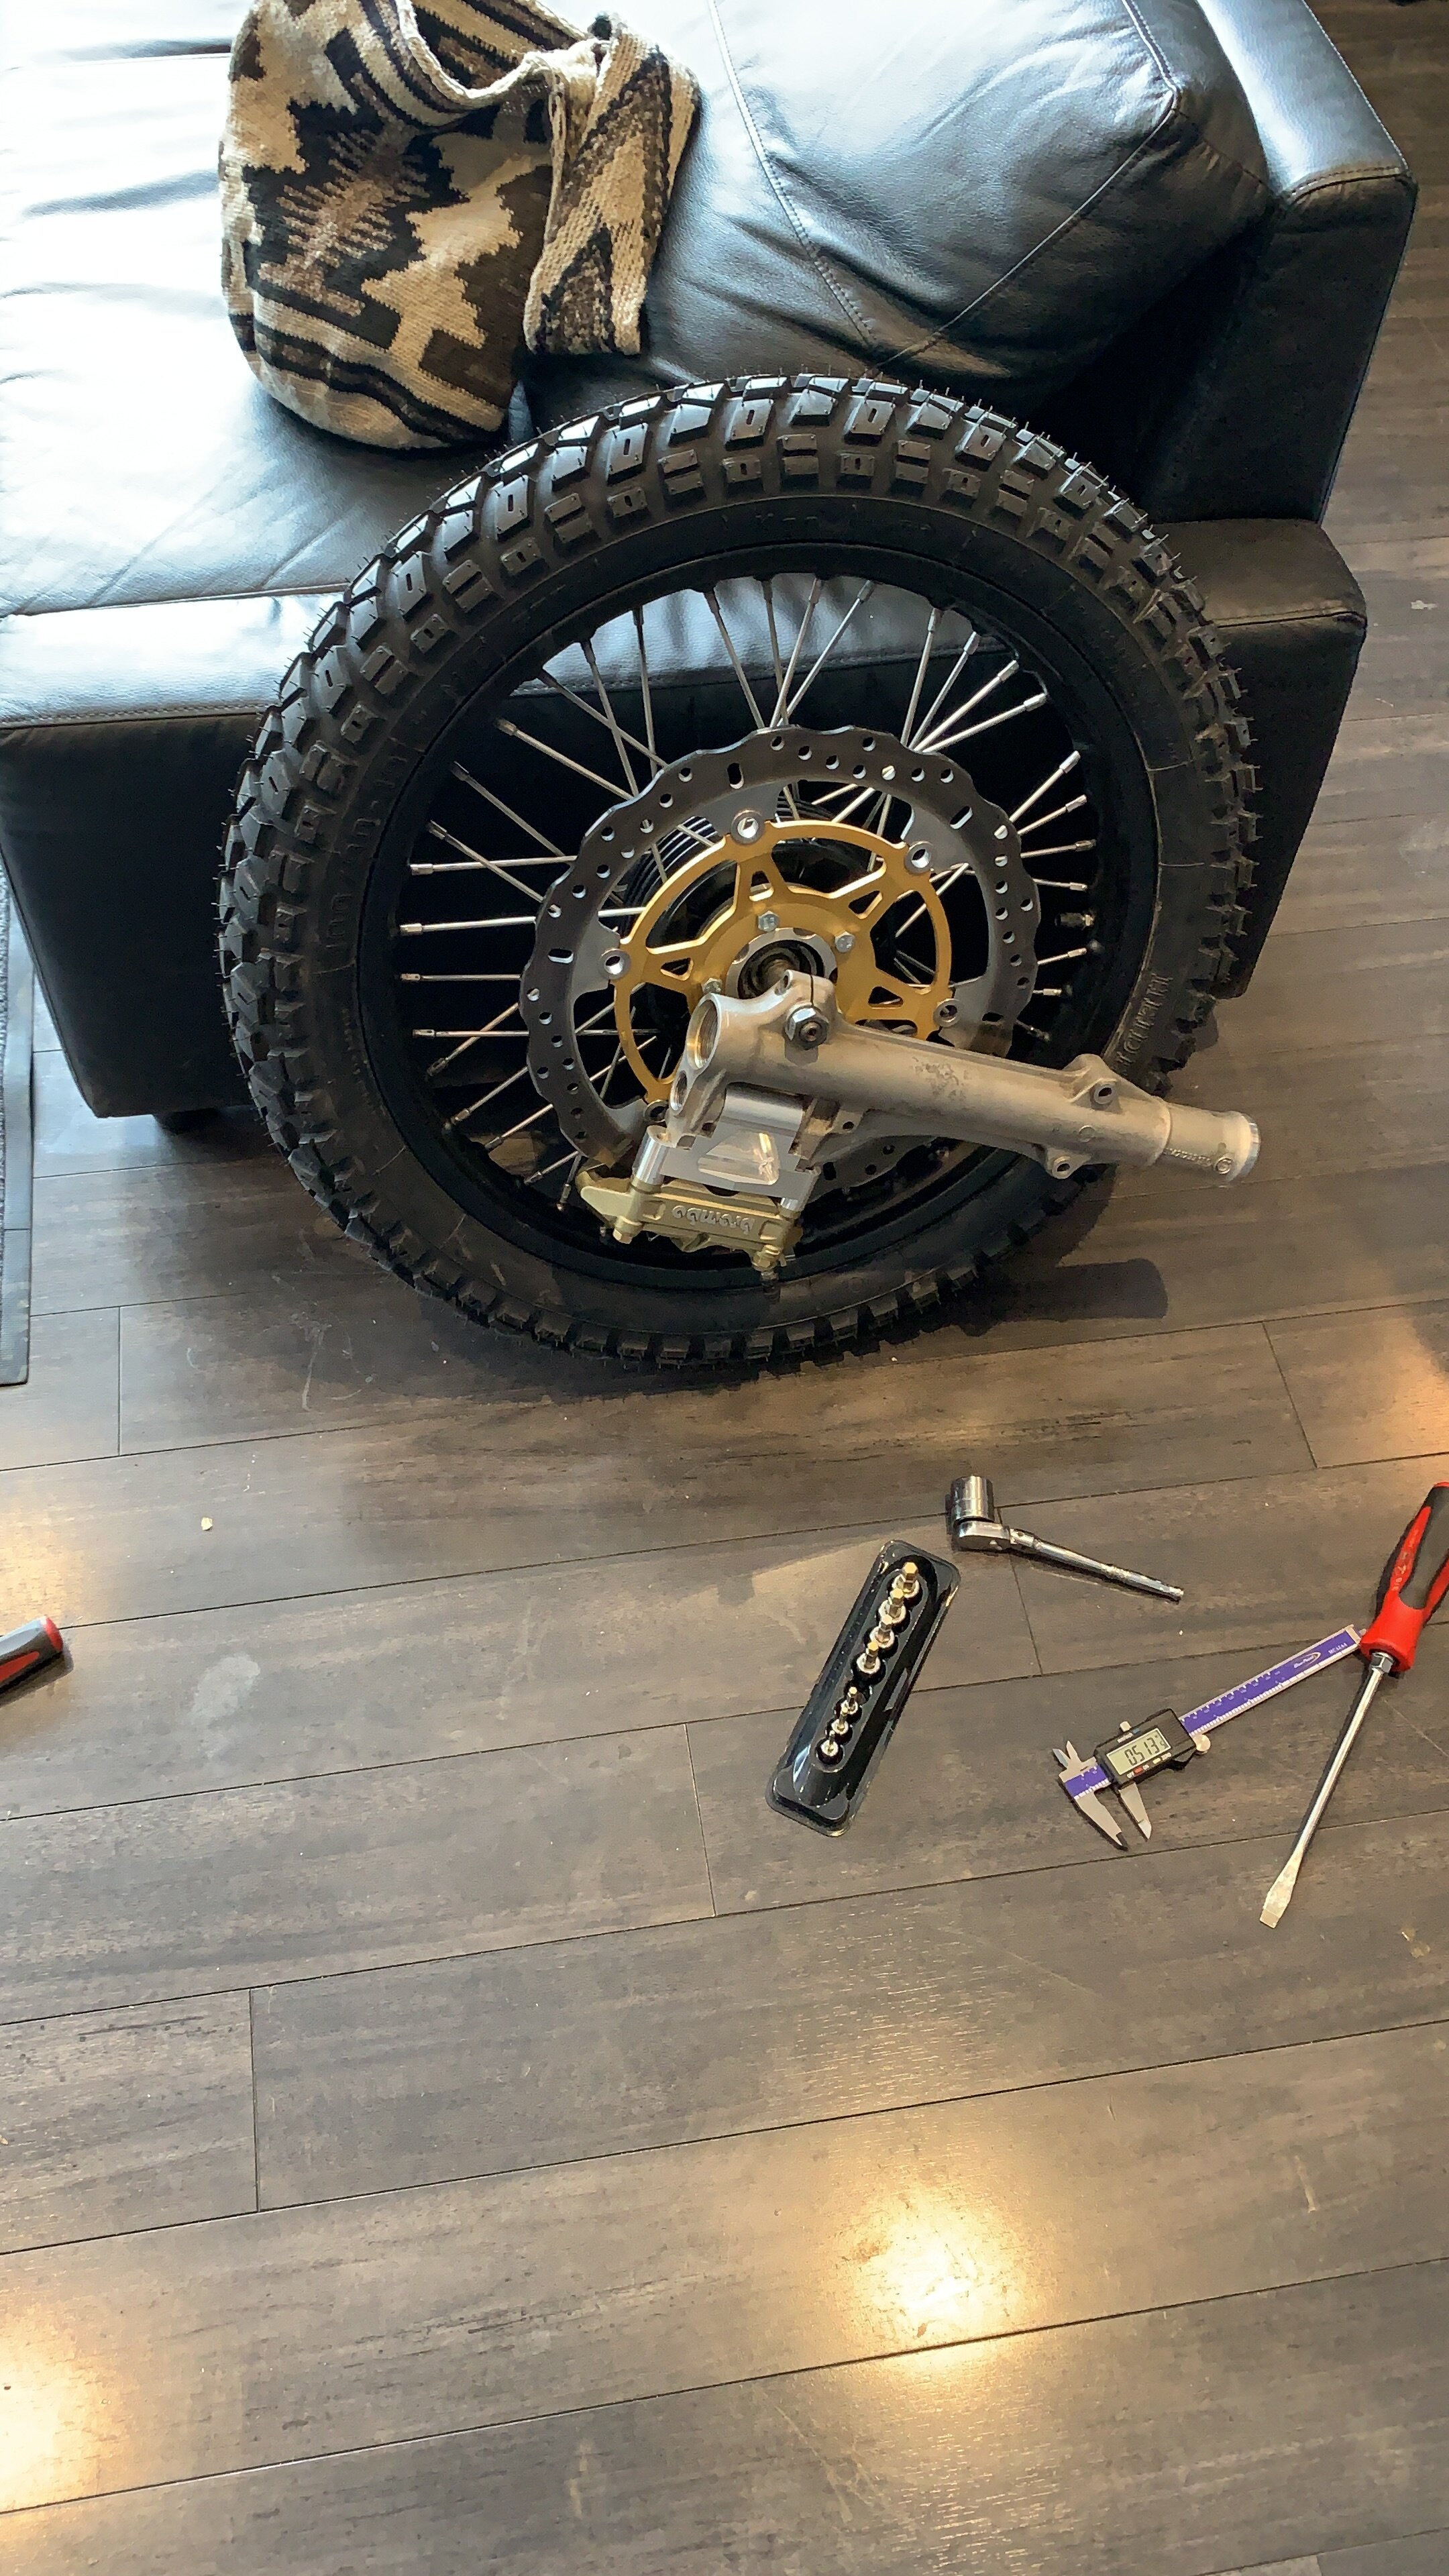

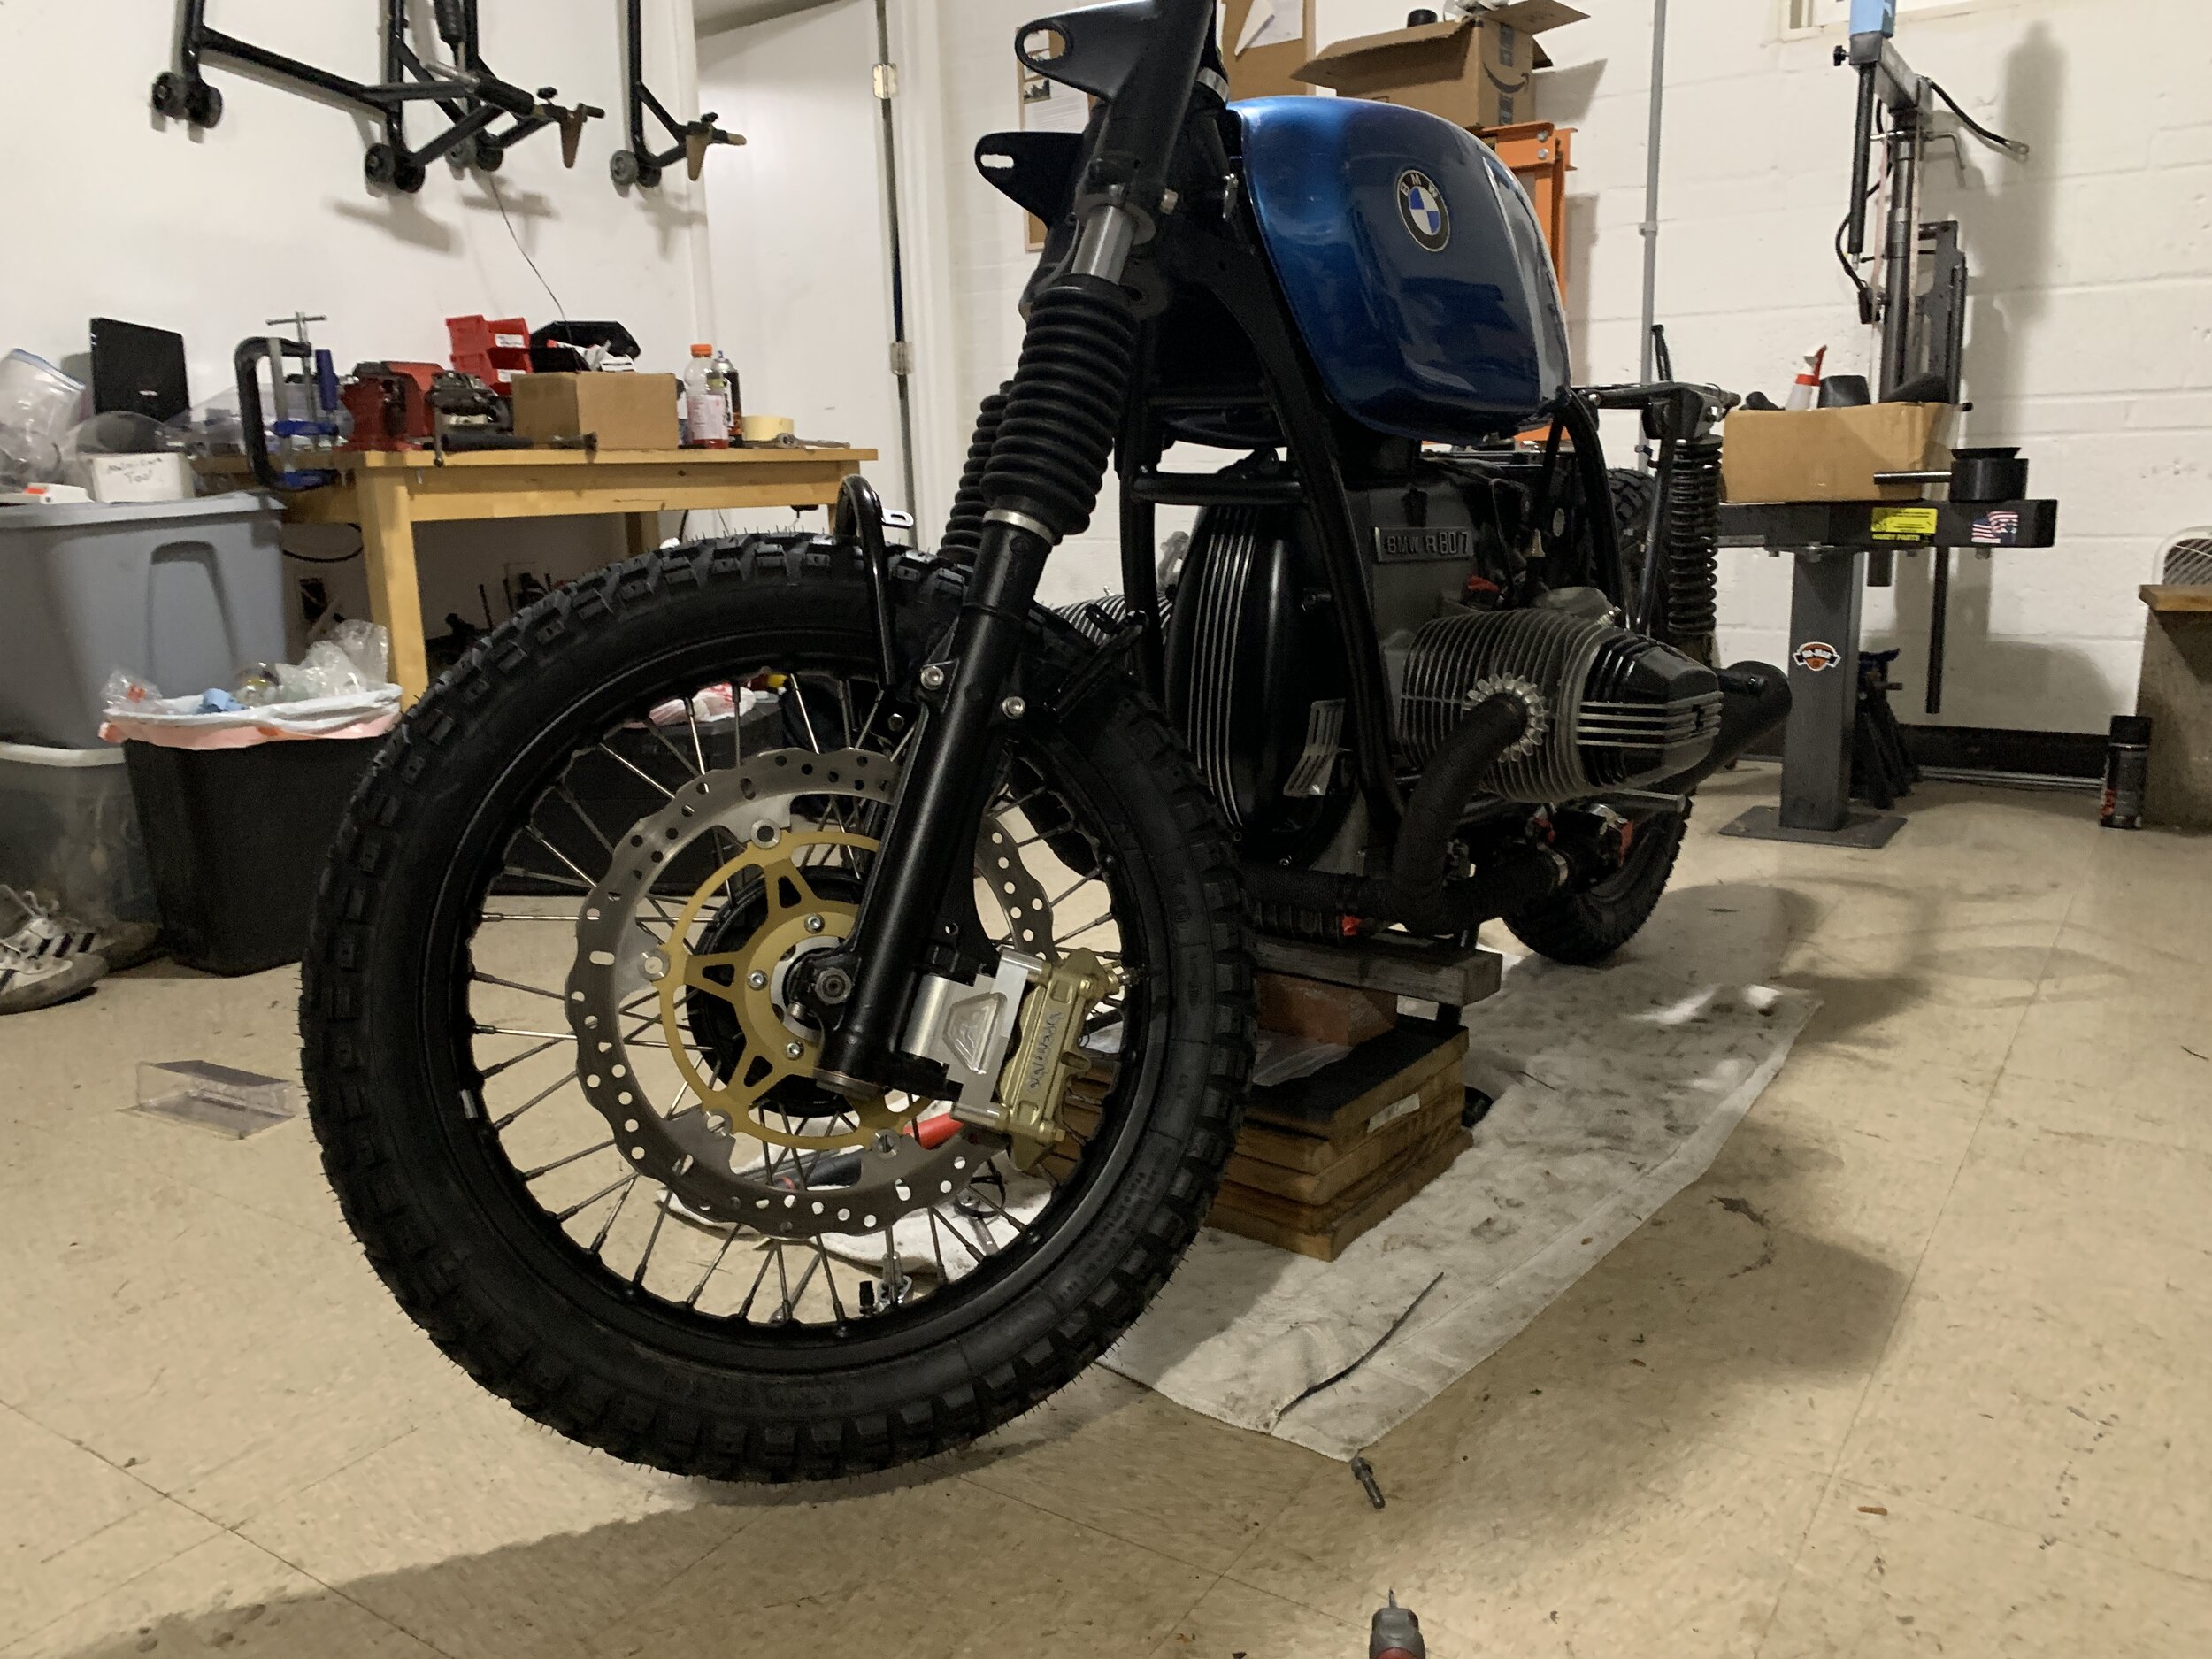
I picked out my lines and used my master cylinder bleed screw I had left over from Farida’s sv650s, and installed it on the DRZ400sm master cylinder and it worked perfect. She bought the single line bleeder for her SV when she needed to buy the dual. So this worked out that I was able to use this. I made custom brackets for the brake line from some hose clamps I cut down. Bled the brakes and now the bike can stop on its own power. The brake pads were pretty expensive for these calipers, but the exchange of braking power was 1978 to 2020 technology upgrade.
Throttle Mechanism
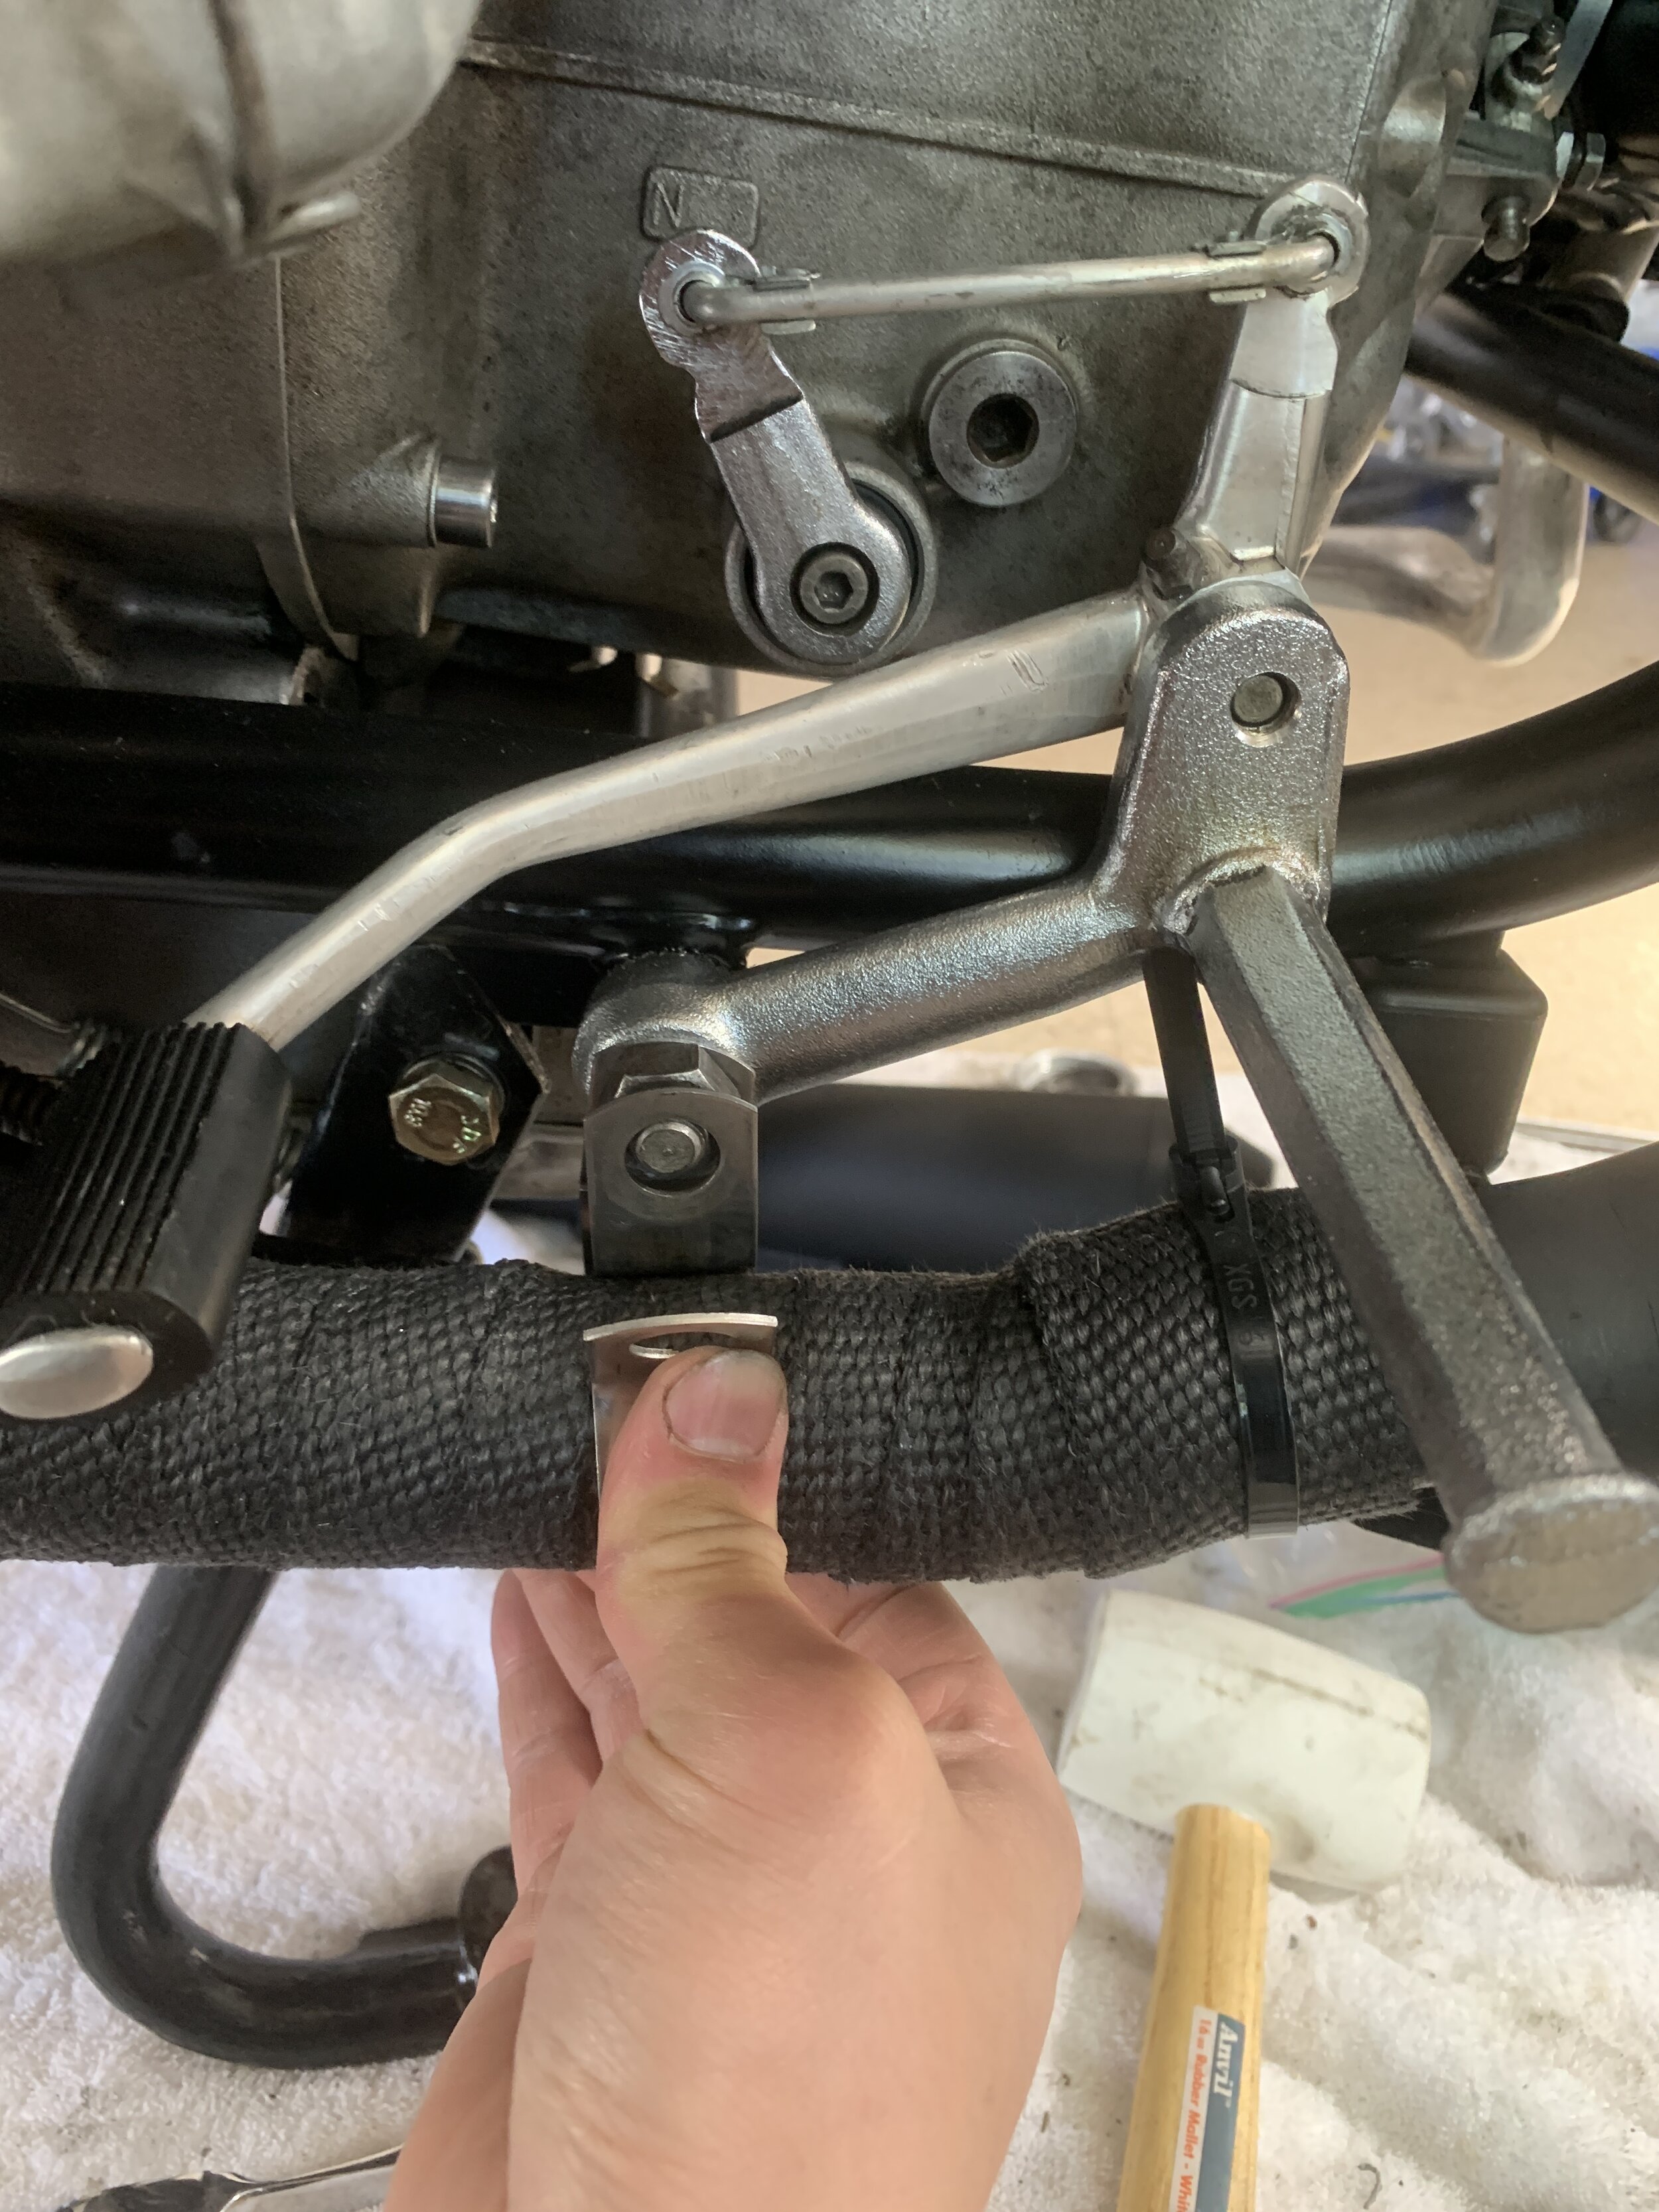
You figure something as simple as the throttle mechanism would be very simple, but unfortunately there were a lot to consider. The amount of twist related to the size of the carburetor determines if a quarter rotation and a little more can get me to full throttle. Another words, if I was running the 40mm carb, I could not use this triumph throttle, because the size of the throttle plate needing to open exceeds the mm of travel the throttle tube was able to twist if I did not want to double grip the throttle to get to WOT. Since I’m running the stock 32mm carb, I was able to use this throttle tube and made my own throttle cable from the Venhill kit for the very first time. I bought a solder pot and some furel ends that match the carburetor. Yes there was a lot of learning here. lol. But I was able to make them work with the carb and confirm full opening after installation, at only a little bit pass a 1/4 turn.


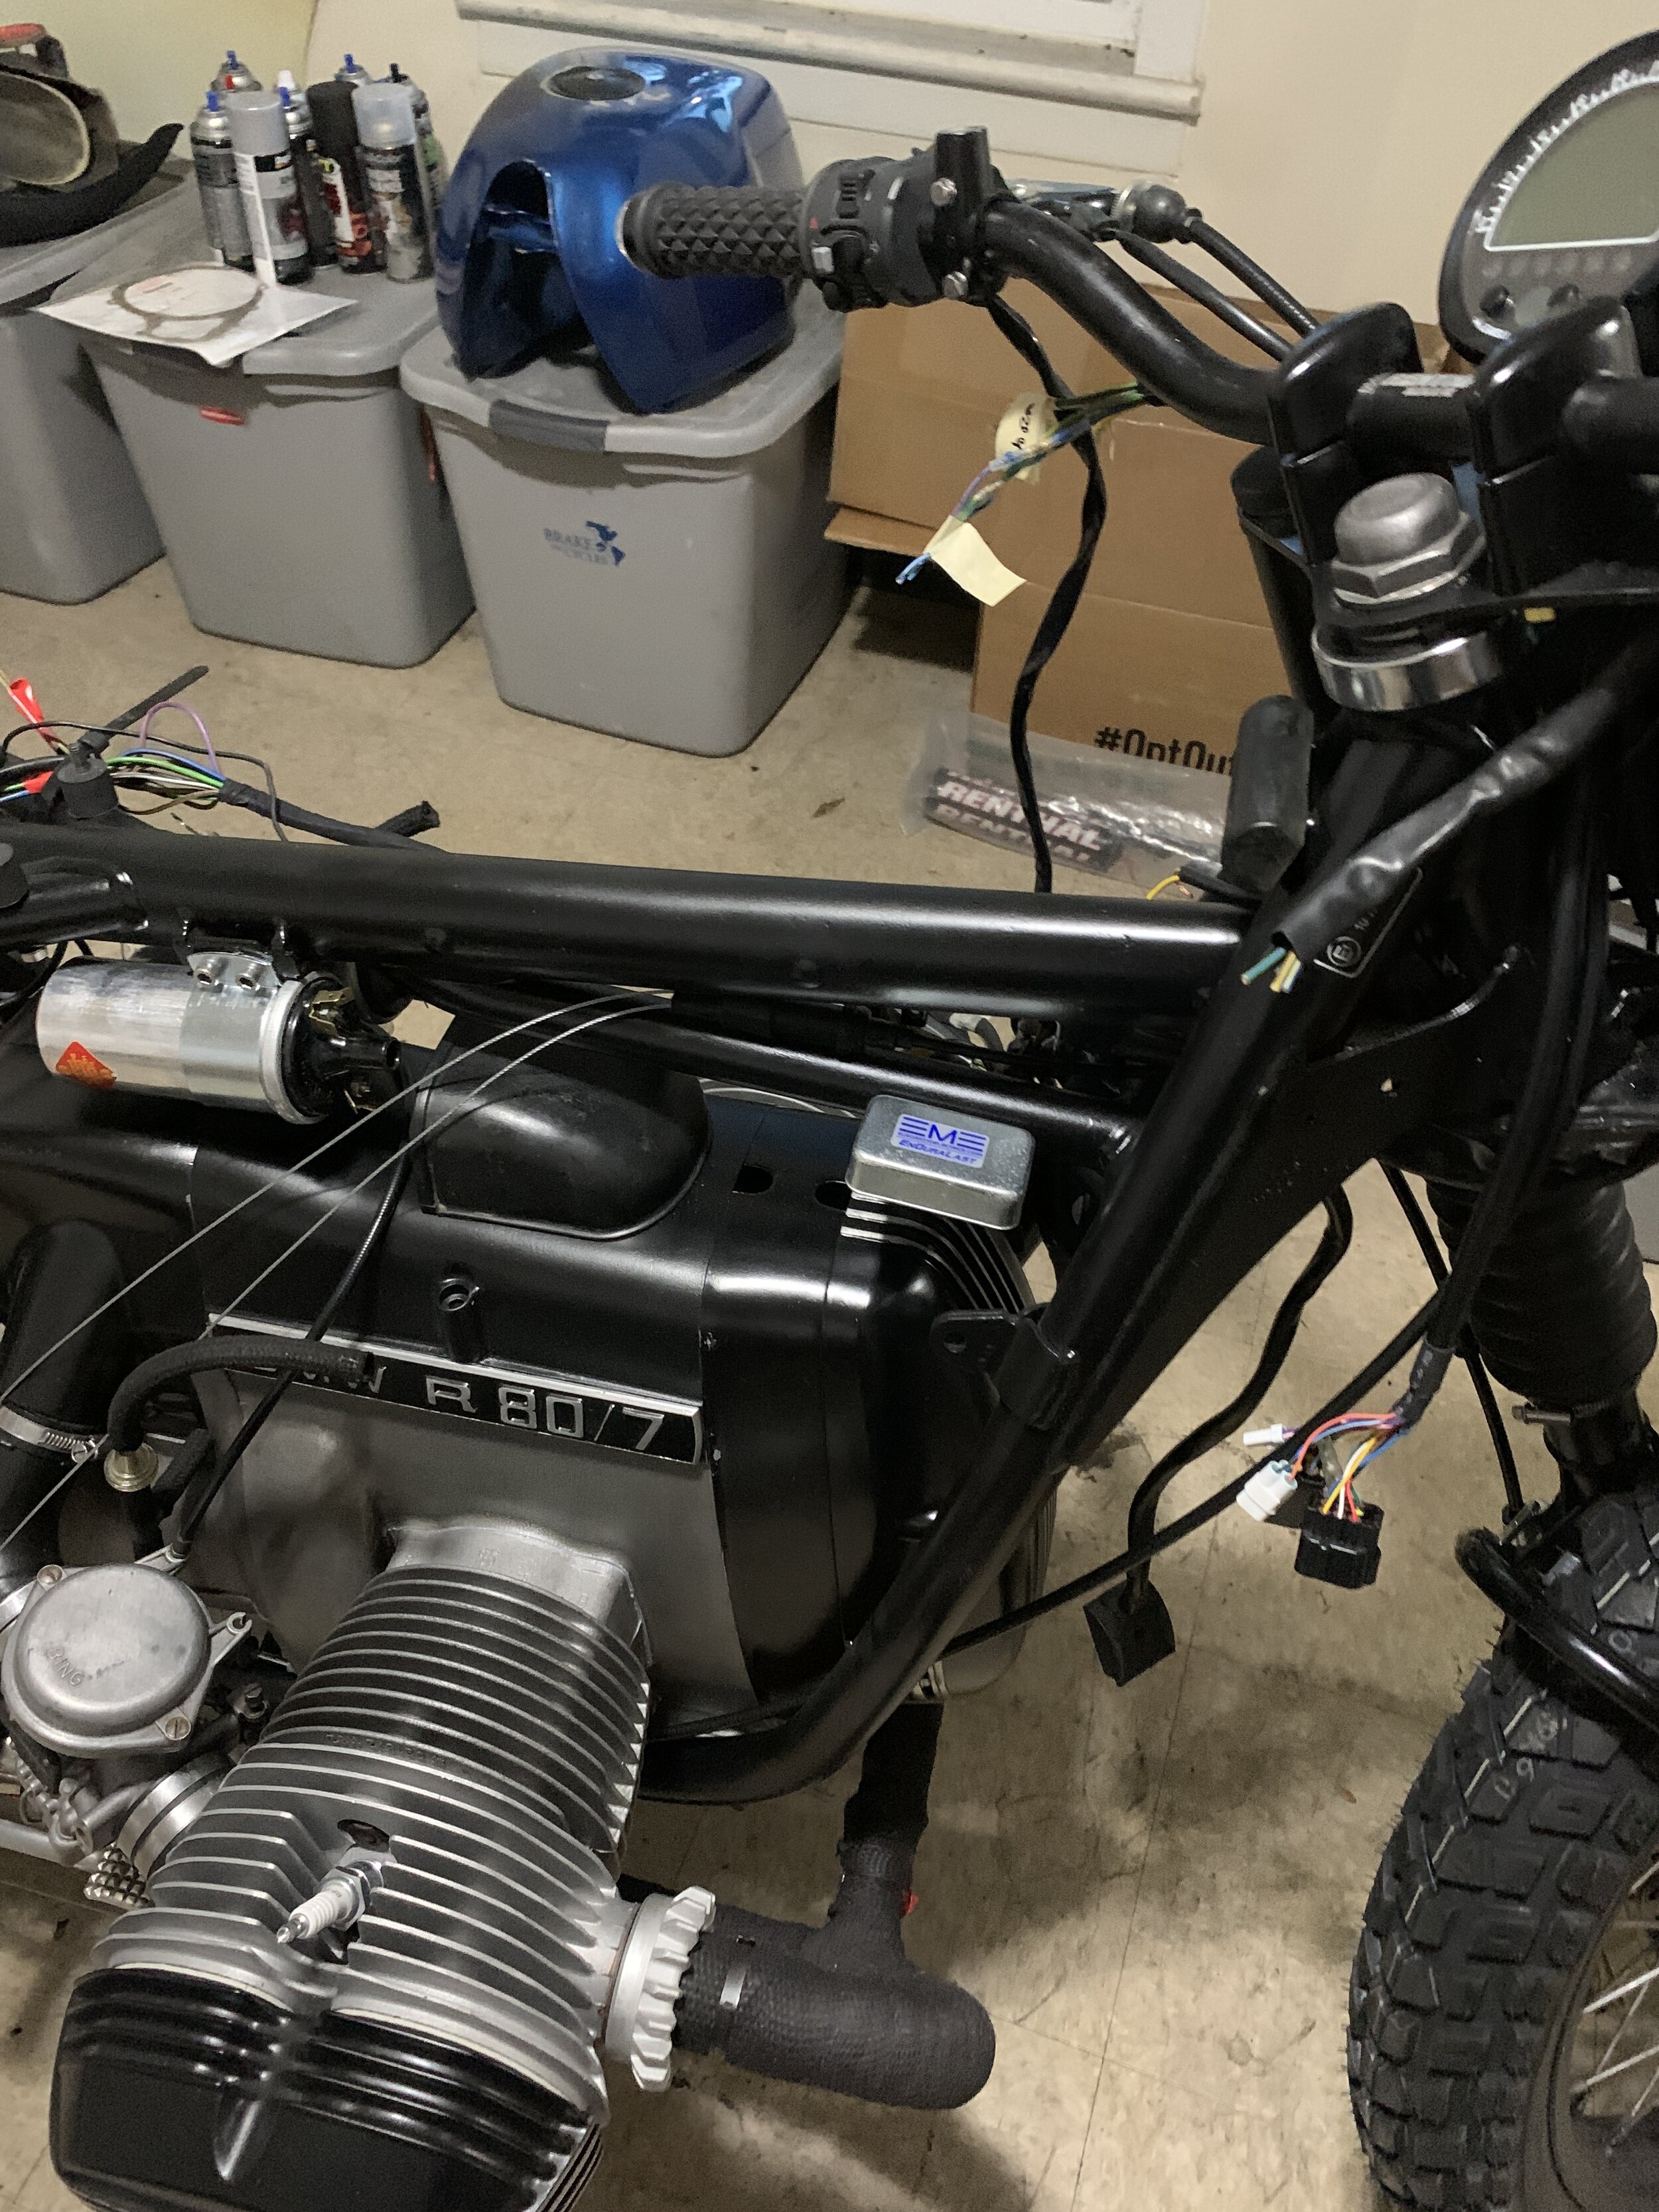

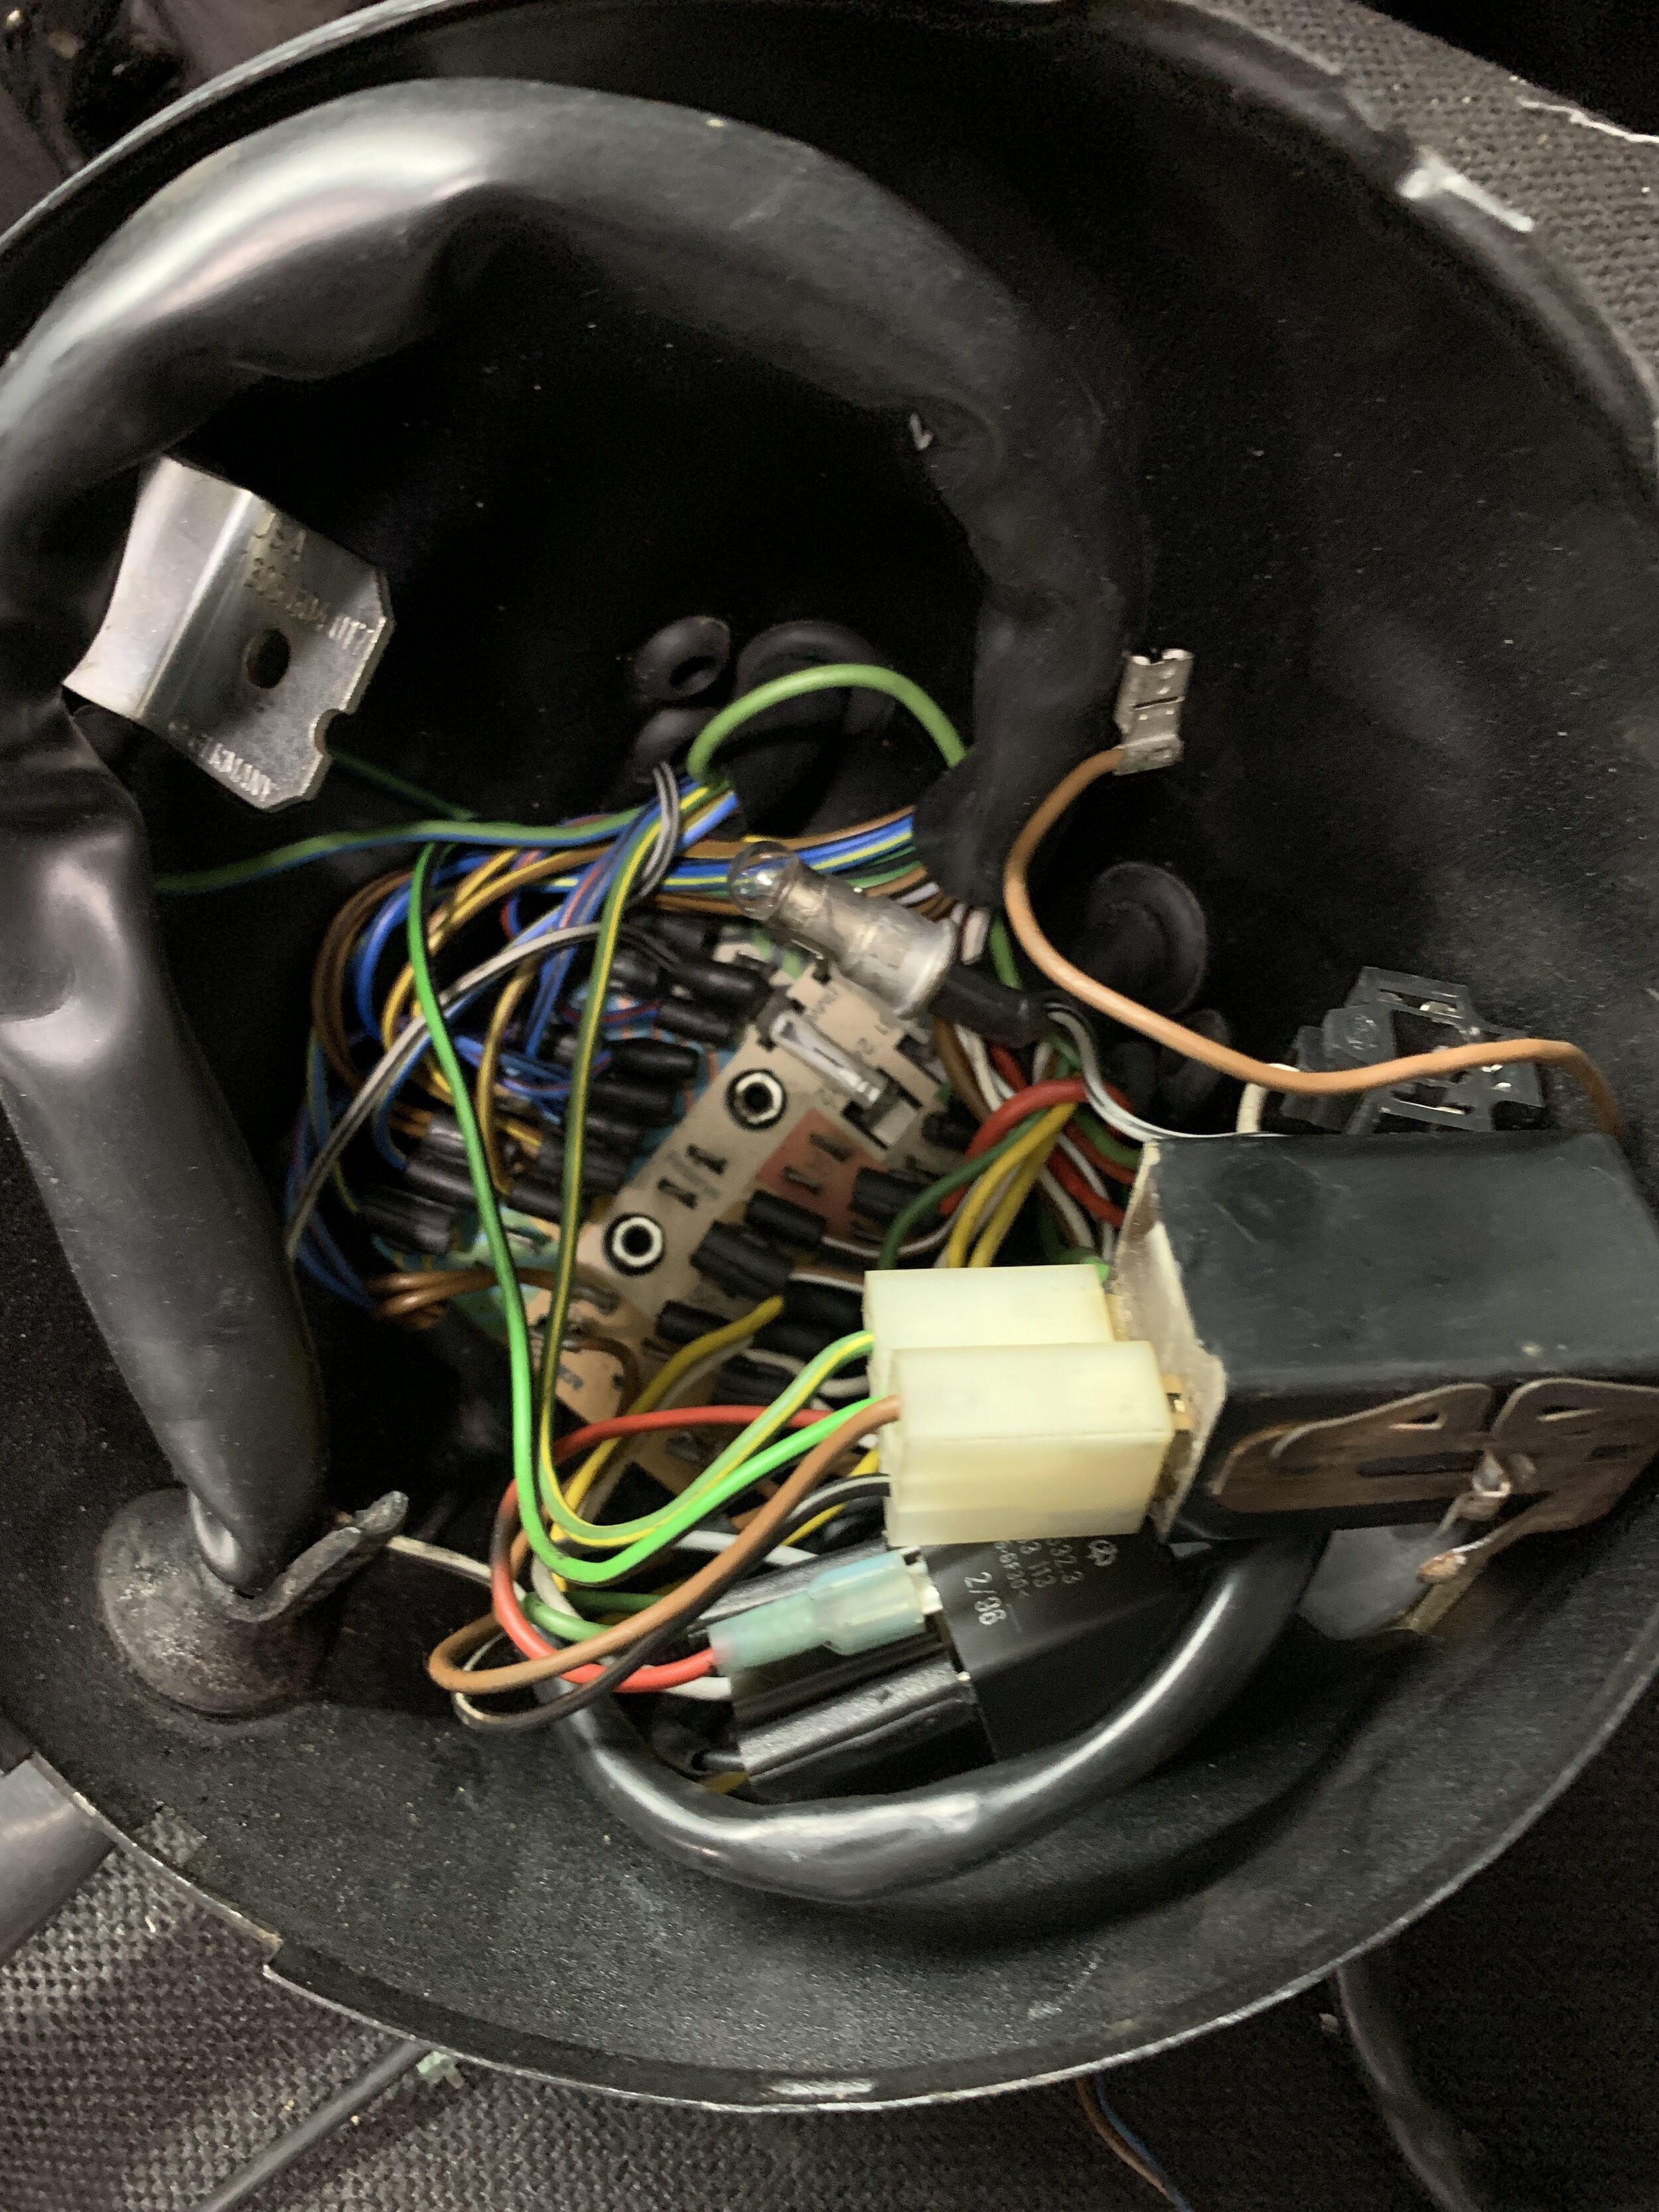
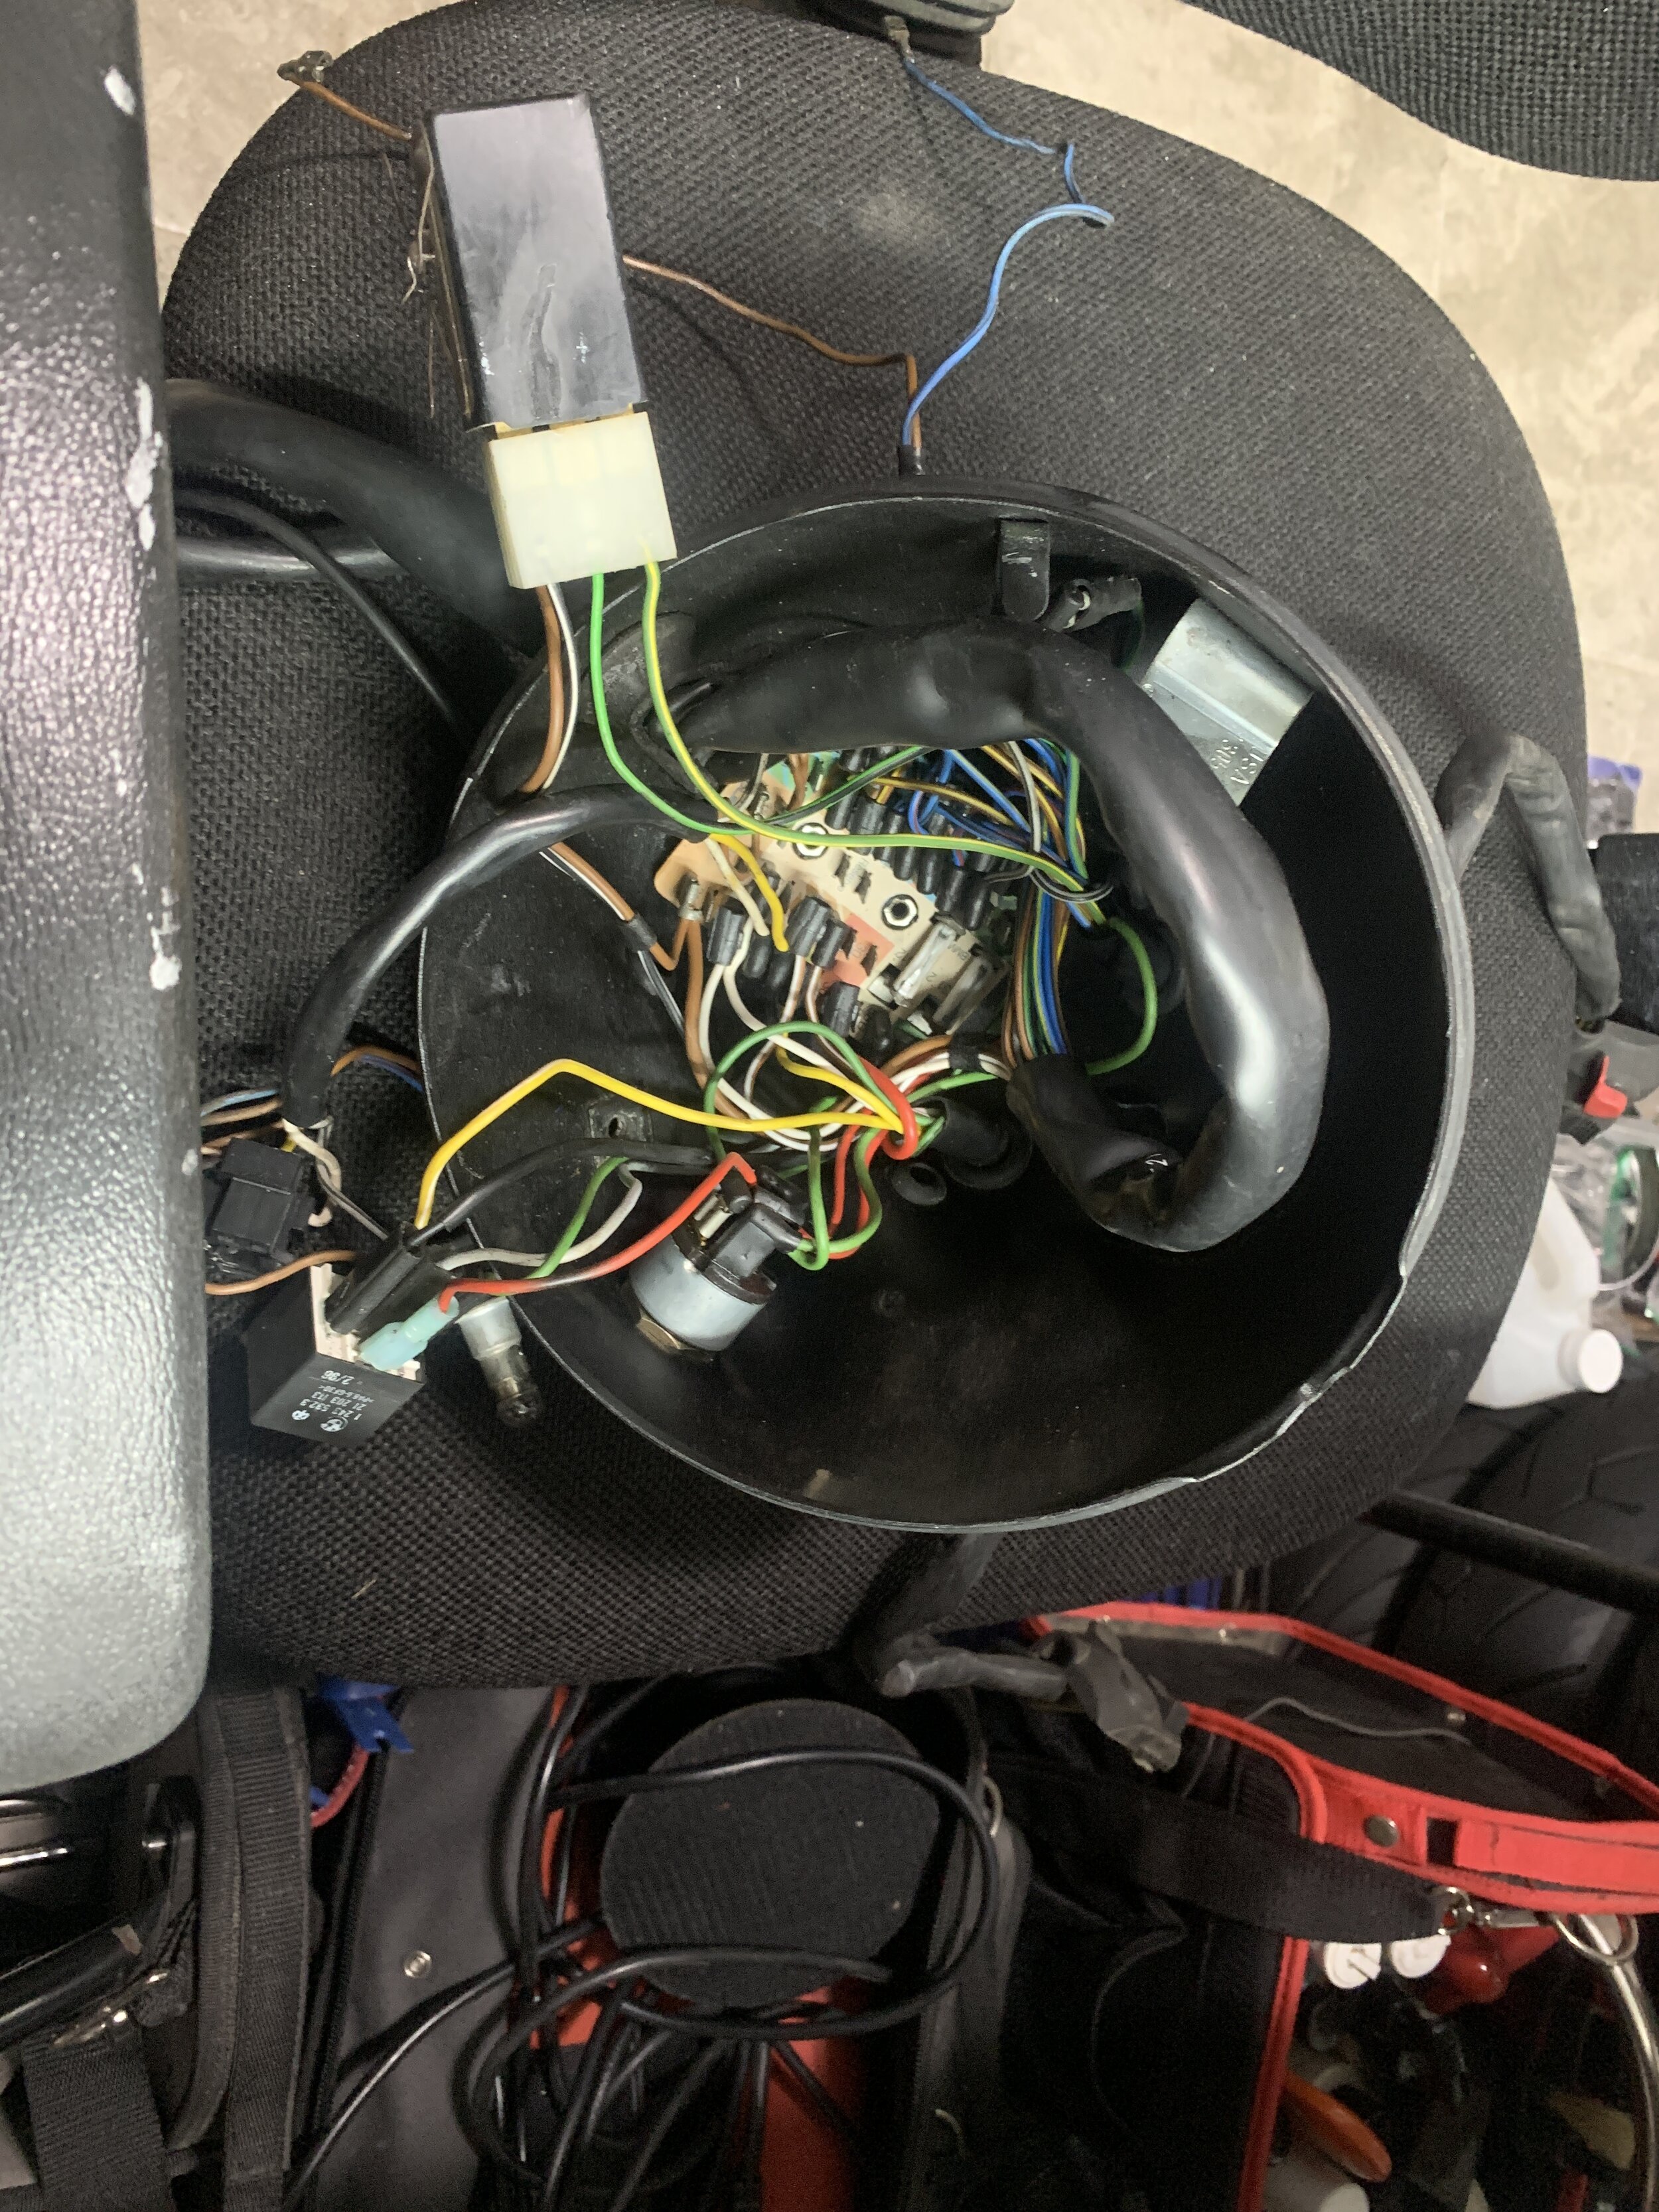
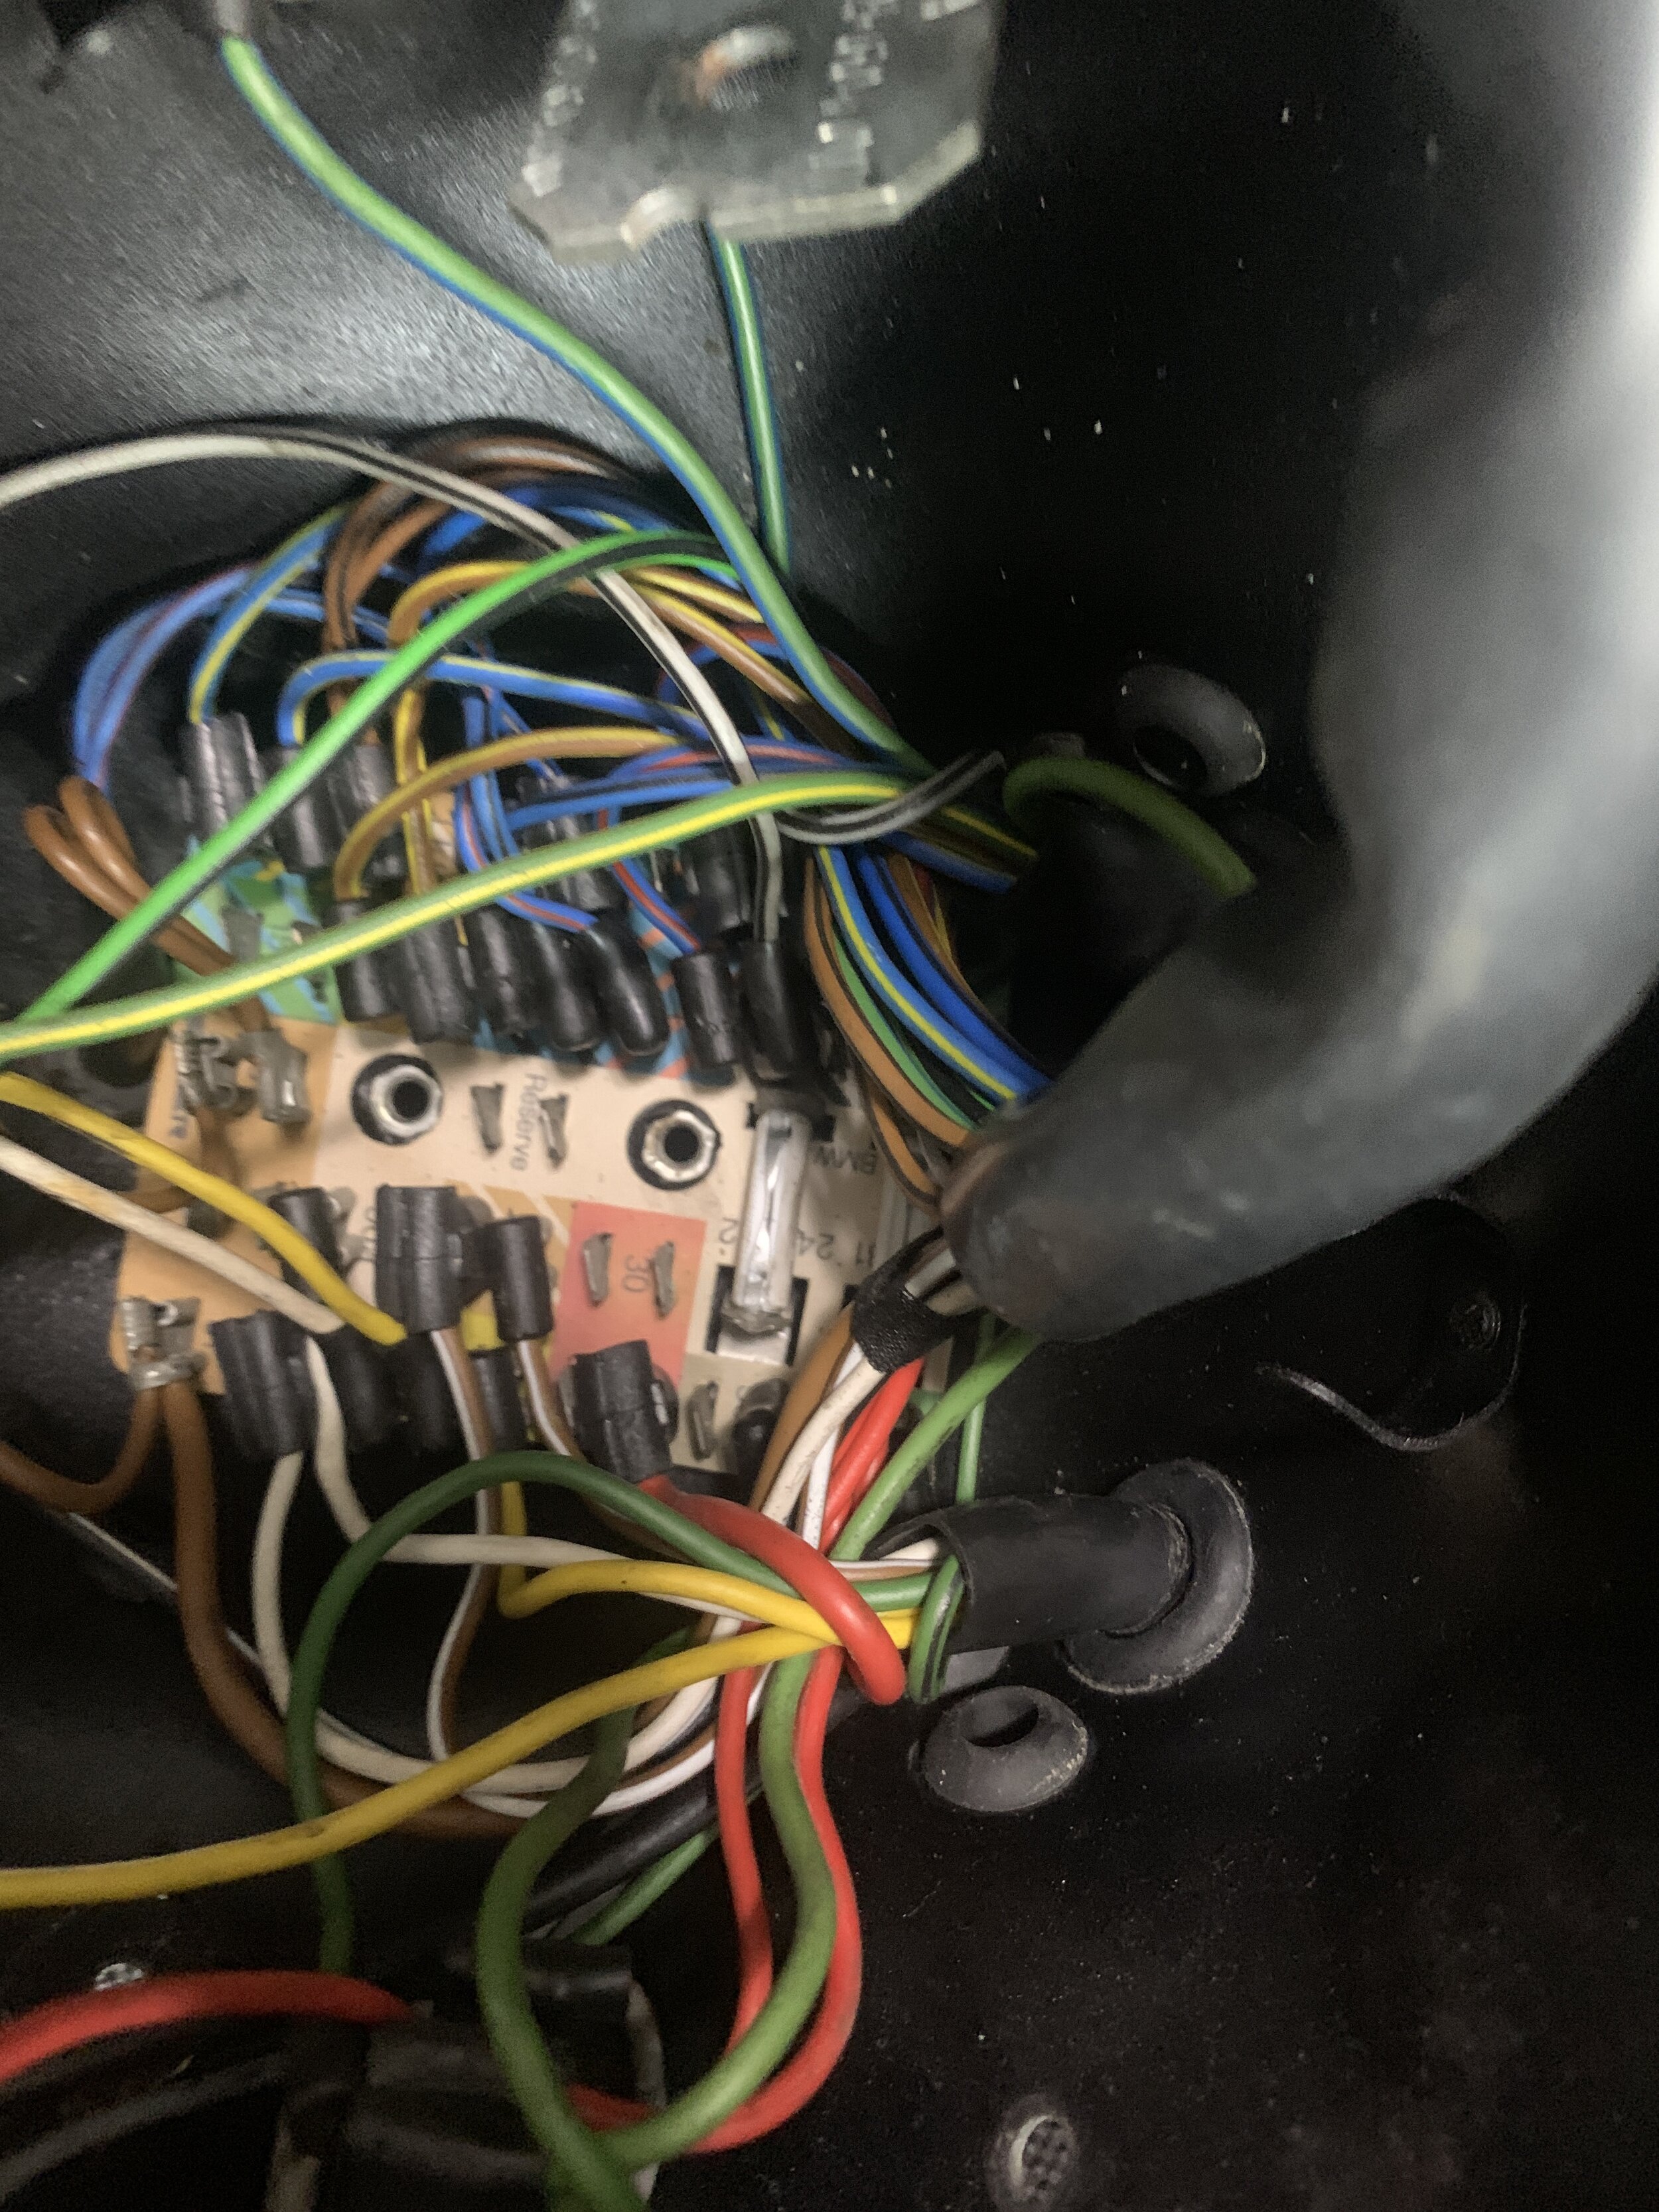
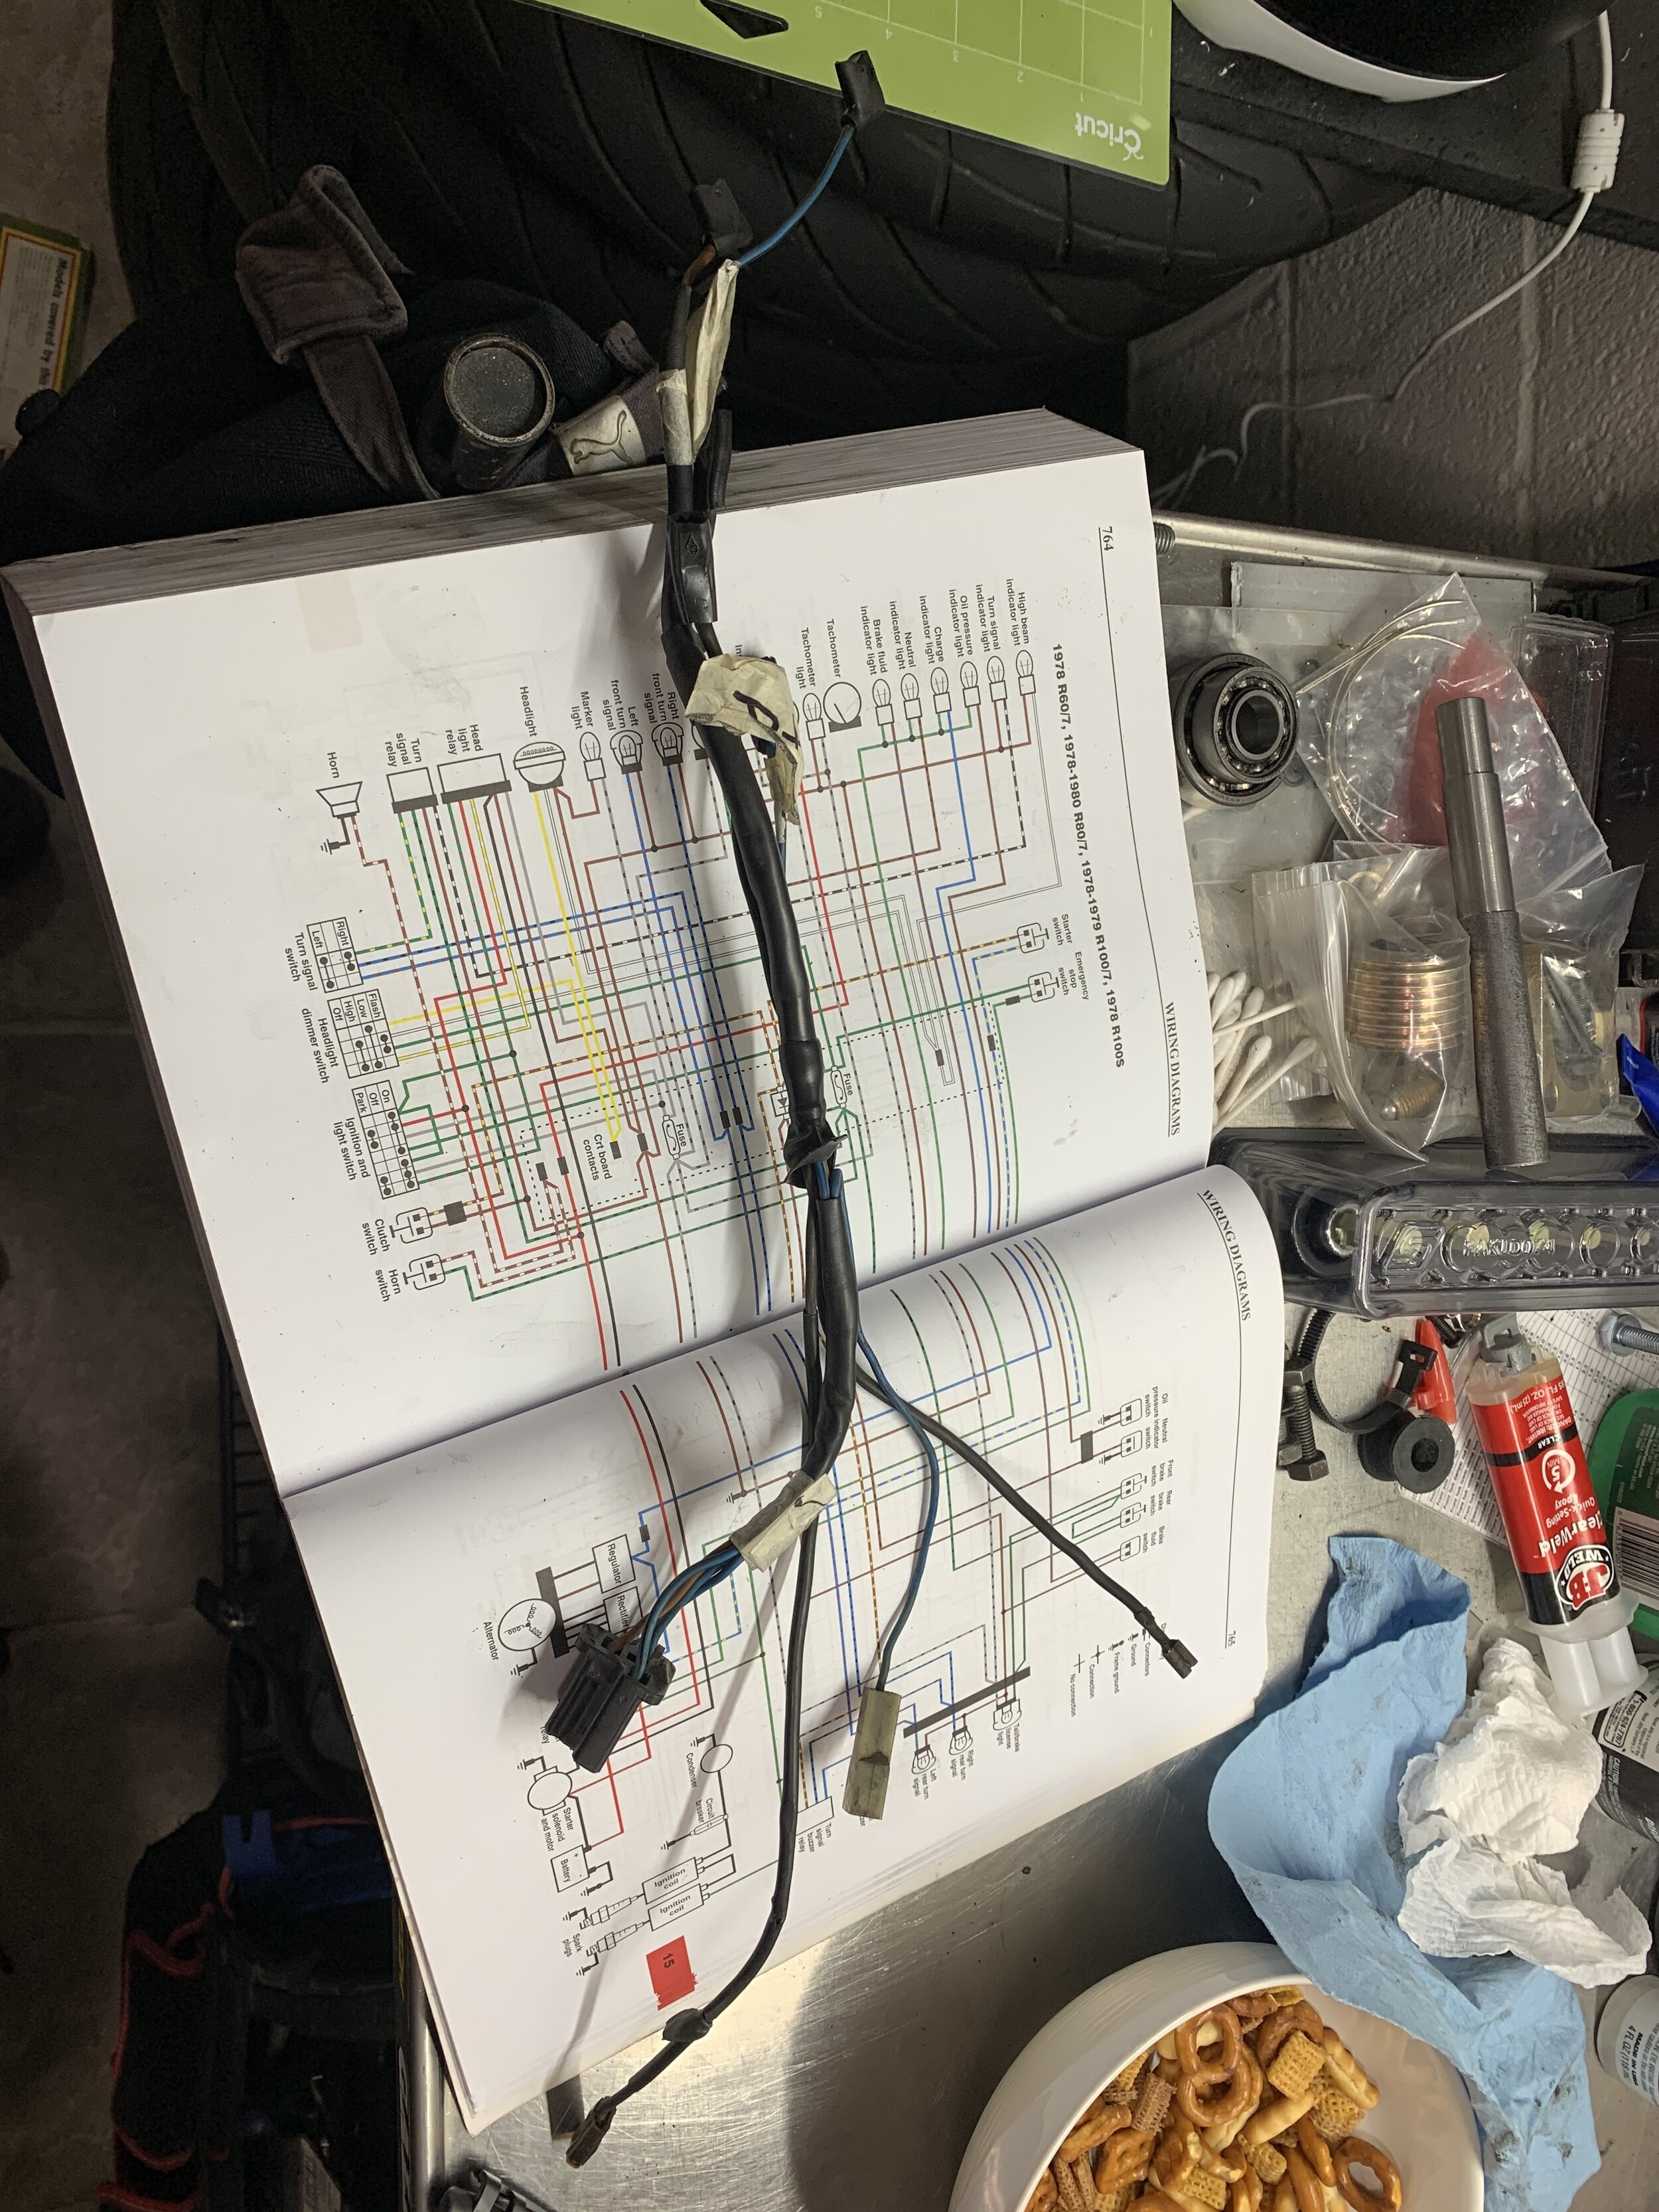
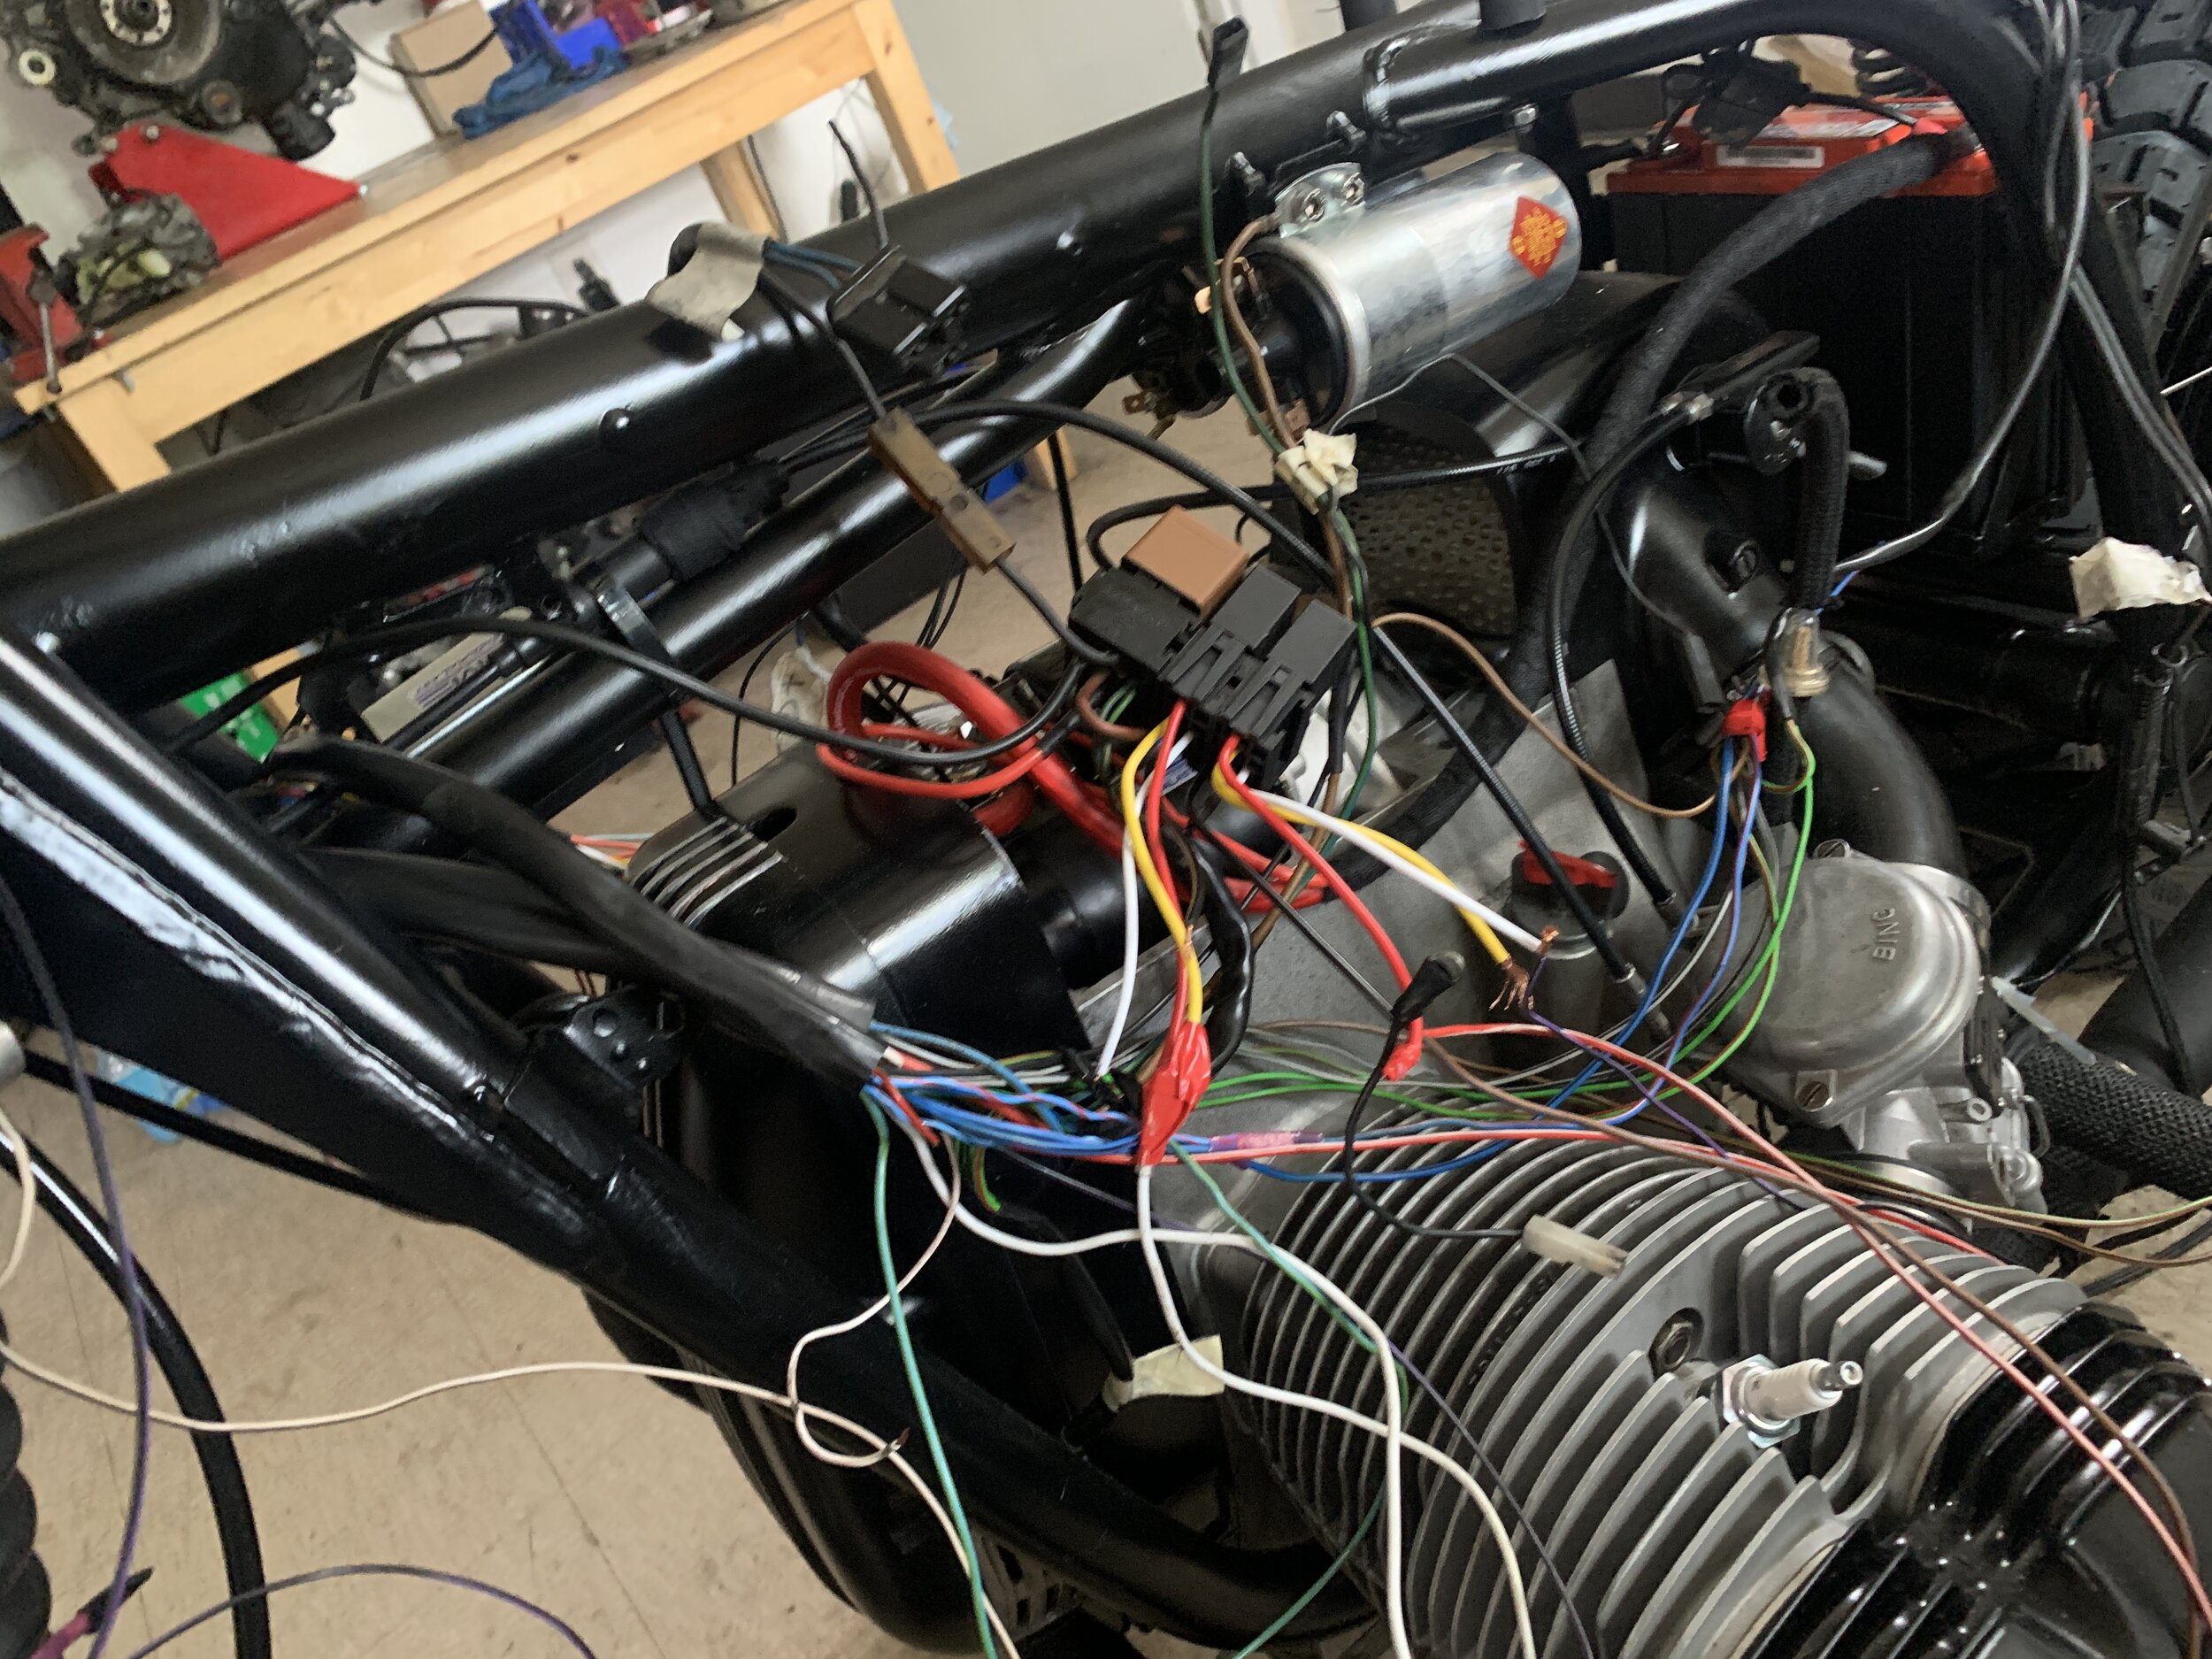
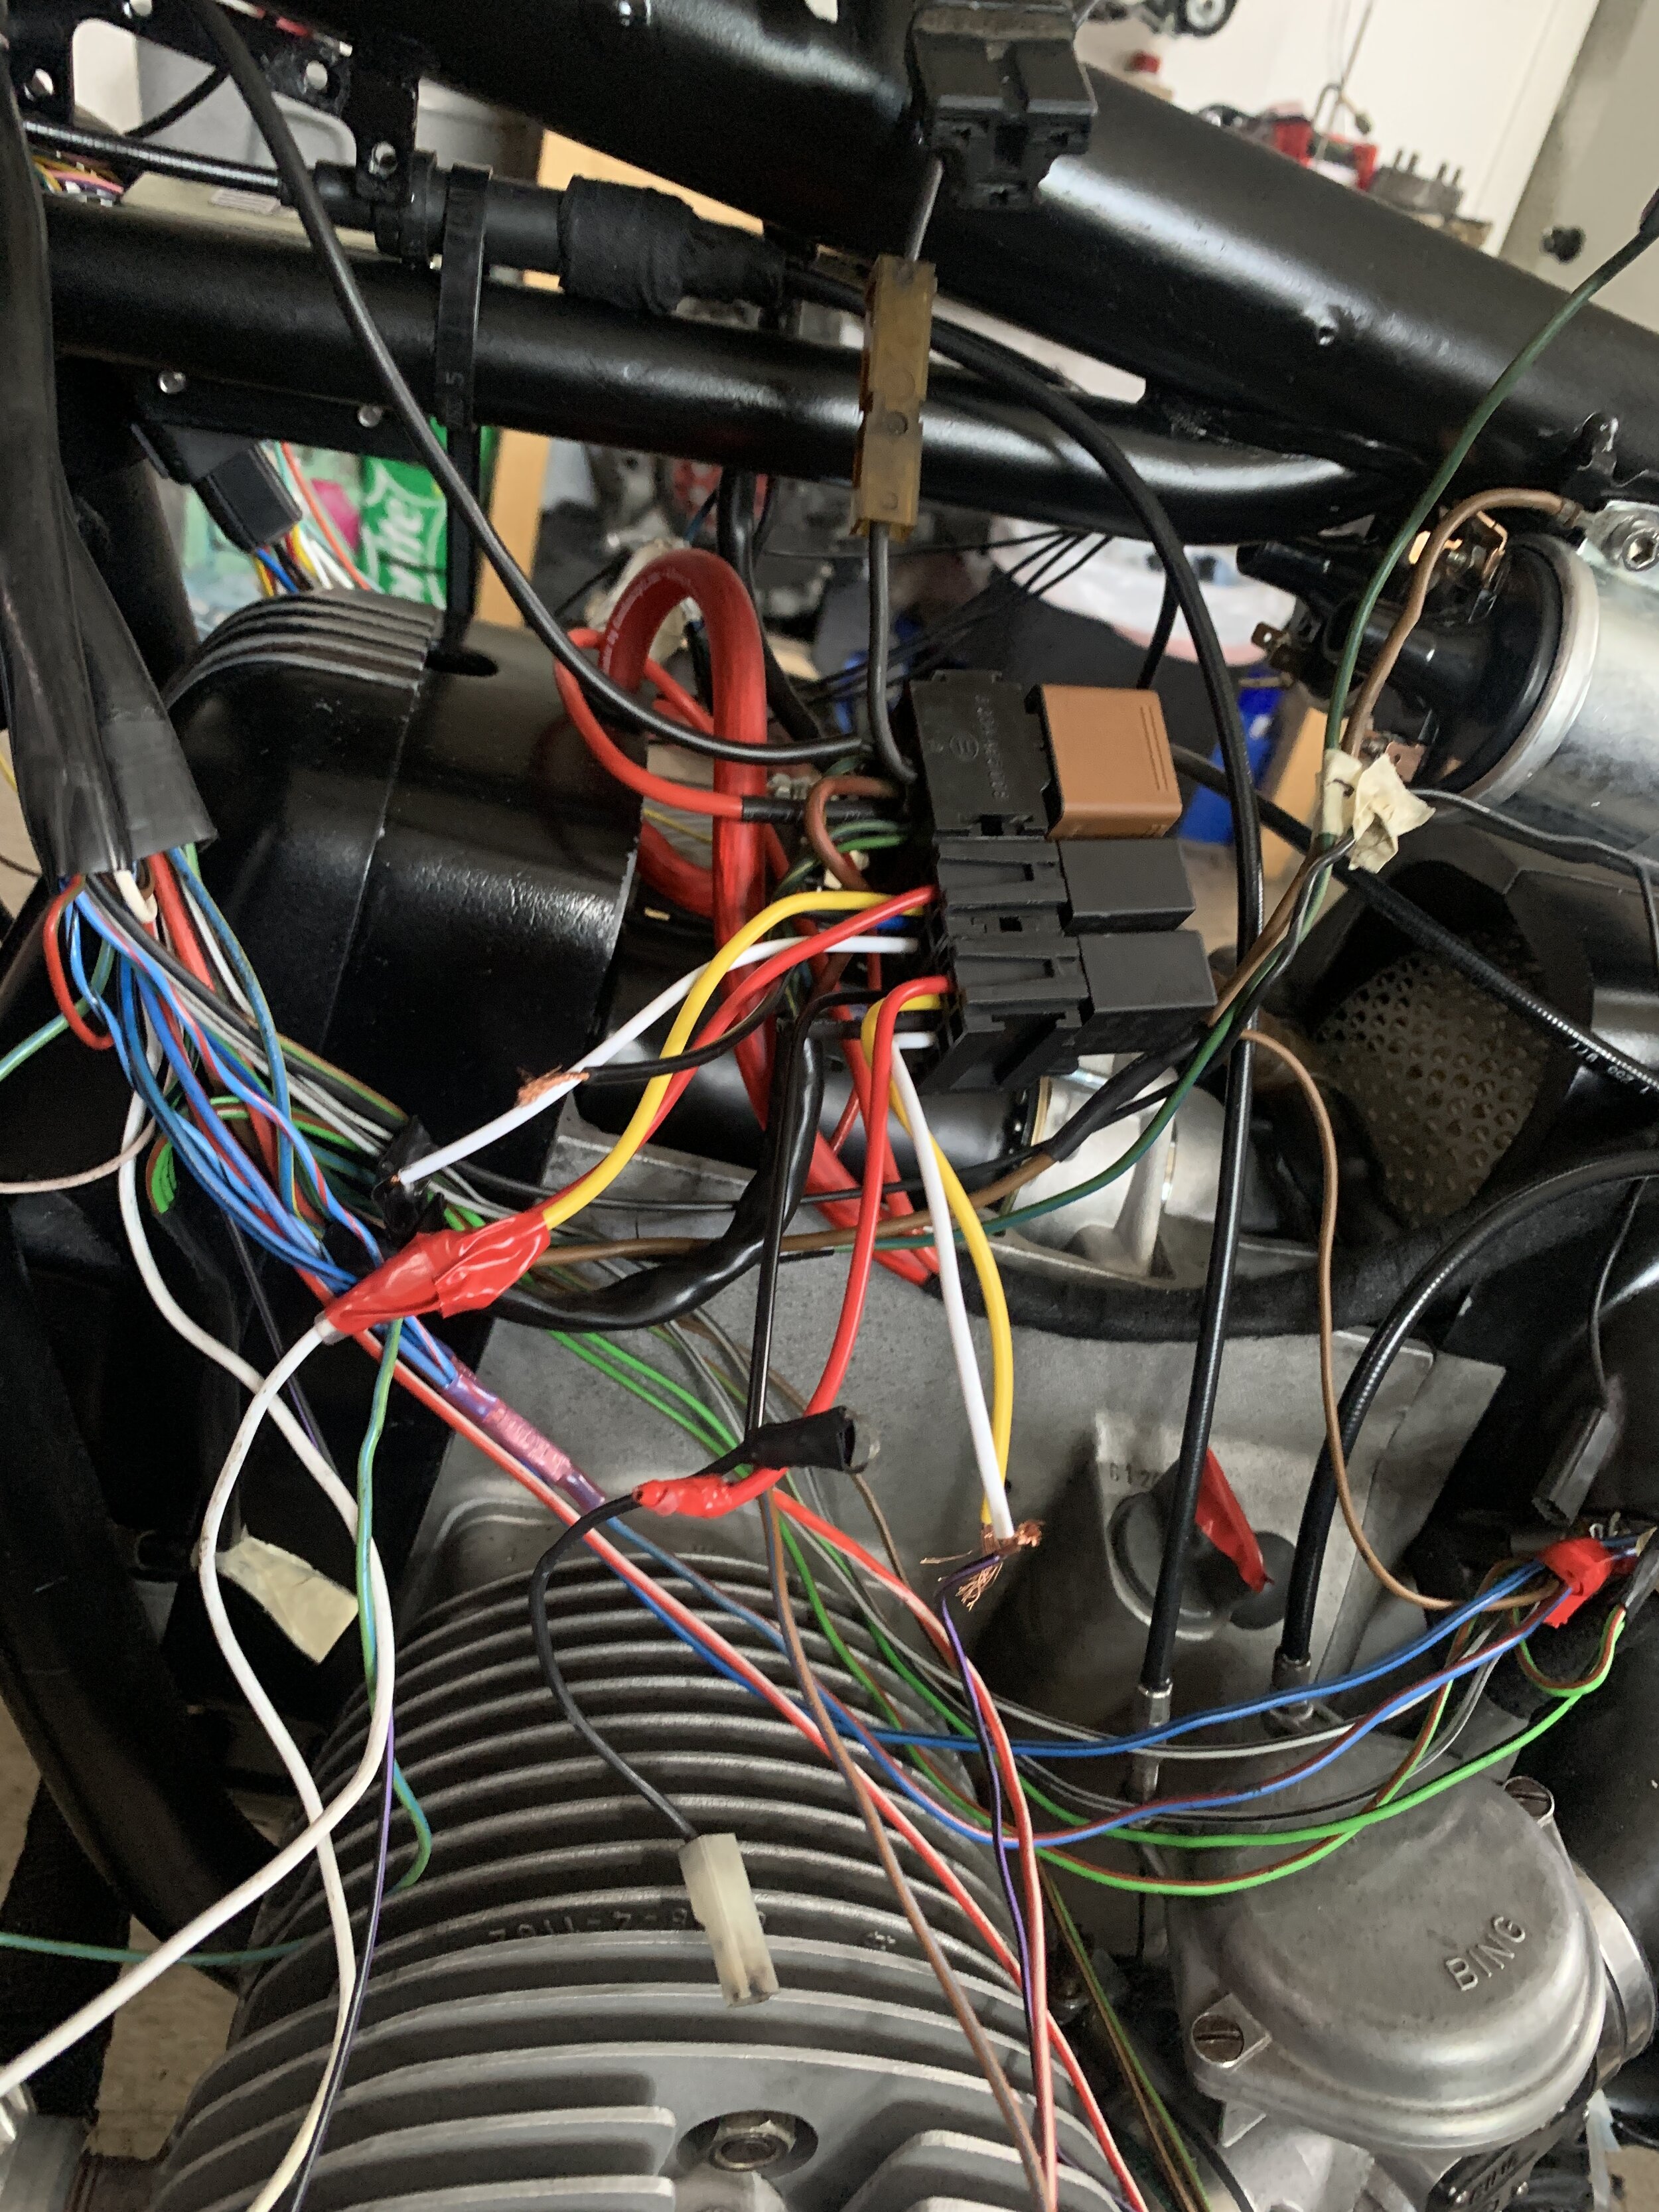
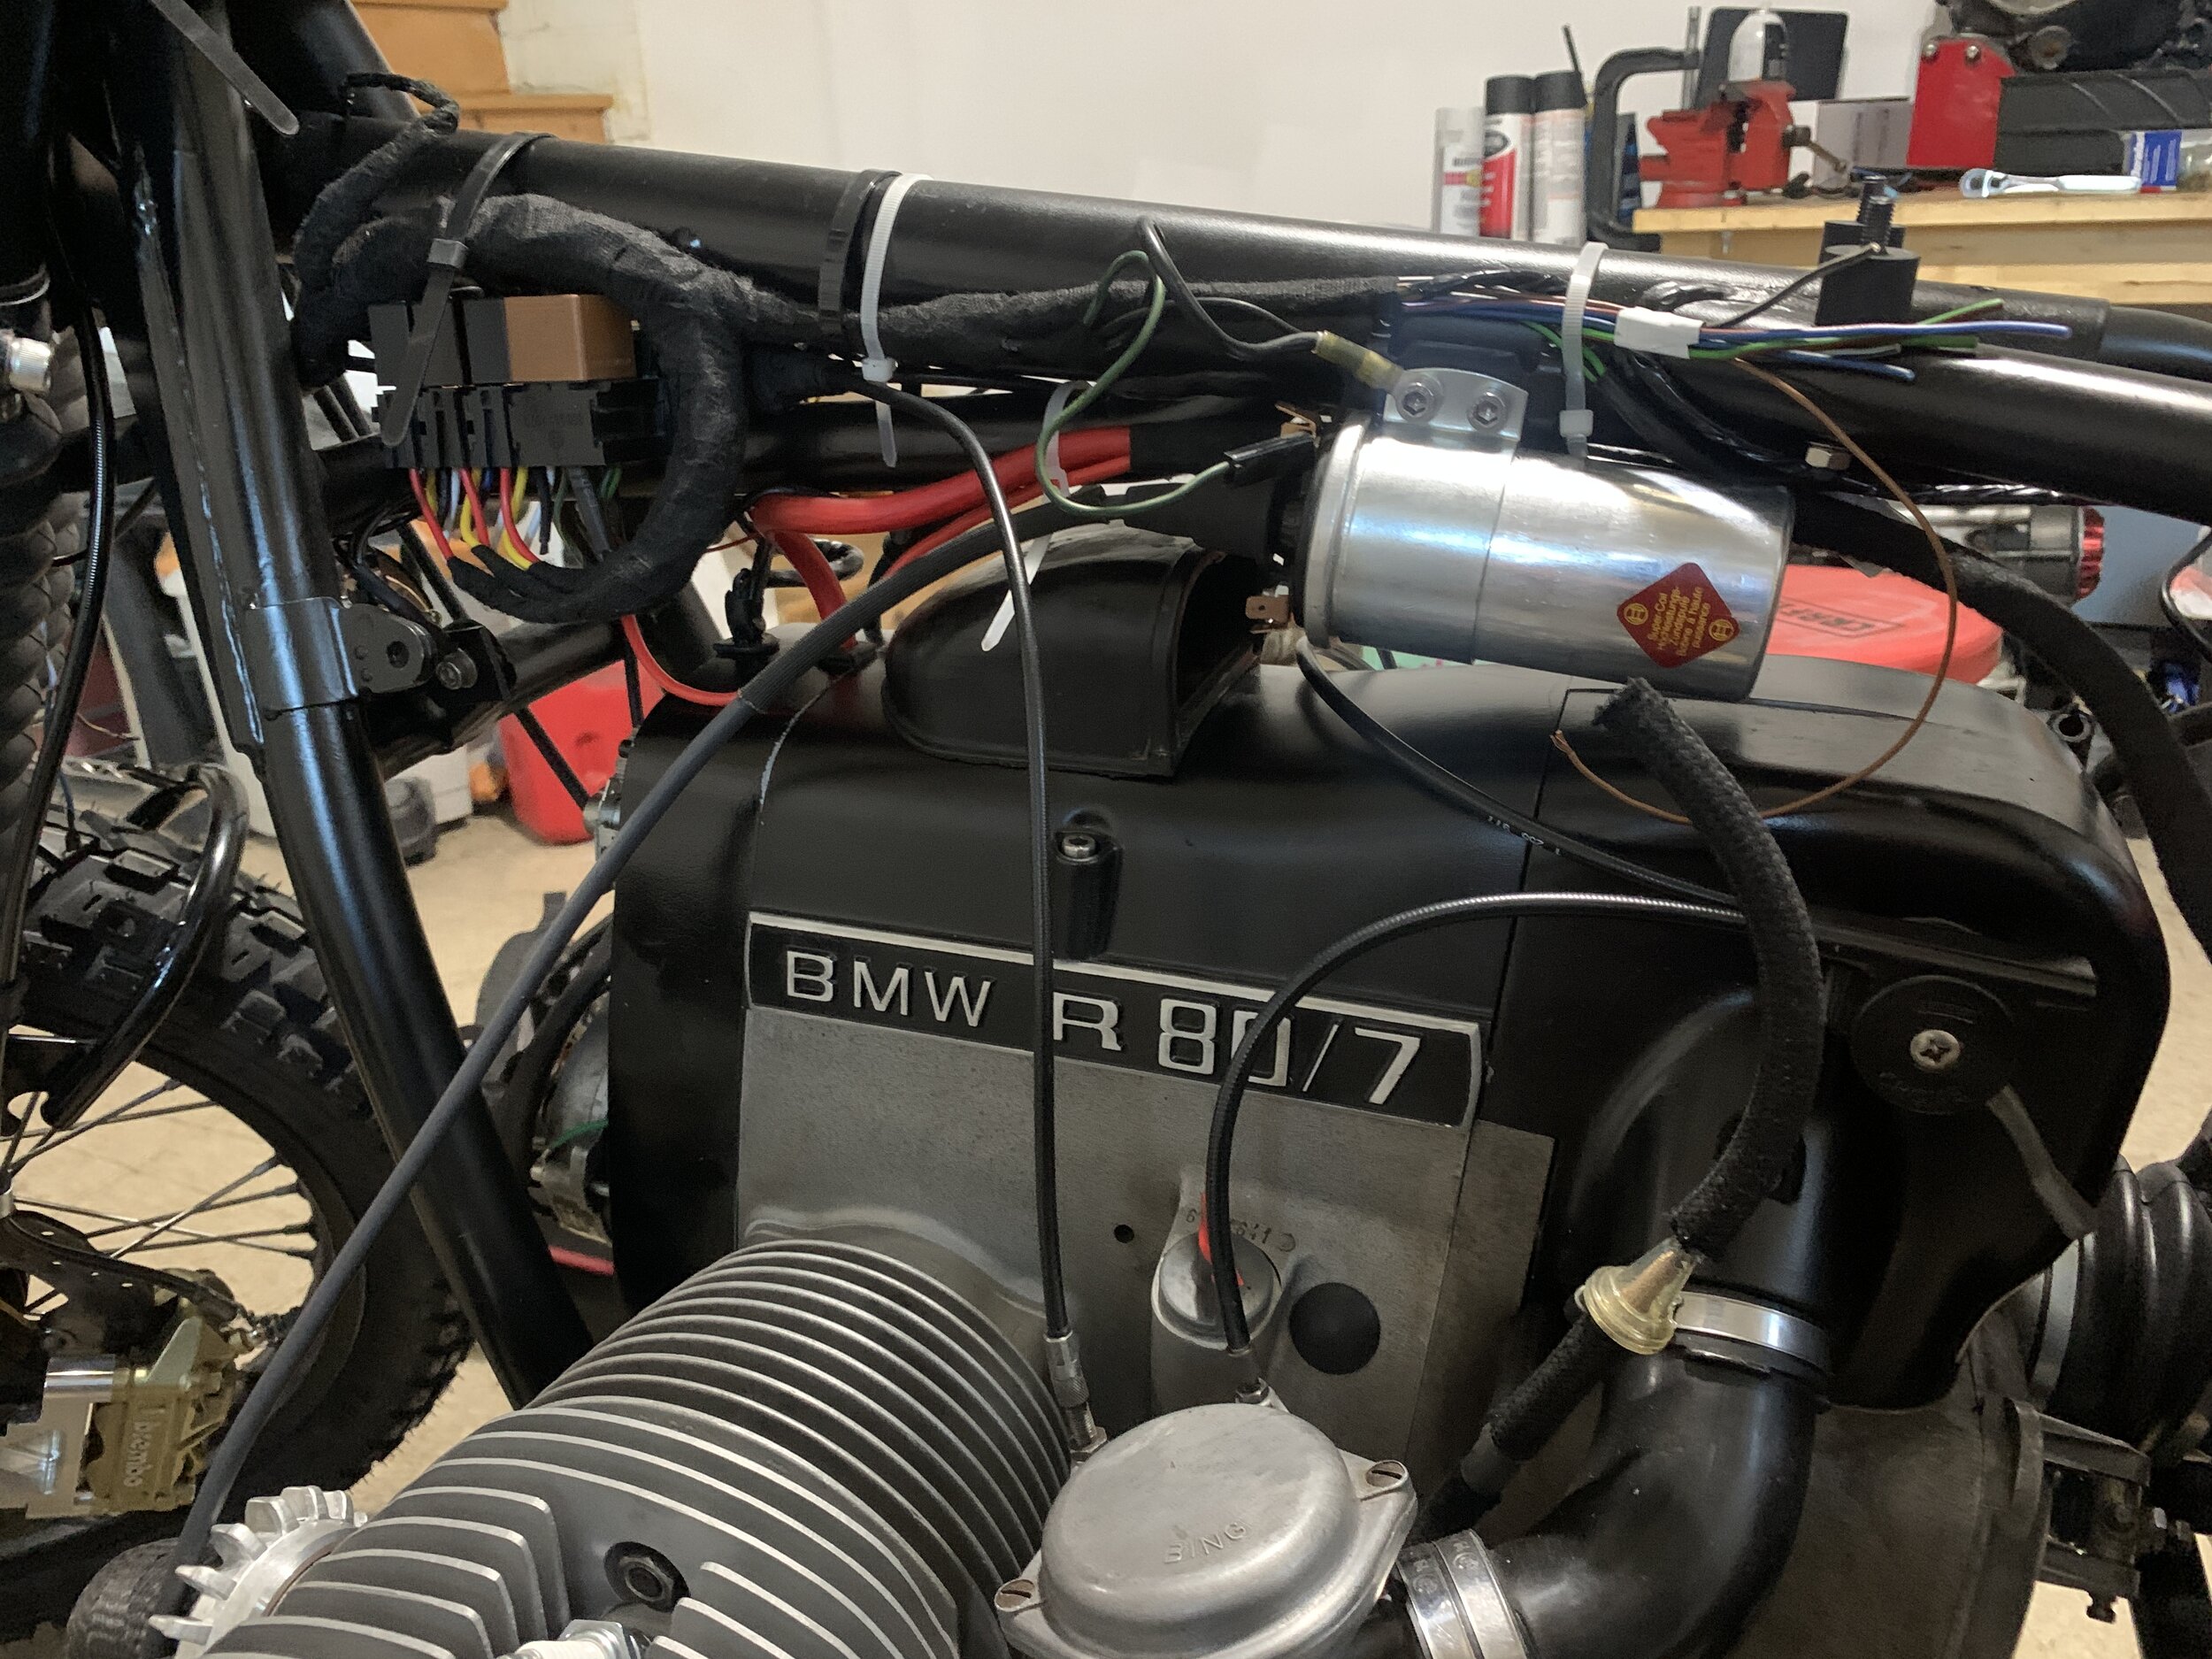
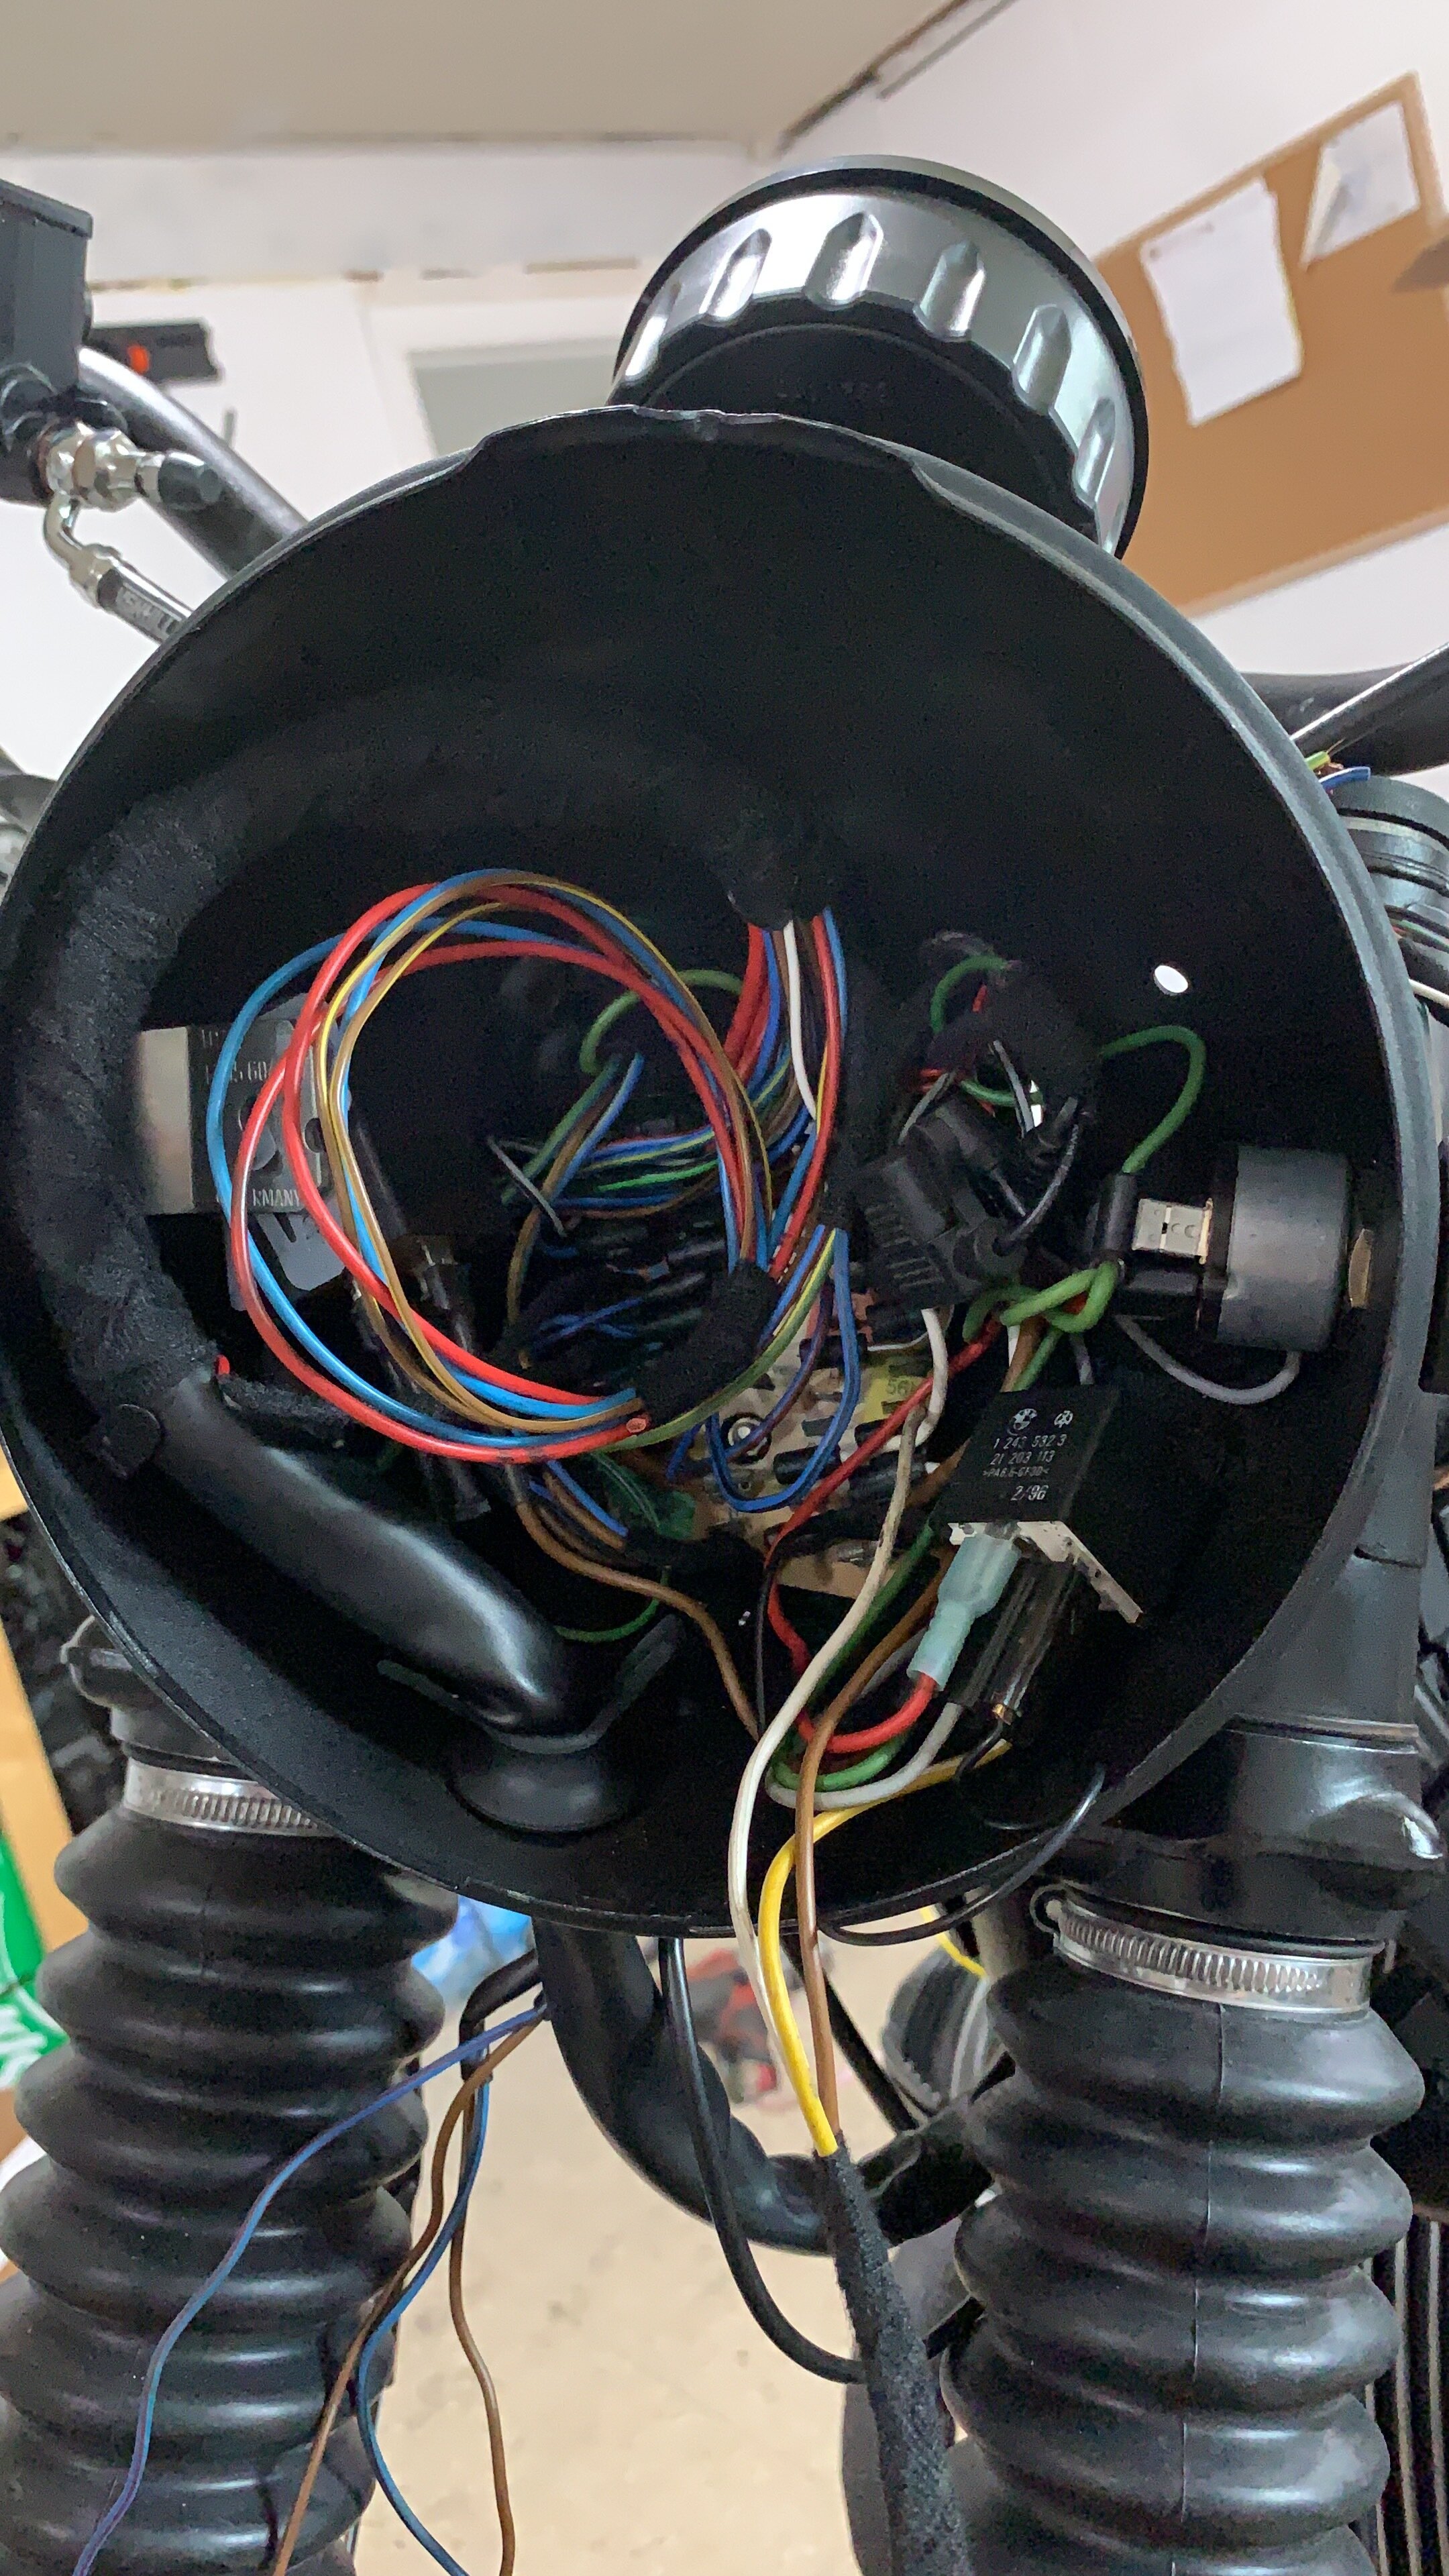
Wiring and Cluster
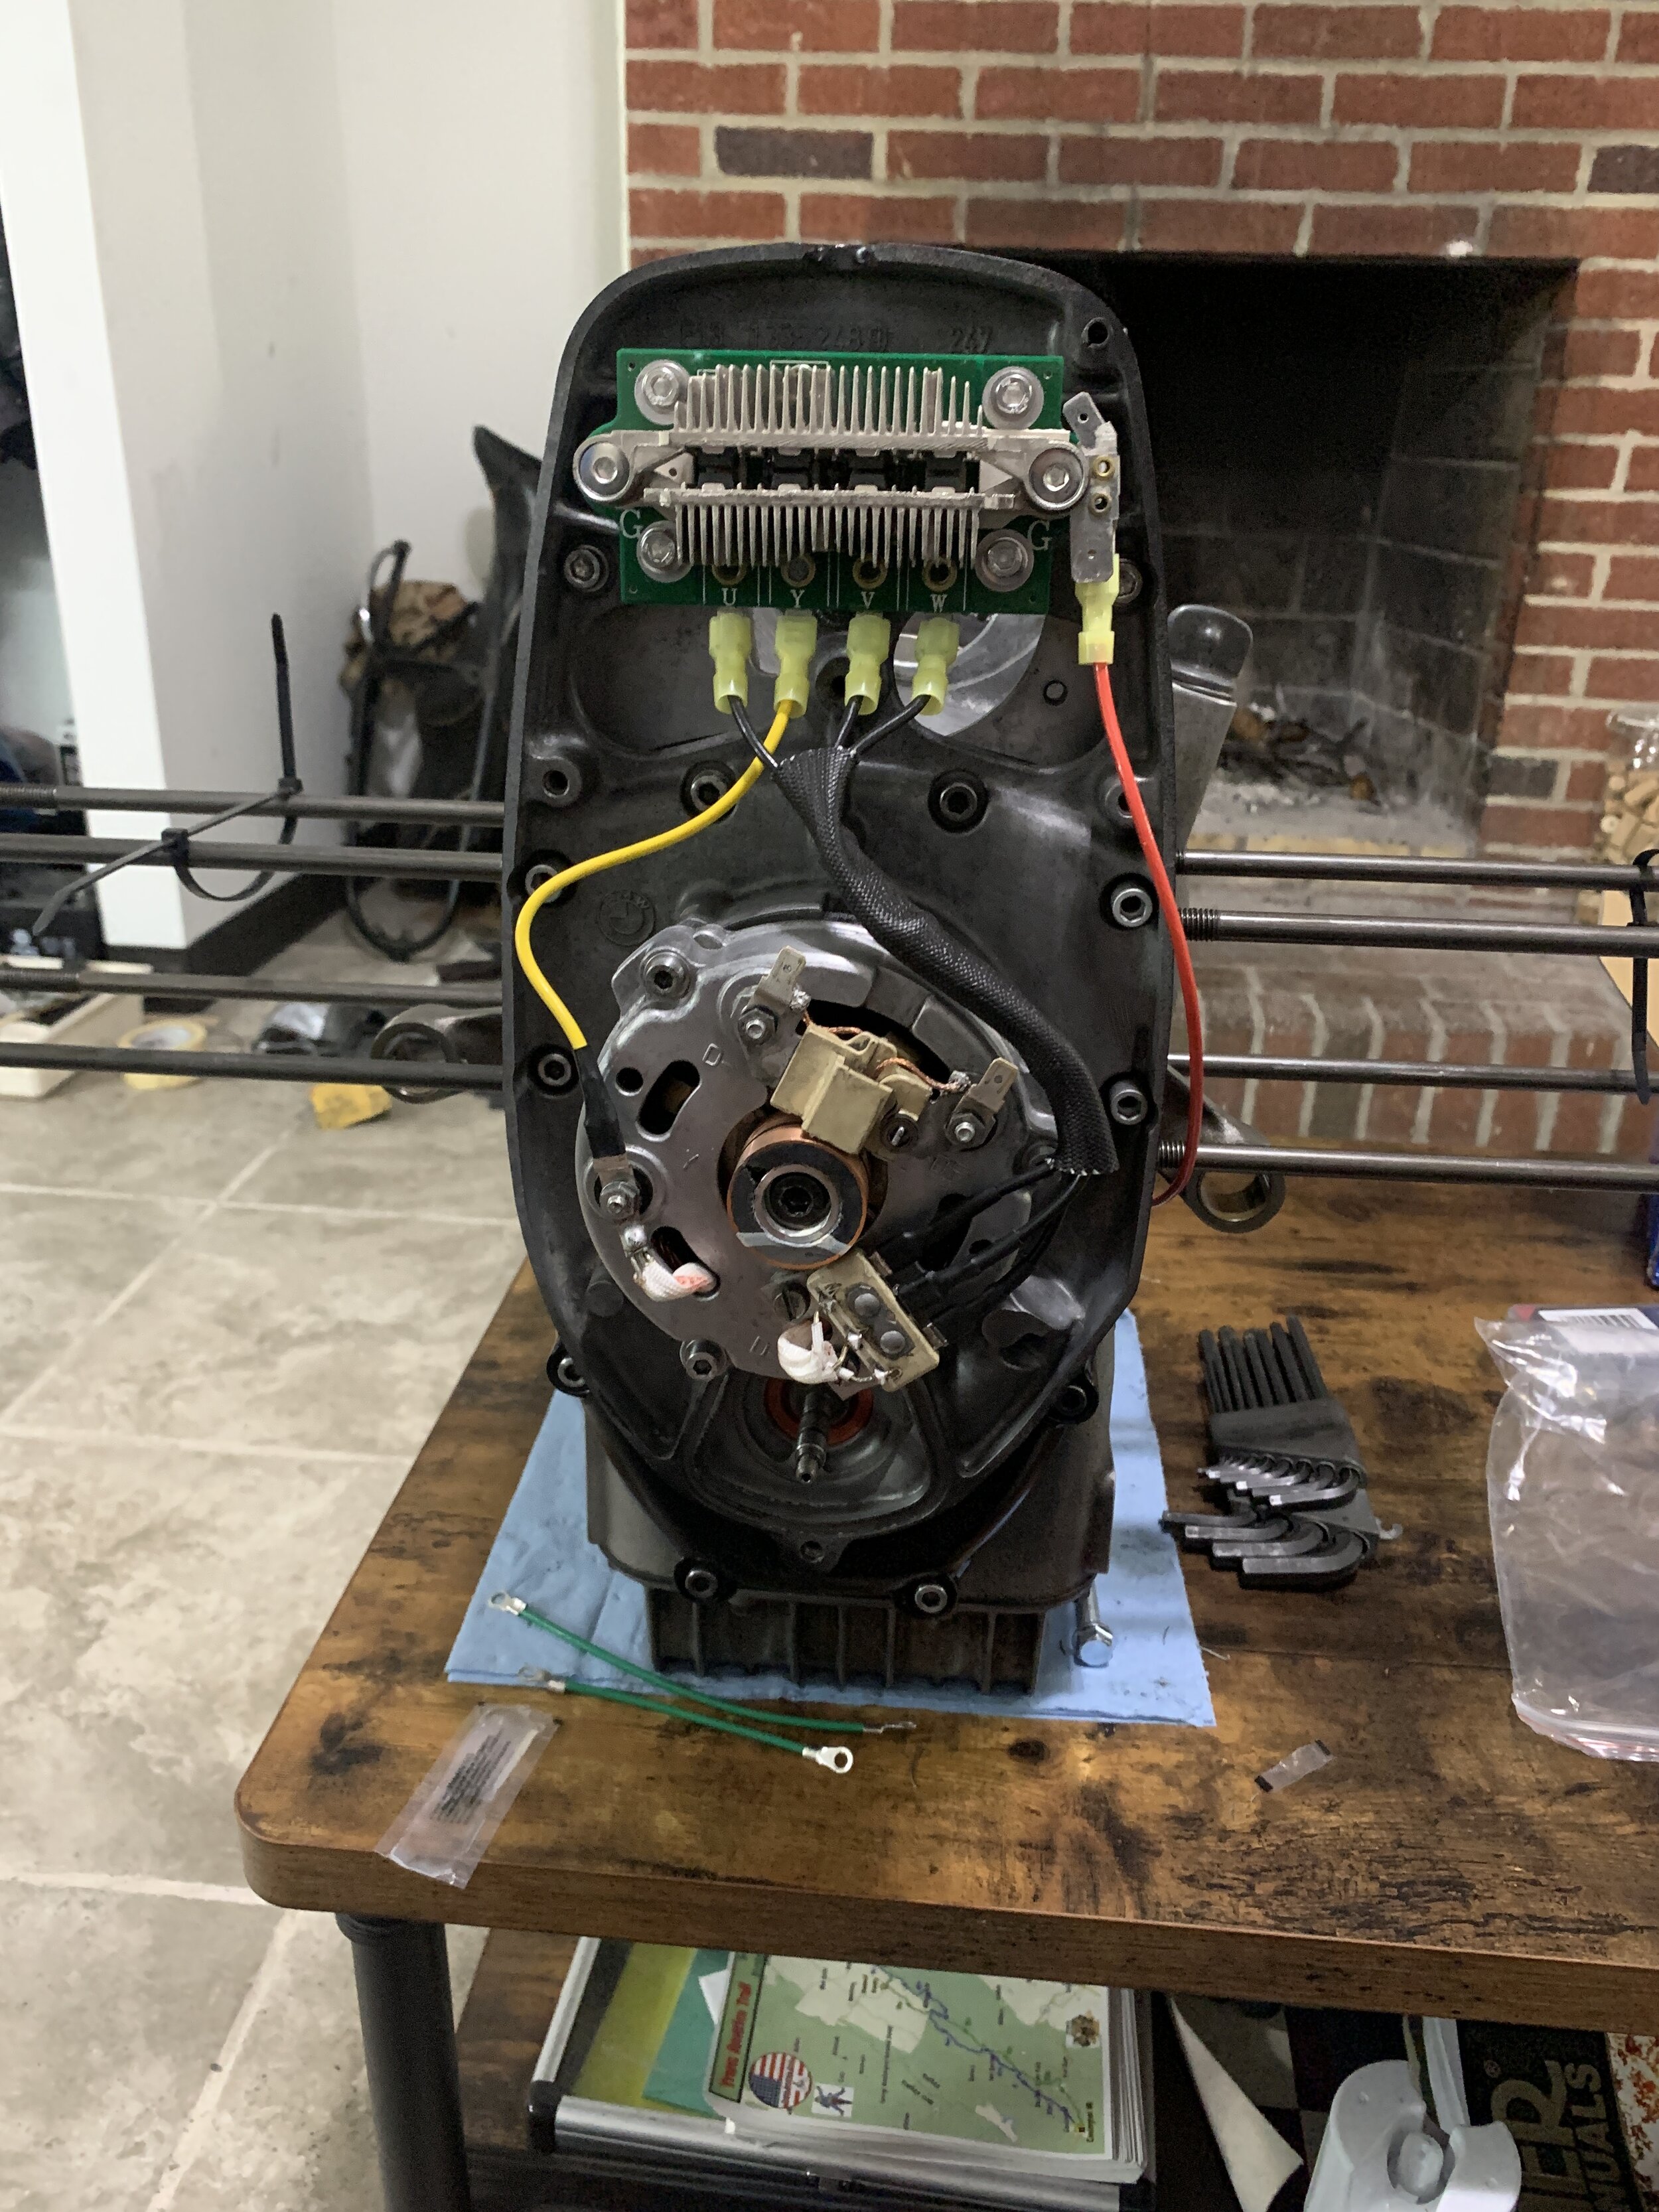
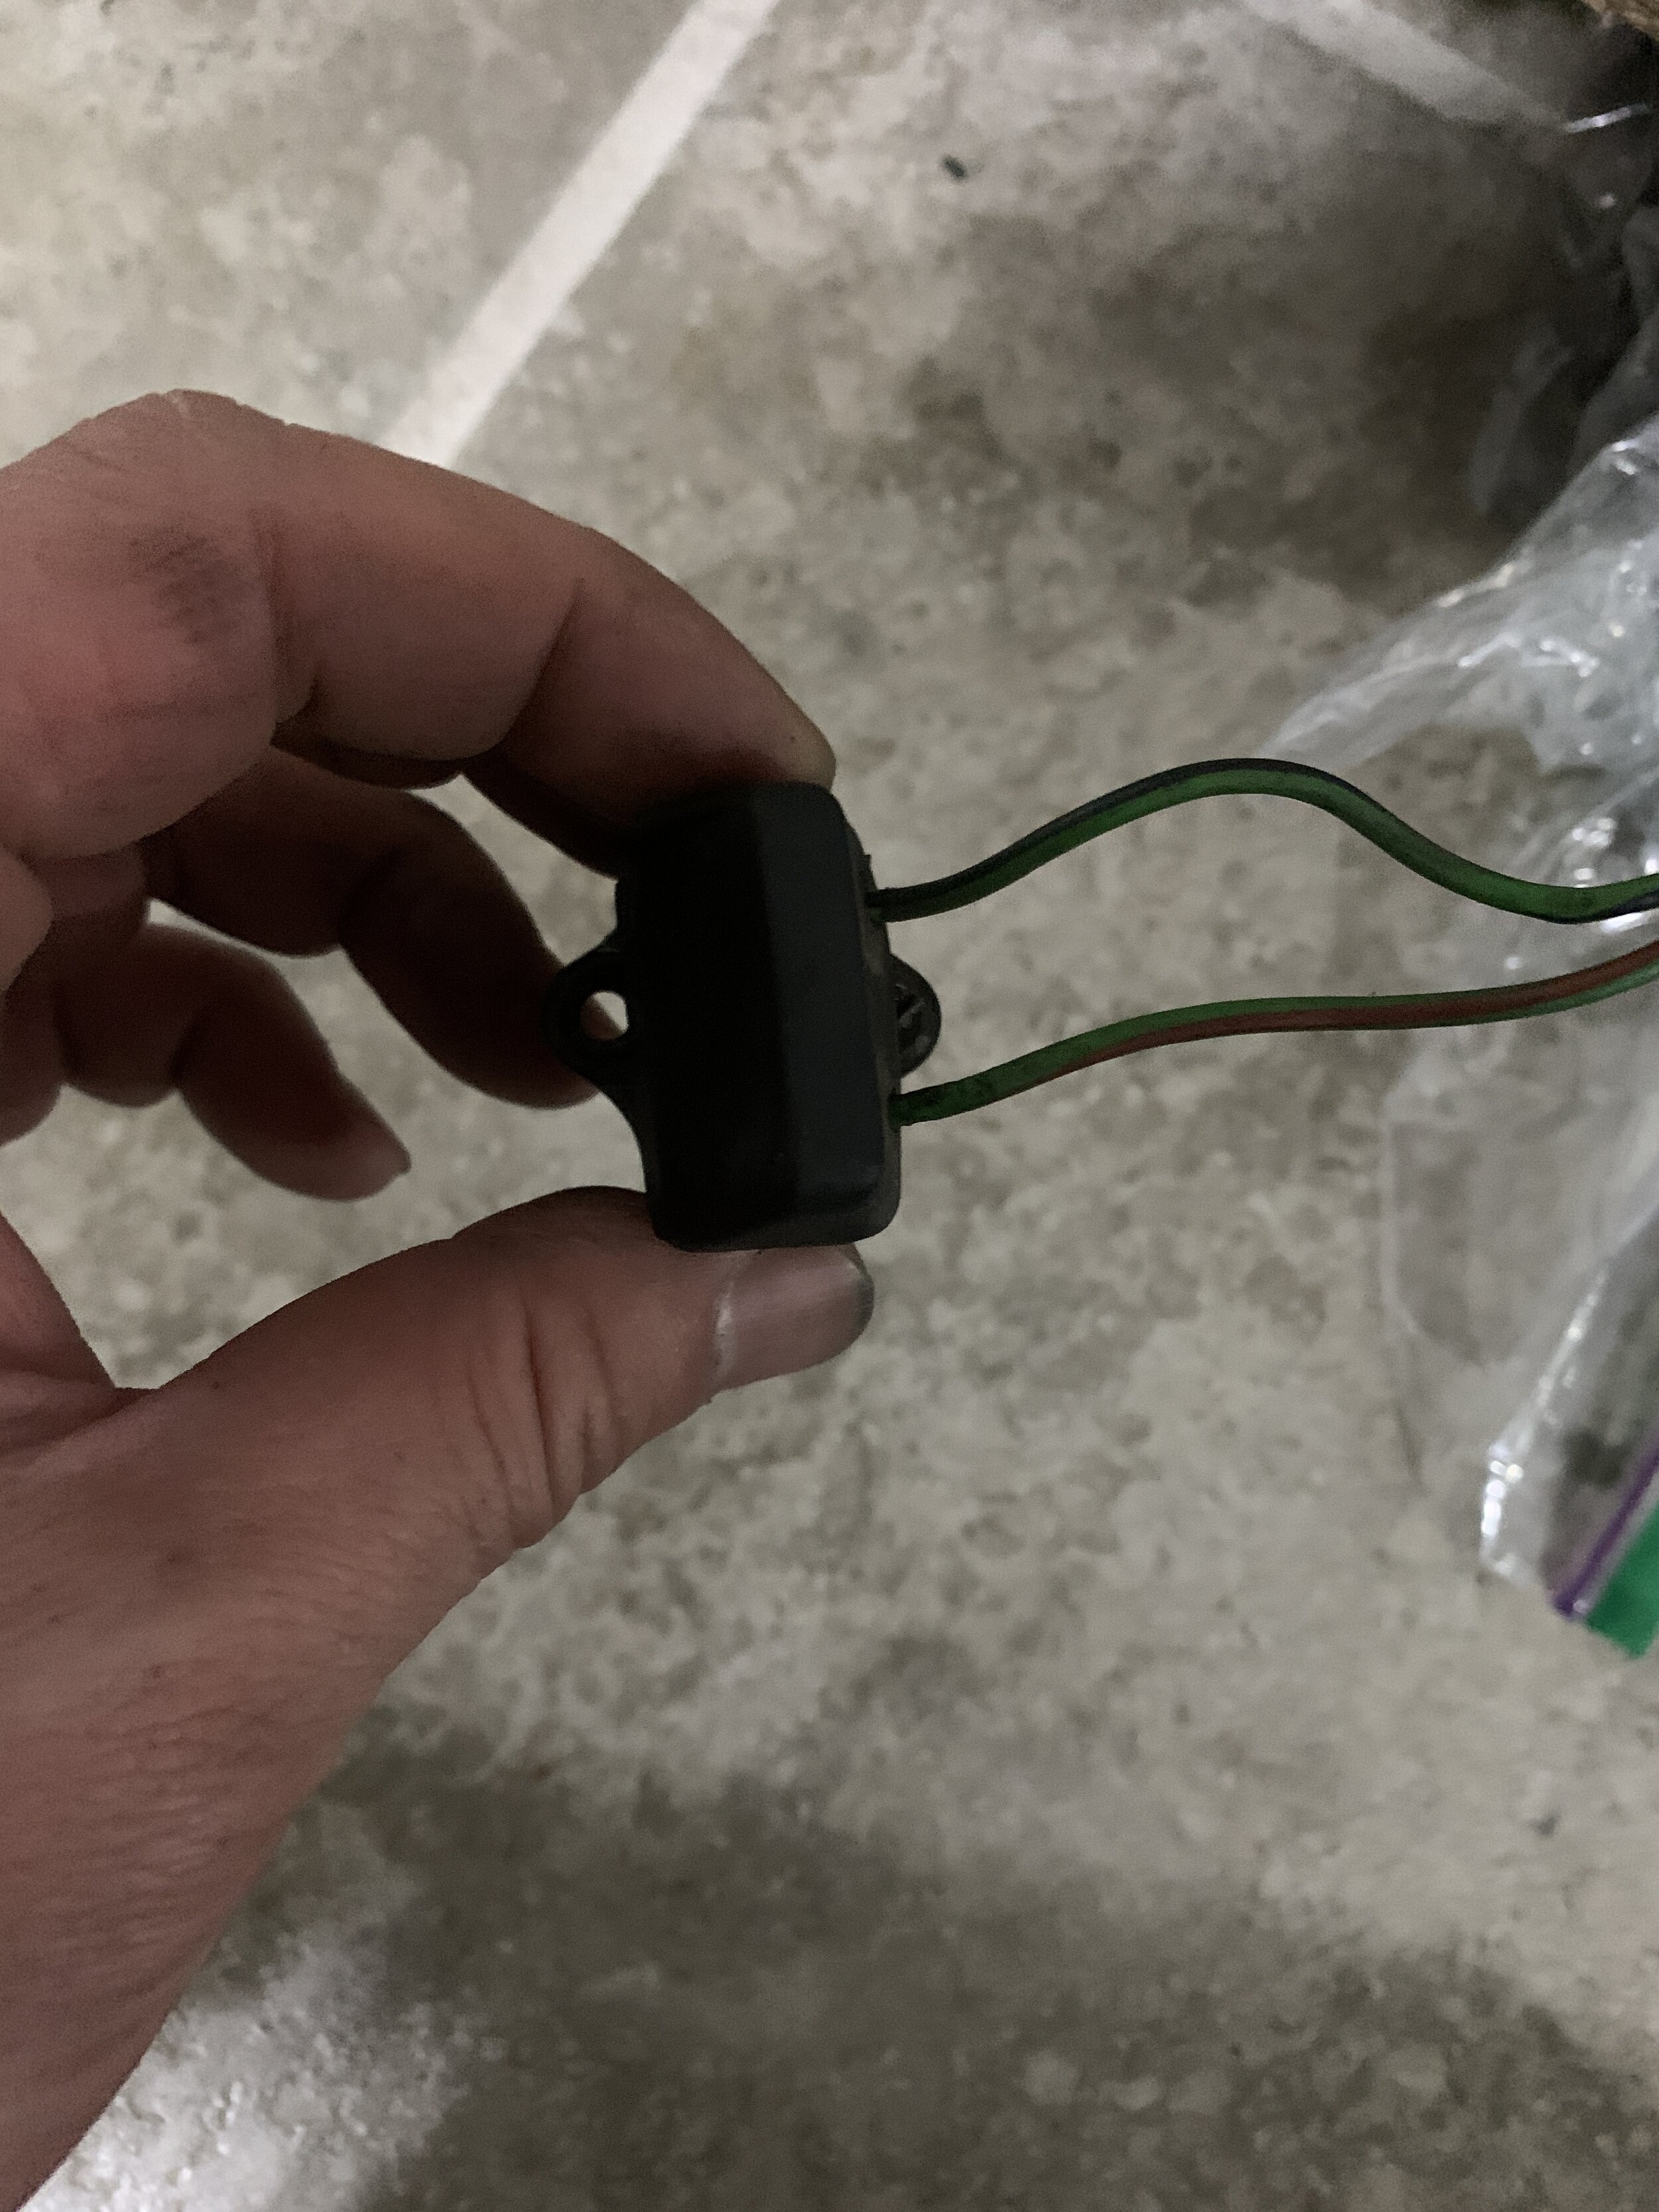
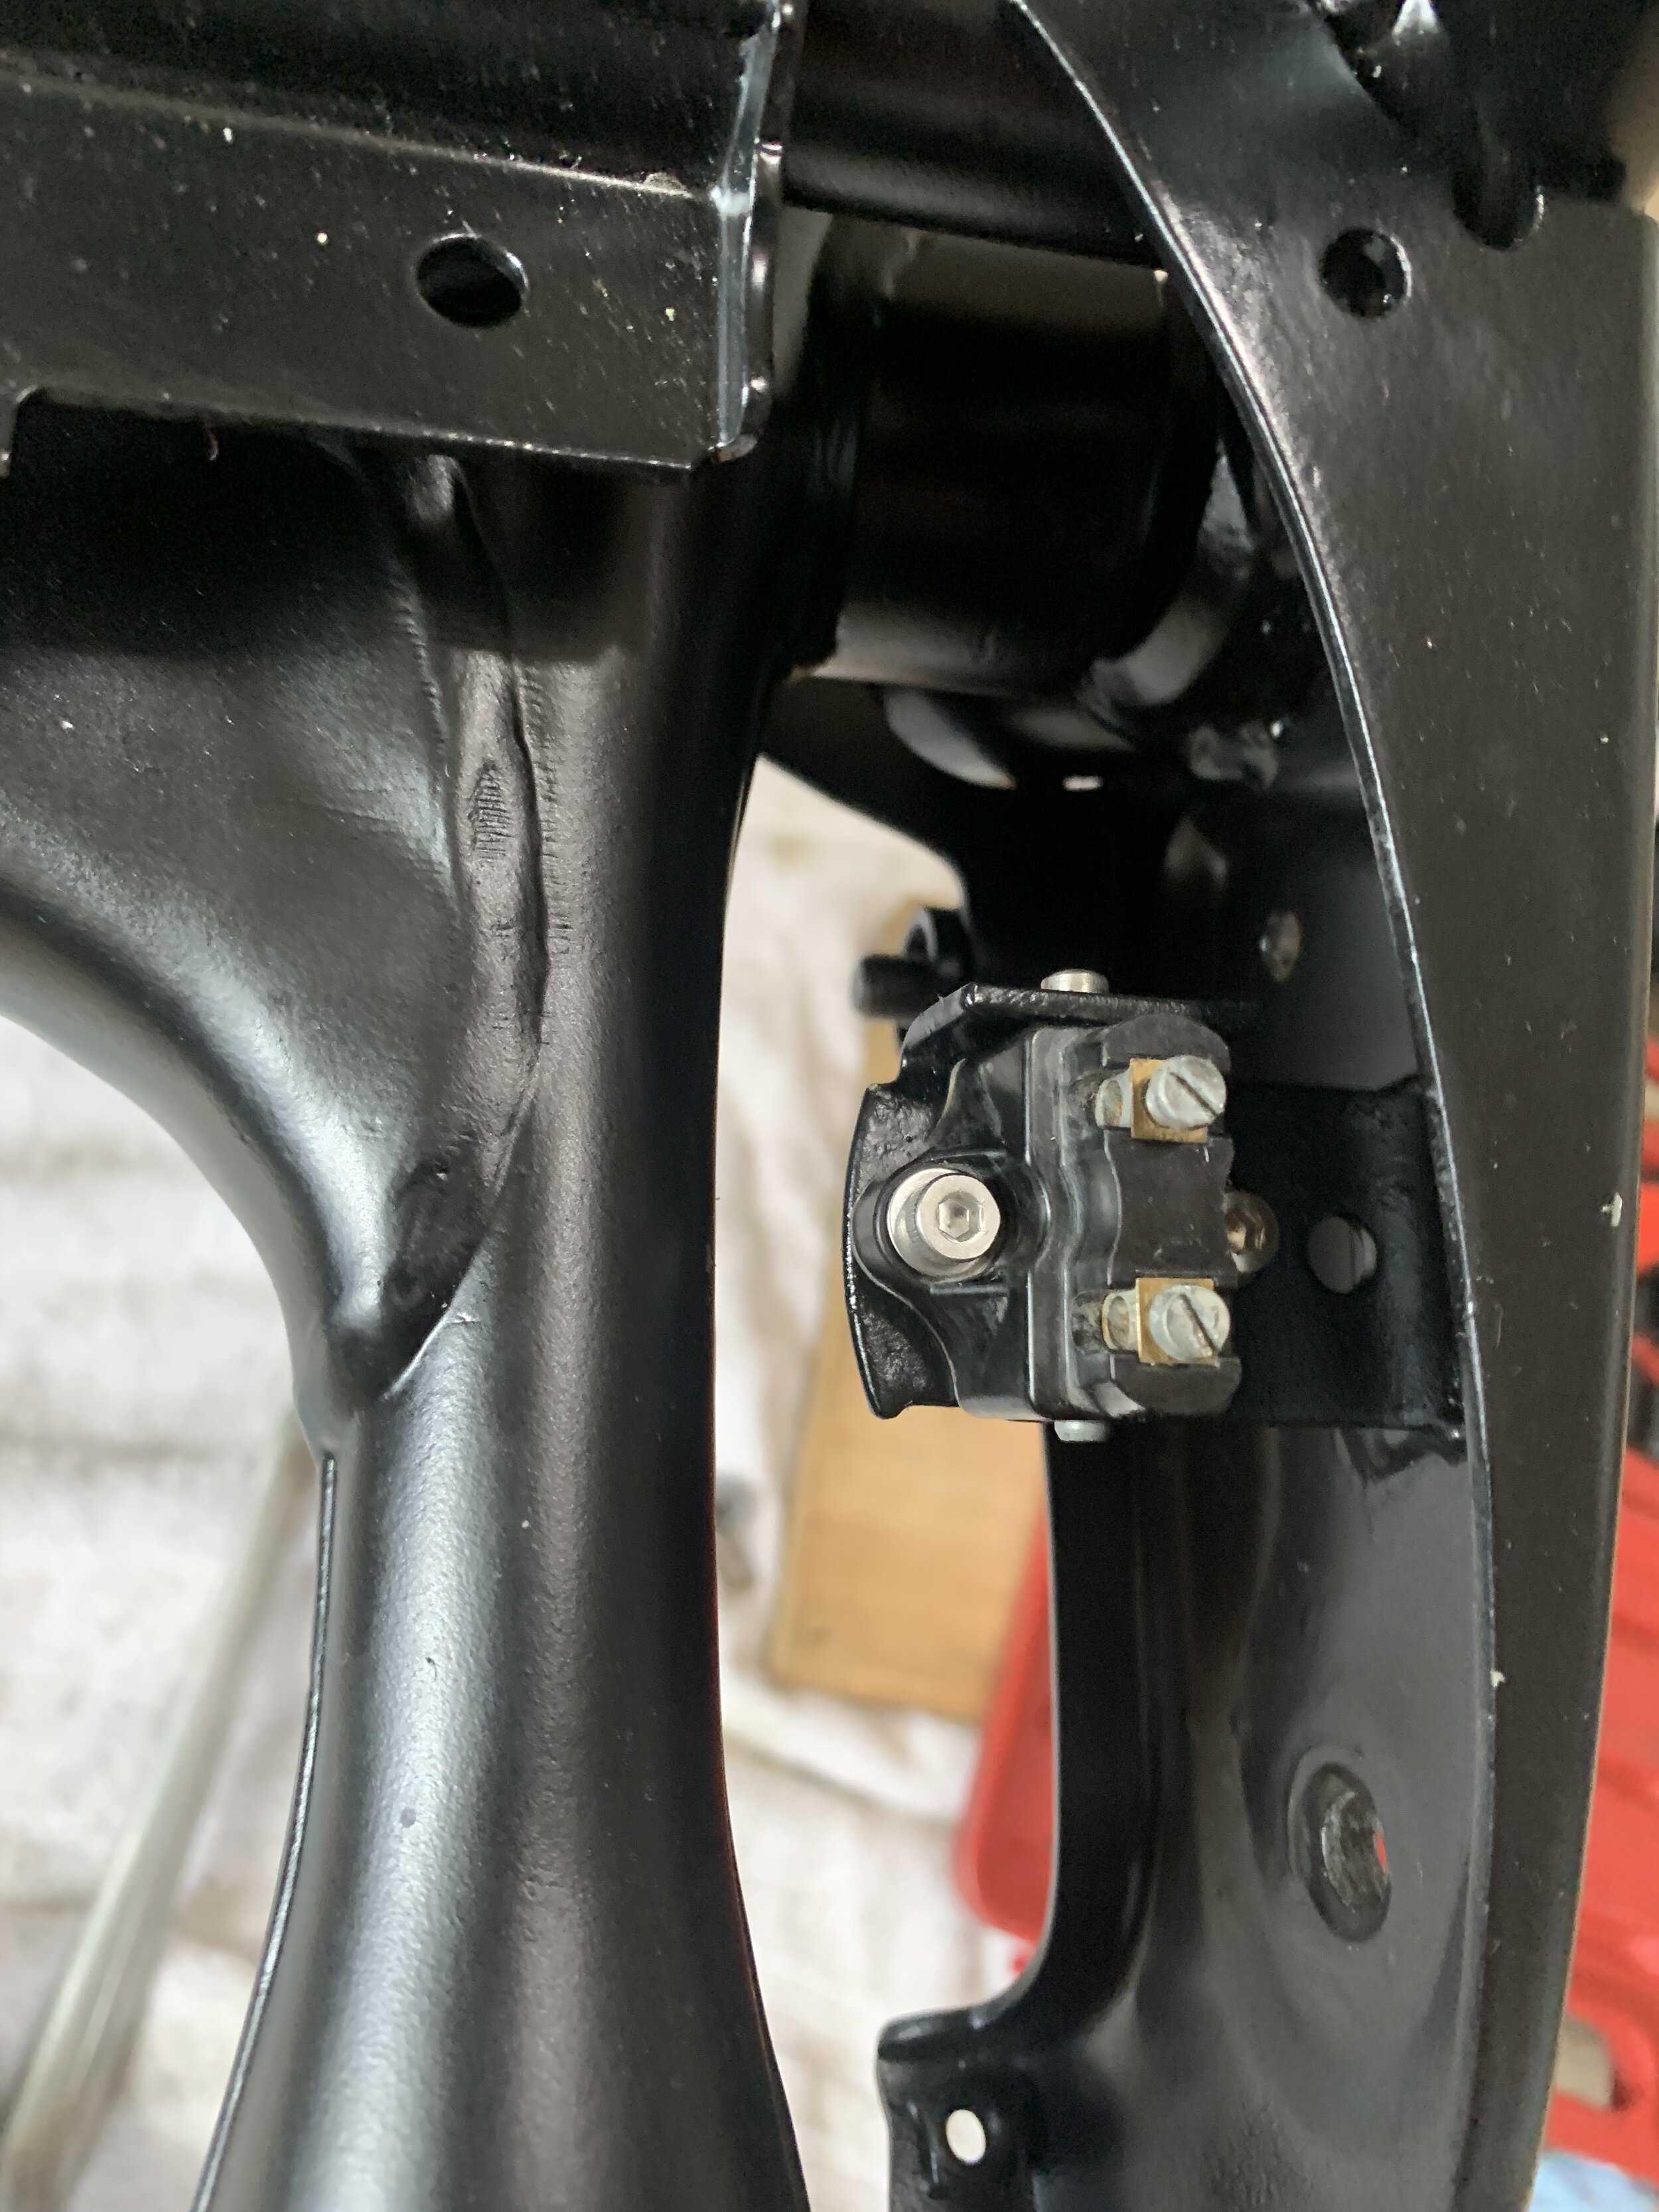
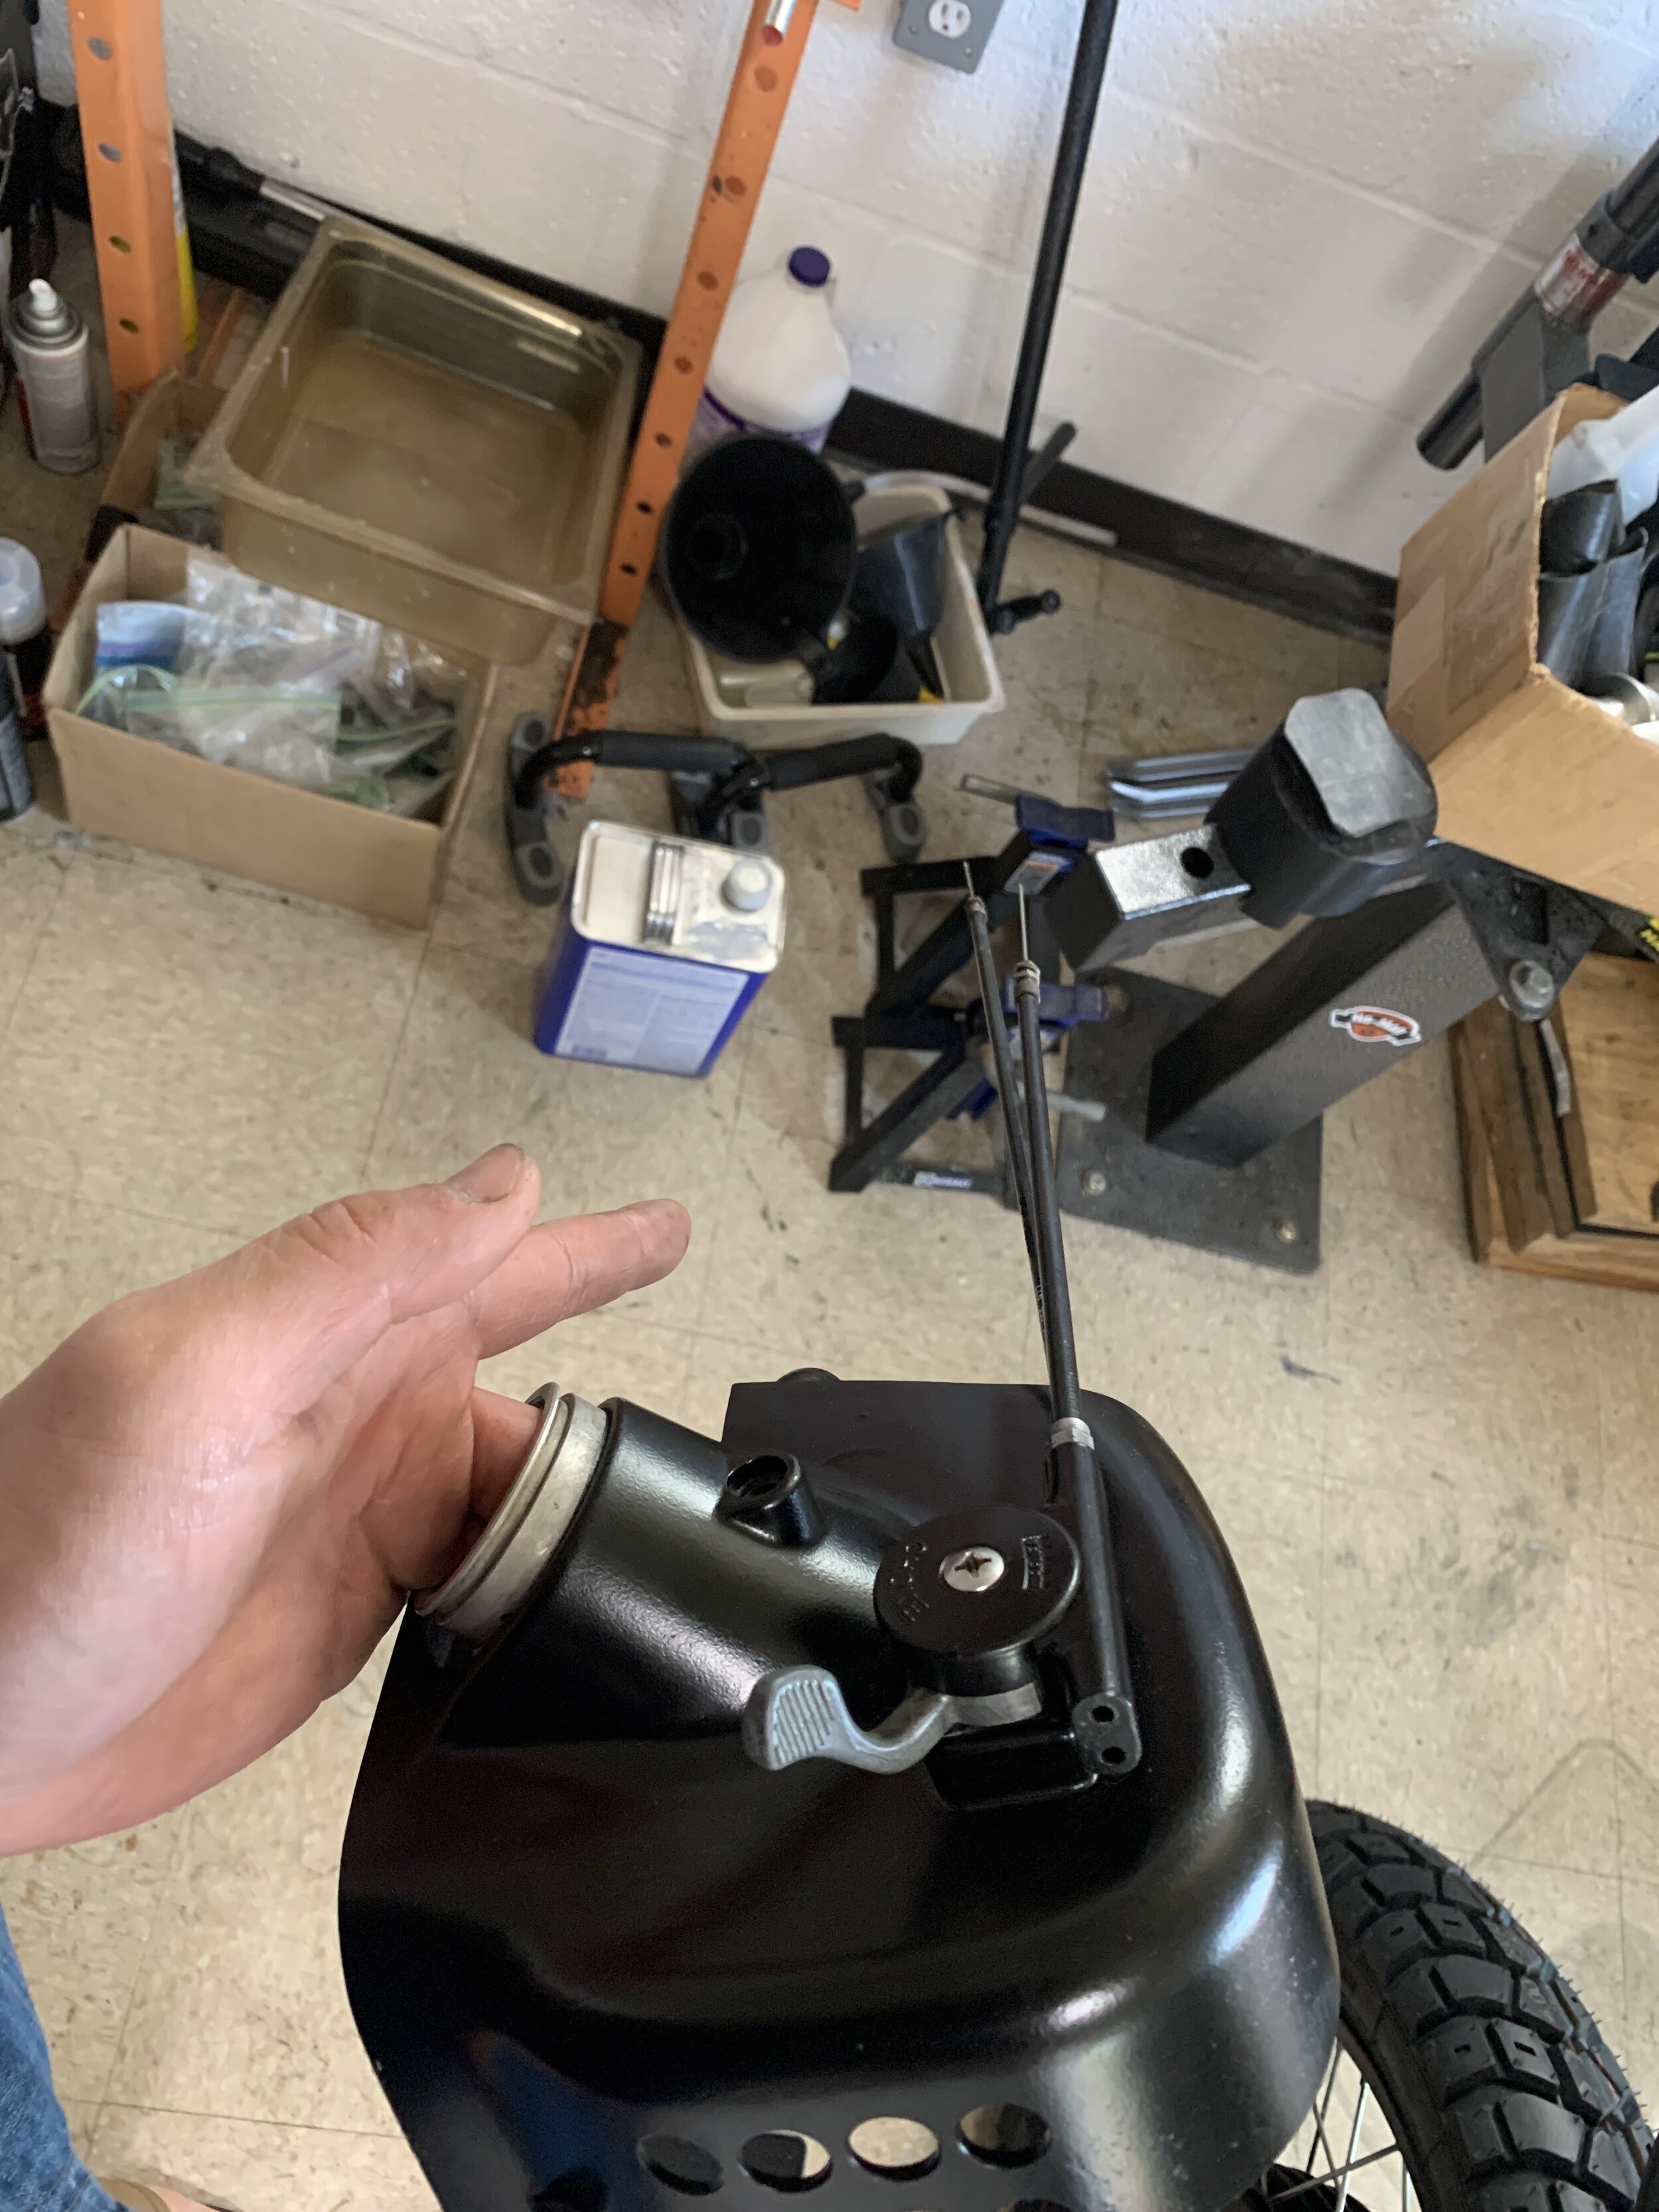
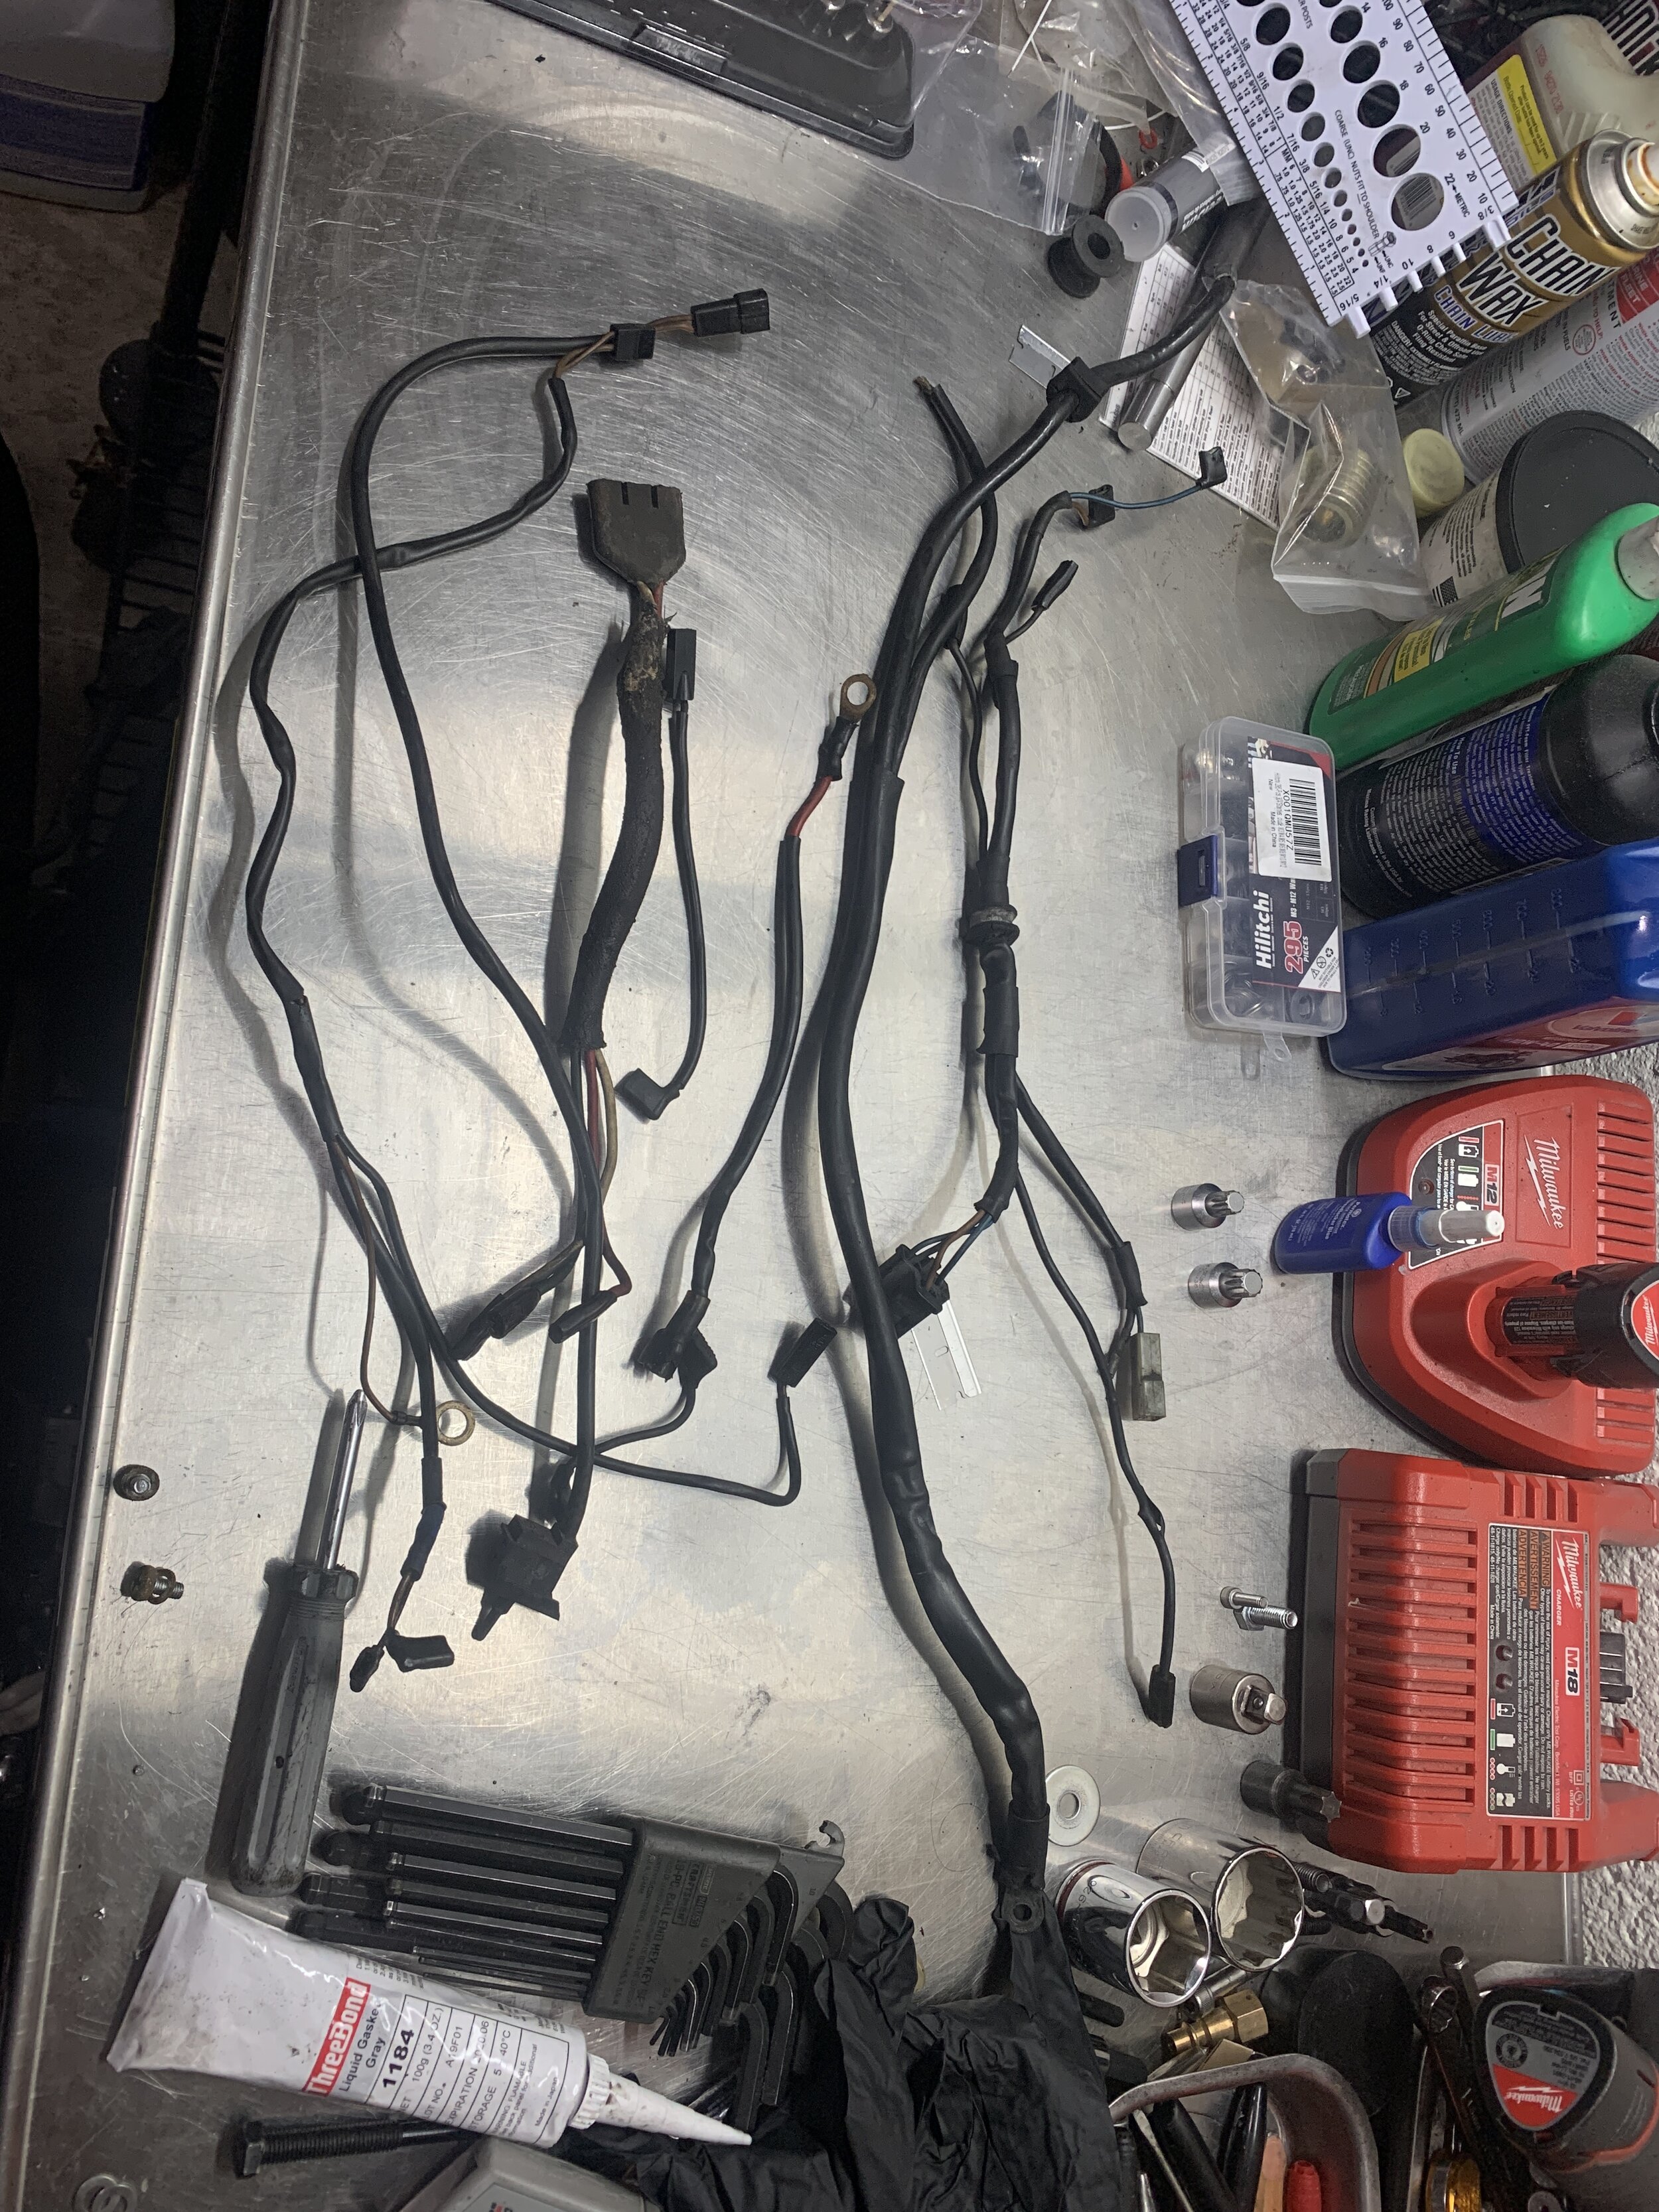
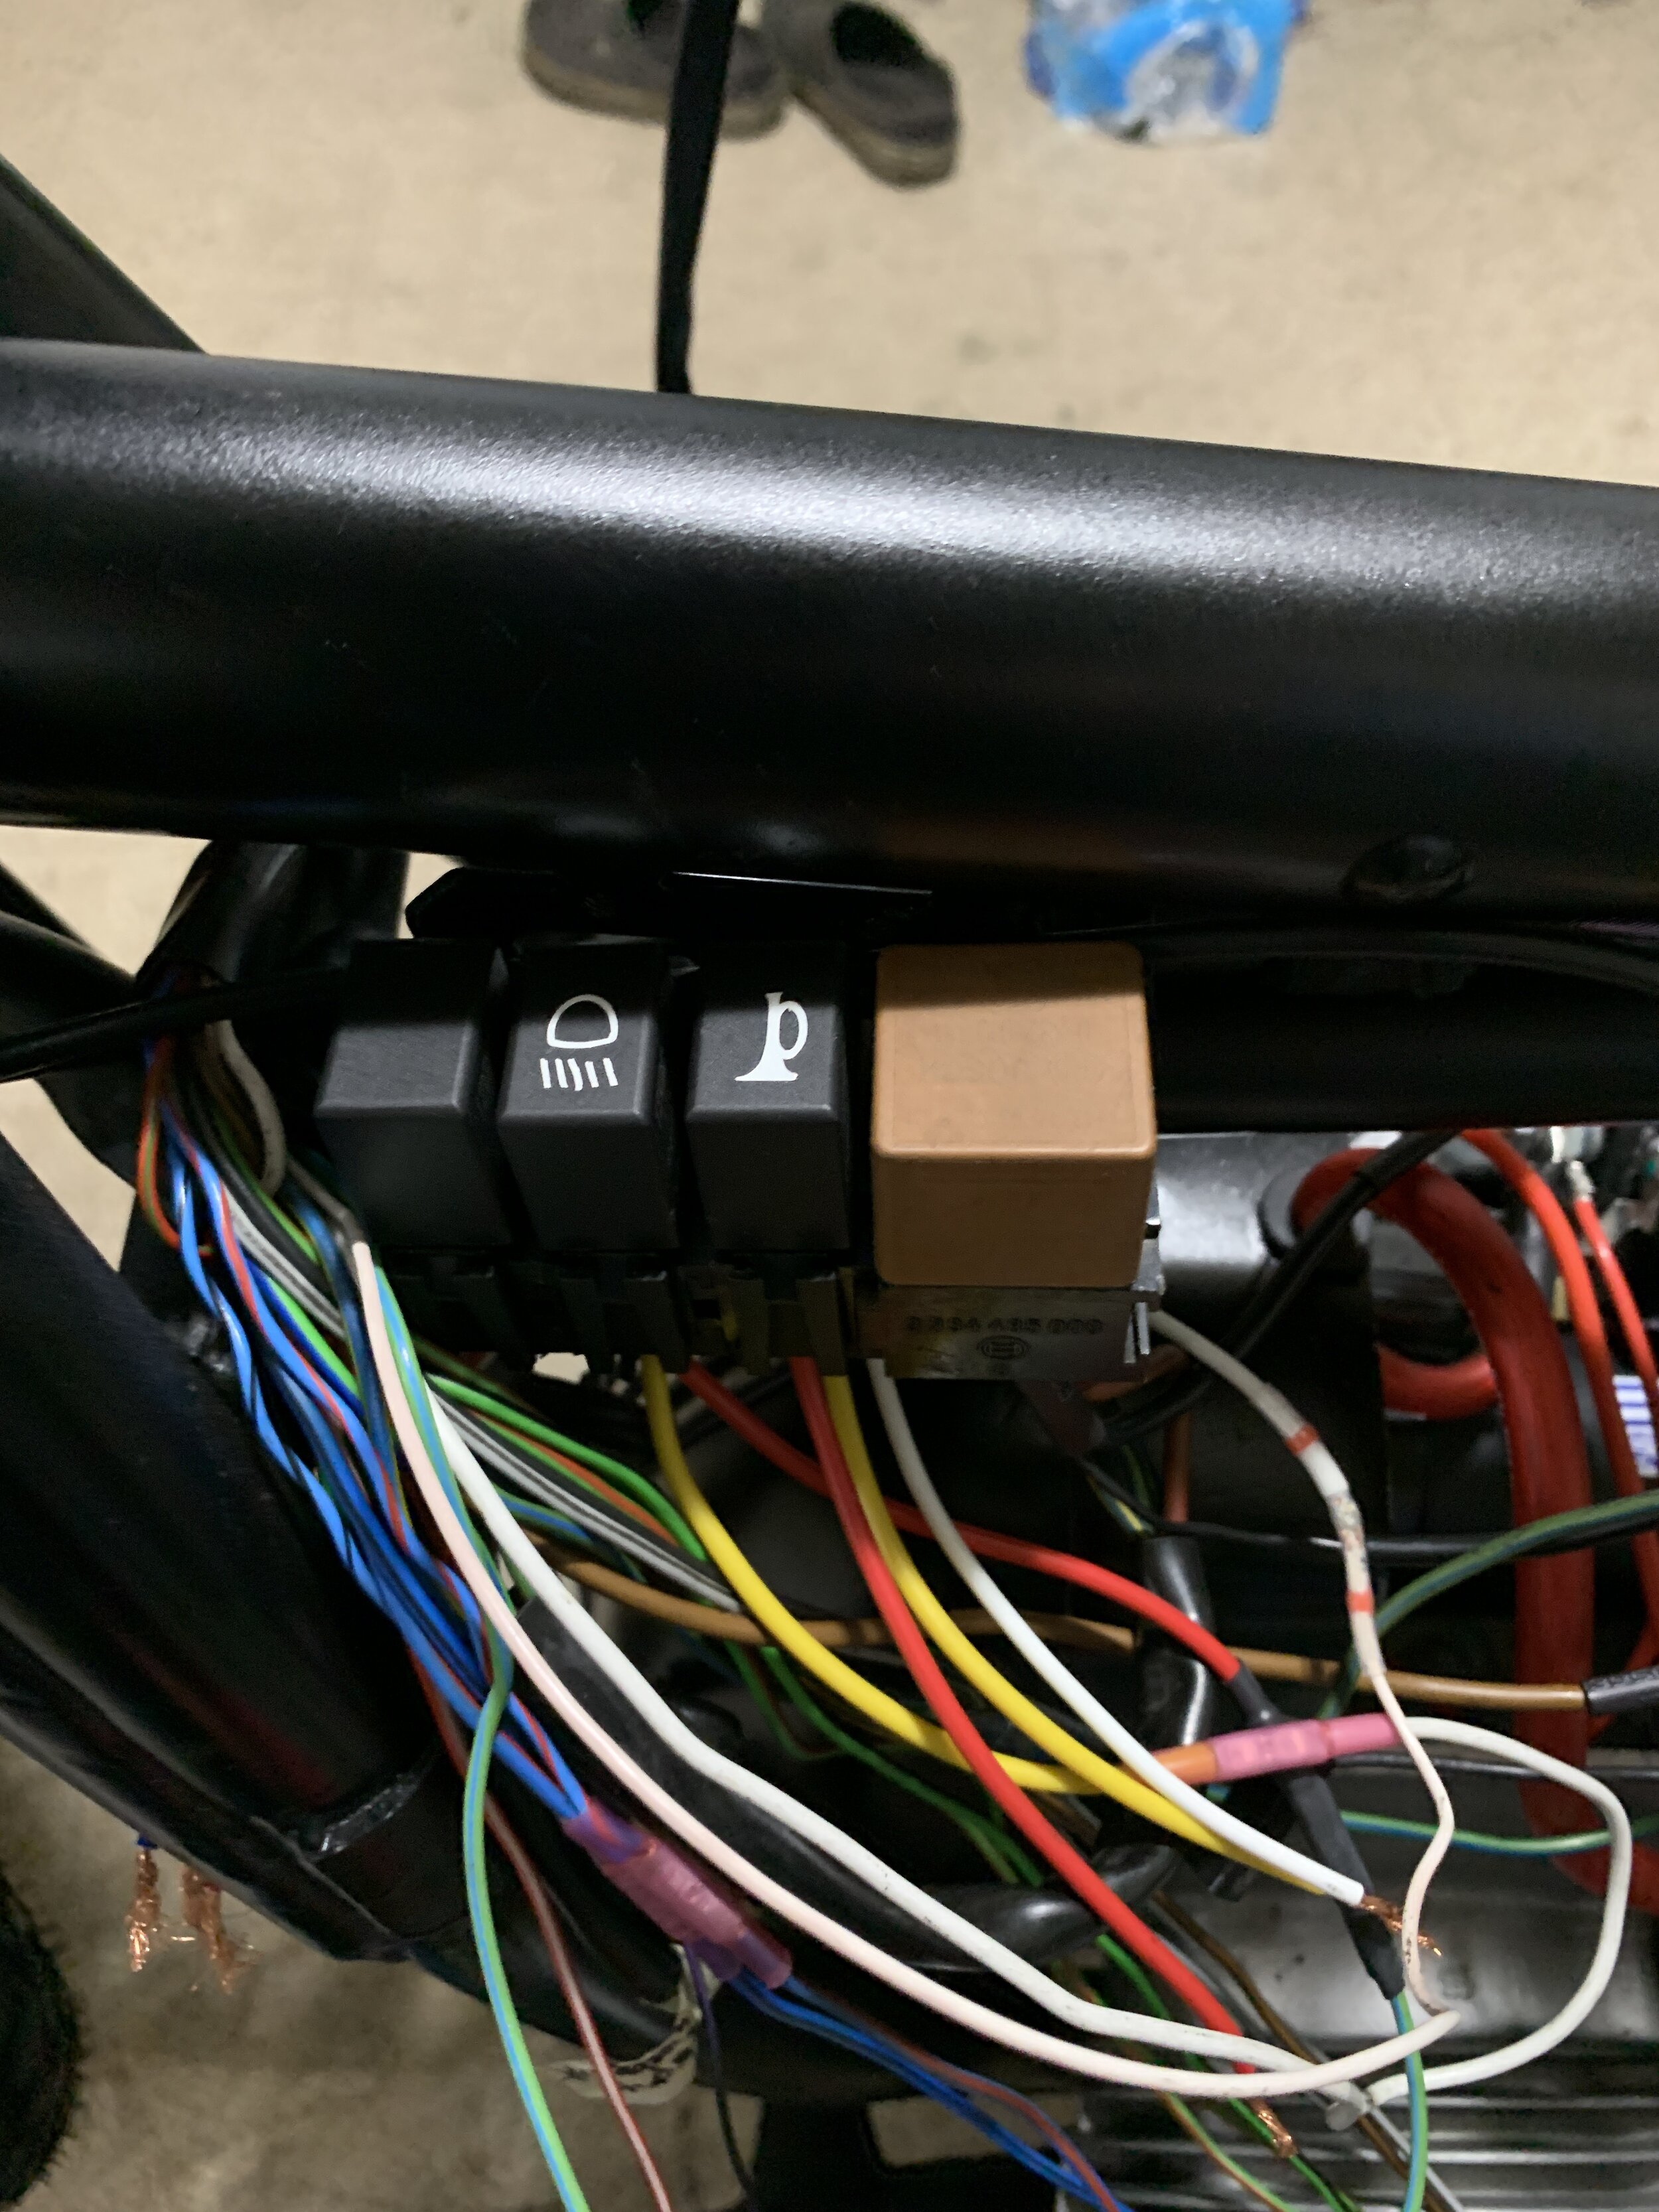
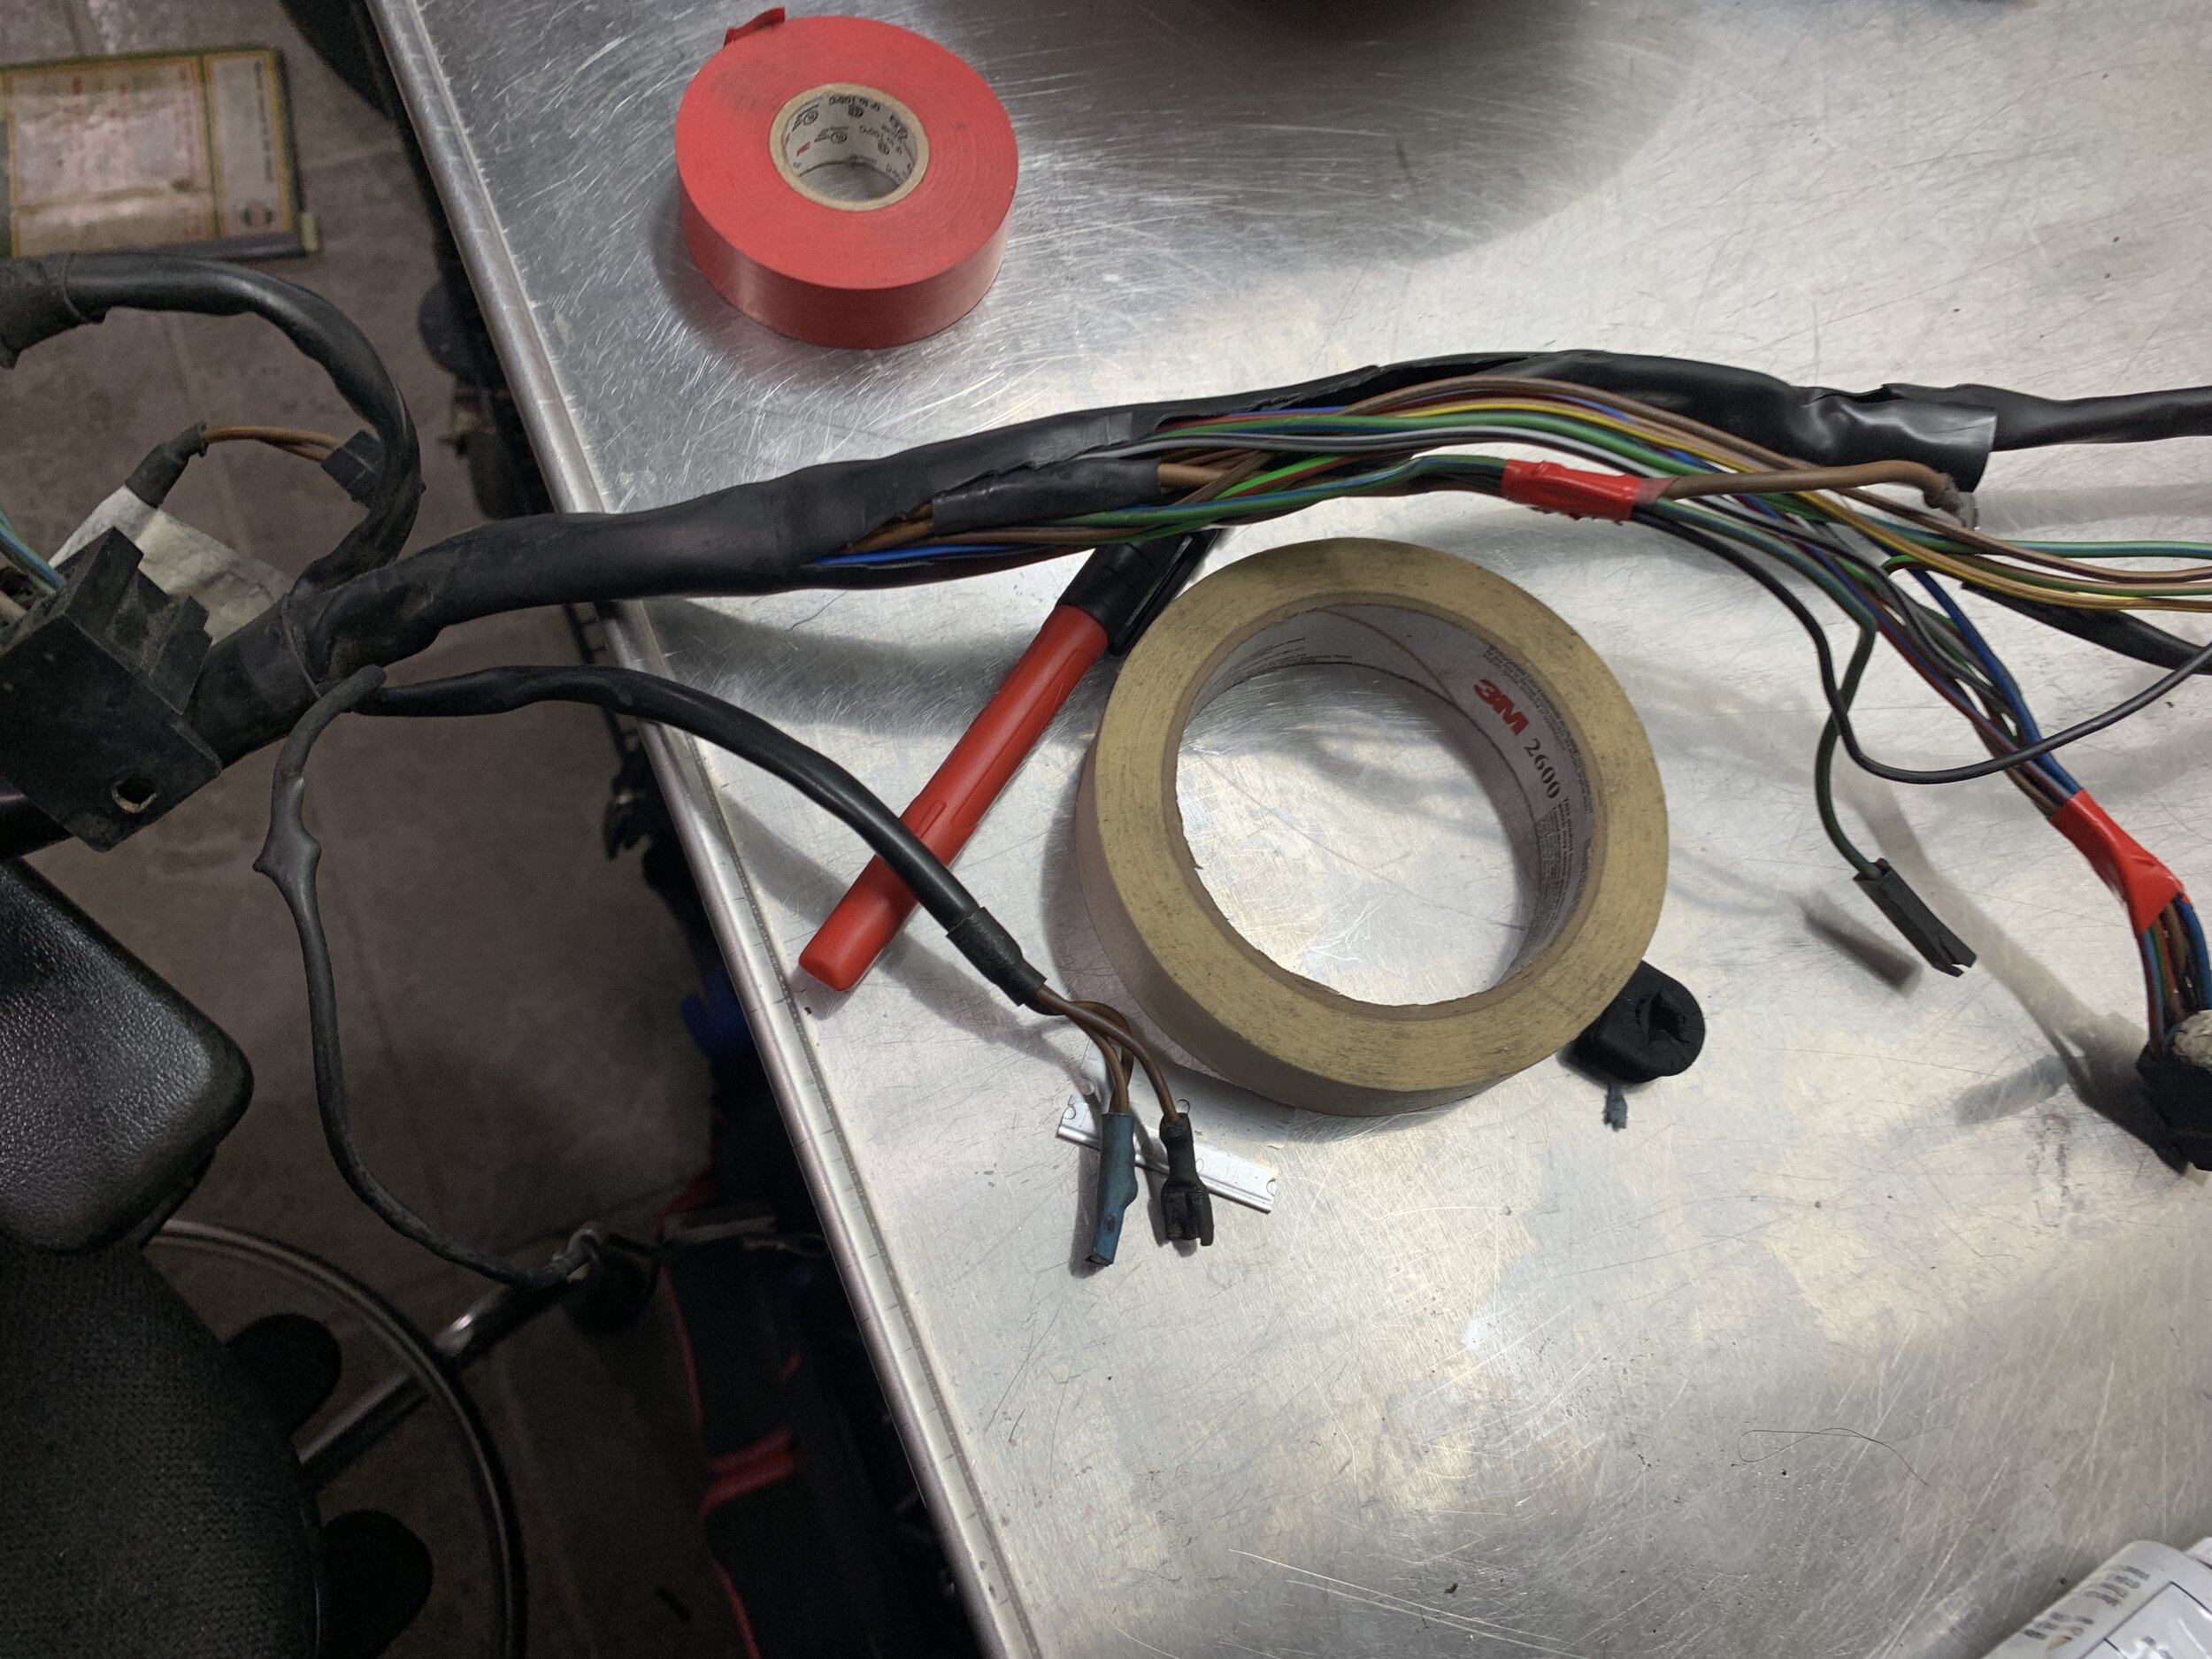
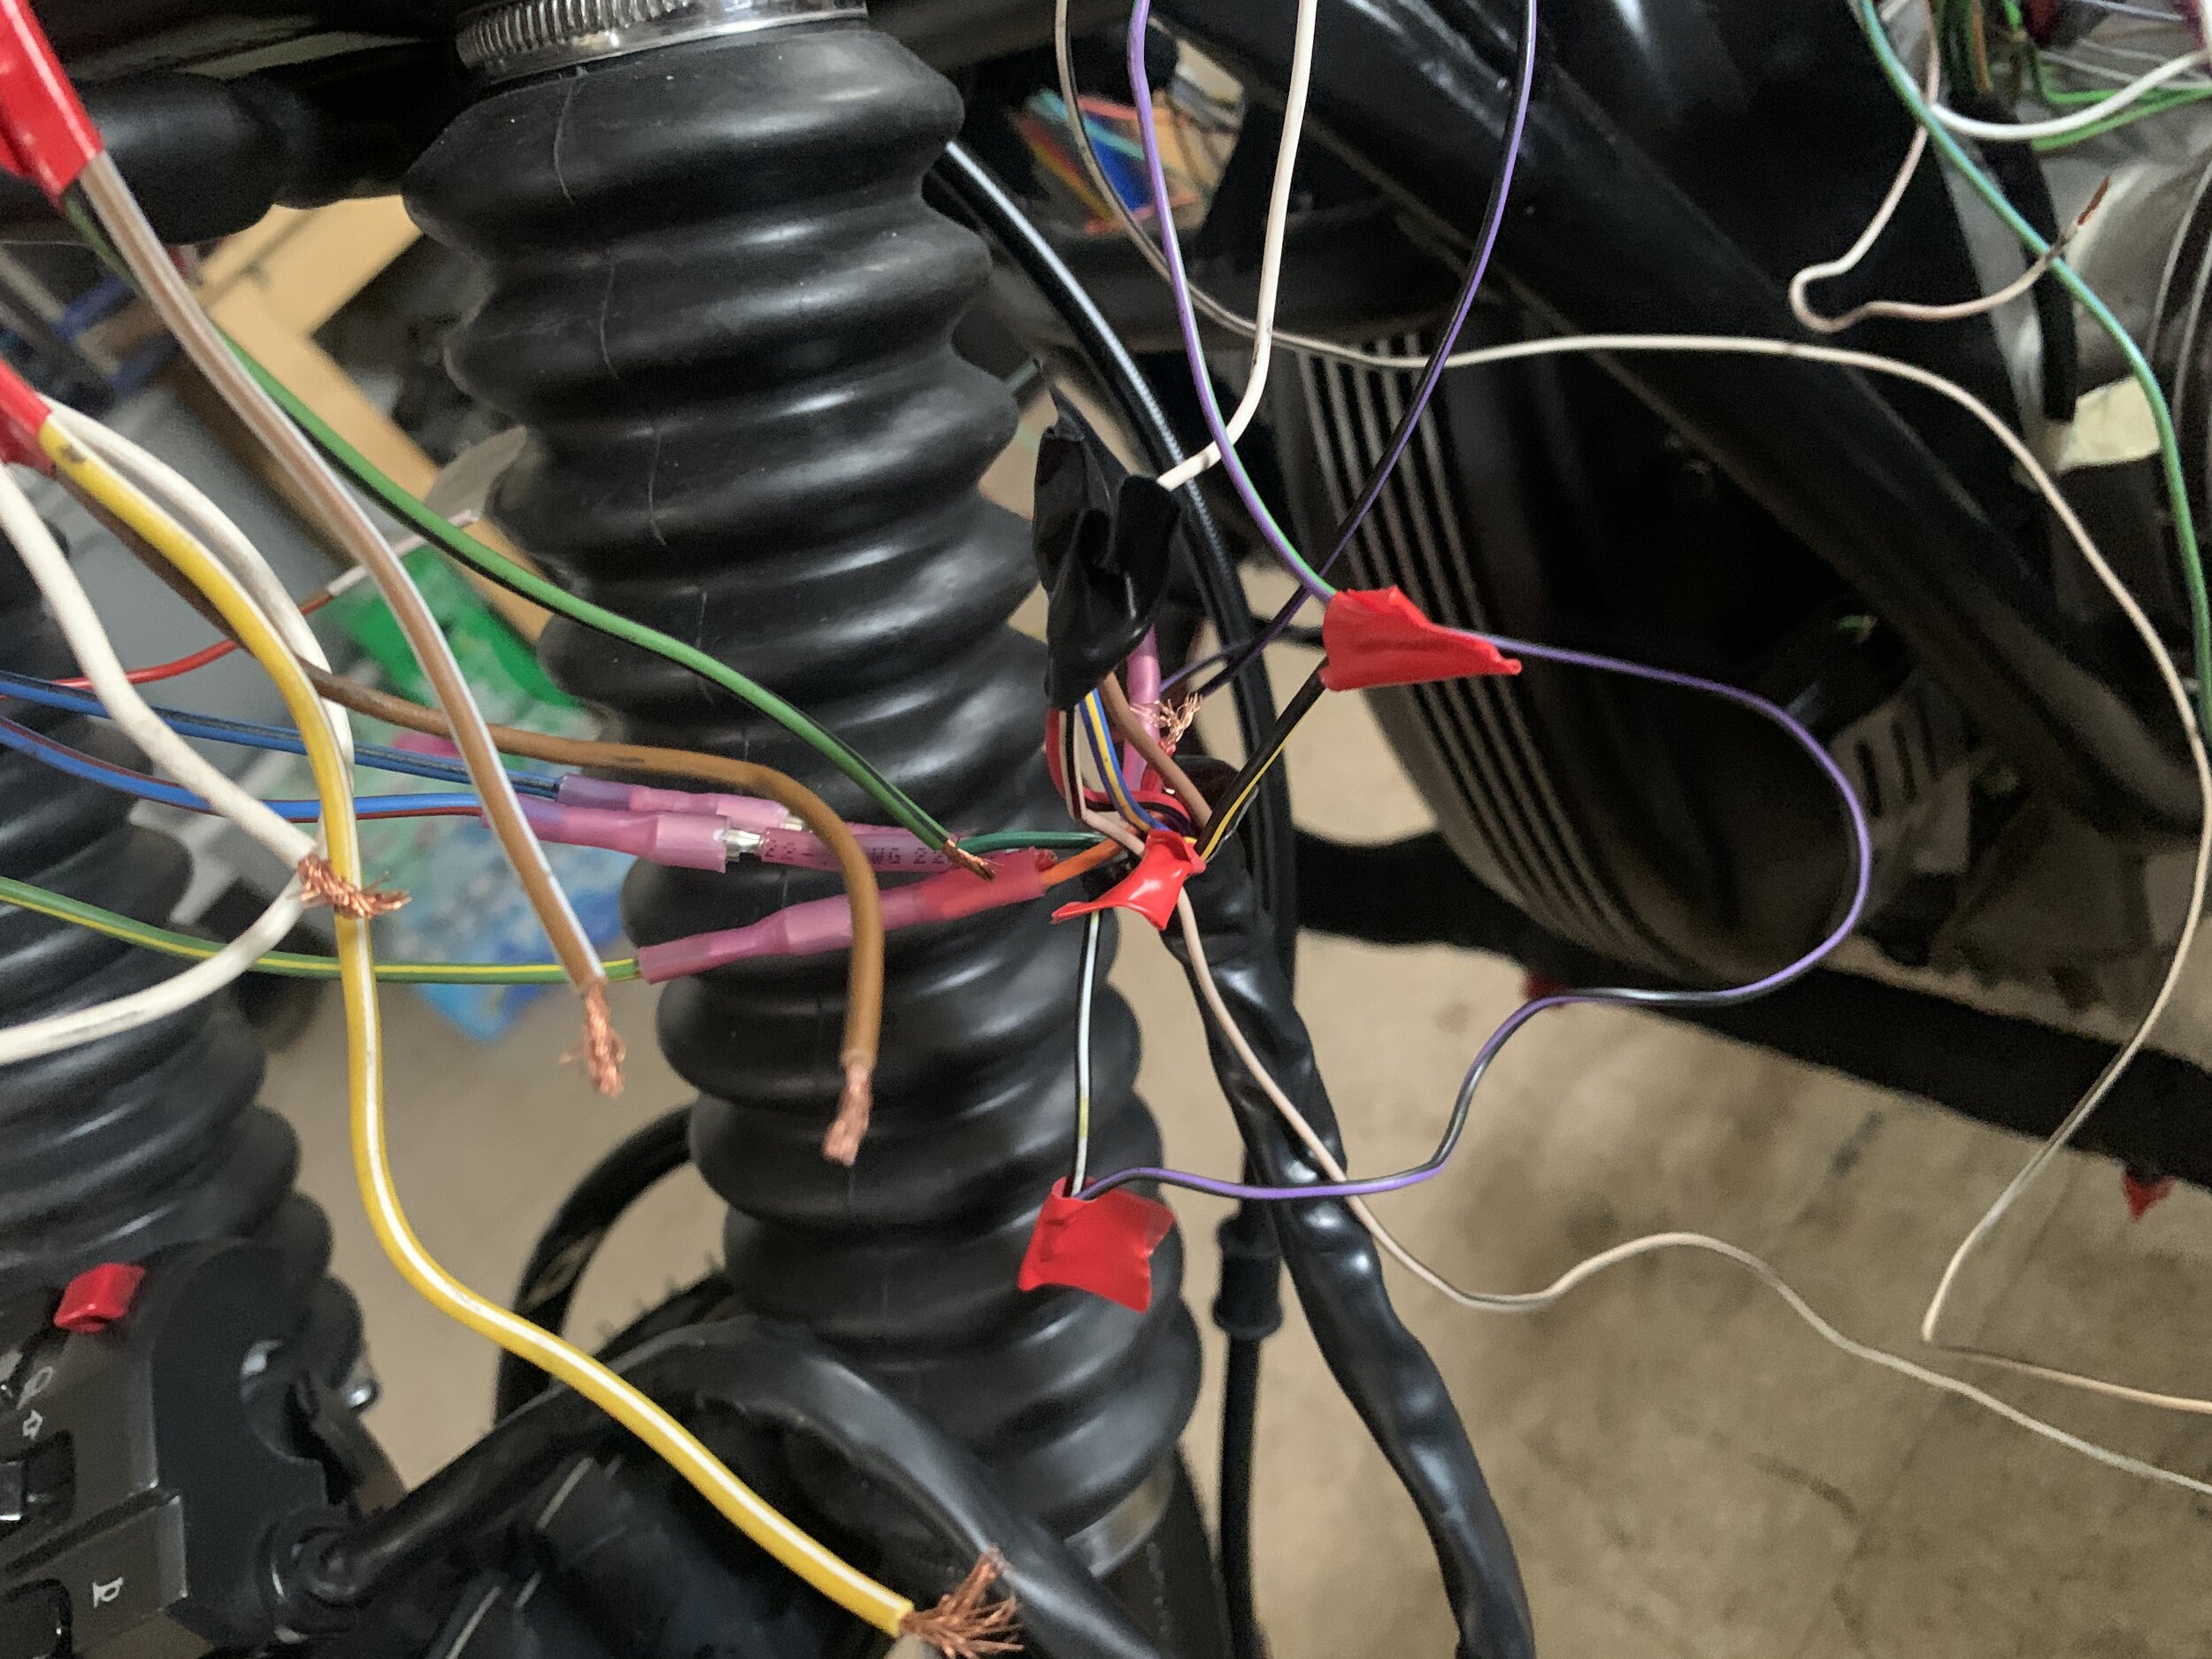
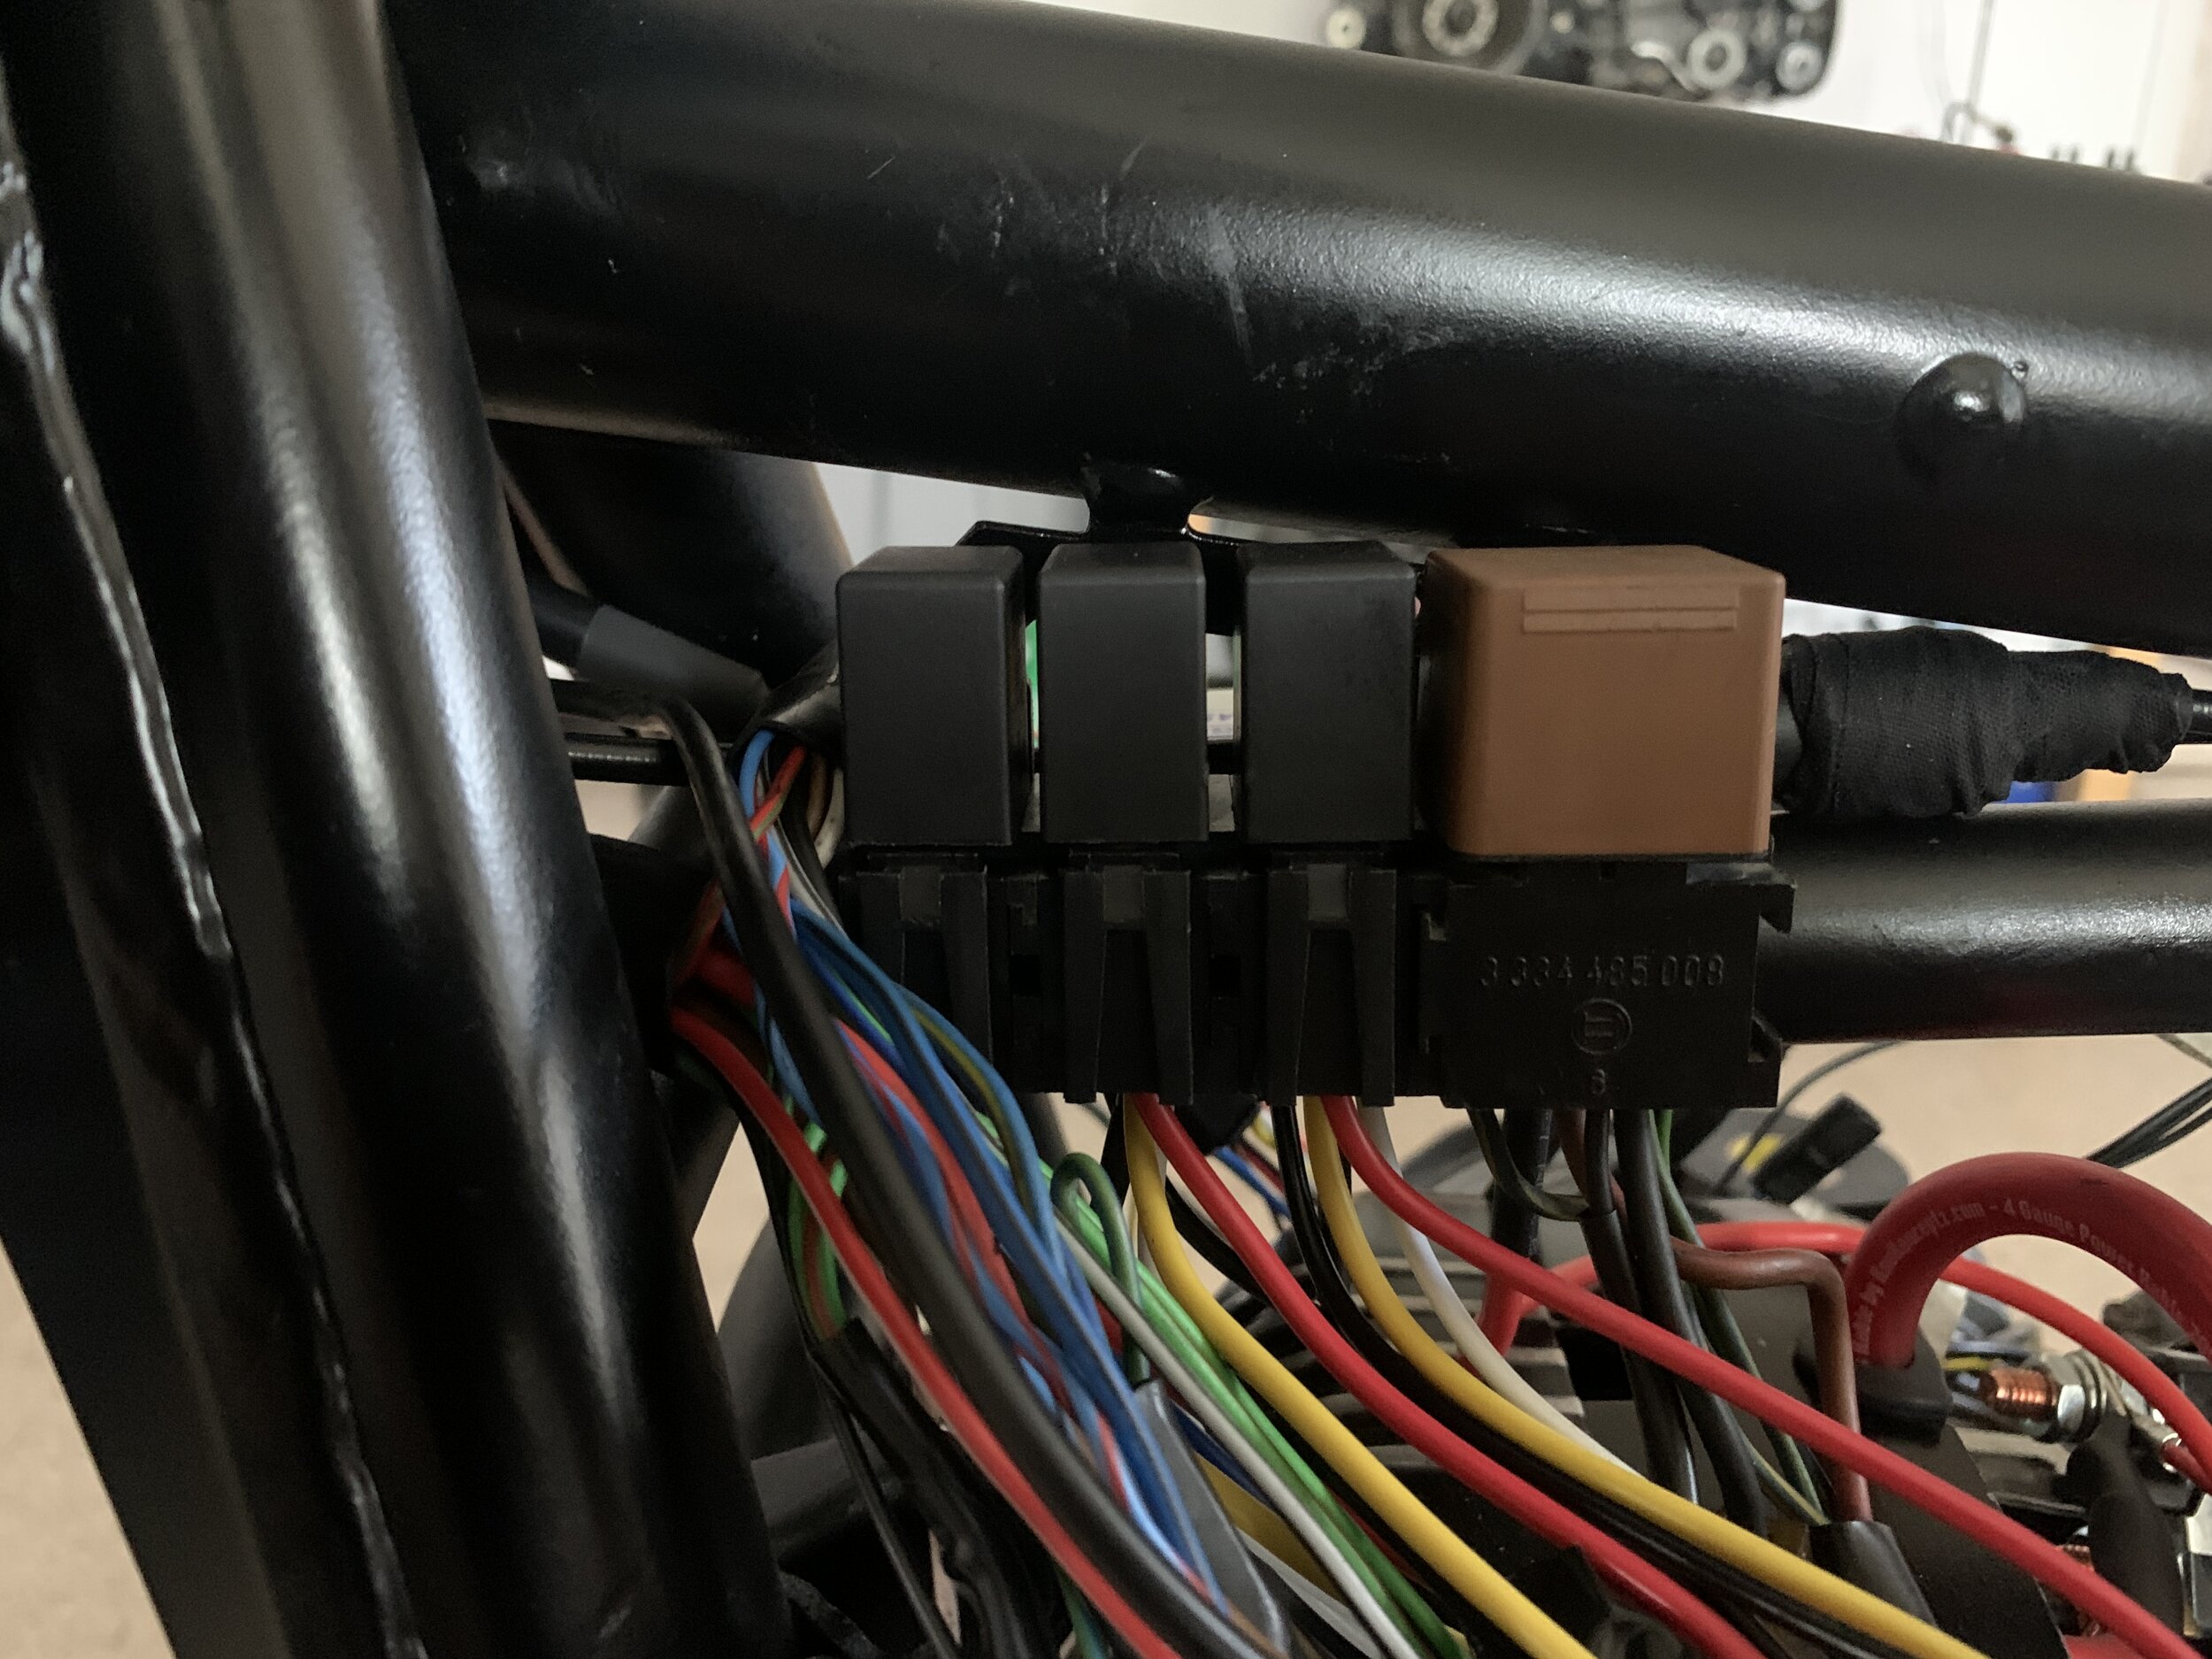
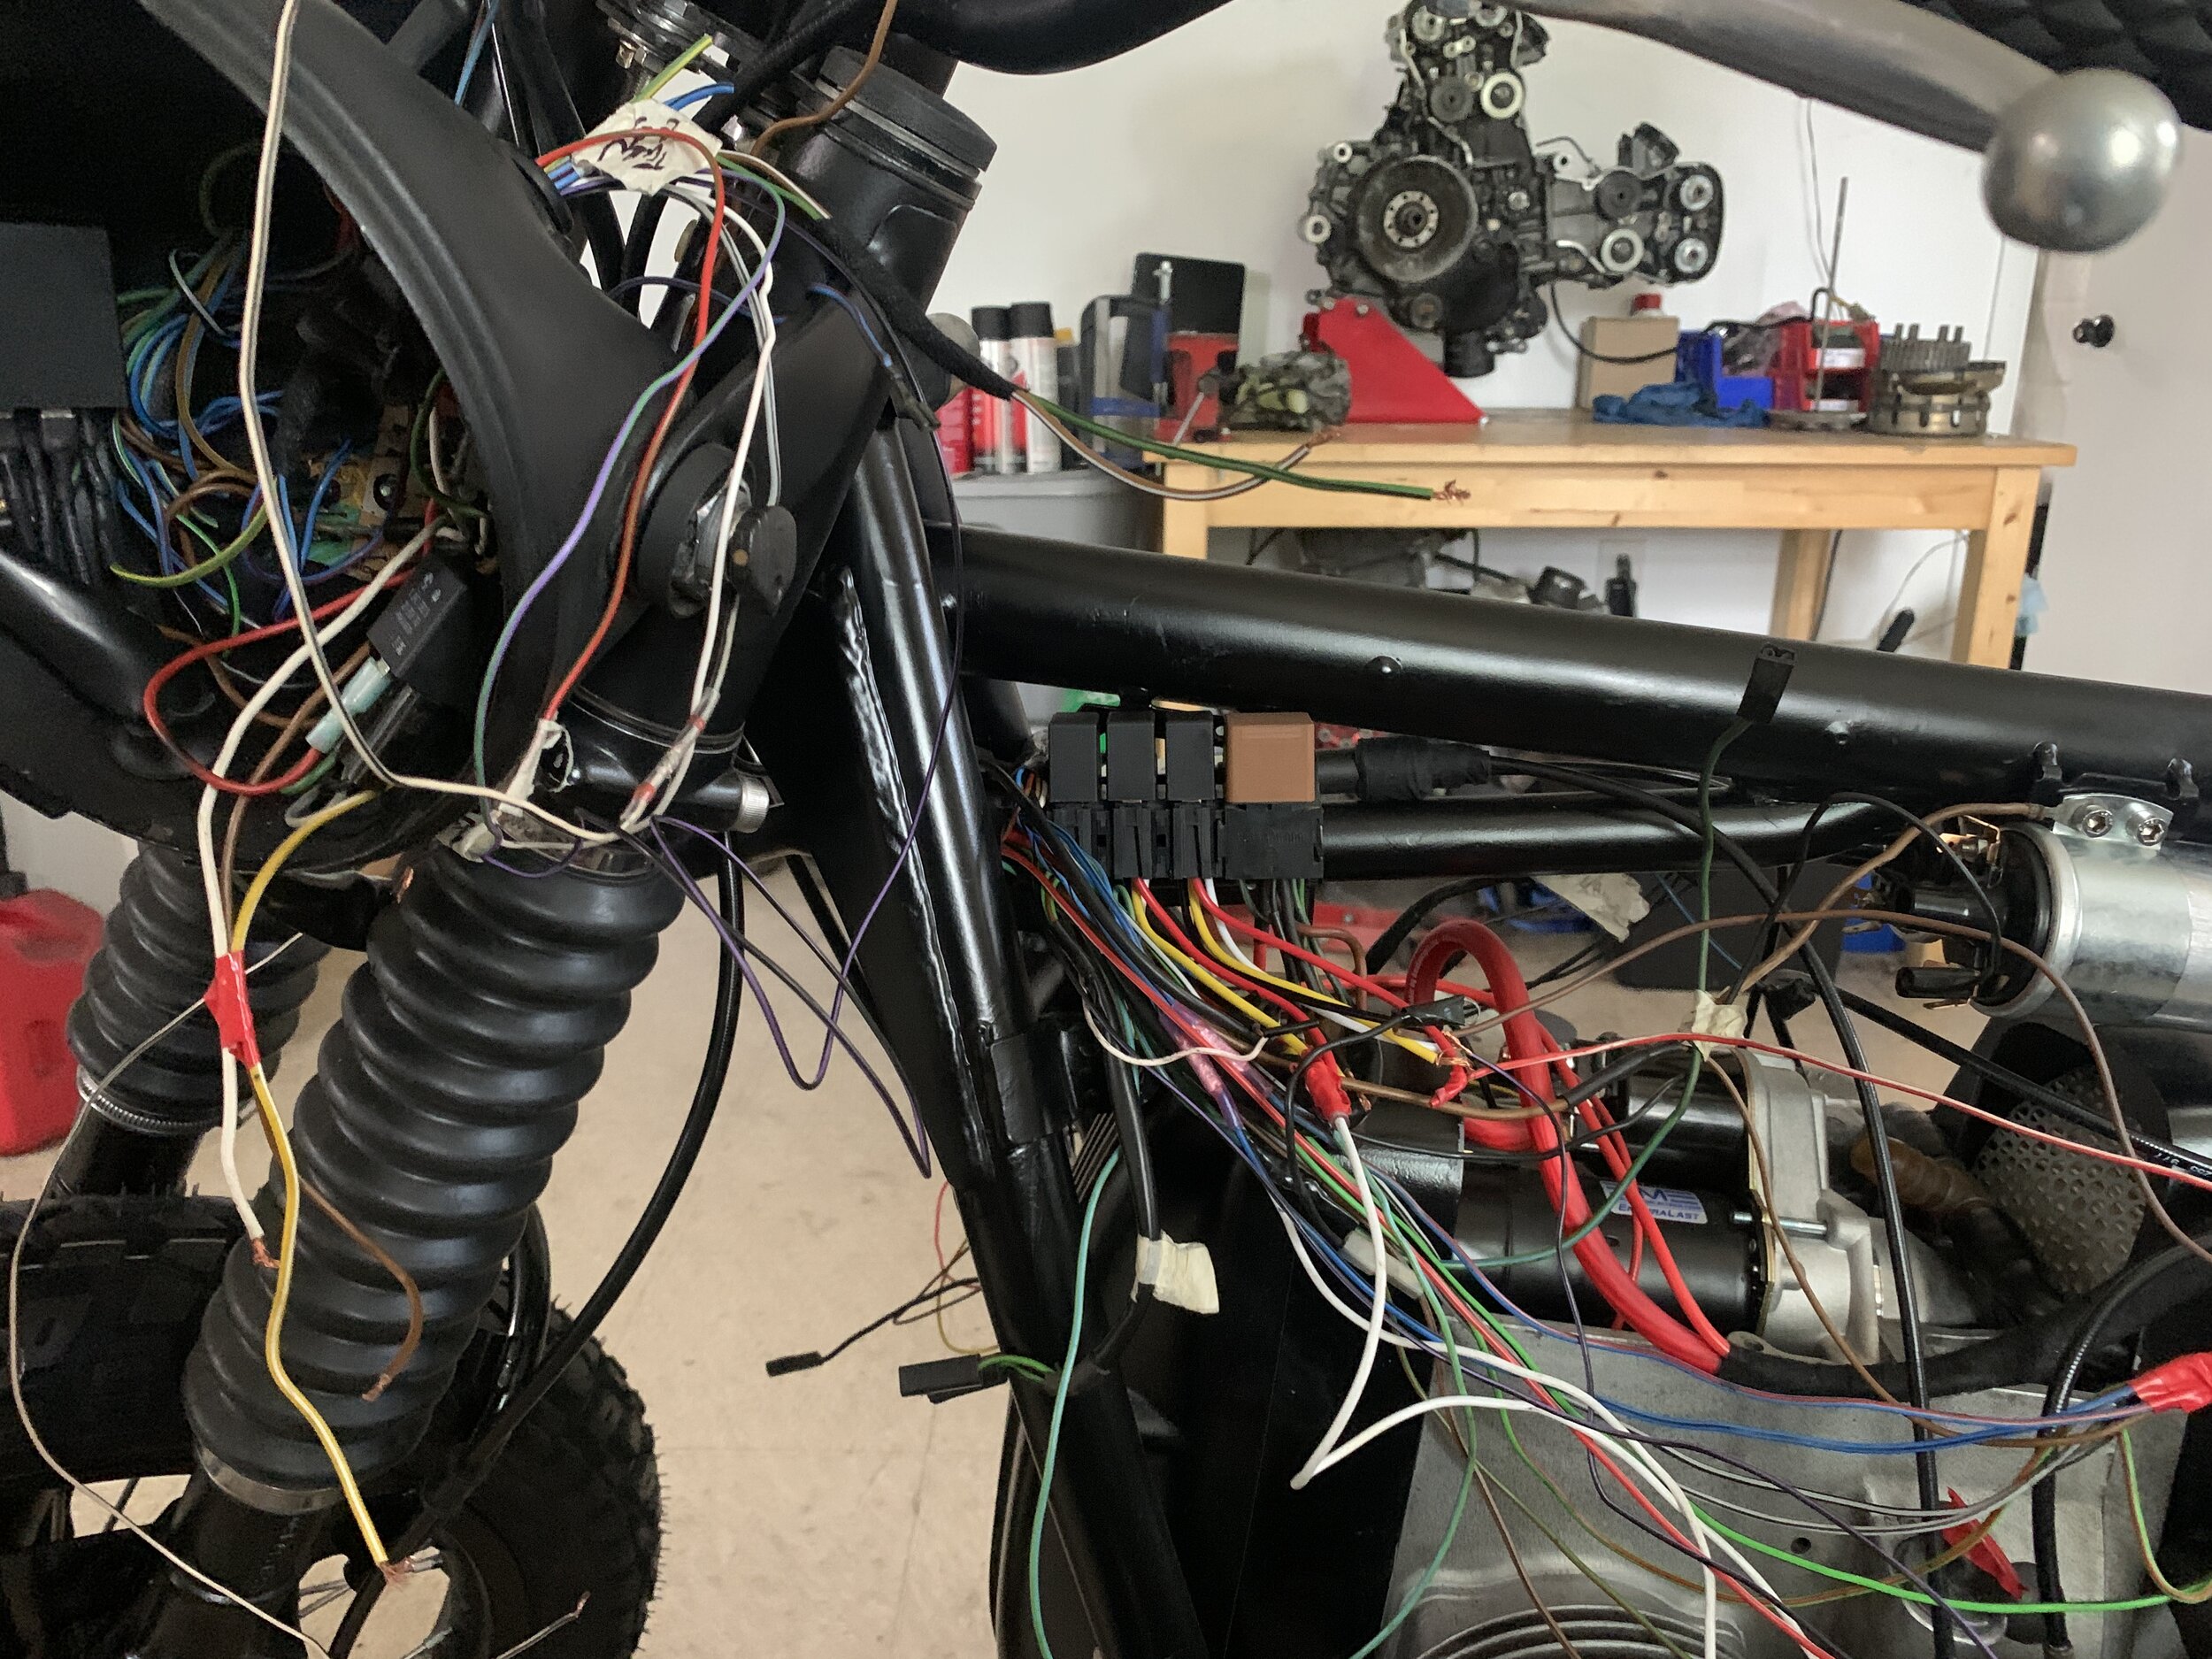
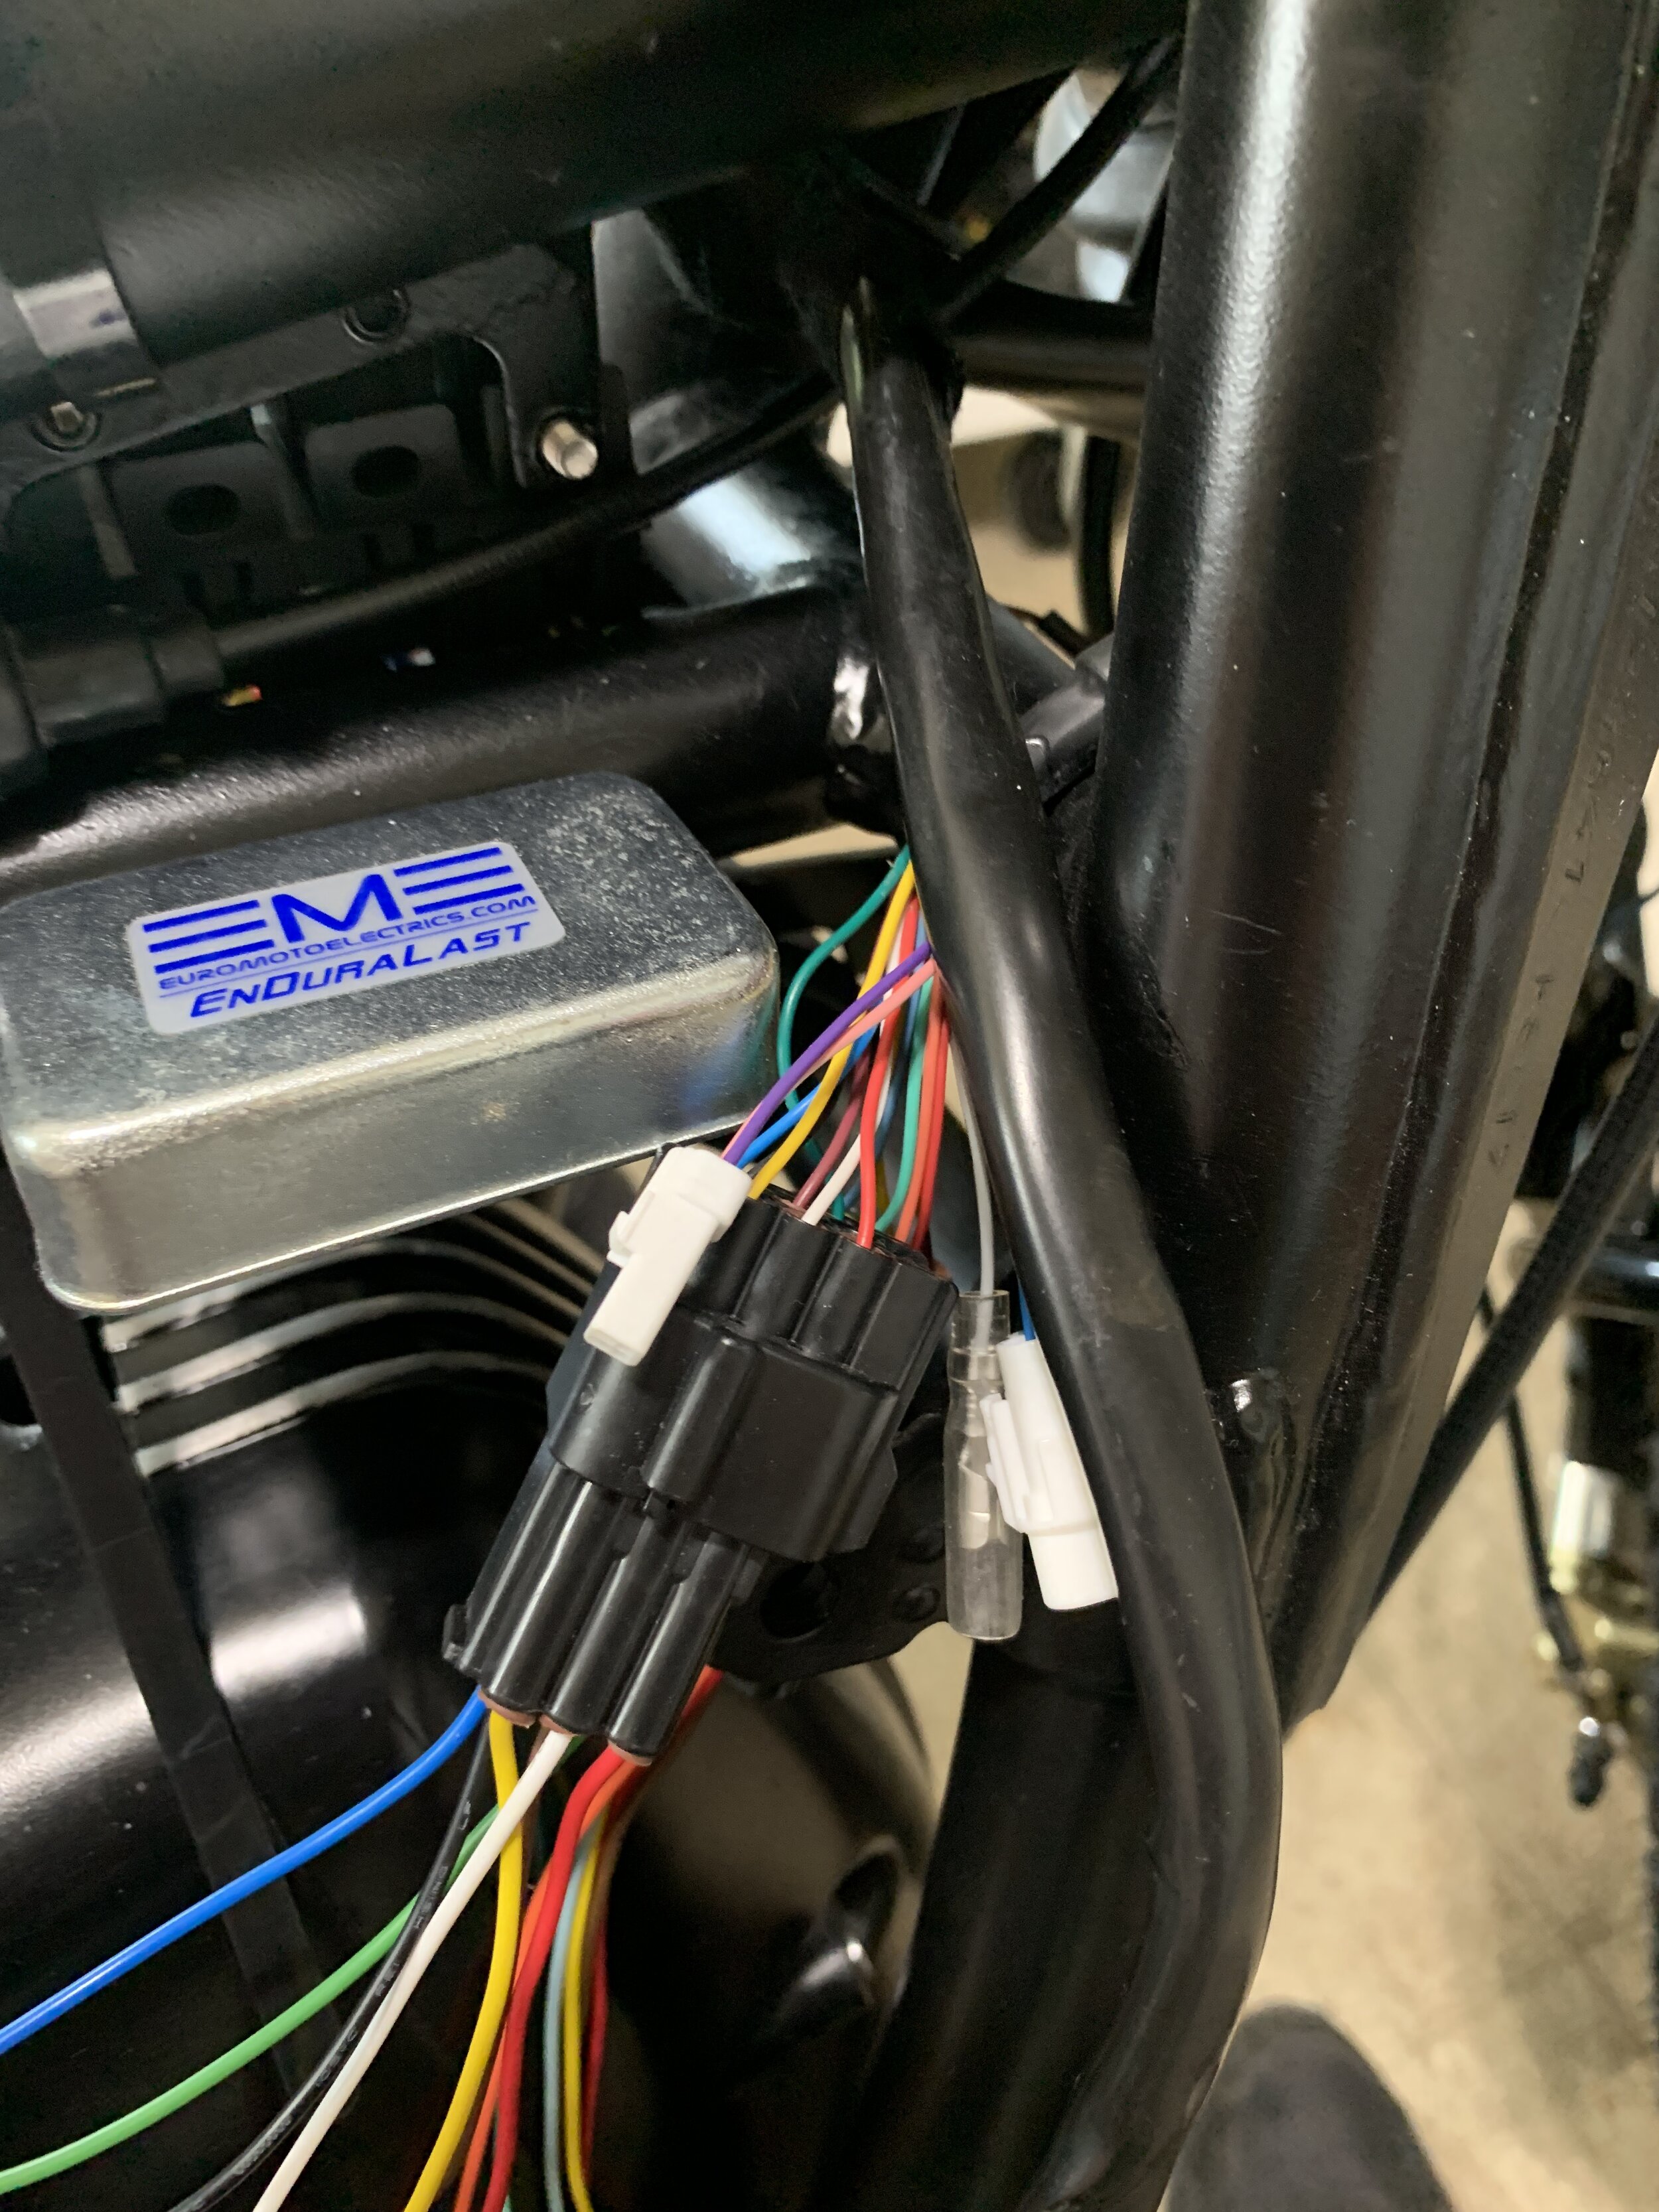
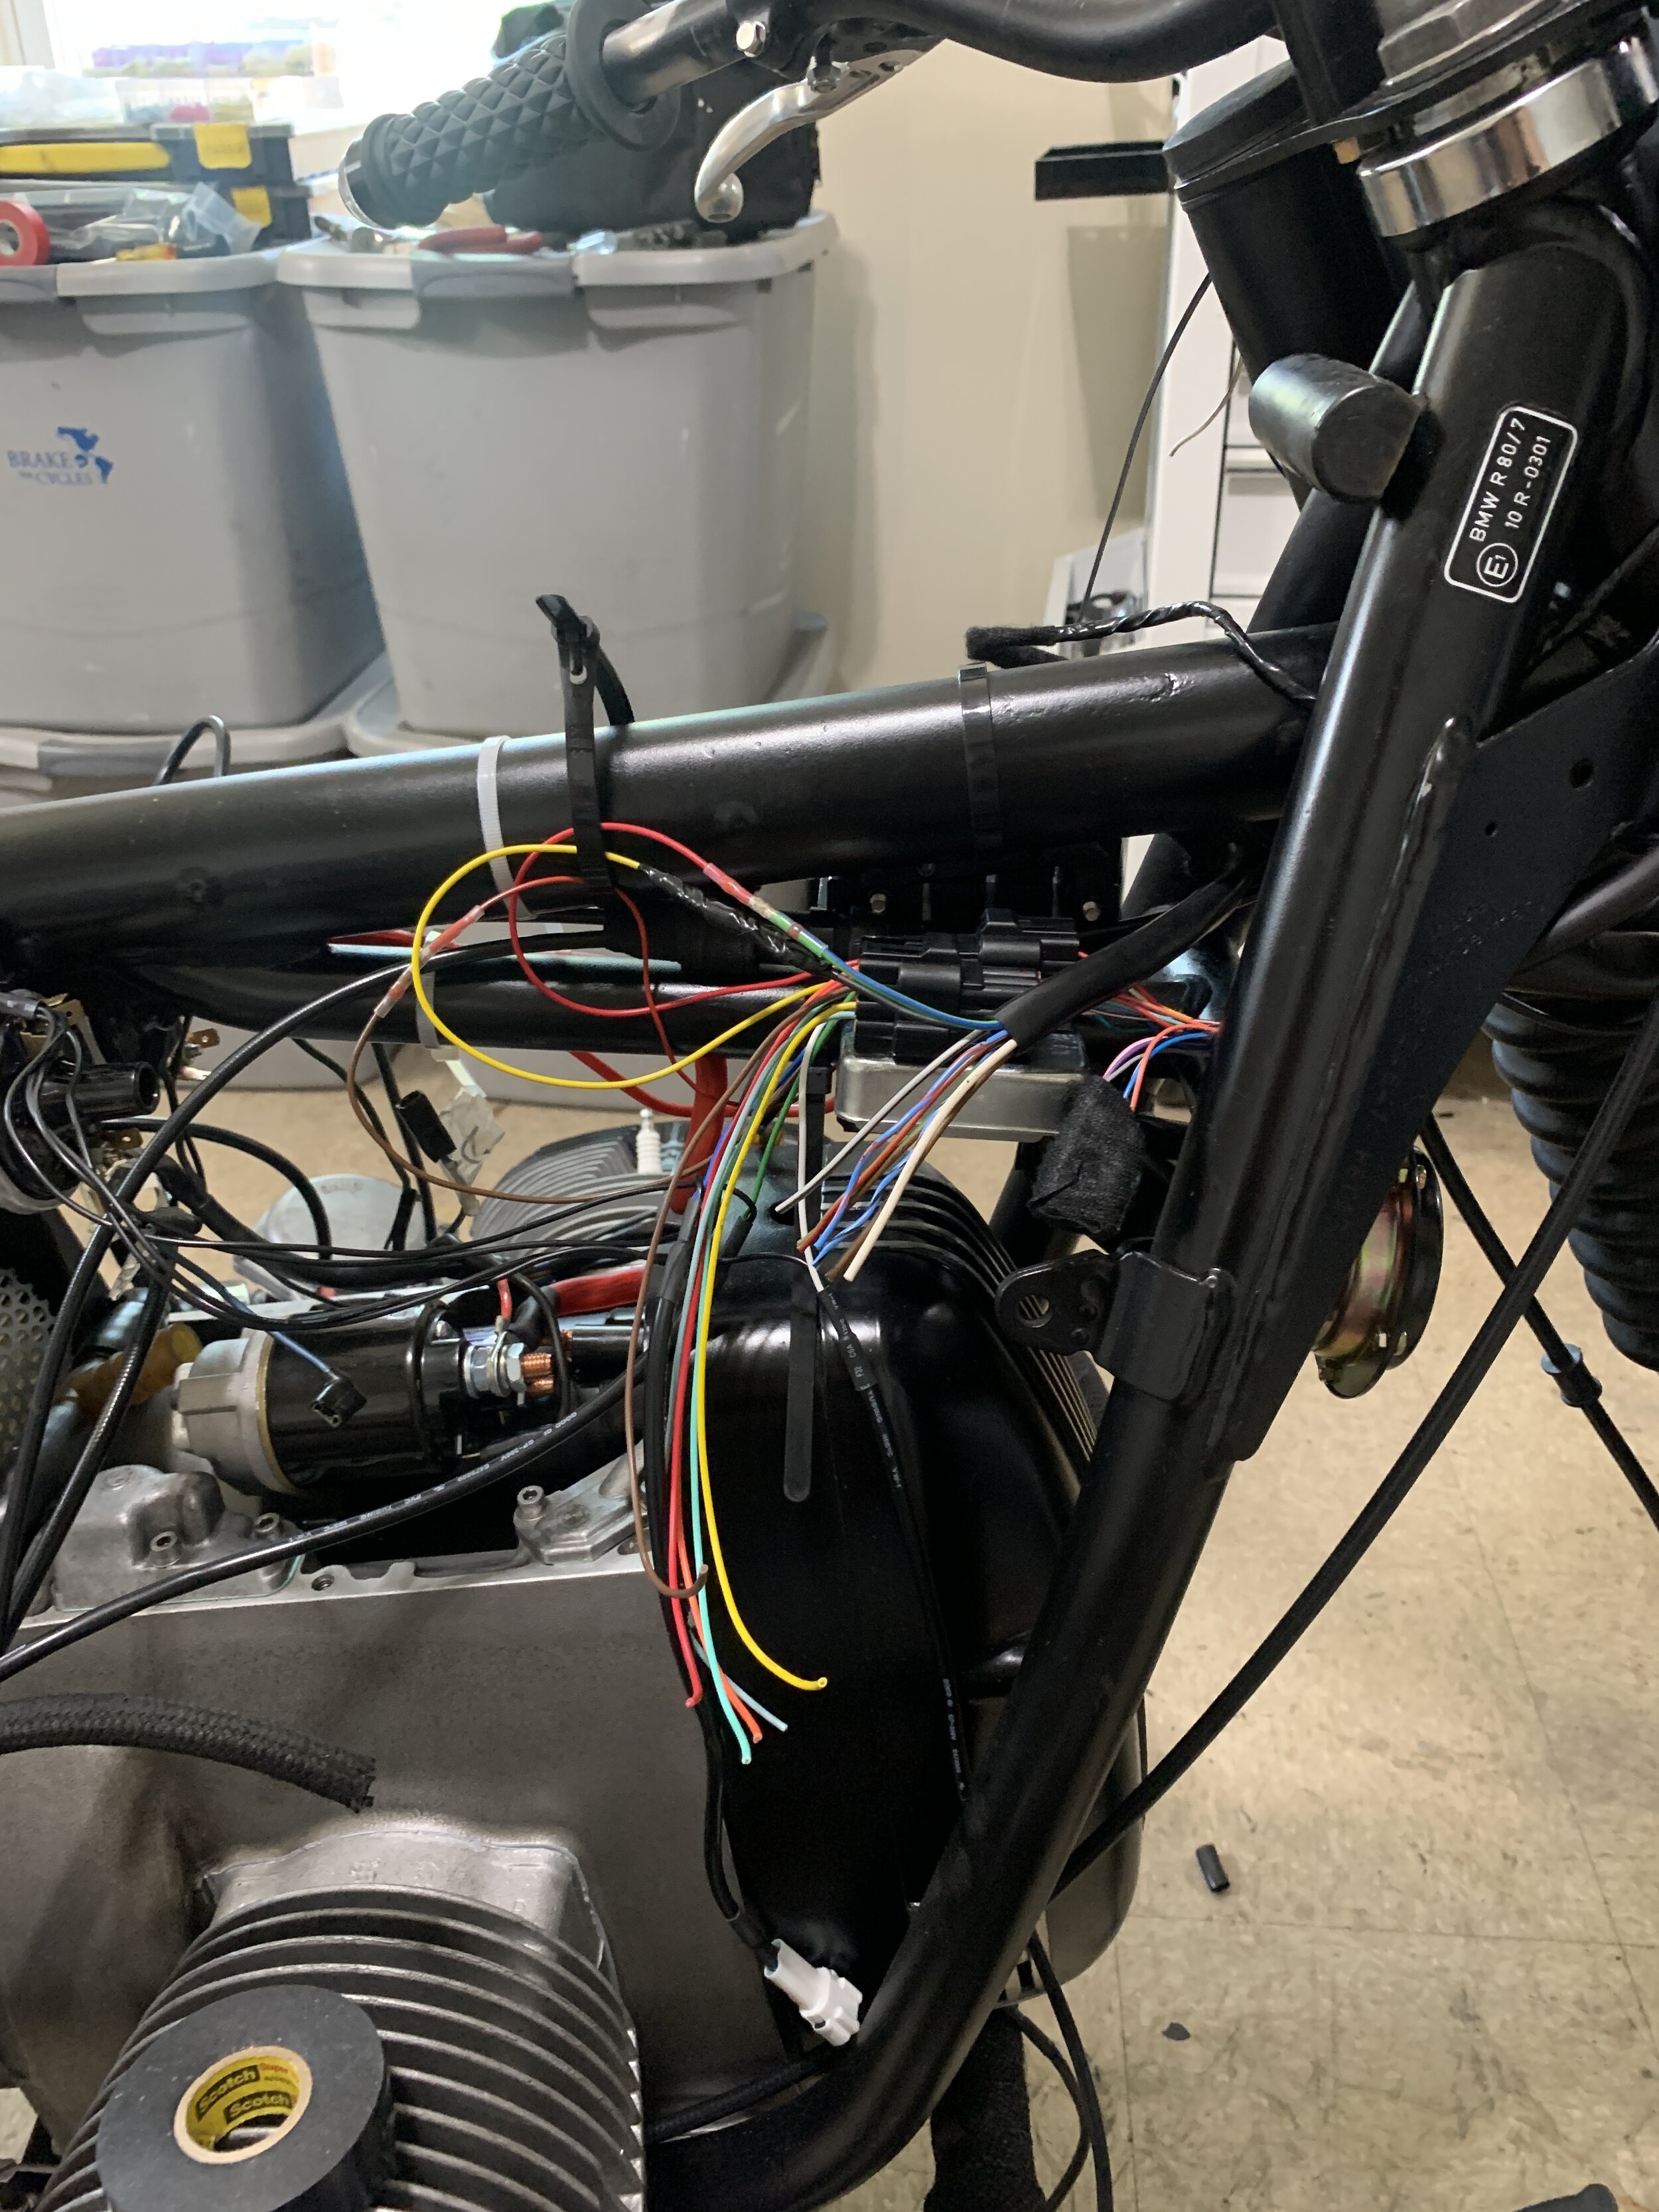
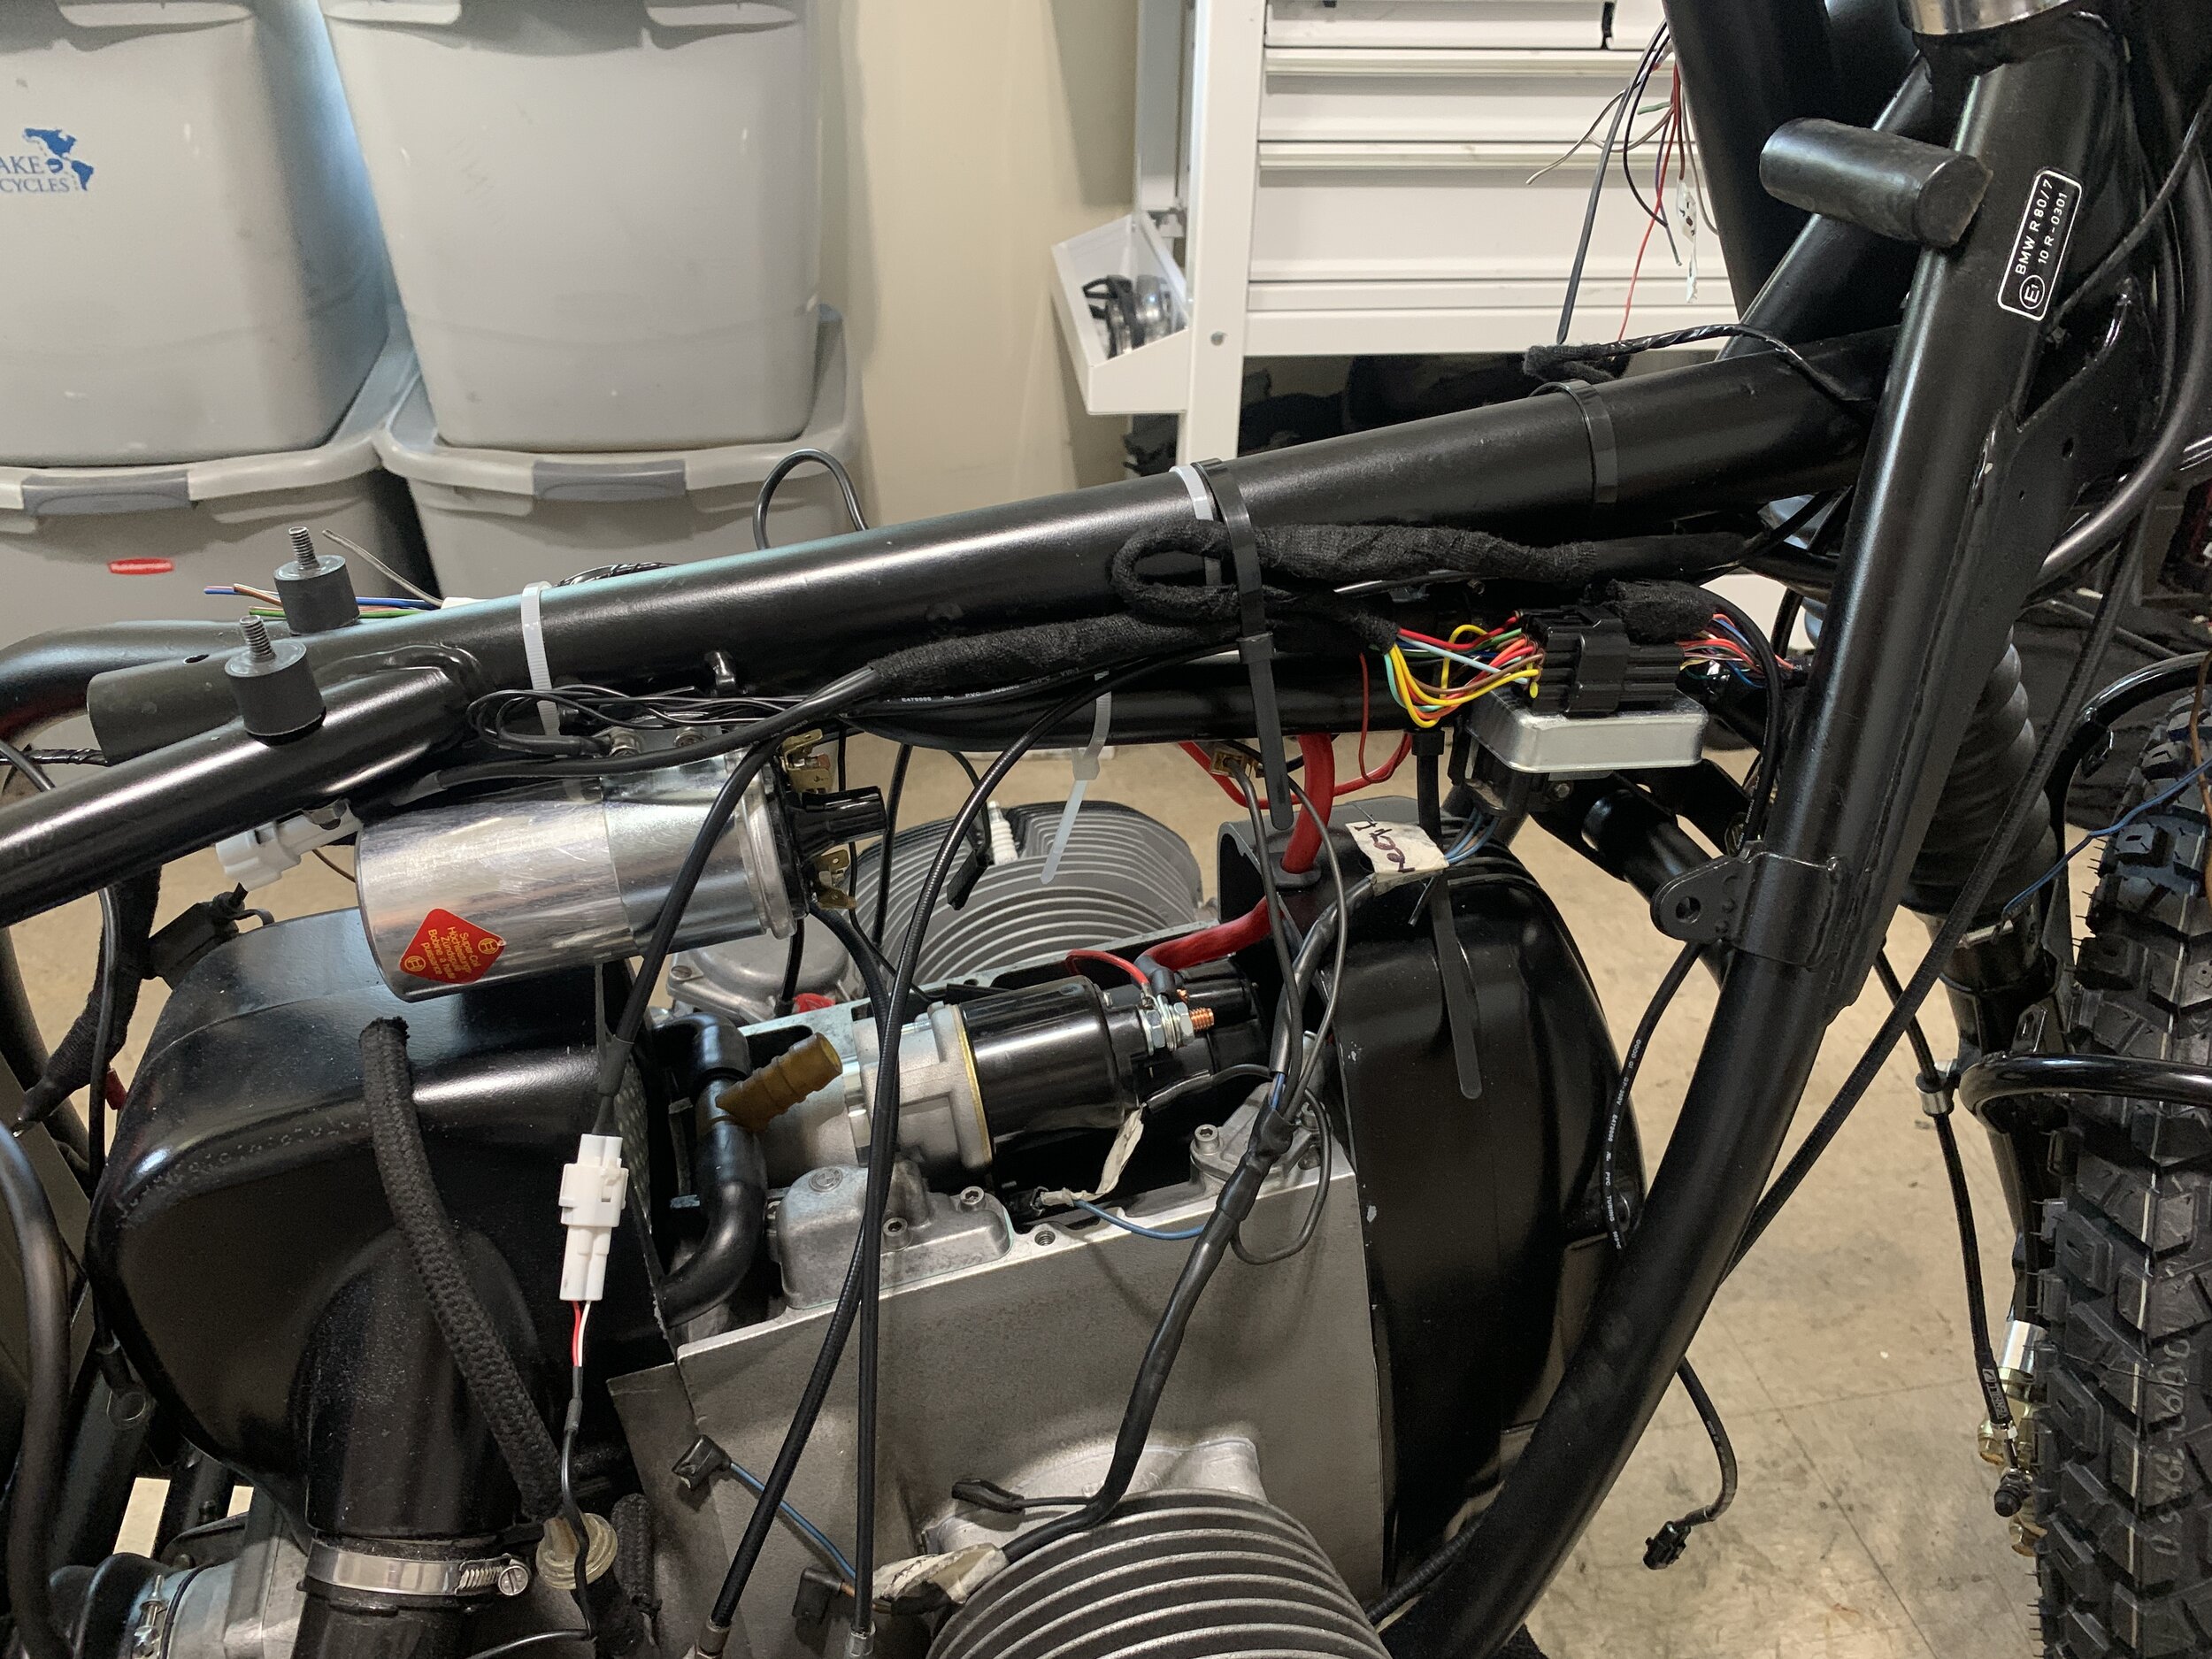
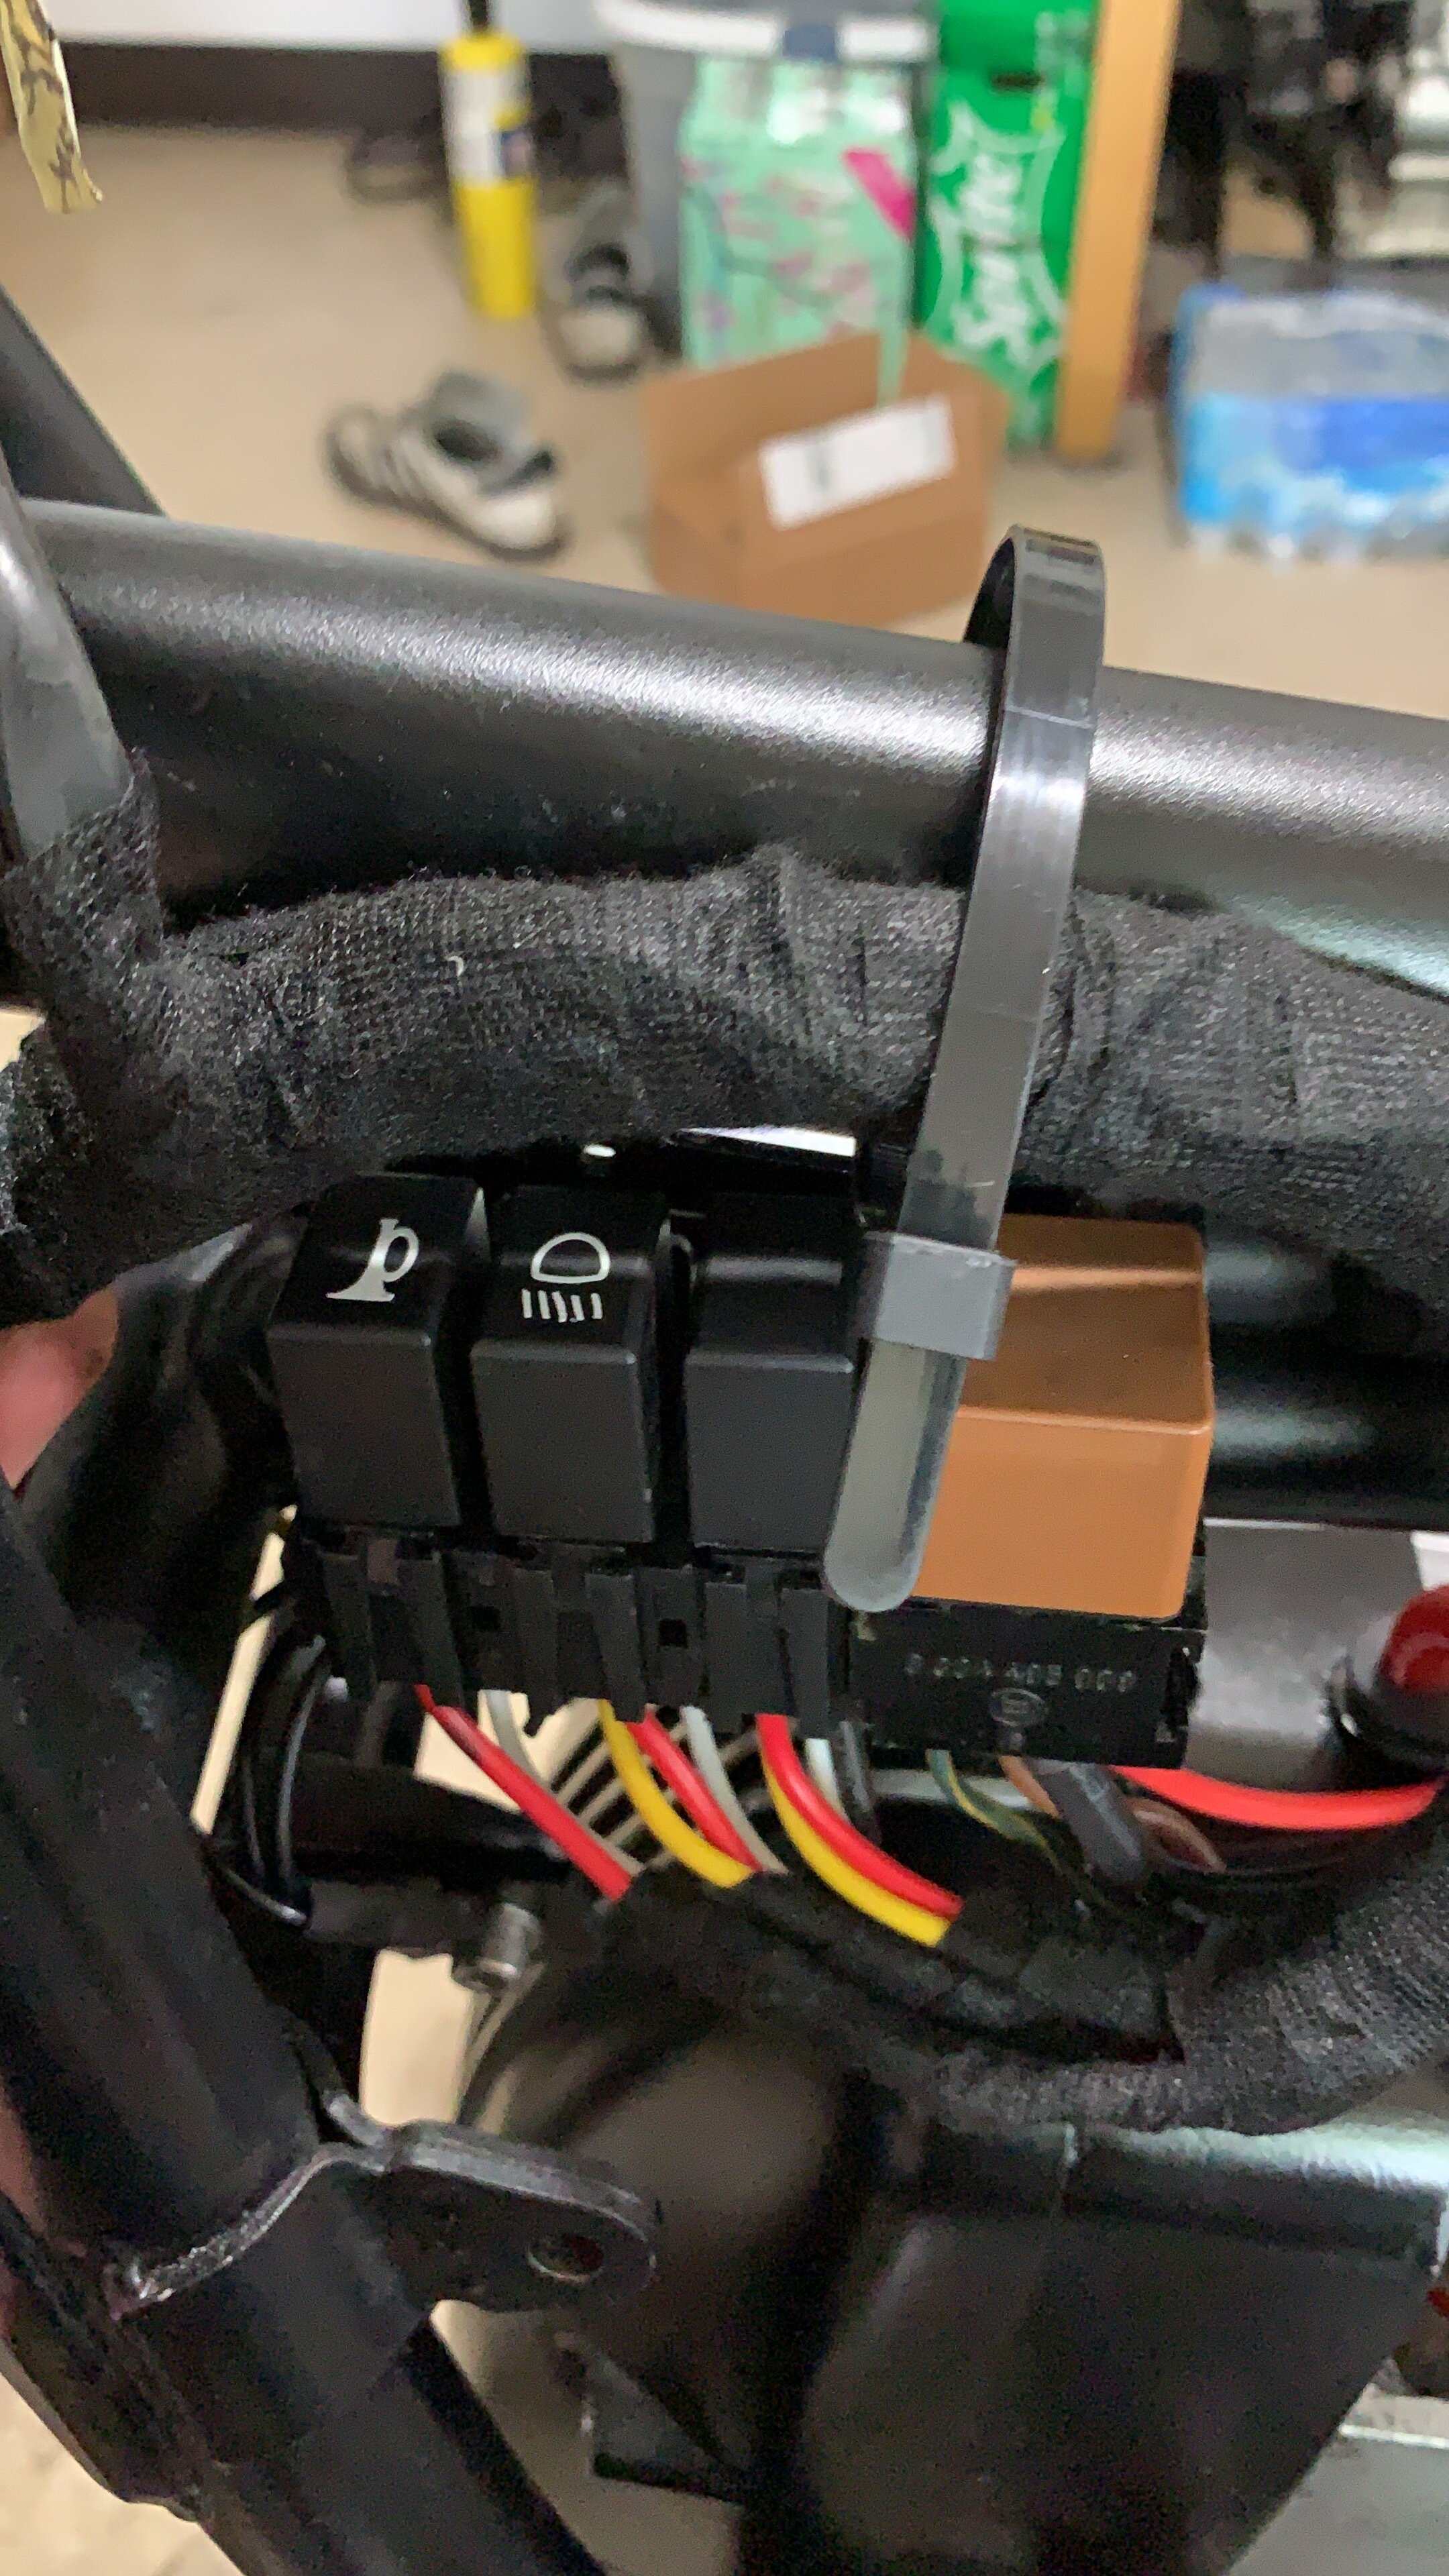
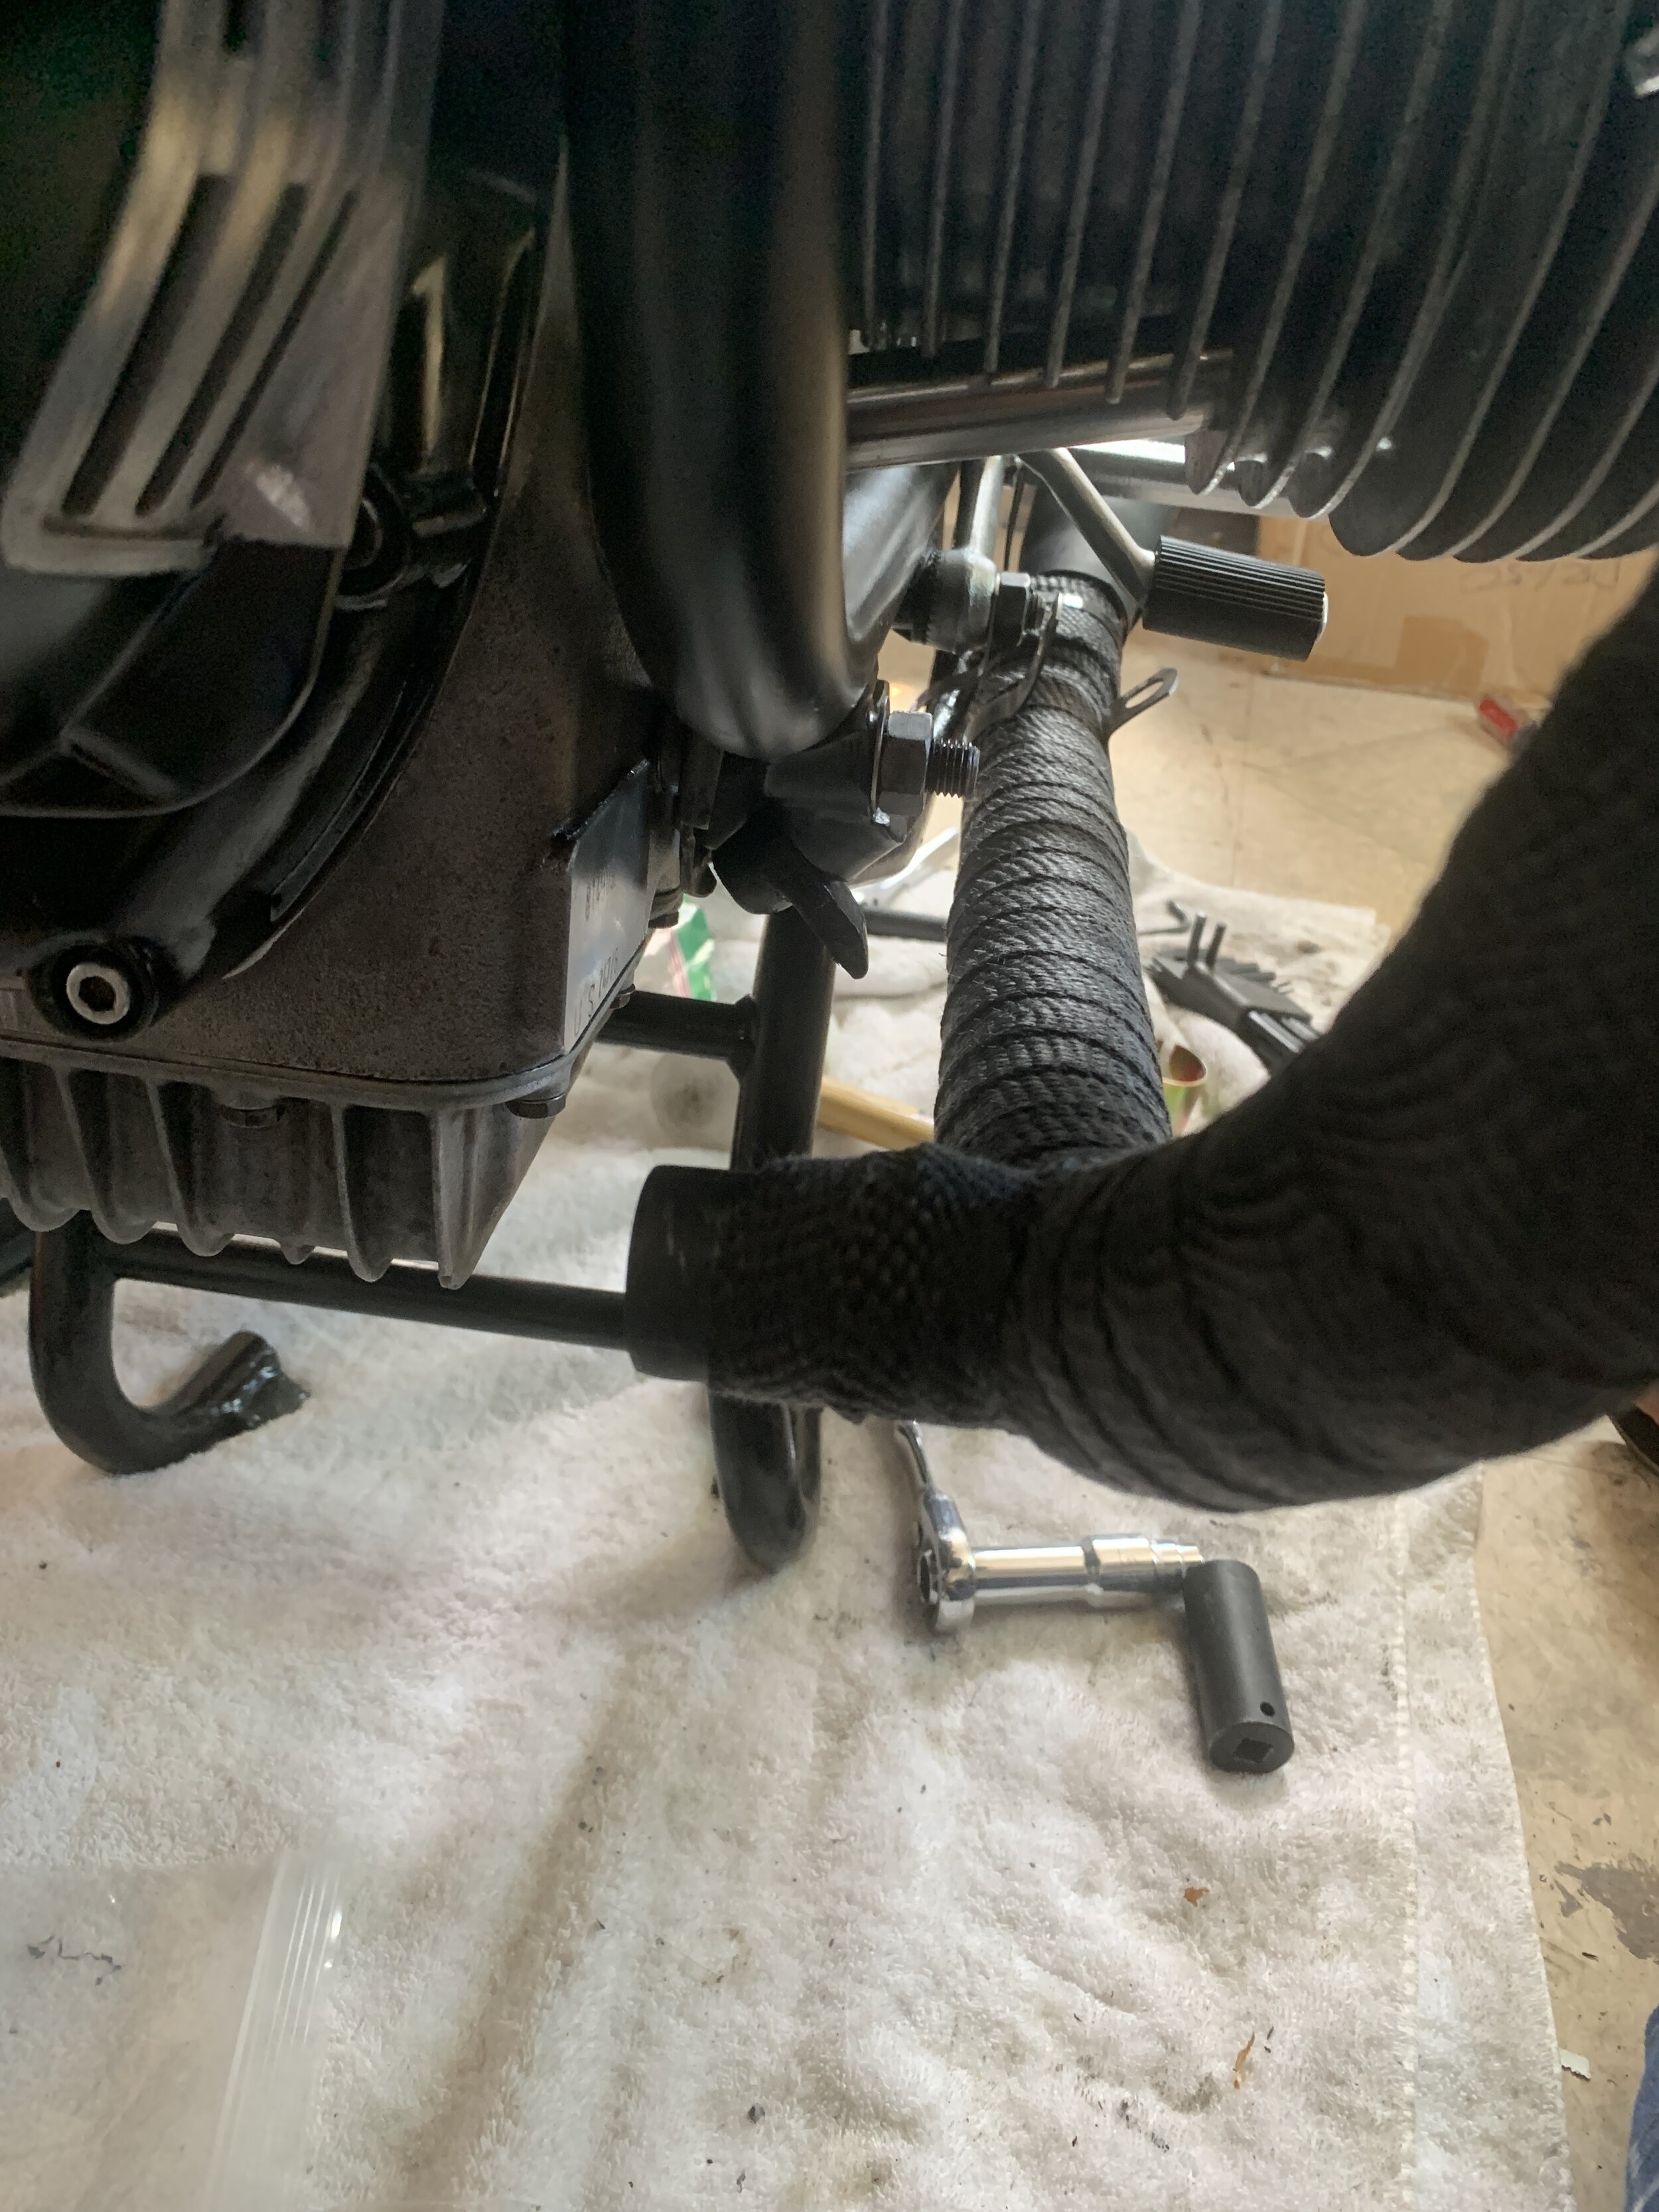
Electronic is quite the nightmare, I’ll try to recount all the problems. The original control perches on the BMW airhead were integrated with all the wiring in the bike. There was no “quick disconnect” or anyway to remove them without some serious wiring gymnastic. On top of that, I need a modern day master cylinder which will not work with the original electronics. My first discovery was that the power to the switch is constant. The switch itself is used as a relay, which in modern day electronics is a big no no, because if you have constant current going to the switch contact even when its parked, you will wear out the contact prematurely. Granted given these bikes are over 40 years old and it still works, I suppose its not that big of a deal. However, a quick search online can yield people who have control failures due to contacts burning out. So that was my first fix, was to use the existing relay as an actual relay. Then wiring up a new control unit from a Ducati Multistrada pre- canbus. I actually tried a can bus unit but the need to require the entire system and creating my own wiring was out of the scope of what I wanted the bike to be. Again I wanted to keep as much as I can on the bike as original and upgrade certain aspect of it. If I were to remove the wiring and fuse set up in the headlight housing, I felt that would take away the uniqueness of the vintage of the bike. Included in this build is a EME 400 watt alternator and new wiring that came with it. I laid many wire out on the bike and replace and repair all those wires that are damaged or need replacing. The main harness needed a lot of love as well, I made new wiring for almost everything, and found three relays that when bolted together with the oem starter relay fit right in the location where the original bracket bolt on would be.
There was a grand total of 3 relays, 1 for high beam. There was none before, now its wired properly. Another for the horn, again there was none before, and it definitely need one. One I left open for the heated grips I will need in the future. I bought new ground cable and made new grounding cable as well as the main battery cable. I had to buy crimpers that can crimp the big end terminals I was using. So there was a bit of wiring process. Wiring up the cluster and getting the hazard to work, required more research and some resistors. I had an issue with the grounding in several places and that drove me crazy not knowing why there was power one moment and not the next. After that was sorted the diagnosis became much more straight forward. Horn required a new bracket and I made it from a stock aluminum I had laying around from a previous project.
The acewell cluster was a lot more complicated to make it work with the bmw airhead wiring than originally anticipated. When I install the vapor on the Dr650, the level of installation skill was perhaps 2 or 3 out of 10. The Acewell on this install was more like a 7 or 8 in electrical skill and trouble shooting. You have to read the way the cluster is trying to register the on and off switch and then create a circuit that will trigger the lights. It’s not nearly a find the wire and solder operation. The hazard lighting and the blinking of the lights also required some ingenuity to make it all function 100%. Alas everything works. If I were to charge someone to do this, this may be more than 40 hours of work to make all the custom wiring function properly.


Exhaust
So the exhaust was pretty beat up, the chrome is pretty bad and most of the pipe is pretty ugly, and there was a nasty dent on the right side when someone dropped it. Noah helped me drill a hole from the rear, hammer it out flush enough and welded the rear shut. But cosmetically it was still not passable. I could buy new pipes, but I did not thick the chrome look, would be what I want with the scrambler anyways, so I ended up buying some high quality wraps. I started putting red electrical tape everywhere that I didn’t tighten yet, cause there is just too many bolt to keep track. Once I wrapping it and mocked it up, it was obvious that the bracket that holds the exhaust would not be able to go round the wrapping, which is rather thick, so I have to take it off and cut that section open. Once I have it all set with steel zip ties, I spray it with the silicone sealant that came with the kit. Then I install the shorty mufflers. The clearance was surprisingly good.

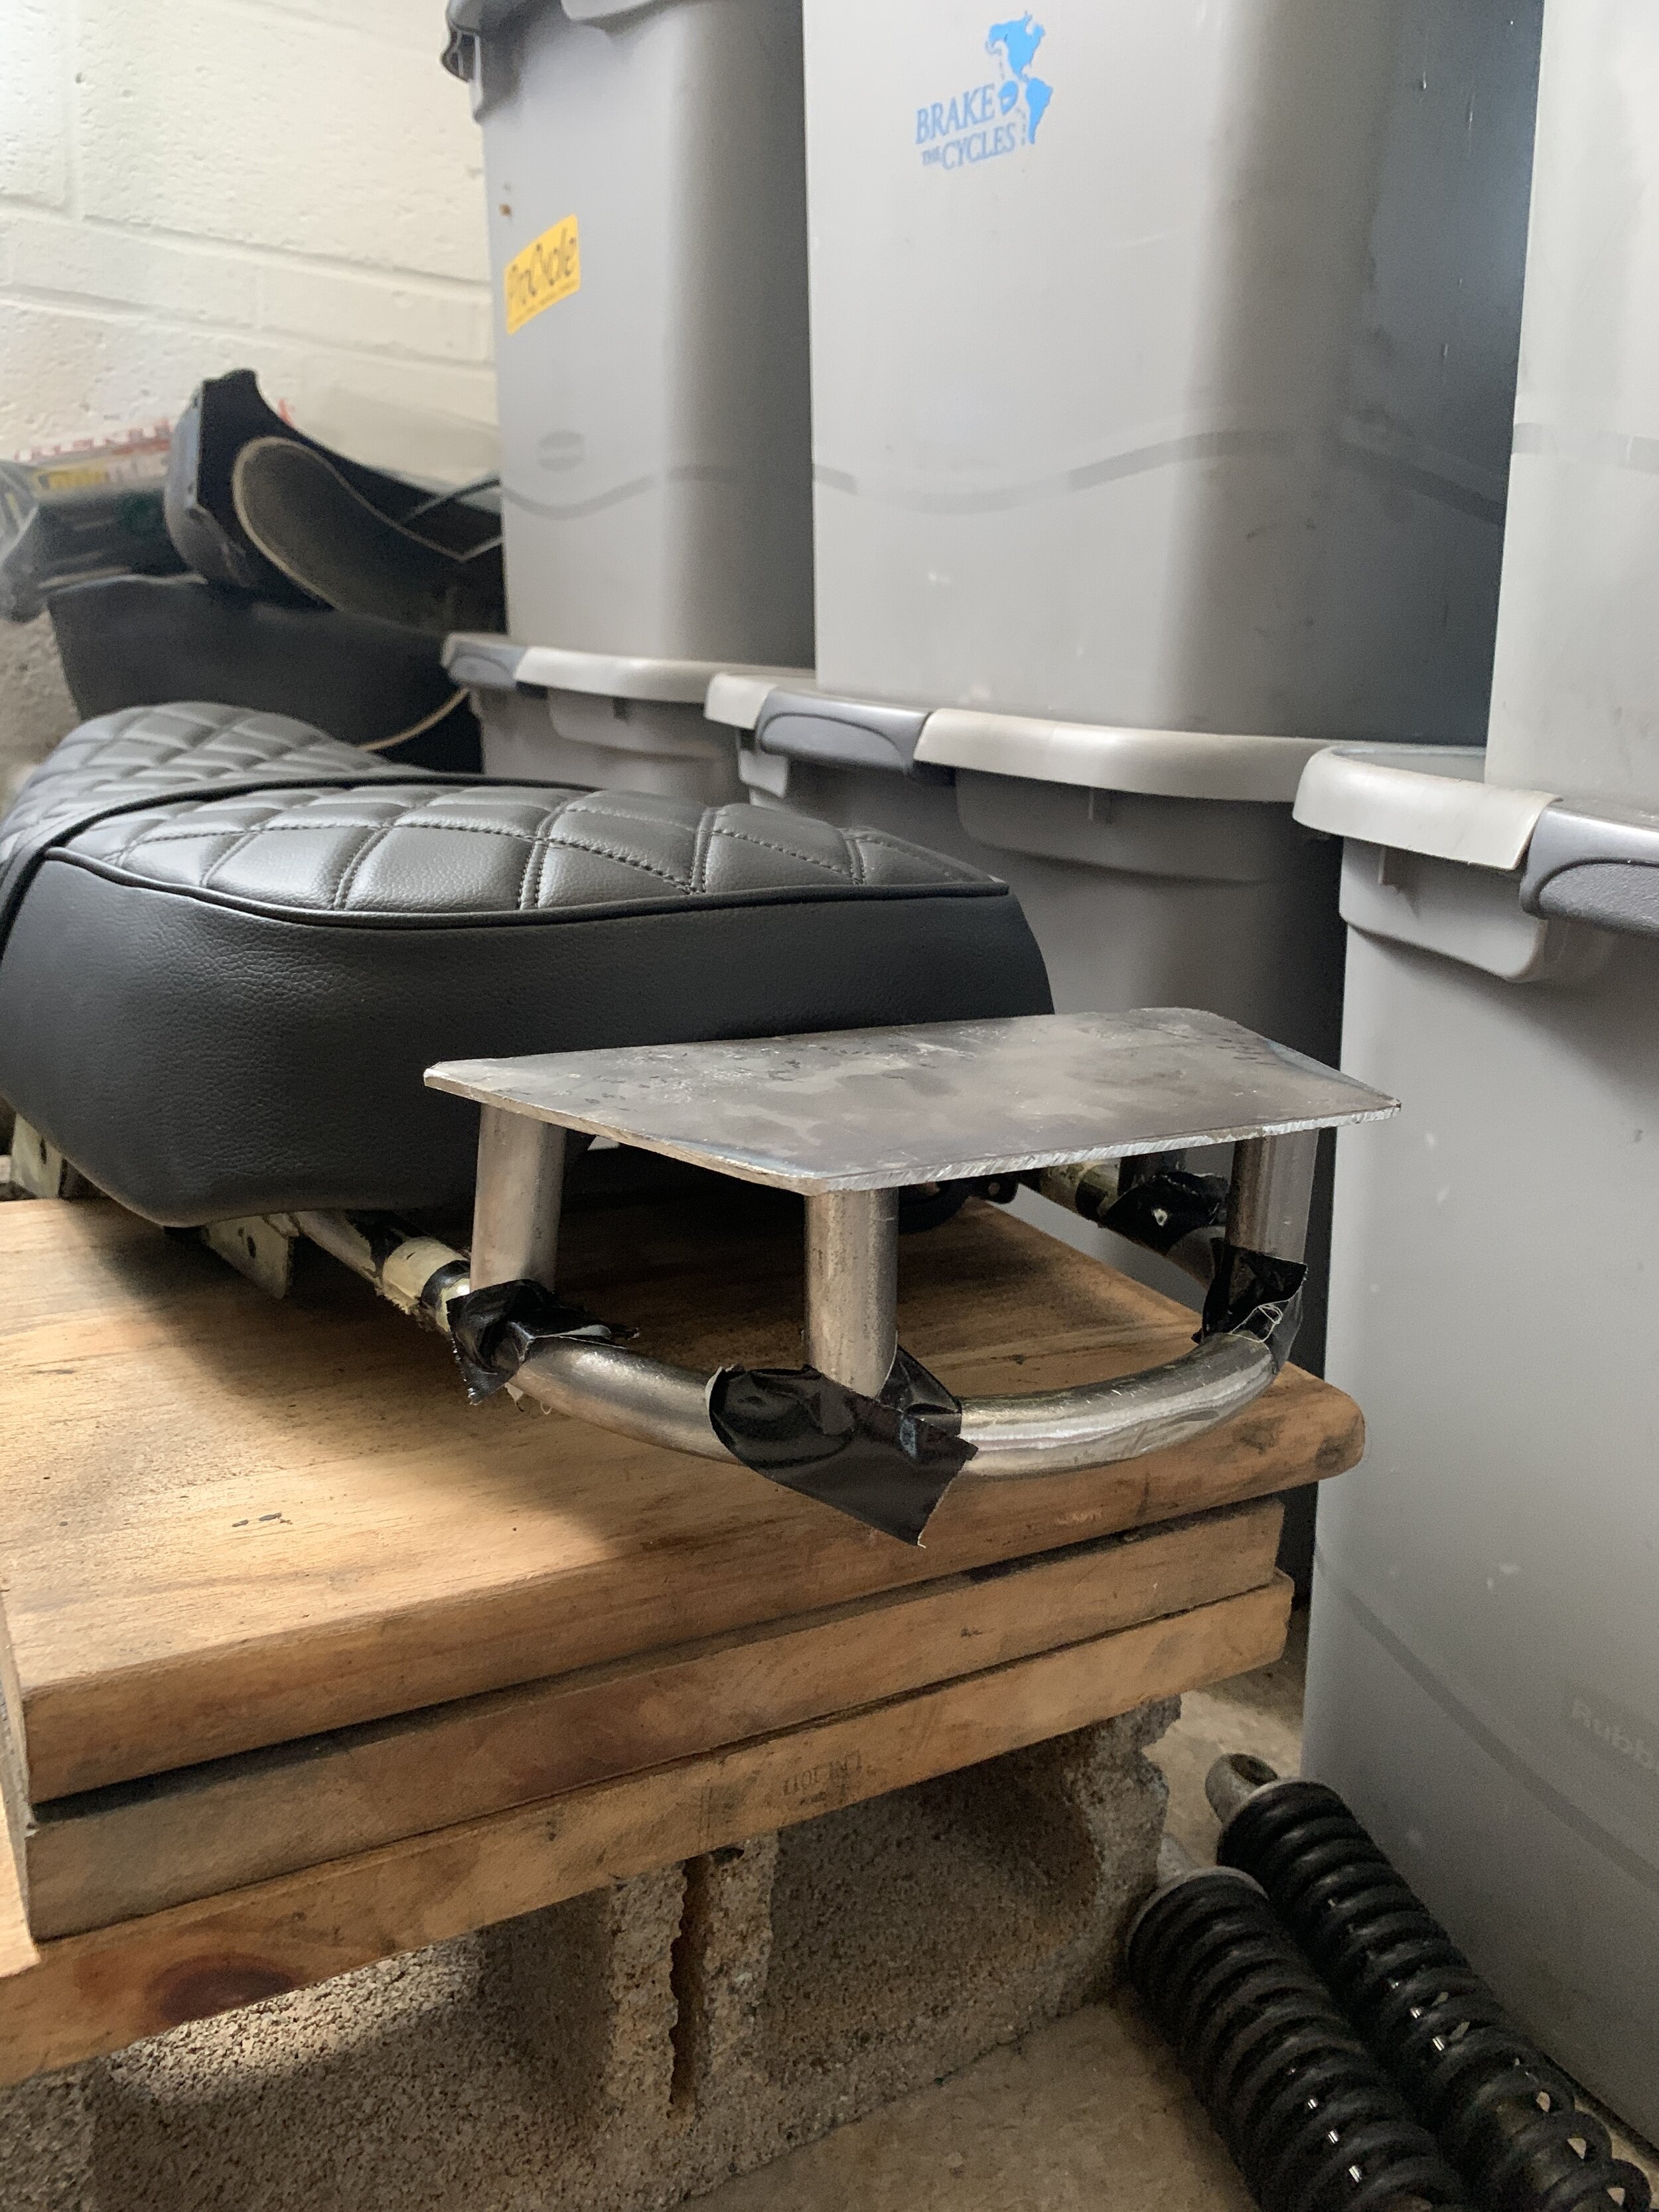
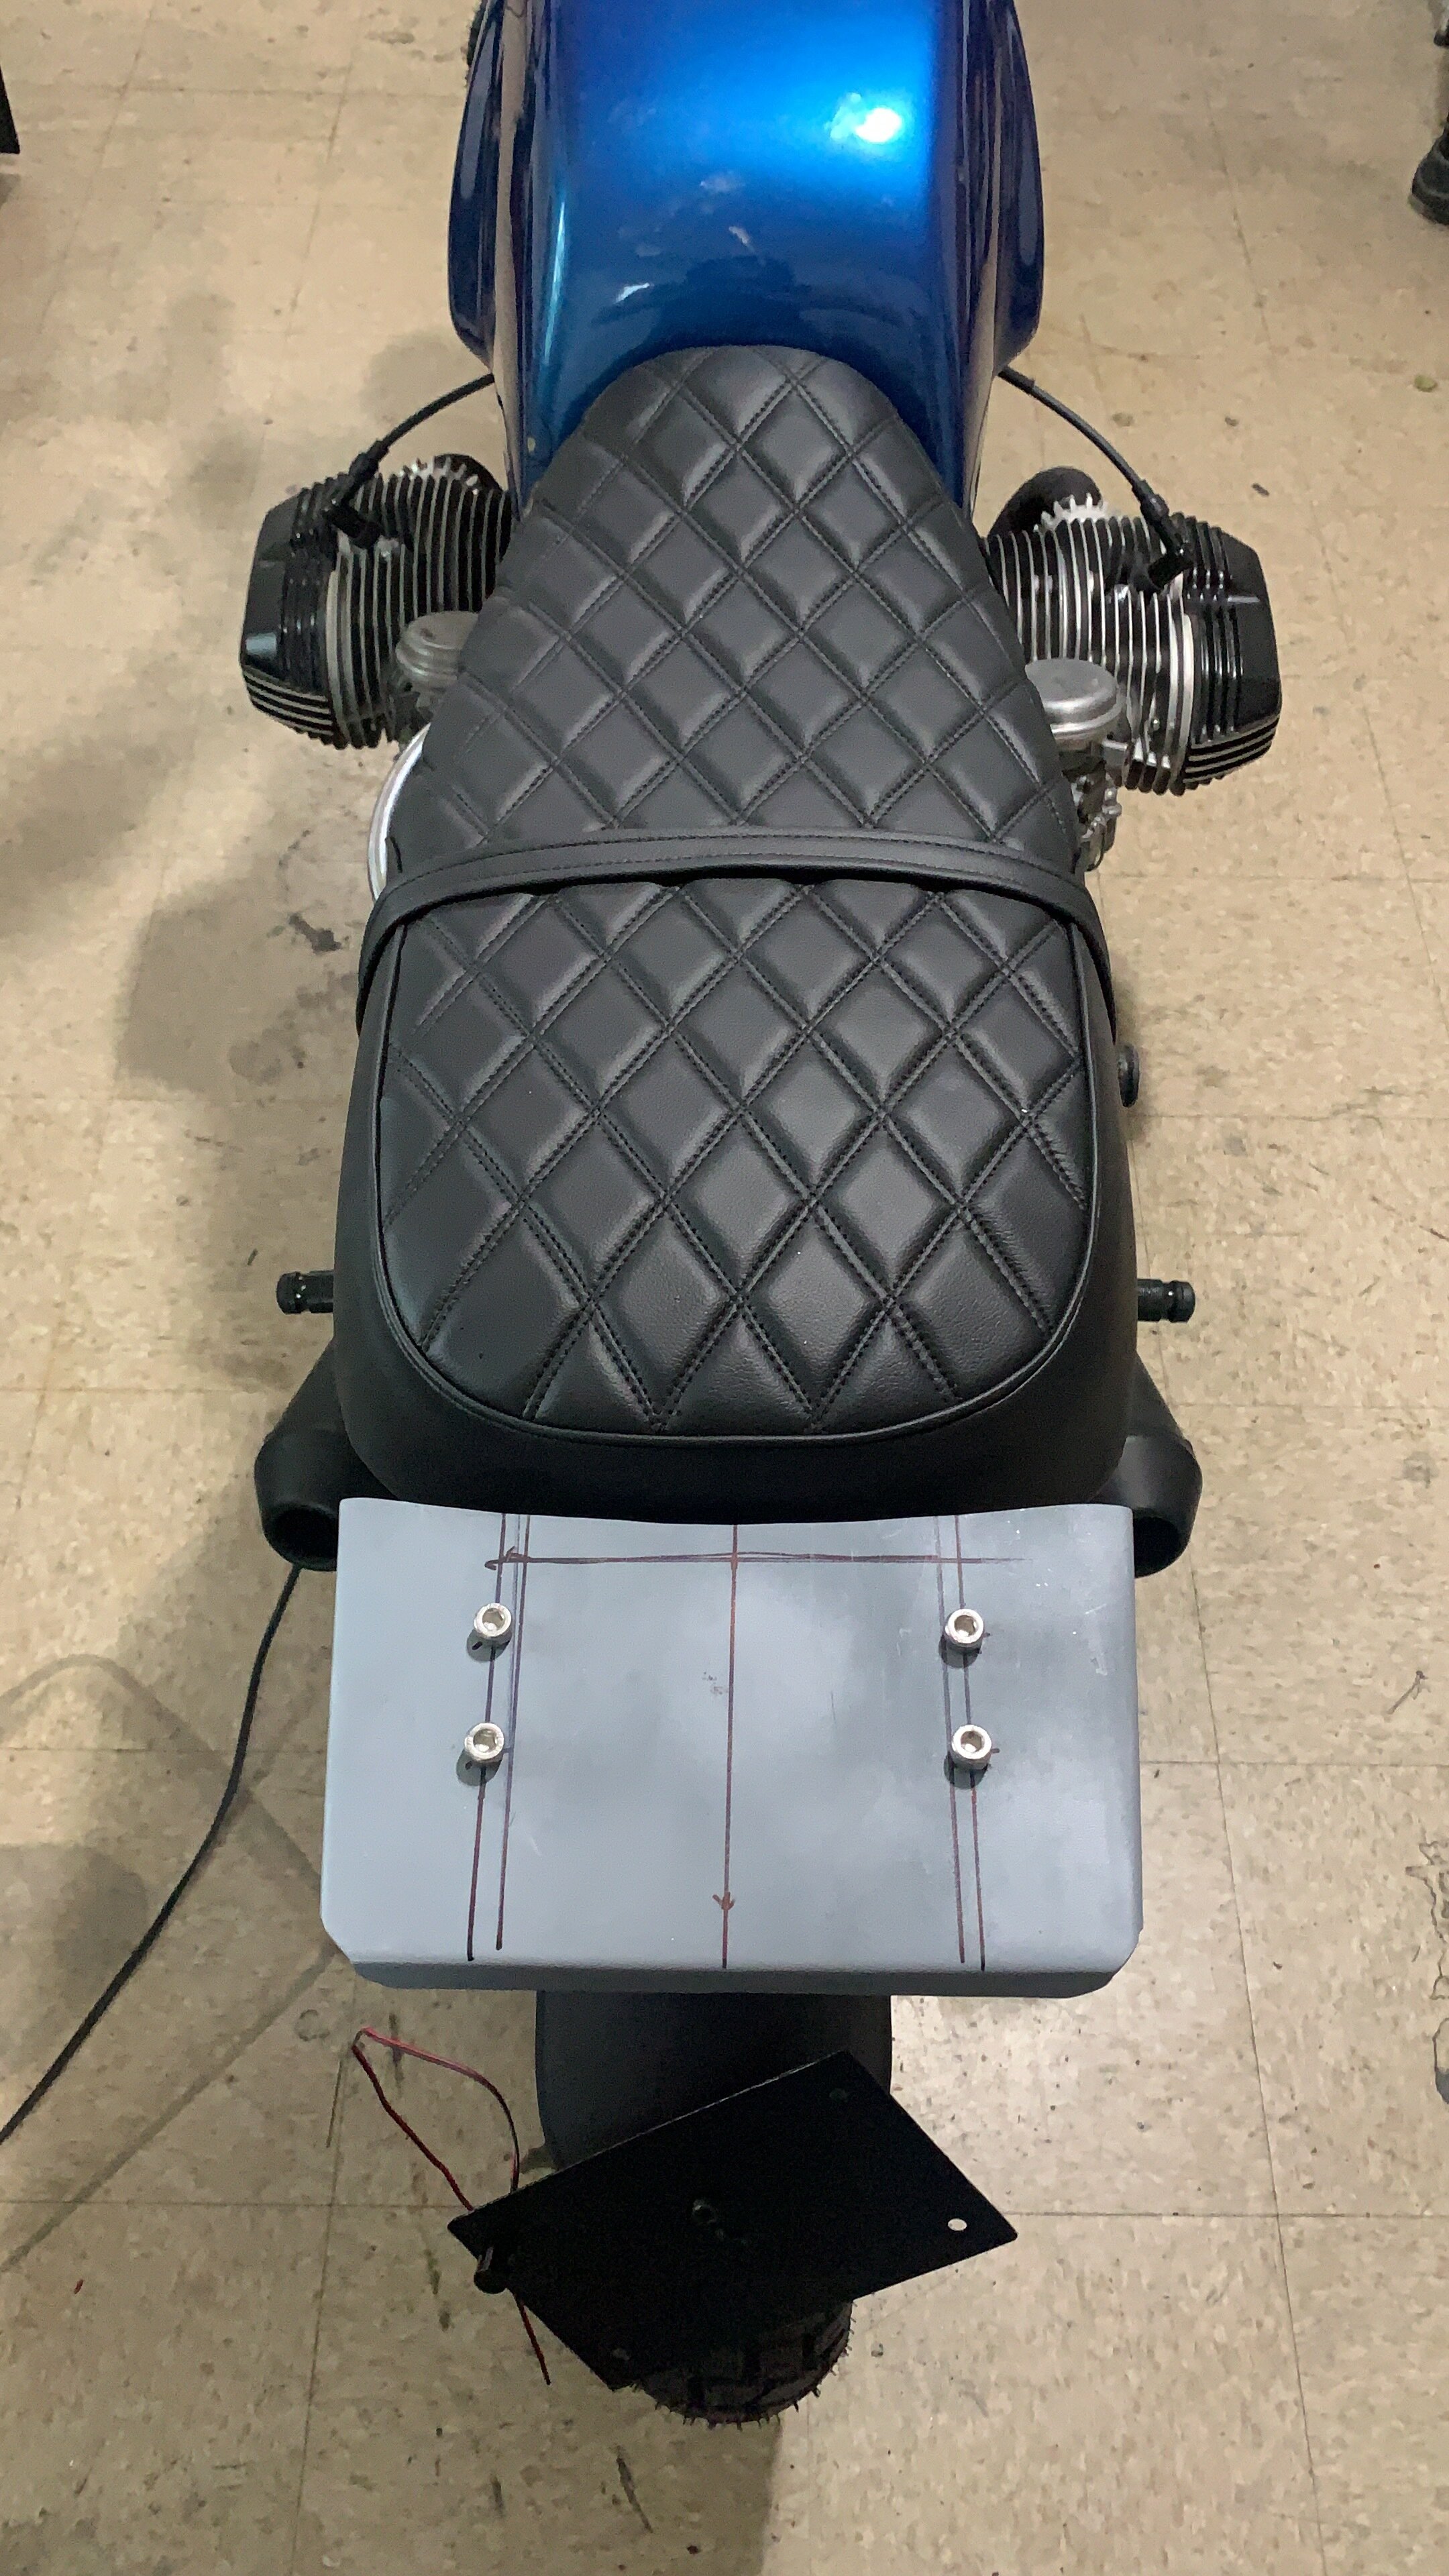
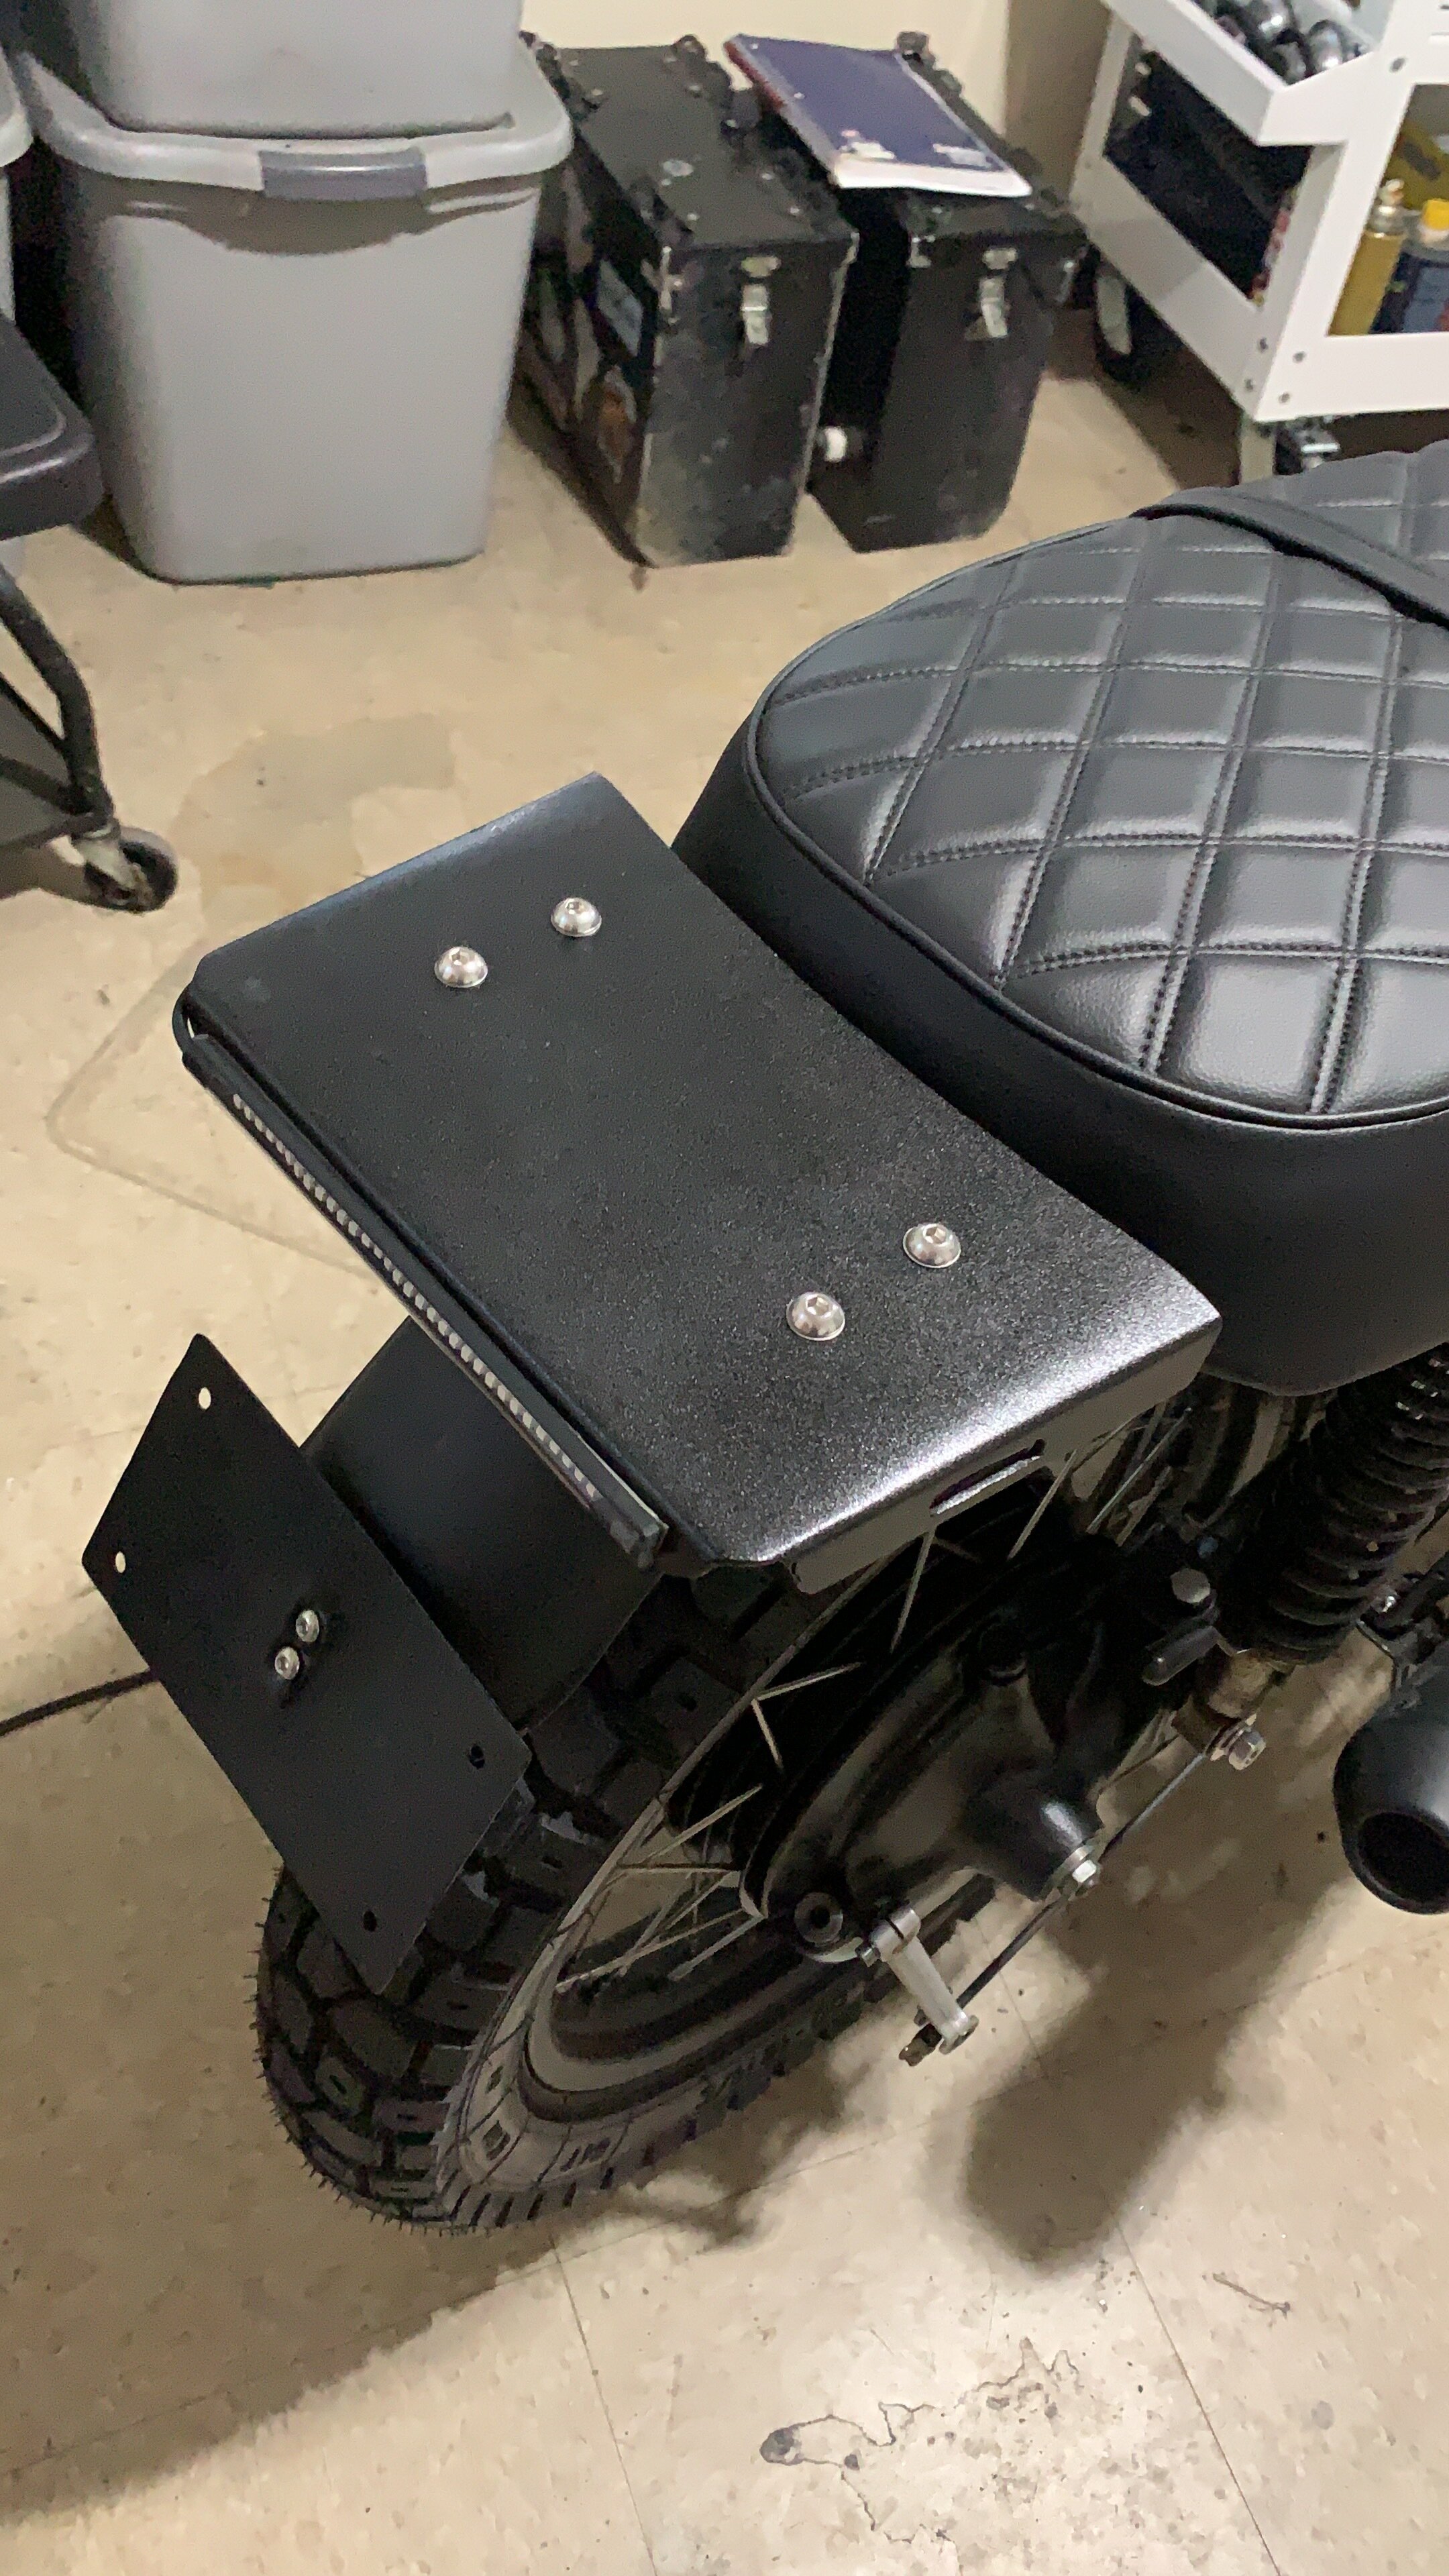
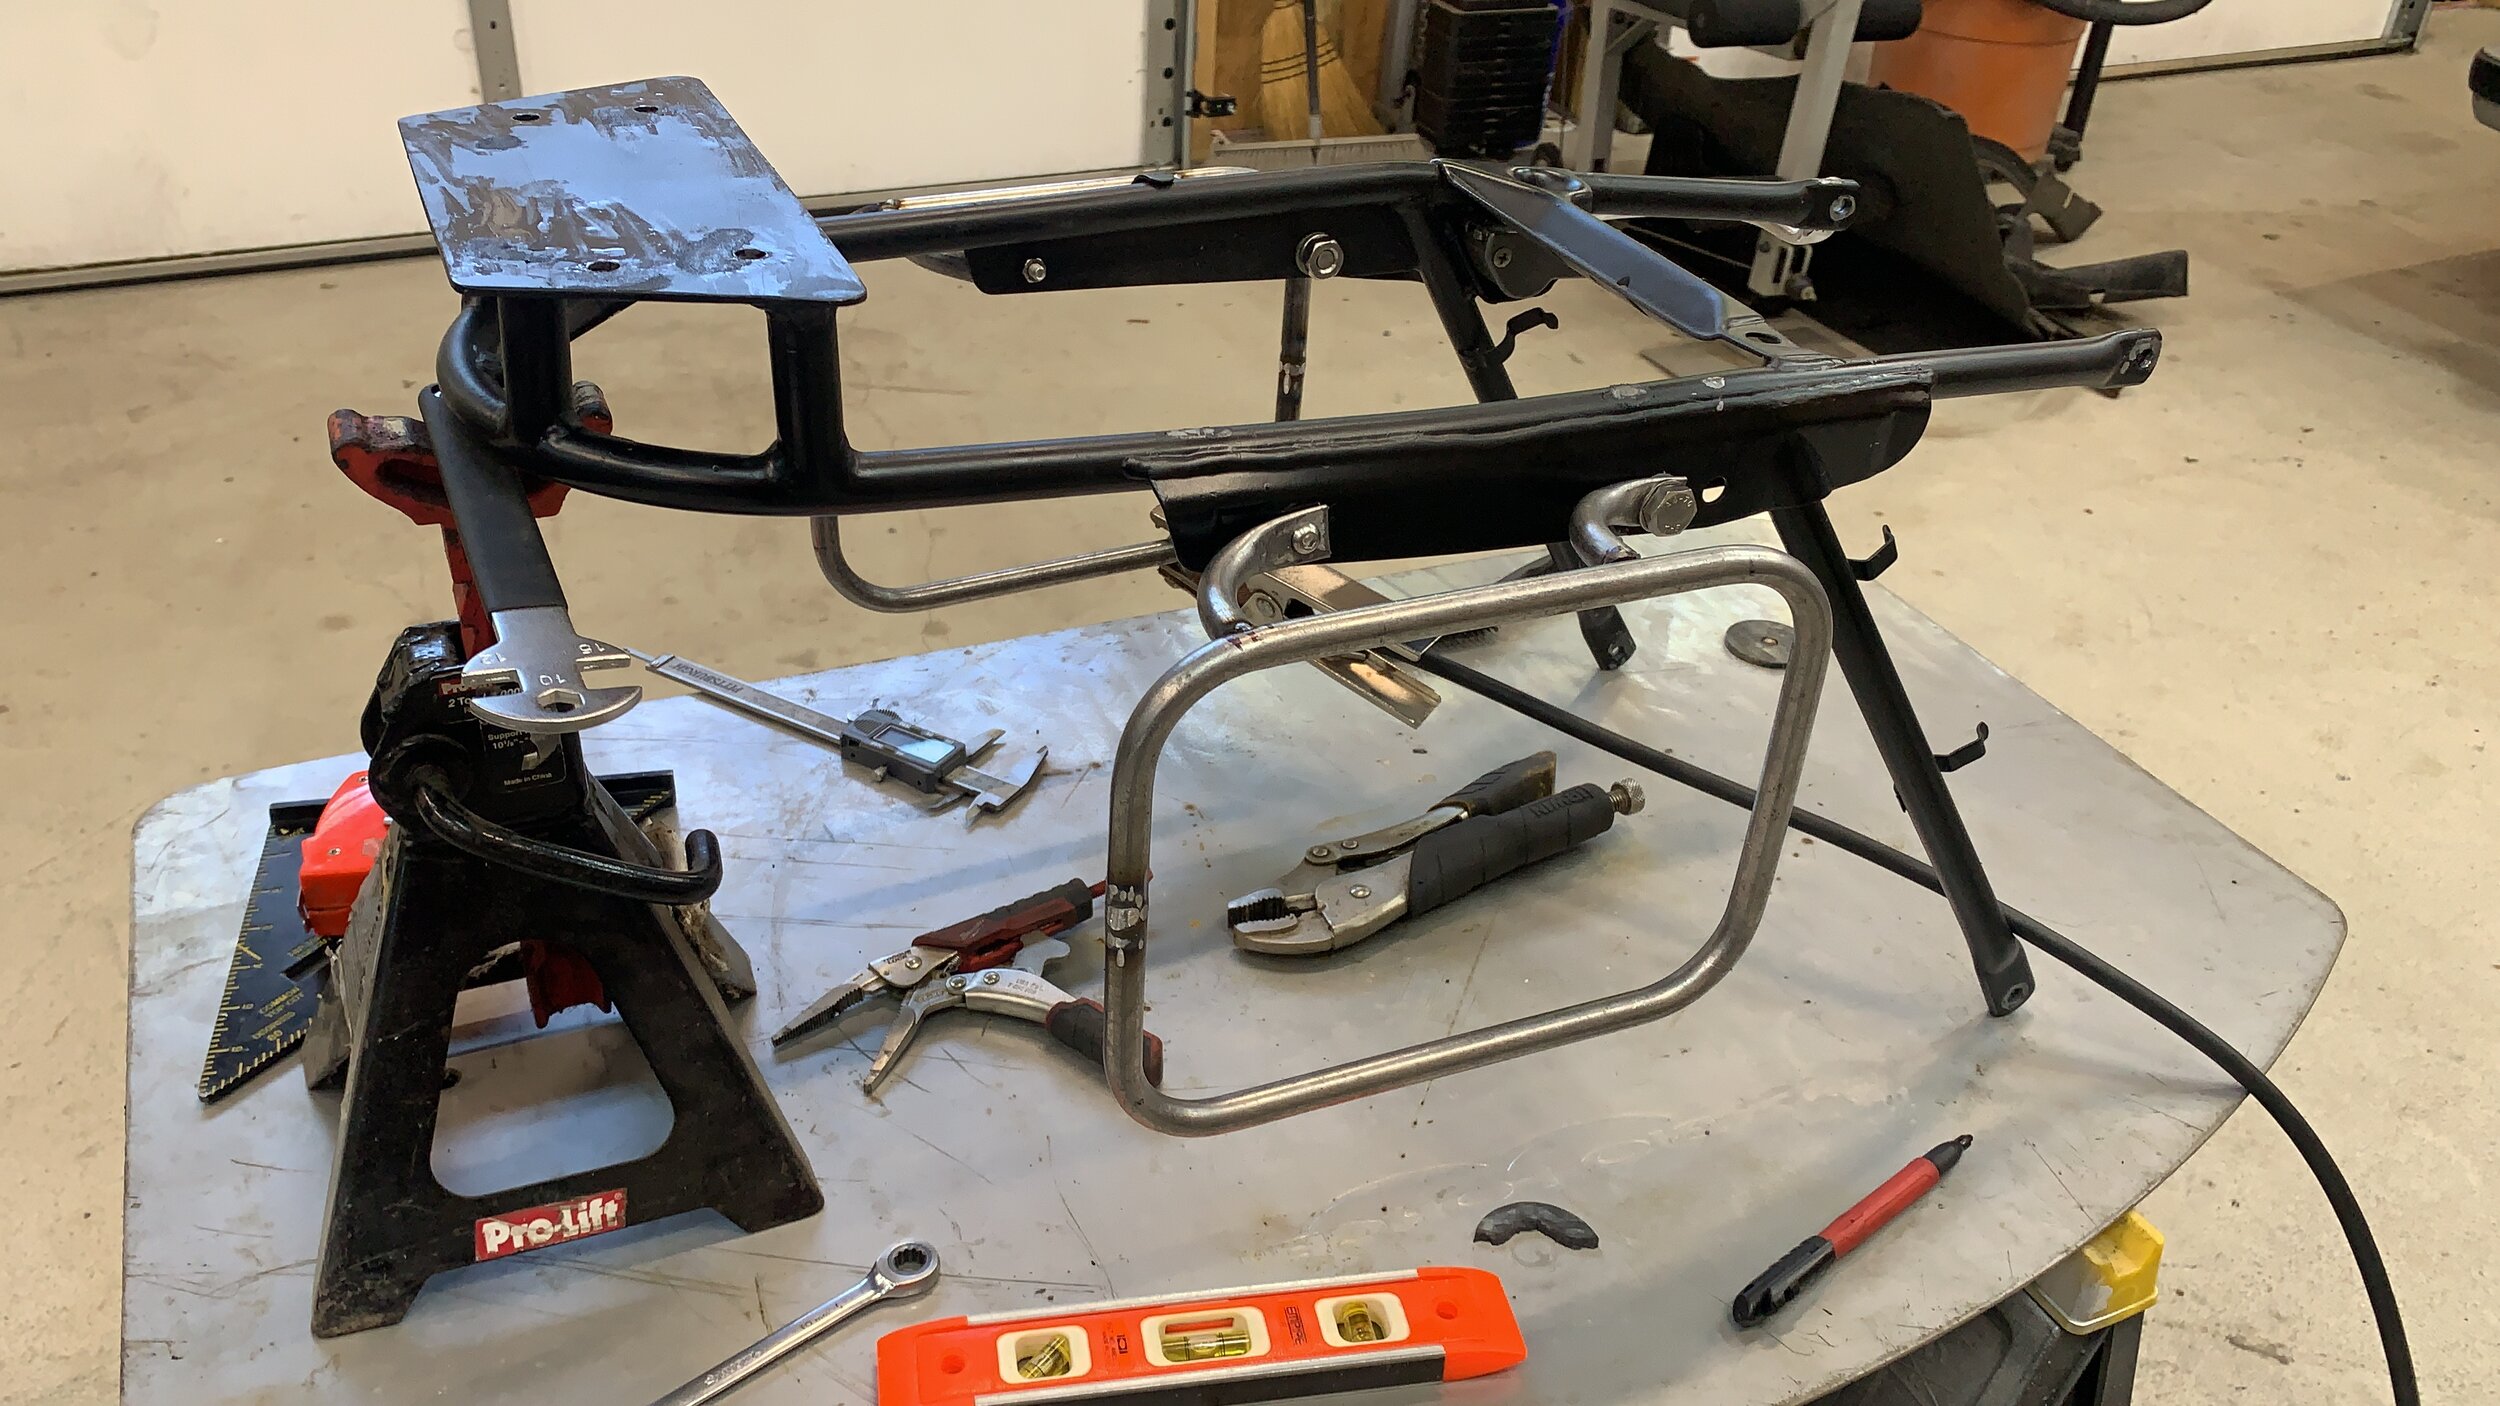
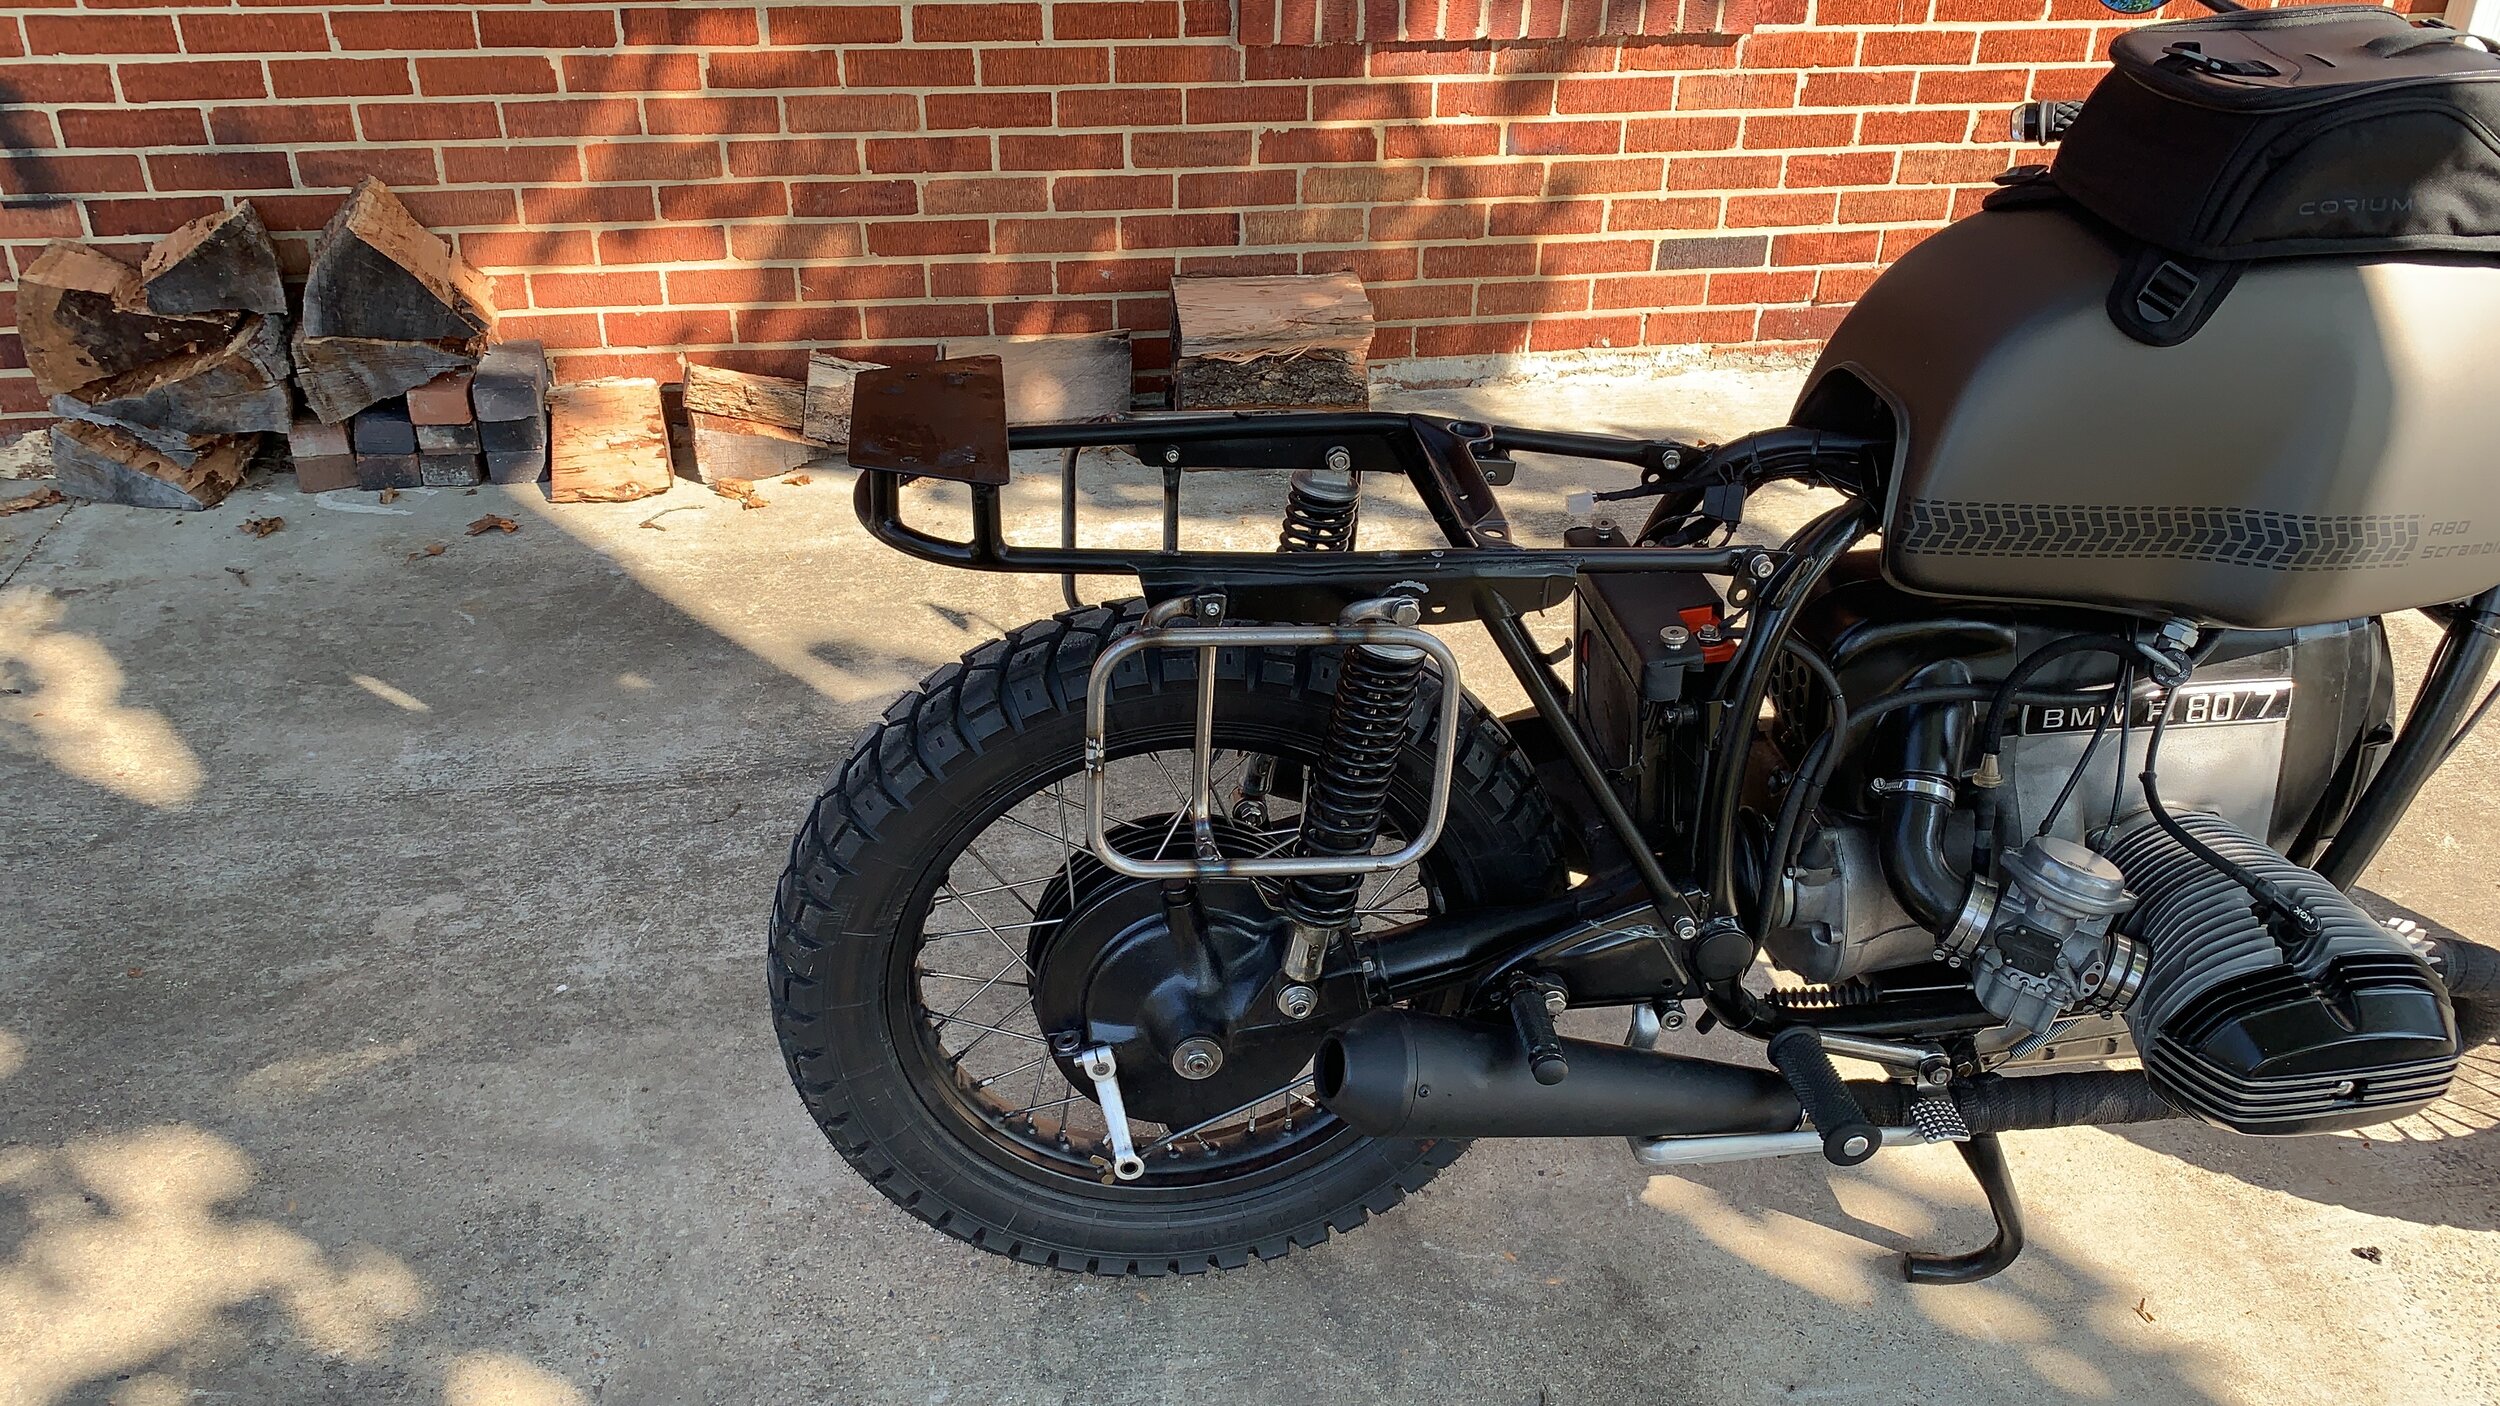
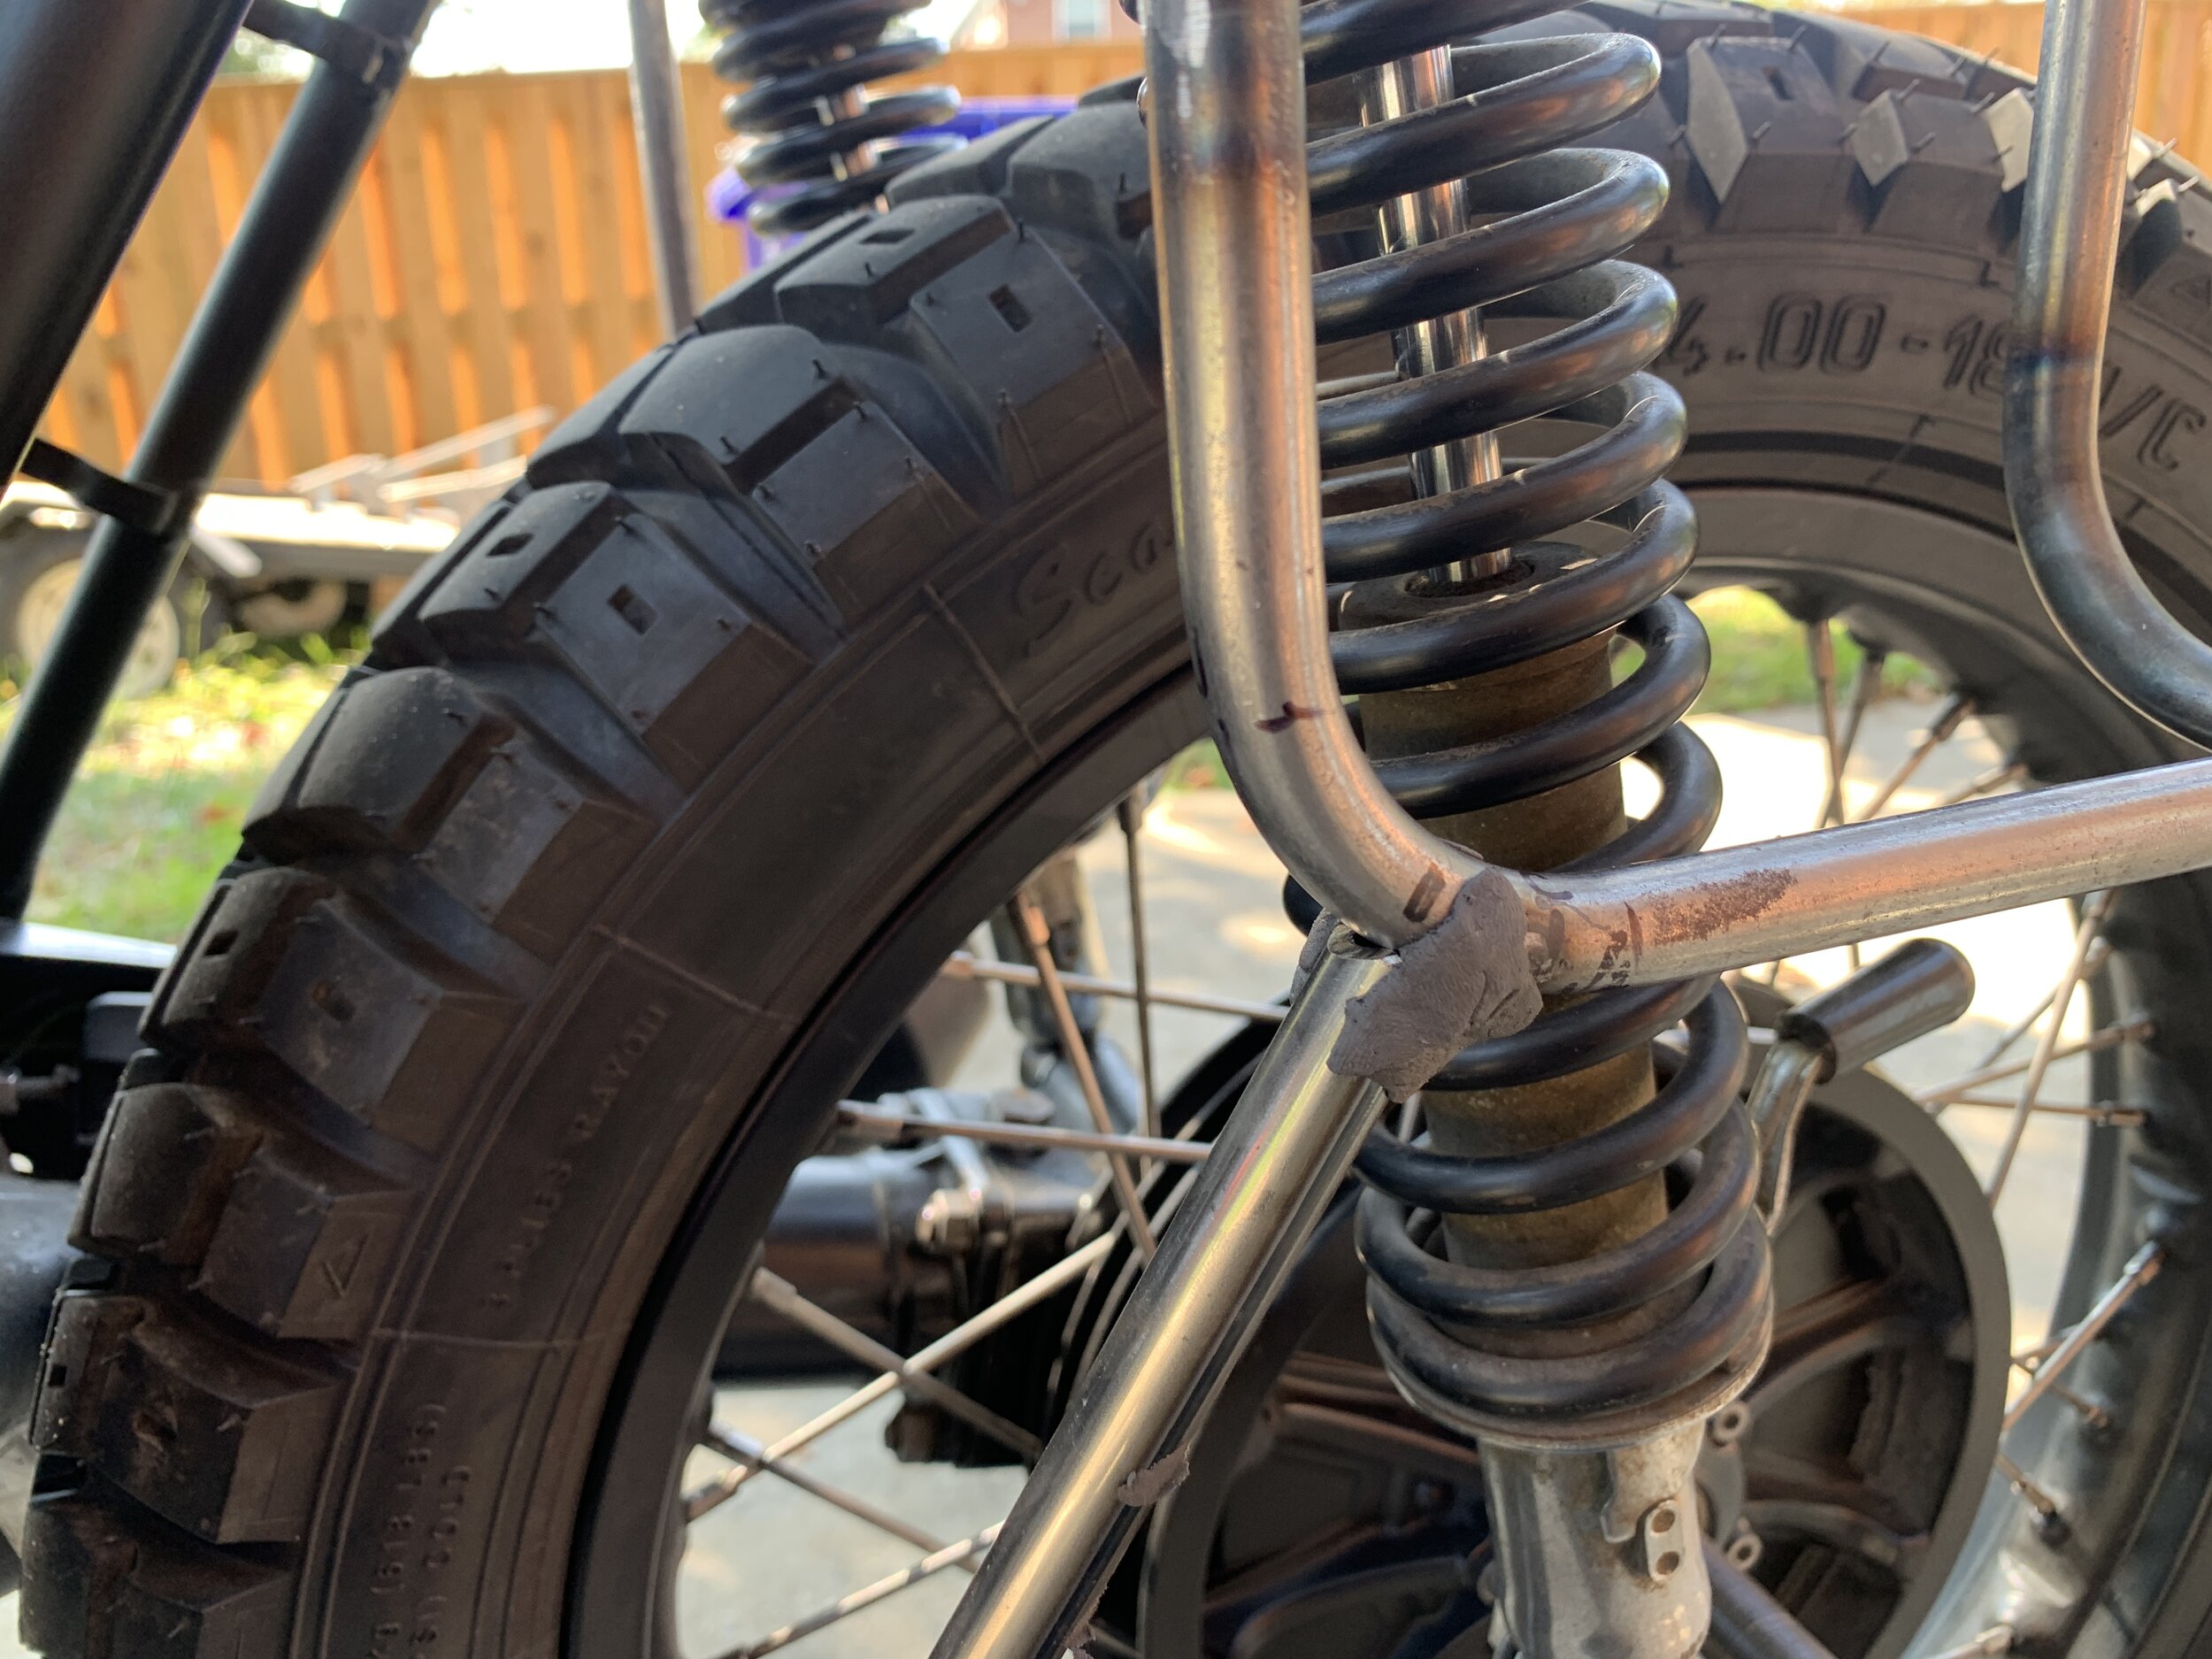
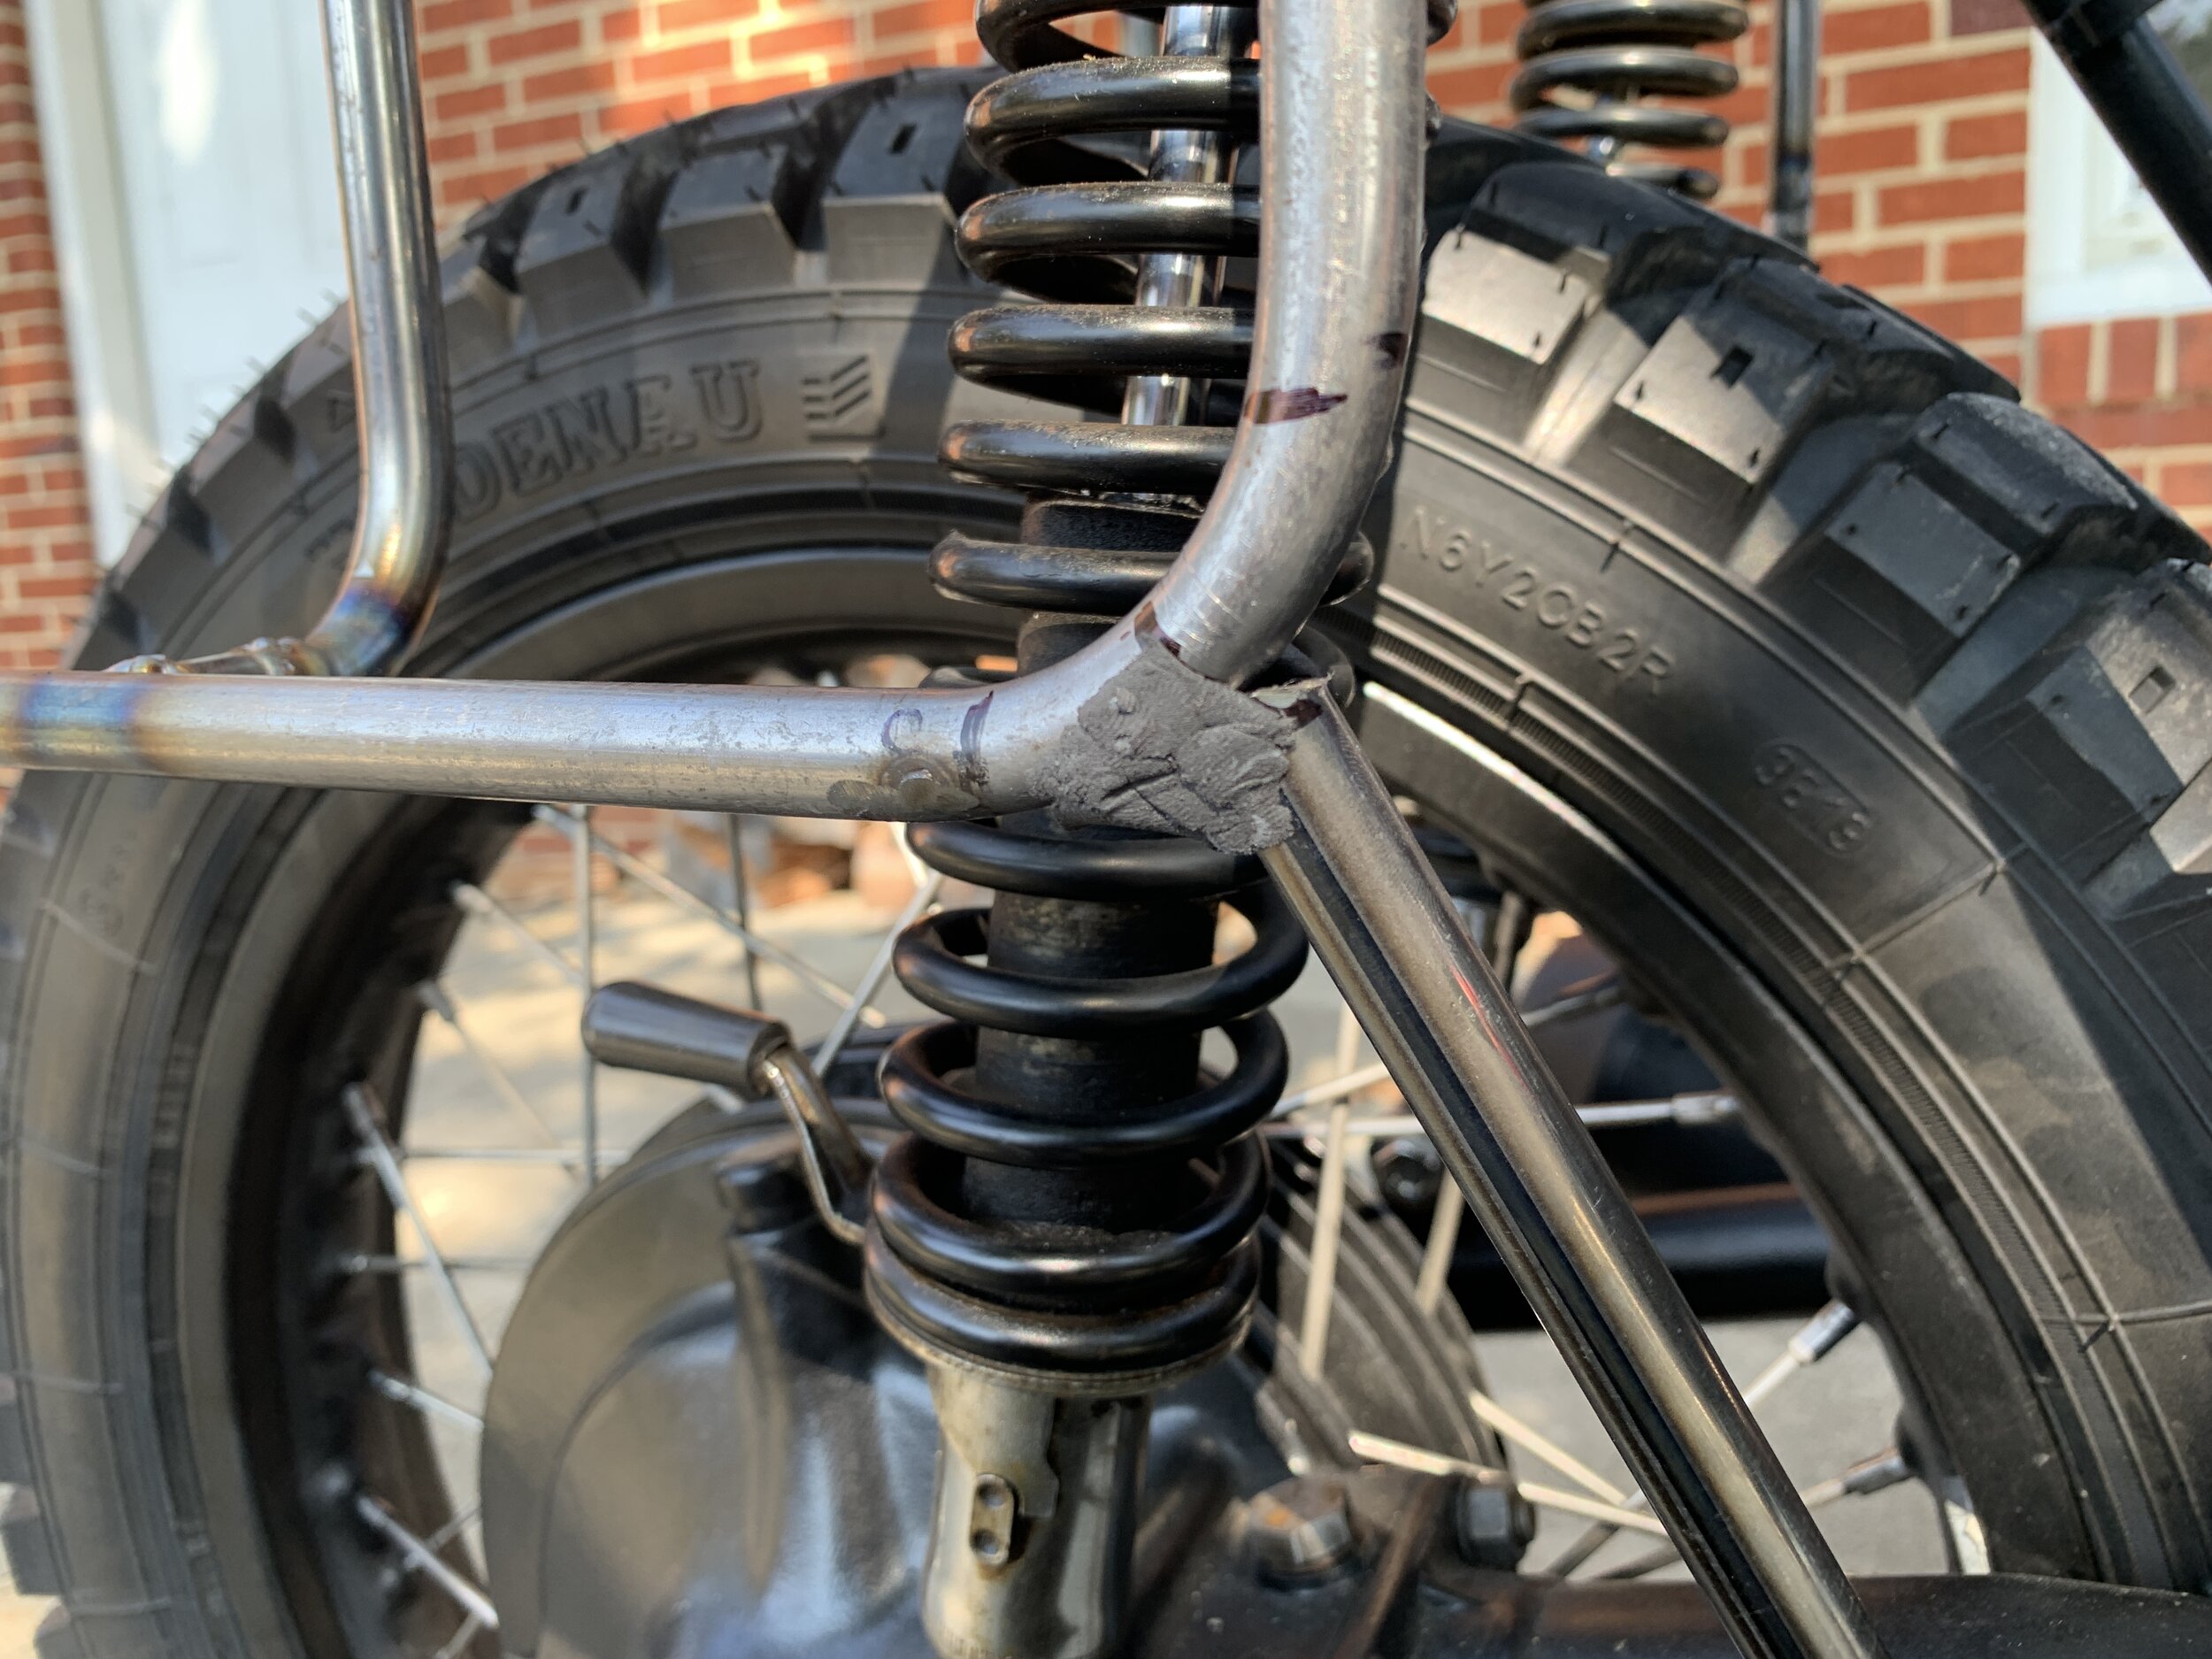
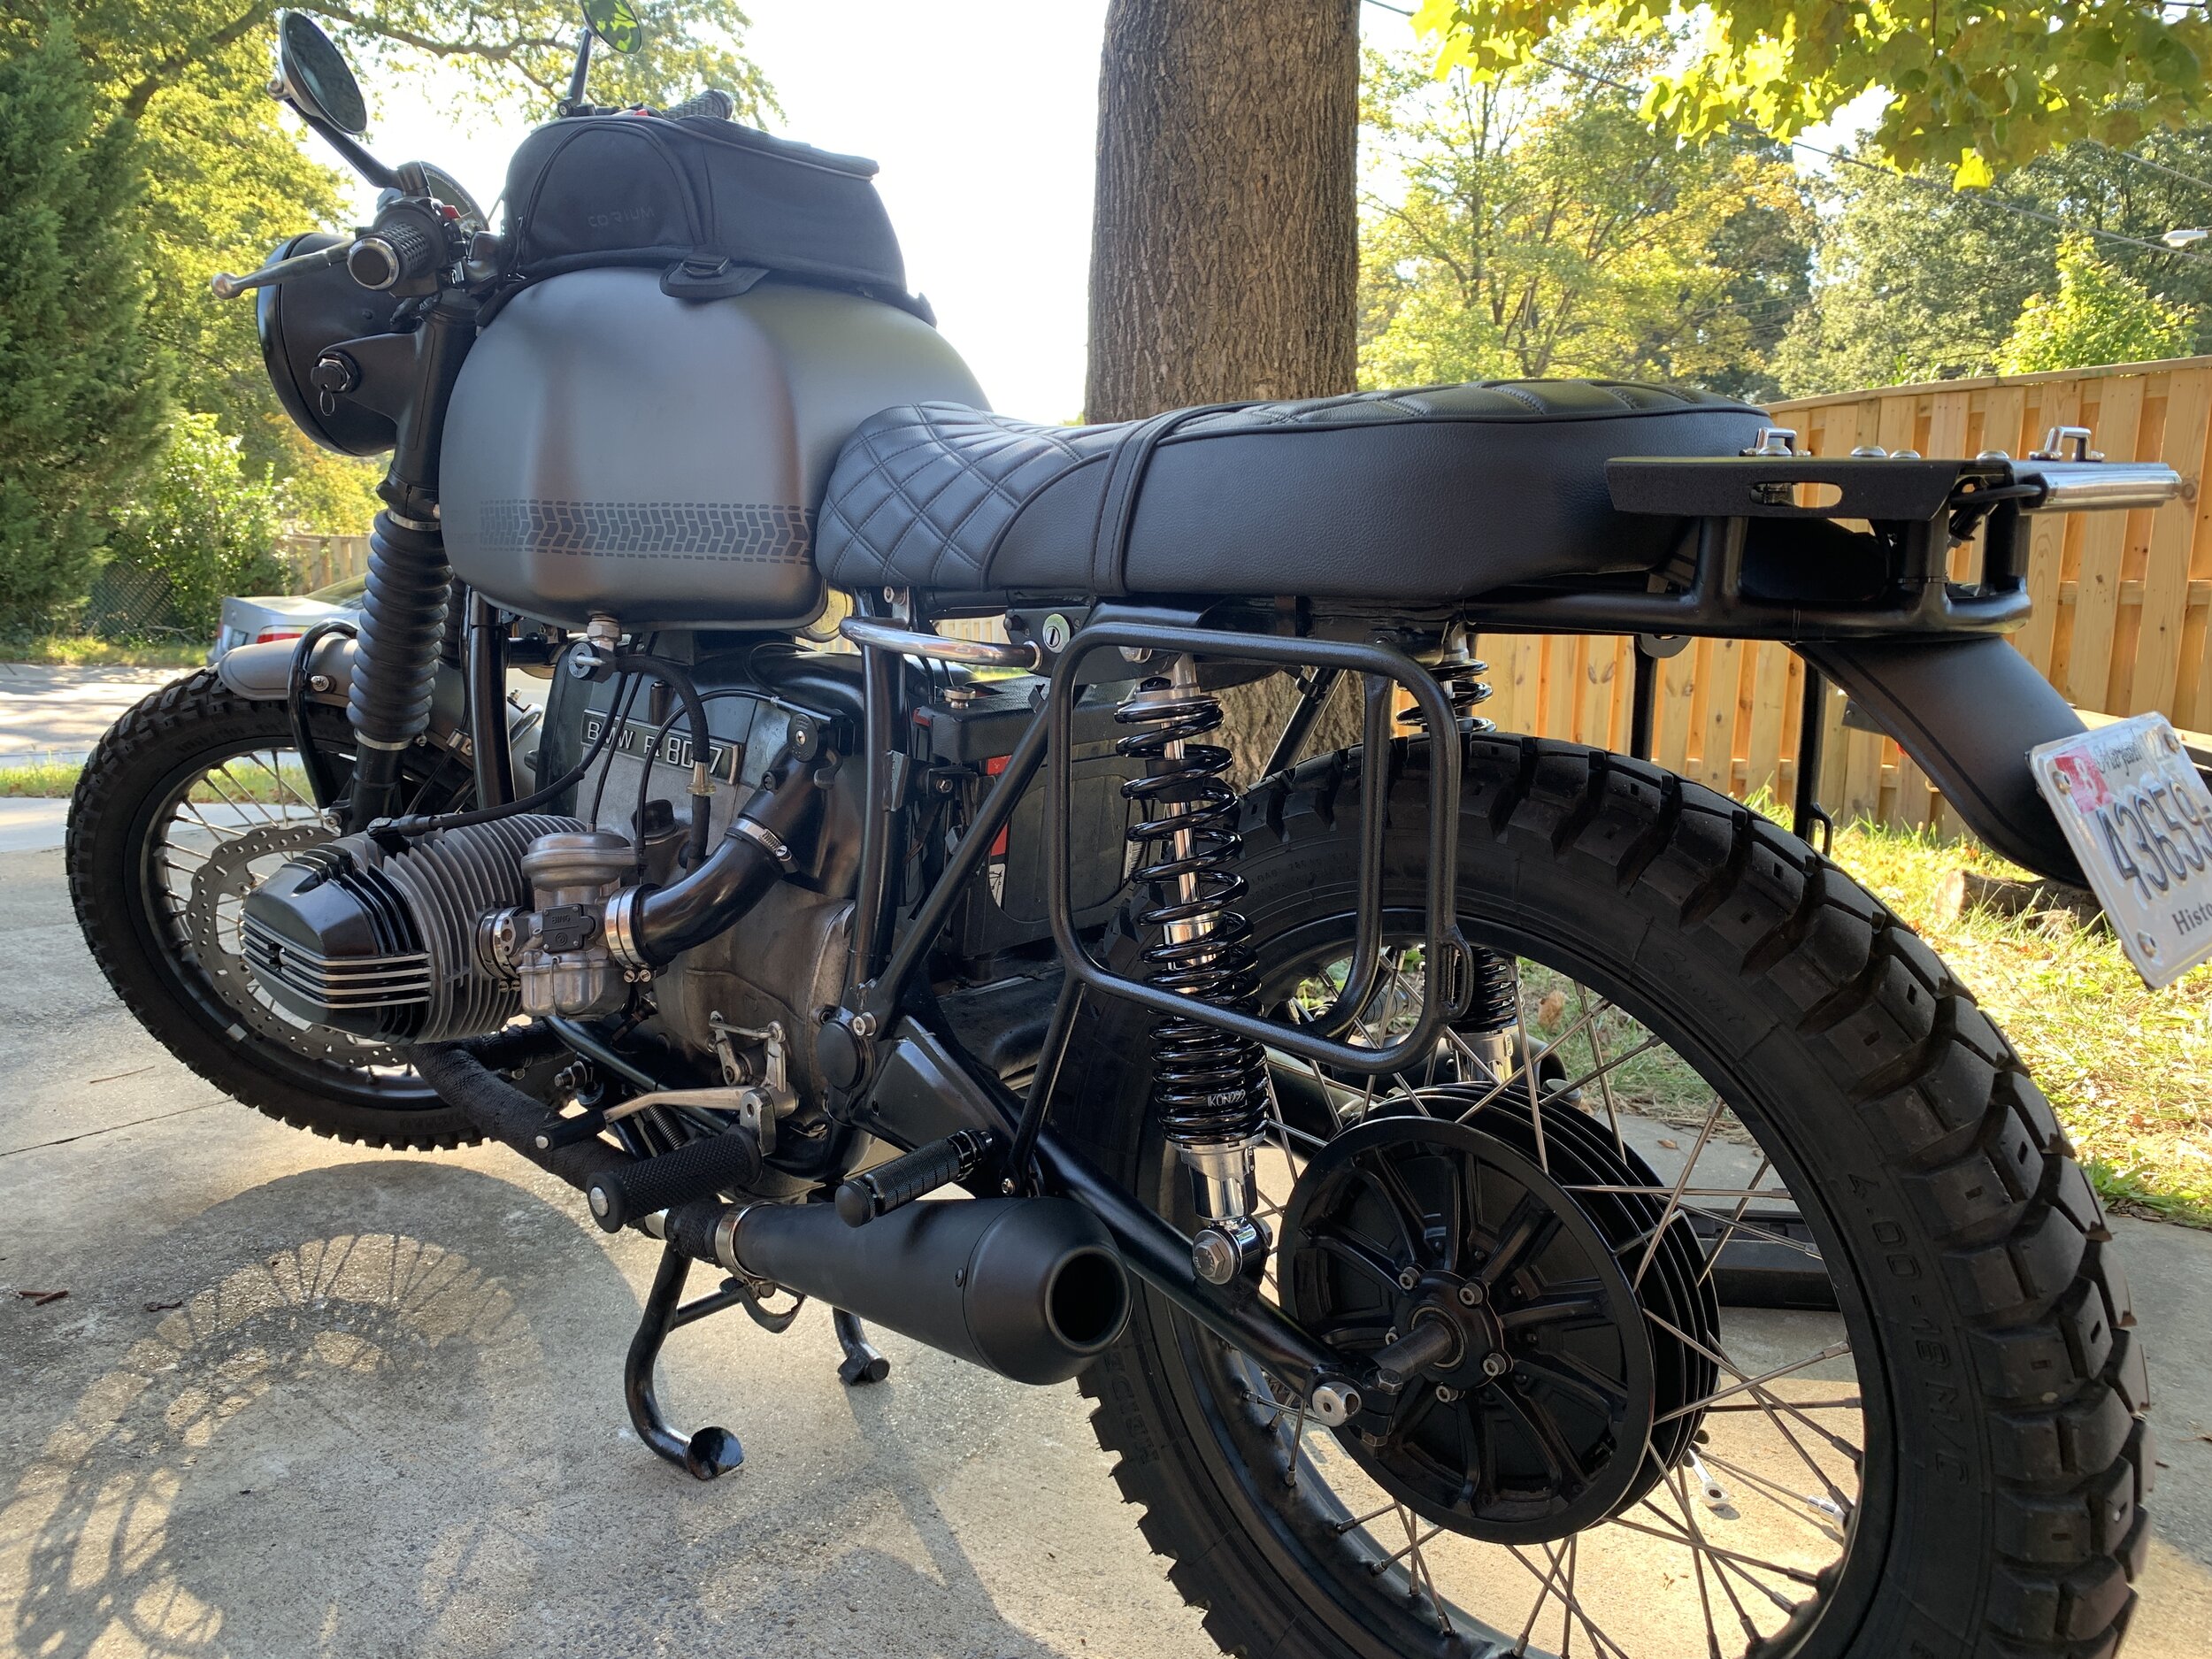
Rear Subframe
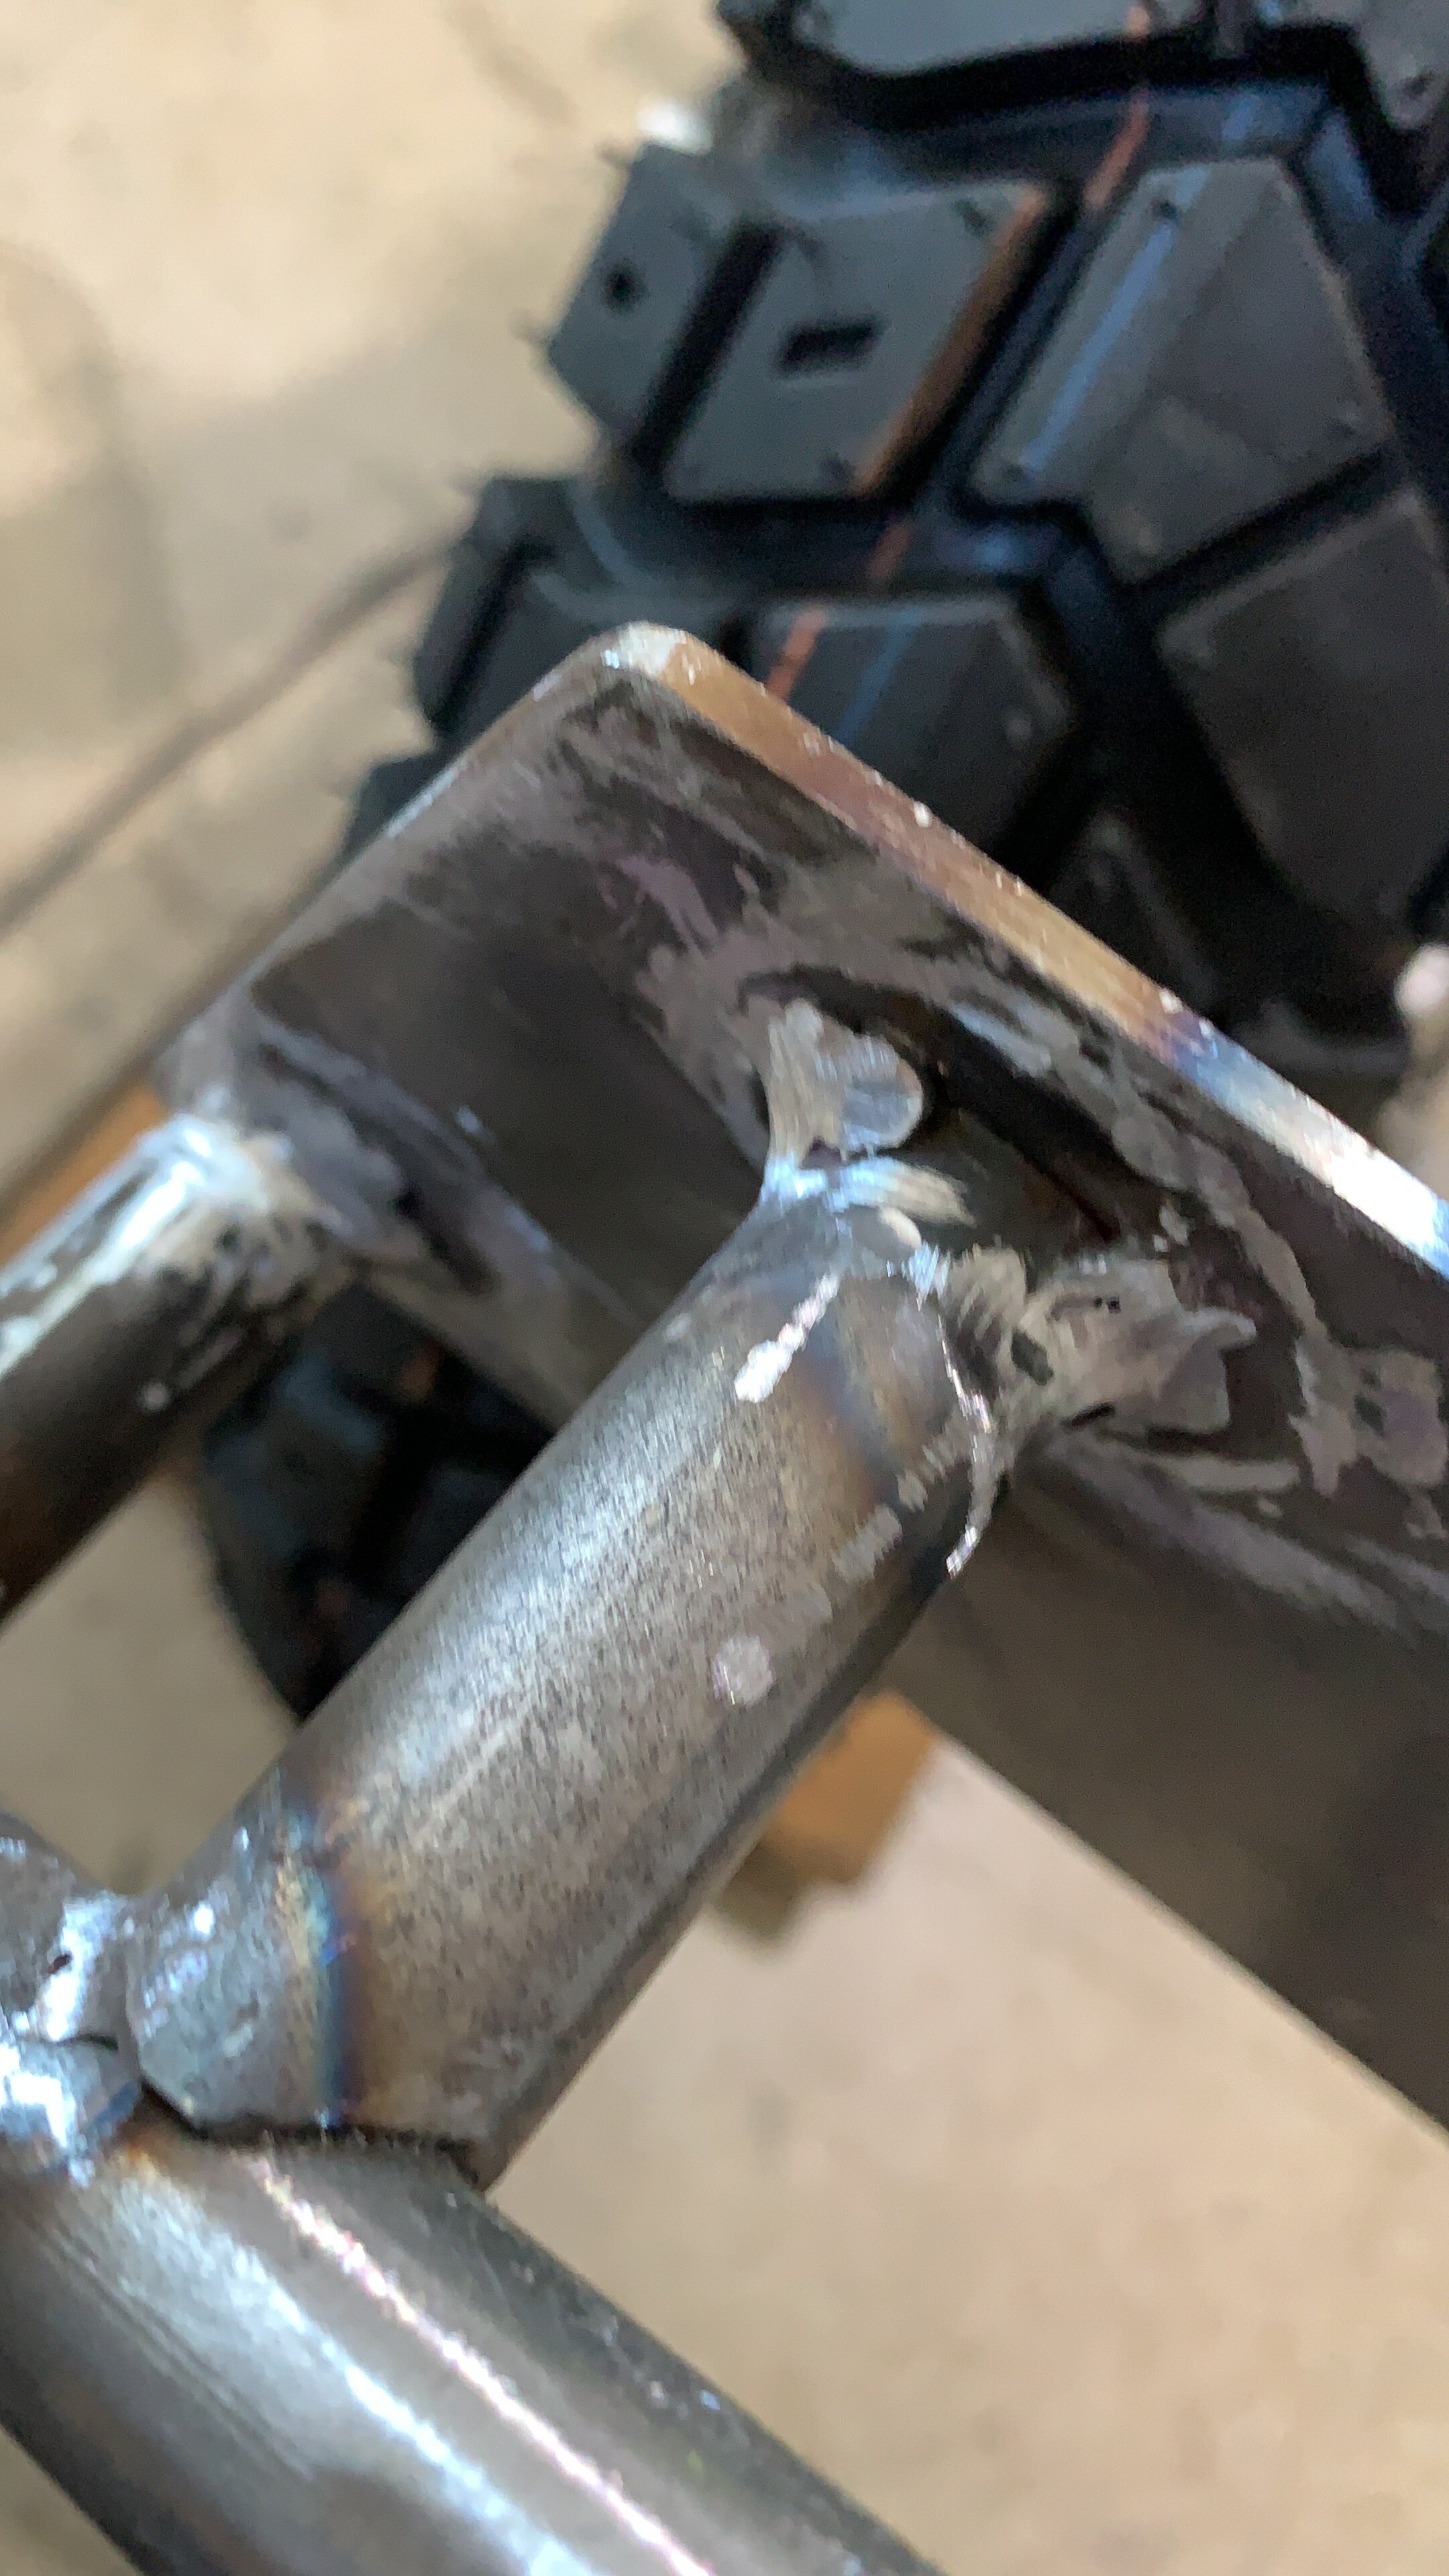
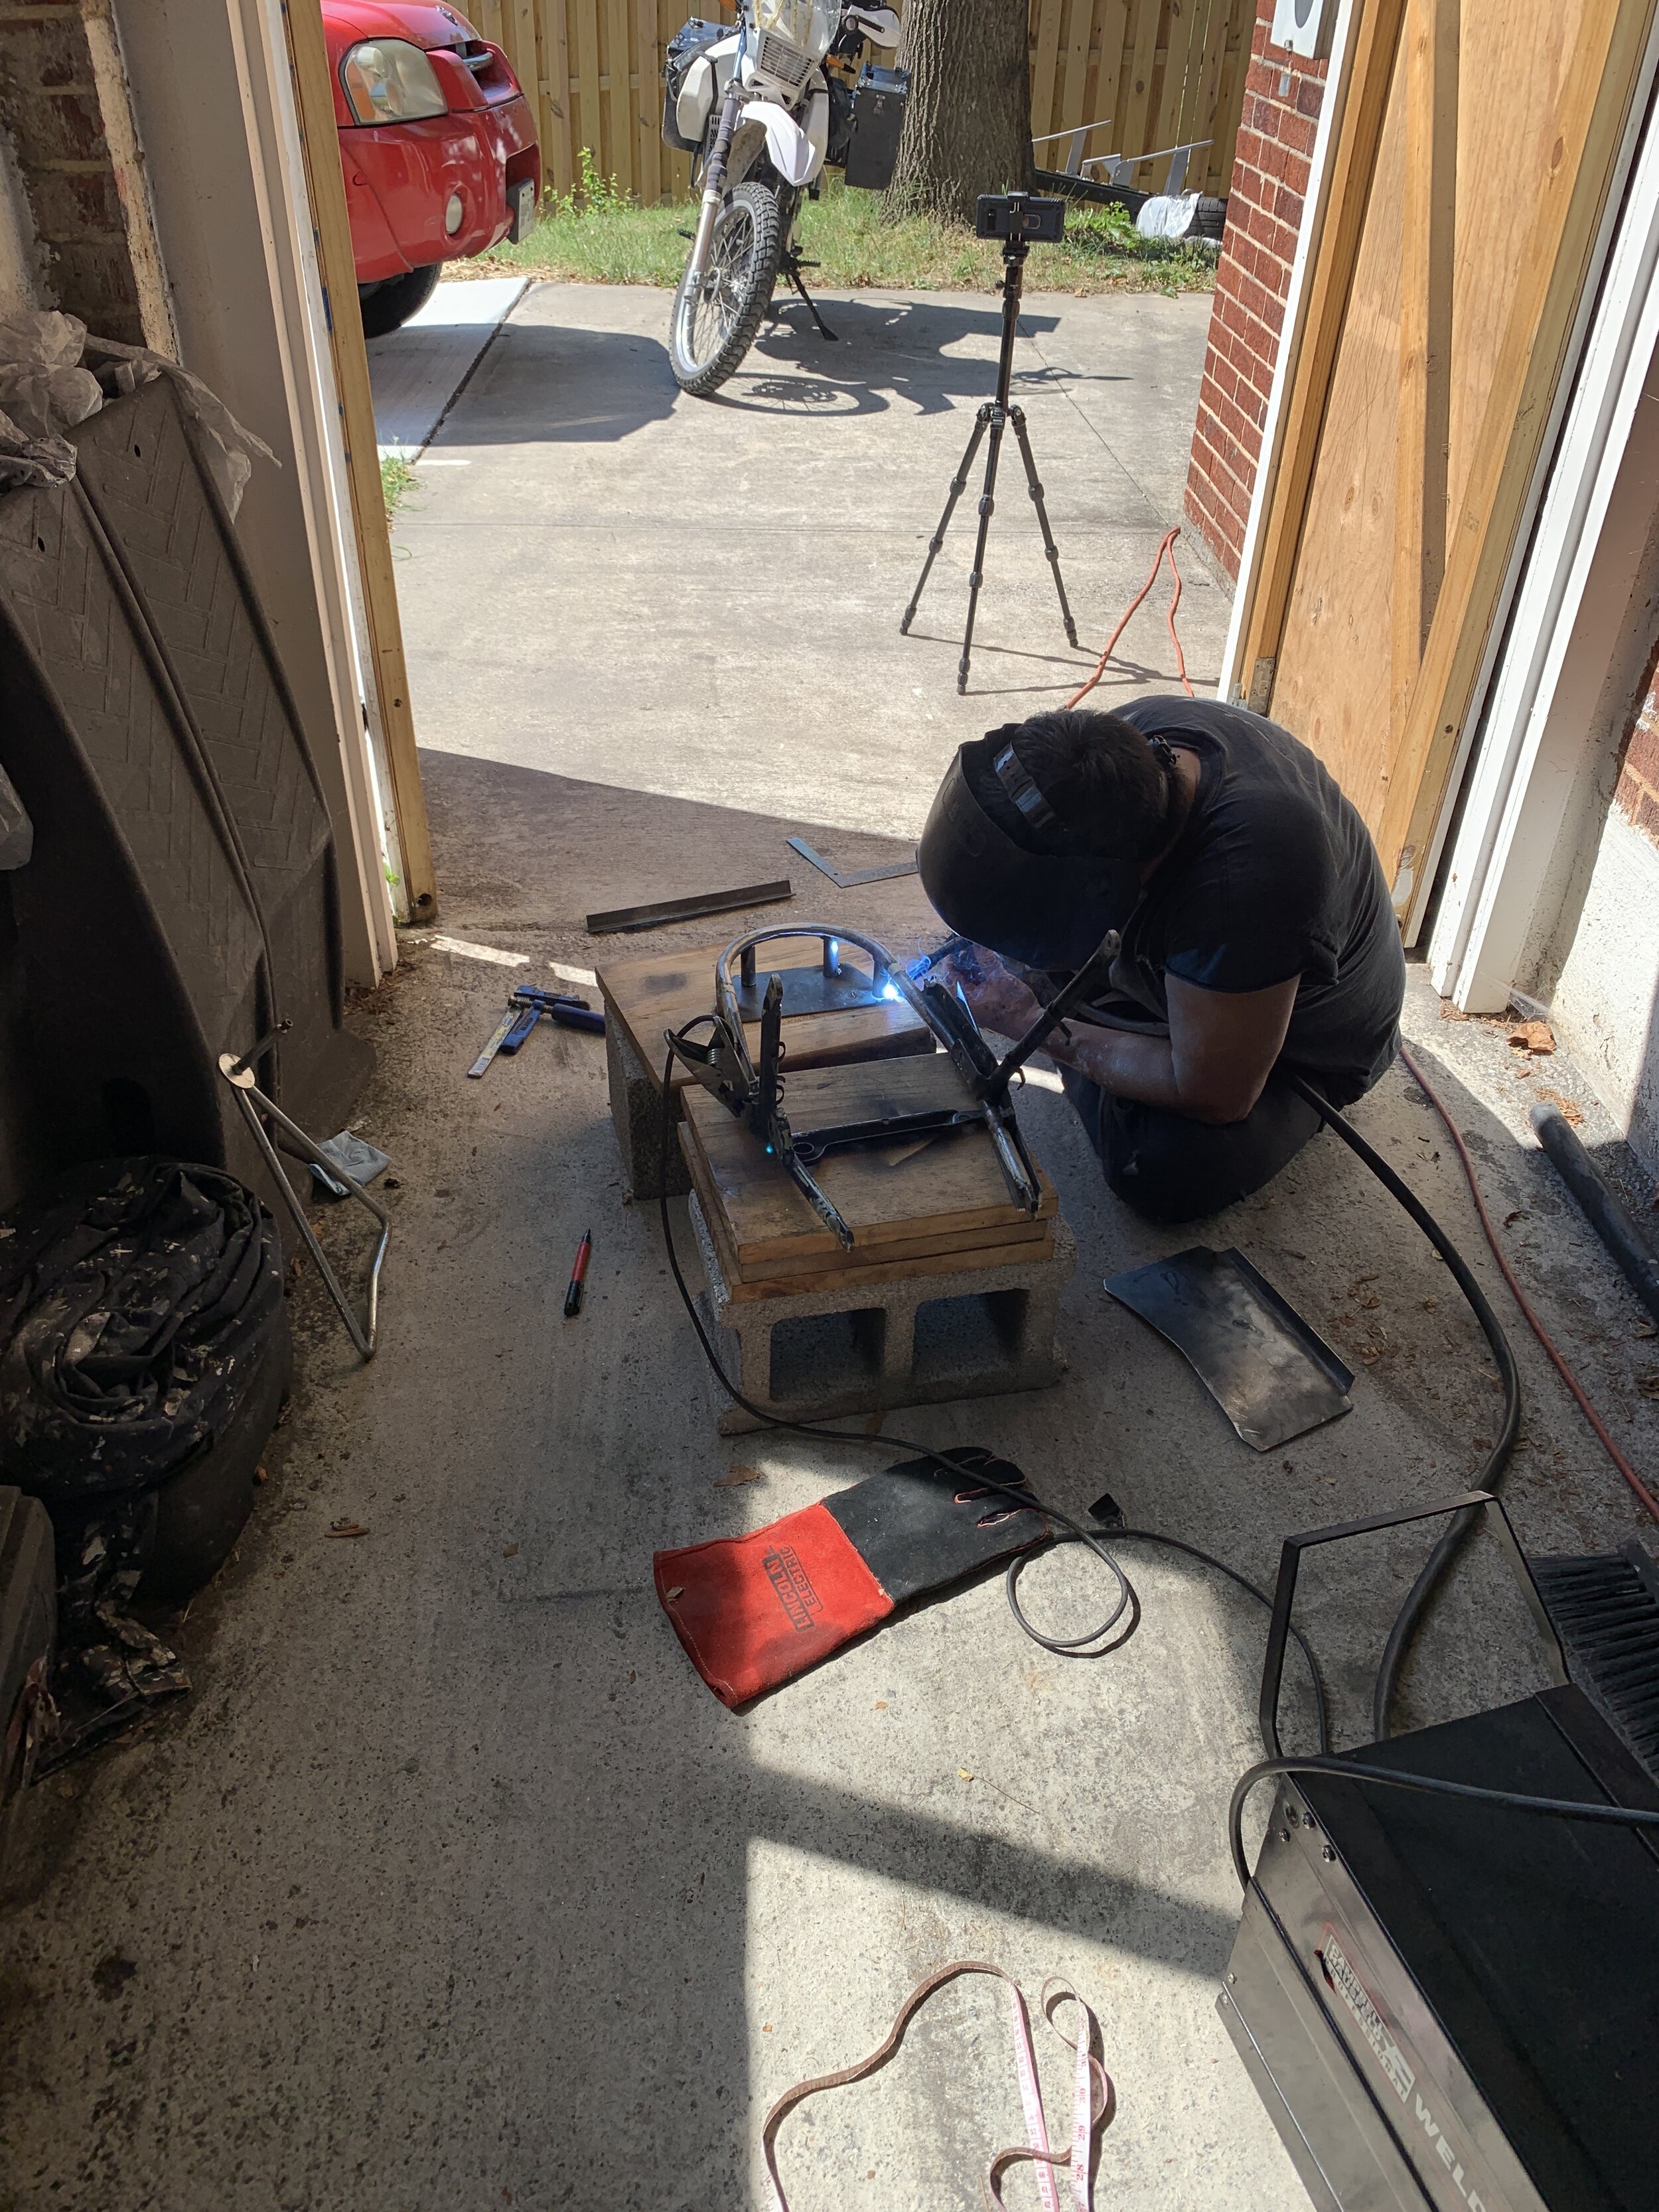
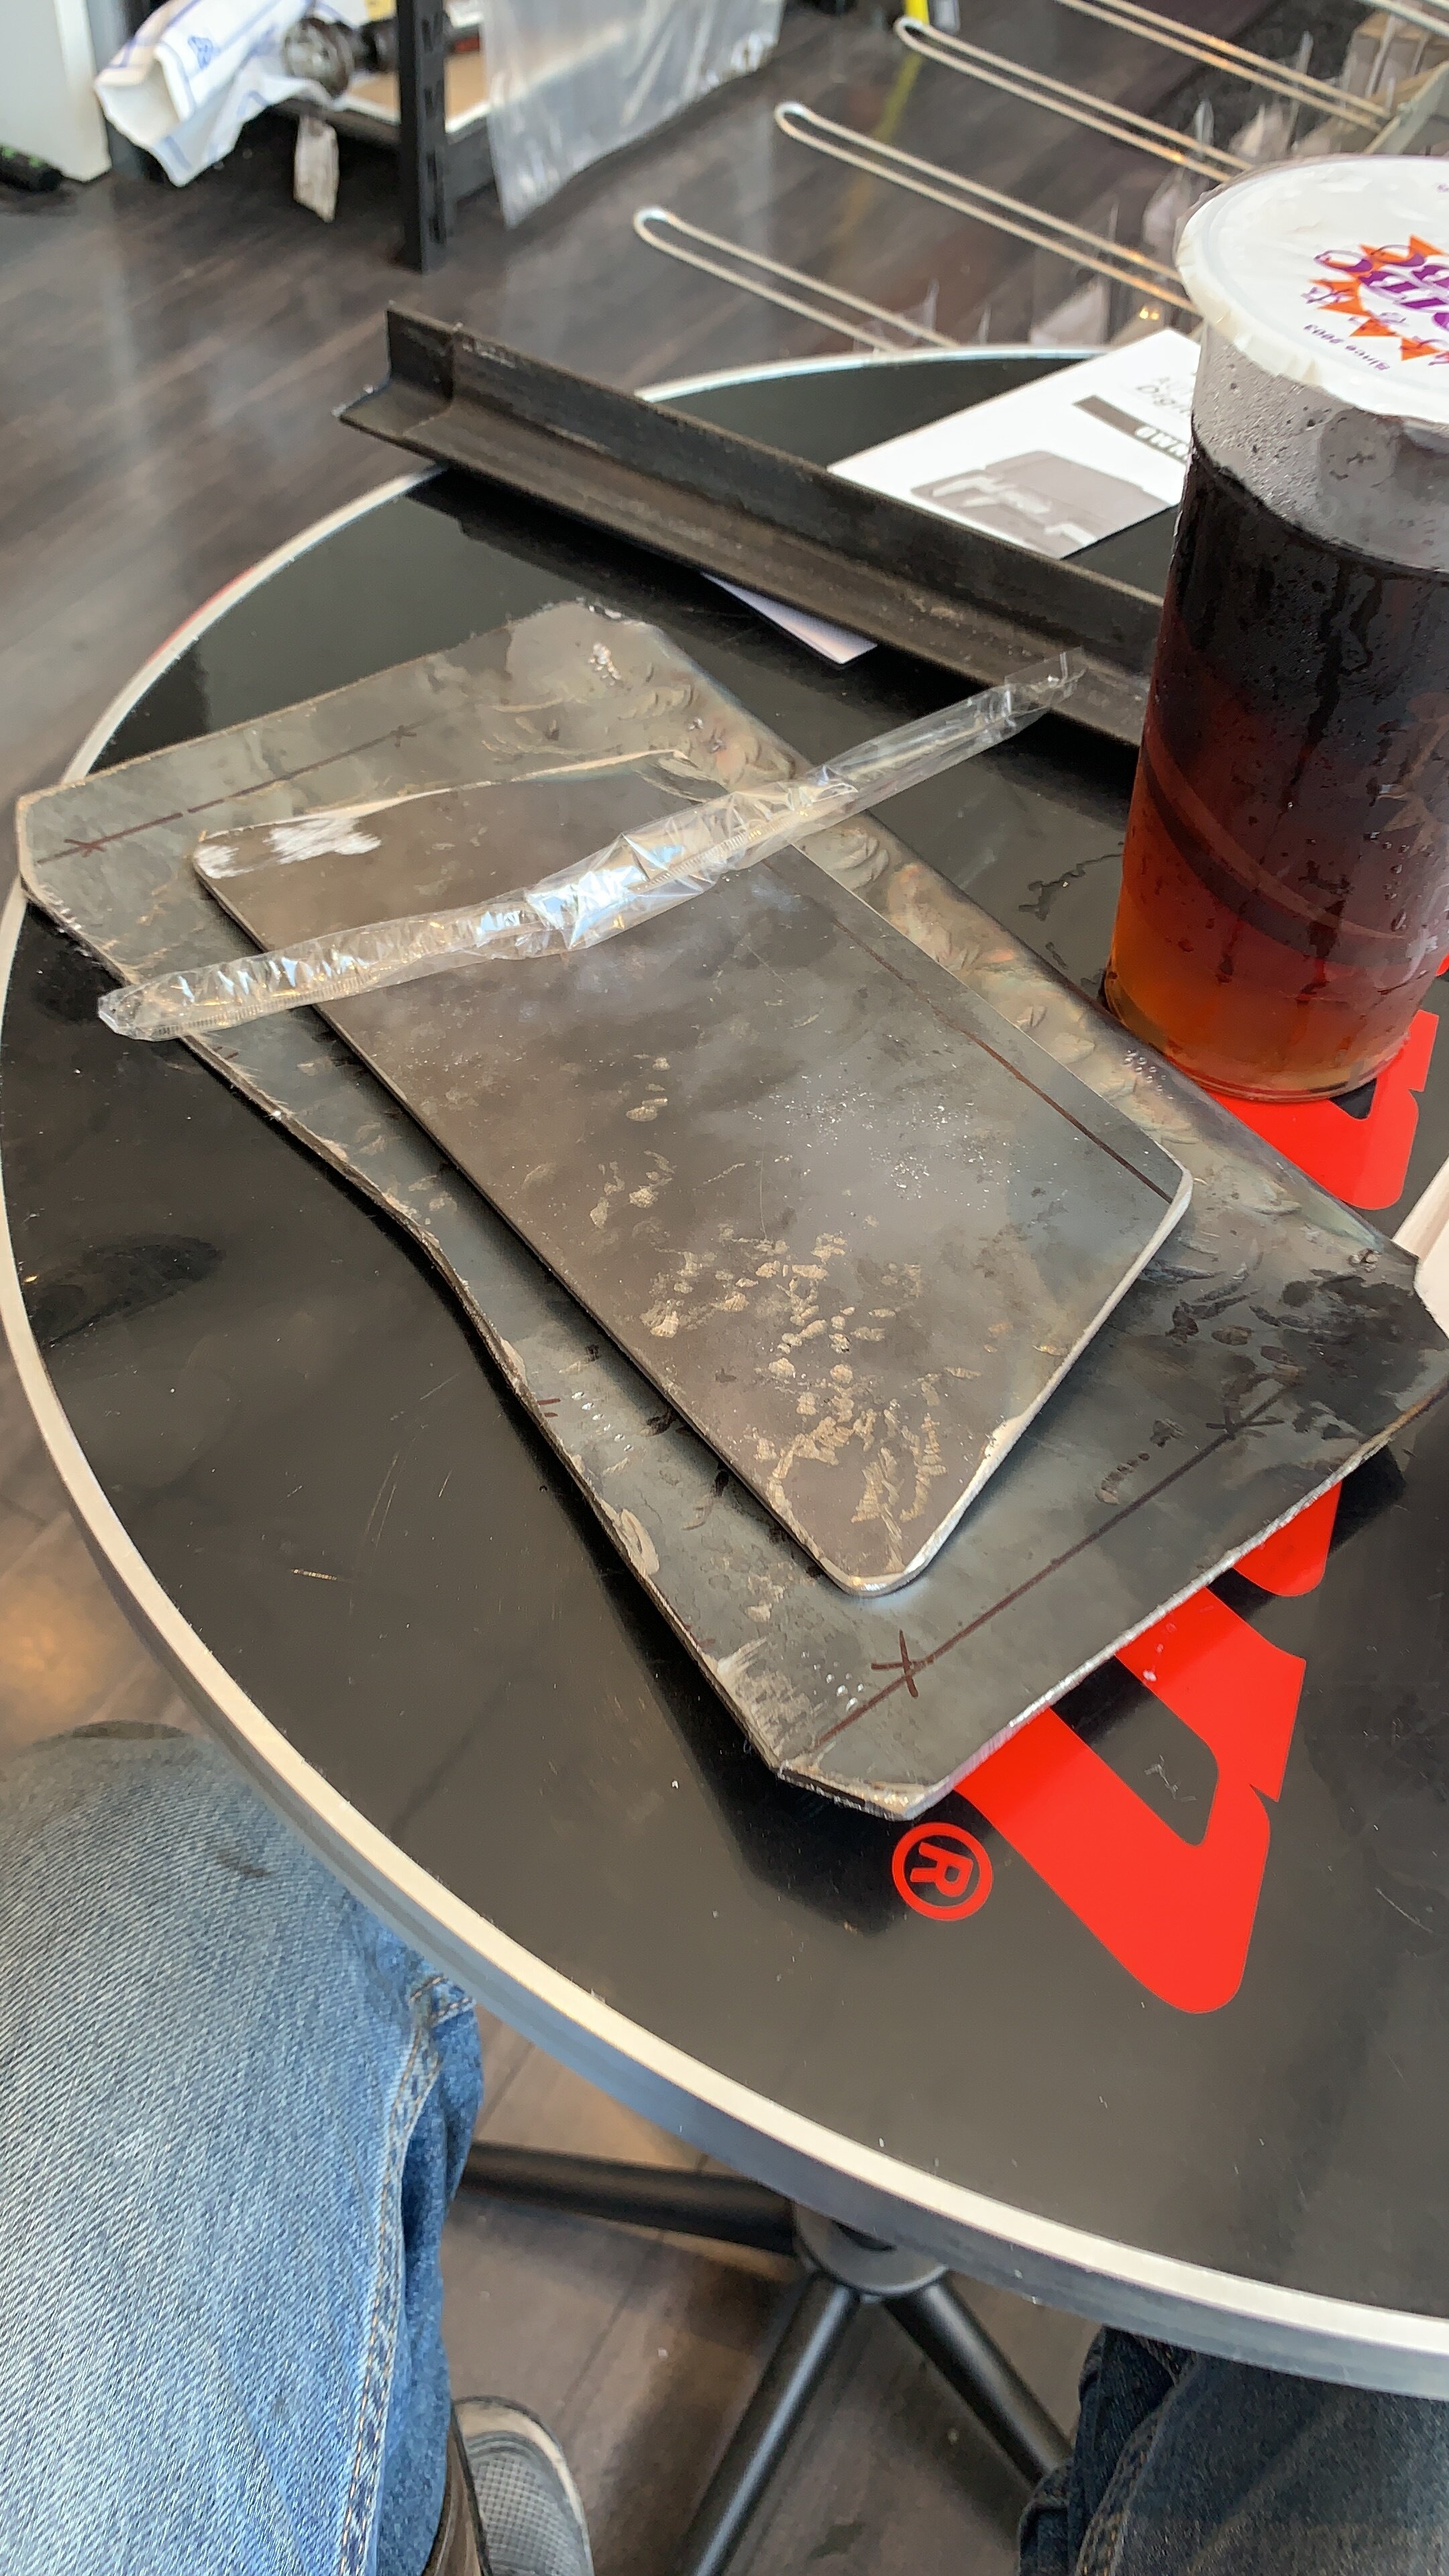
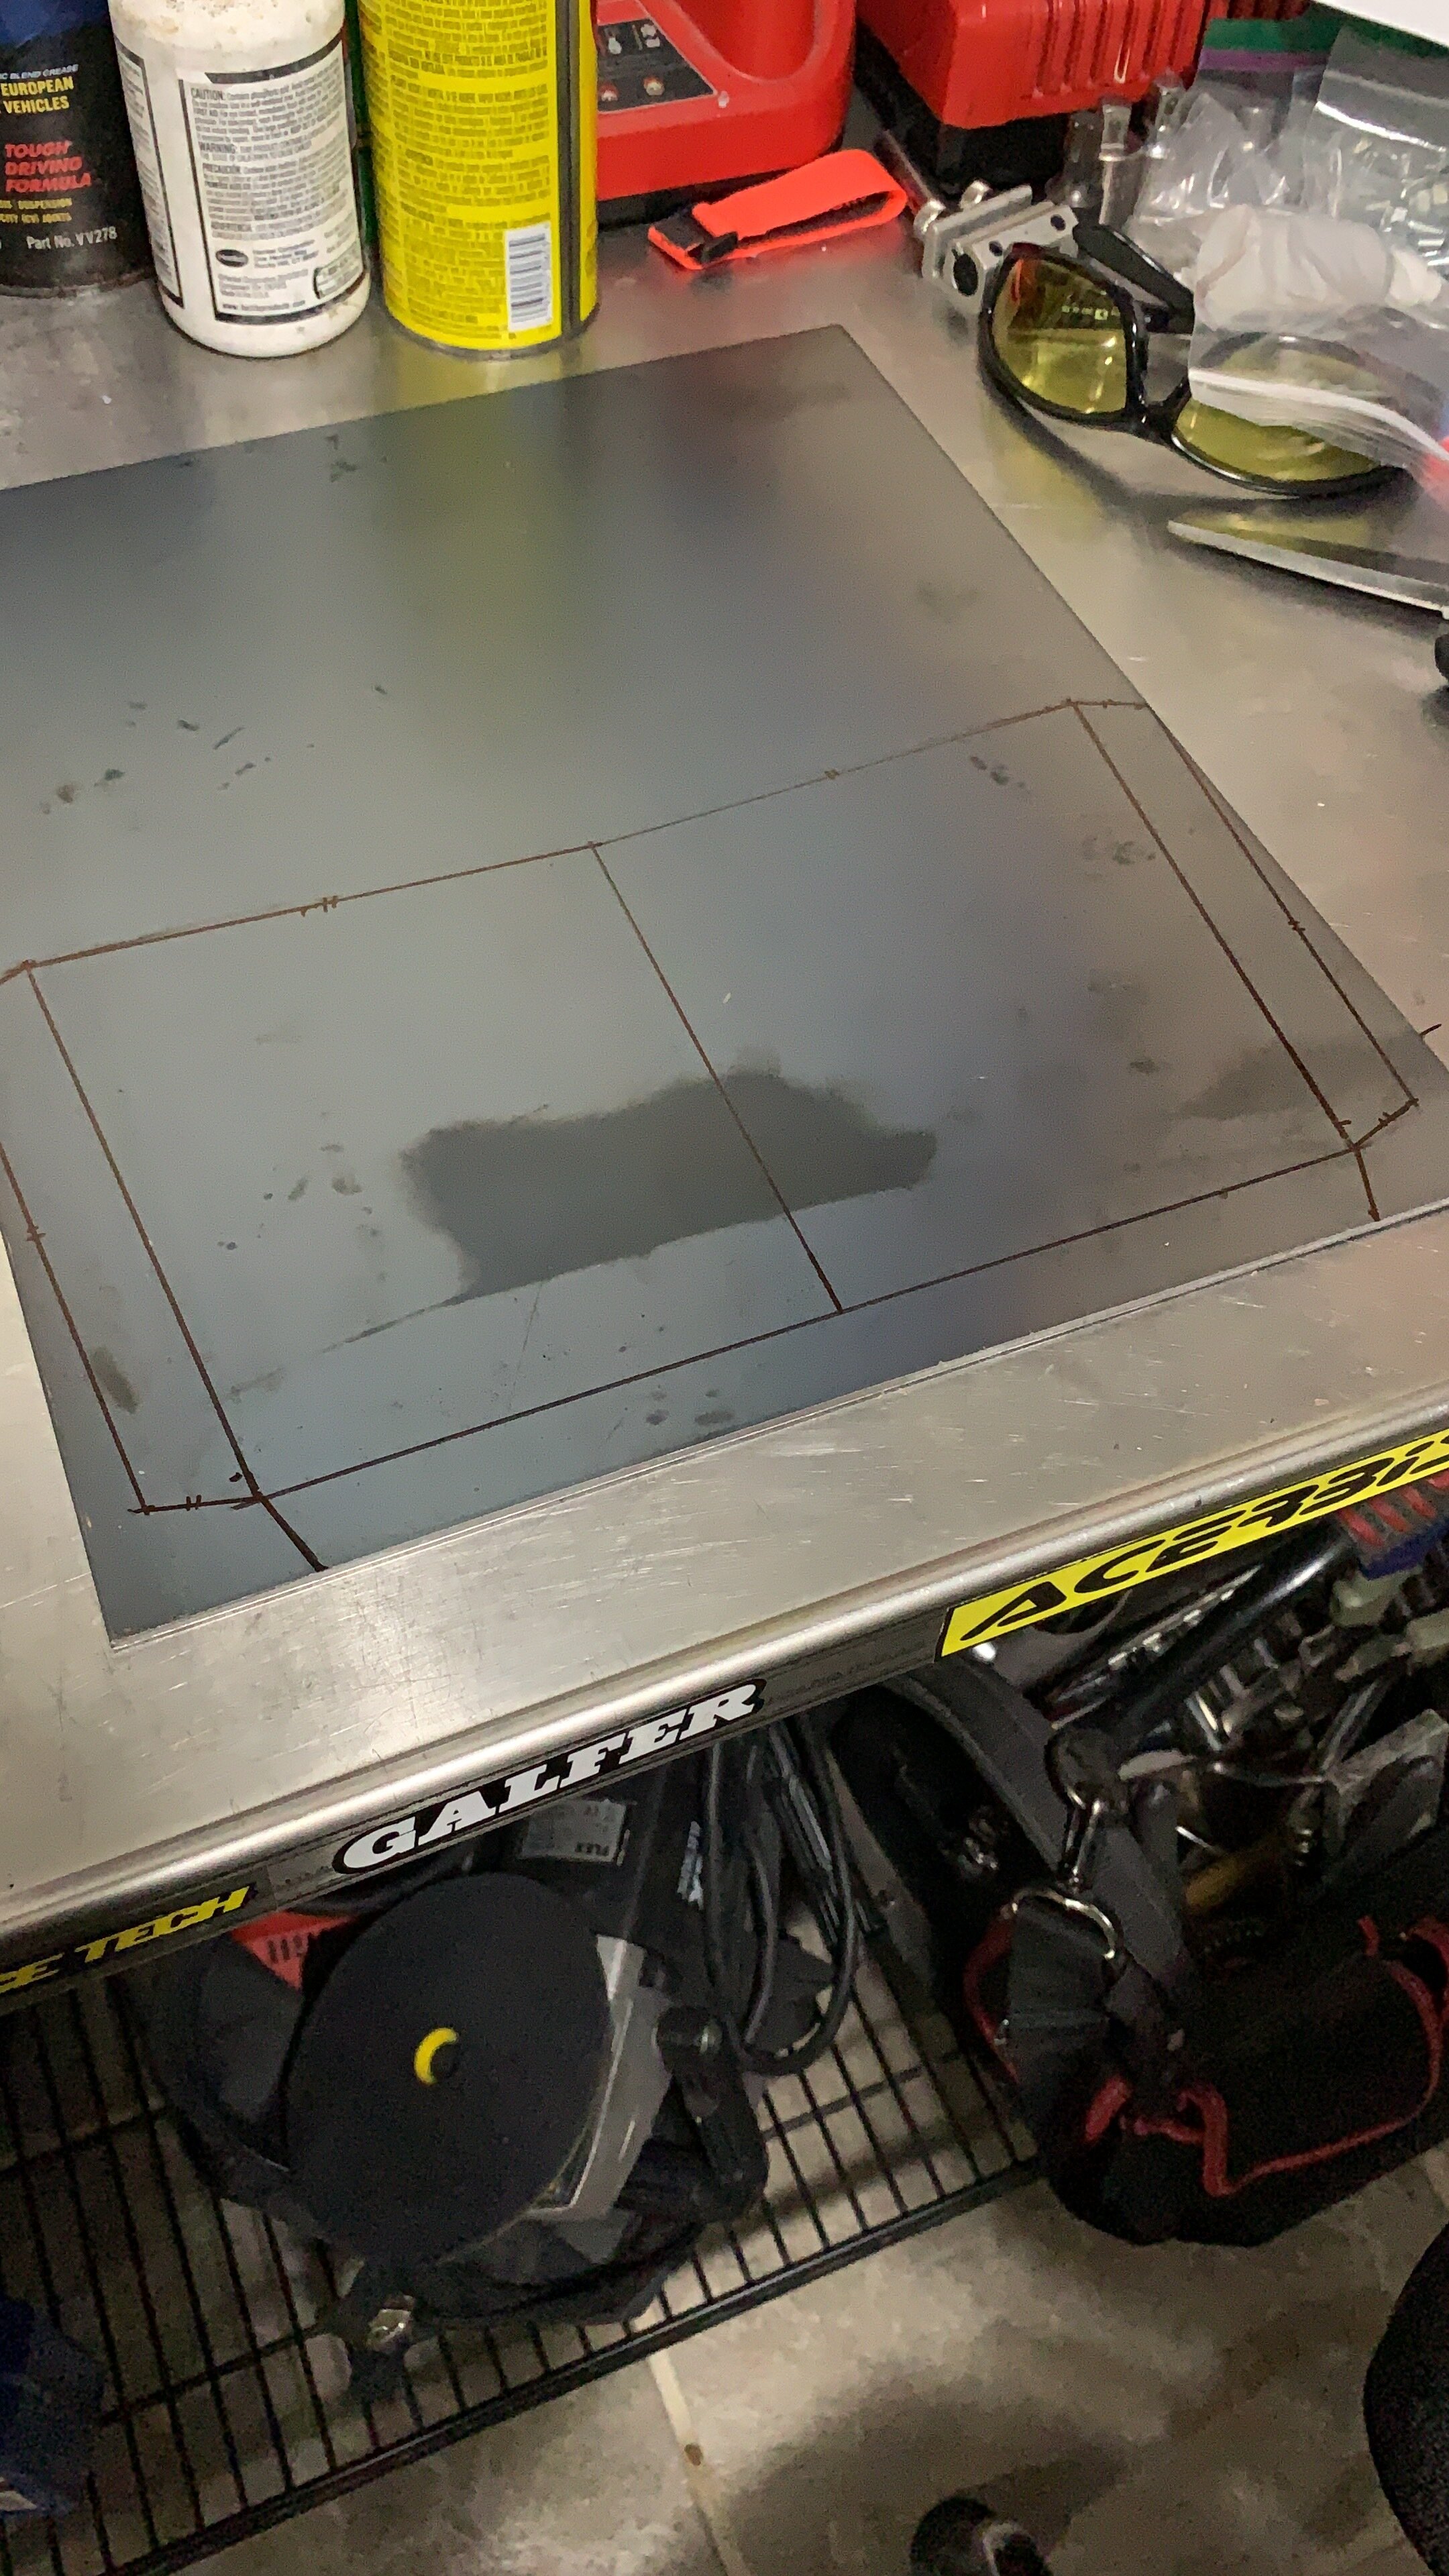
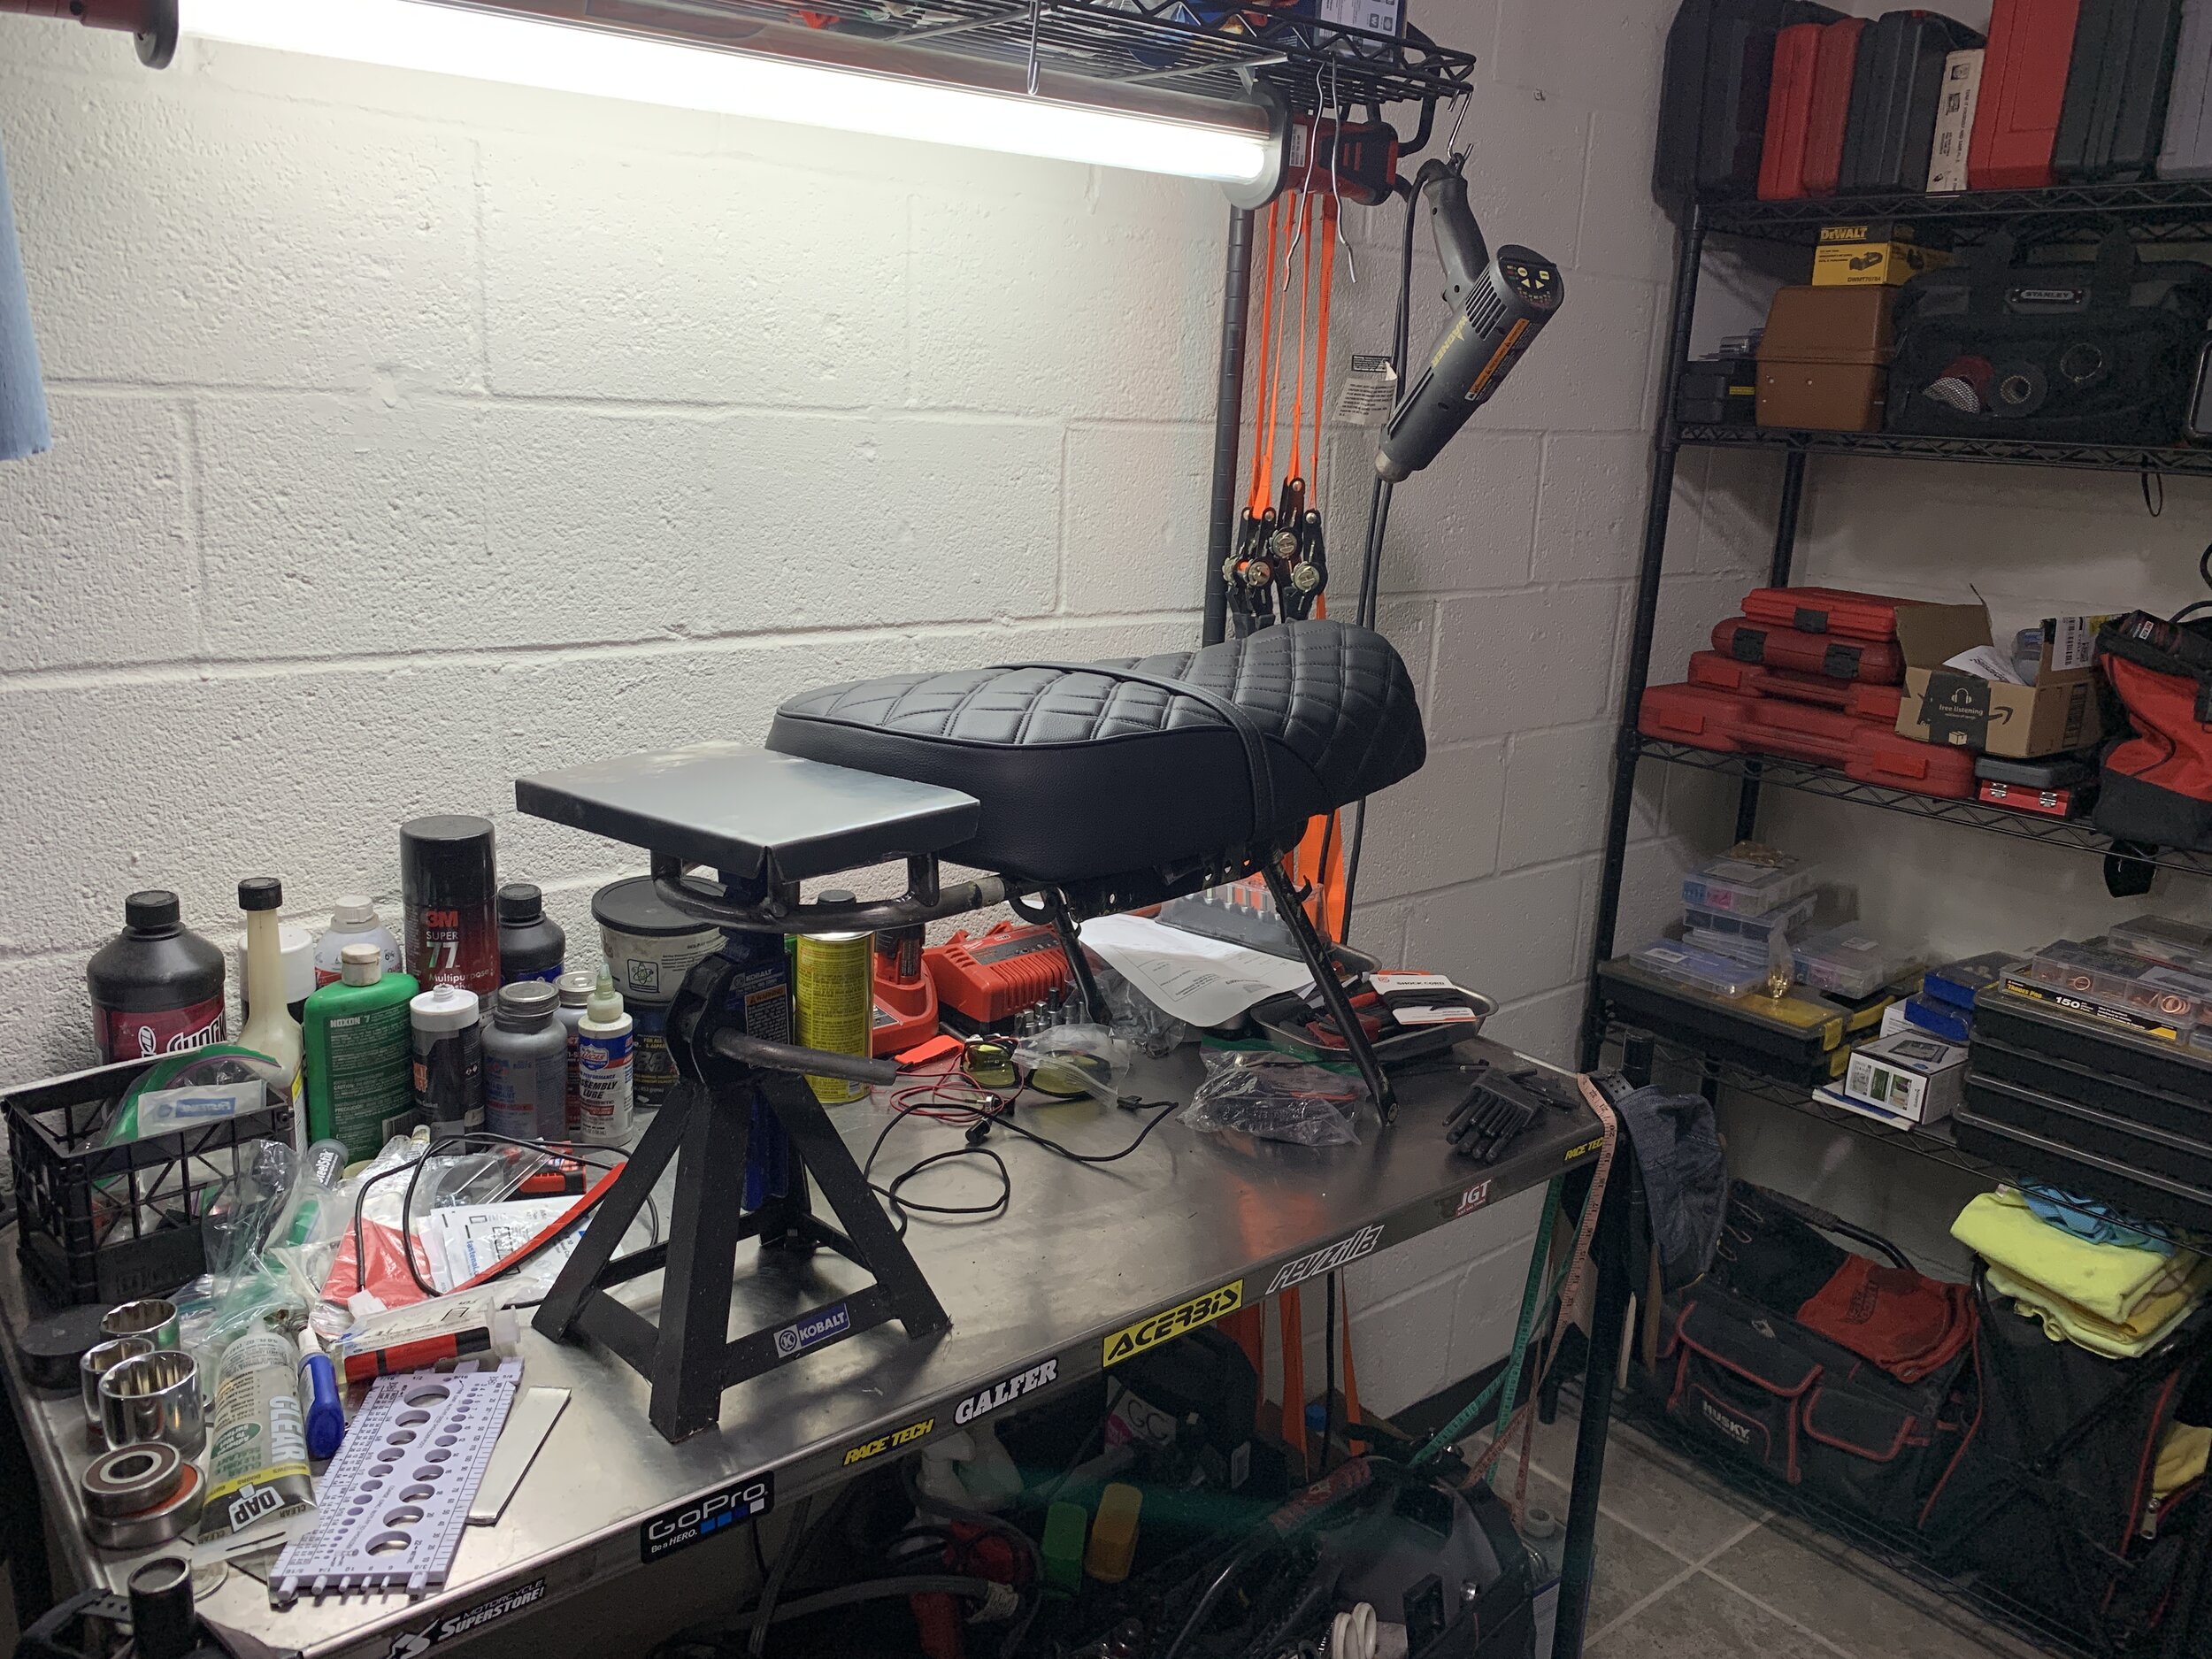
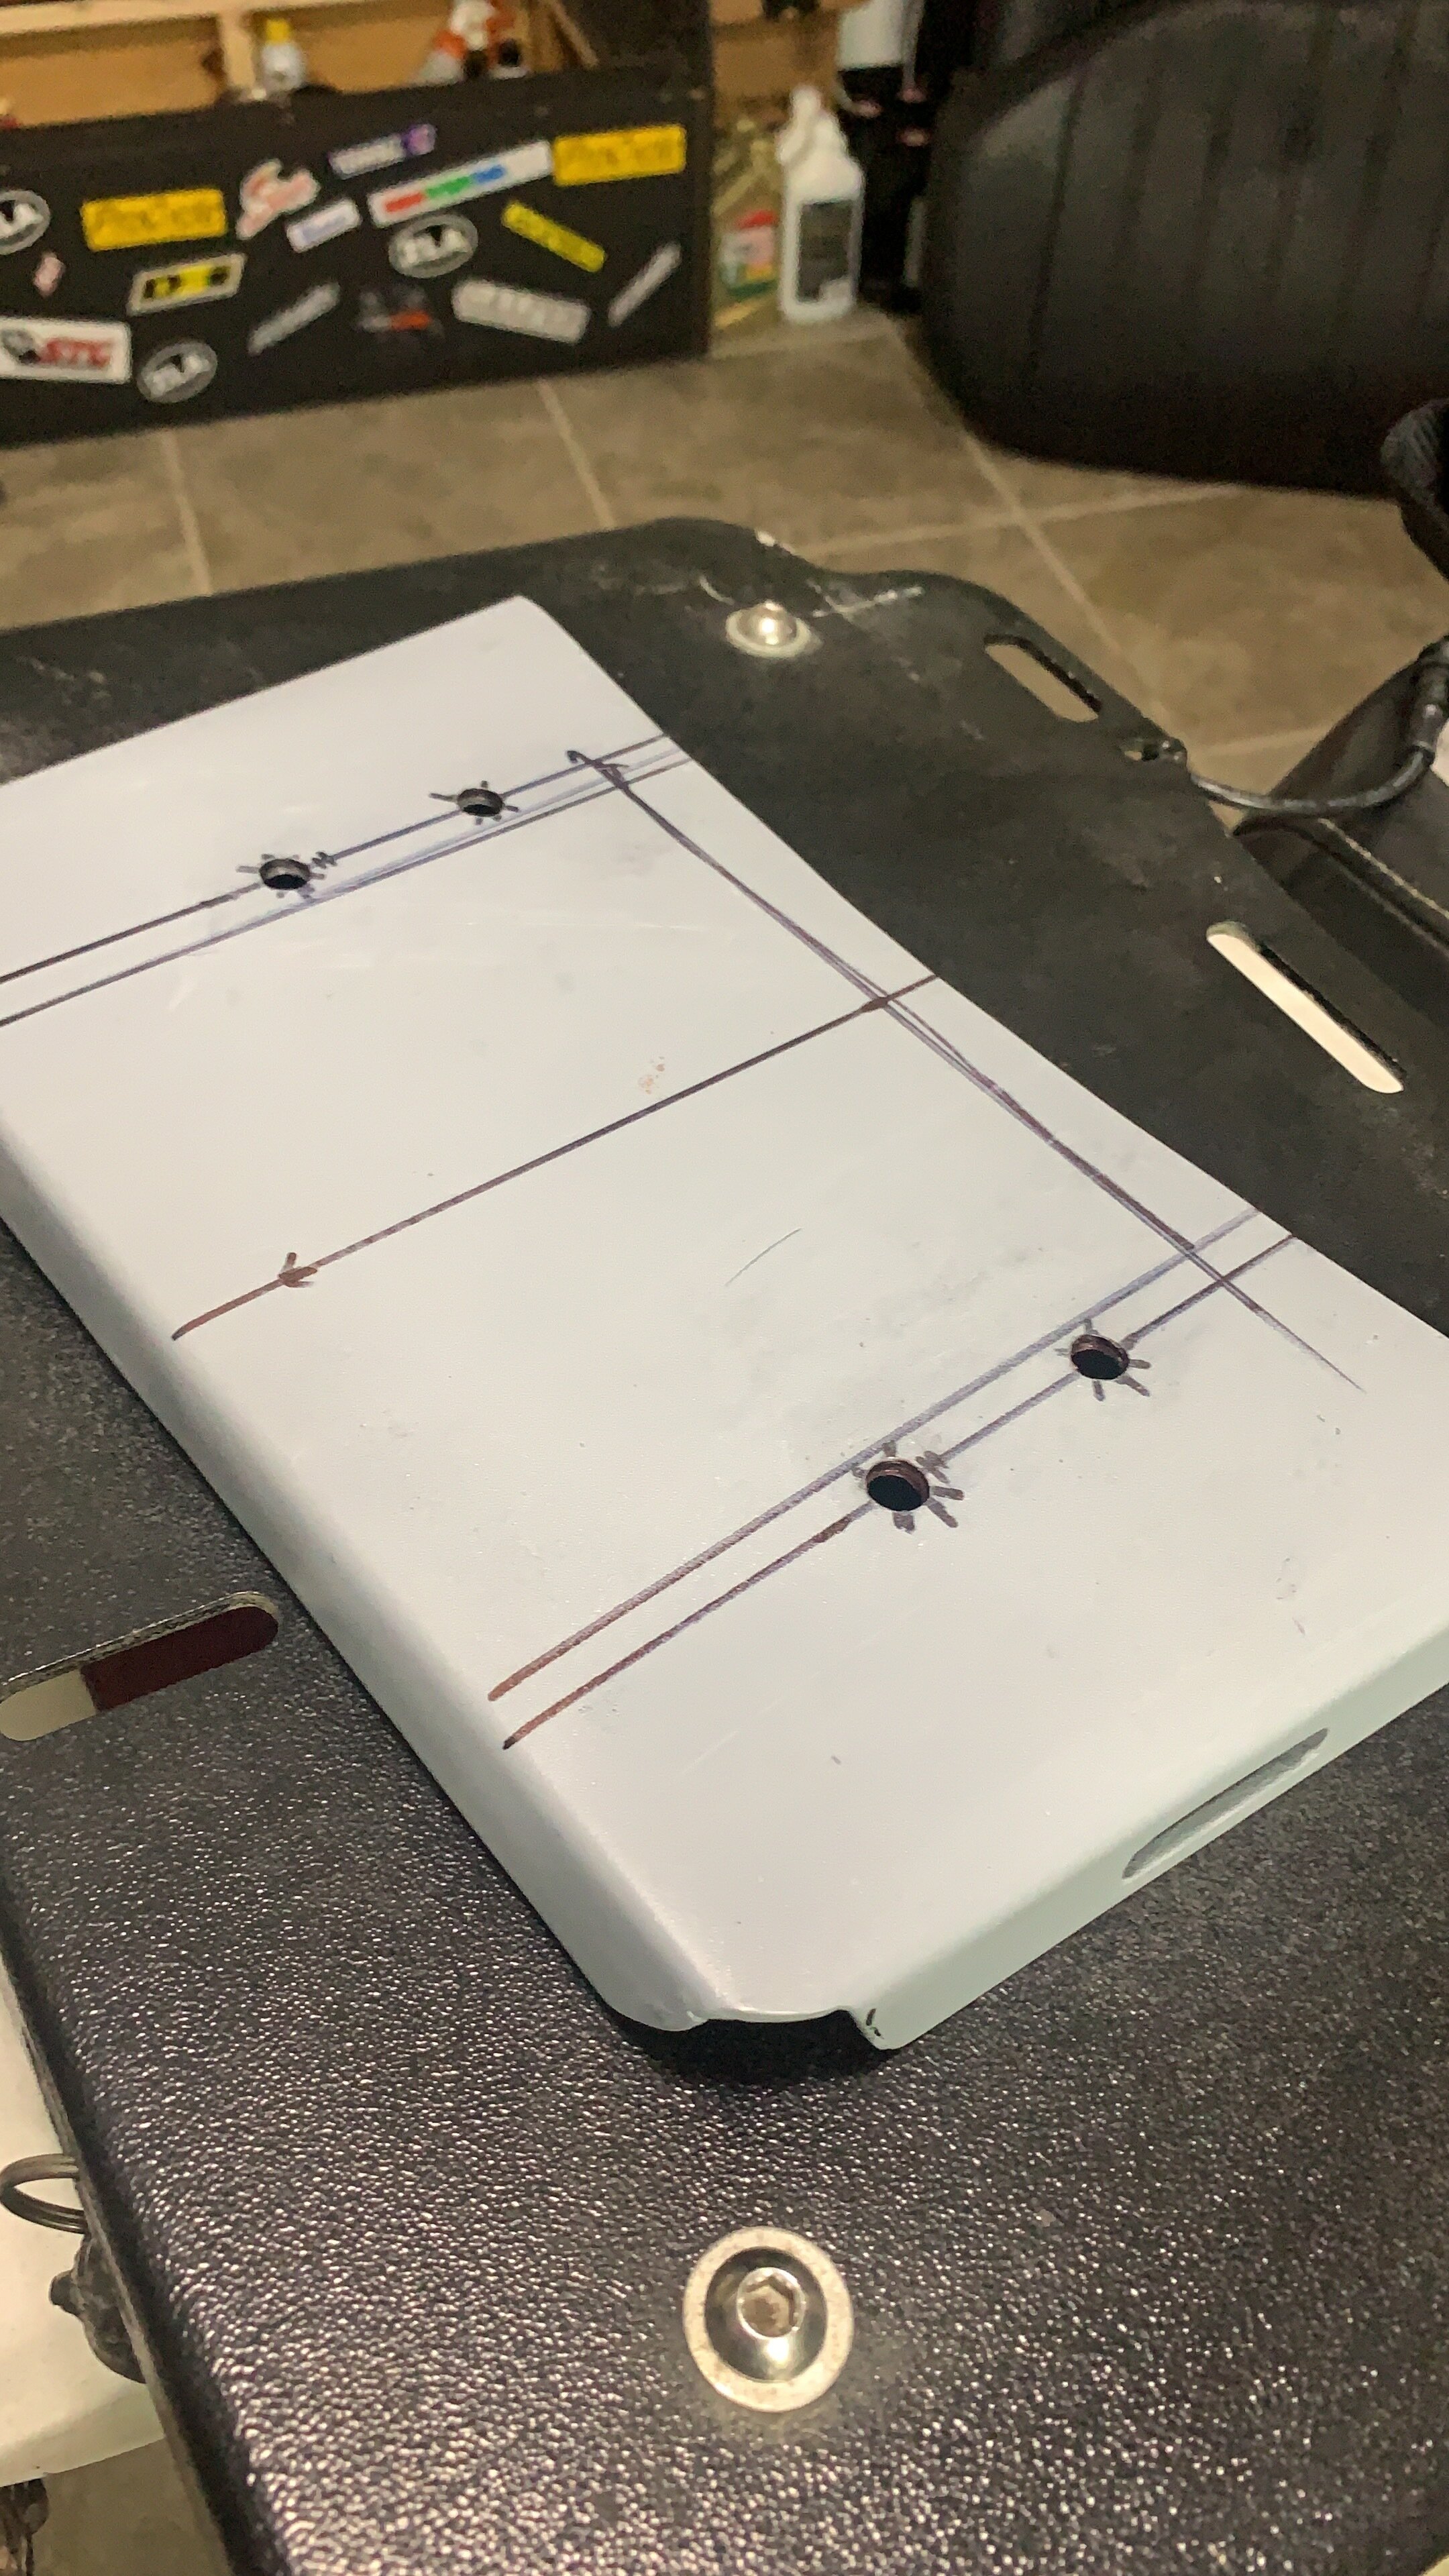
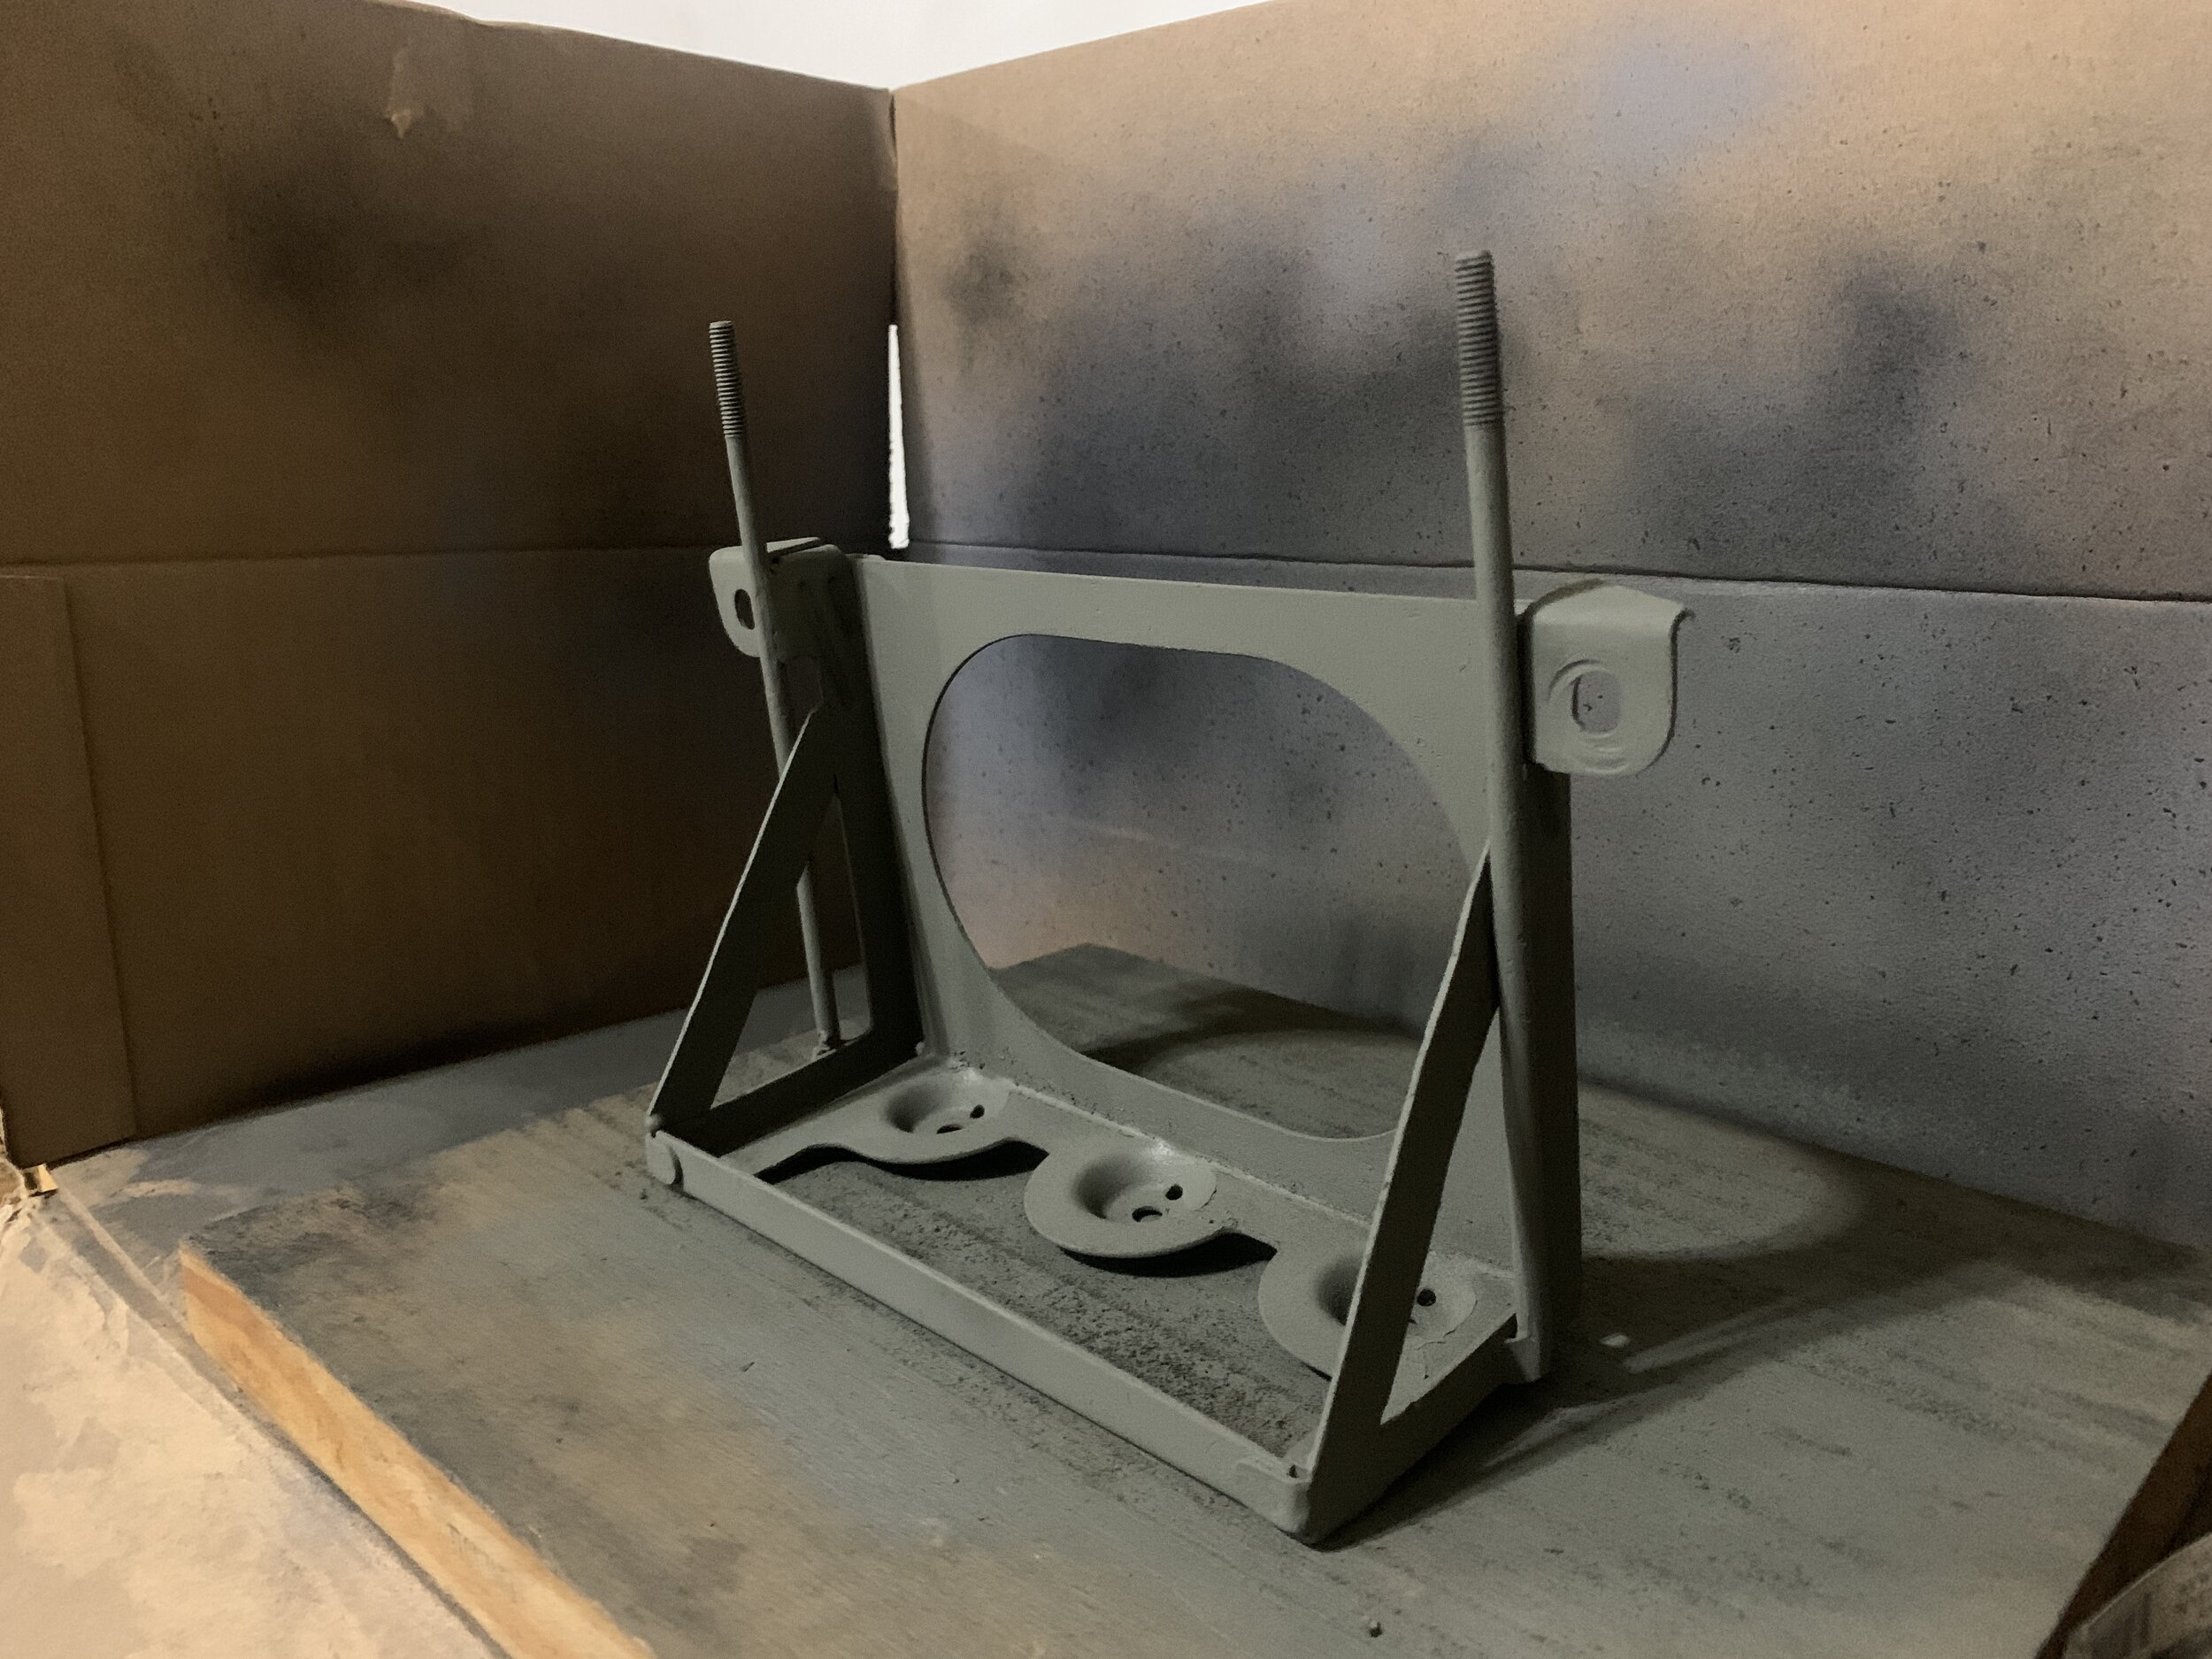
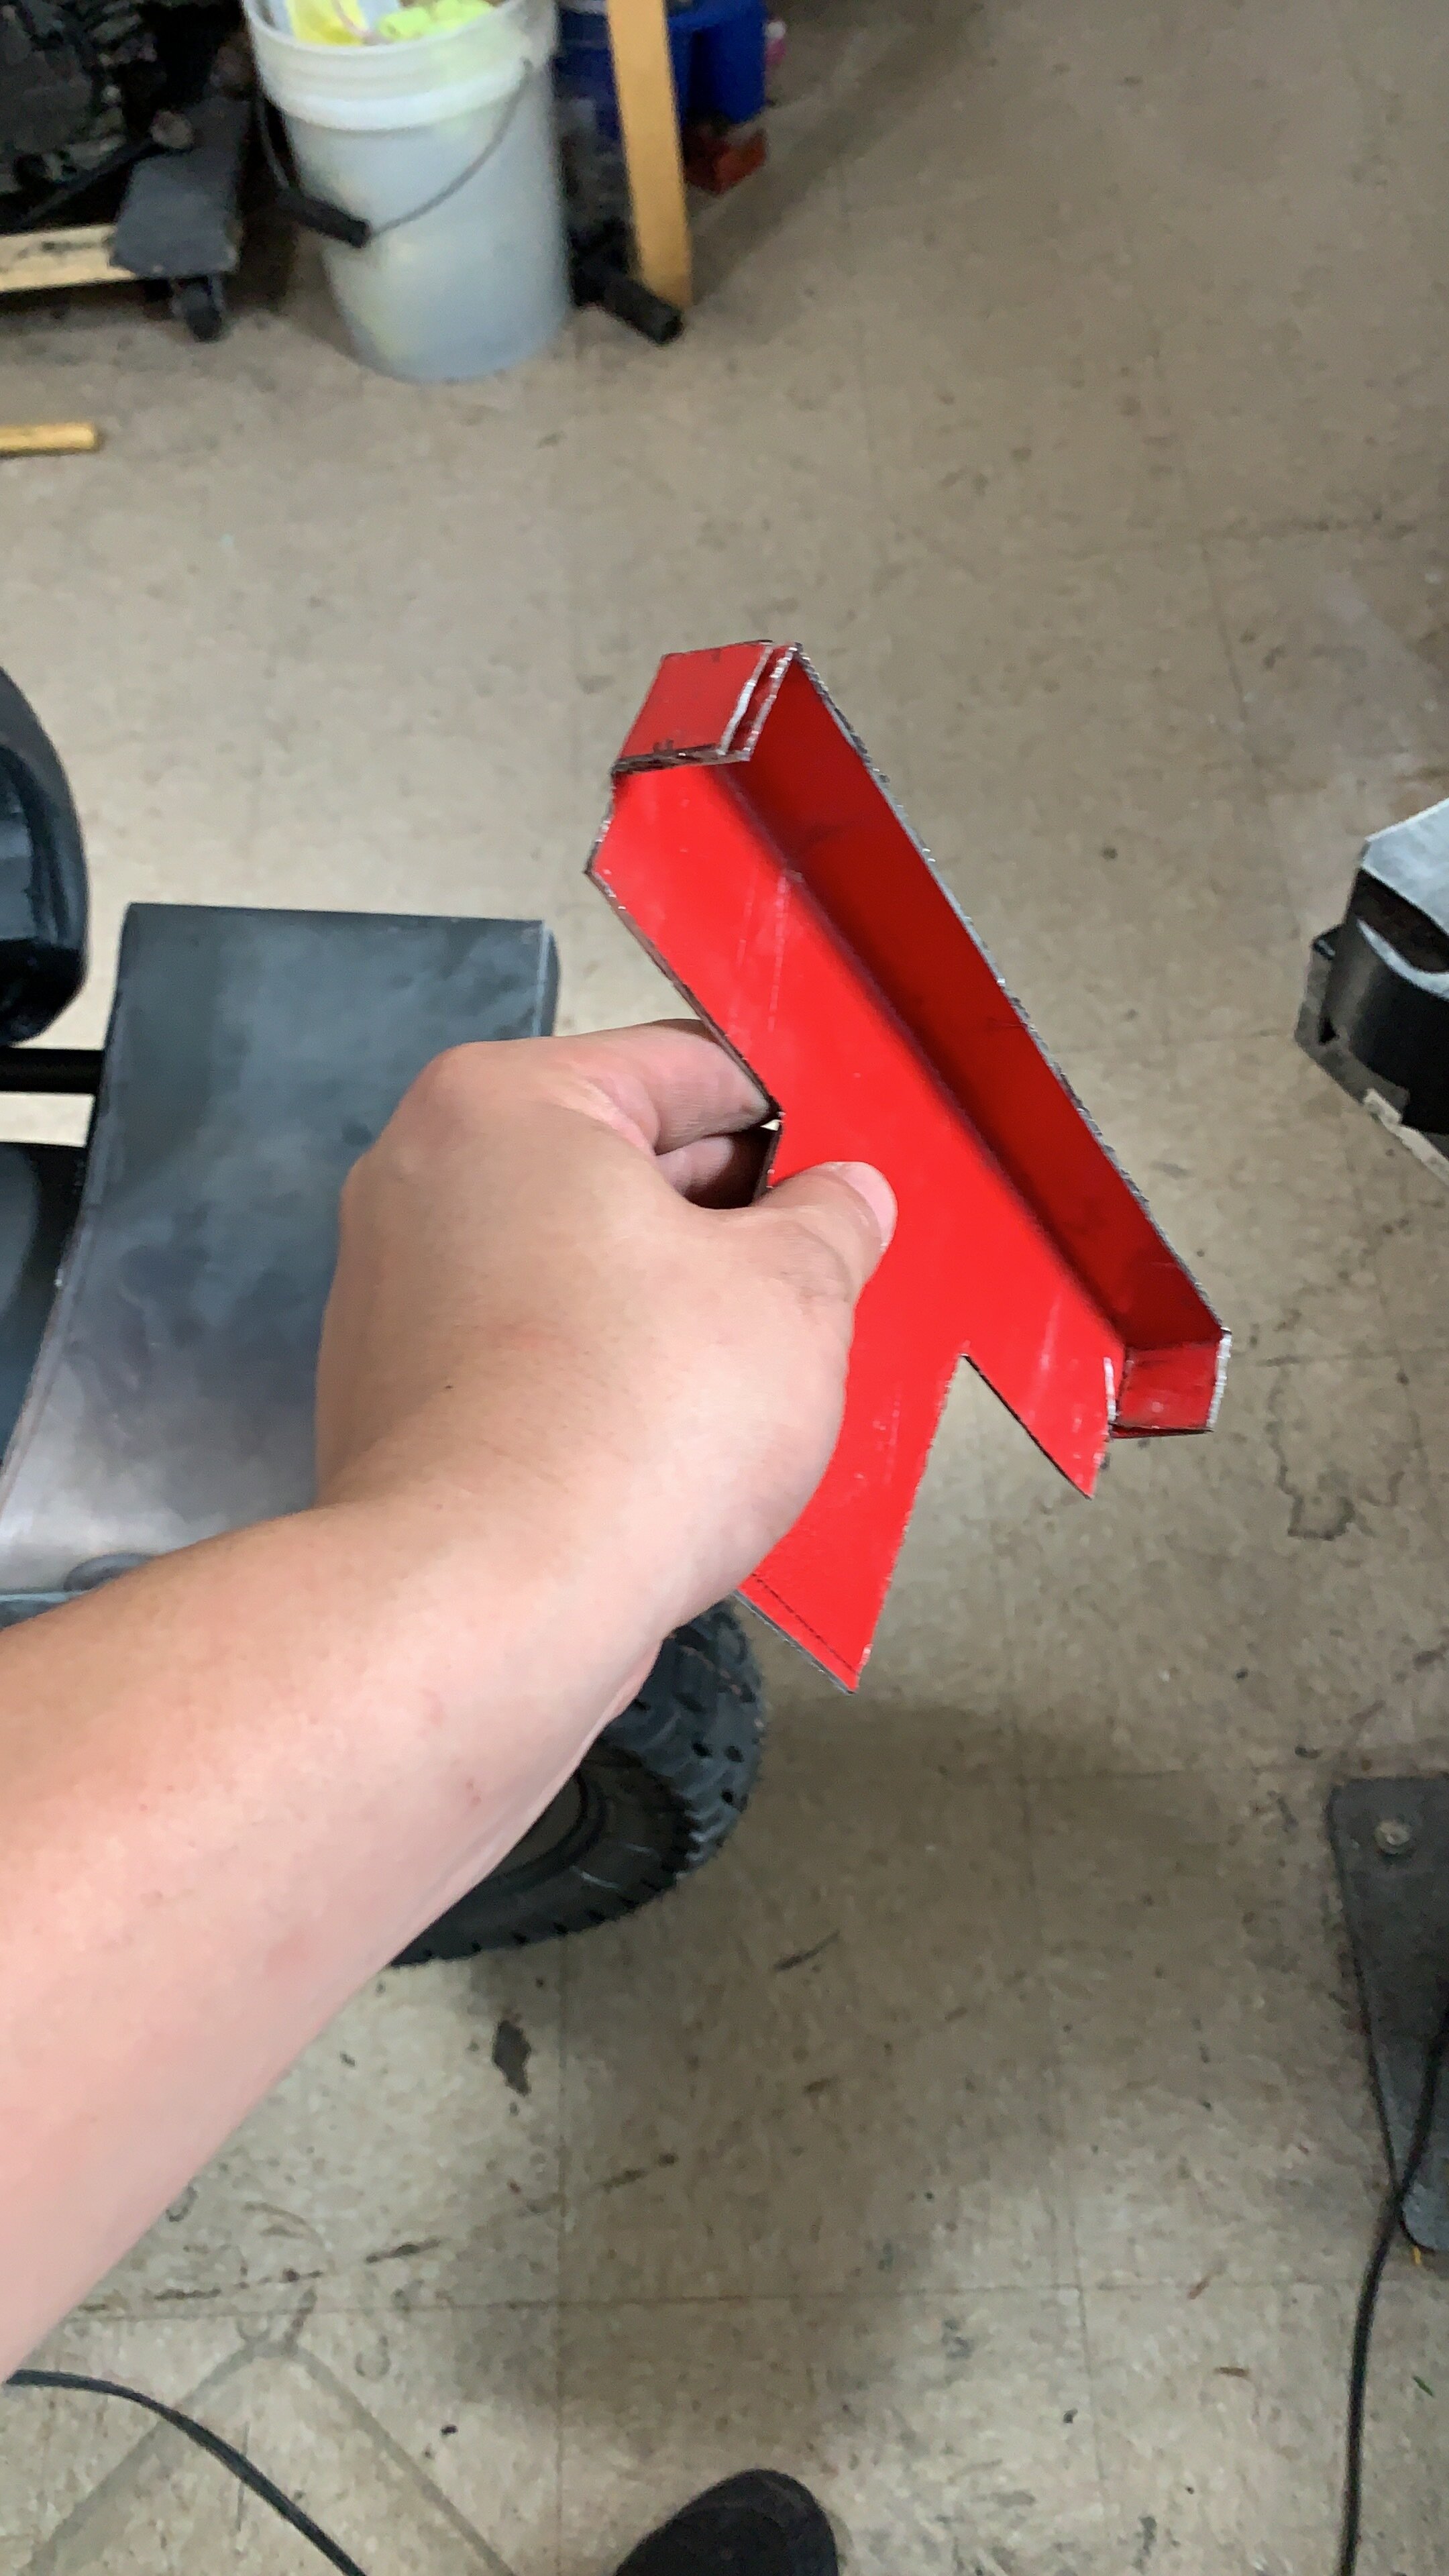
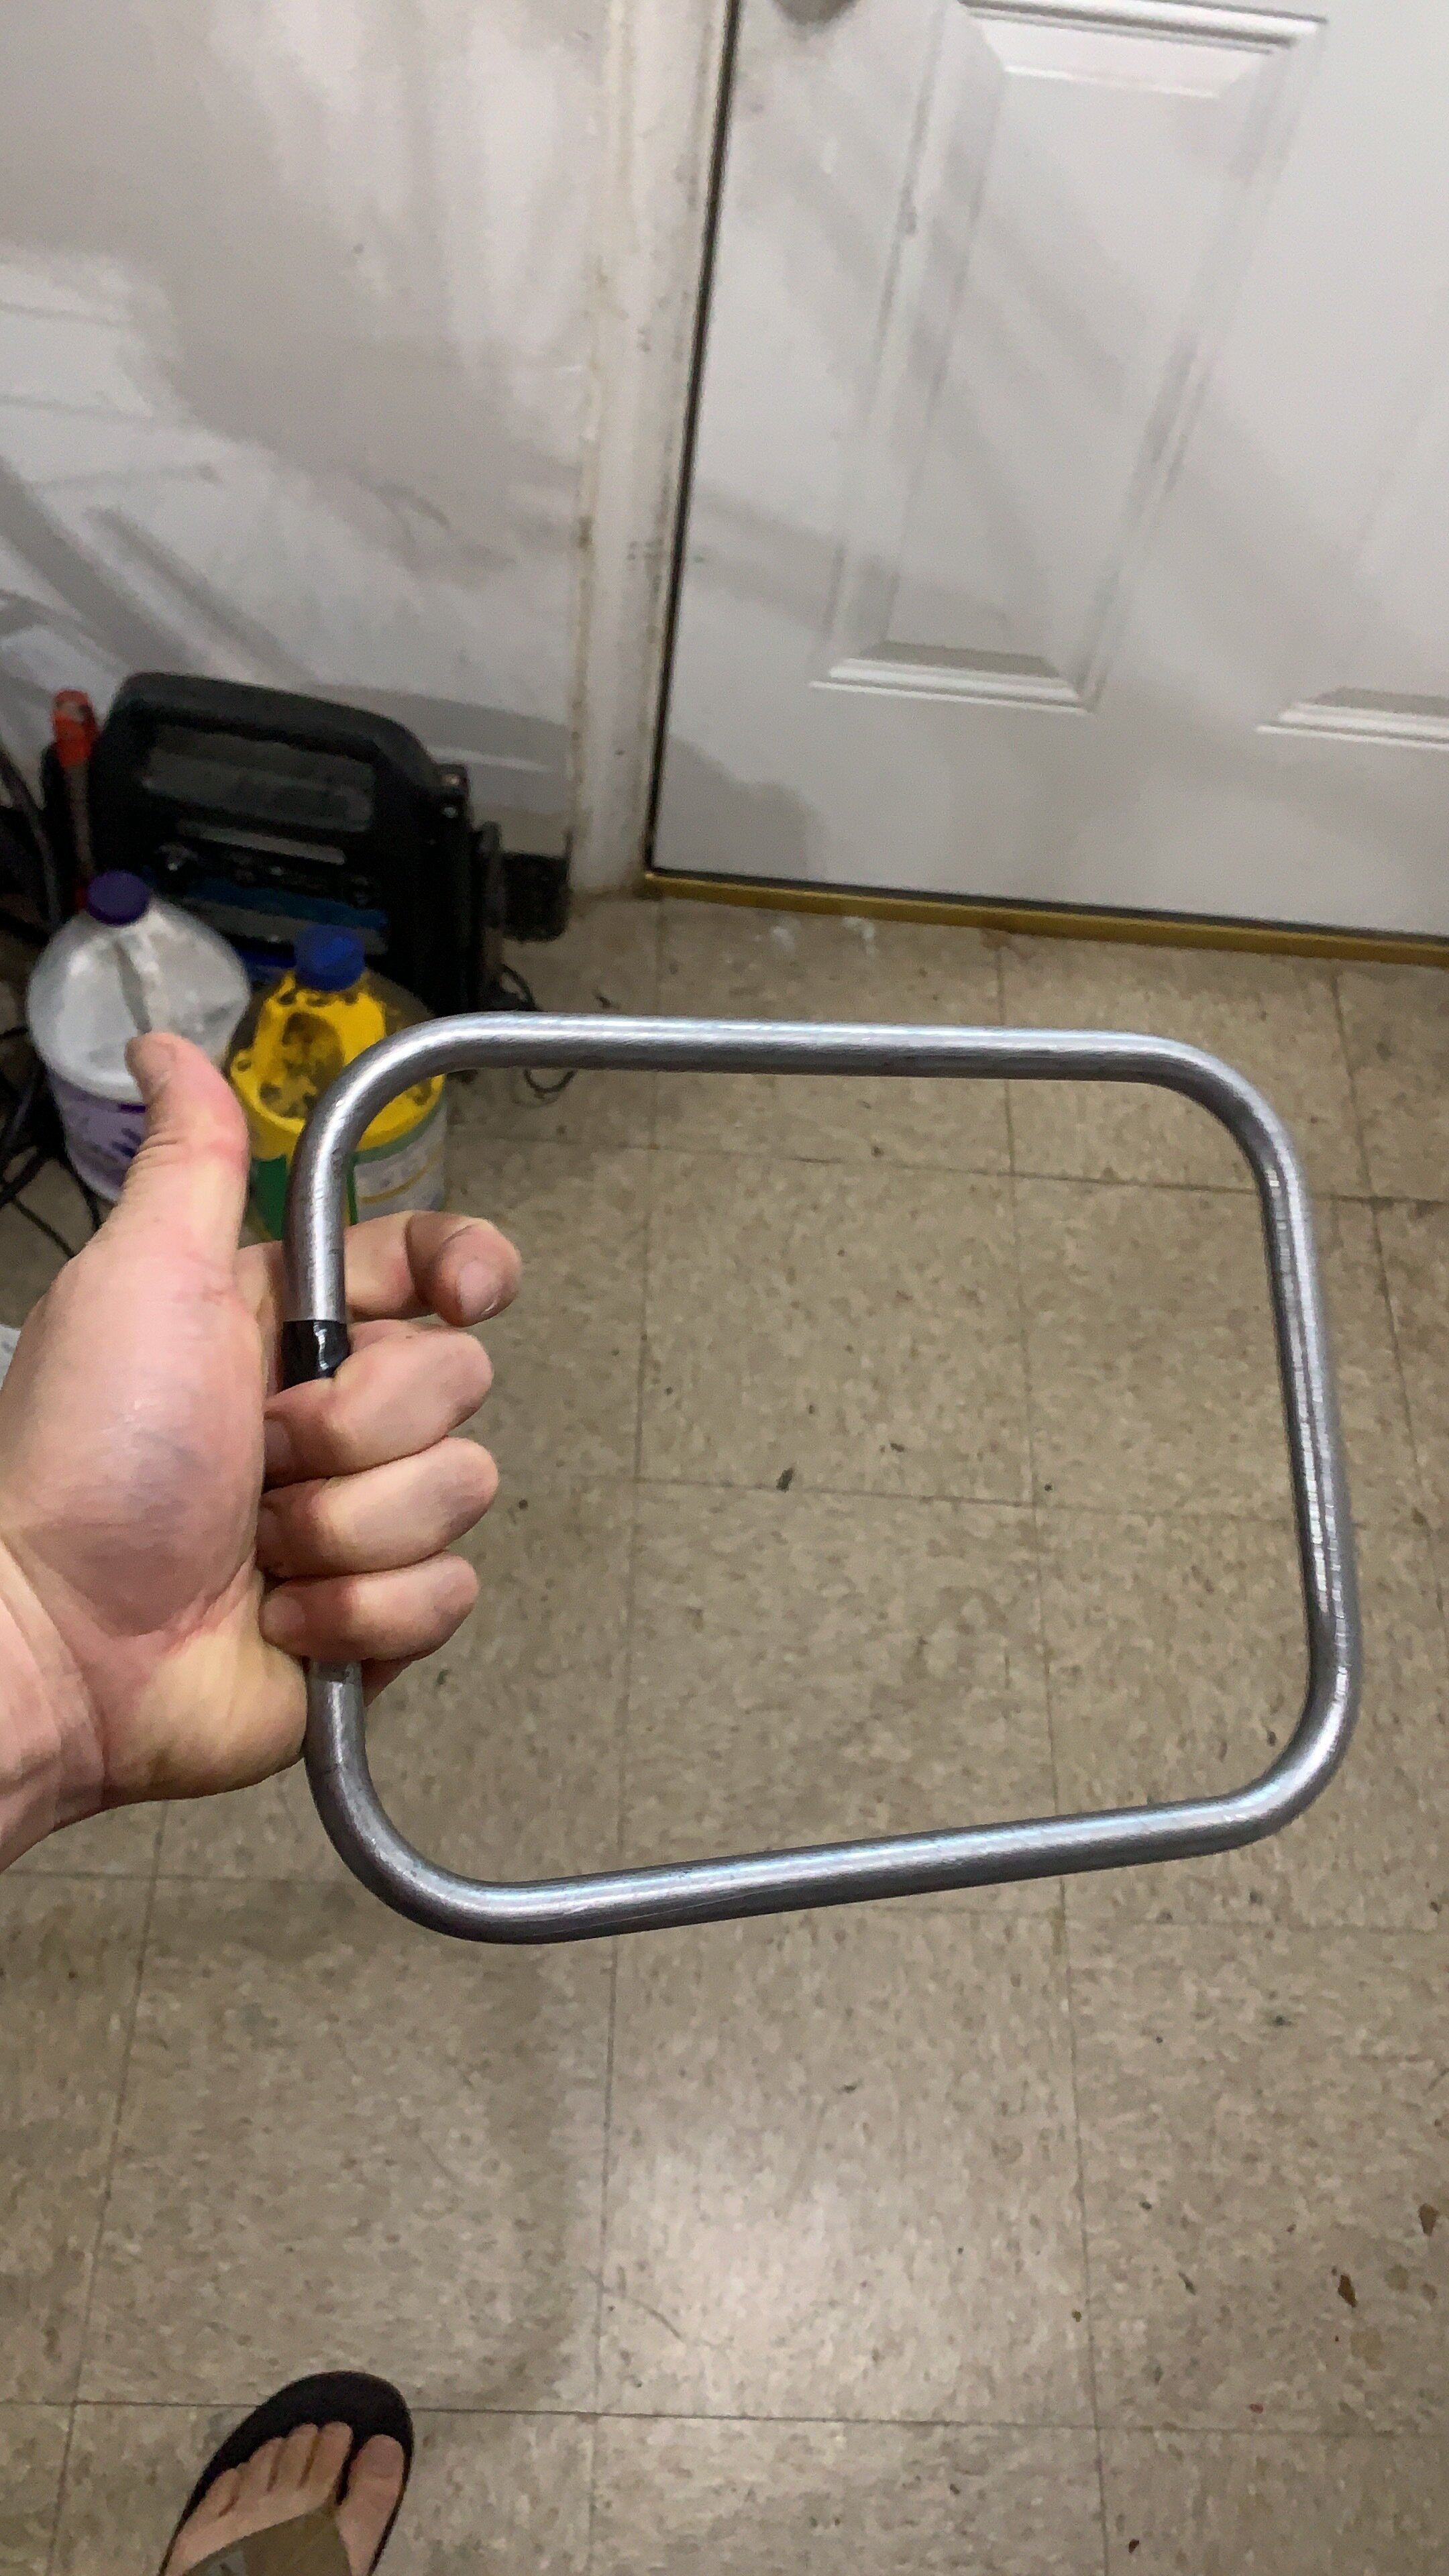
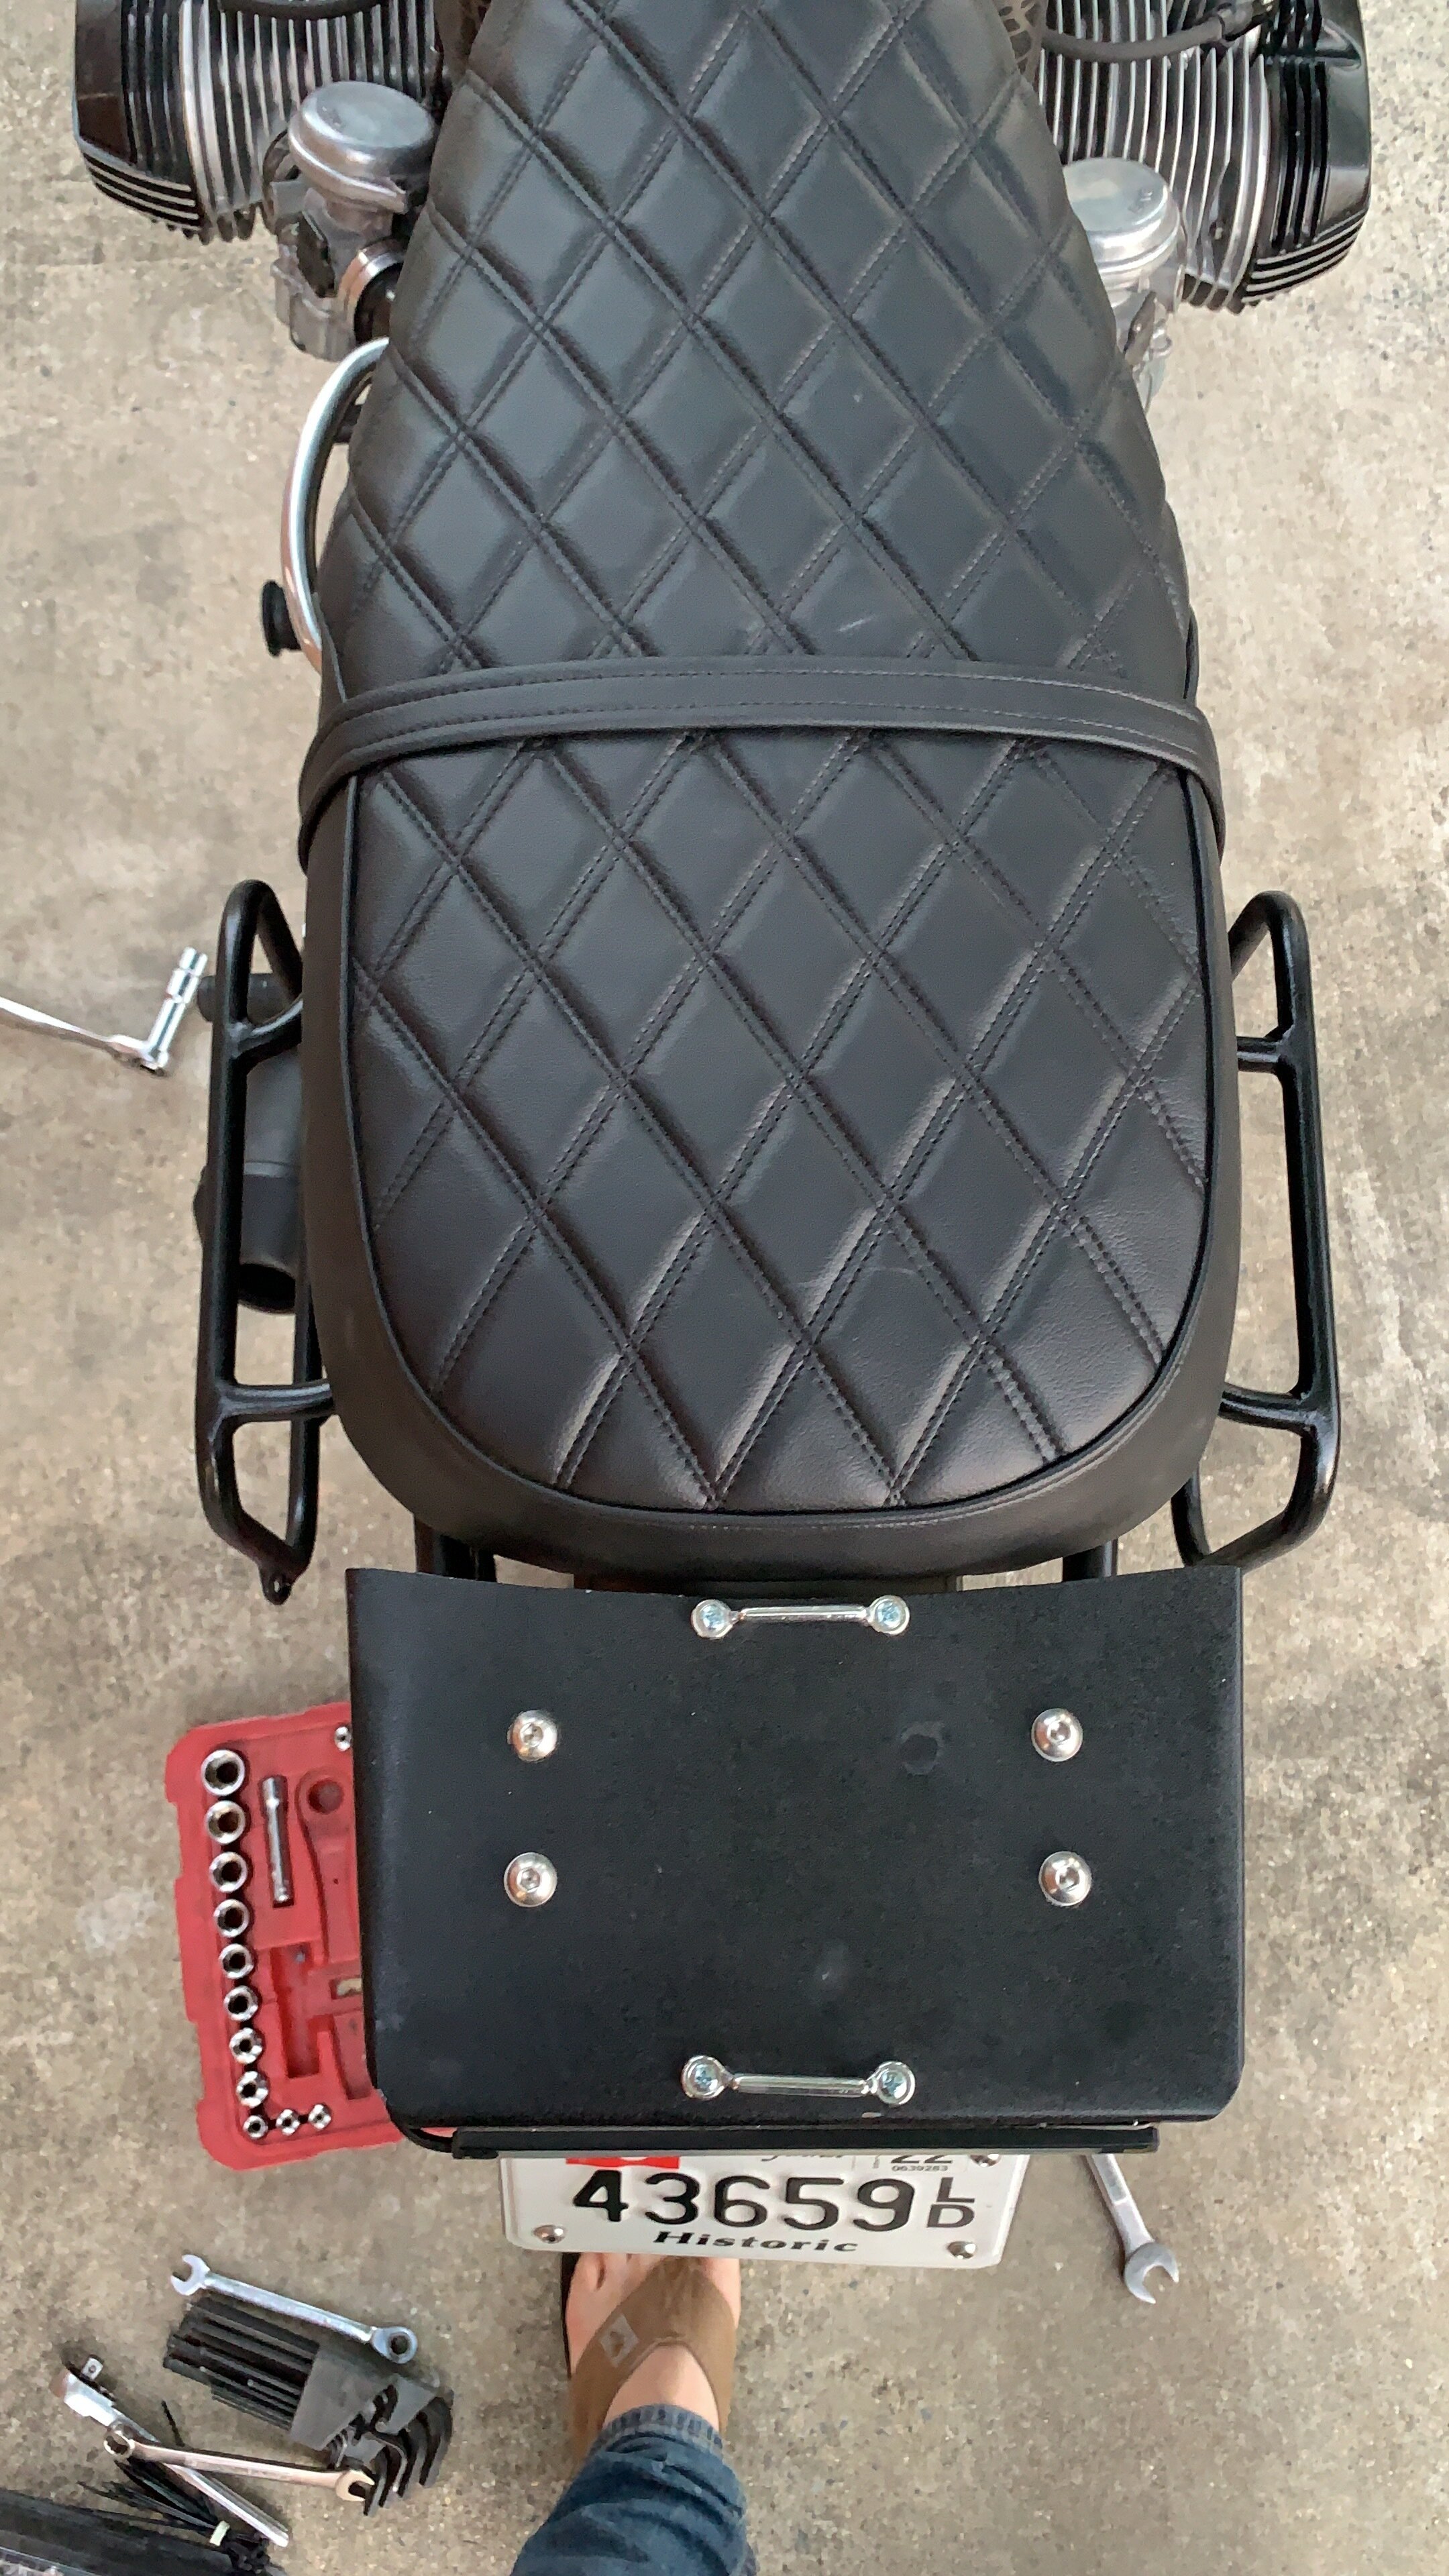
For the rear subframe I decided to go with a 26 inch seat and take up the remainder of the space with a custom luggage rack, so the seat doesn’t look like a seat on a SeaDoo. First I cut the tubing and then cut two 45 degree angle so its beveled for the welding on the bottom. Then I use a straight edge across all the planes to make sure its straight. Grinding any excess so that its leveled. Next I cut a piece of steel as the base. this was a very thick piece of steel. I wanted to be sturdy but I thin this was overkill. It was very difficult to cut, but alas it is done. The plate is going to be used as a mounting base so I can remove the mount and possibly even make different size mount for different luggage setup. I duck tape everything together for mock up.
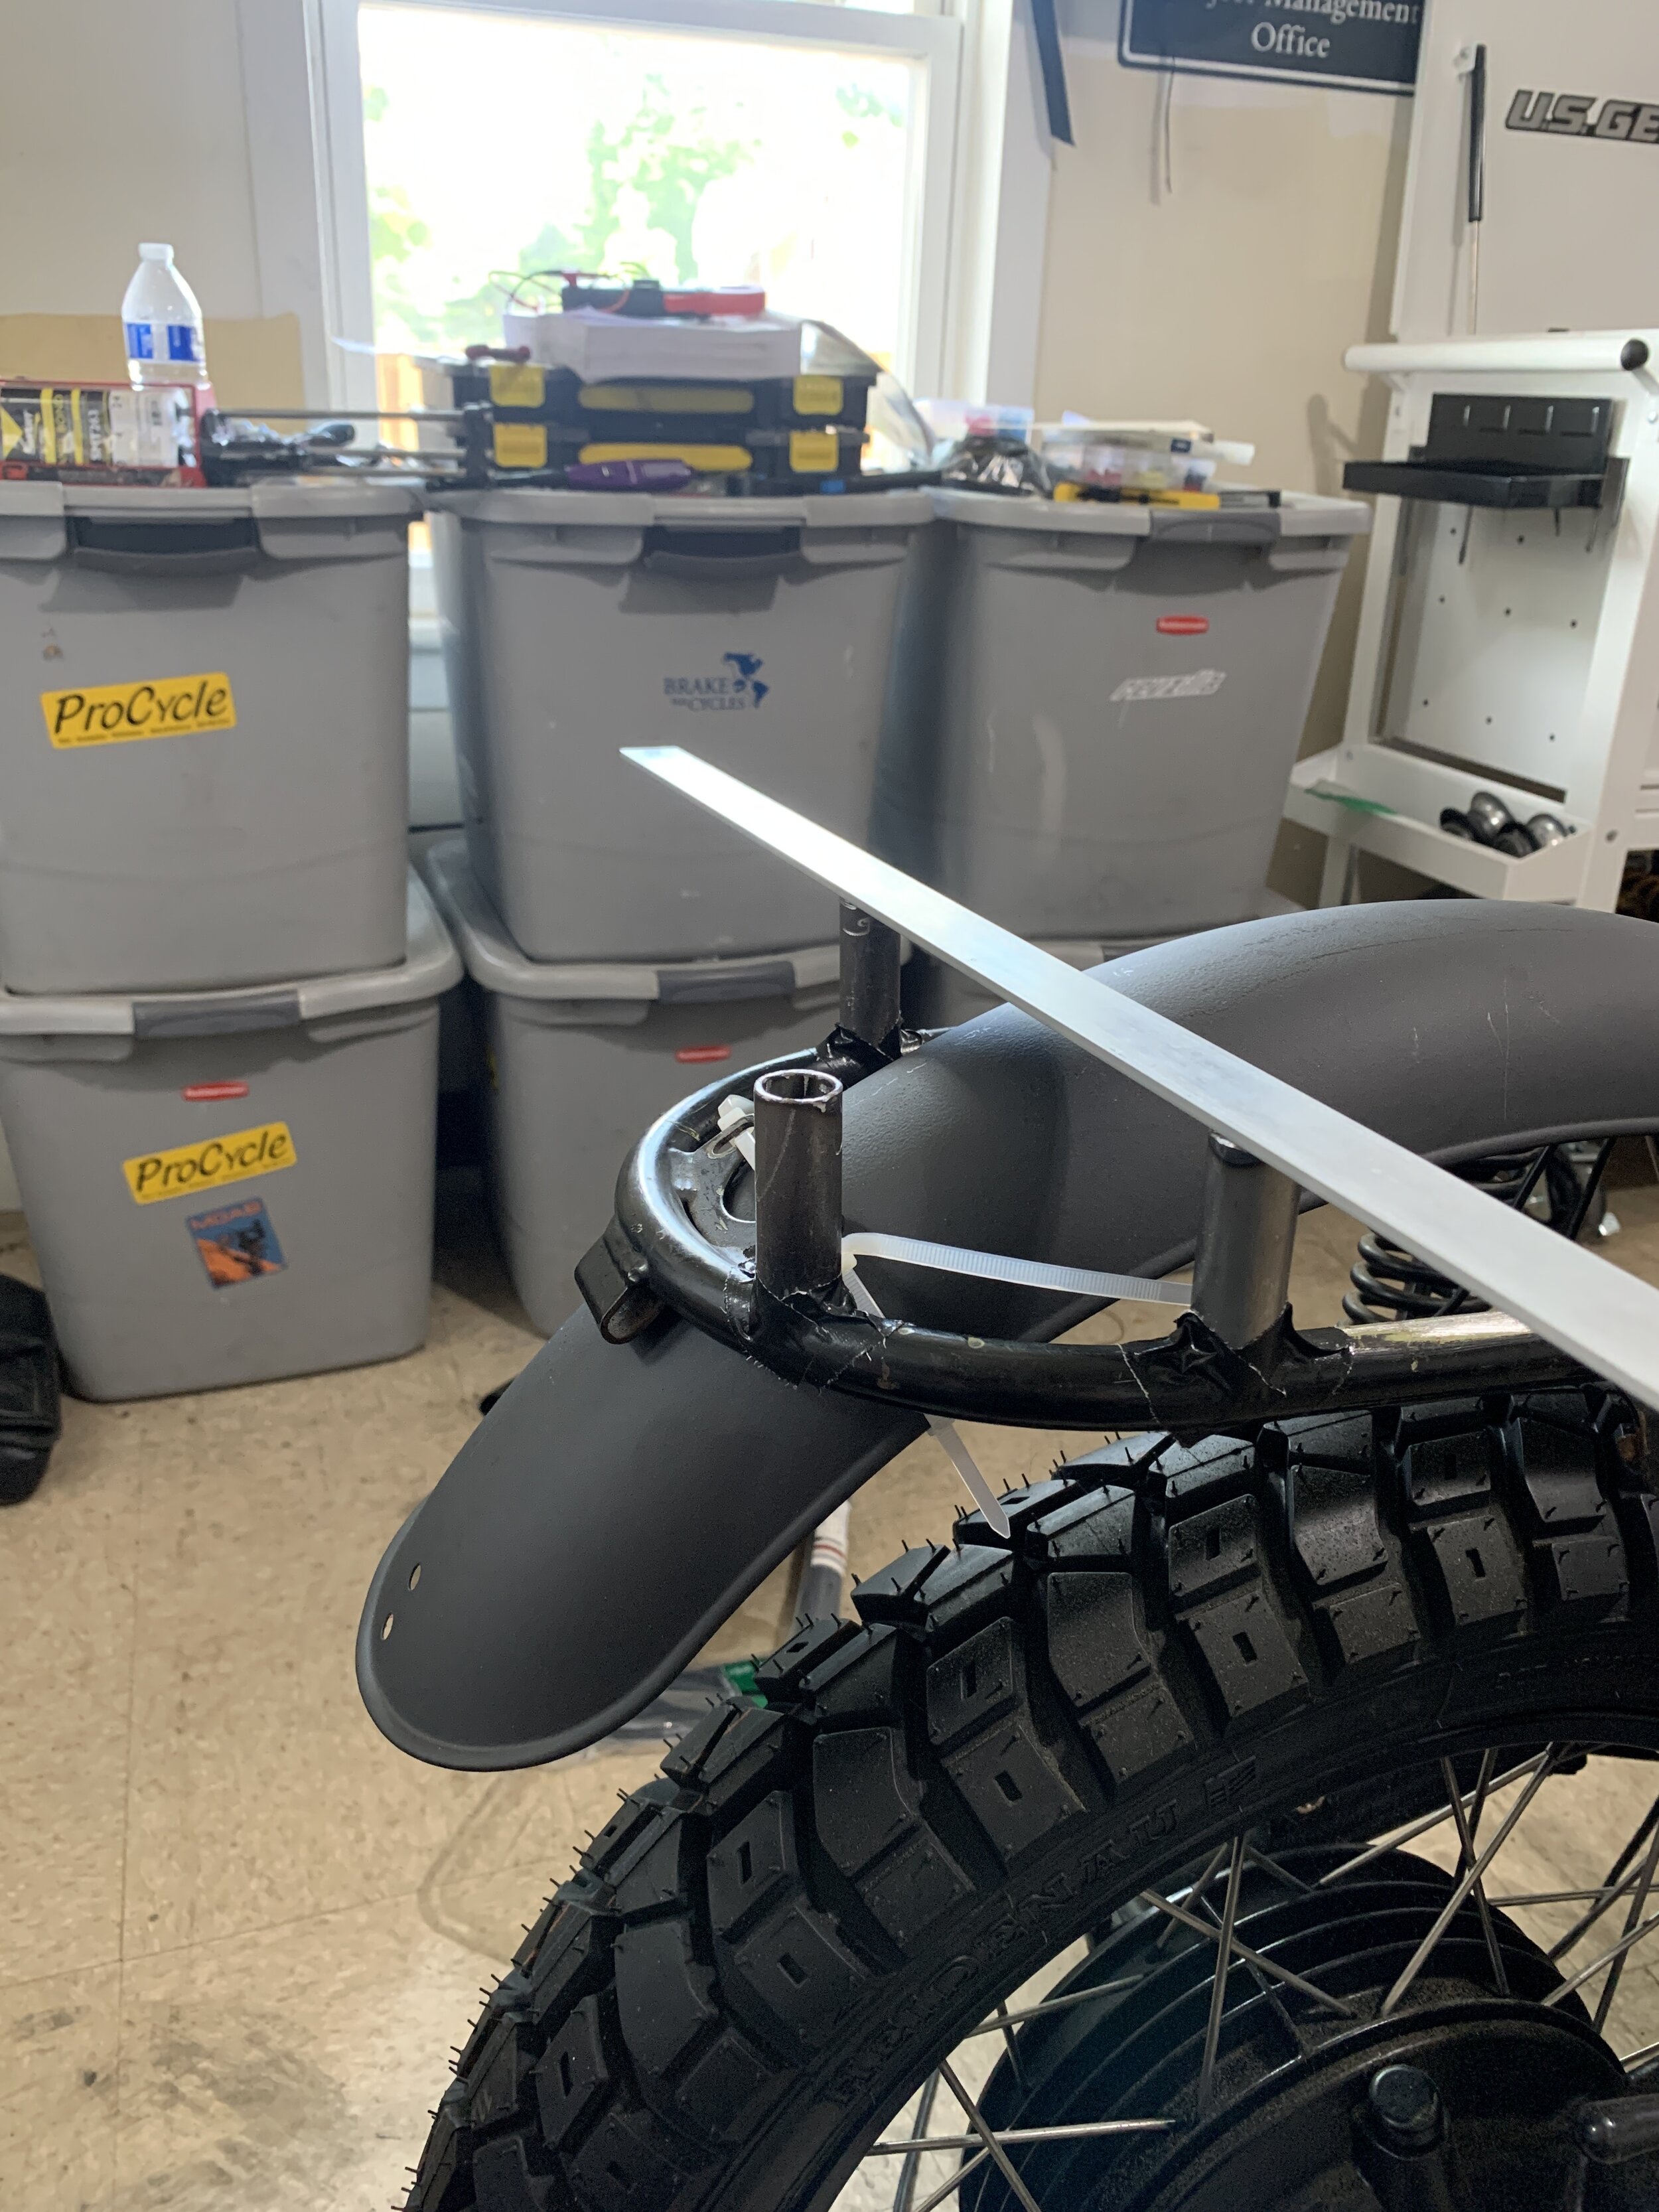

Noah tack weld the rear for me, but his welder broke so I took it over to Phaedon to weld it. Unfortunately, this end up with alot more grinding and cleaning up. After that I was going to make the top plate. I first traced out the shape took it over to my brothers shop and had it torched to cherry red and hit it with a 5 lb. hammer. It did not want to bend, and I ended up trashing that first piece. Back to the drawing board, I recut the same piece, but this time I cut grooves where the bends are suppose to go, and then got it welded after the bend. The bend is sharp and after mocking it up, it looks like it would work.
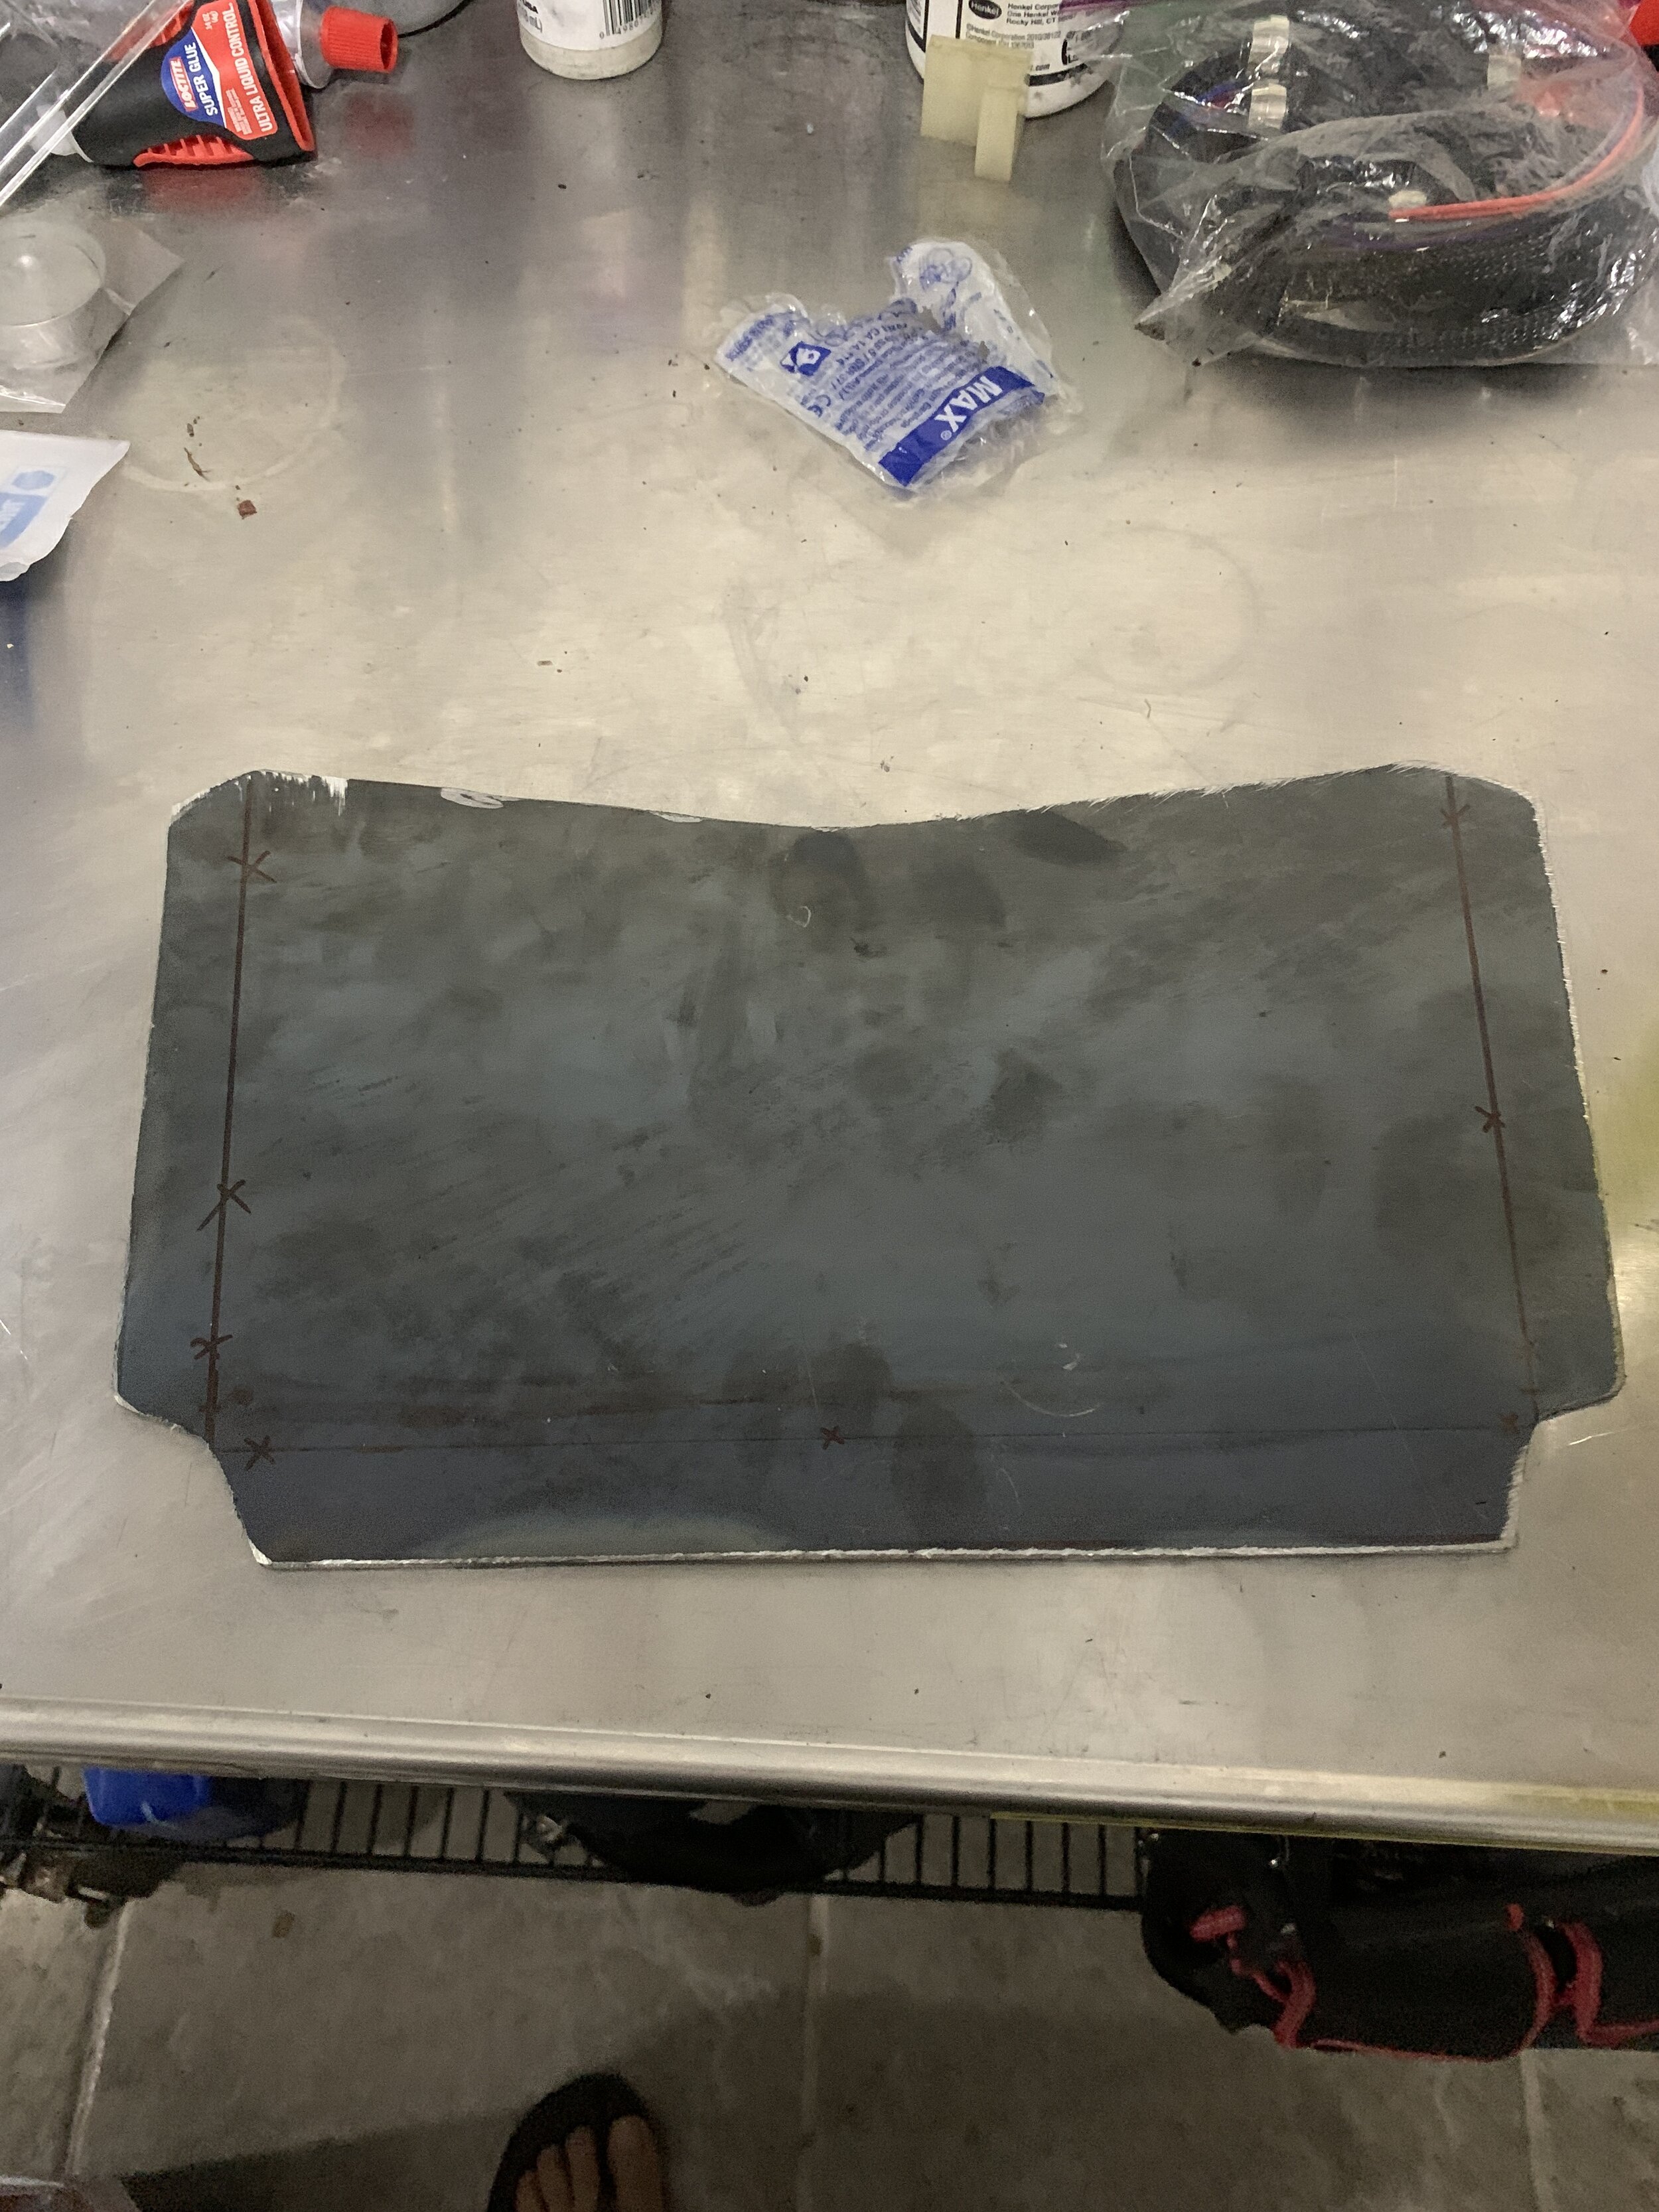


Finally, I cut the relief section where the wires will run for the taillight. After priming the bare metal I drew the location of the bolts and drill the holes in the bottom plate and top plate. Finally It is mocked up and then I had to wait for the round top bolts to come in and painted it, and installed.
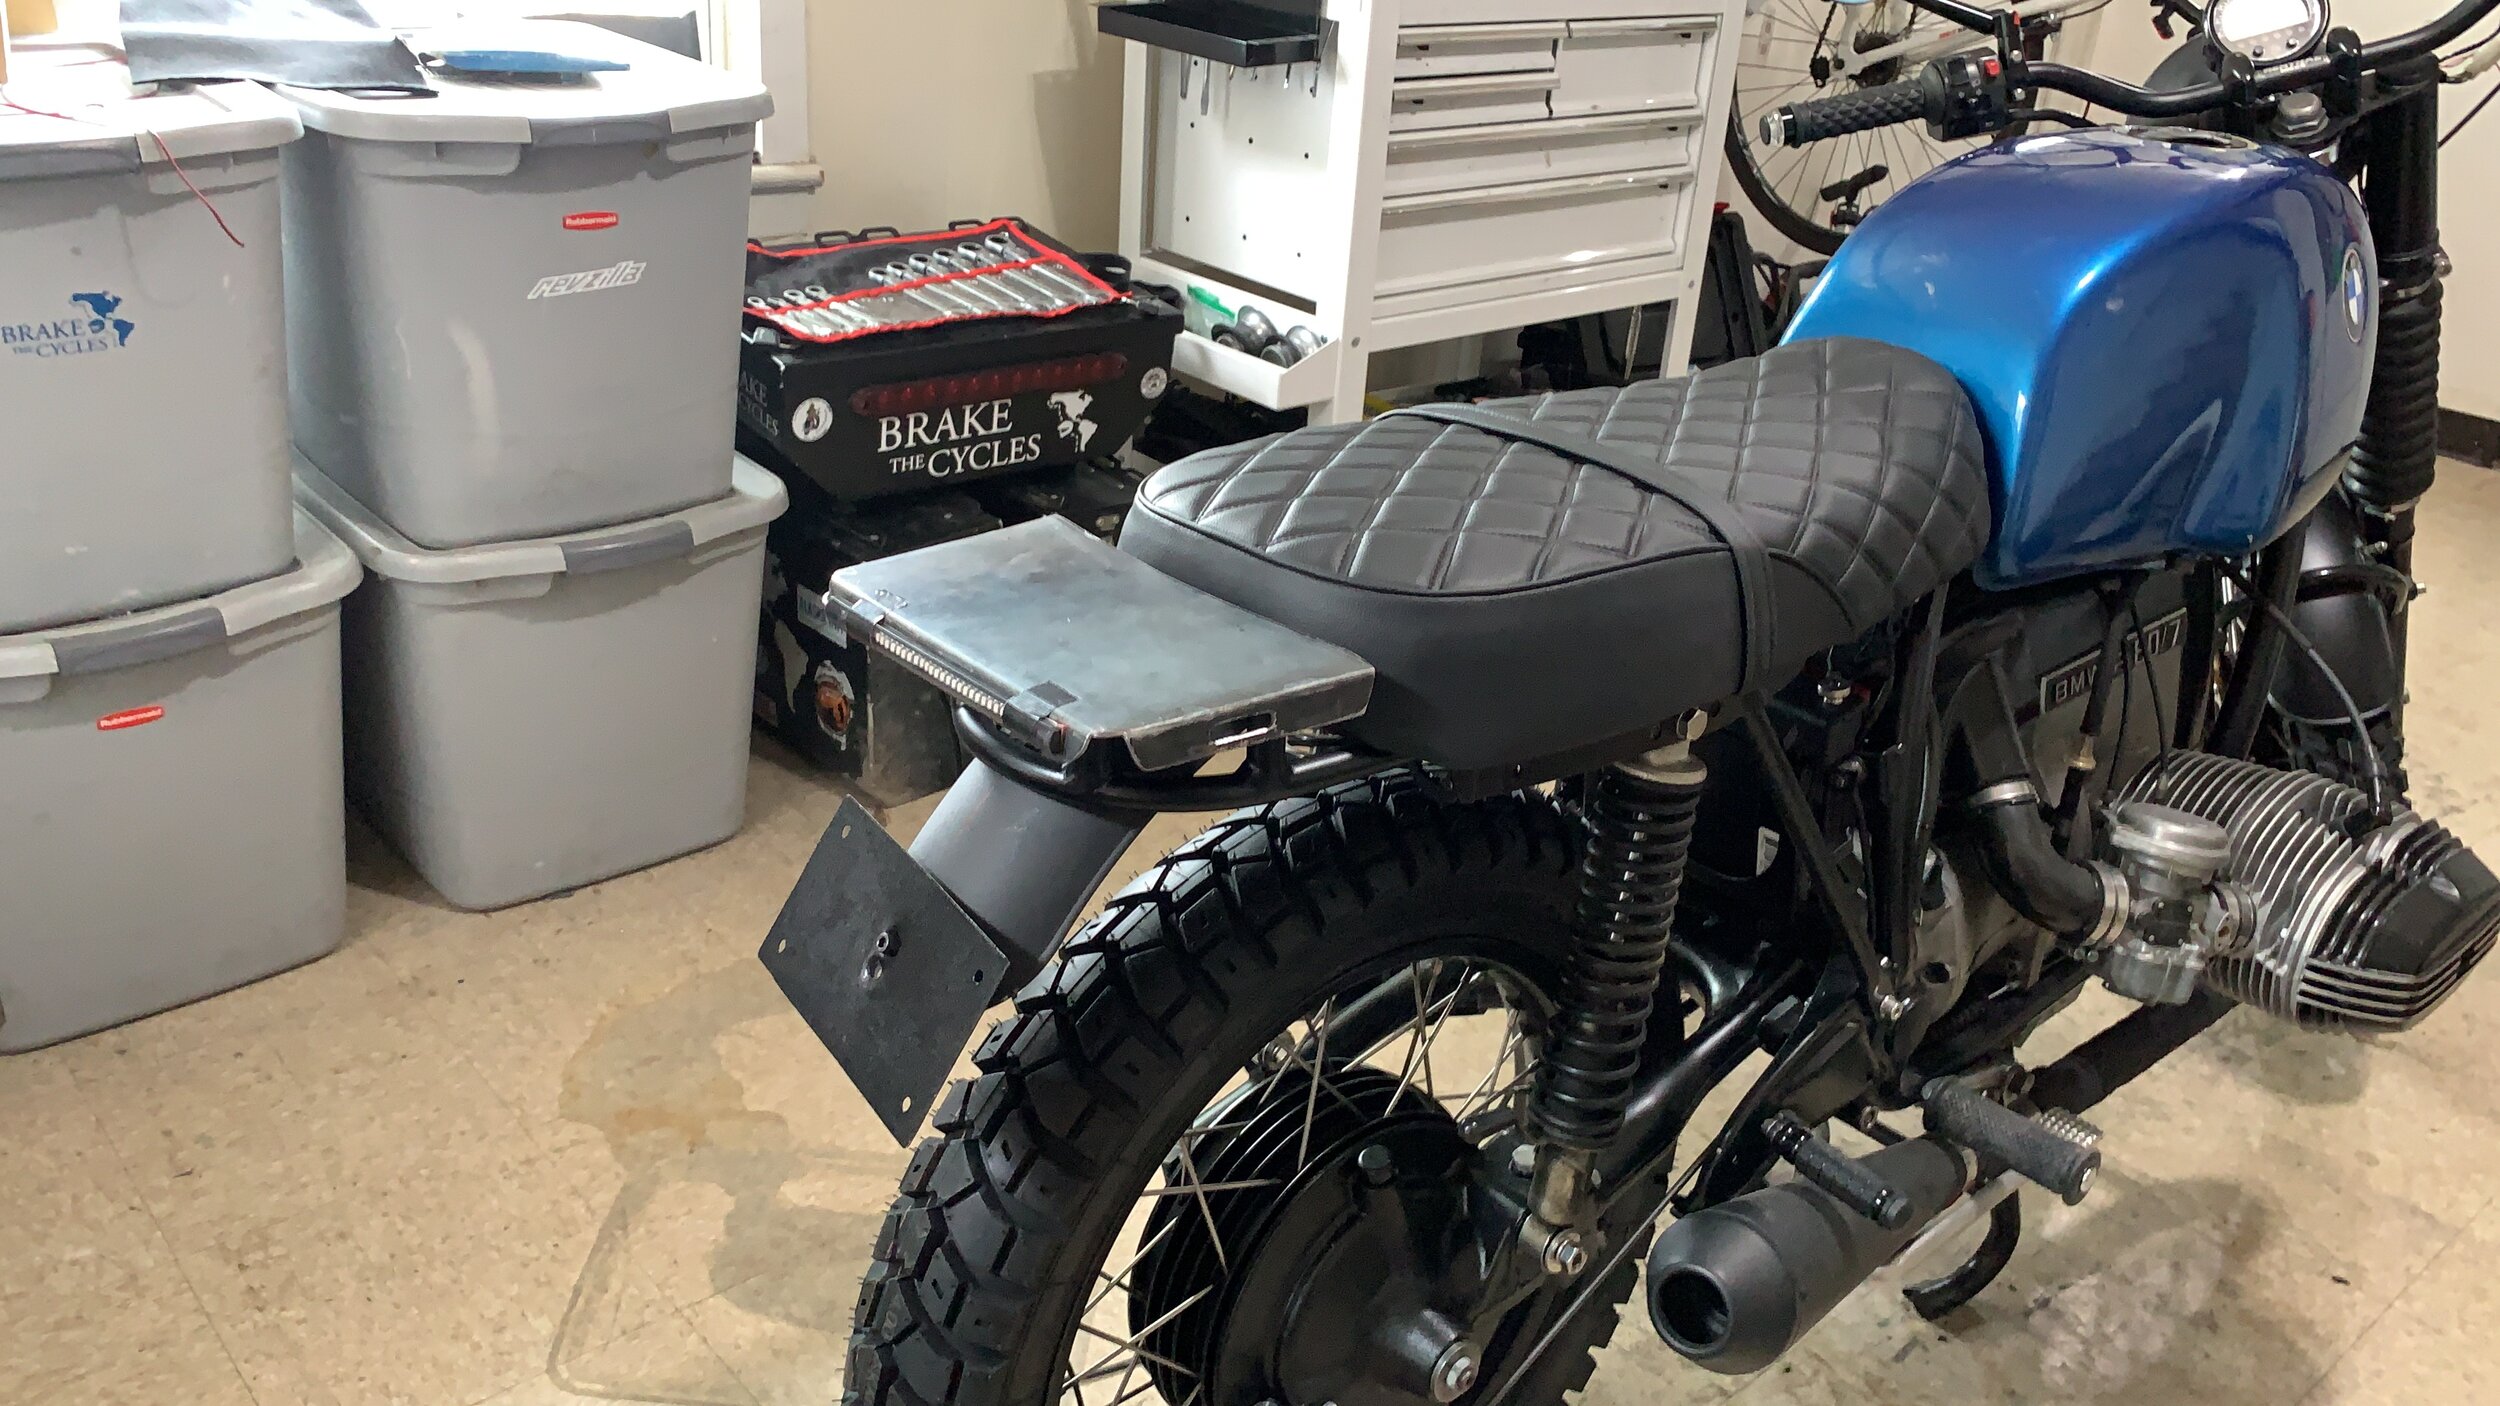
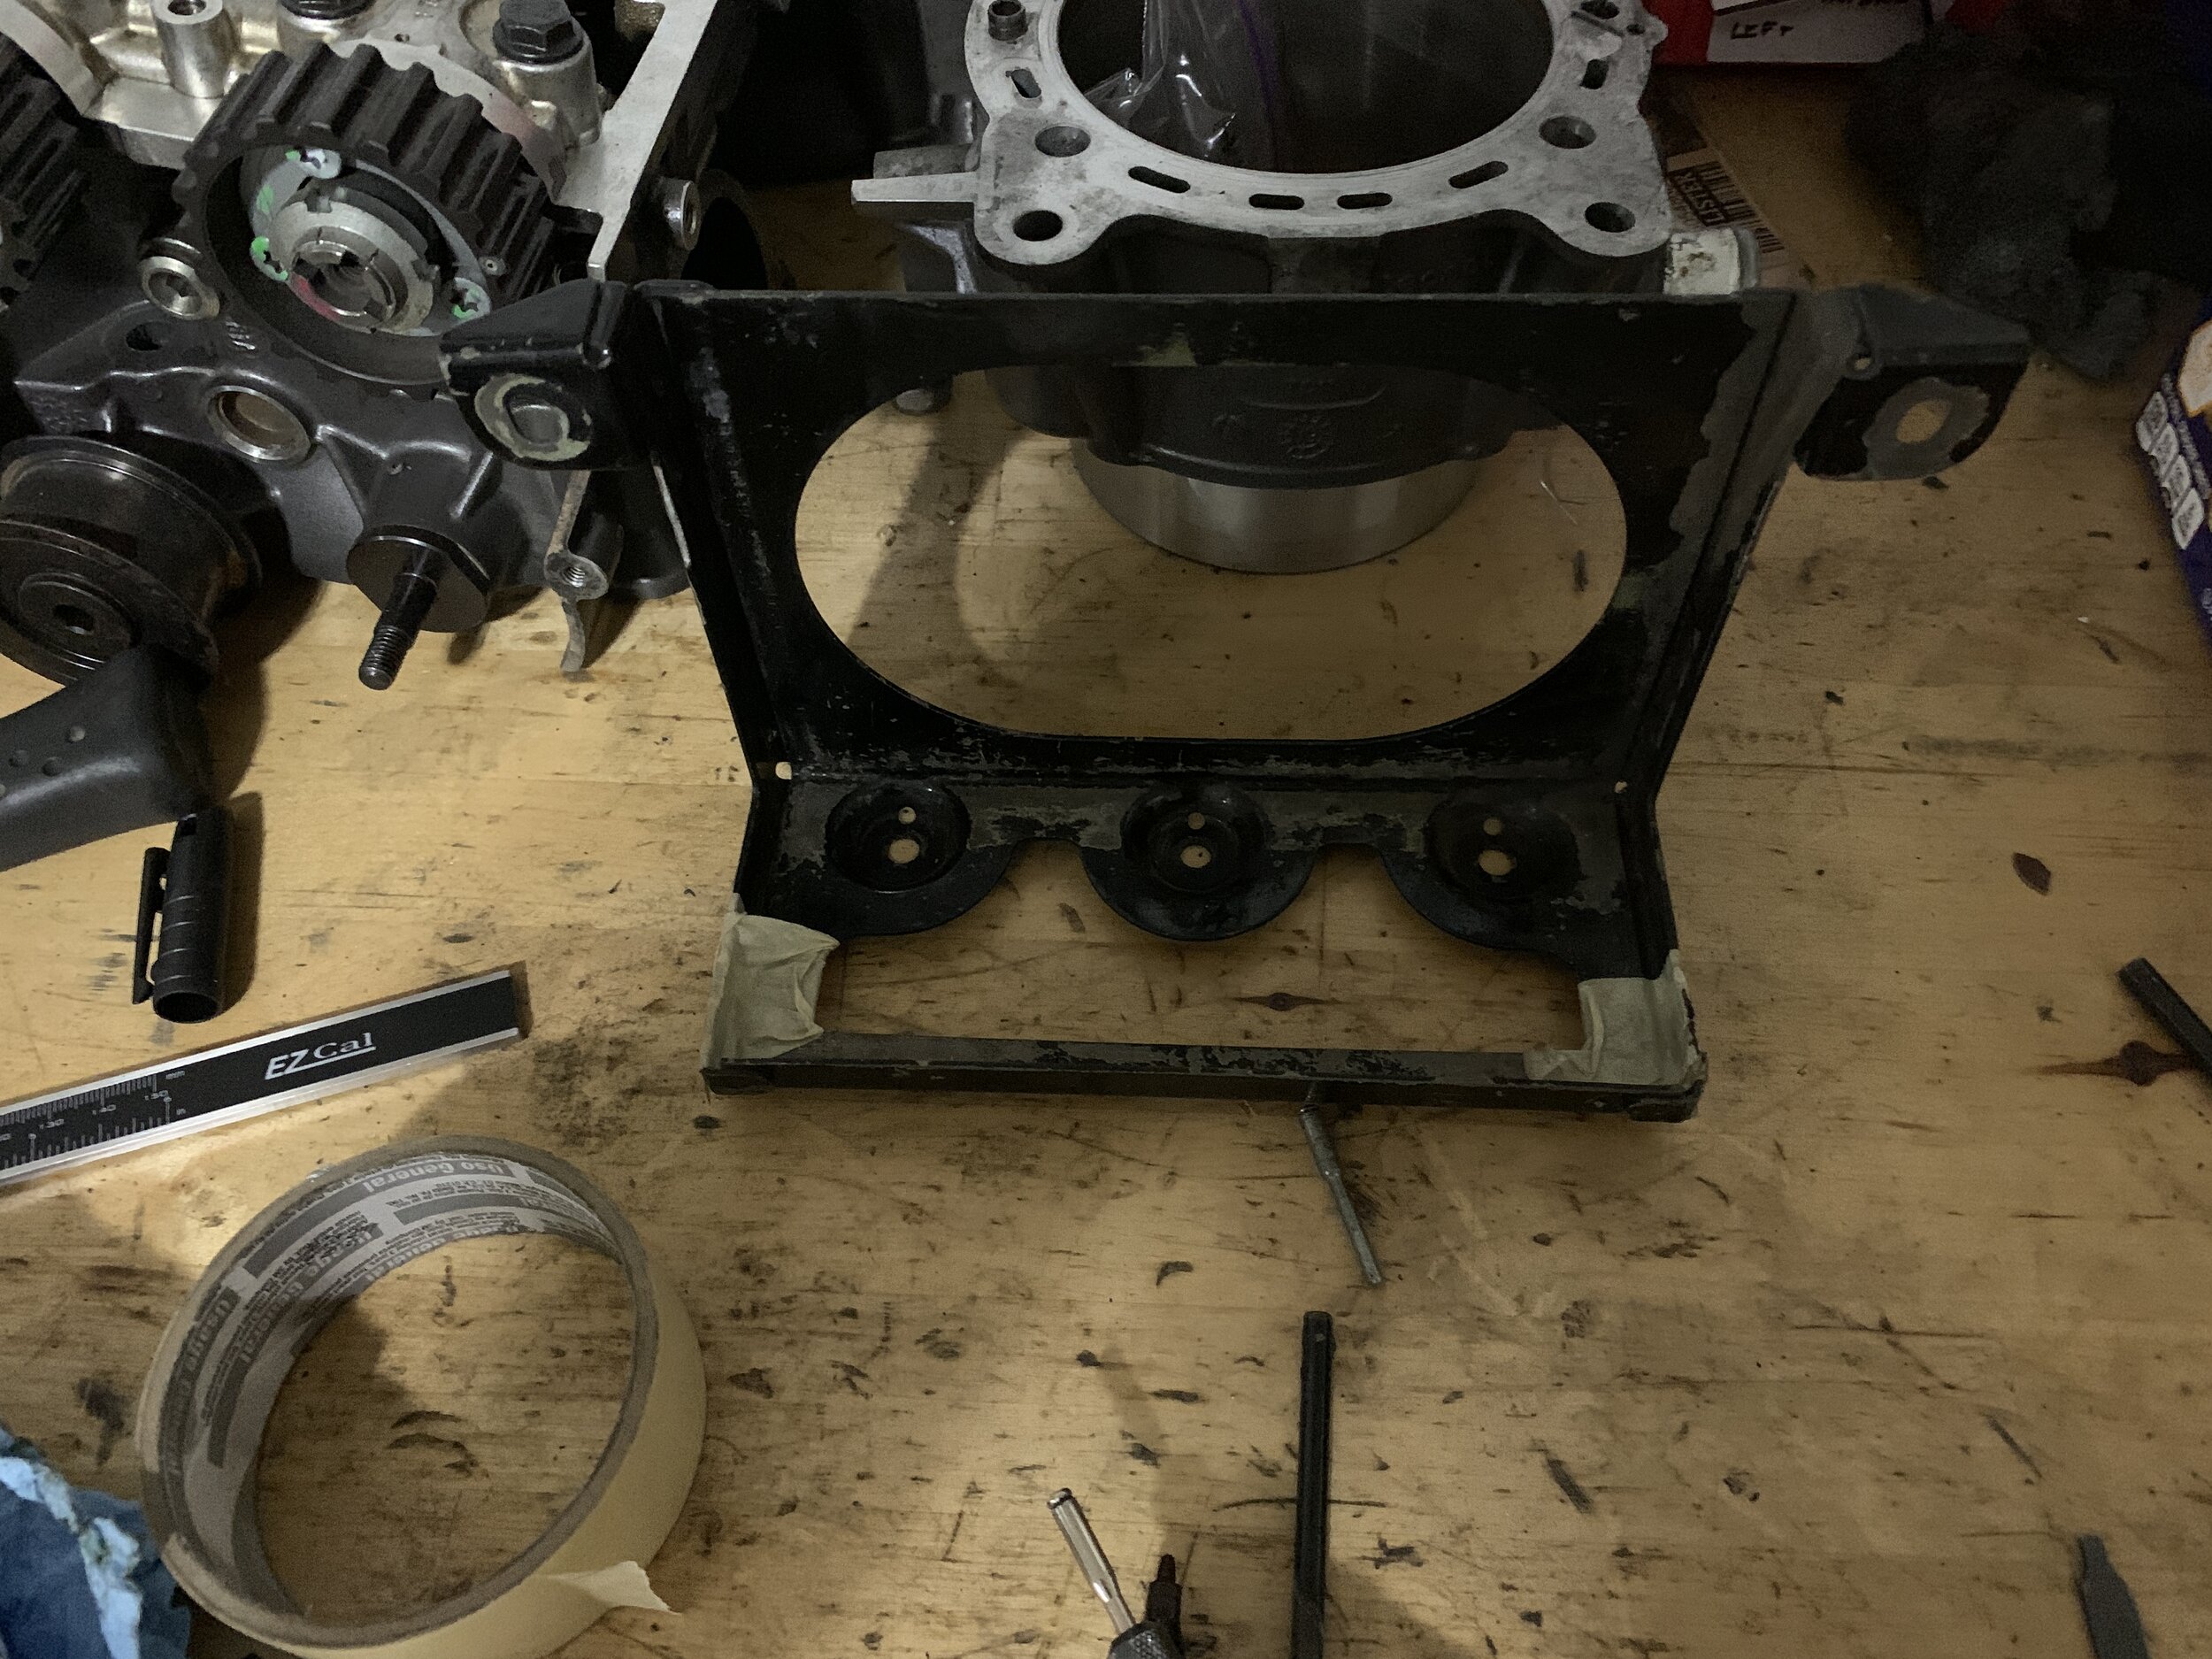
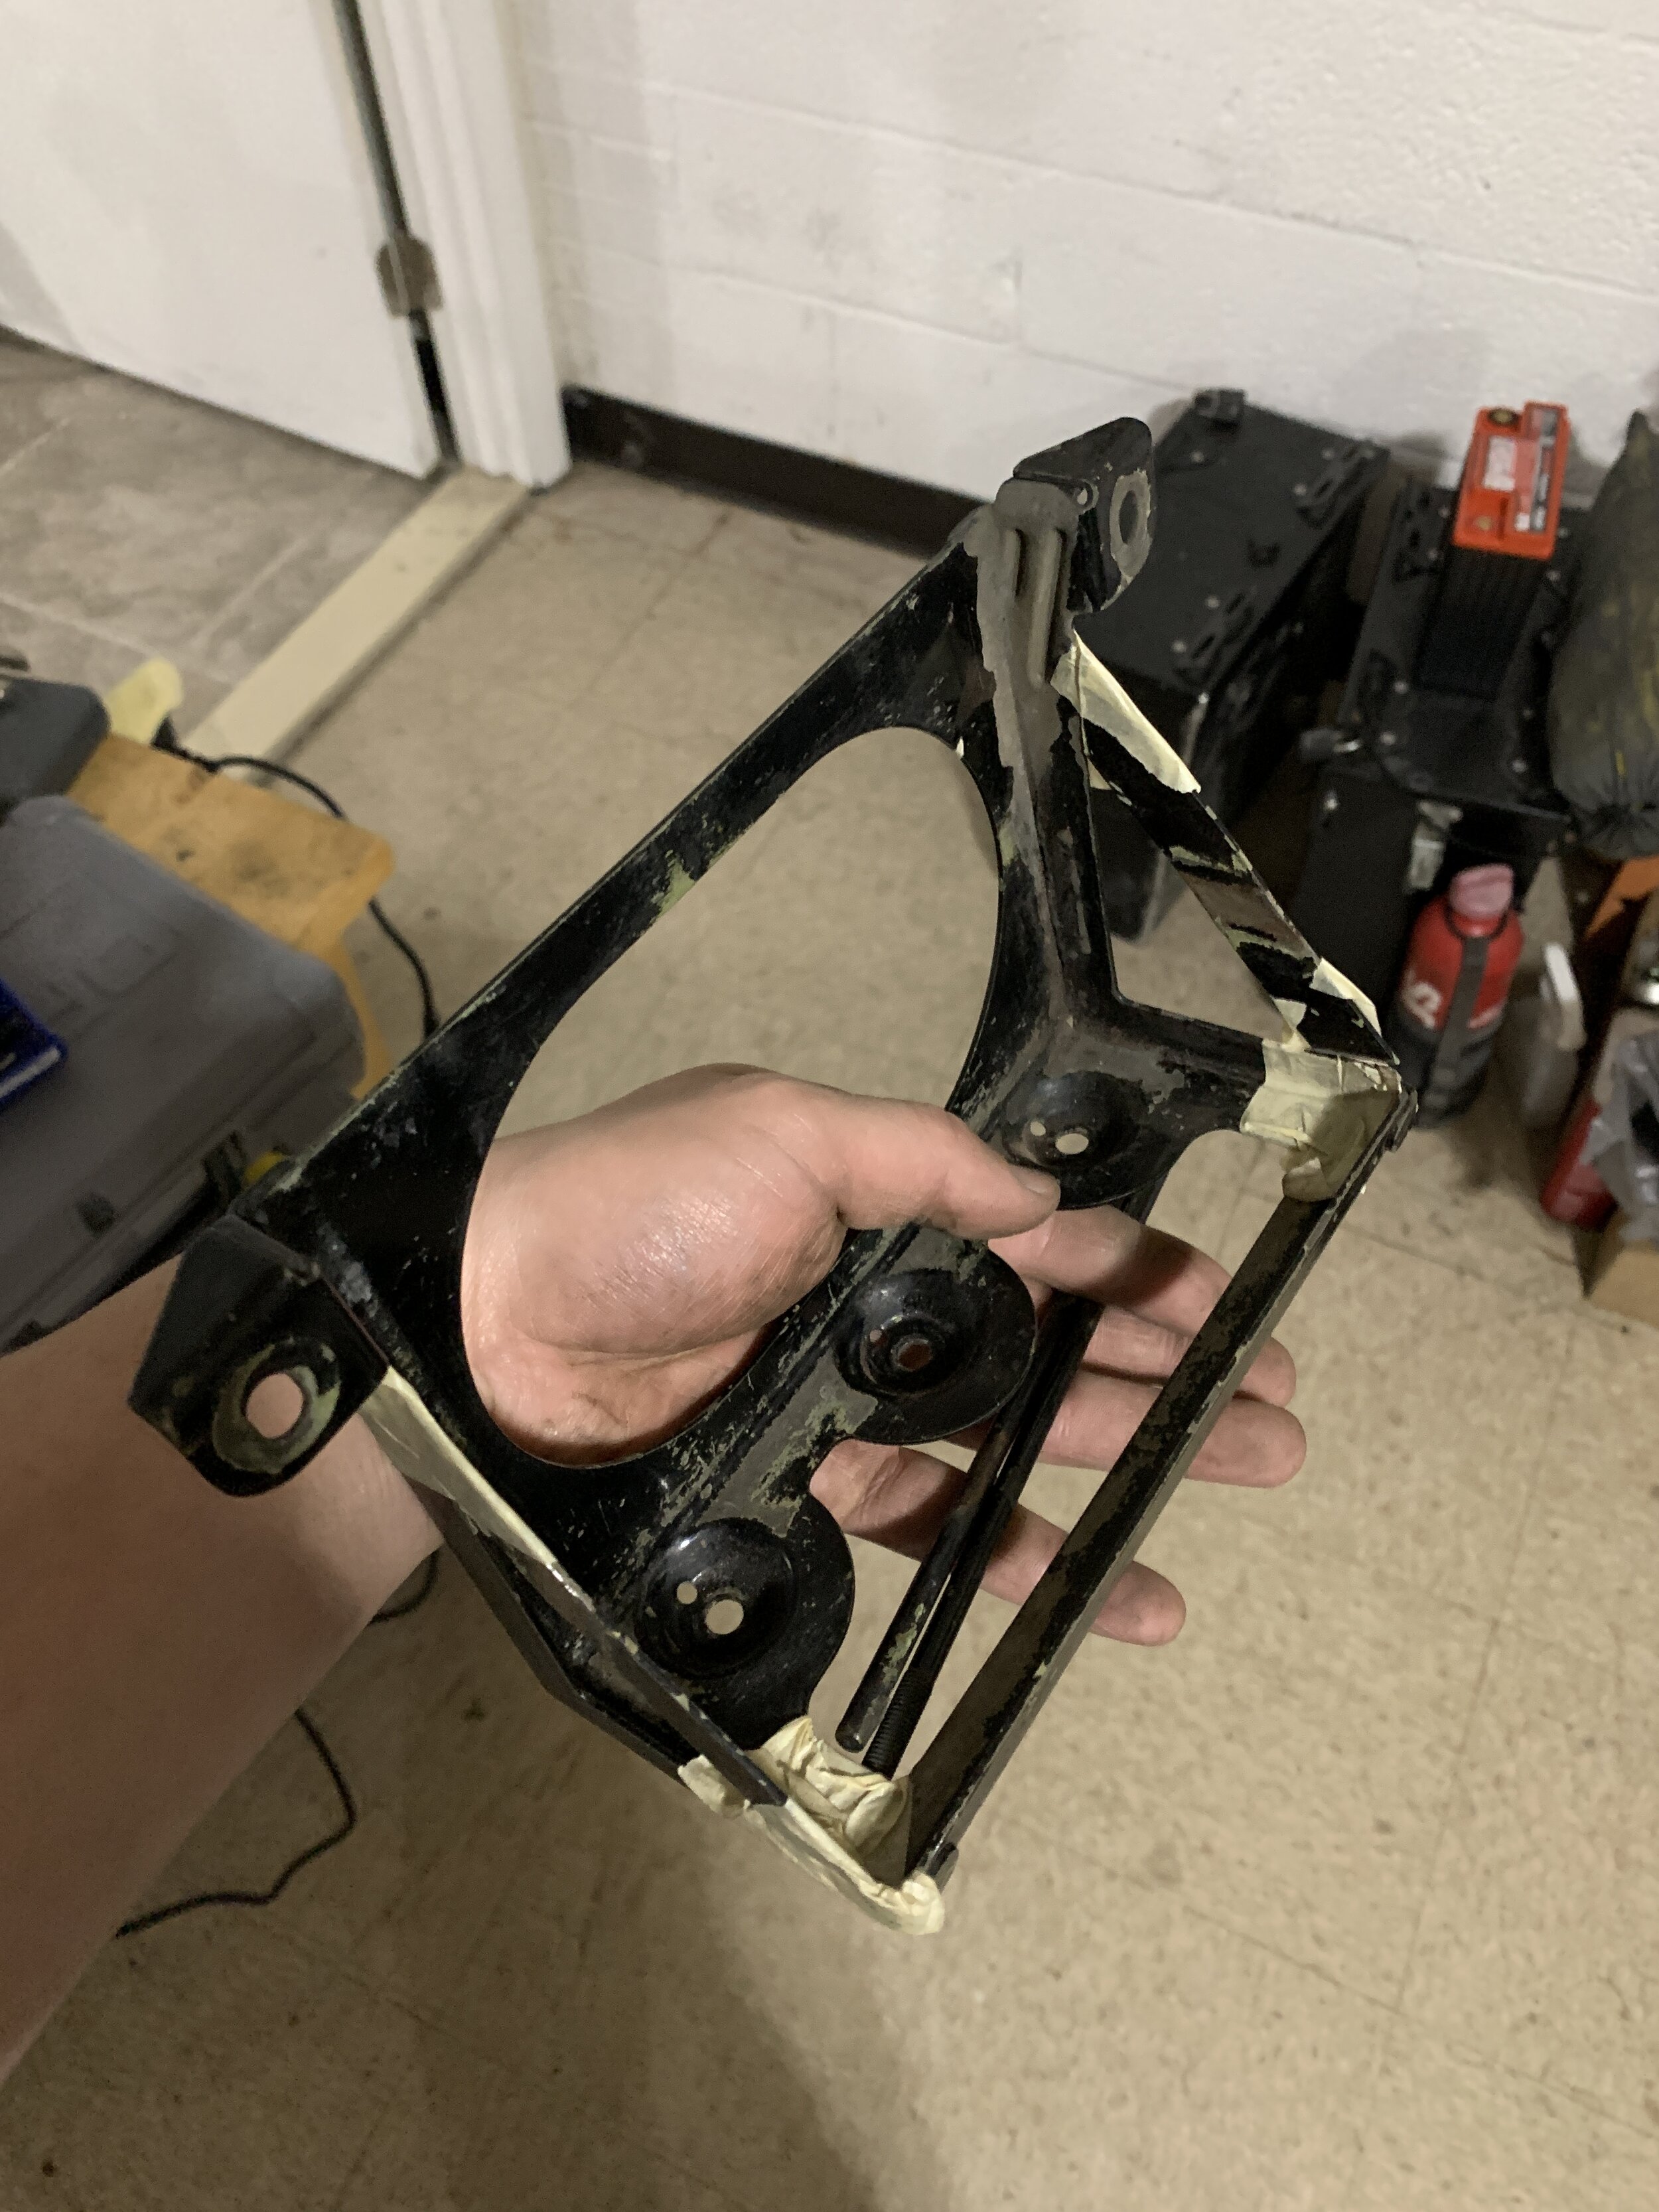
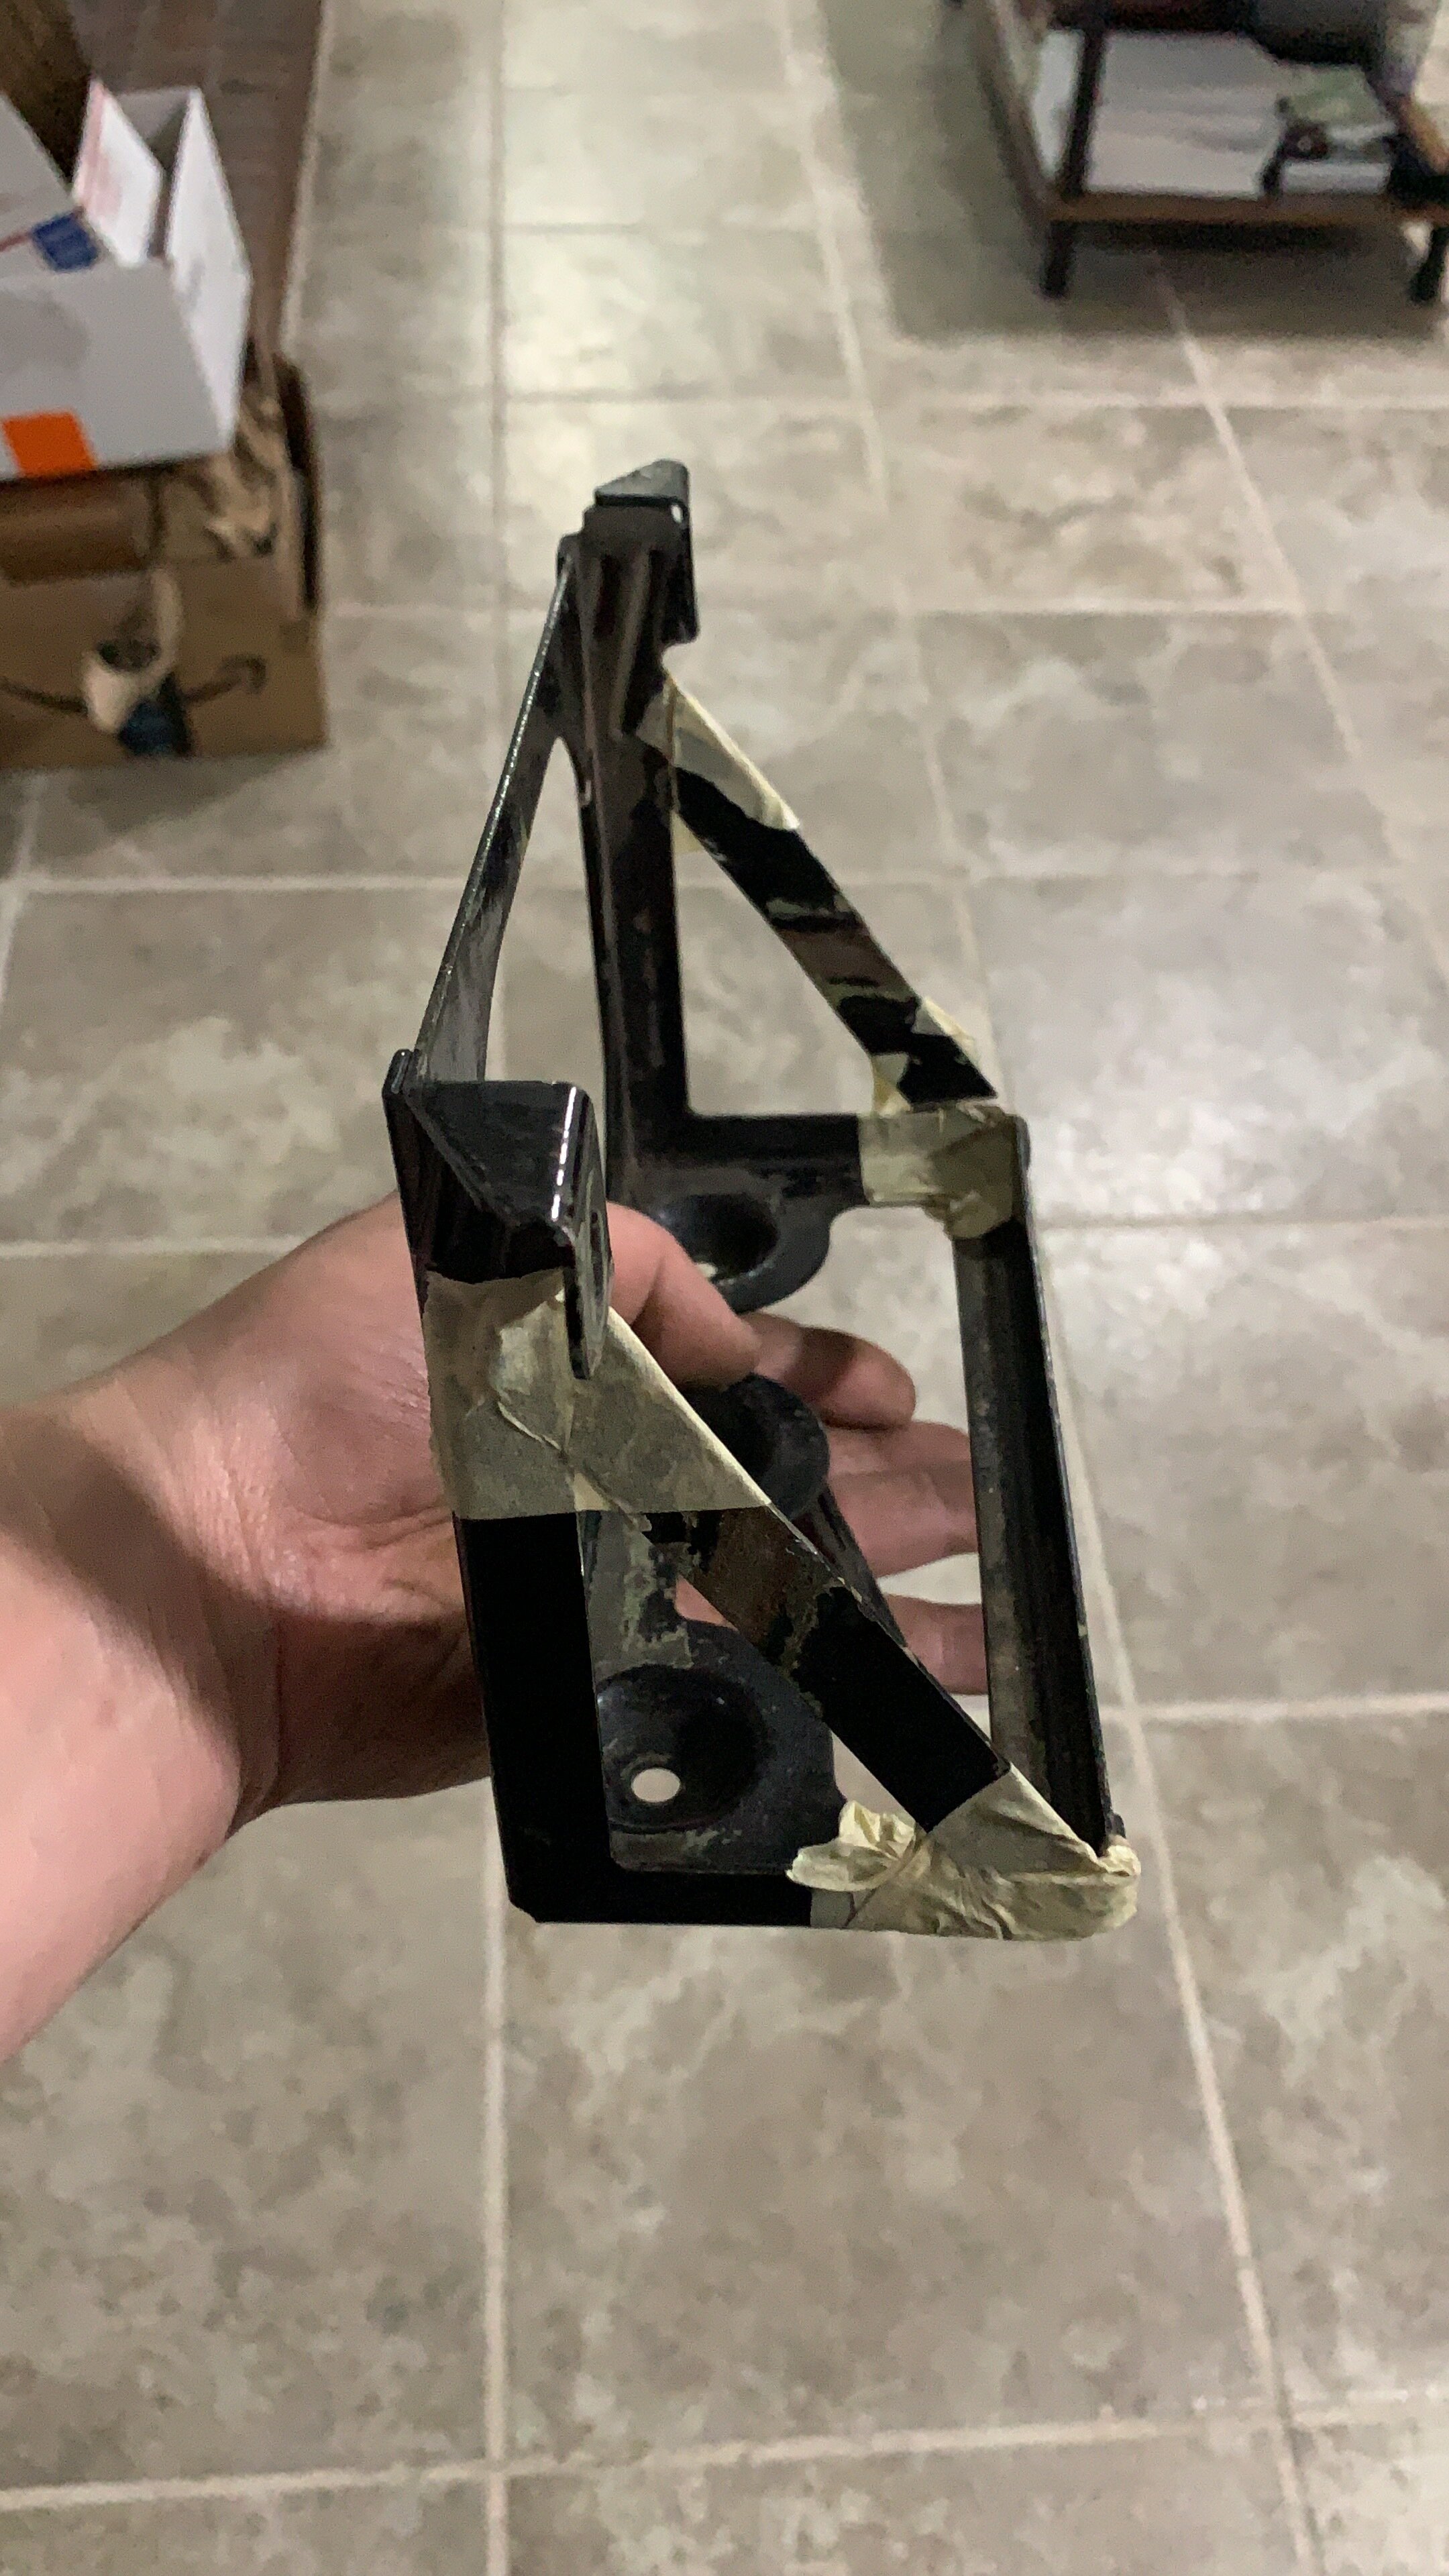
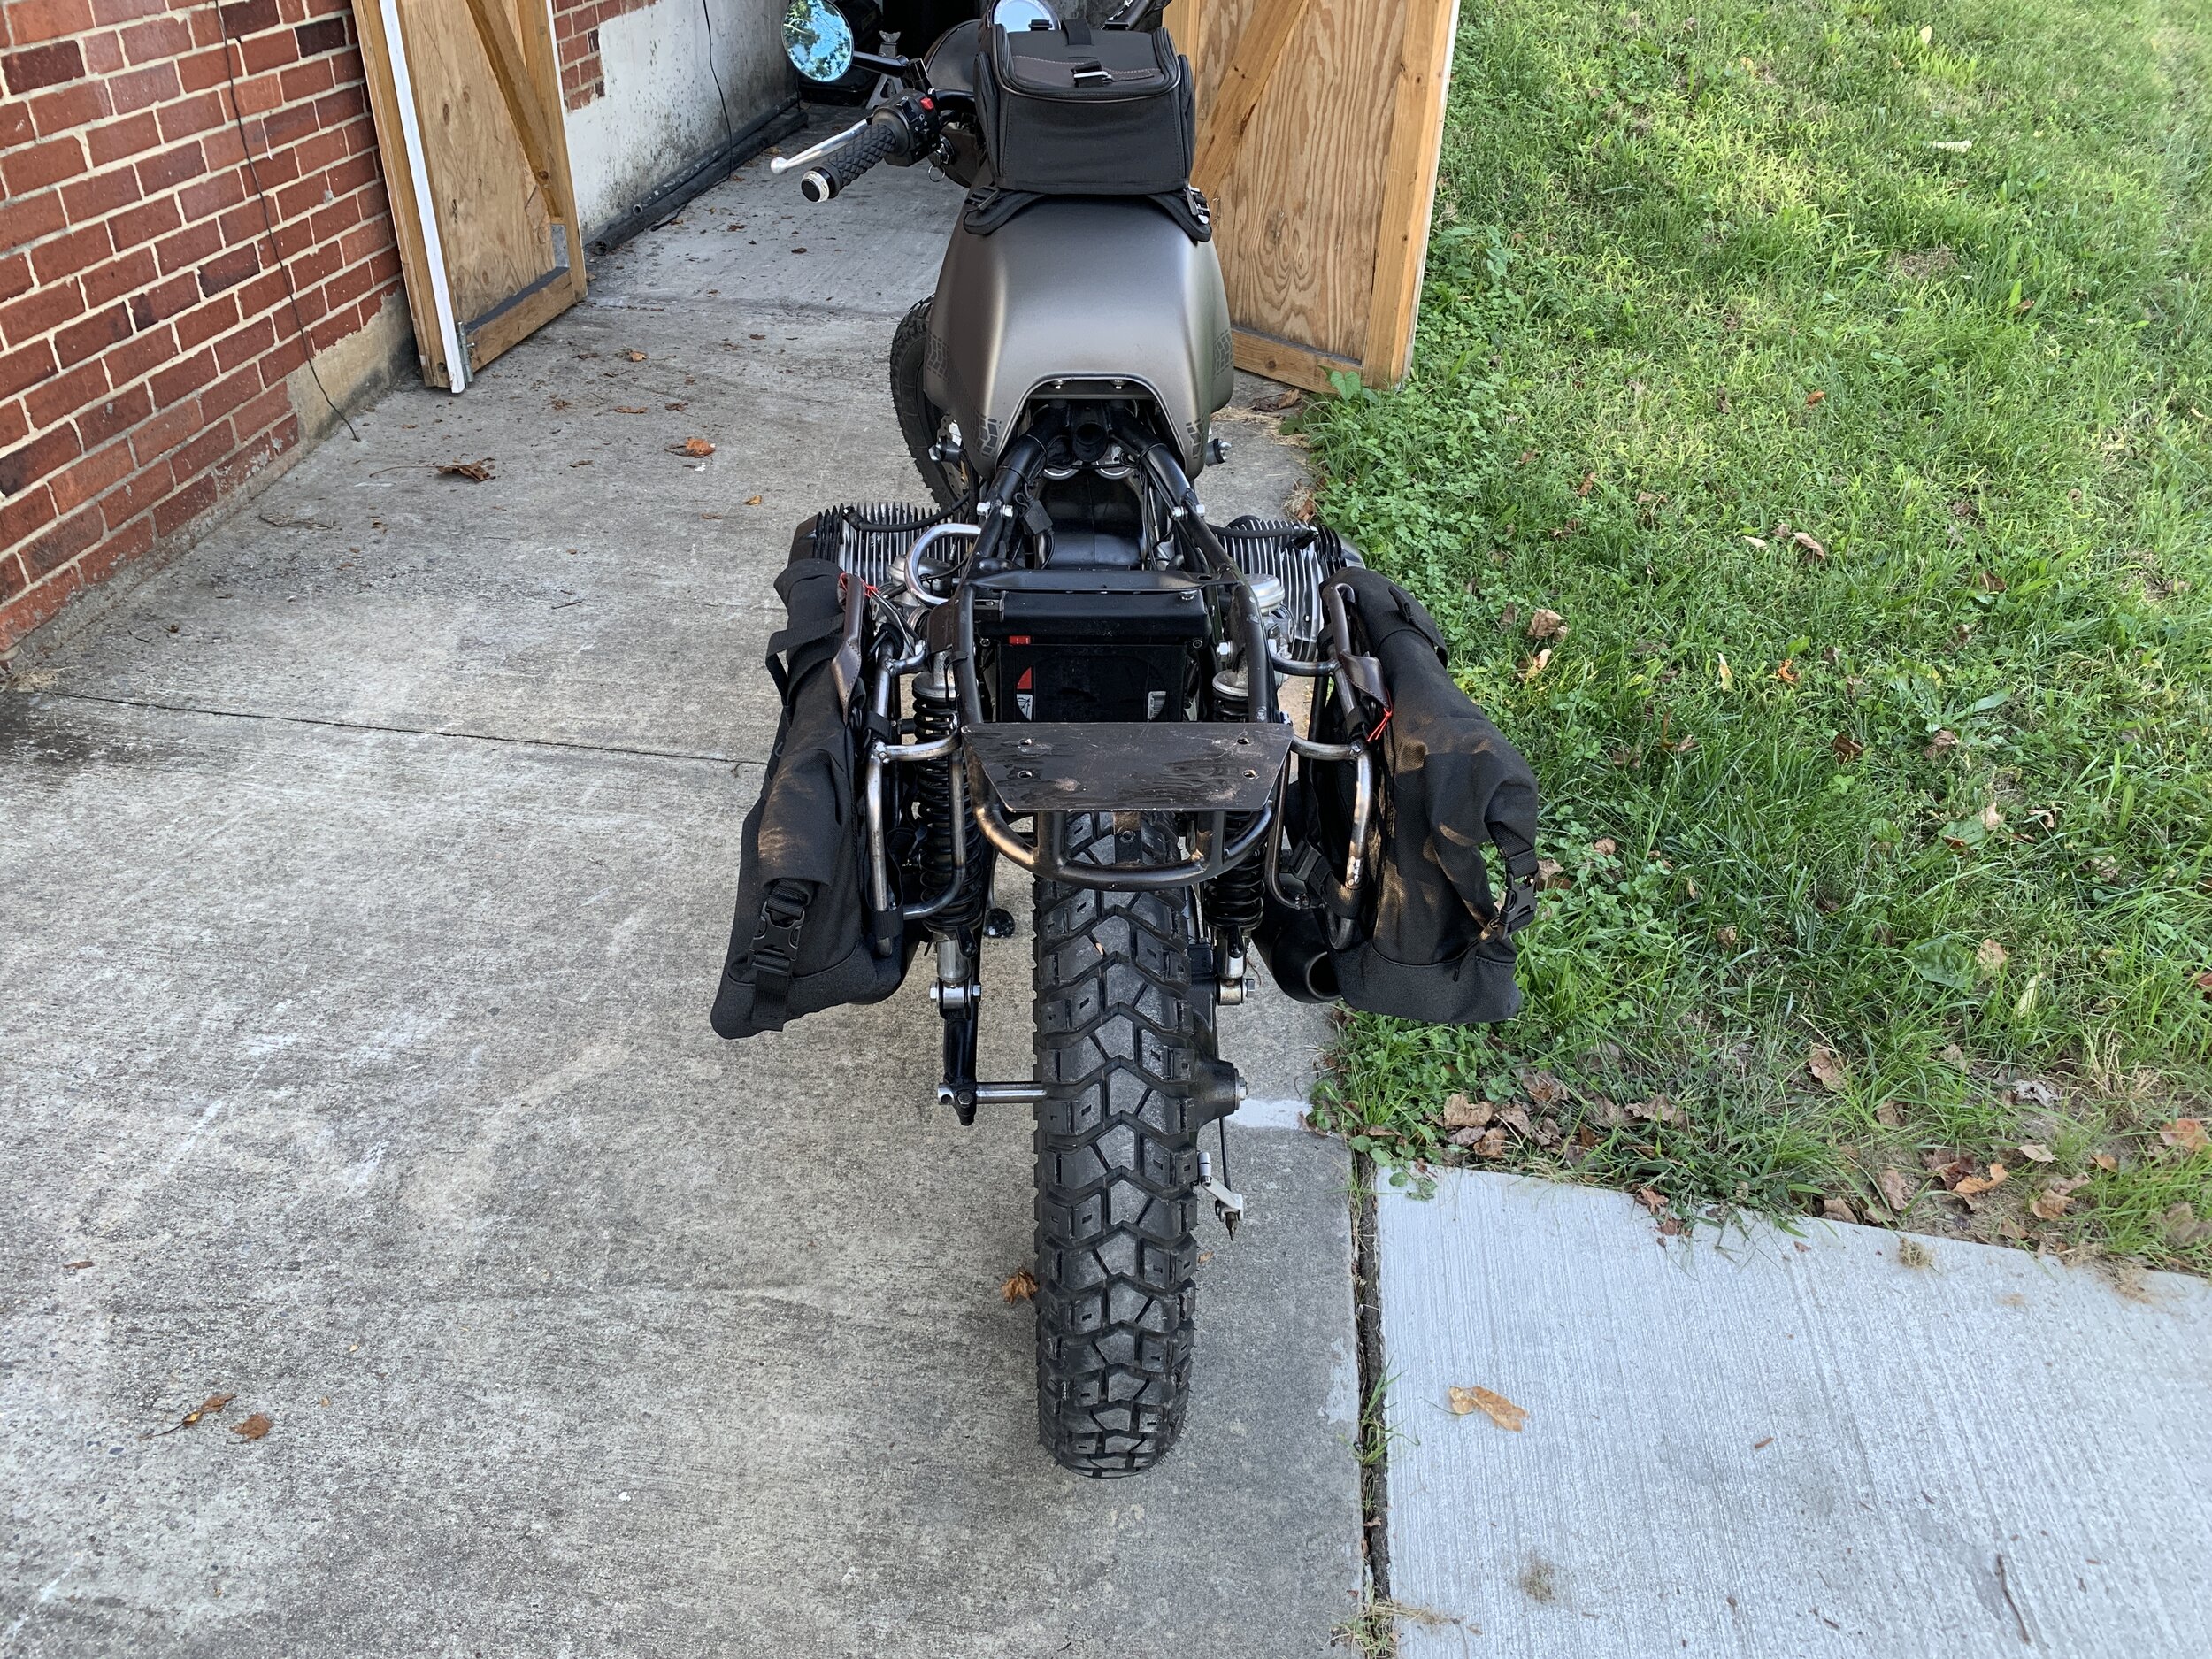
Battery Box
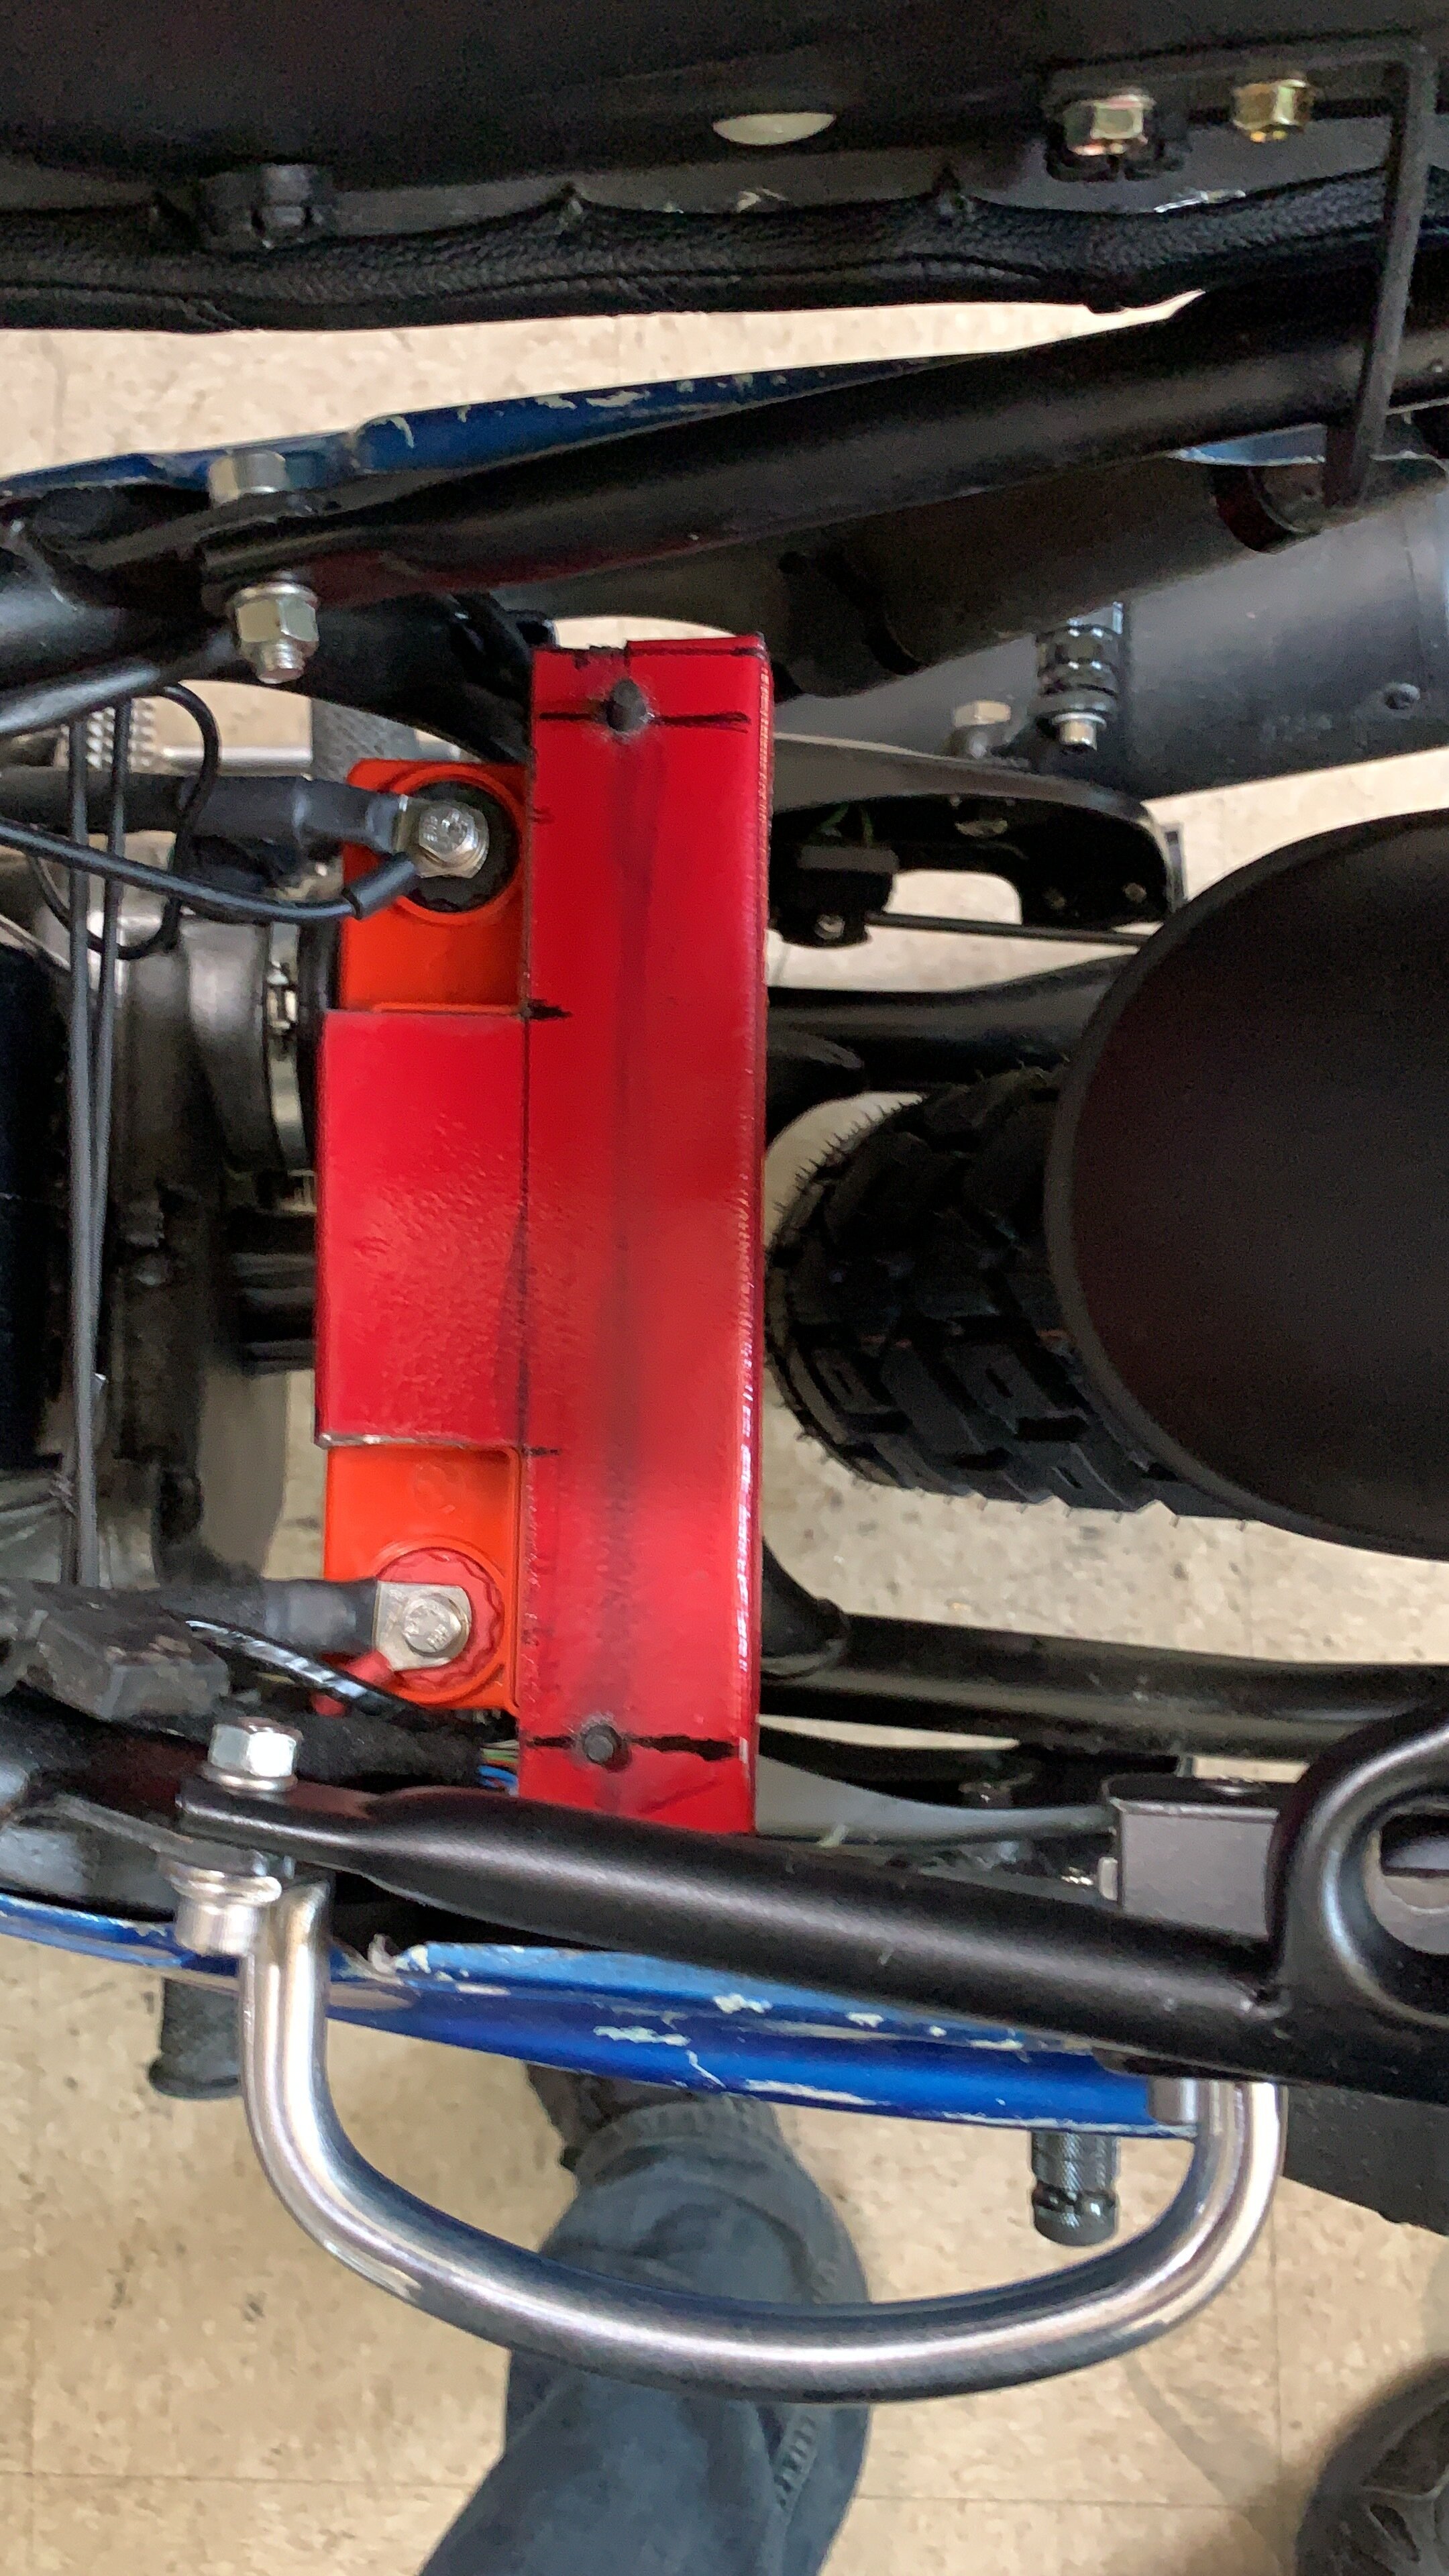
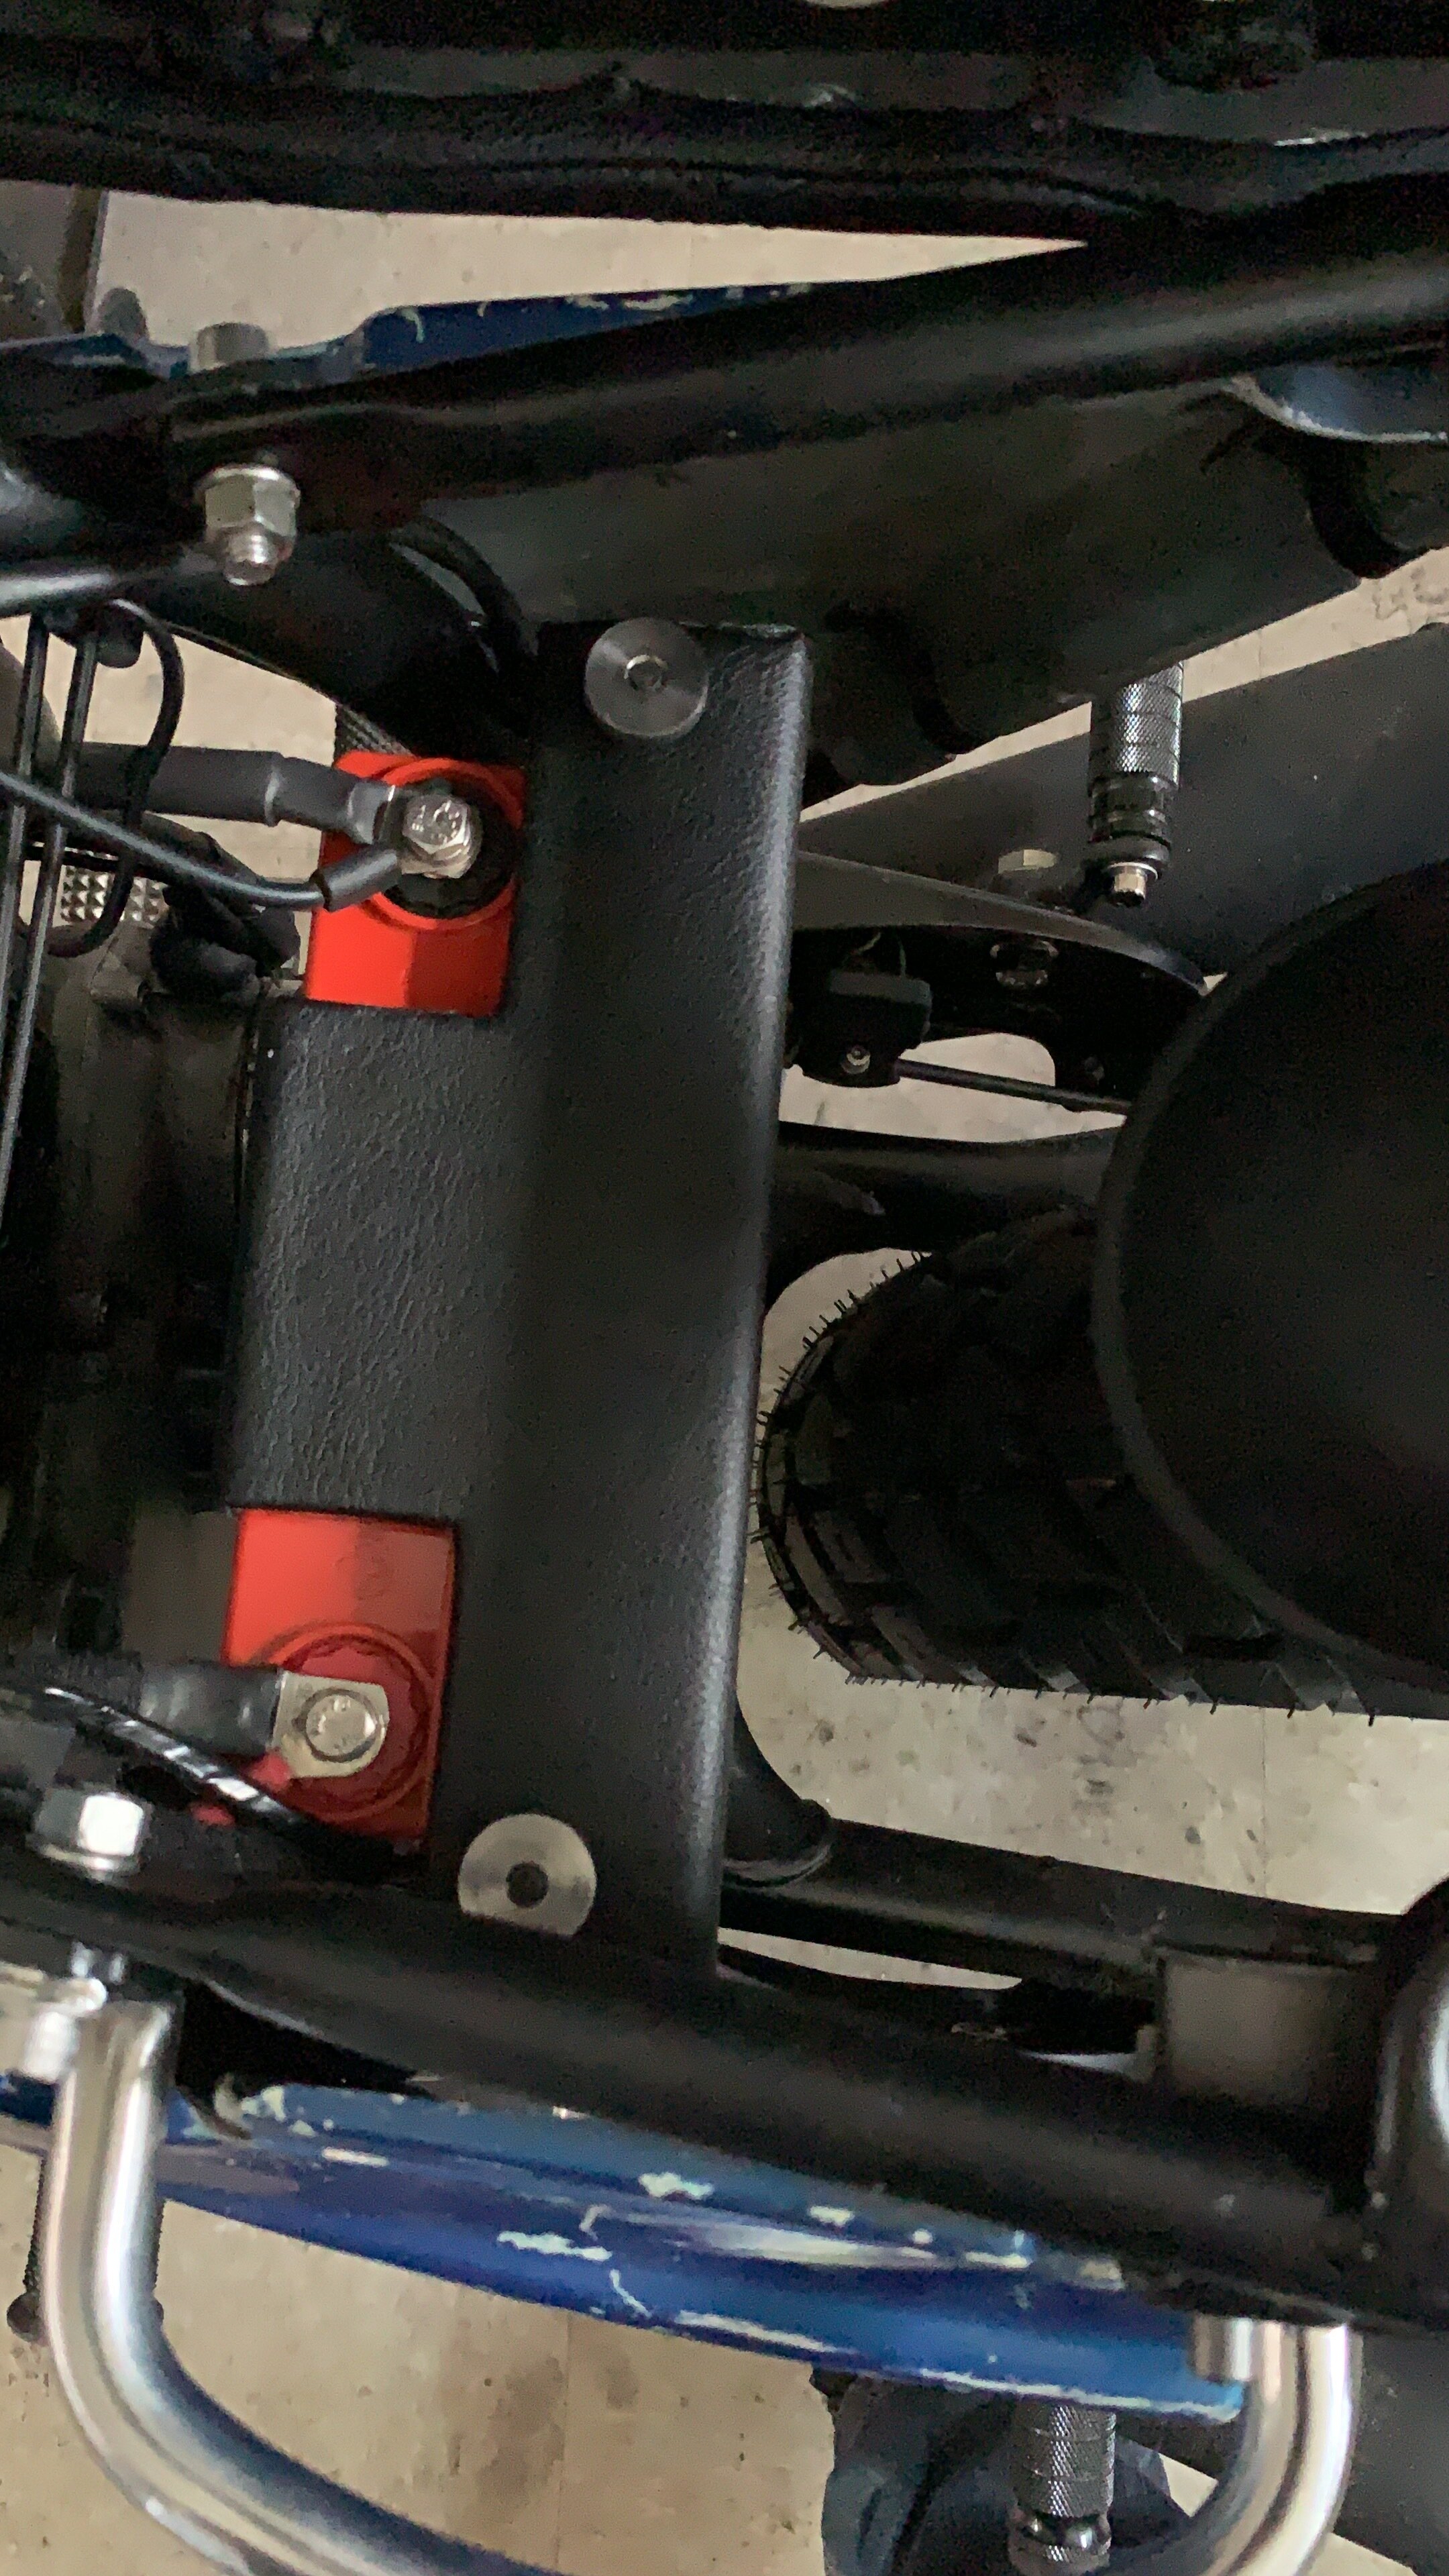
The original battery is nothing short of massive. I would not be surprise if you could use that battery in a car. I got an AGM Odyssey battery. Literally half the size. The rubber bumpers are well cracked and worn out, I was able to get generic ones on Amazon and cut the thread to the right length for installation. Modifying the battery box require shortening the base and the side arm, but also the clamp location. After measuring and everything and cutting everything with a cut off wheel, I taped the pieces together and put the battery in there for fitment mock up before welding. After welding, and some grinding and body work and paint. It was install in the same place with new rubber insulators.
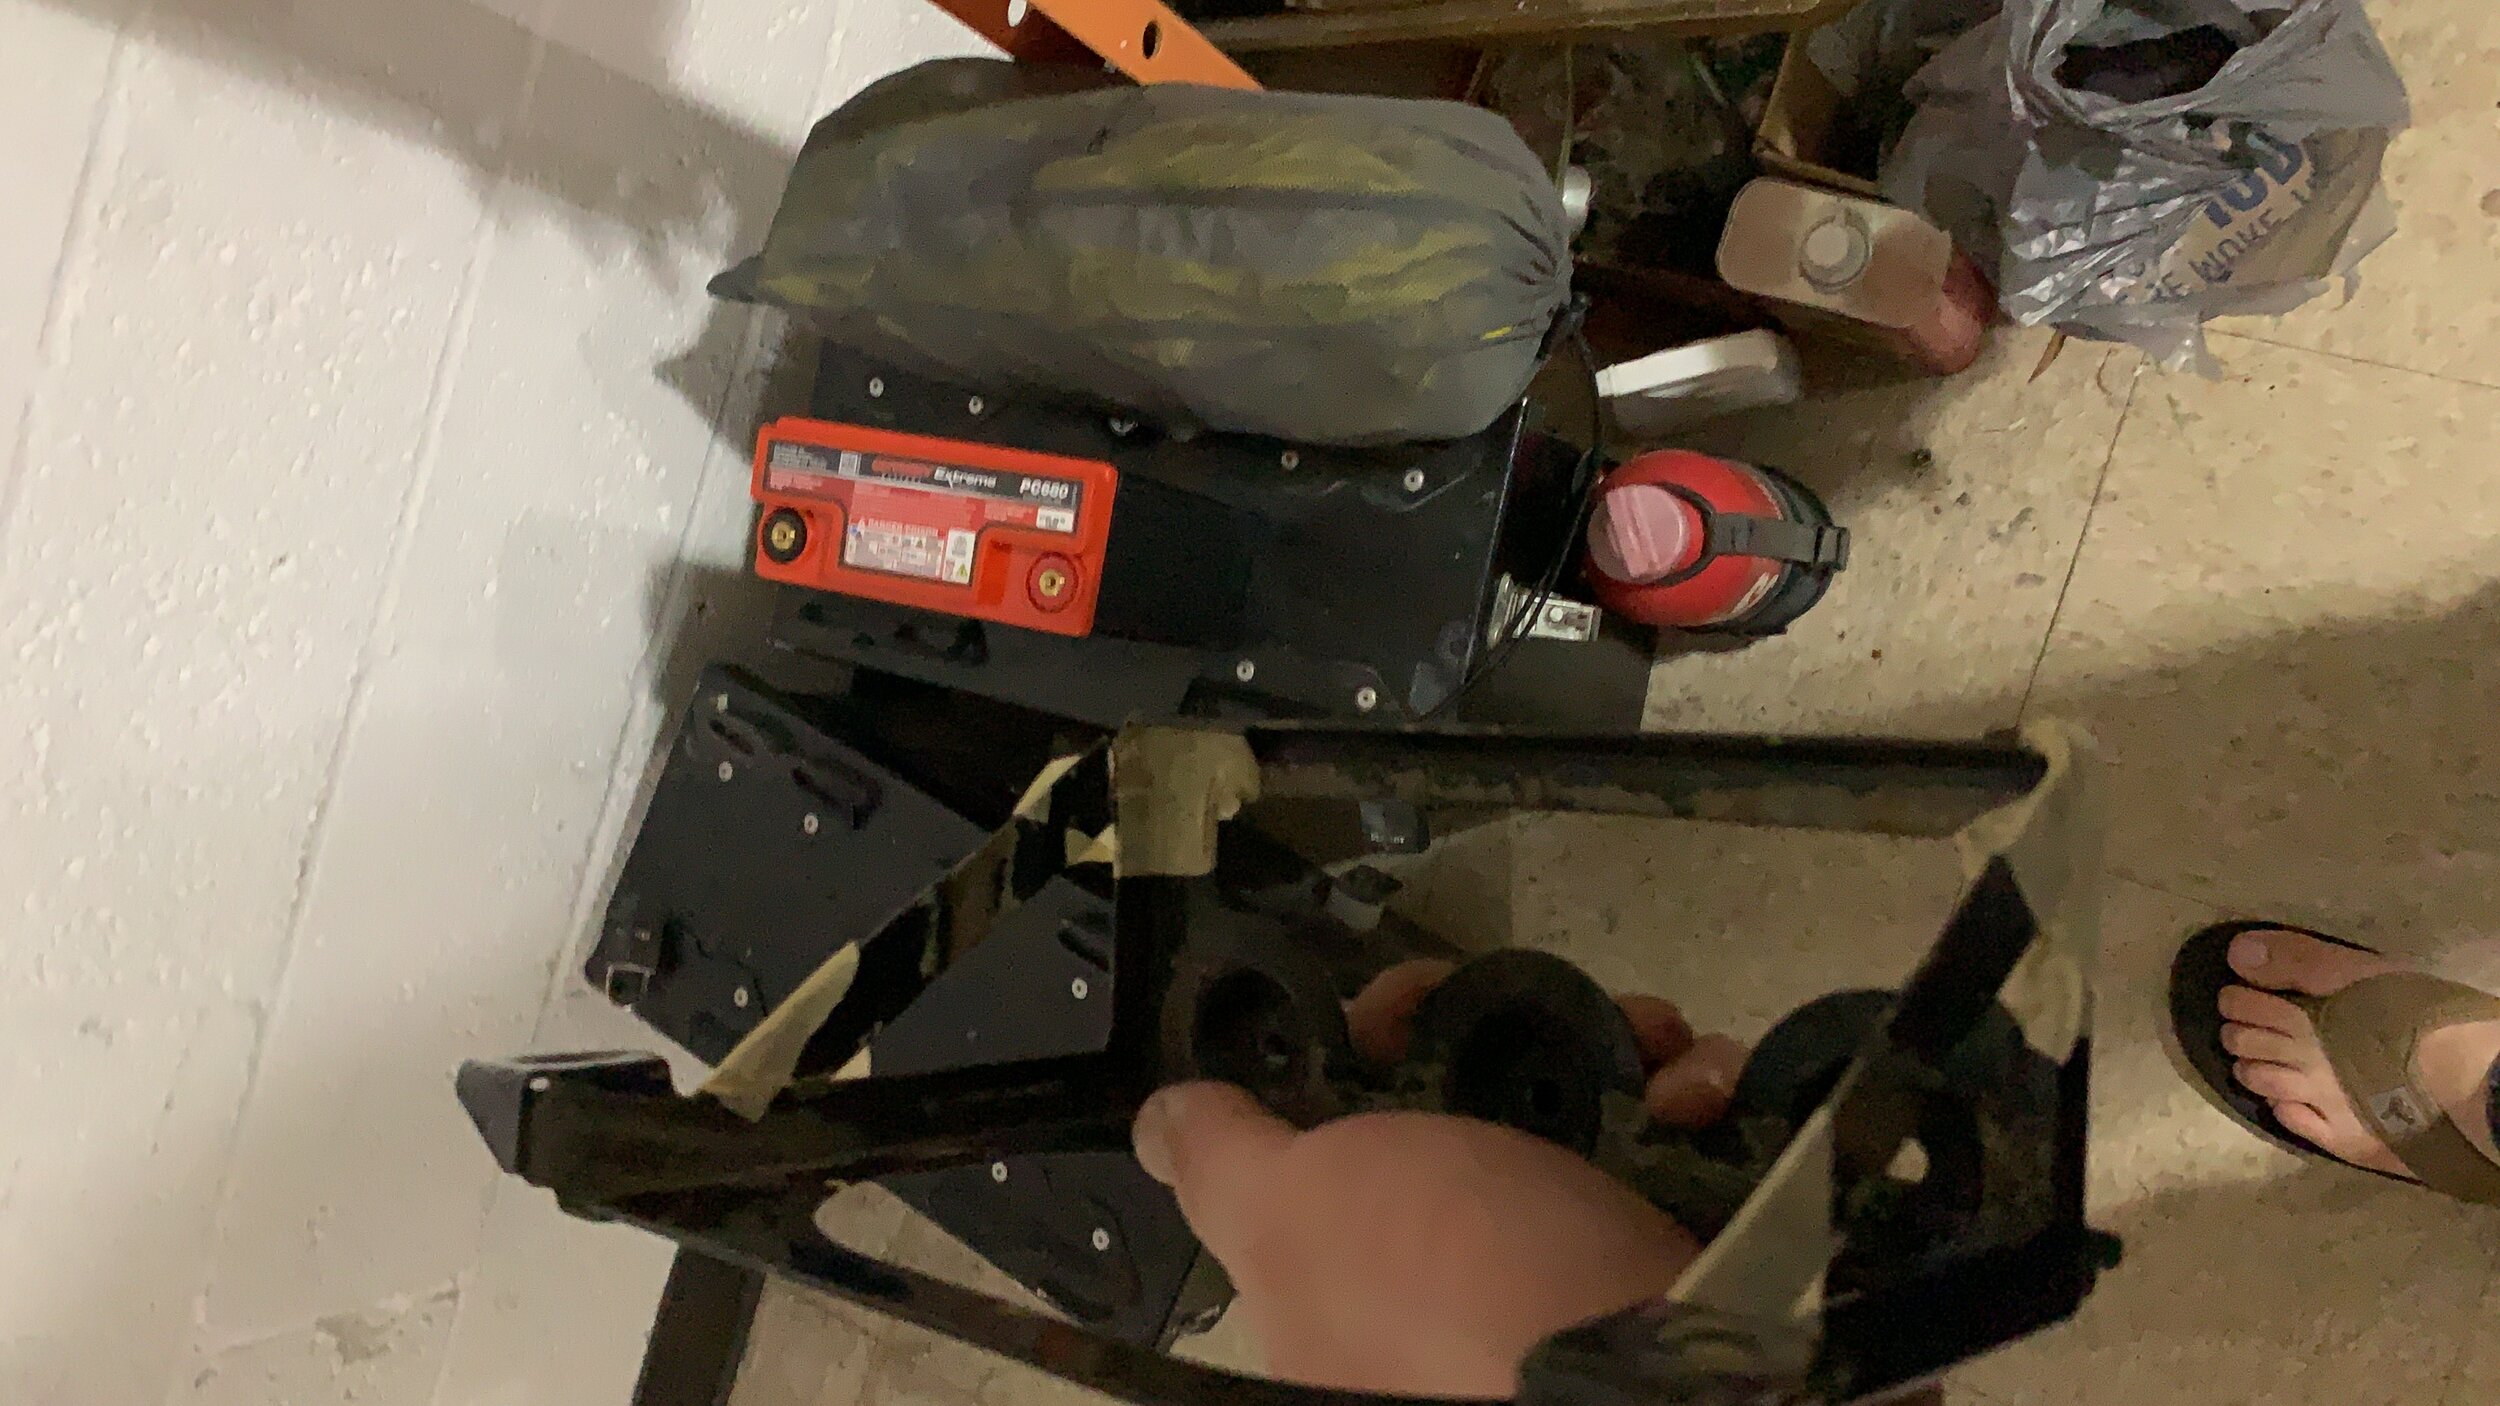
The battery box is not done yet! I took a piece of scrap metal from my brothers shop and measure and but and bend it to the size of the battery hold down on top. Once bent, I had to measure the location for the post to come through. Once everything is drilled and measured up. I wrapped it in vinyl and riveted the sides. Then bought two hand knobs from amazon and the custom battery box is finally done.


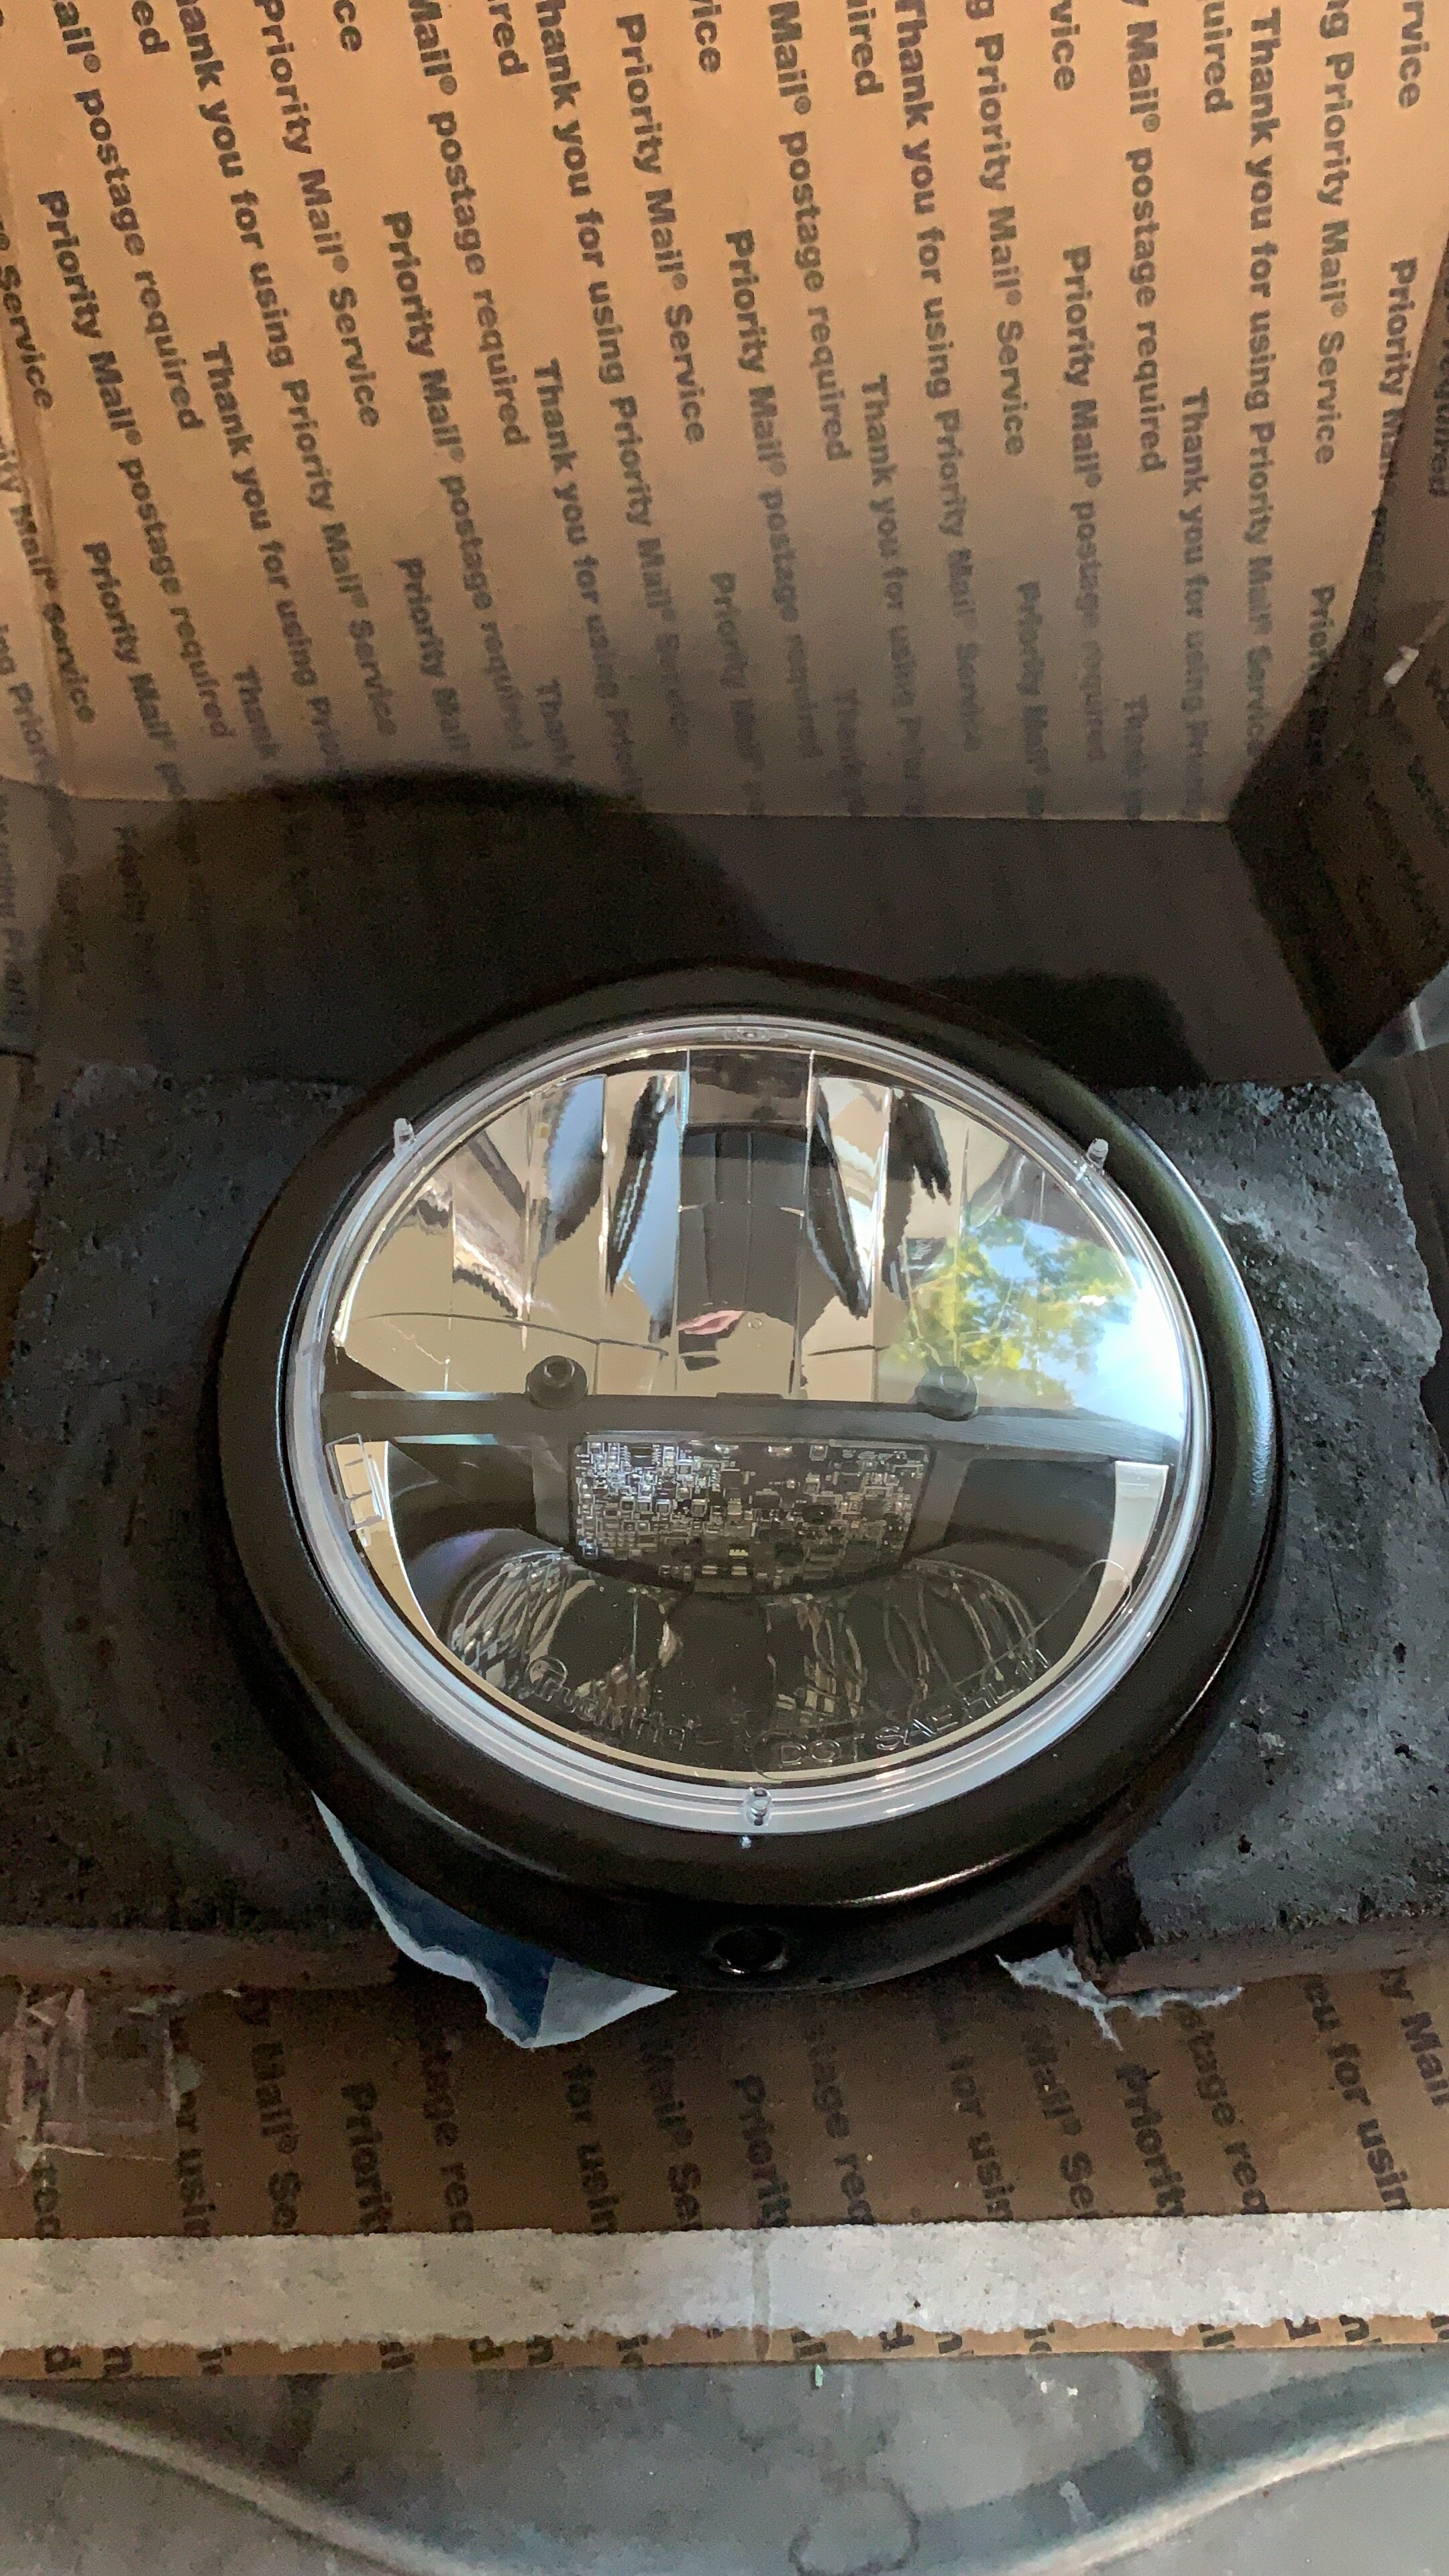
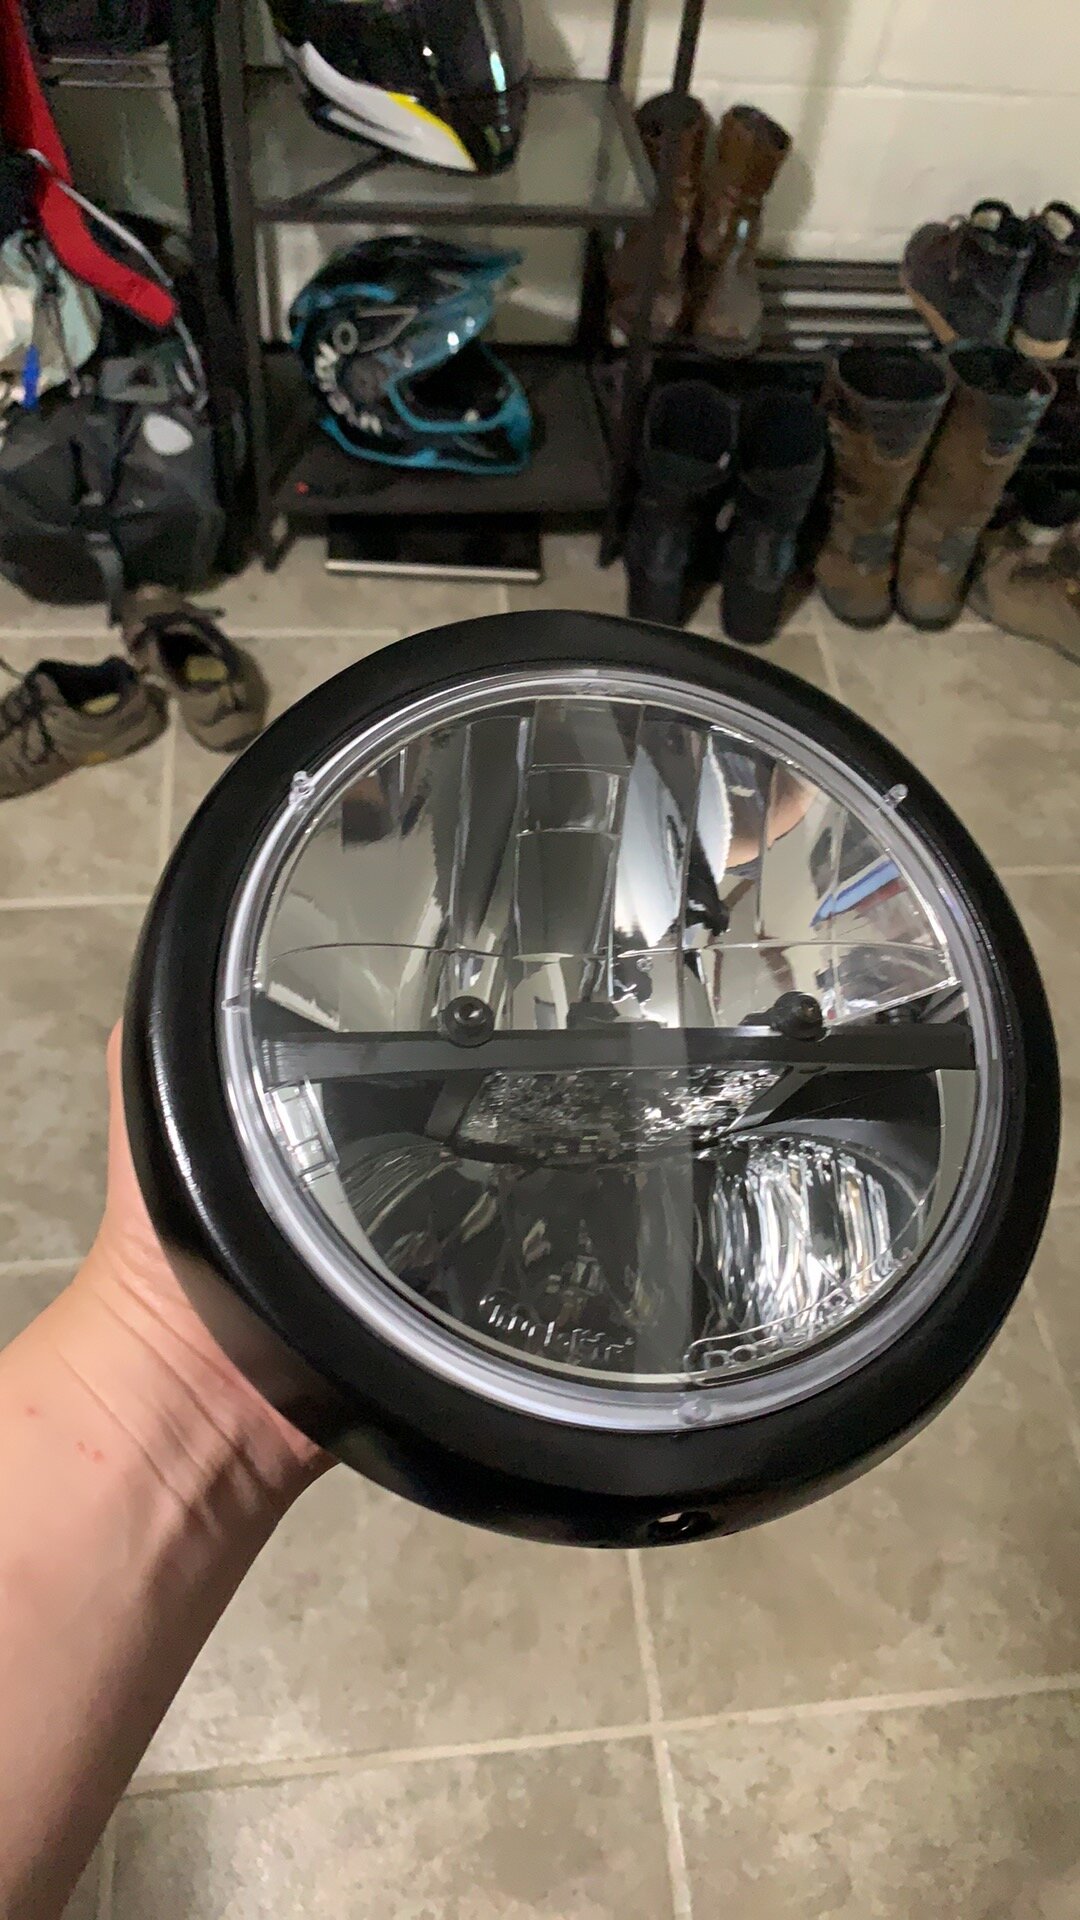
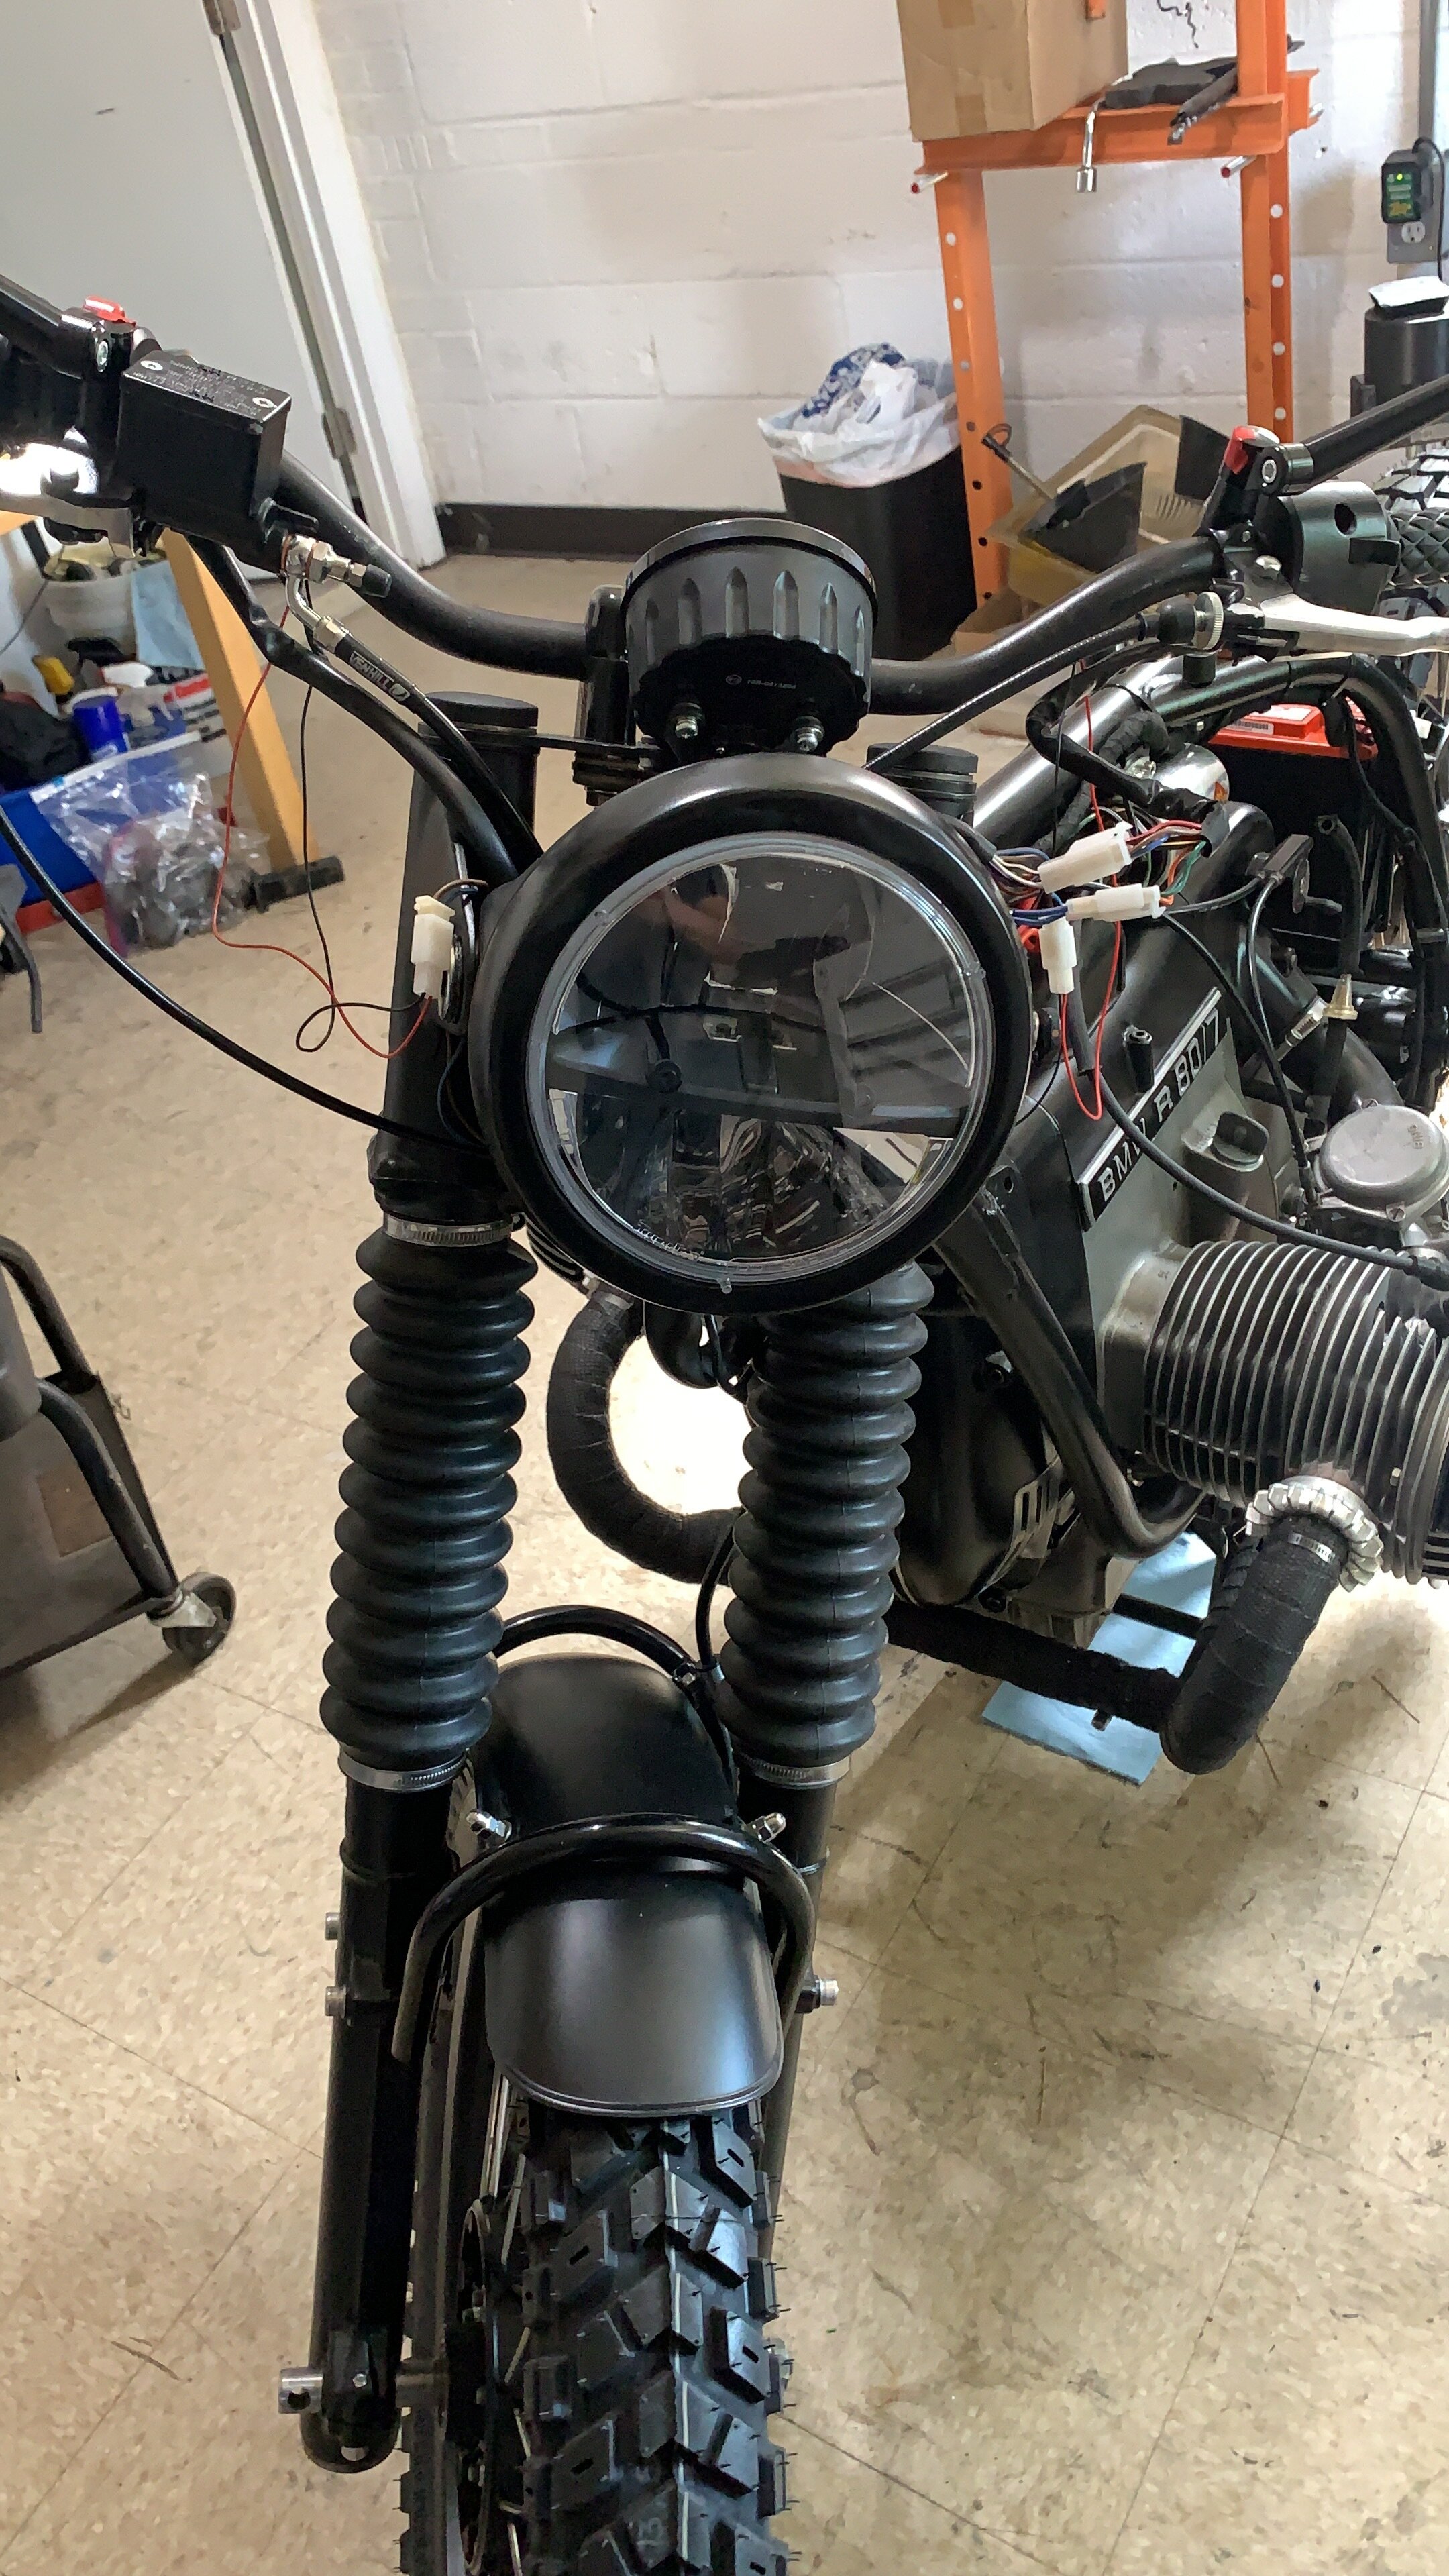
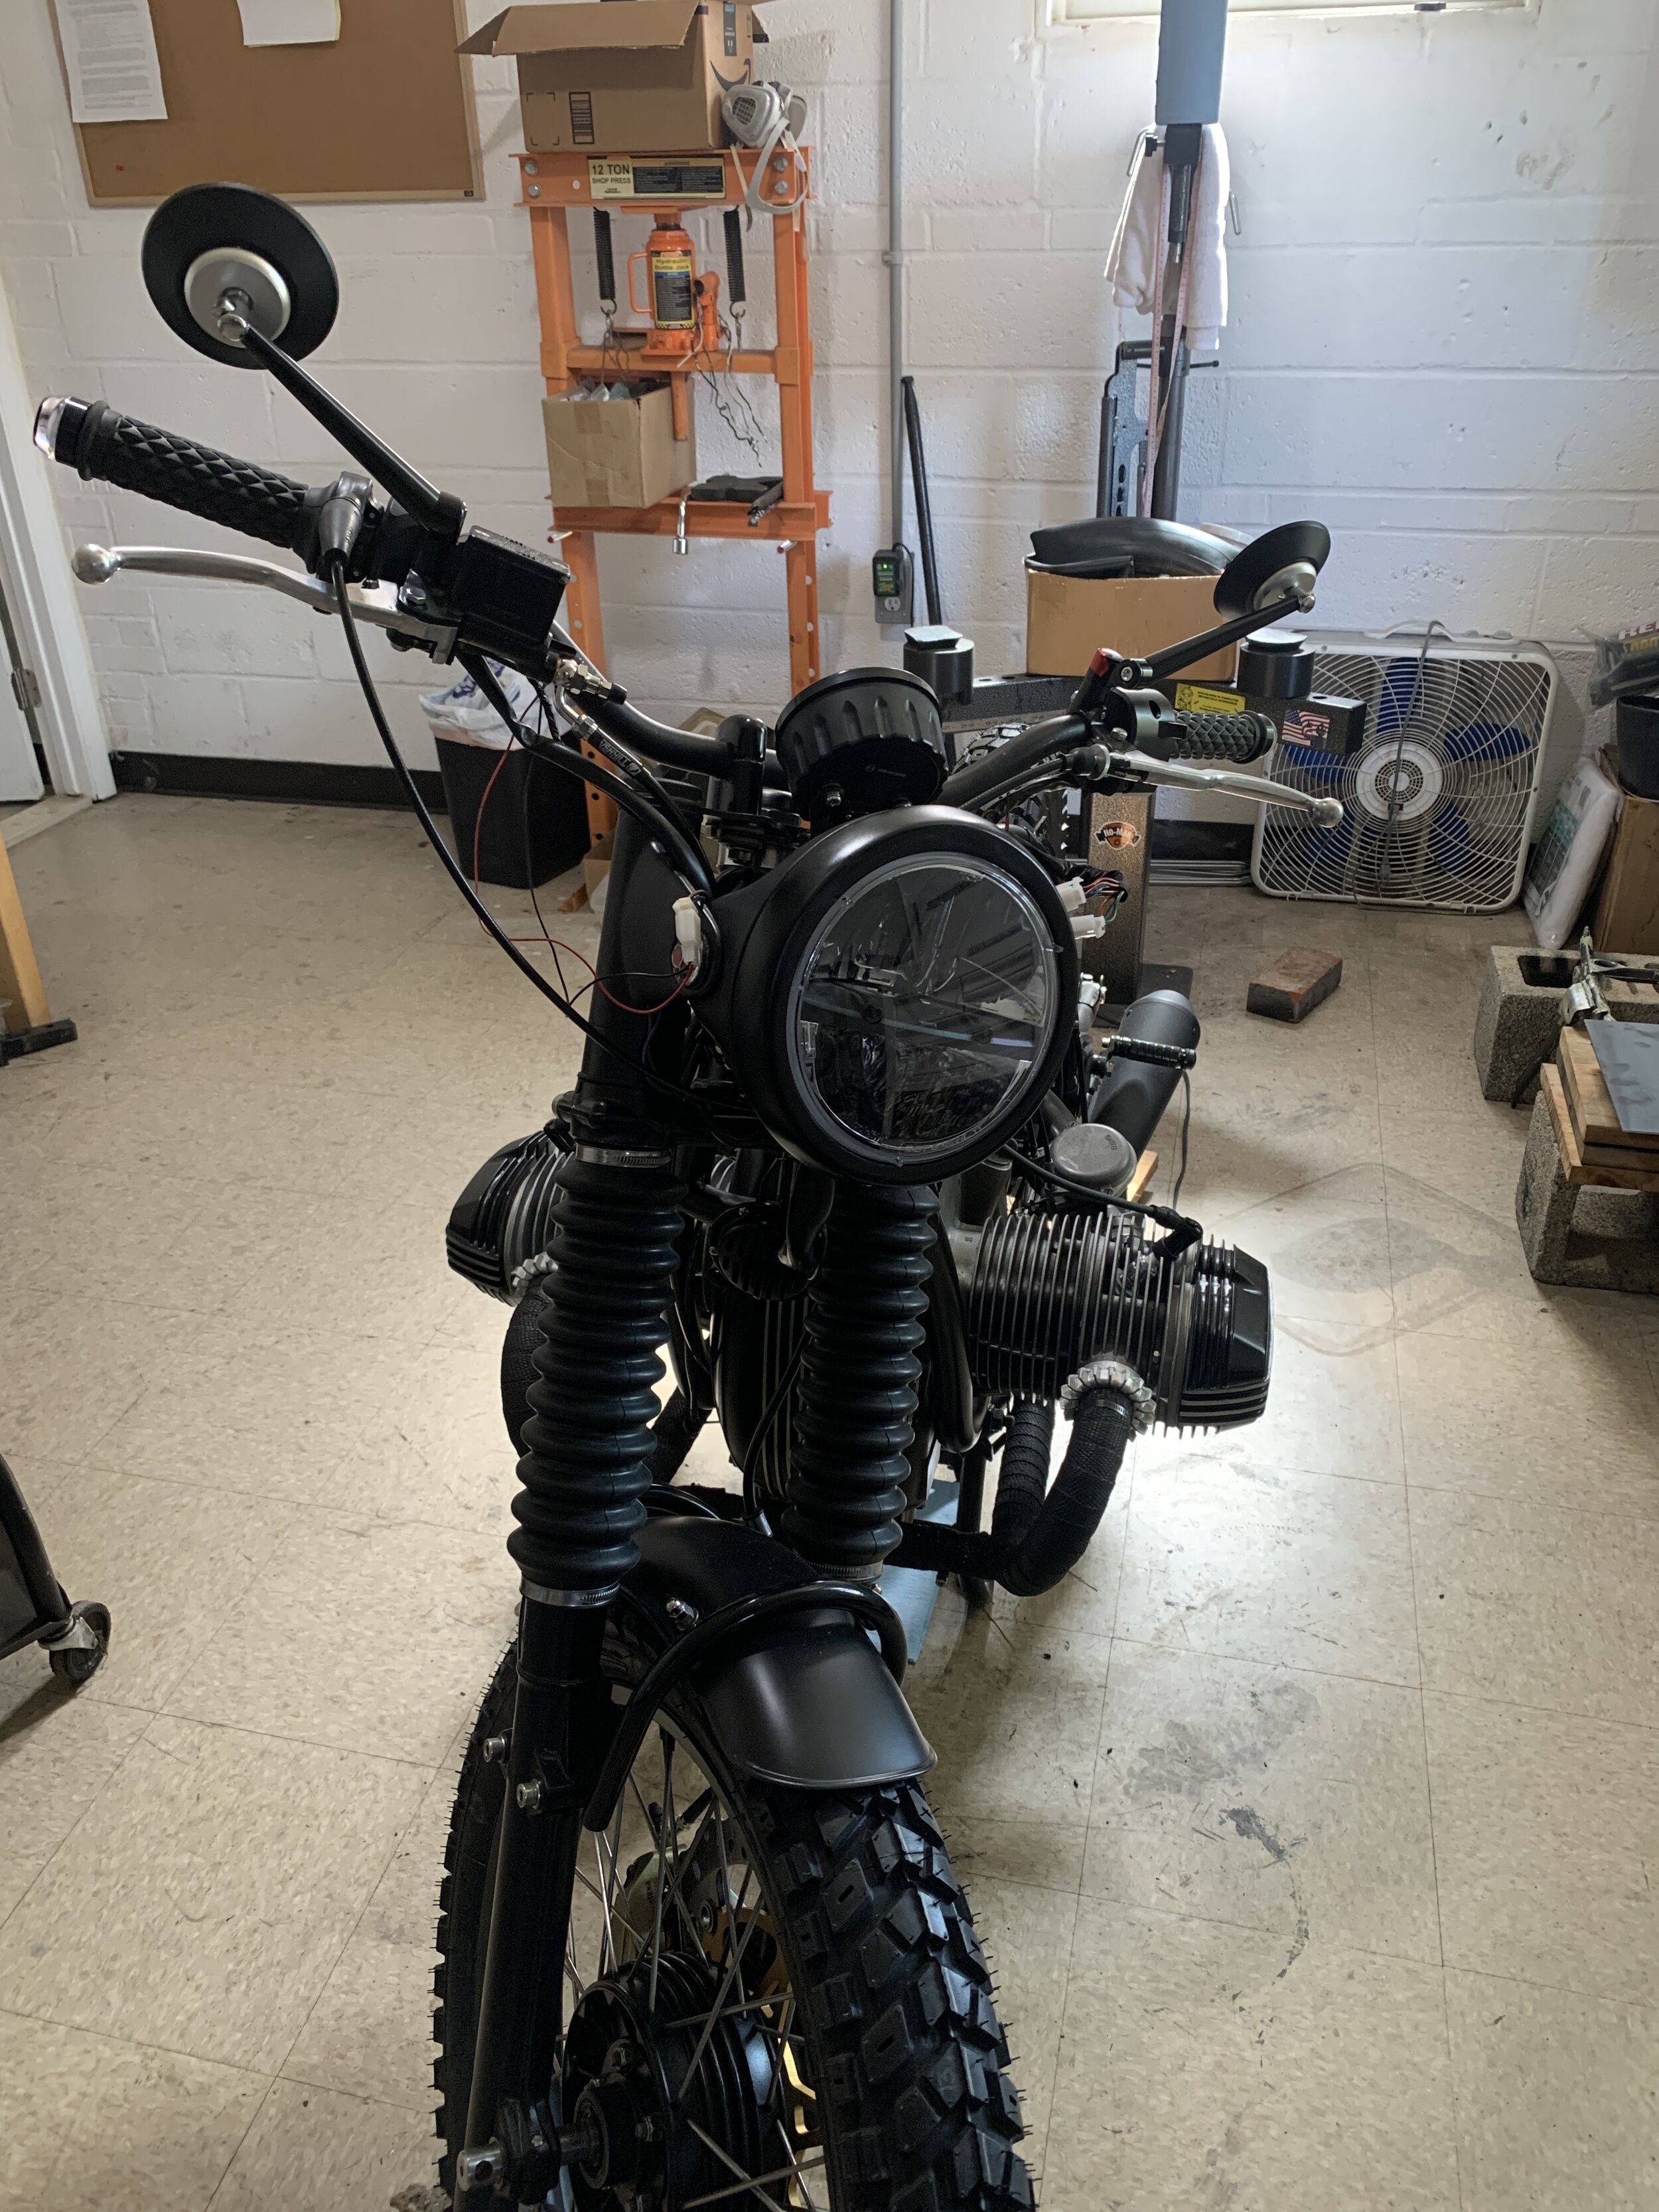
LED Headlight
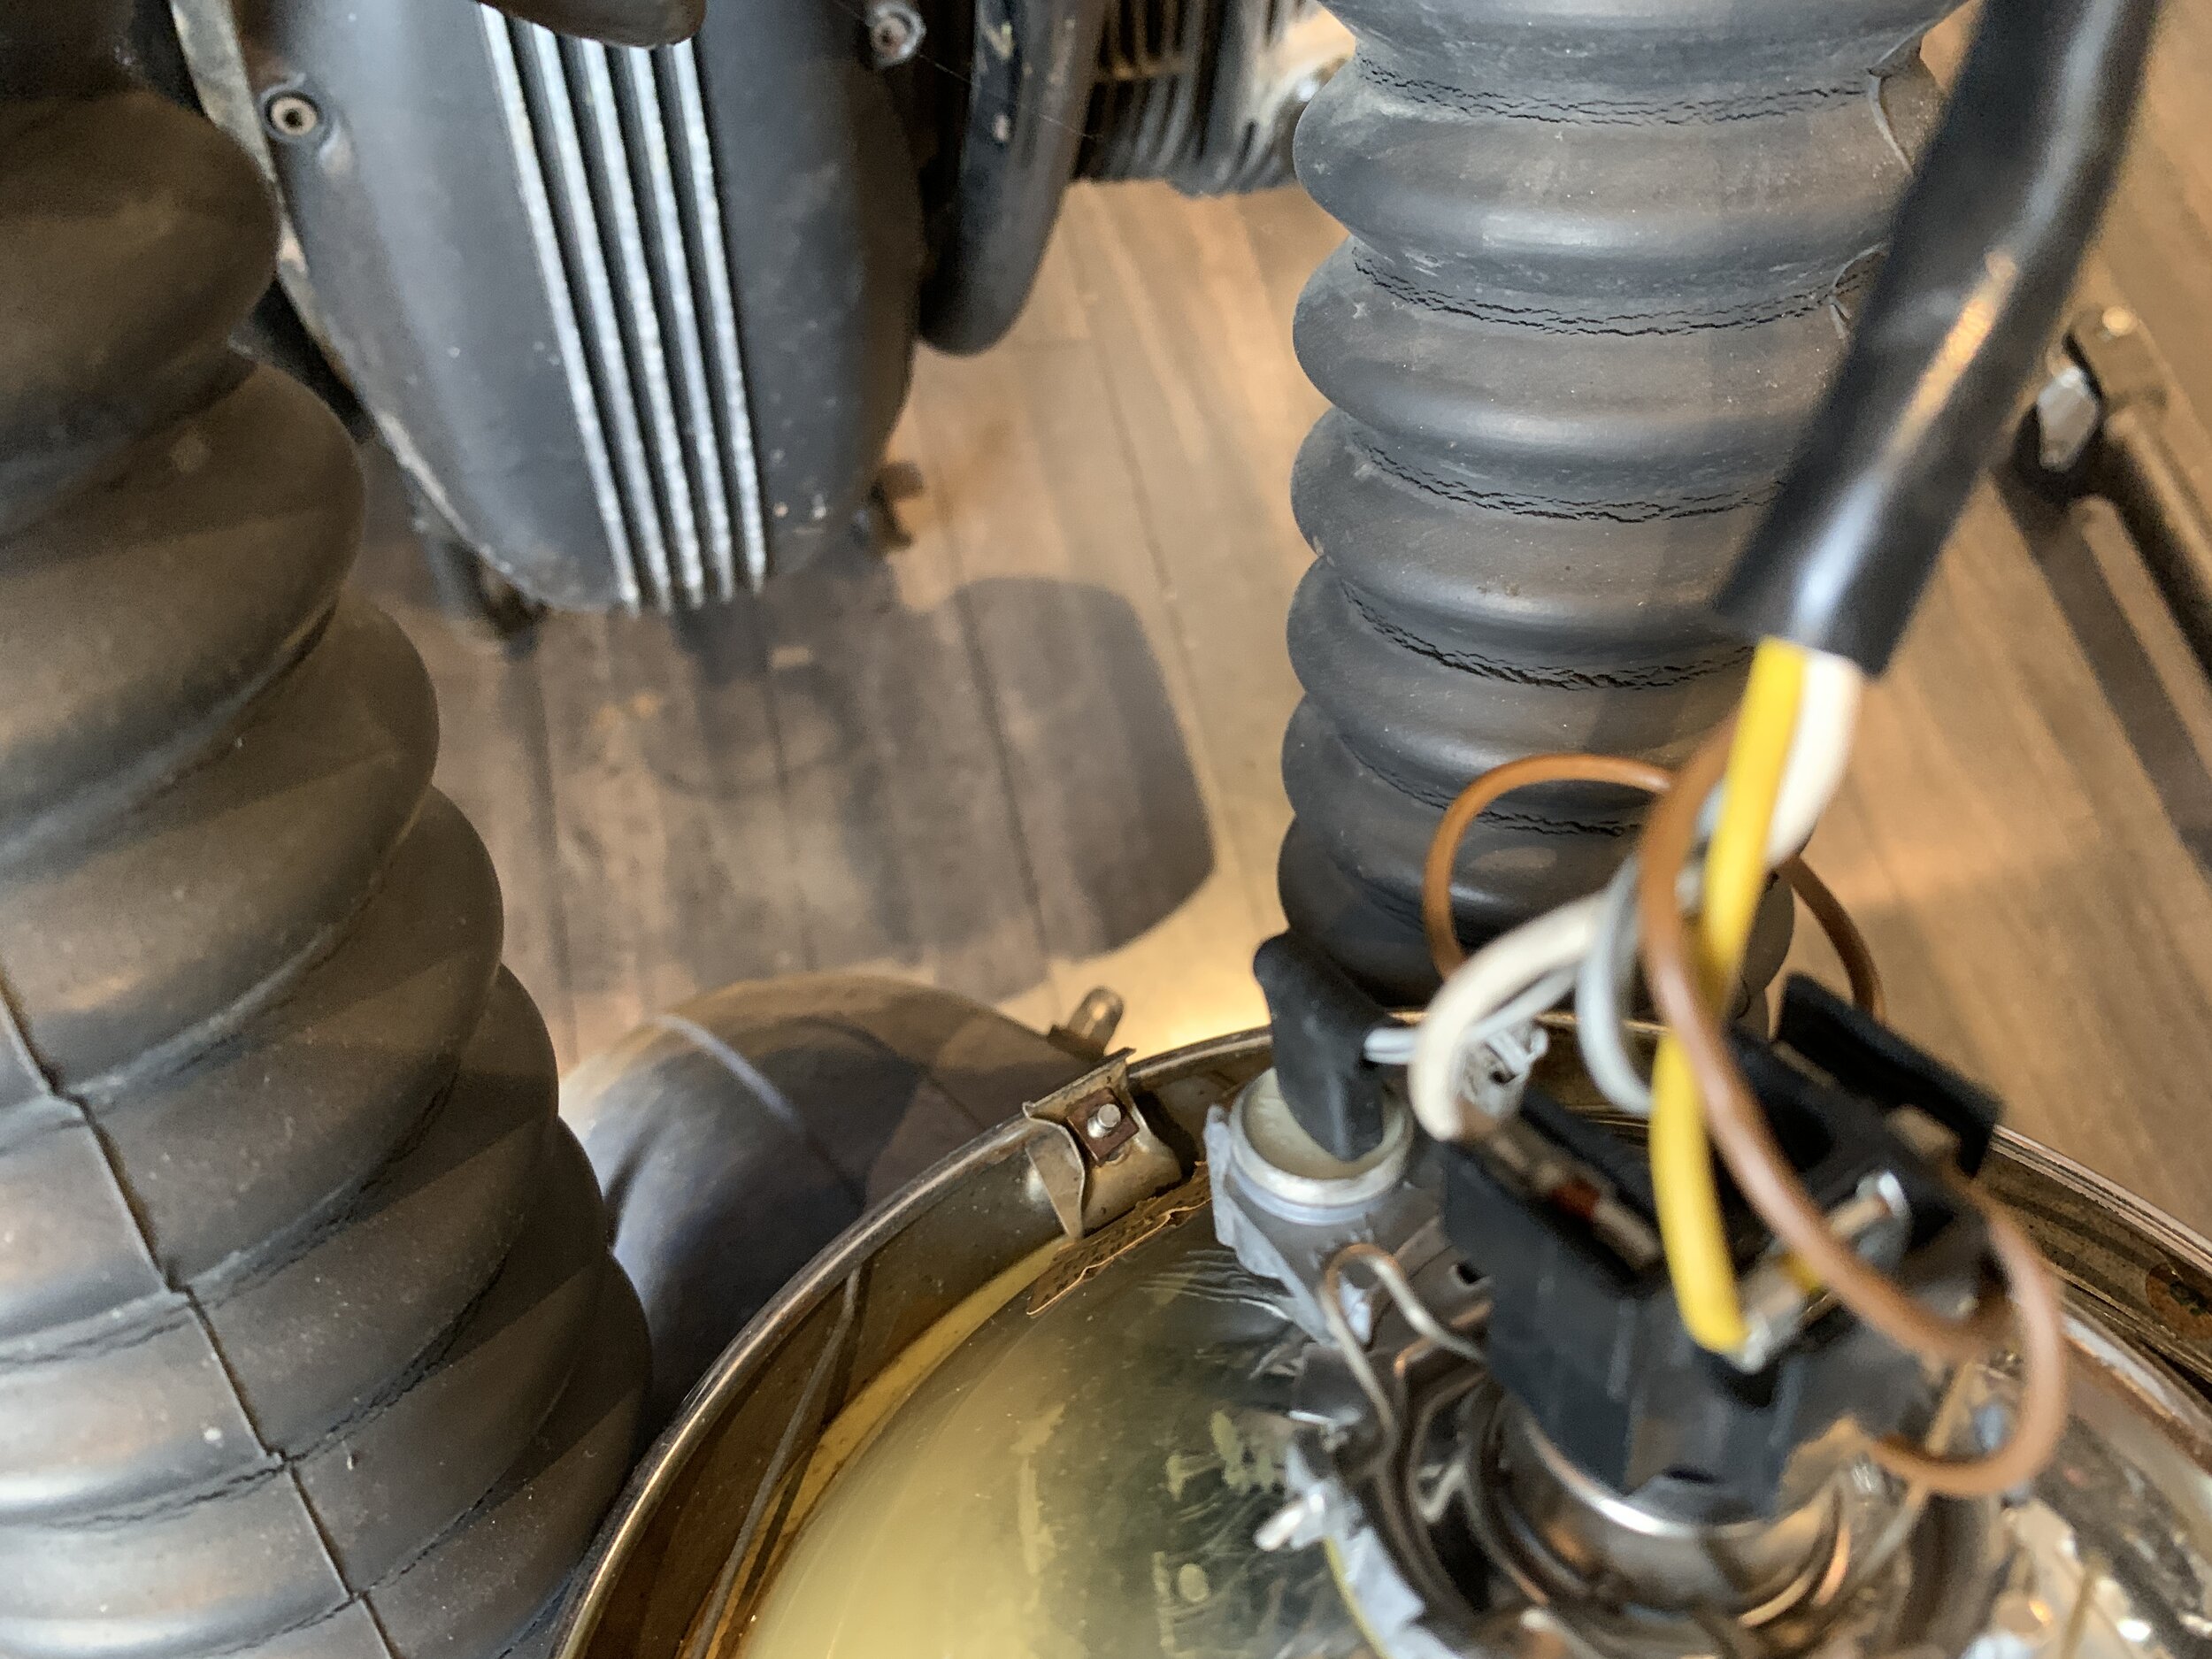
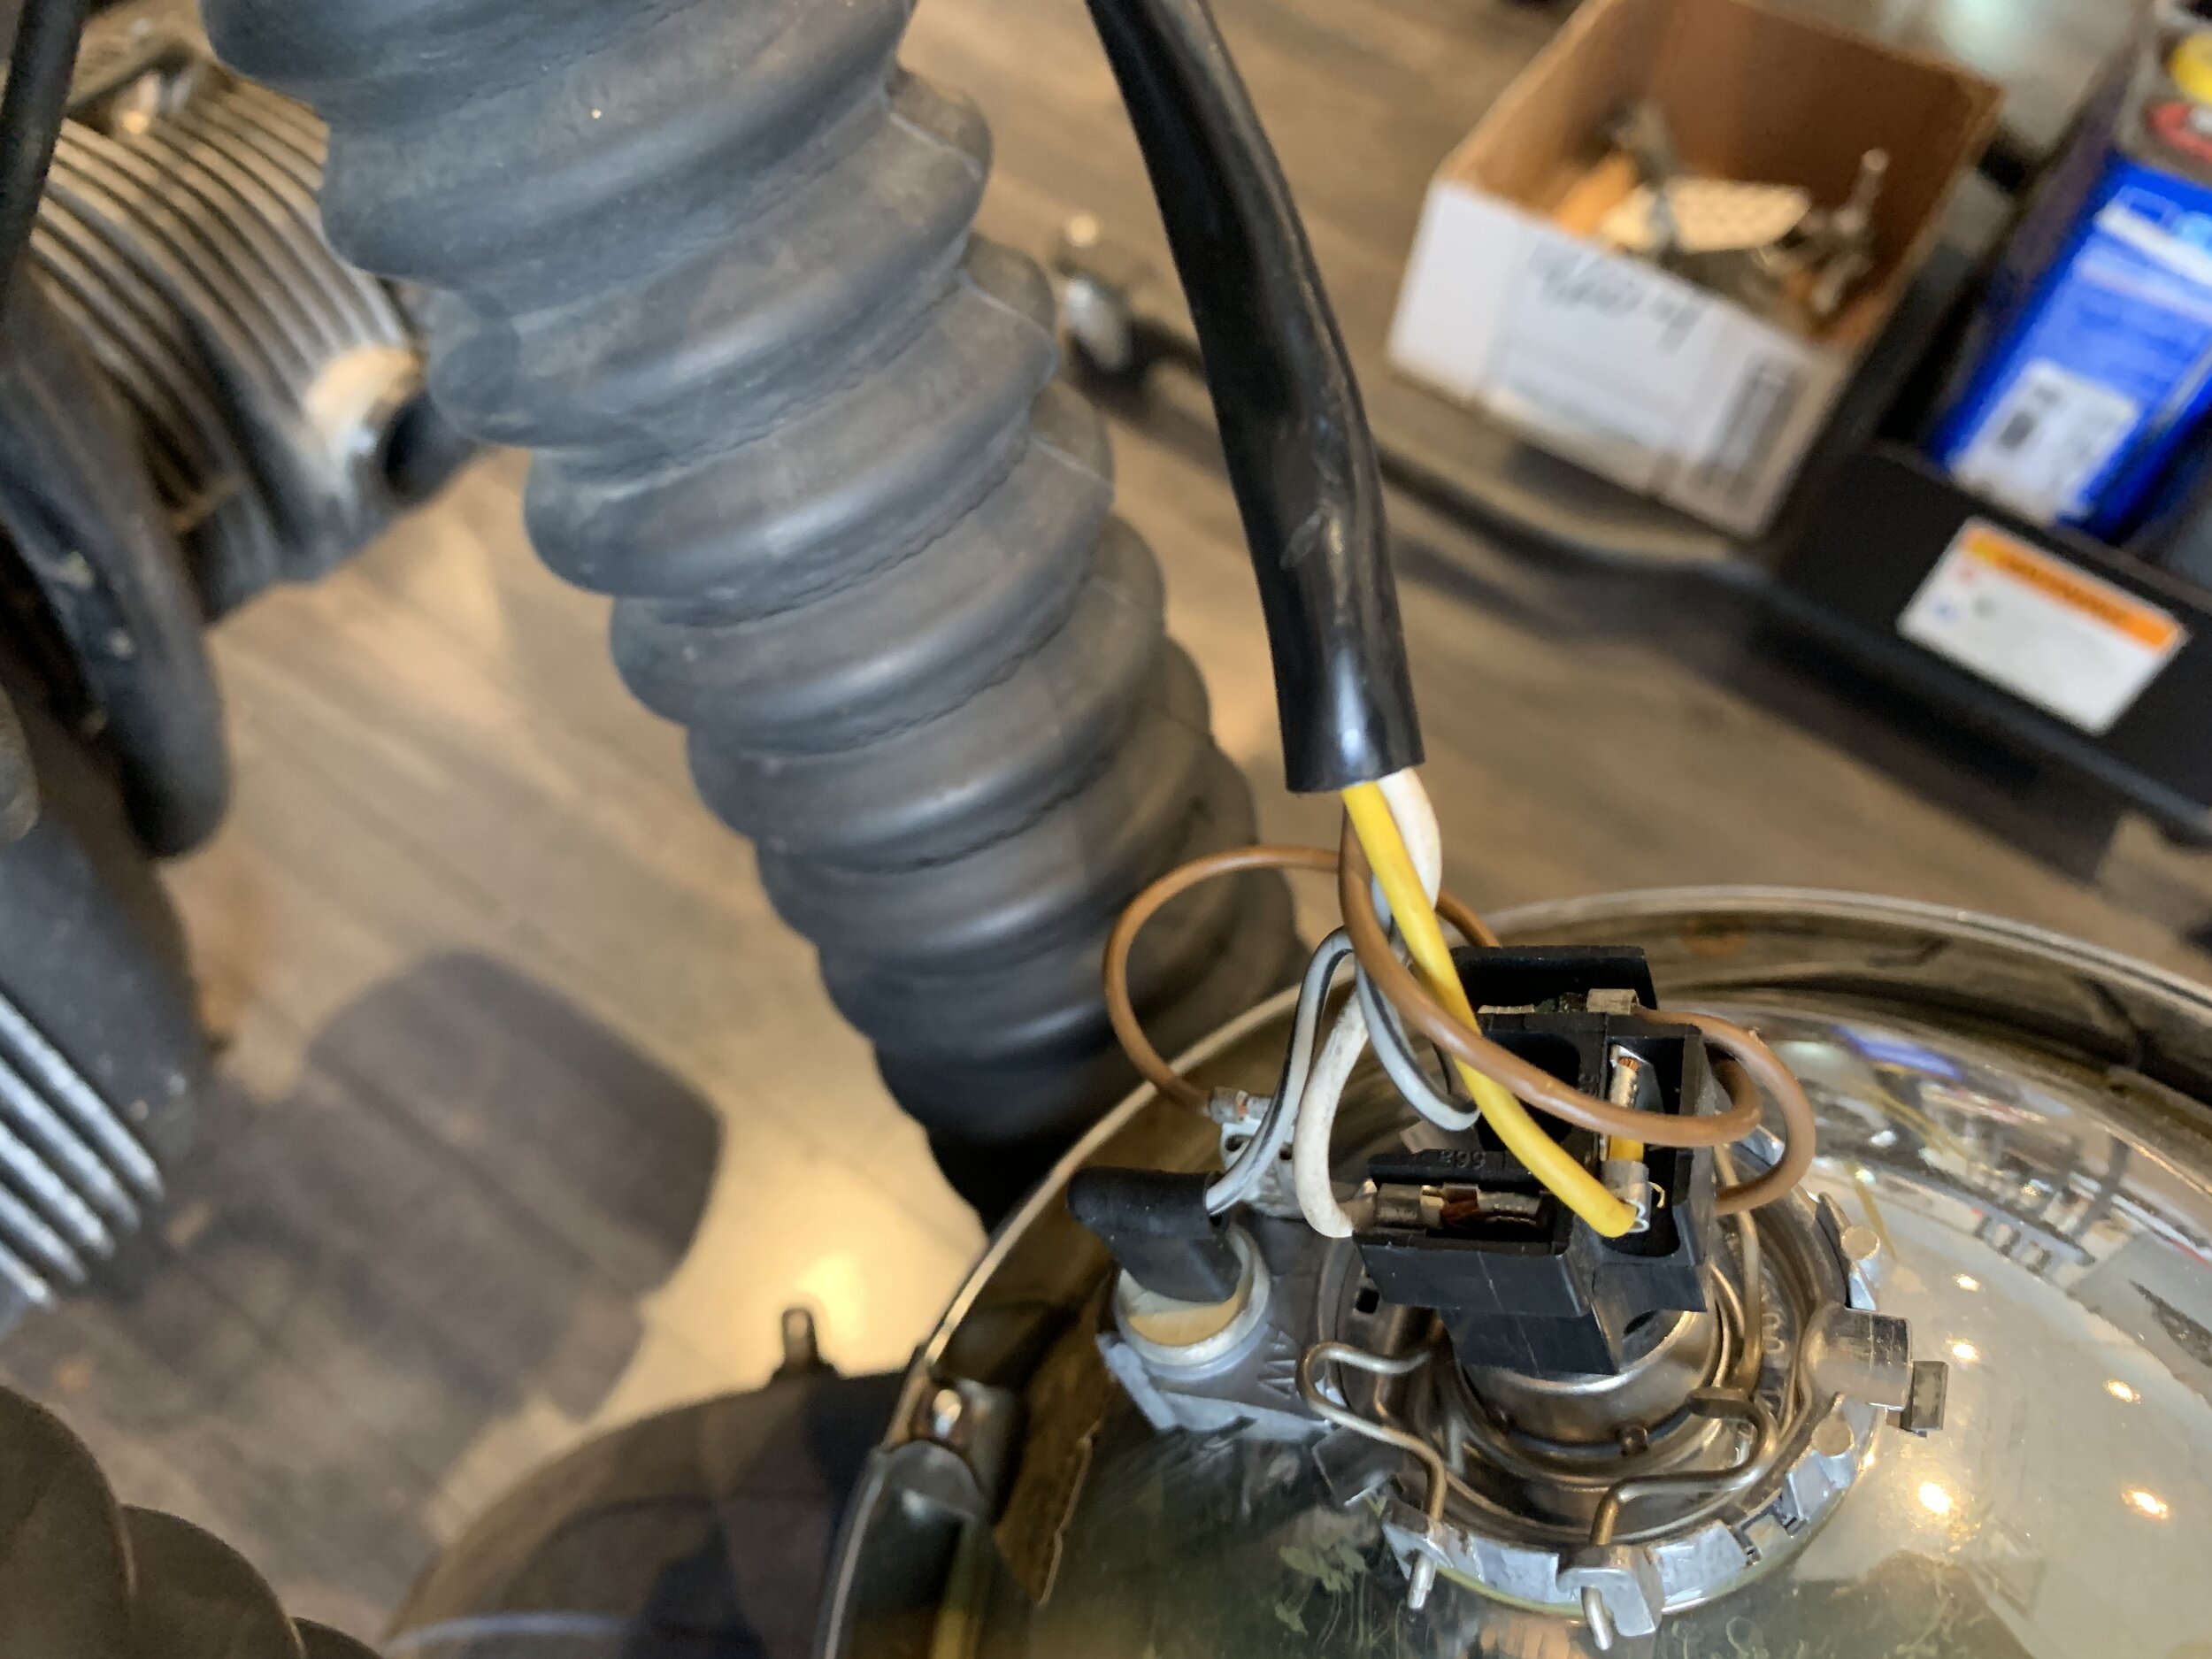
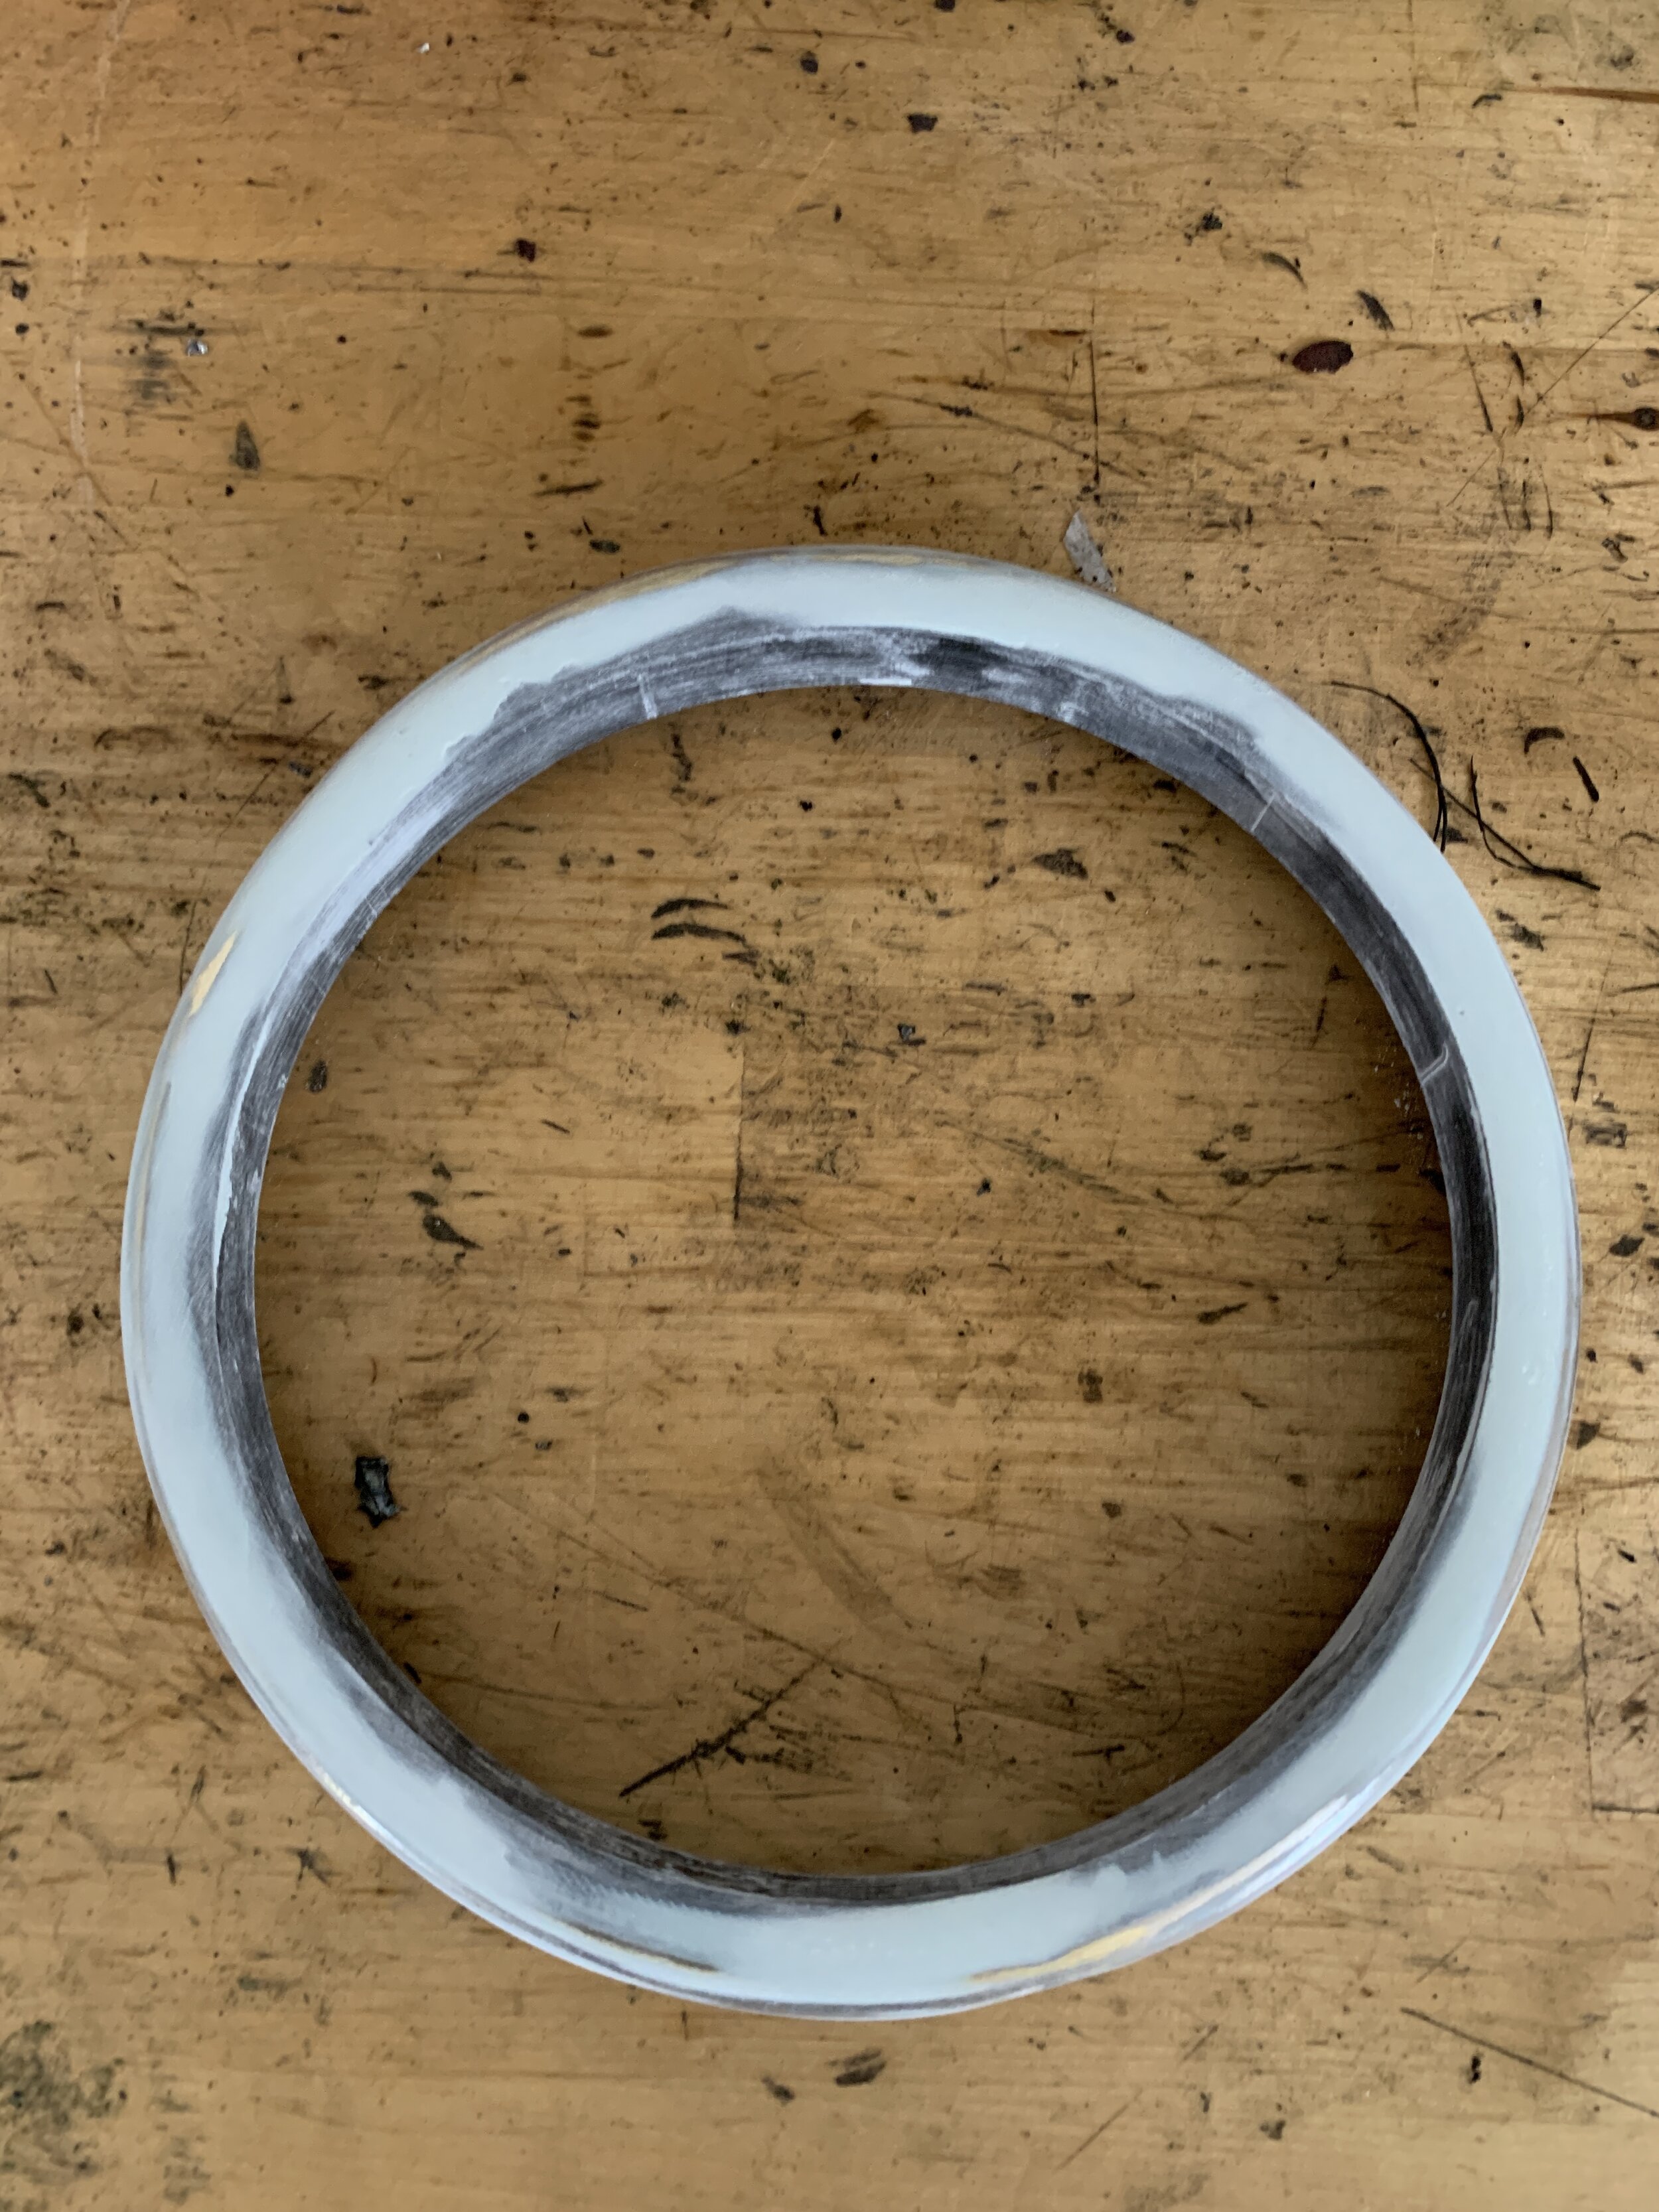
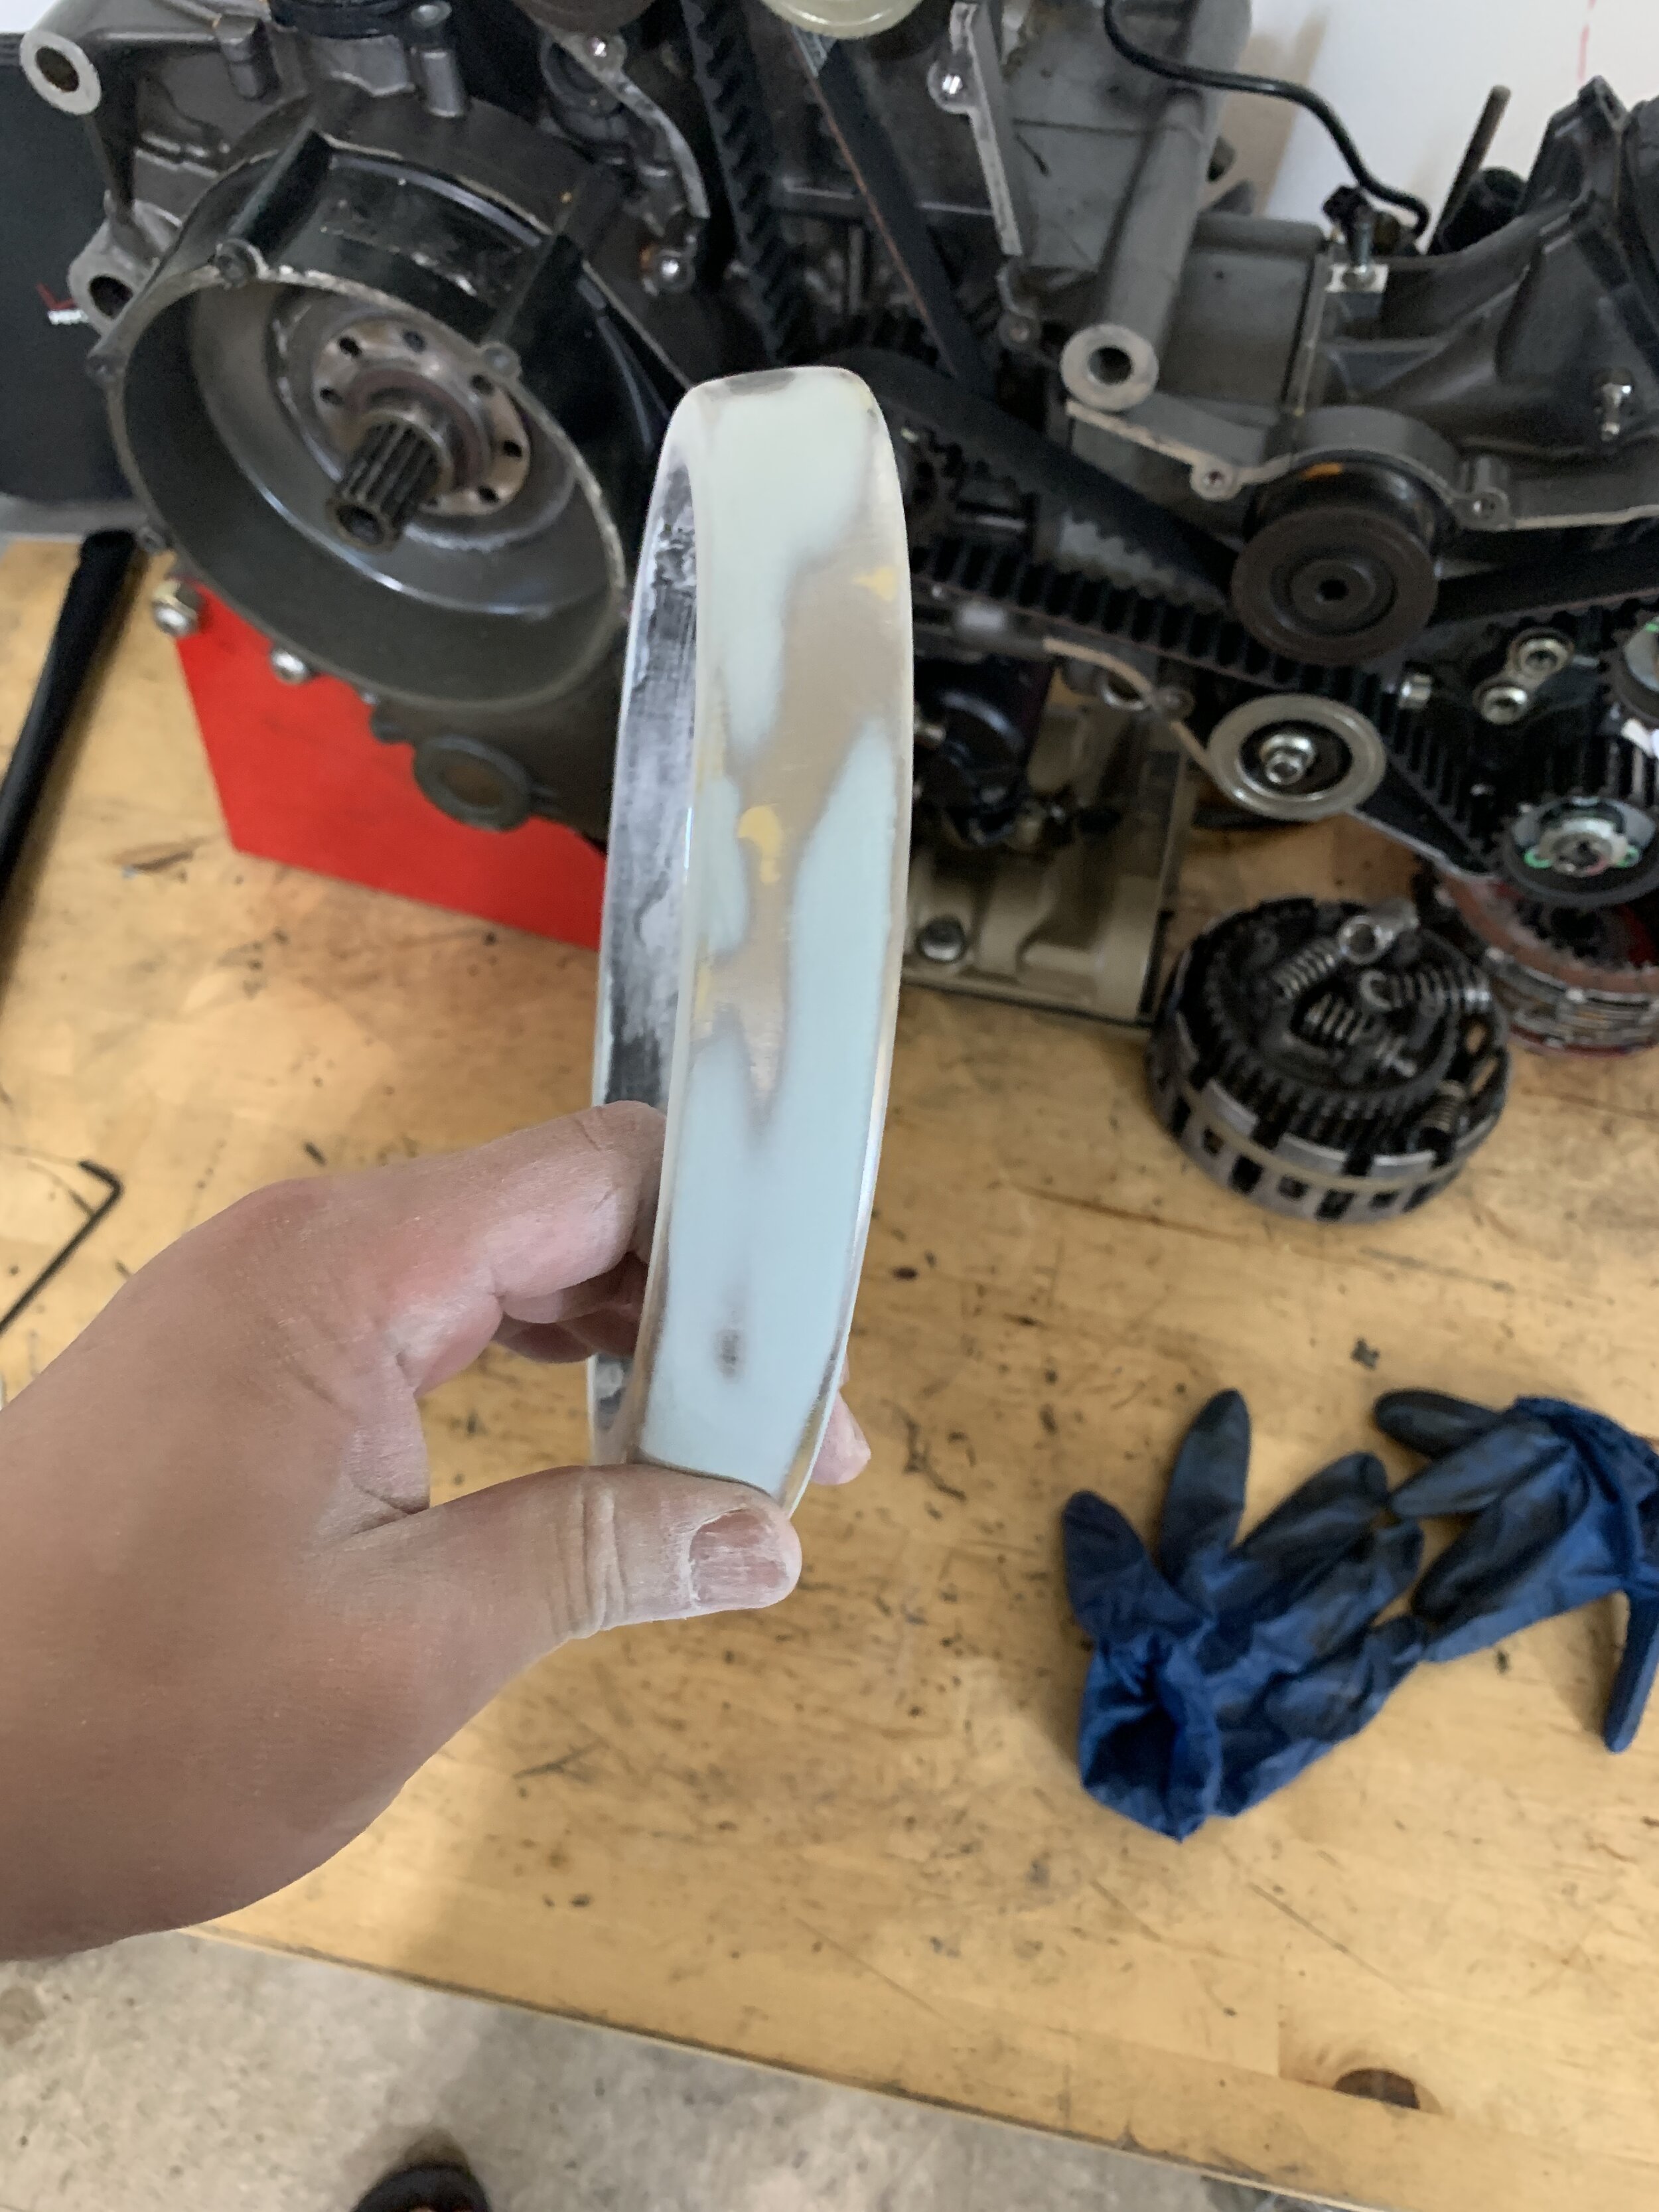
I purchased one of the best rated LED 7 inch headlight that is available on the market by Trucklite. I knew the original headlight is 8 inch in diameter, so I had to make something to take up the gap and create a seamless integrated look, that will not look like a home DIY build. Sure there are companies out there that make 500 - 600 dollar replacement lights but none of them are reusing the original headlight bracket, which I like to keep. This is after all a modern restoration build, not a full on chop shop build. The same reason I kept the rear subframe to make a modernized bike rather than opting for a prefab subframe that is not original. Salman printed this headlight ring from his 3d printer, the inner diameter was too big and I try to shave it off with a makeshift lathe, it chipped it really quickly and did not cut into the PLA very well. Second test I took the PLA outside in the sun and left it there for 4 hours and the PLA completely warped. So we ended up printing with ABS plastic. The final mock up fit well and the rest is body work and then using automotive body epoxy glue to finish the assembly.
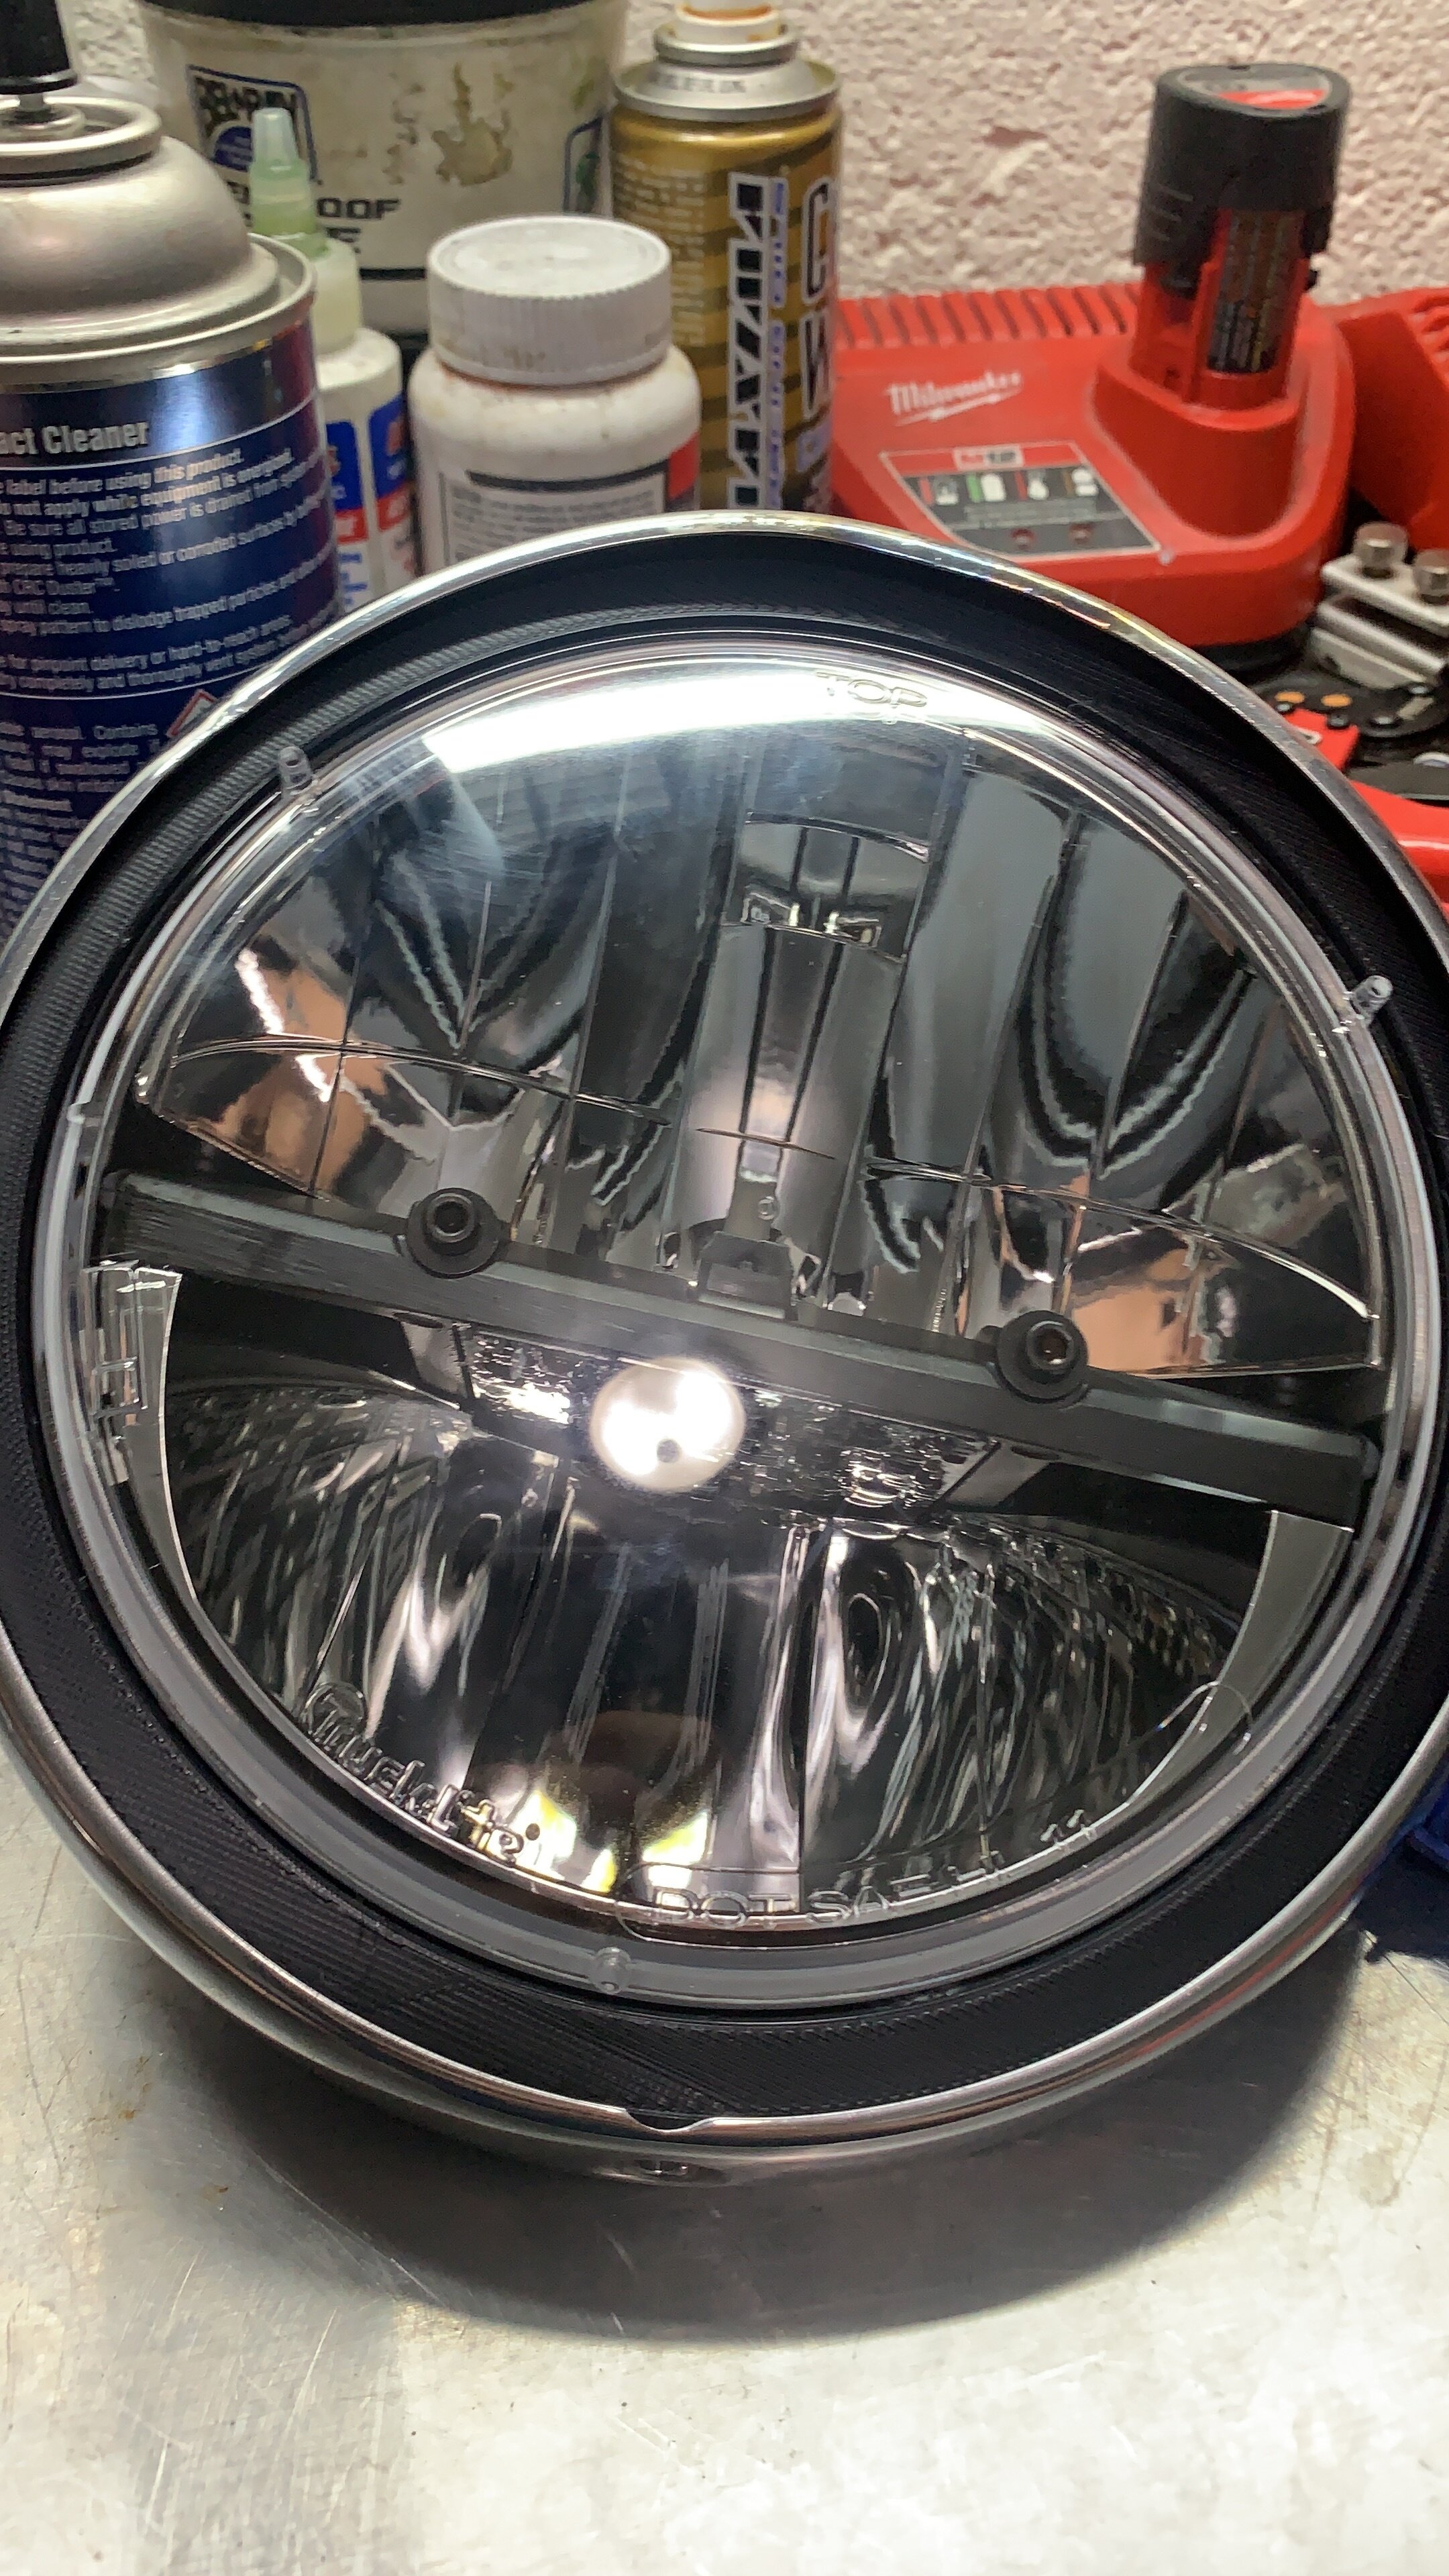
Every process took a lot longer than anticipated because there were many hurdles along the way. Another thing with custom build is that there is infinite ways to solve a problem. But not all the solution are top notch quality outcomes. In order to create a seamless and OEM style look, you really have to find ways to install these things so it looks like it was designed that way from the factory blending the old and the new, that is a lot harder than just replacing parts or completely forgoing the old parts. Here I glued the ring with automotive body epoxy and then sanded the chrome off using 60 grit sand paper. Then used body filler to smooth out the slightly damaged headlight ring. After that I coated with paint and then clear, then glued the actual headlight into the housing. The 3d print was the exact depth that the trucklite inset was, which was a common complaint for many that the headlight stick out because the mounting base us a good 3/4 of an inch deep into the headlight. This way it was flush with the ring with only 1mm sticking out. Then I found out the the old clip that holds the headlight on does not clear the new 3d printed bracket and there is further clearance issues with the clip distance to the actual housing on the bike. I had to make a custom bracket before I was finally able to install this custom headlight build.
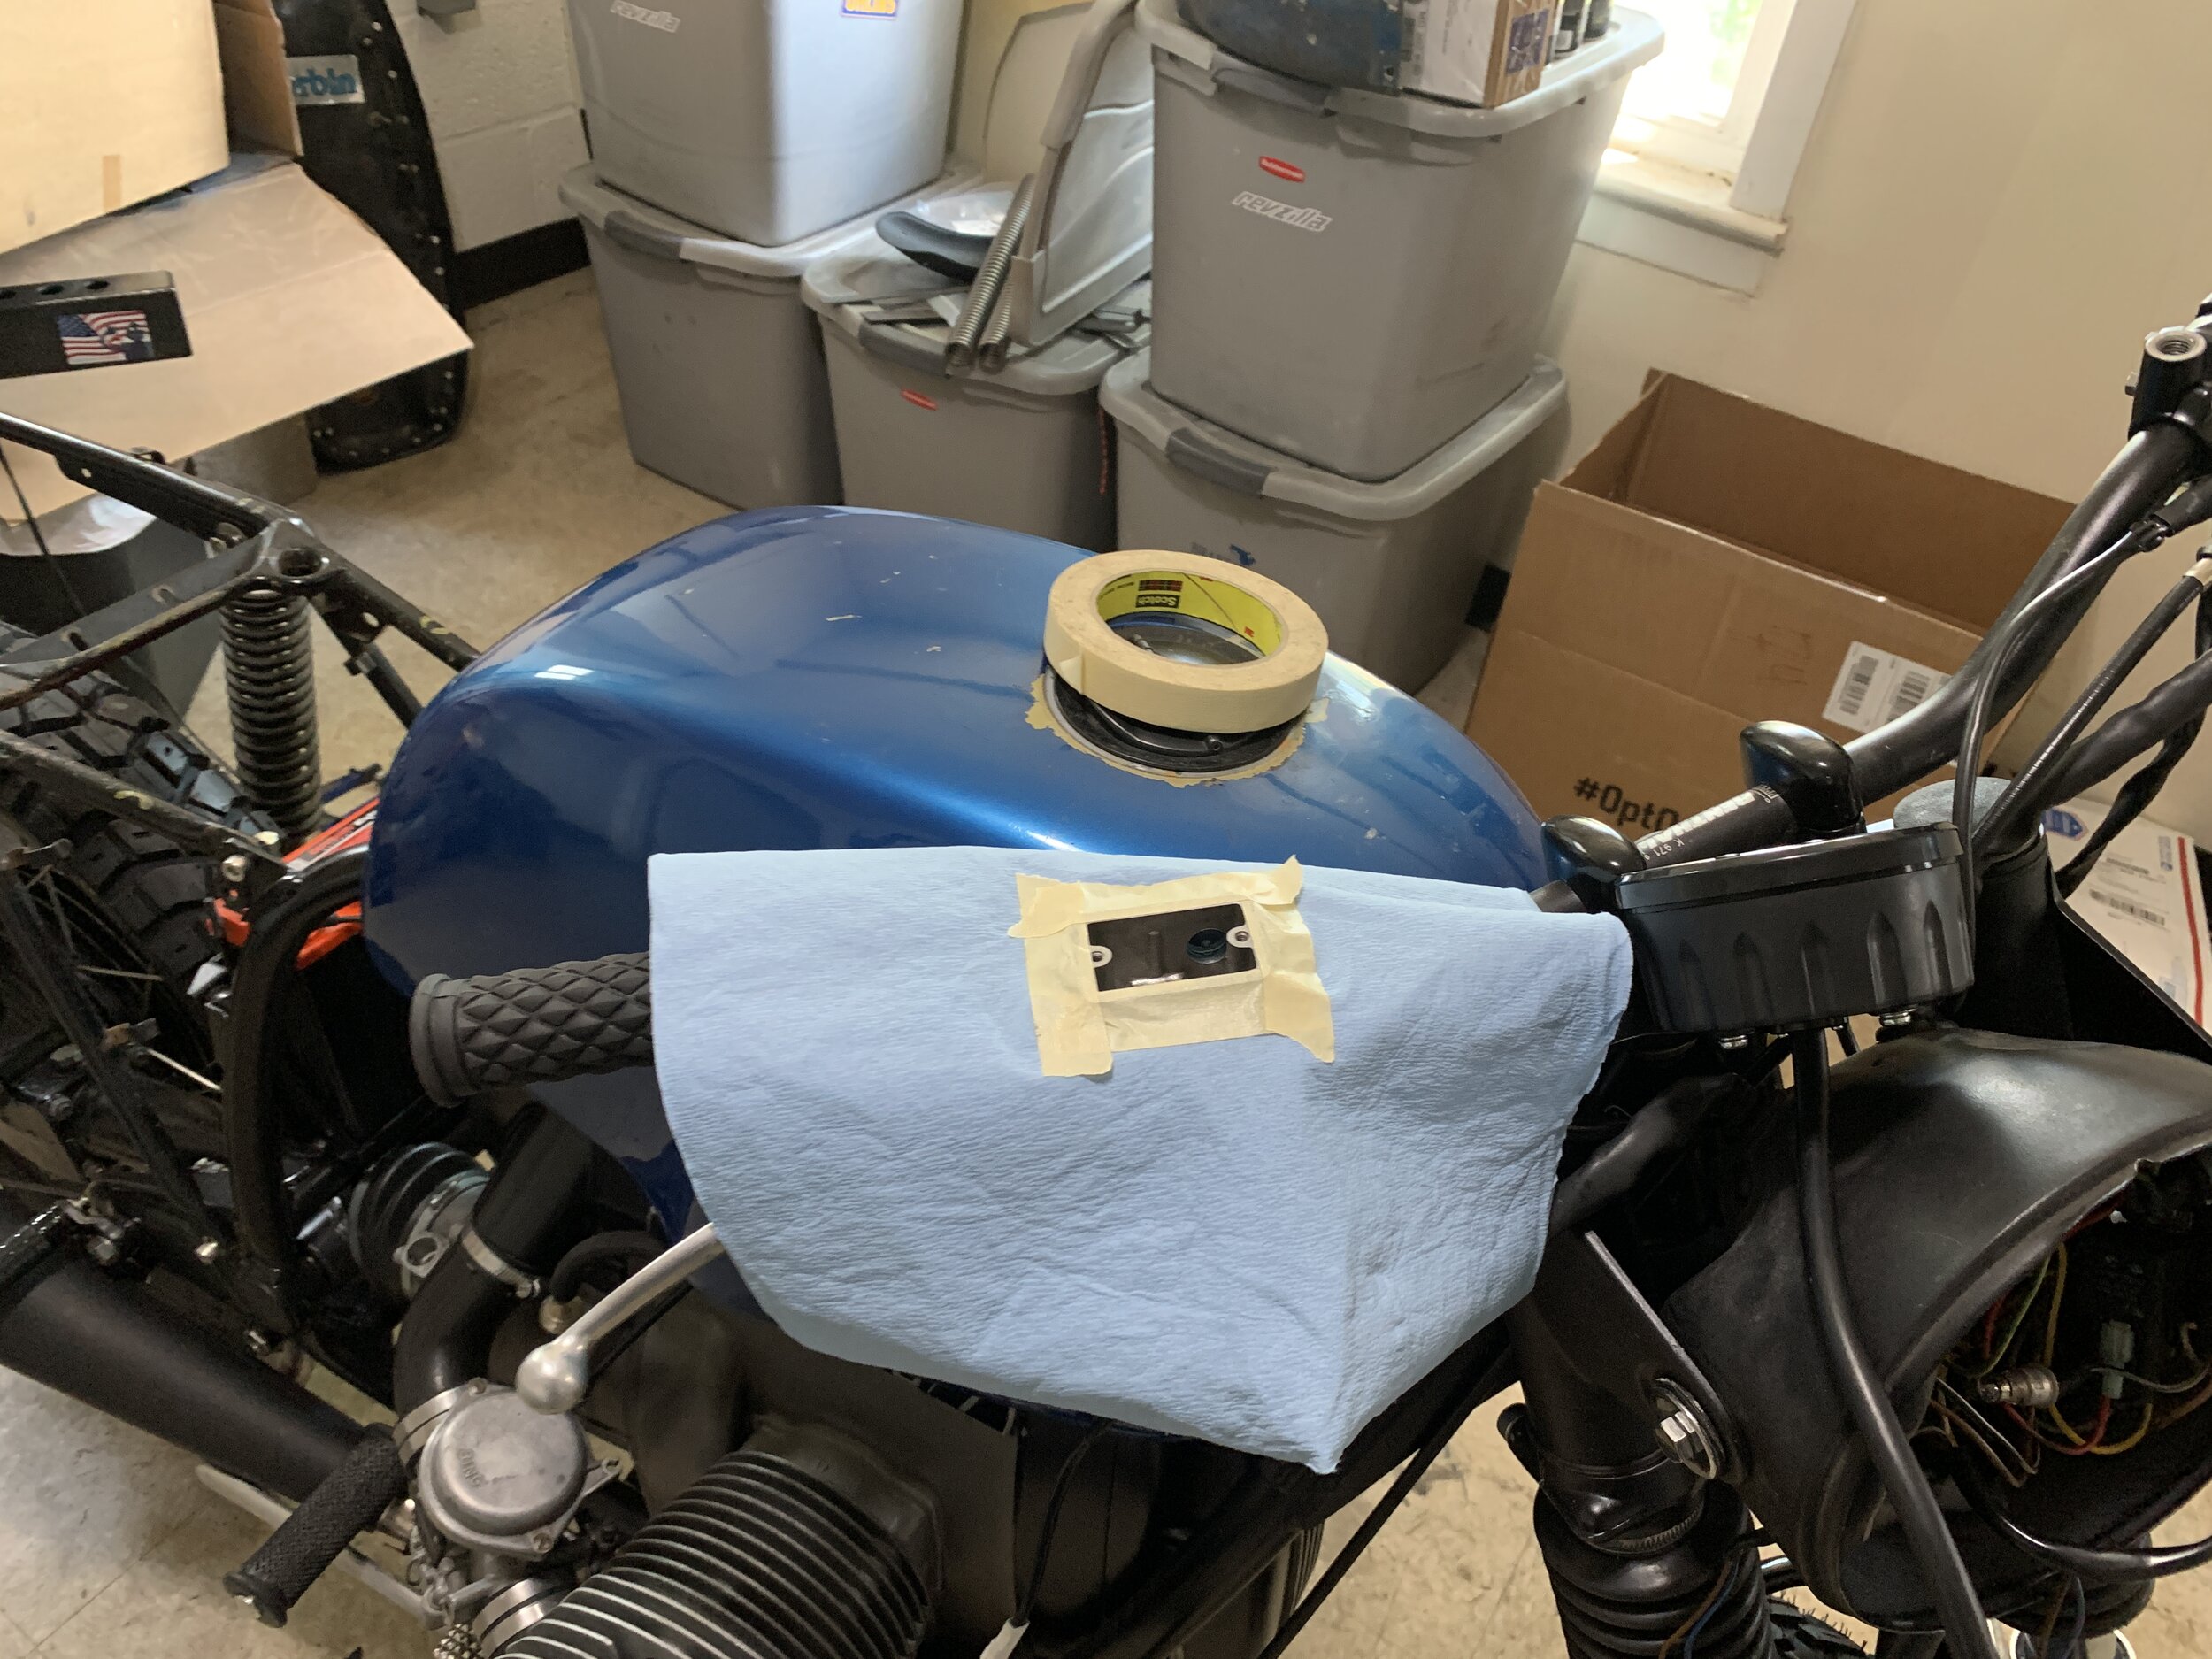
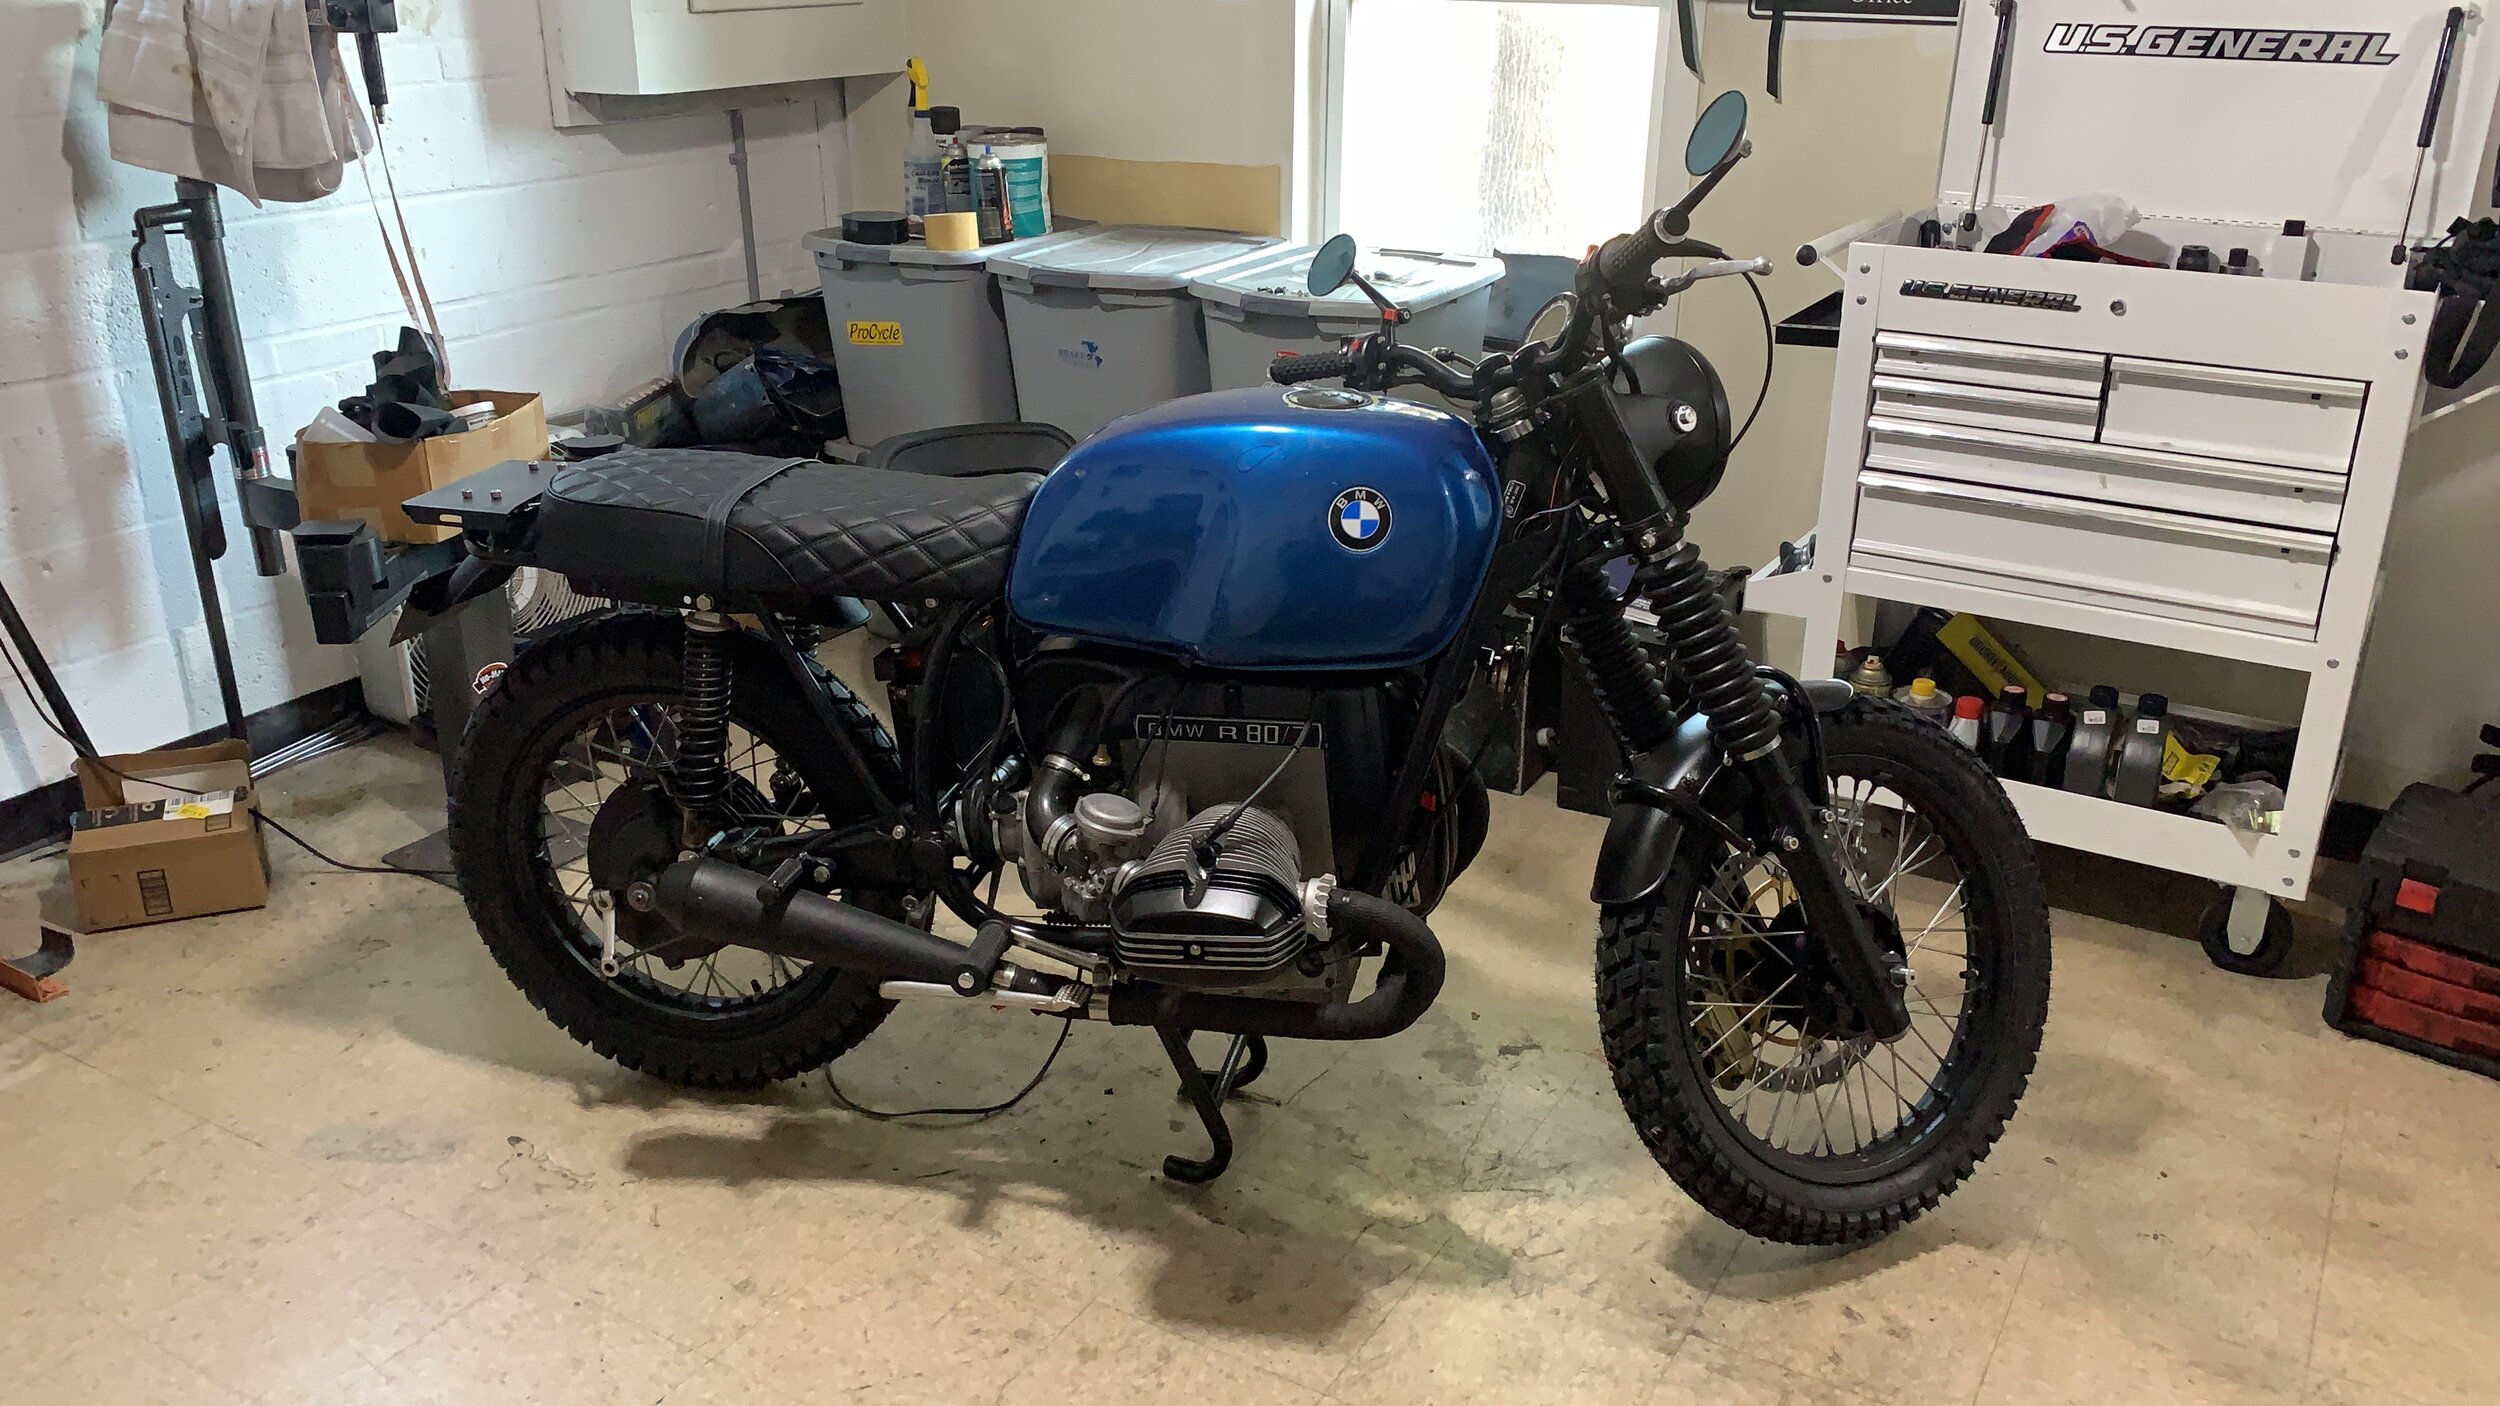
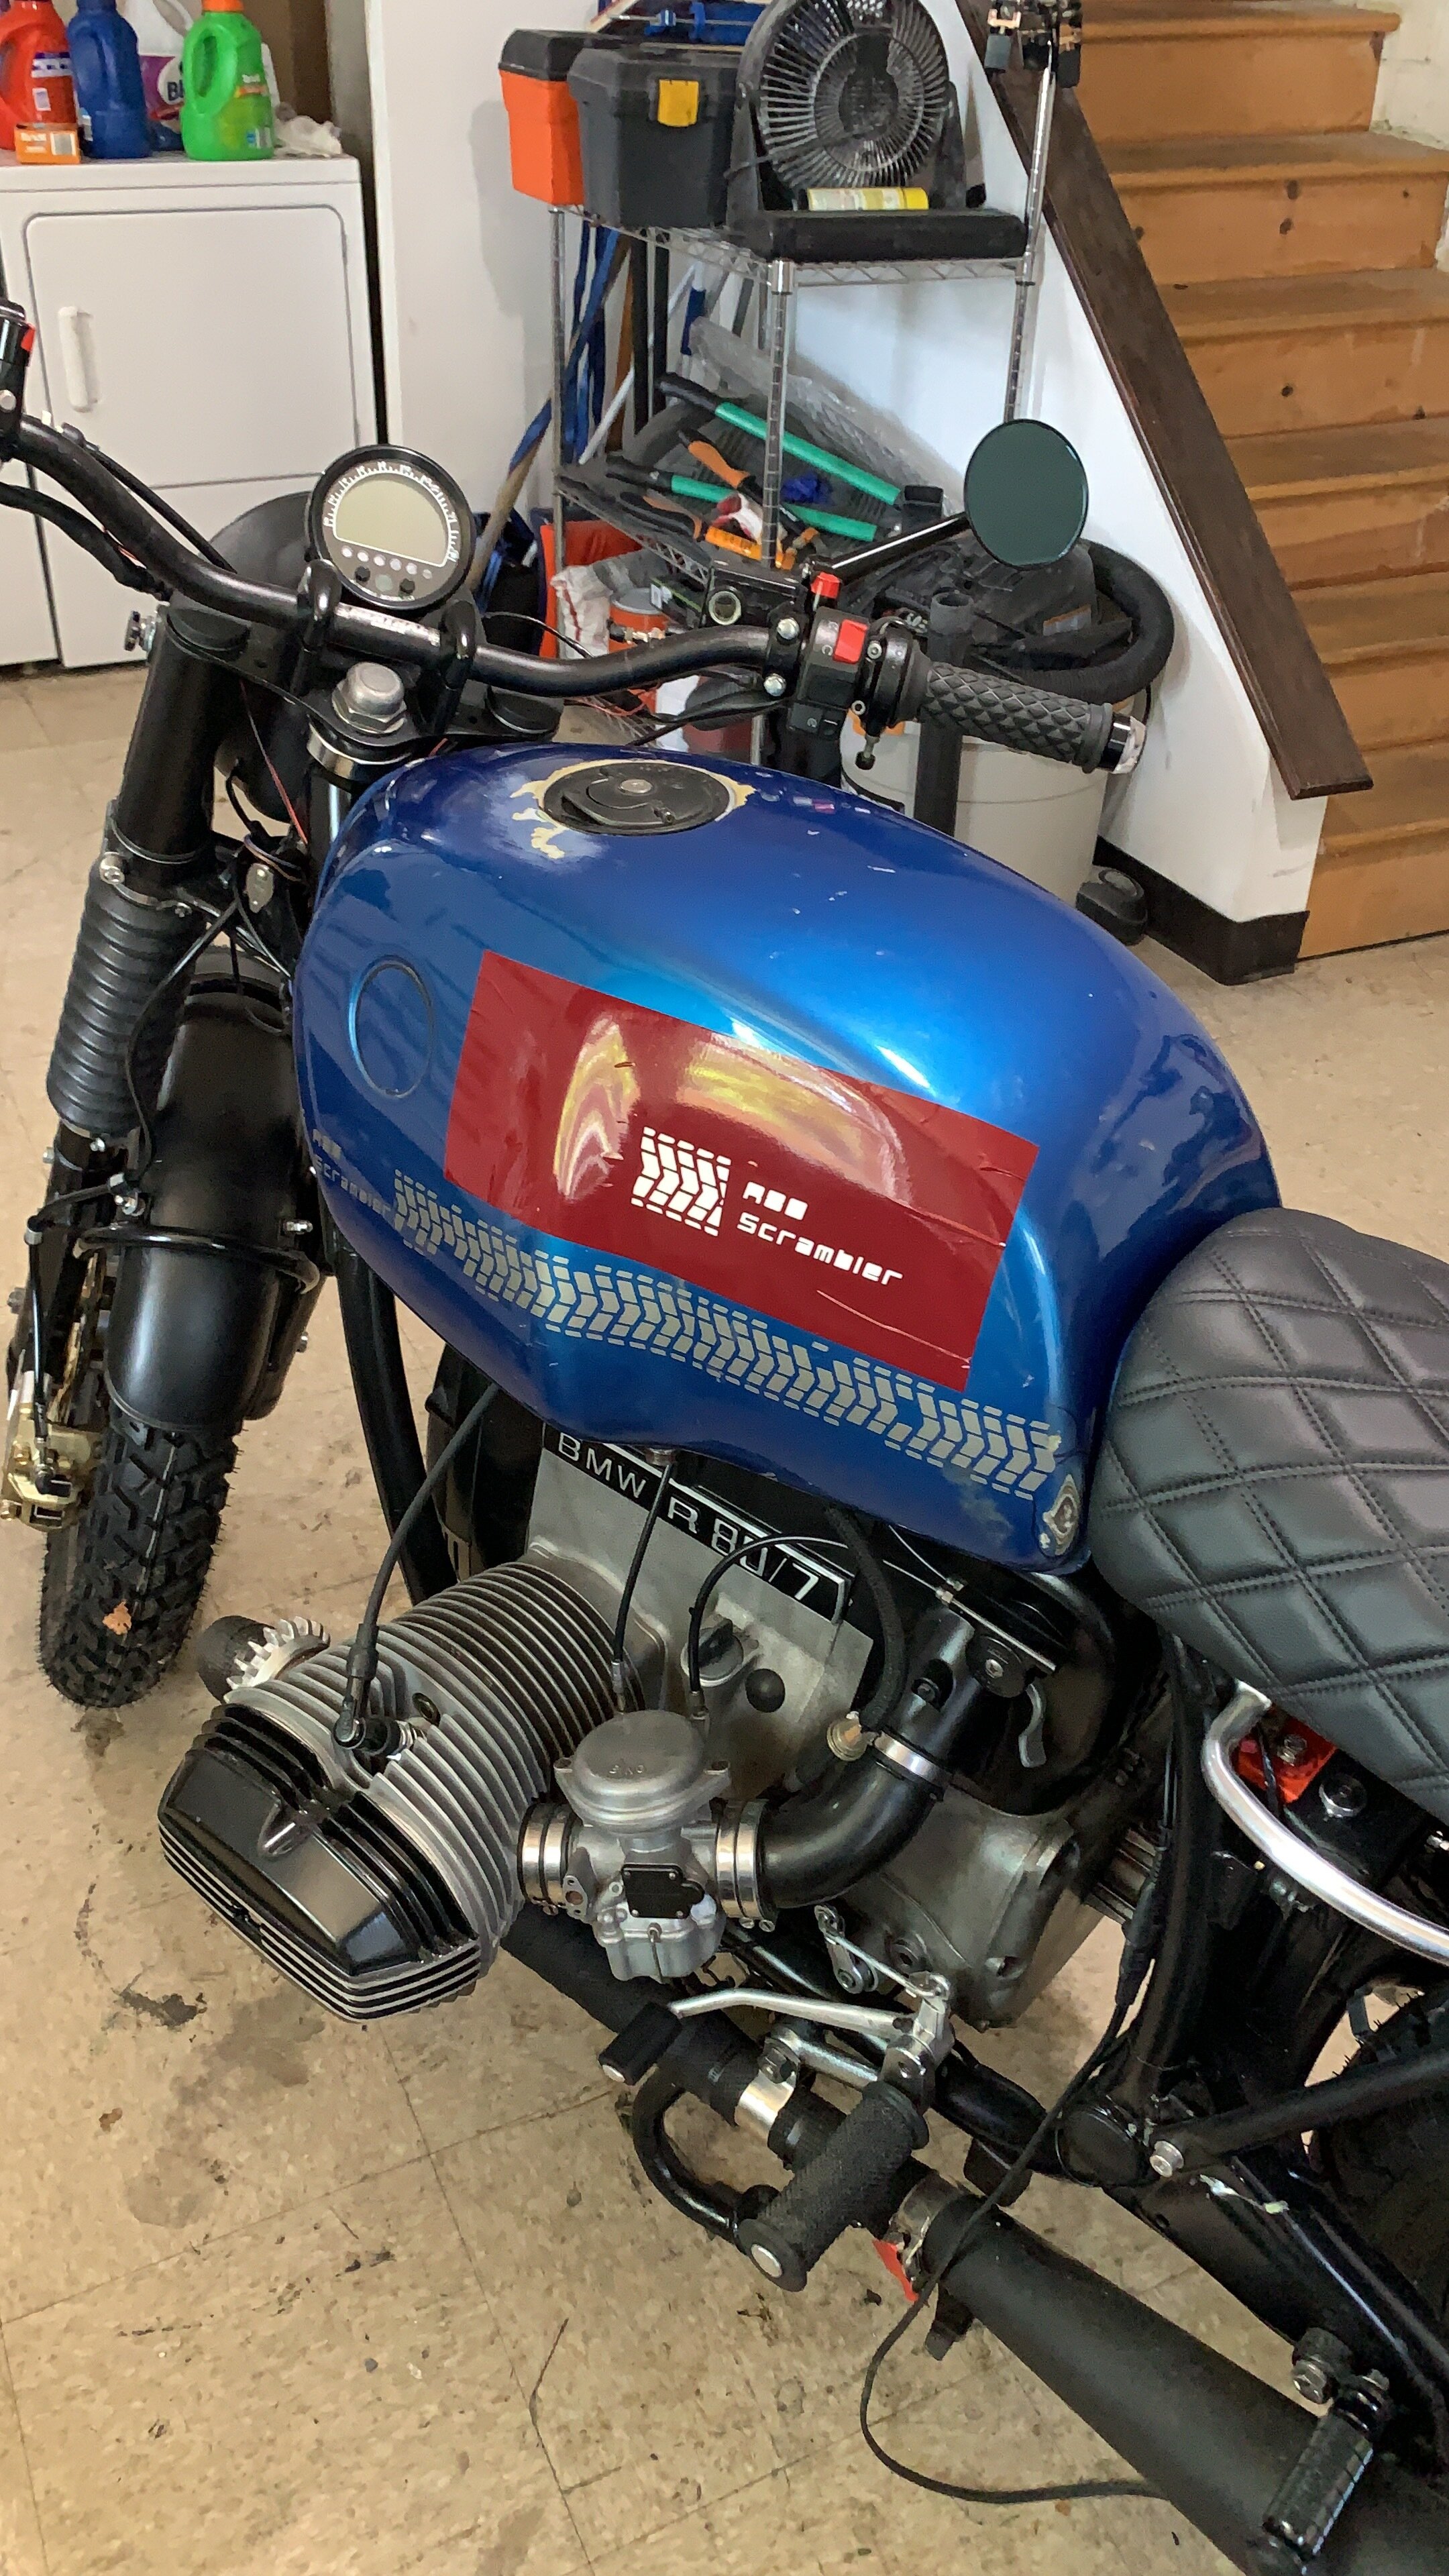
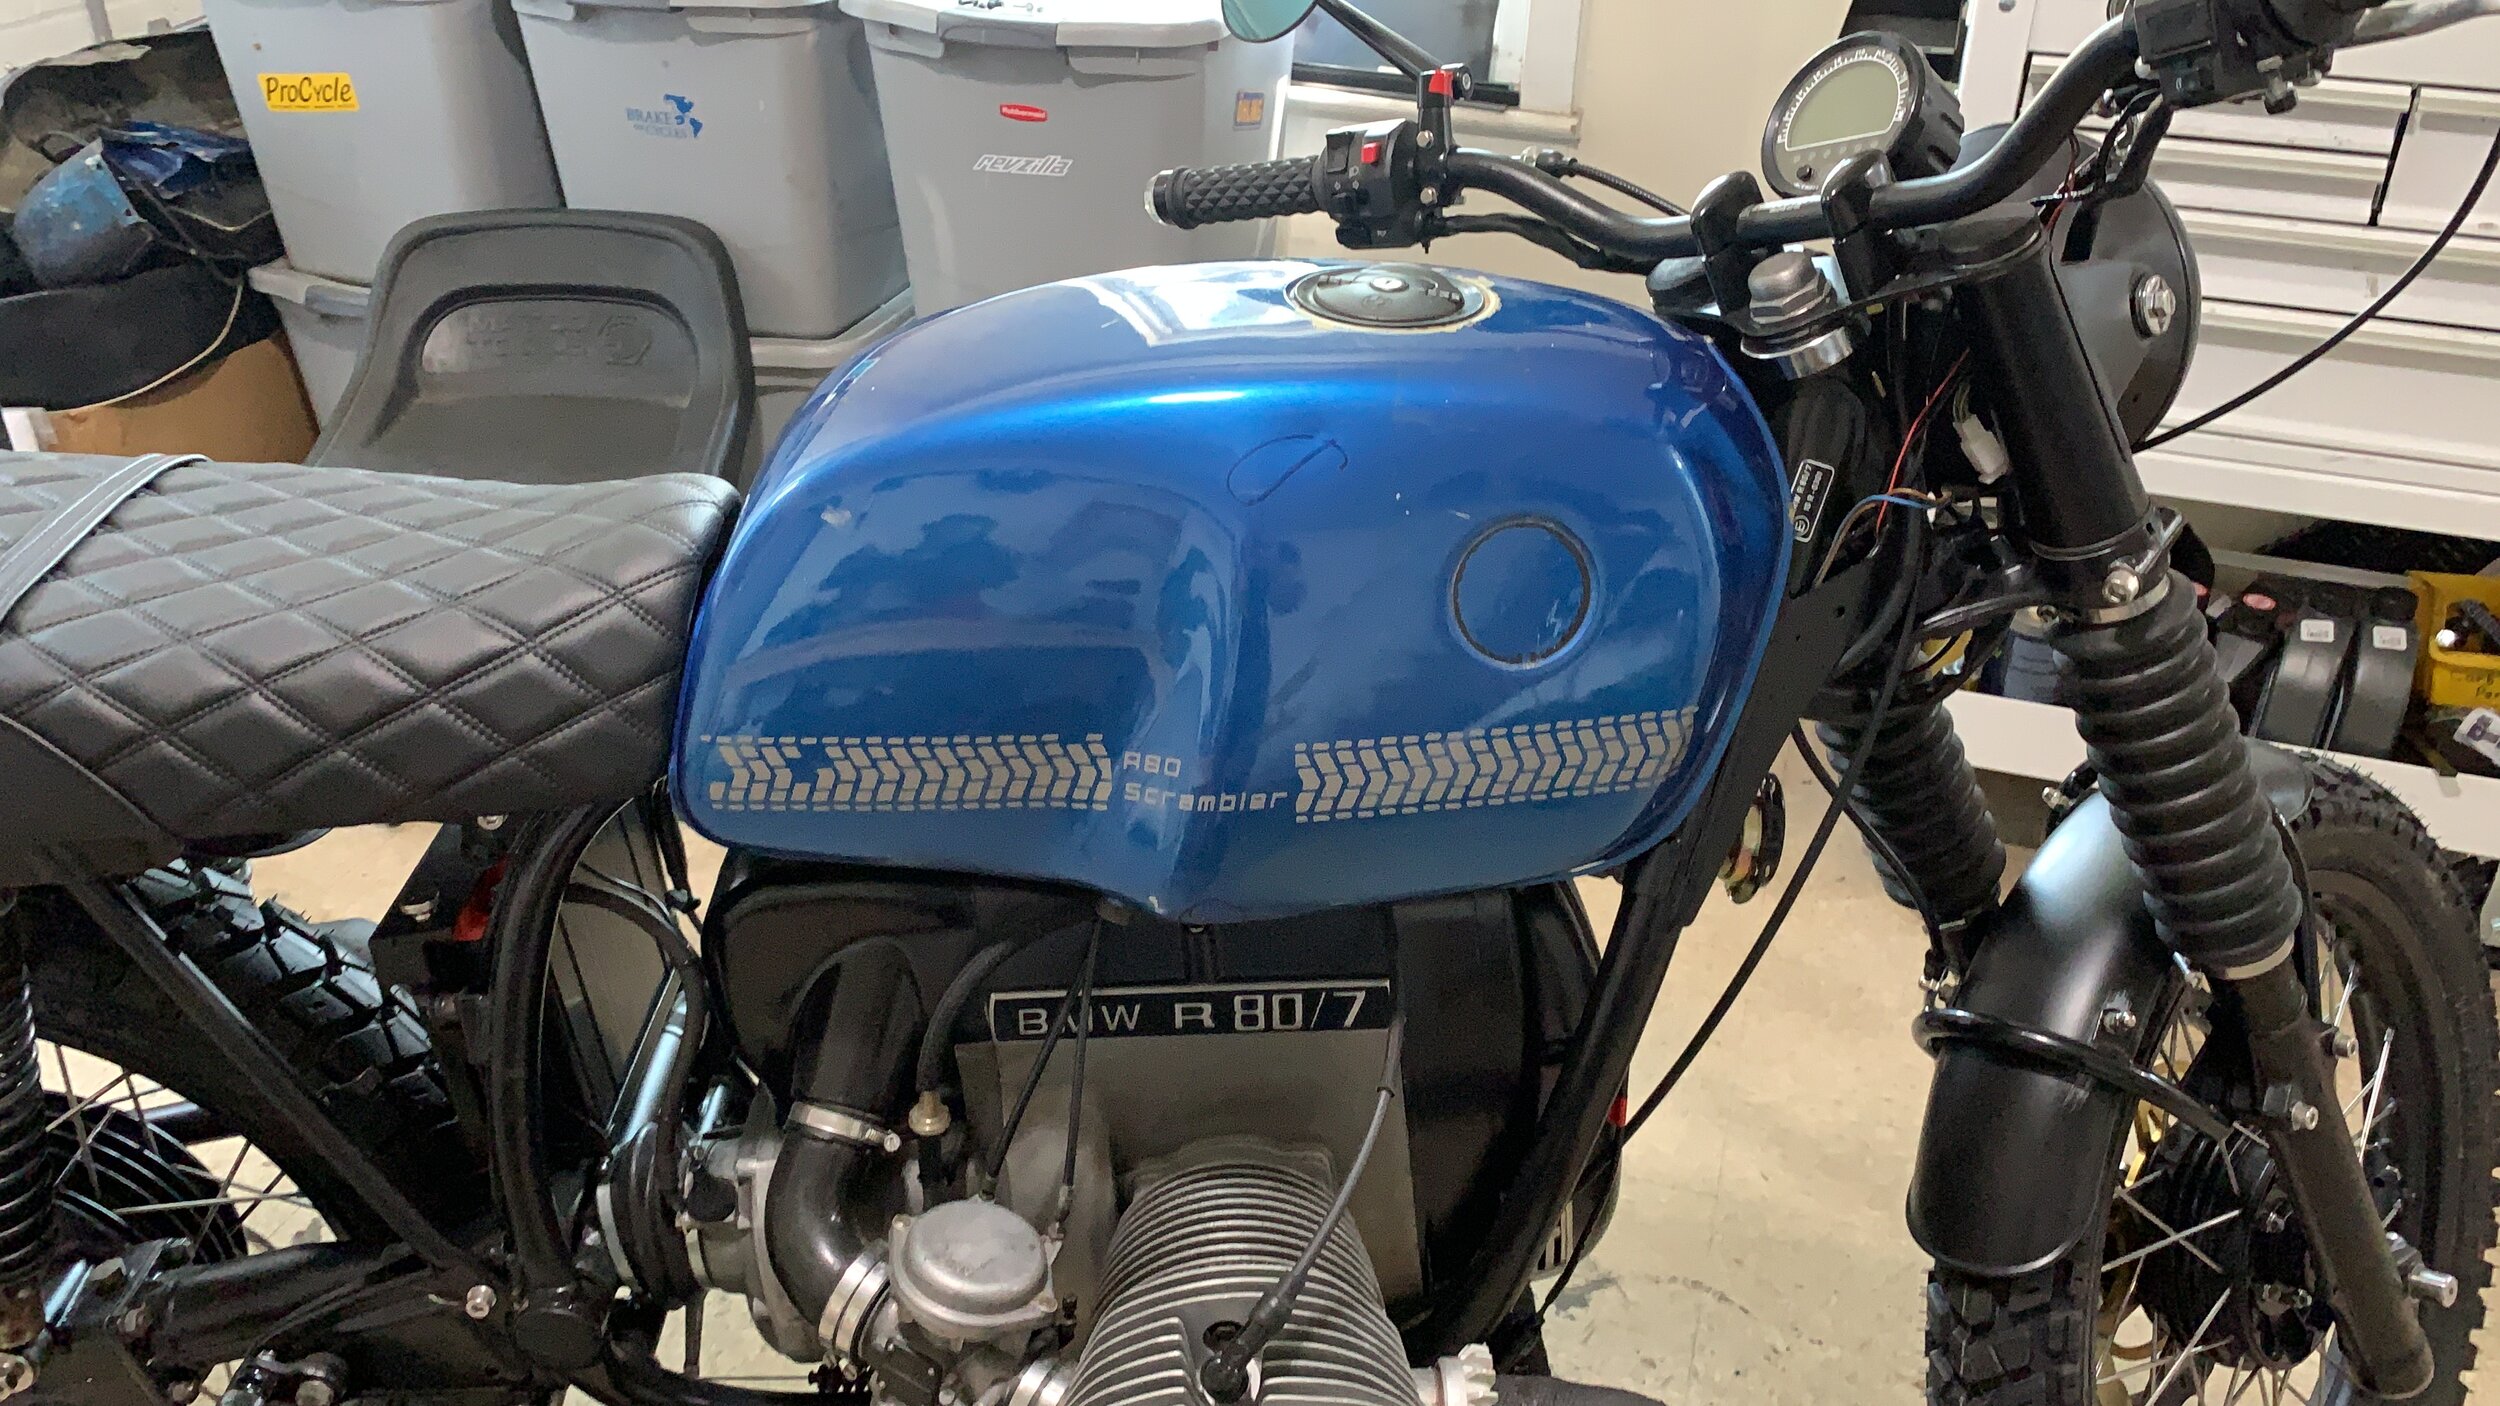
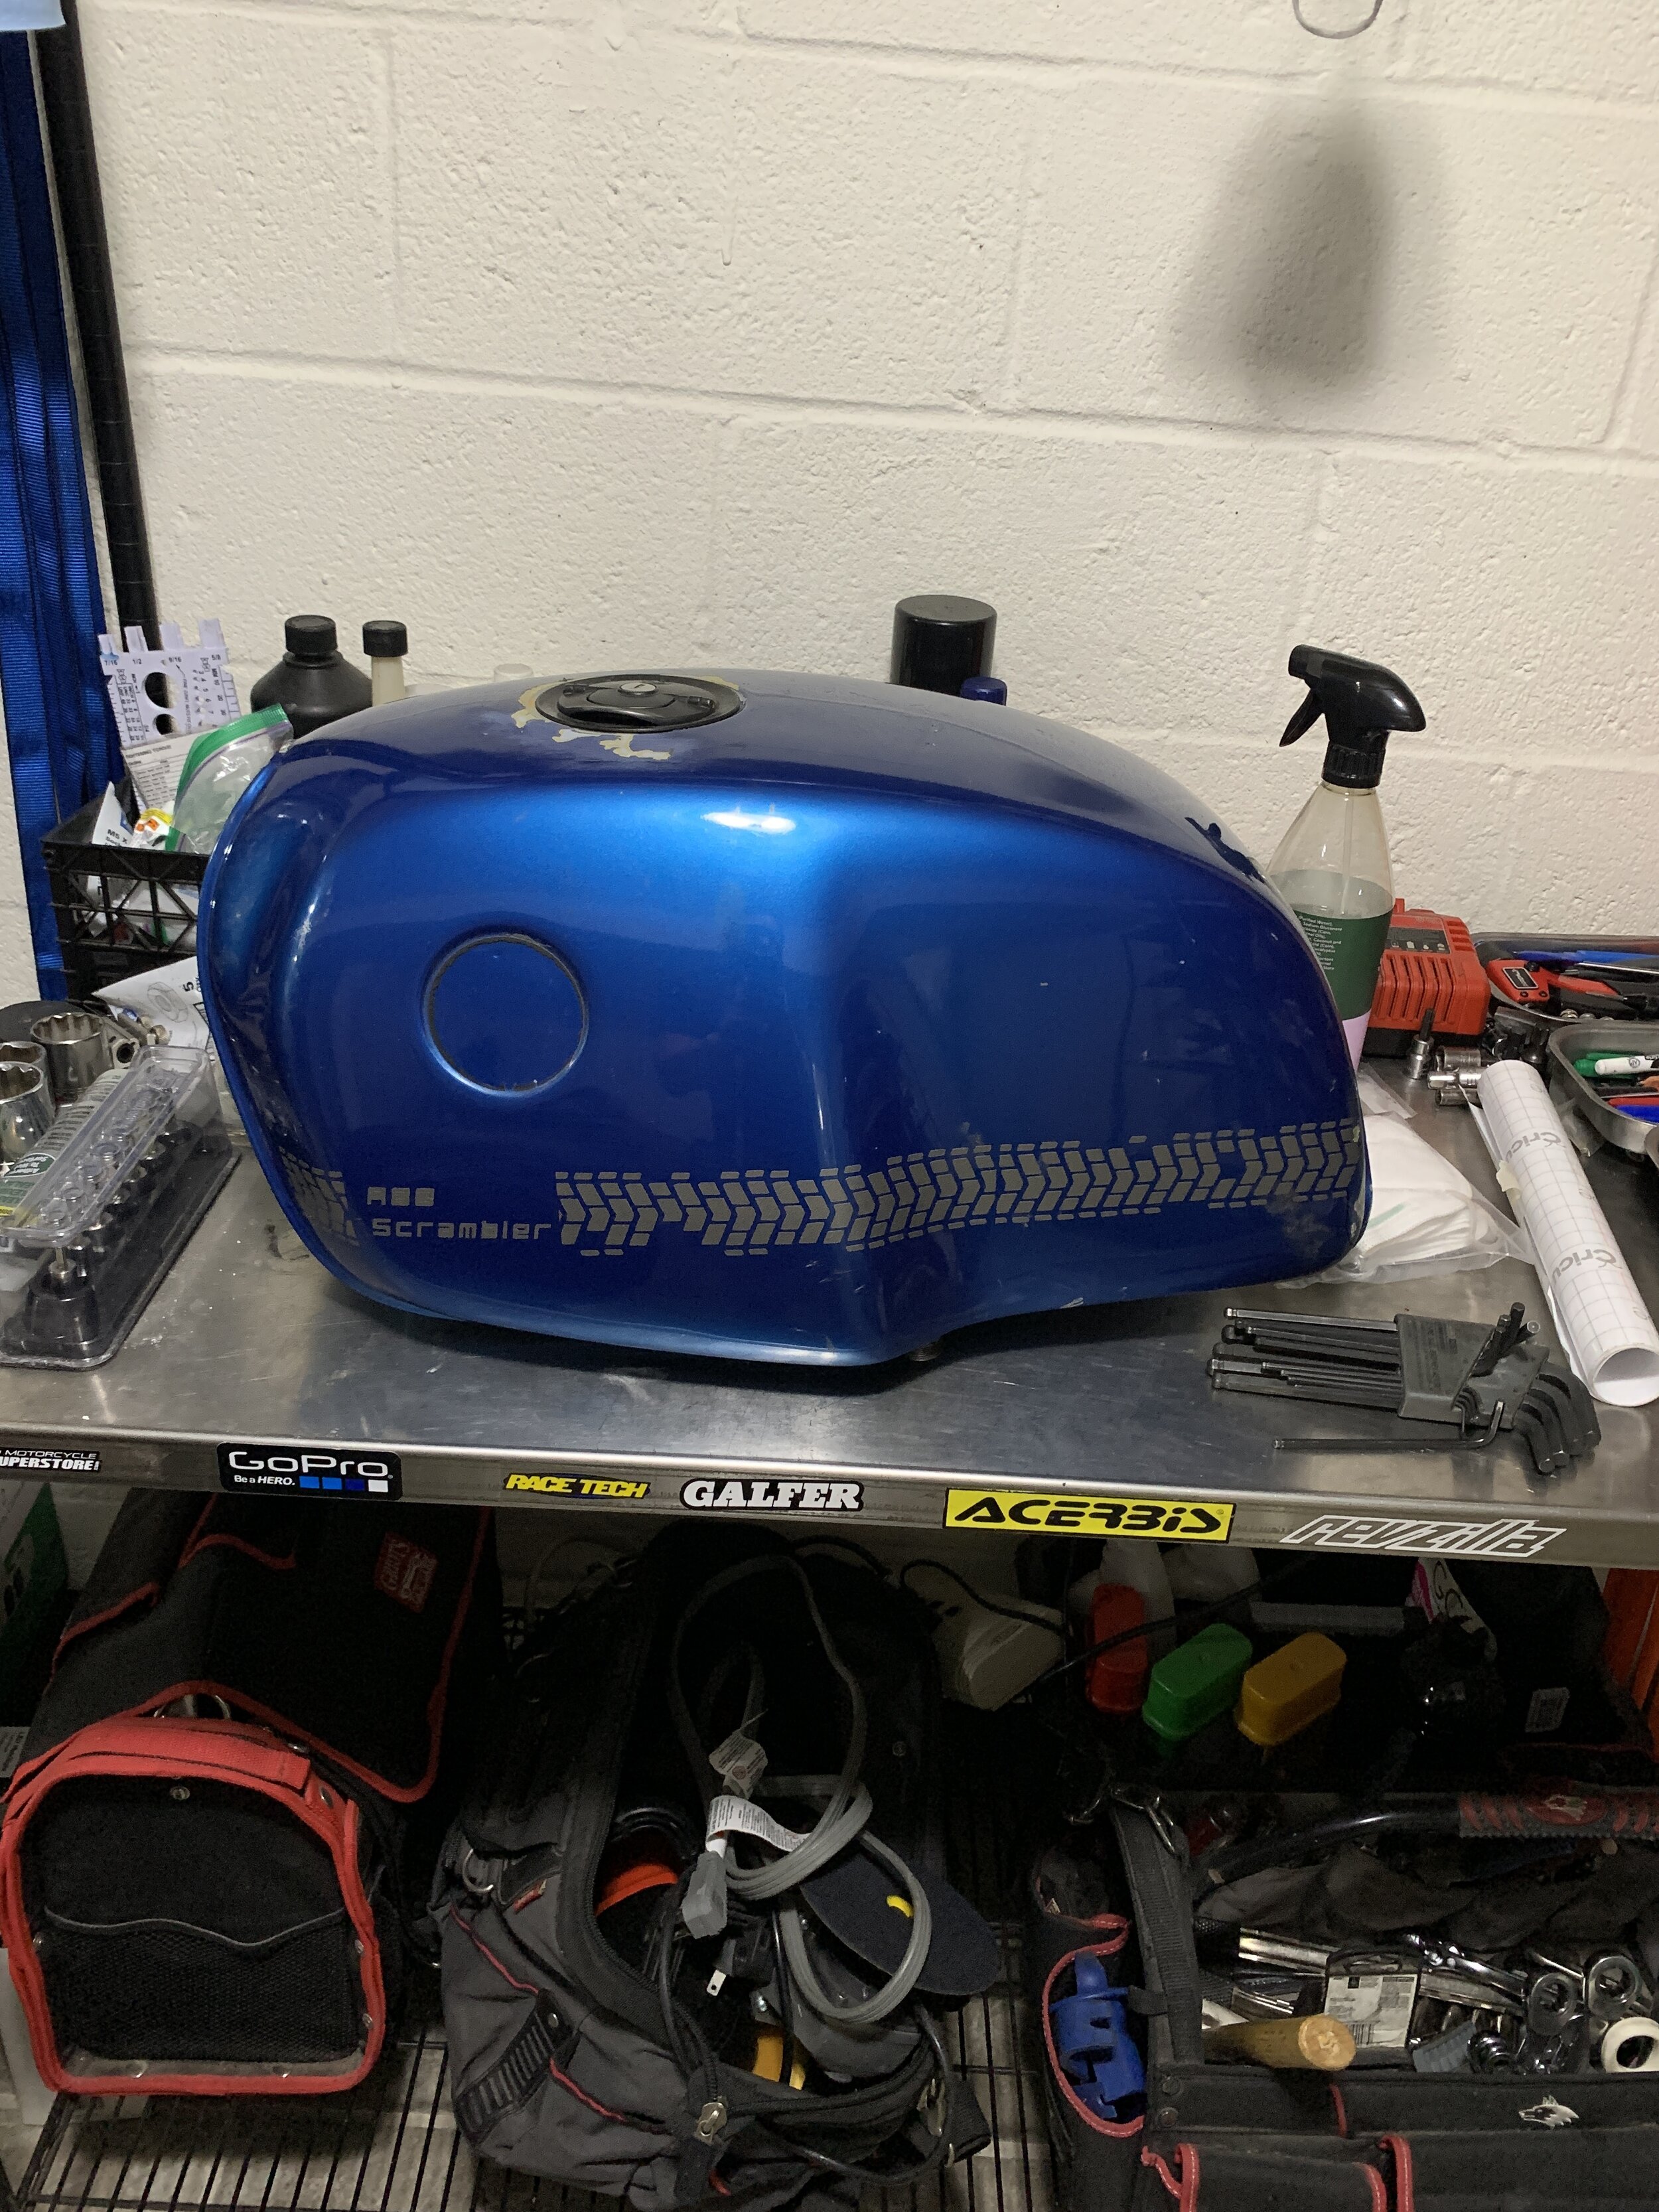
Gas Tank
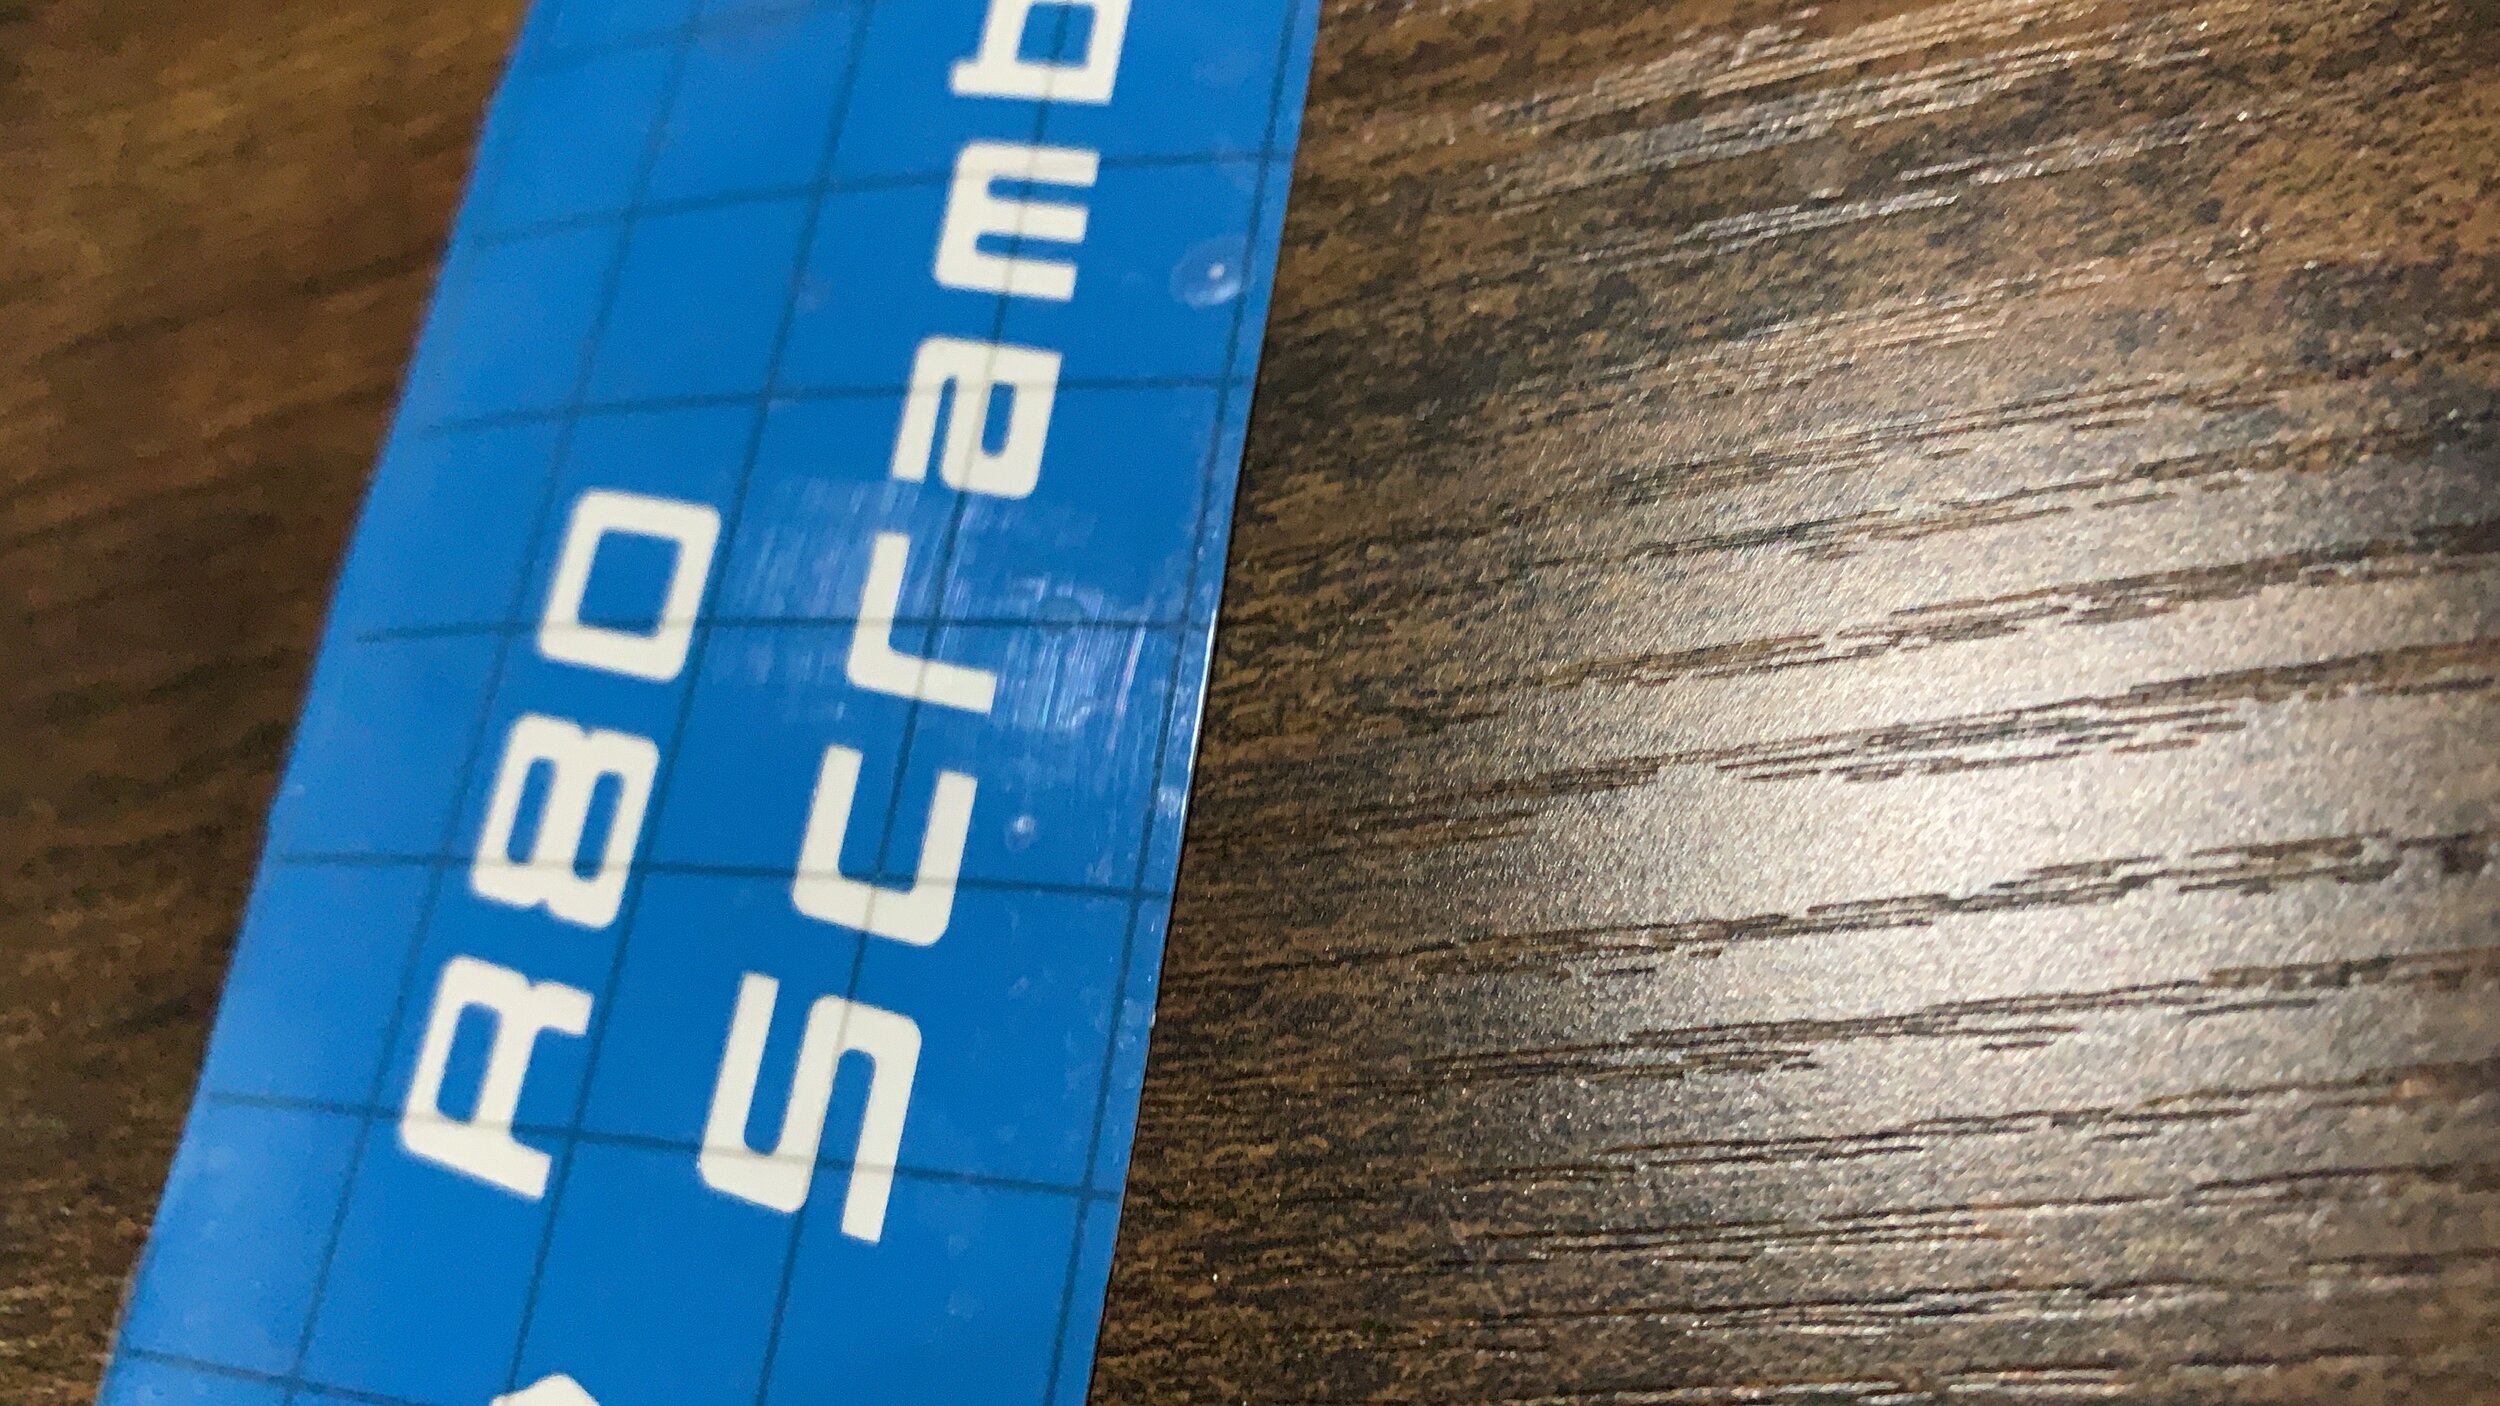
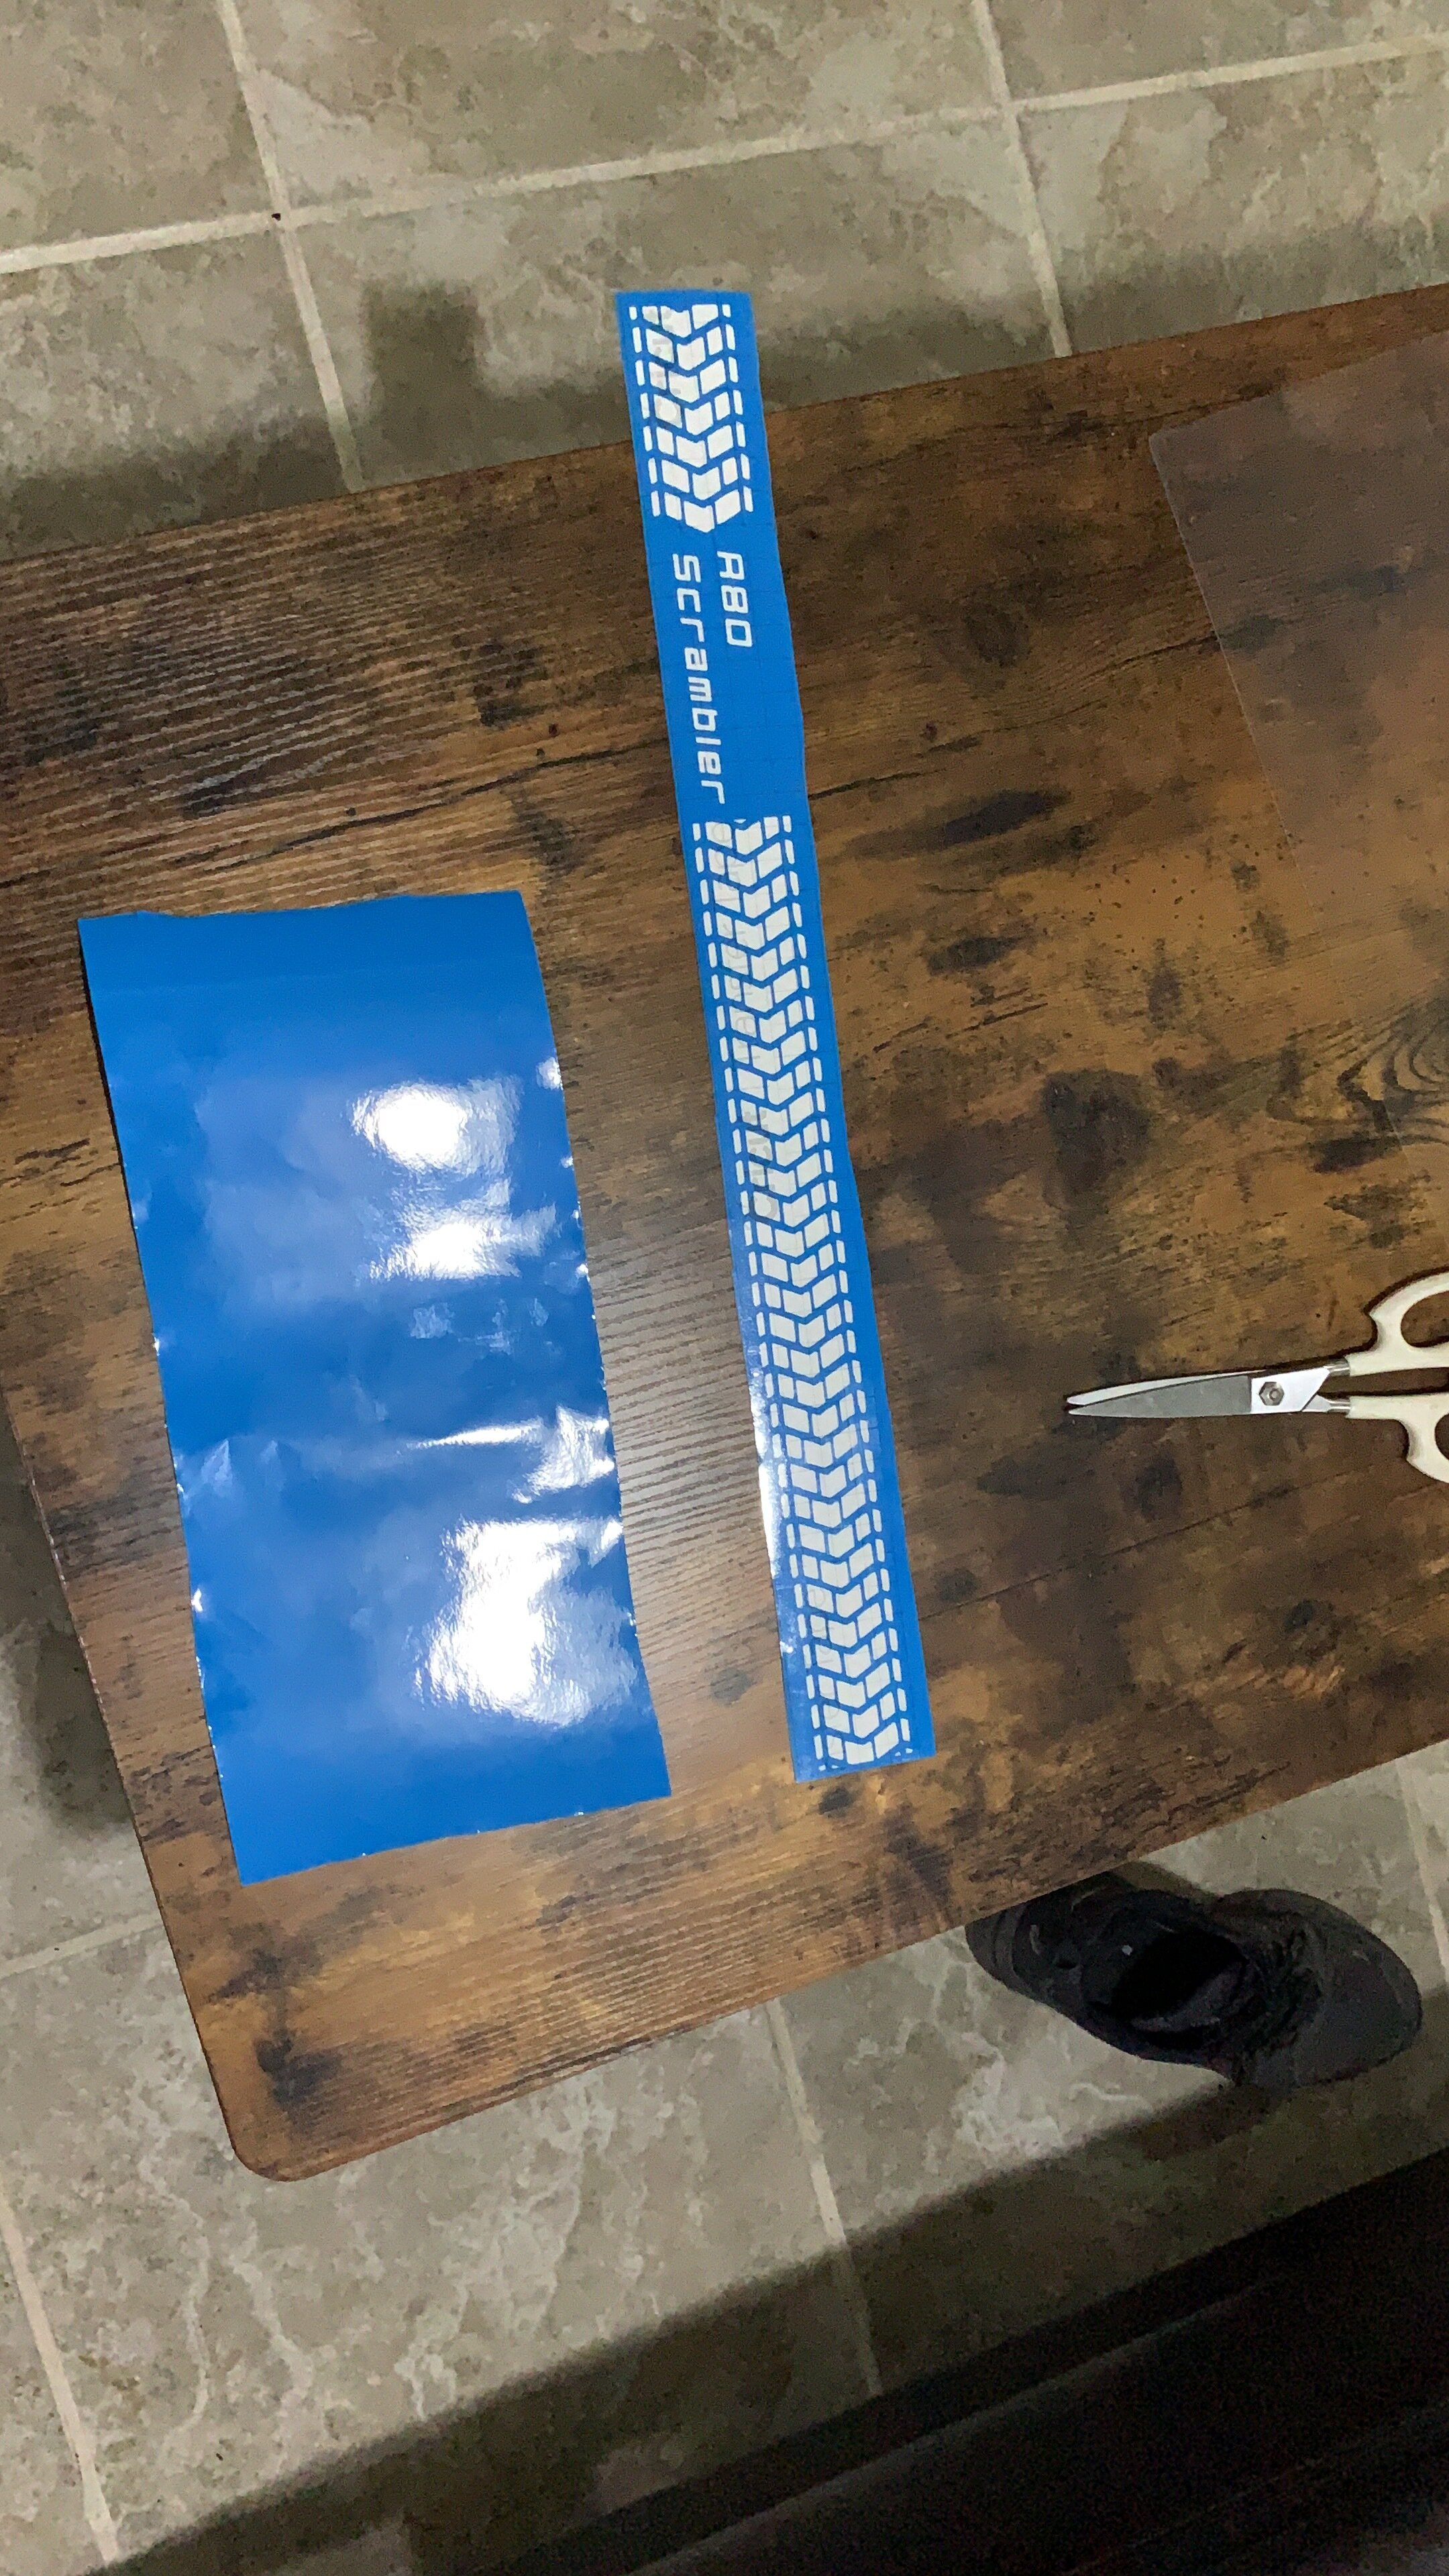
After hours of cleaning the tank and finally coating with POR 15, I am finally ready for the tank to get painted. I always wanted the tire tread look on my tank, and since this is custom build I thought I get rid of the BMW emblem all together. I tried printing some different color and different back ground and found that the colors I had ideas of are not exactly the right contrast I wanted. I ended up with inverted stencil for the painter to spray over and clearcoat over. So the process was, basecoat, clearcoat, stencil, paint the stencil, and then clear coat again. I opted for a triumph stone color for the tank with a flat clear coat. The two stencil, even after design and cut took me 45 min to weed out each one.

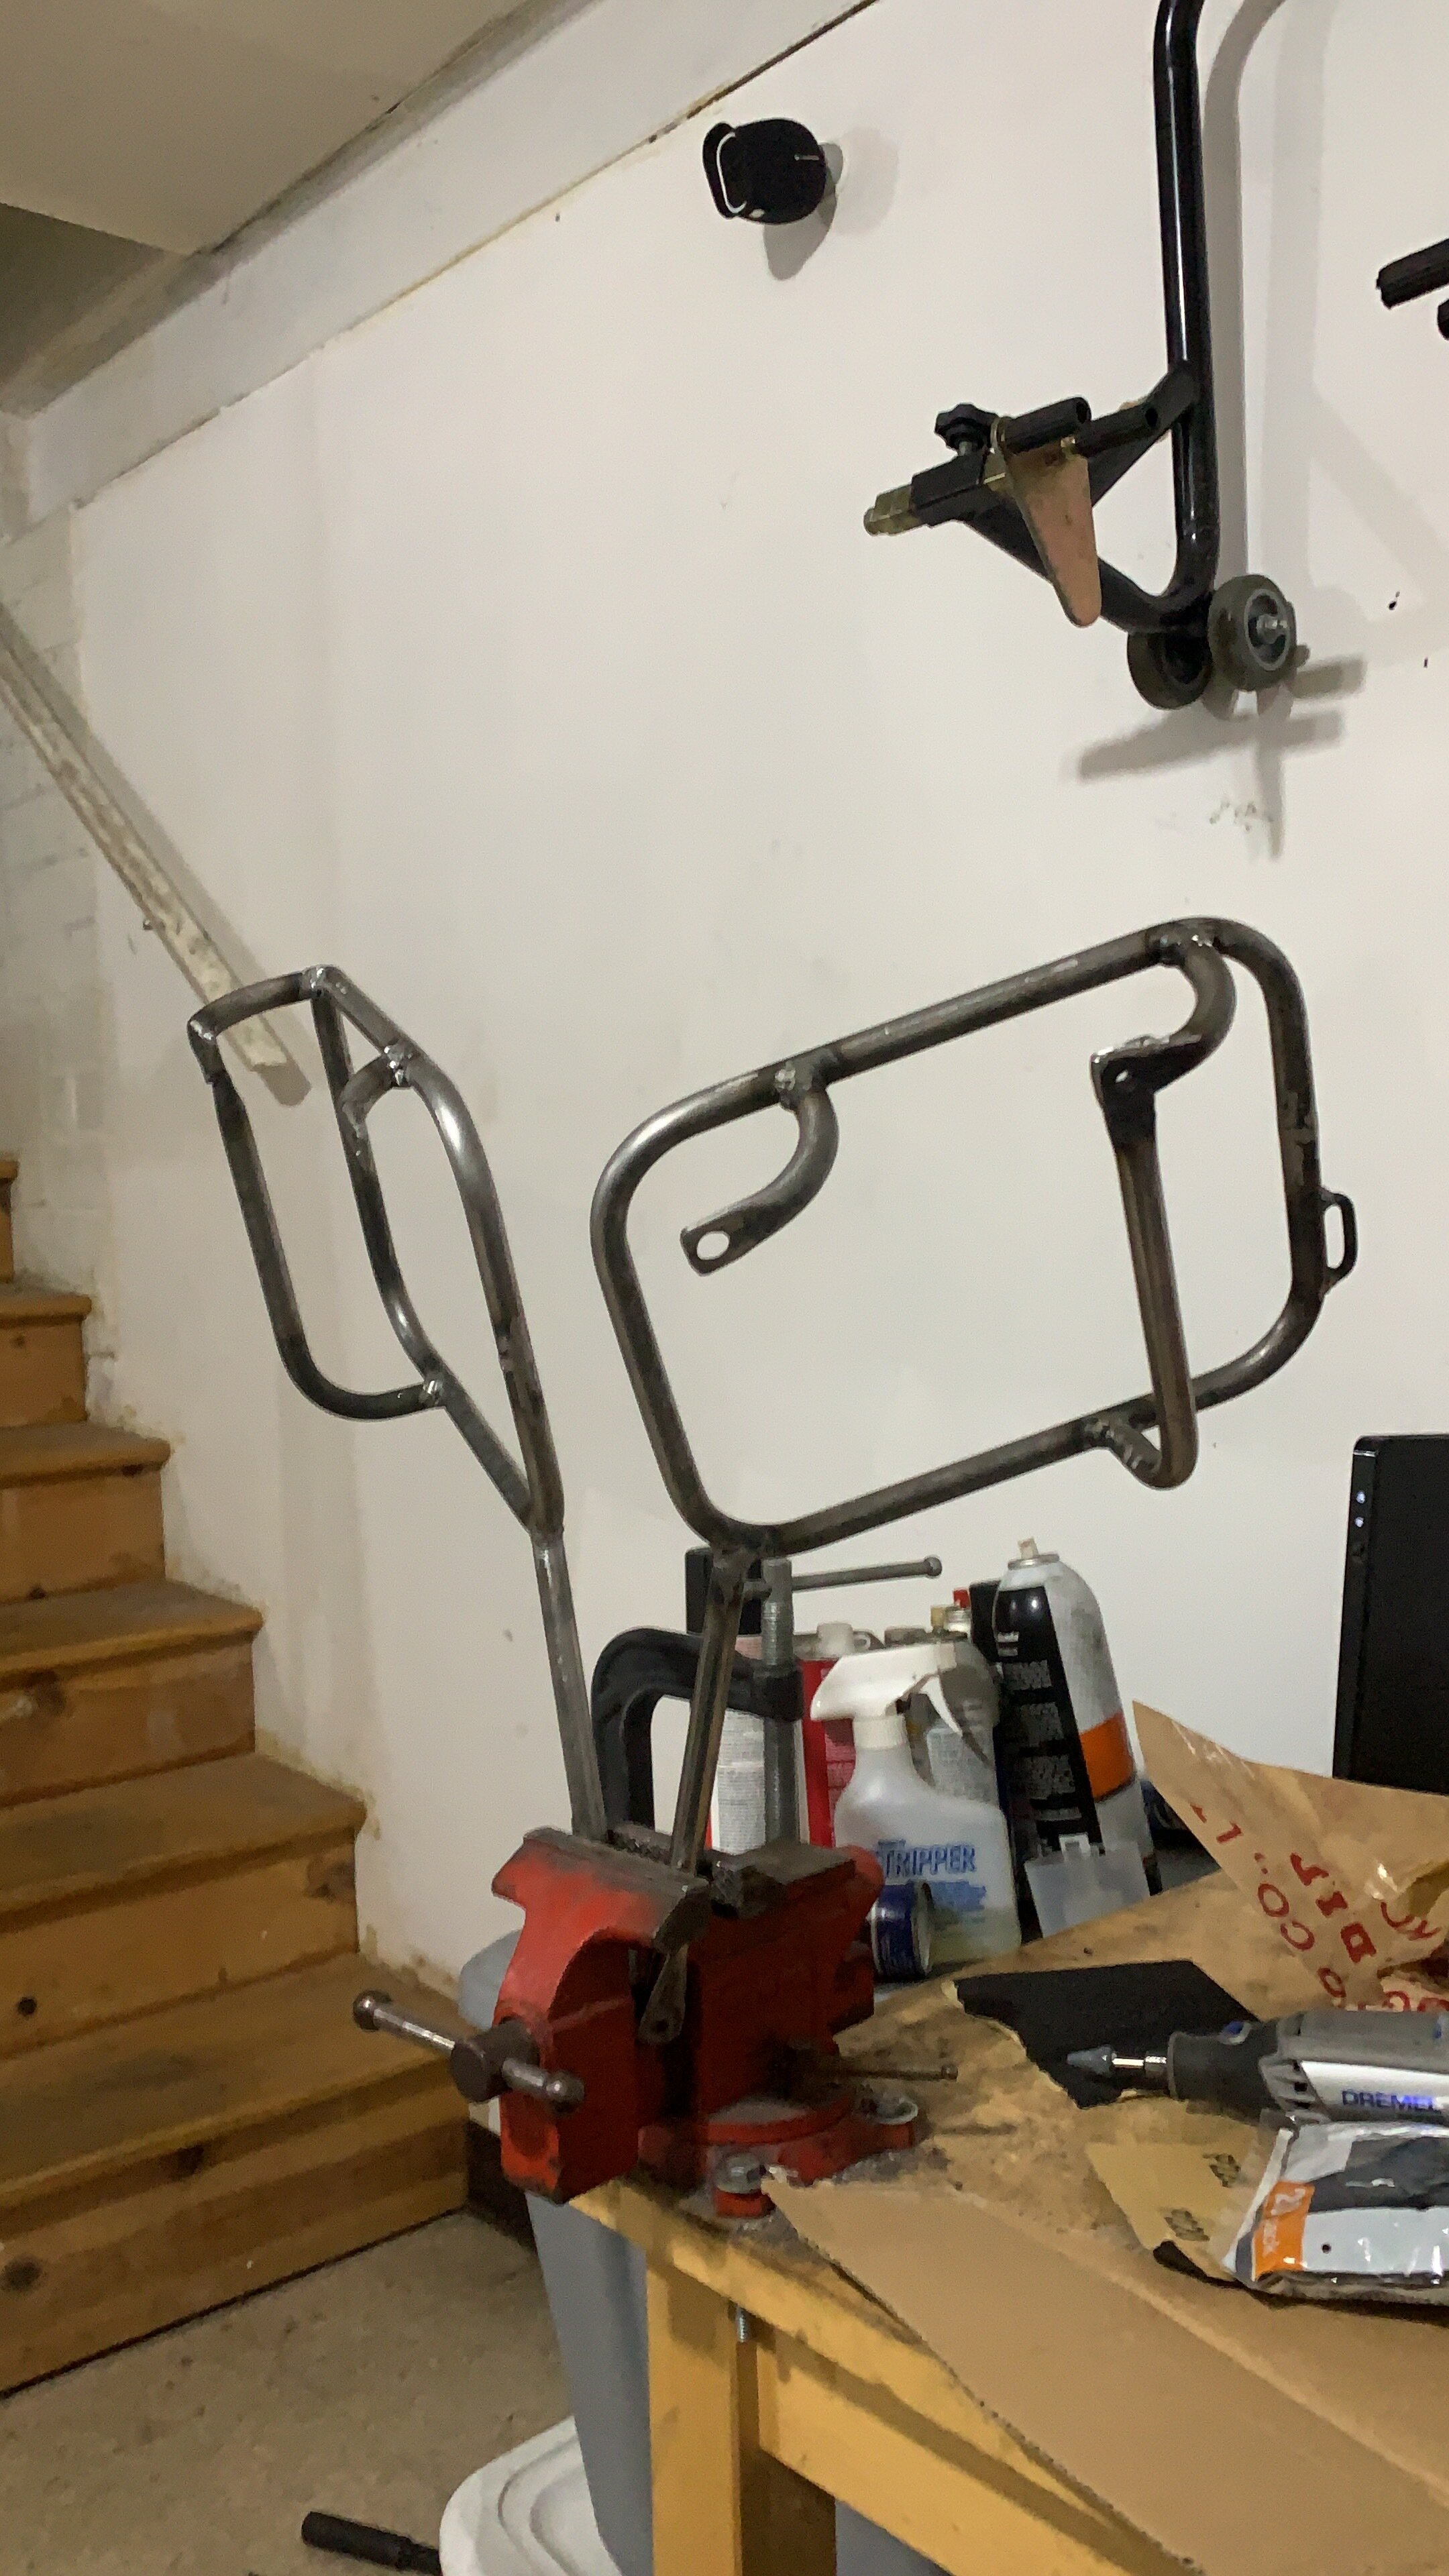
Pannier Frame
First time building a pannier rack, as everything it looks a lot easier than it seems. Especially on these airheads where nothing is squared but it is. First I went to buy tubing from home depot, then I bought a tubing bender on Amazon and bent my first mock up. I needed two sets of these, one for each side. Even using the bender was a learning curve to try to get both hoops to be exactly the same. I did not waste any tubing because I was able to use the tubing for other that were bend incorrectly as the extension pieces. After making one side I had to use a center line and some T square to determine the length on the other side, because the airhead frame is not symmetrical, it sticks out more on the left side where the mounting point is, compare to the right and the left shock is out further than the right side. I was actually having some trouble thinking about how to make this work, but Salman immediately knew what I needed to do when I told him my dilemma. Then I visited Phaedon who welded the frame up for me. While I was there we determined the way the cross brace was going to sit. It was actually Phaedon’s idea to make the brace out of the welding point. It turned out much better in structural rigidity and the fit and finish looks rather professional. On to more complication.

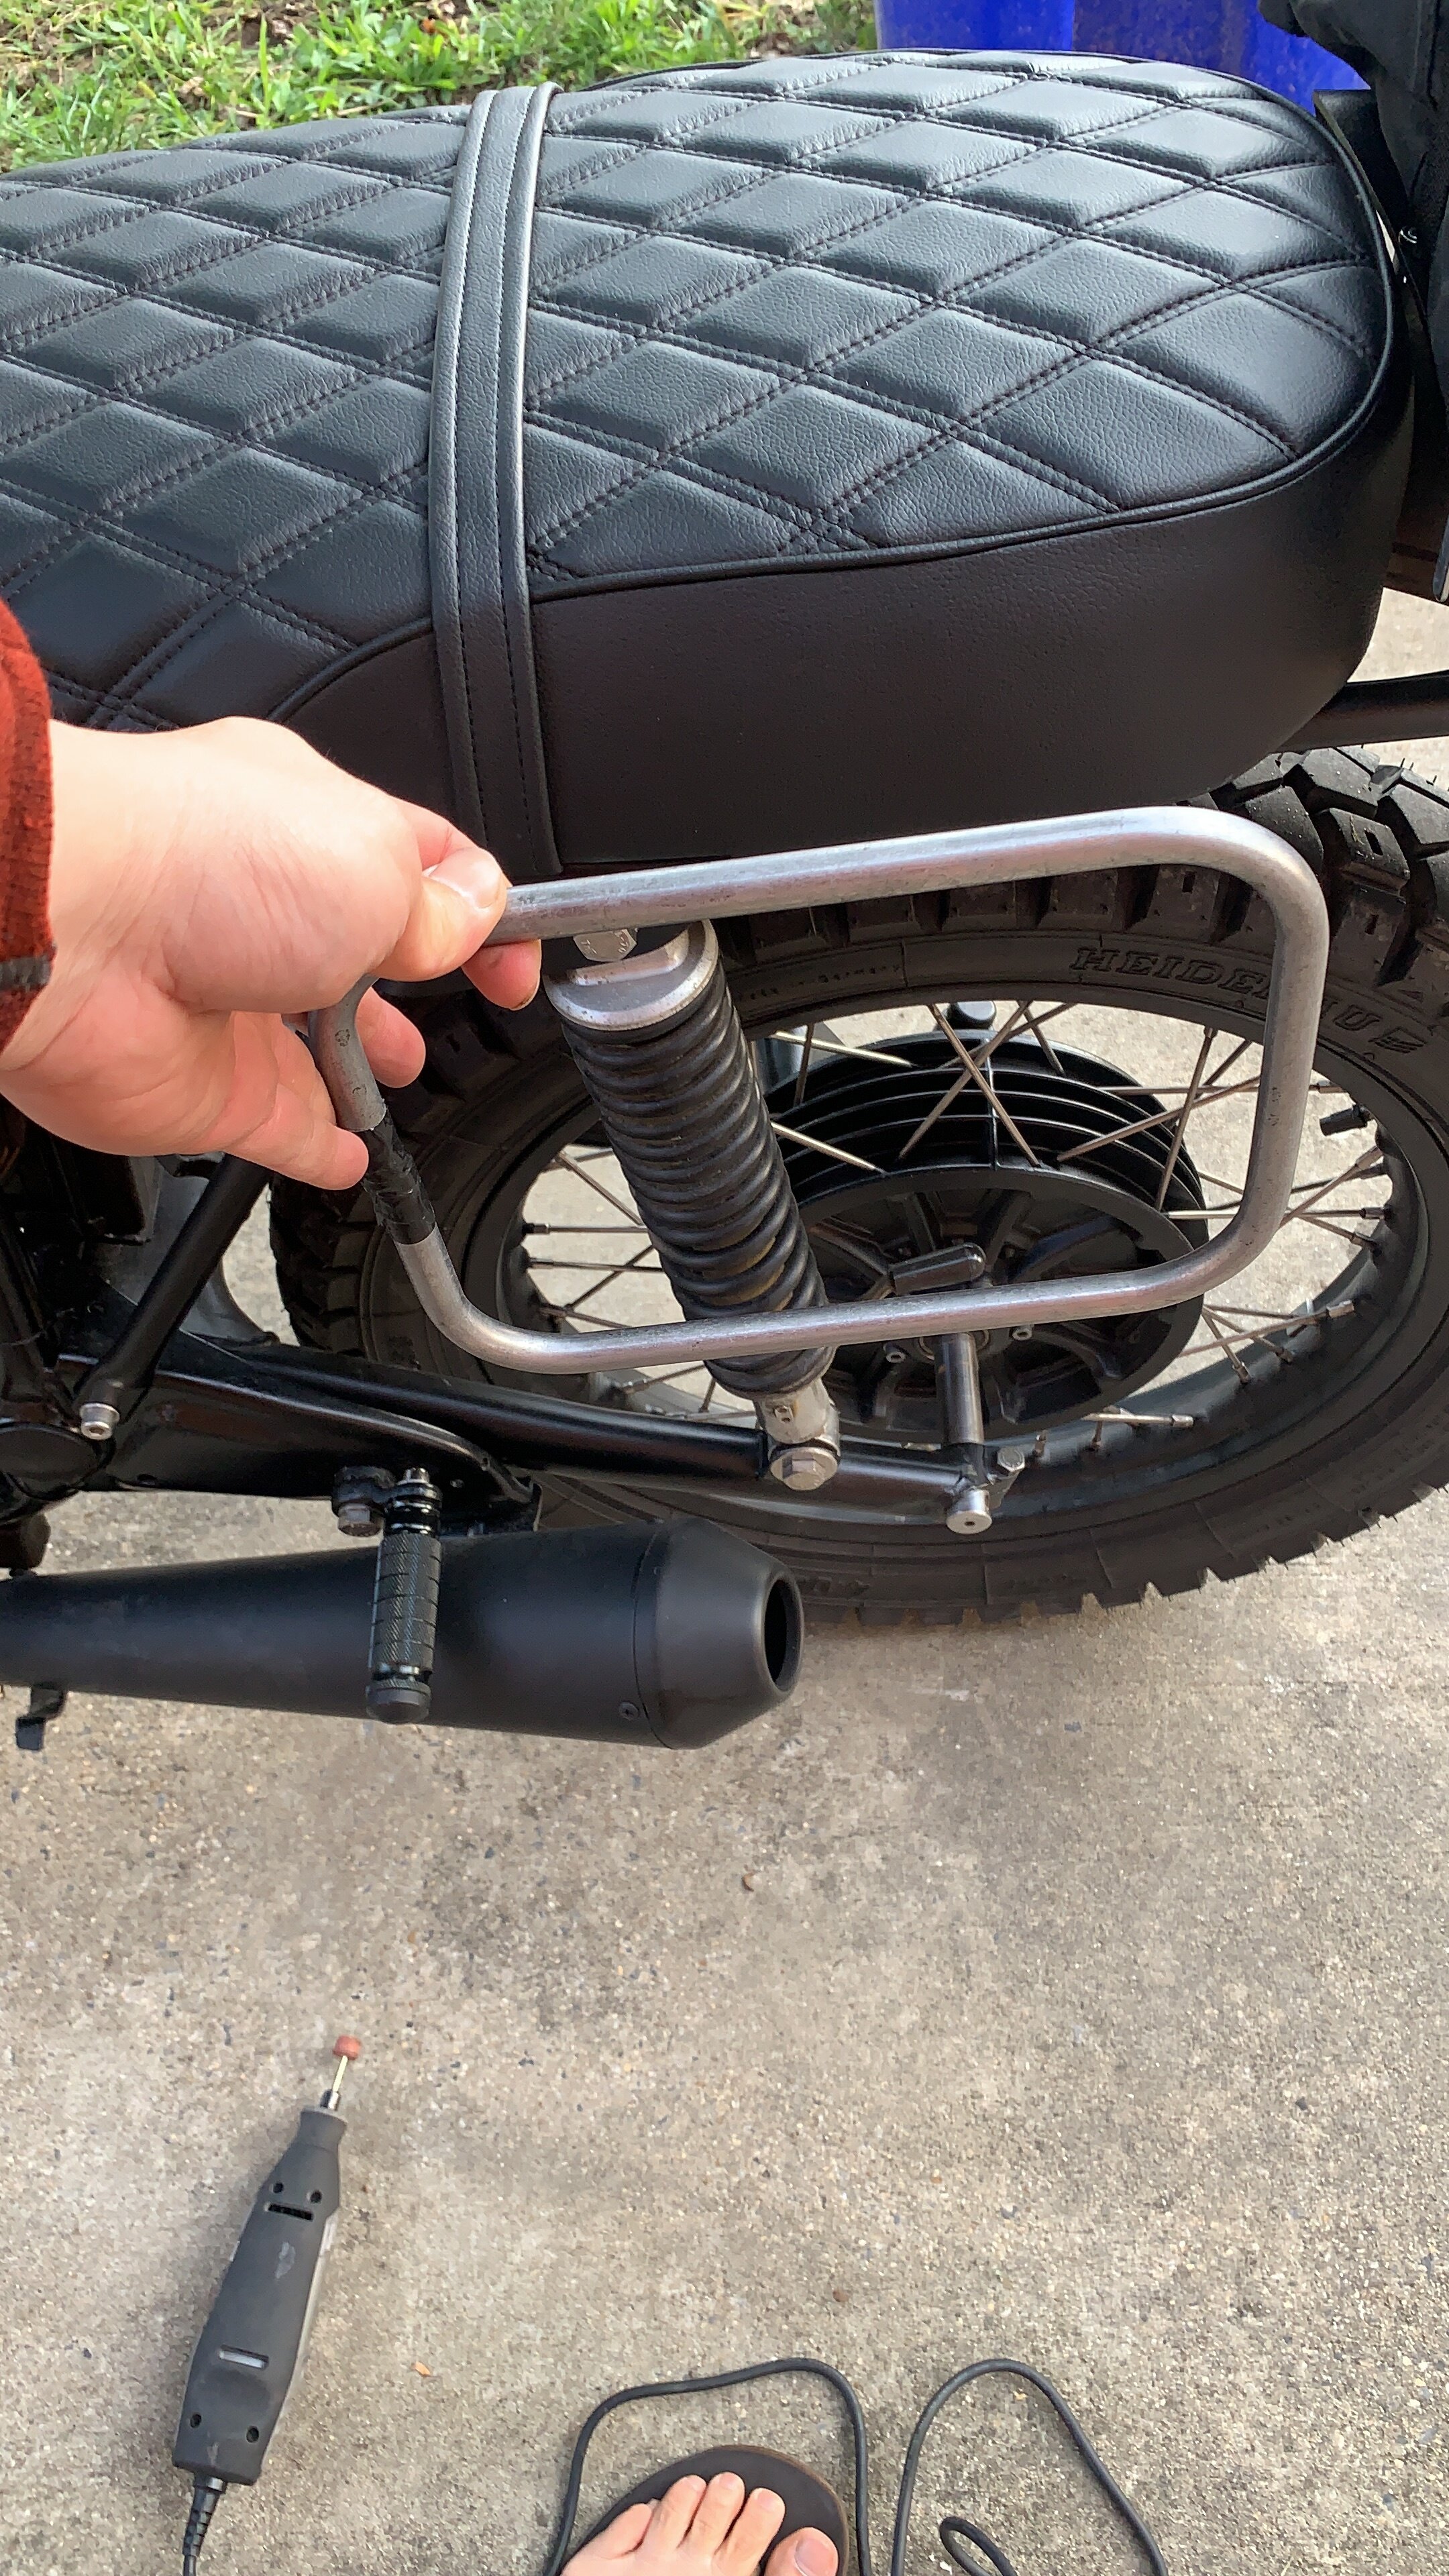
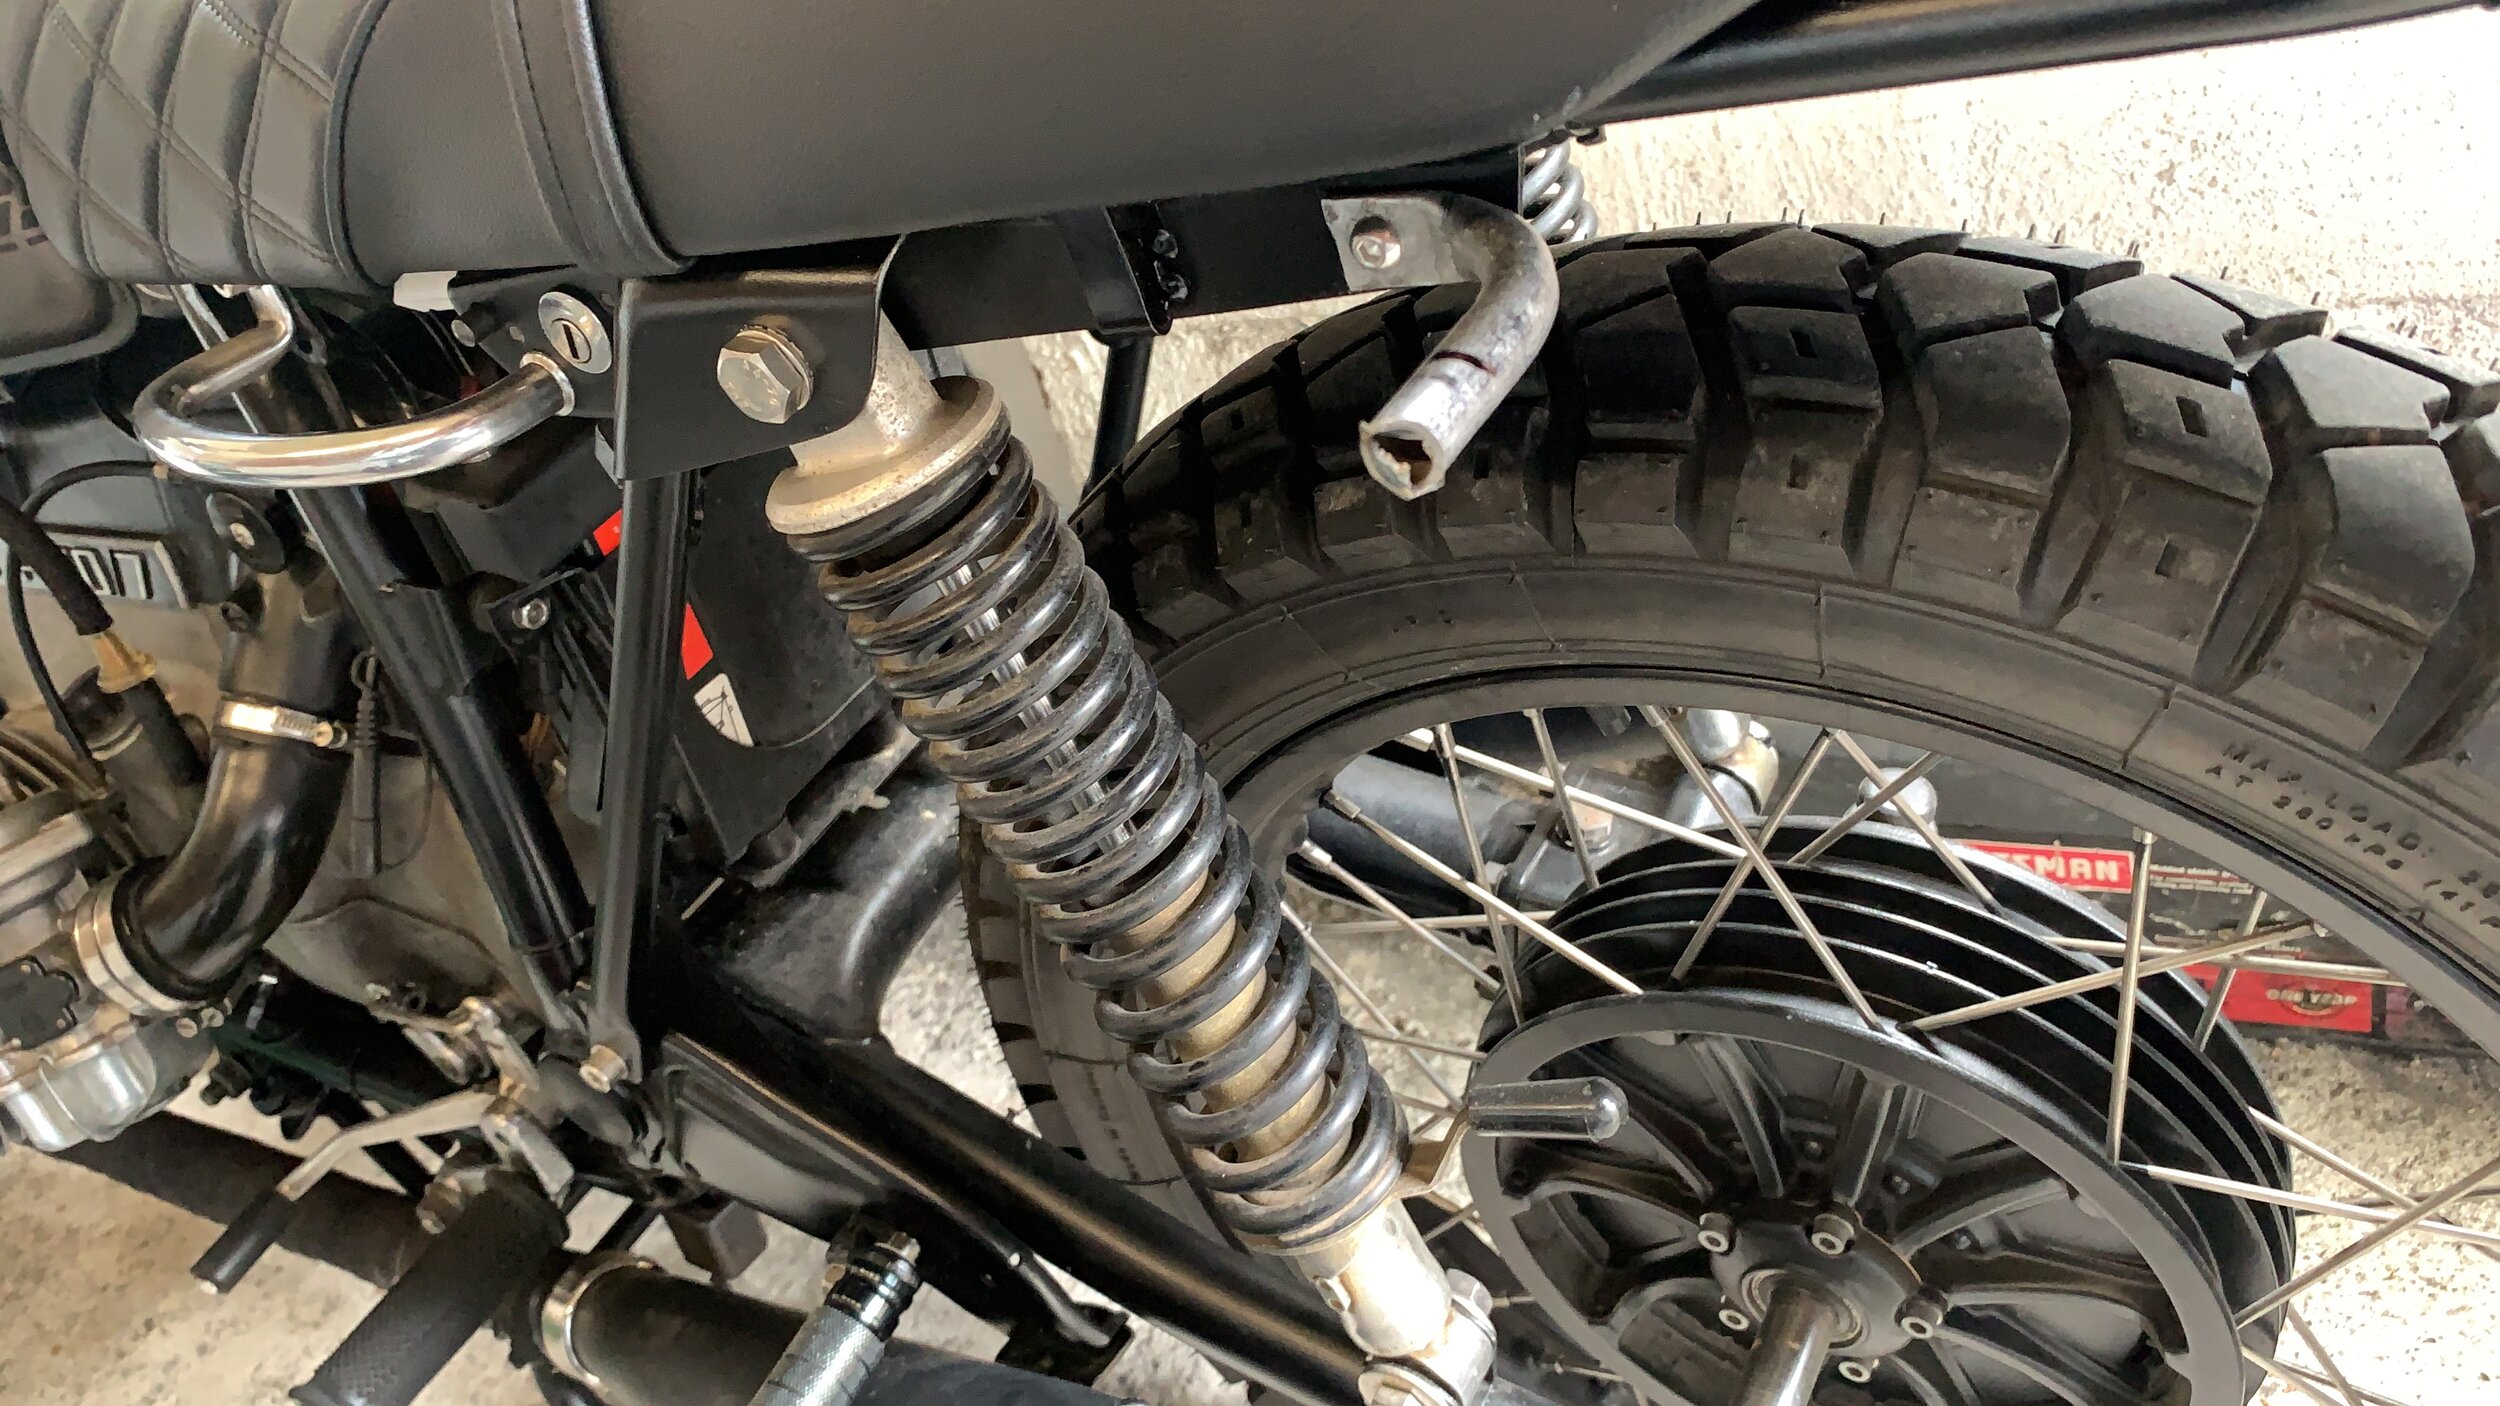
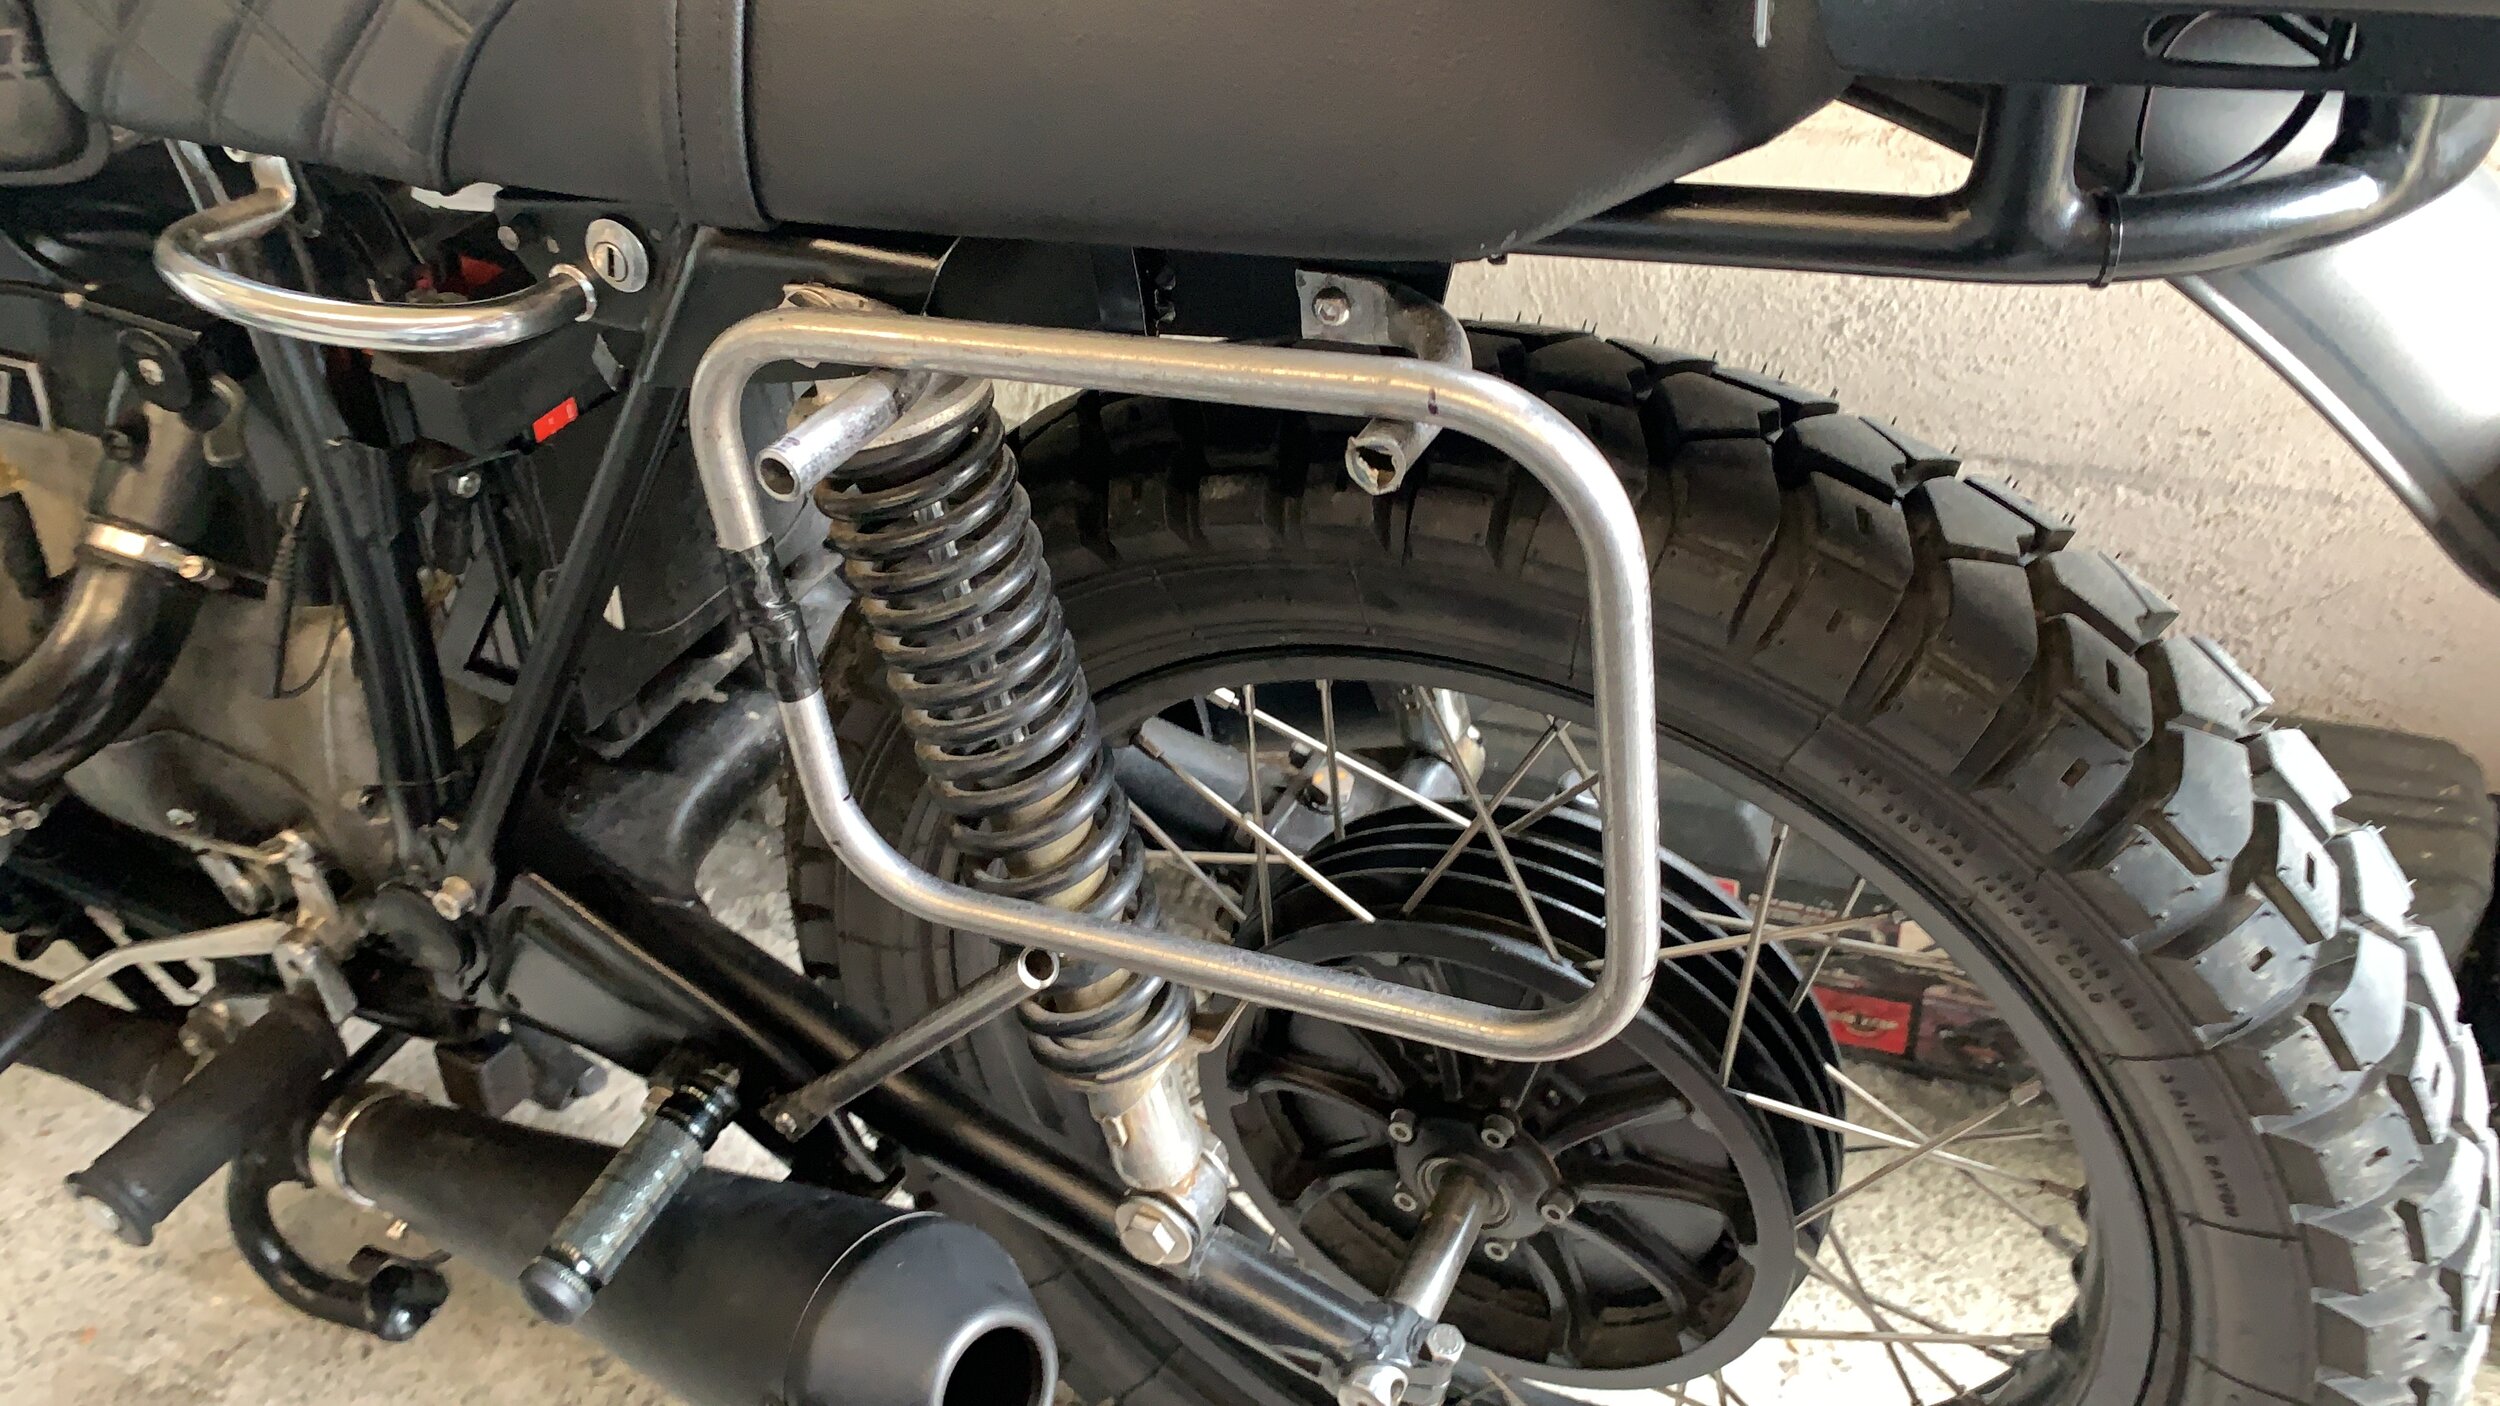
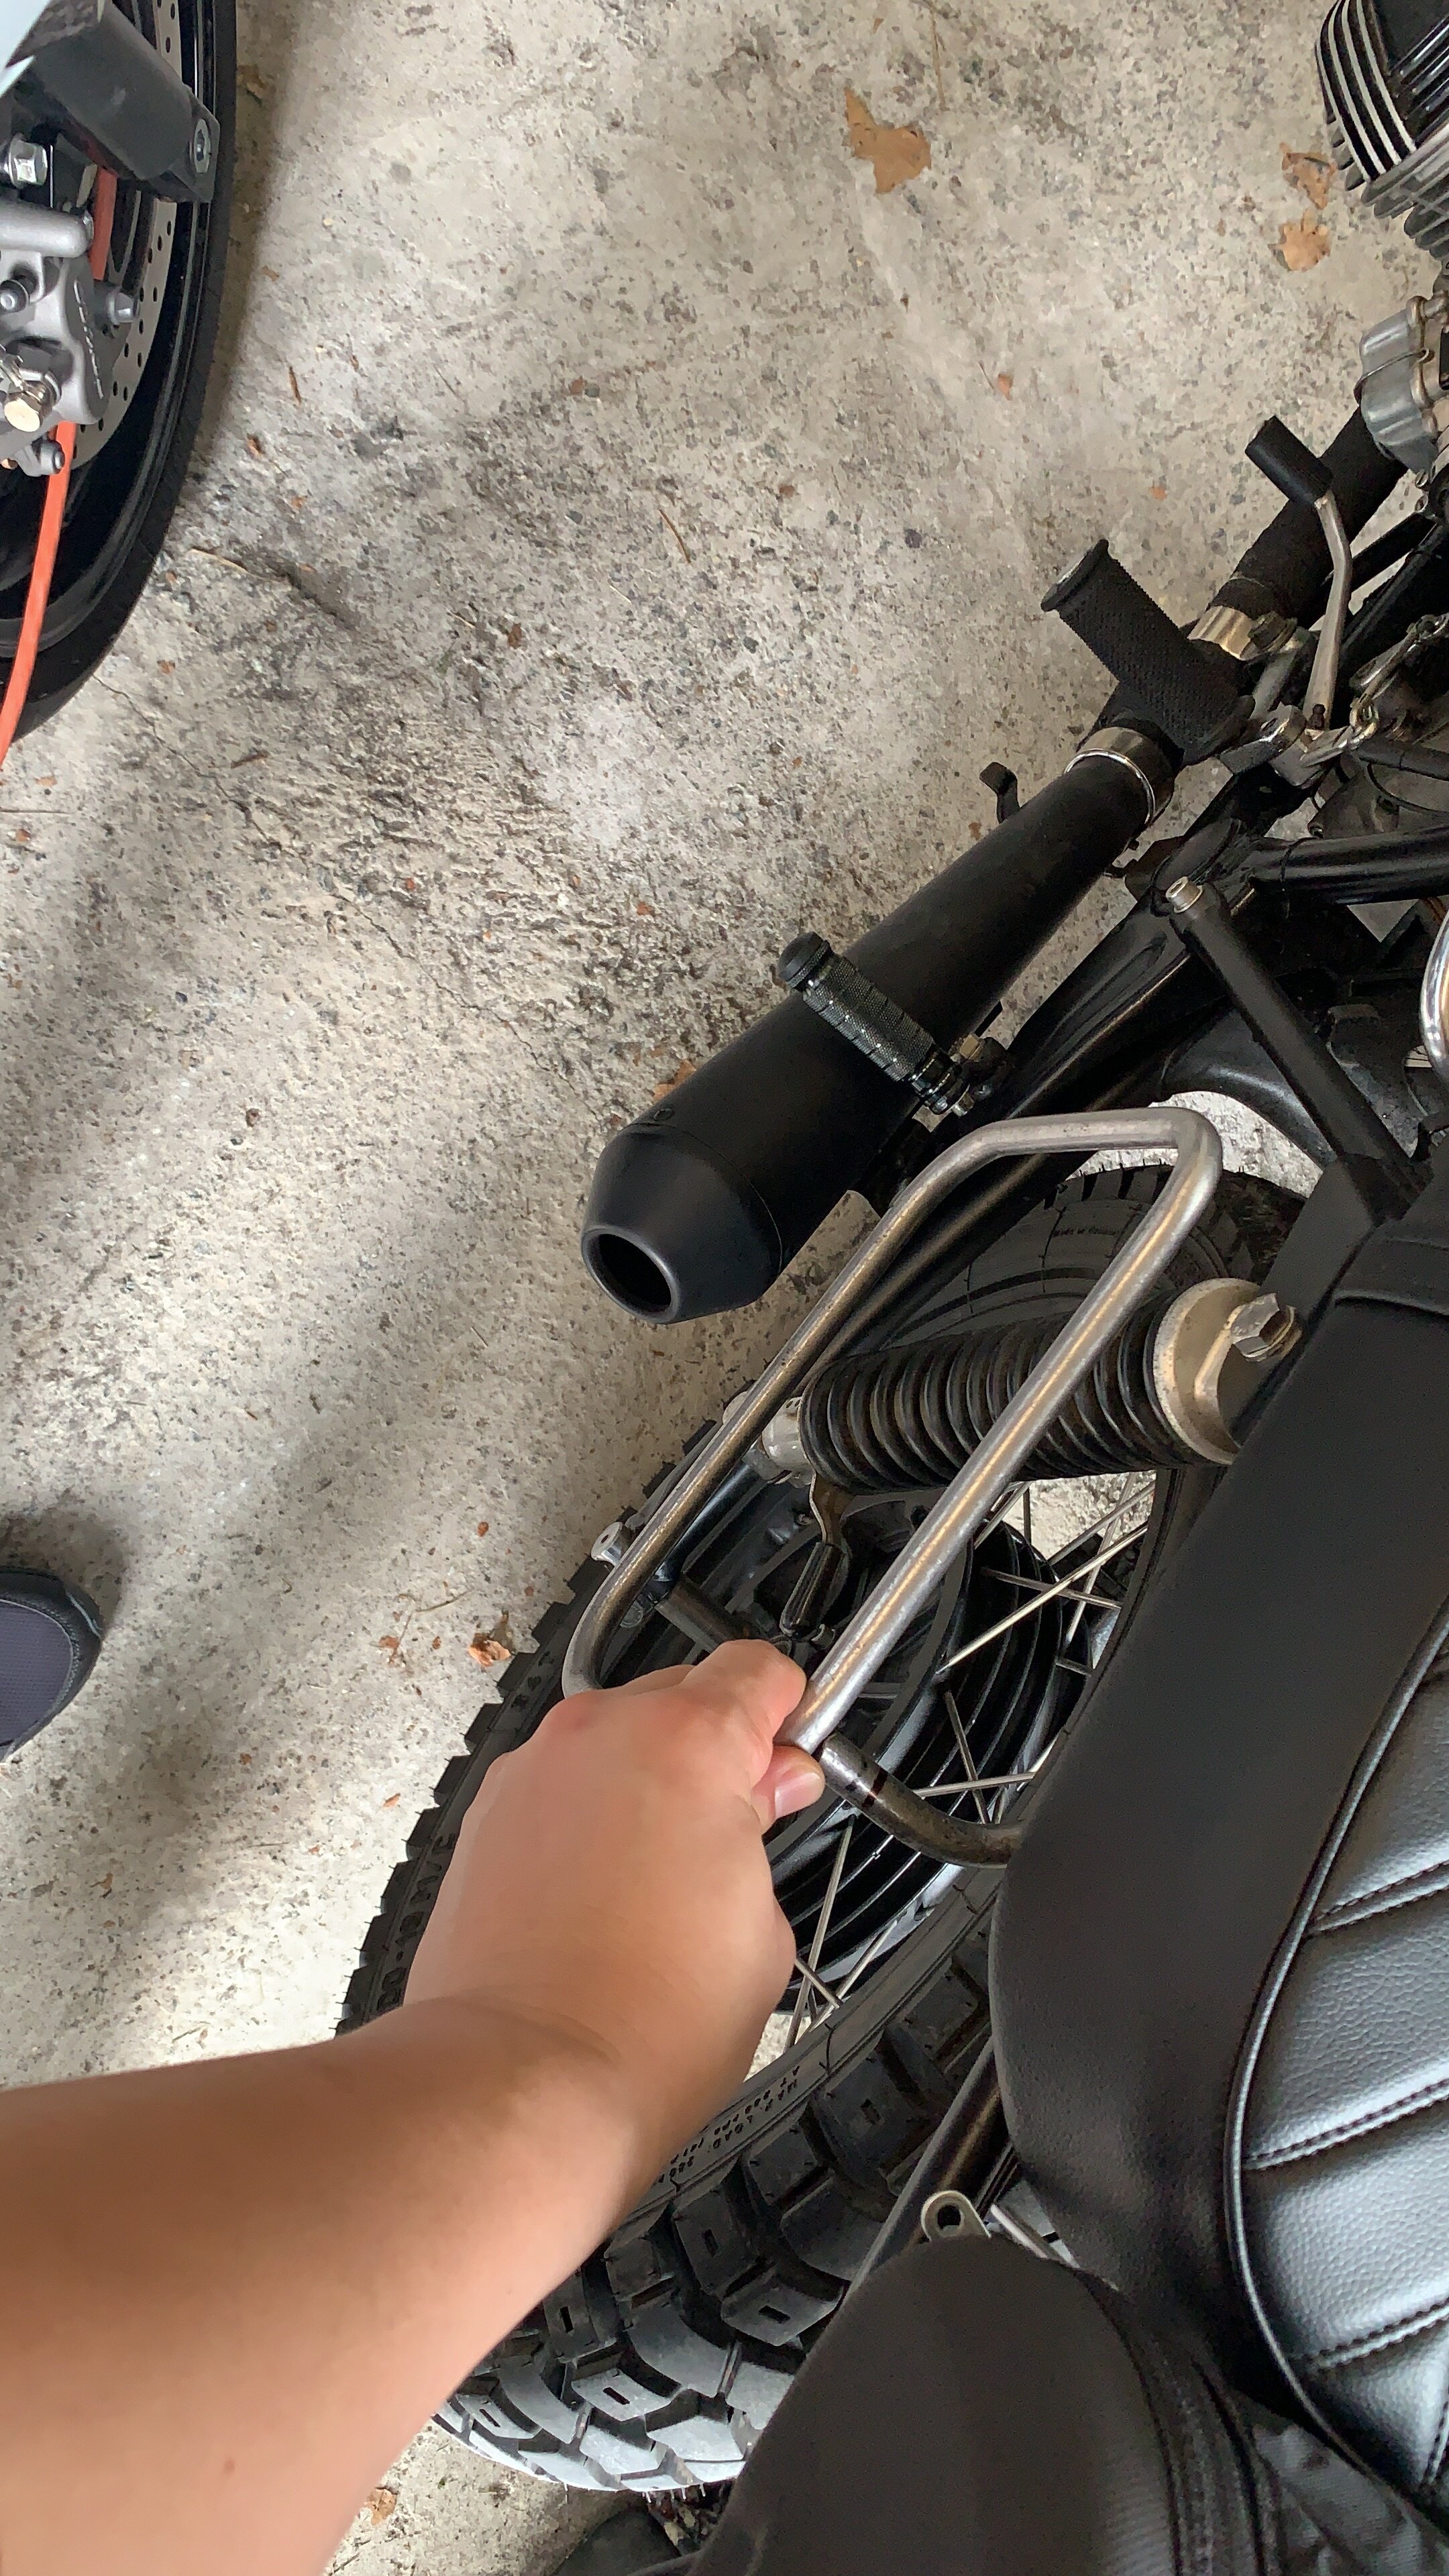
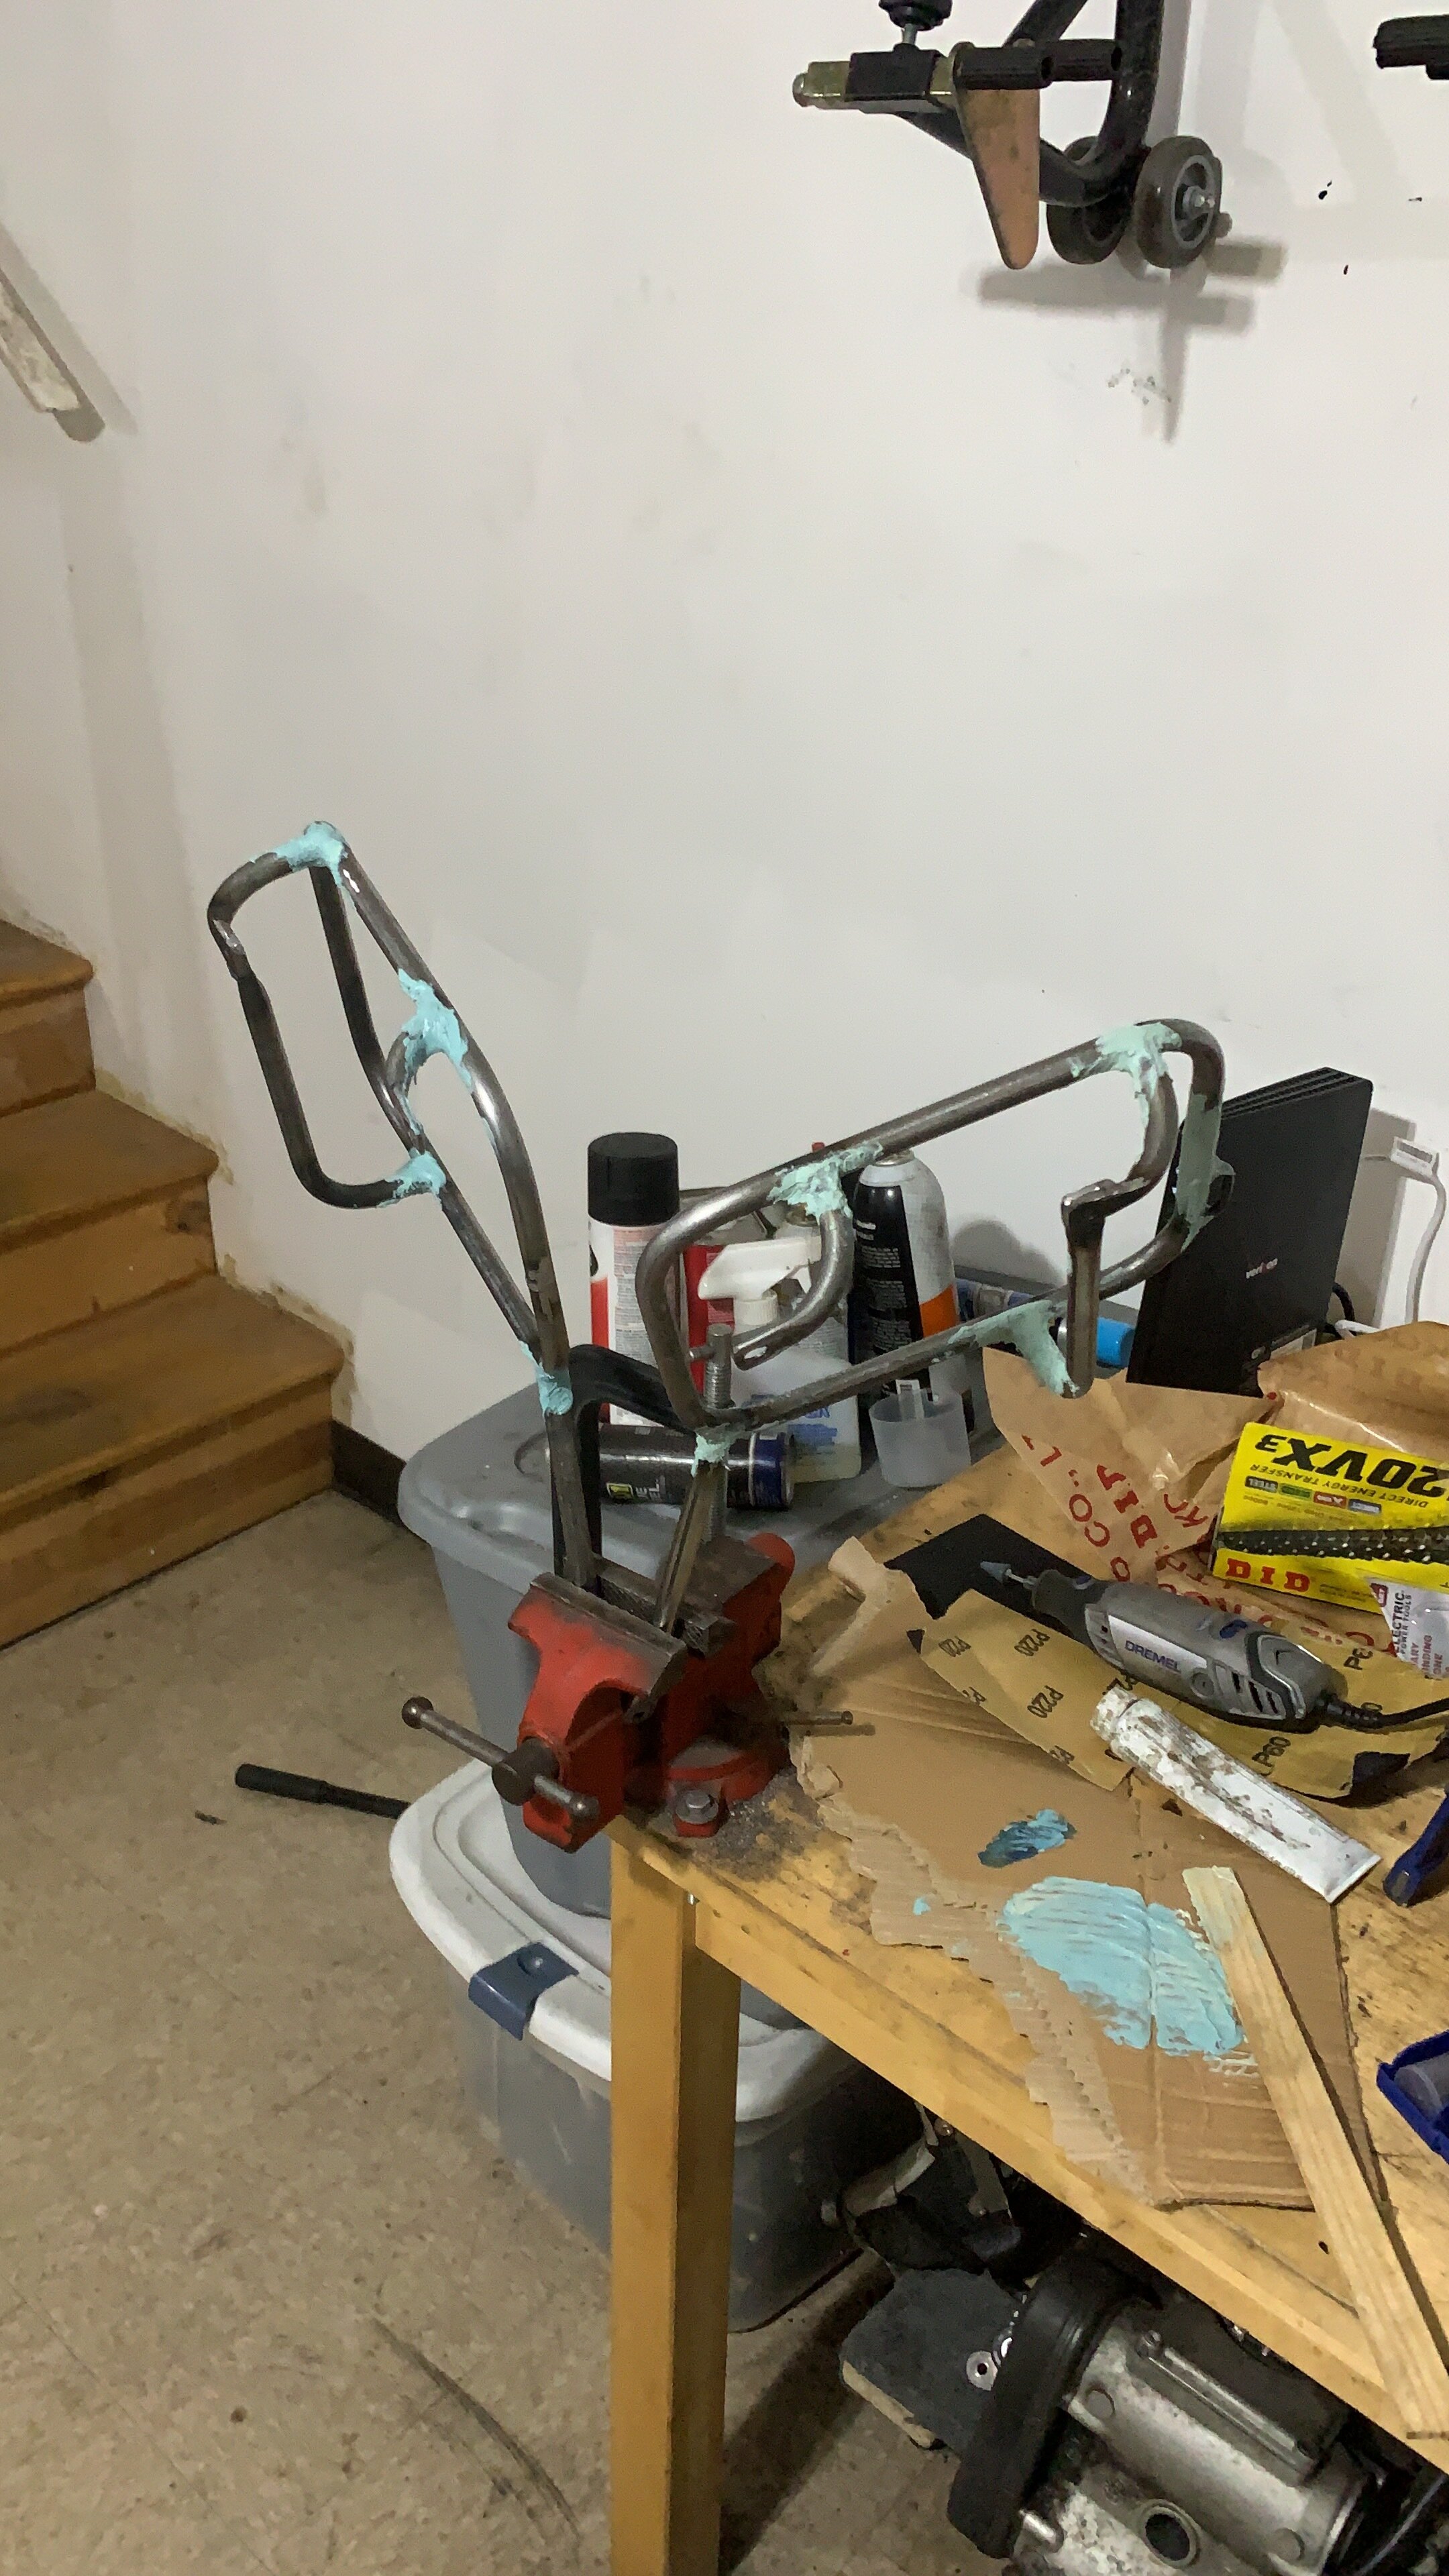
The second part of the equation is final tubing section that will bolts to the frame near the swing arm. It seems rather easy at first, I thought I can just extend a section down and then cut it, and then go get it welded. Except even the primary vertical and horizontal is drawn properly, the lateral angle also has a pitch inside. It will be near impossible to draw and then be accurate enough to have the right angle. I did not want to weld stuff on the bike as I have many after market electronics on there that retains battery power even disconnected, so I cut the proper length, put it in place and use the epoxy putty to hold it in place. I left one section open for welding, and once welded, we were able to chip the epoxy and clean it up with the wire wheel on the bench grinder. Once it was all welded, the rest was very easy, some grinding and body work and paint. It looks the part and best of all its made perfect for the bag with the small loop on the bottom where the strap will go through.
NOTES:
This was a my first custom build, as my friends would tell you, I’m pretty obsessive until I get it right. I do not just slap stuff on there, if I have to take it off 15 times and remake it 10 times I would. There was definitely an infinite amount of growth in my ability to build bikes and understanding how to make something like this work. Assembling the engine and putting things back together was rather simple. In fact, while many of the restoration of the bike is completely new to me, there is infinite wealth of knowledge online and experts to point you in the right direction on how to do something. If you look hard enough and read enough information these things are not really that complicated. The complicated stuff is all the custom items, there are no guidelines and there are no rules.
You really have to know your stuff before attempting to make any of these items. You have to have a plan on how it will be mounted and how the end product would look. You will run into tons of problem that you have to solve. Again, someone can easily follow a manual and repair a bike without really knowing the concept or the details of how things work. To do custom builds and to make everything work, you have to really study and know what you are doing. Between measuring the distance for every cable and brake line, to measuring the size needed for master cylinder and the structural integrity of a pannier rack. None of these are bolt on options, and knowing how they come together and how to rewire the entire bike is a whole lot more involved than just replacing parts and following a direction in a manual.
I have found an incredible amount of respect for people who build custom bikes. They have to know their math, physics, and engineering on top of knowing how everything works down to the last bolt of the bike. Knowing how every electrical component work together and the amount of amperage is needed for every item on the bike. This is not an easy task, and it takes a wealth of knowledge base to do this on a daily basis and be able to turn out an end product. I tinker with this during COVID 19, I call this my covid baby. I had all the time in the world to read and study and understand everything. I am definitely much more expert than most, but by no means an expert.


General - https://youtu.be/lvaU7zHWyZk
48108 actual miles (42484 miles at purchase/ 5624 miles since full rebuild)
Clean and clear title in my name
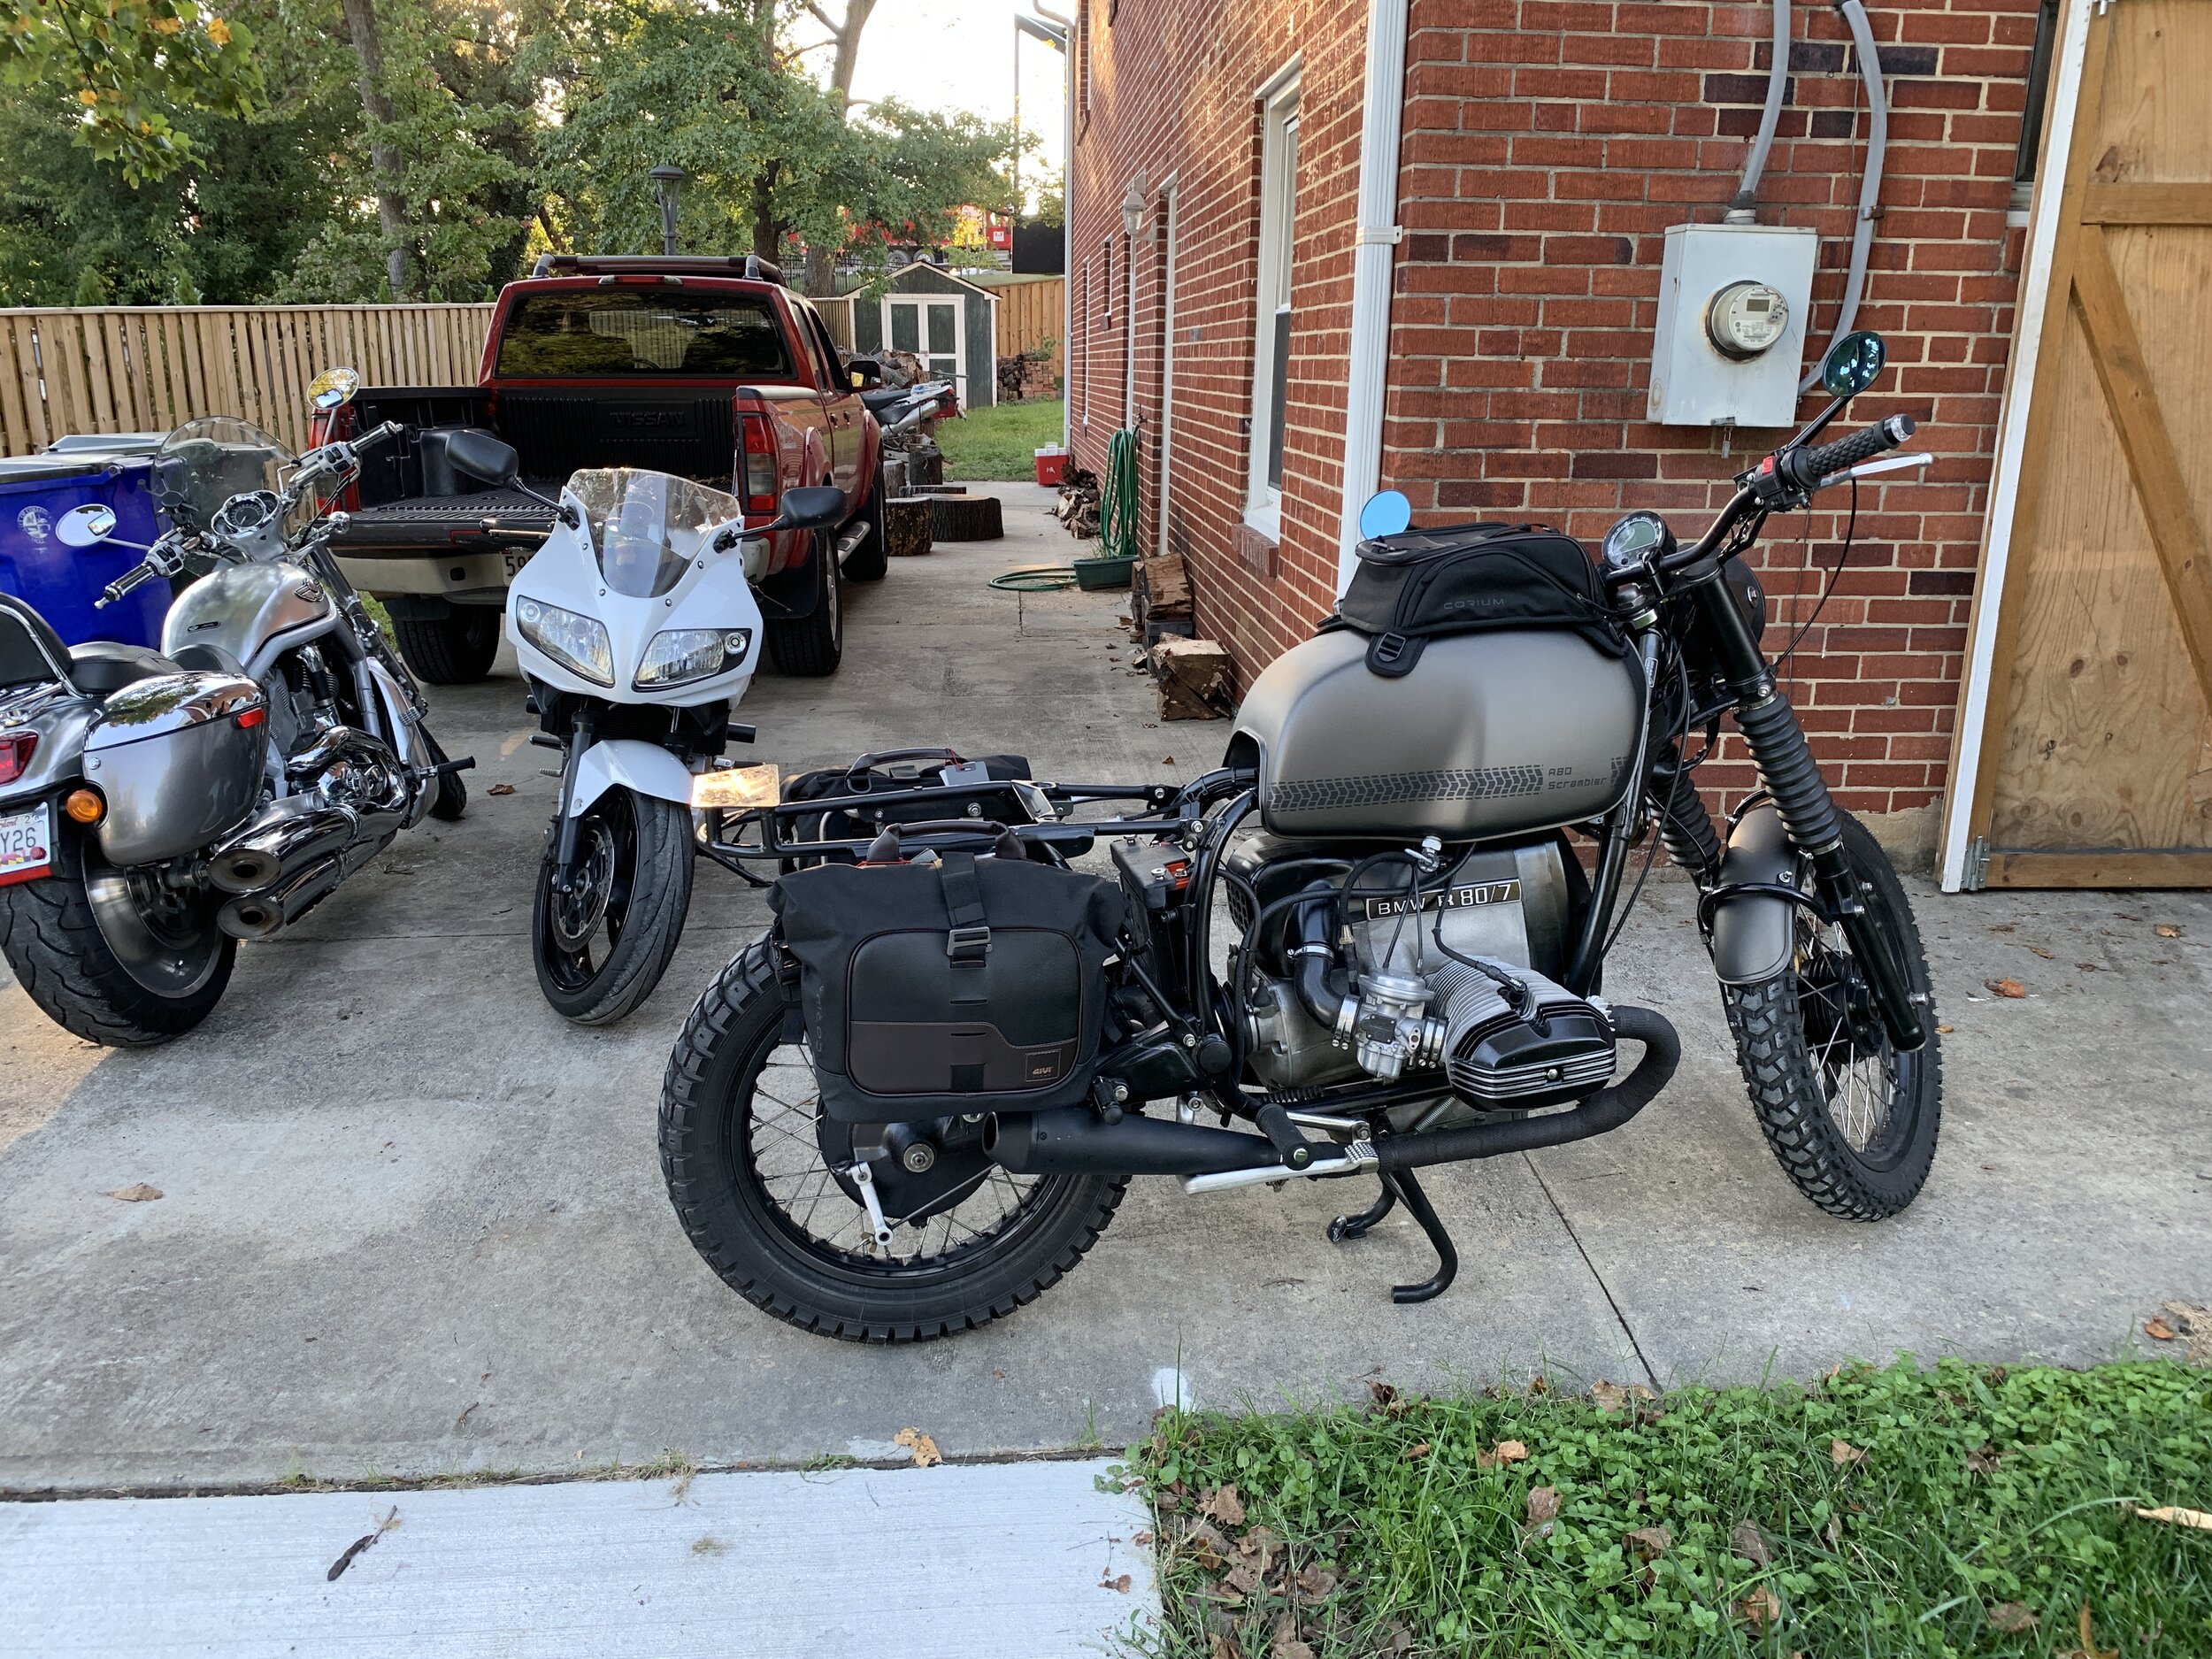
Givi Corium - Panniers and tank bag
Service and Rebuilds
Heidenau K60 Scout Tires (F and R)
Fully Rebuilt carburetor, New Petcock, New choke cable, new fuel lines
Main Bearing, rod bolts, new stainless pushrod tubes, new push rod boots
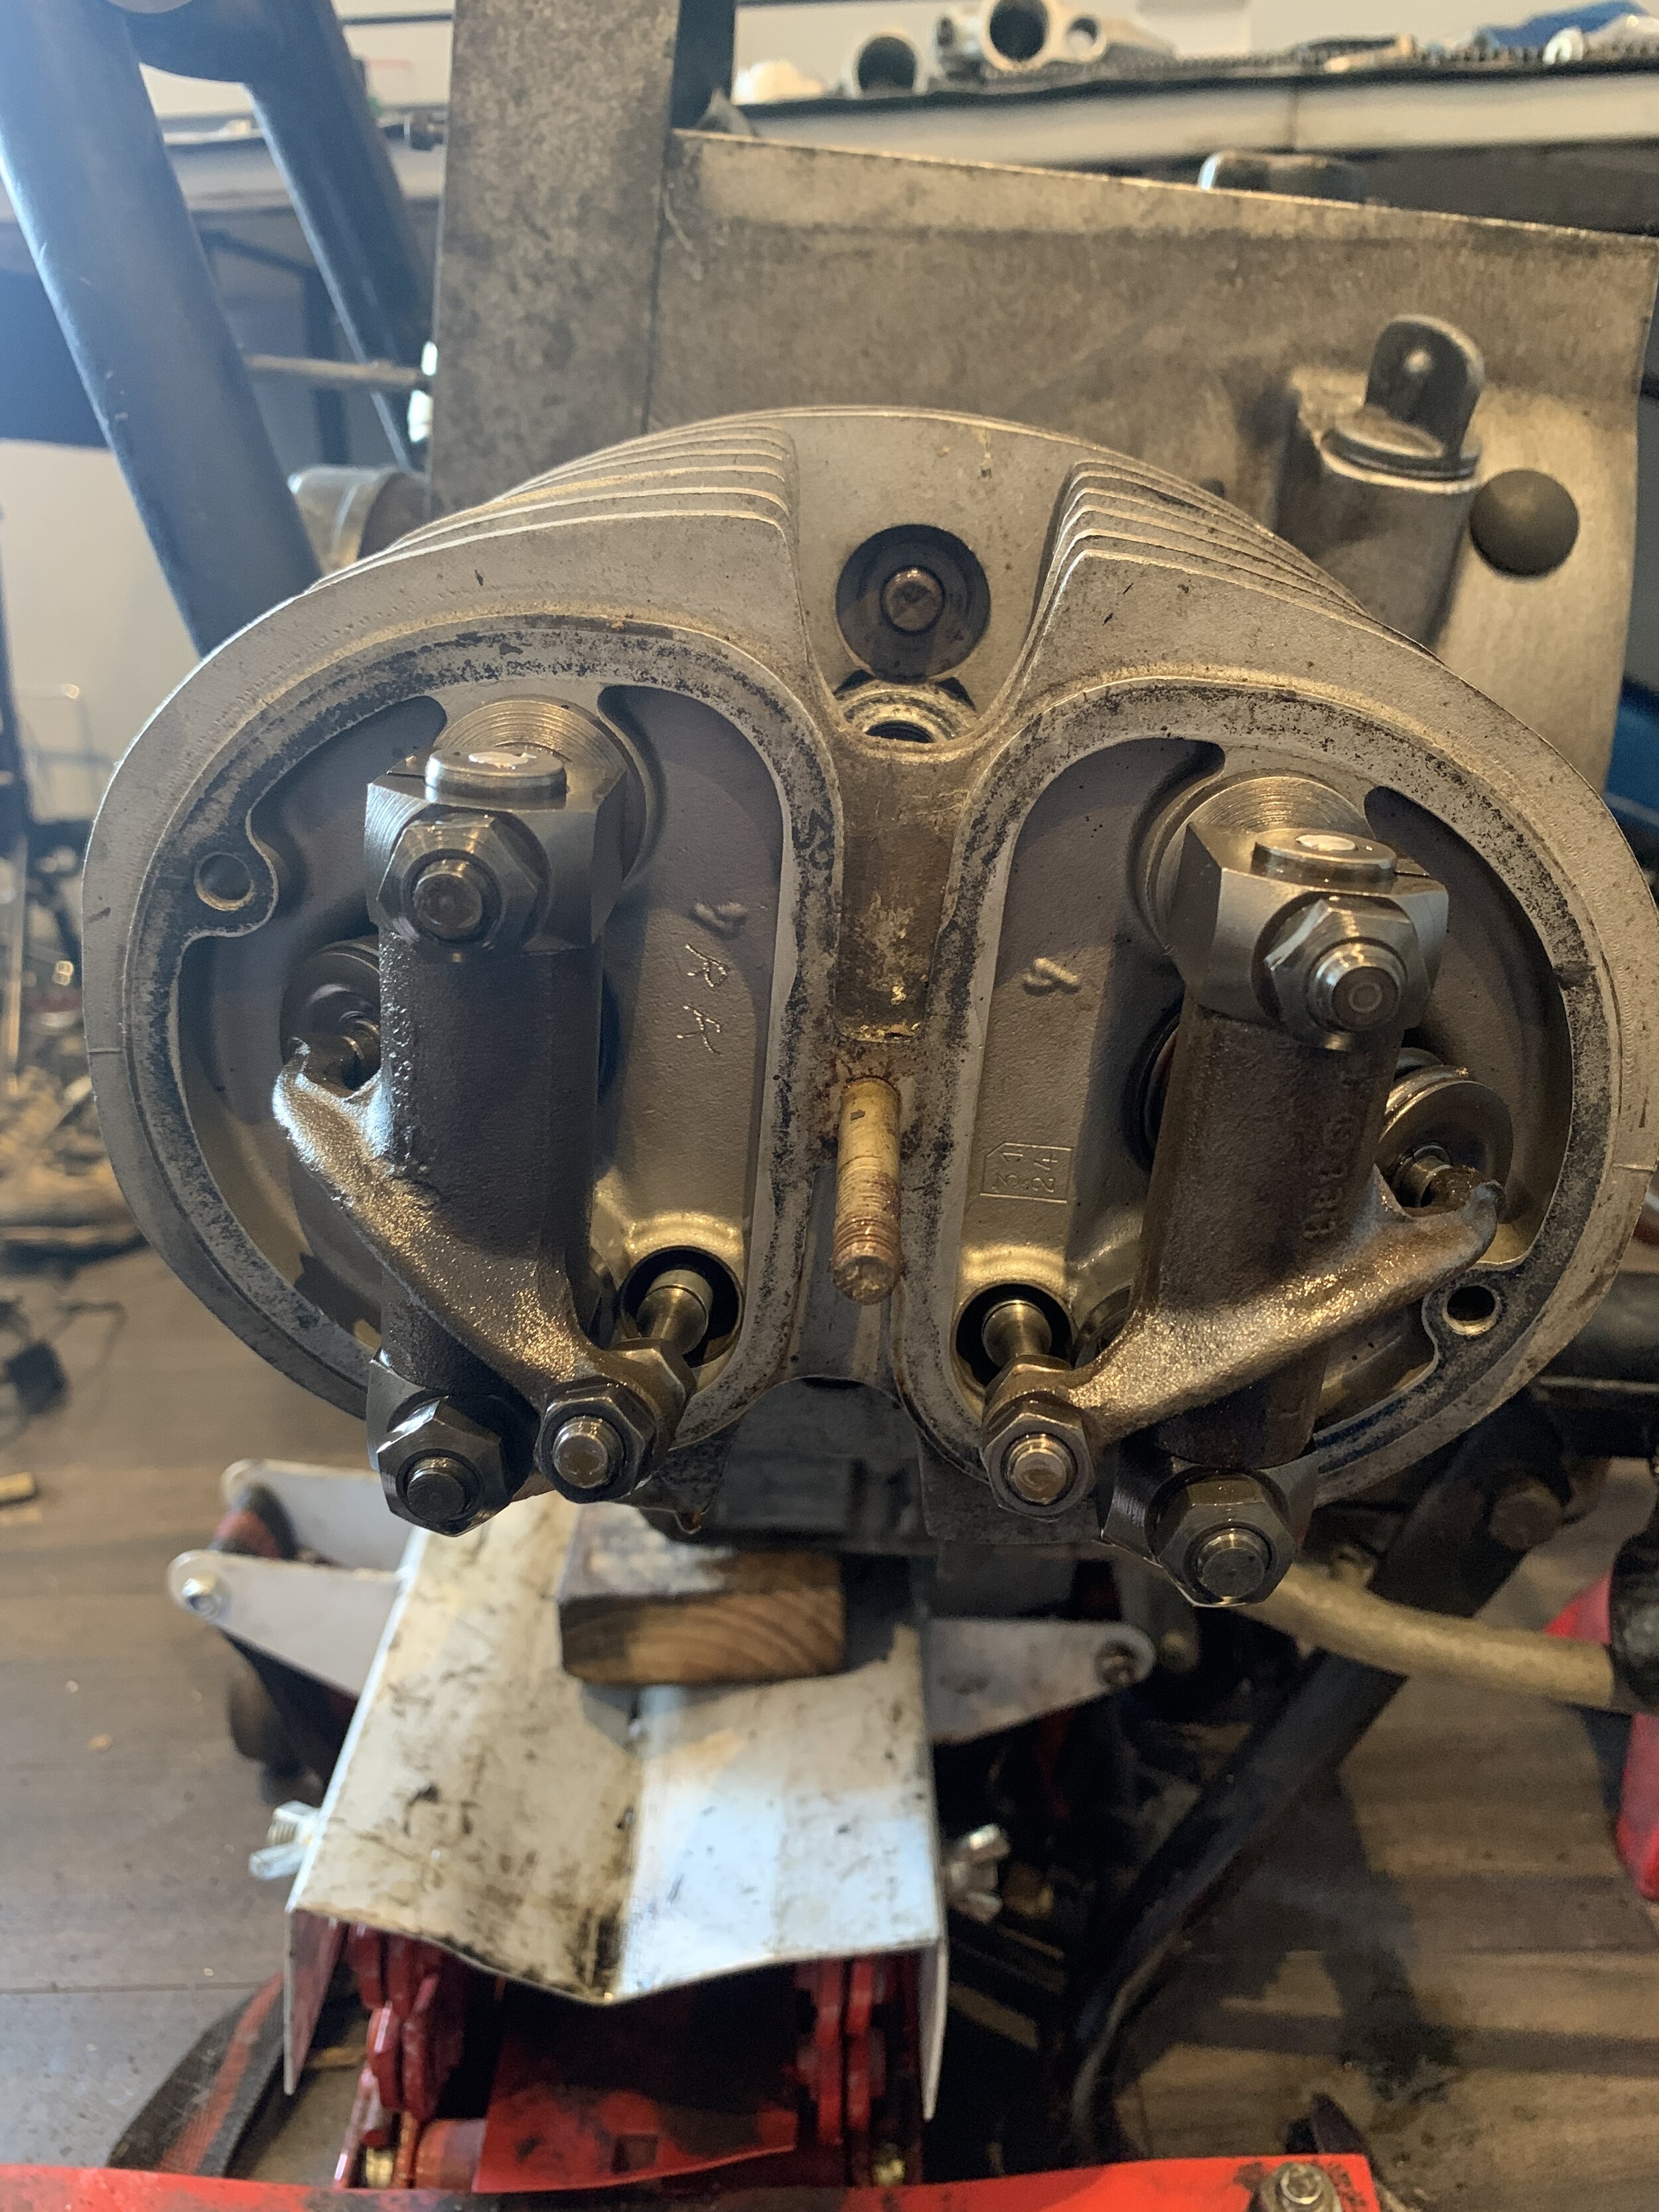
Fully serviced head, 3 angle valve job, and valve seat service
Rear main seal, new timing chain, and timing spring, all rubber gasket and seals are new
Transmission disassemble and reassembled with all seals replaced and gap measured
New drive shaft bolts / Final drive and brake shoes inspected, no leaks
All fluids serviced at build completion and also last summer 2023 at 5000 miles (Transmission, Final Drive, Drive shaft, brake fluid)
Engine oil replaced at 300 miles after rebuild, 1500 miles, 4000, and at 5000. (Clean)
All hardware replace with A4 and A2 stainless steel
Foot peg rubber replaced
Kickstand springs replaced
All wheel bearings replaced and regreased
Head bearing replaced
Electrical Upgrades
Odyssey PC680 AGM battery (Custom battery box and securing bracket)
Trucklite 27270C LED 7 inch headlight (3D printed custom headlight bracket)
New wiring harness and modern relay upgrade
Acewell MD085-553 (Speedo, Oil temp sensor, Tach, voltage, Gear indicator, and odometer)
Bar end turn signals
Rear LED stop and turn signal
Trucklite 27270C LED 7 inch headlight (3D printed custom headlight bracket)
Odyssey PC680 AGM battery (Custom battery box and securing bracket)
Valeo Starter
Enduralast High Output alternator
NGK plug and wire
Enduralast Digital Ignition System
Frame and Exhaust Upgrades
Flat Racer front fork brace
Cone Engineering Quiet Core Mufflers
R90x Design Big Brake Kit (S1000RR caliper, Ducati 1098 rotor, with billet mount)
Custom Front and Rear Fender color matched with Tank color and pinstripe
Gas Tank - flat olive with painted design, and emblem delete
Custom dual seat (Texavina)
Cafe billet circular mirrors
Custom rear rack (welded on)
Custom pannier racks build for Givi Corium panniers
License plate mount and light
Forks fully rebuild with uprated spring for 180 lb
Icon twin rear shocks with rebound and preload adjustment
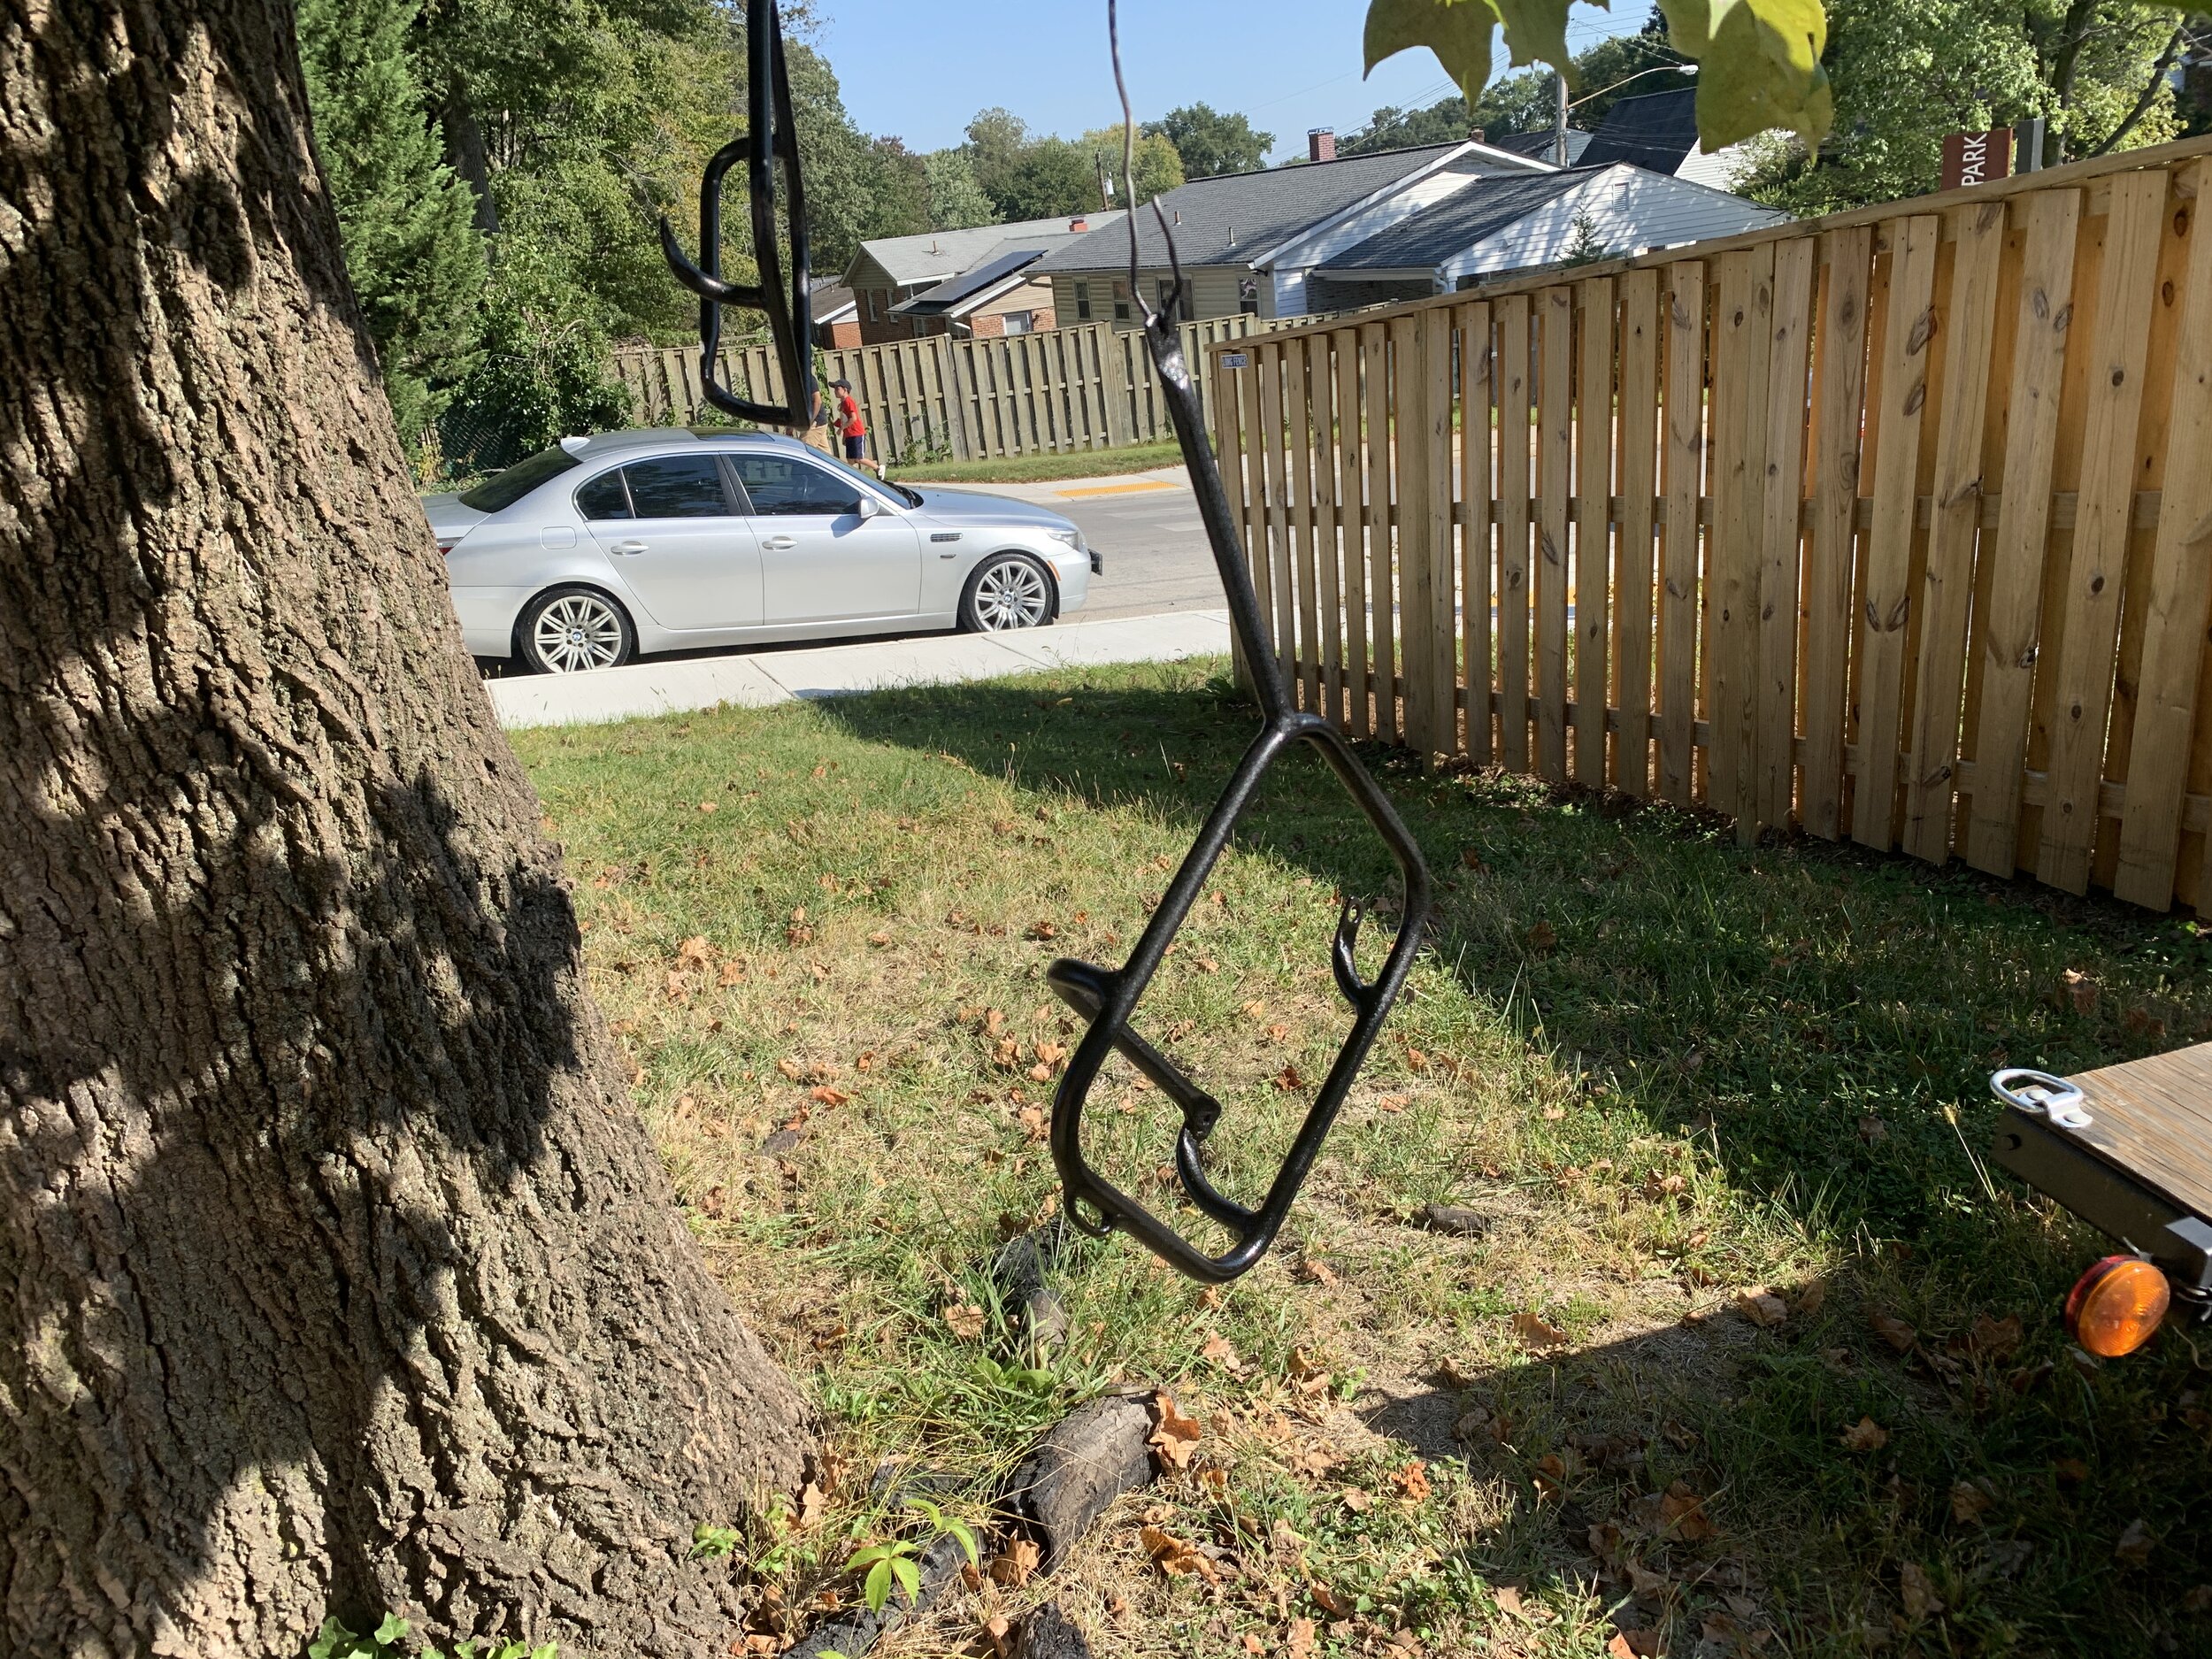
Billet passenger pegs
Stainless steel custom brake lines
Control Upgrades
Oxford heated grips (retro diamond style grip)
Venhill 2 into one custom throttle cable
Renthal 971 Handlebar
Ducati Multistrada 1100s Controls
Tommasselli Daytona single Throttle / Twist grip
Drz400sm master cylinder and levers