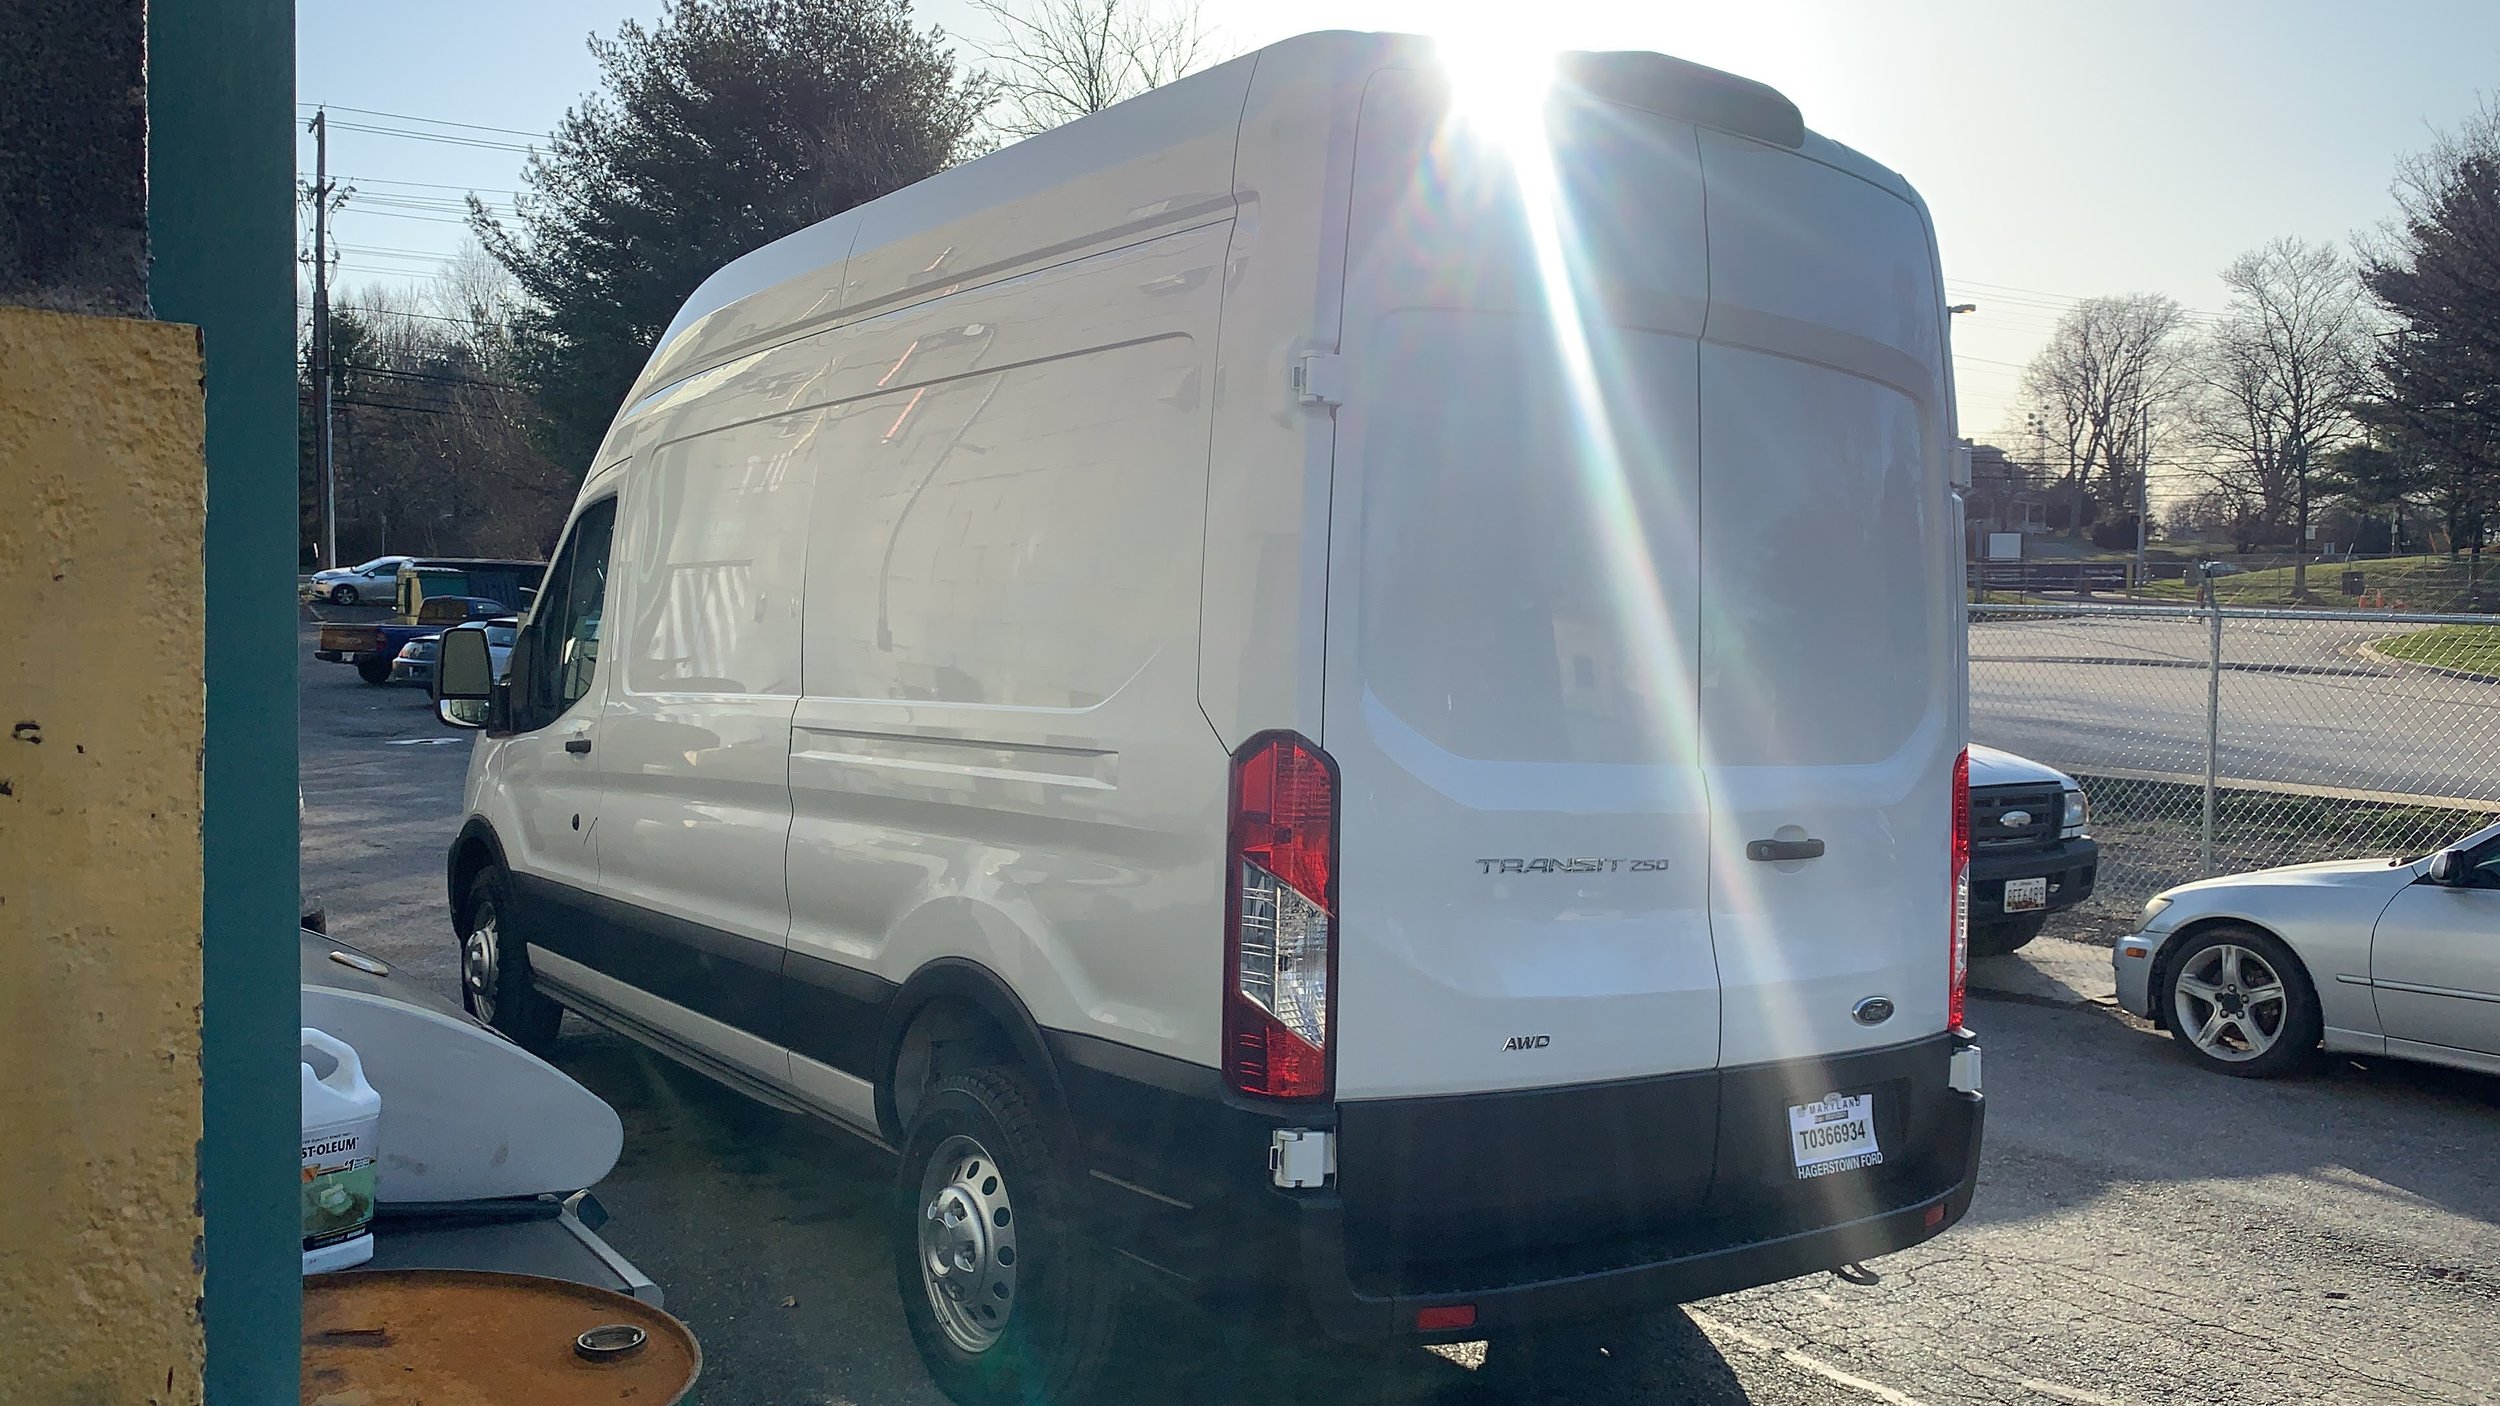
Ford Transit 2021 AWD - Adventure Van Build Out (SOLO)
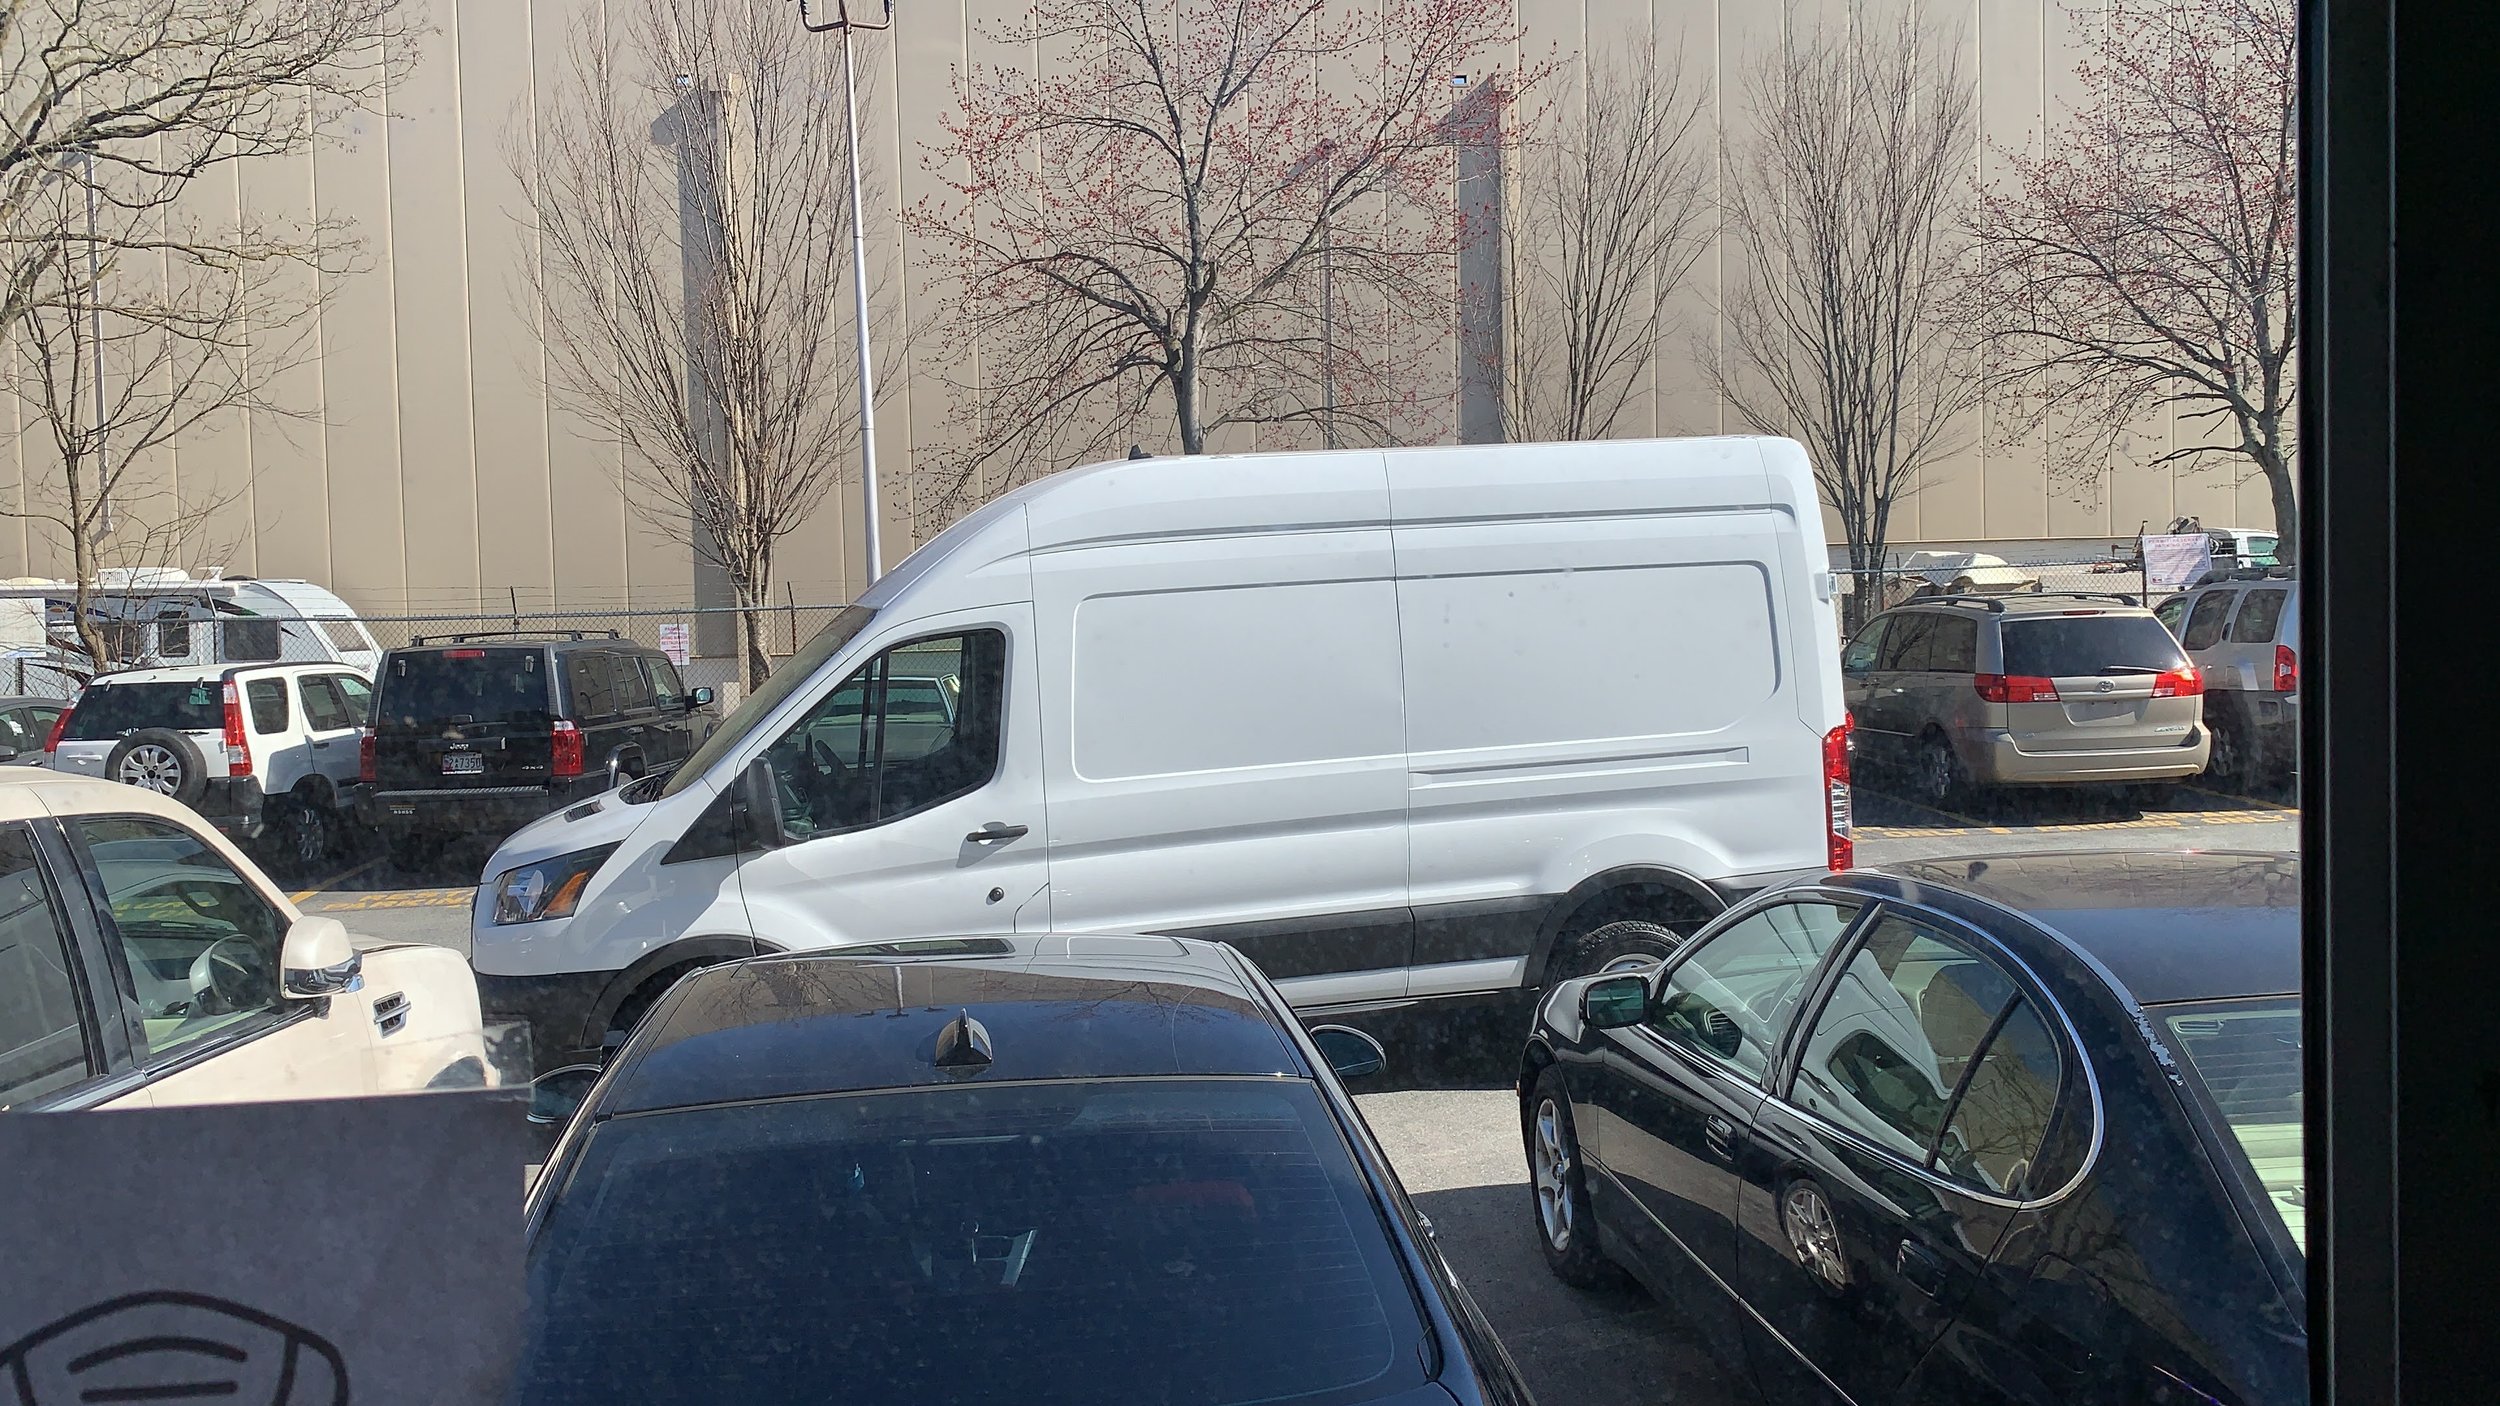
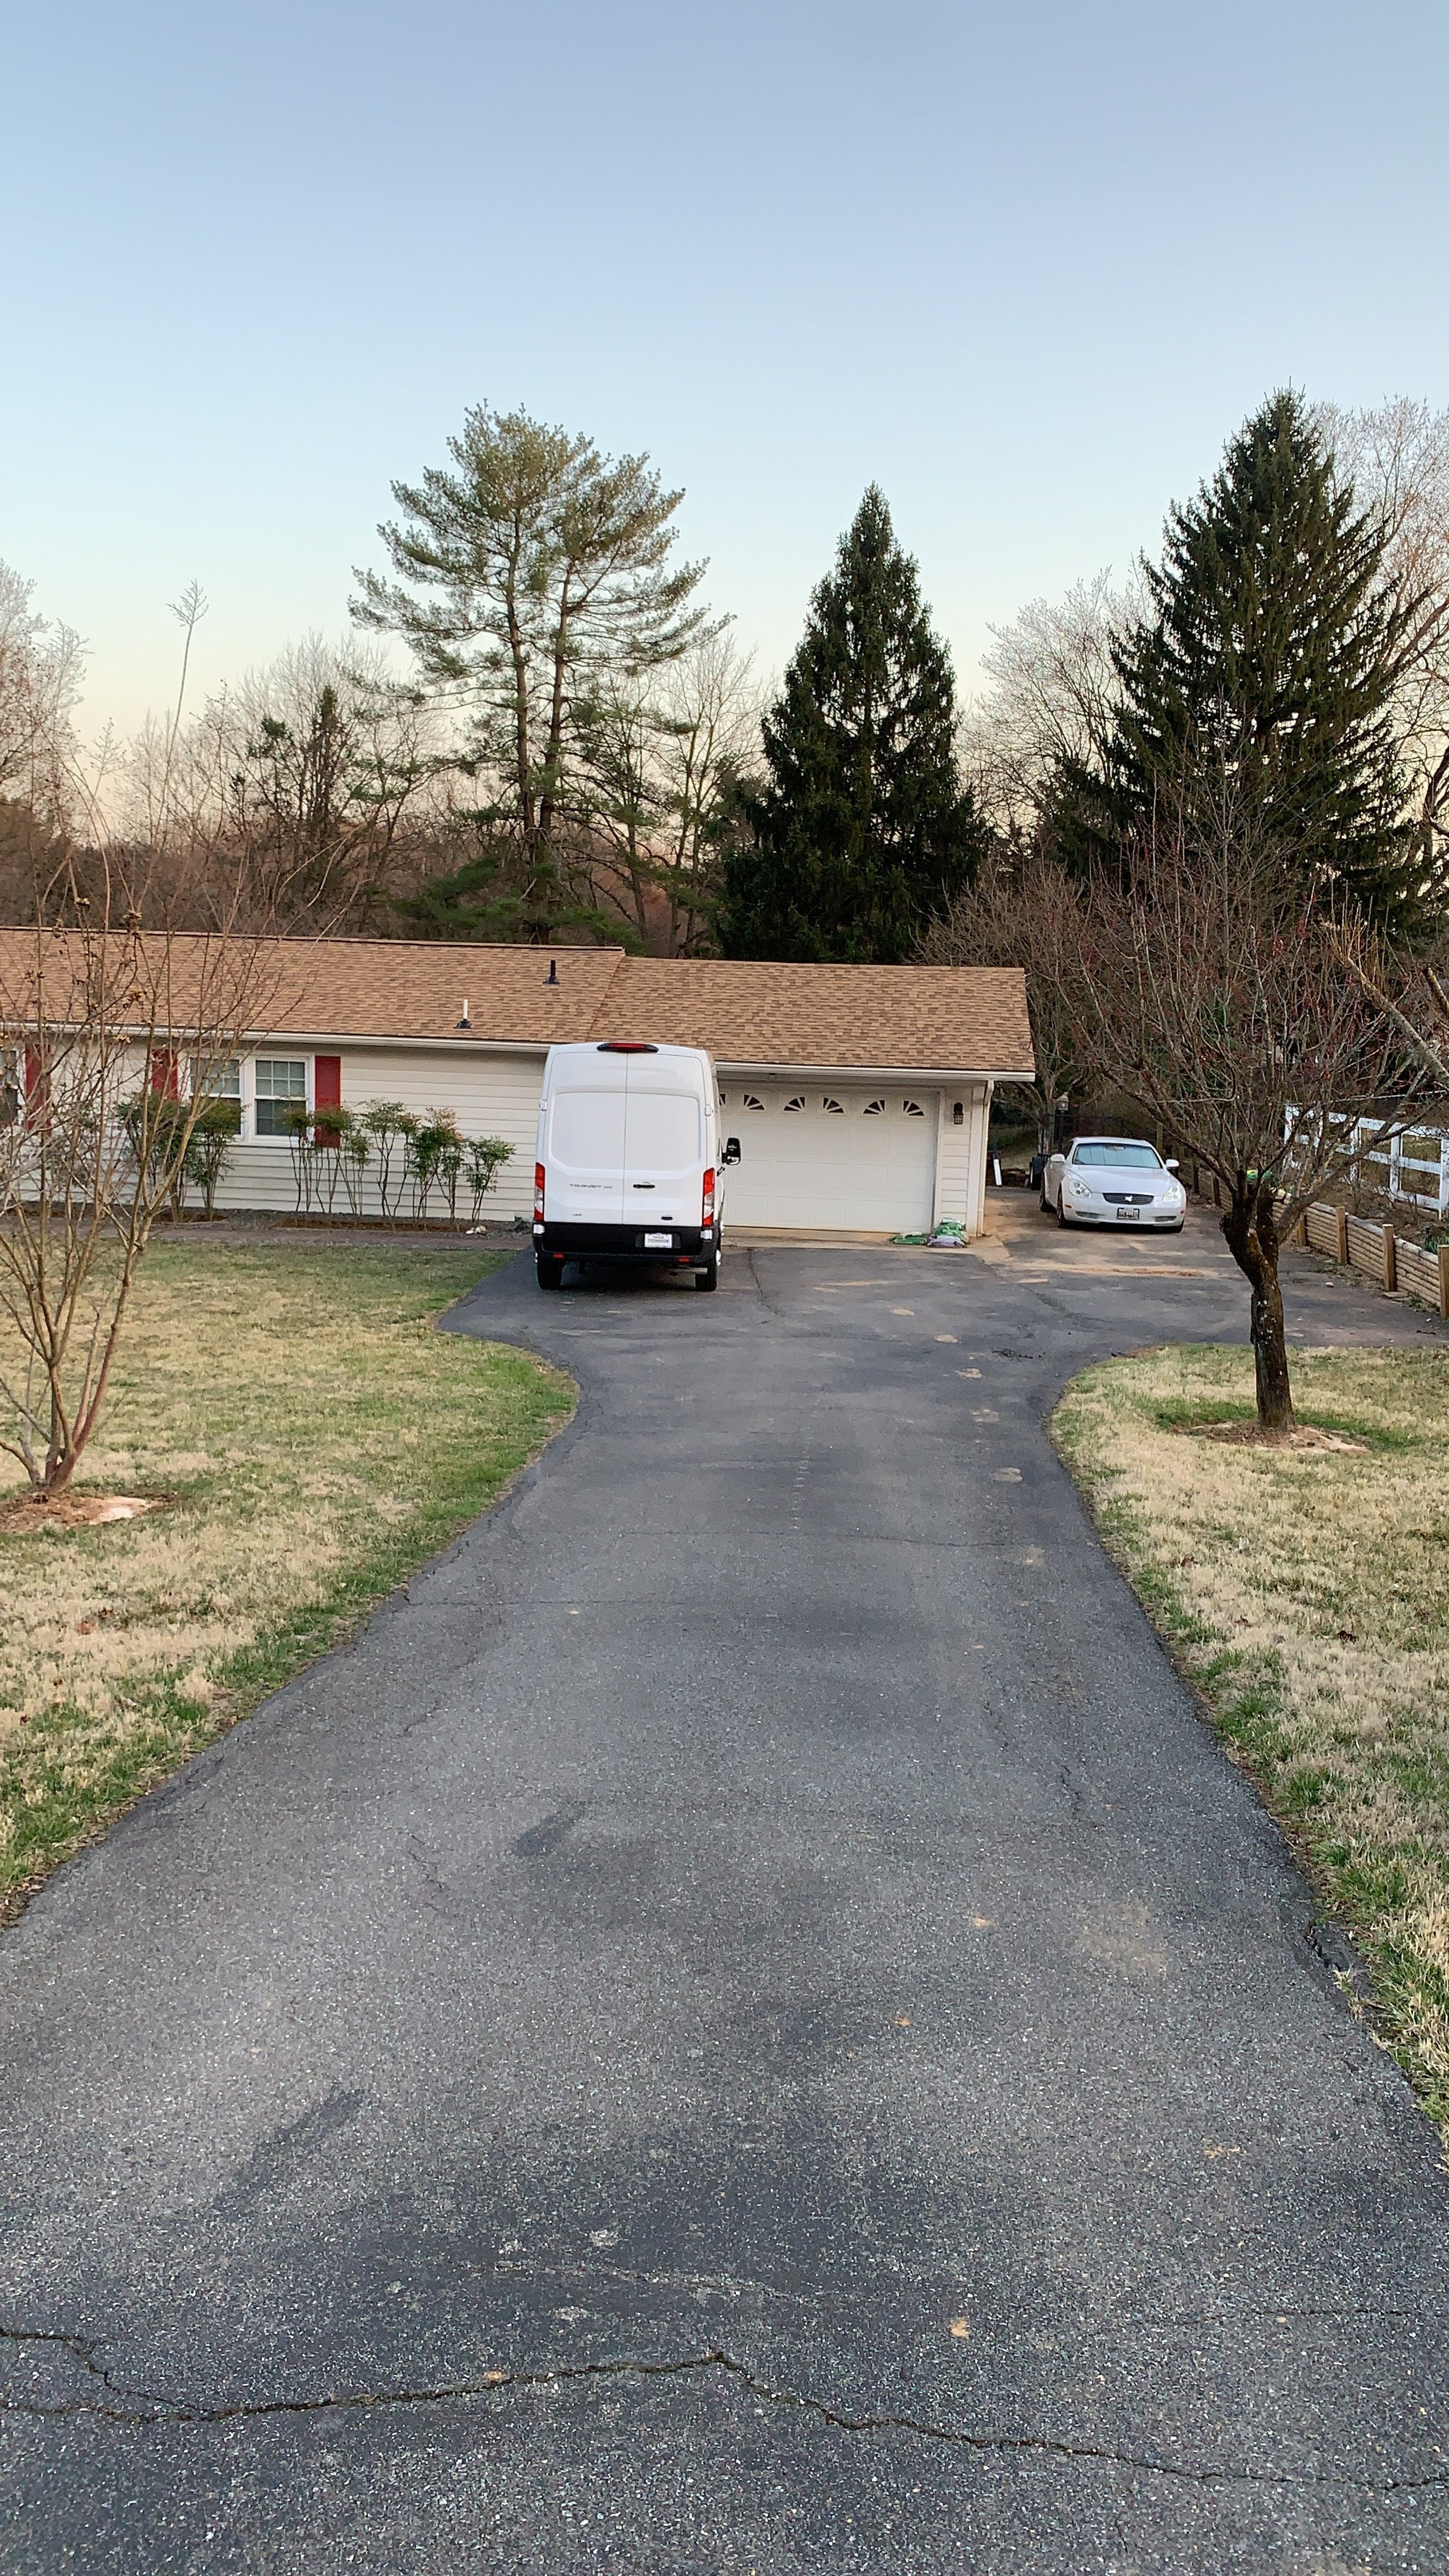
Bought this van on March 22, 2021. Bought this van in Hagerstown Ford. Lets just say, the sales guy didn’t really seem like wanted to deal with me. But after trying to order one earlier the week prior, I found out that these vans are in very low stock. The building one process seem to be pushed back 8 month if not longer. Which means to me it was longer. Now that is Jan of 2022, I can say confidently that assumption is 100% true. The cost of automobile has sky rocketed even for used vehicle, especially these types of vans. I bought the AWD drive version, which was new to 2020. The new 2021 also have the electronic emergency brake, which I really didn’t care for, but it solves two major issues, one is the walk way obstruction when going to cabin area from driver seat, second it solves the swivel seat hitting the ebrake handle.
I bought the Ford Transit HR (high roof) for two main reason. 1.) its the highest roof option, being 6’1” and wanting to have the most amount of insulation I can manage on the top and bottom of the van, Standing inside at 6’8” I have all the flexibility to add 2 inches of insulation top and bottom and still not feel claustrophobic. 2.) I want something I can find a dealership to fix. I have experience working on a lot of German cars, and parts availability is not only a huge problem, but the amount of special tool that is needed for every little thing, means very few shops will be able to make fixes properly when you are on the road.
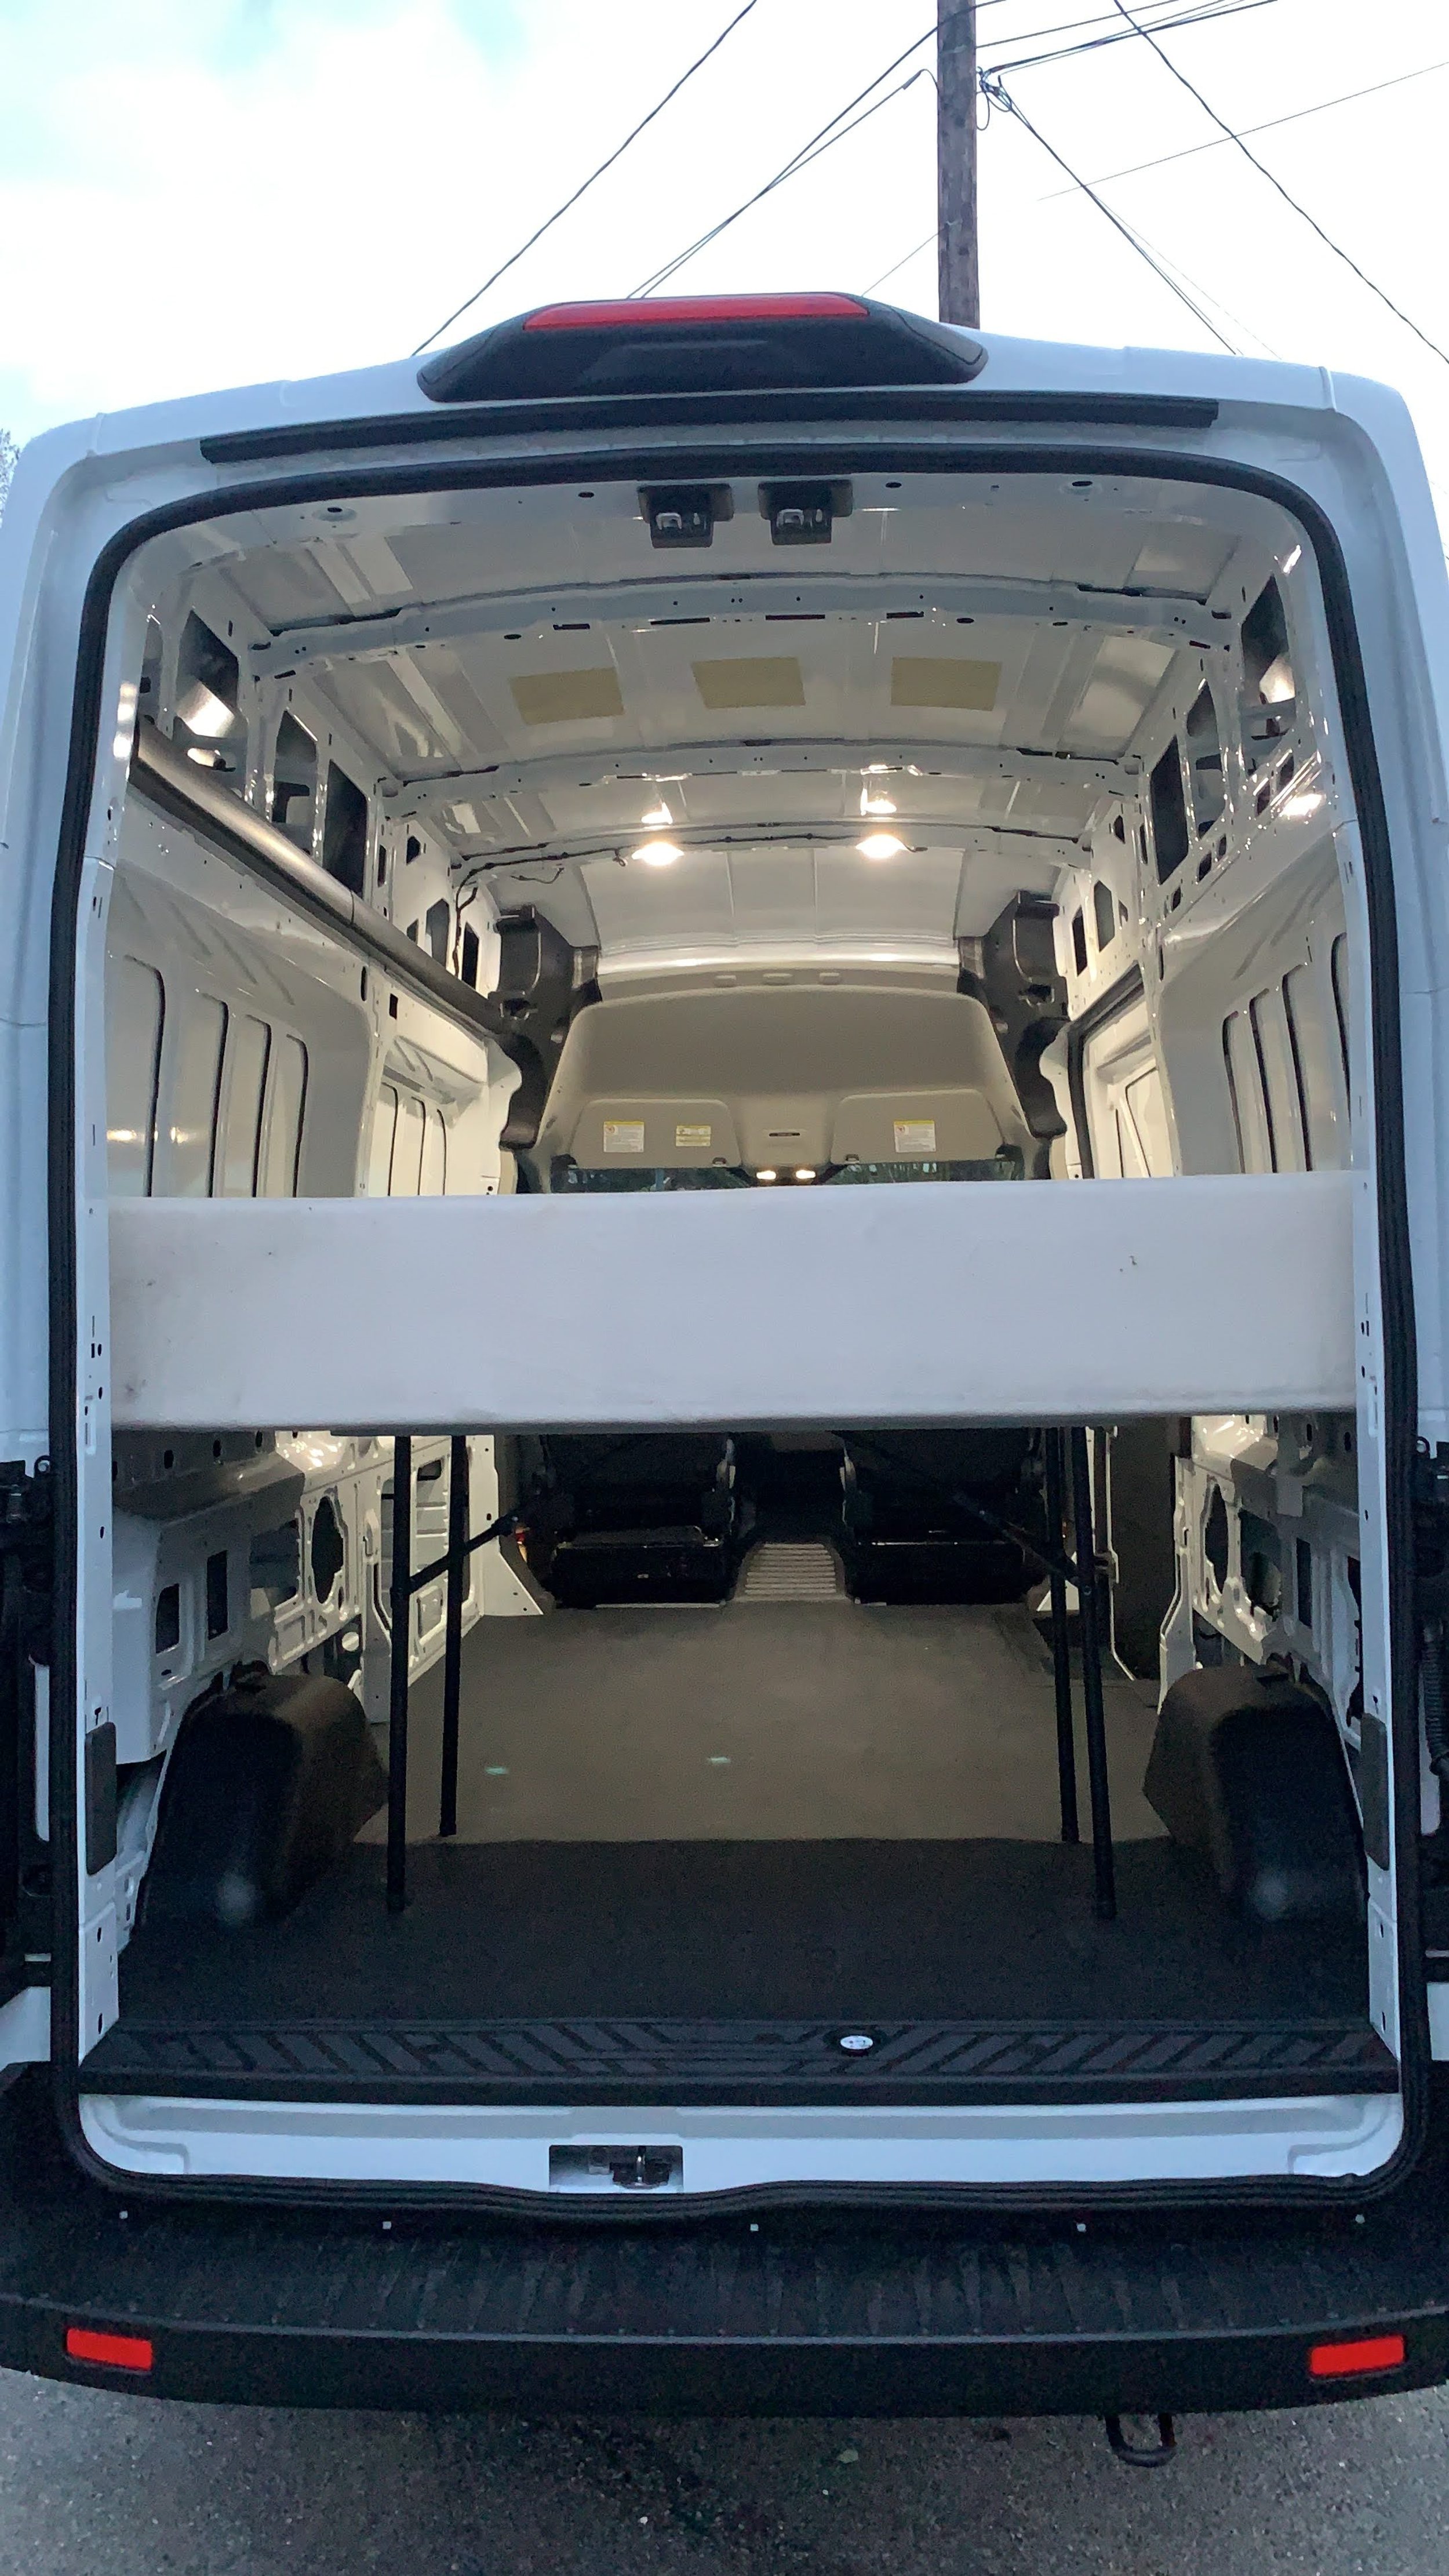

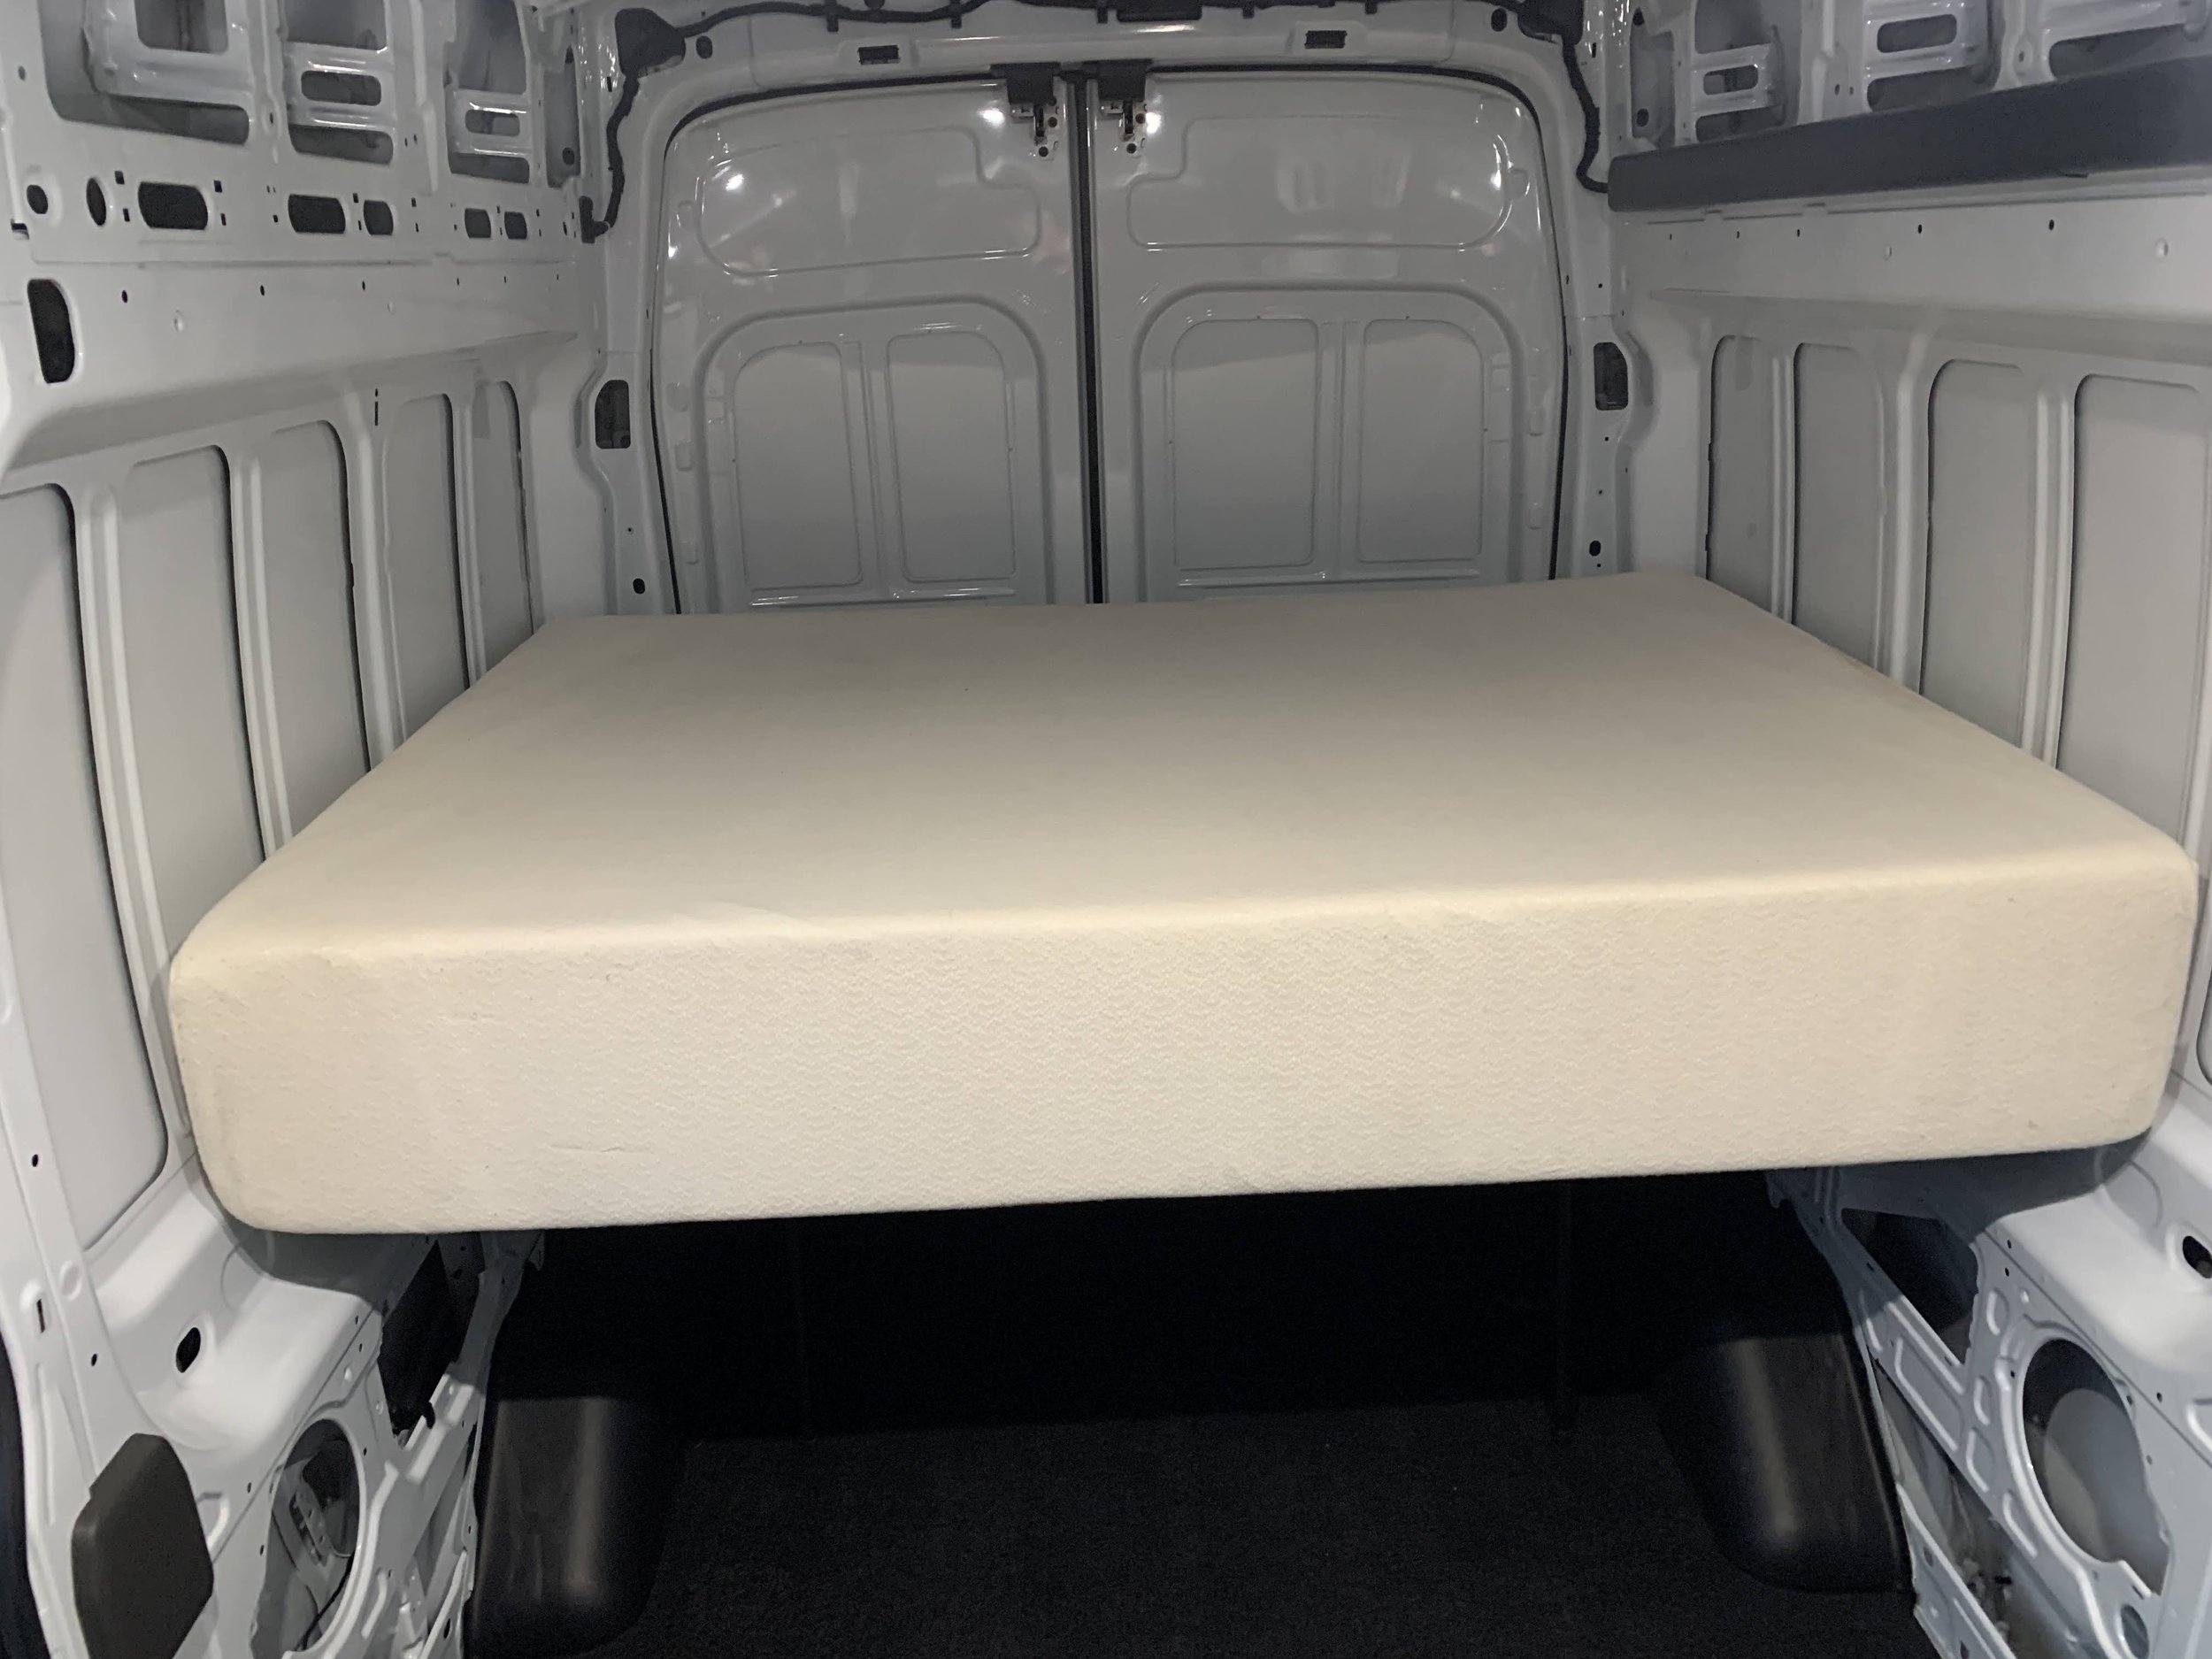
First thing I measured and order was the mattress. I got a 8 inch memory foam mattress with support foam in the middle and memory foam on the top. I wanted to be able to sit up on the bed. I seen a lot of builds which prioritized the storage on the bottom and the bed is very very high up on top. I have even consider building a motorcycle store inside the van and build the bed on top. This idea was quickly dismissed because of how uncomfortable the bed would become. I want this to be a house that can transport the bike, not a bike storage that you can sleep in it. I also wanted ample insulation, so the headroom will loose a few inches. I also wanted to see if this full size mattress can fit in the crevice so I can sleep sideways without bump outs. I do not want to add bump outs, 1.) its ridiculously expensive, 2.) you almost have to use their system to tidy up the interior paneling, so that limits in both dimension and sizing to what is available. I wanted the flexibility to build as I go and make changes as I see best.
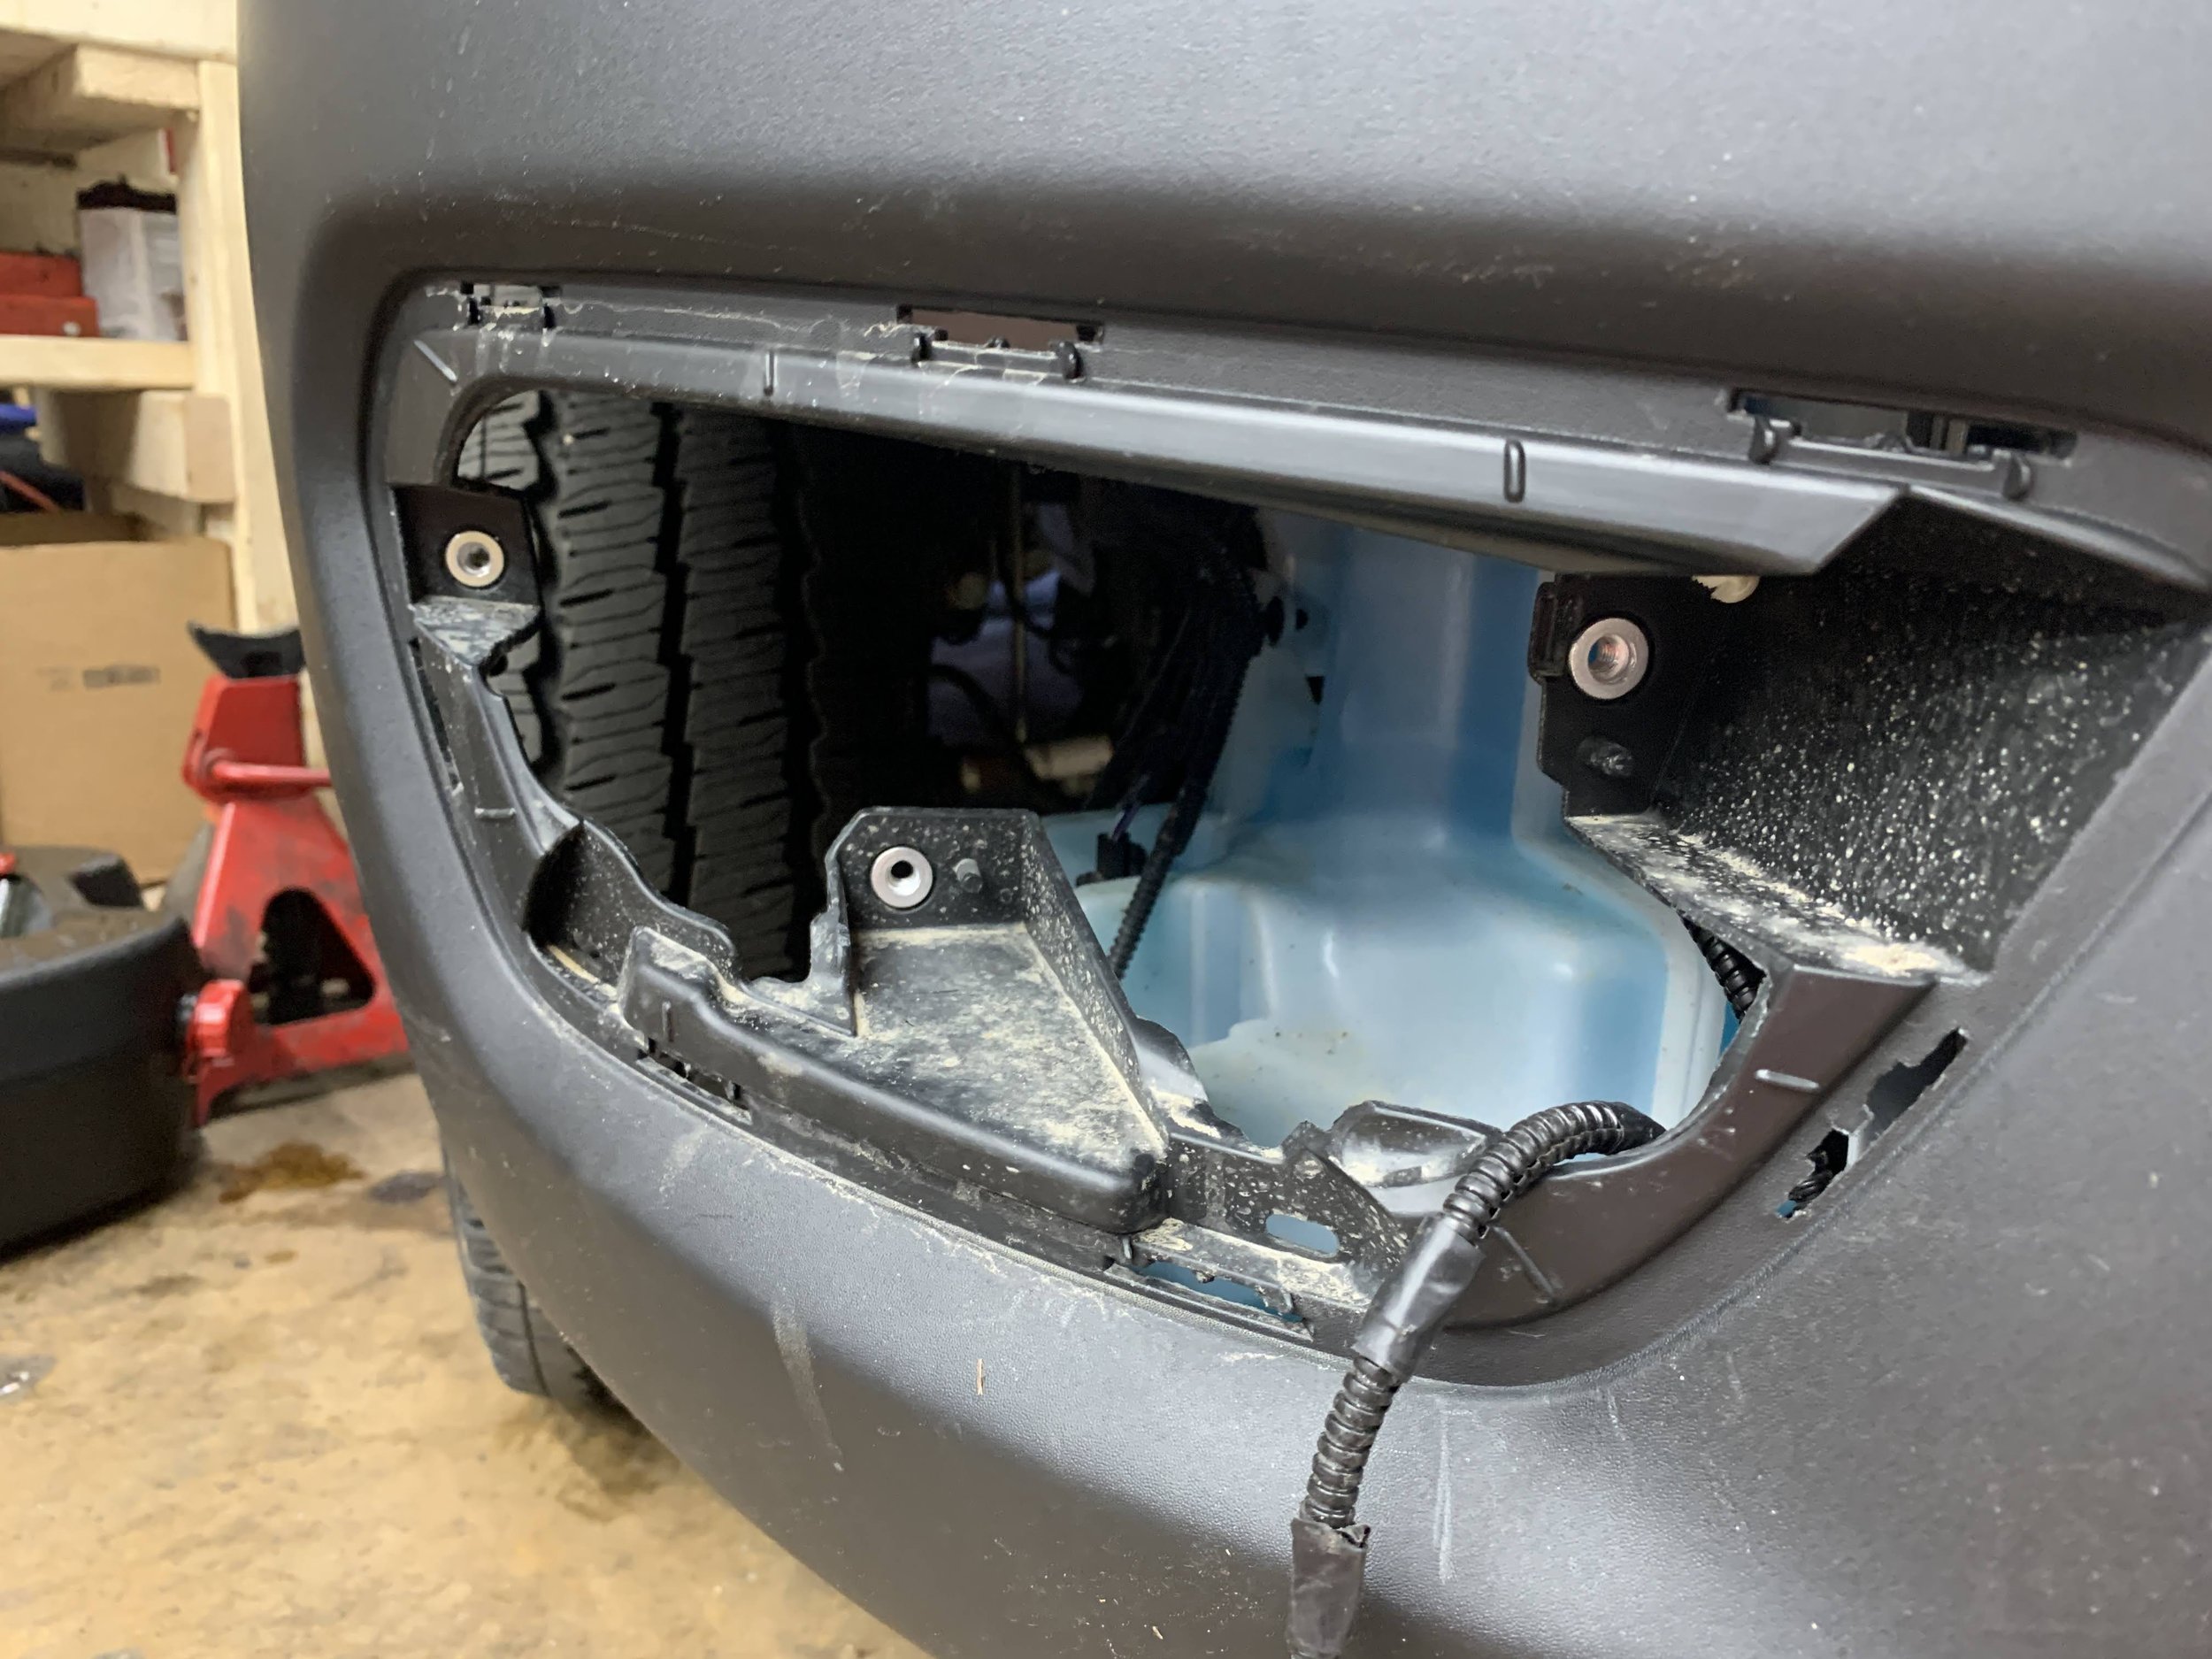
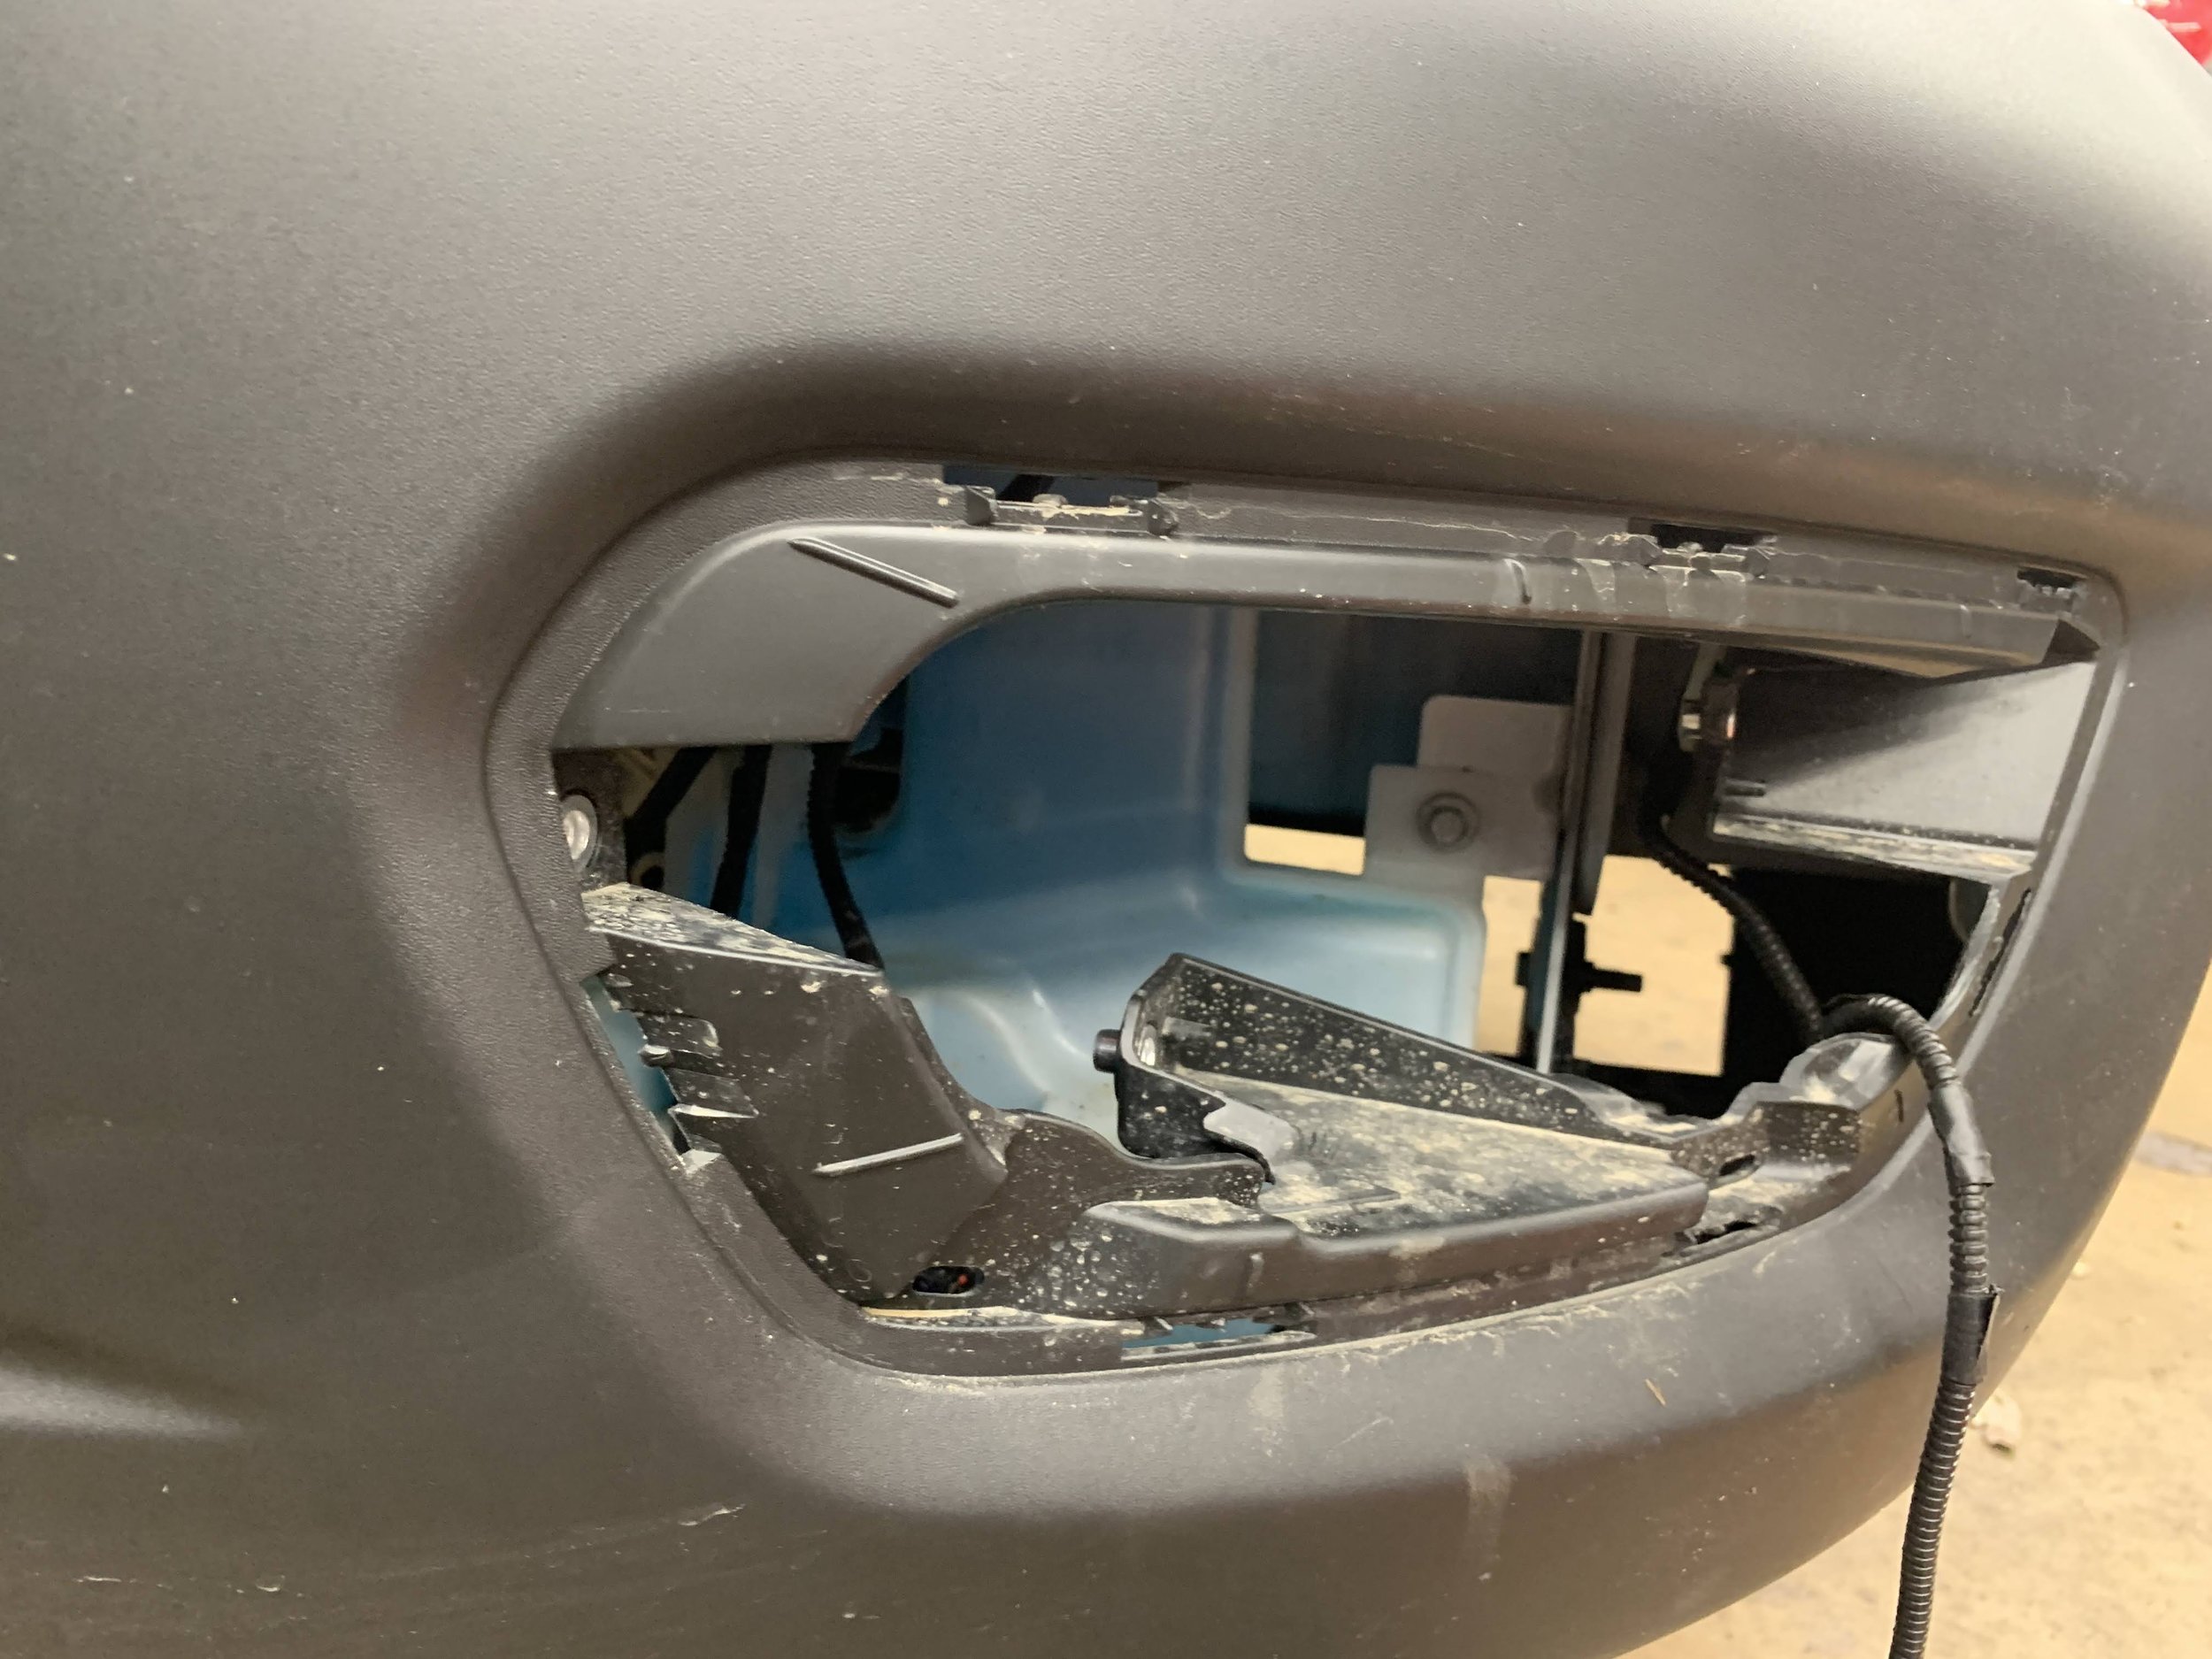
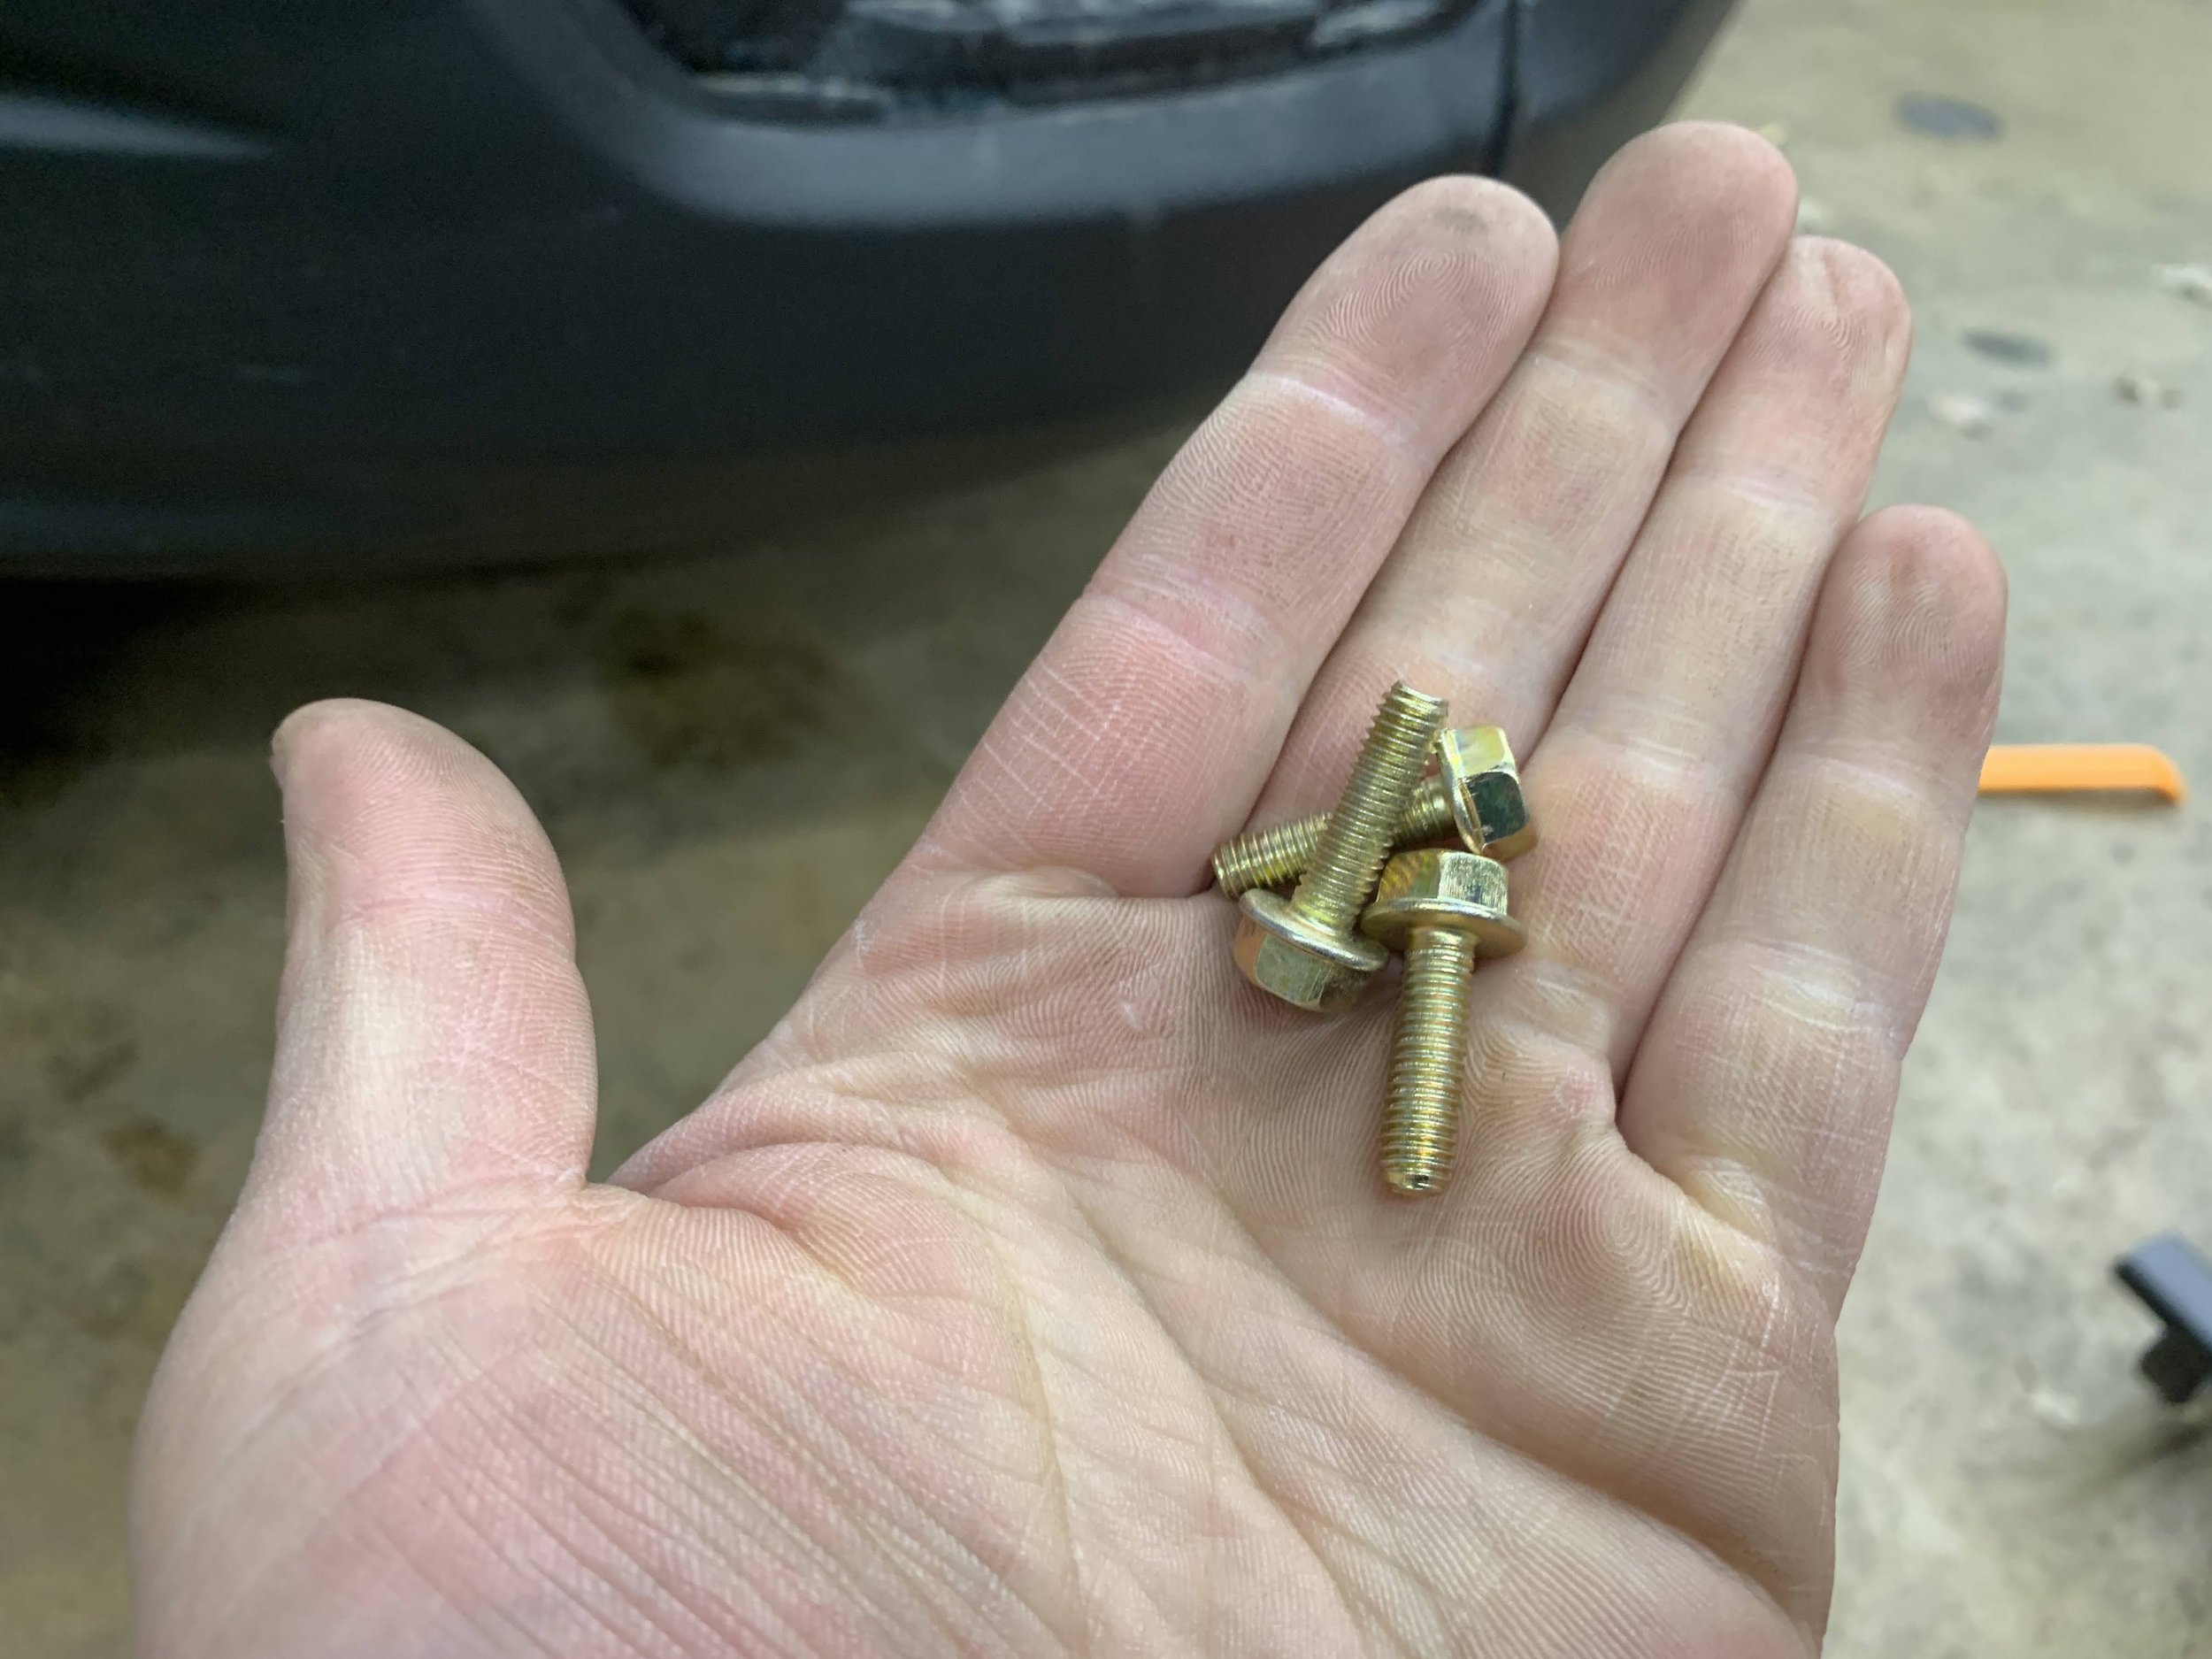
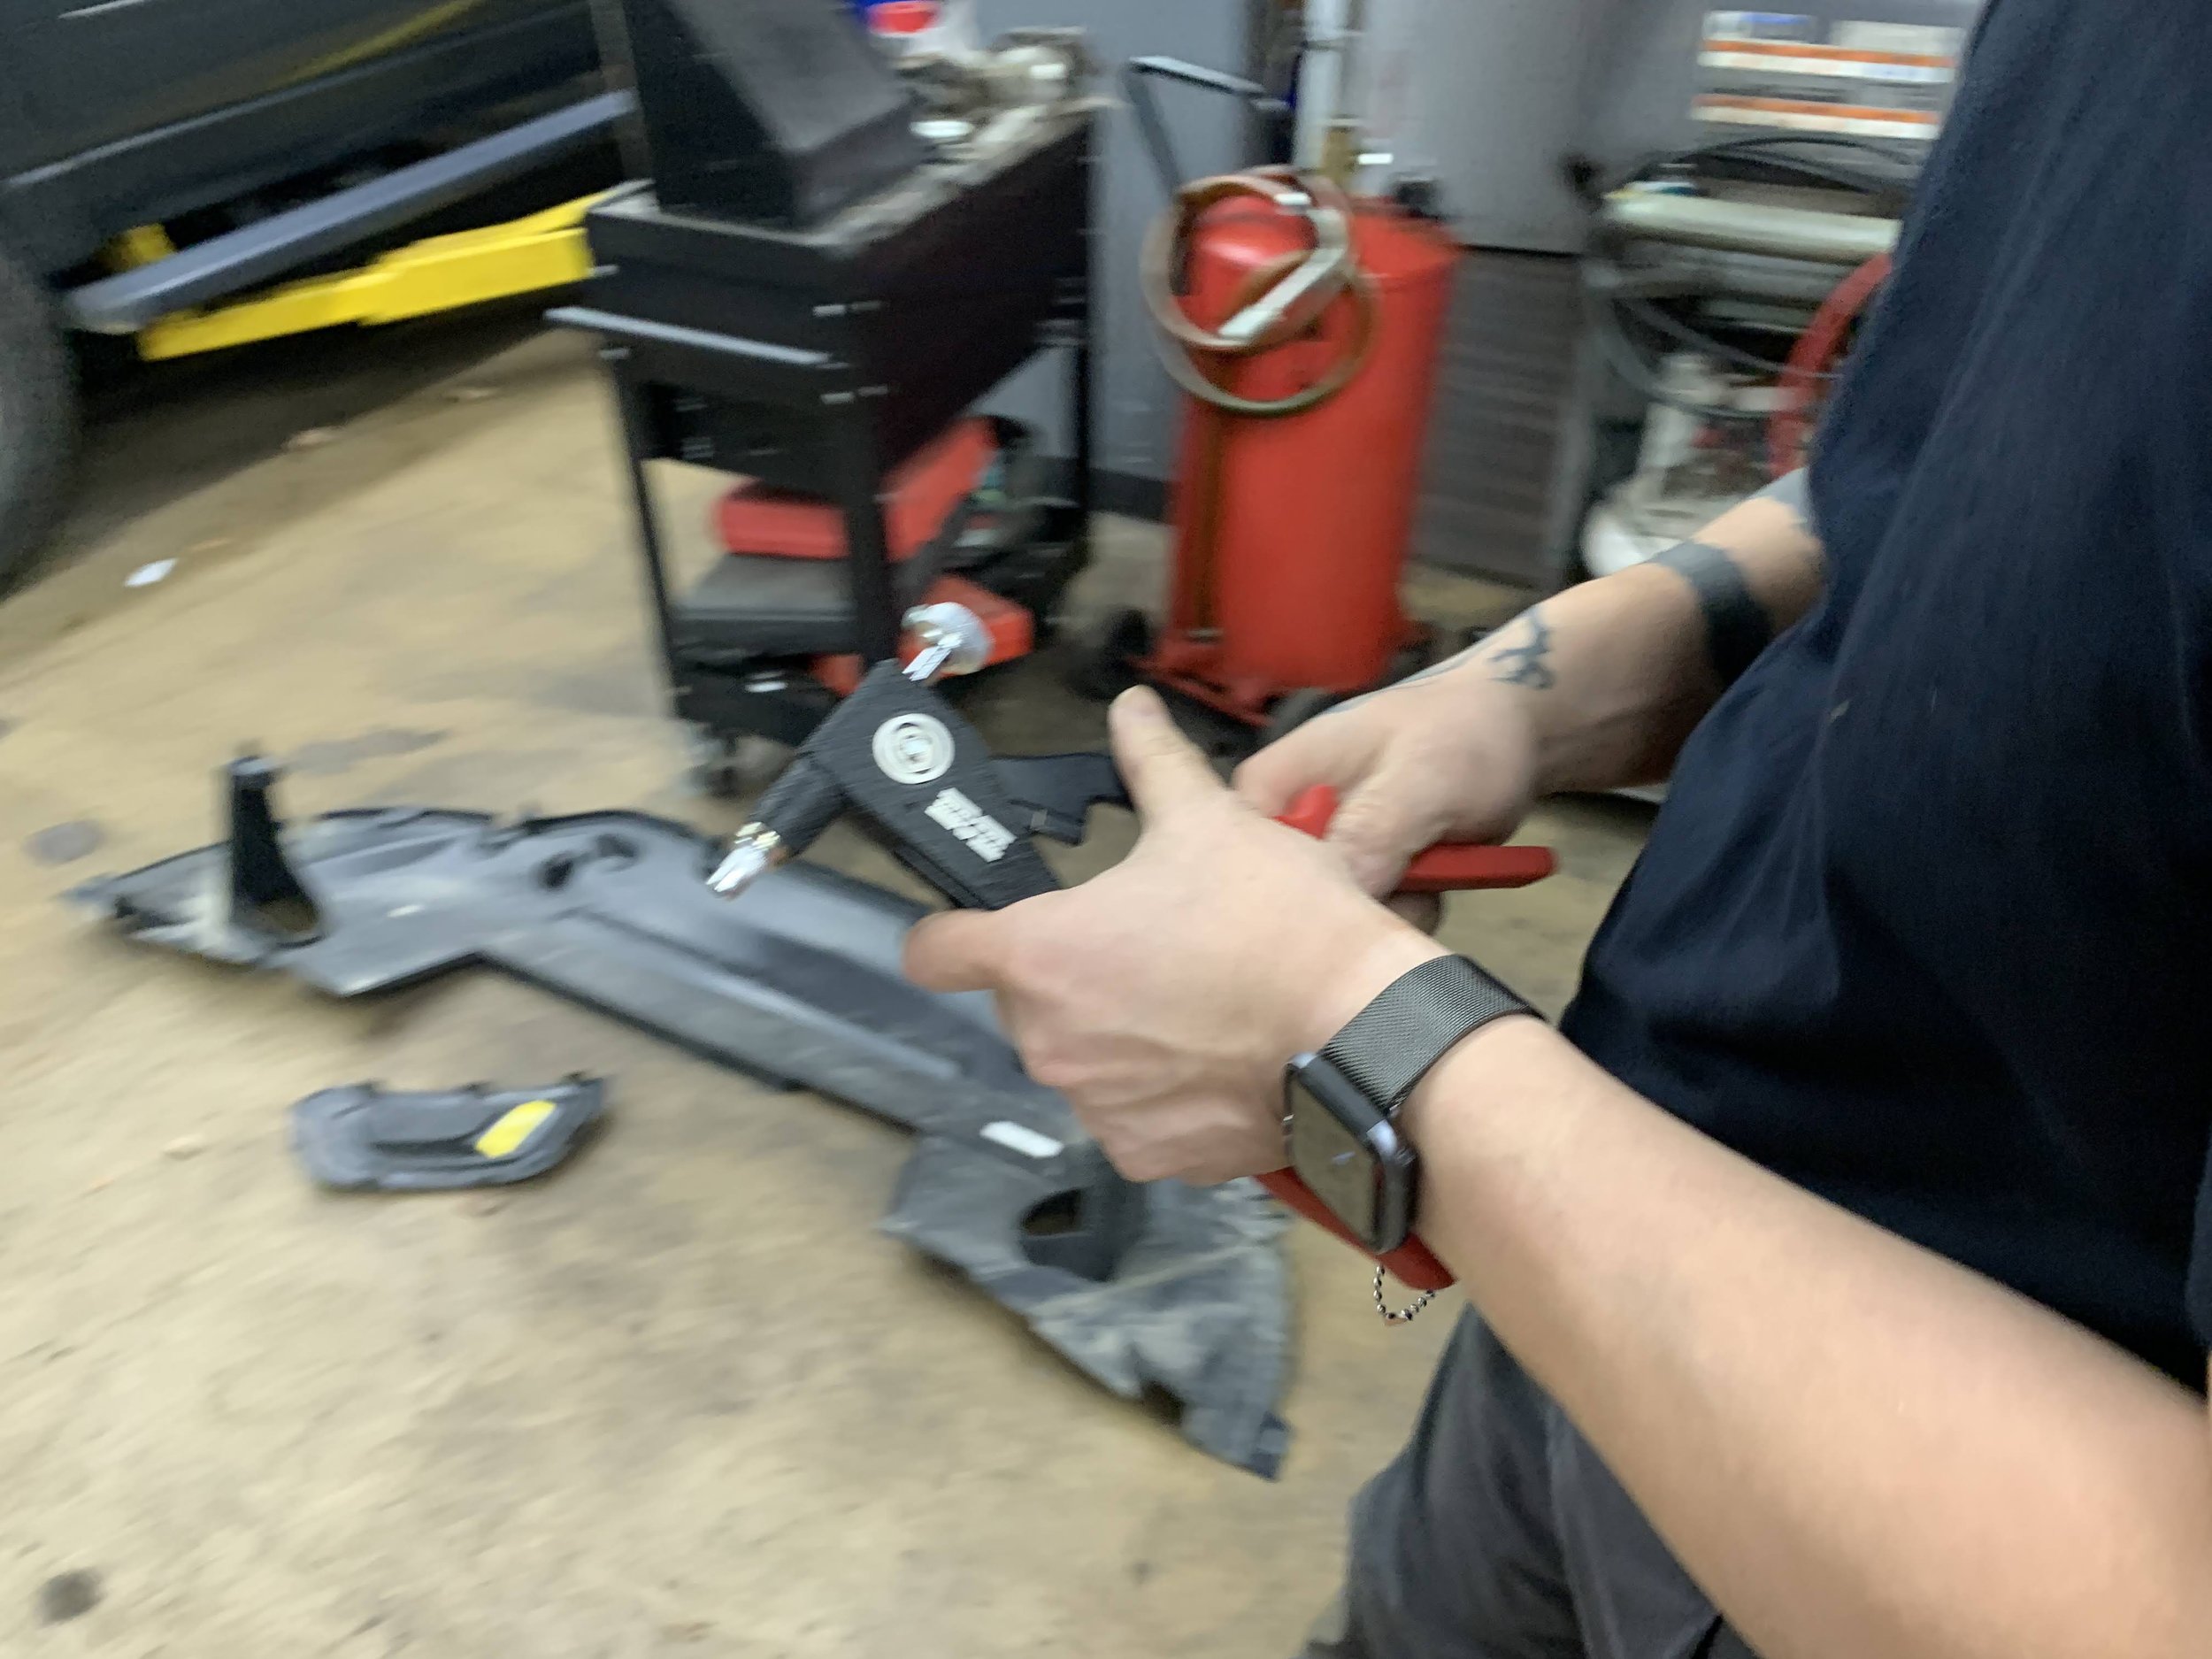
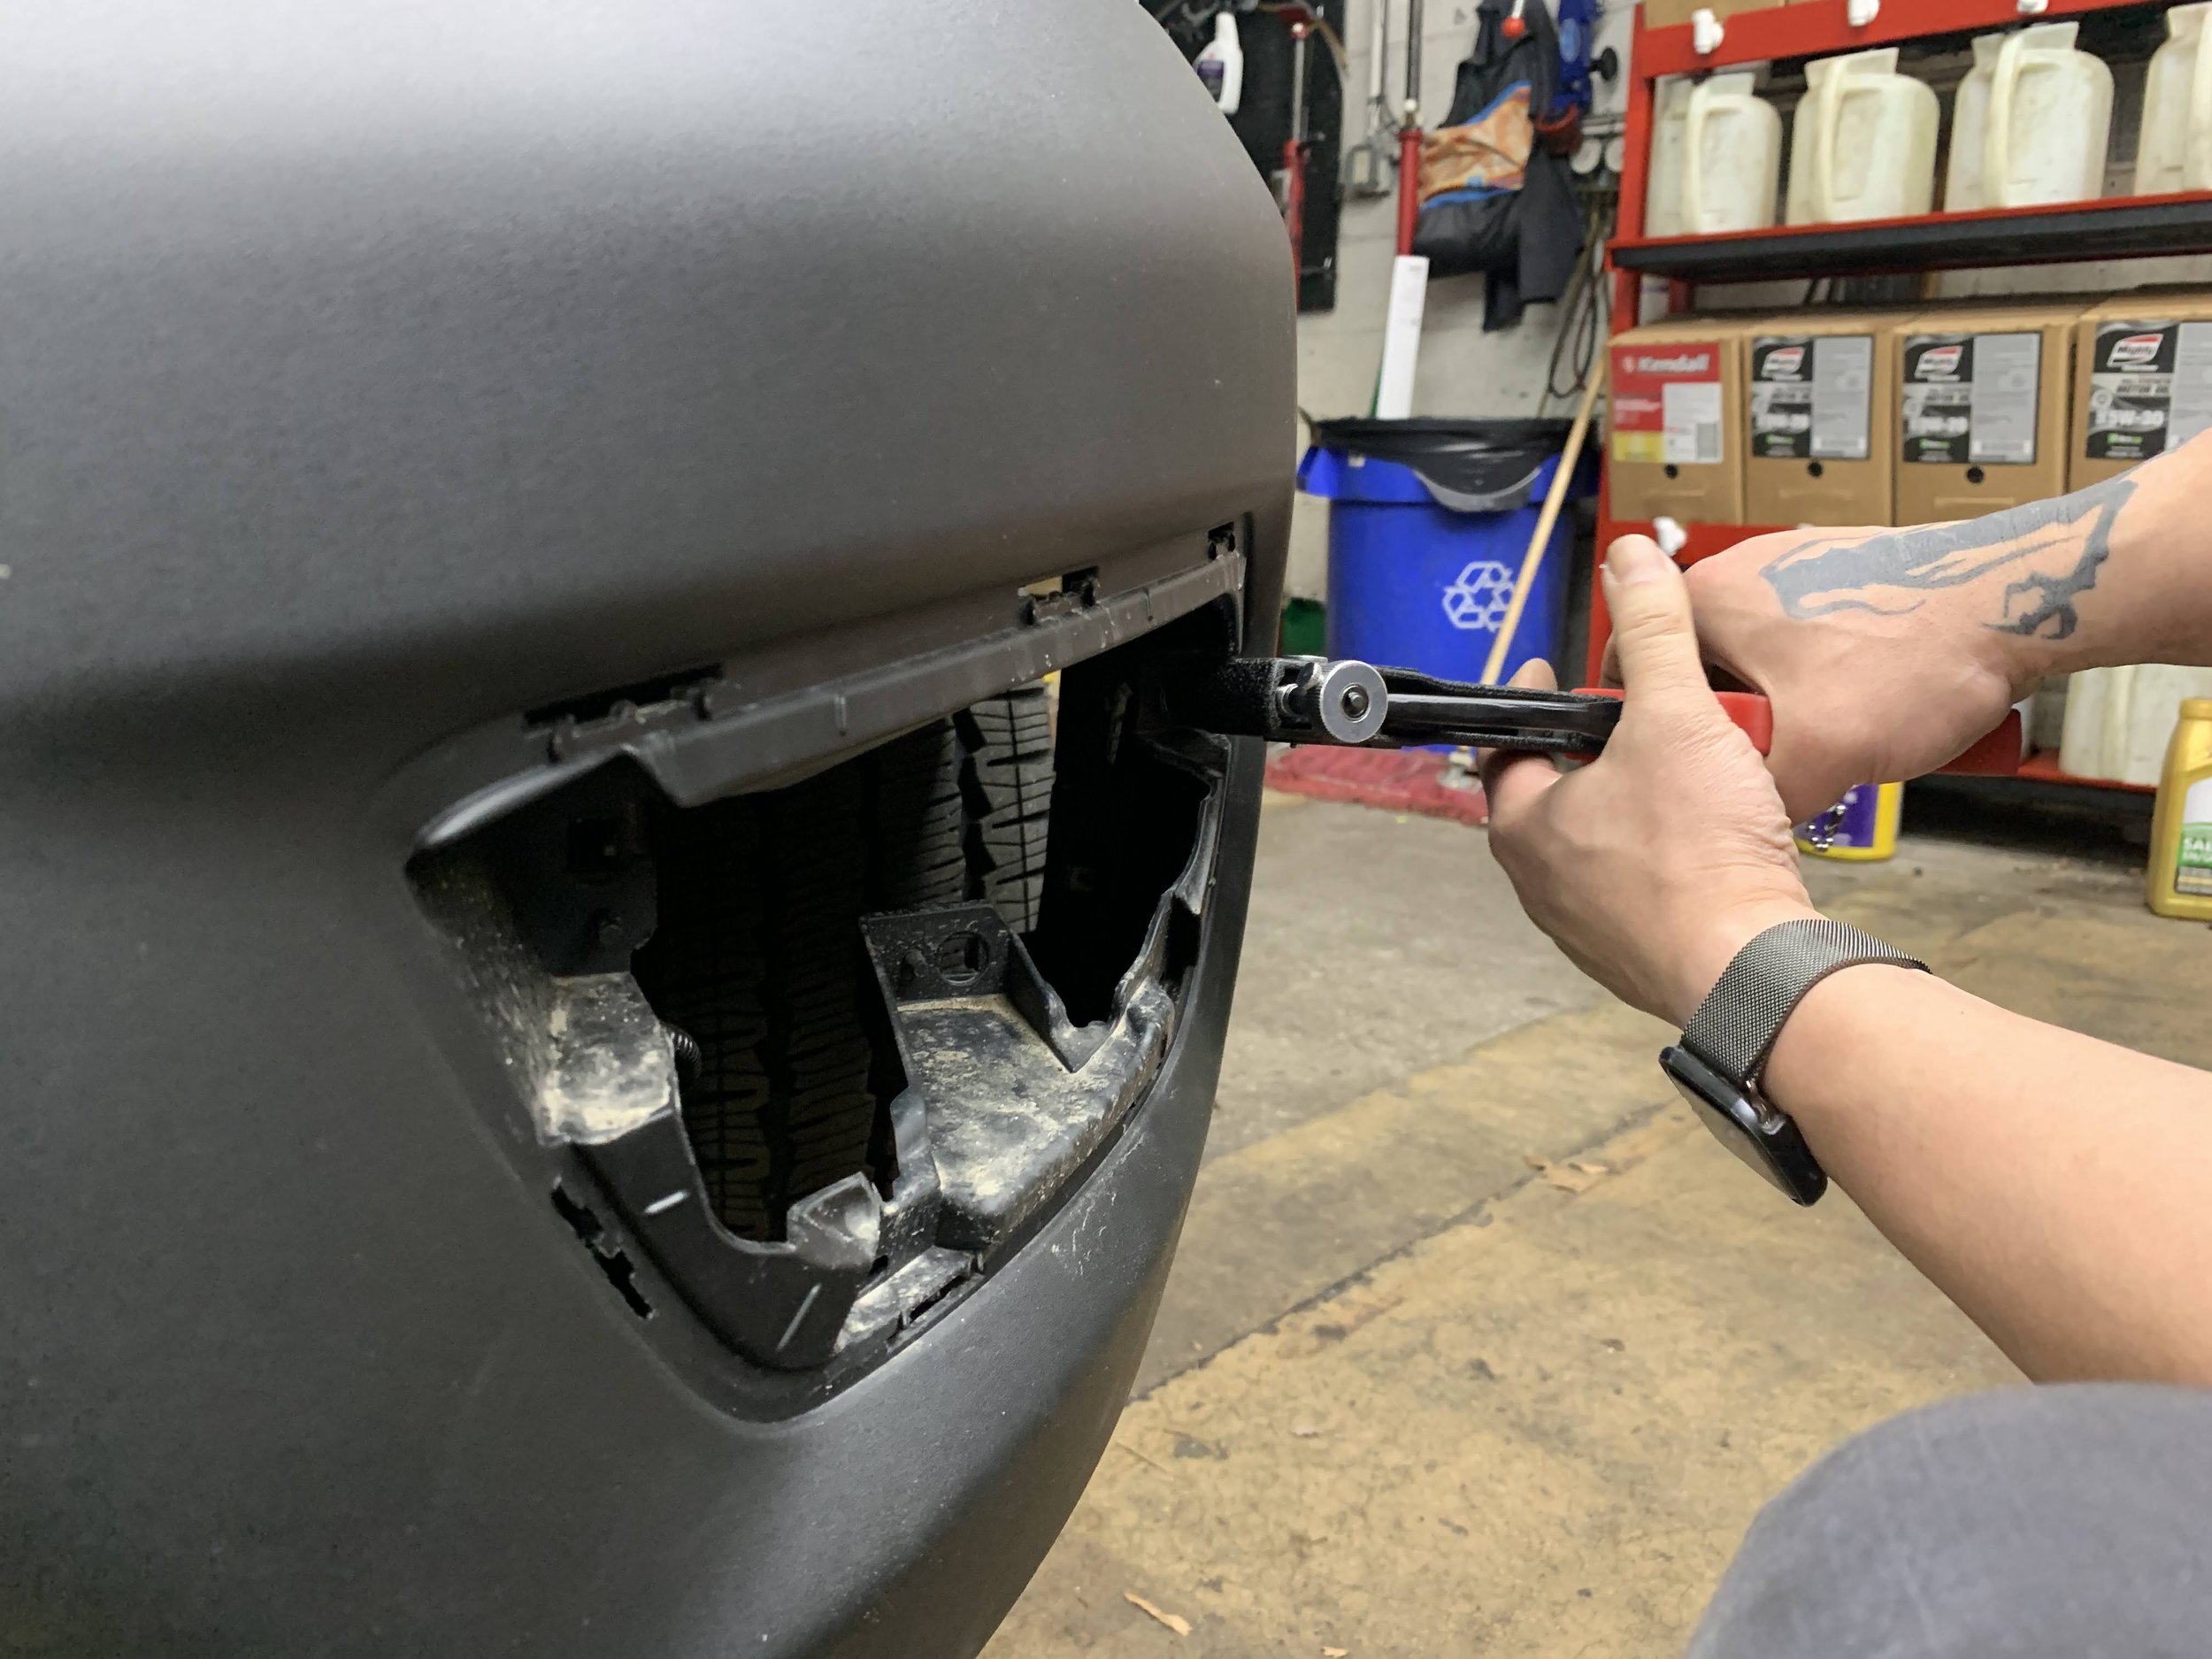

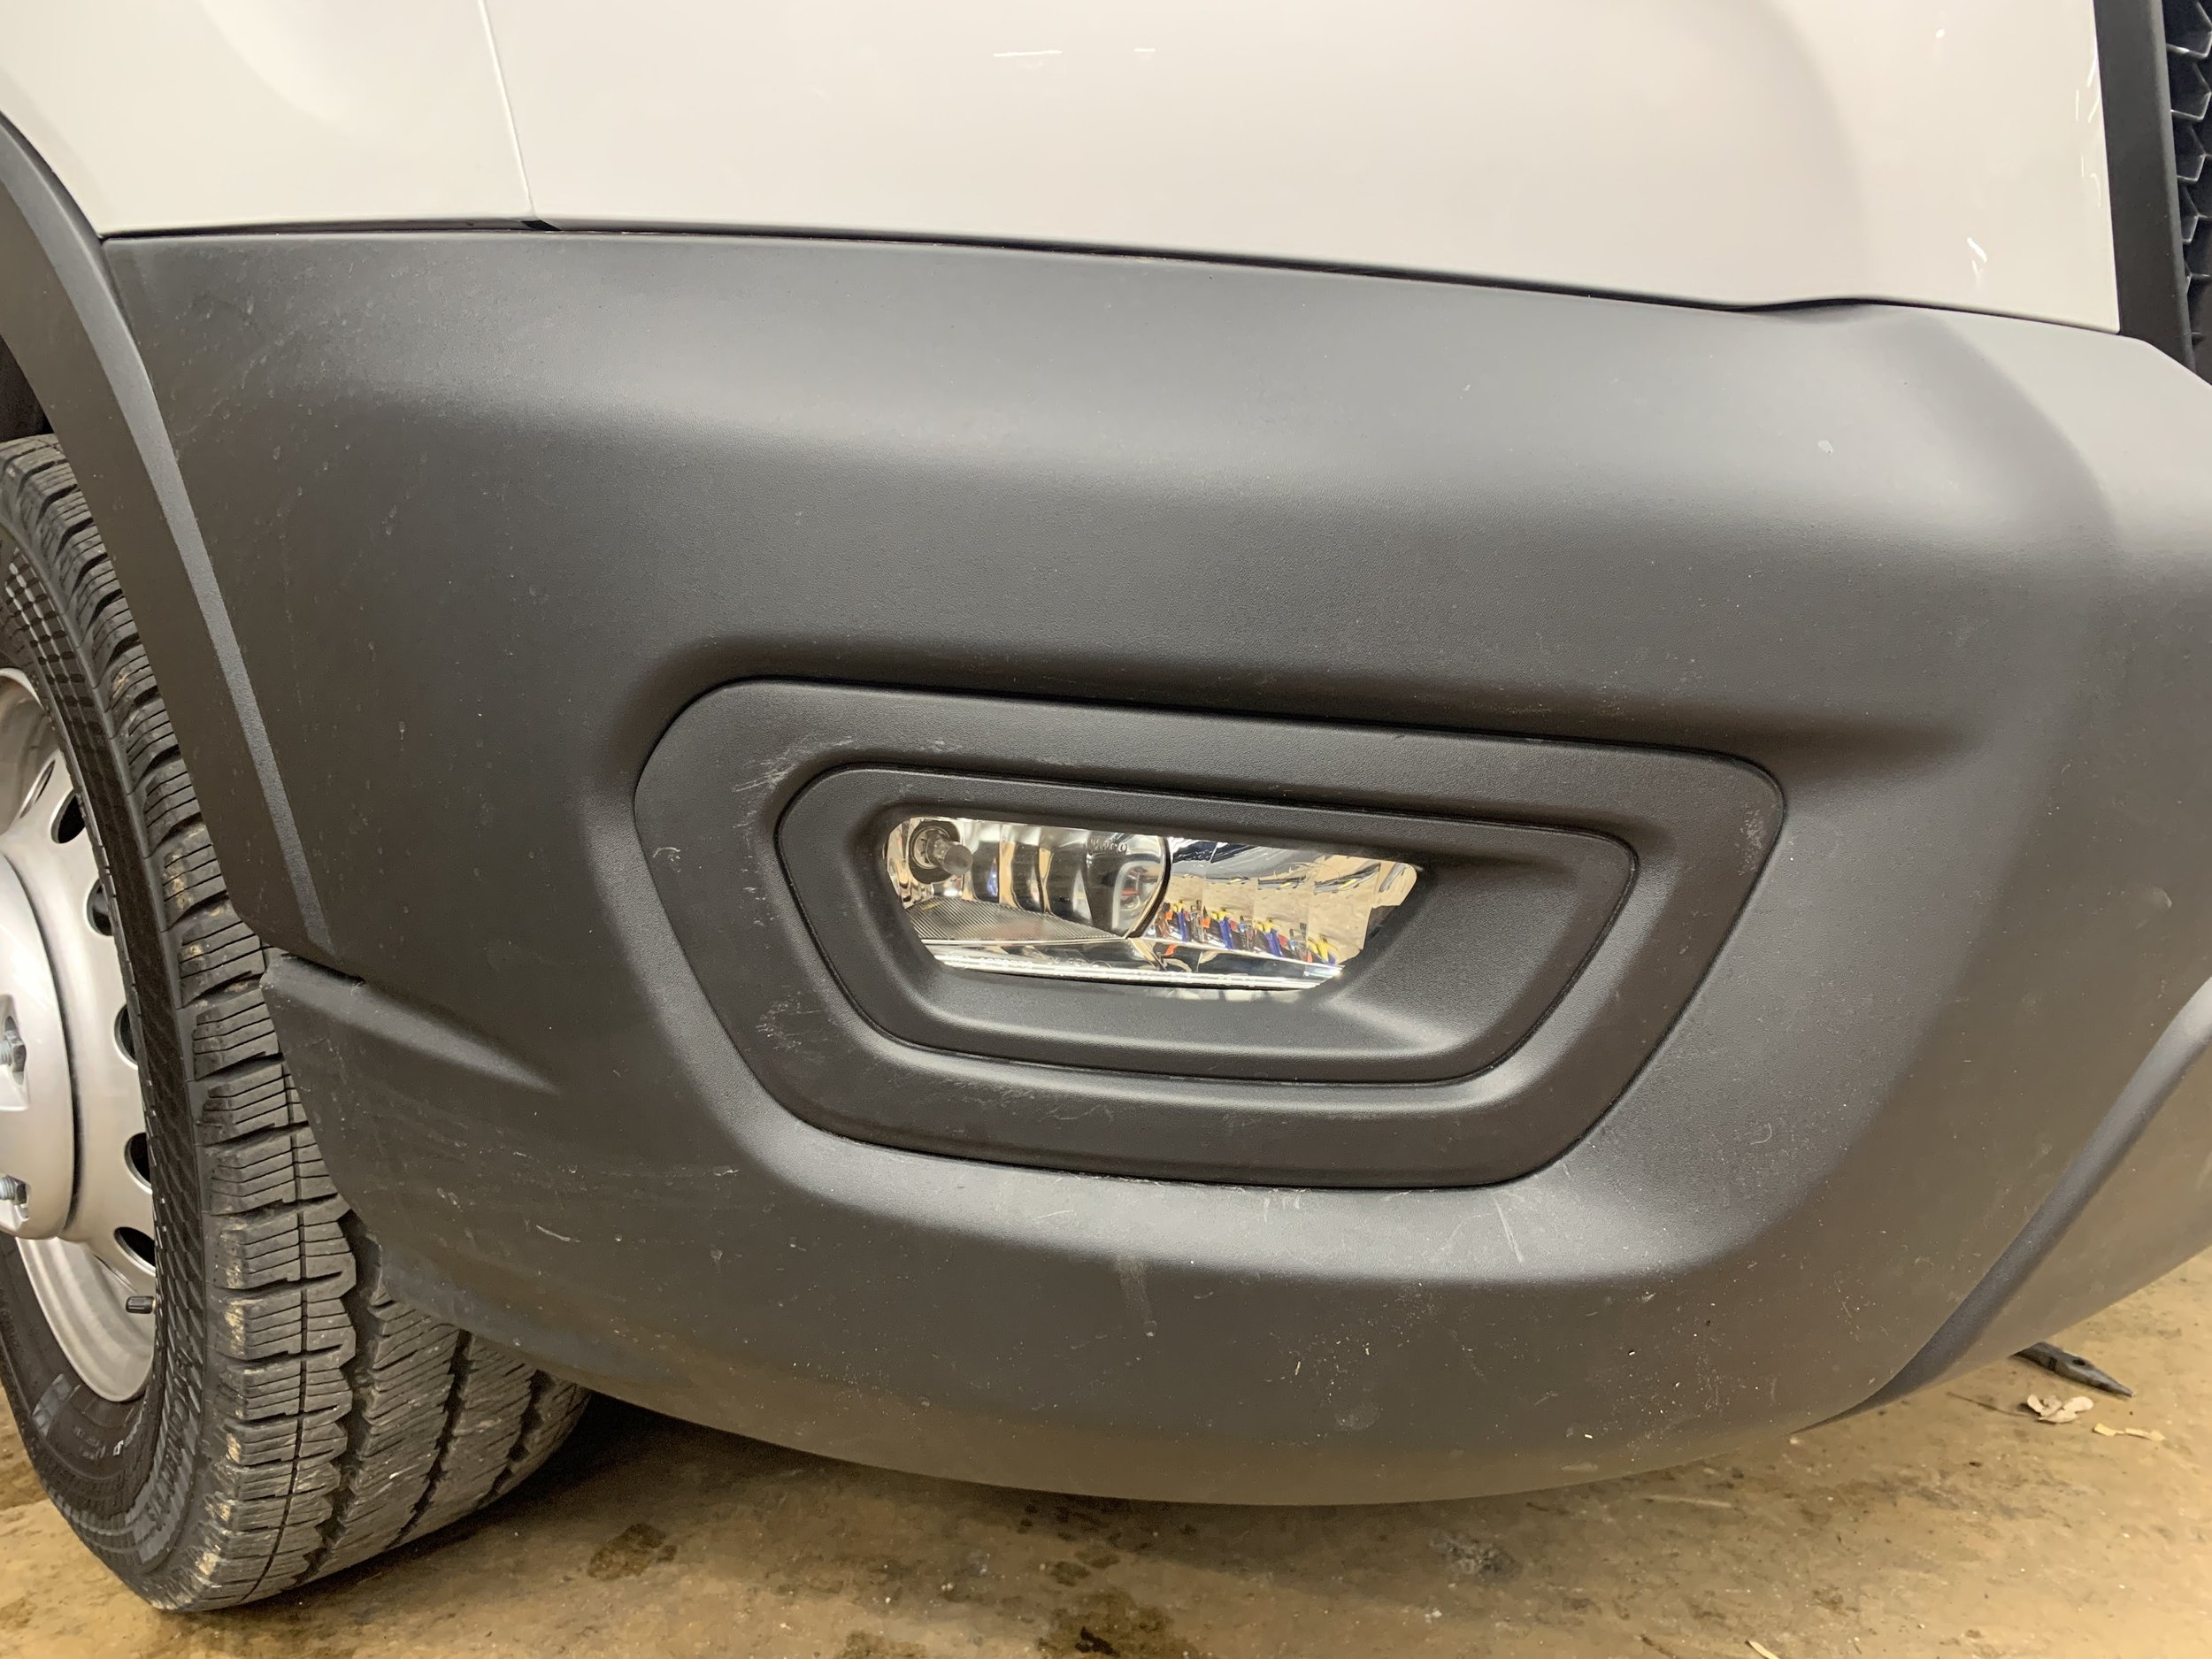
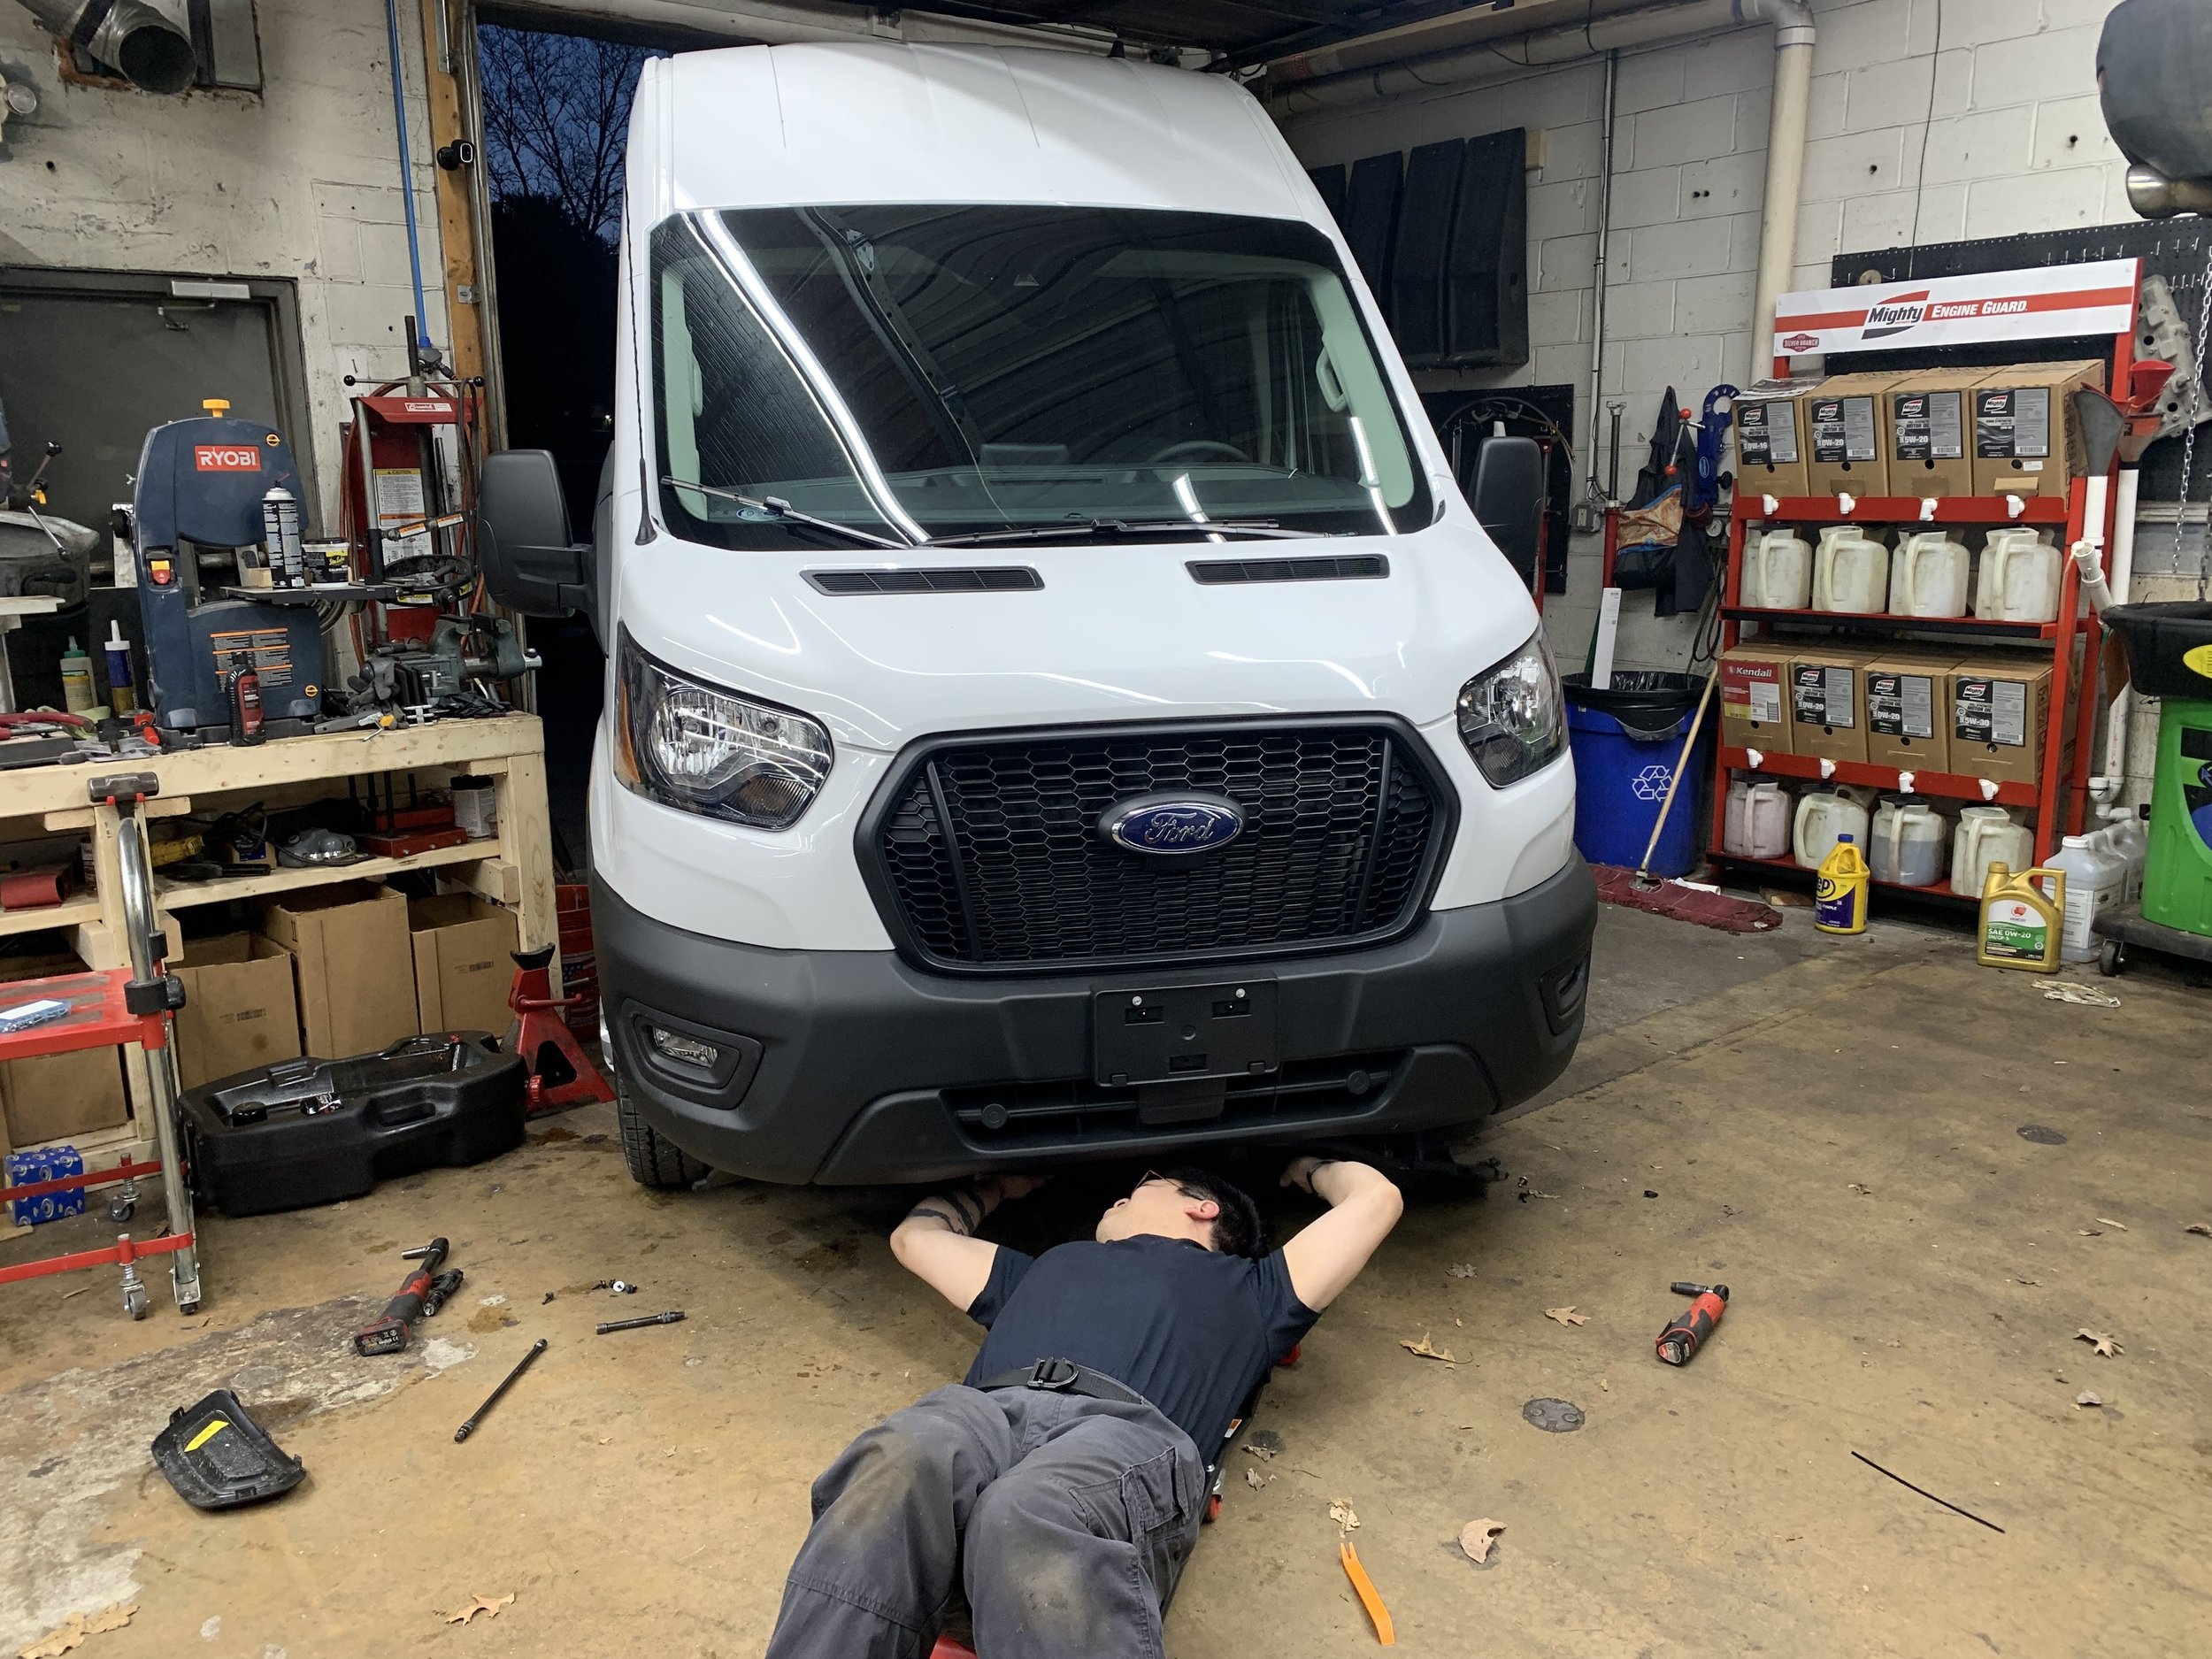
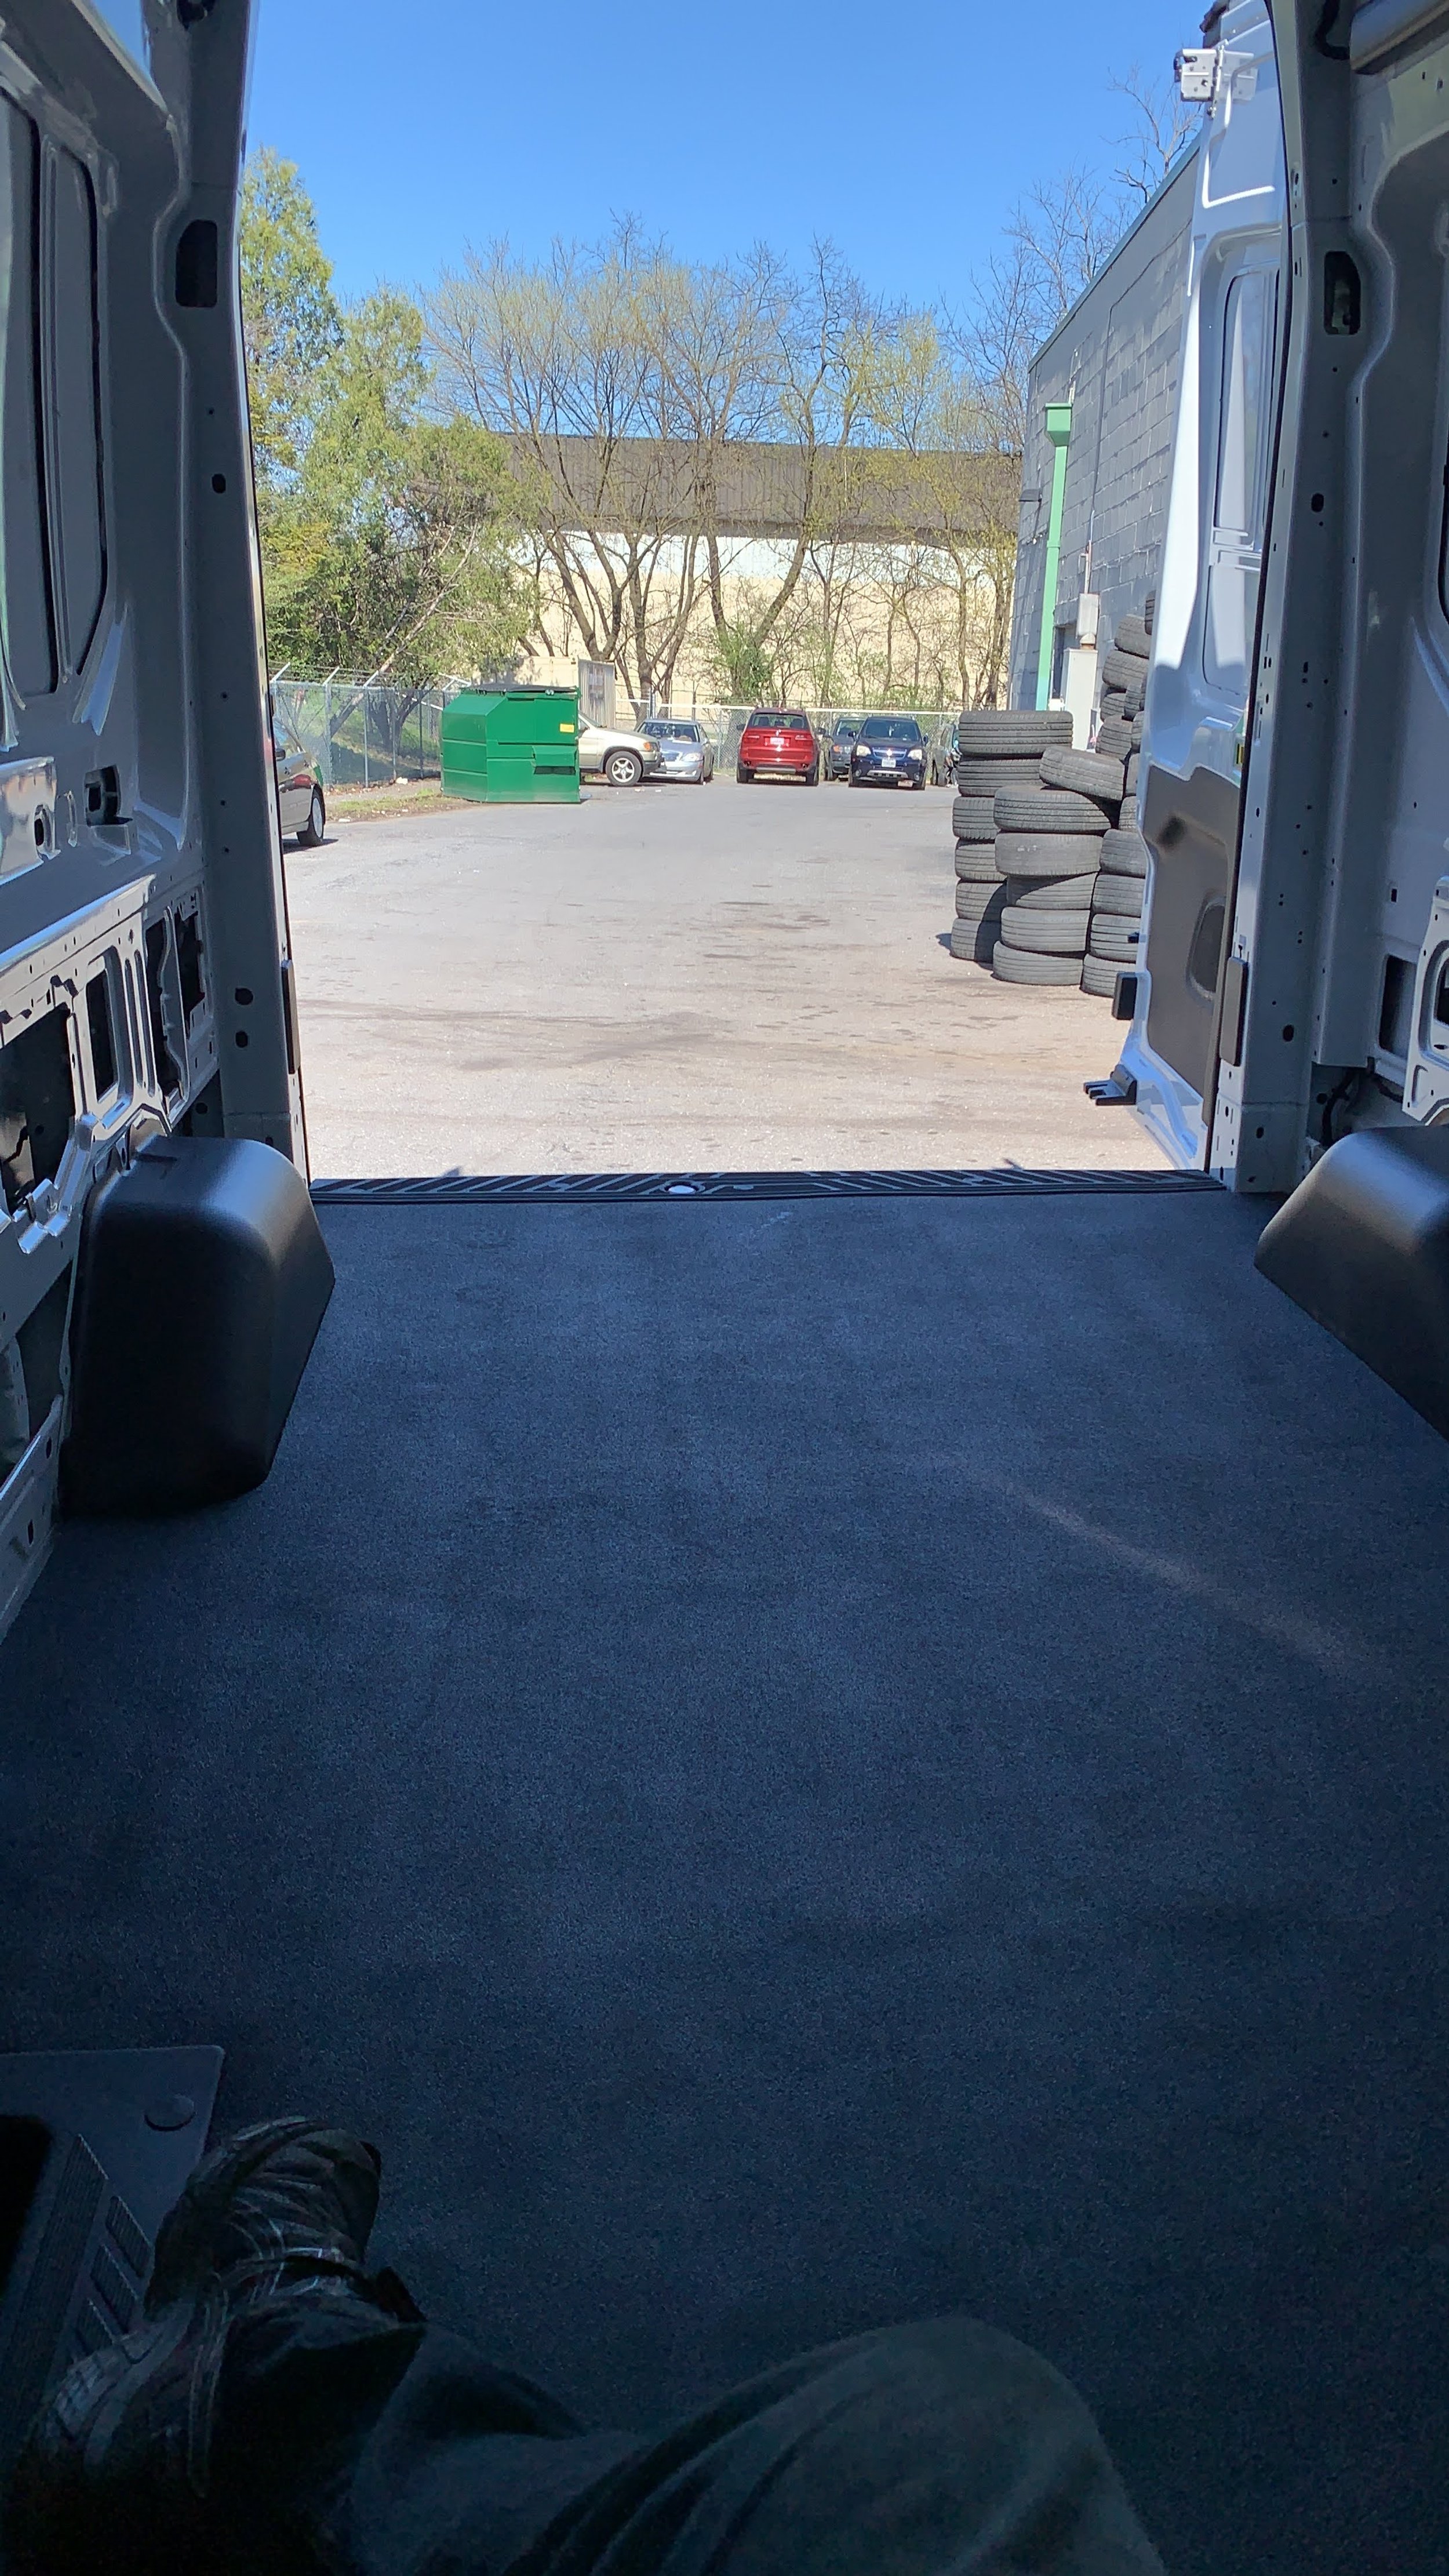
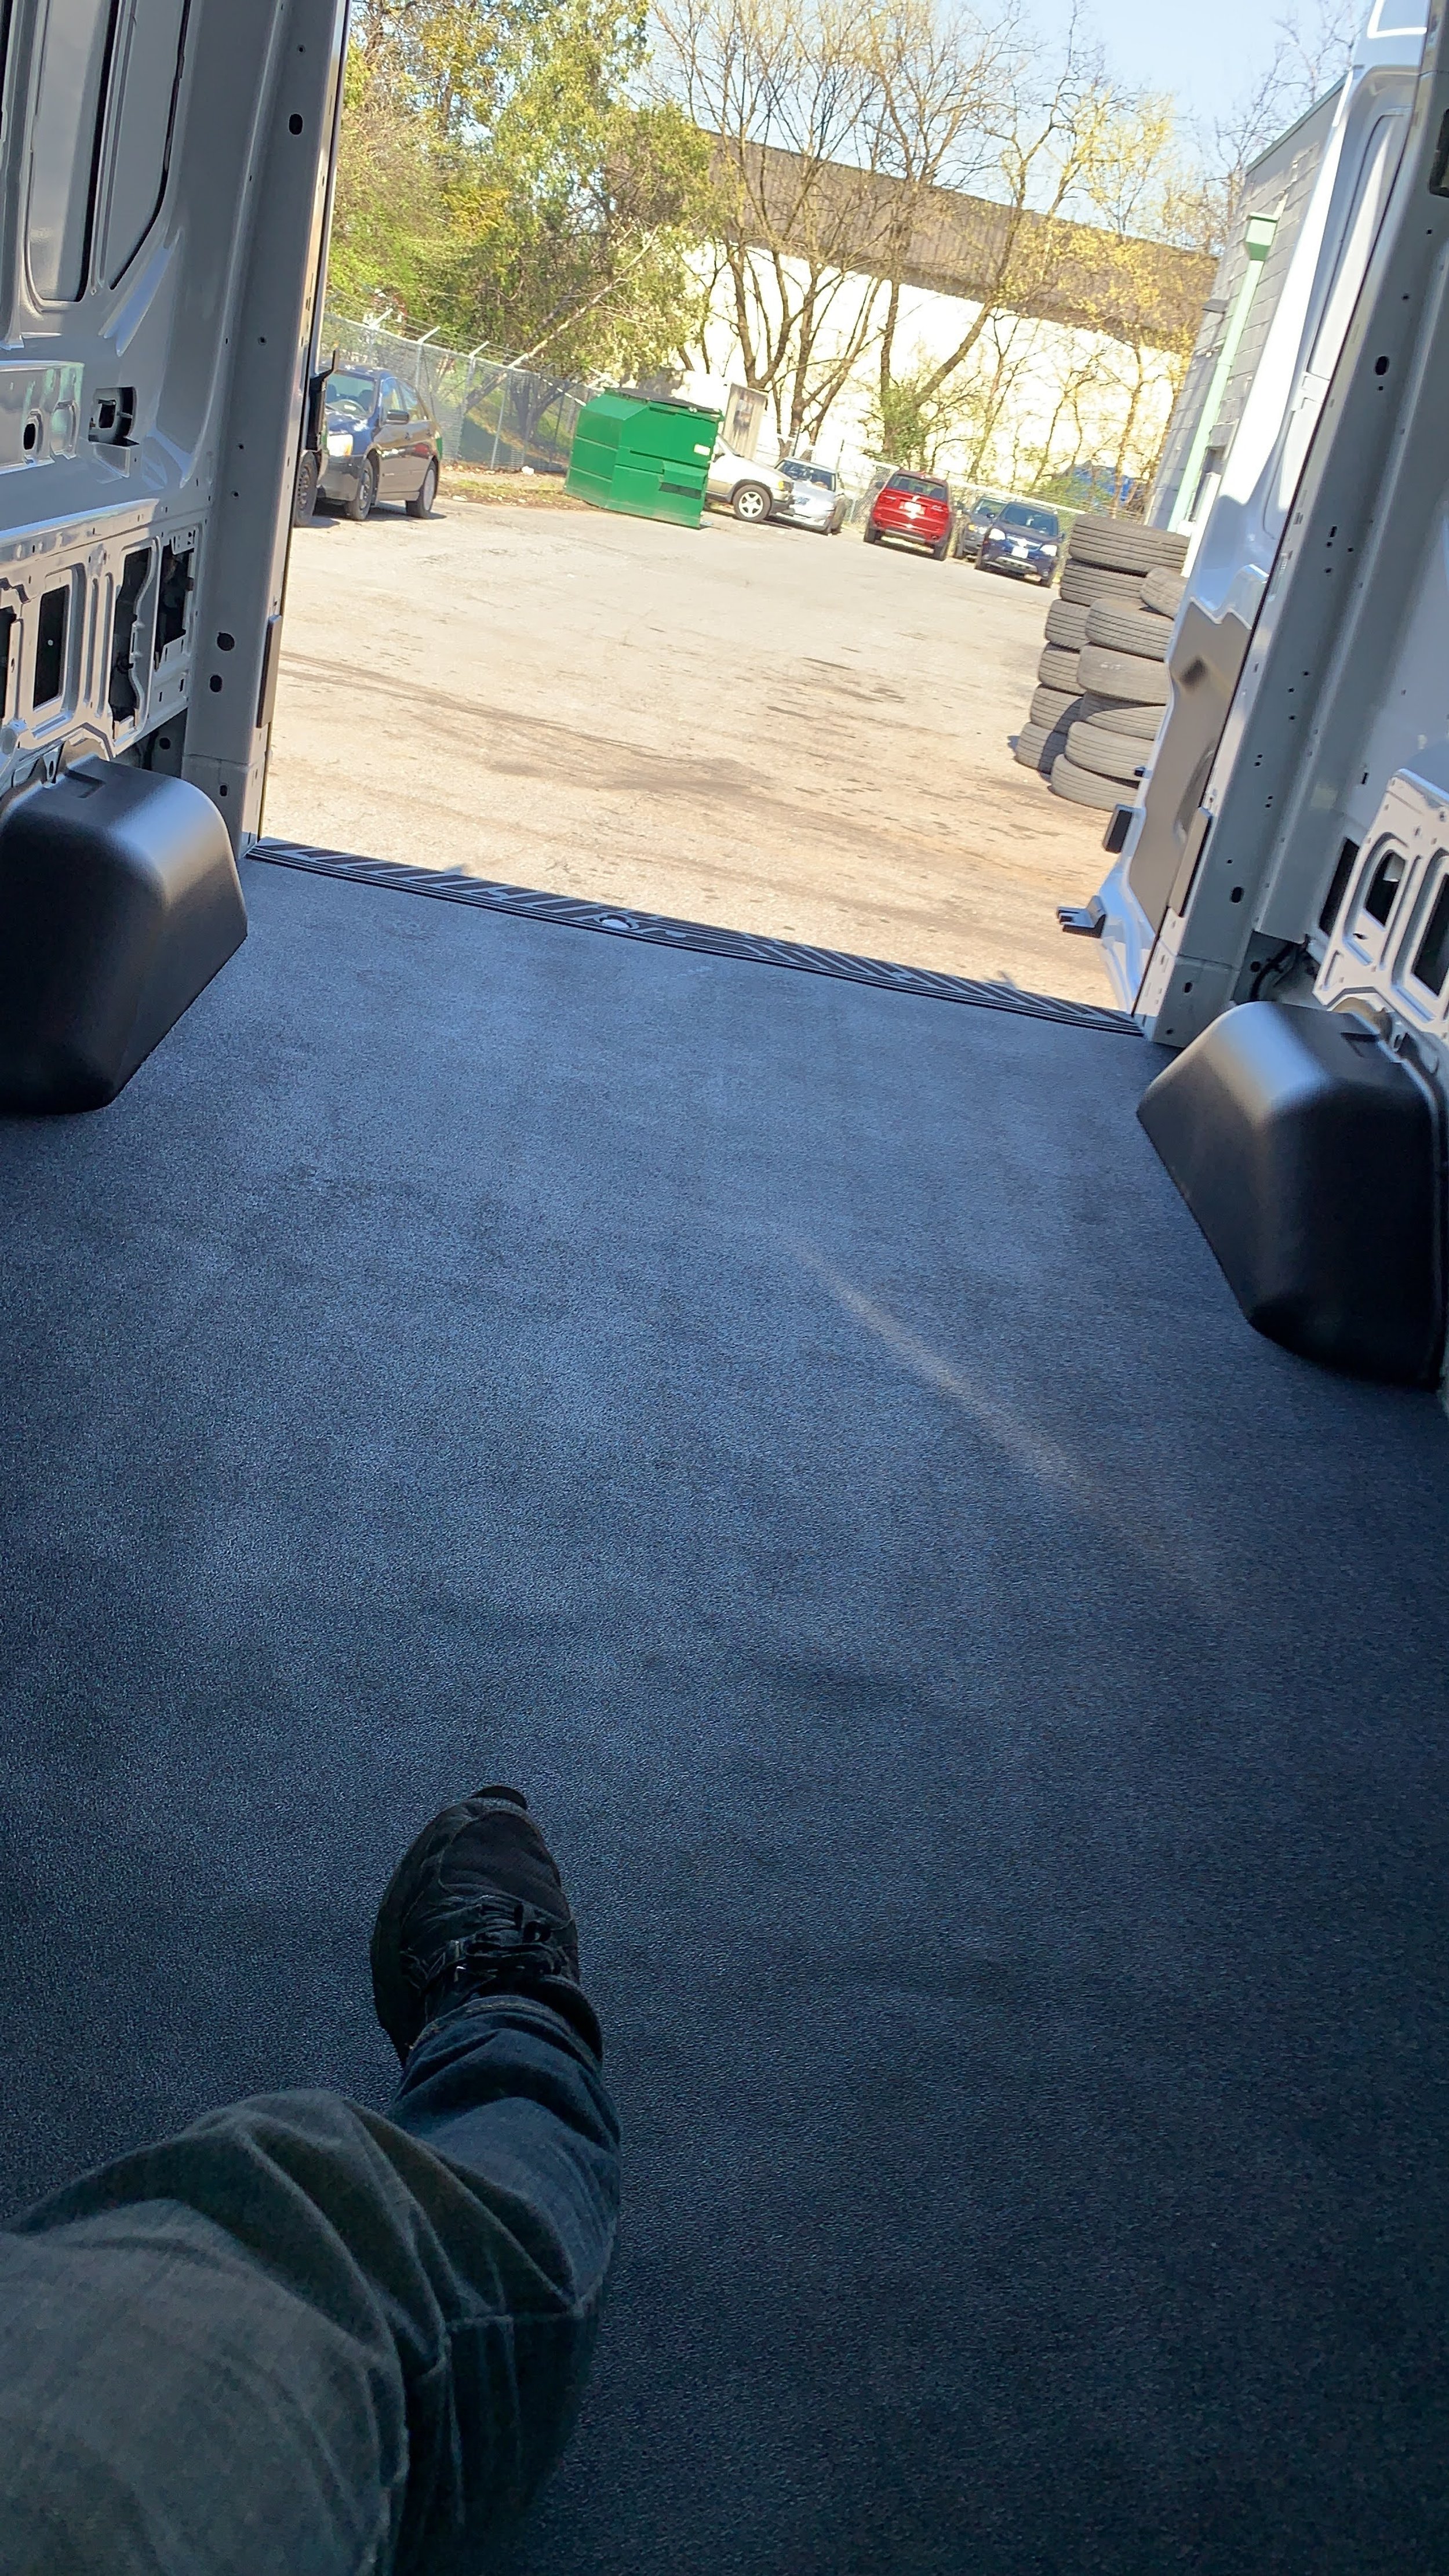
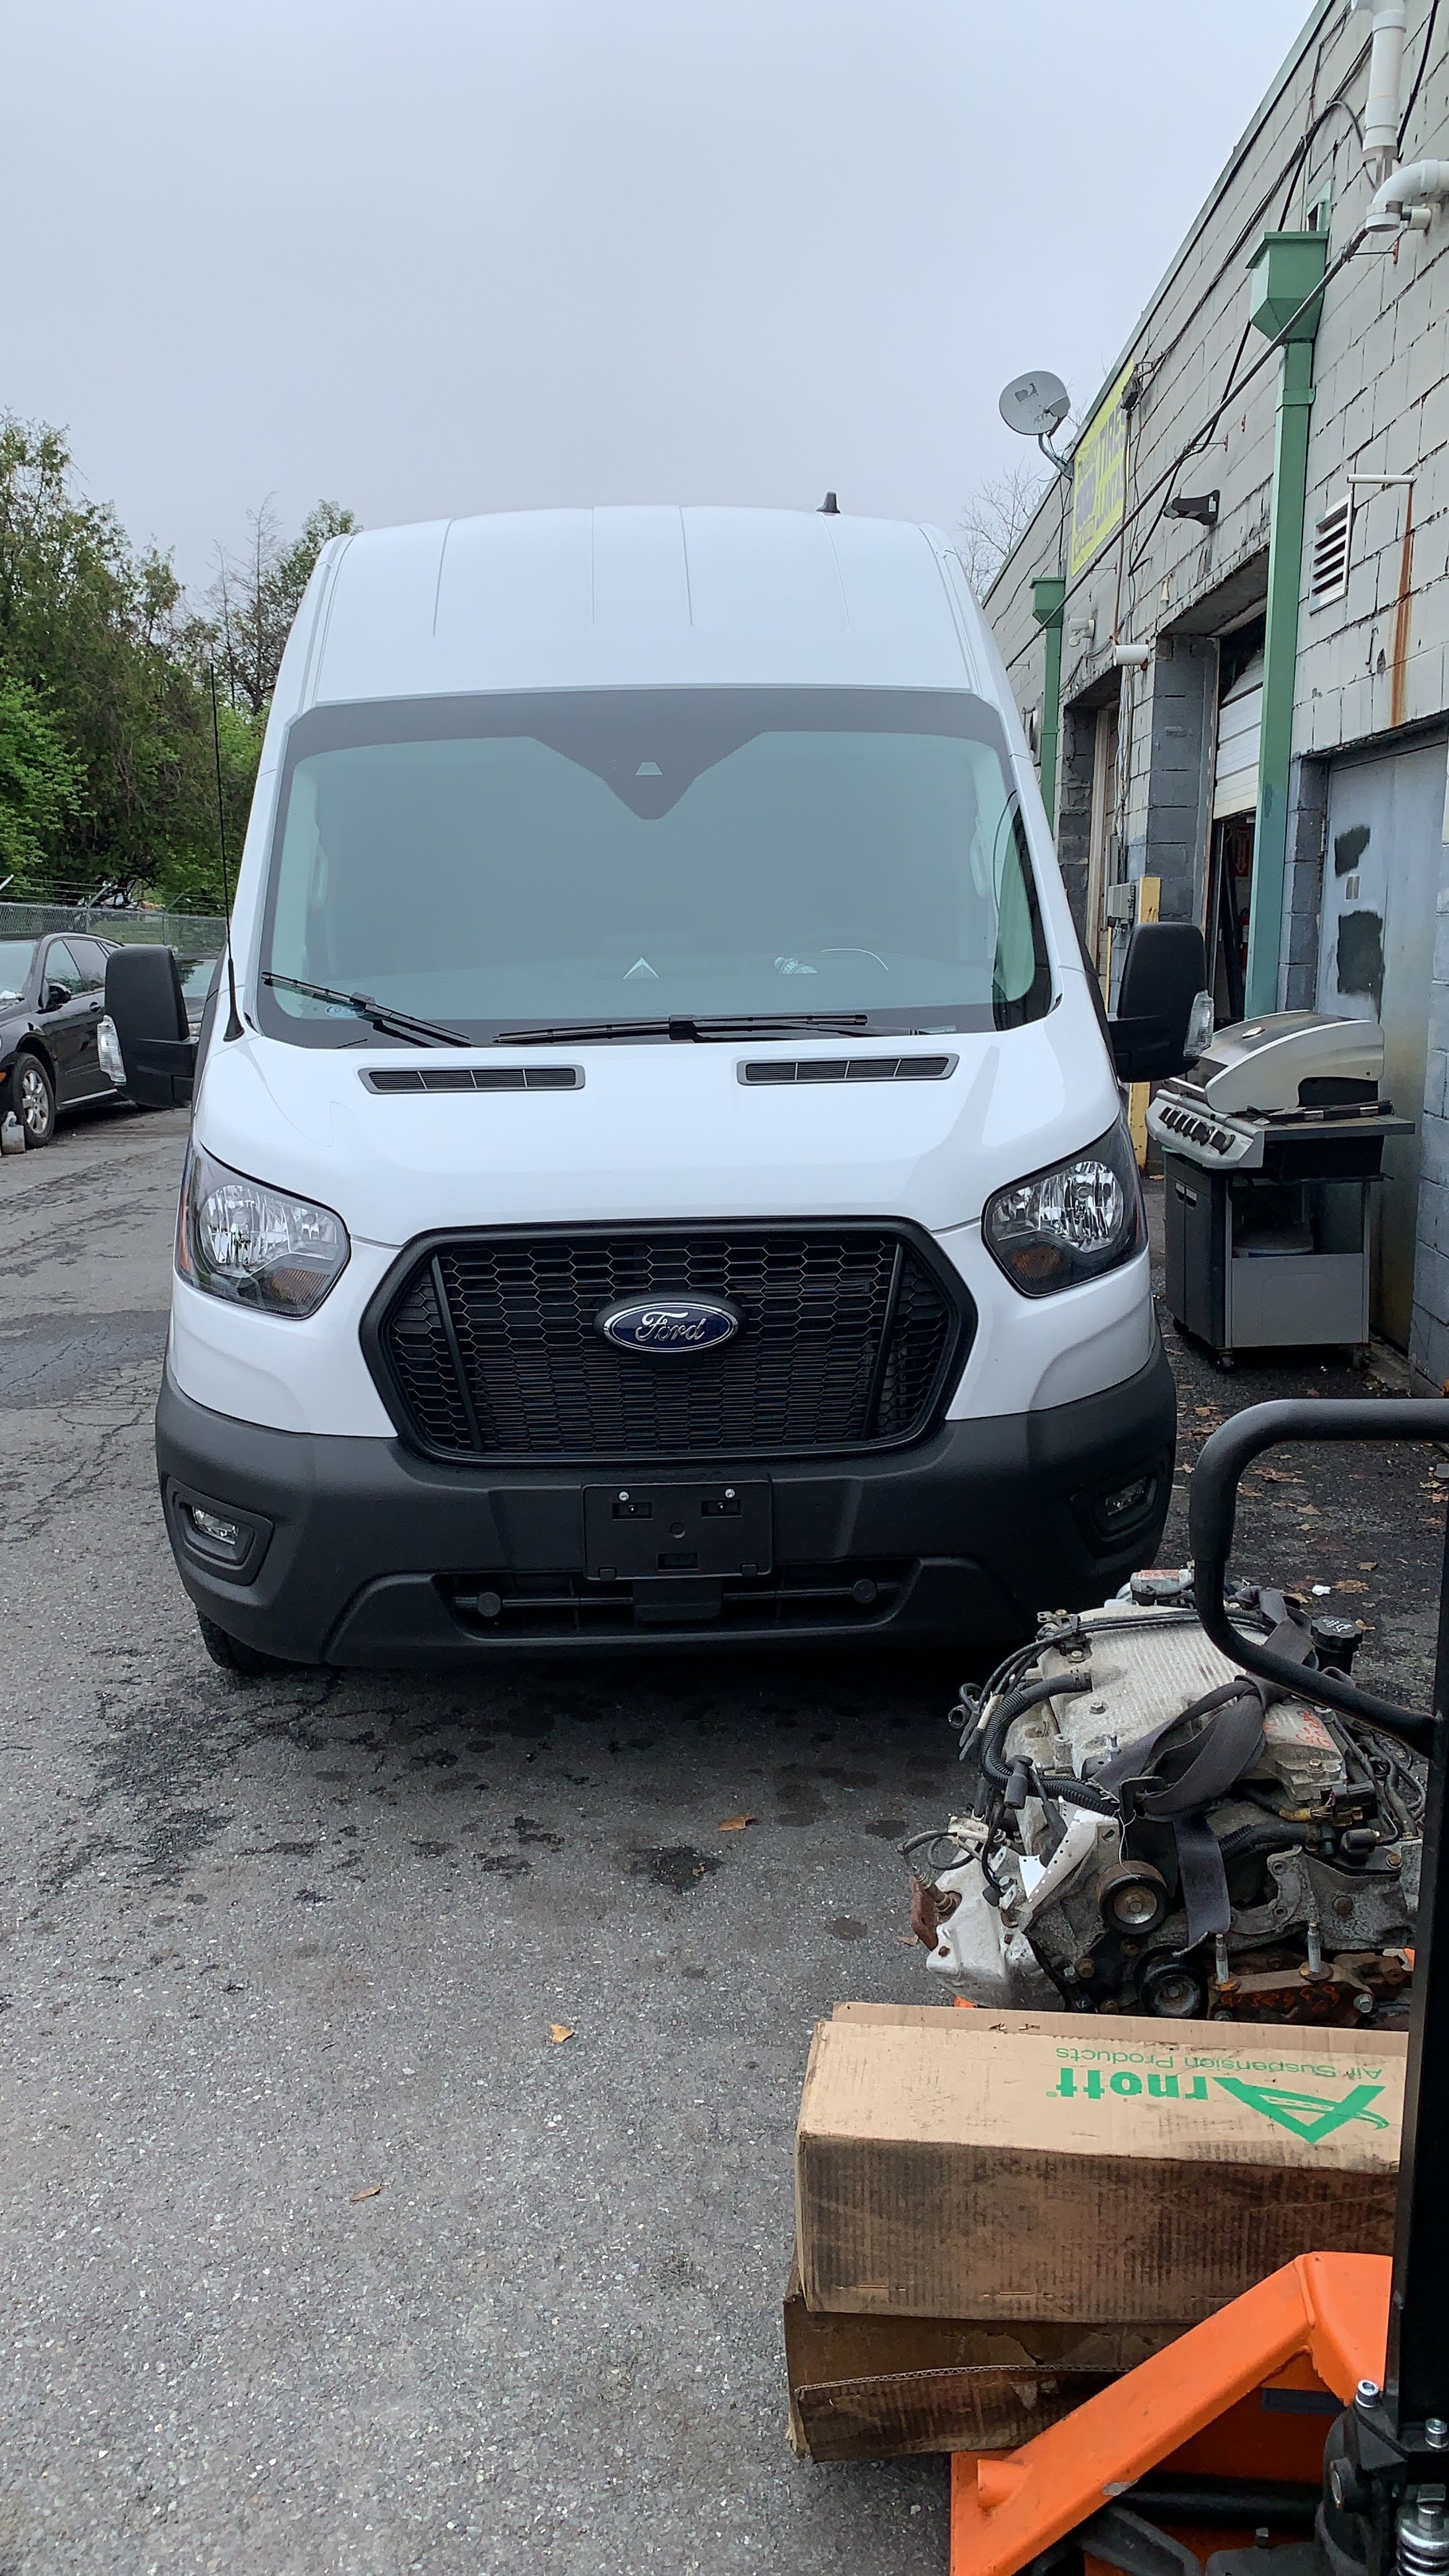
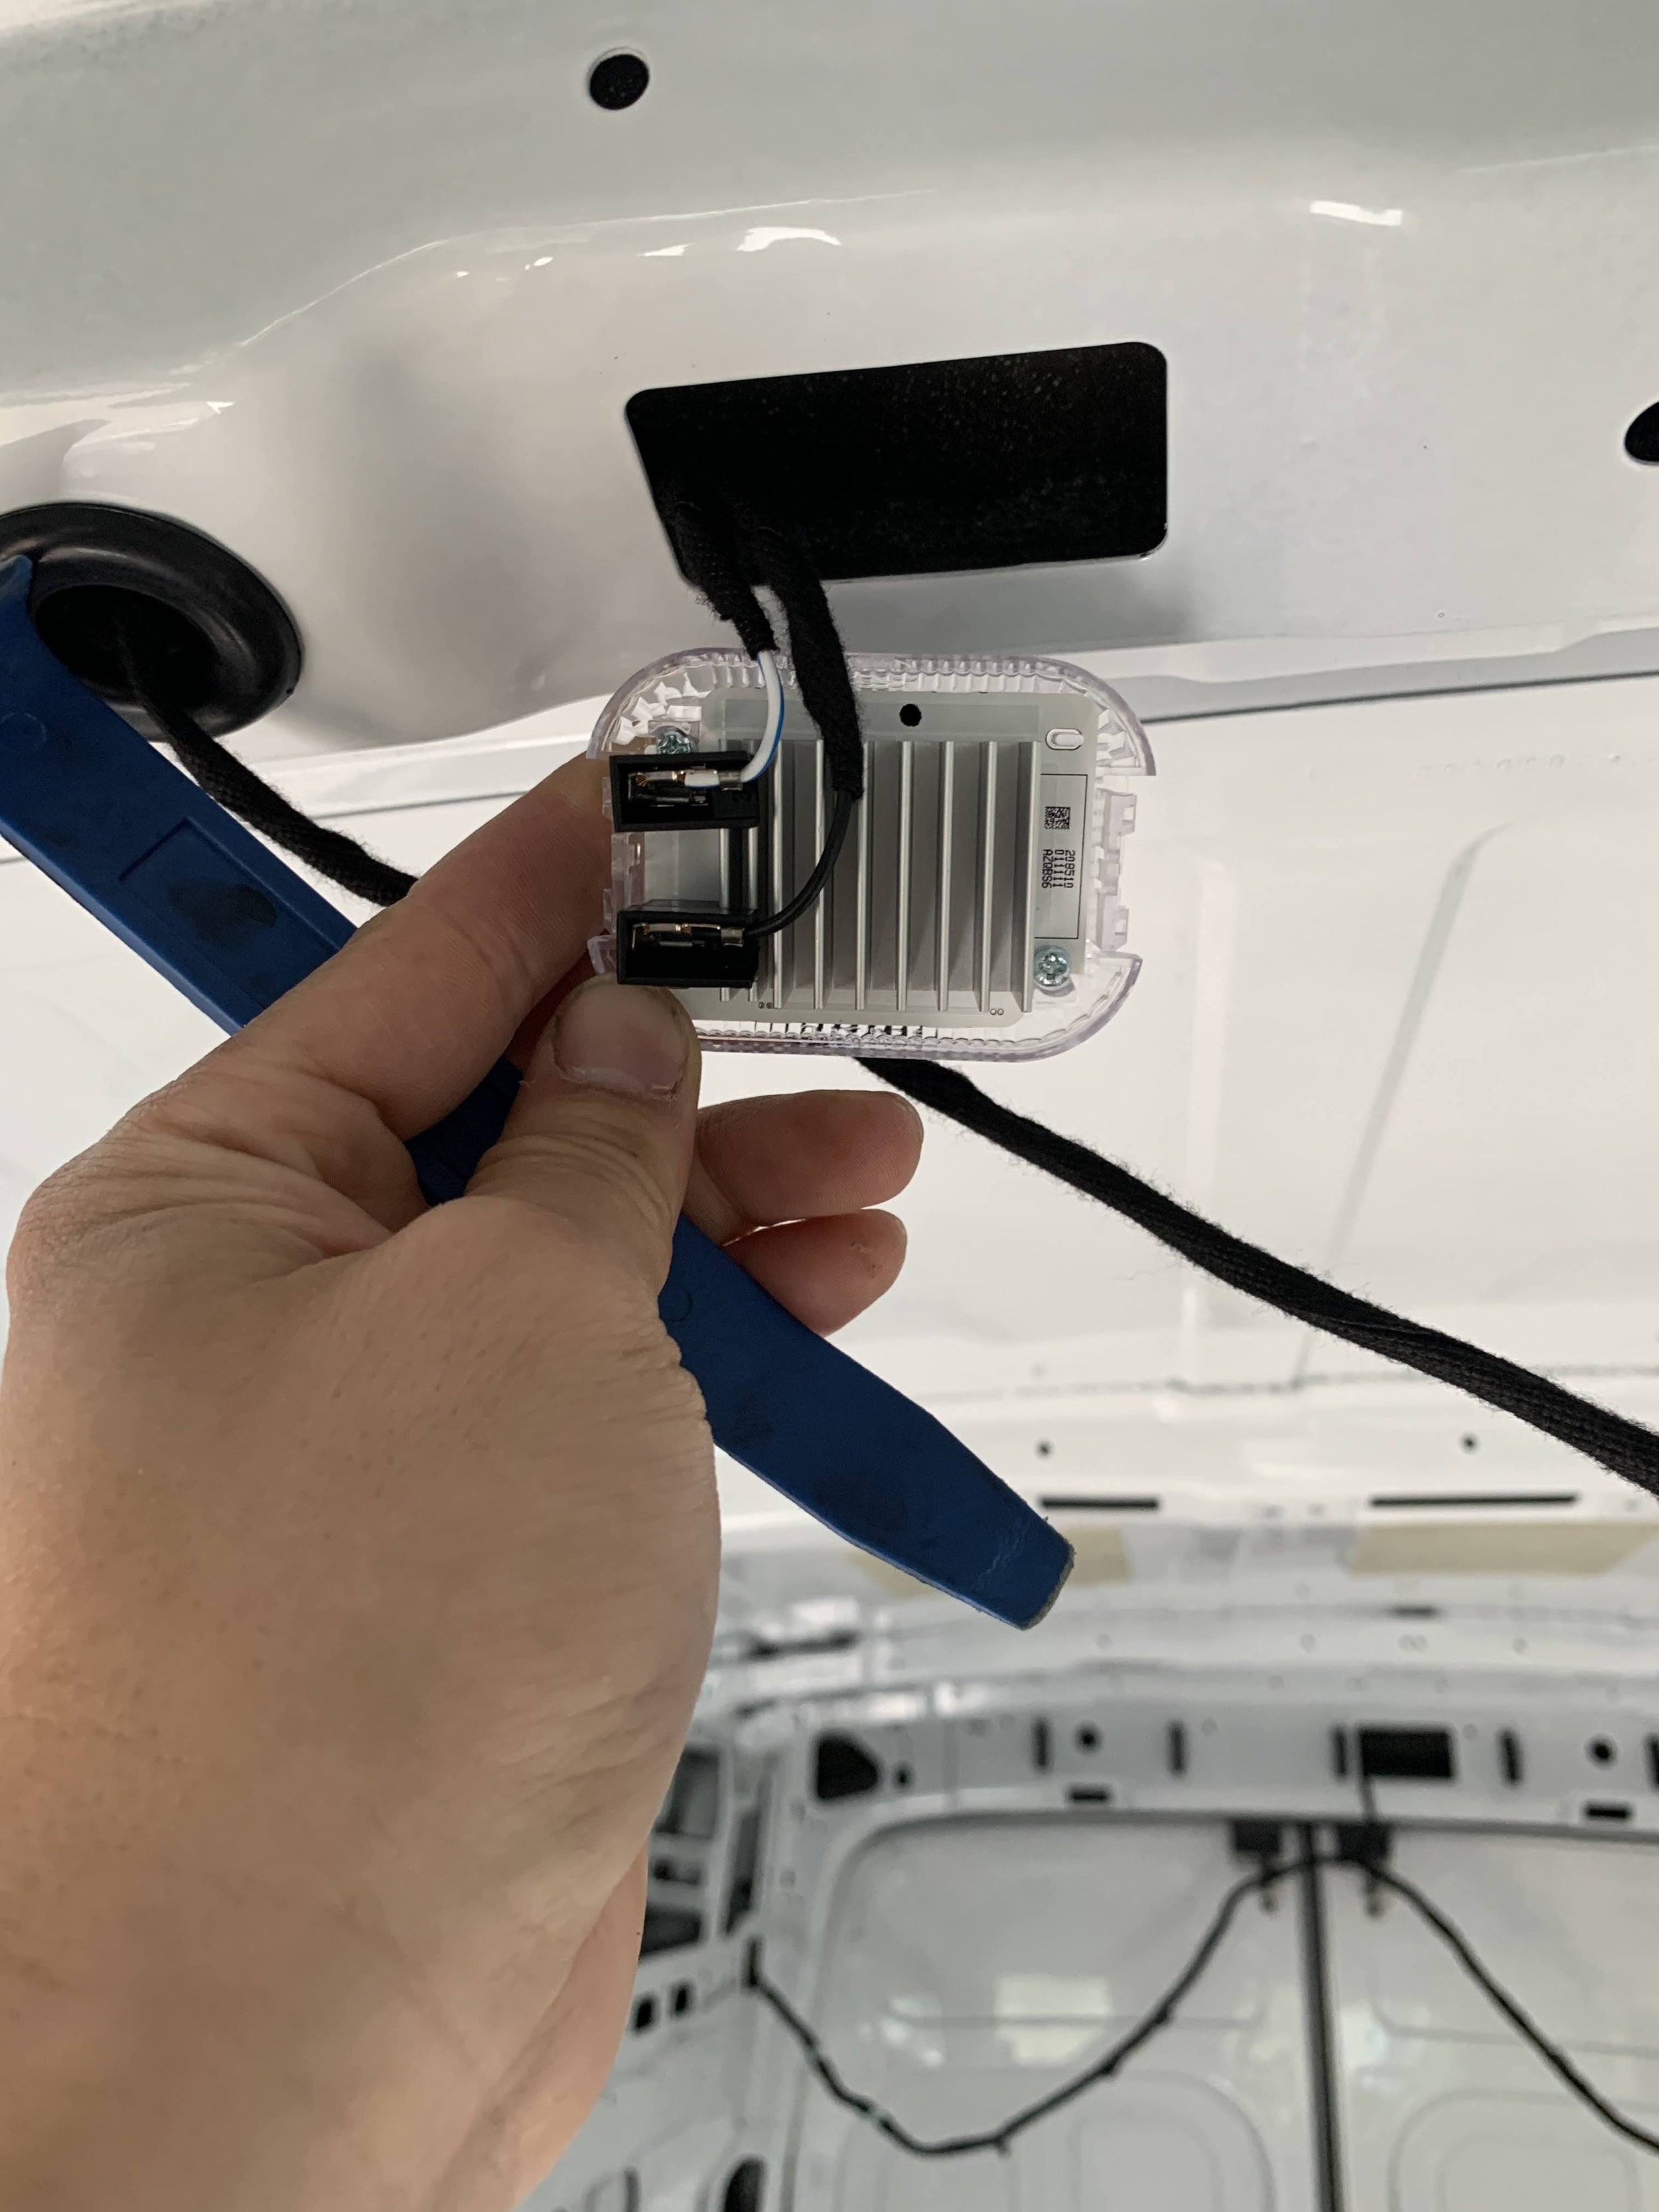
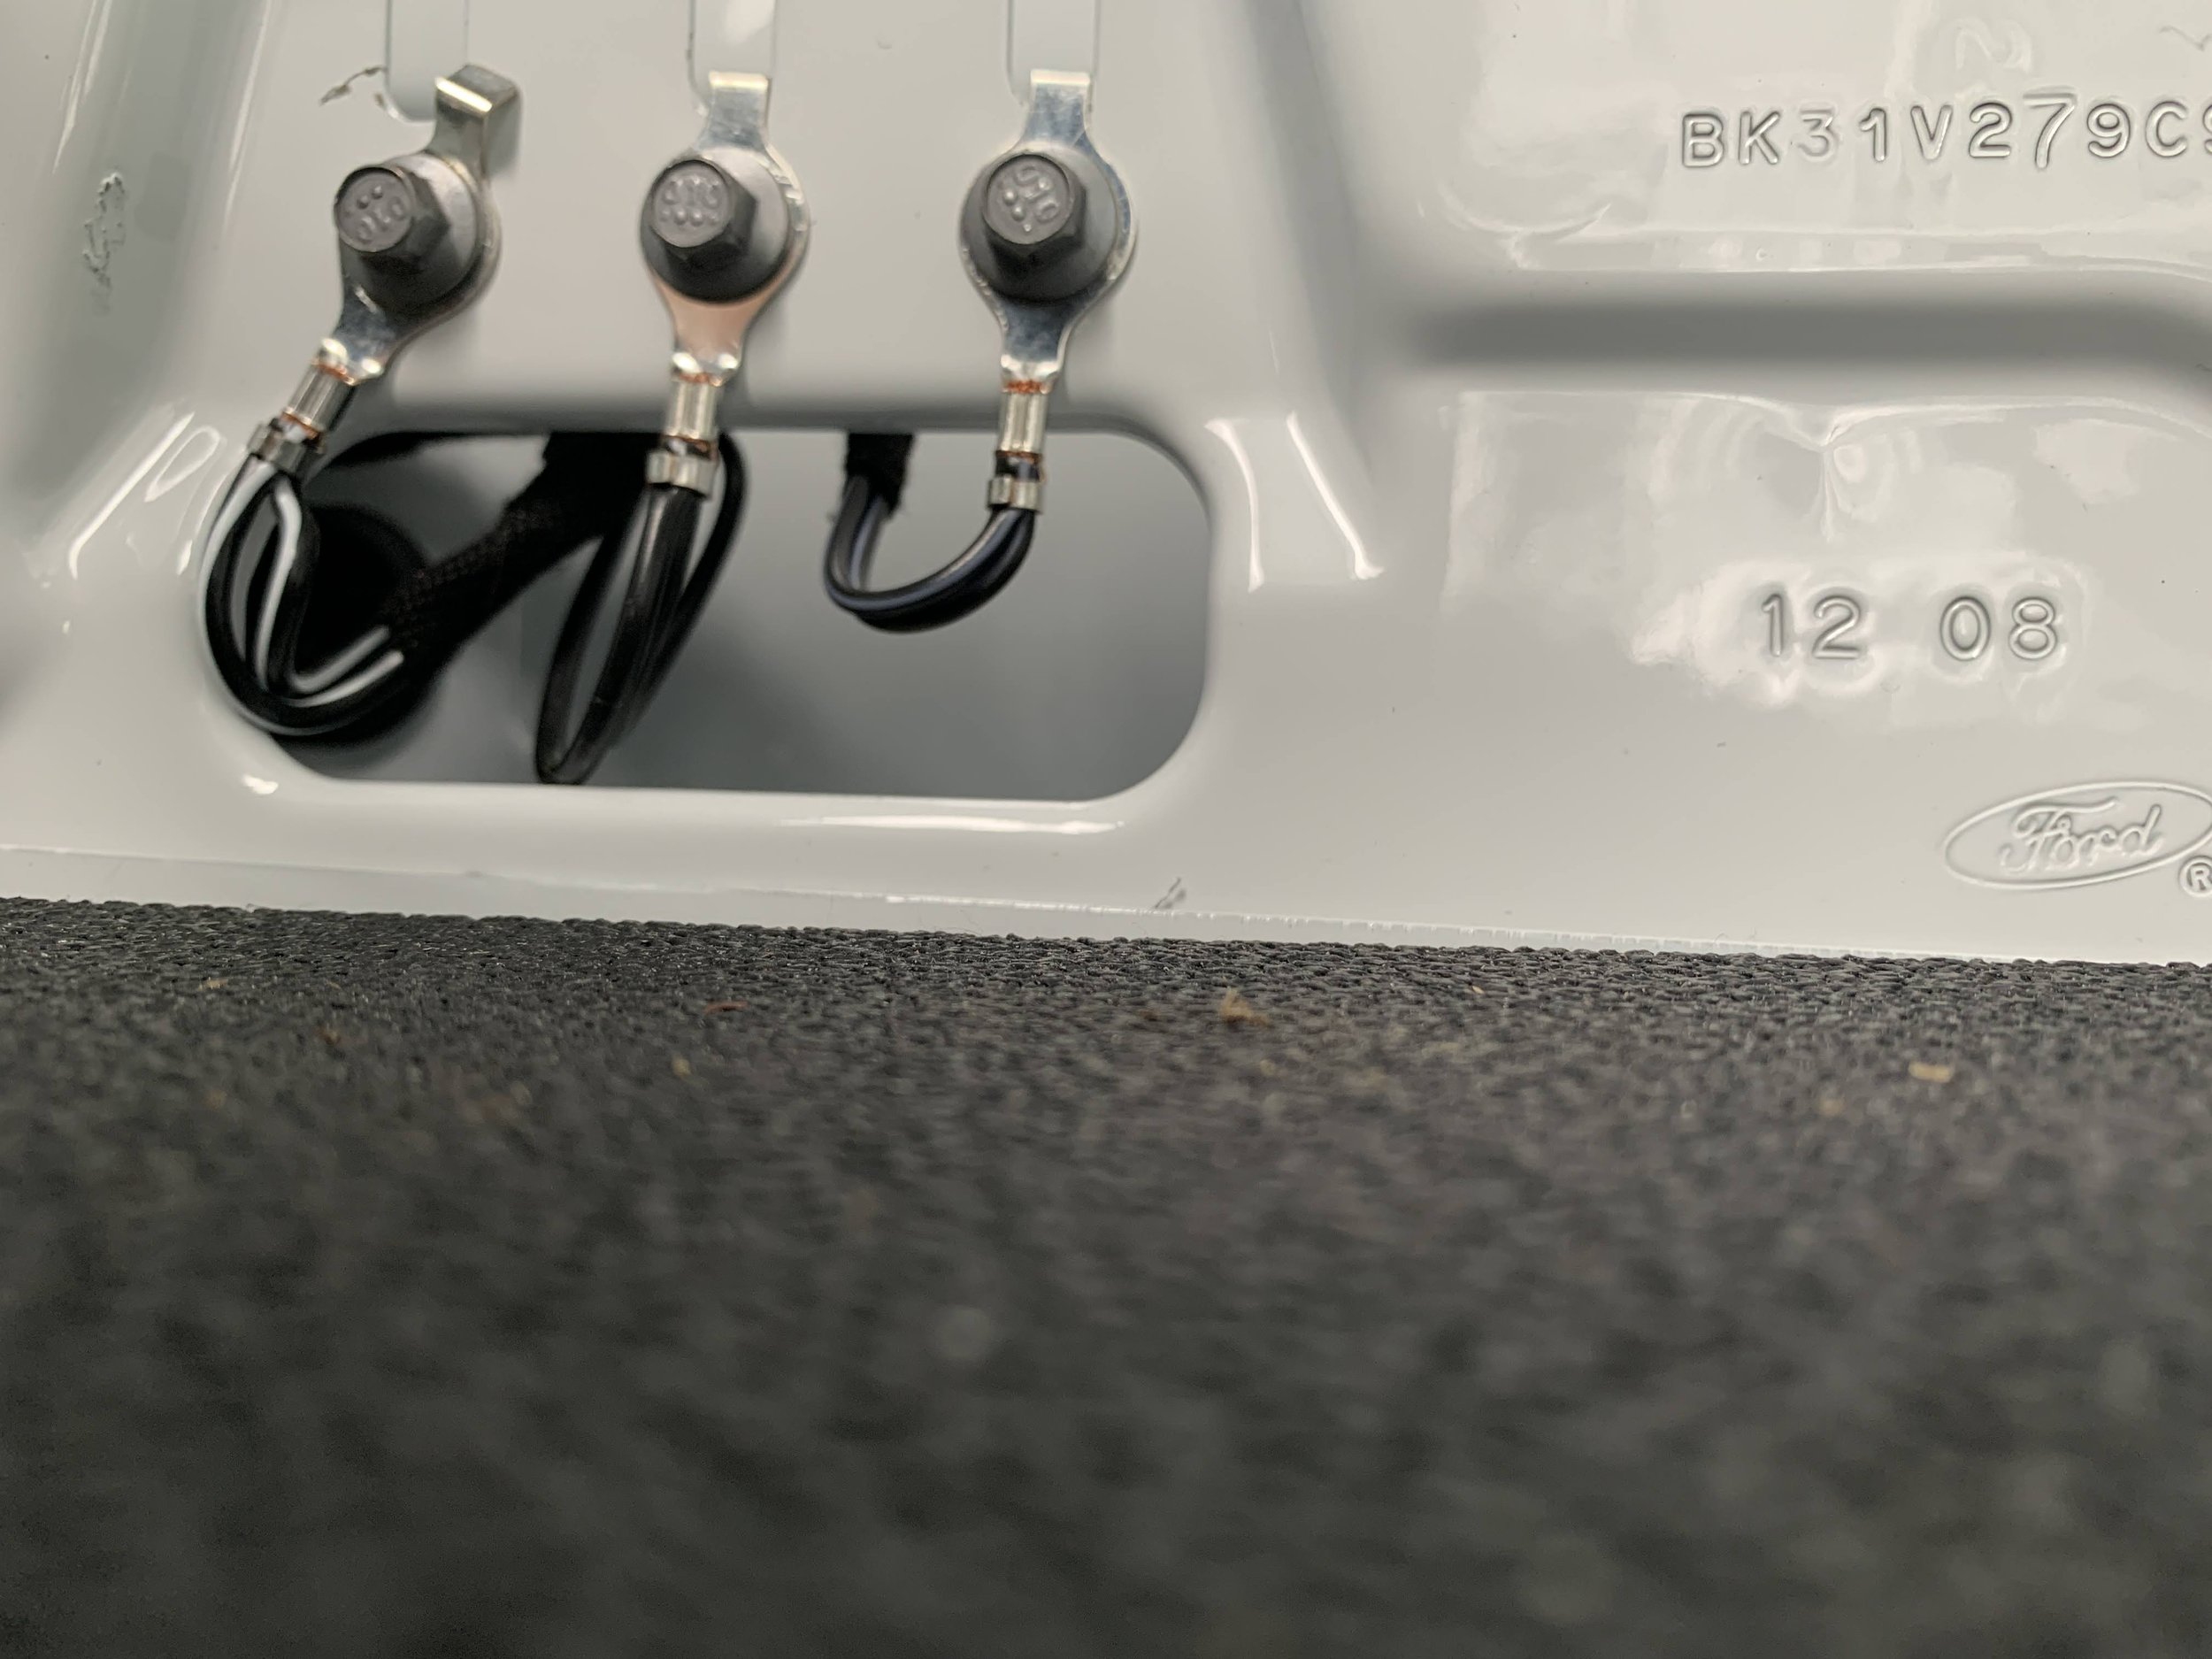
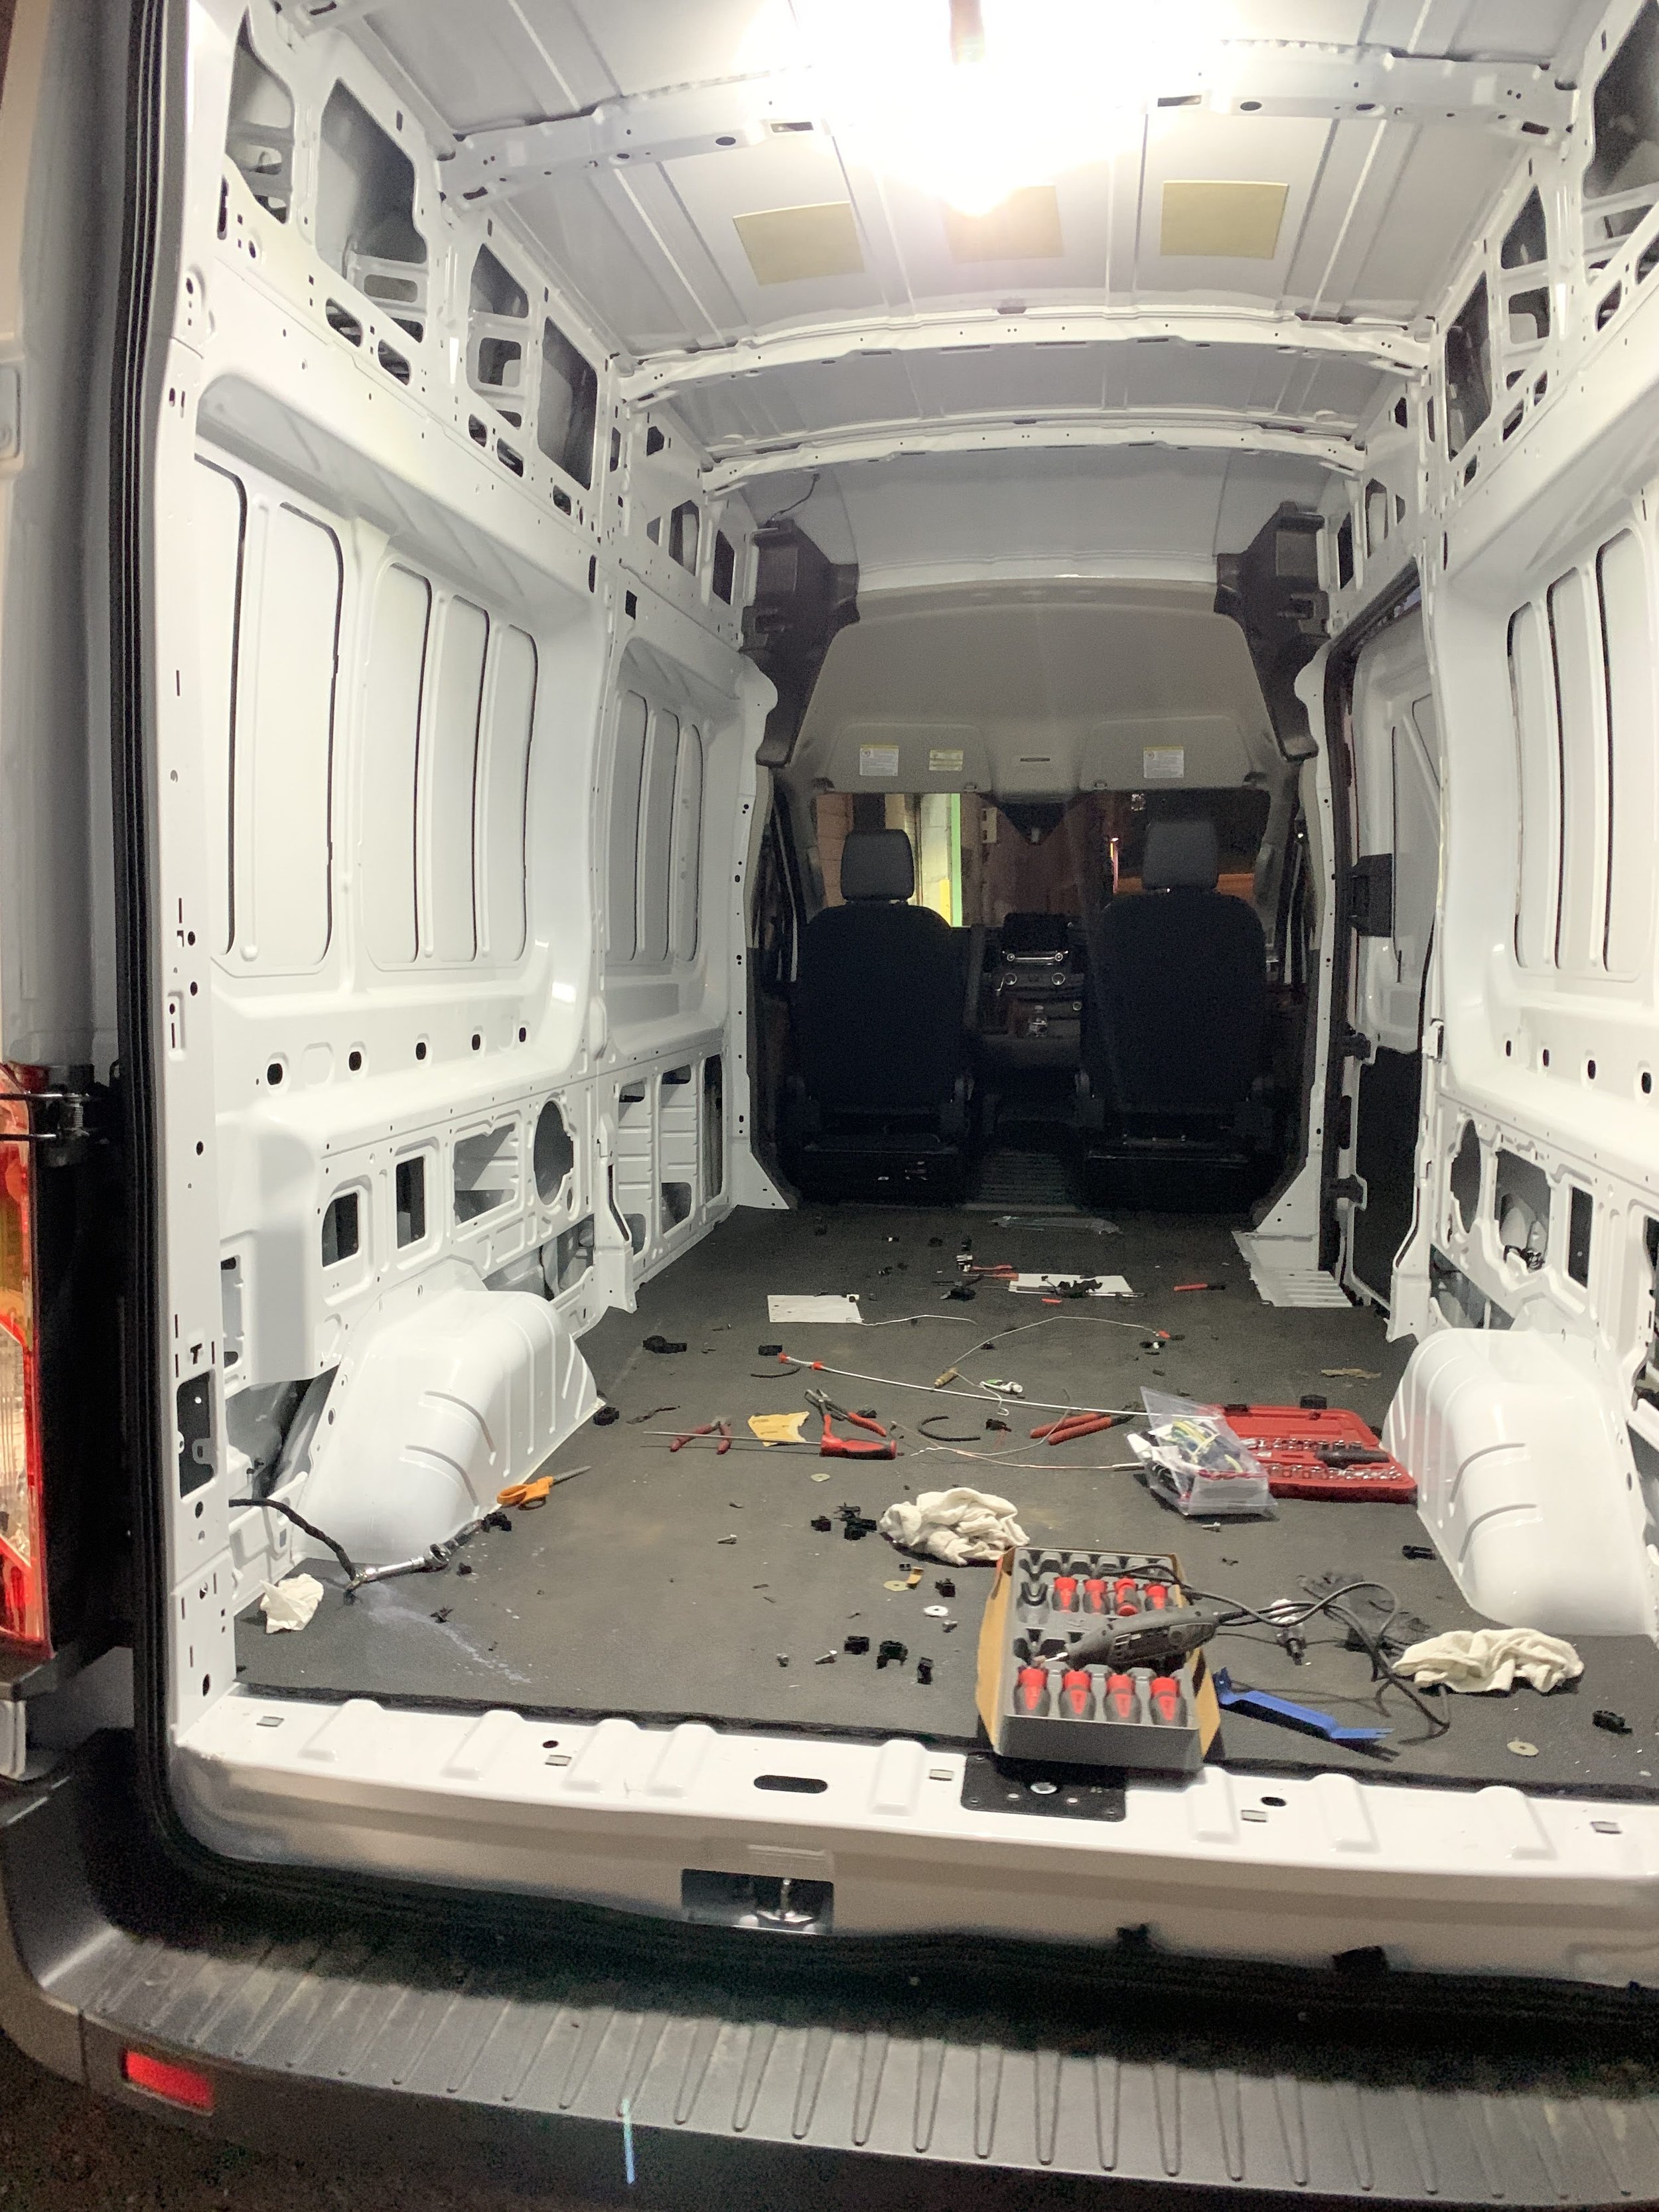
I bought a set of fog lights and immediately try to wire it up. My brother gave me a hand with this, and since I did not have the roof rack on yet, you can see I was able to pull the van inside the shop, but even the side to side clearance is very very tight. I ordered the control switch for the fog light from Ford. Little did I know that with the logistic problem, I wouldn’t get the switch until 6 month later, but that is not even the greatest problem. More on that later. Installing these was easy, and the wiring are already there, it was plug and play. But they do not turn on. We use a few rivnut in the hollow plastic to create mounting points for the fog light.
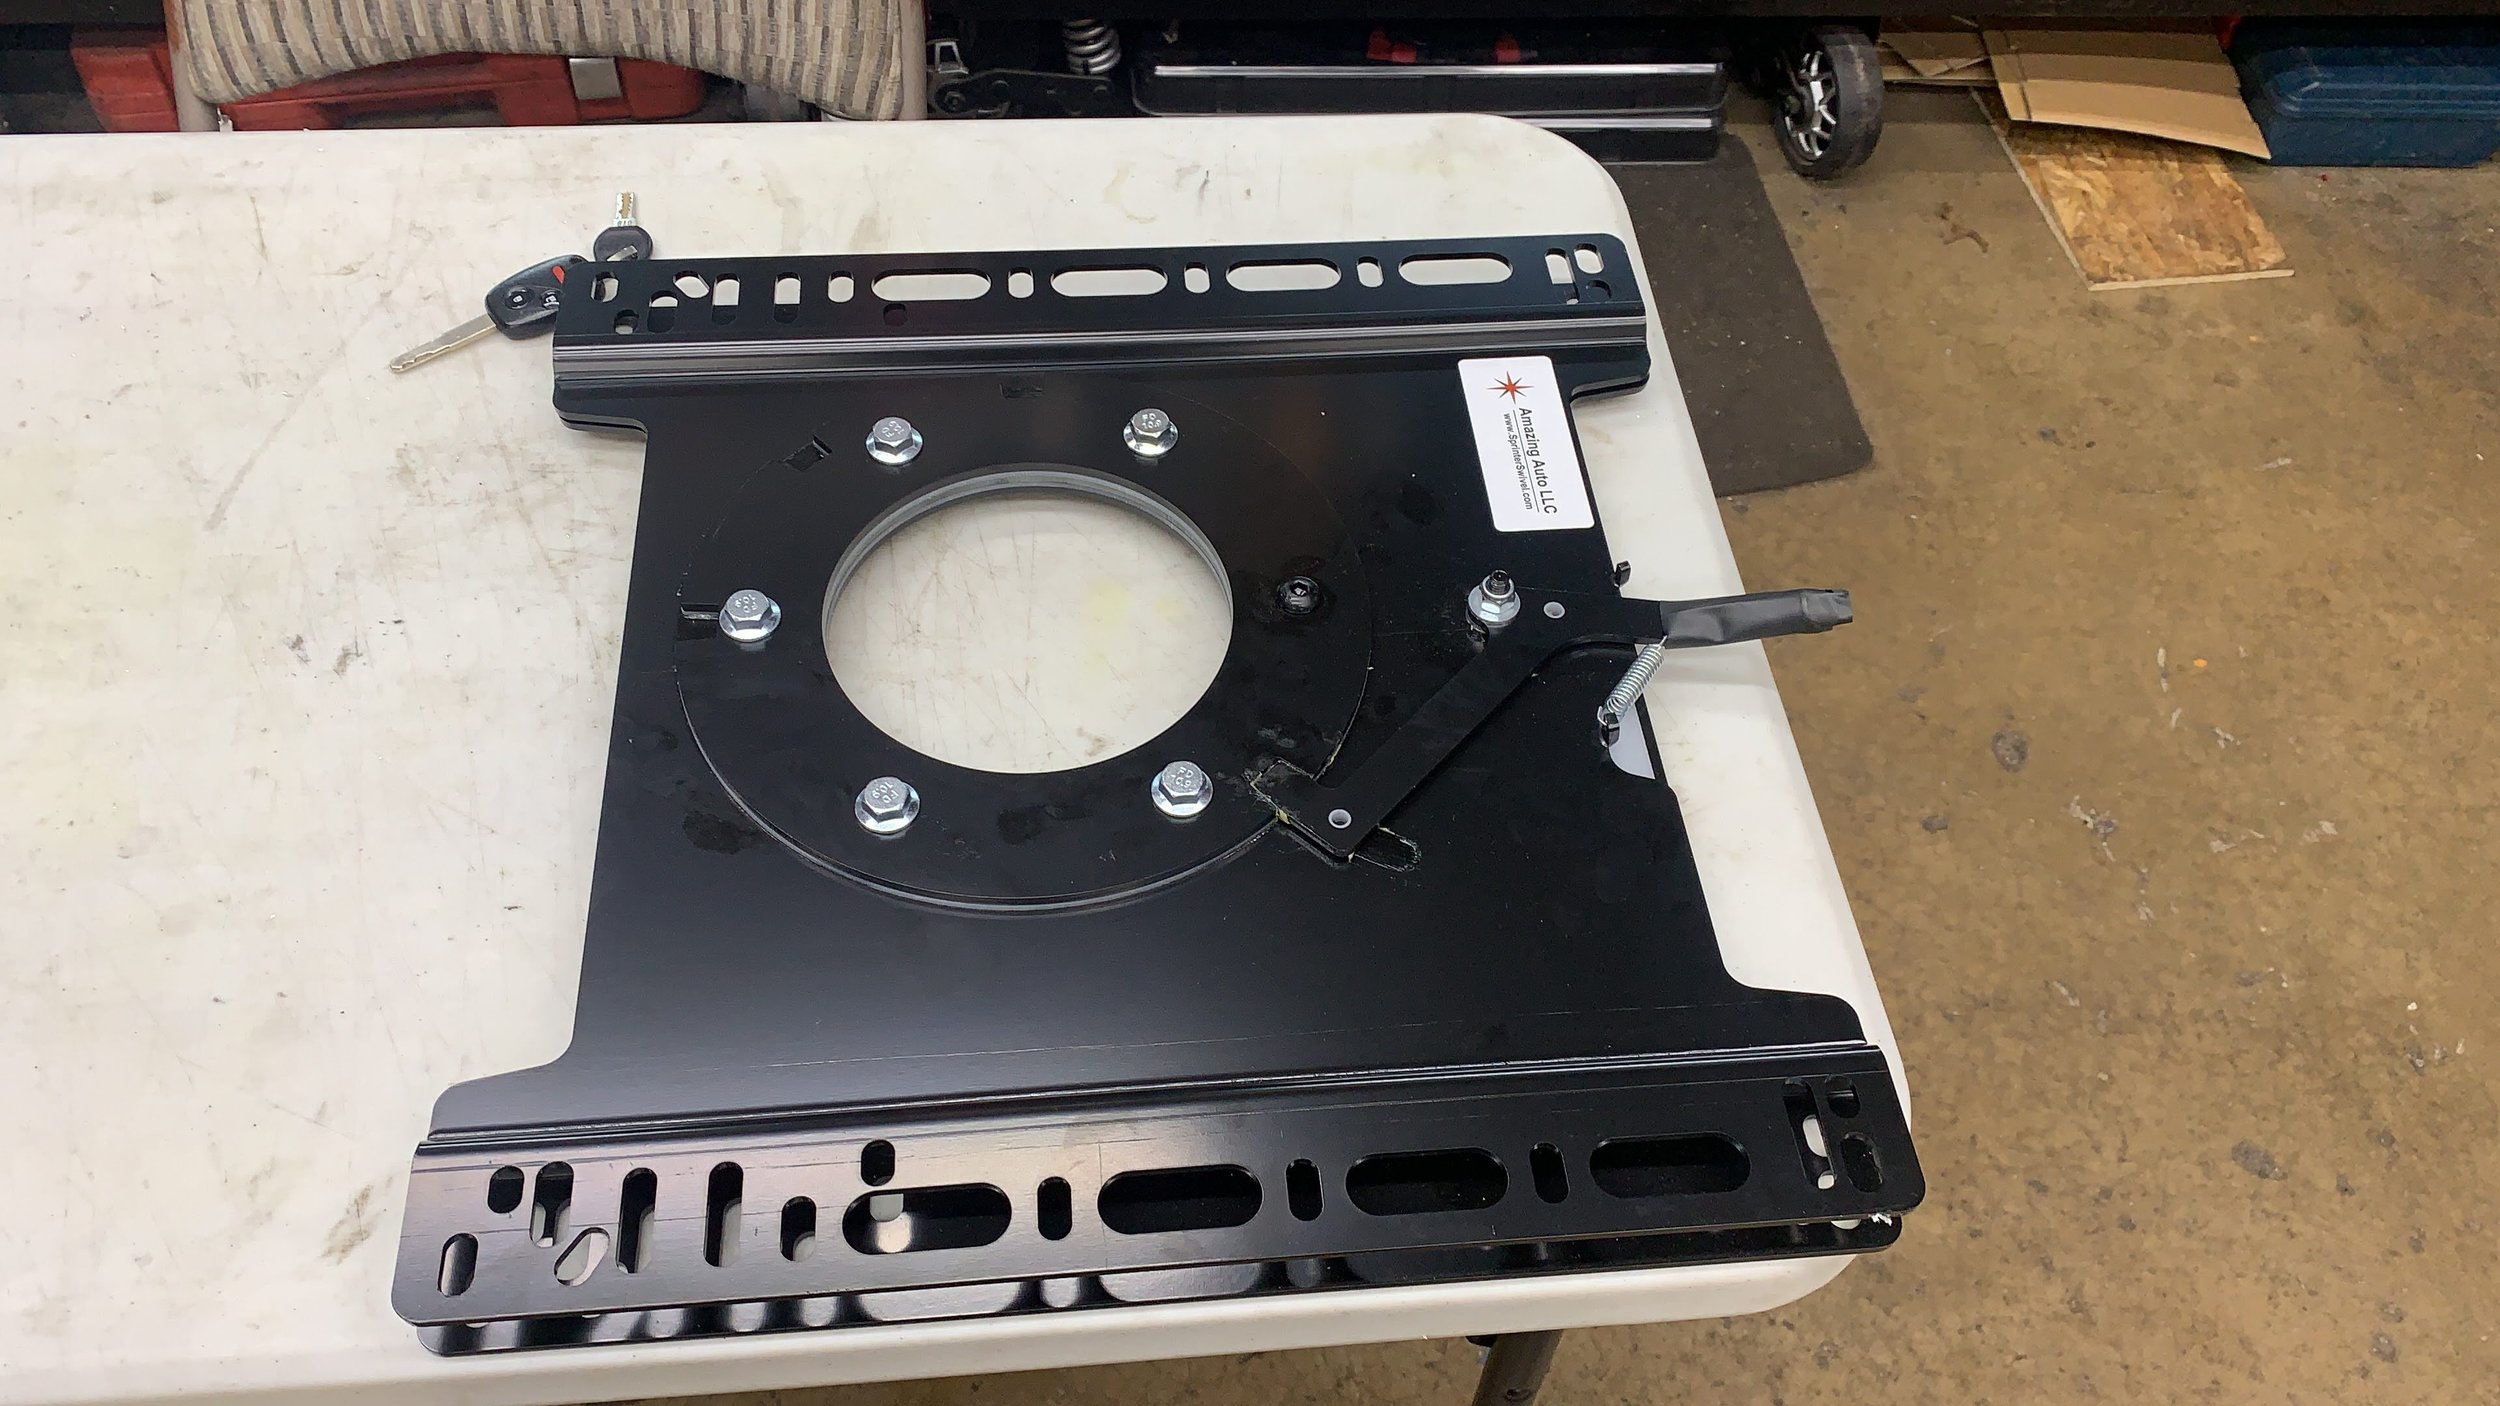
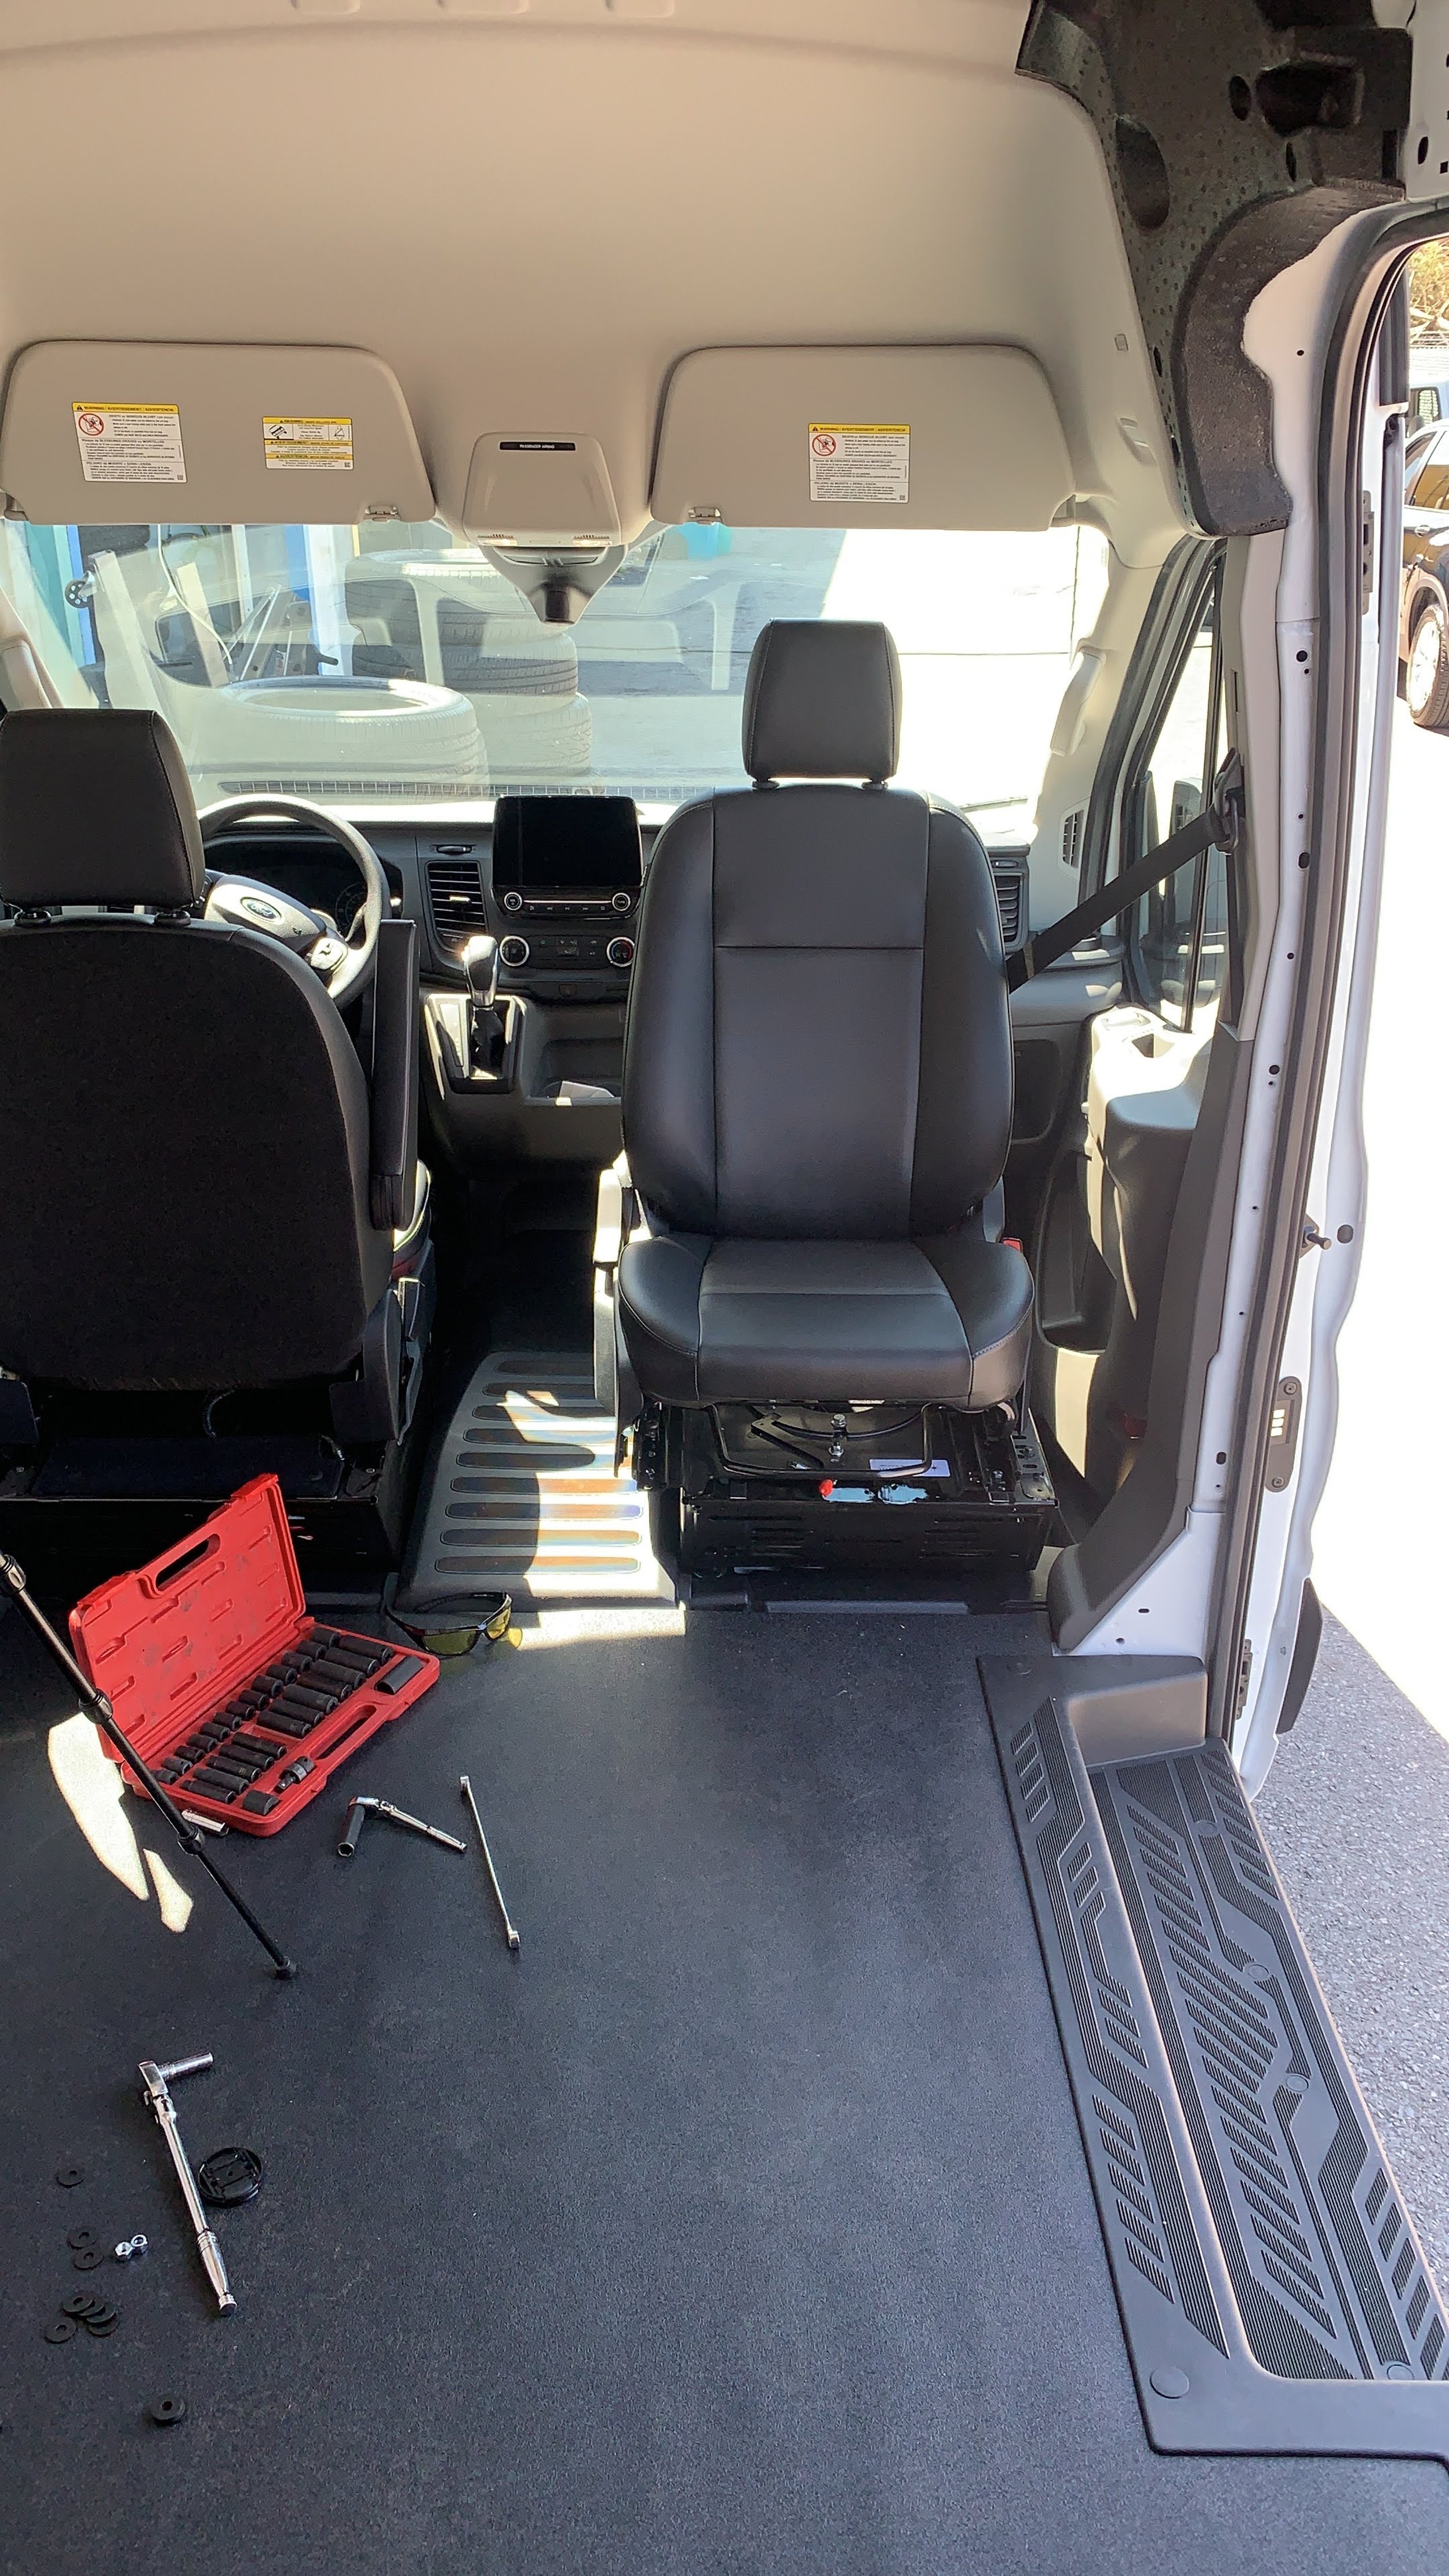
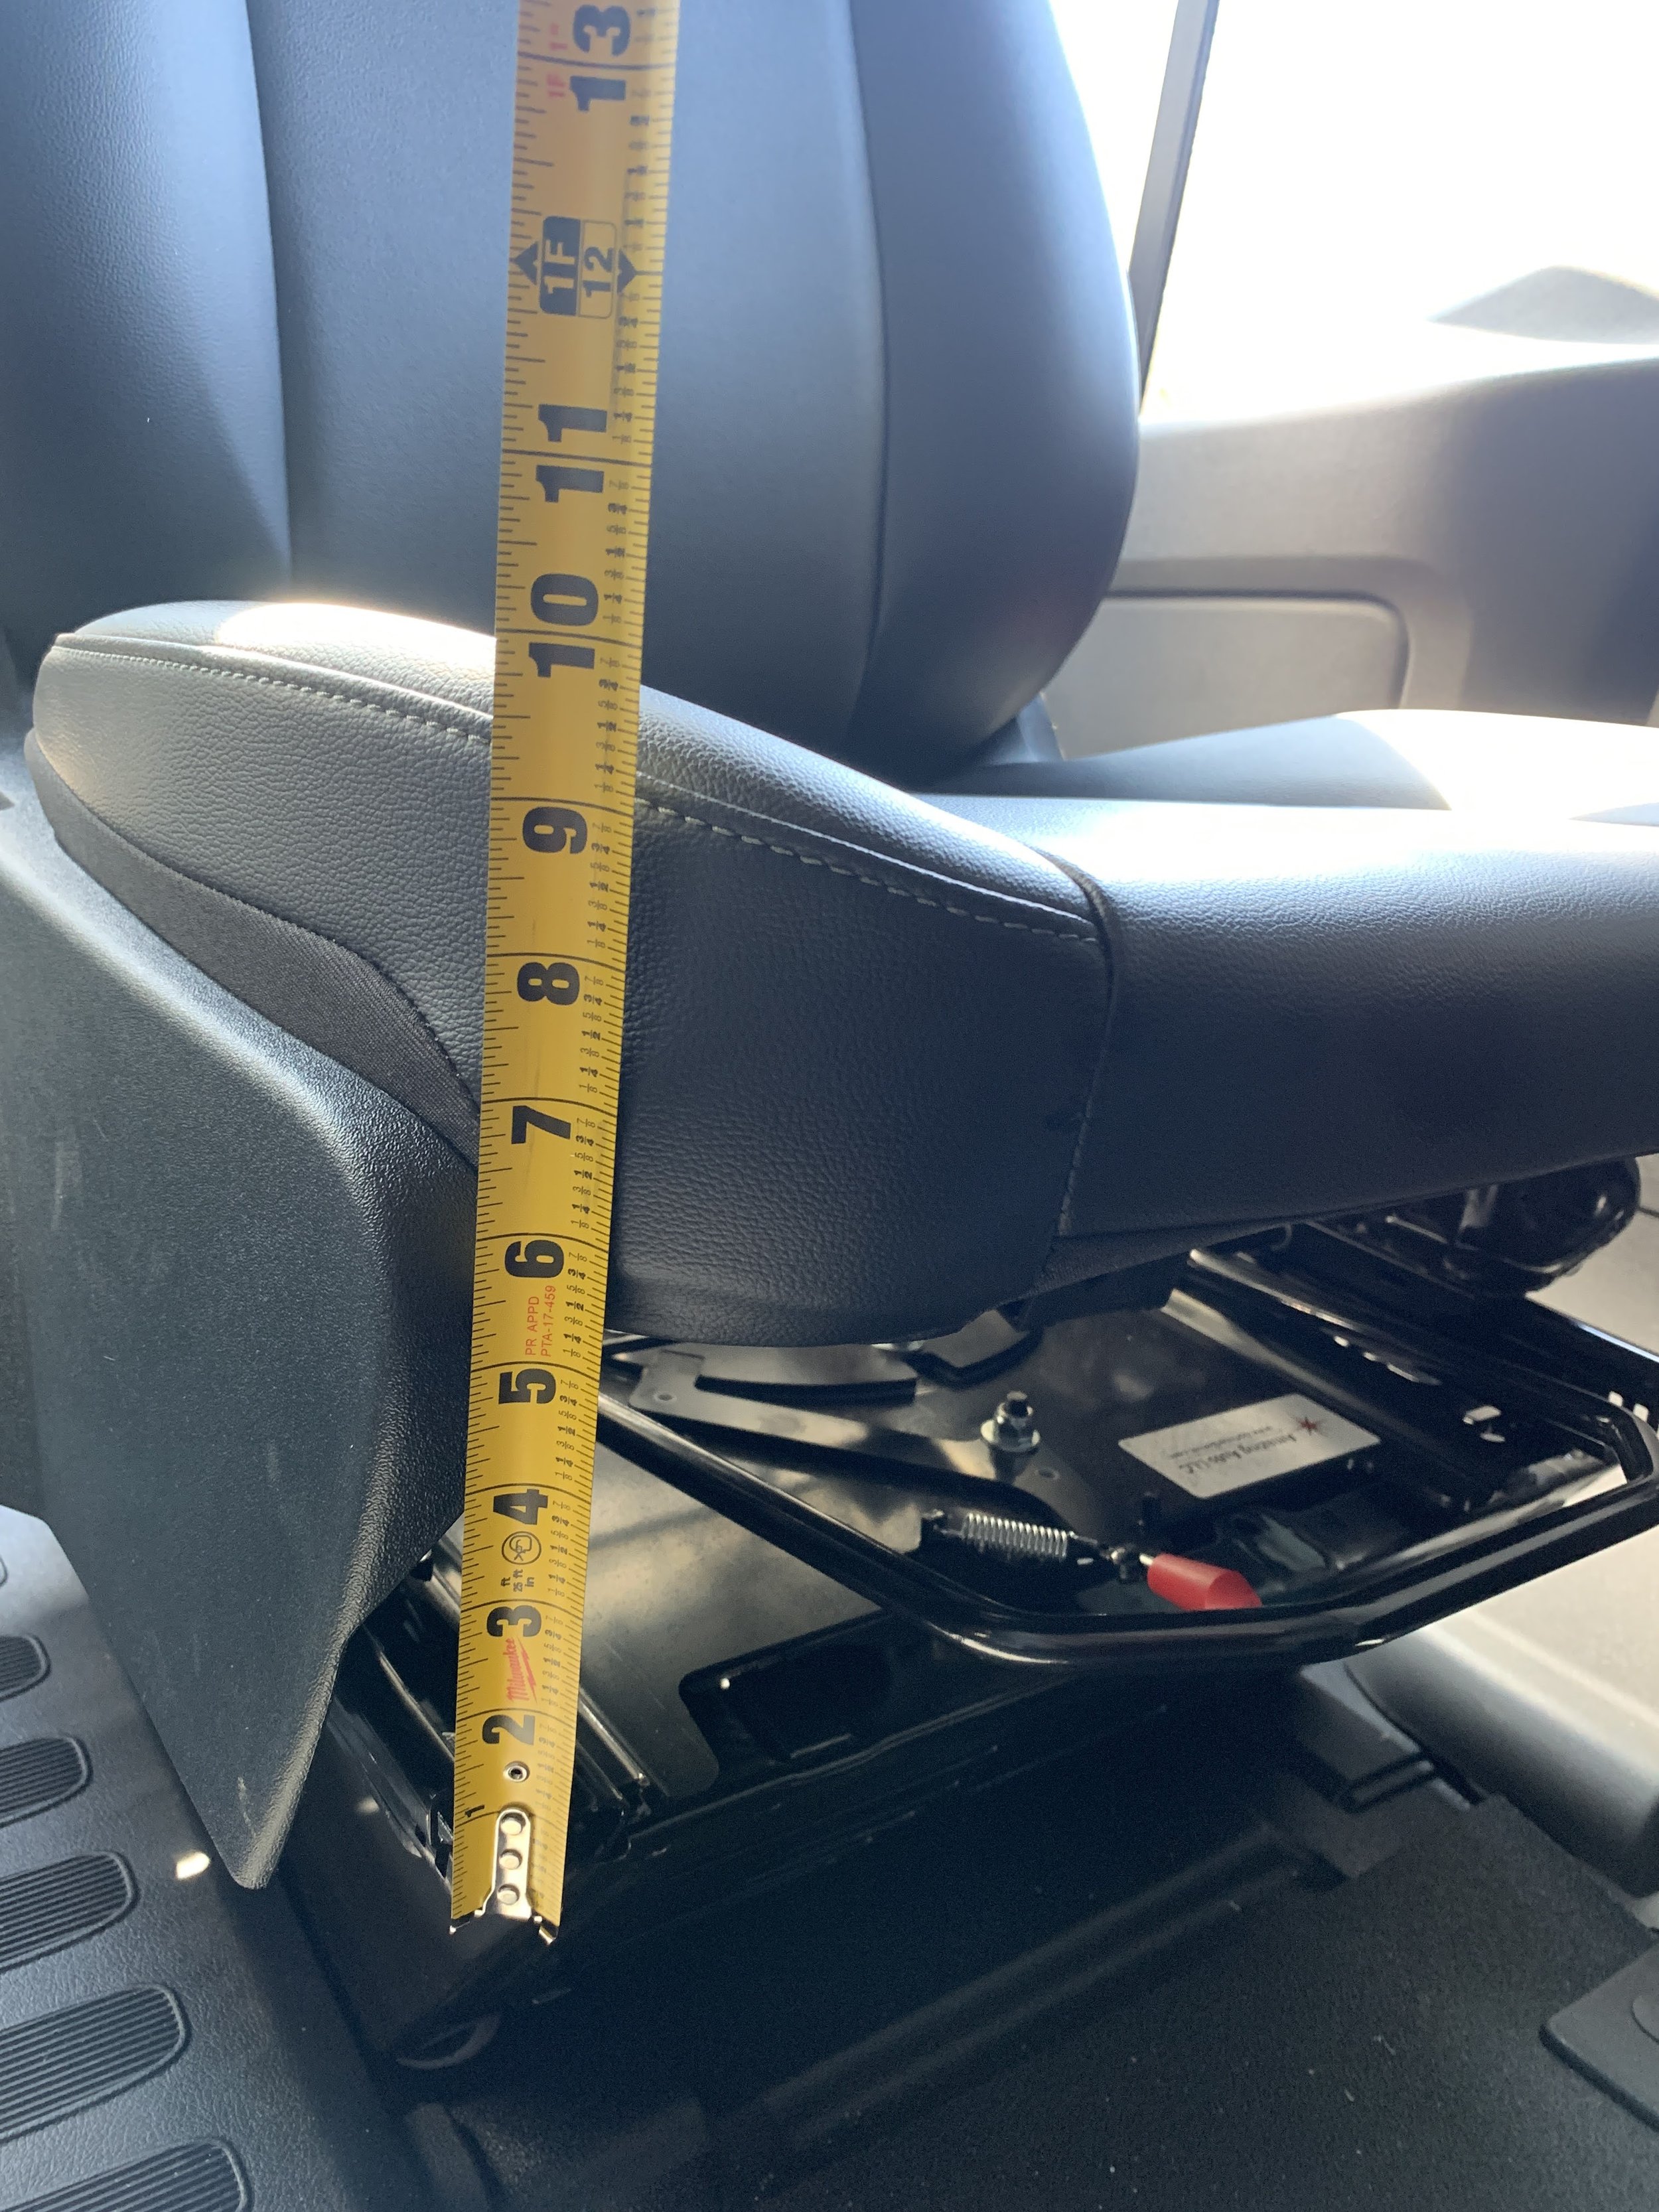
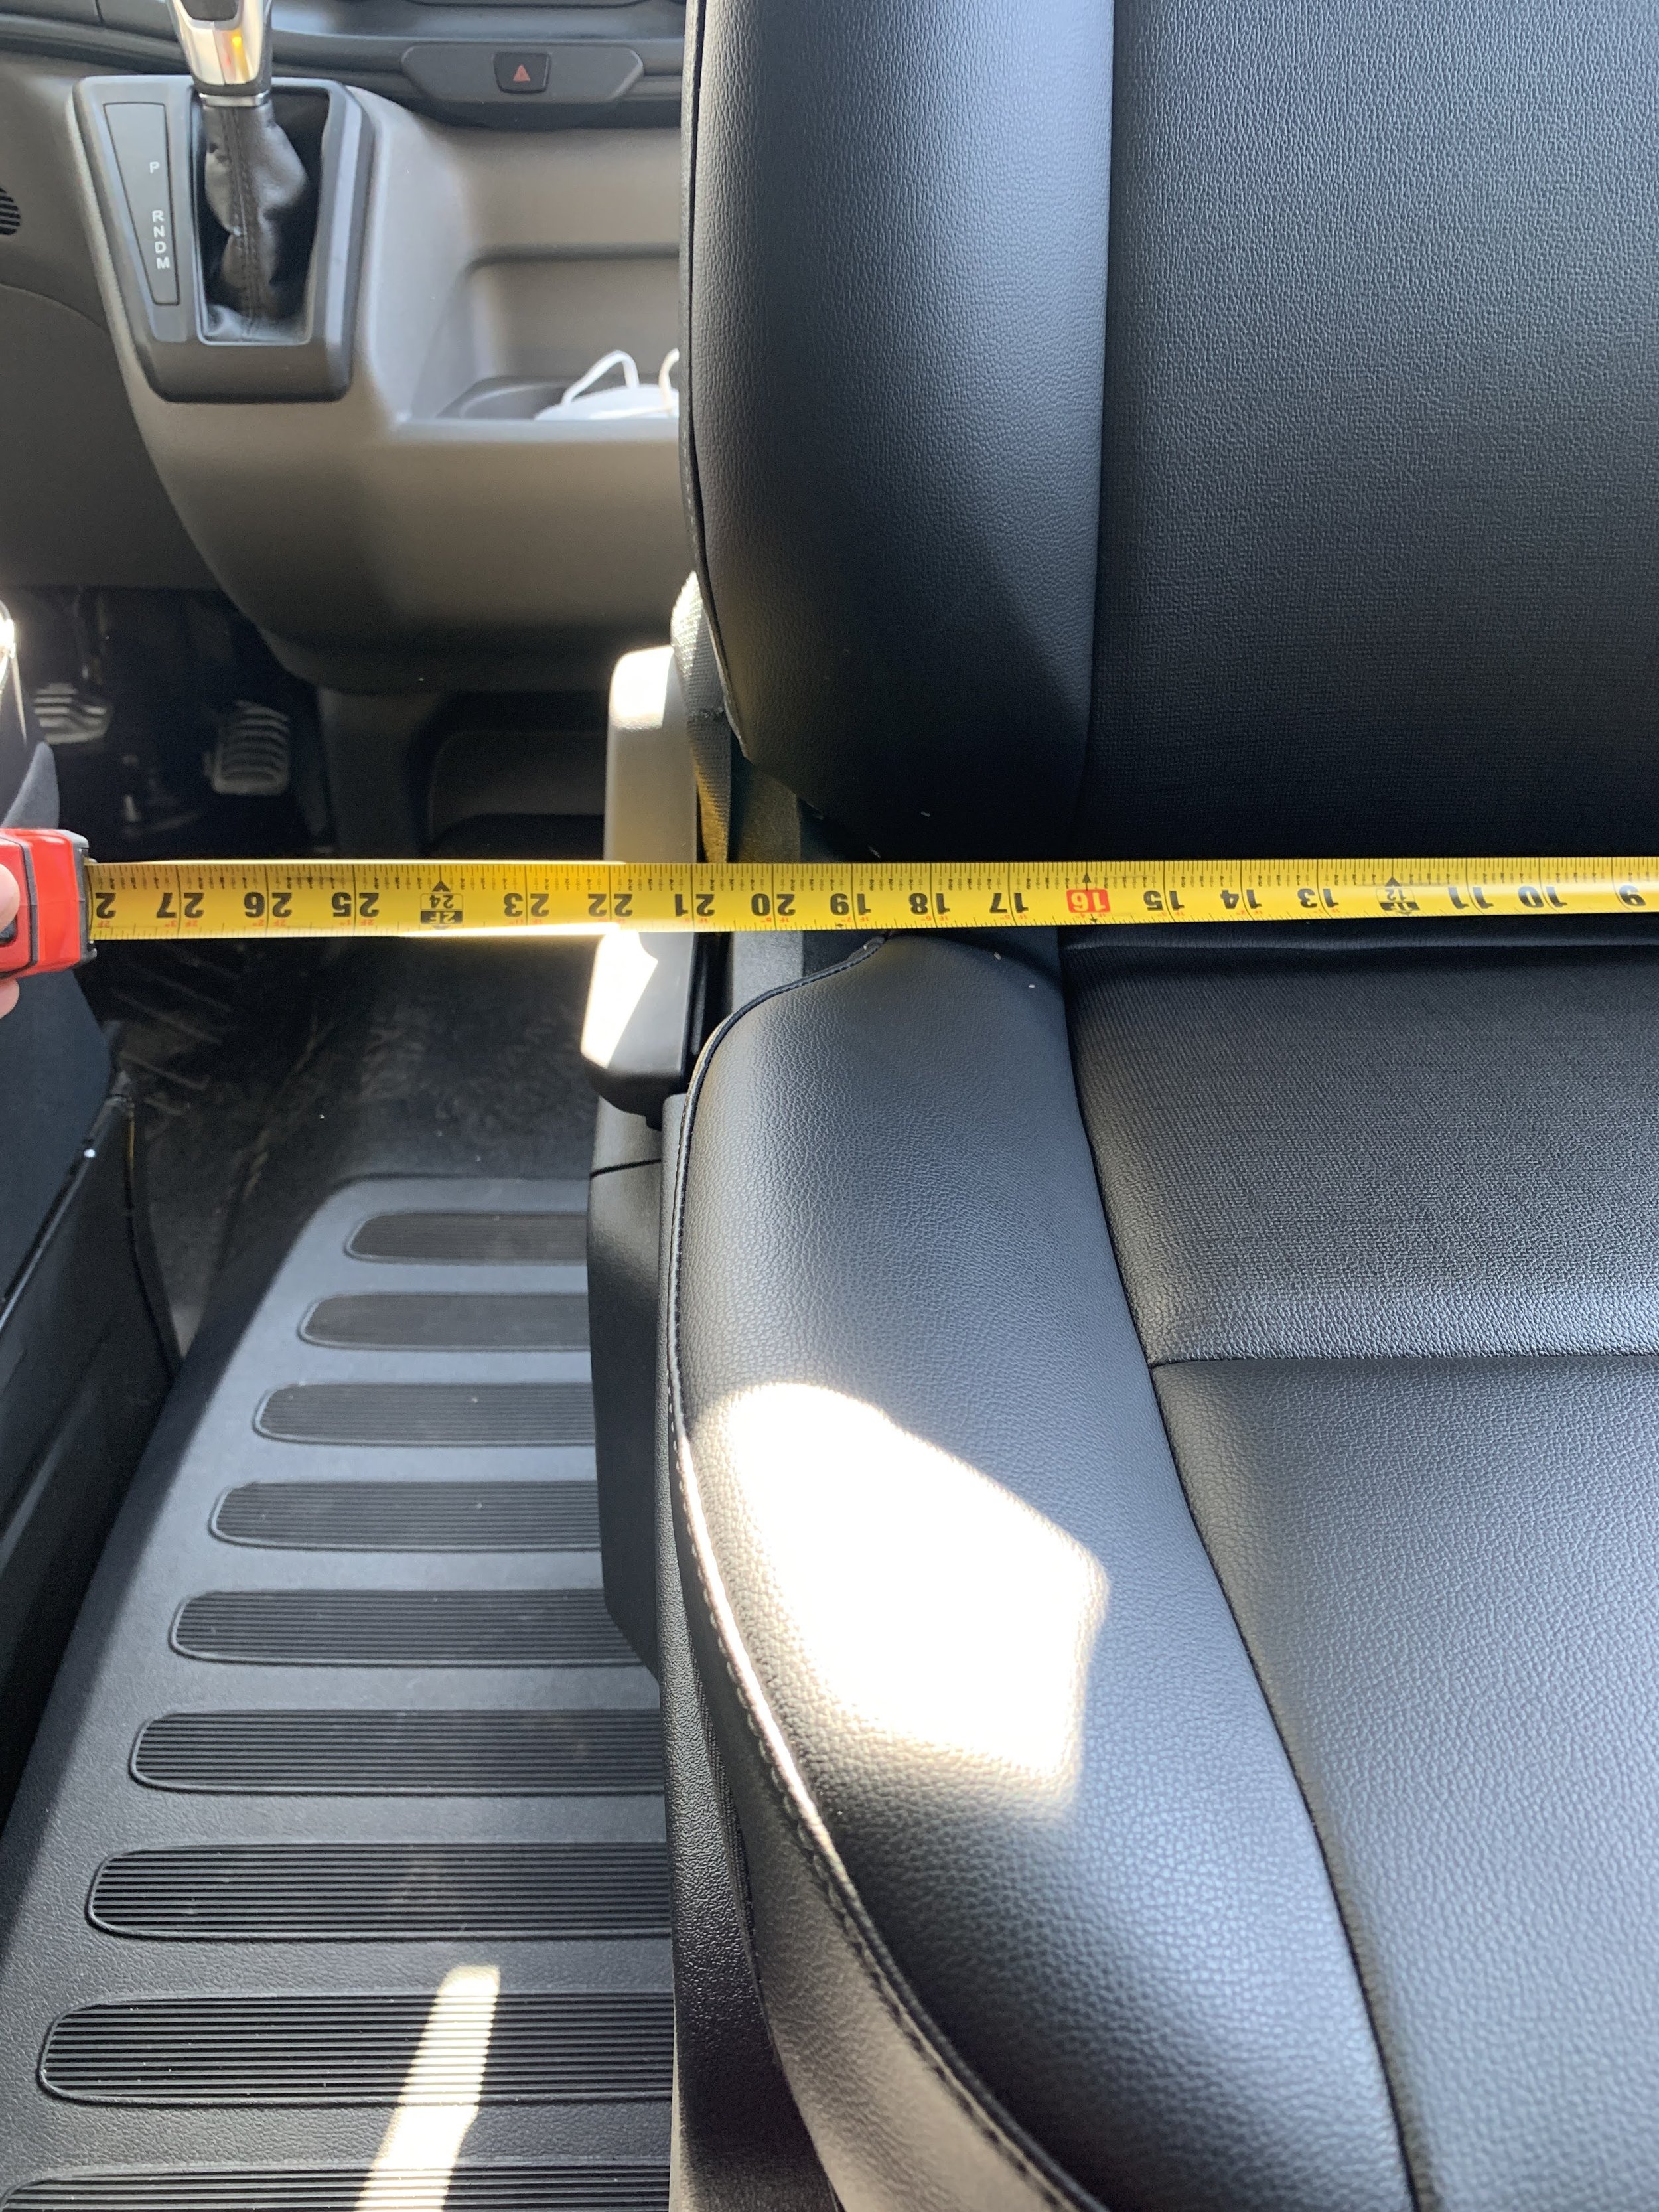
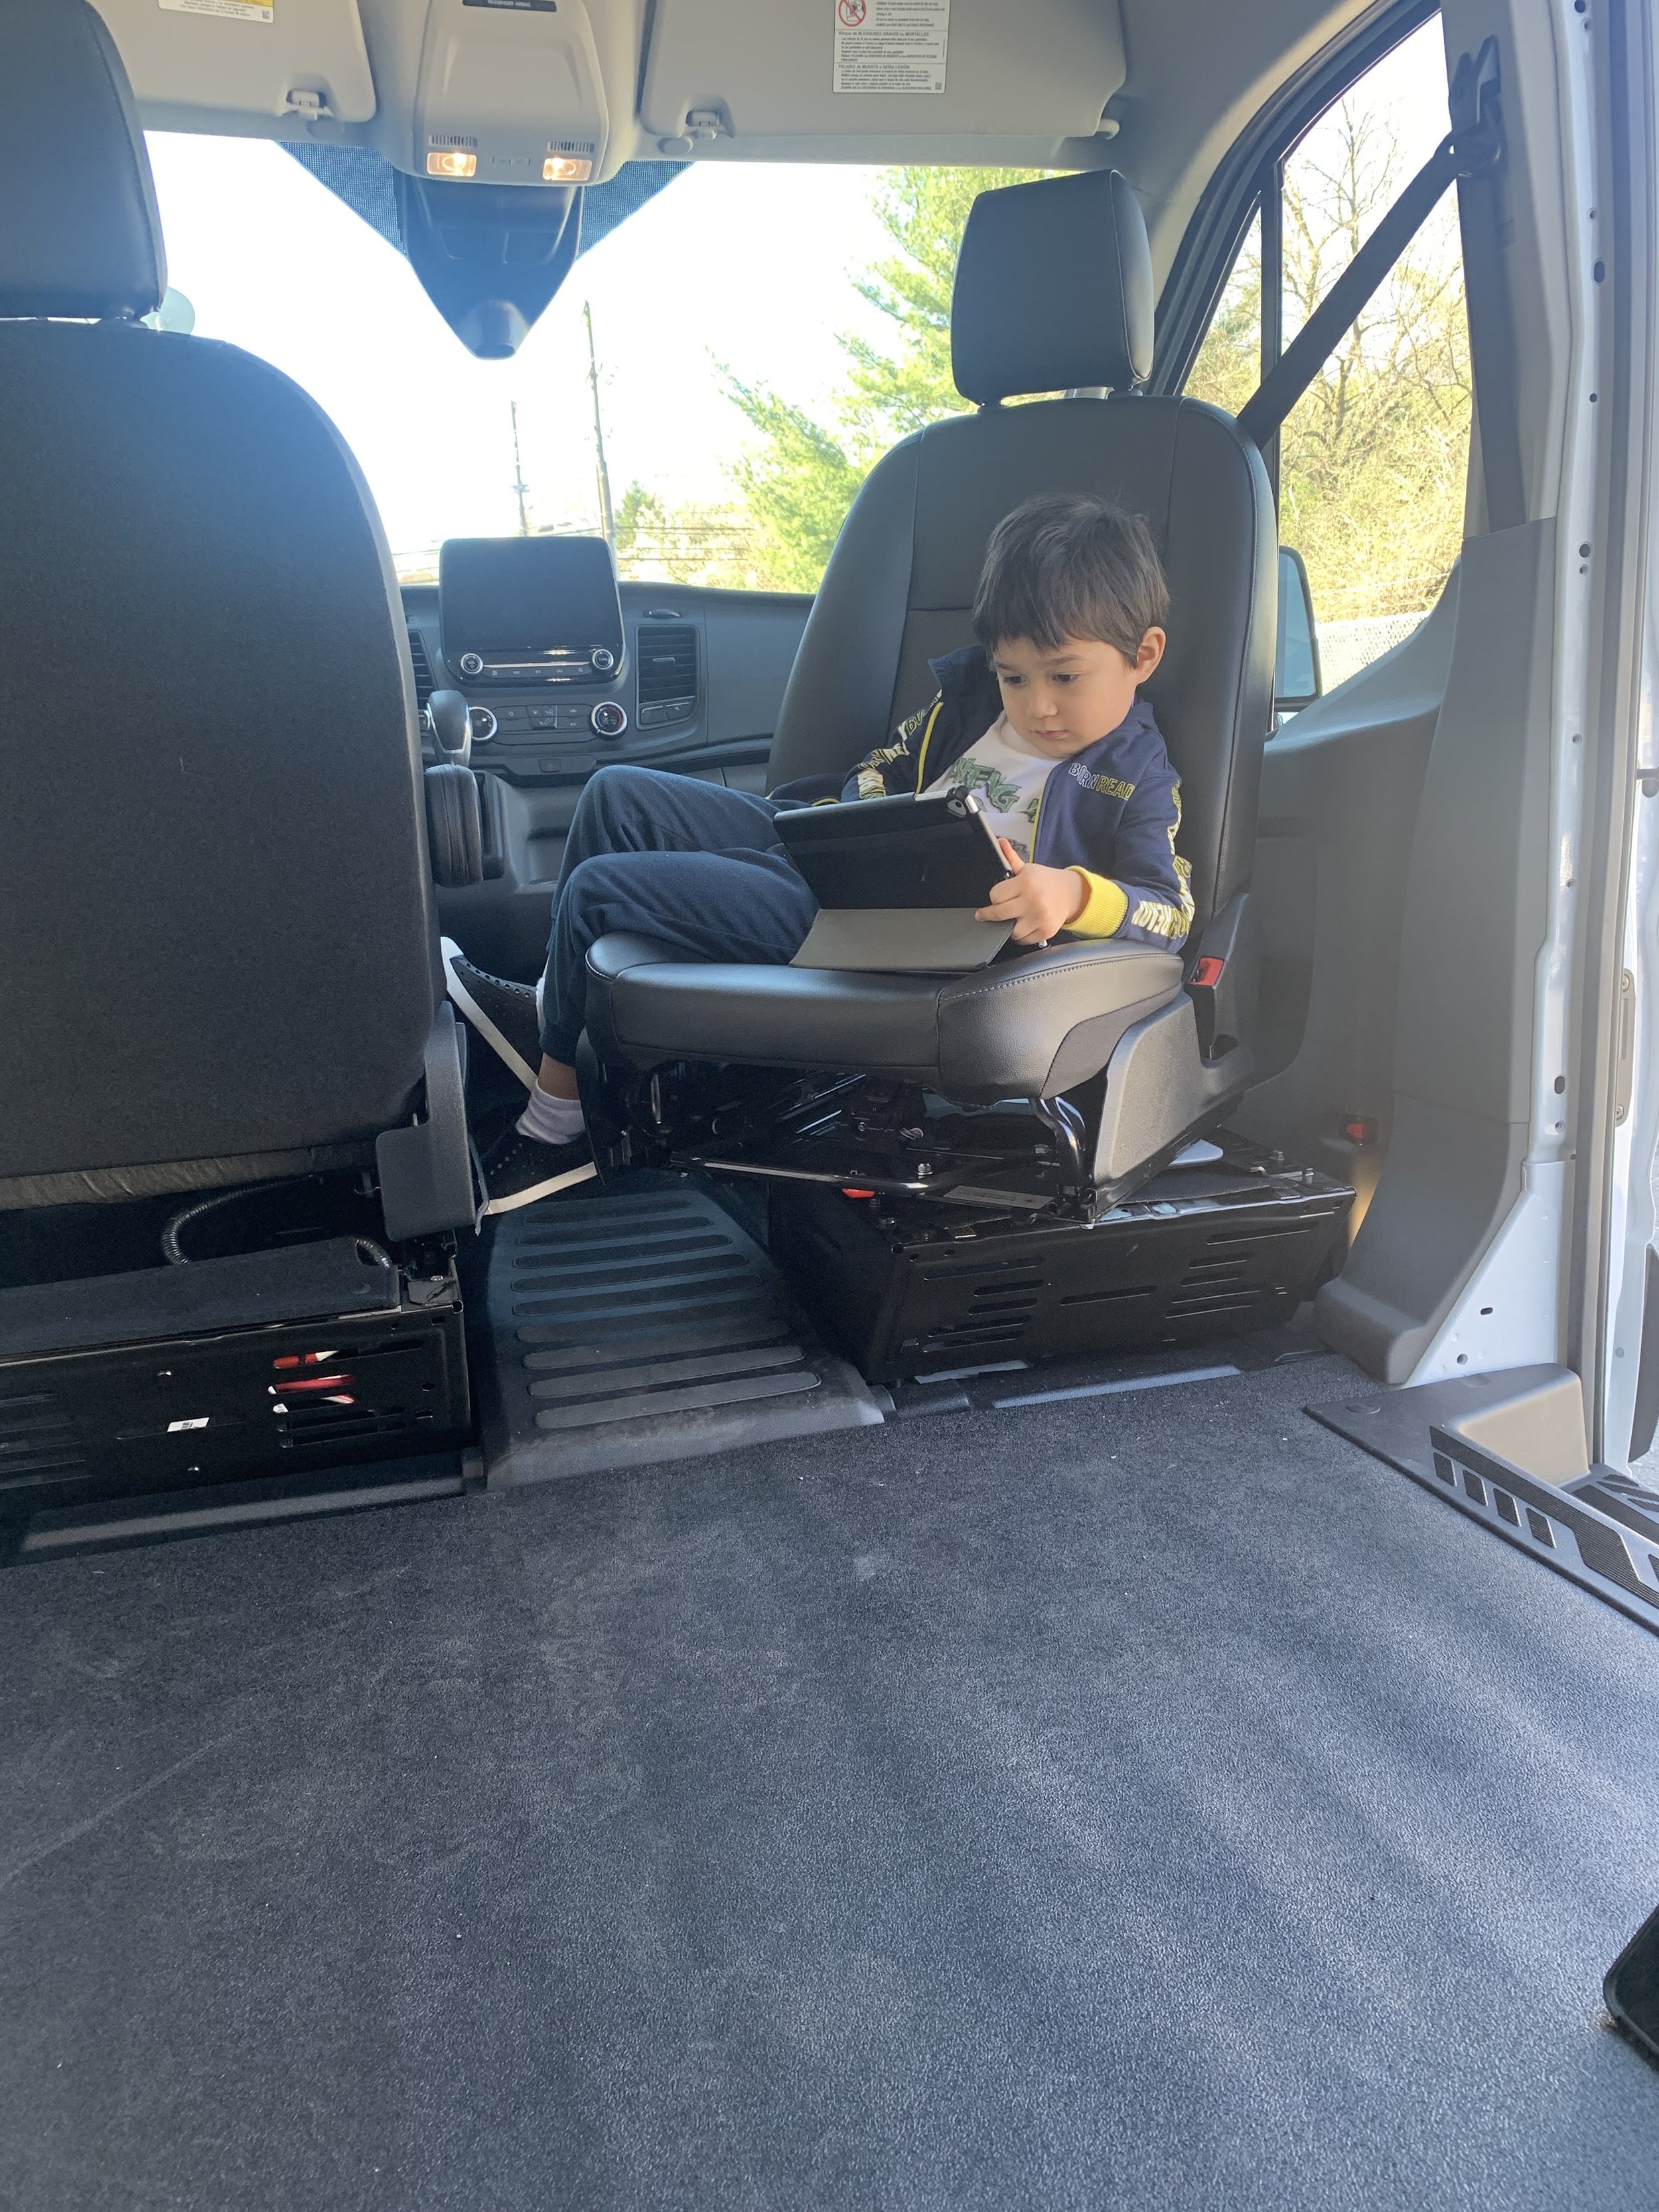
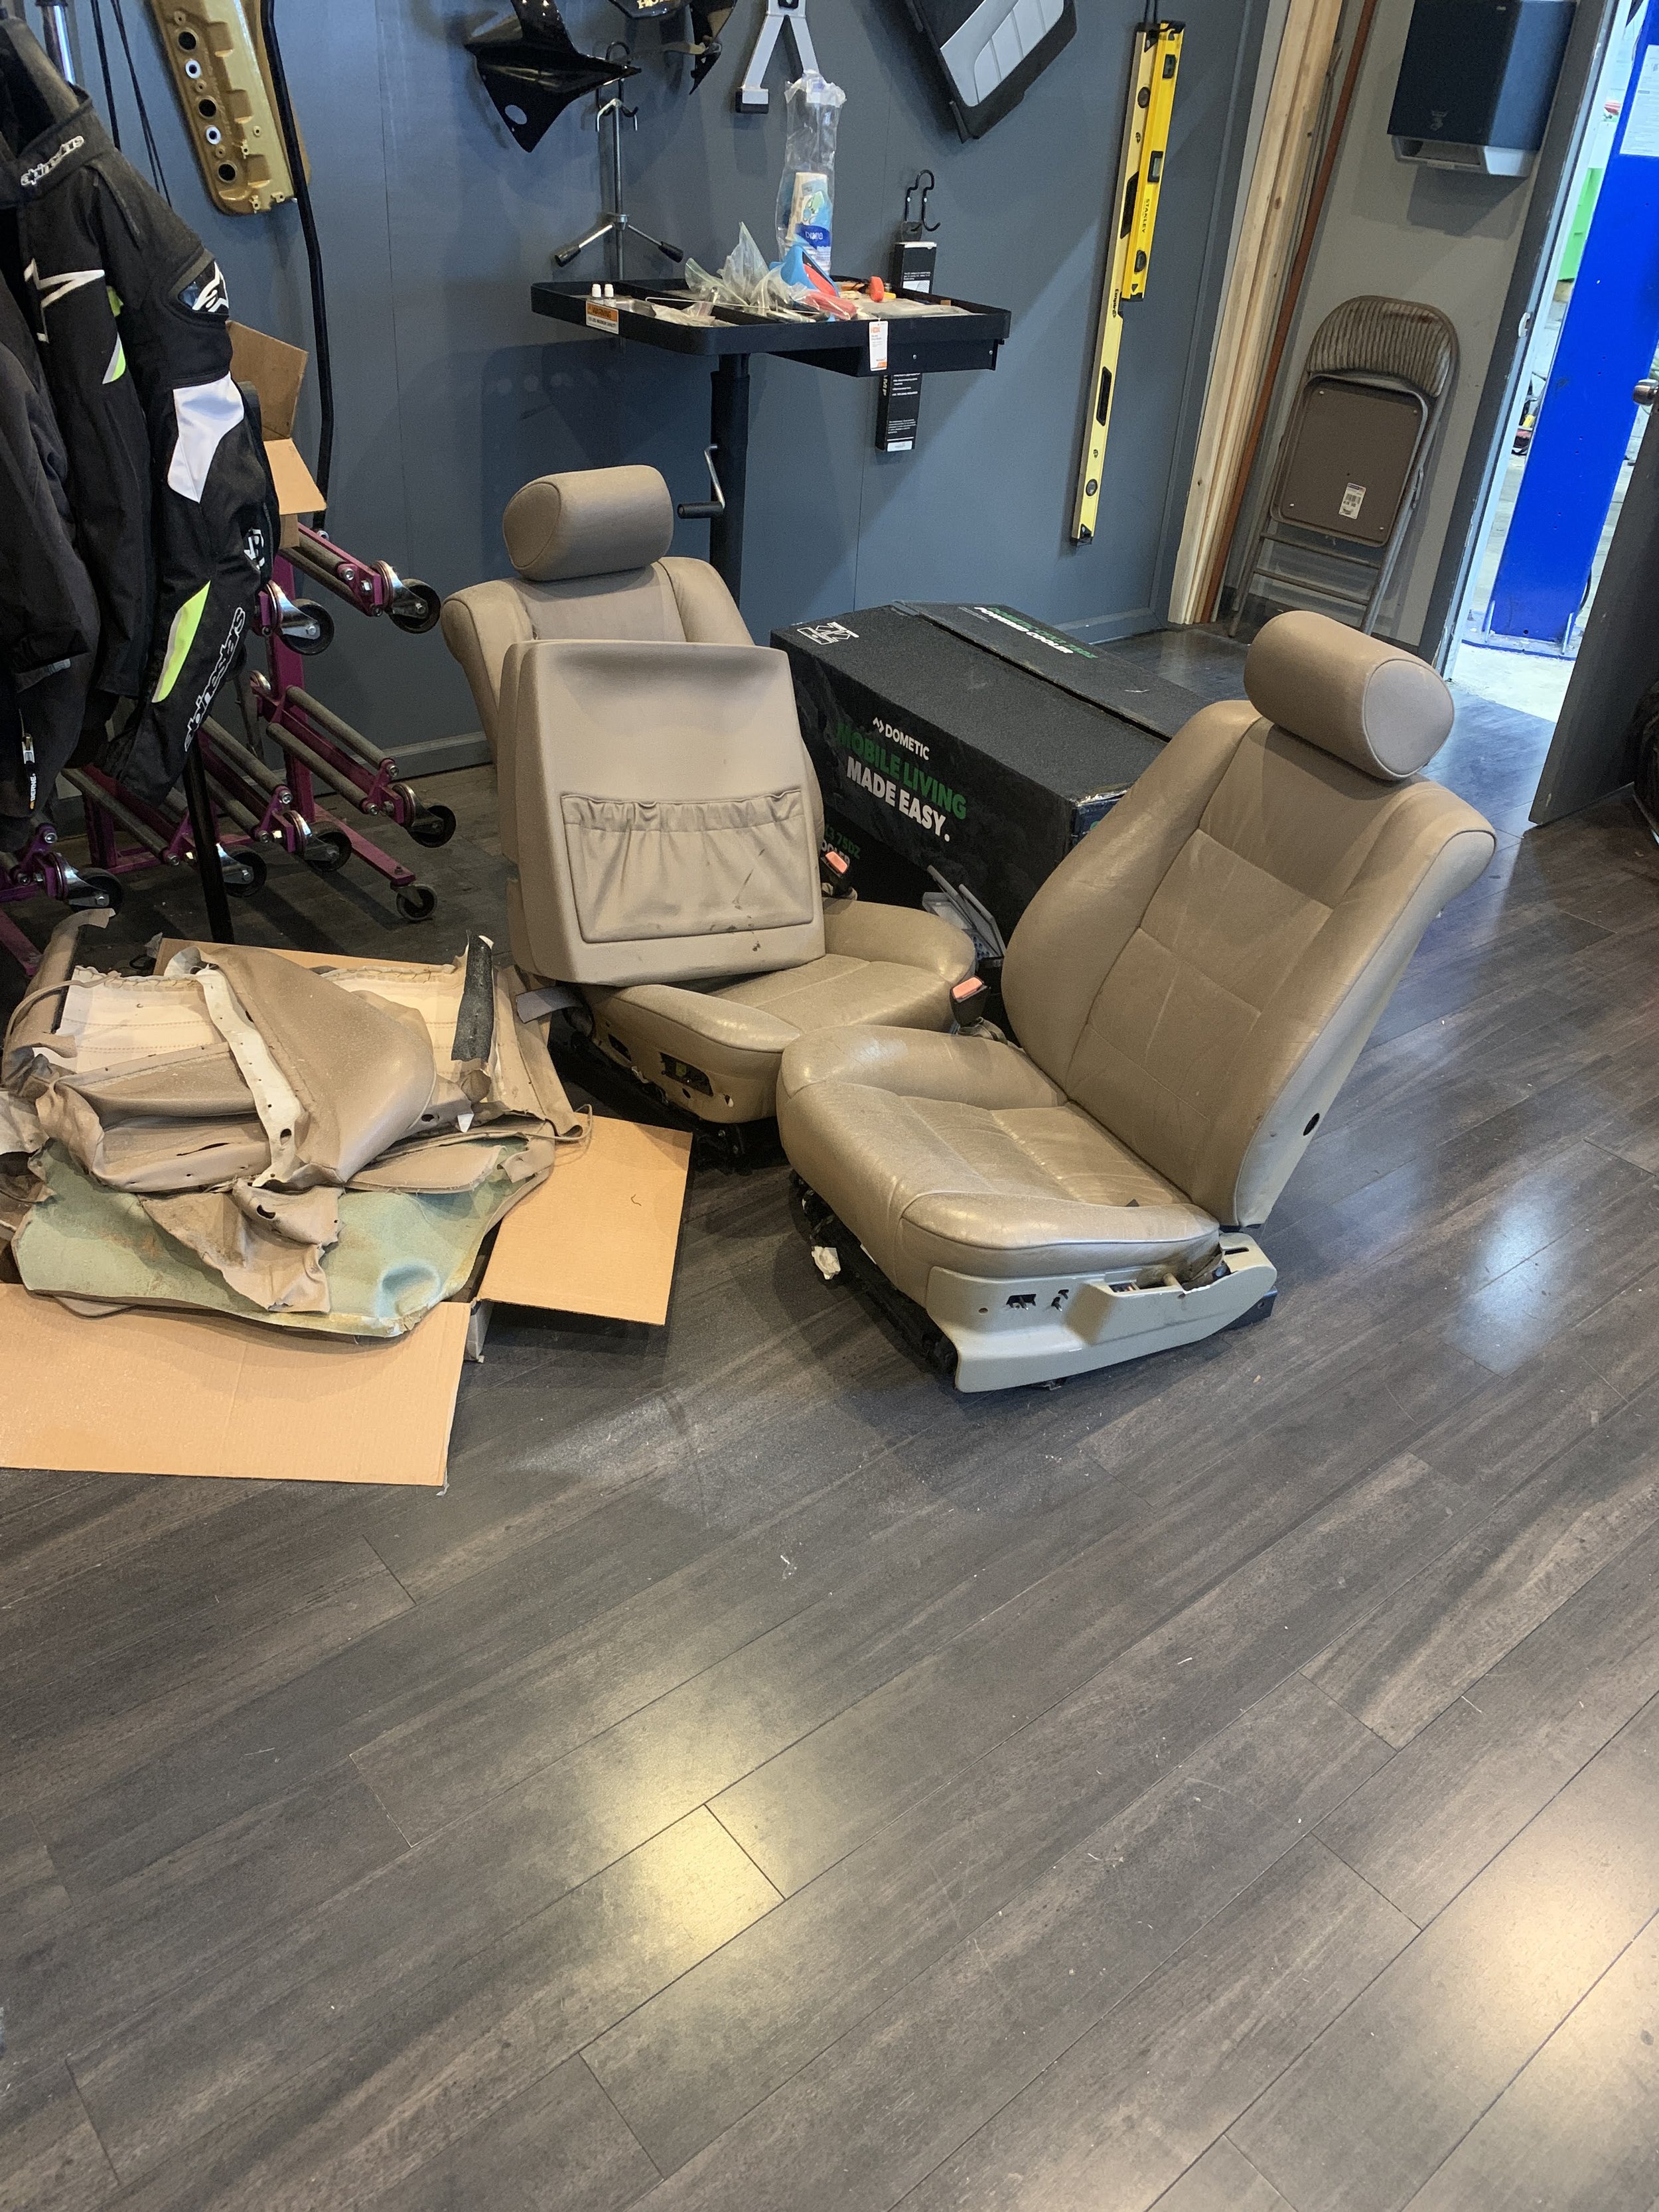
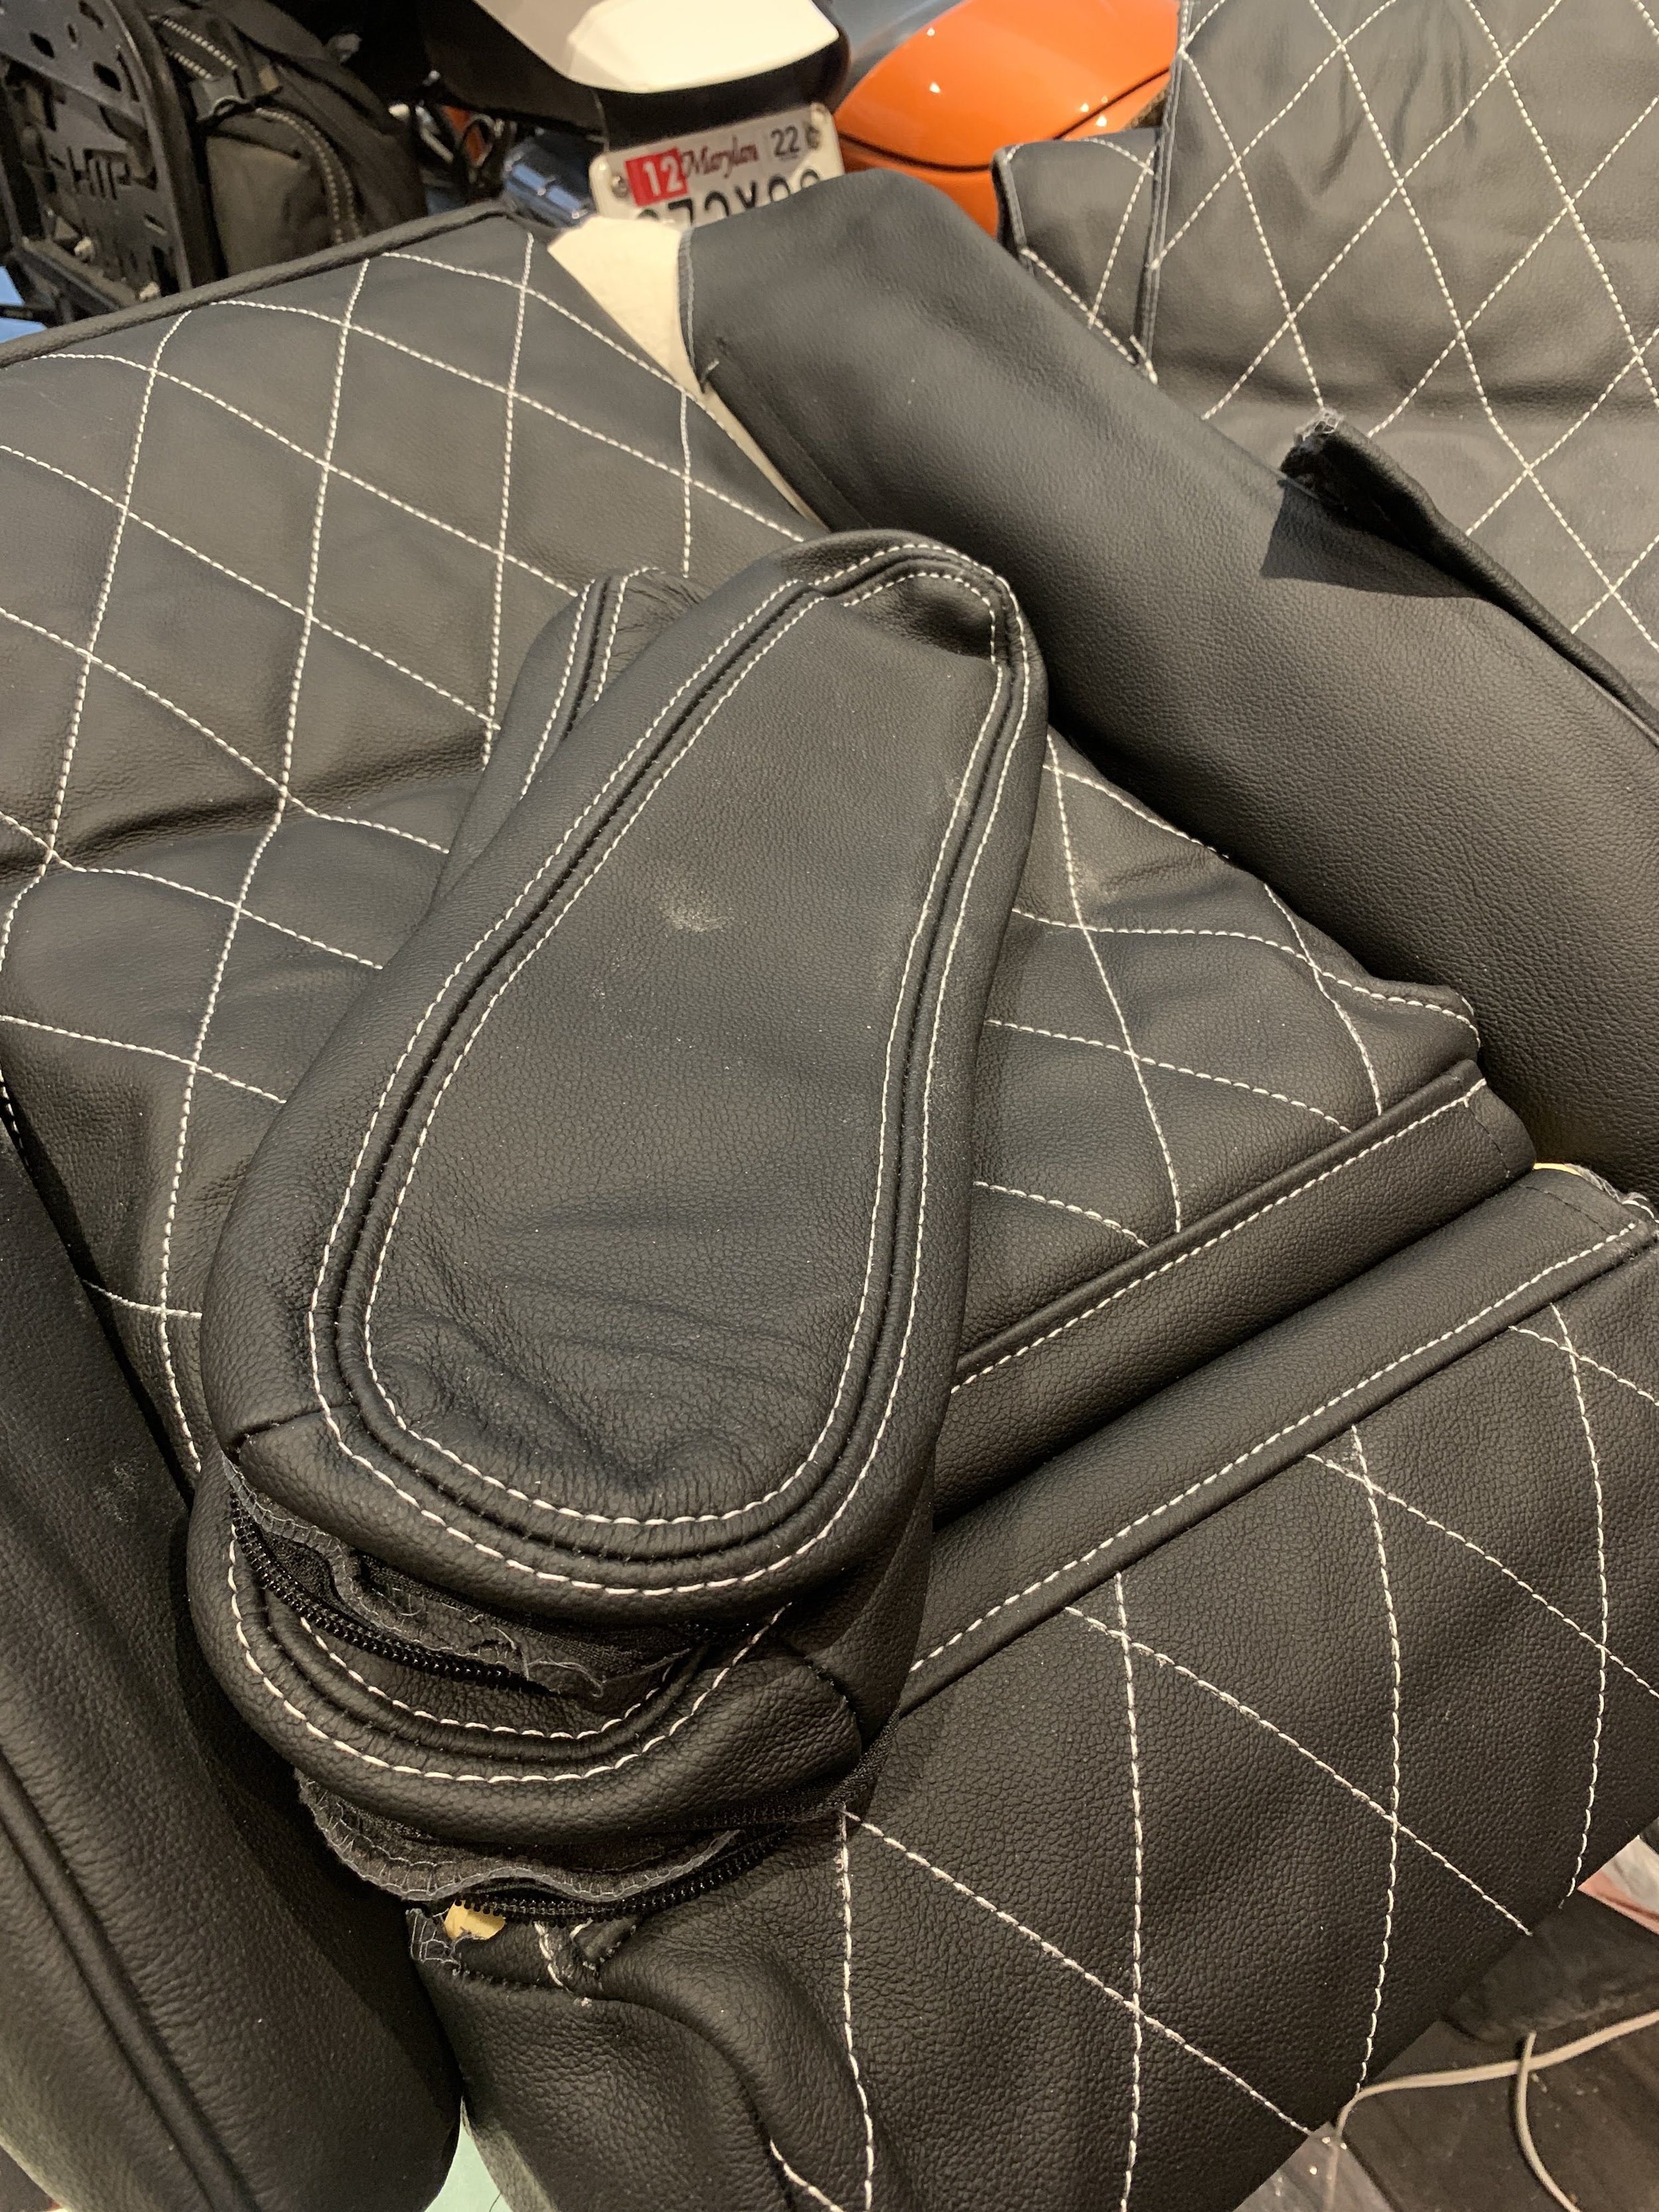
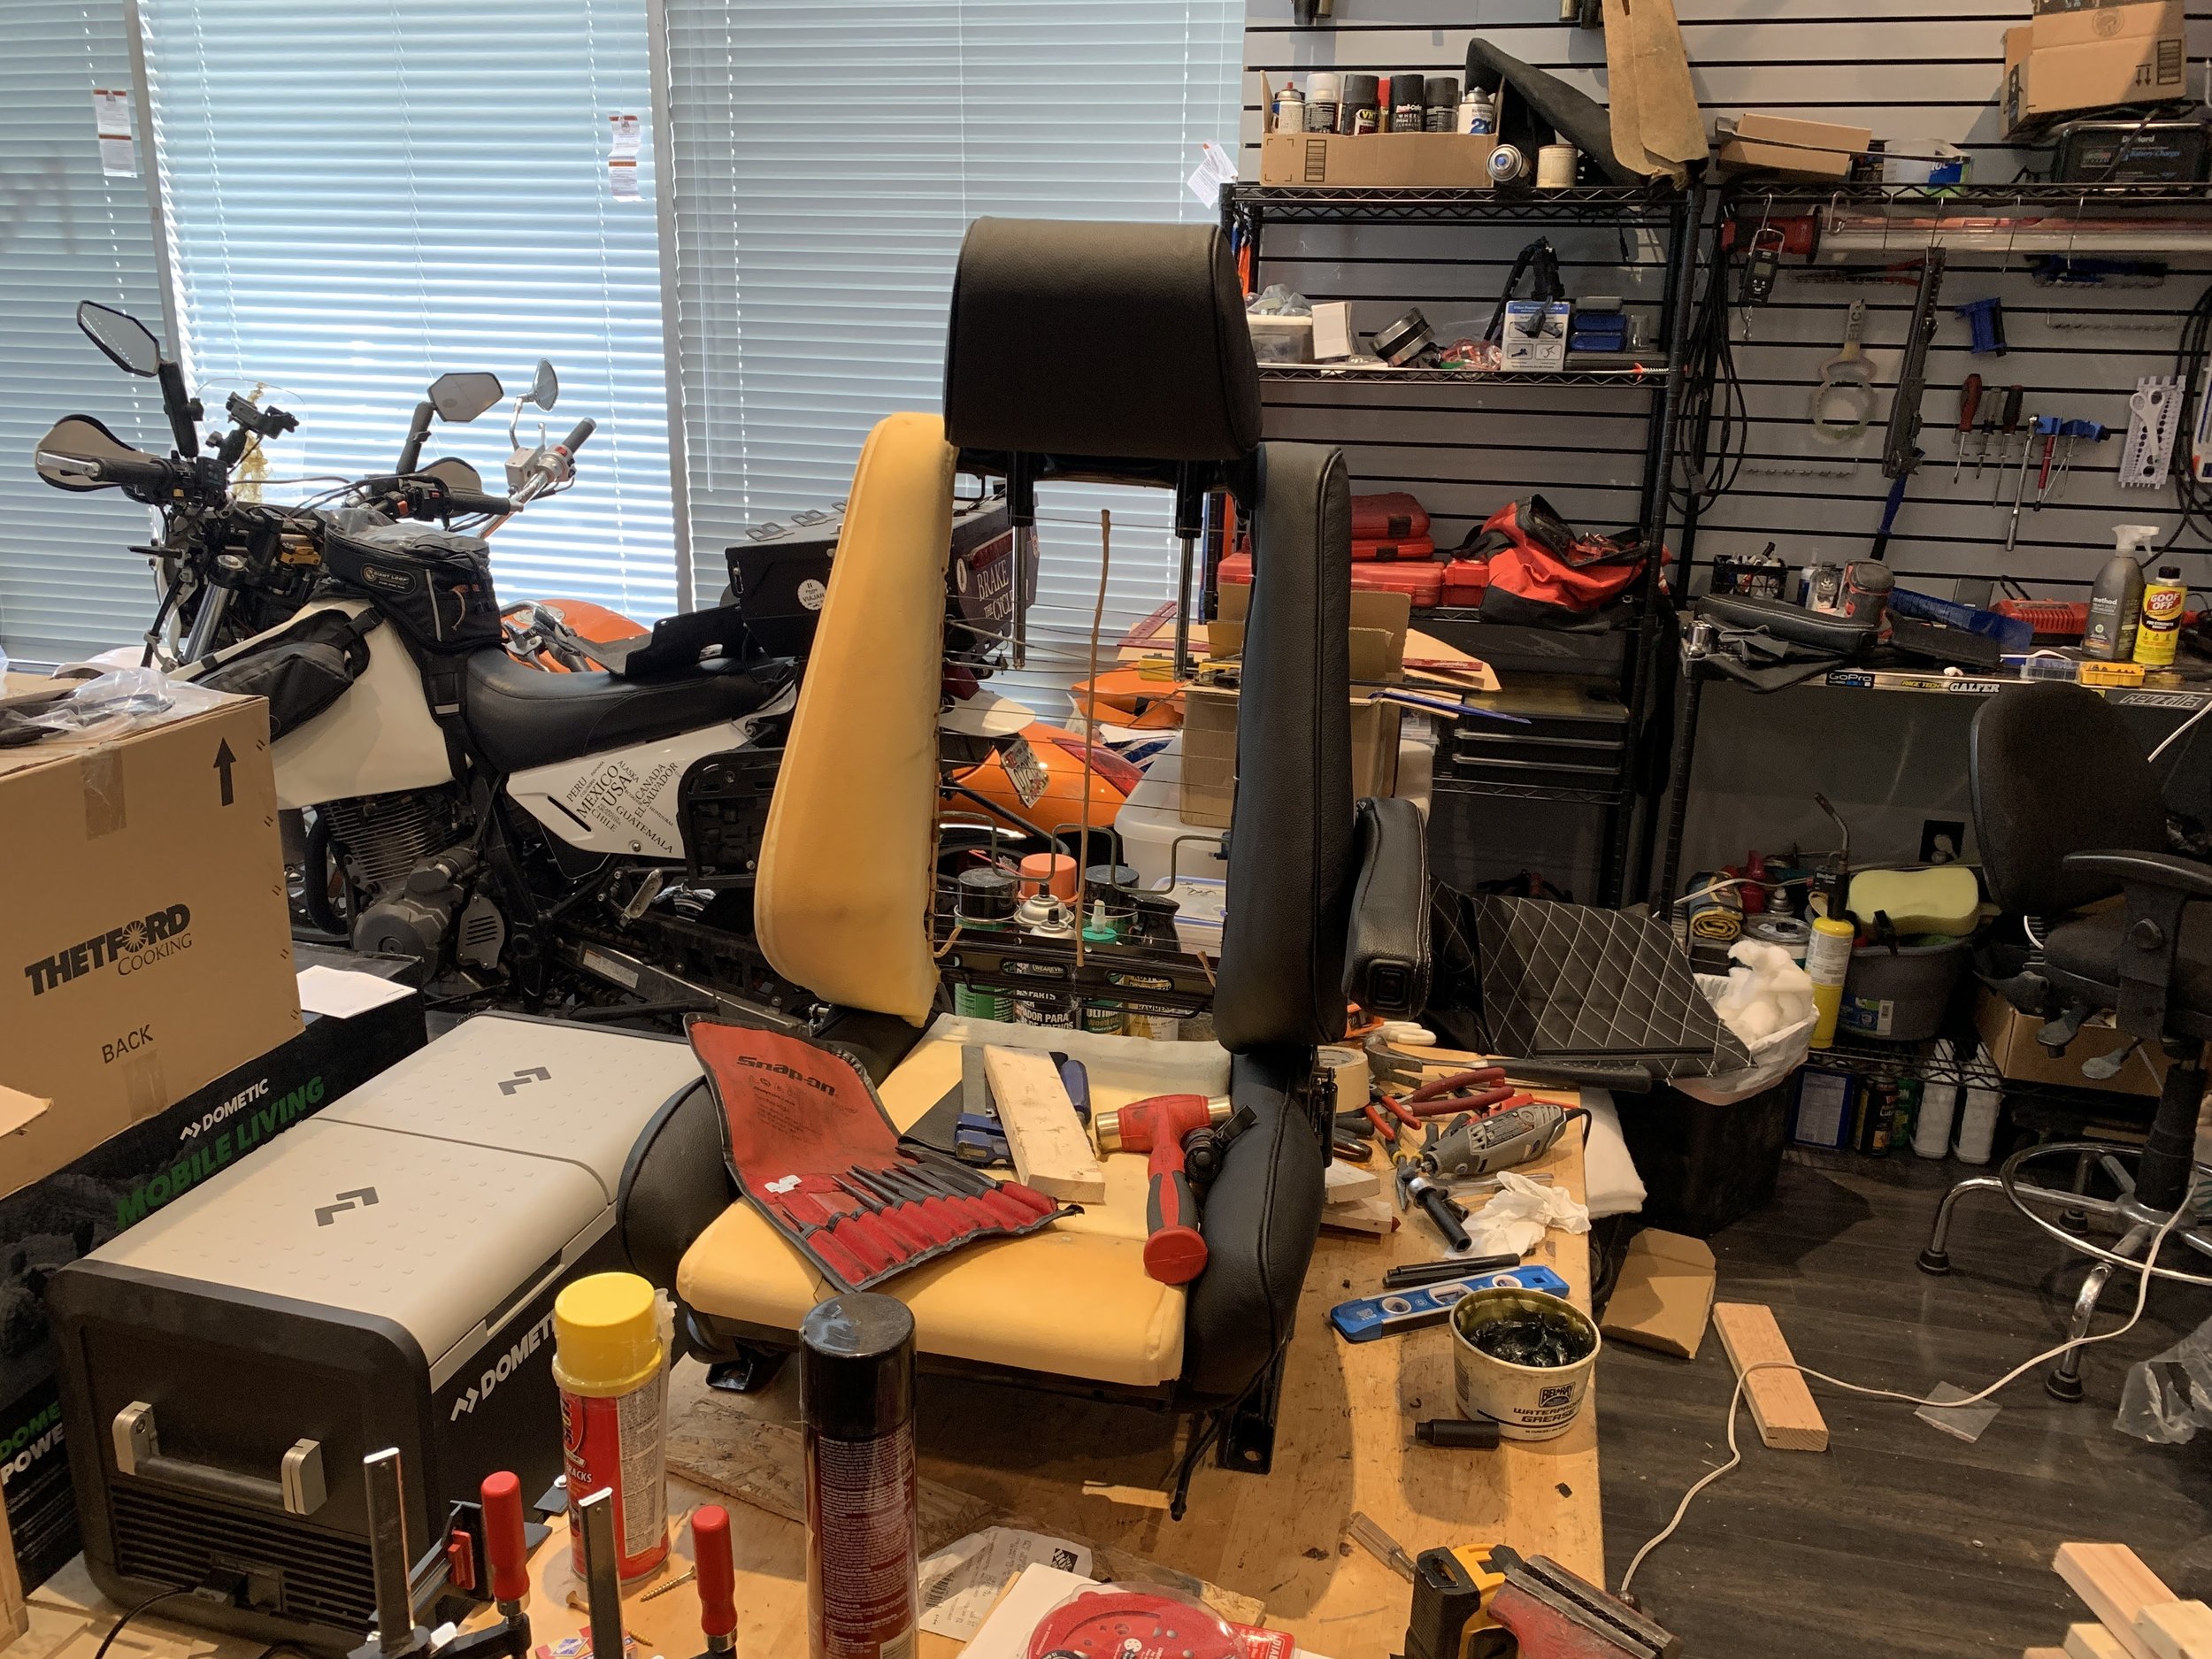
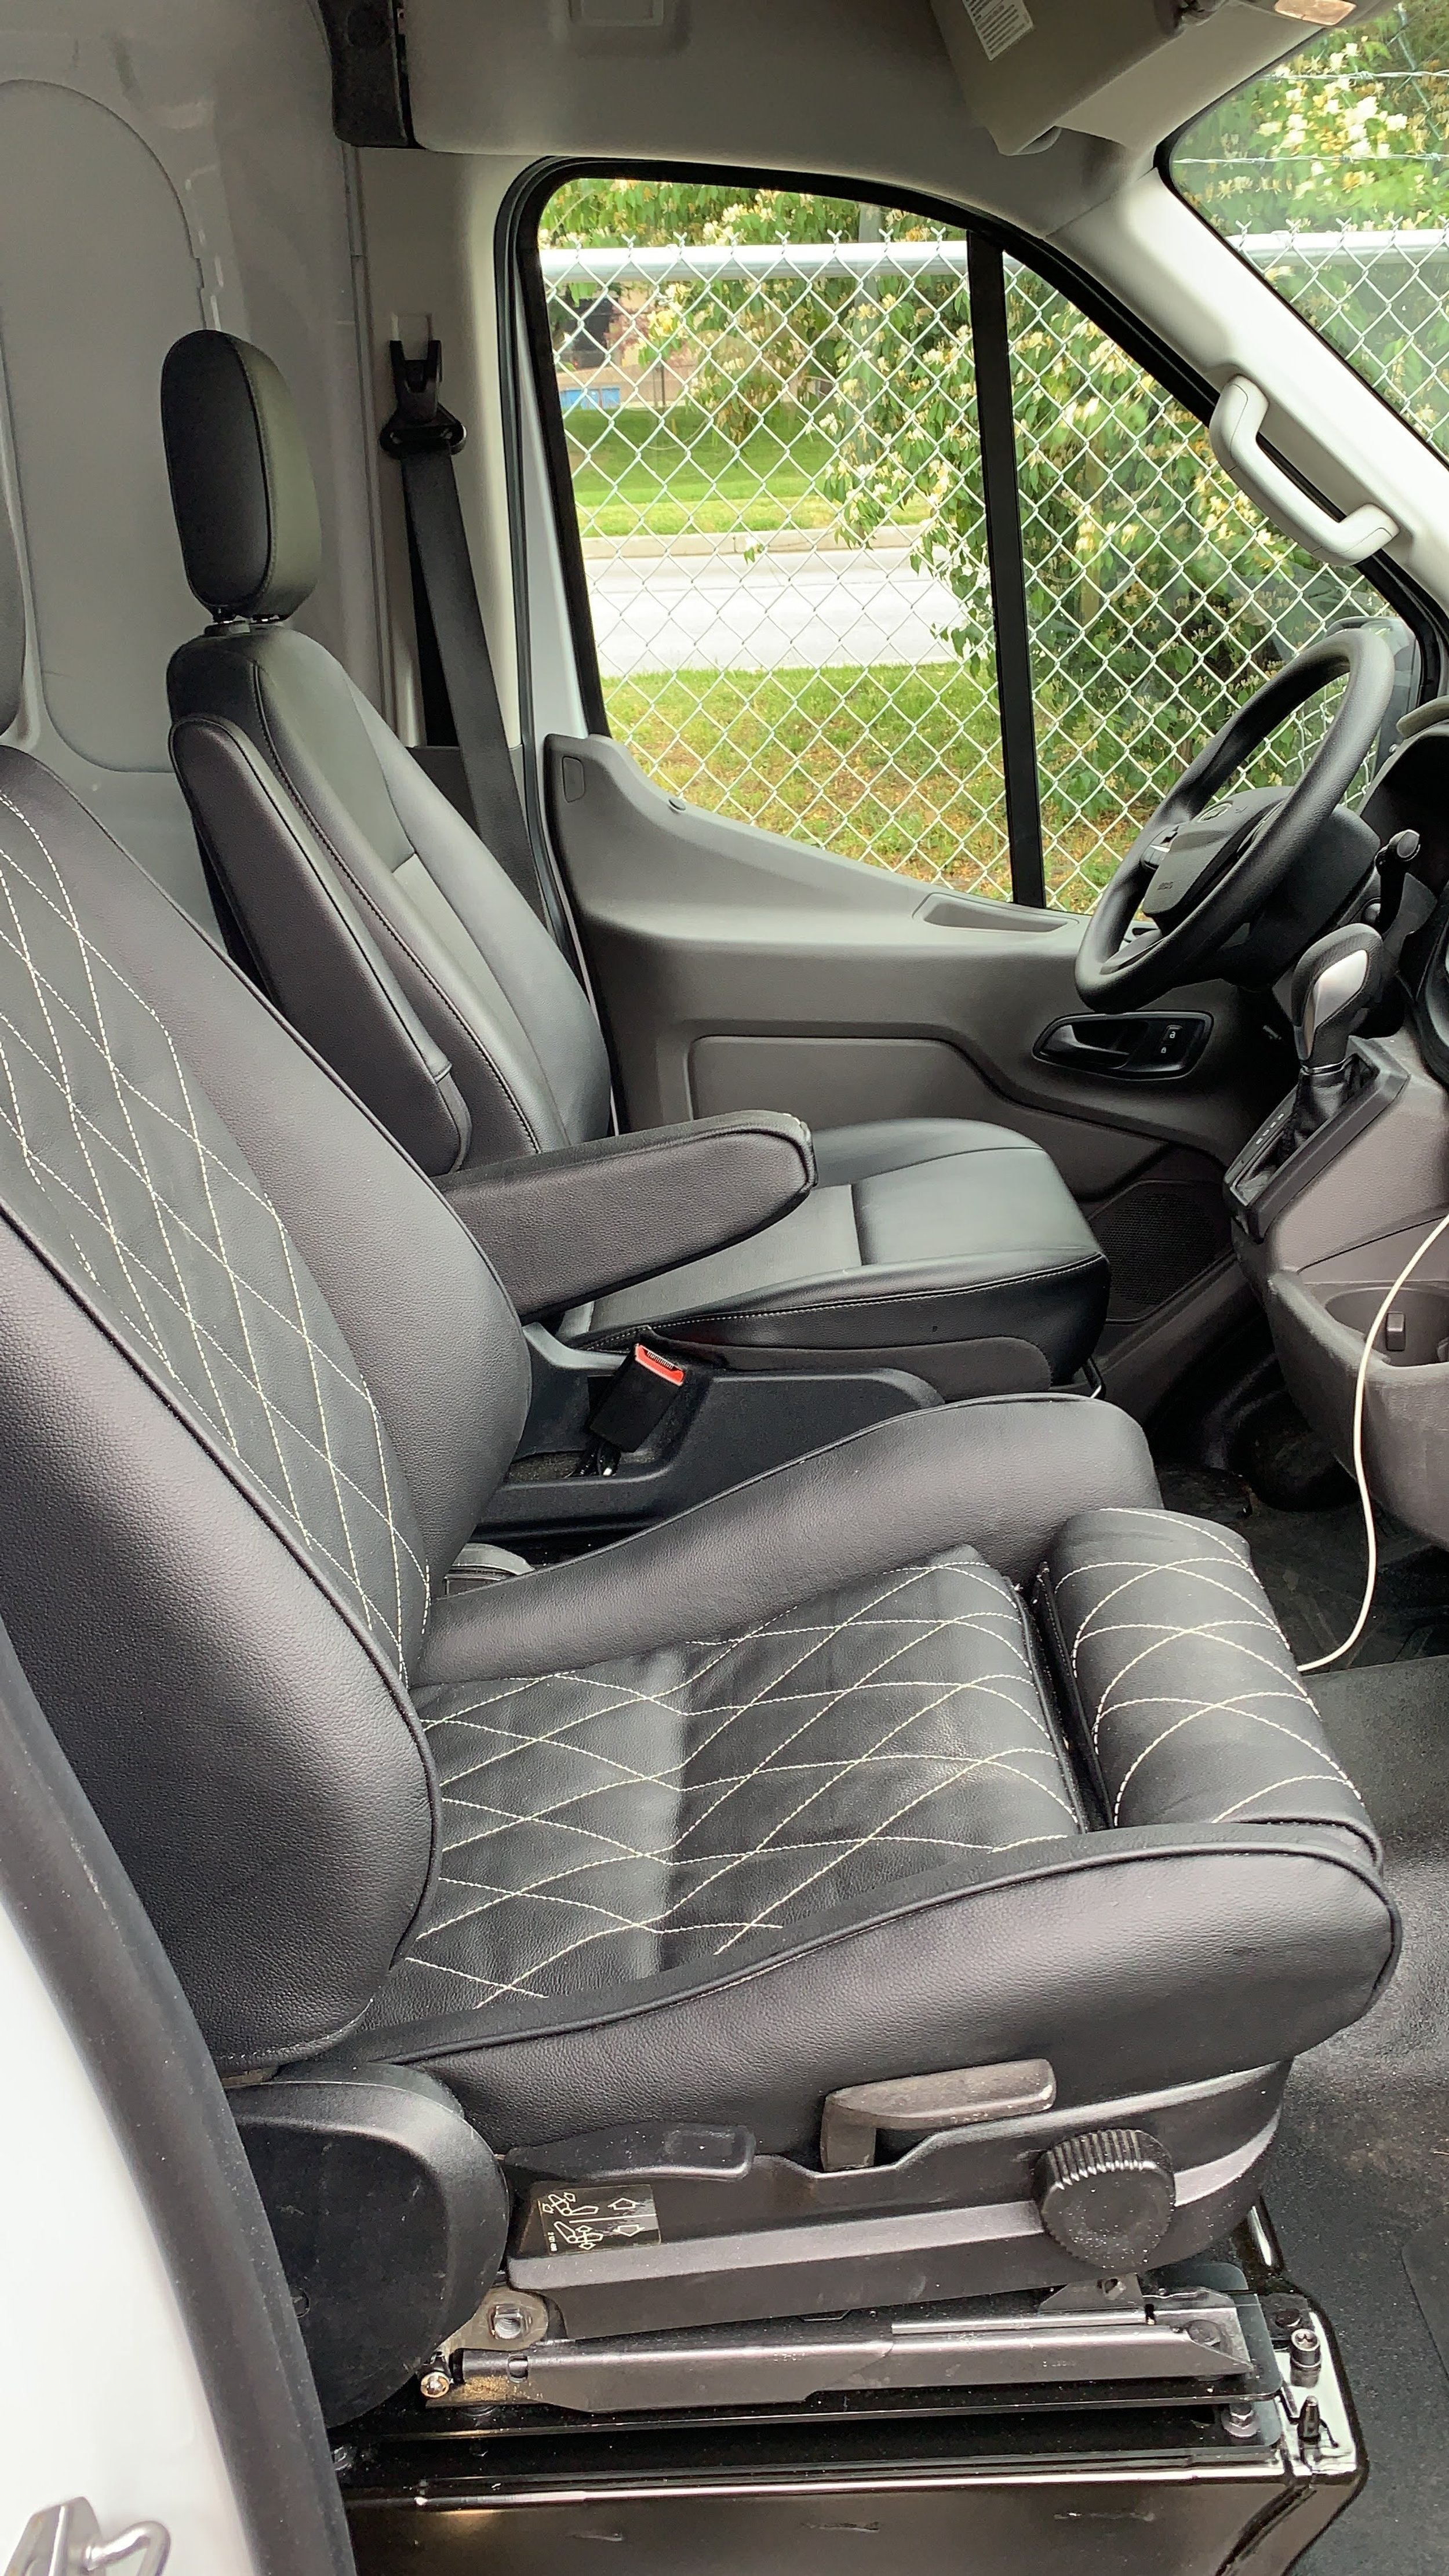
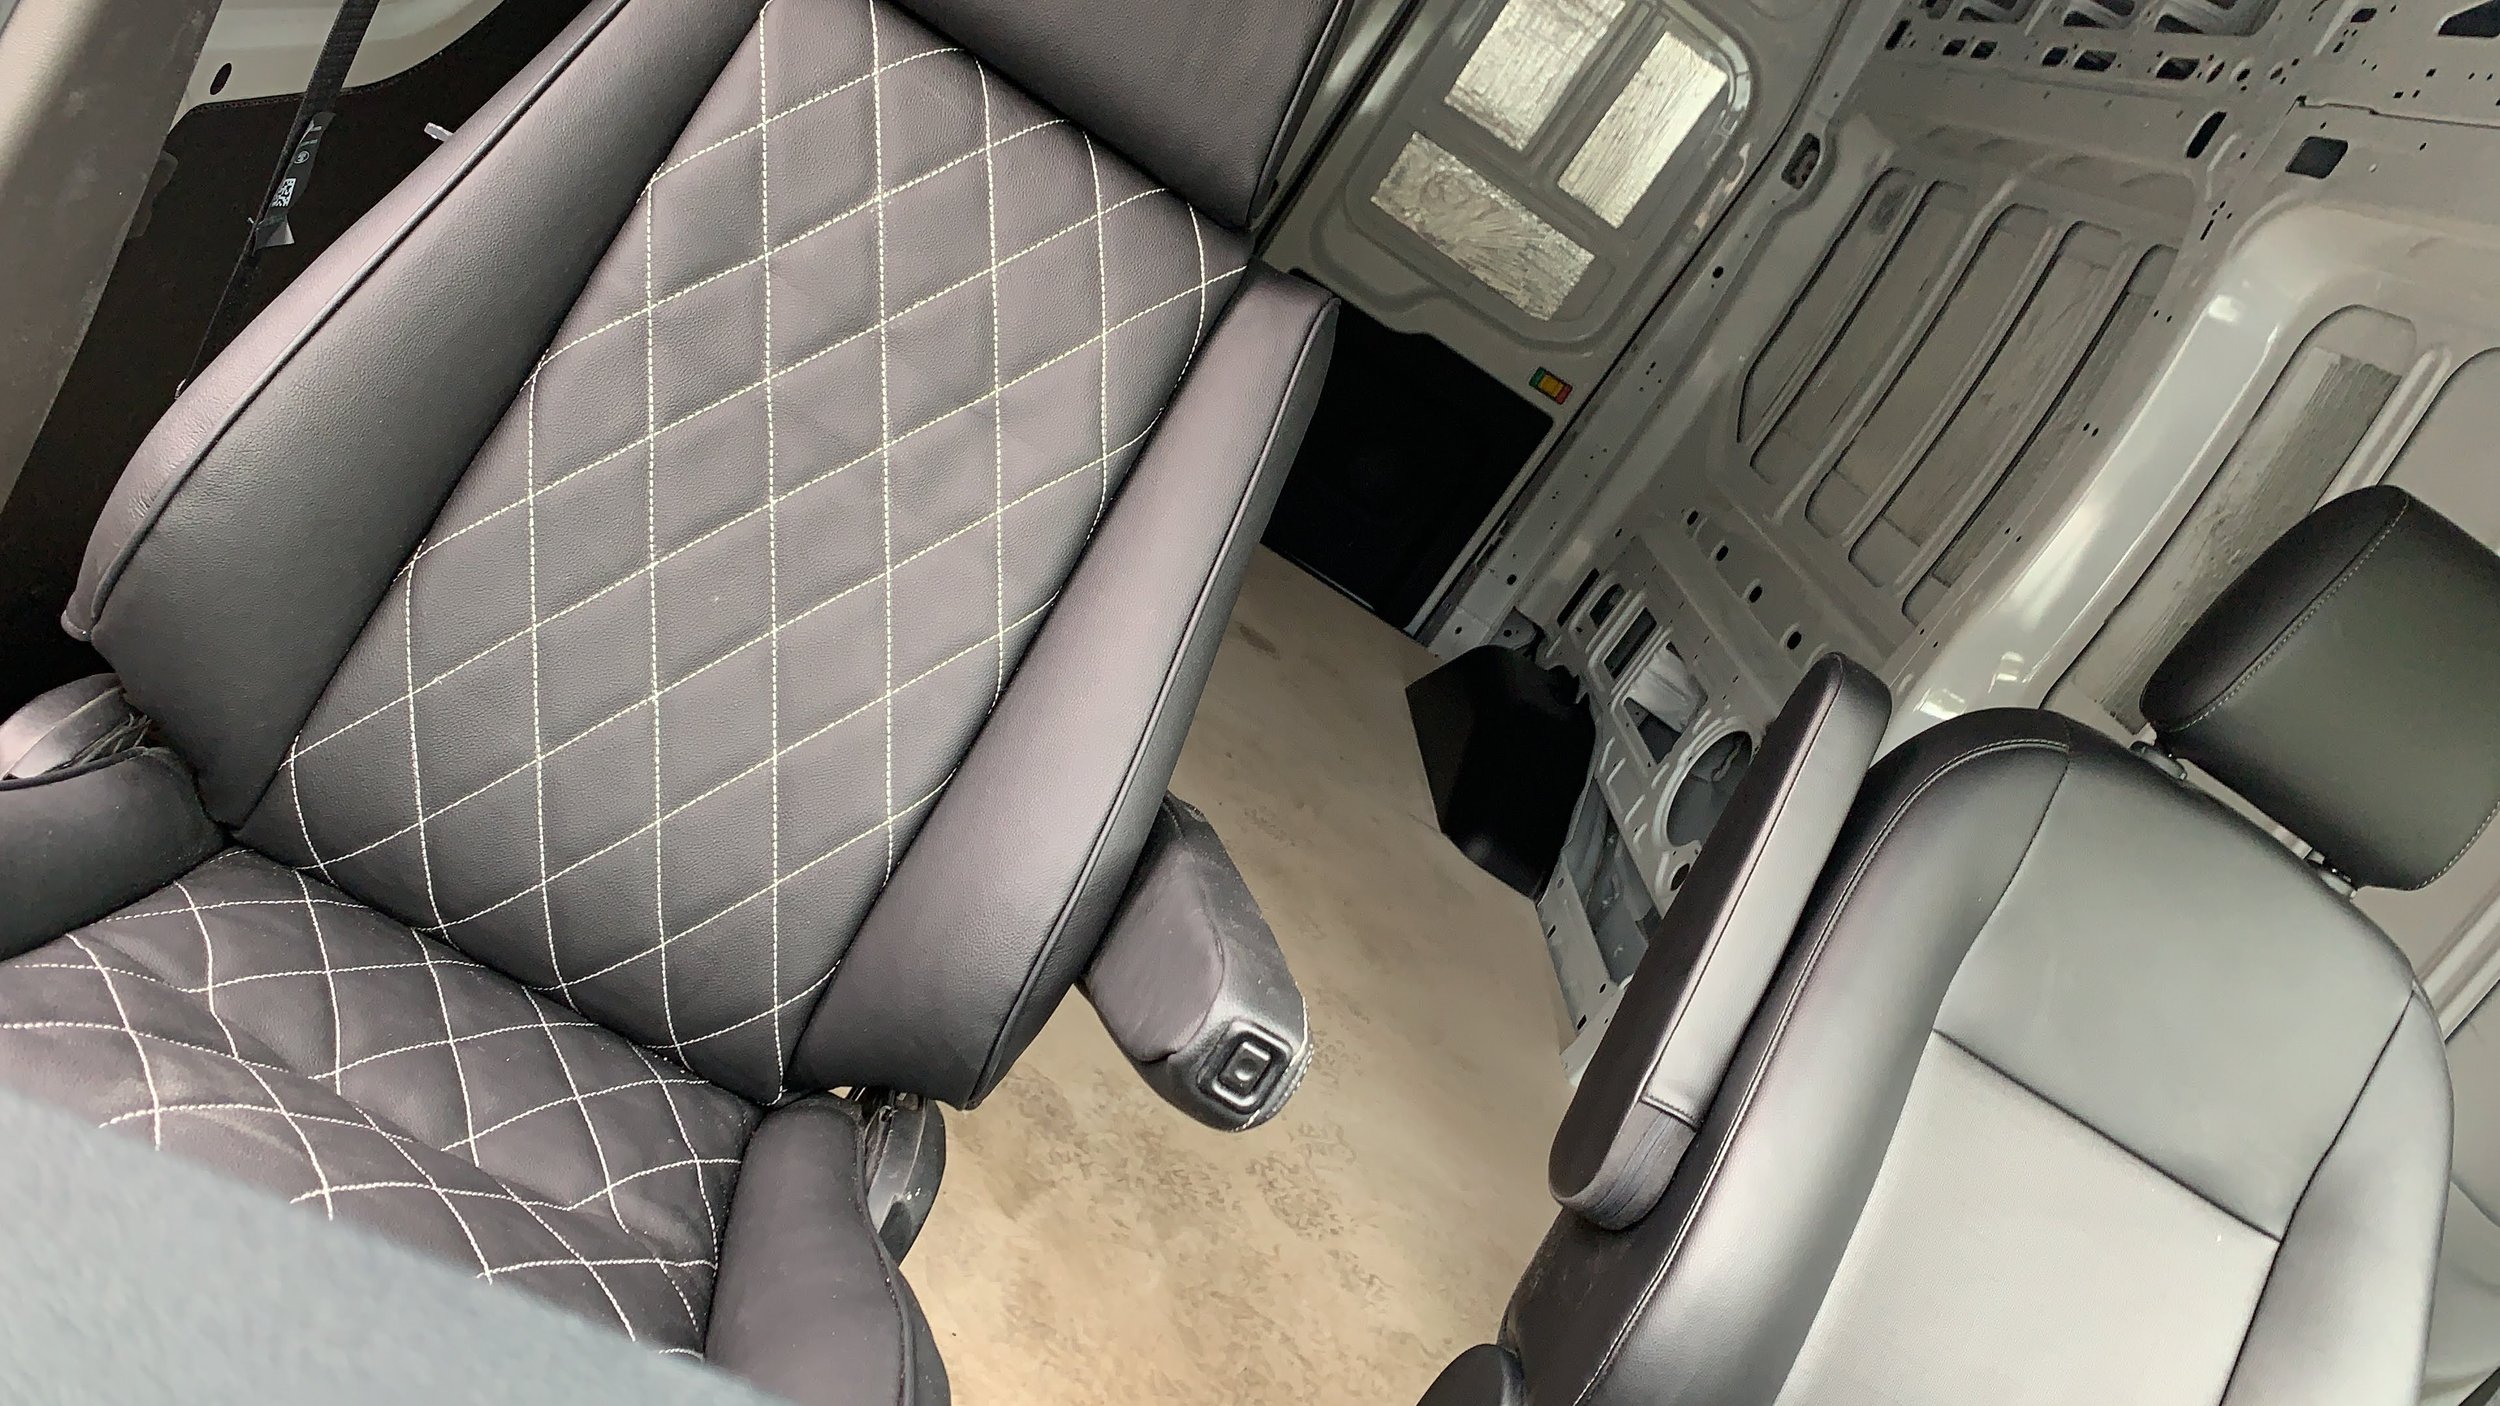
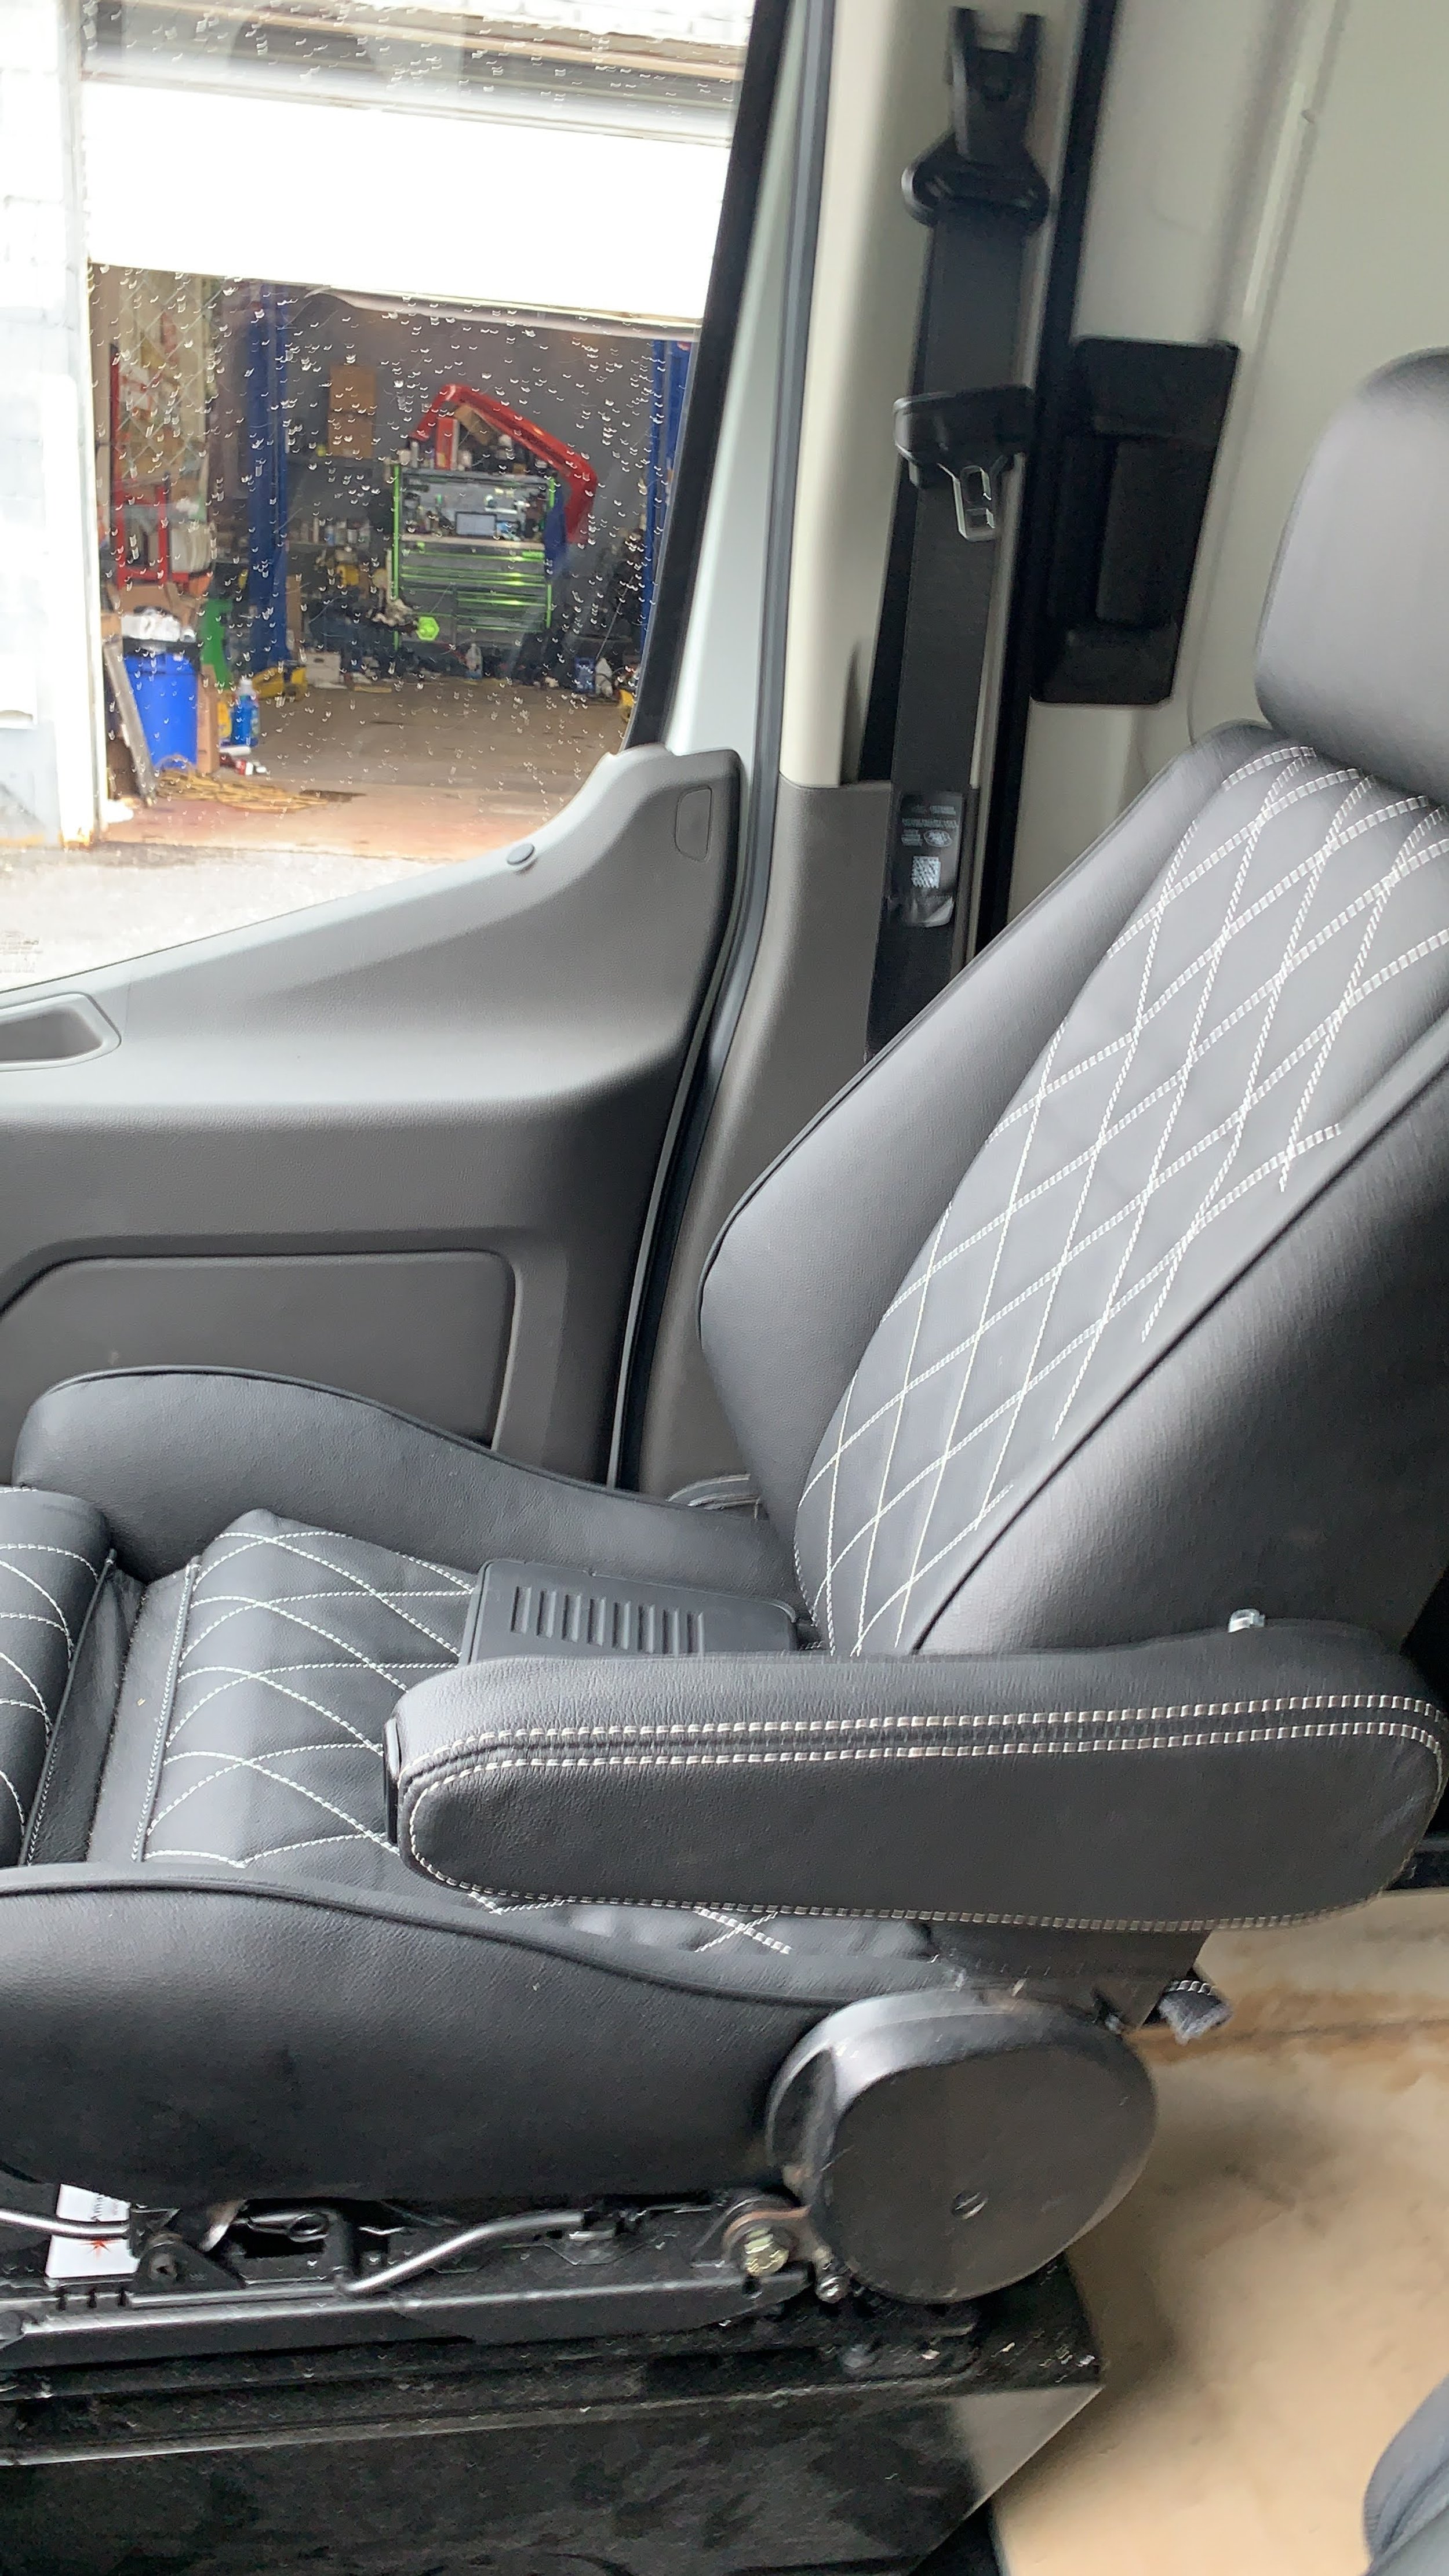
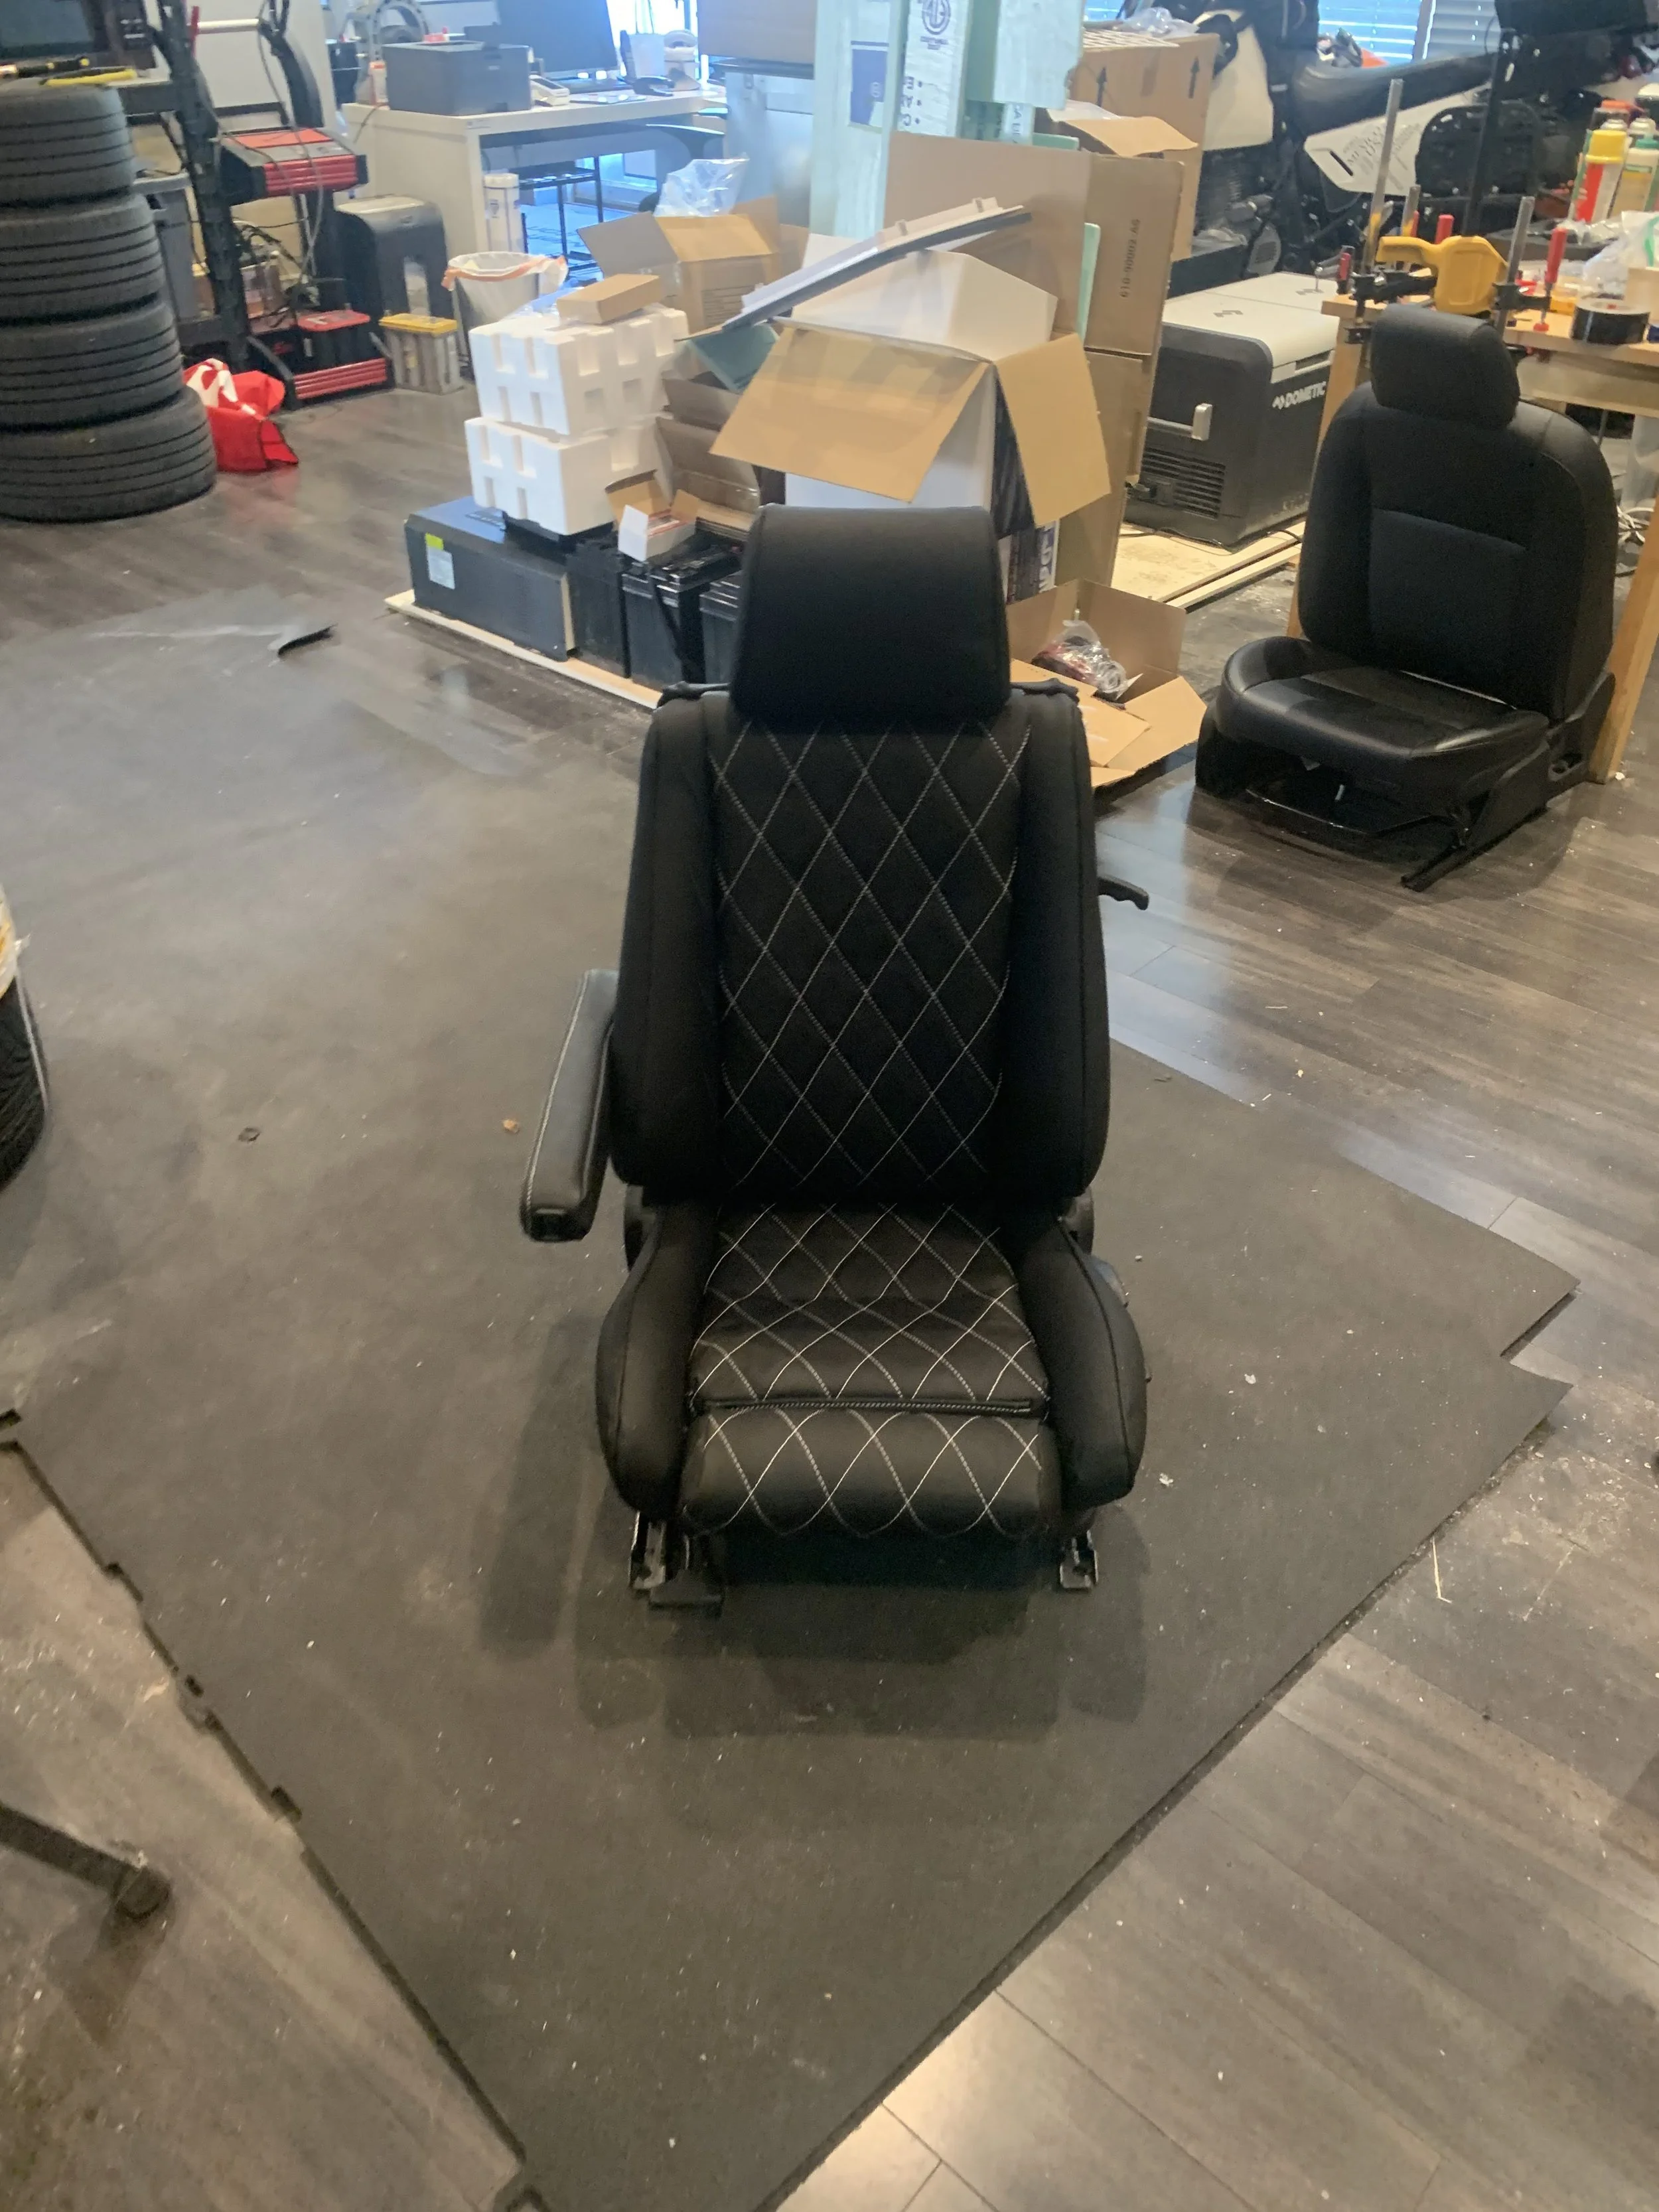
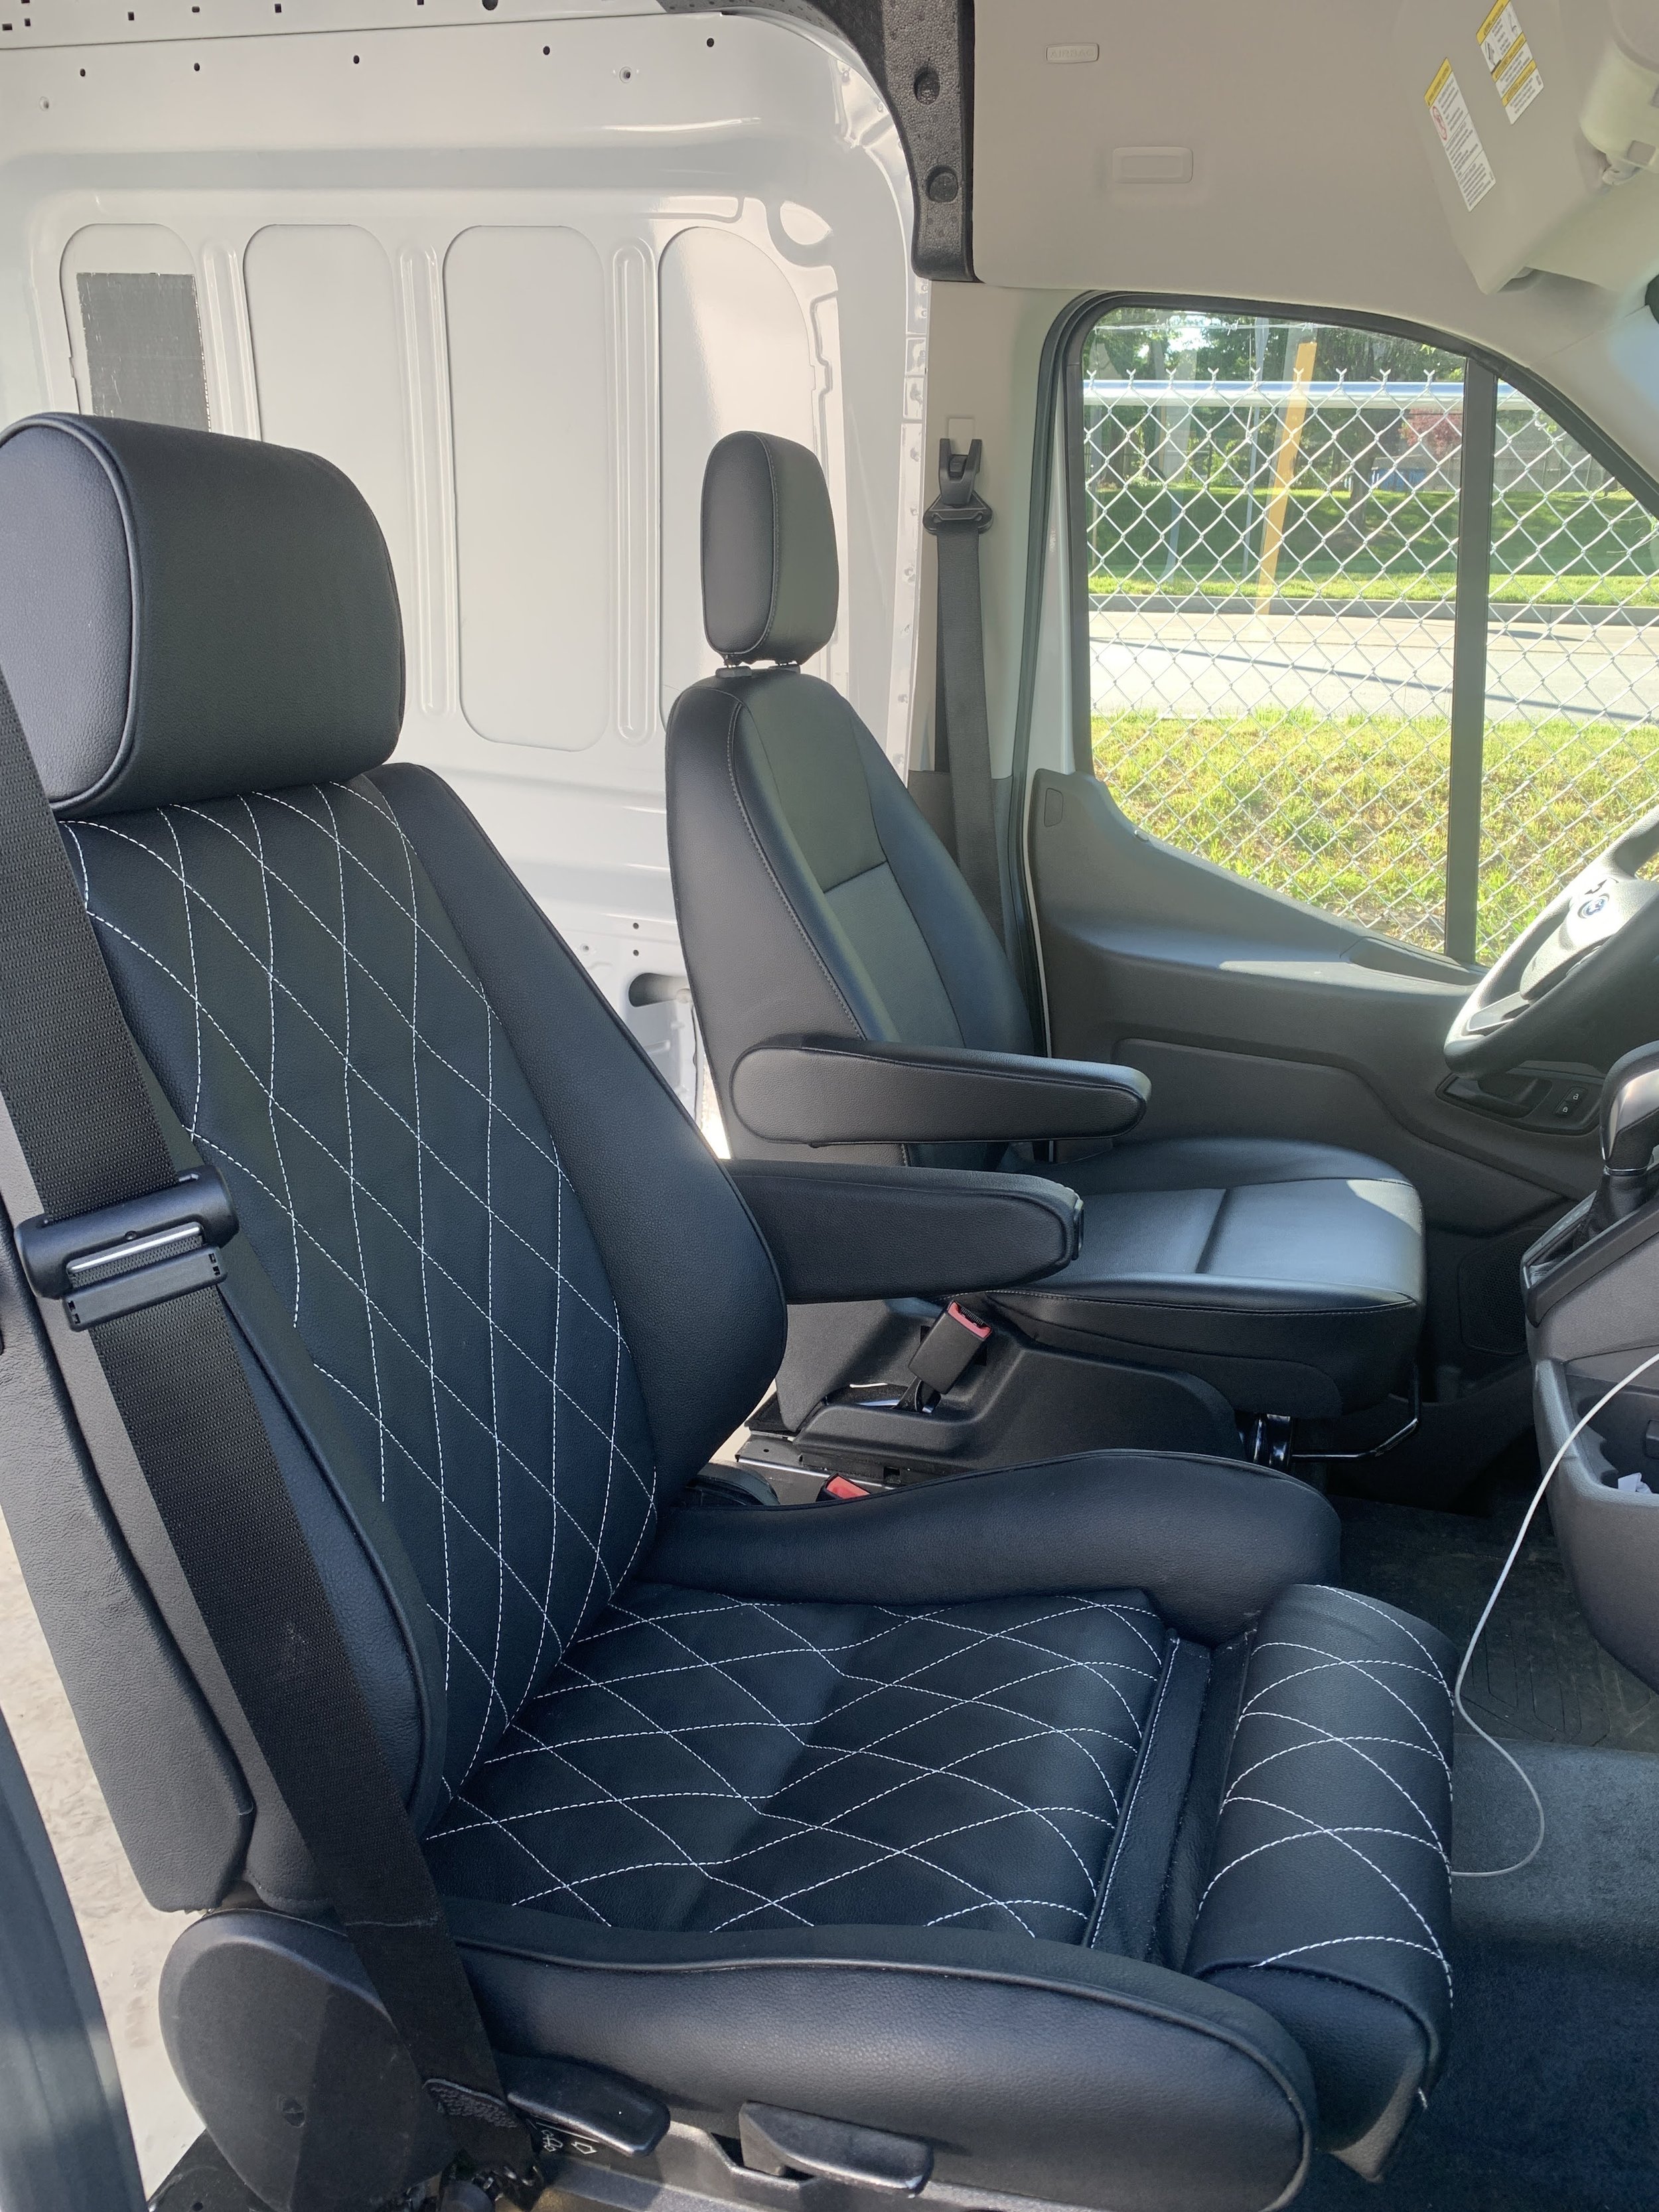
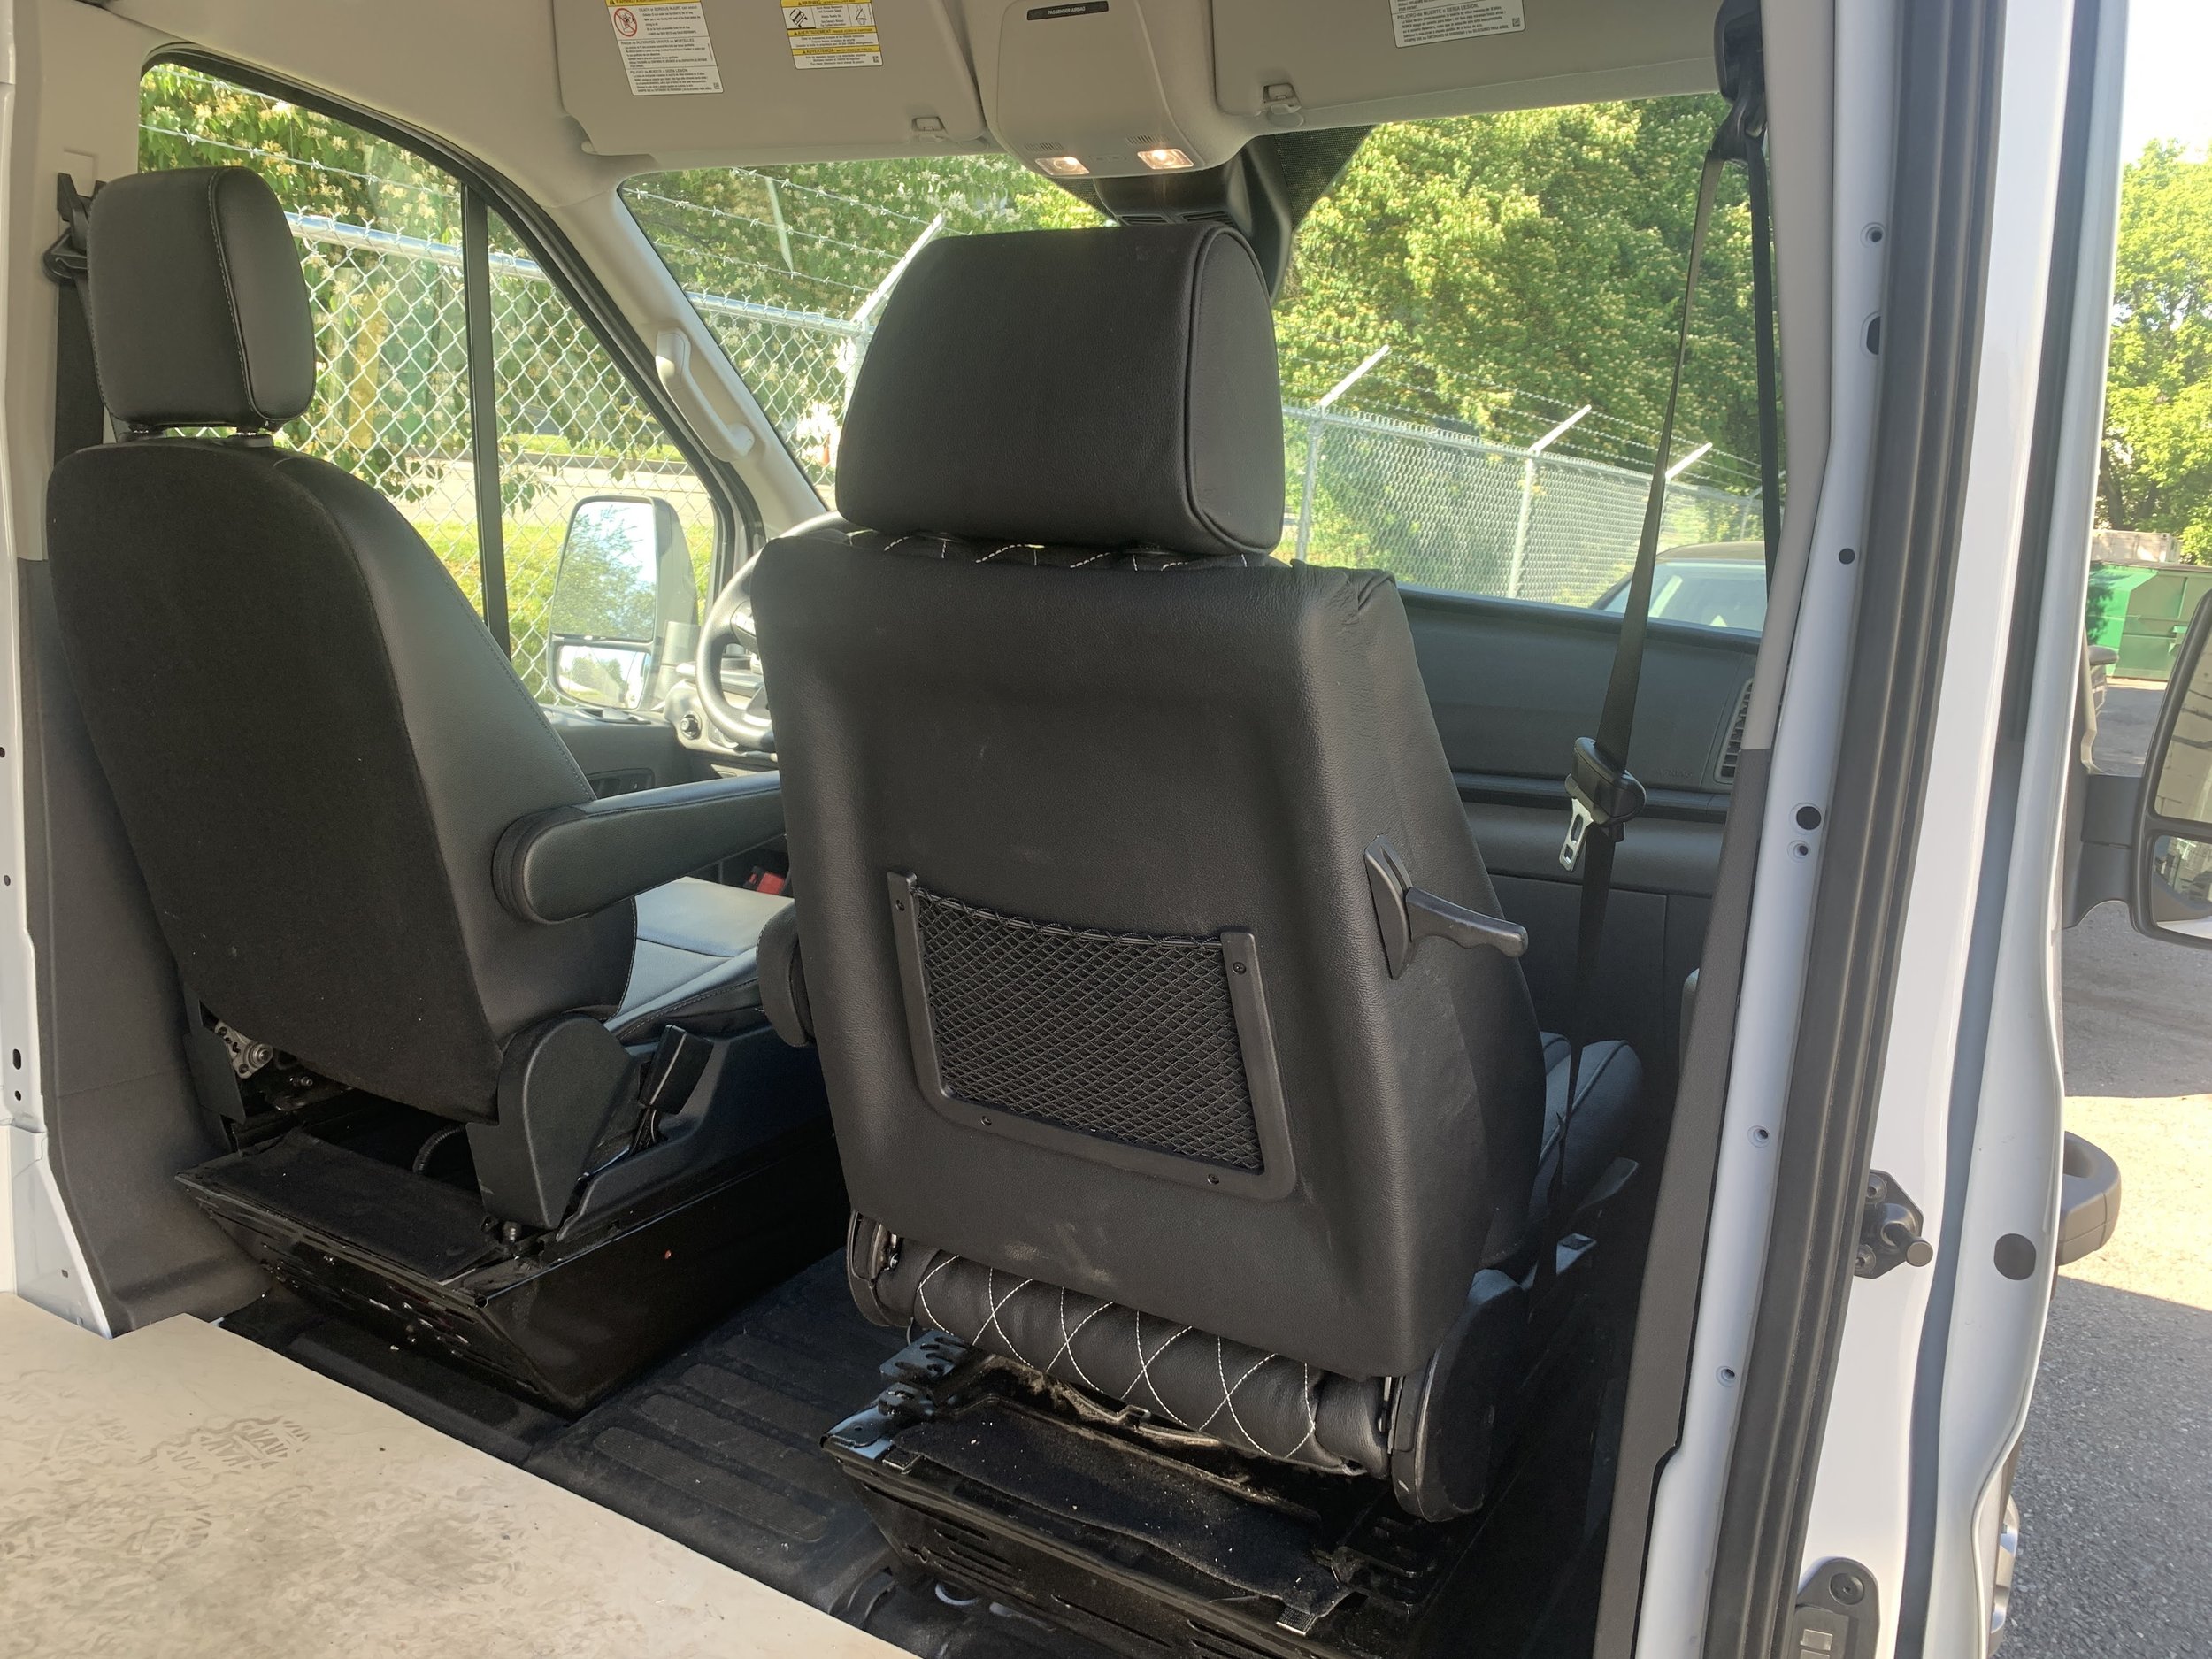
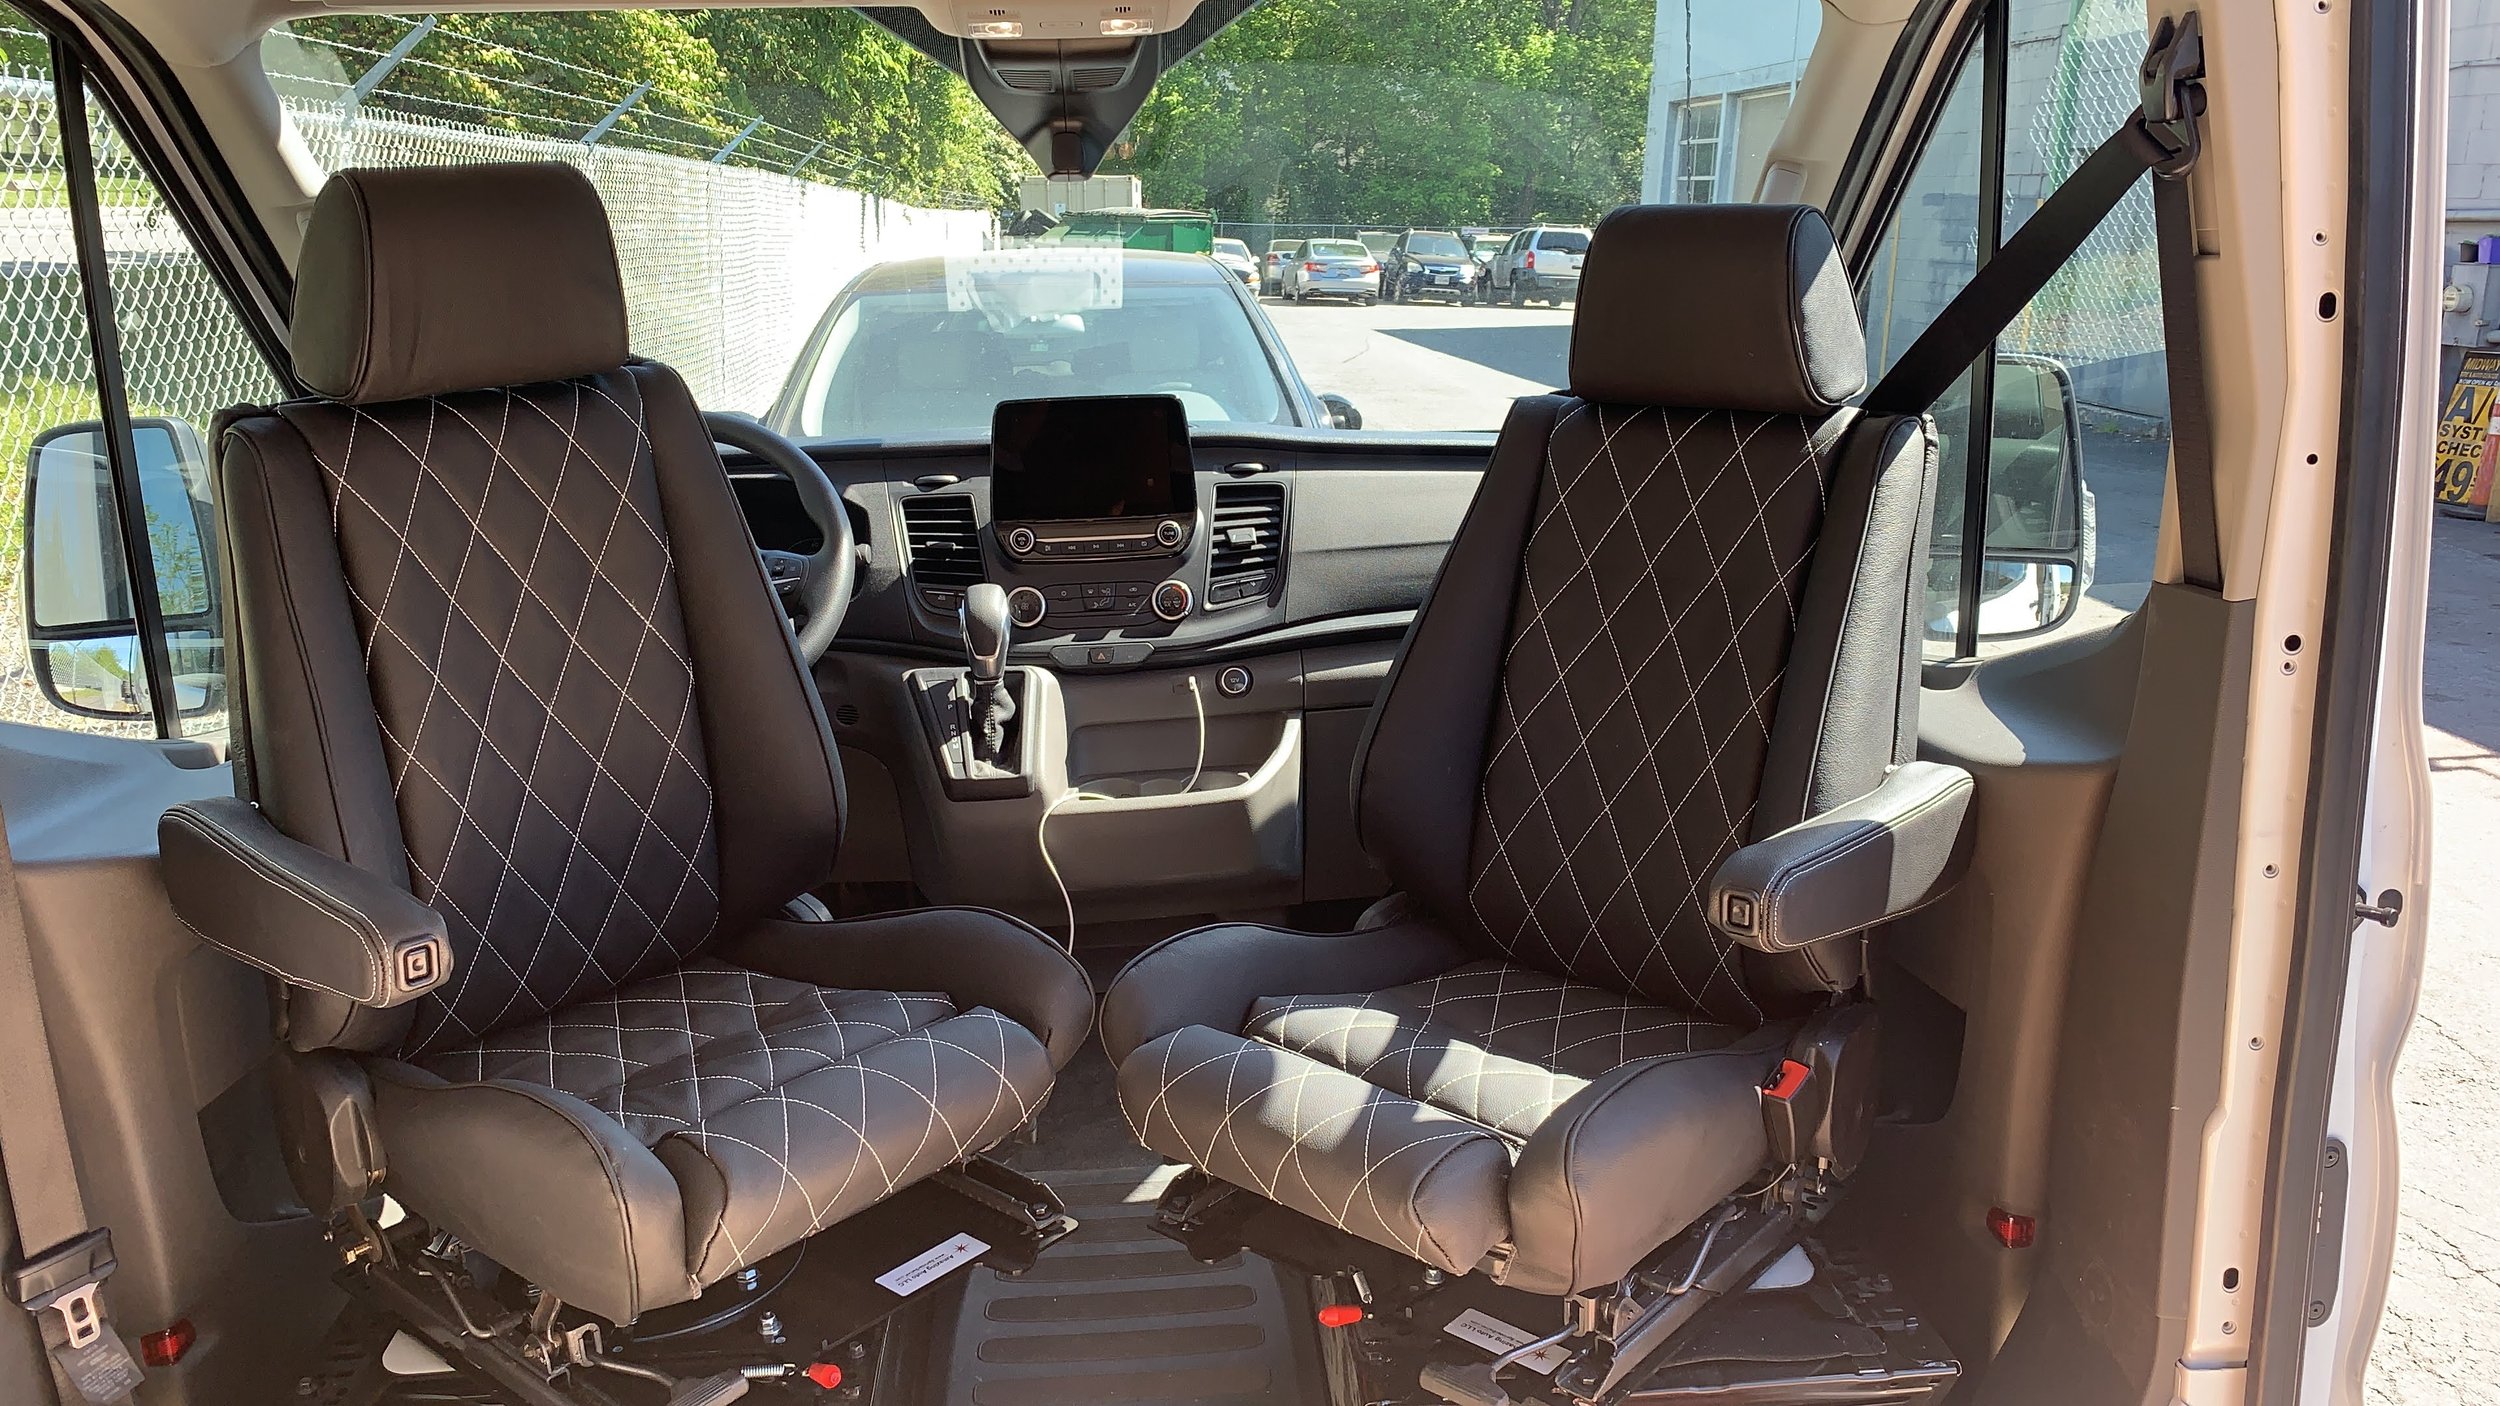
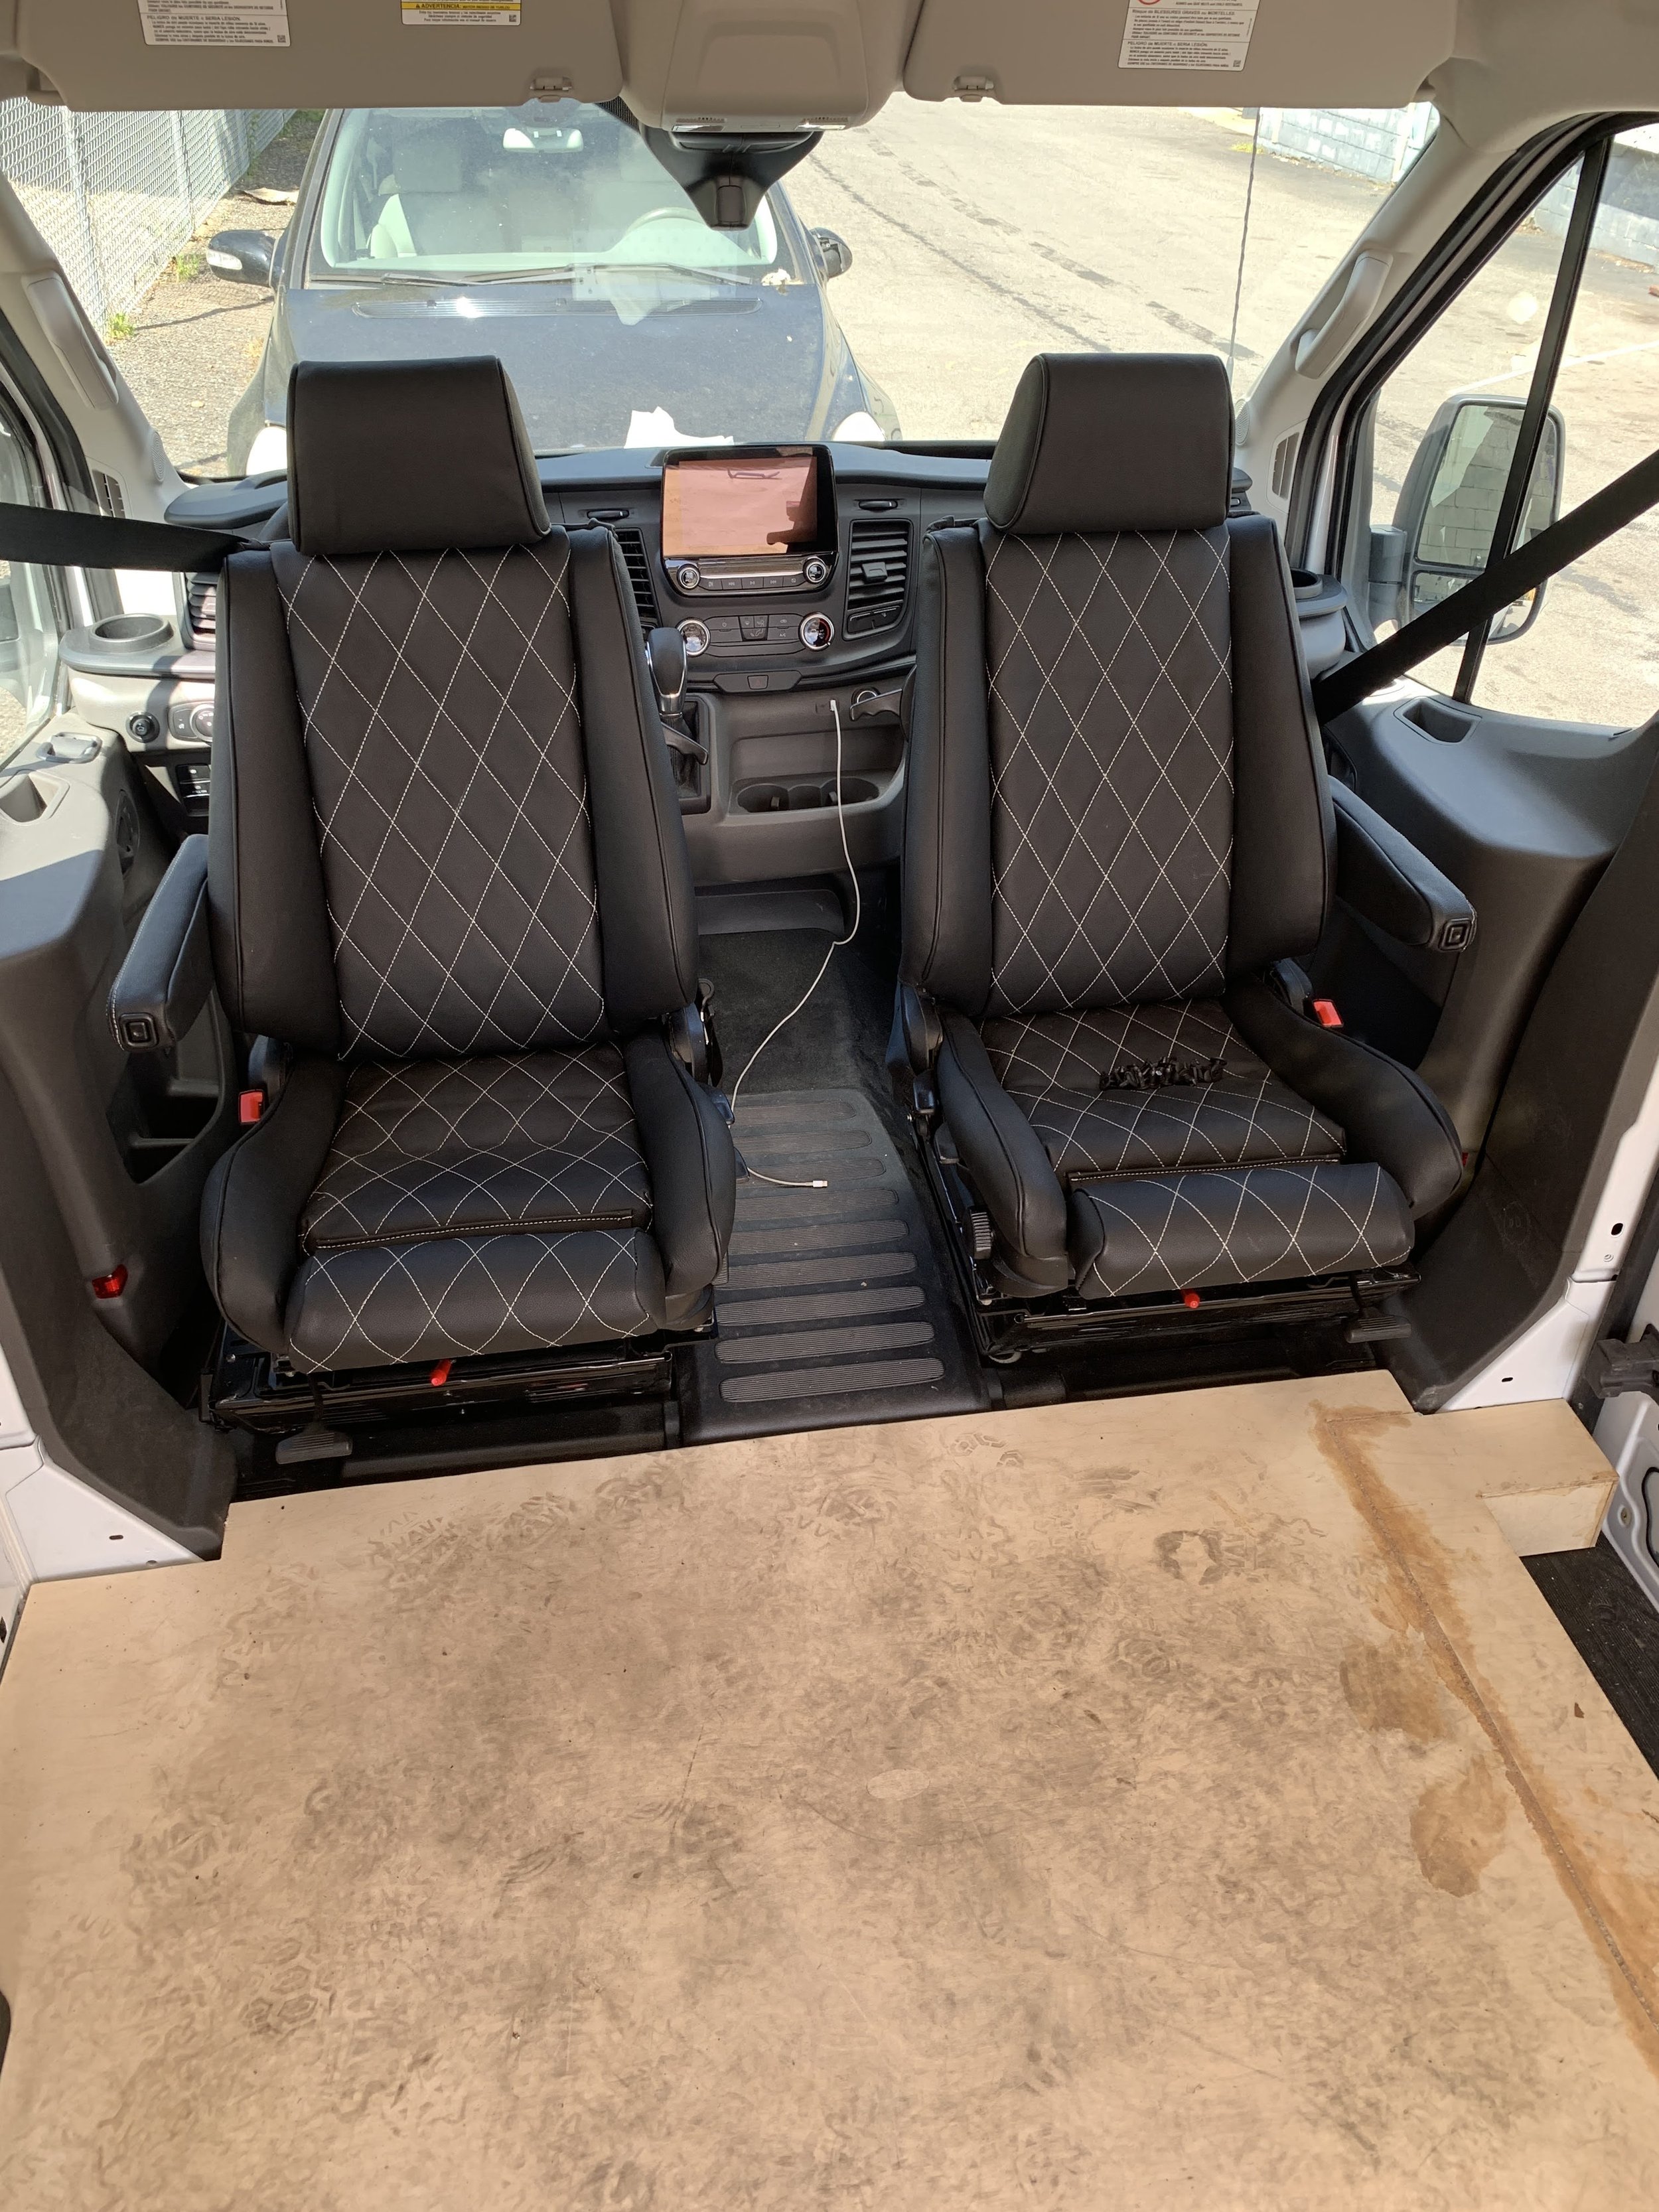
Next I order the amazing auto swivel seat bracket. These brackets were 200 a pop and came with the ebrake modification bracket that is usually add on accessory. The youtube and online market is filled with people marketing the same product and regurgitating the same experience everyone else had. Nothing is more true than the swivel seat market. Every thing you see online, people tell you to buy the Scopema brand swivel (because its german). Not only does the Scopema rattles because its thinner metal to achieve the height reduction, it doesn’t have the hole in the middle that is large enough to tuck the wire in, in addition you have to widen the holes to fit the screw to mount them. All the while costing 400 dollars a pop and then you have to add the ebrake modification kit. It is truly a product that is overhyped and overpriced. Amazing auto, have a huge hole in the middle for wires, the metal is super thick and you cant rattle them even if you try, the mechanism is smooth. The height is about half an inch taller, but that to me isn’t the main problem. My main problem is that these OEM seats are total trash. Coming from the automotive racing seats, and performance seats these feel like sitting on a plank. No lumbar support, no bolster support, no knee support, and 0 adjustability. I quickly took some measurement the width and height and starting brainstorm about buying a set of seats from “another German company” Scheel-mann. I looked at the quality of the seats, and I can say they are pretty amazing seats. I have seen these type of seats before in many performance sport cars. Except they were not 3000 dollars a pop amazing. They all manual seats, and basically a Recaro seat from the 80s and 90s car. I also needed armrest for both seats. Every option is another 100 - 200 bucks for custom seats. You can see how fast they add up. Then I had a thought… I seen this before, seat with armrest and blah blah blah.
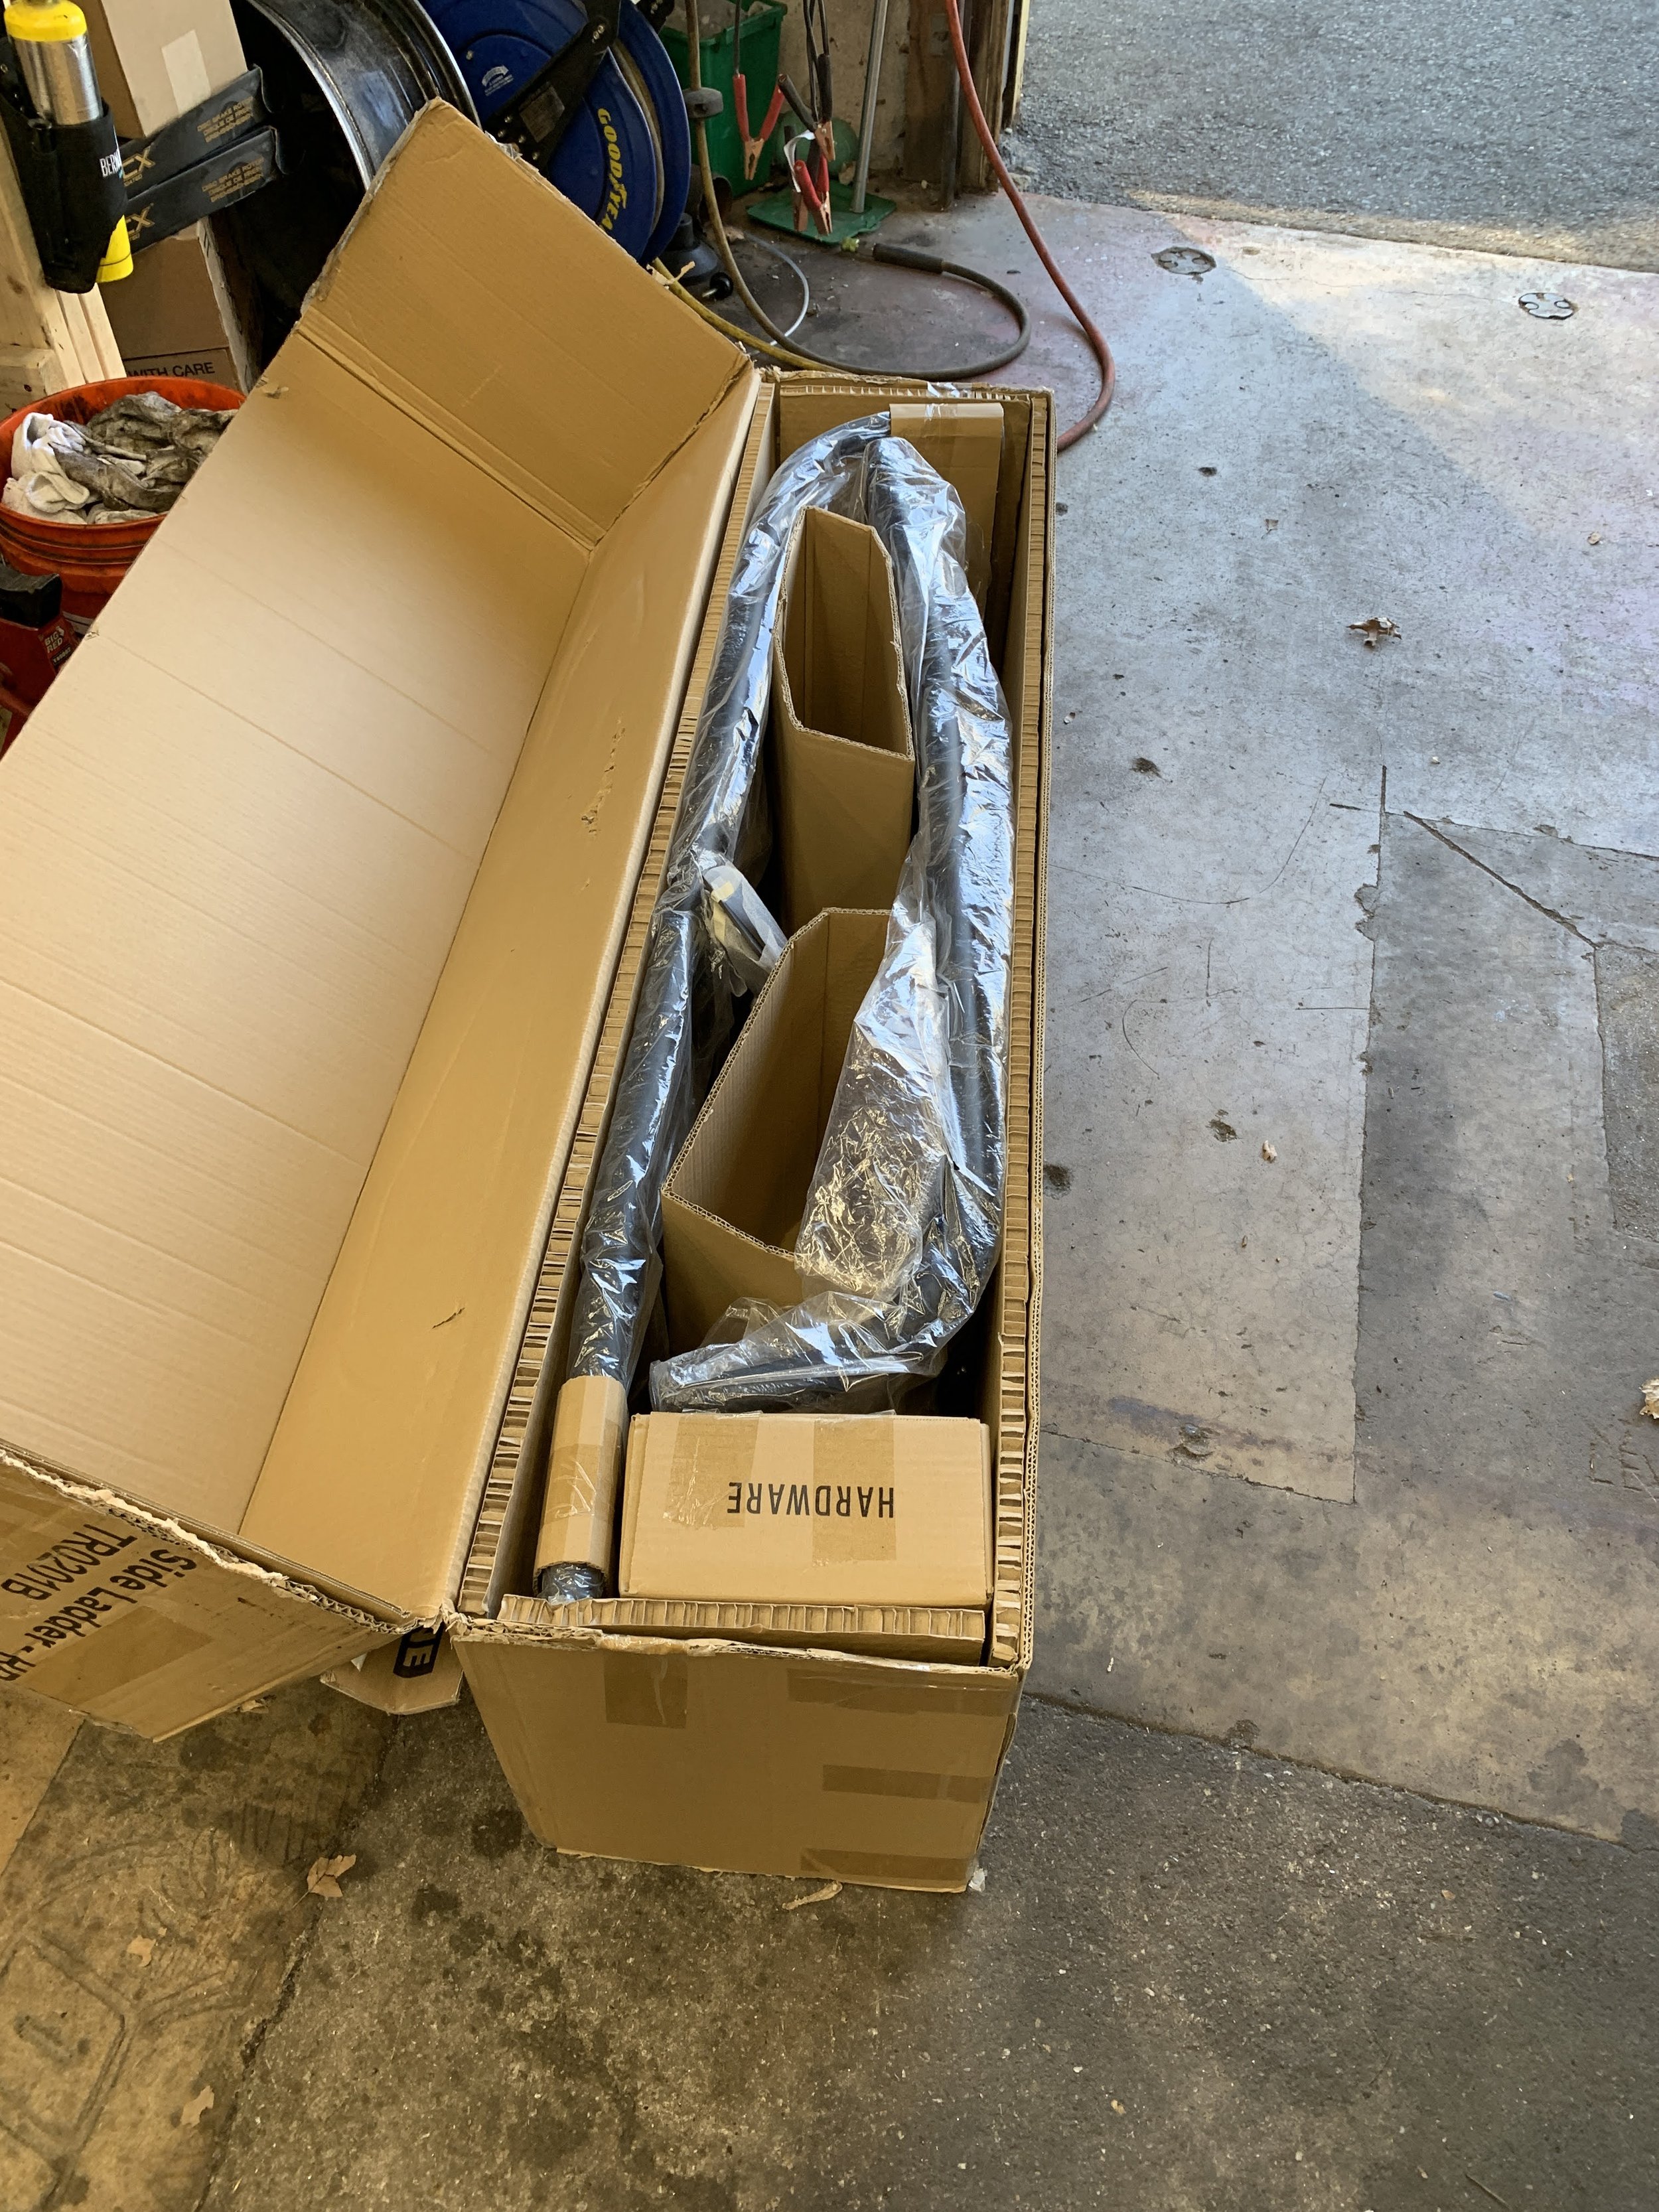
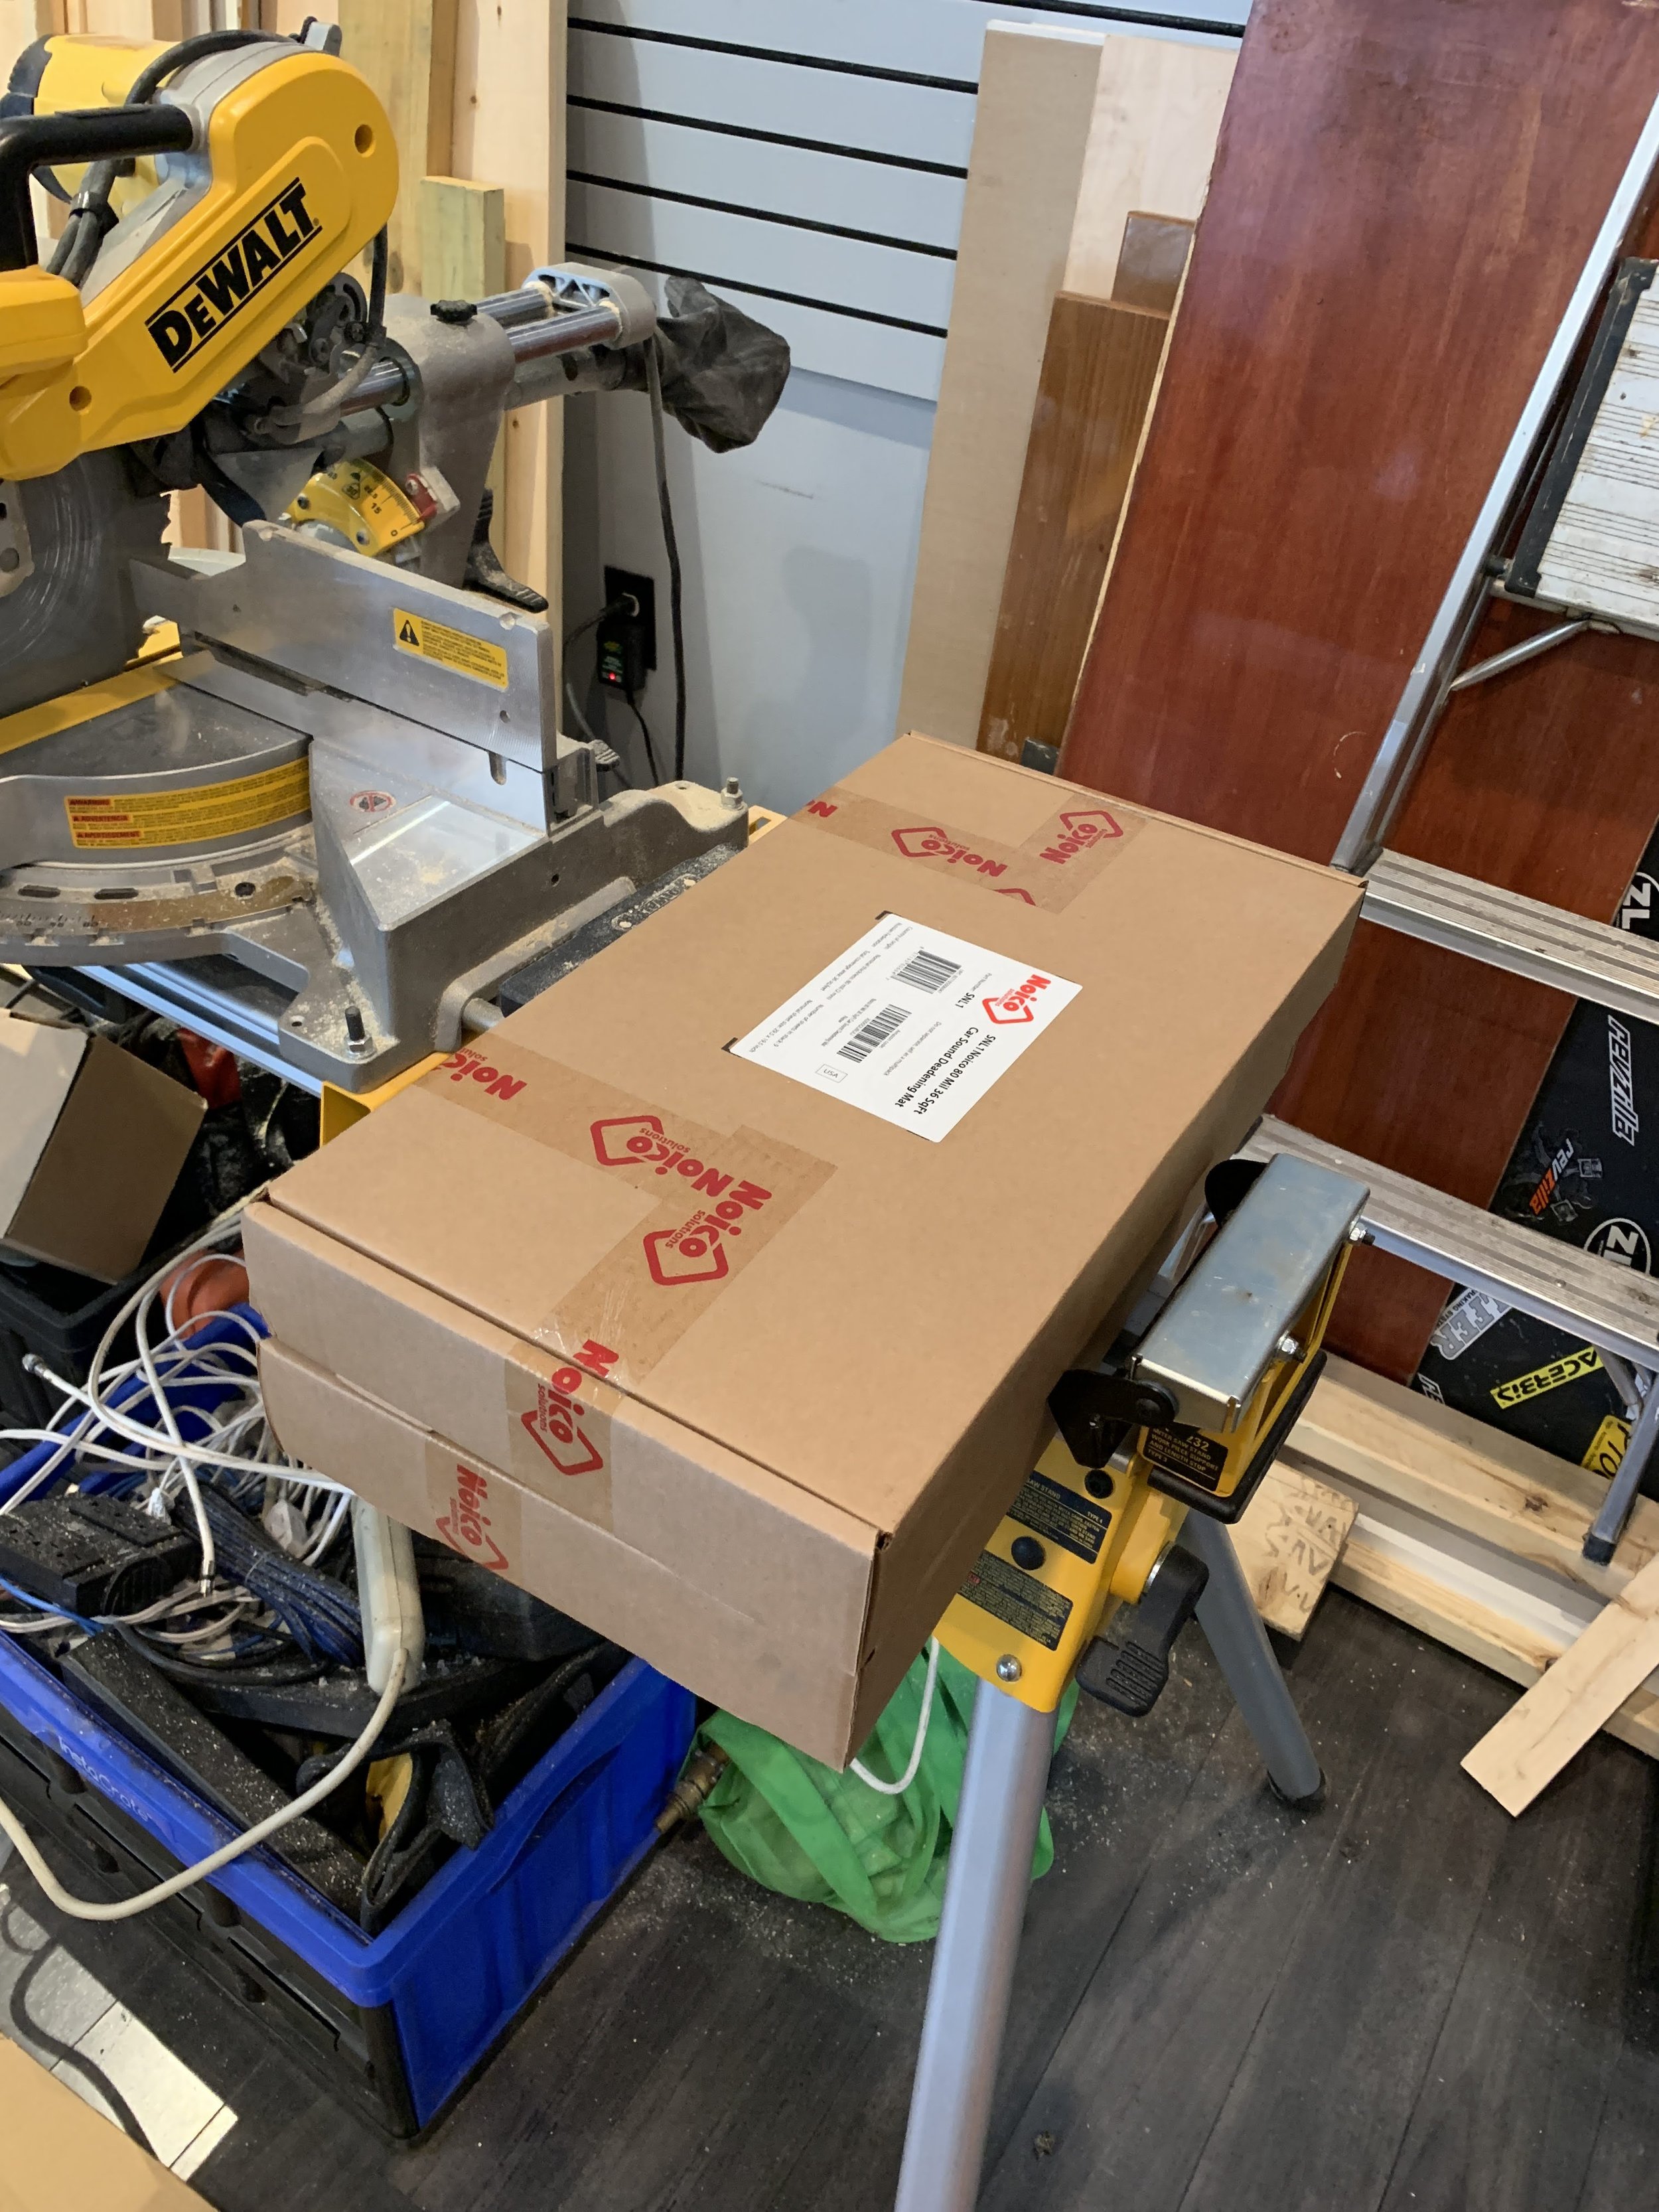
There was a gap of time between the last project, because things are nearly impossible to get right away. After about a month, my ladder came, but I didnt have the roof rack yet. Sound deadening material came, that was amazon and came in two days. So I started planning for my direction for the build and sound deadening materials.
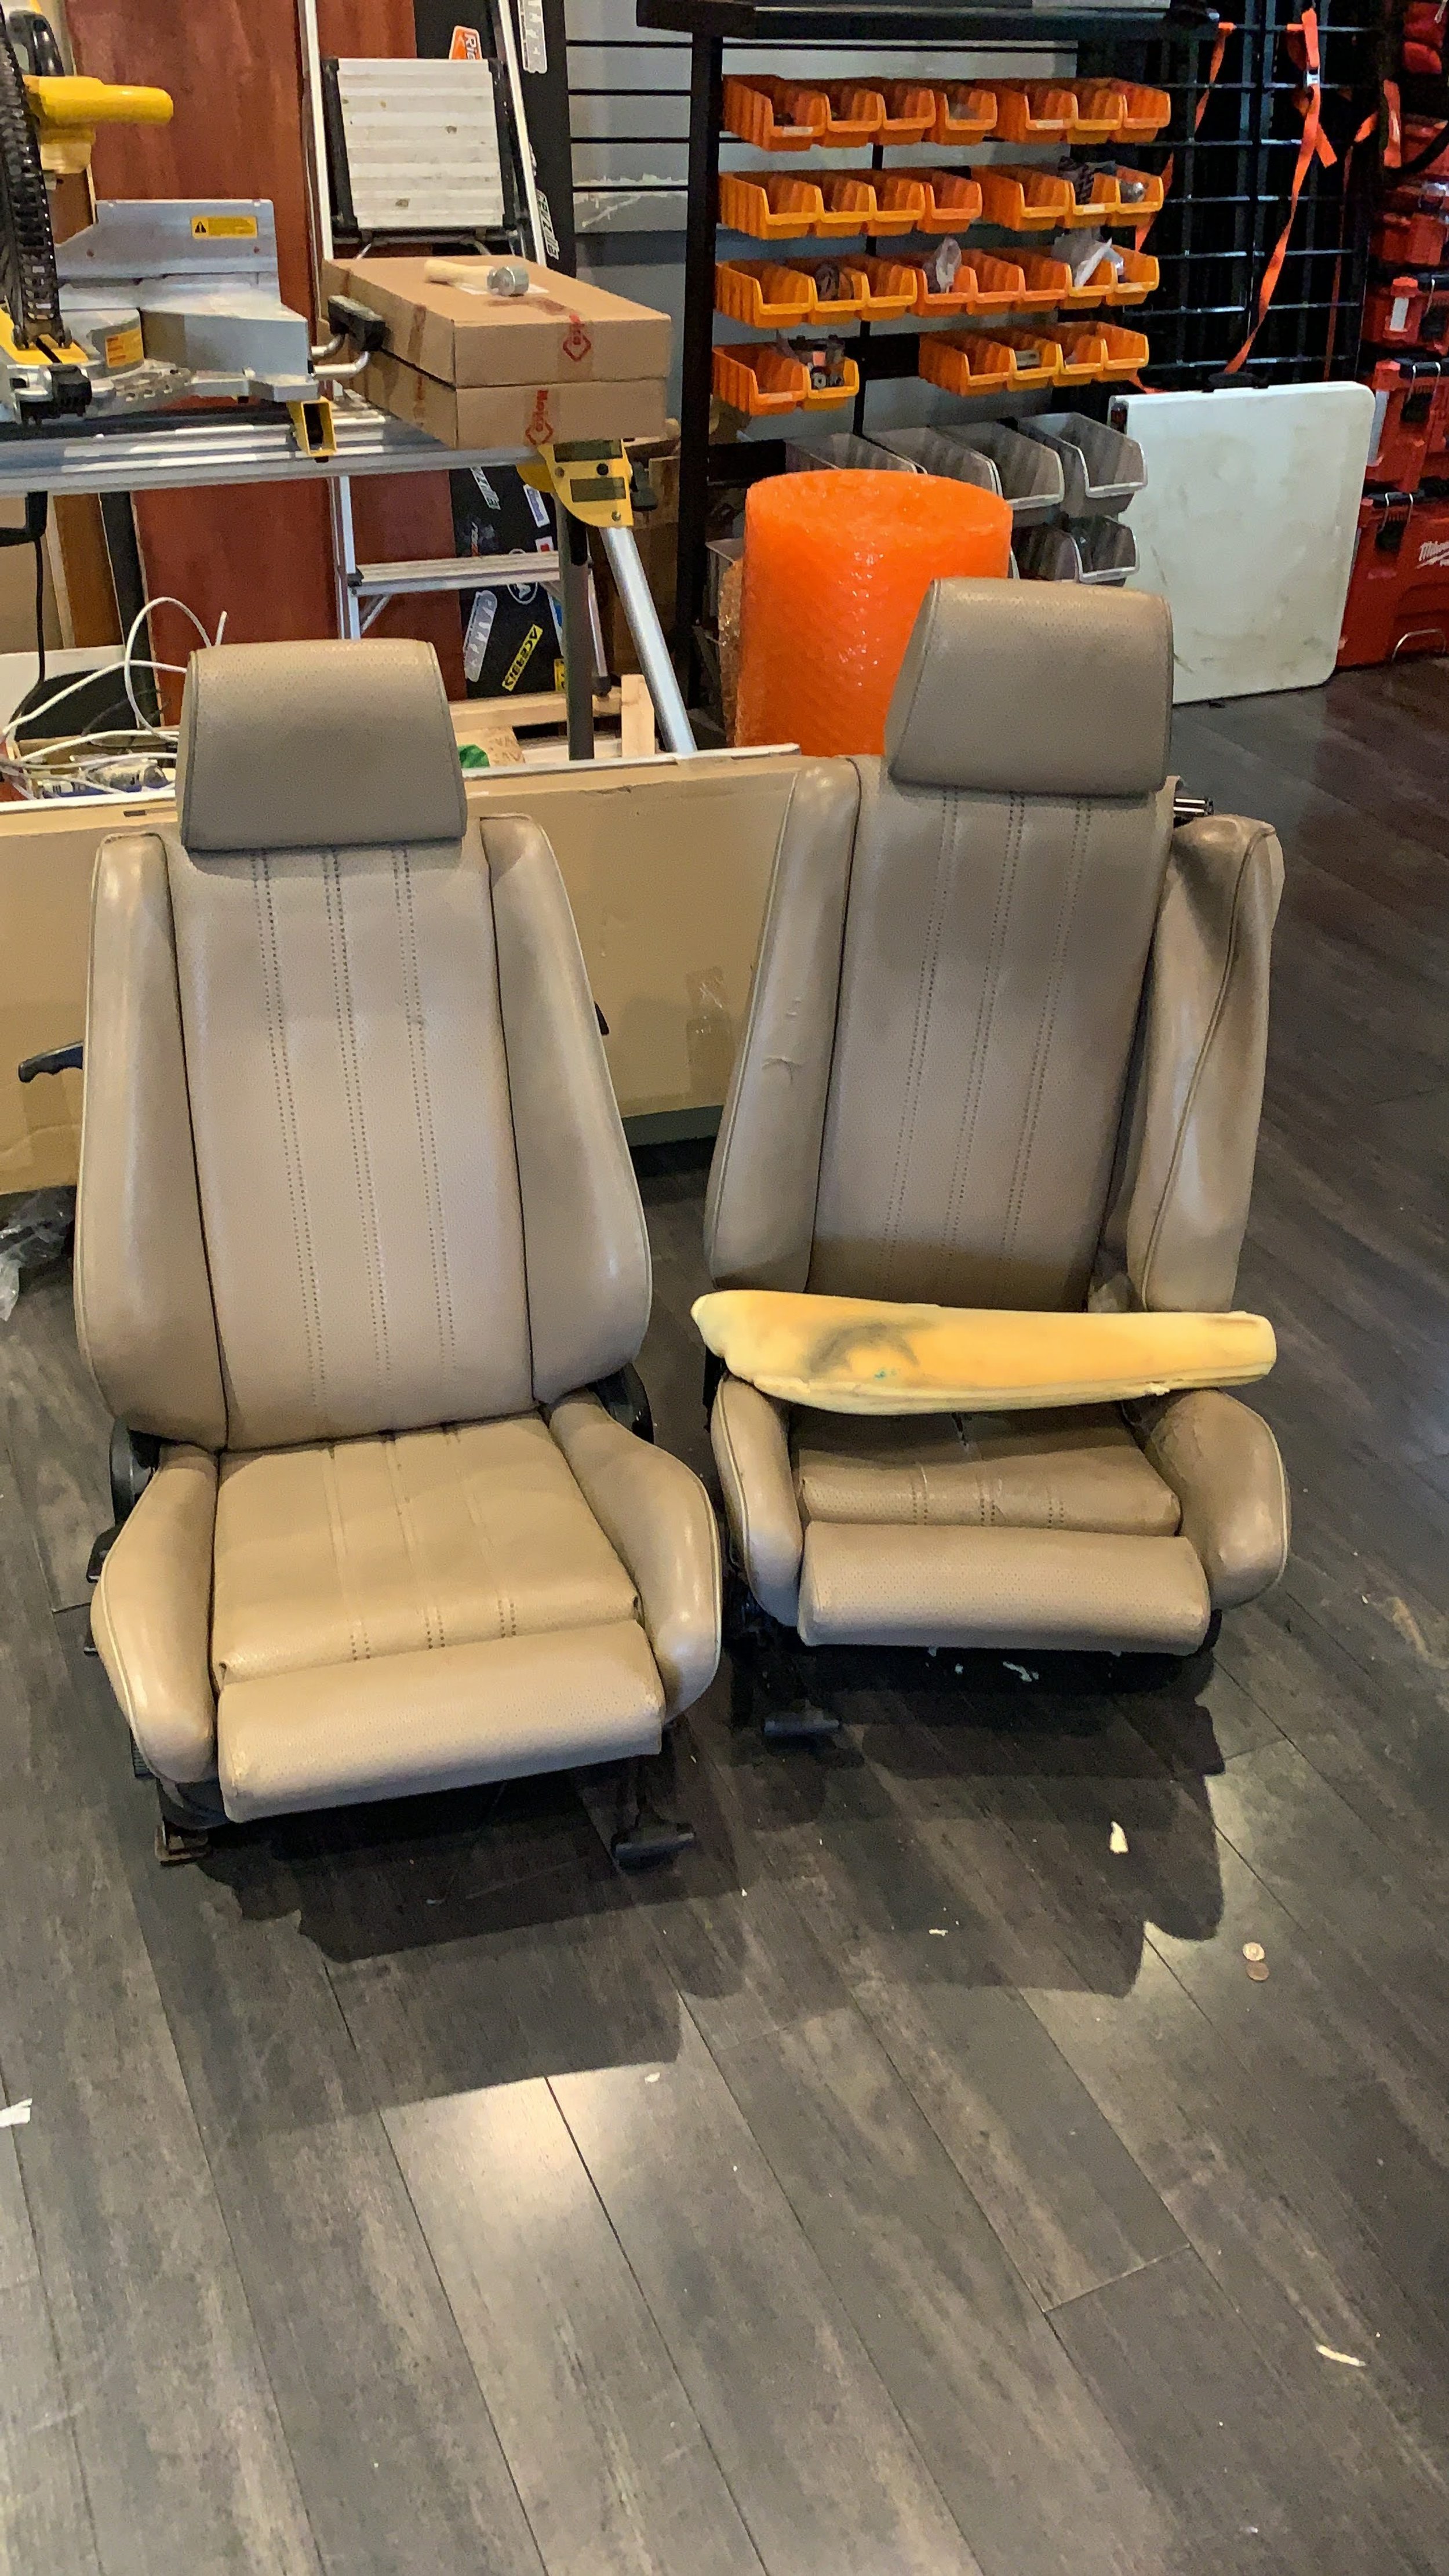
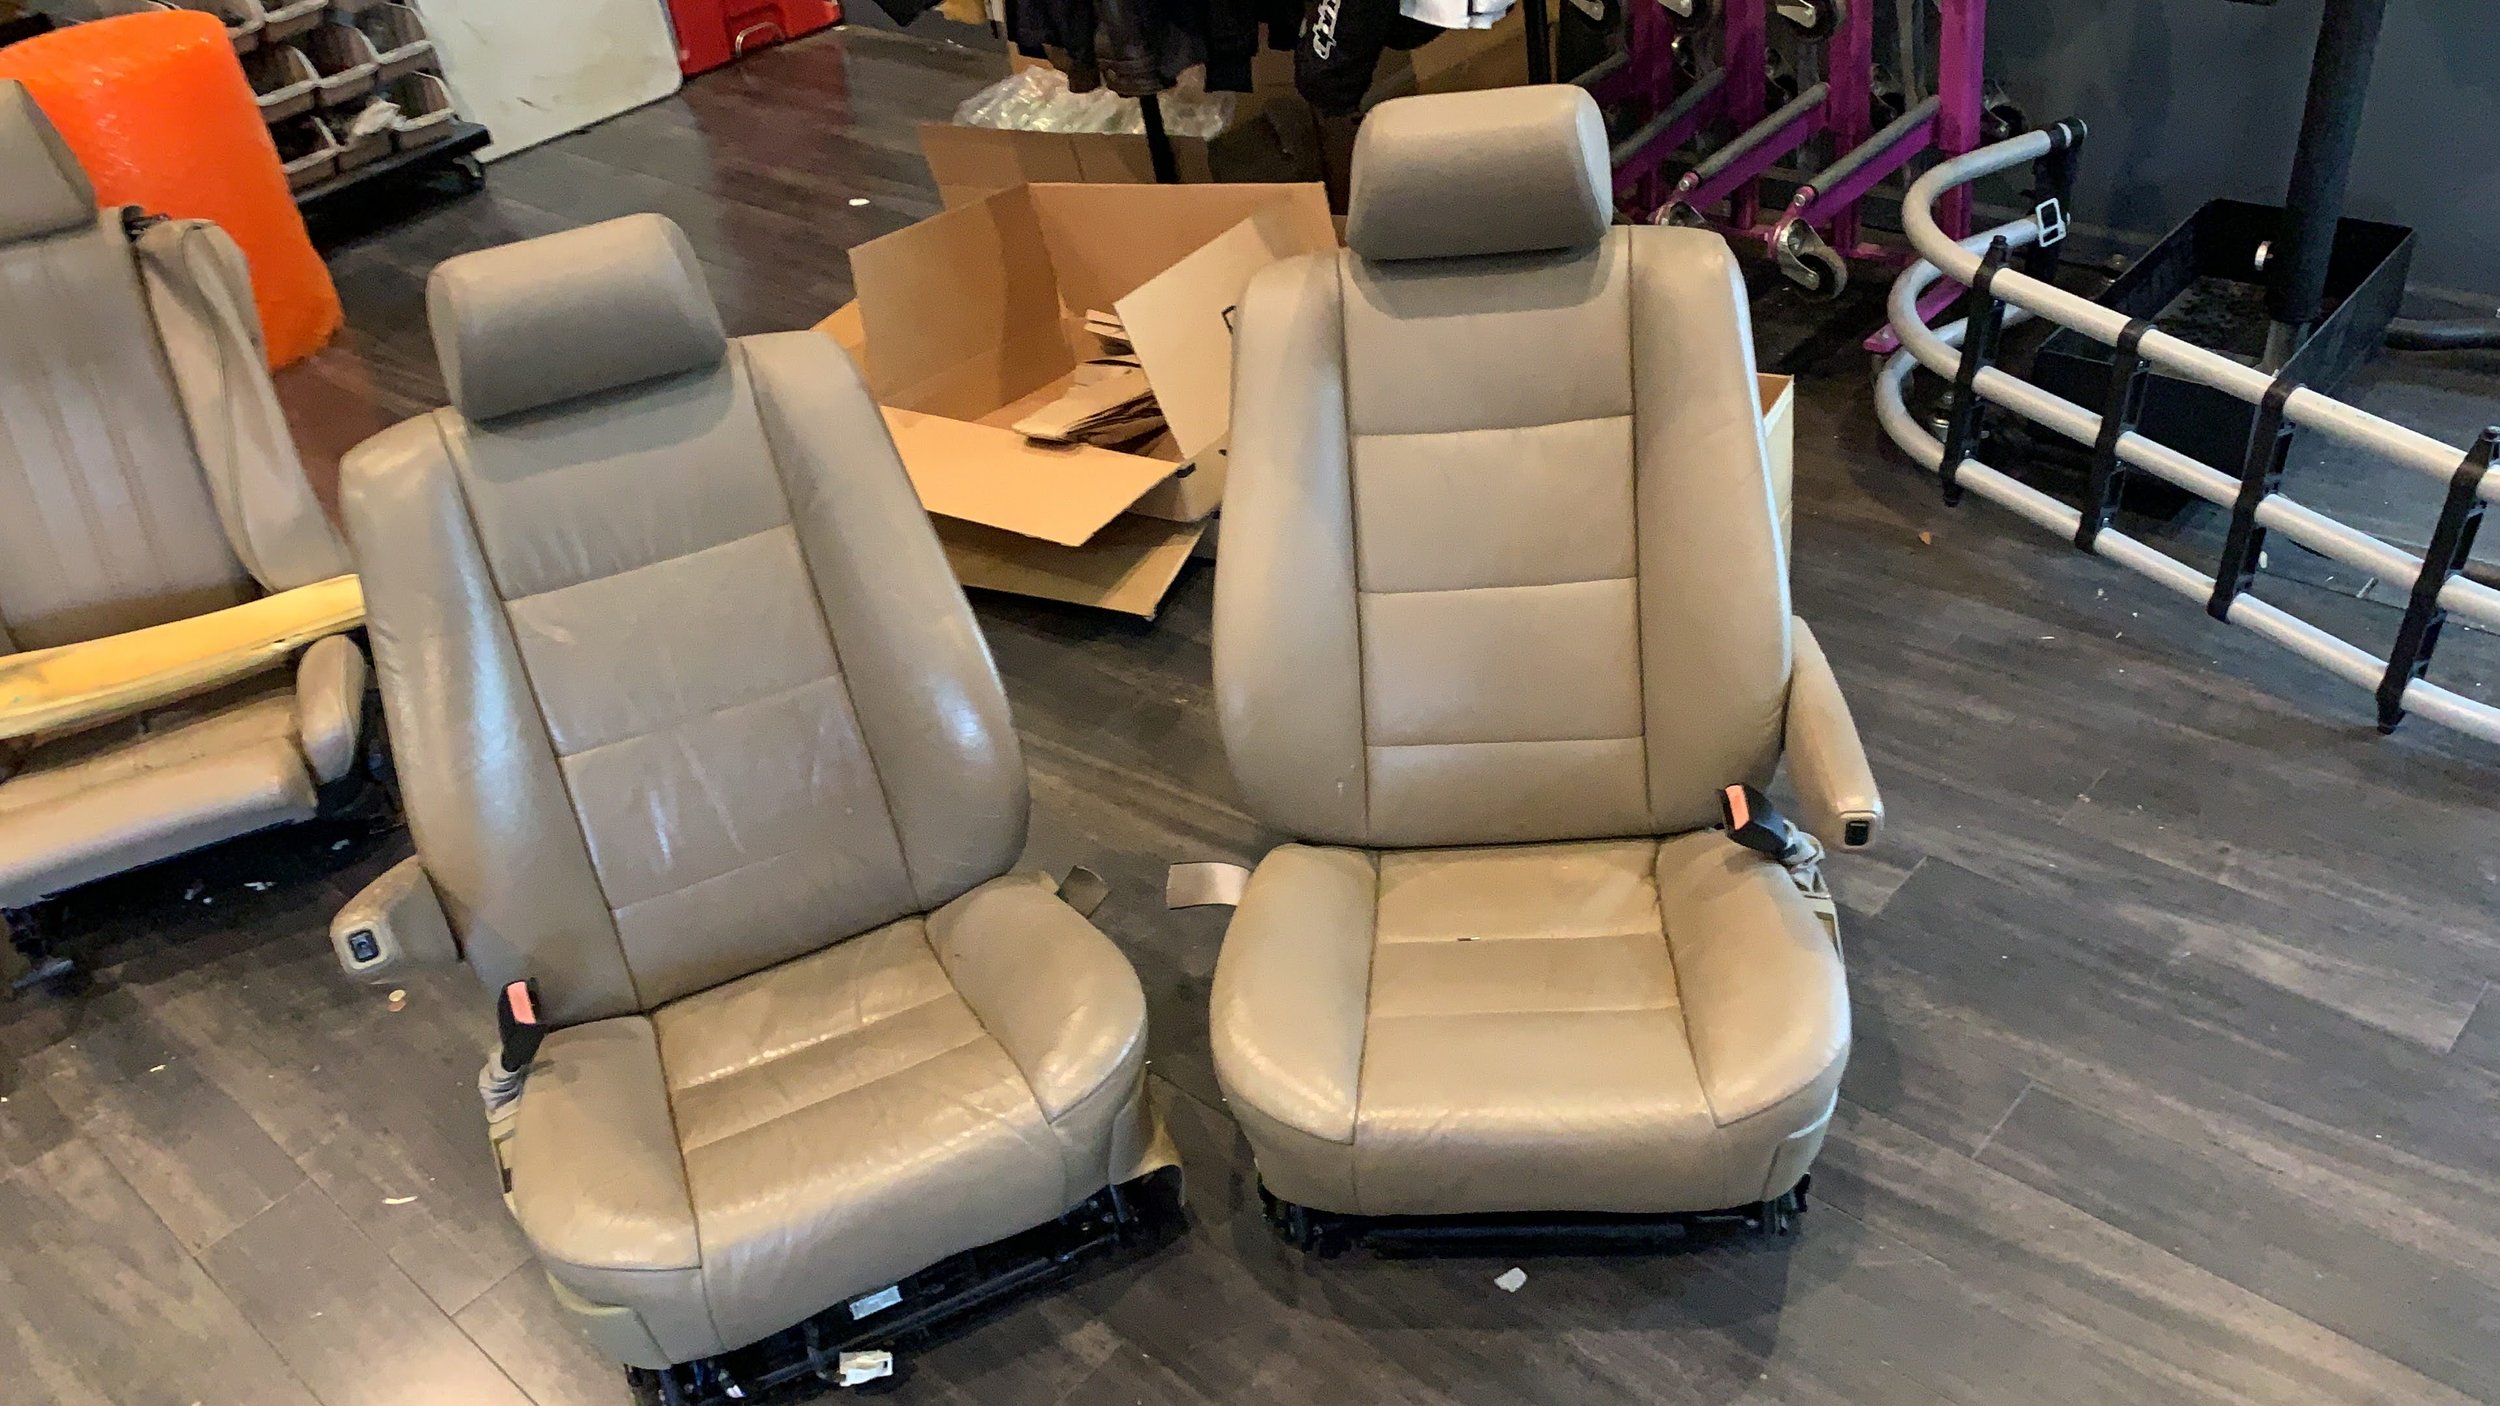
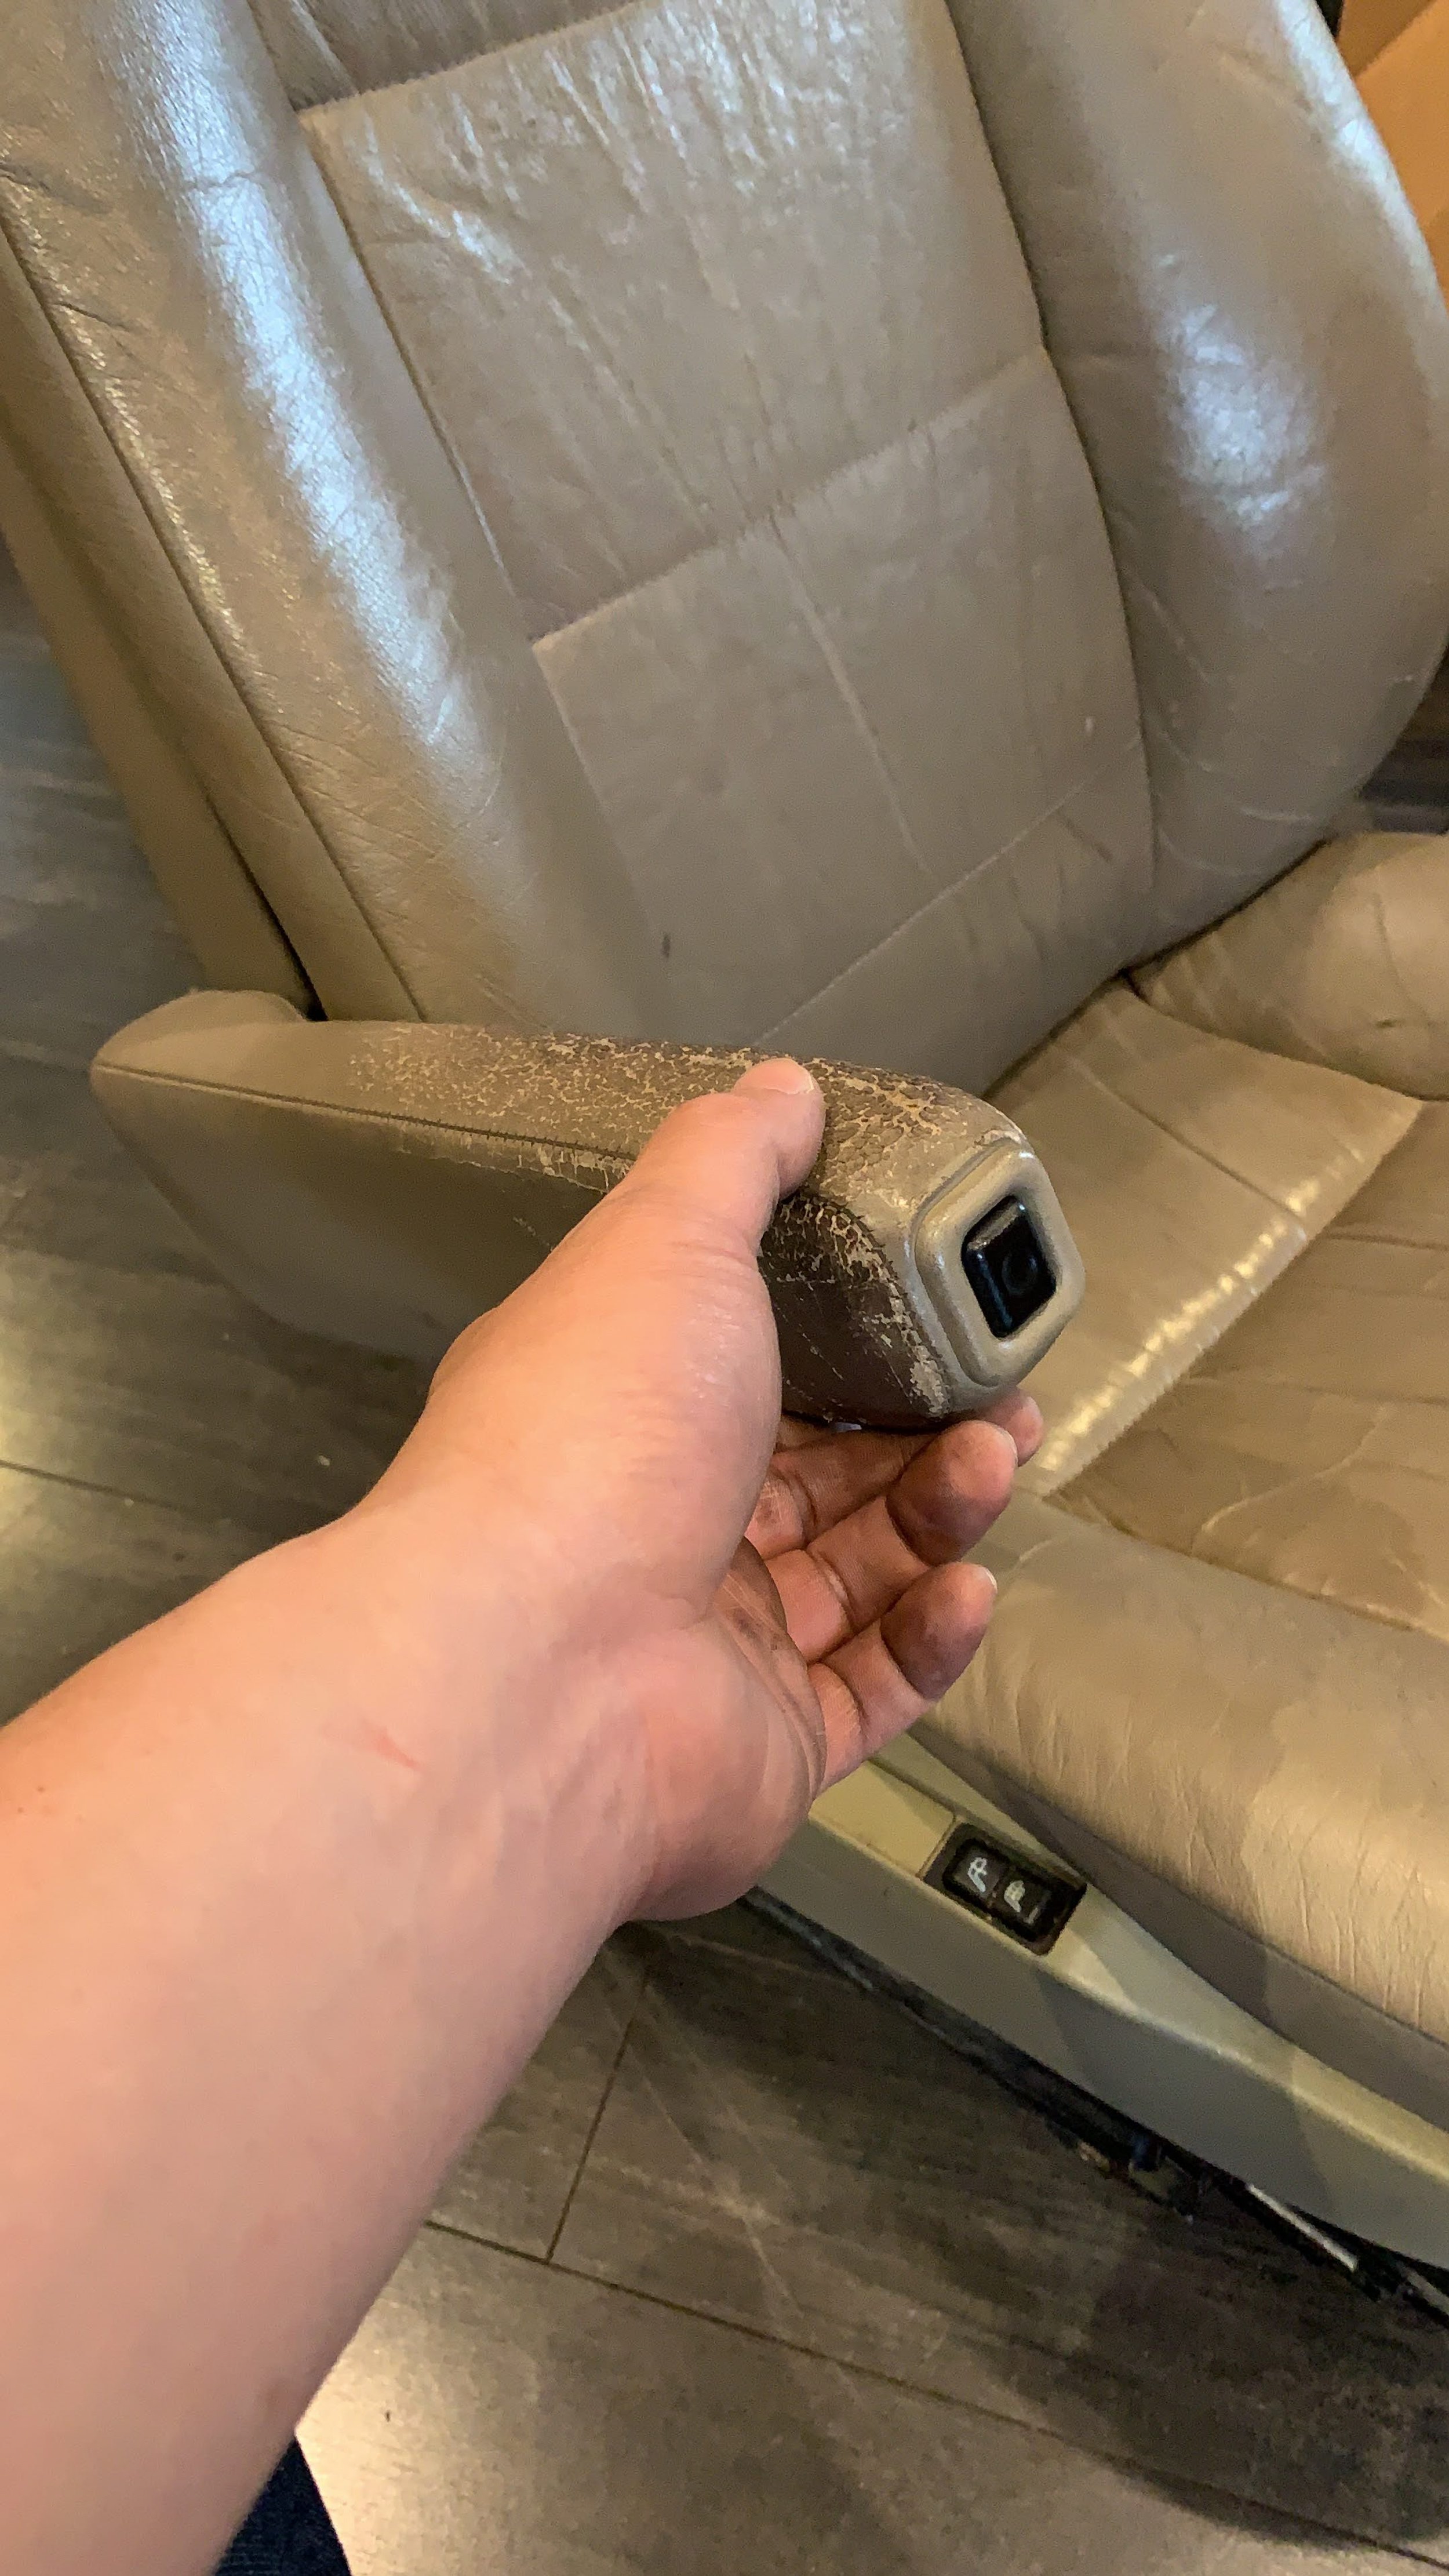
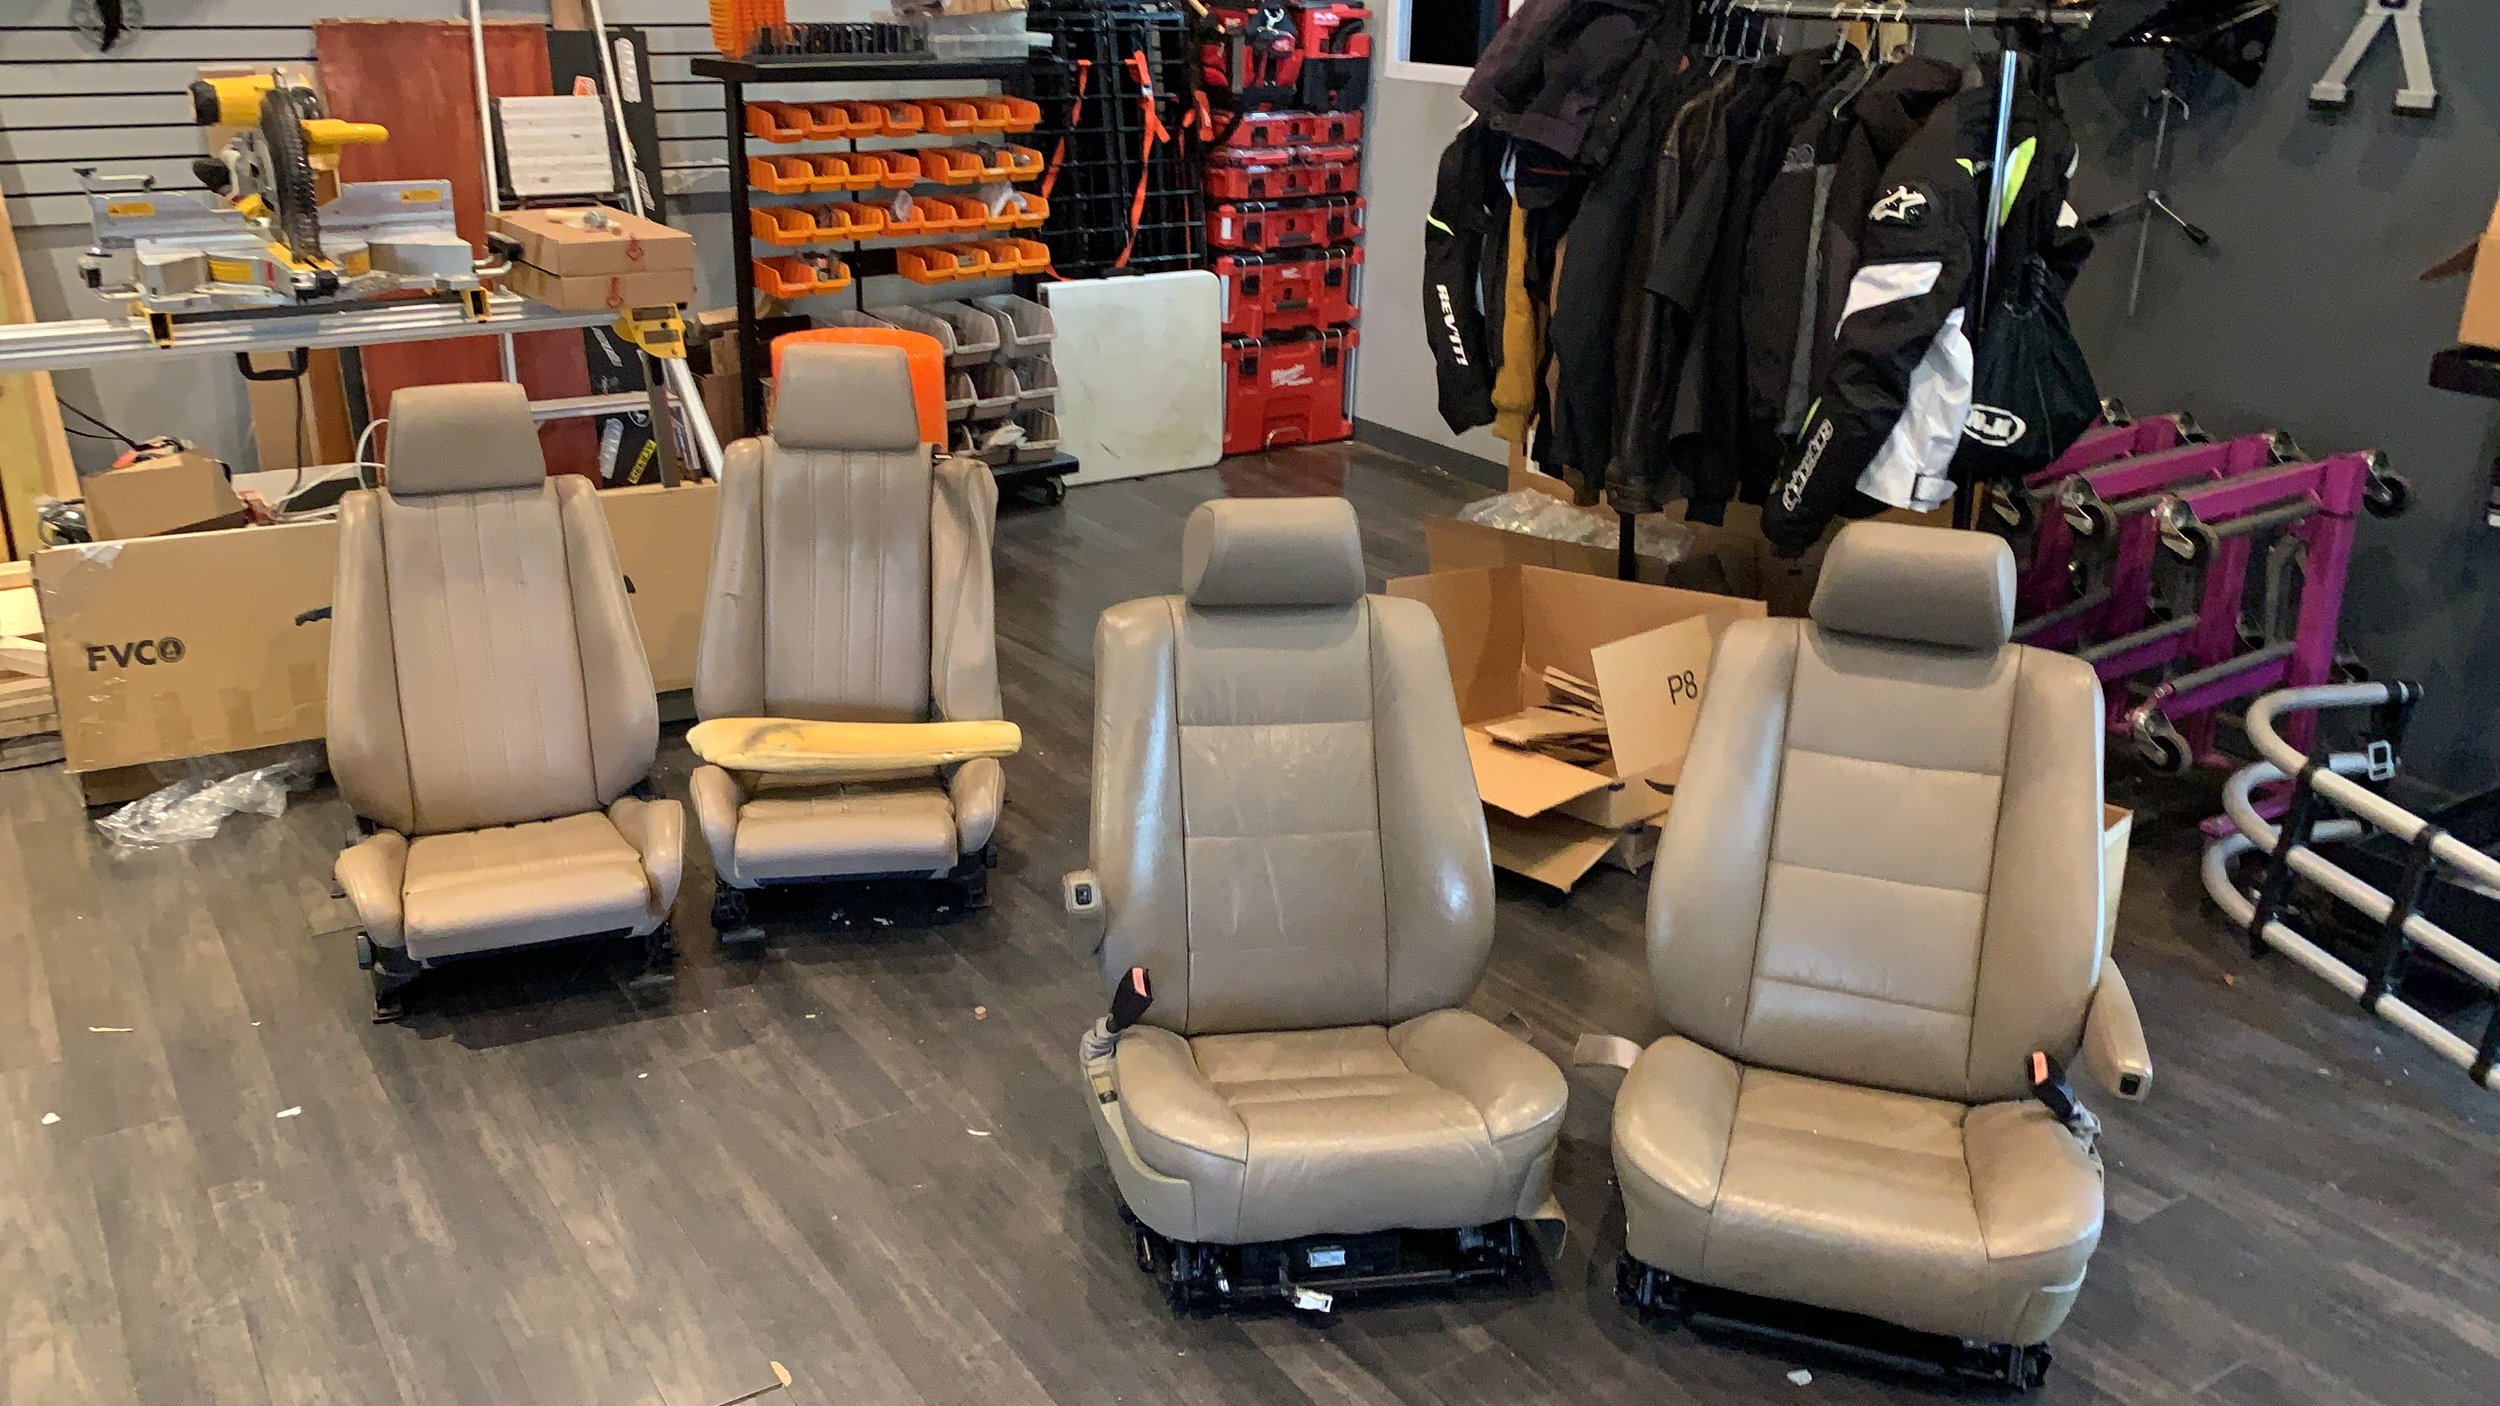
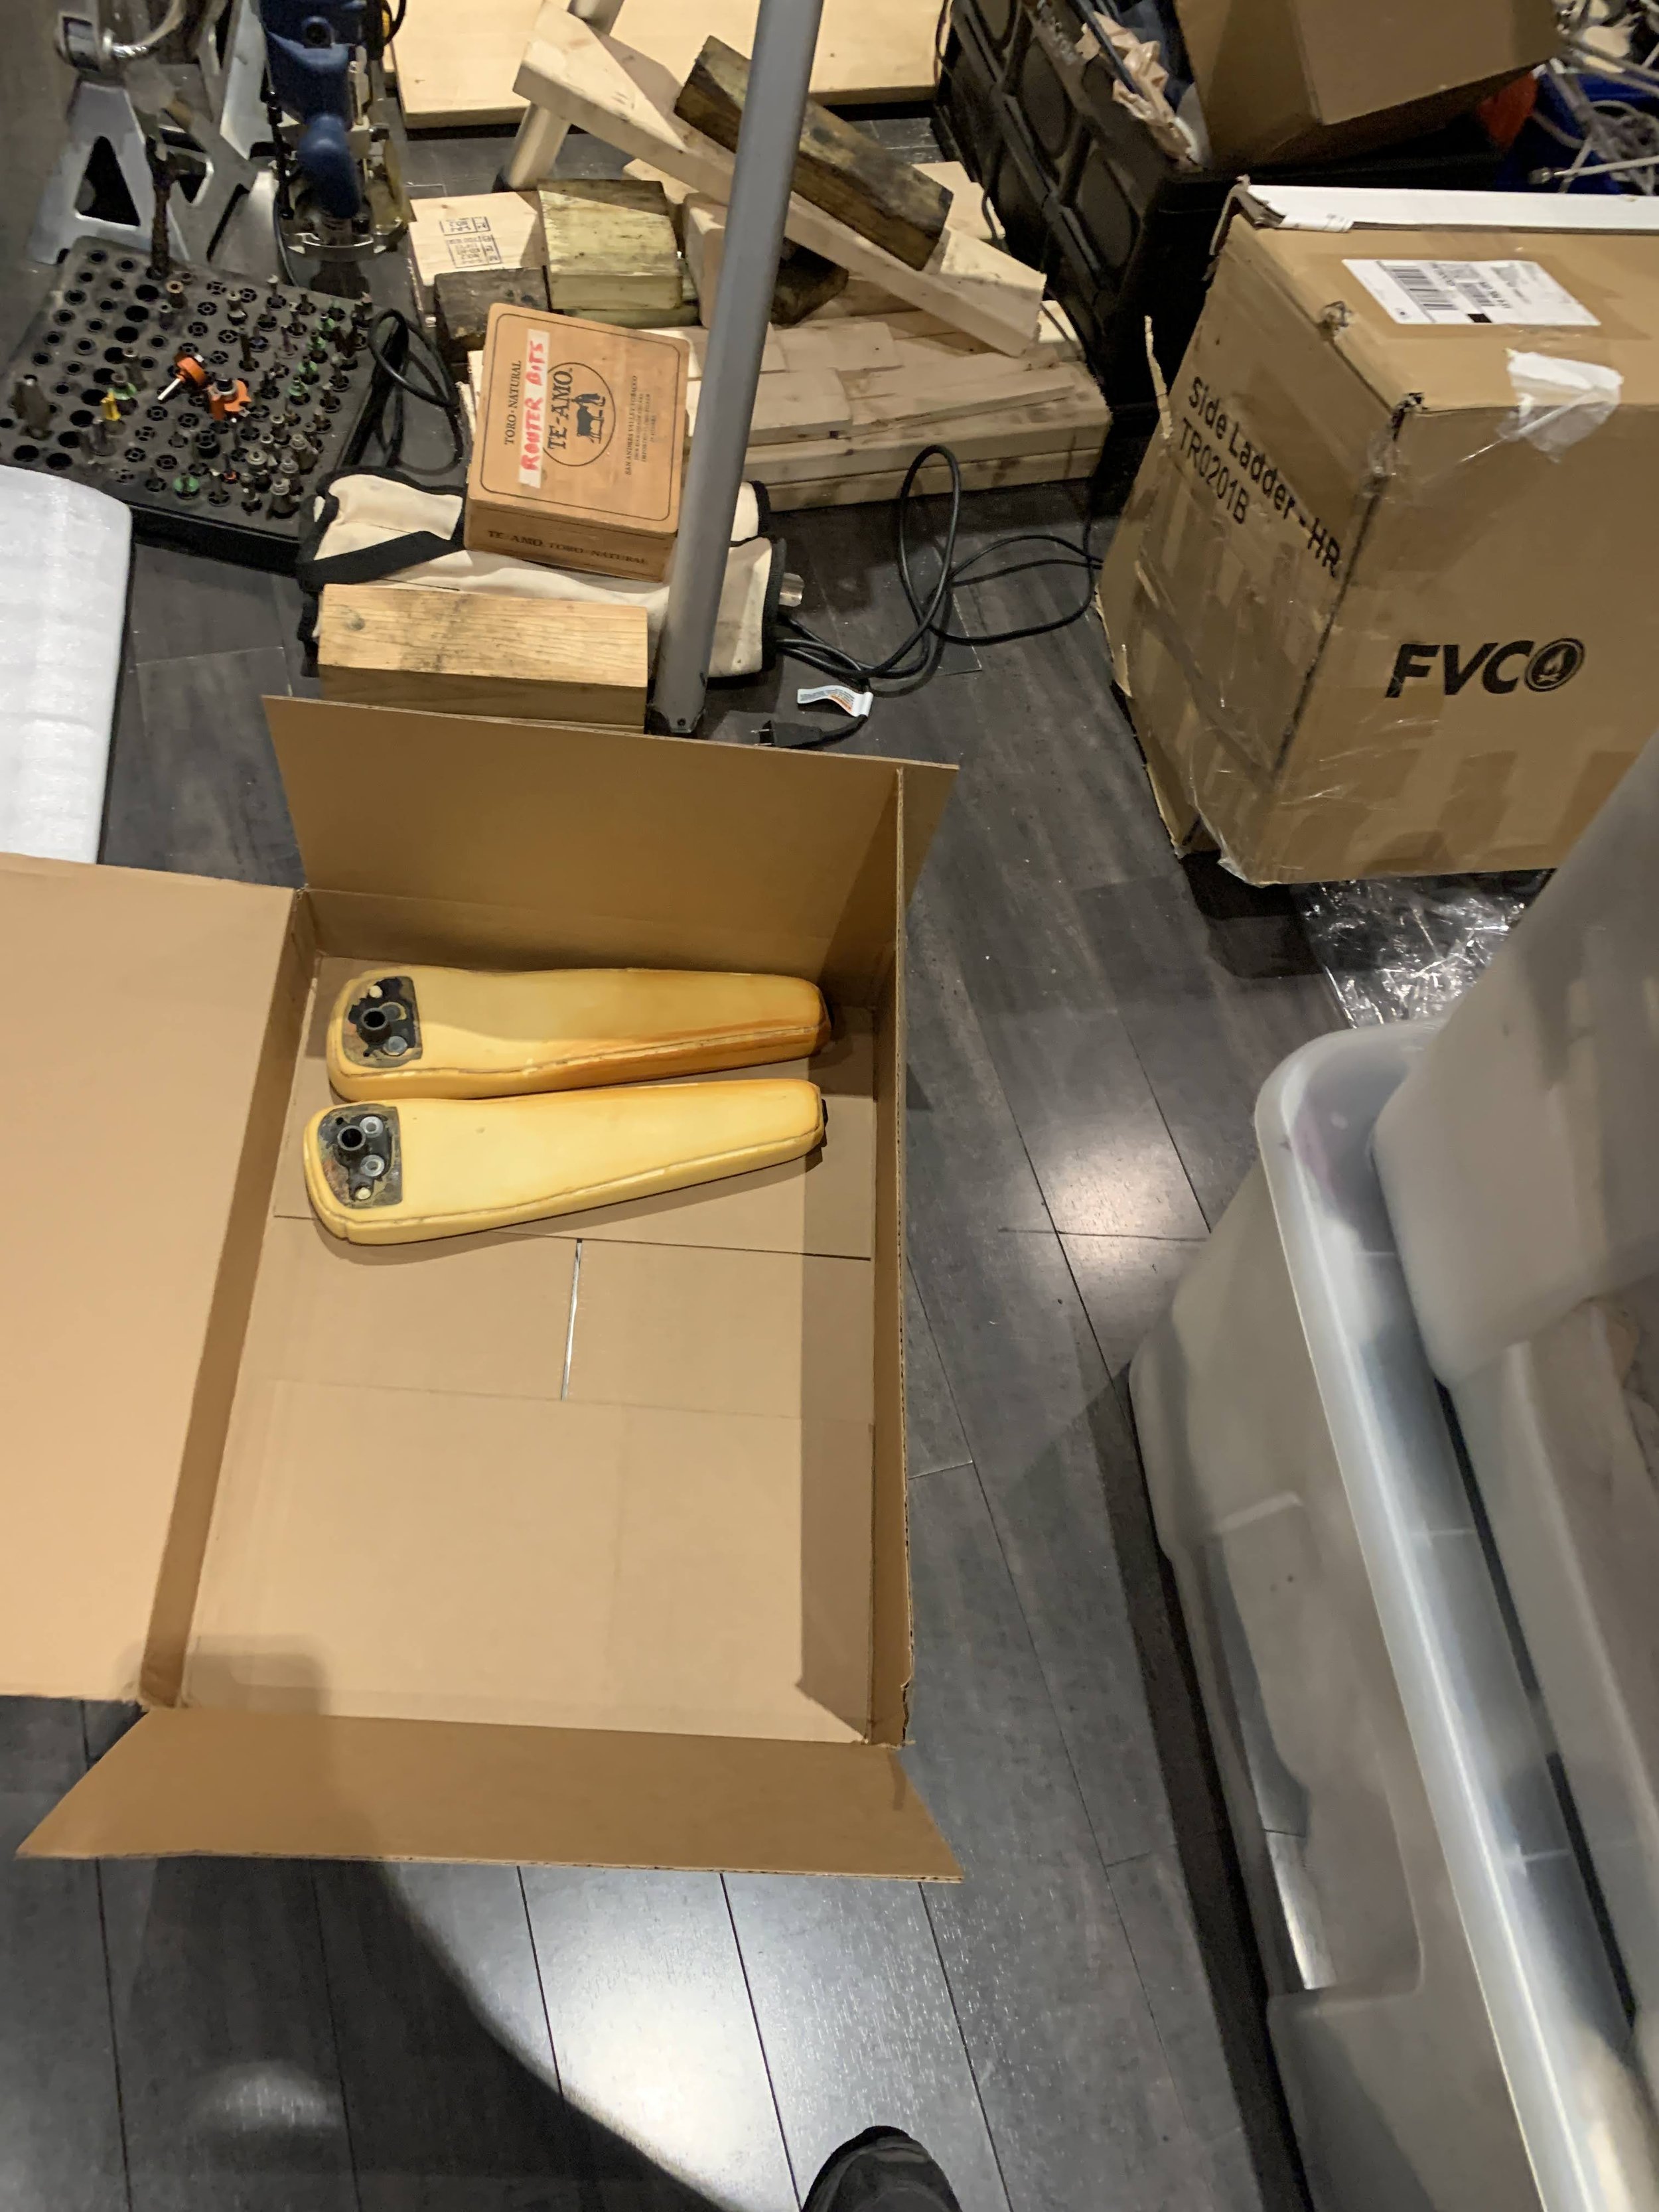
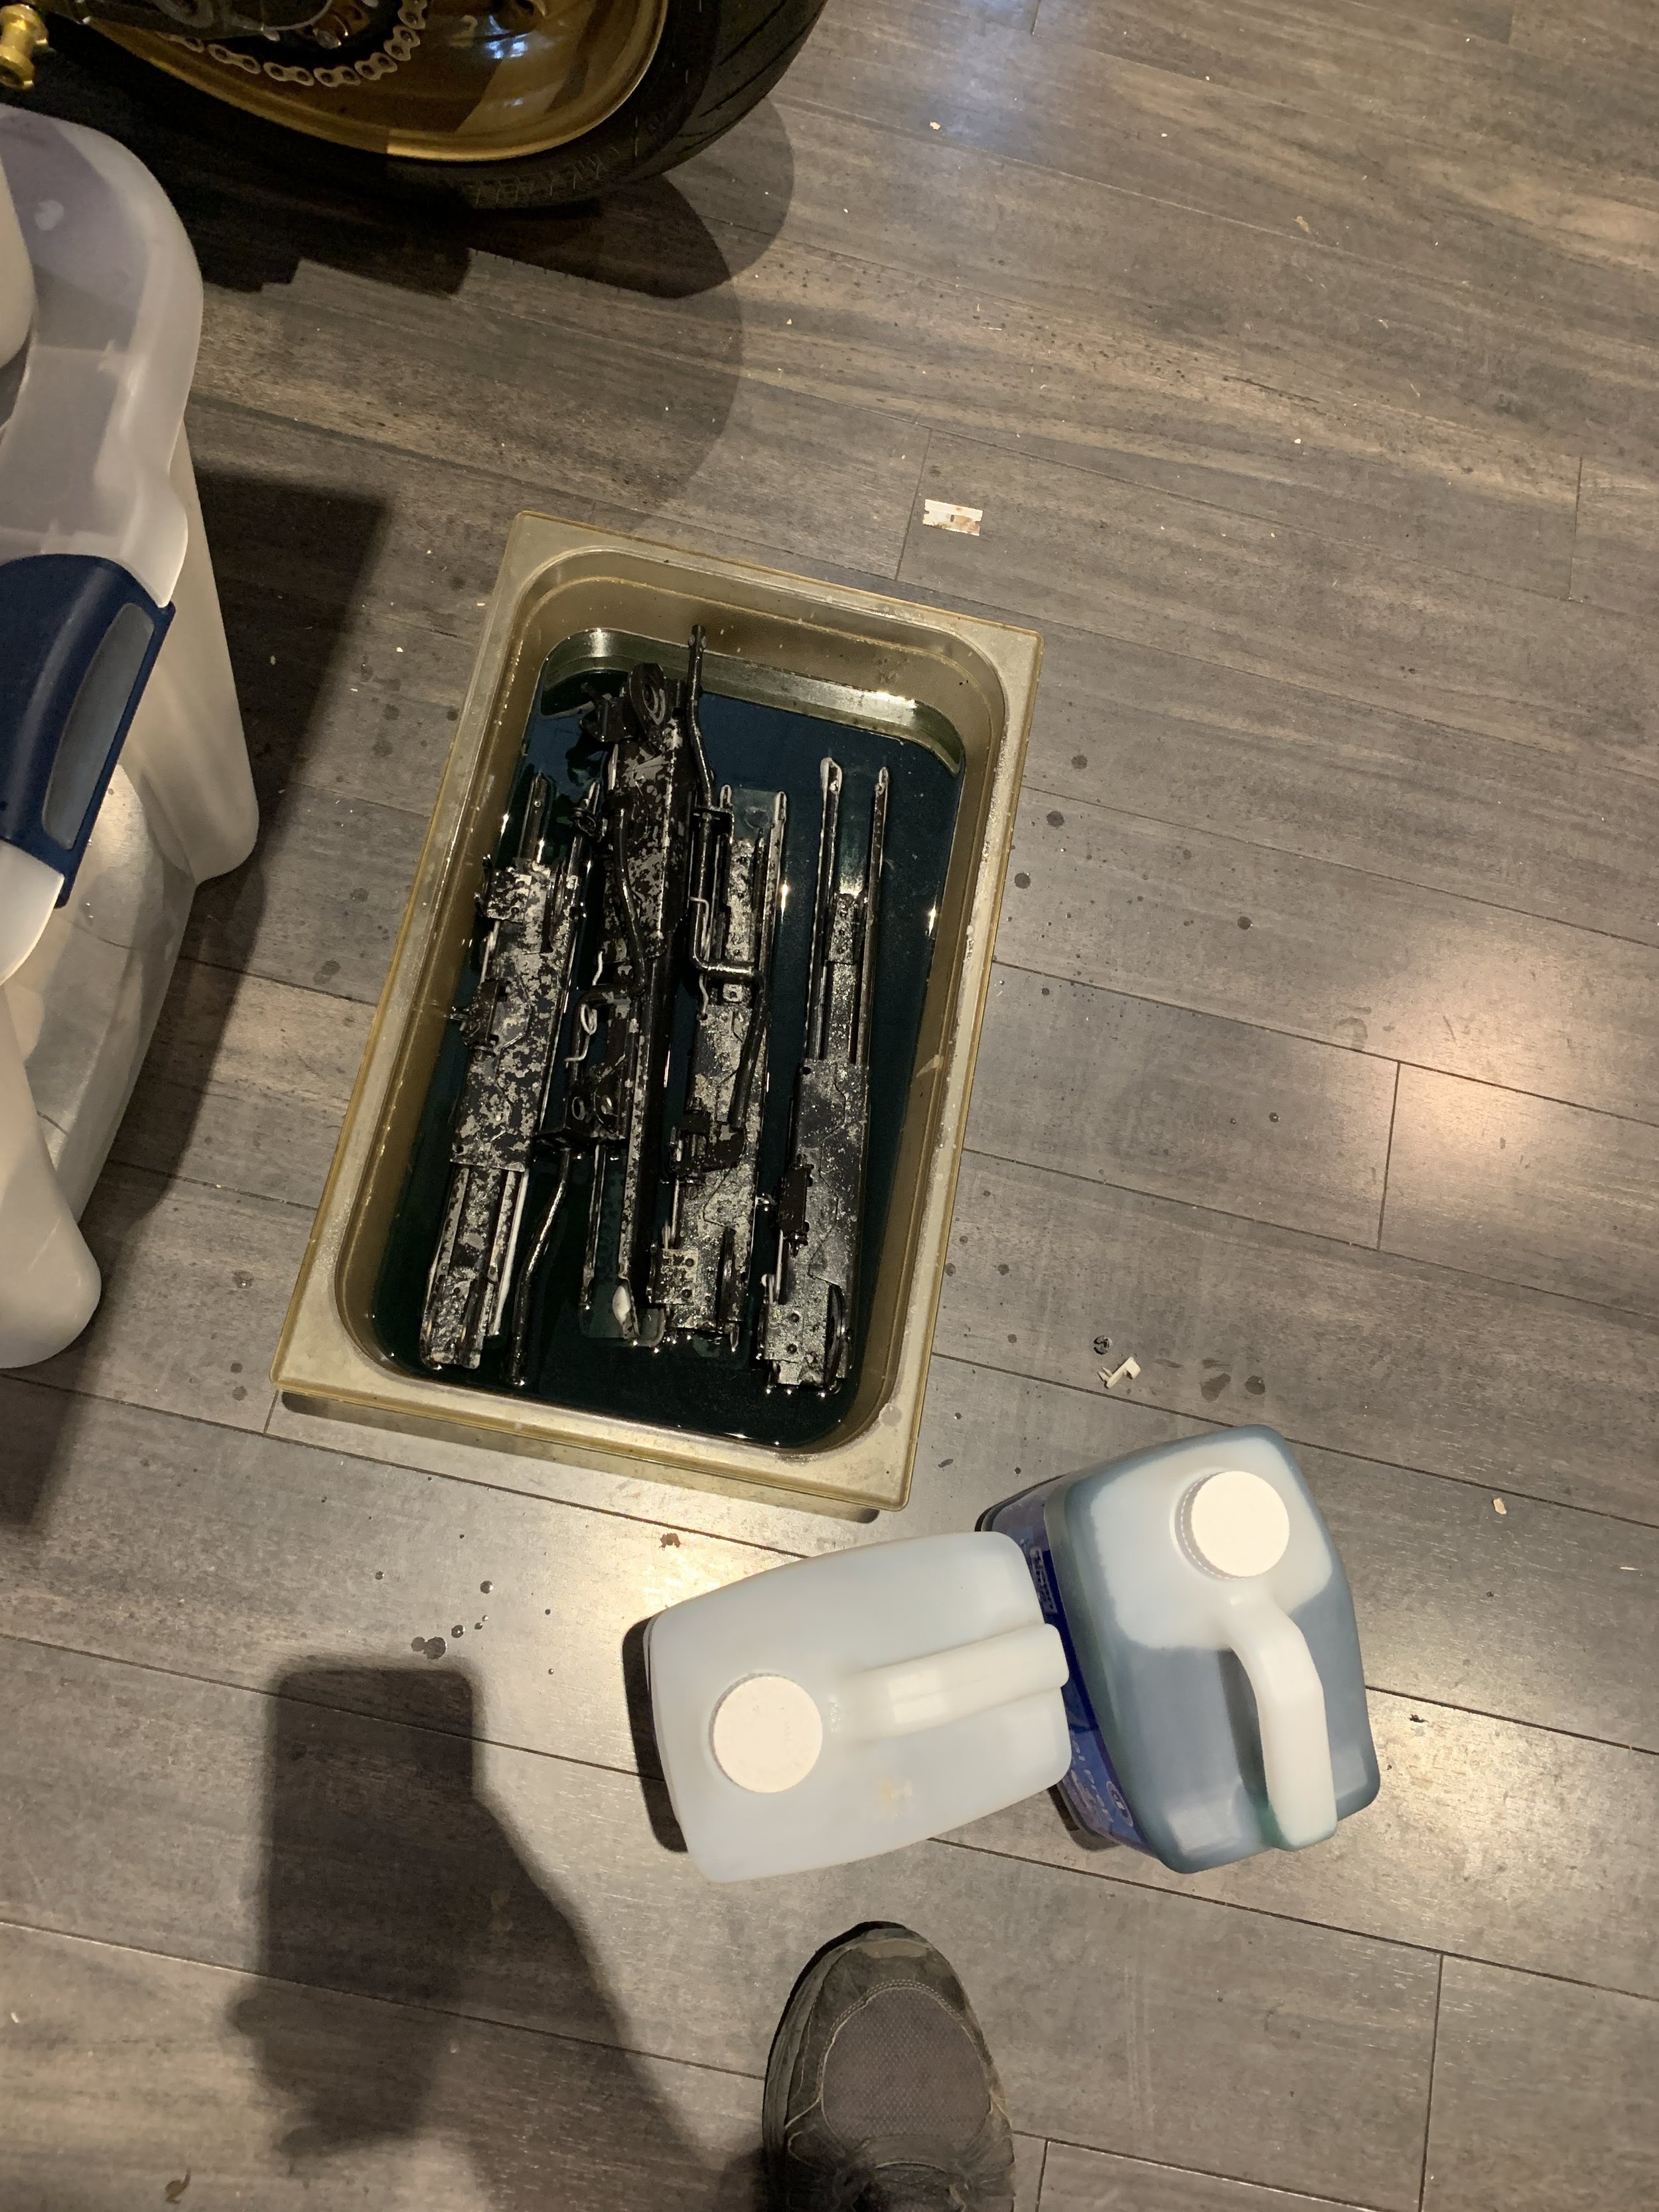
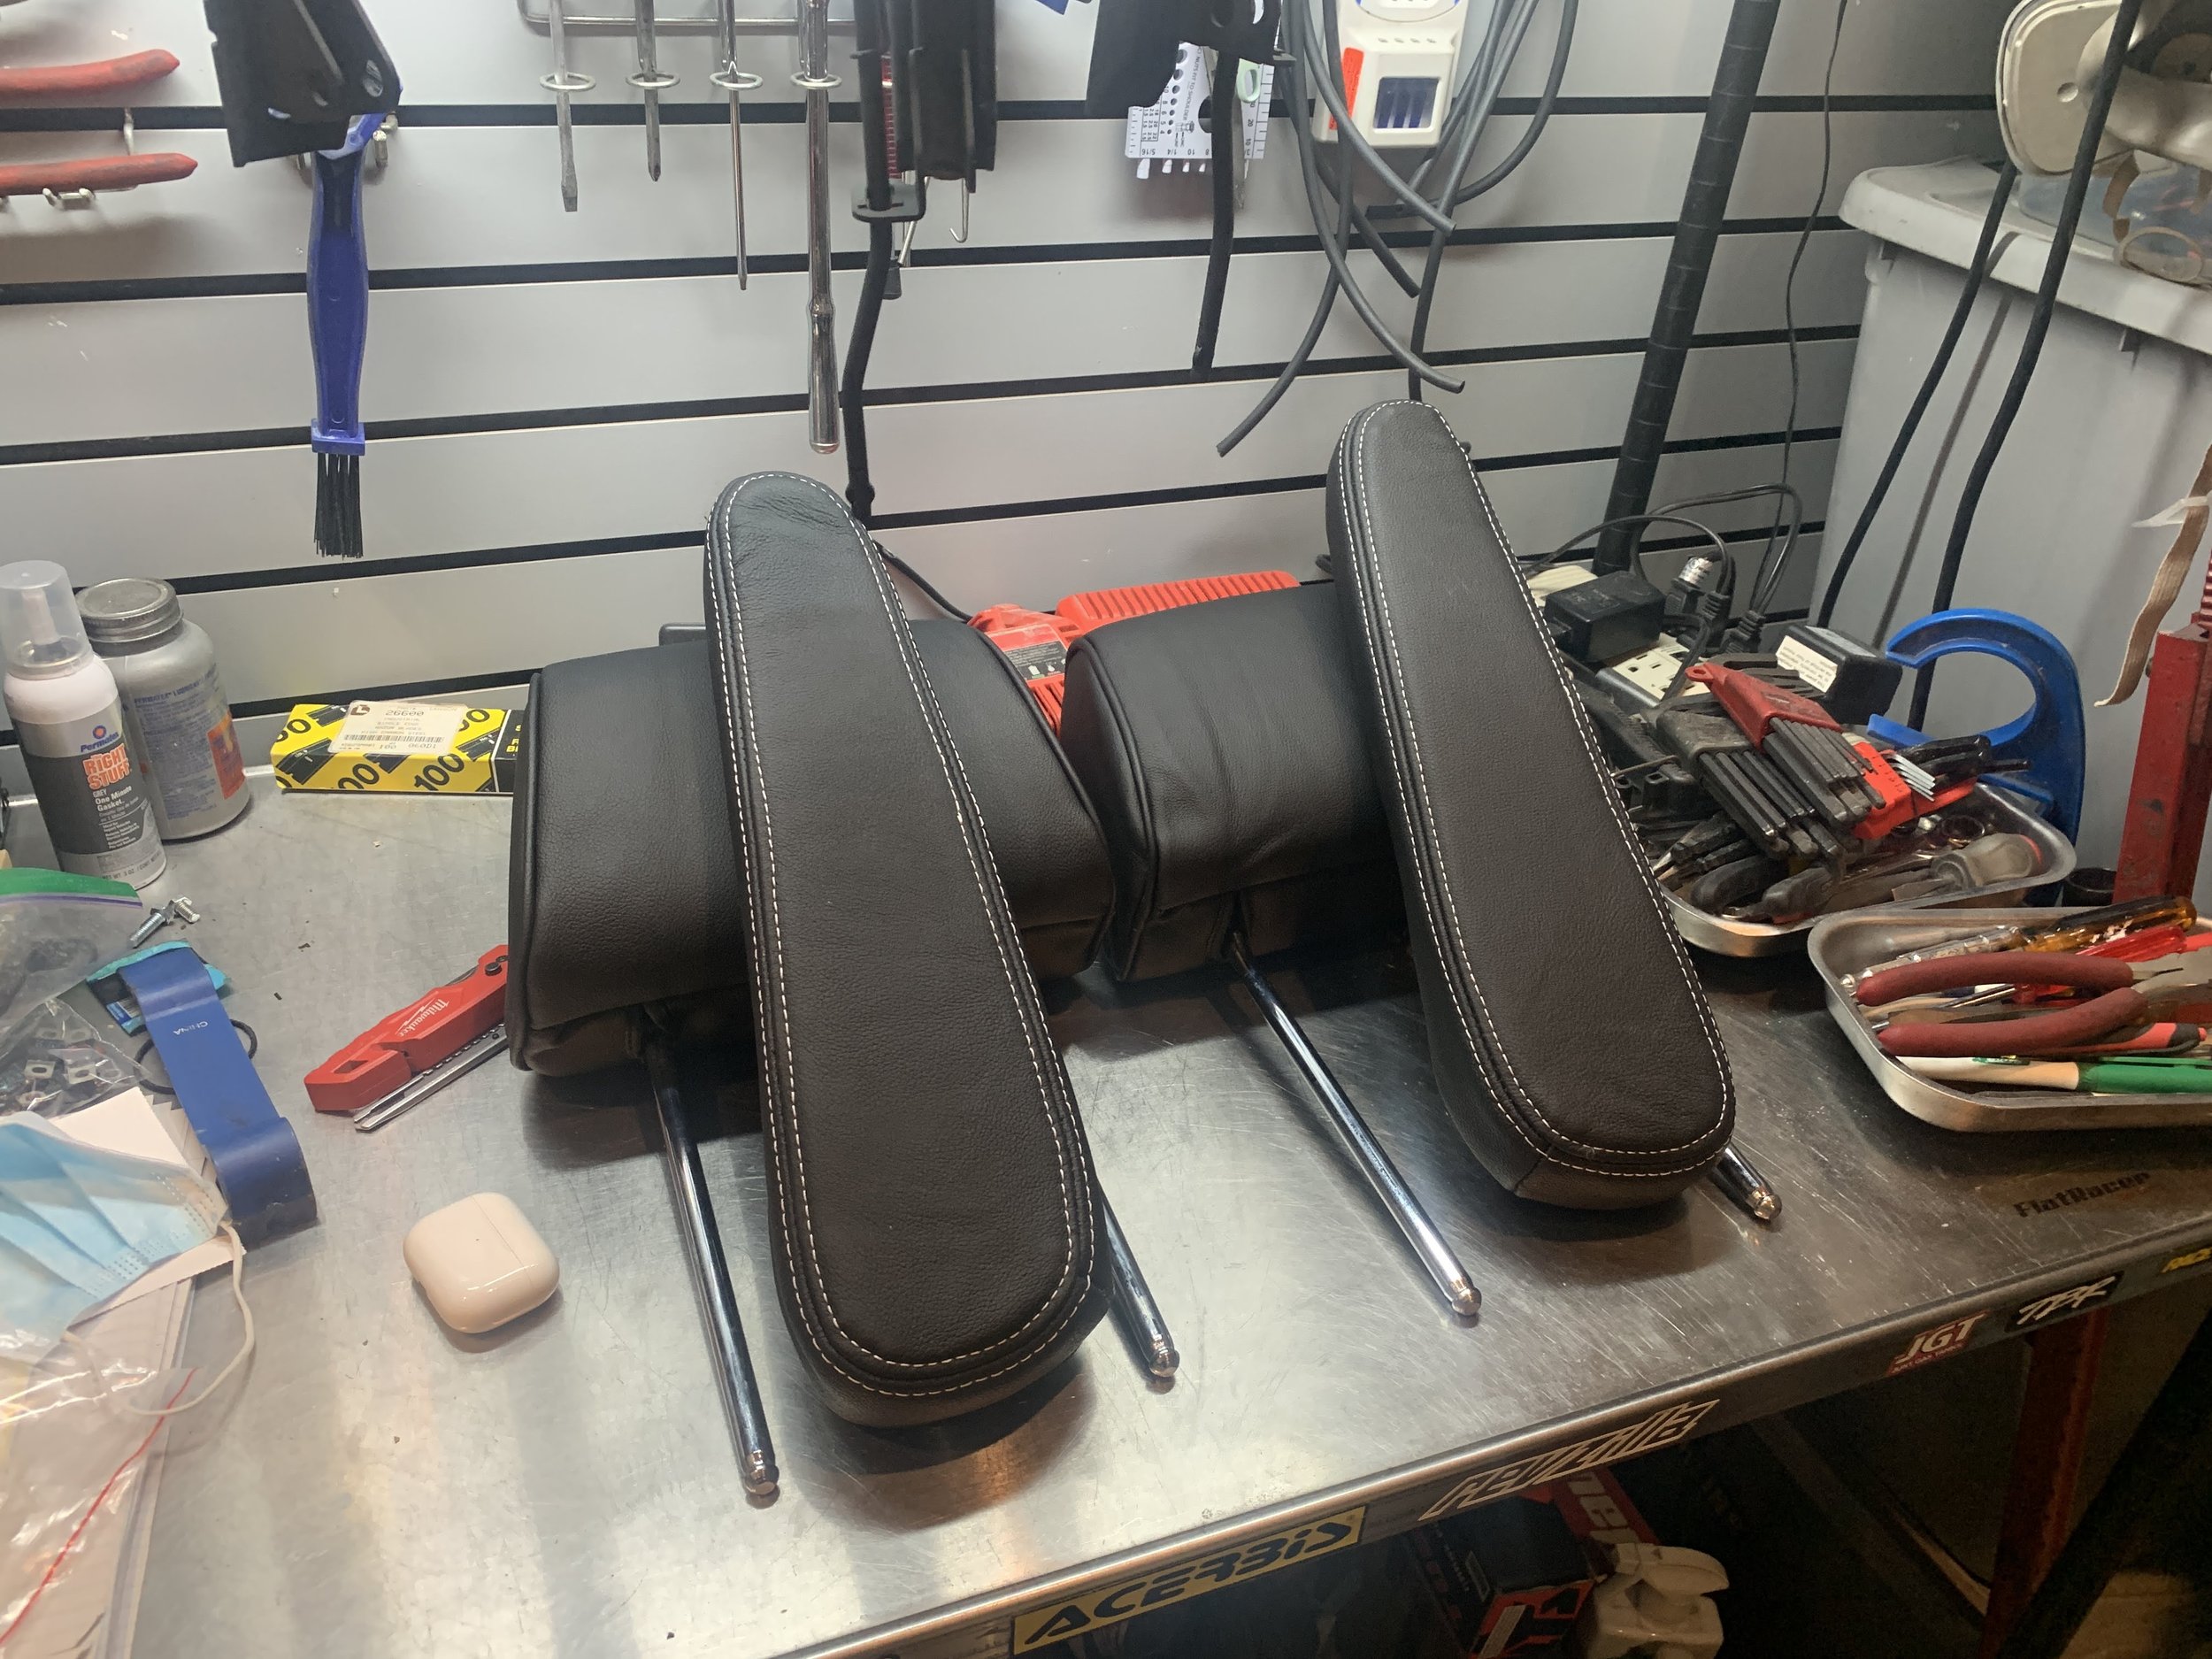
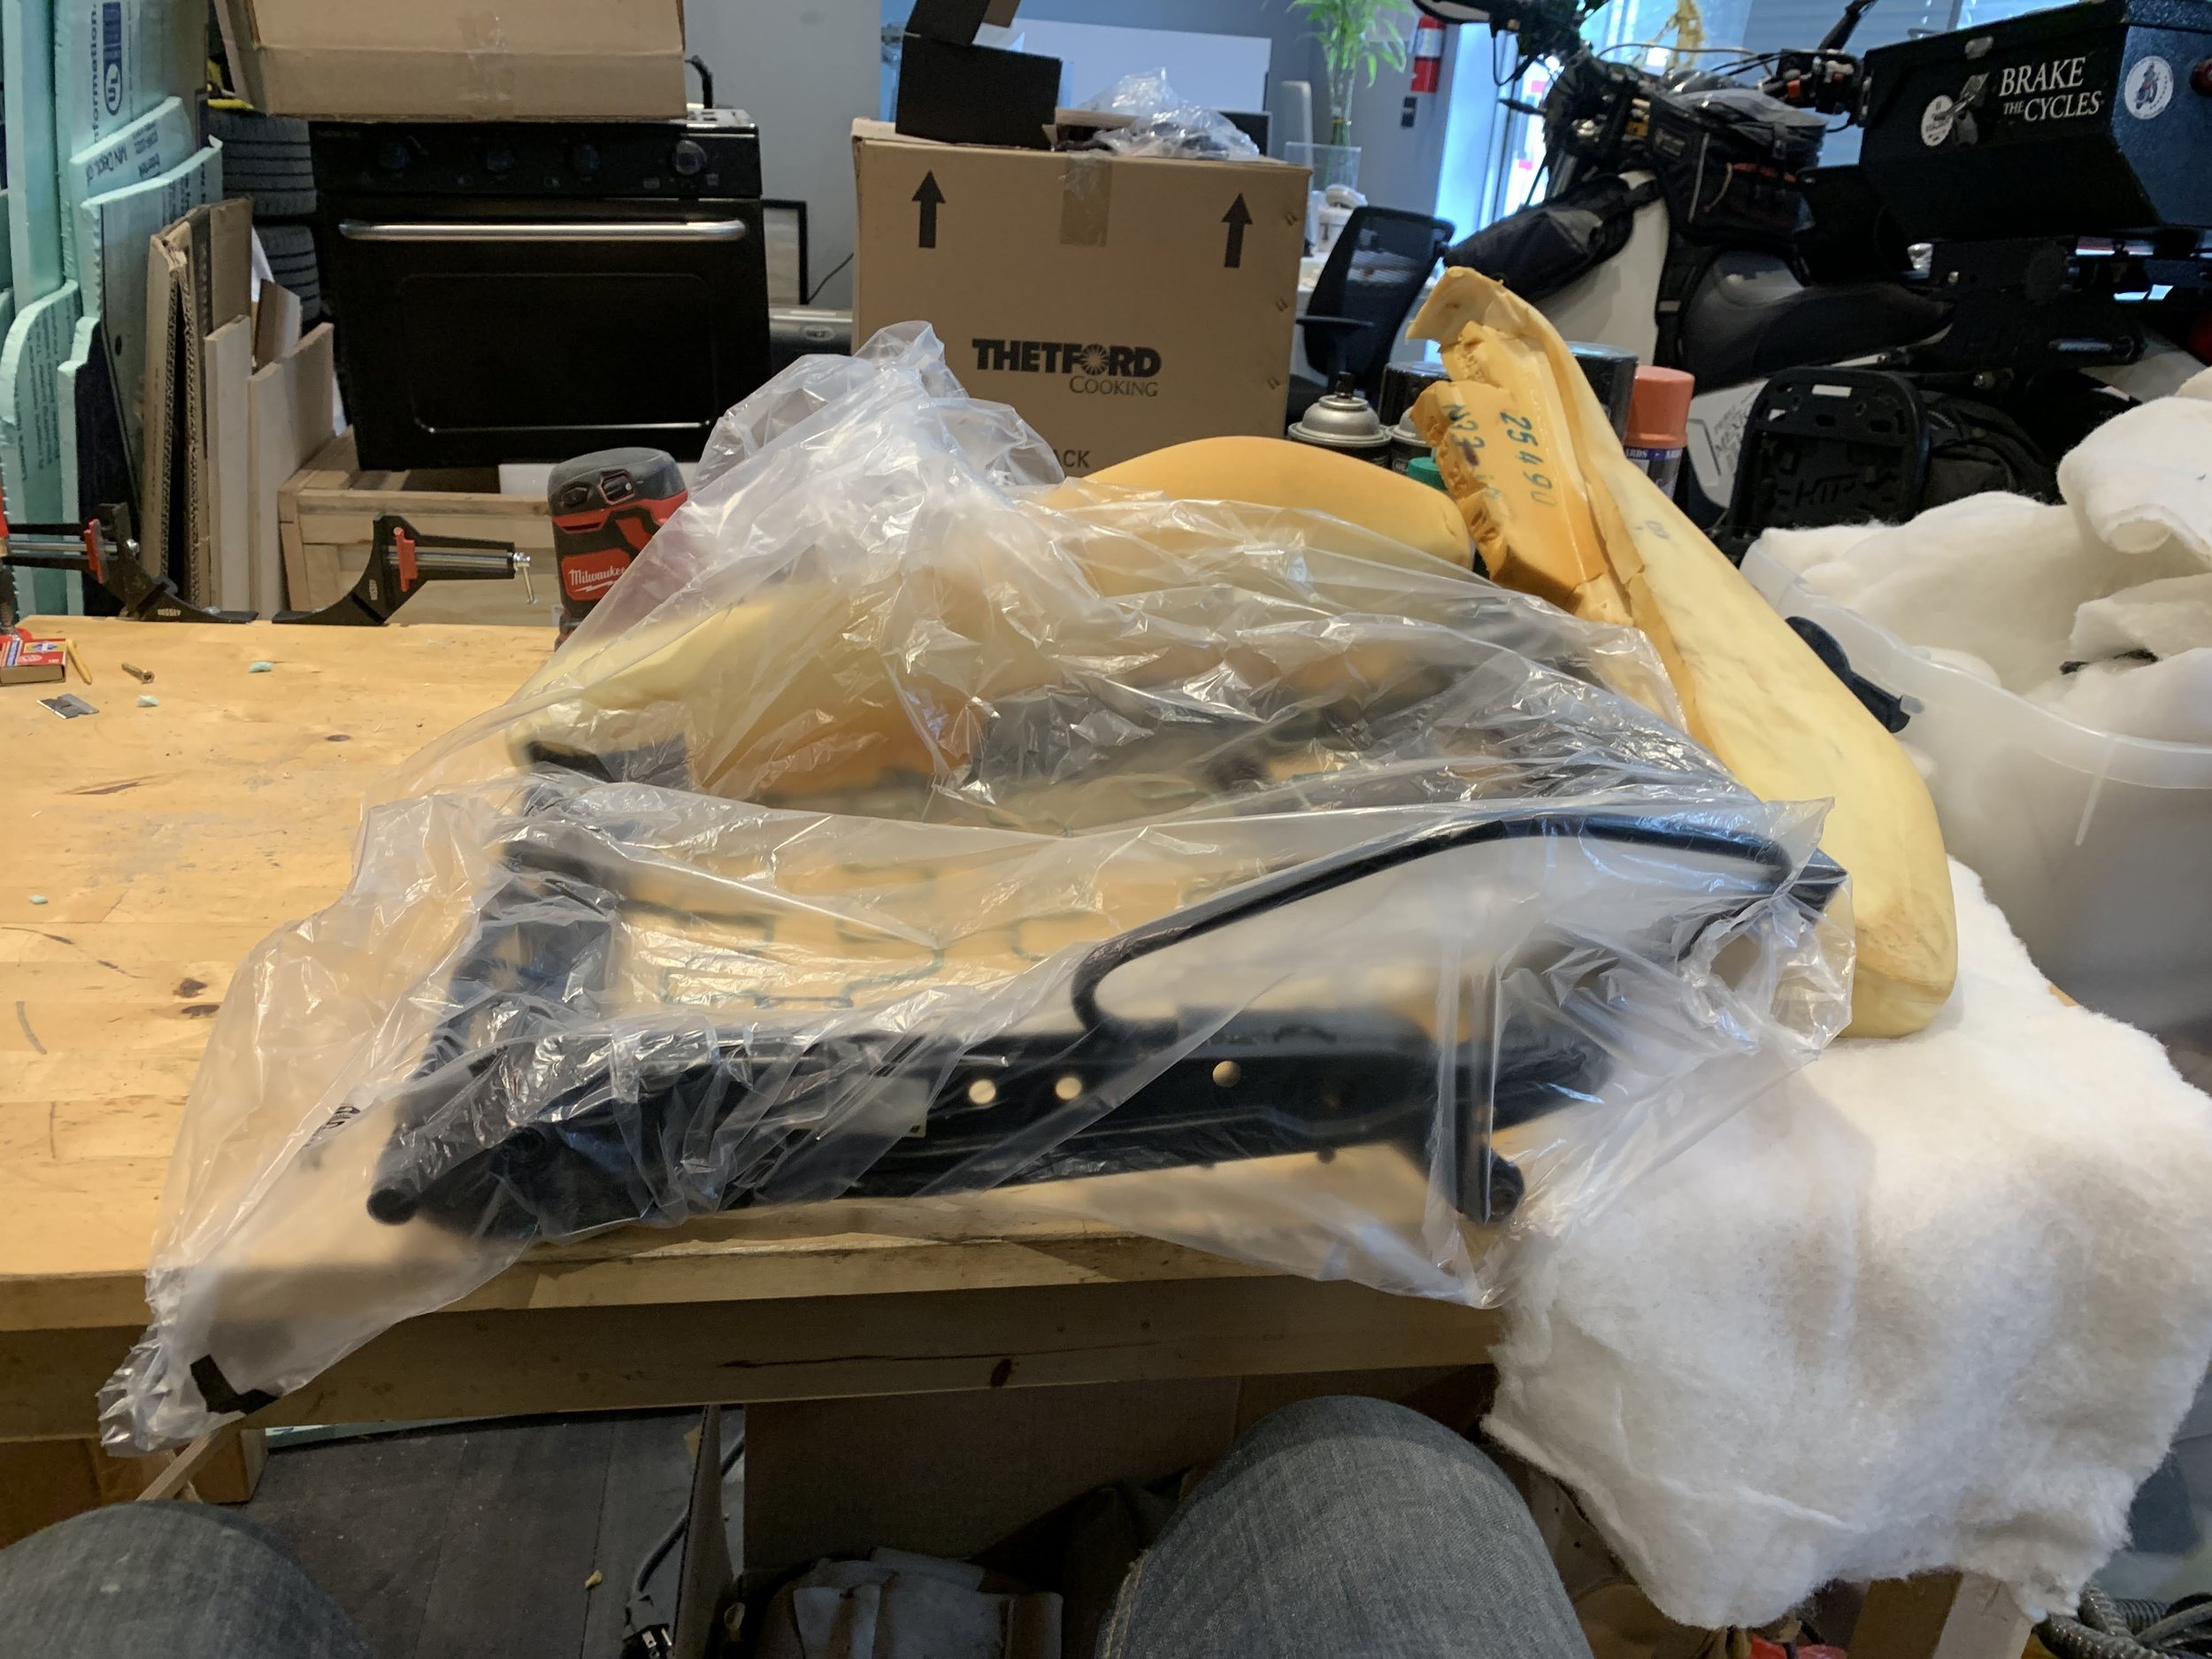
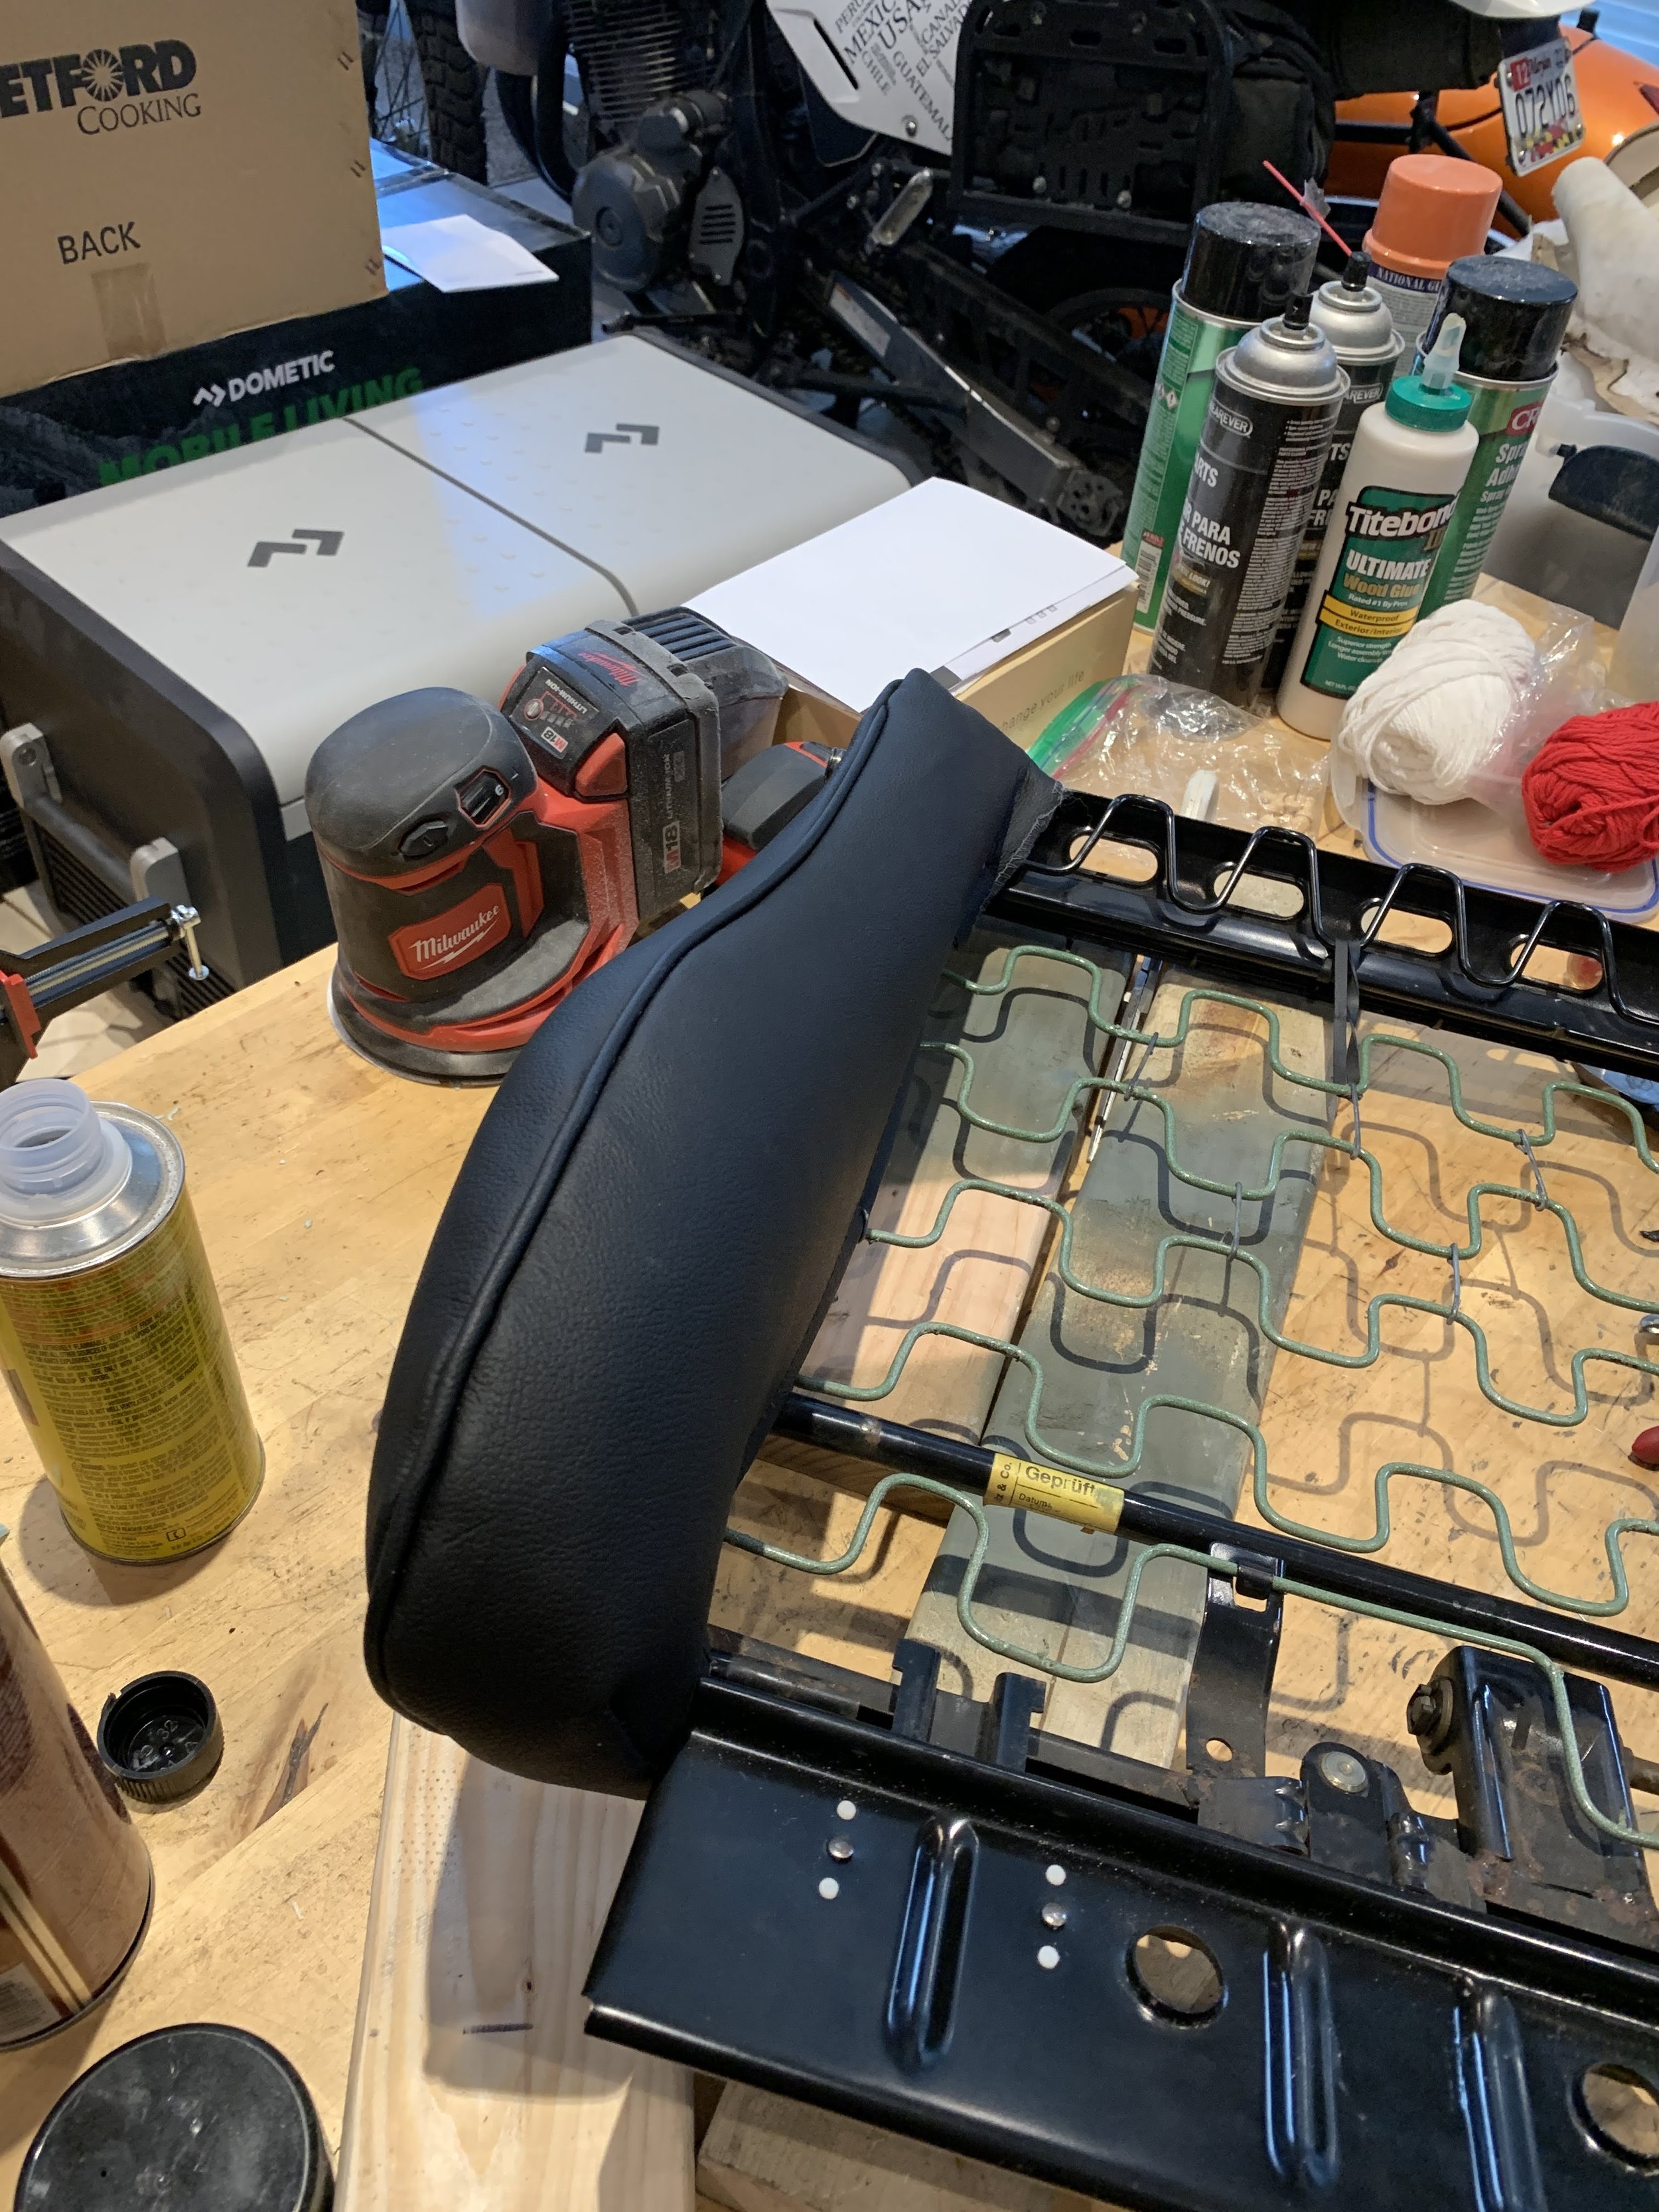
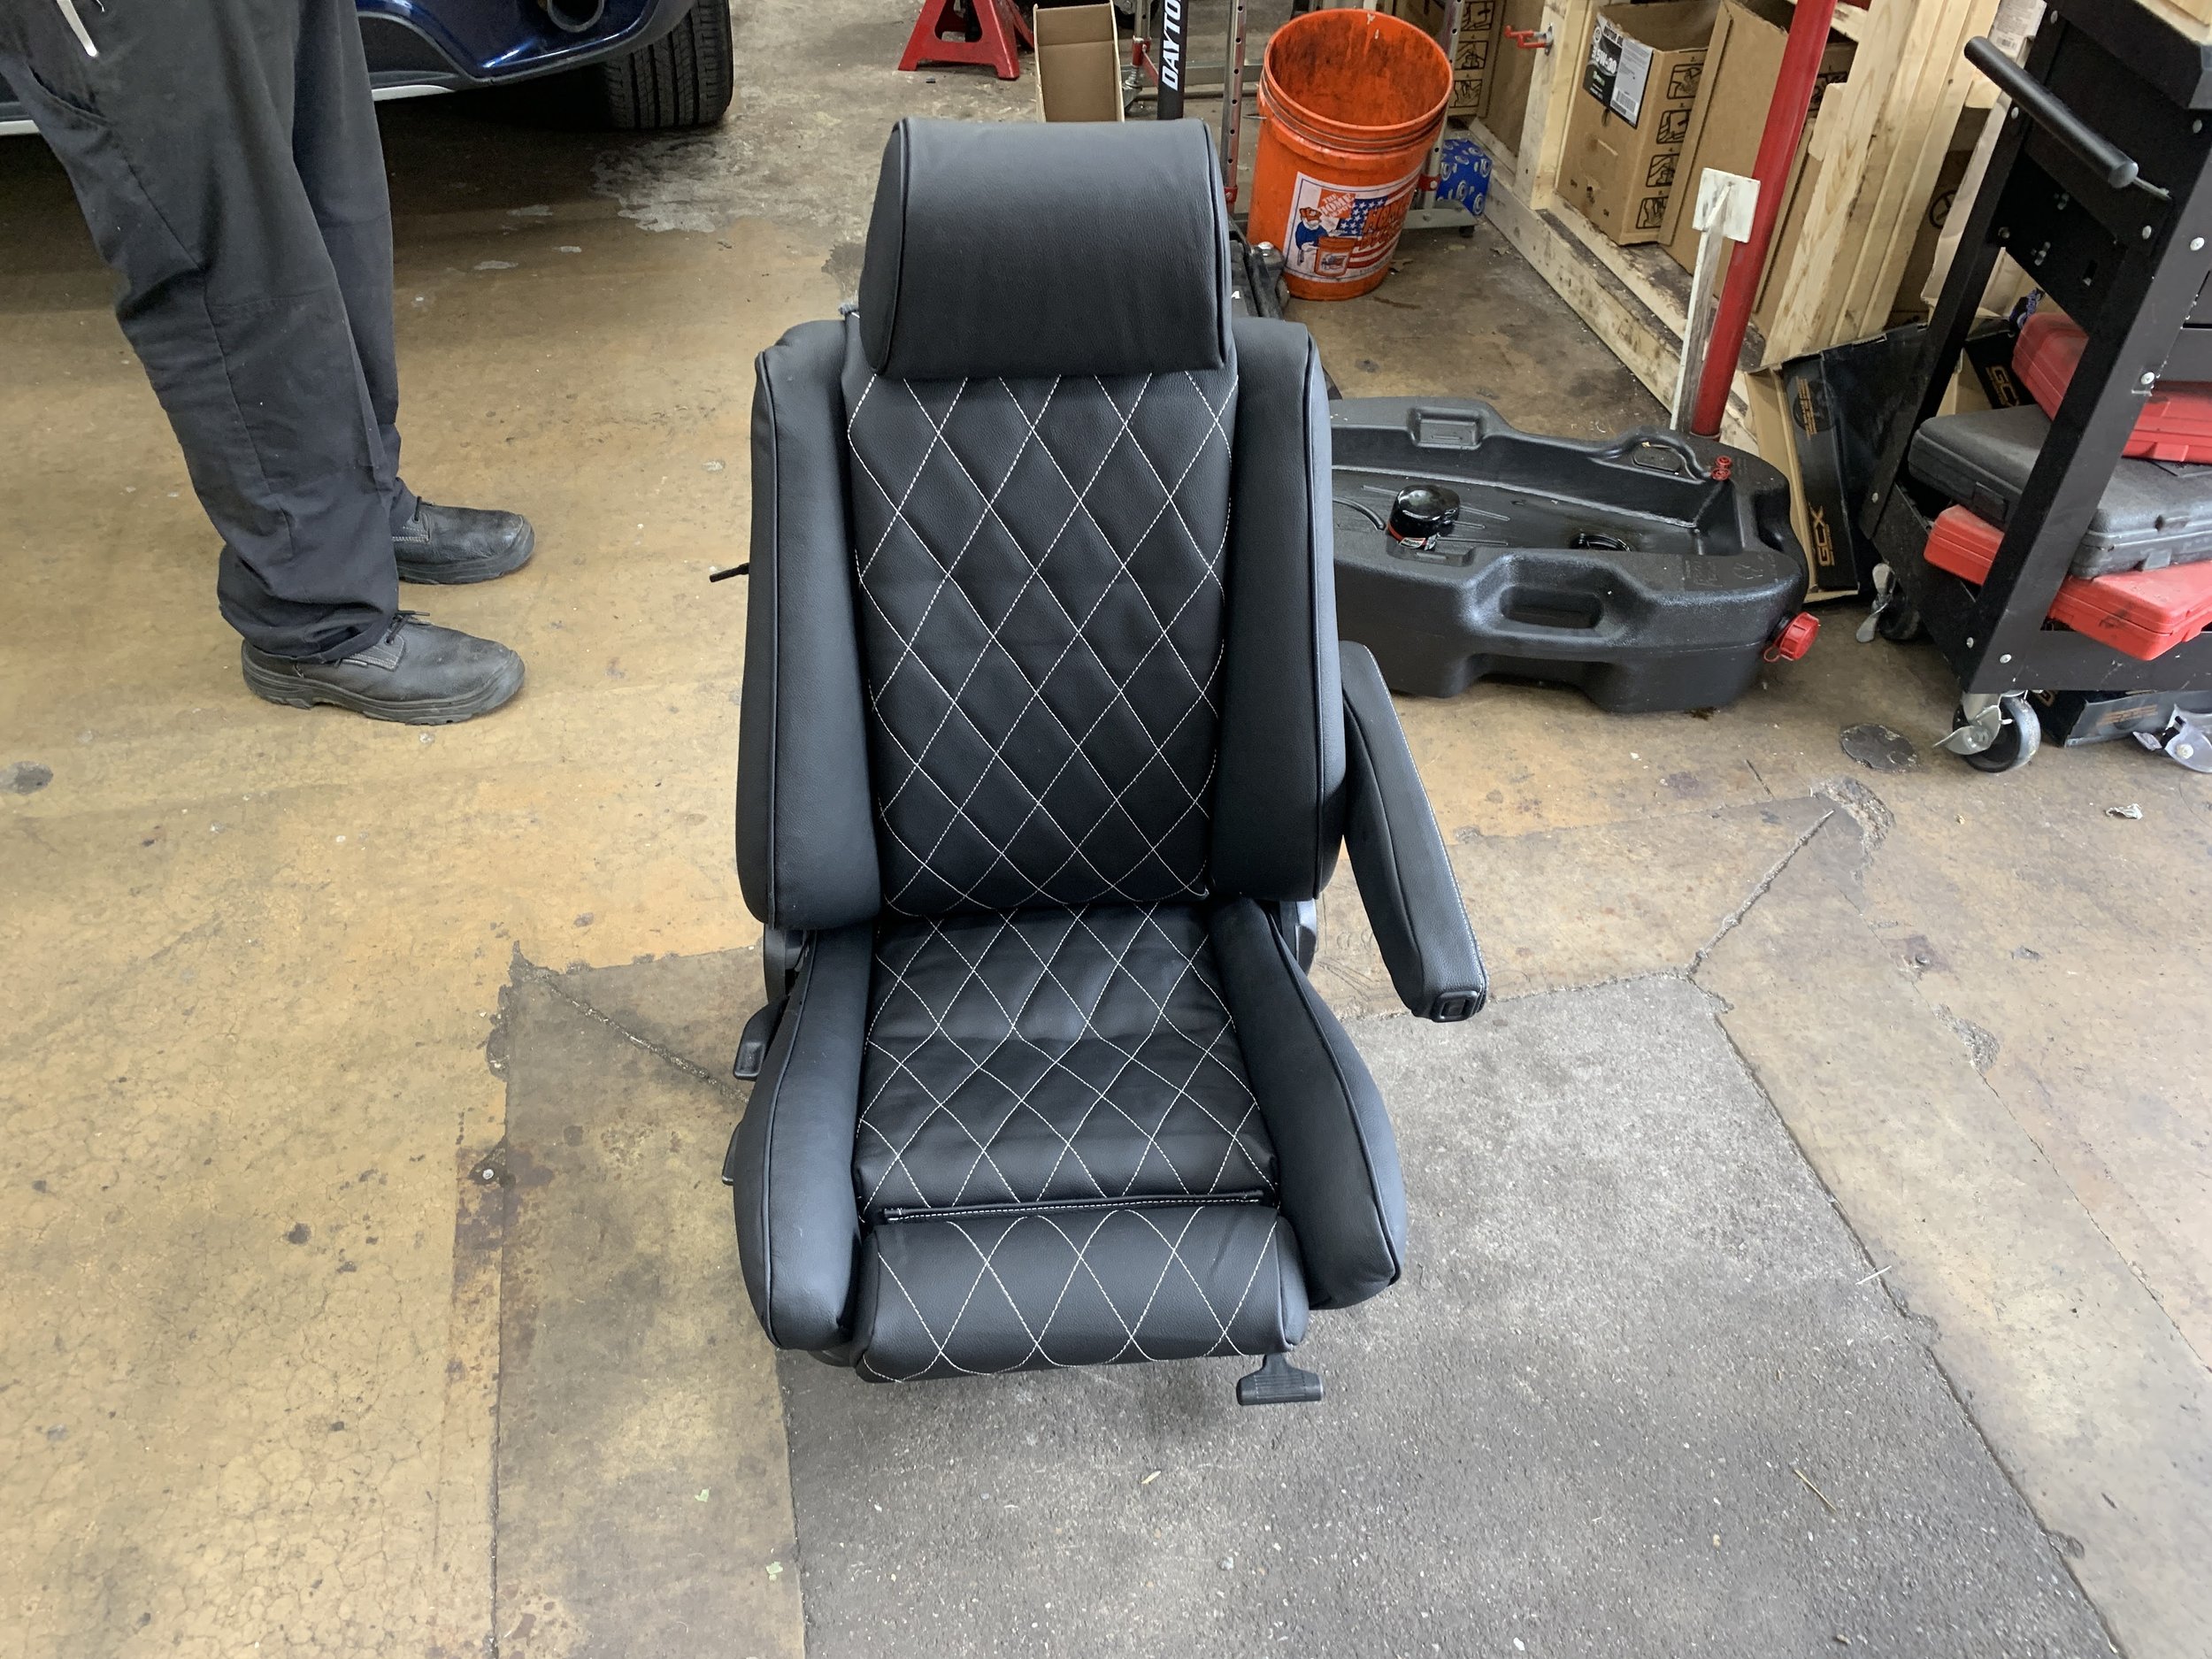
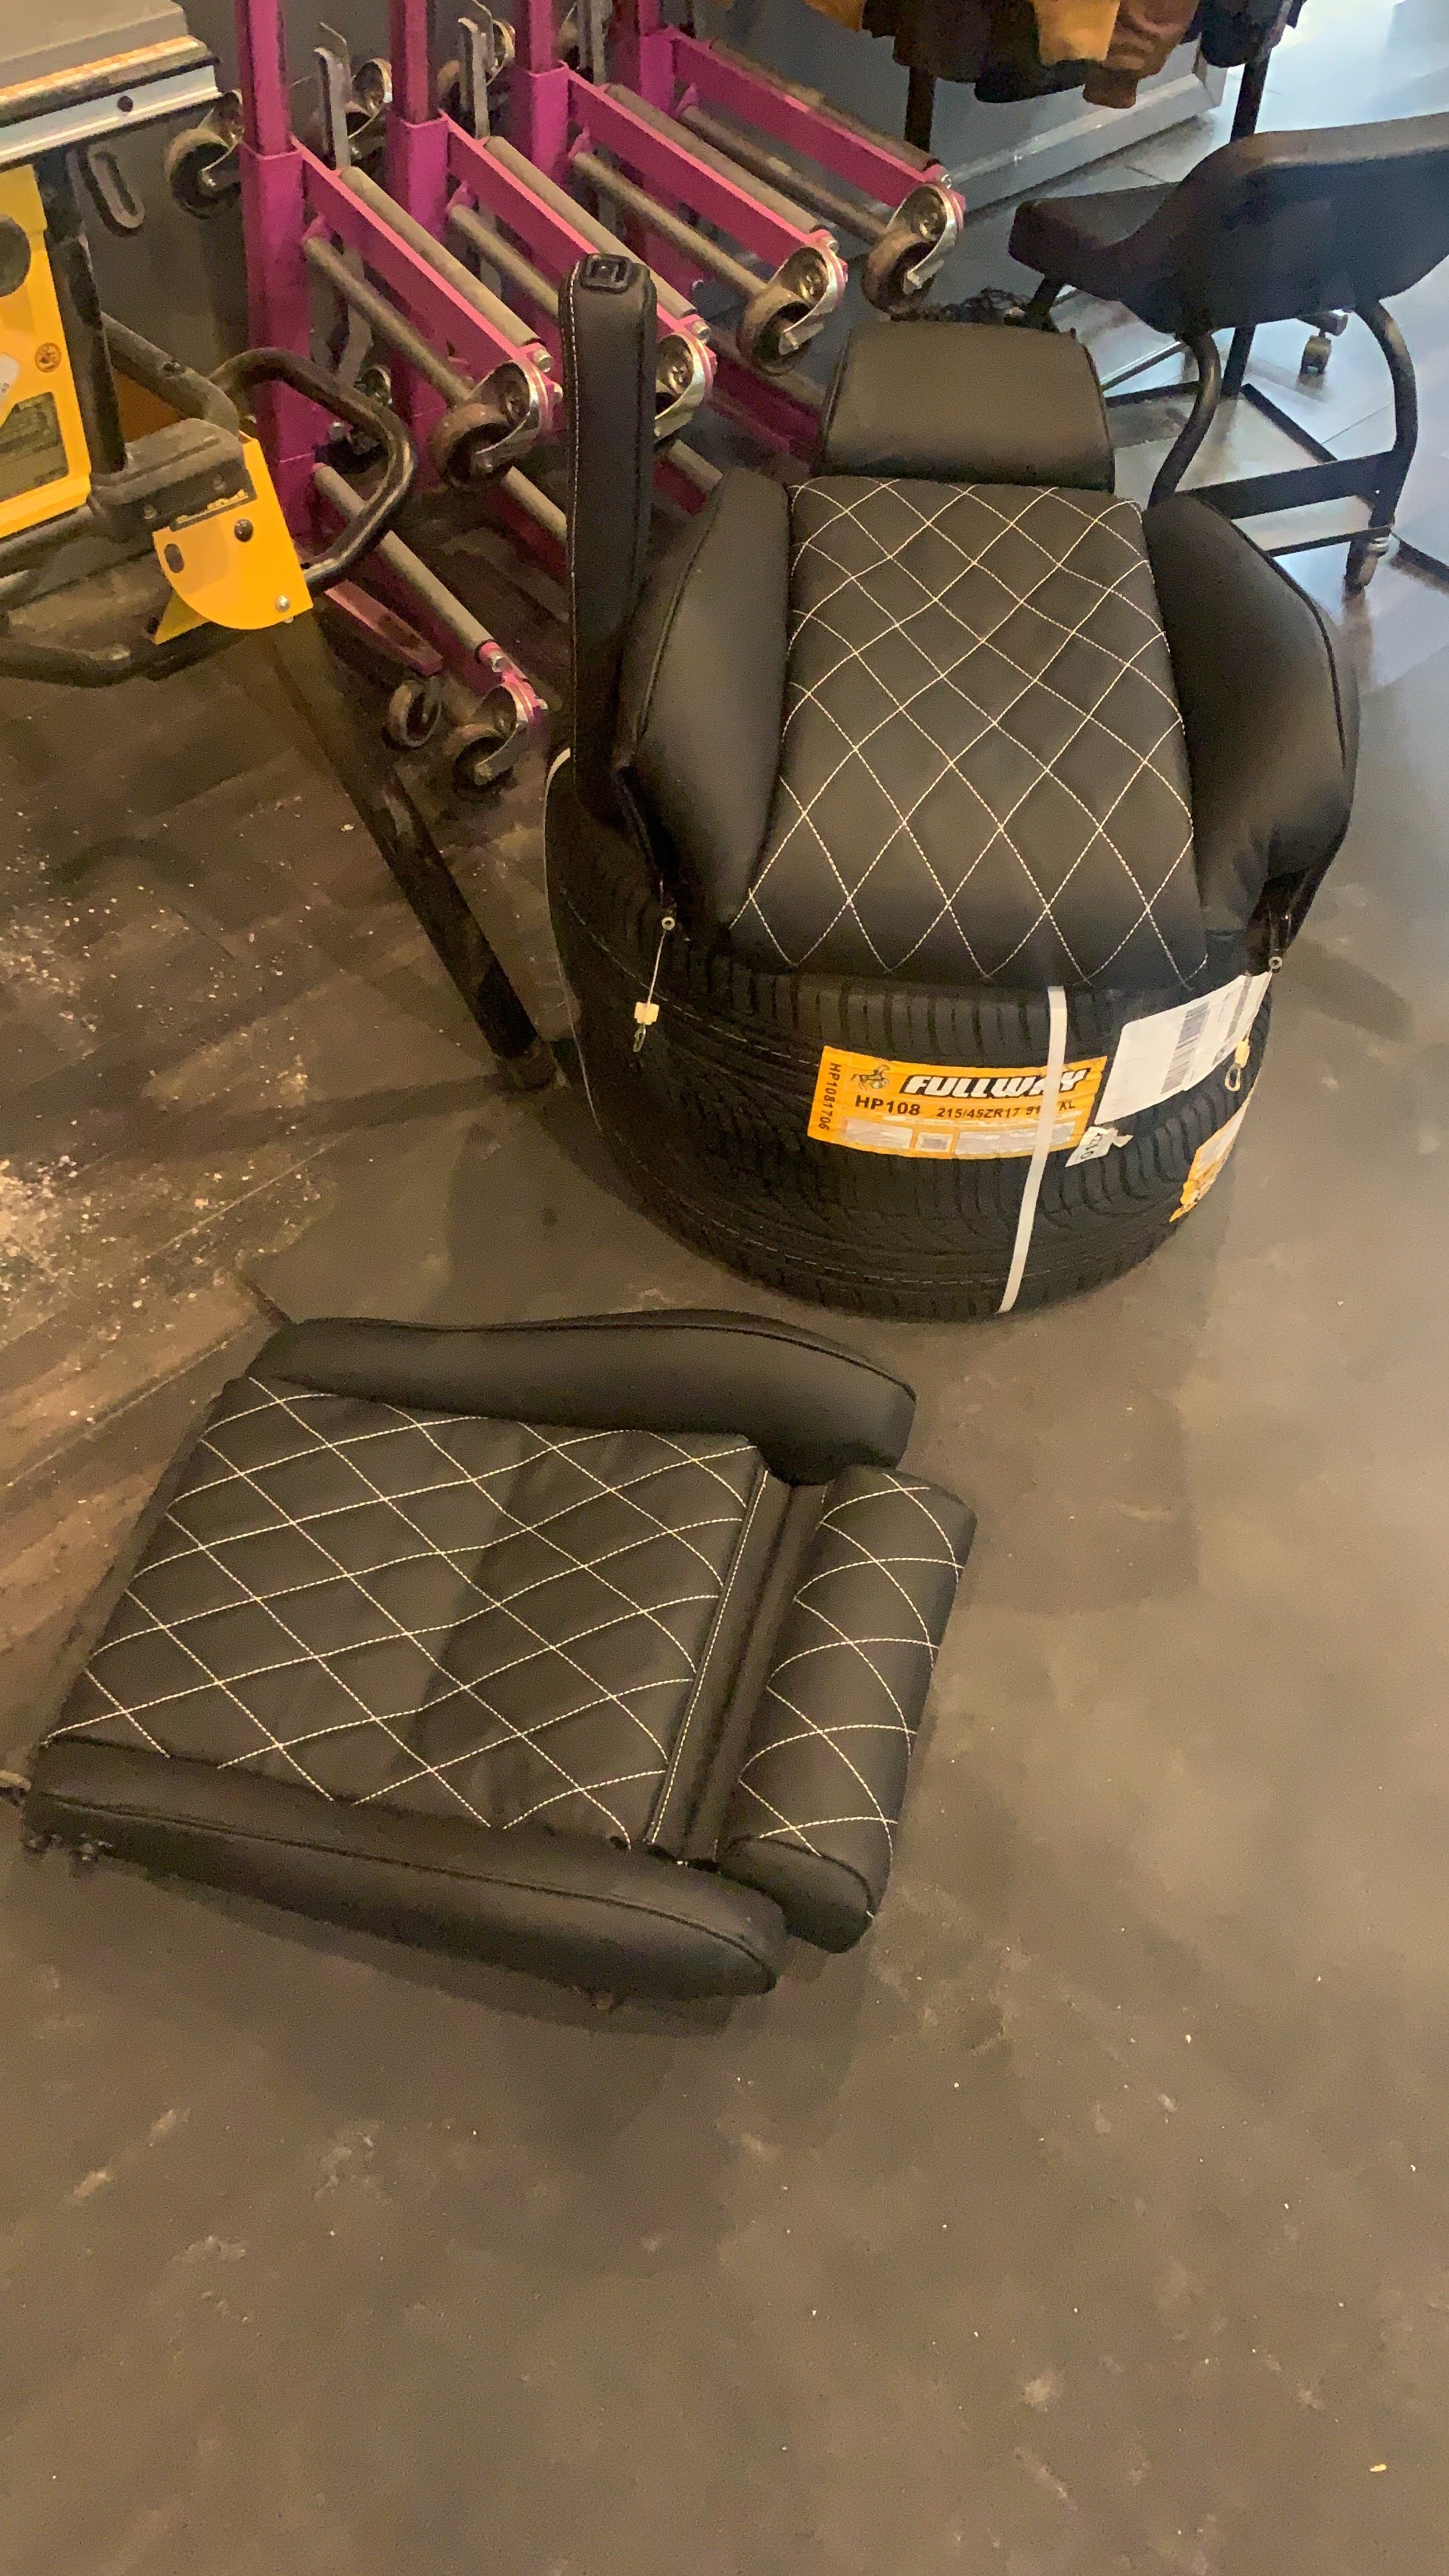
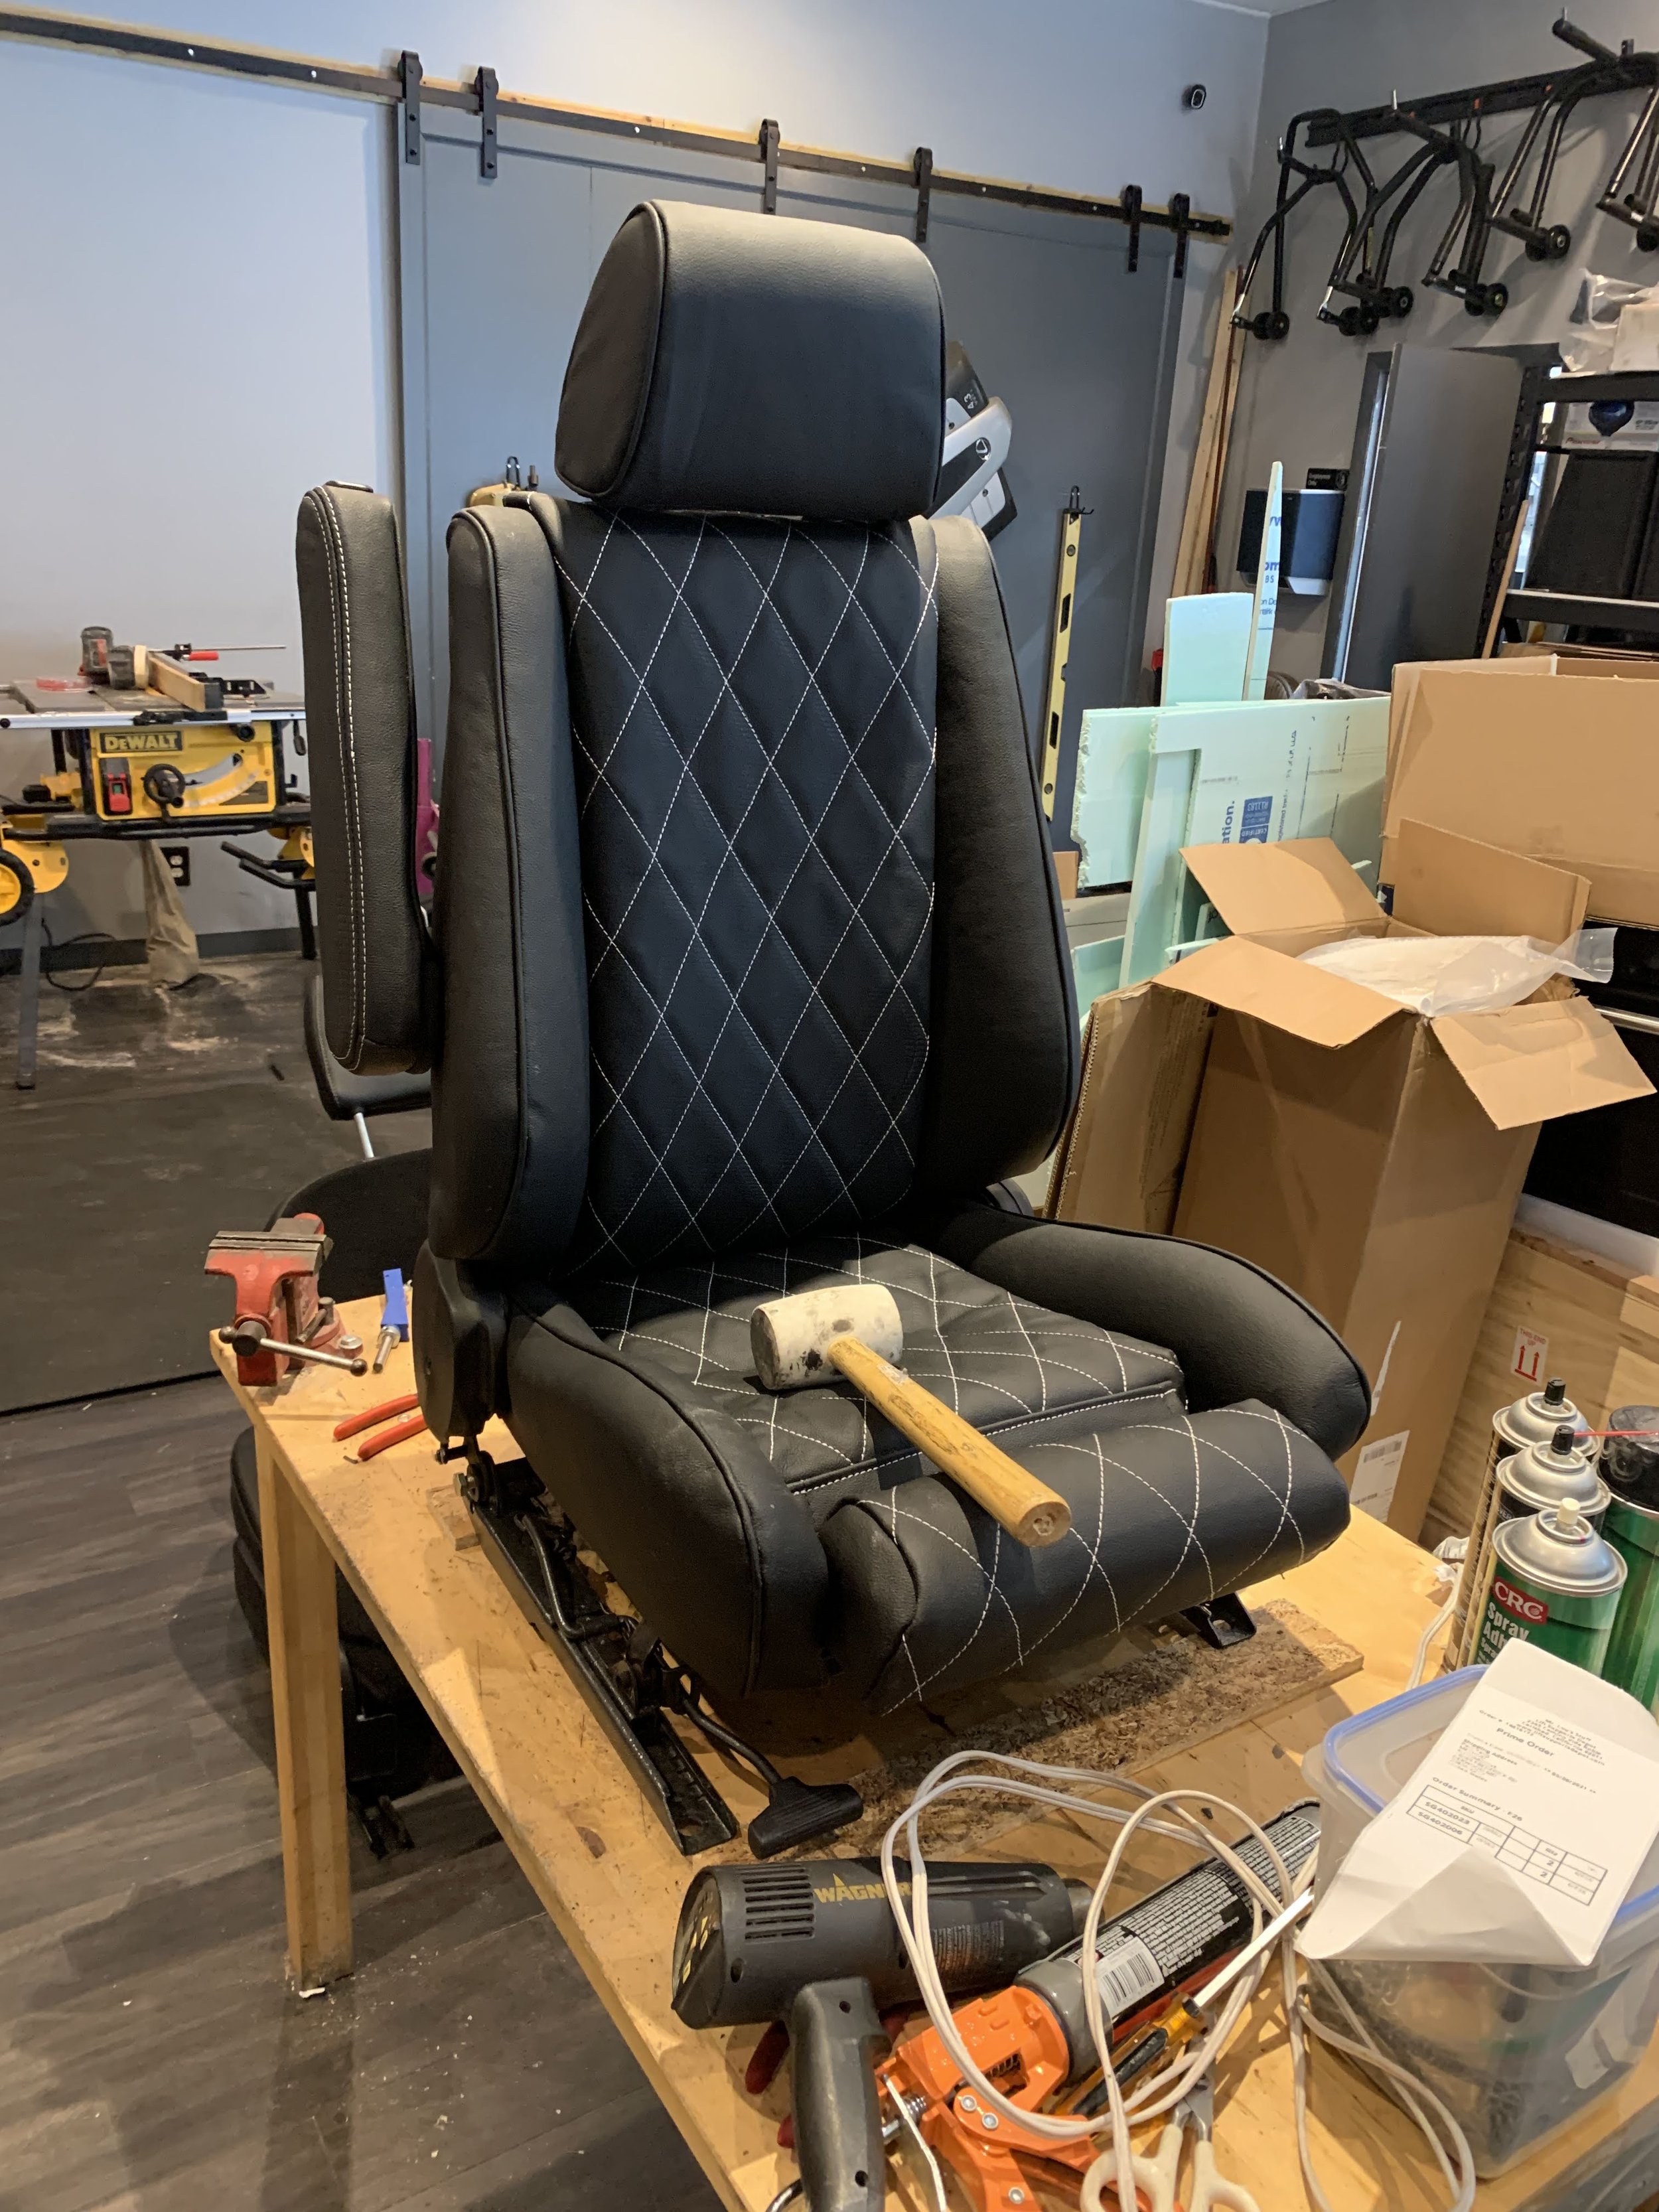
Back in my e30 days I use to do upholstery for these old BMW 3 series from the mid 80s and early 90s. They have Recaro styled seats. I also remember people modifying the 5 series armrest from the 80s and adapted them into the e30 seats. The 3 series armrest was pretty flimsy, and these made for a very nice up grade for those cars back then. I drove to college park and bought a set of seats for 200 bucks from some guy. The seat bracket was broken like usual, the foam bolster had some damage, but I’m going to fix those. The 5 series seat, I got from my e30 boys for free. I could of bought just the armrest for 50 bucks online, but free is always awesome and they are in amazing shape. There is a lot of rust in the e30 seat rails because a lot of those cars roof drains get clogged and water pools and stays in the carpet. The rails were super rusty, so I put it in some concrete cleaner, basically a milder hydrochloric acid. It ate the rust pretty well.
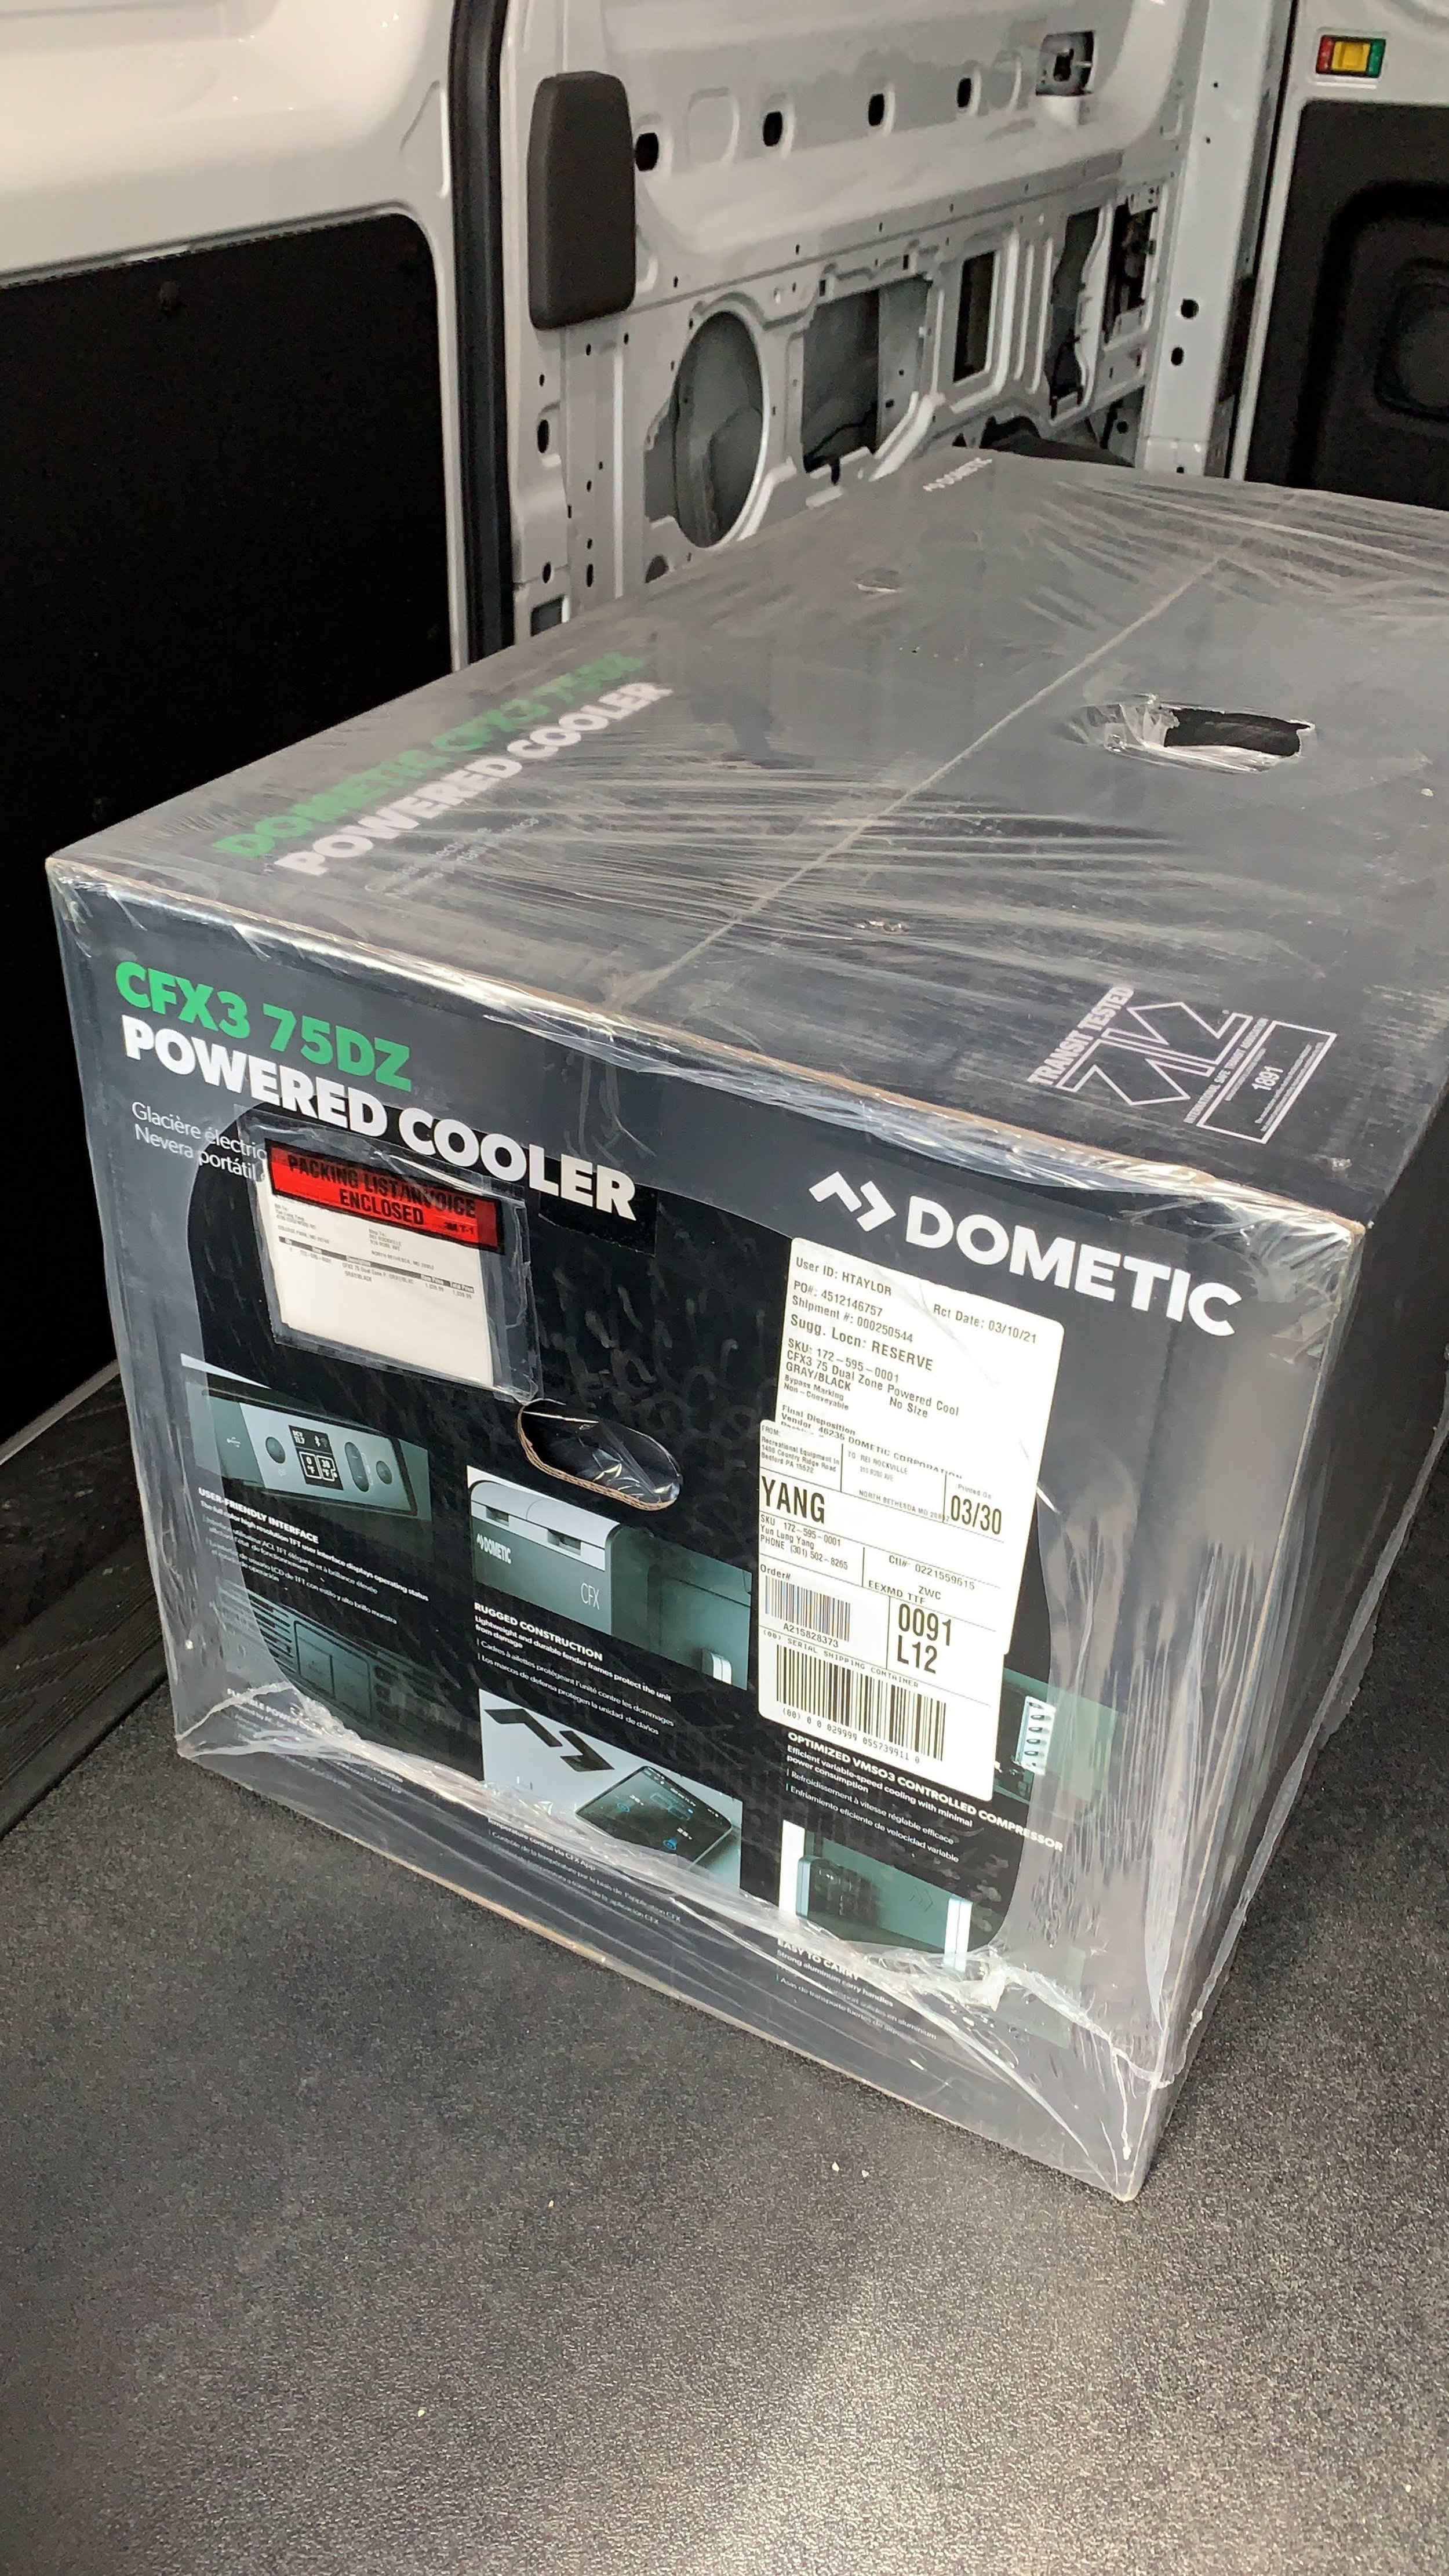
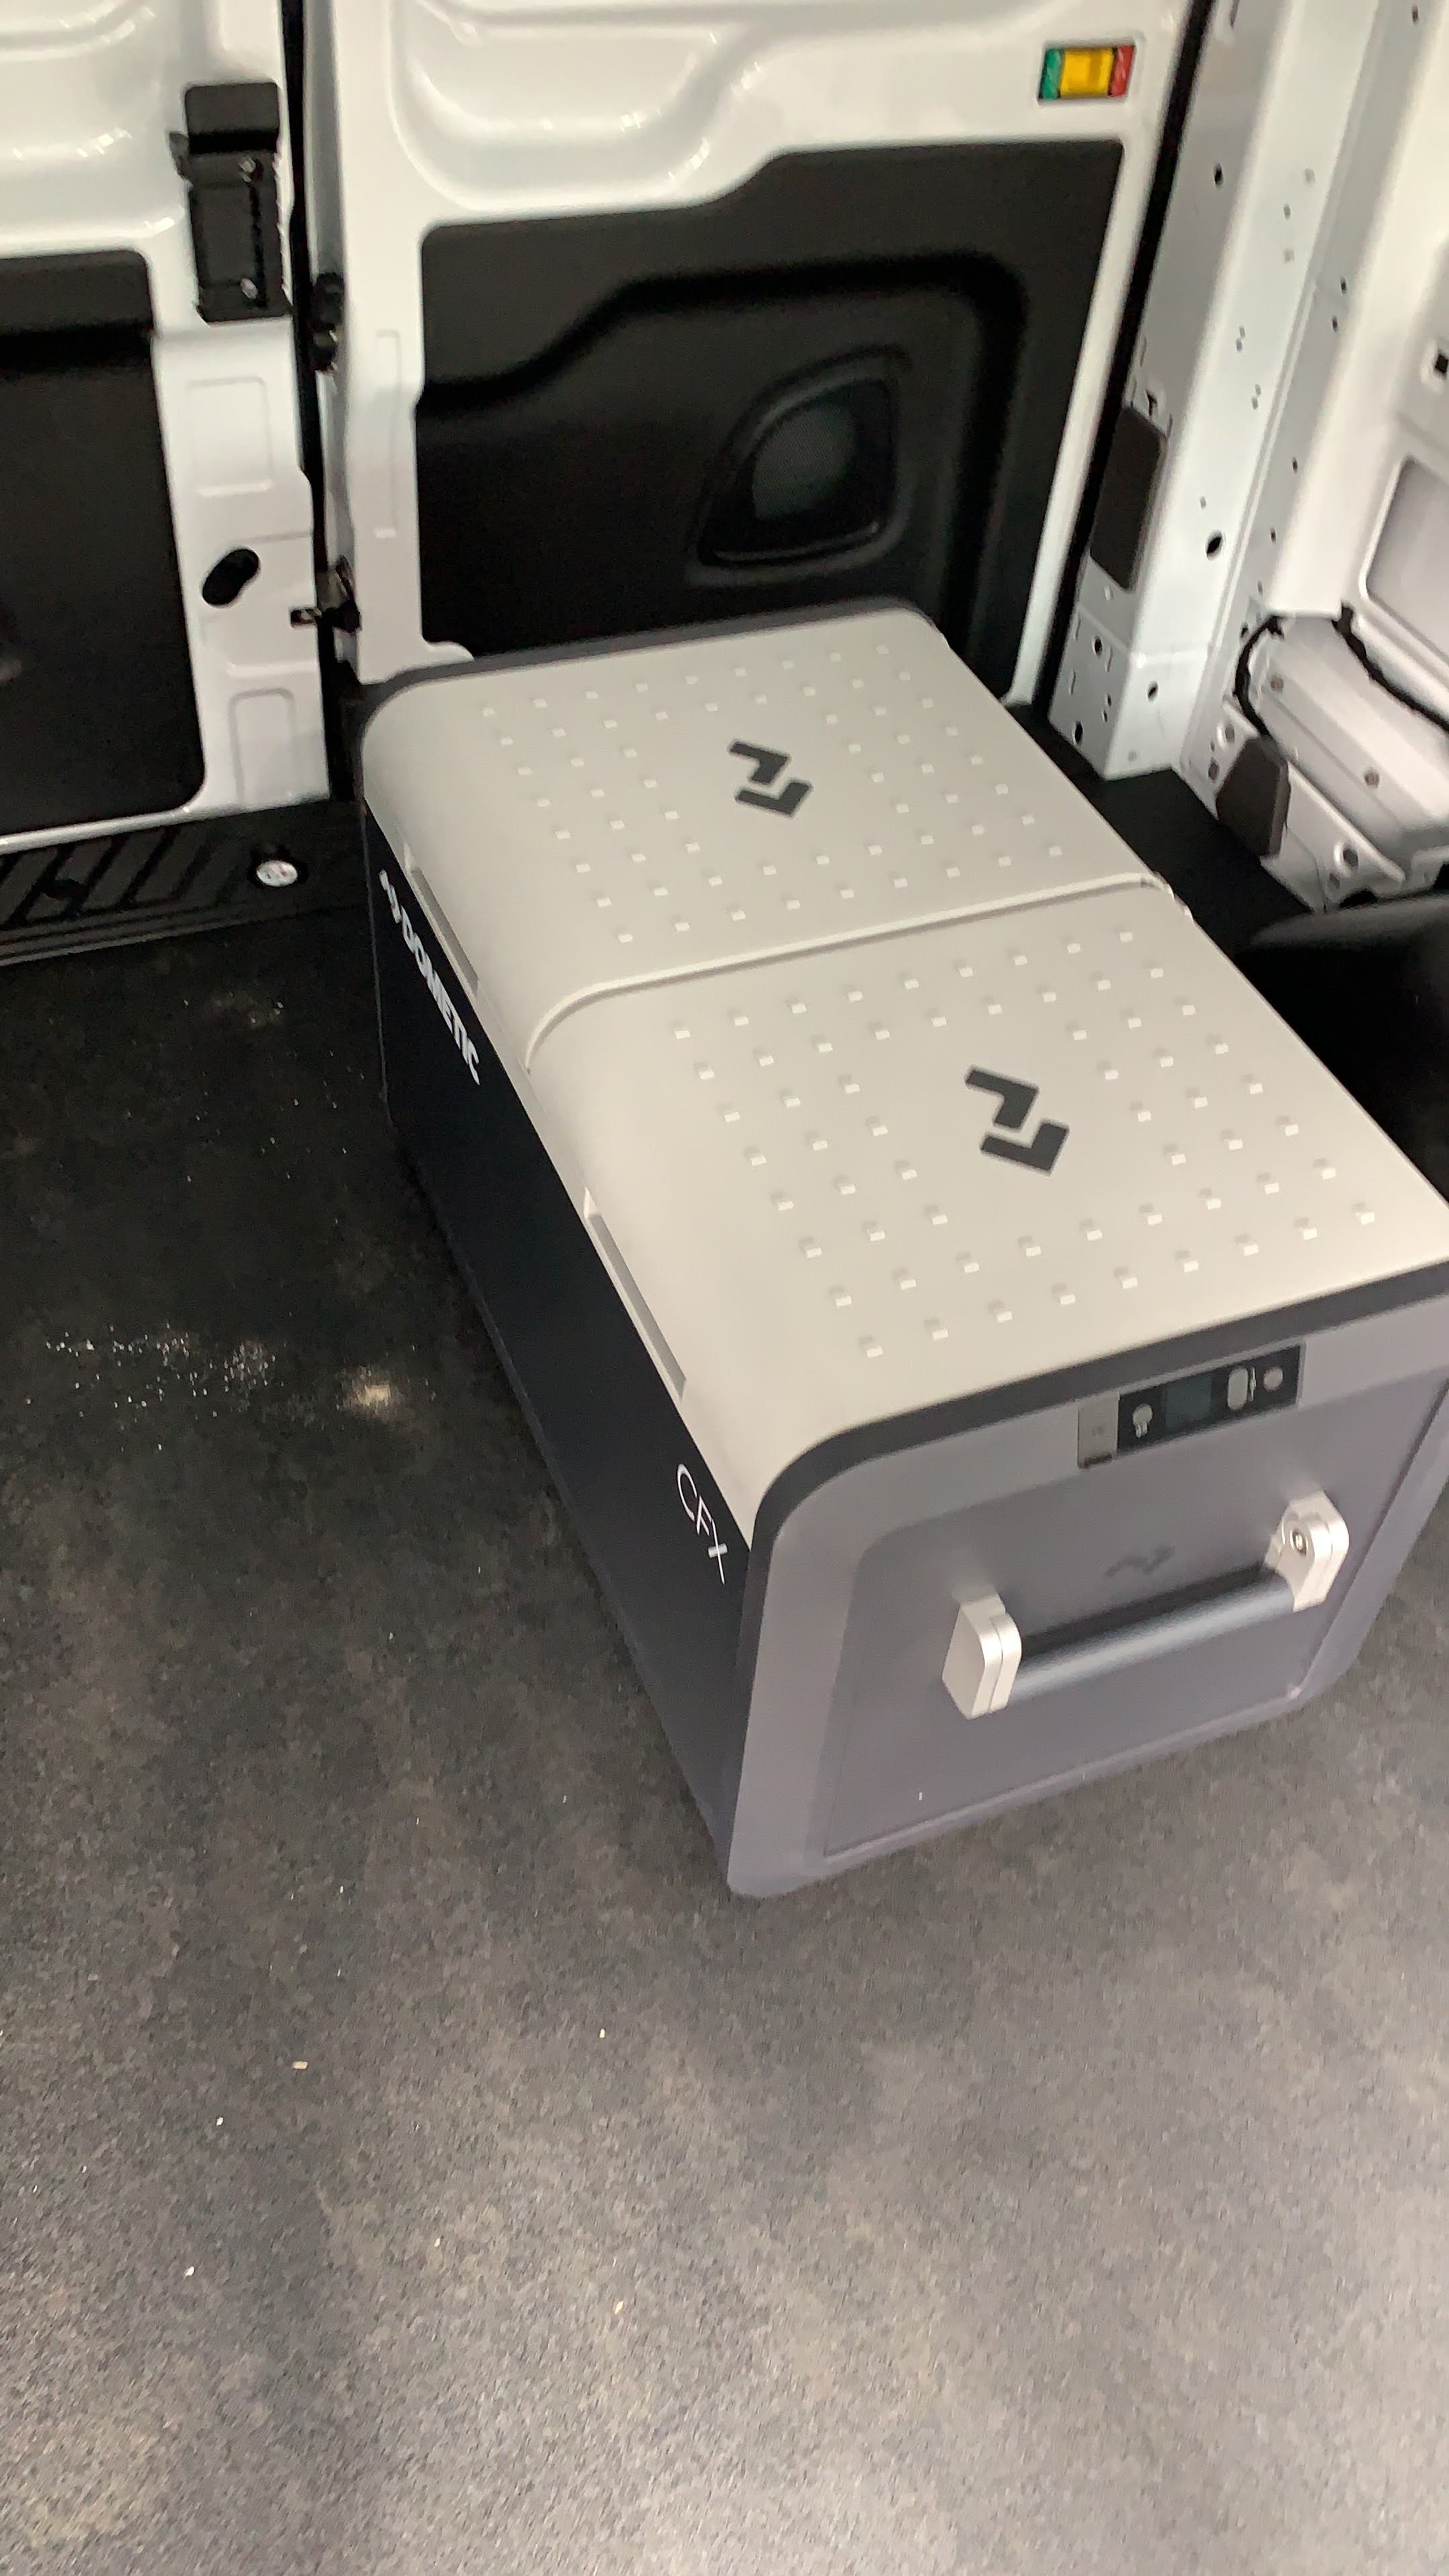
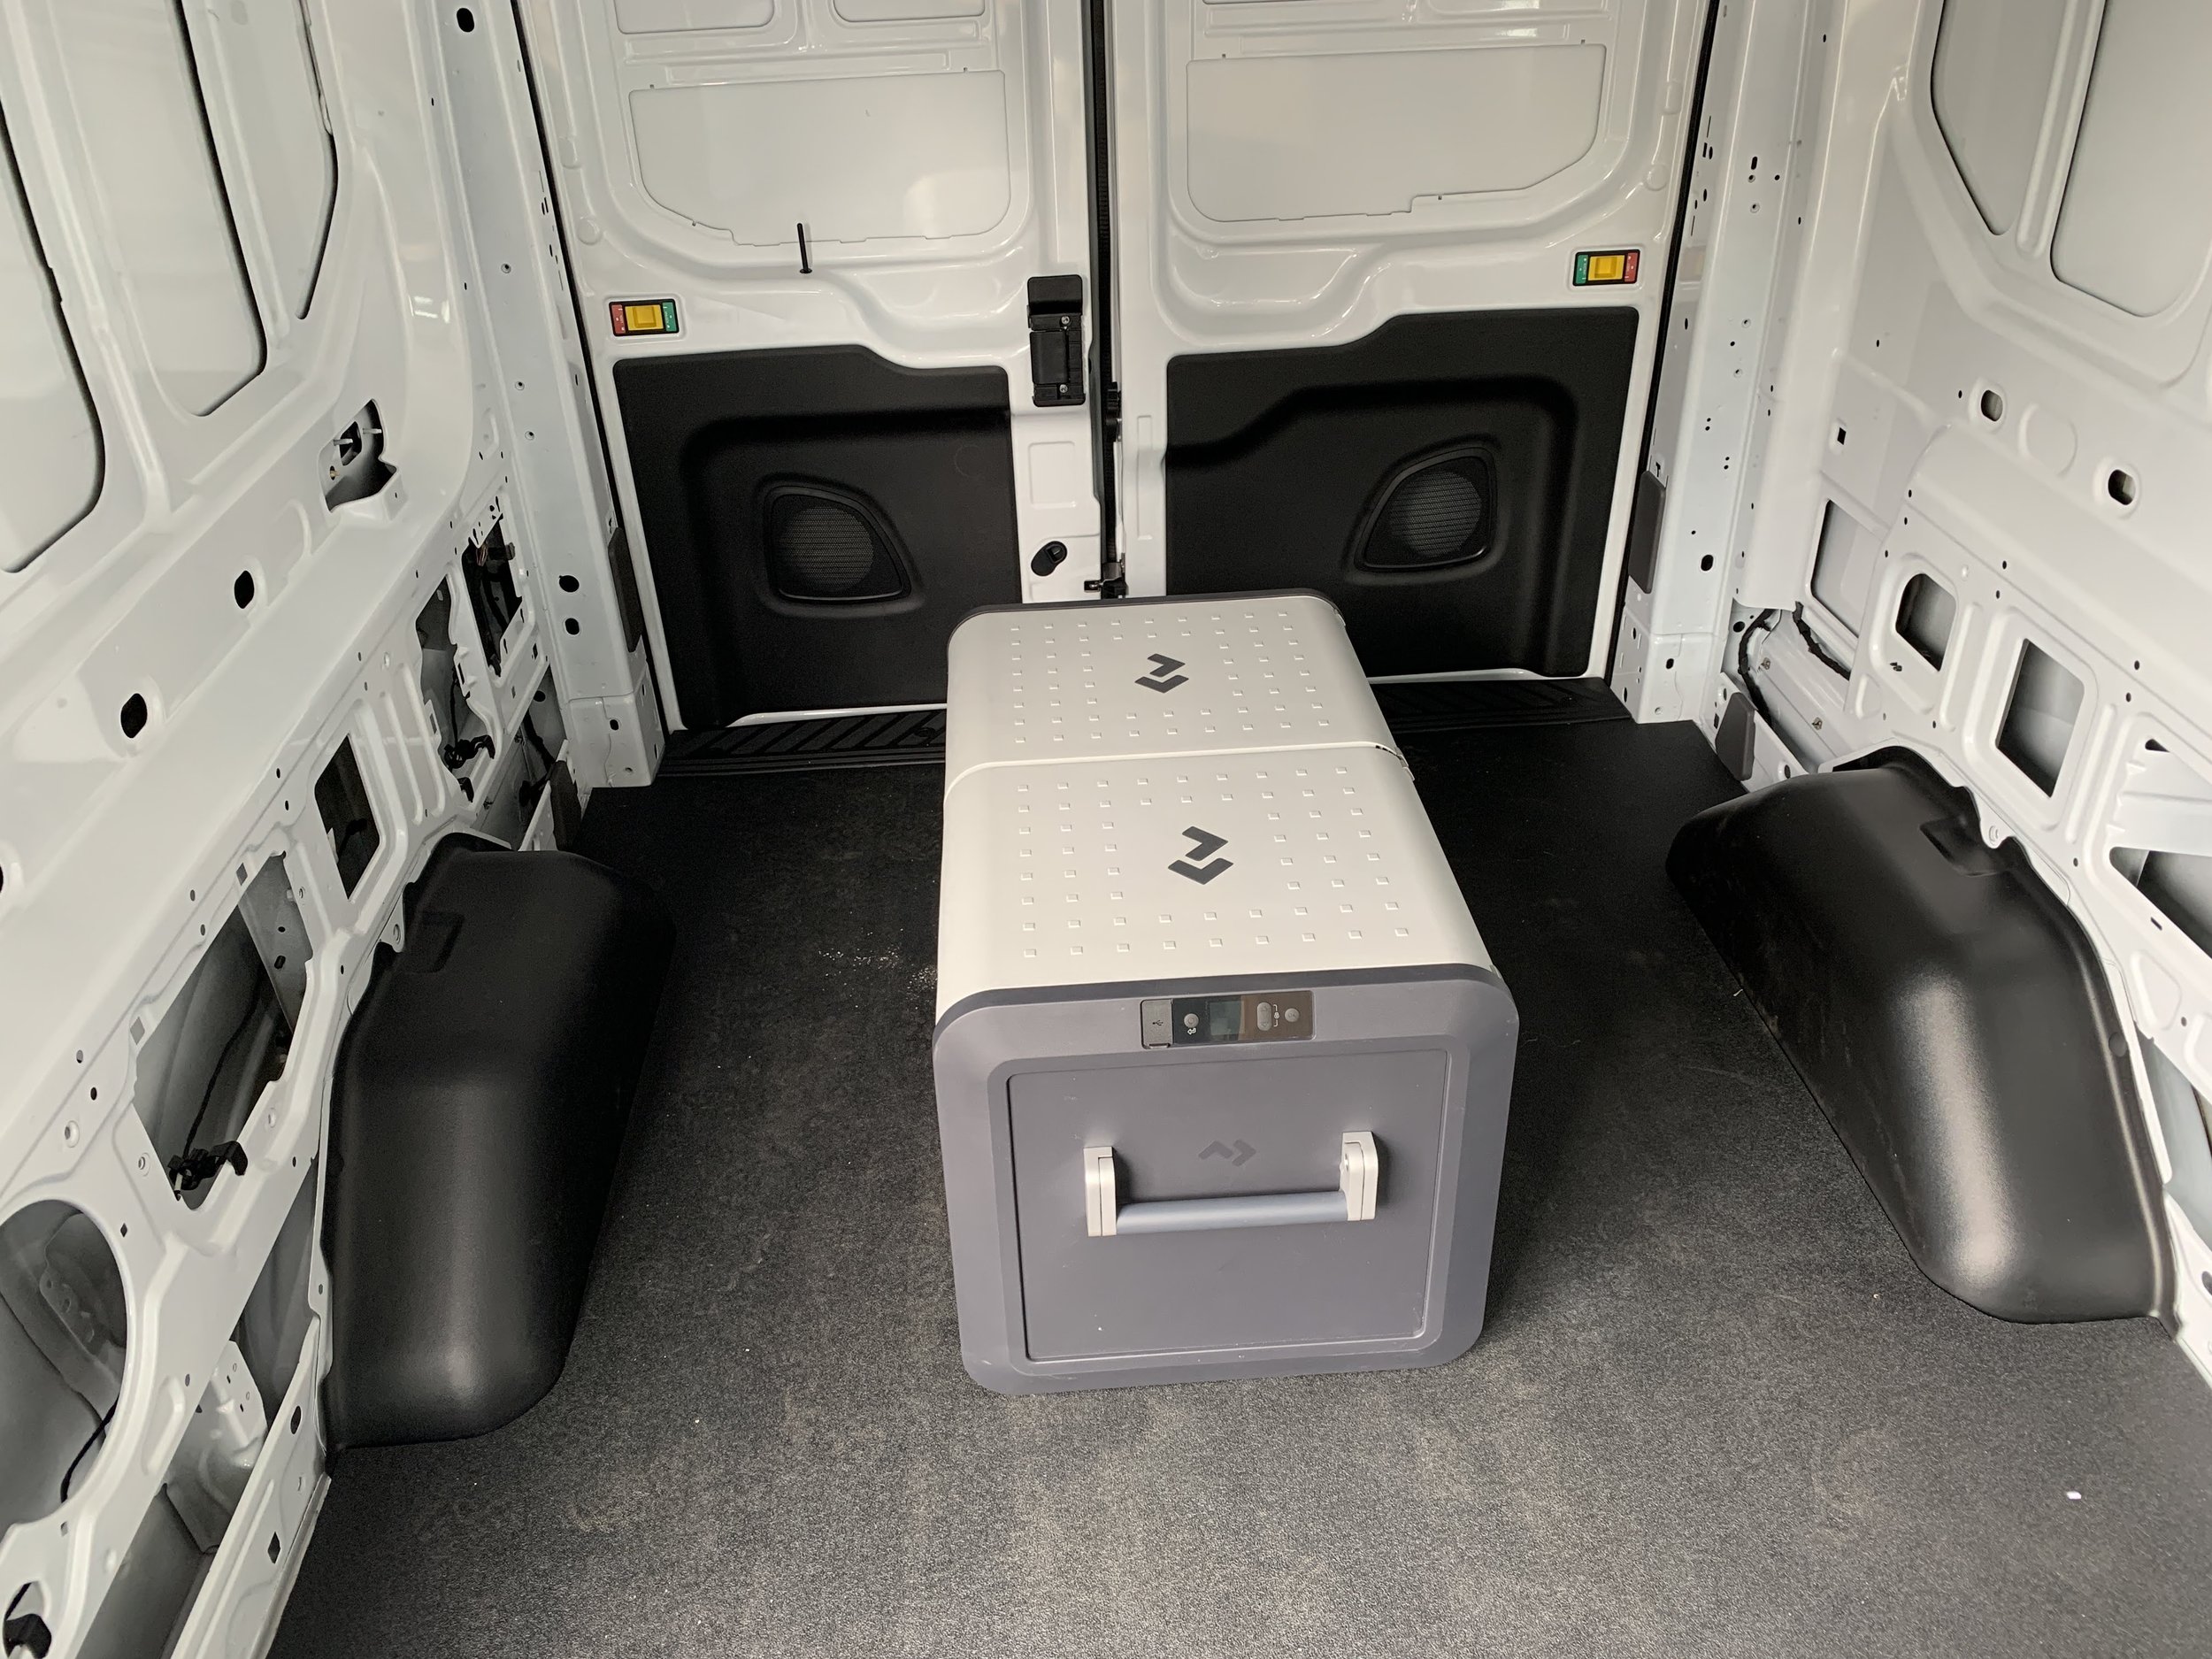
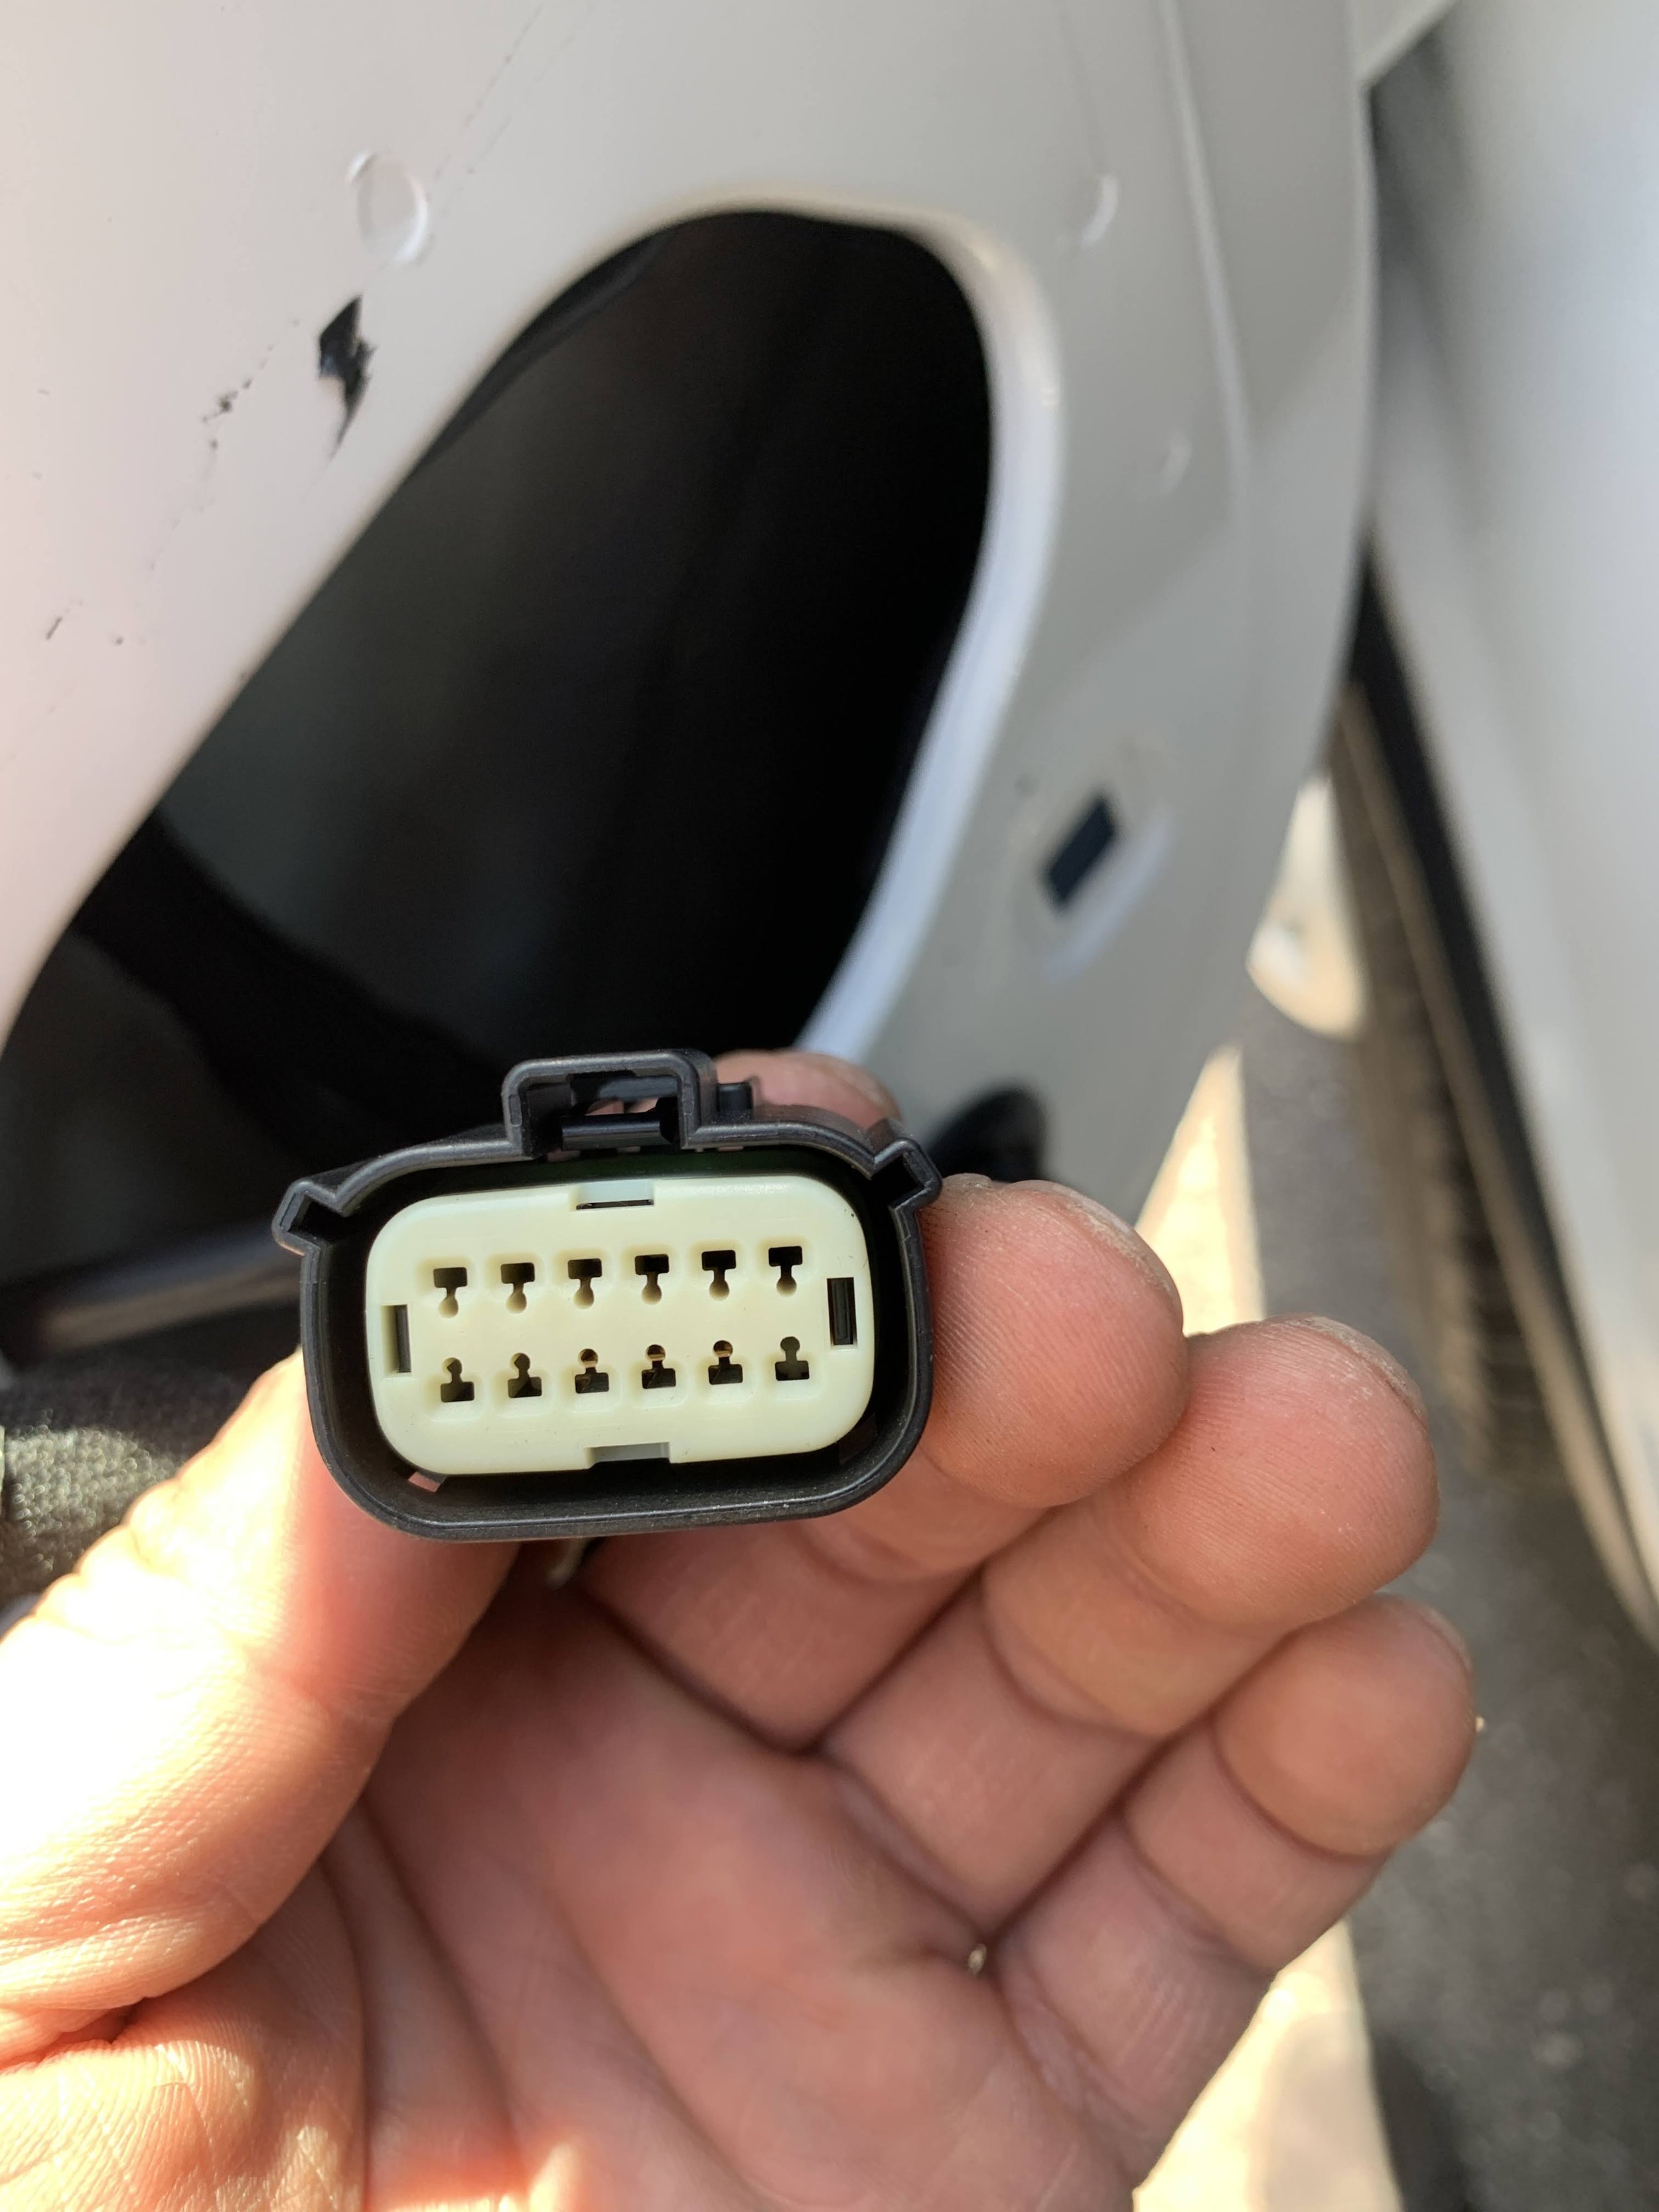
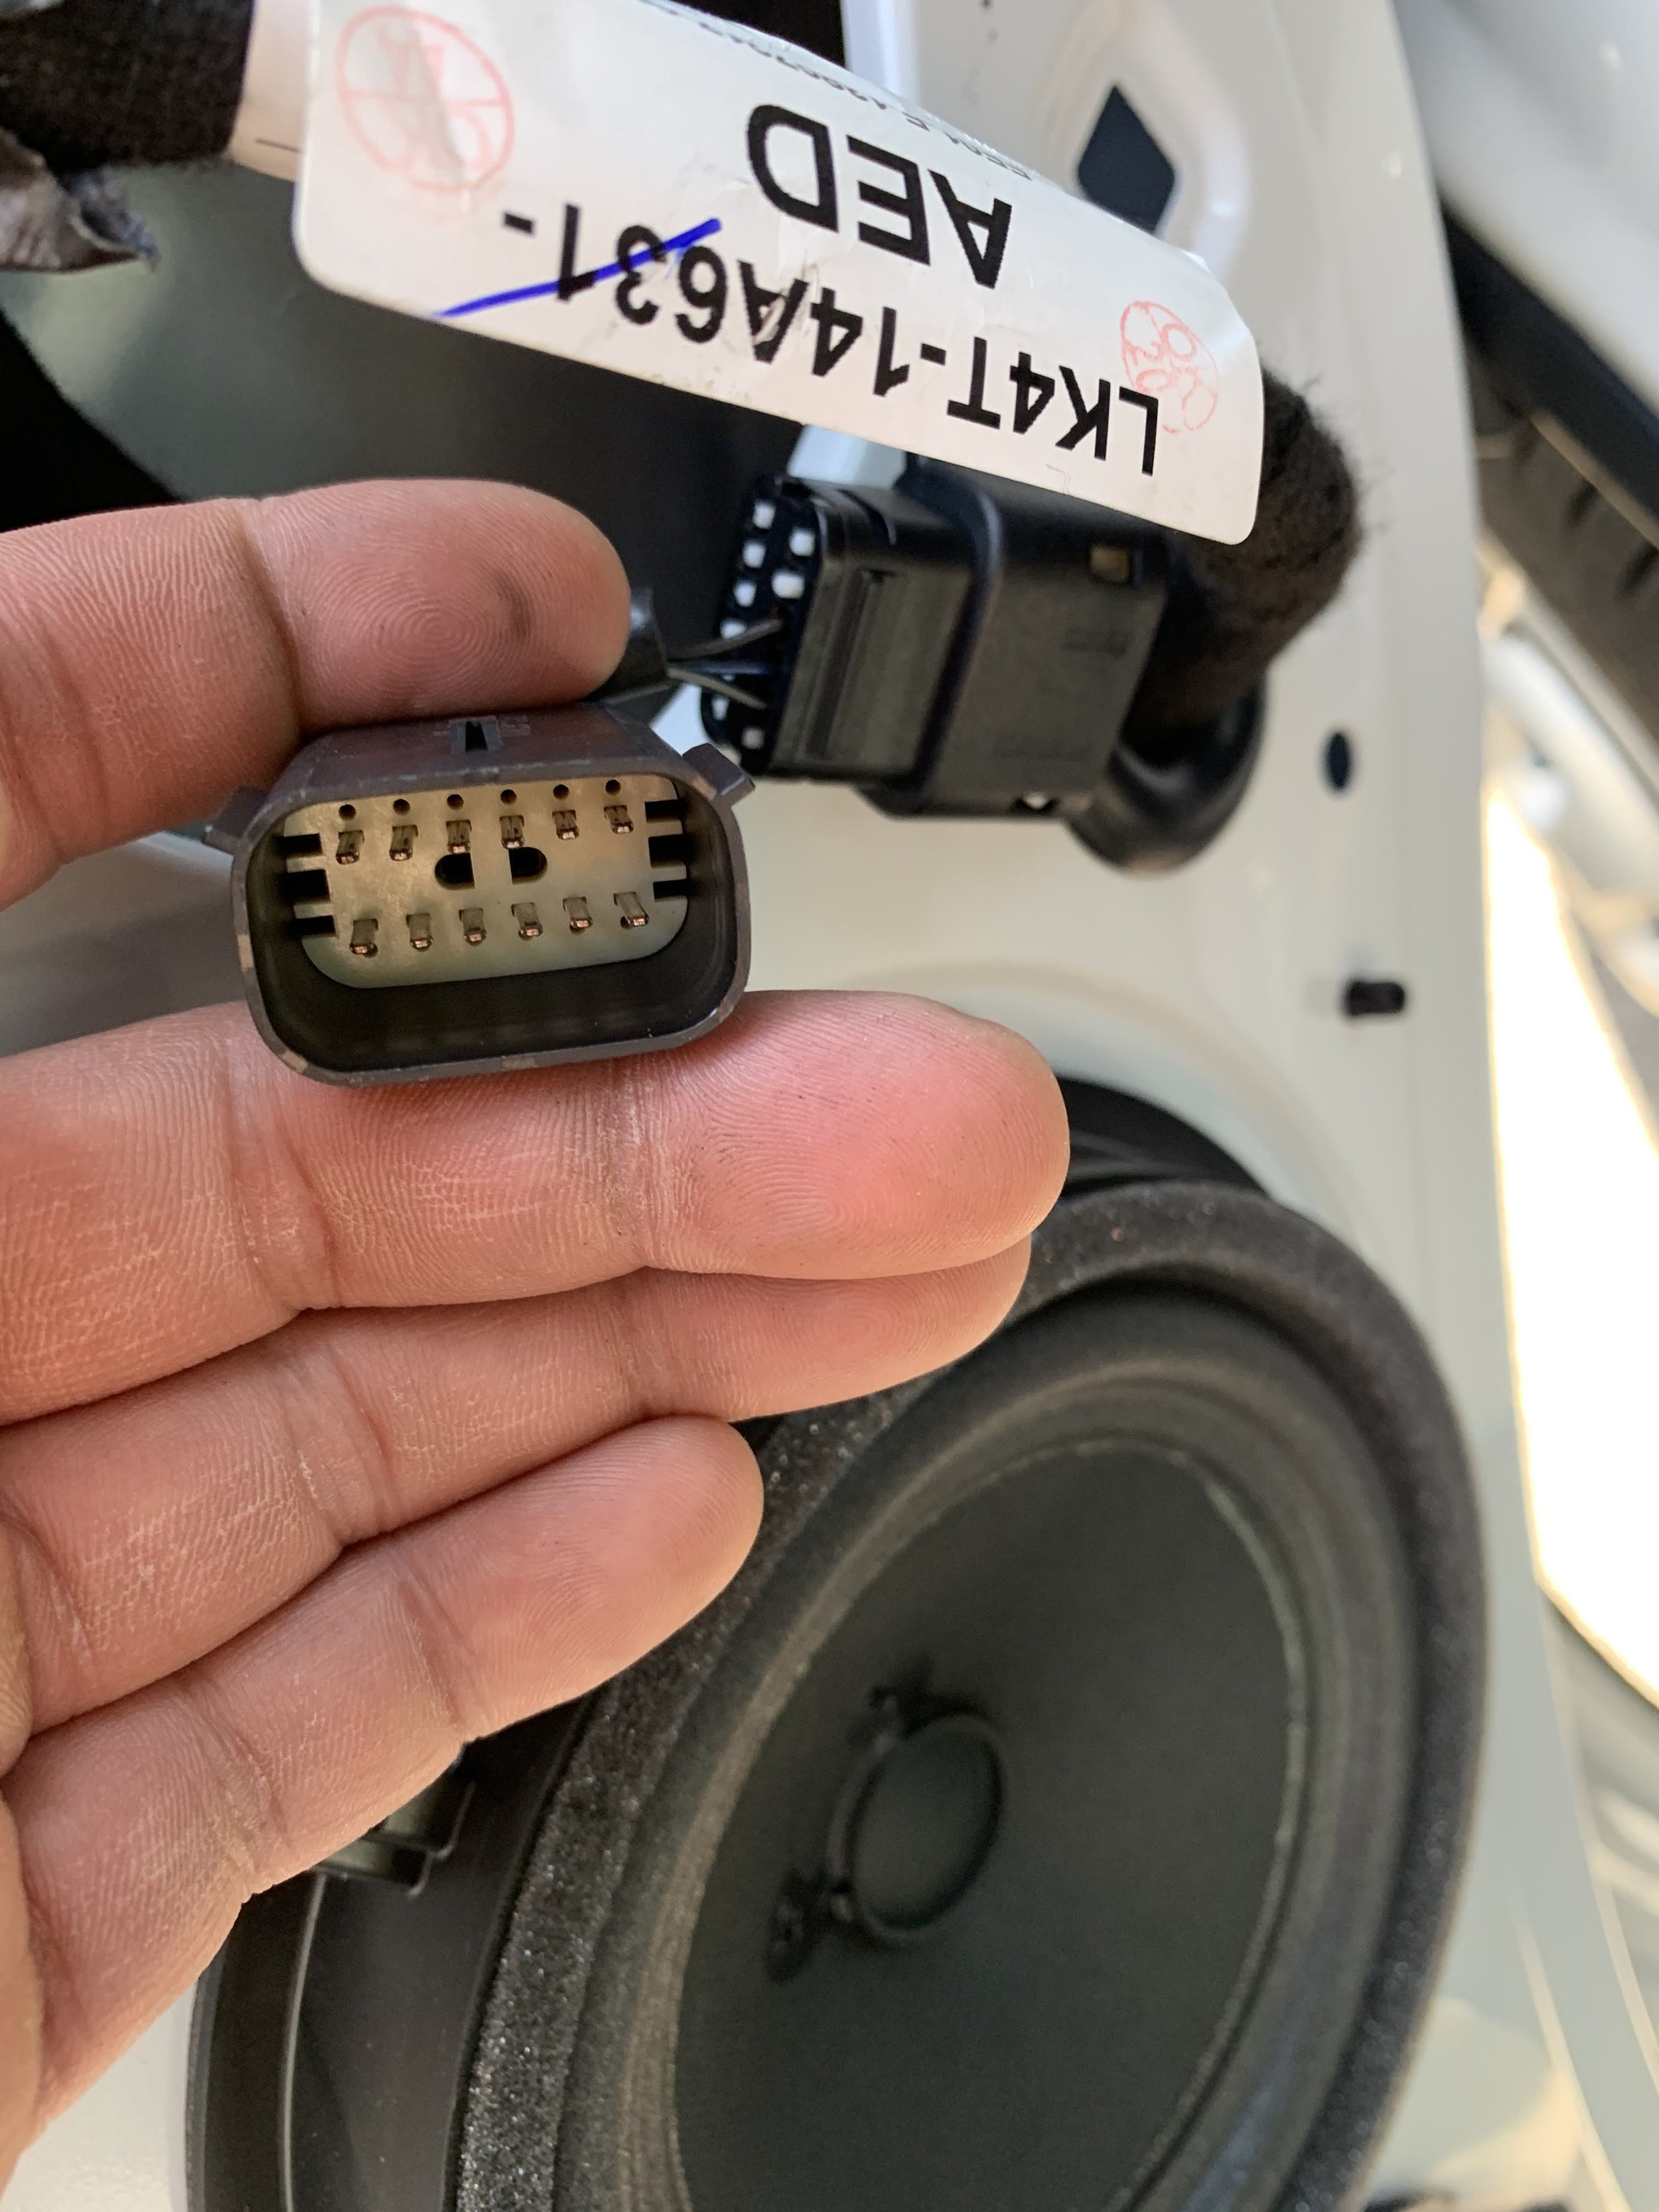
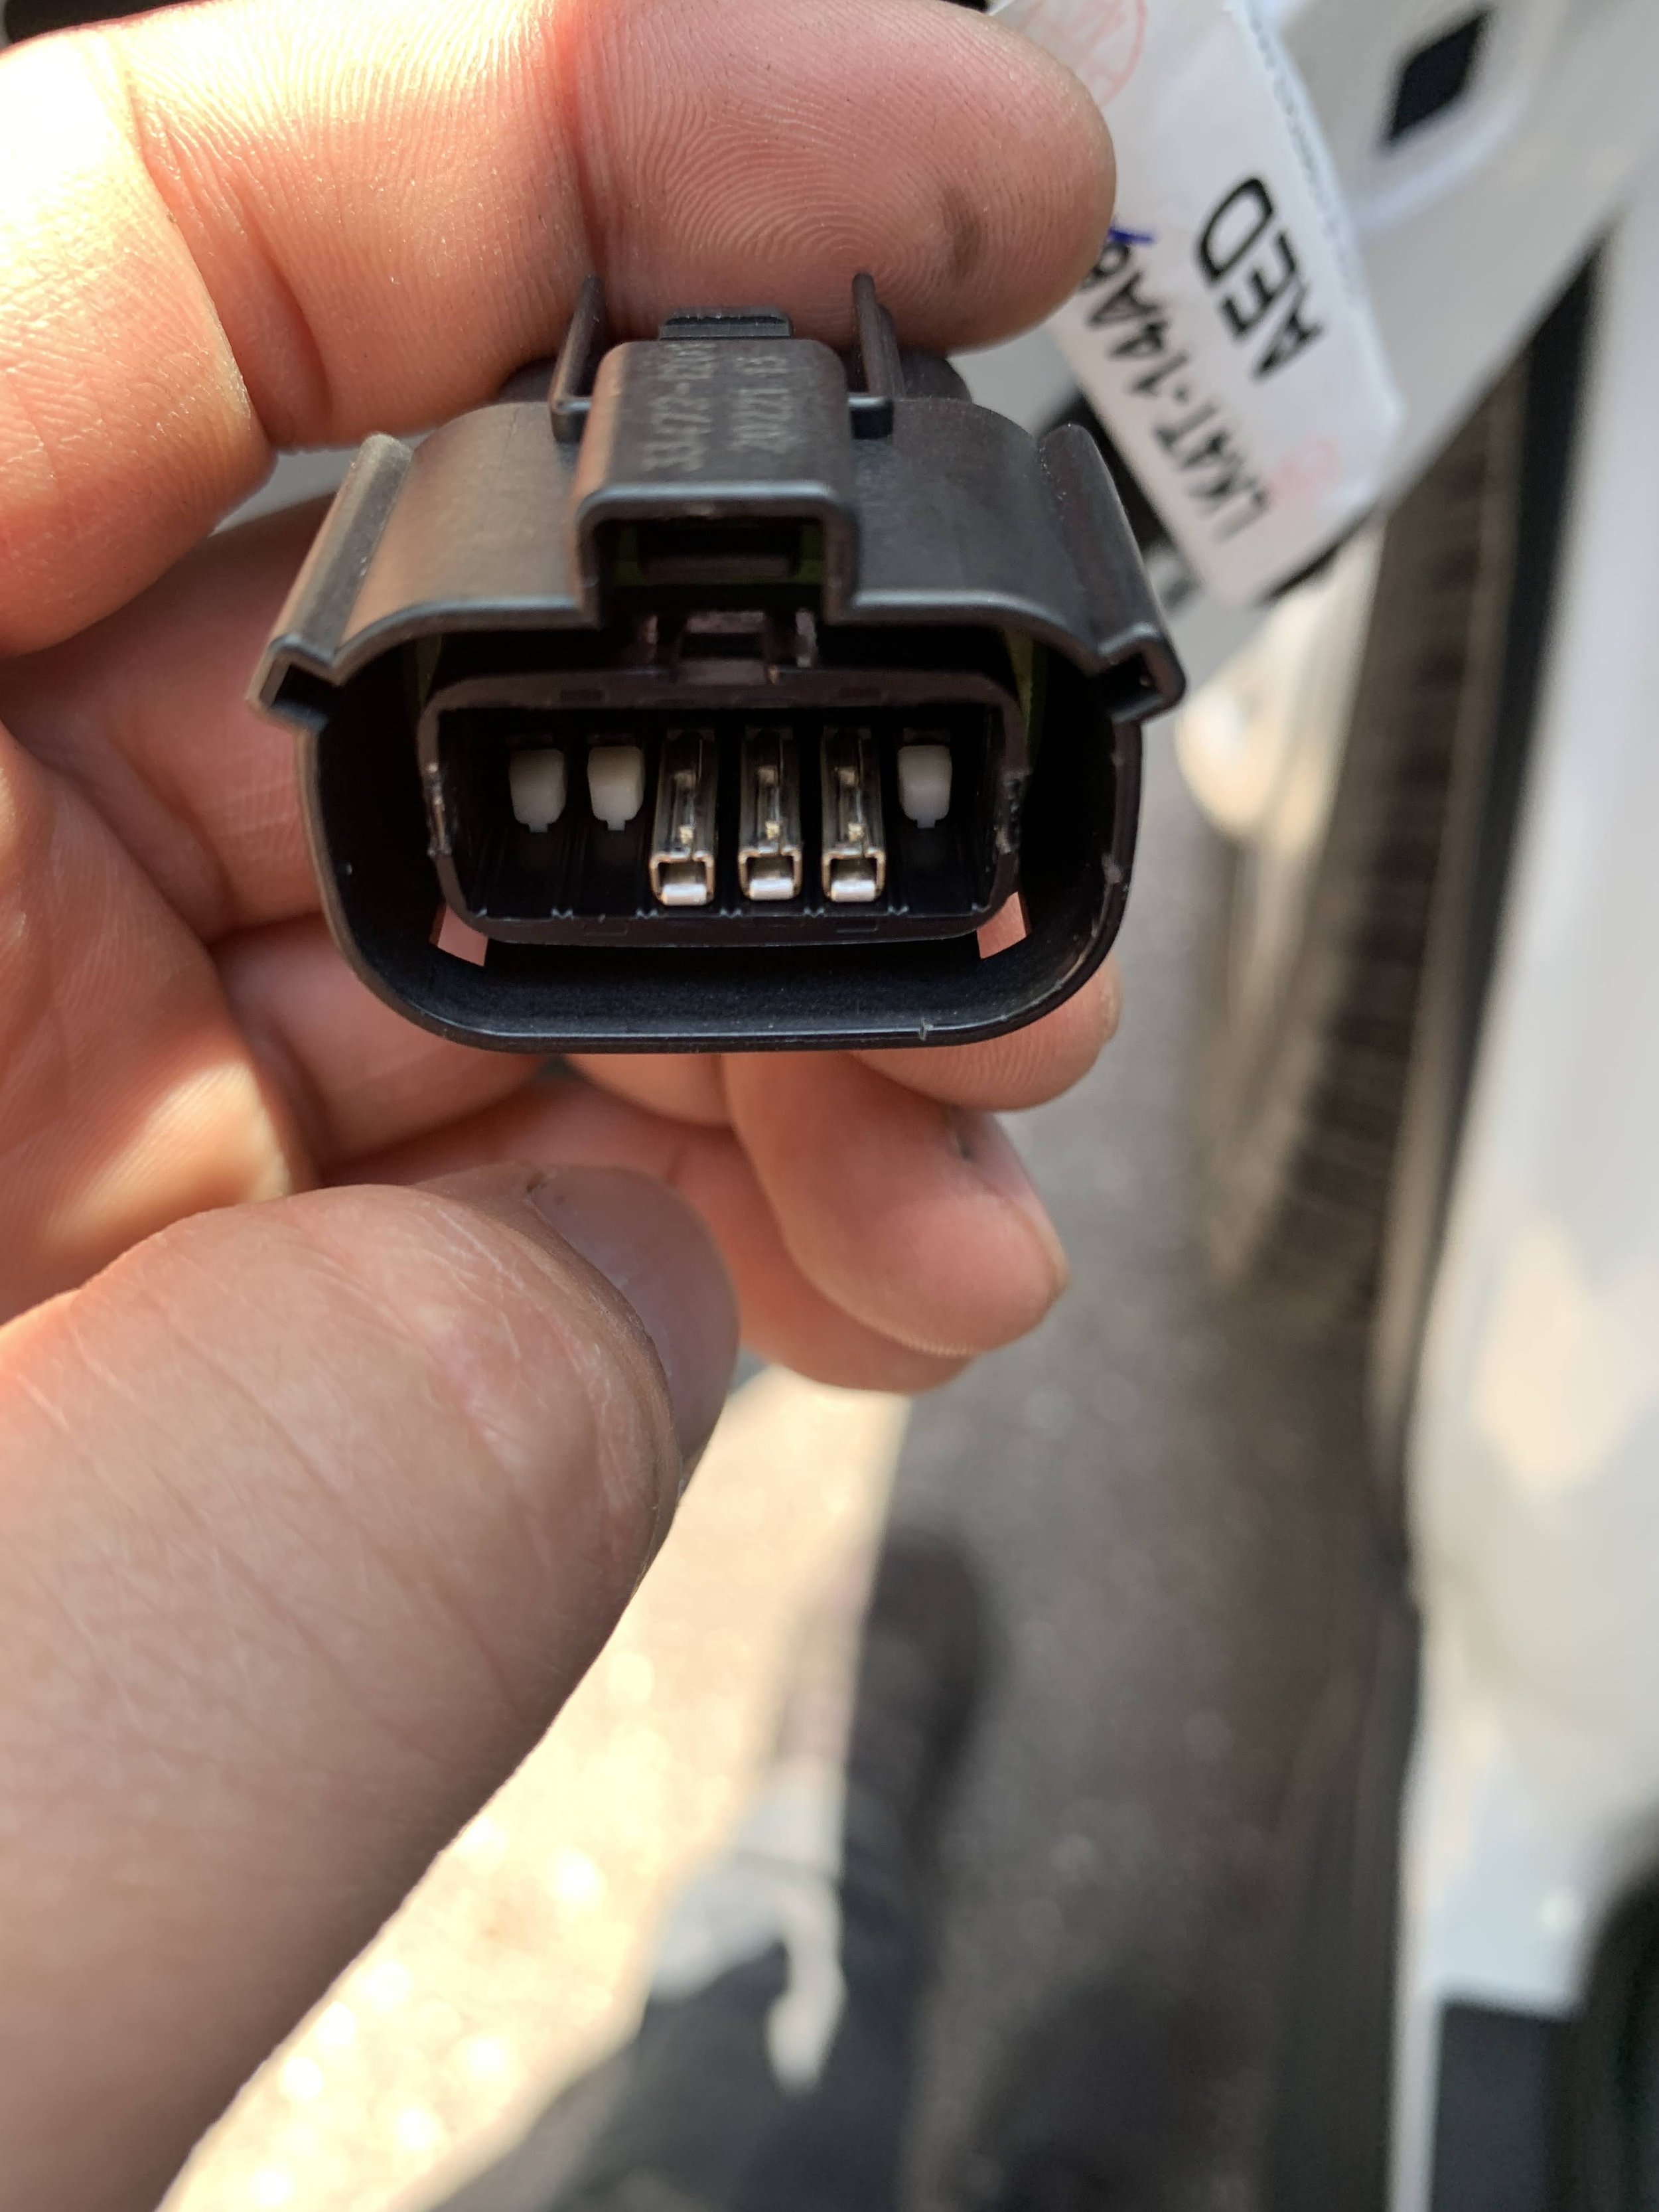
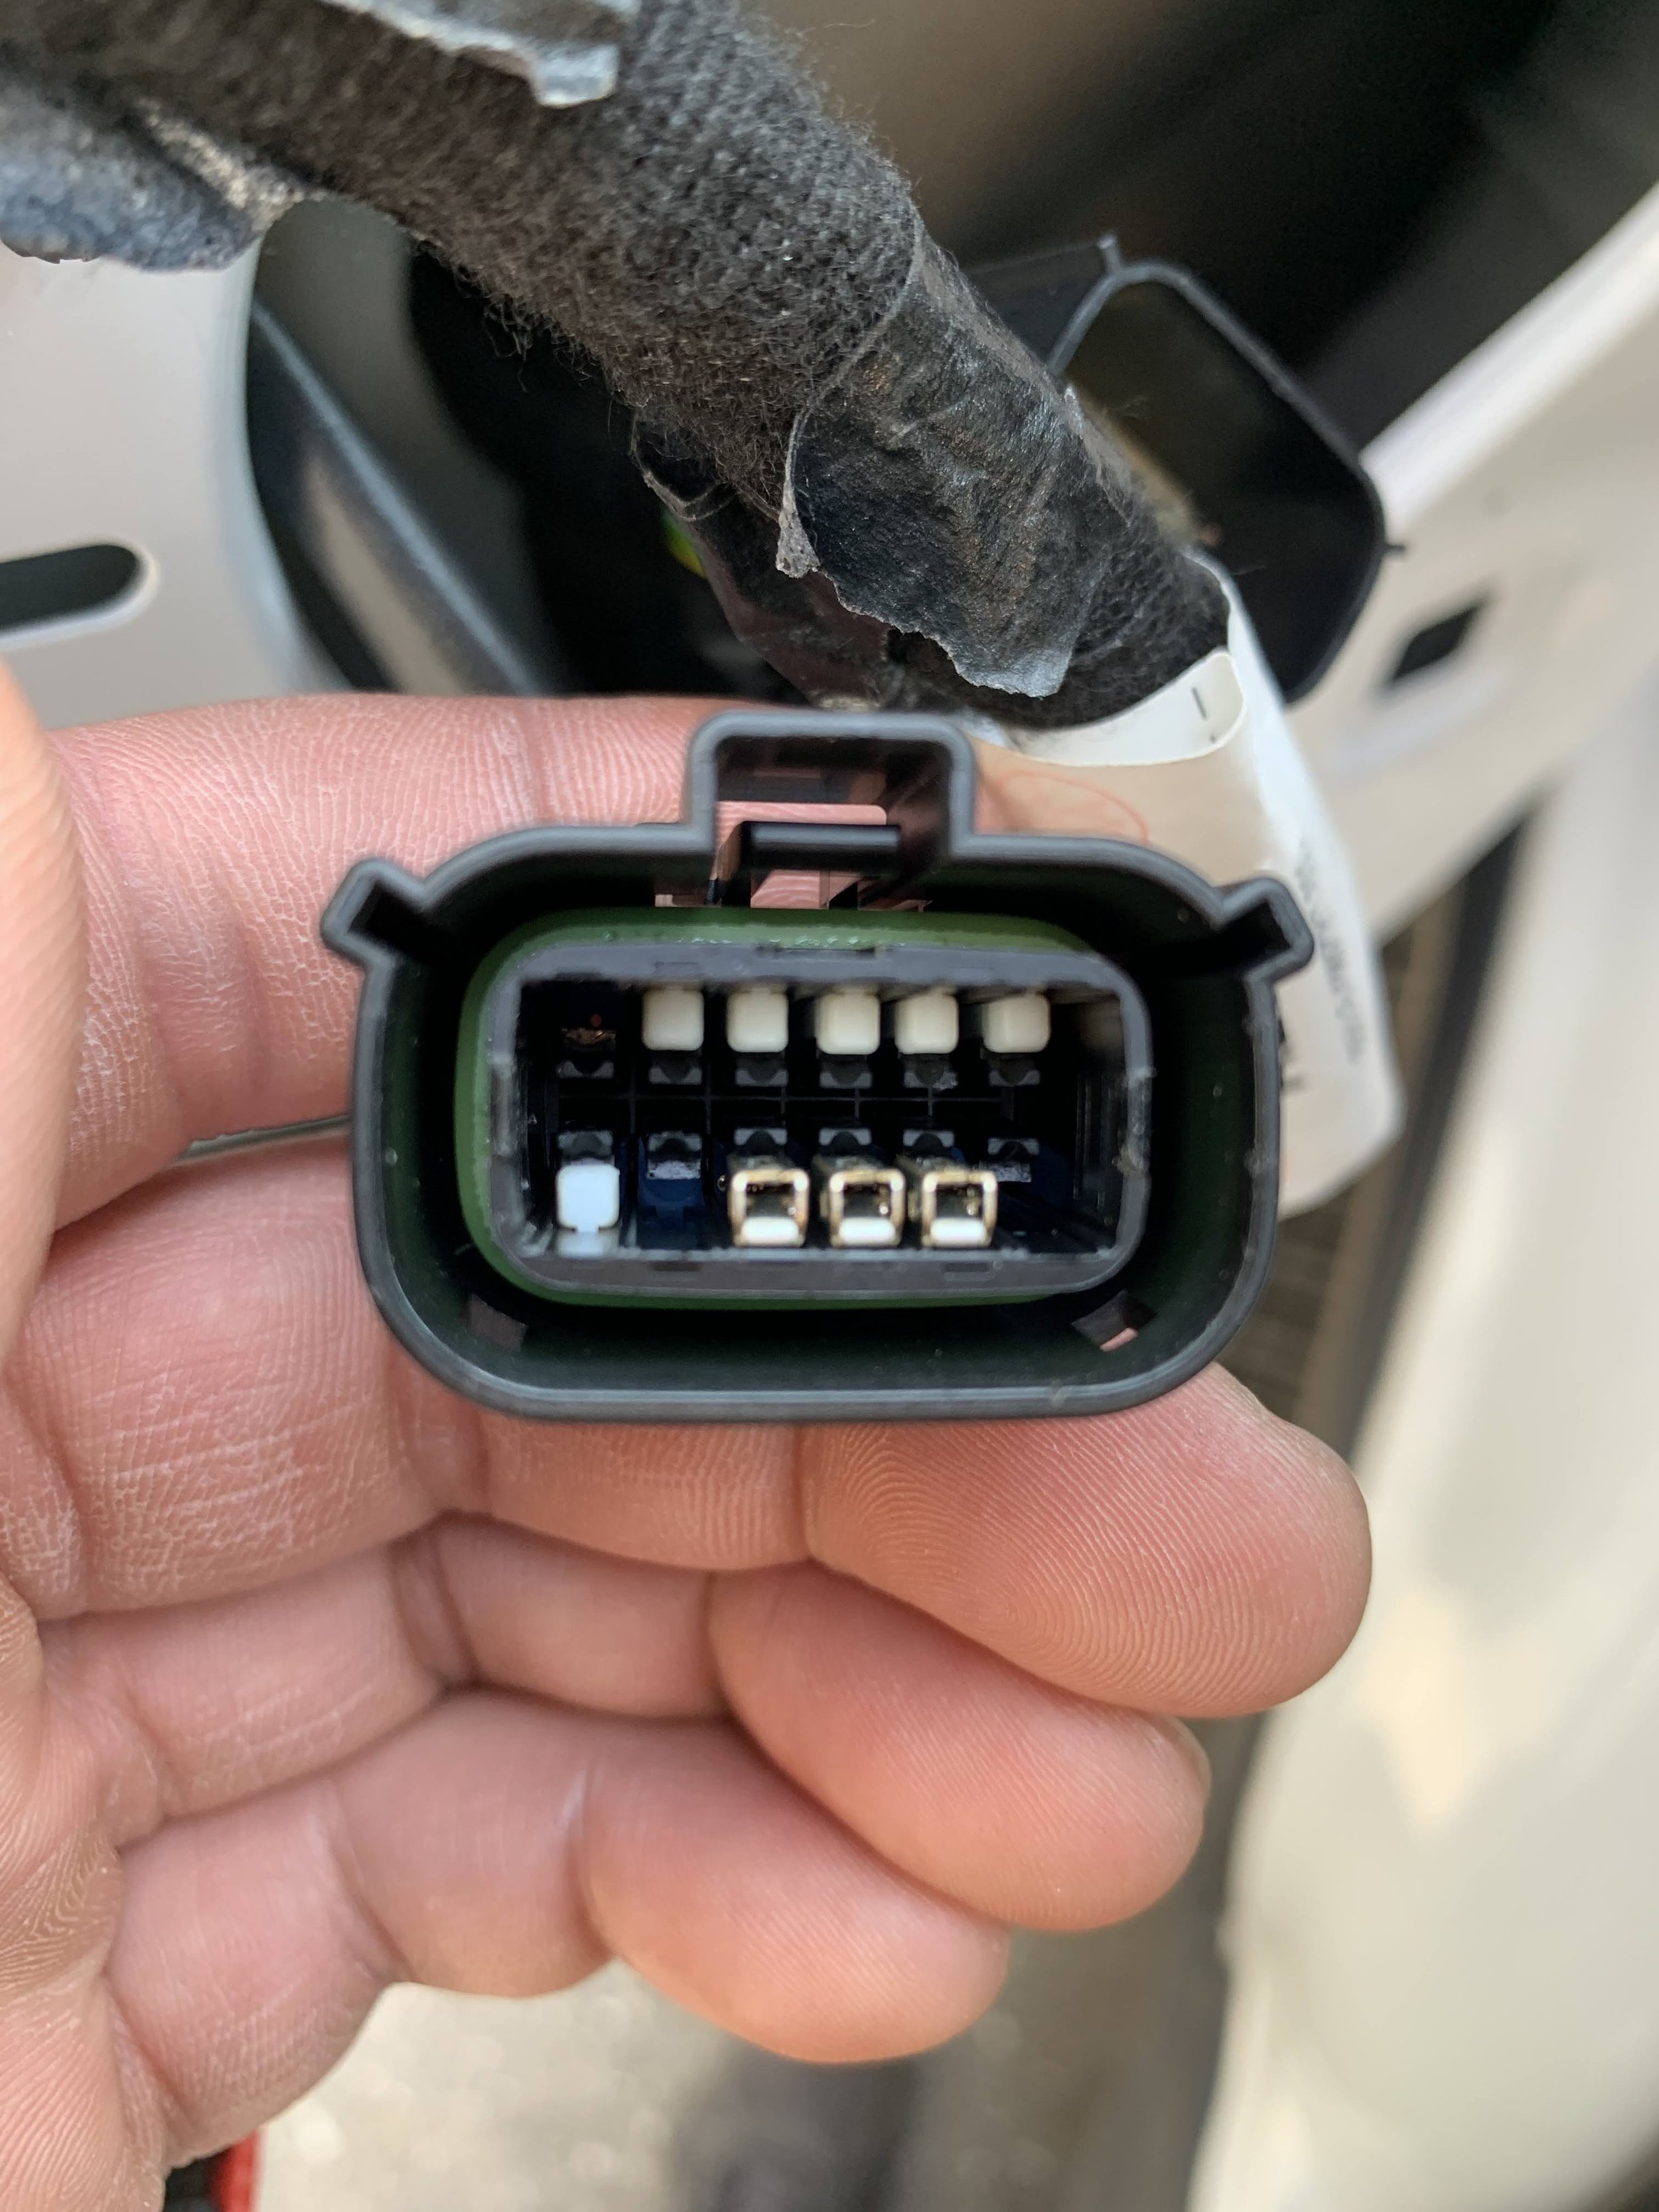
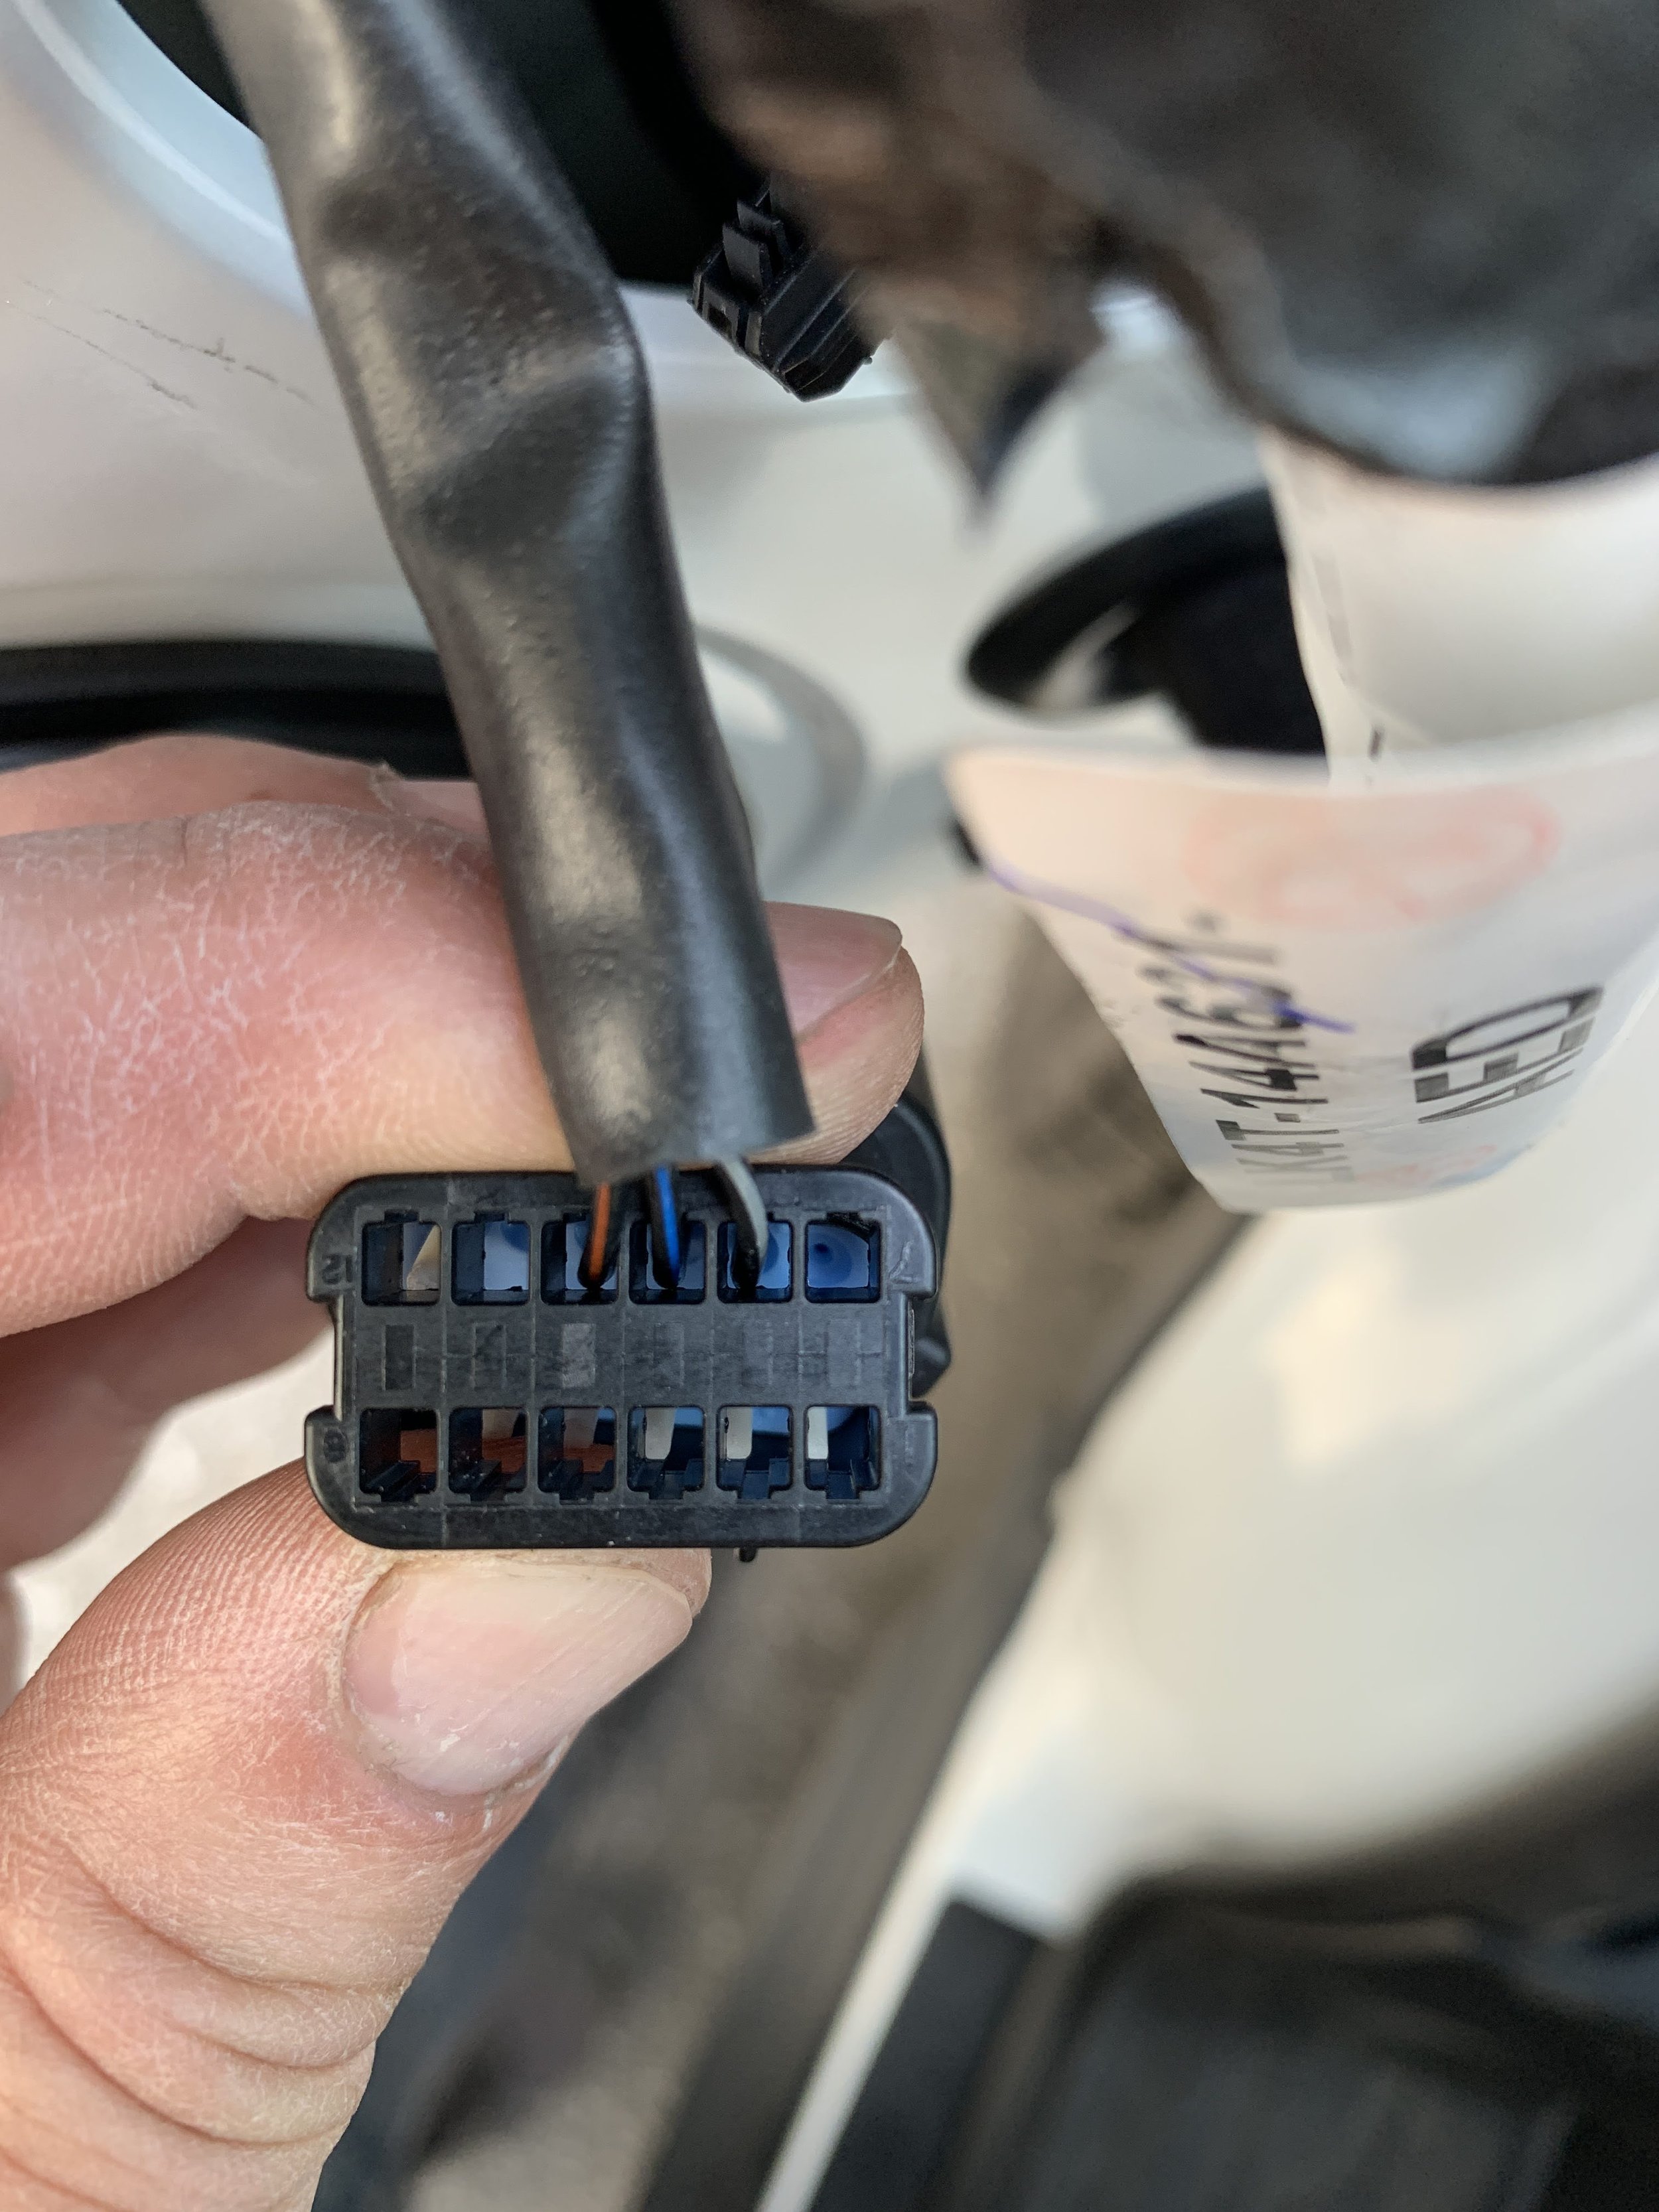
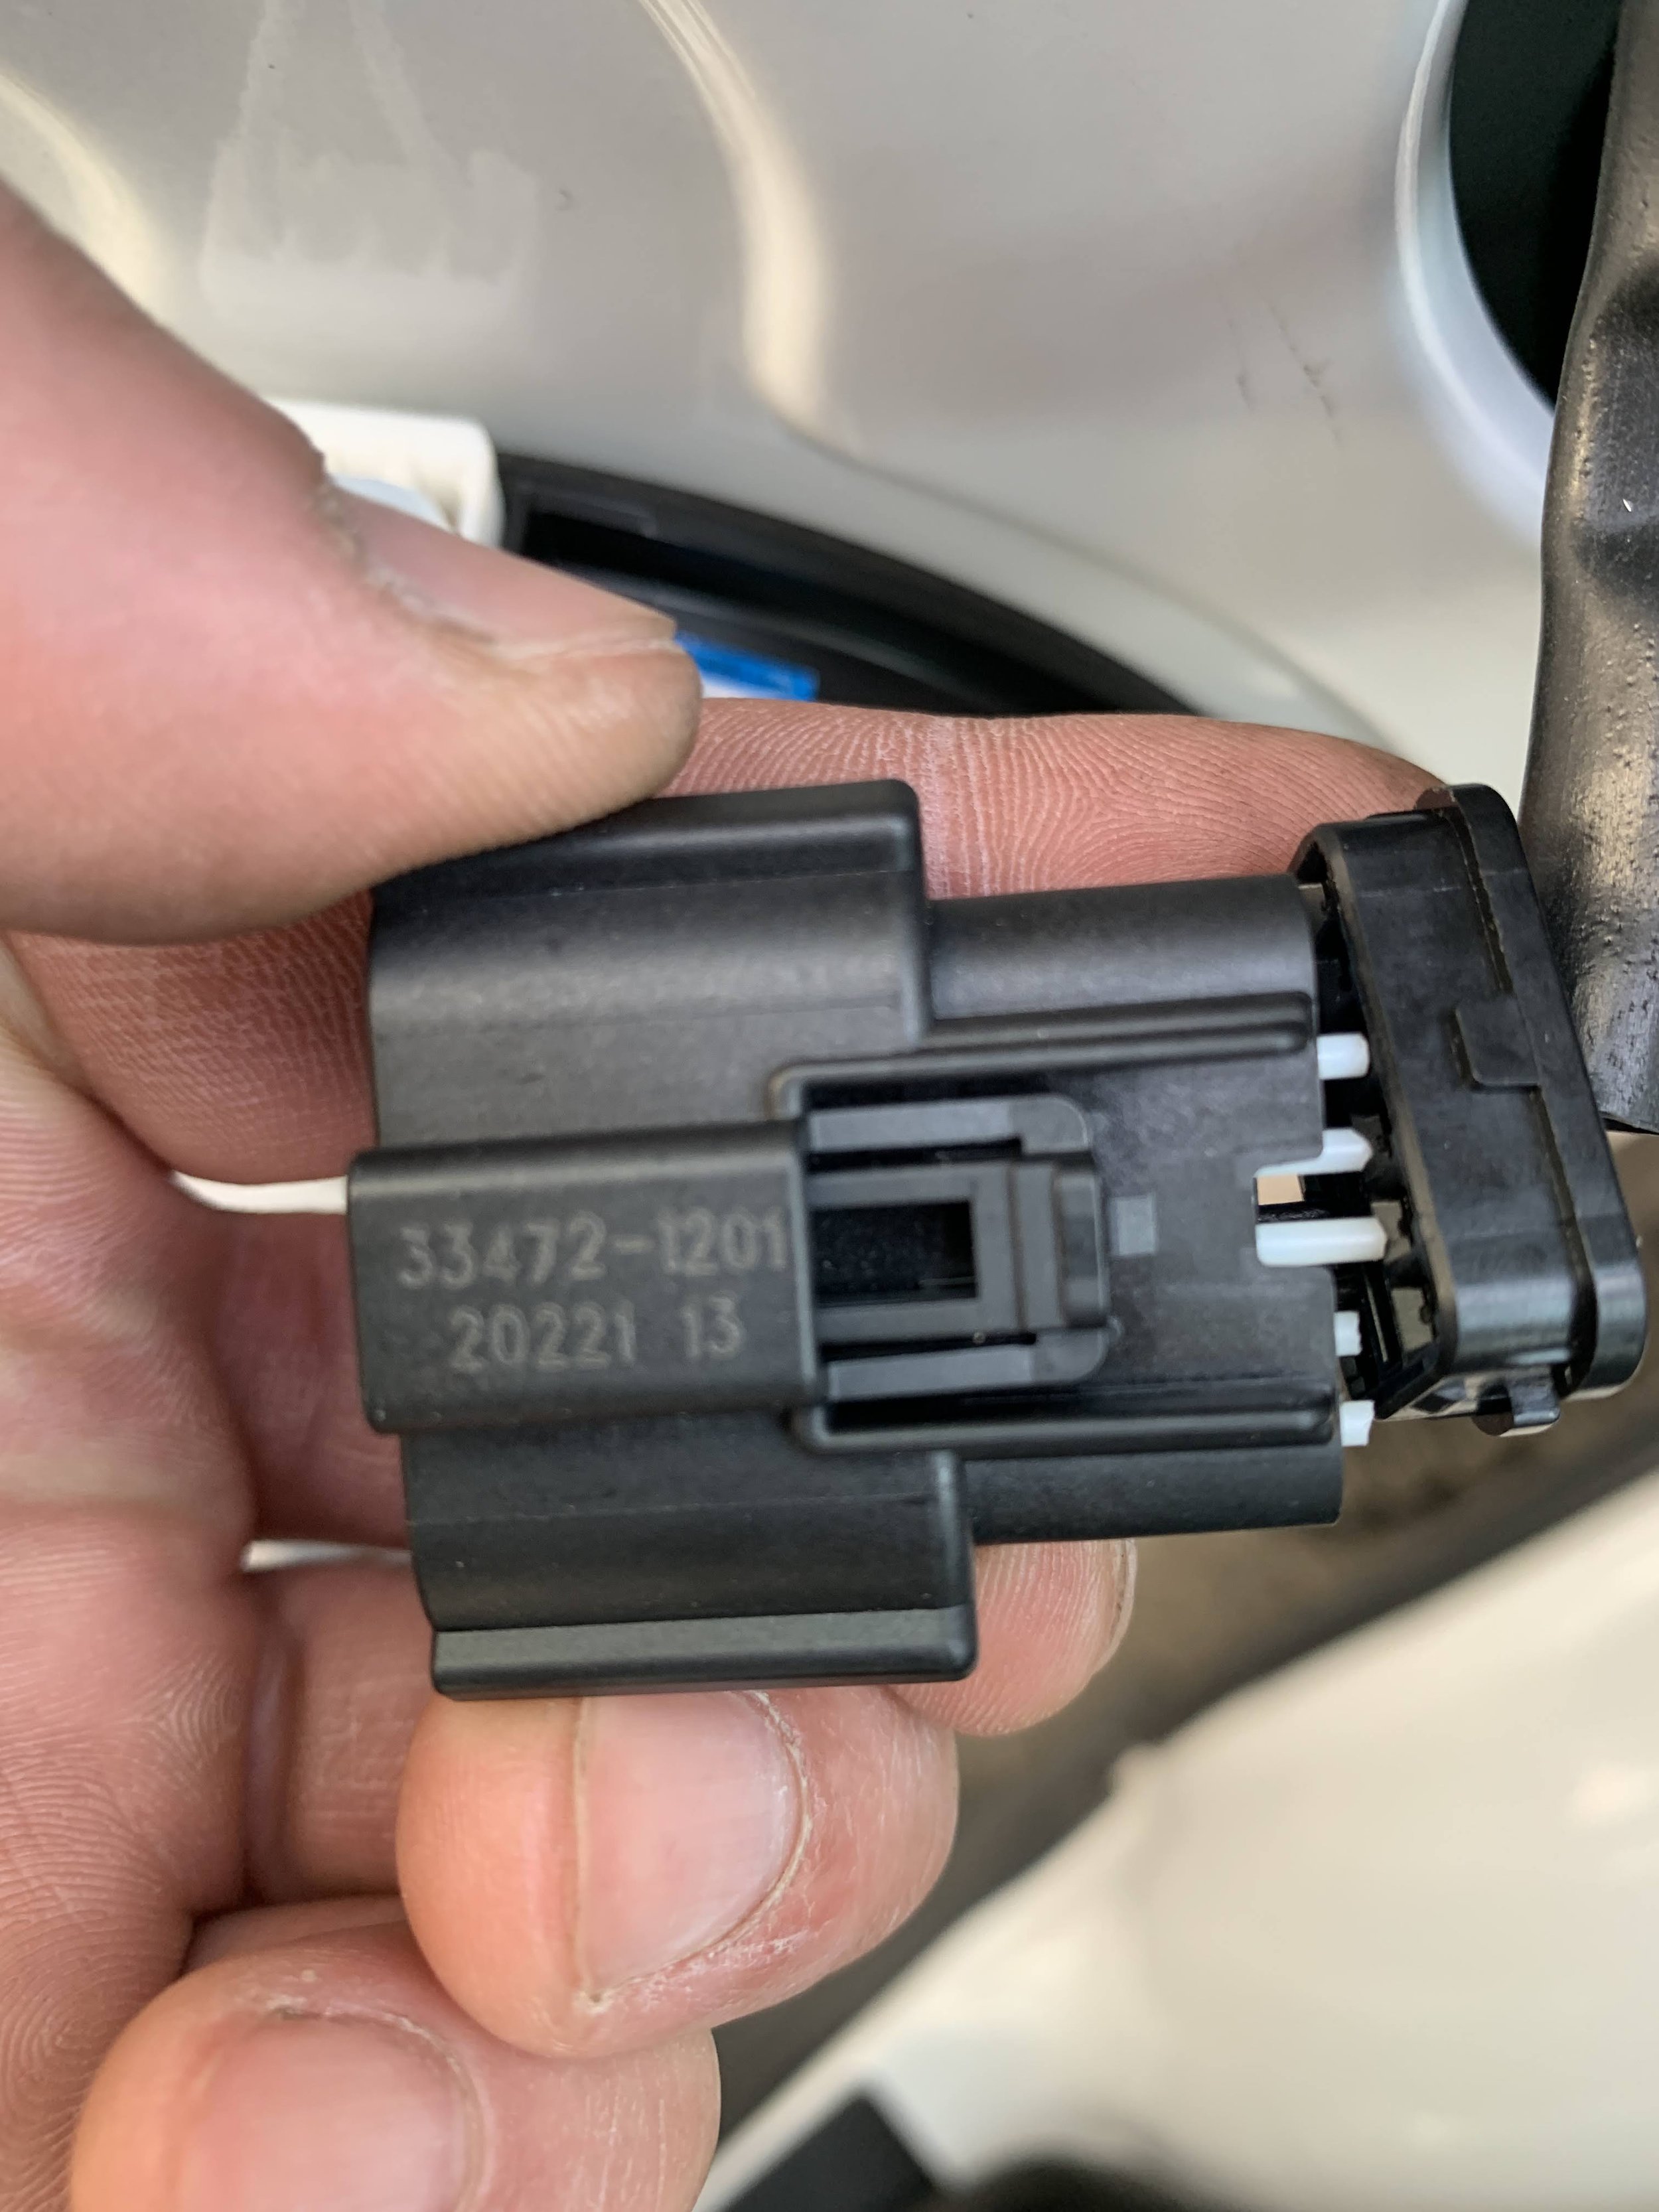
Next I picked up my fridge, it is ALOT bigger than I originally thought. Yes I had the dimensions and I measured it, but after fitment and understanding I need a platform that’s wider than the fridge and front and rear clearance for venting, I realize this will take up a lot of space. I seen alot of people use these as a seat platform, or simply up high like a countertop cut out. I wanted more seating than I wanted more kitchen countertop space. I decided the bed platform will be stationary and the fridge will sit under the bed, and will be the same width as the center isle. Next I took off the door cards and found the power wires going to the mirrors, and I added the turn signals. The power is already there, I only had to de-pin the plug, and added another pin to the plug. Now I have side turn signals. Makes the van looks 100% more modern and better visibility for others to see me turning.
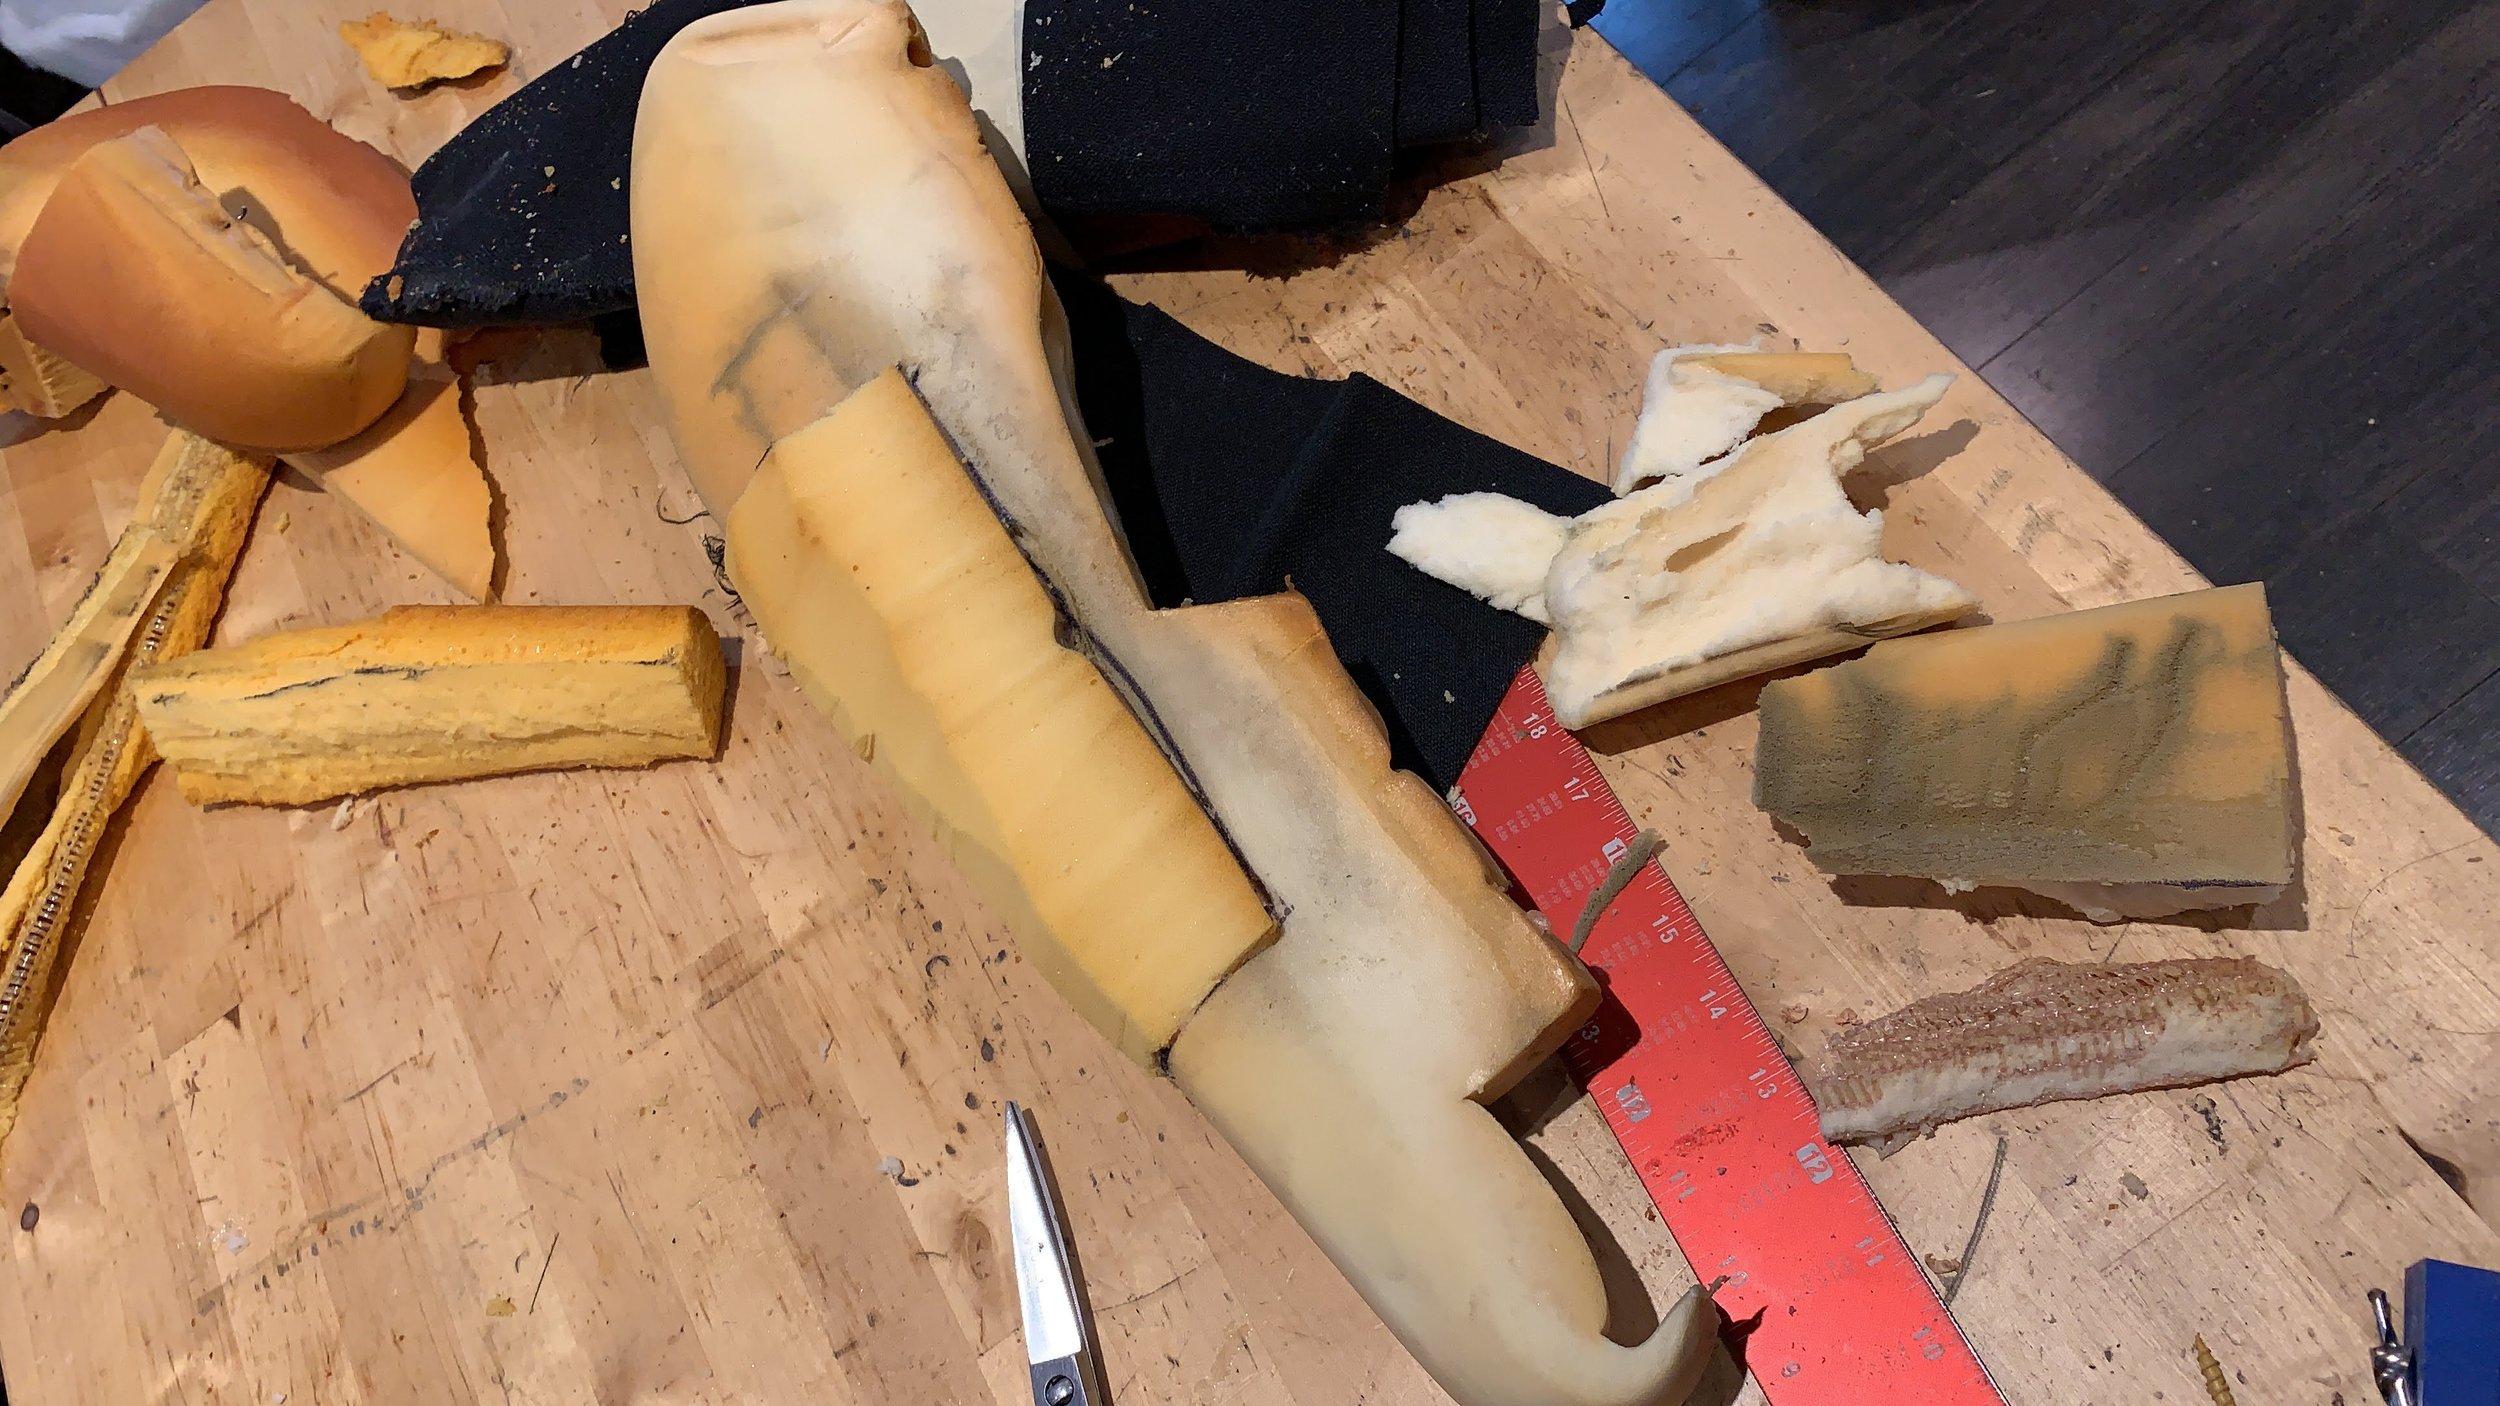


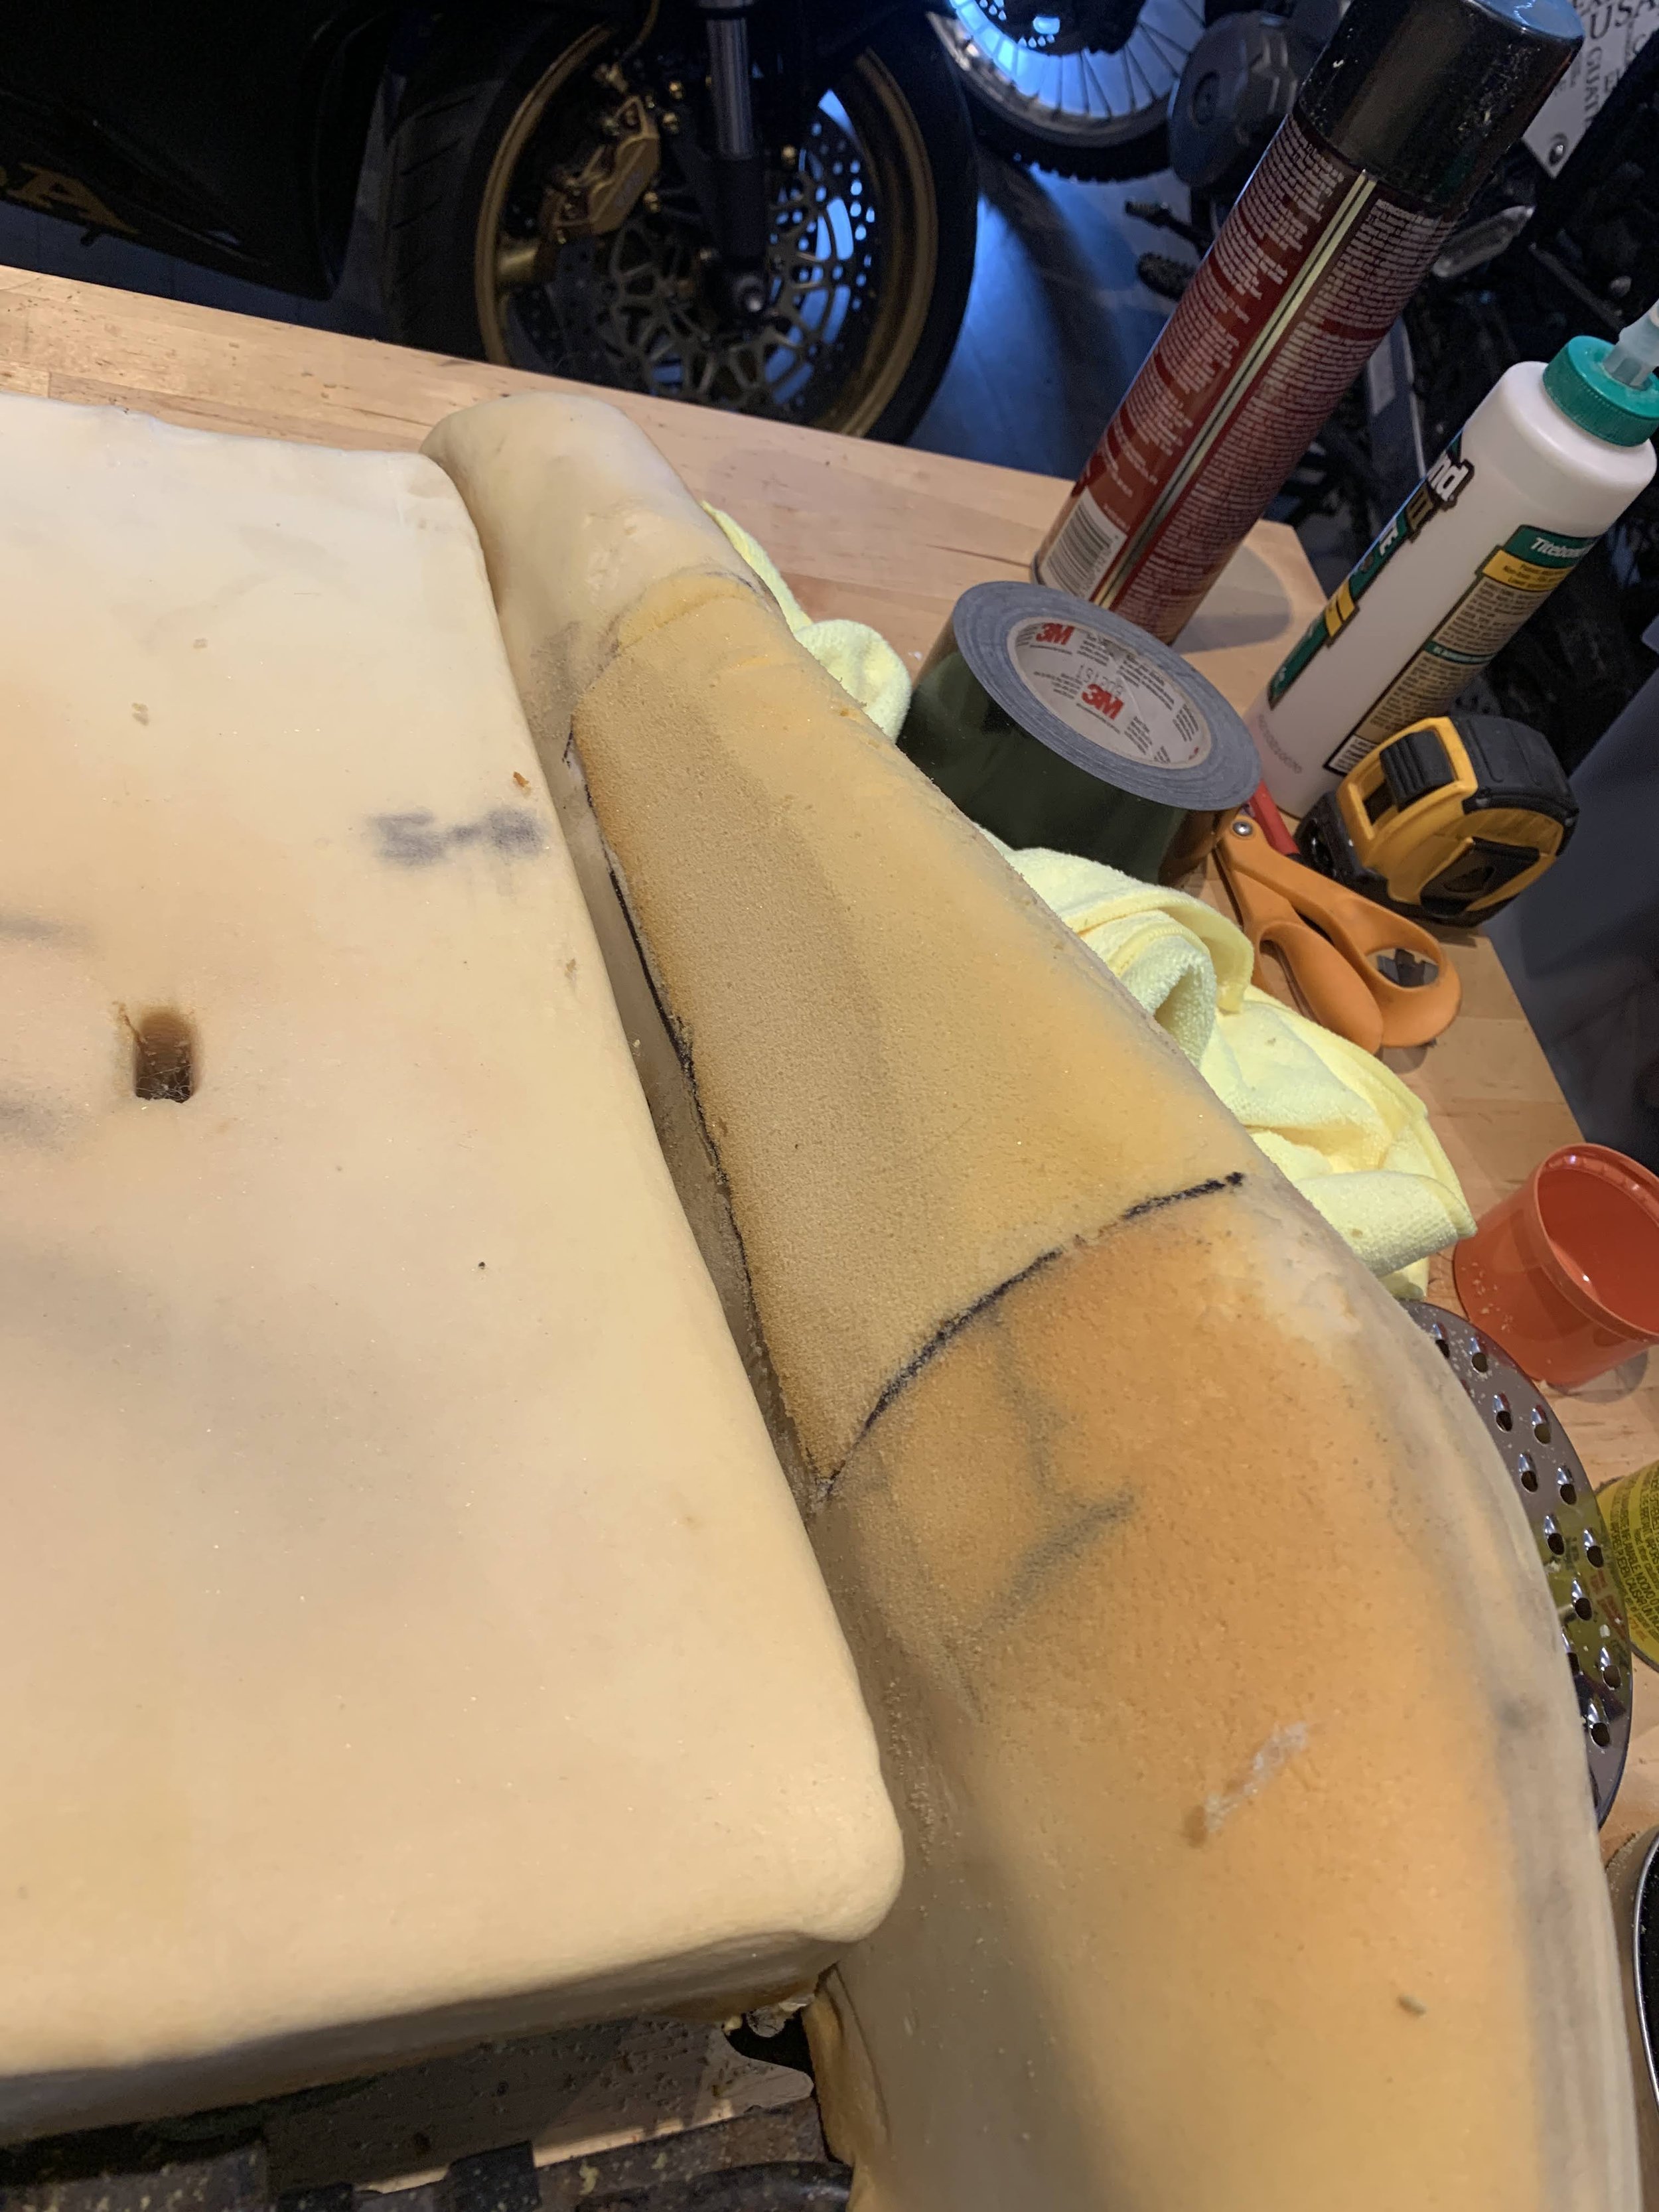
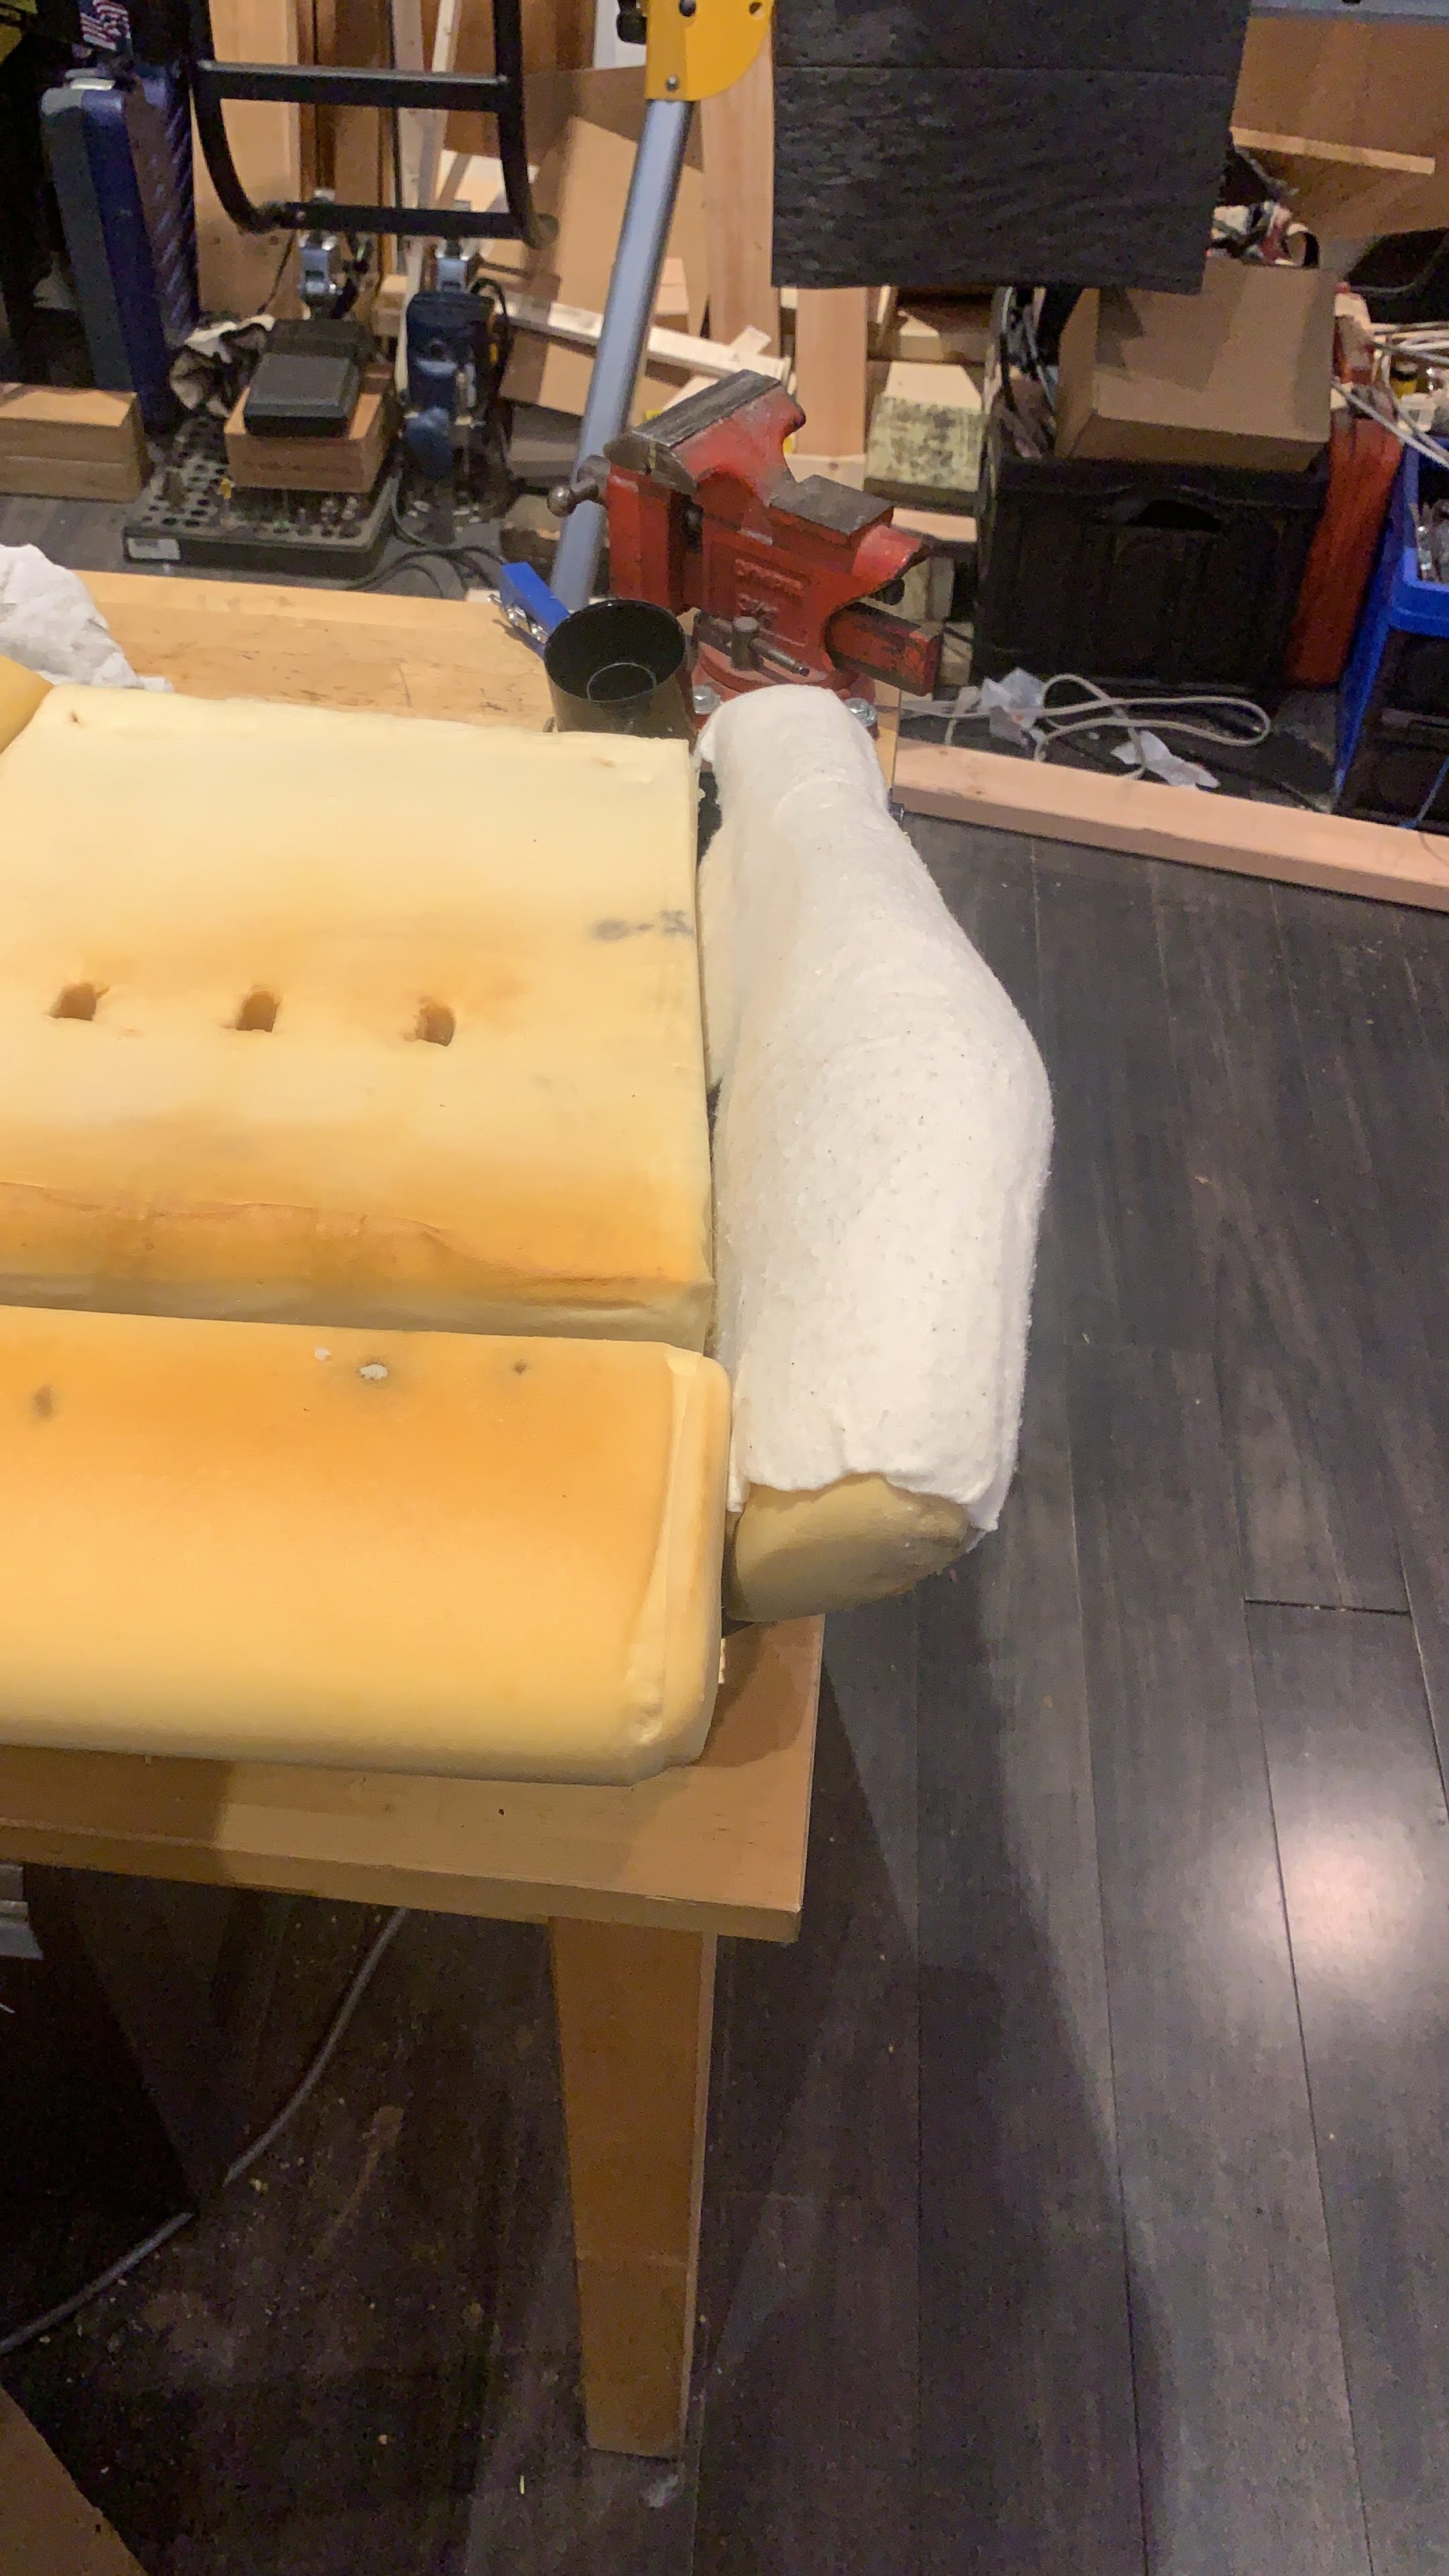
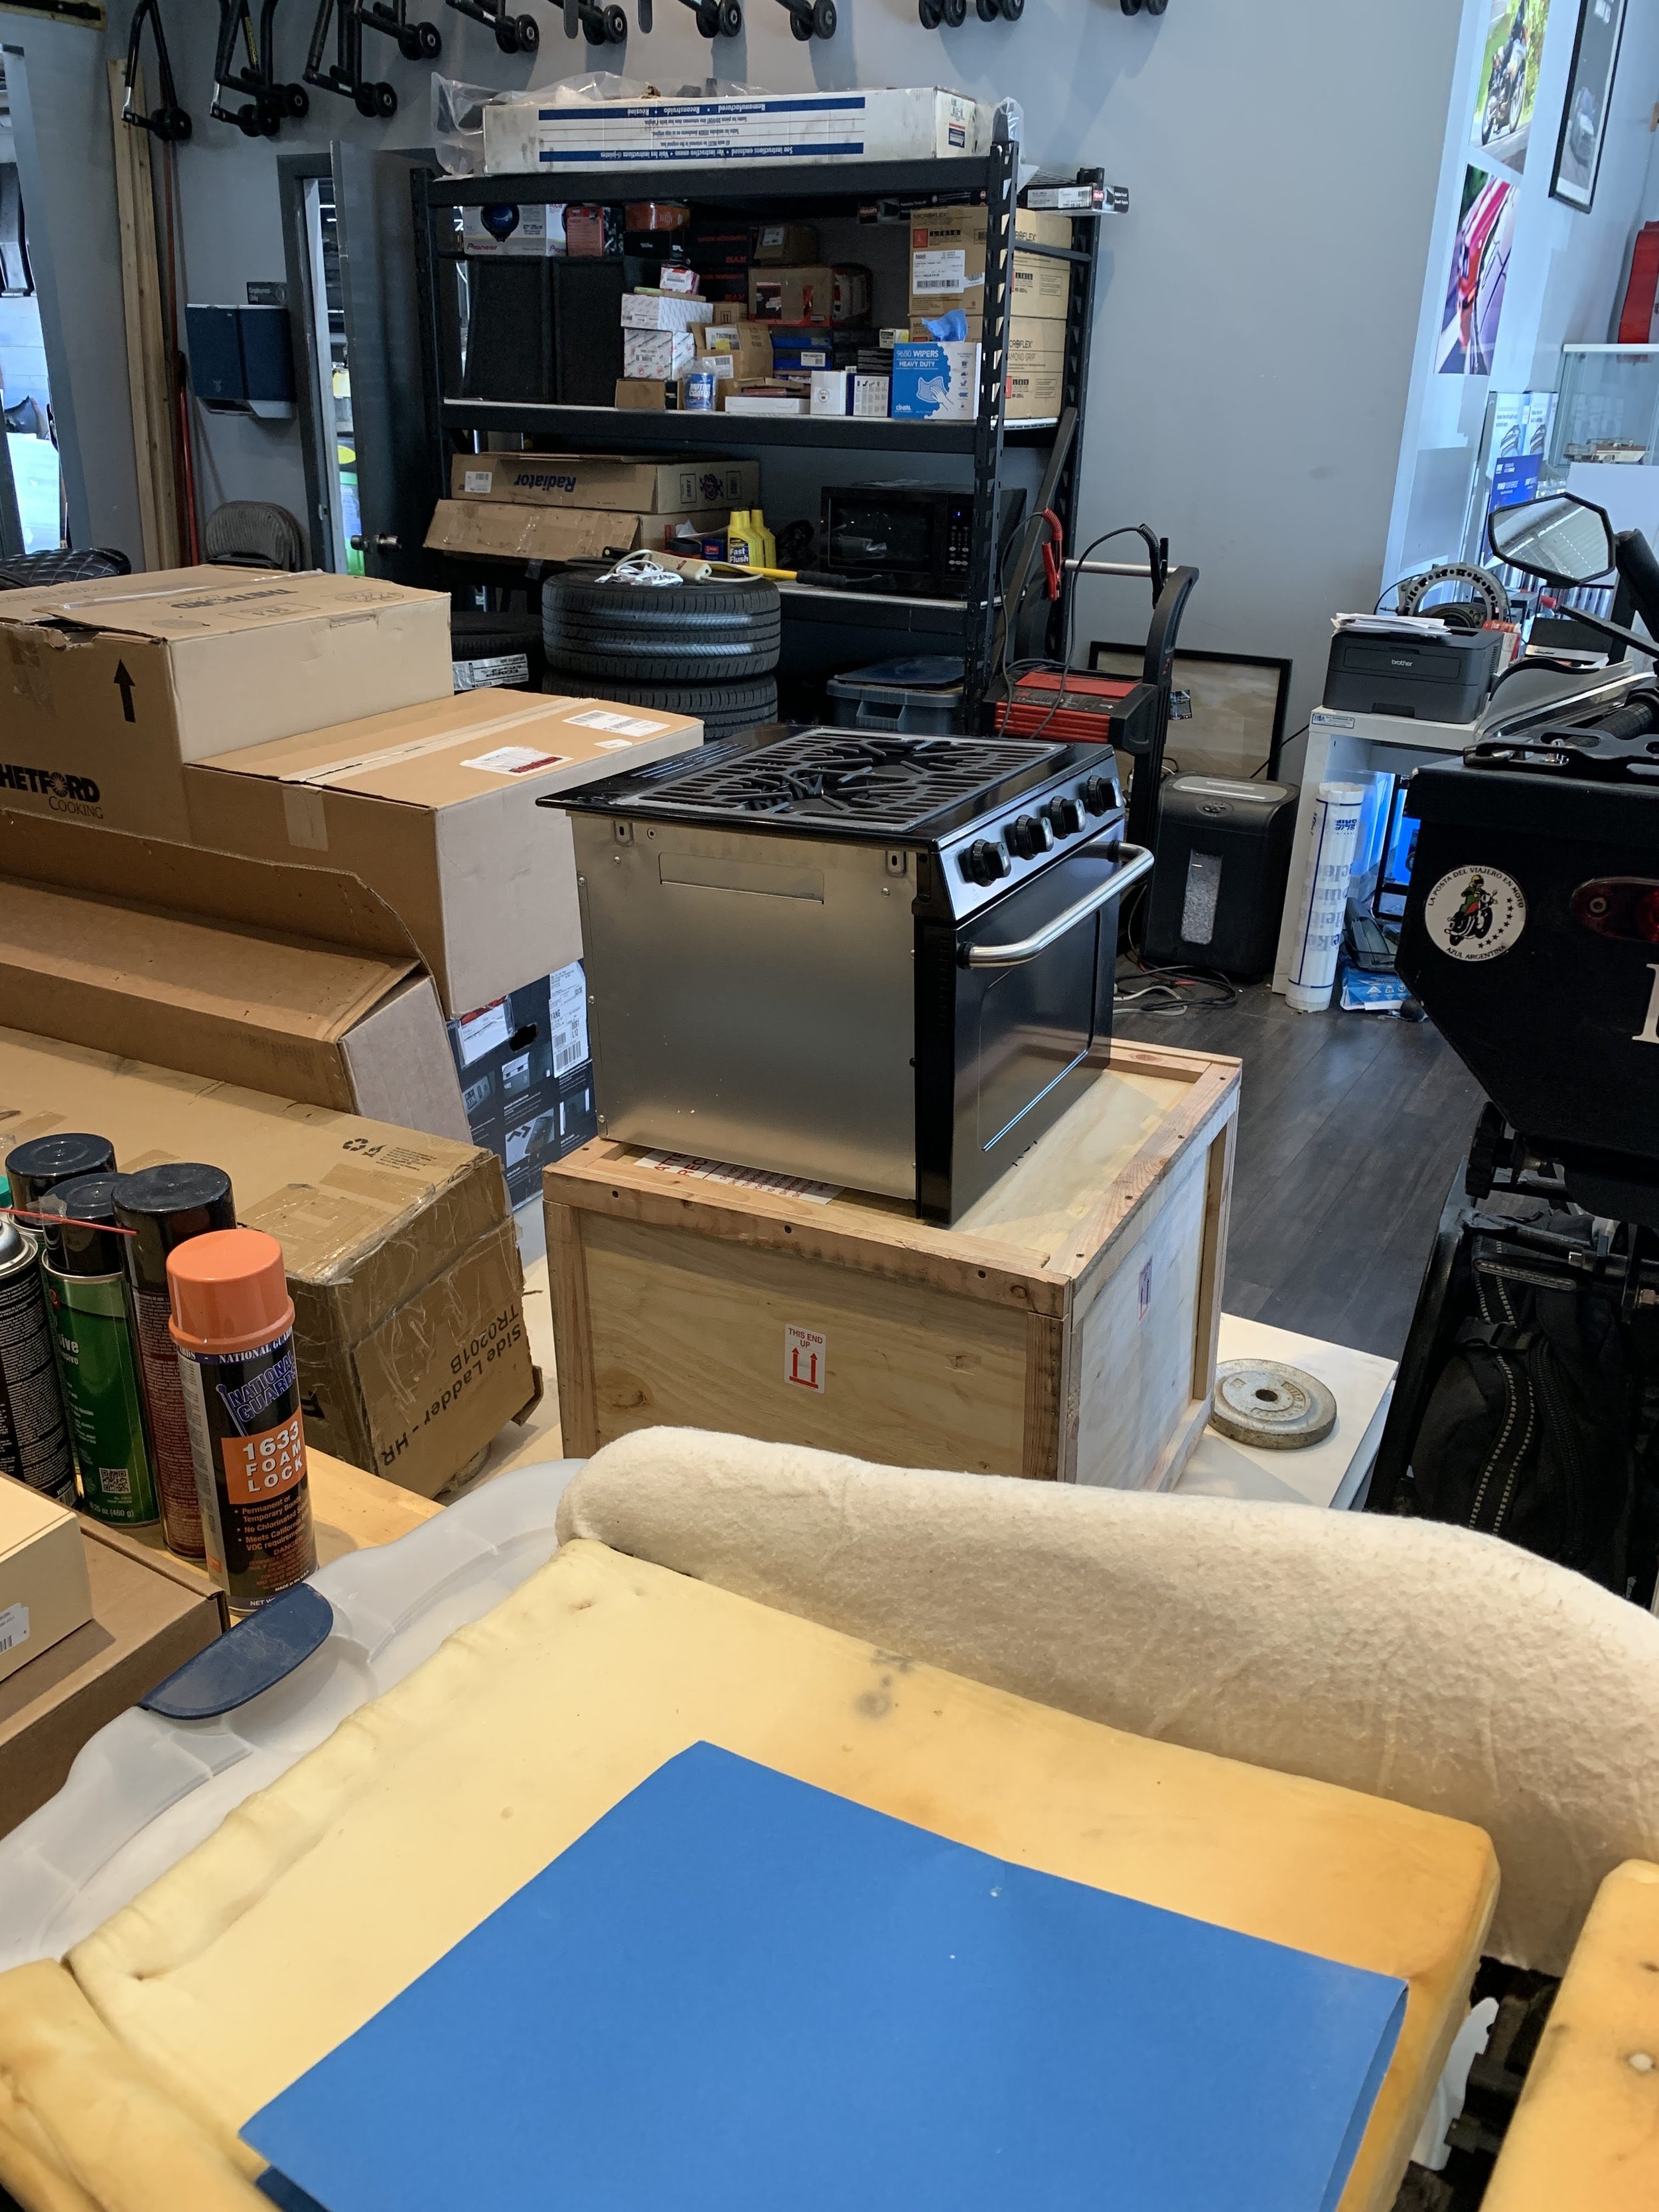
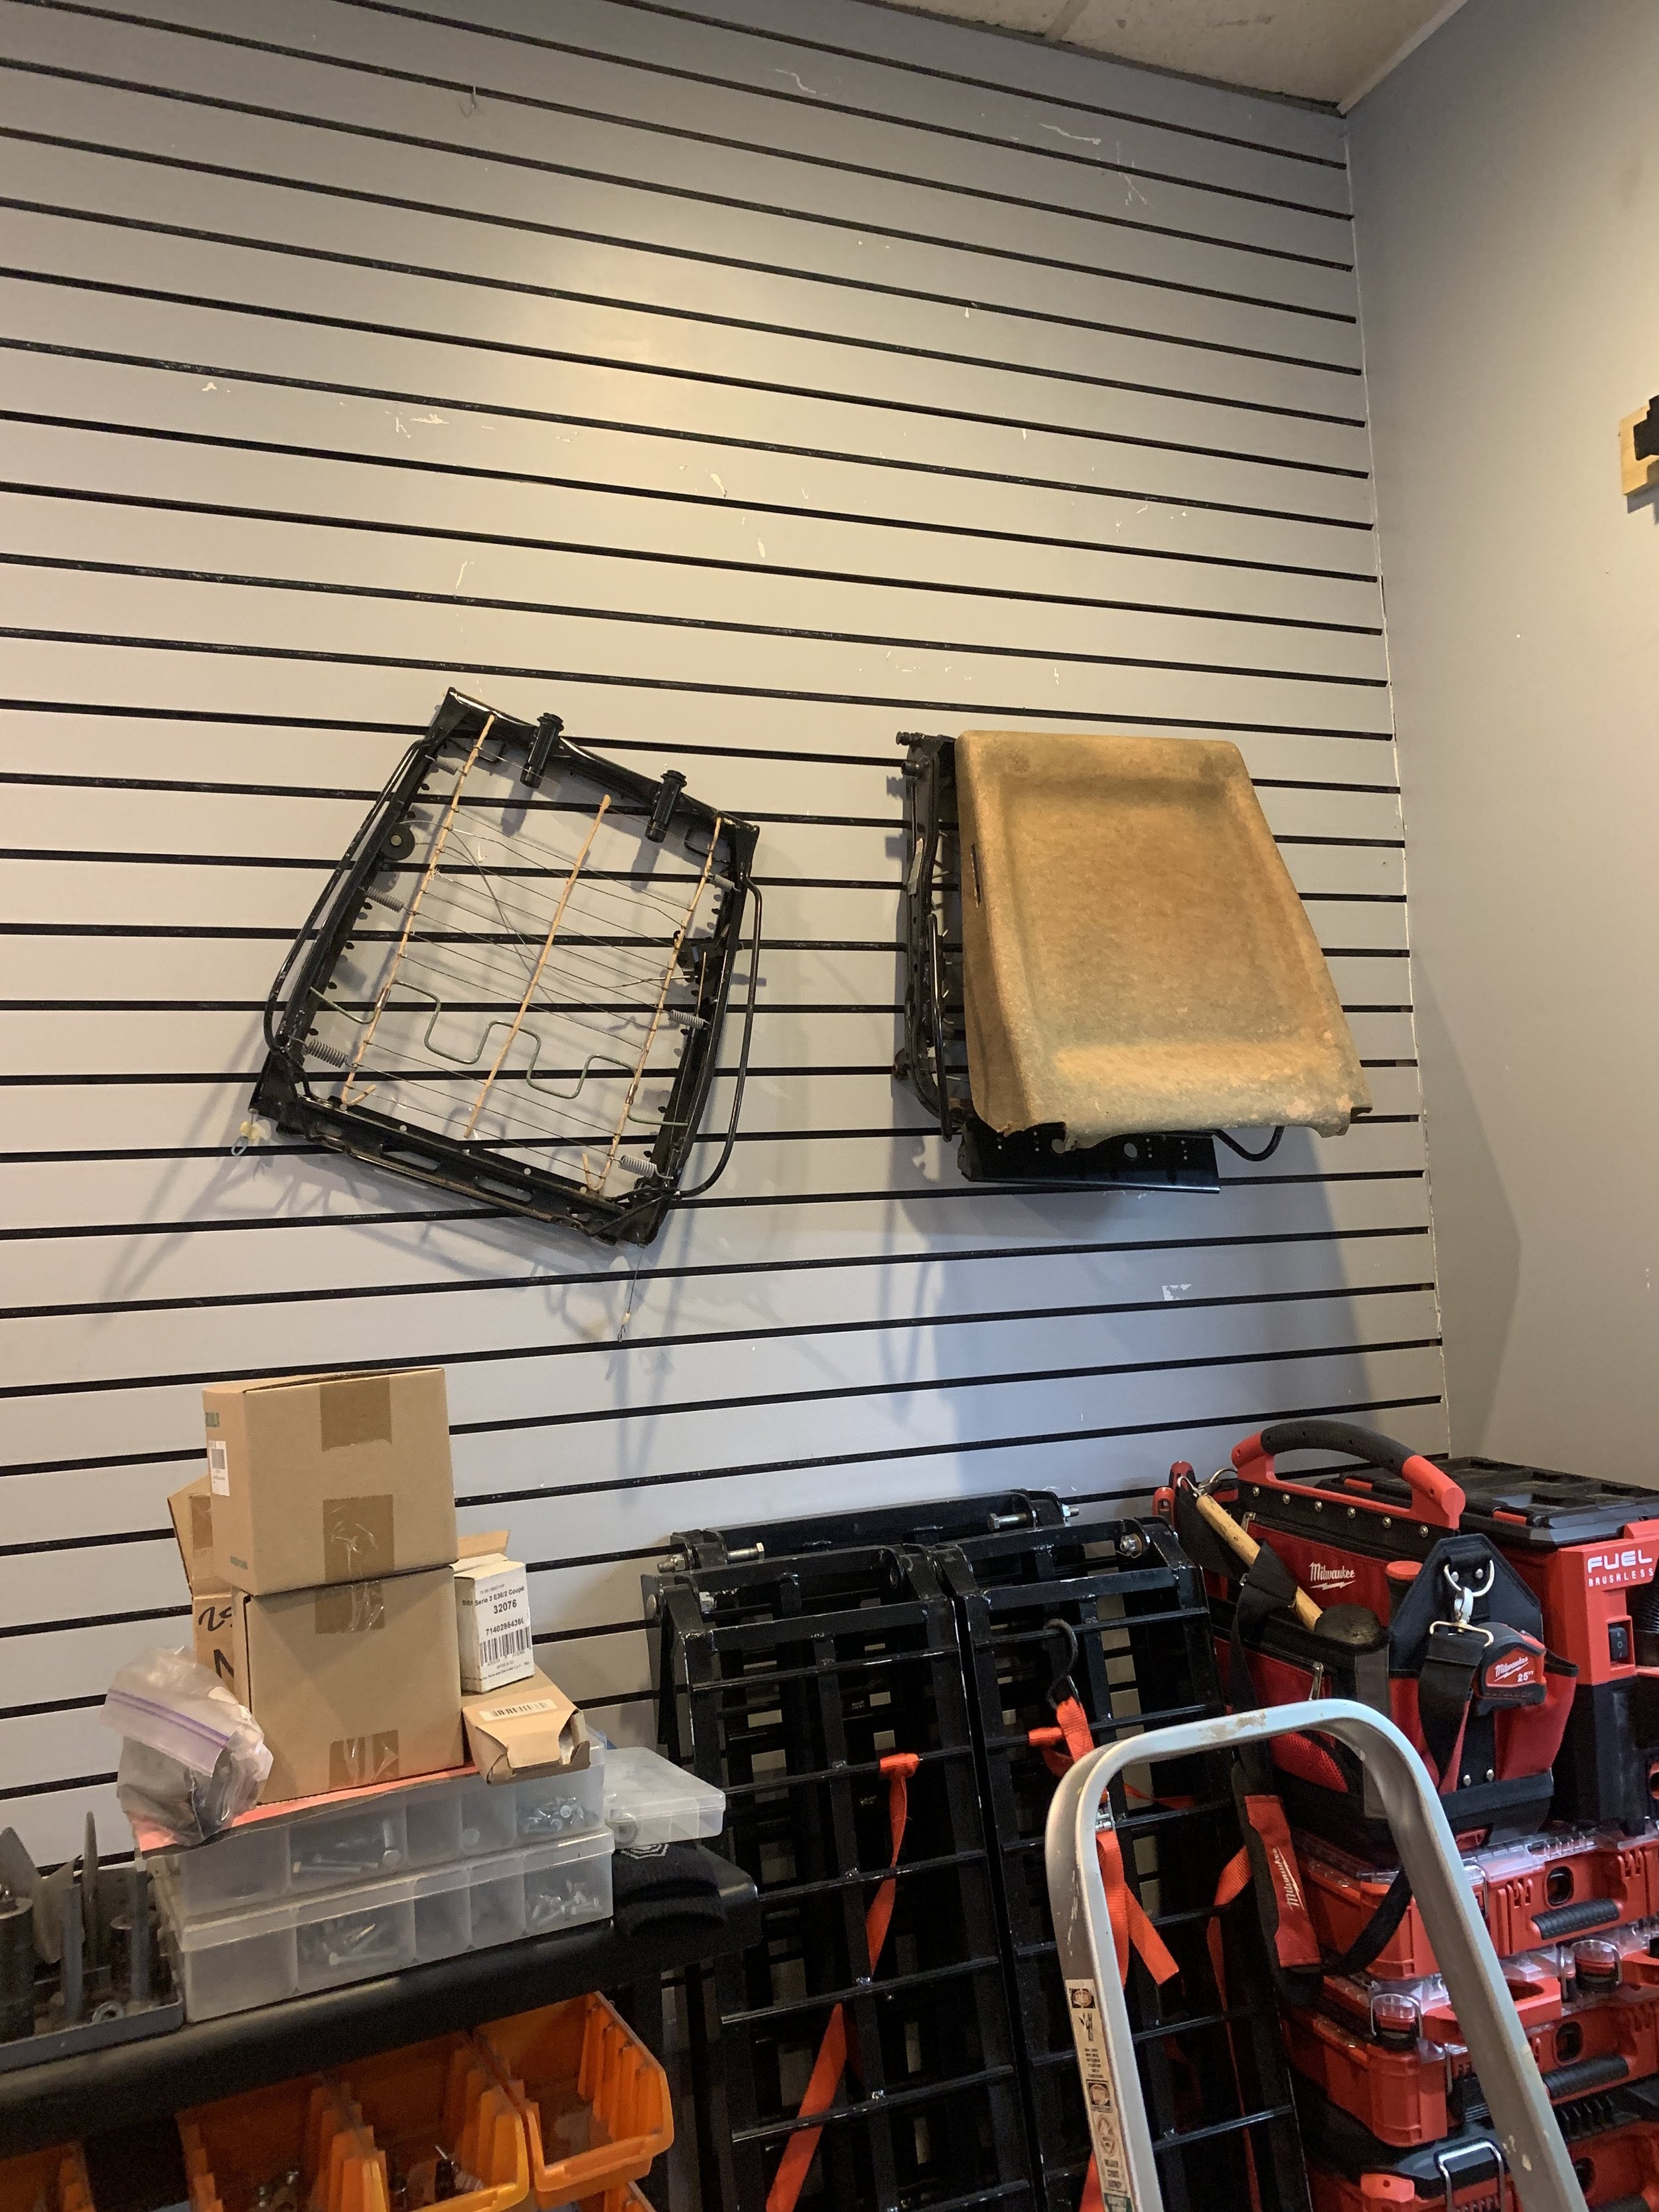
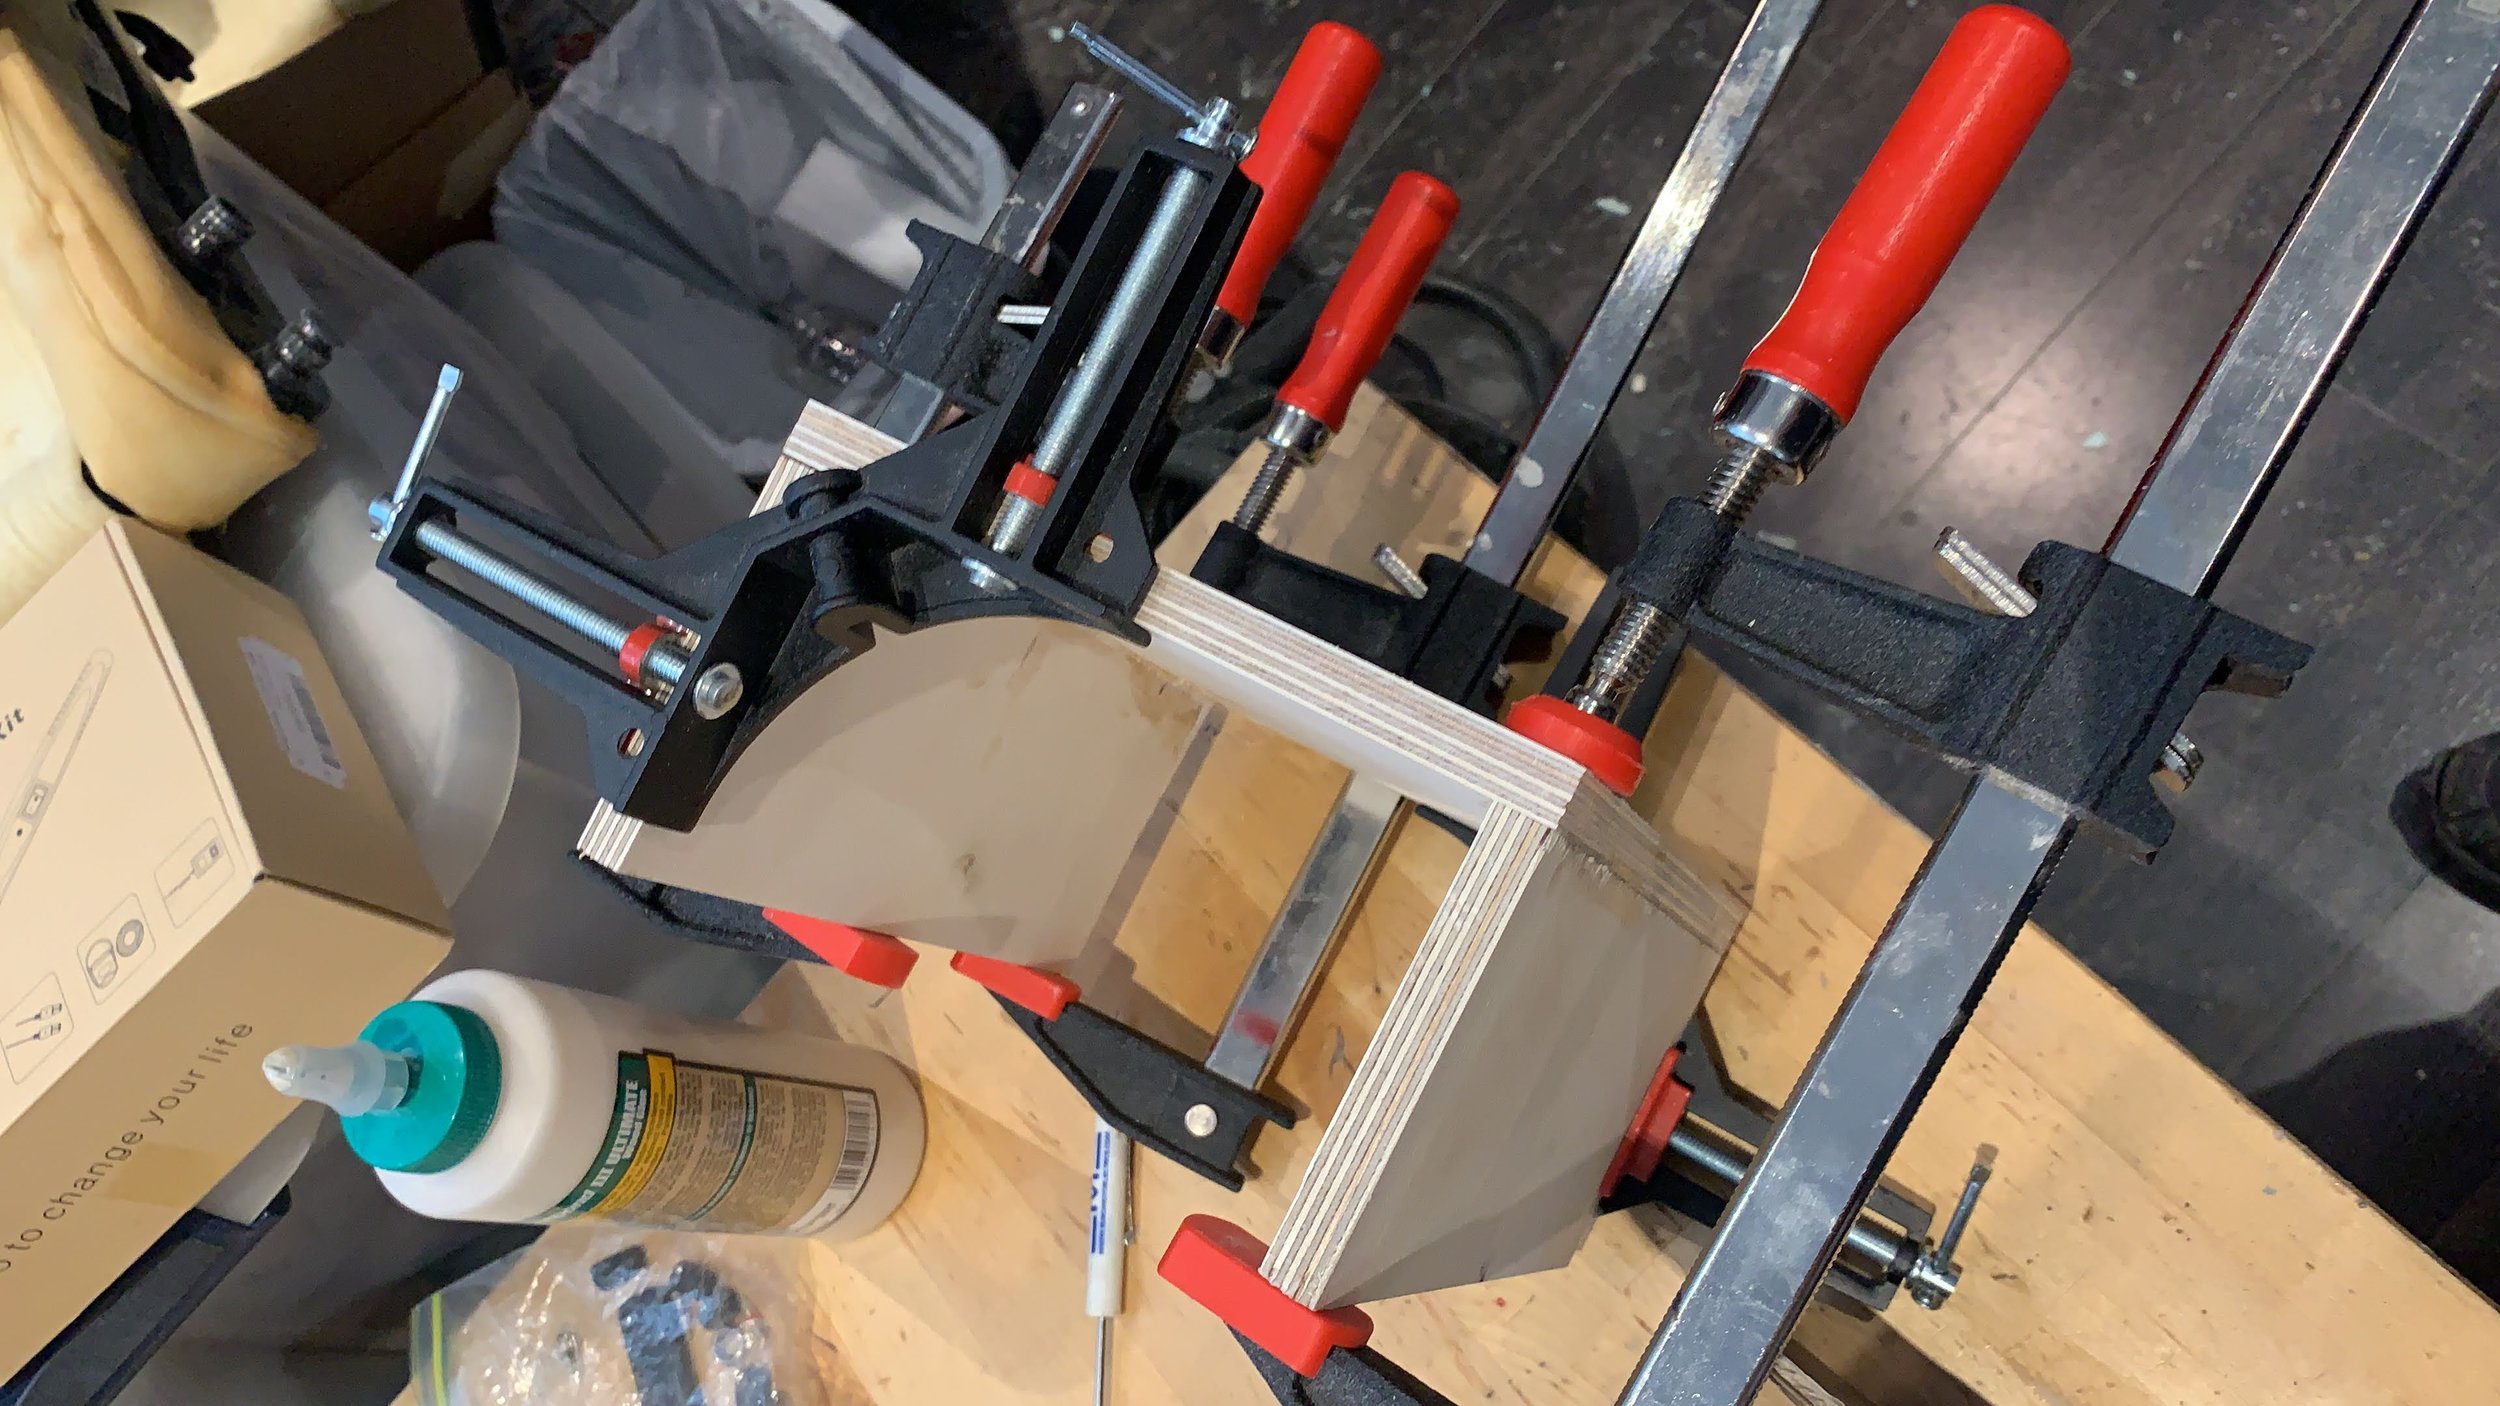
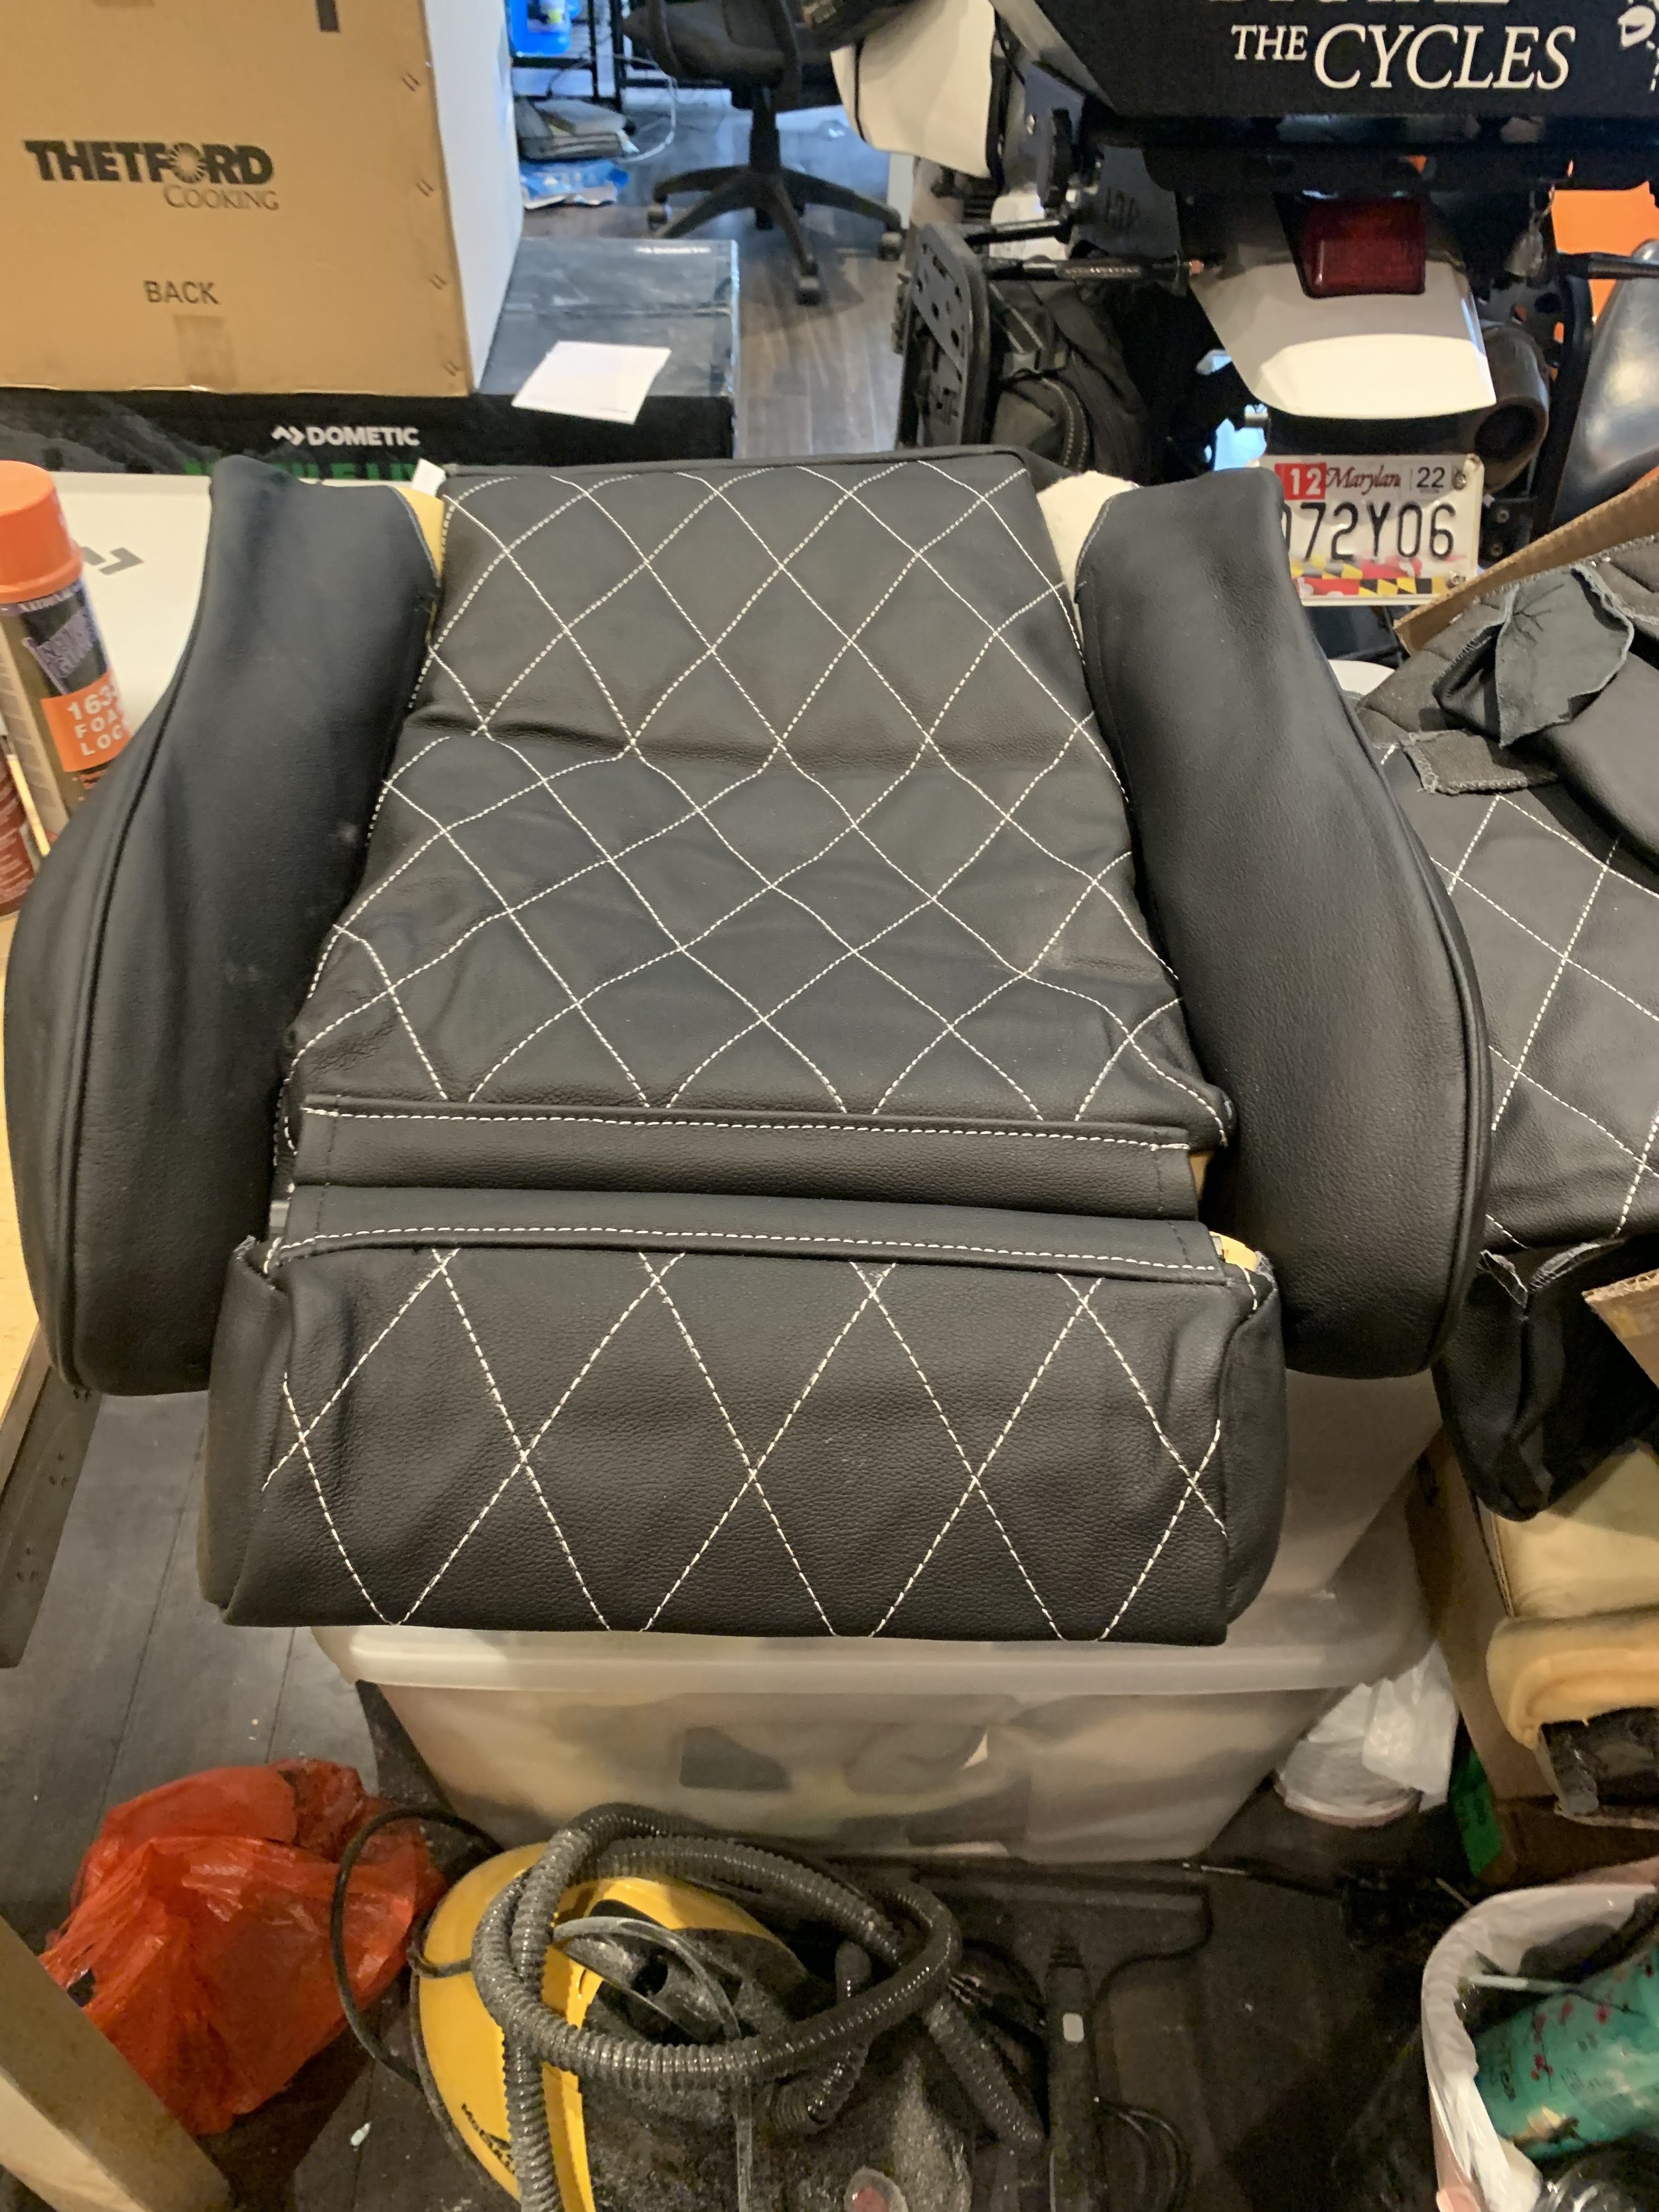
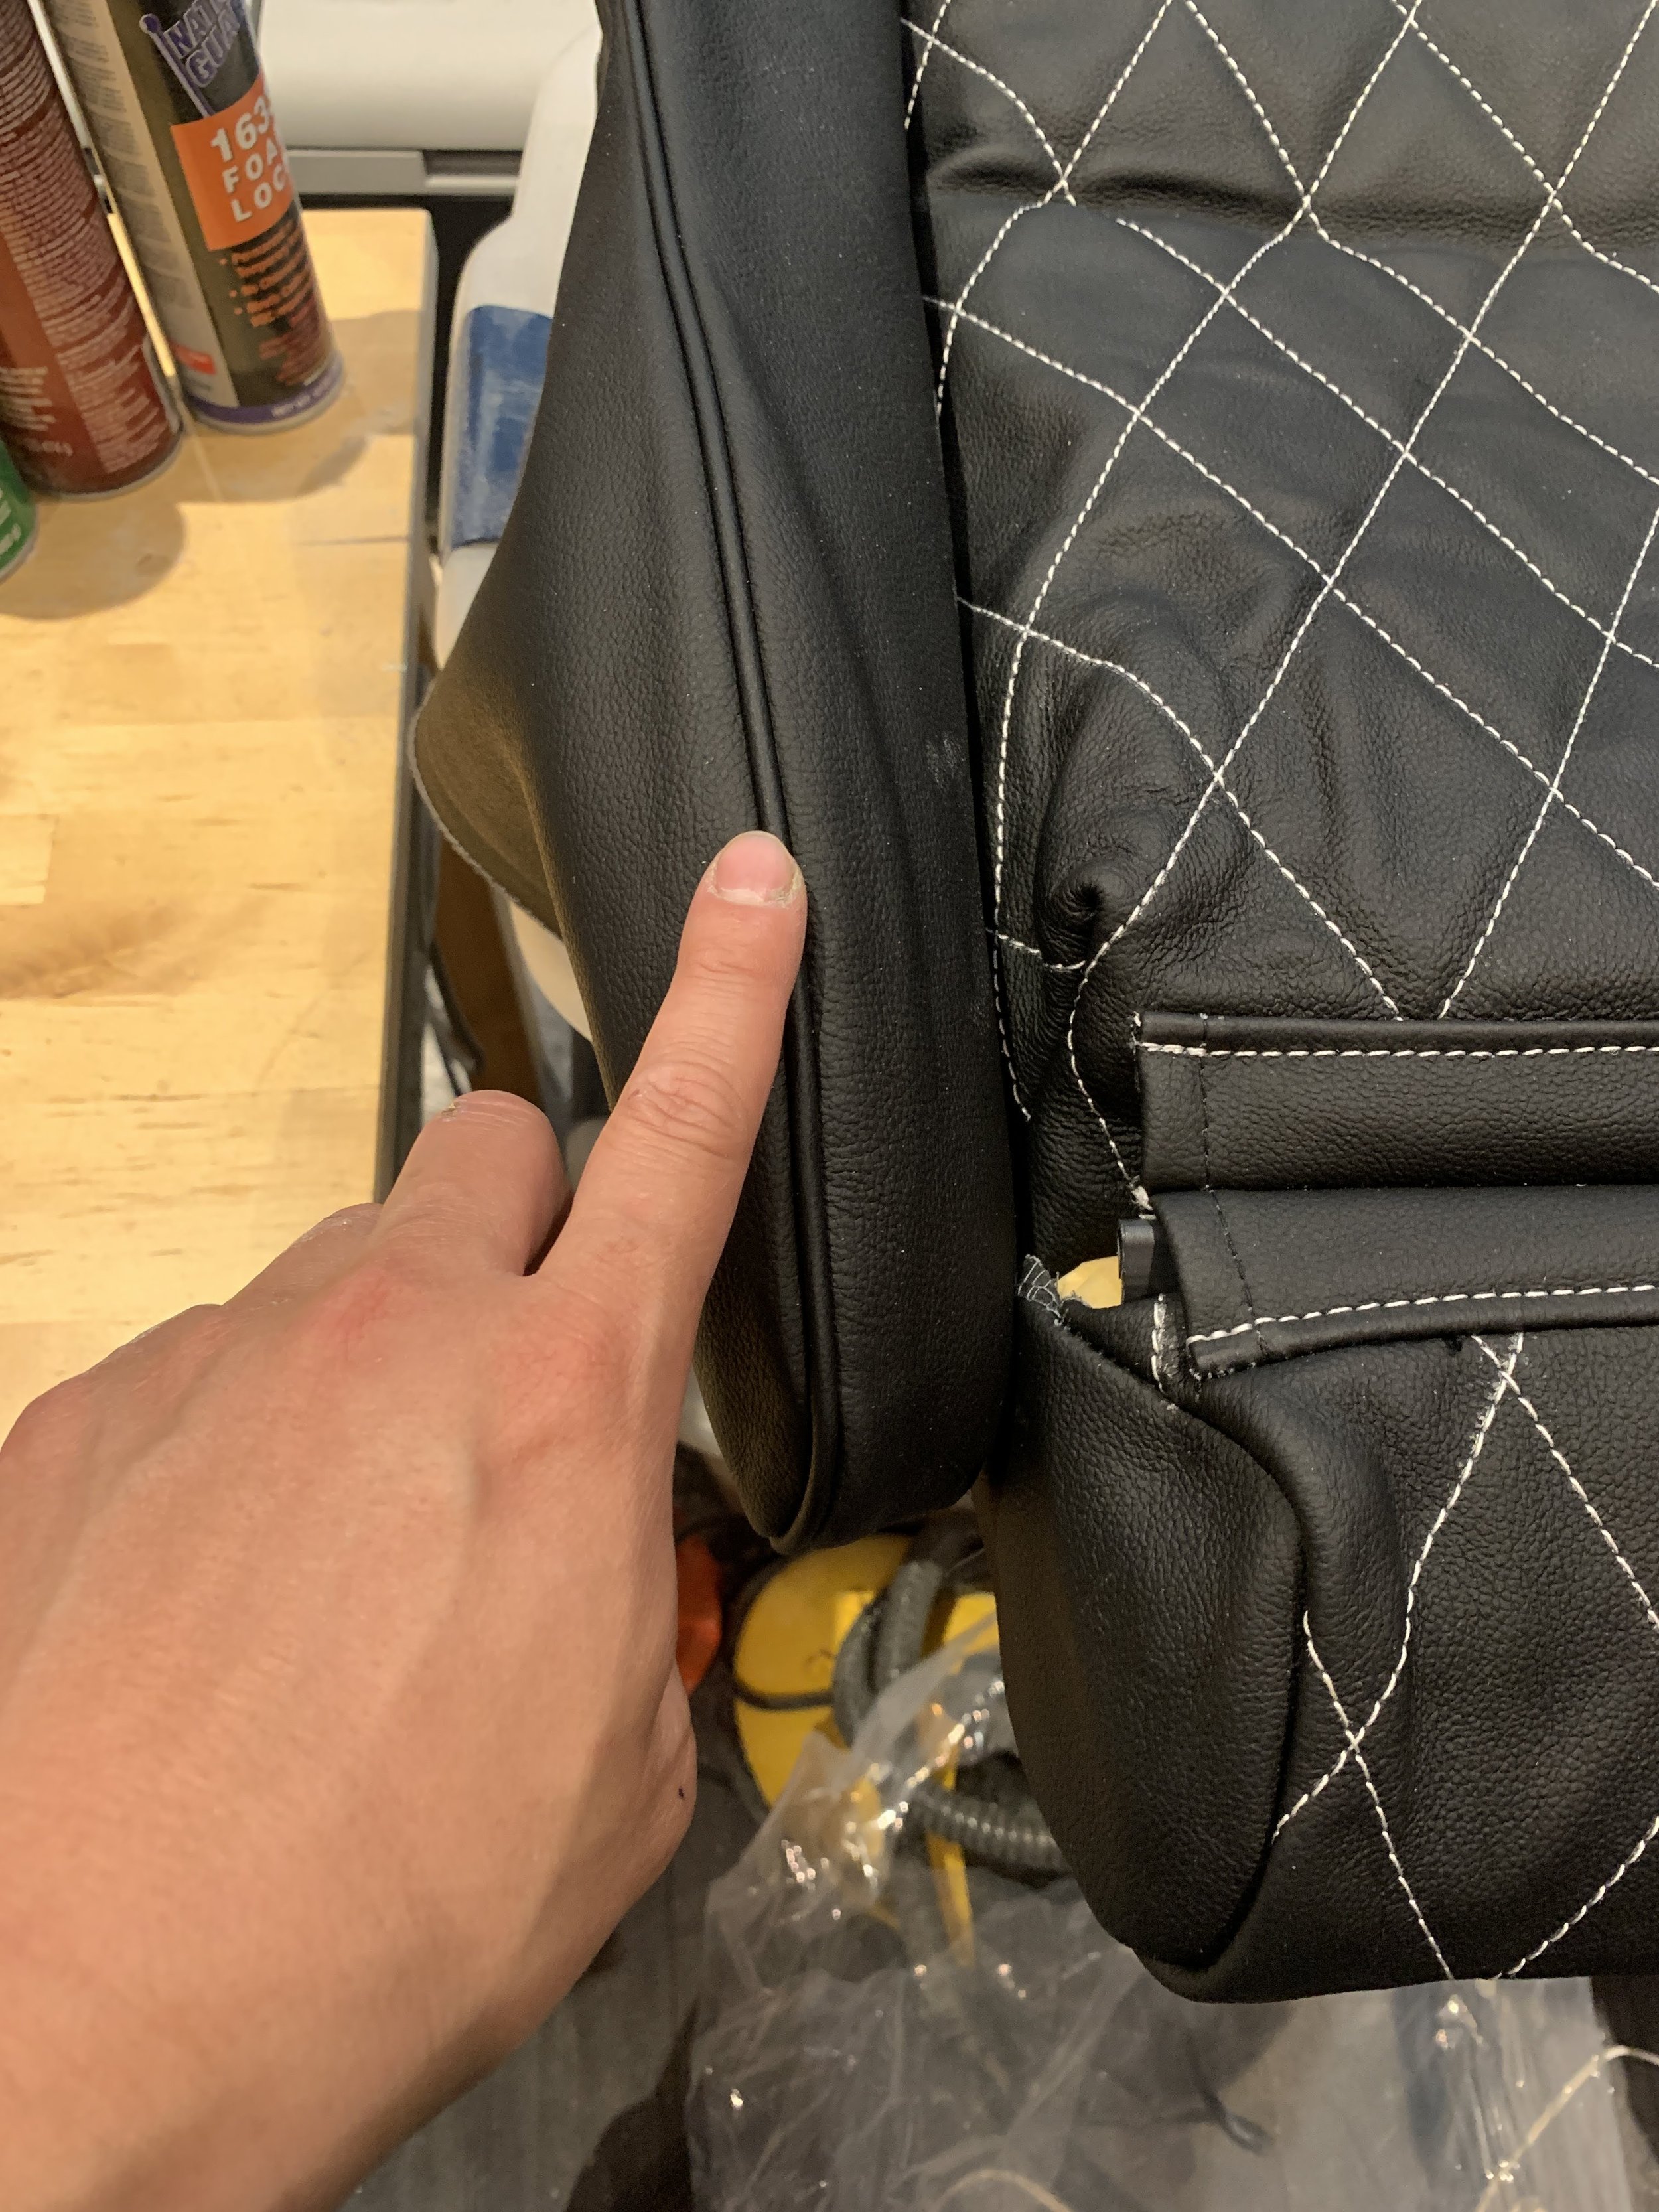
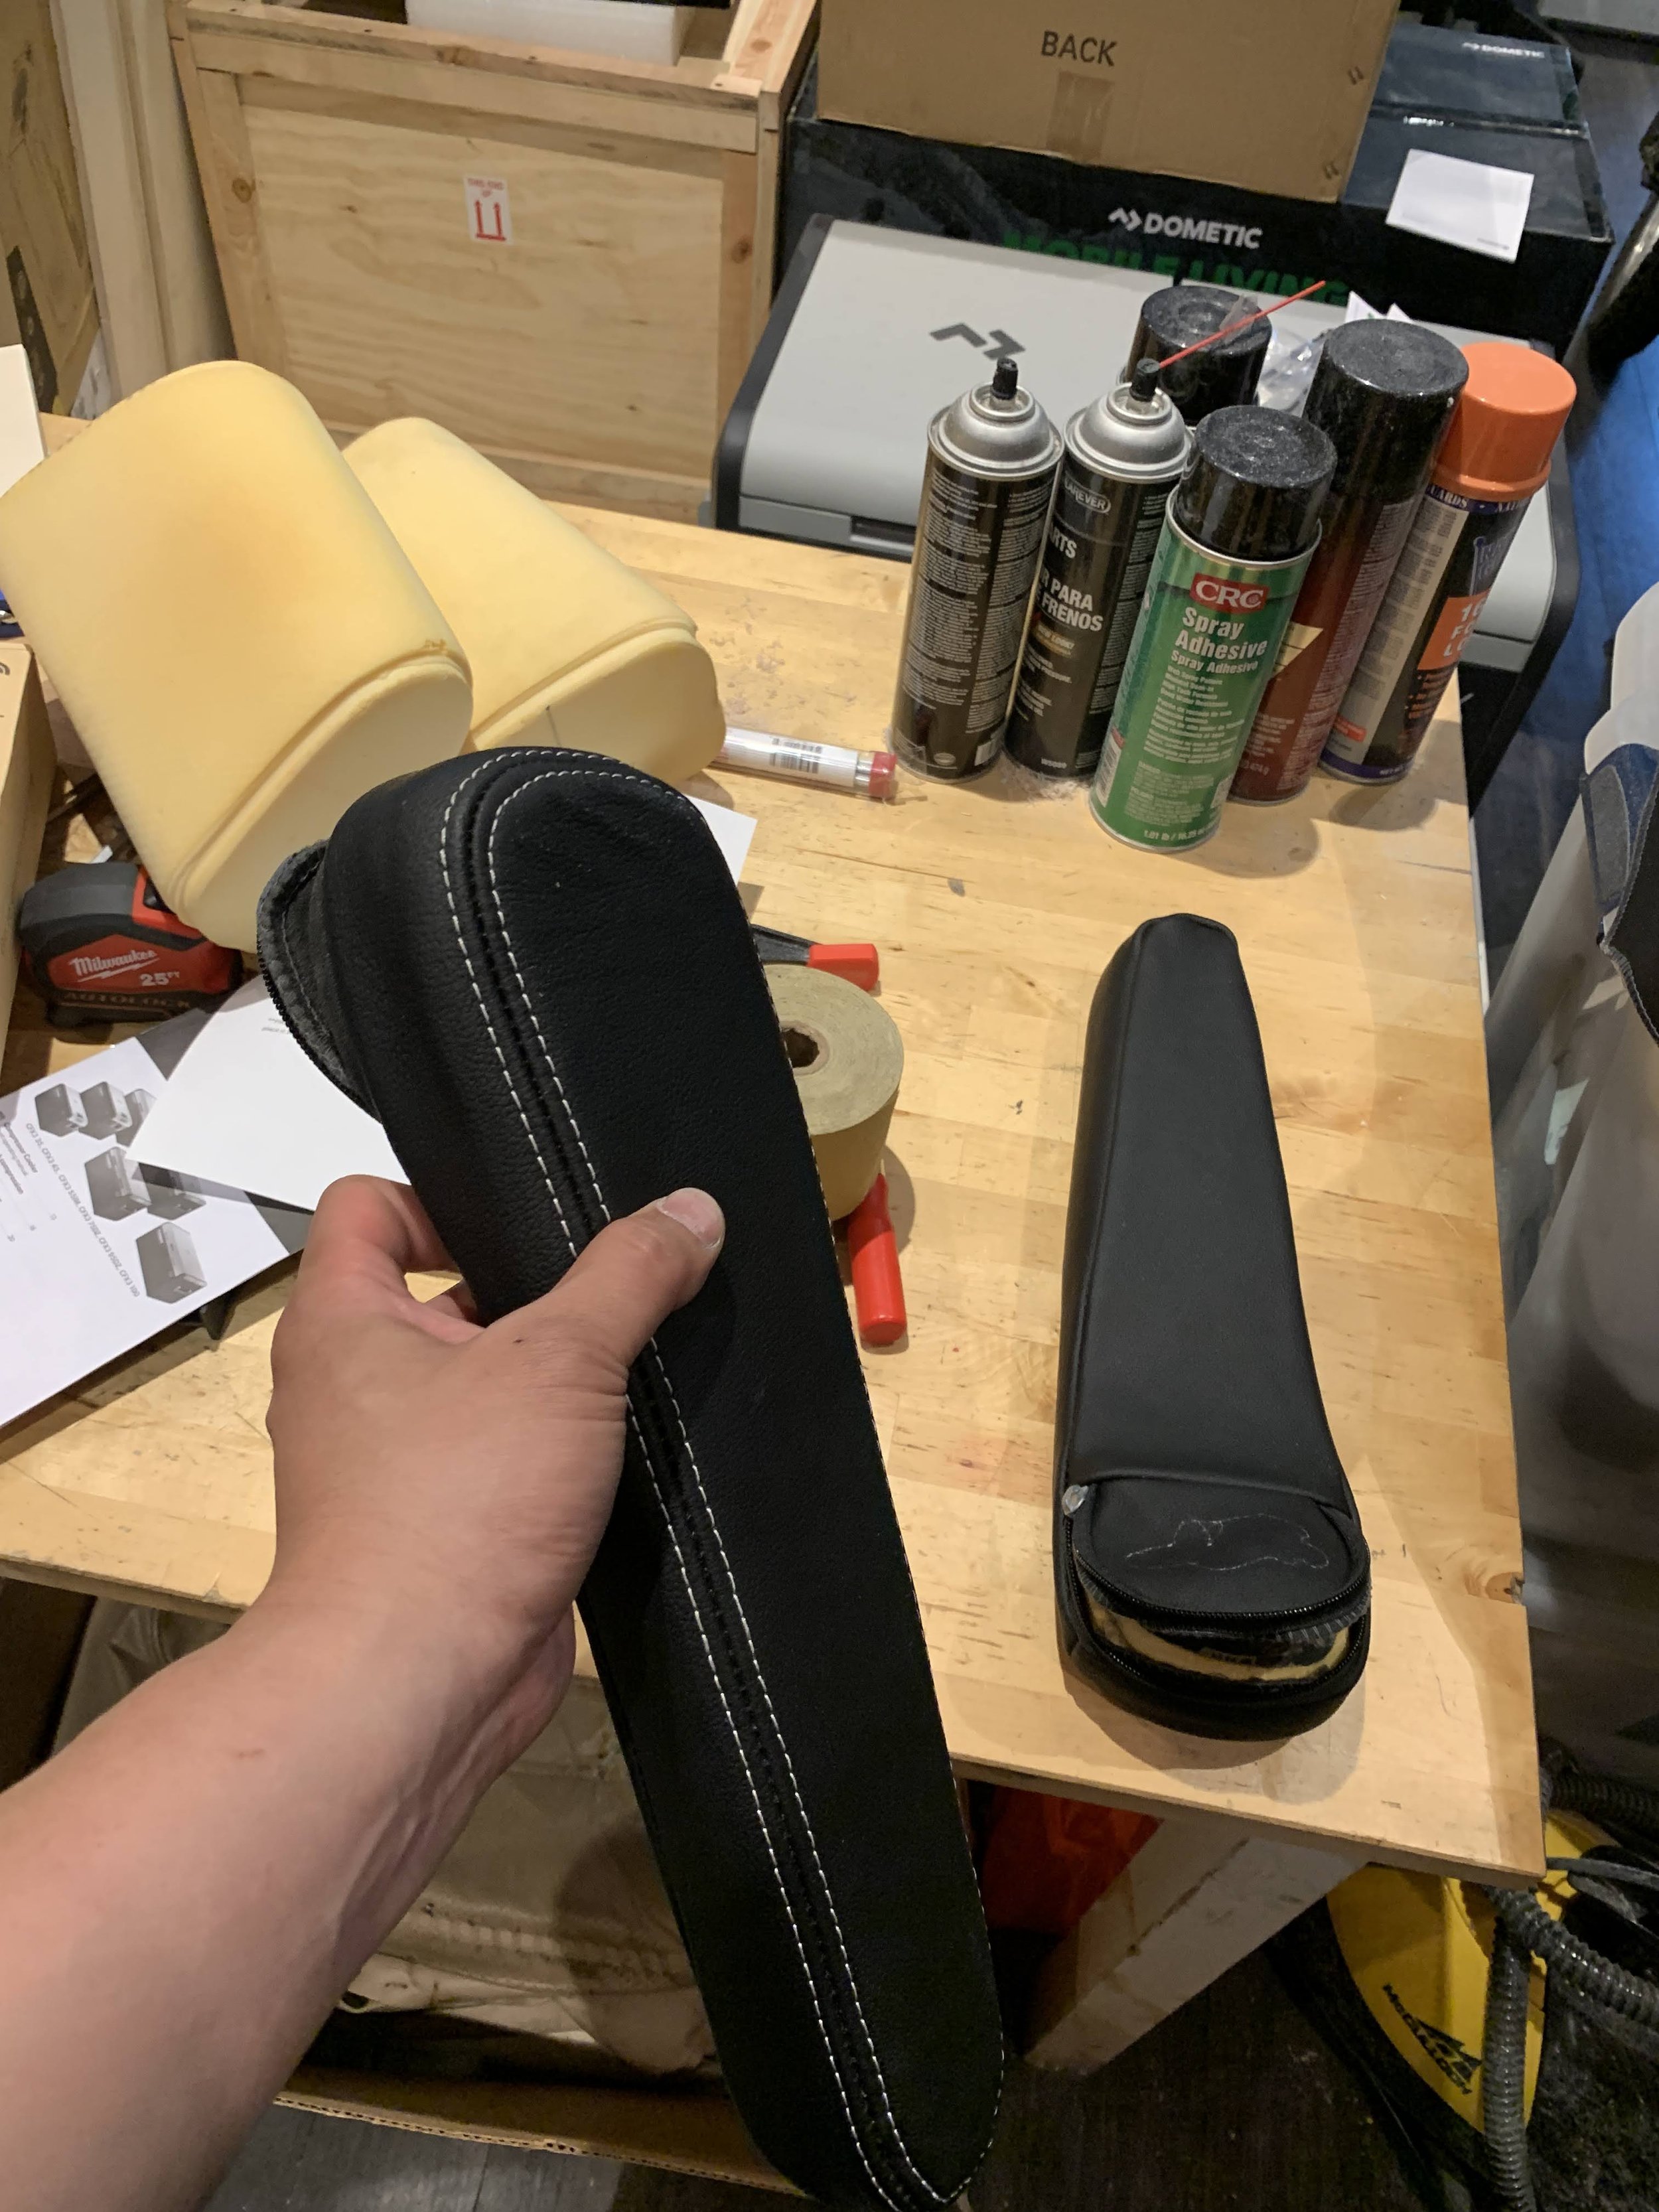
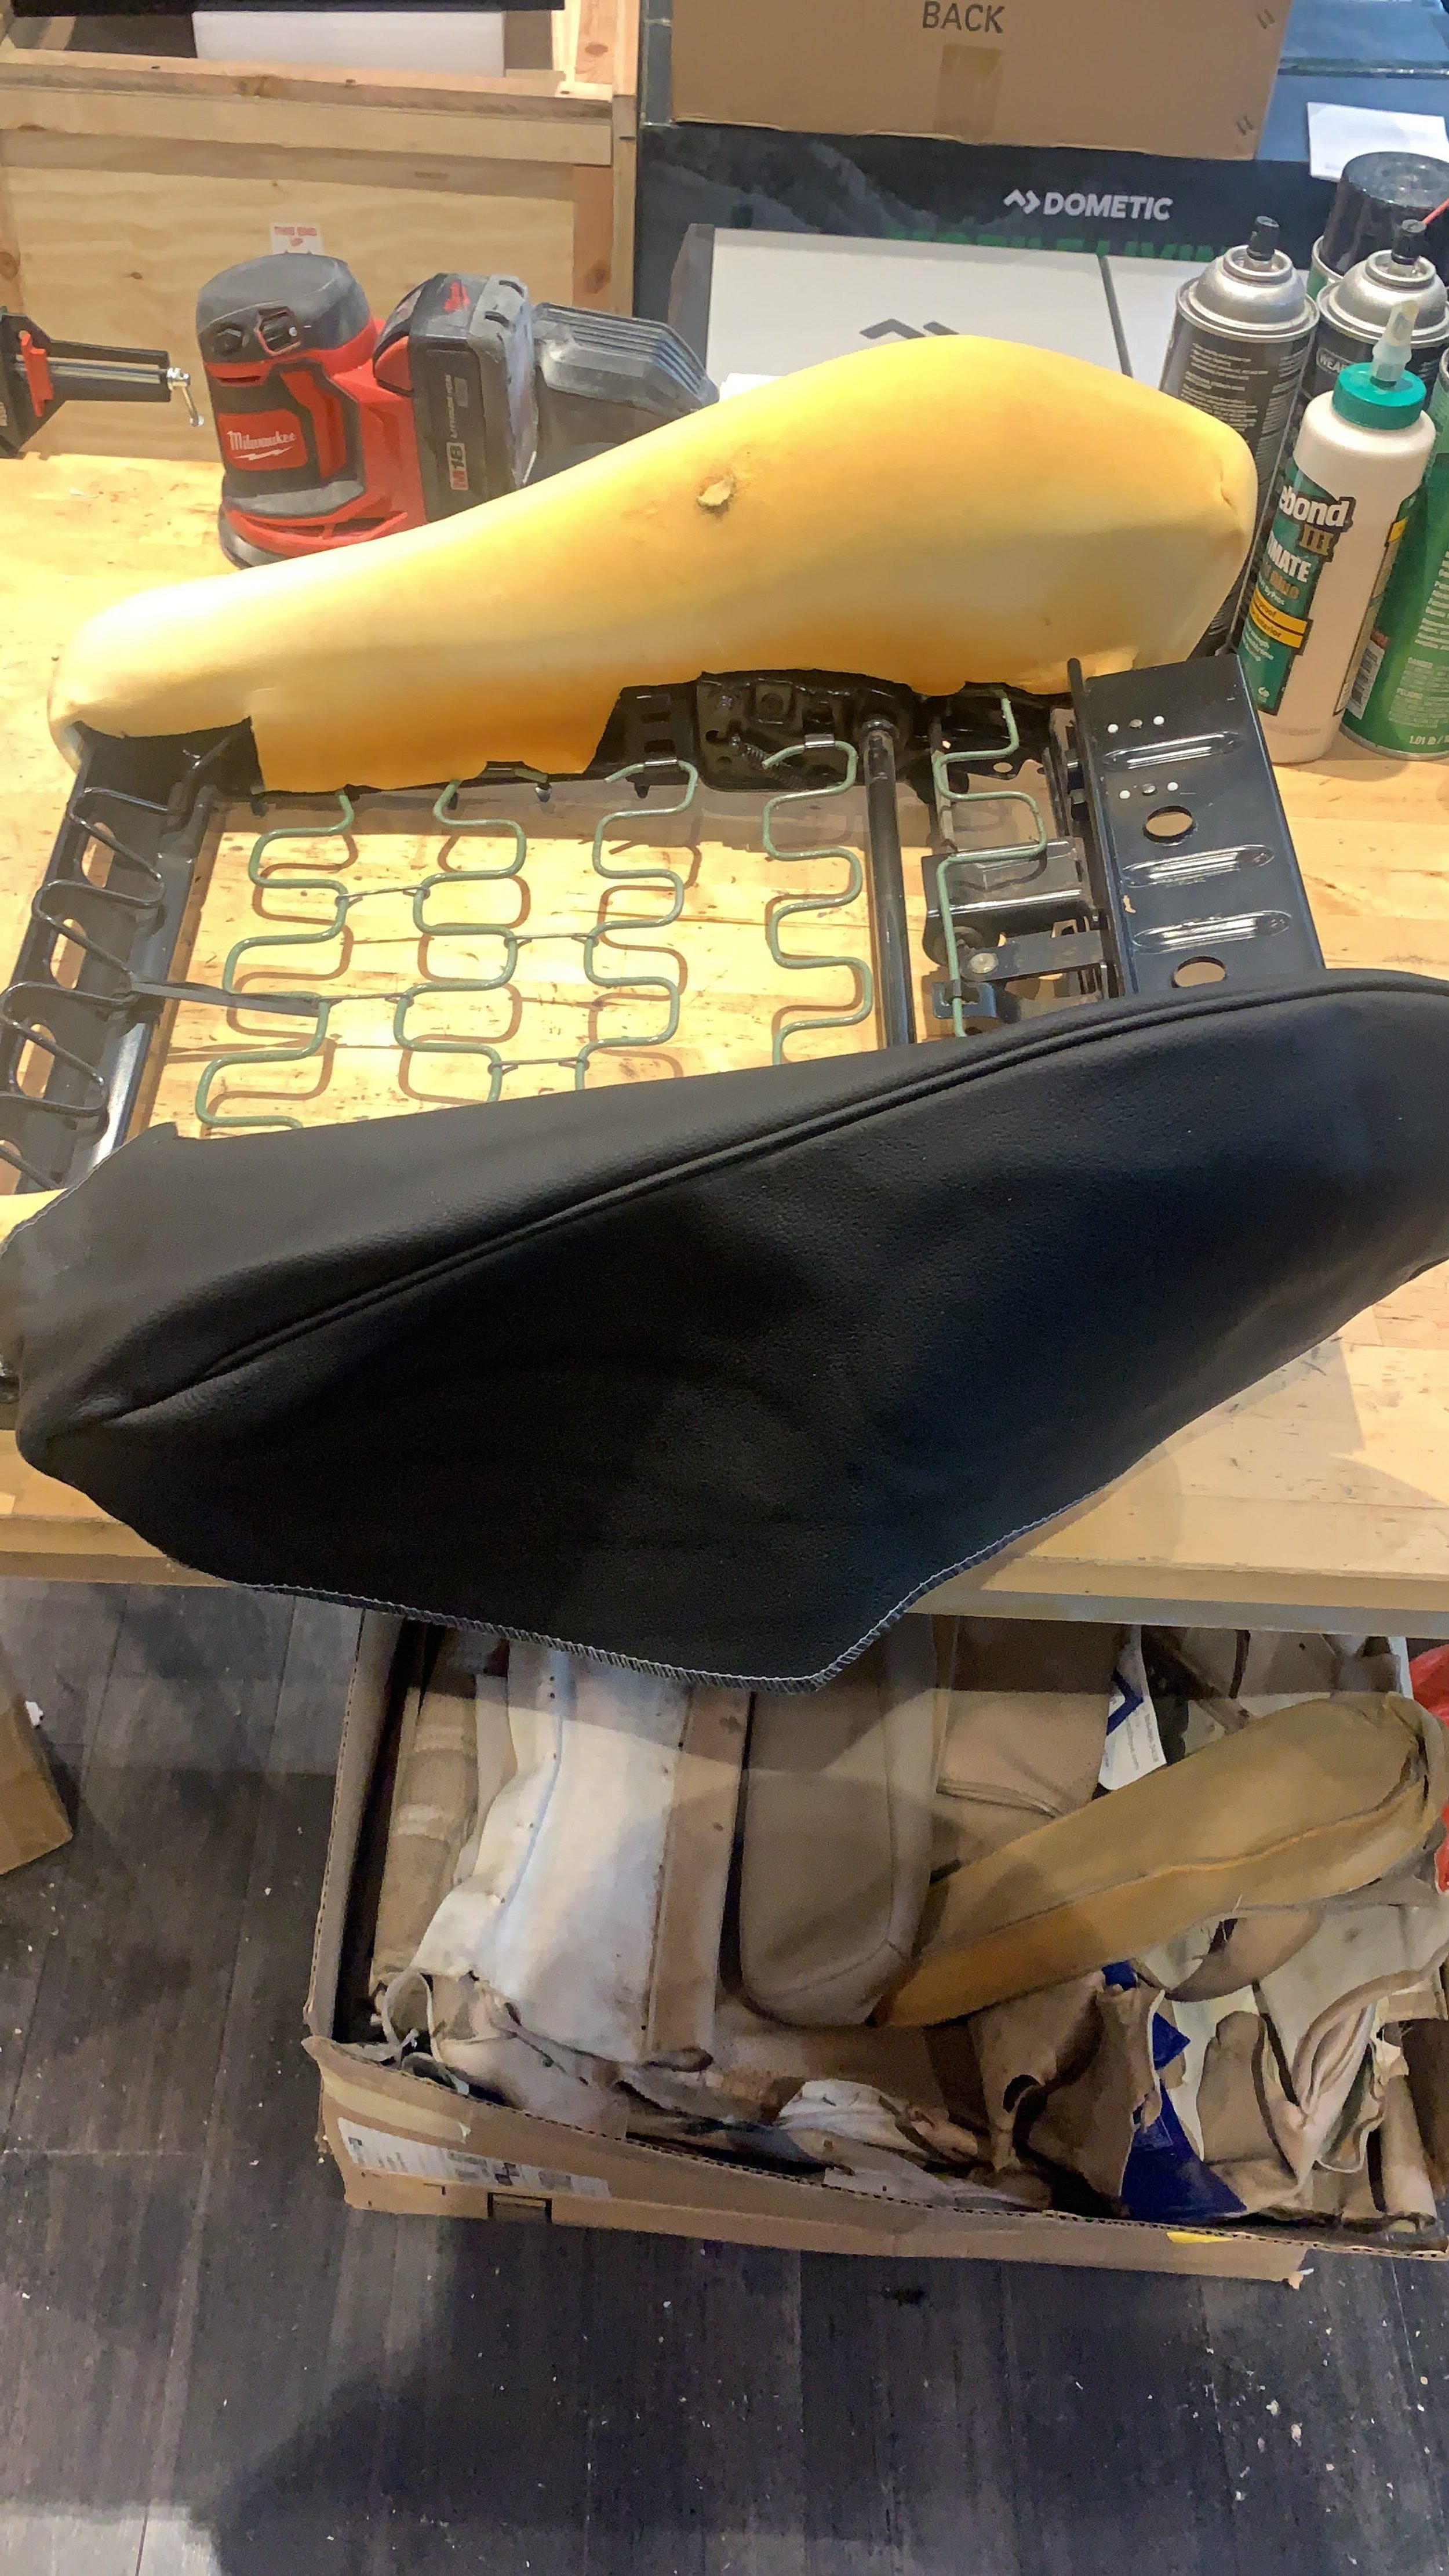
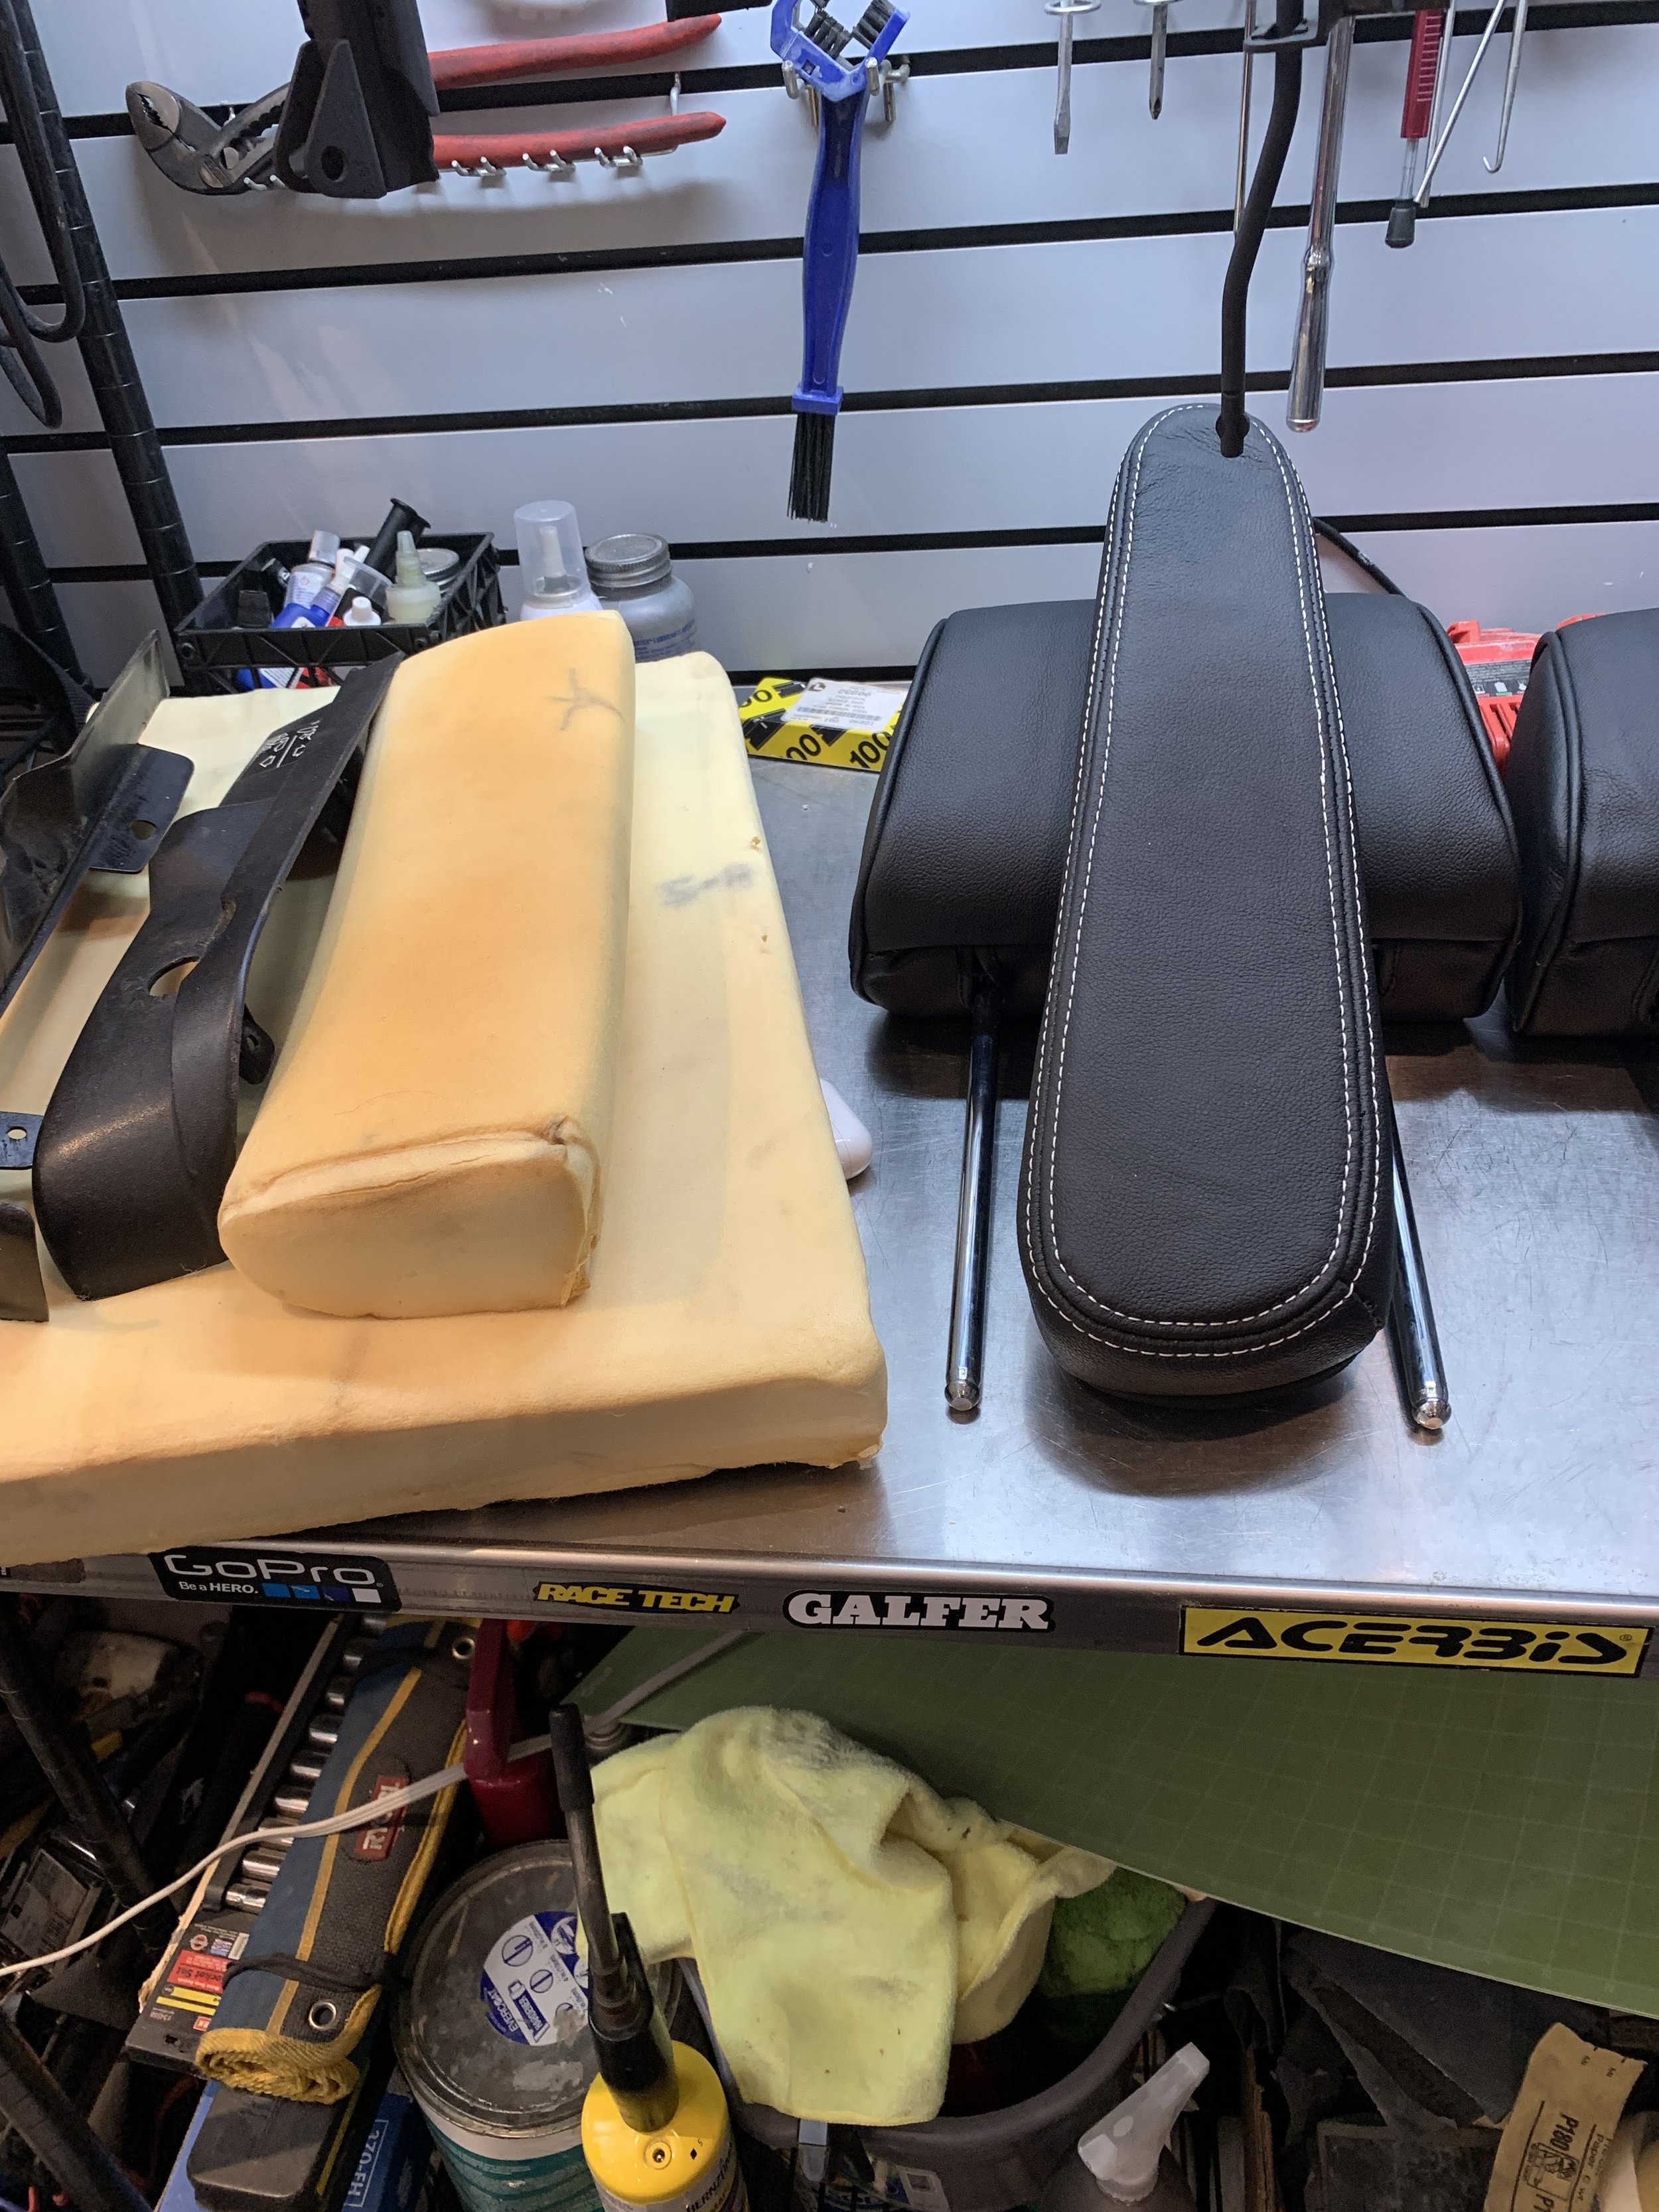
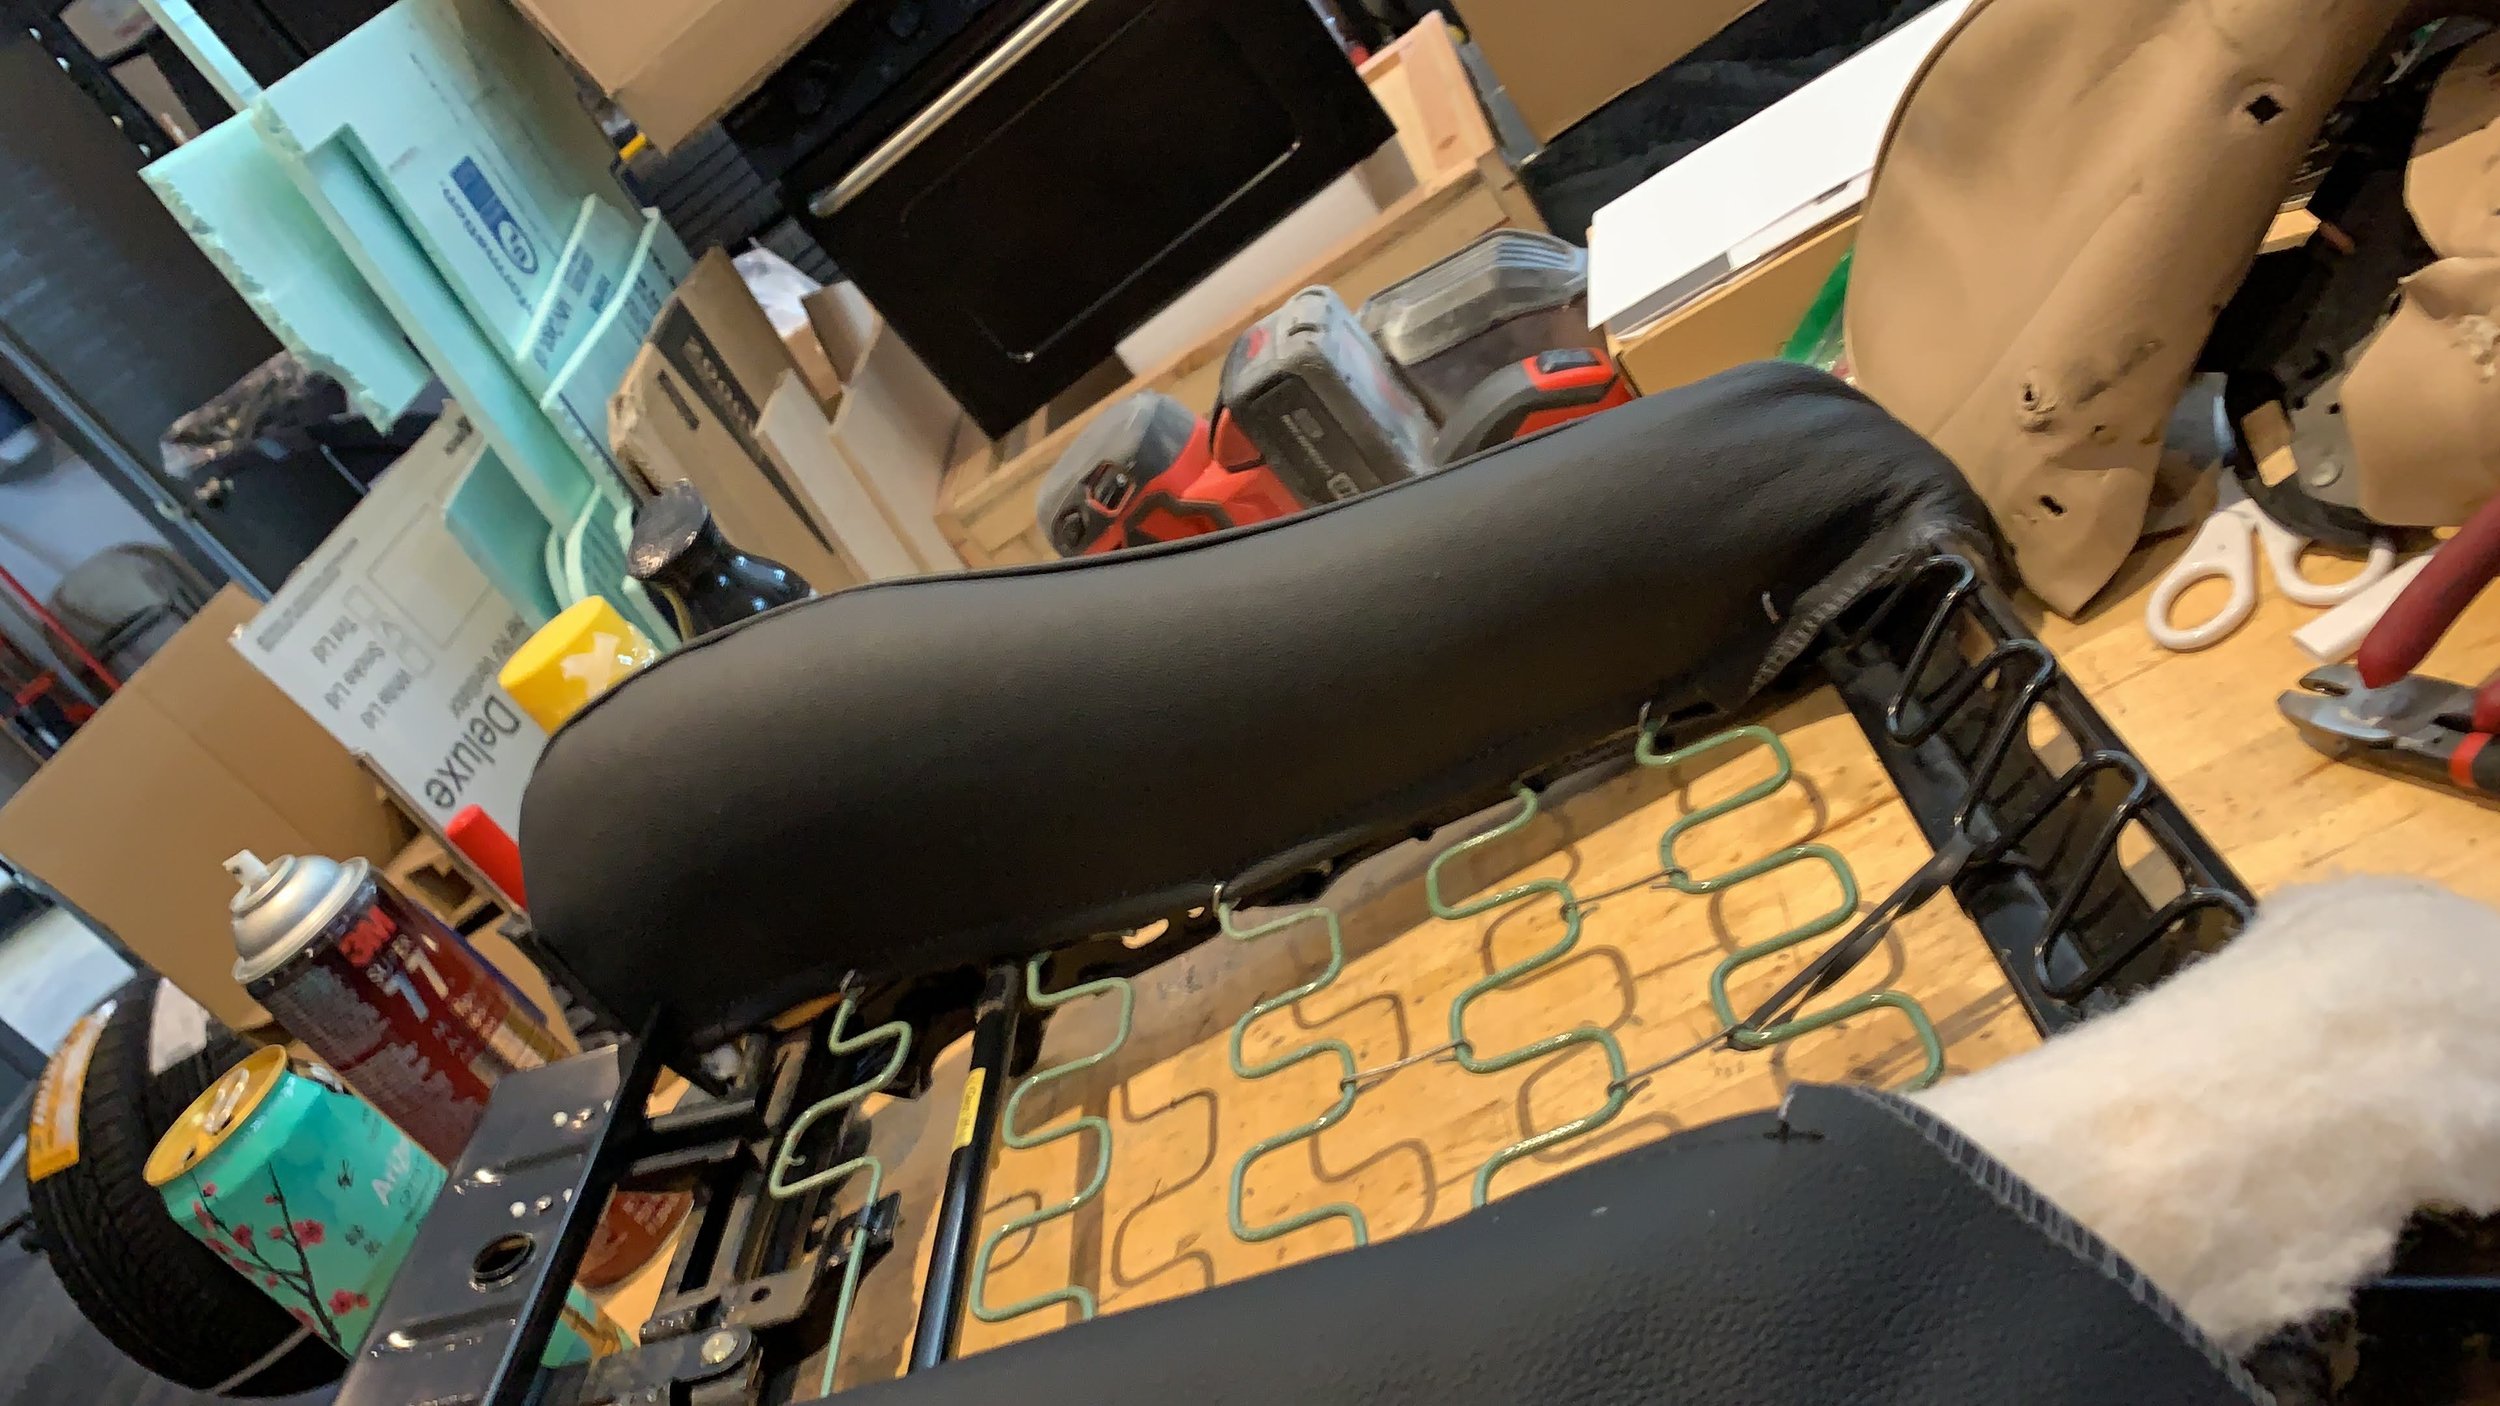
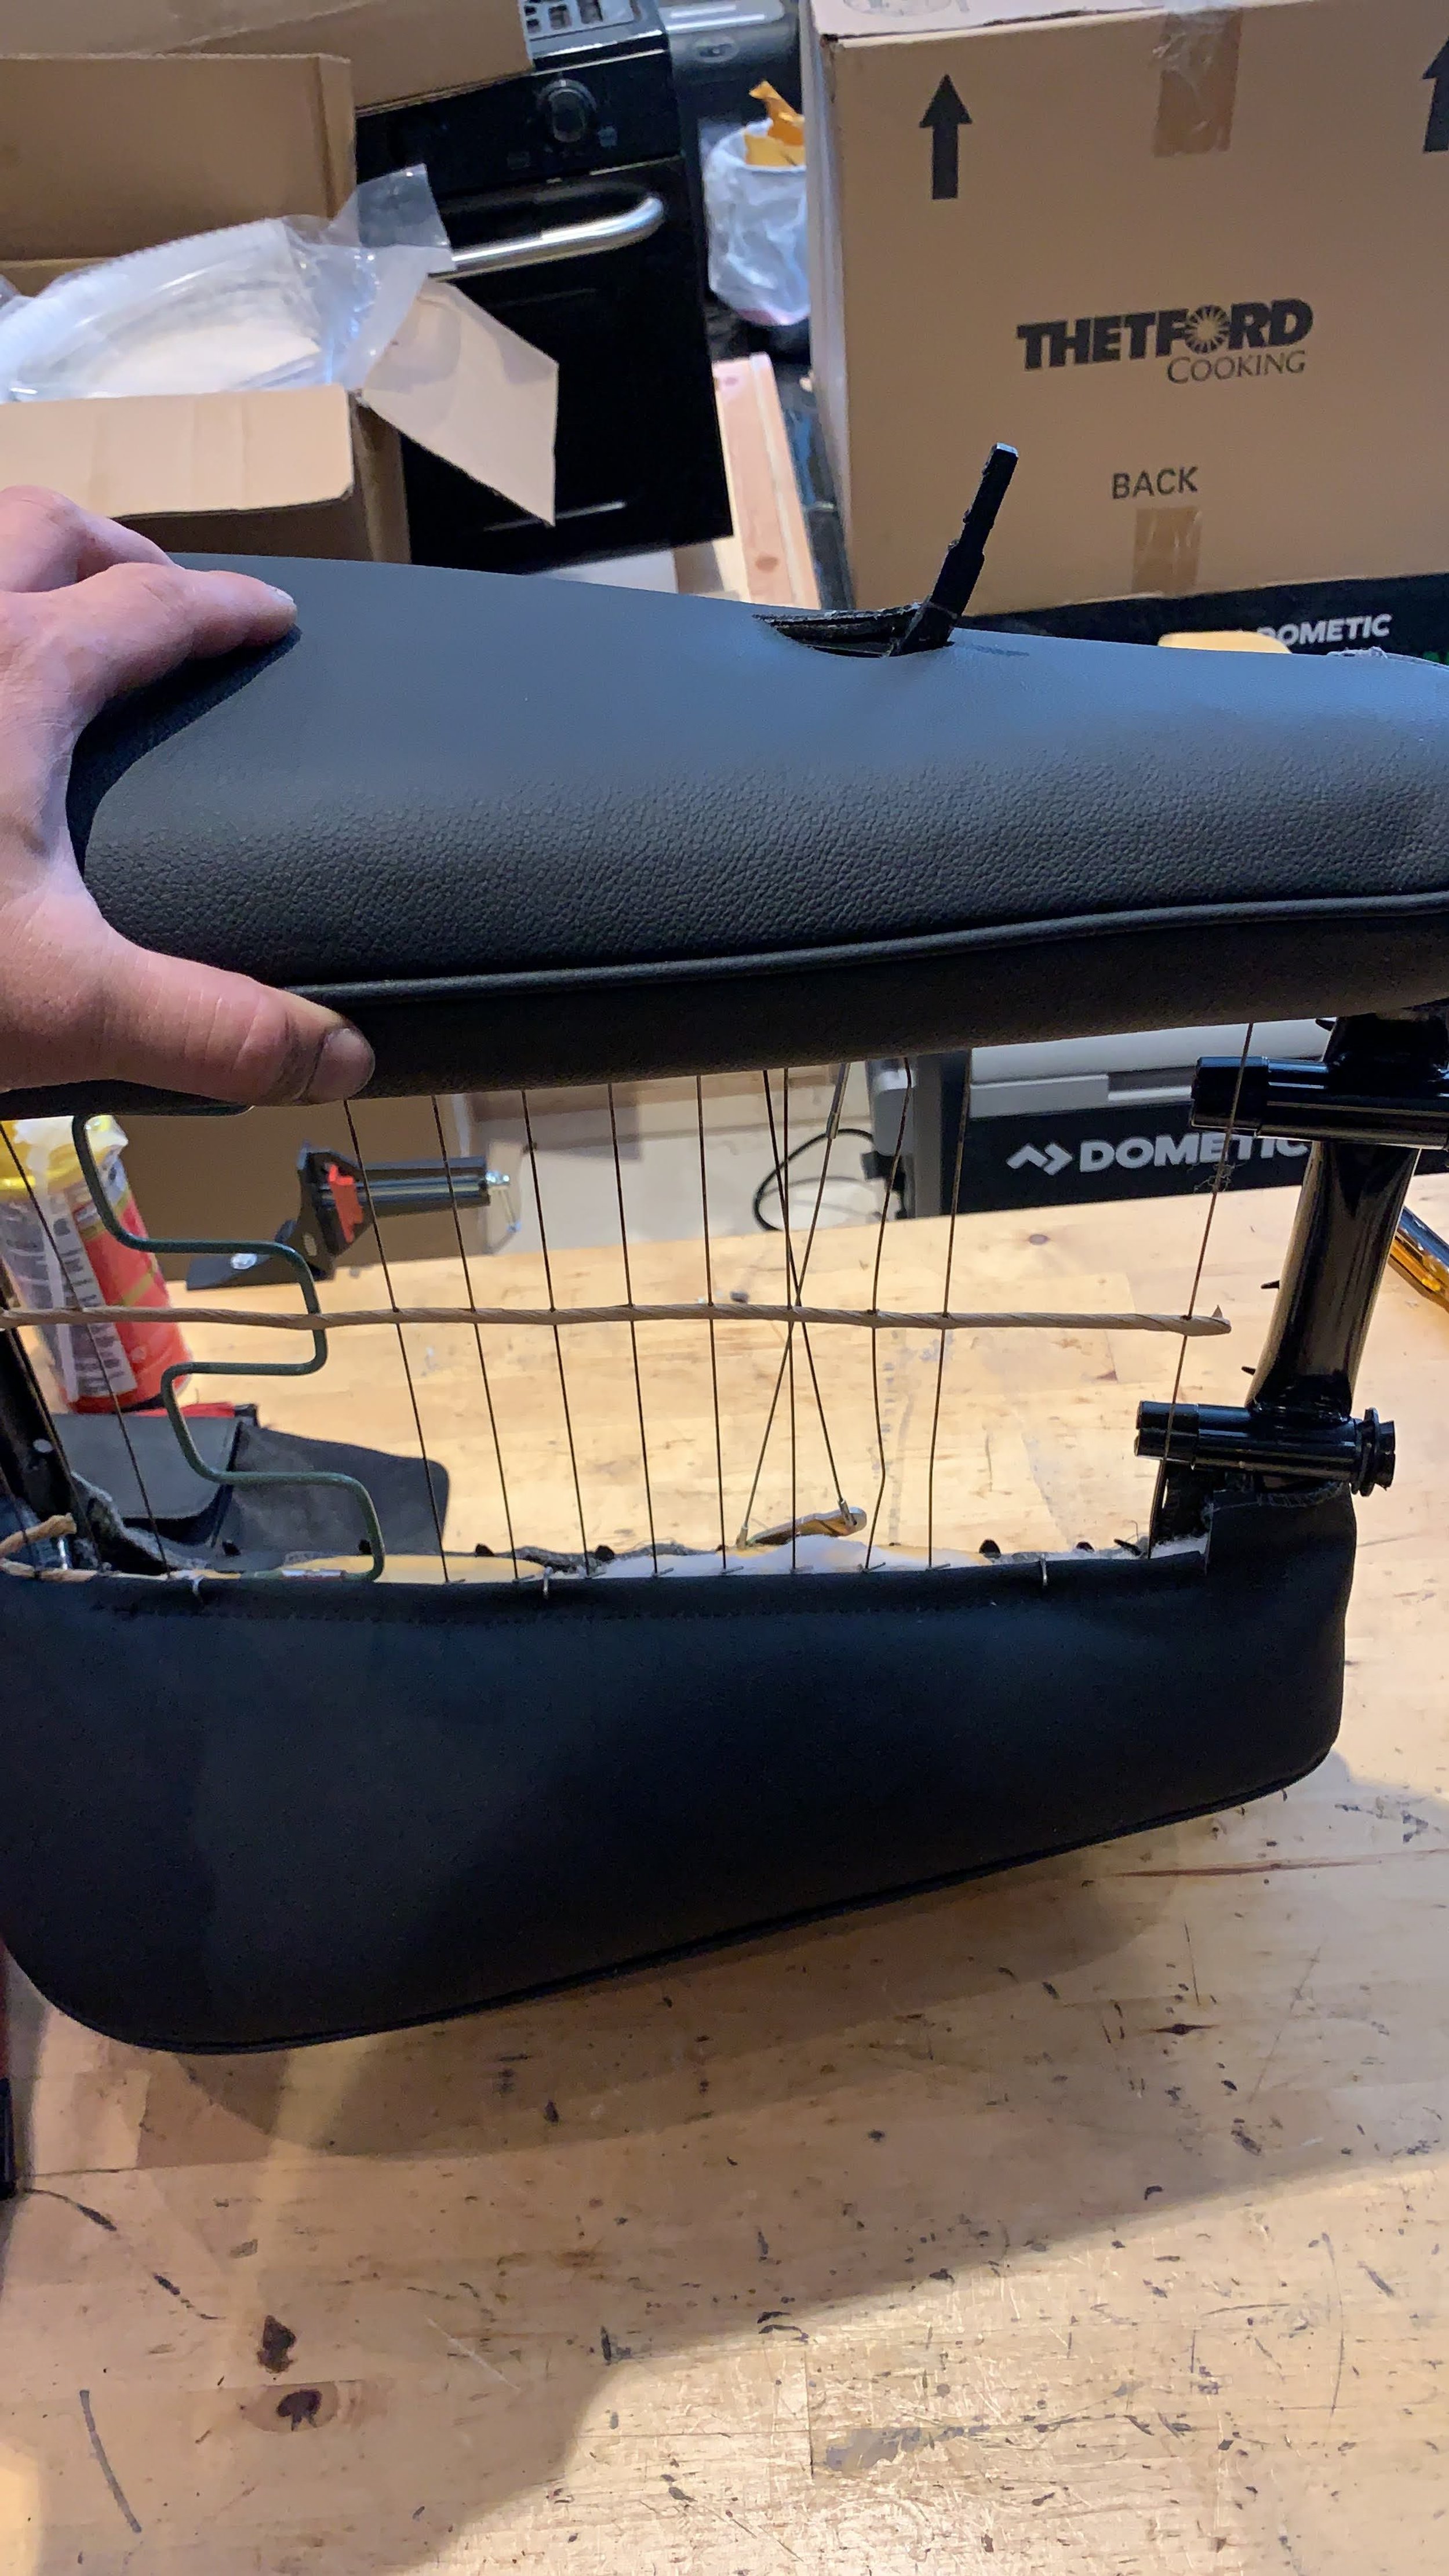
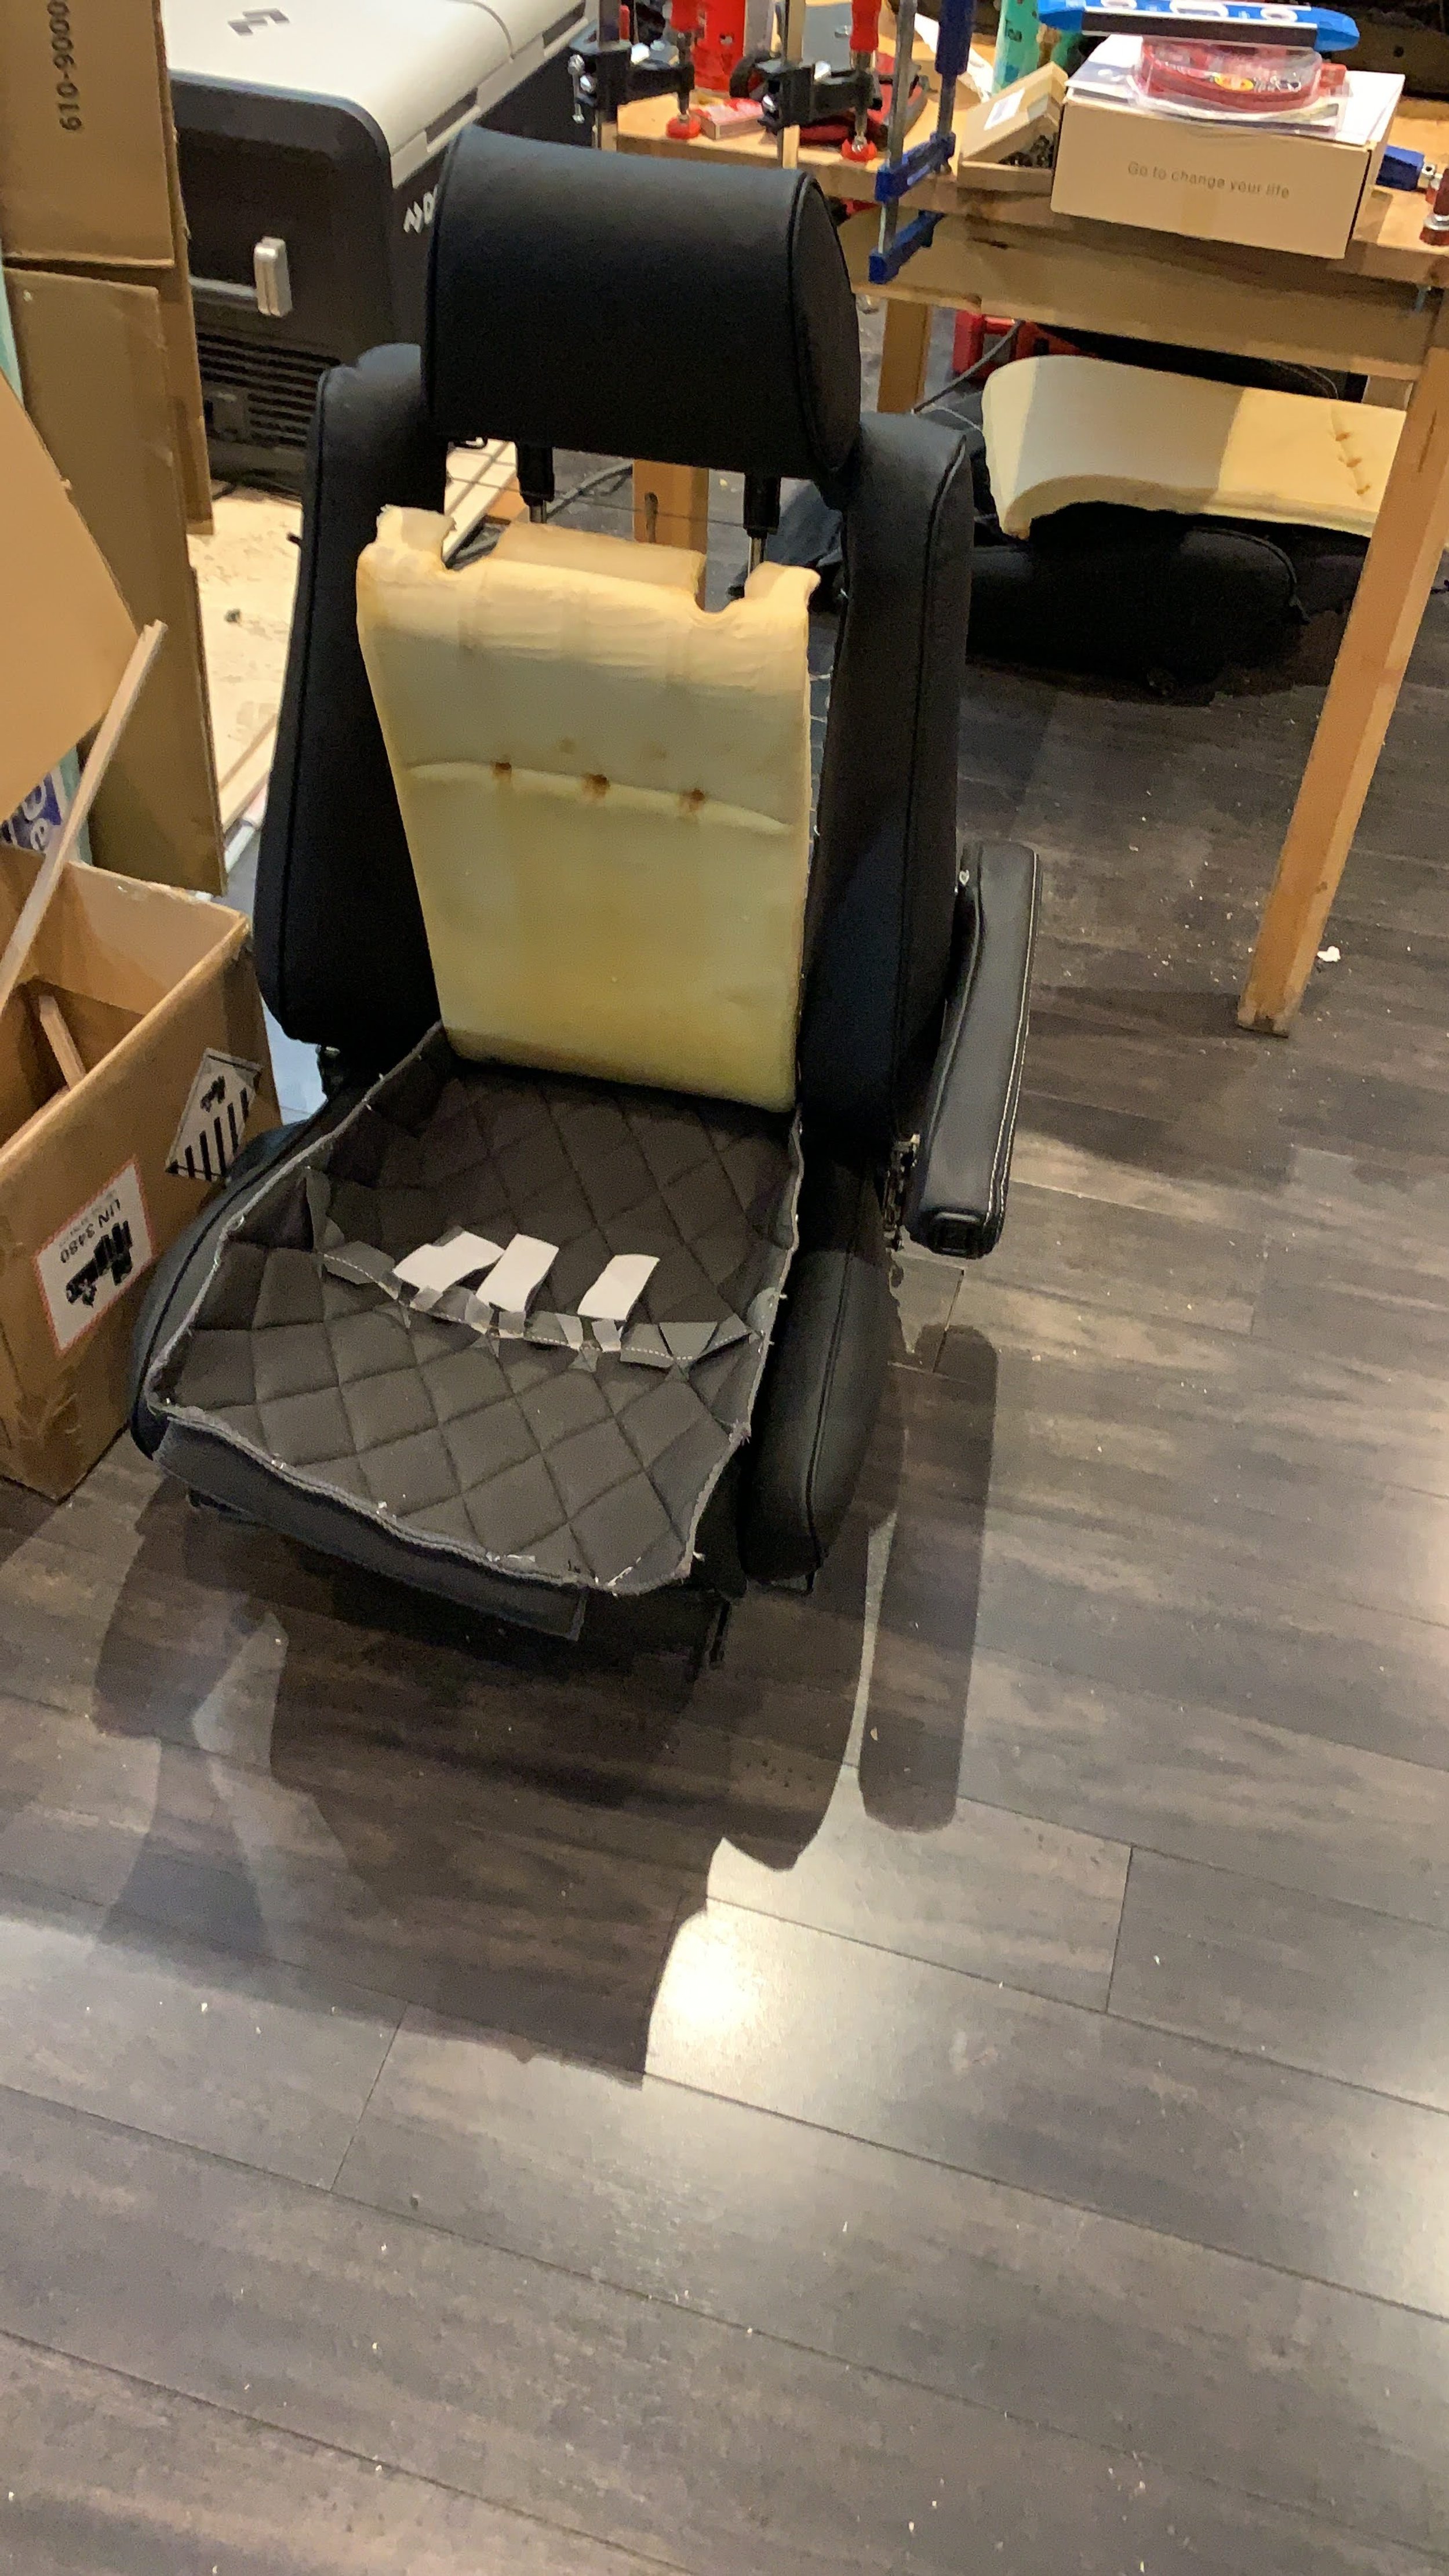
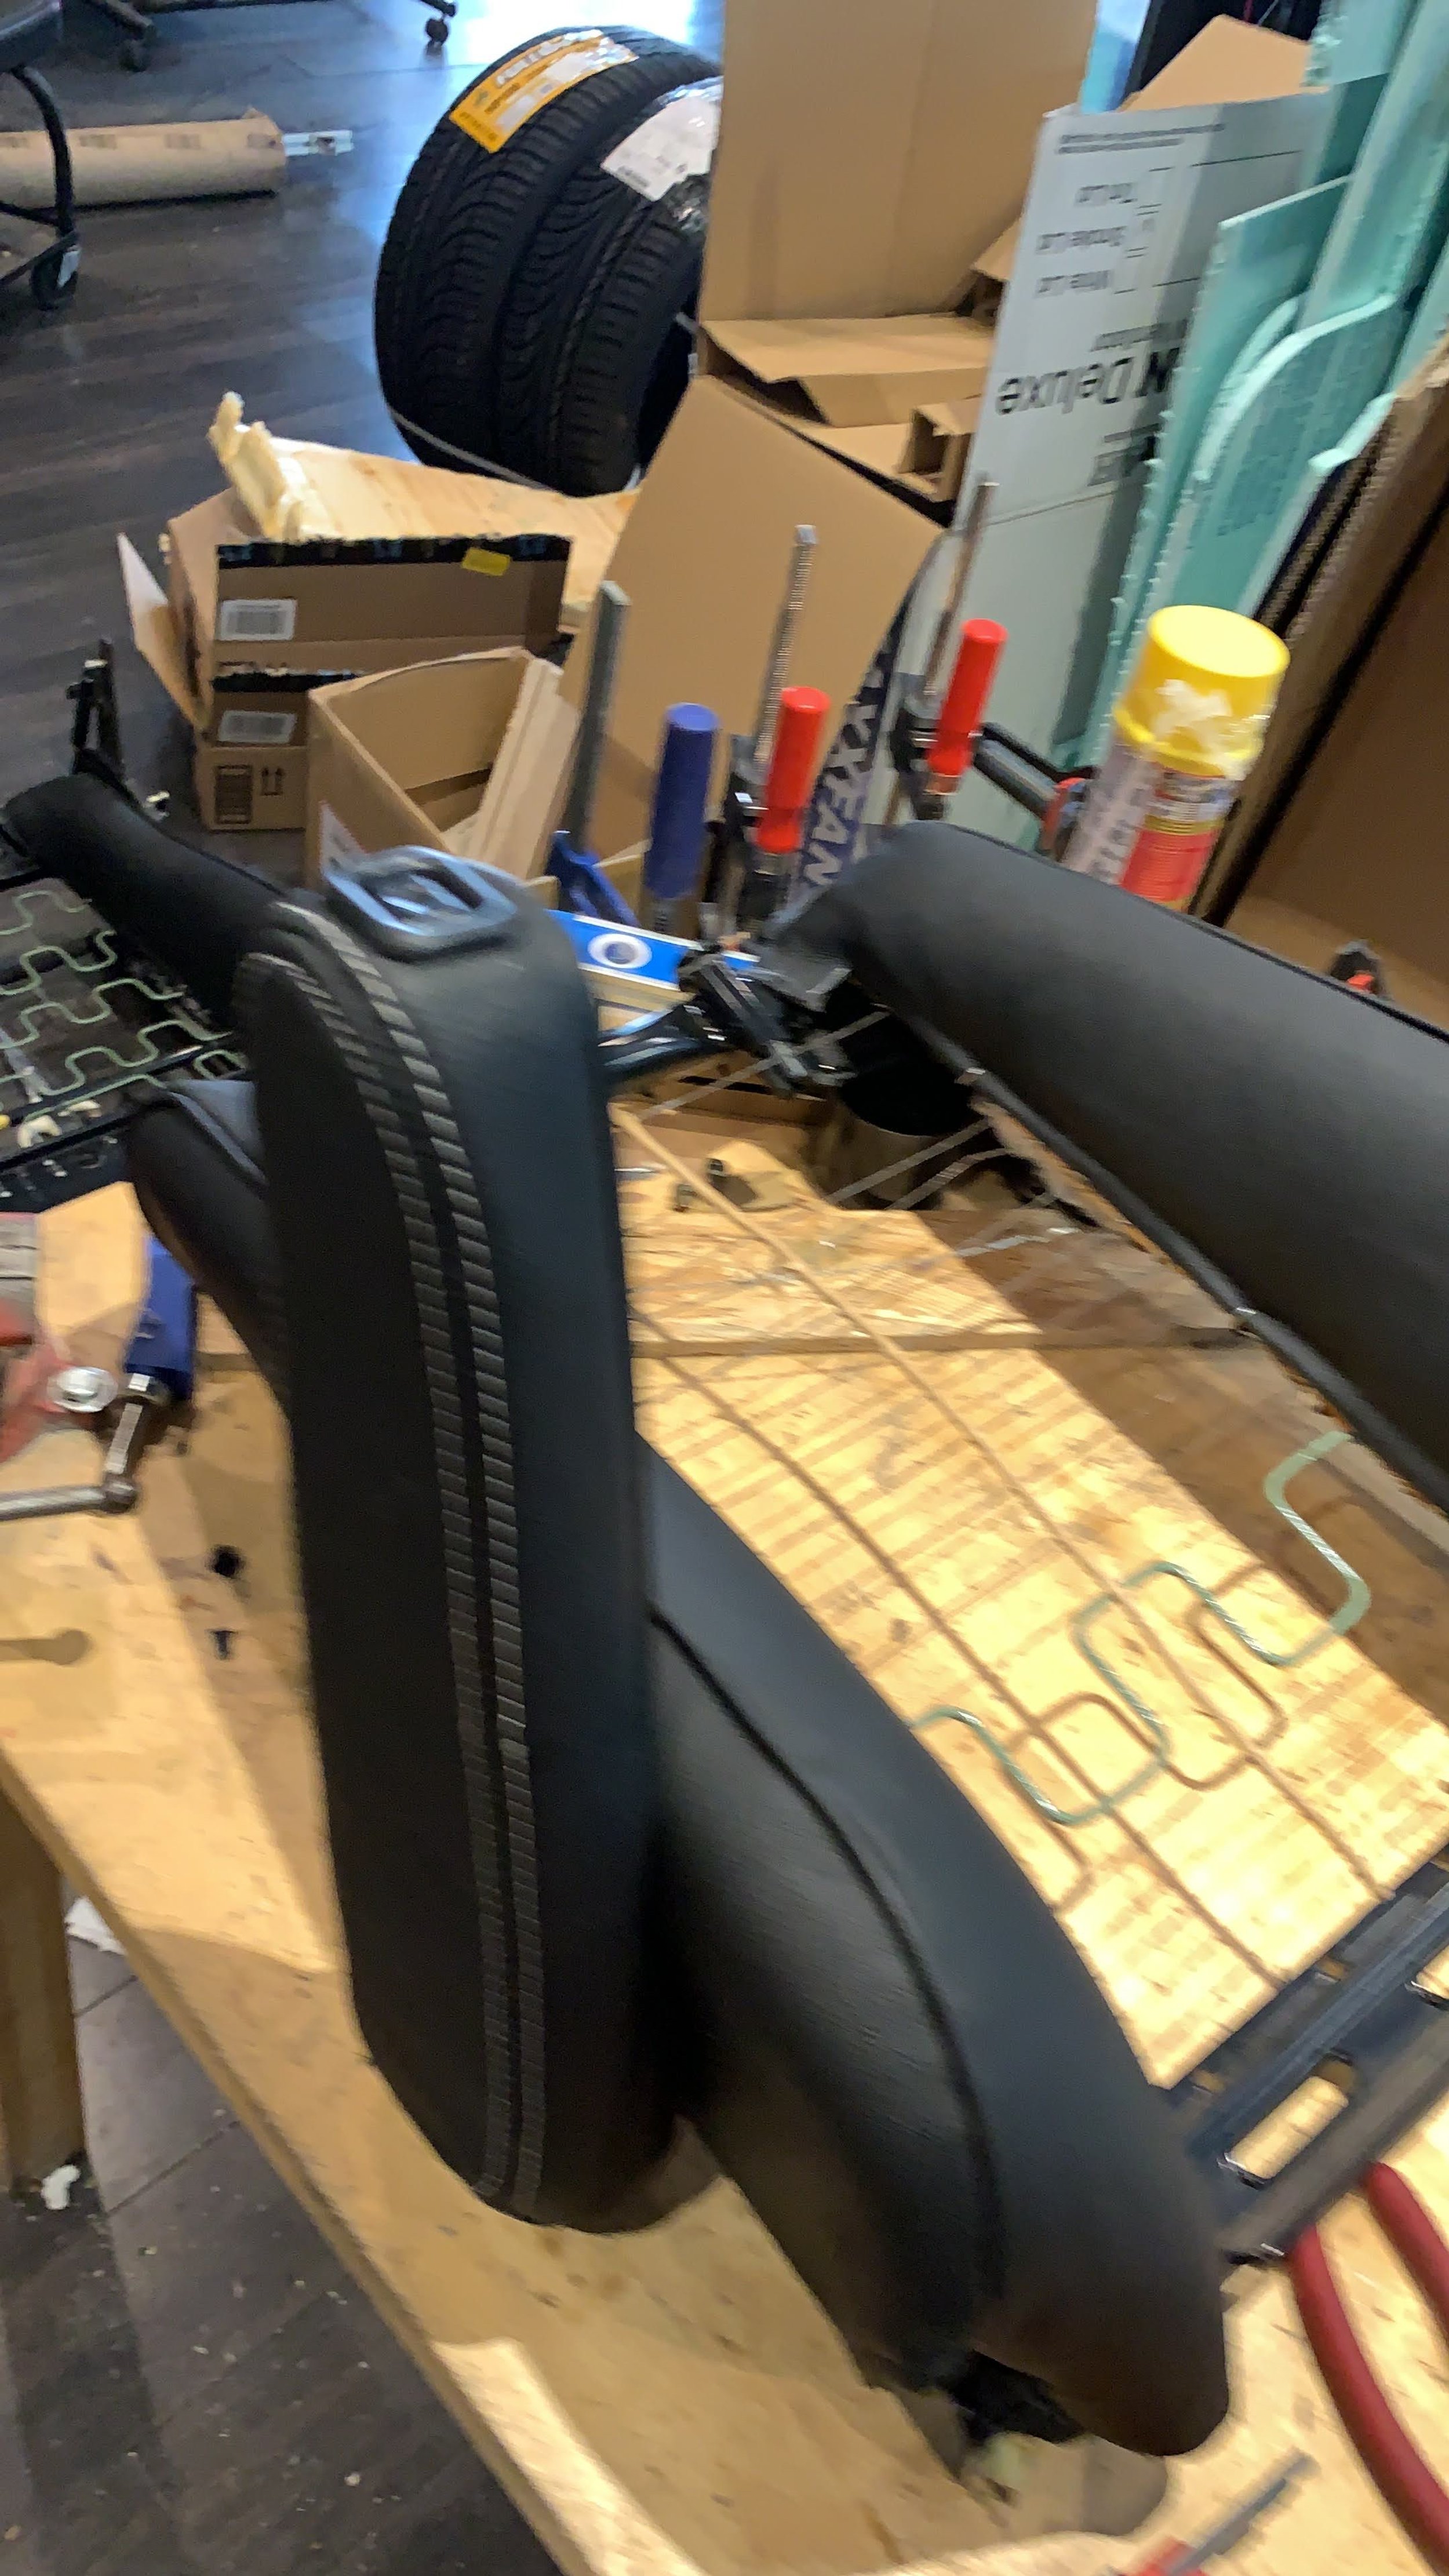
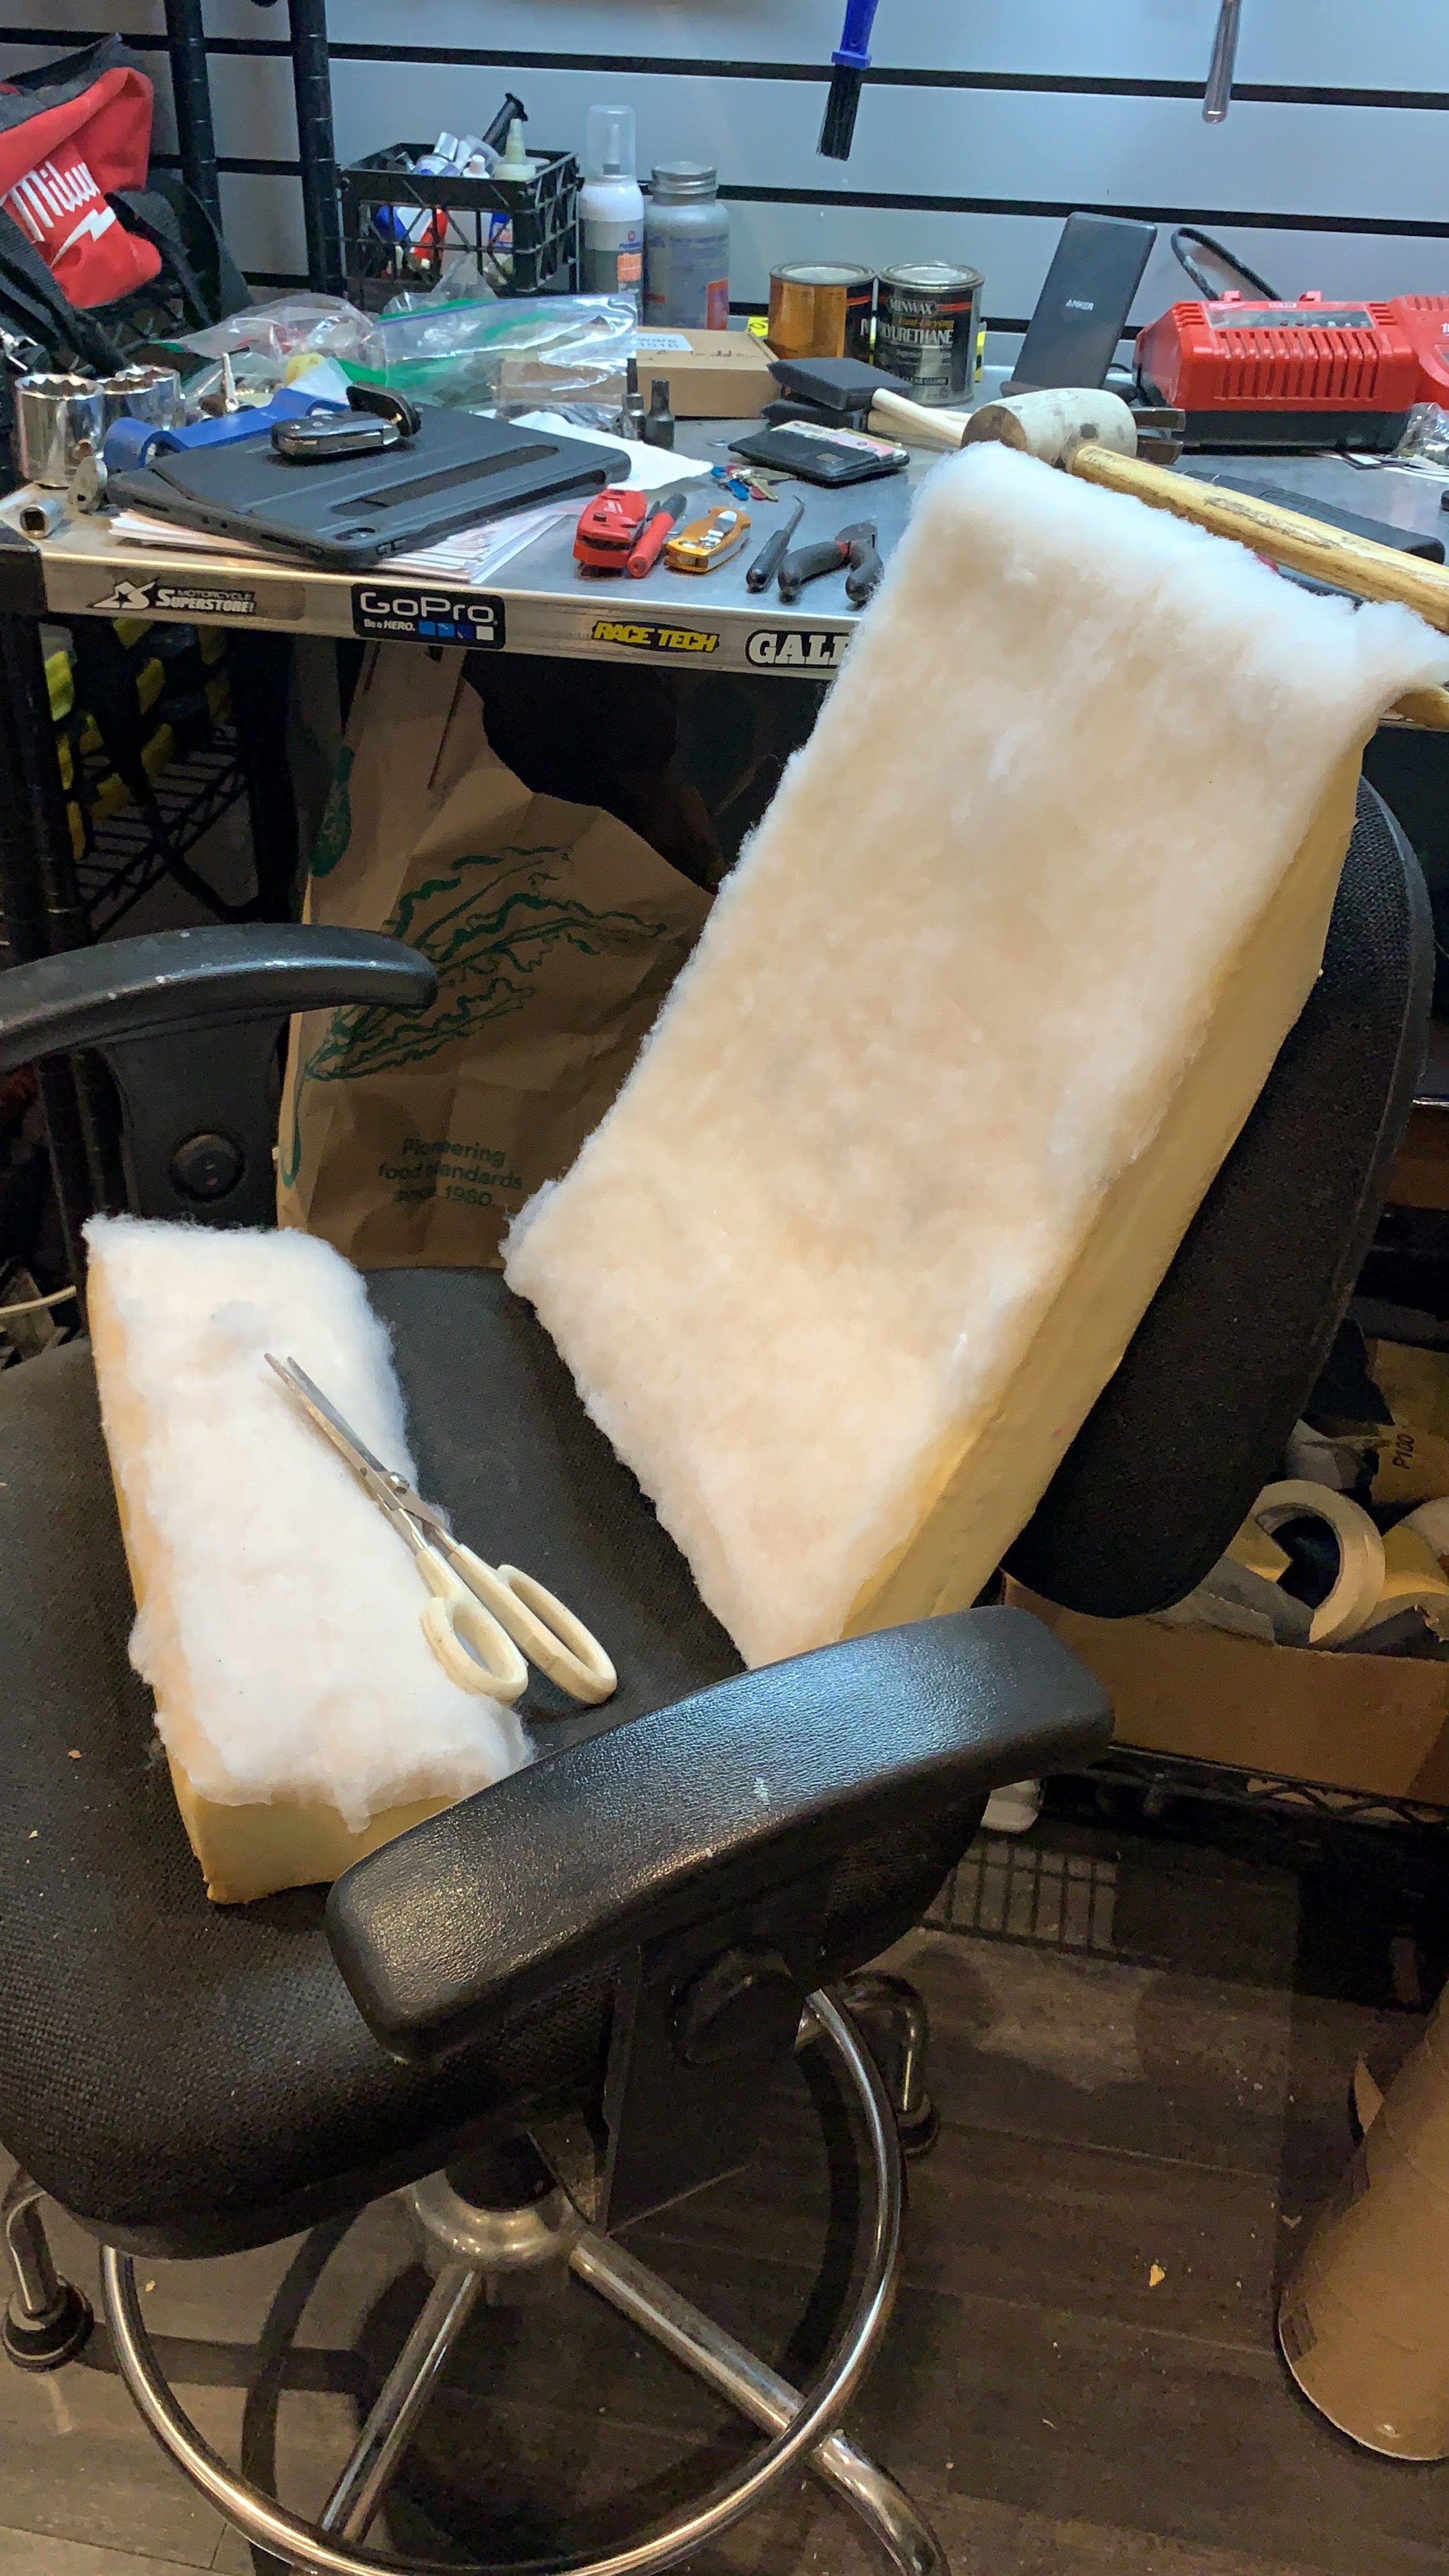
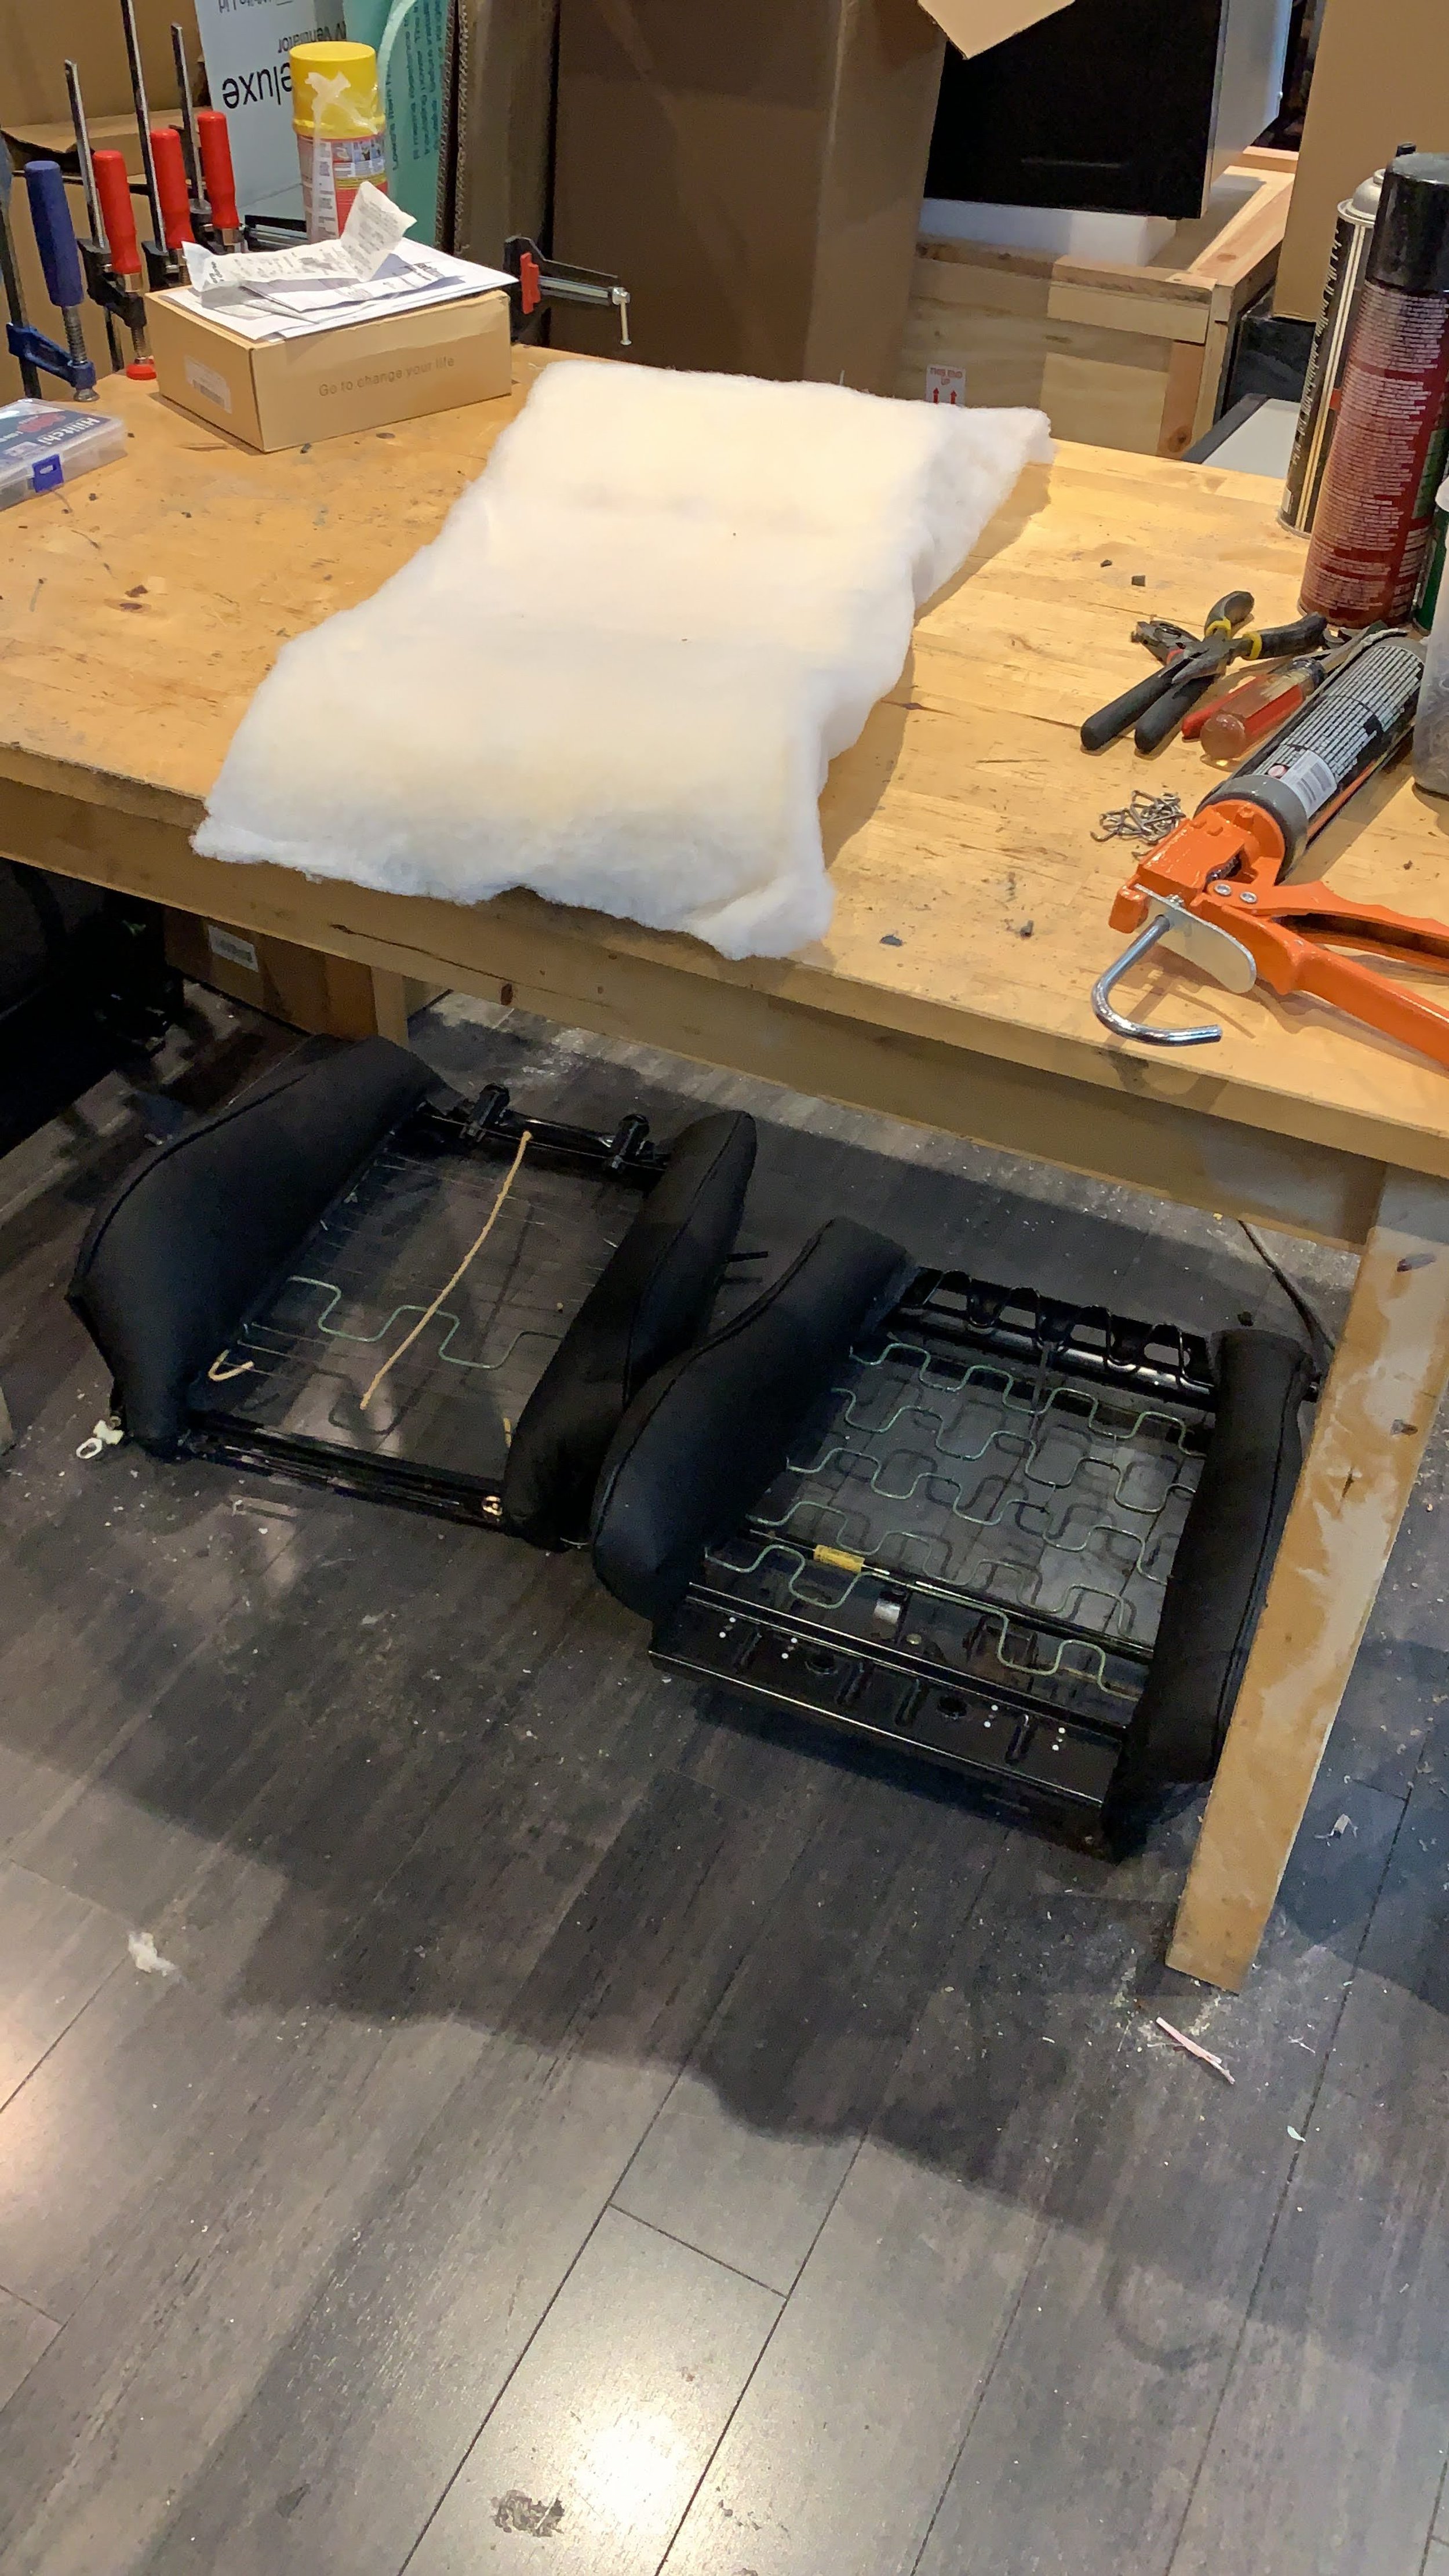
Next is foam repair for the seats bottoms I got. First I use steam to release the foam, borrowed the machine from Eddie. Many of the location of the foam popped up. I then cut a section of the same foam from a used bolster I got from Phaedon. I used 1633 national Guard Foam Lock glue. Once its glued, I cut it and then shaved it using my foam cutter. Sanding it is… basically a hot mess. Once its close enough, I glued a thin layer of batting to hide any minor imperfections and give the foam bolster rigidity, so the stress is not going to be where the glue is.
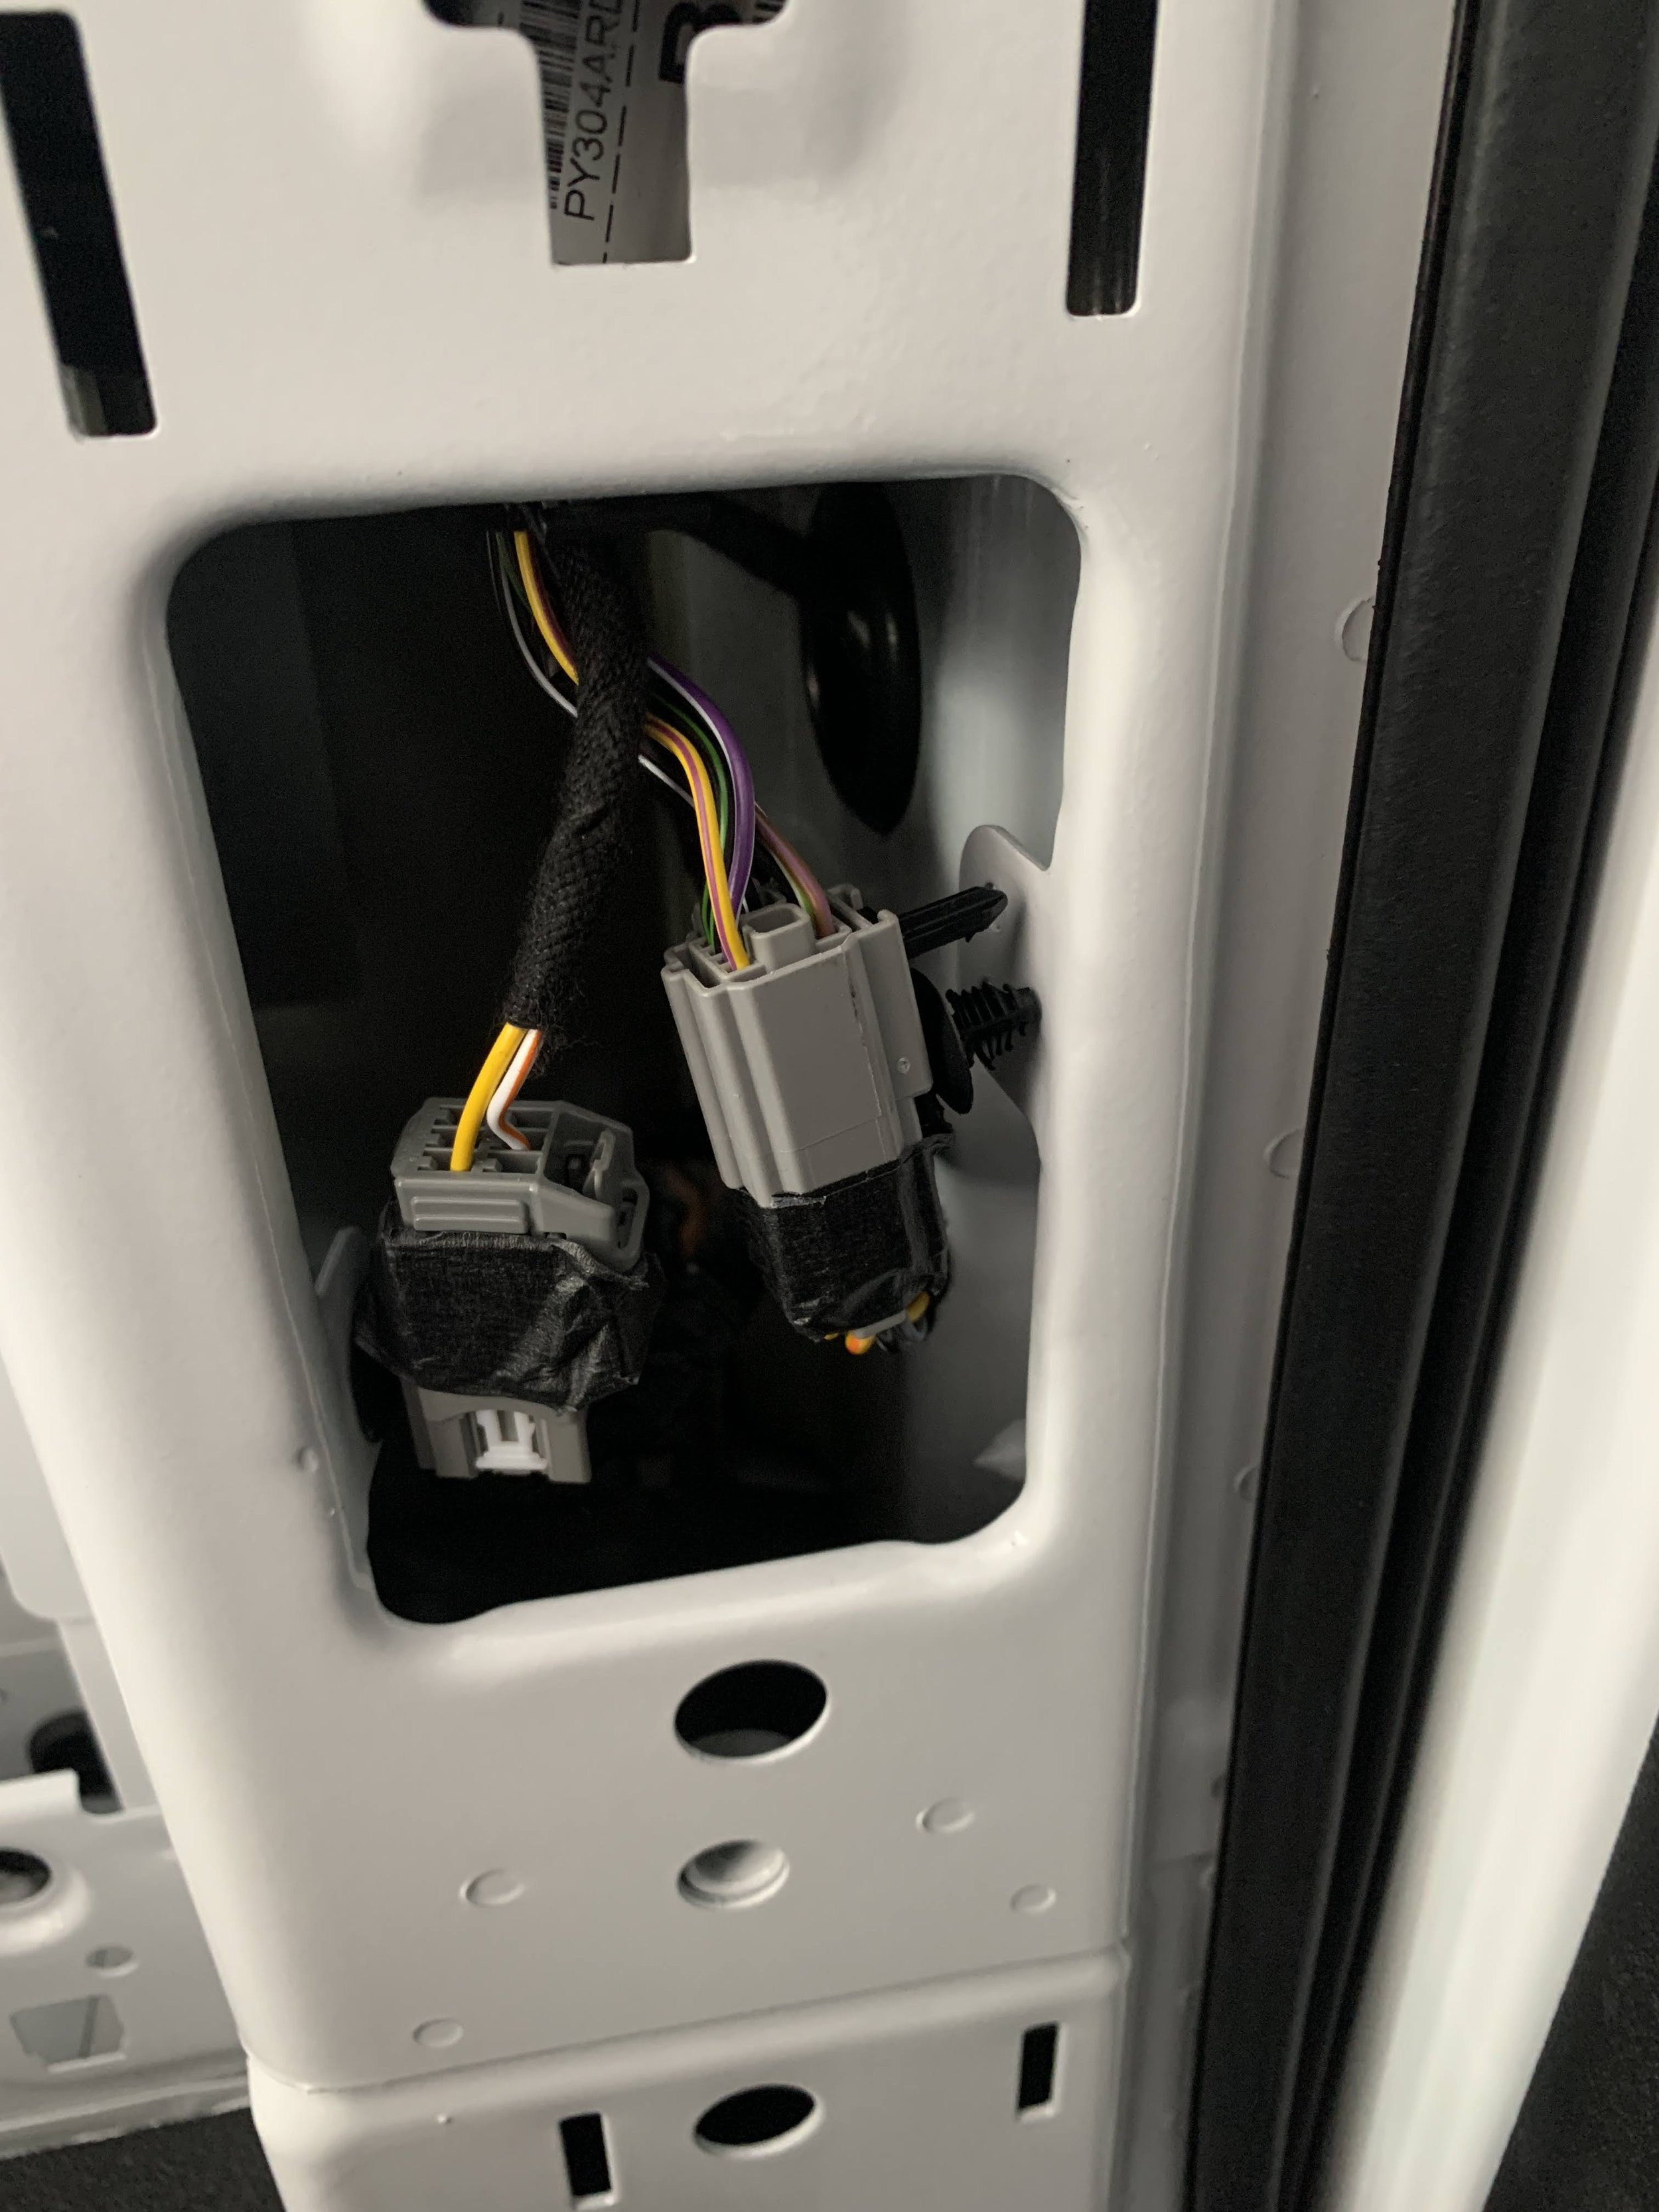
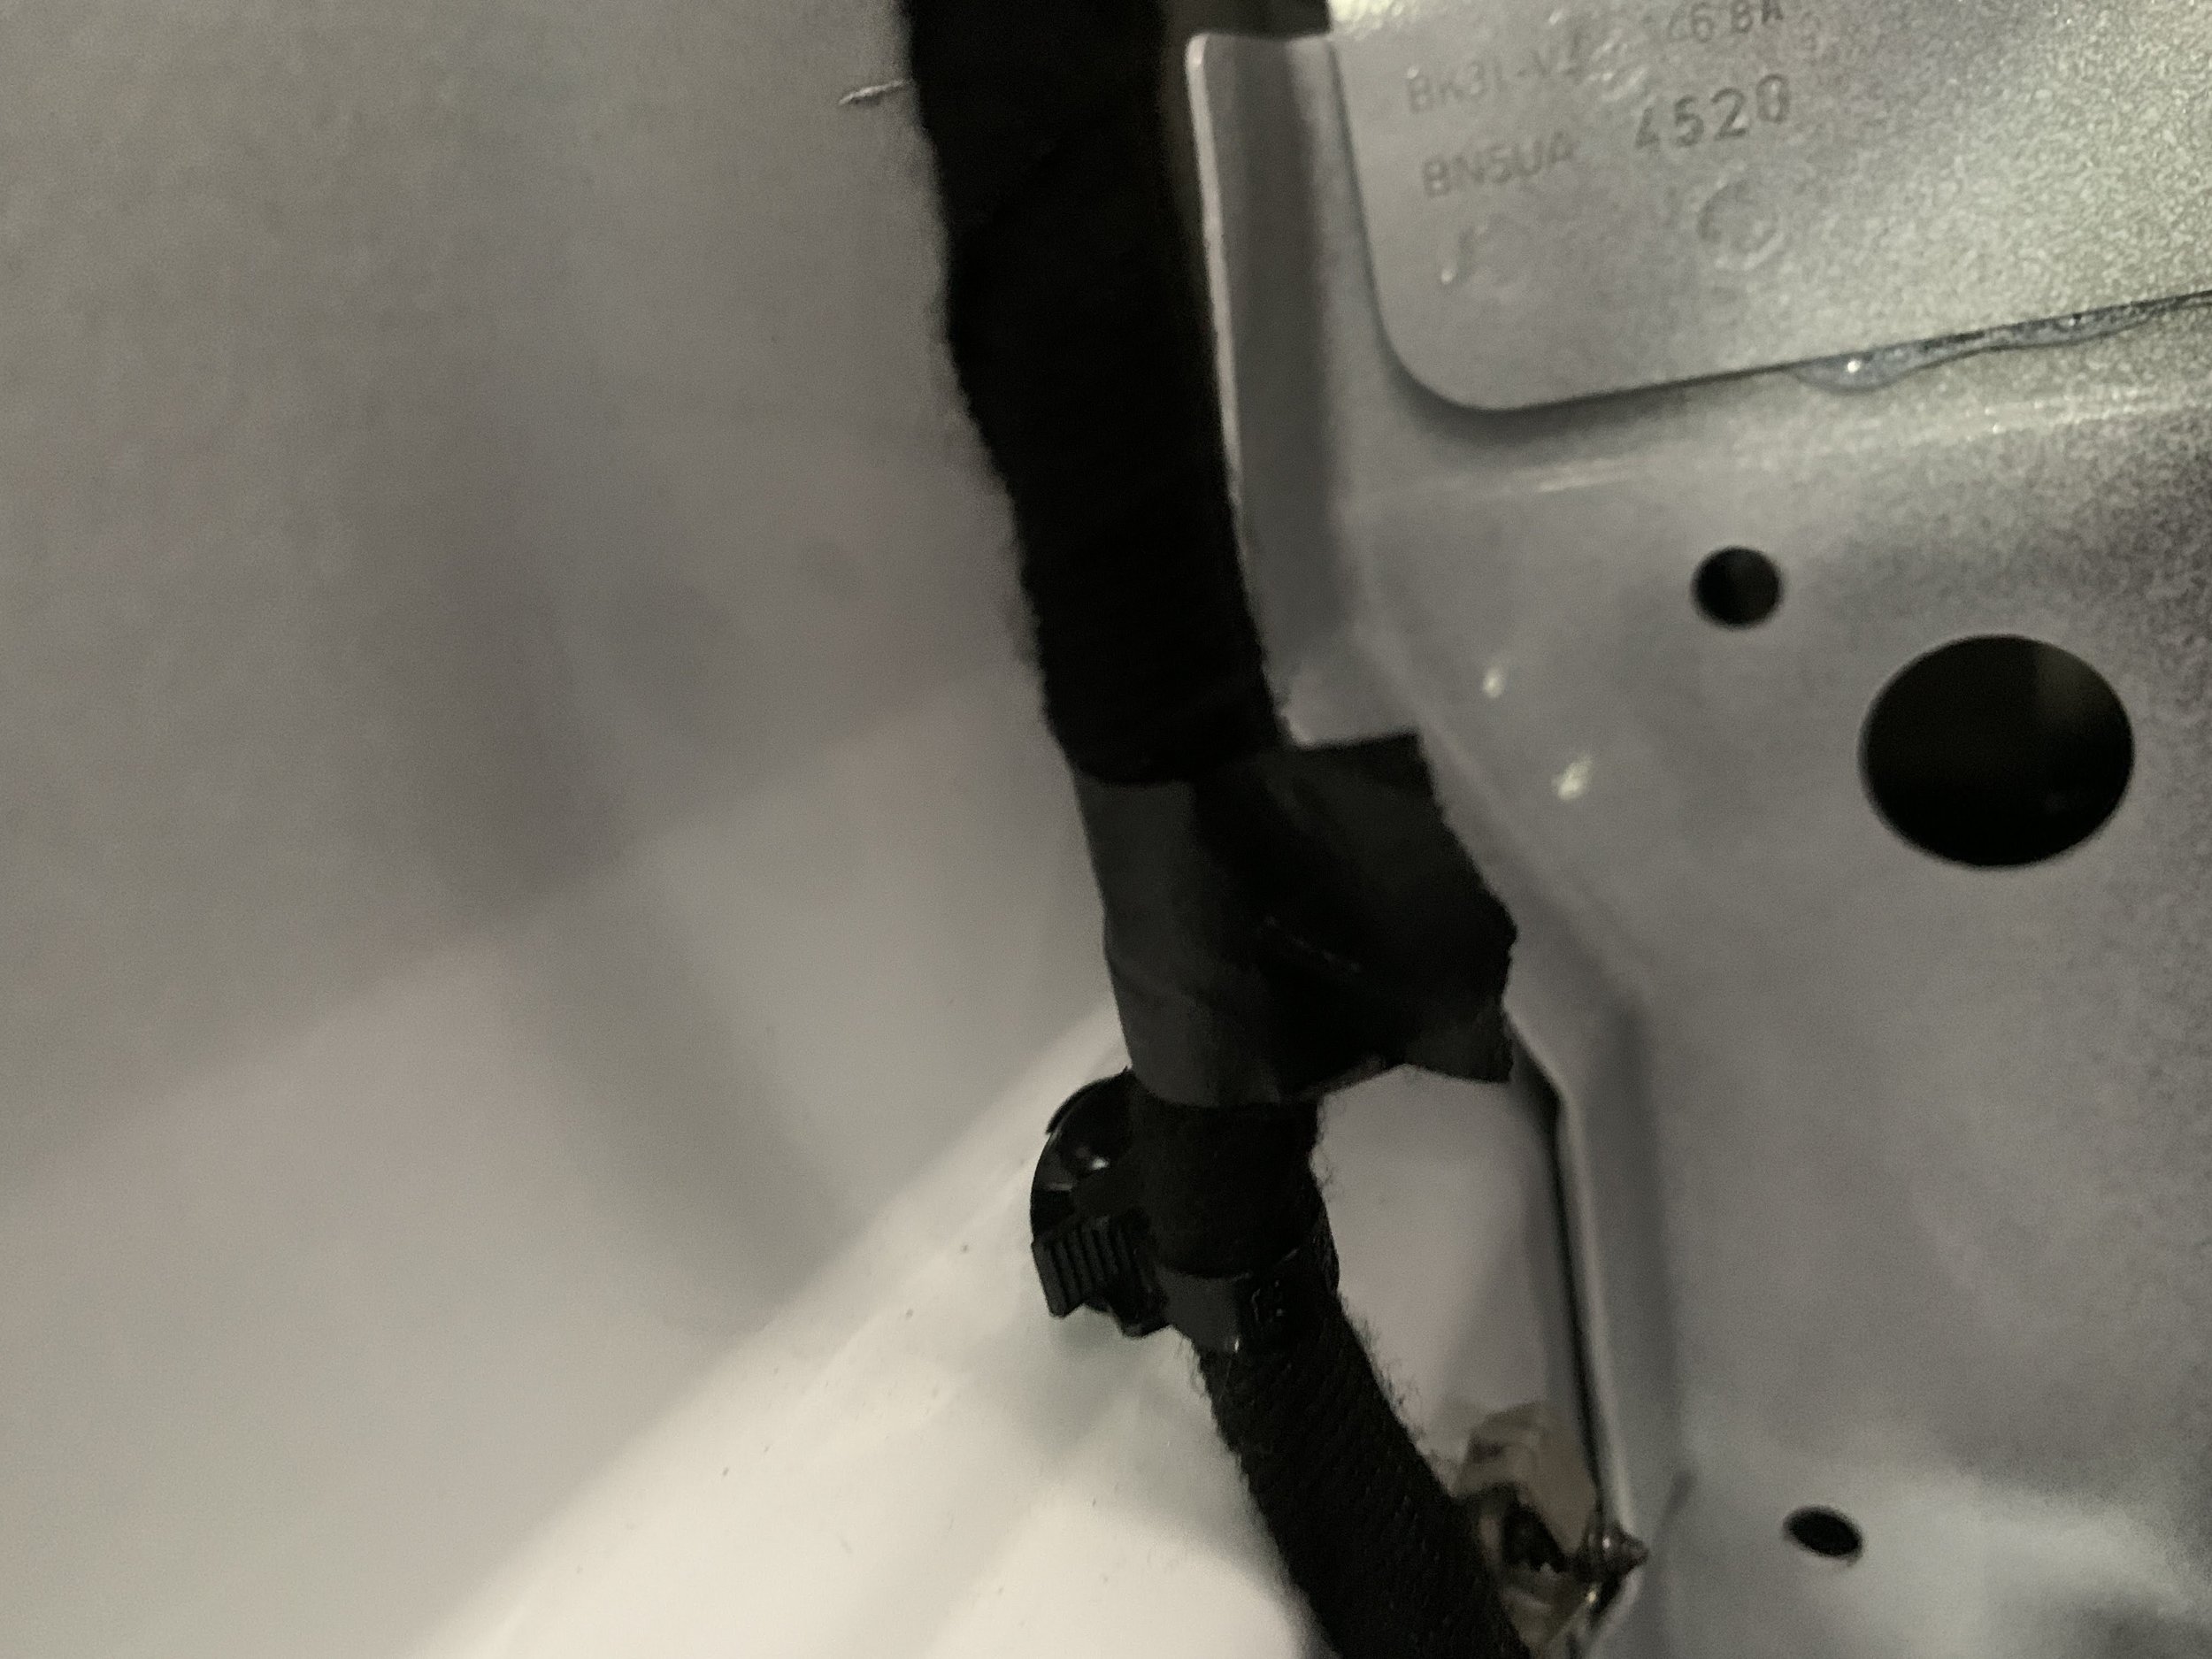
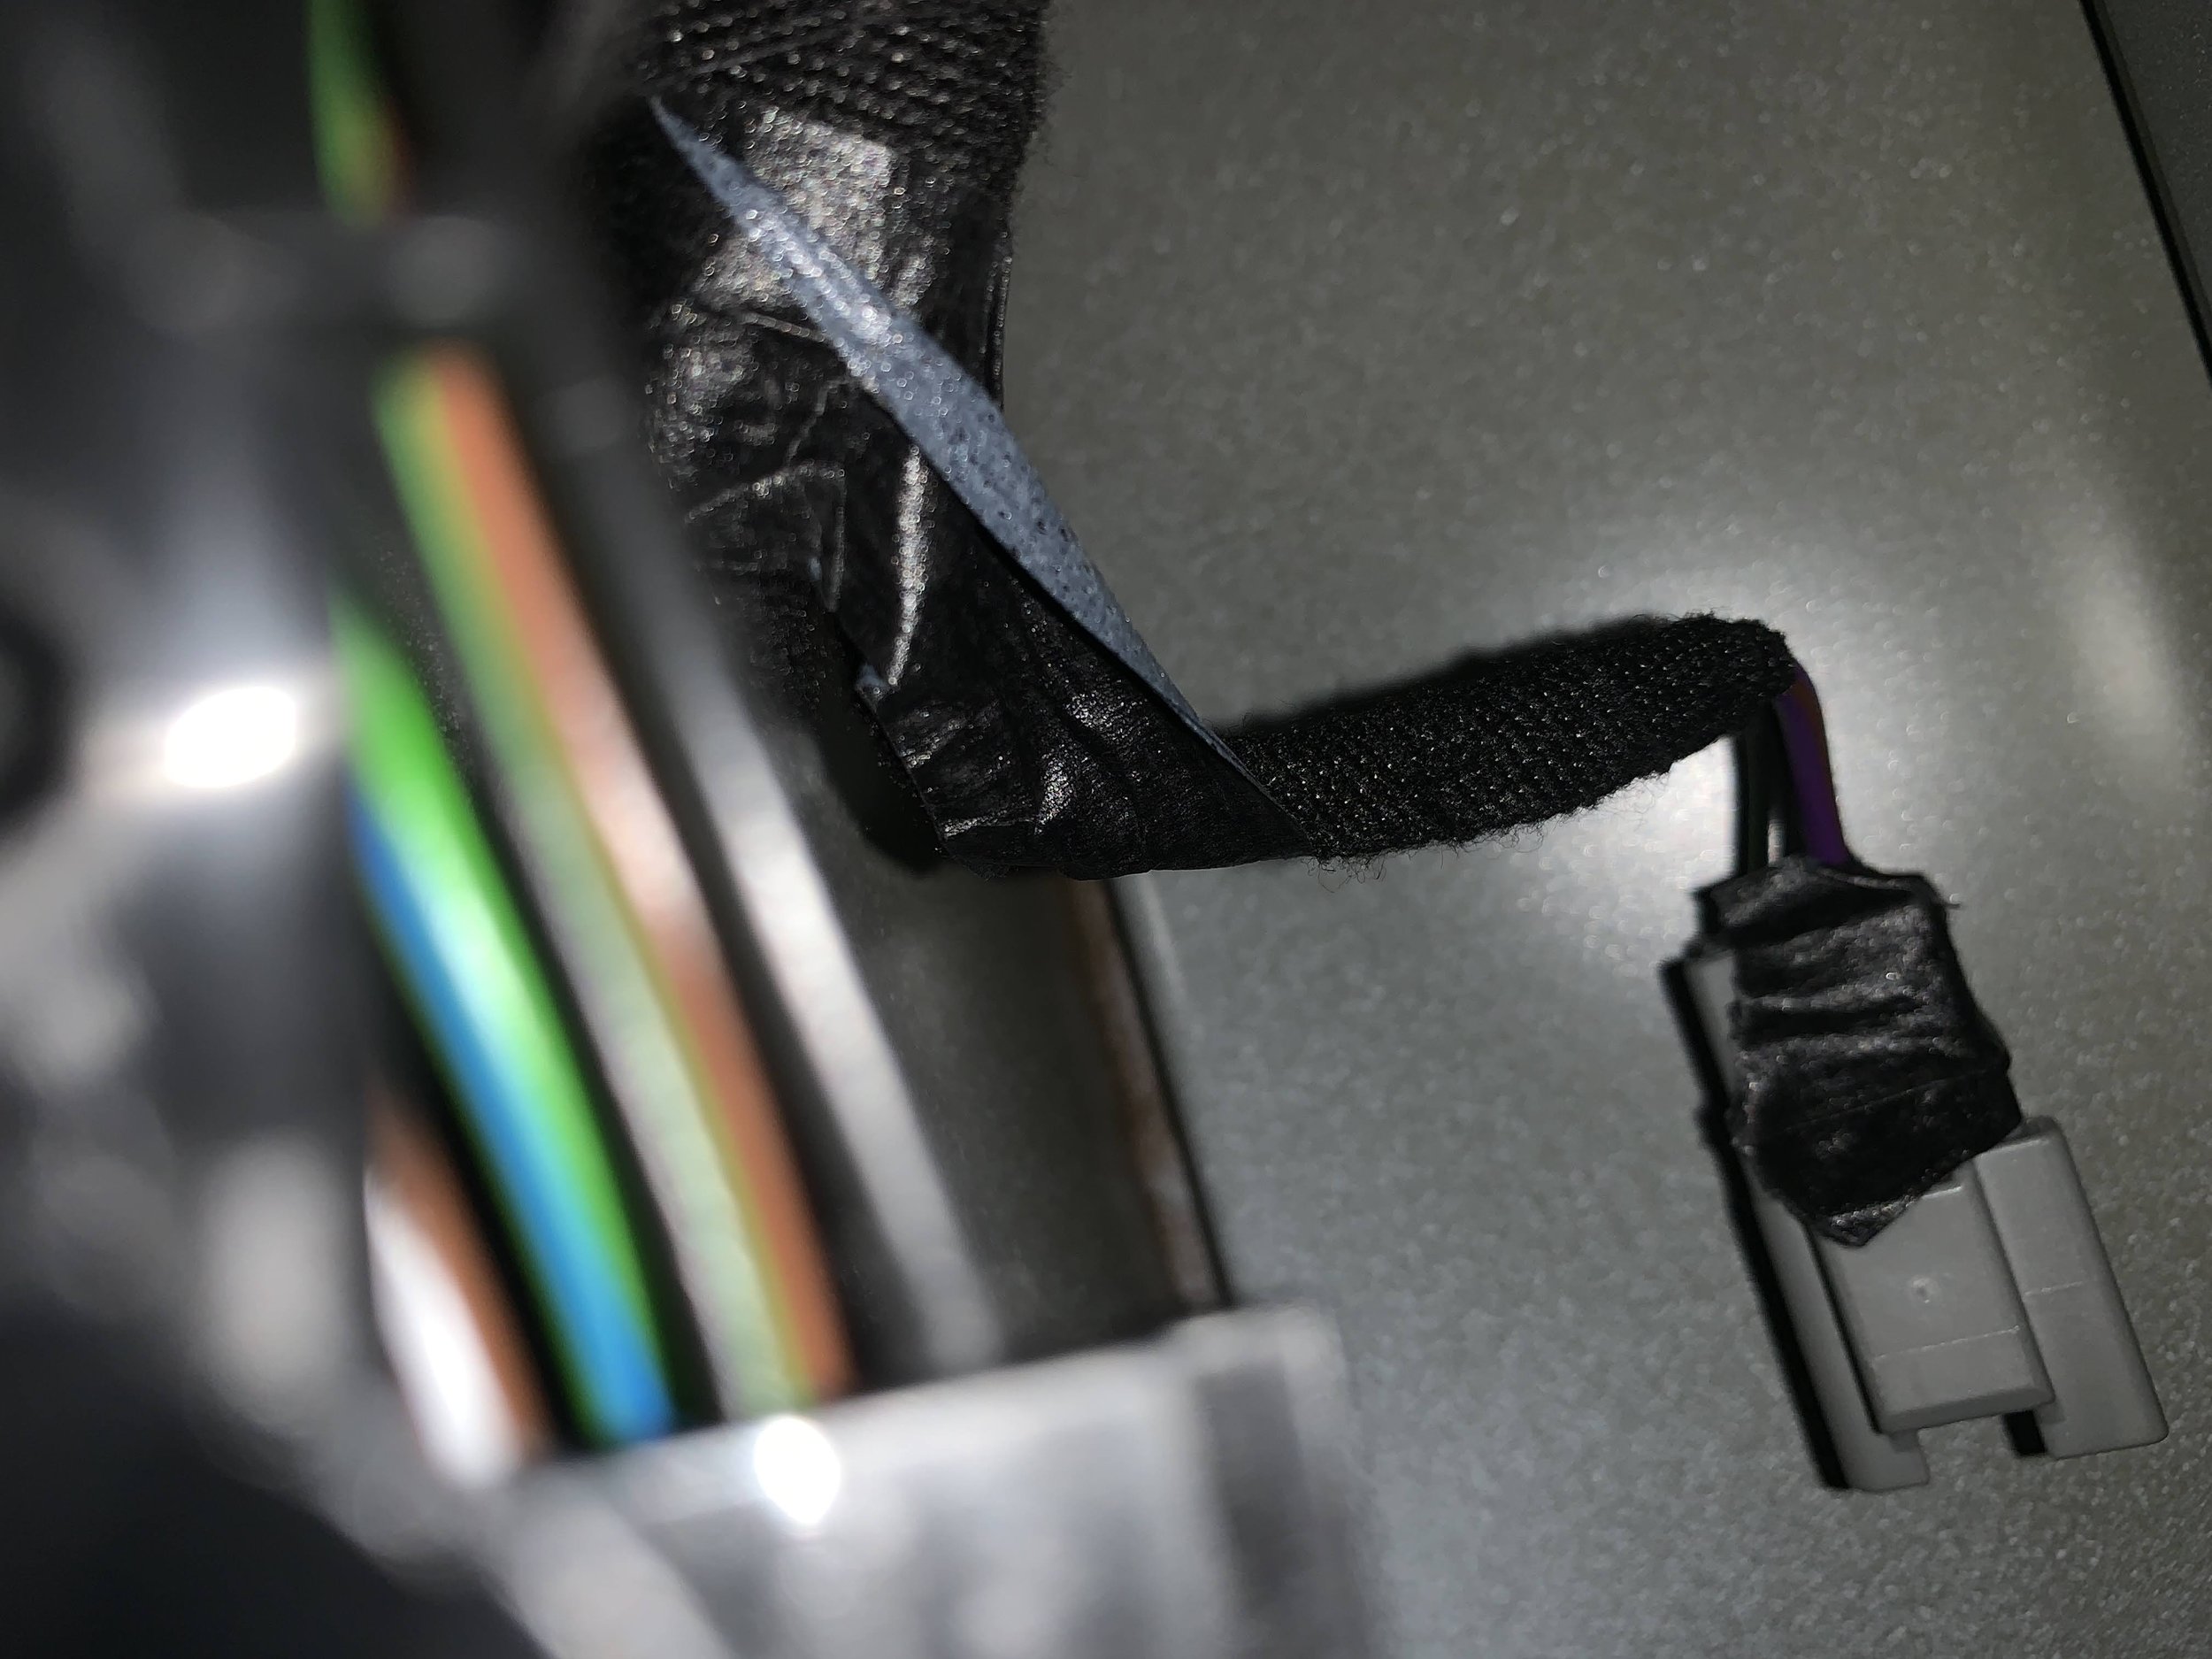
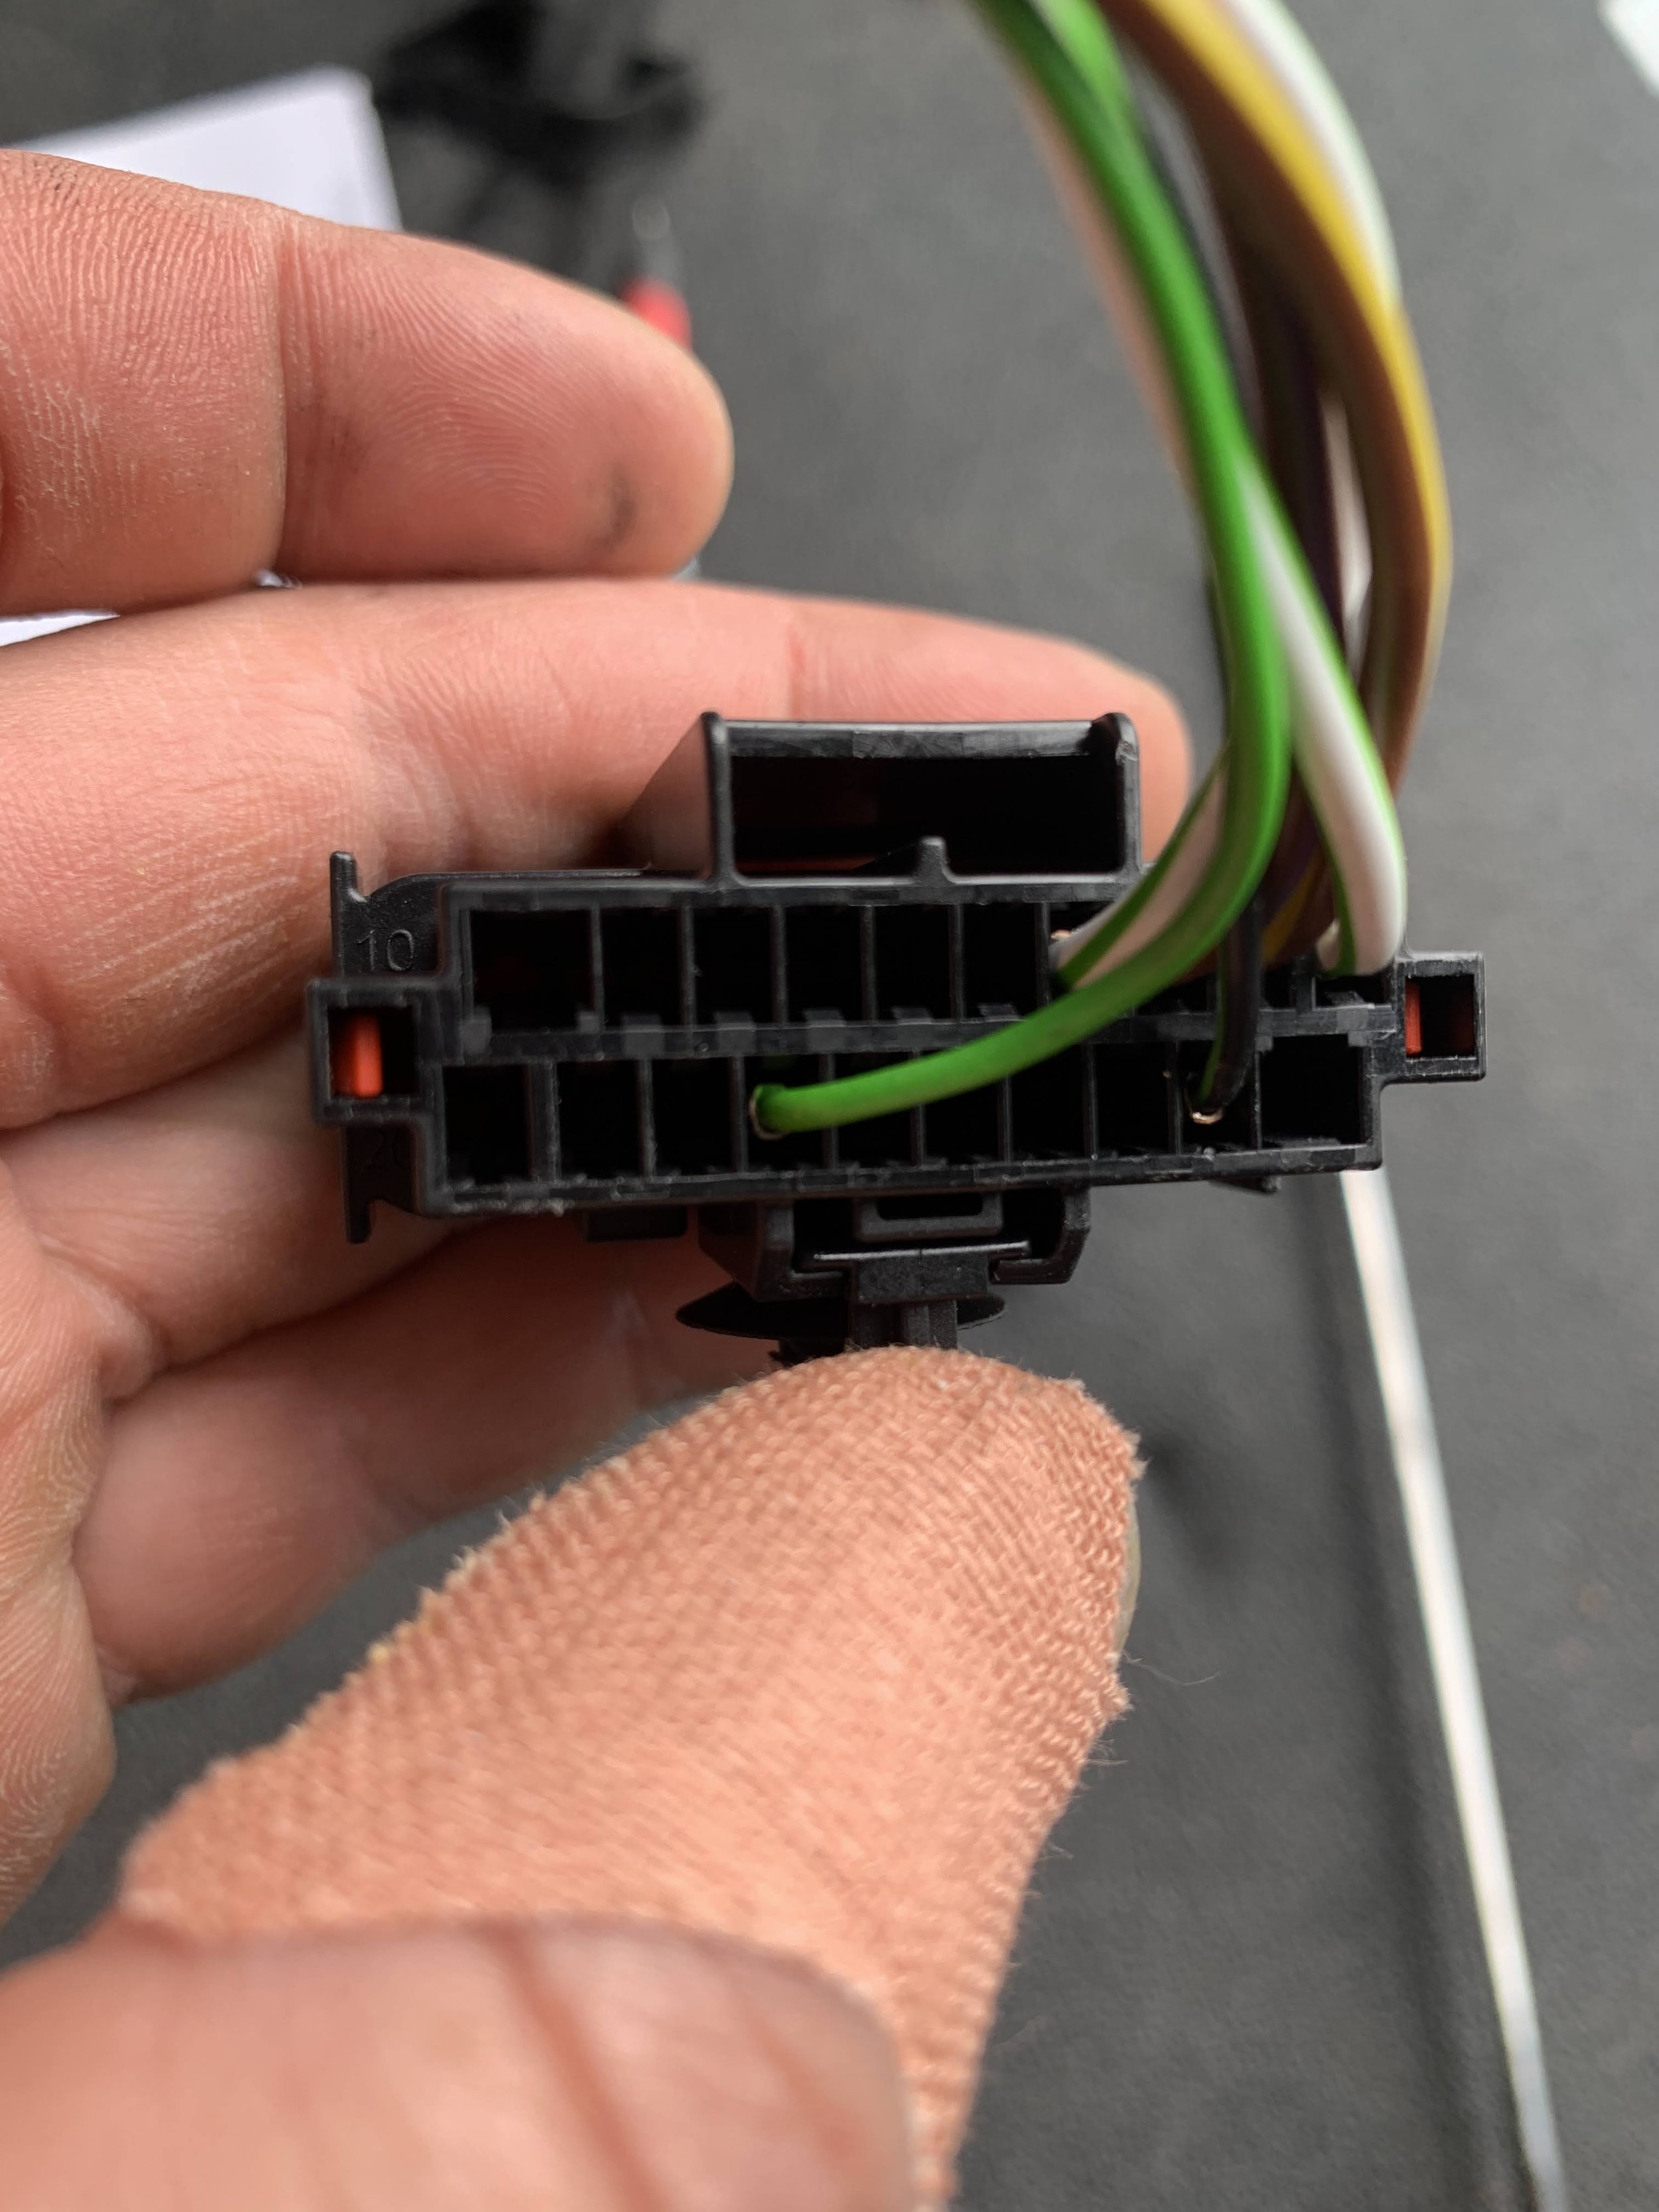
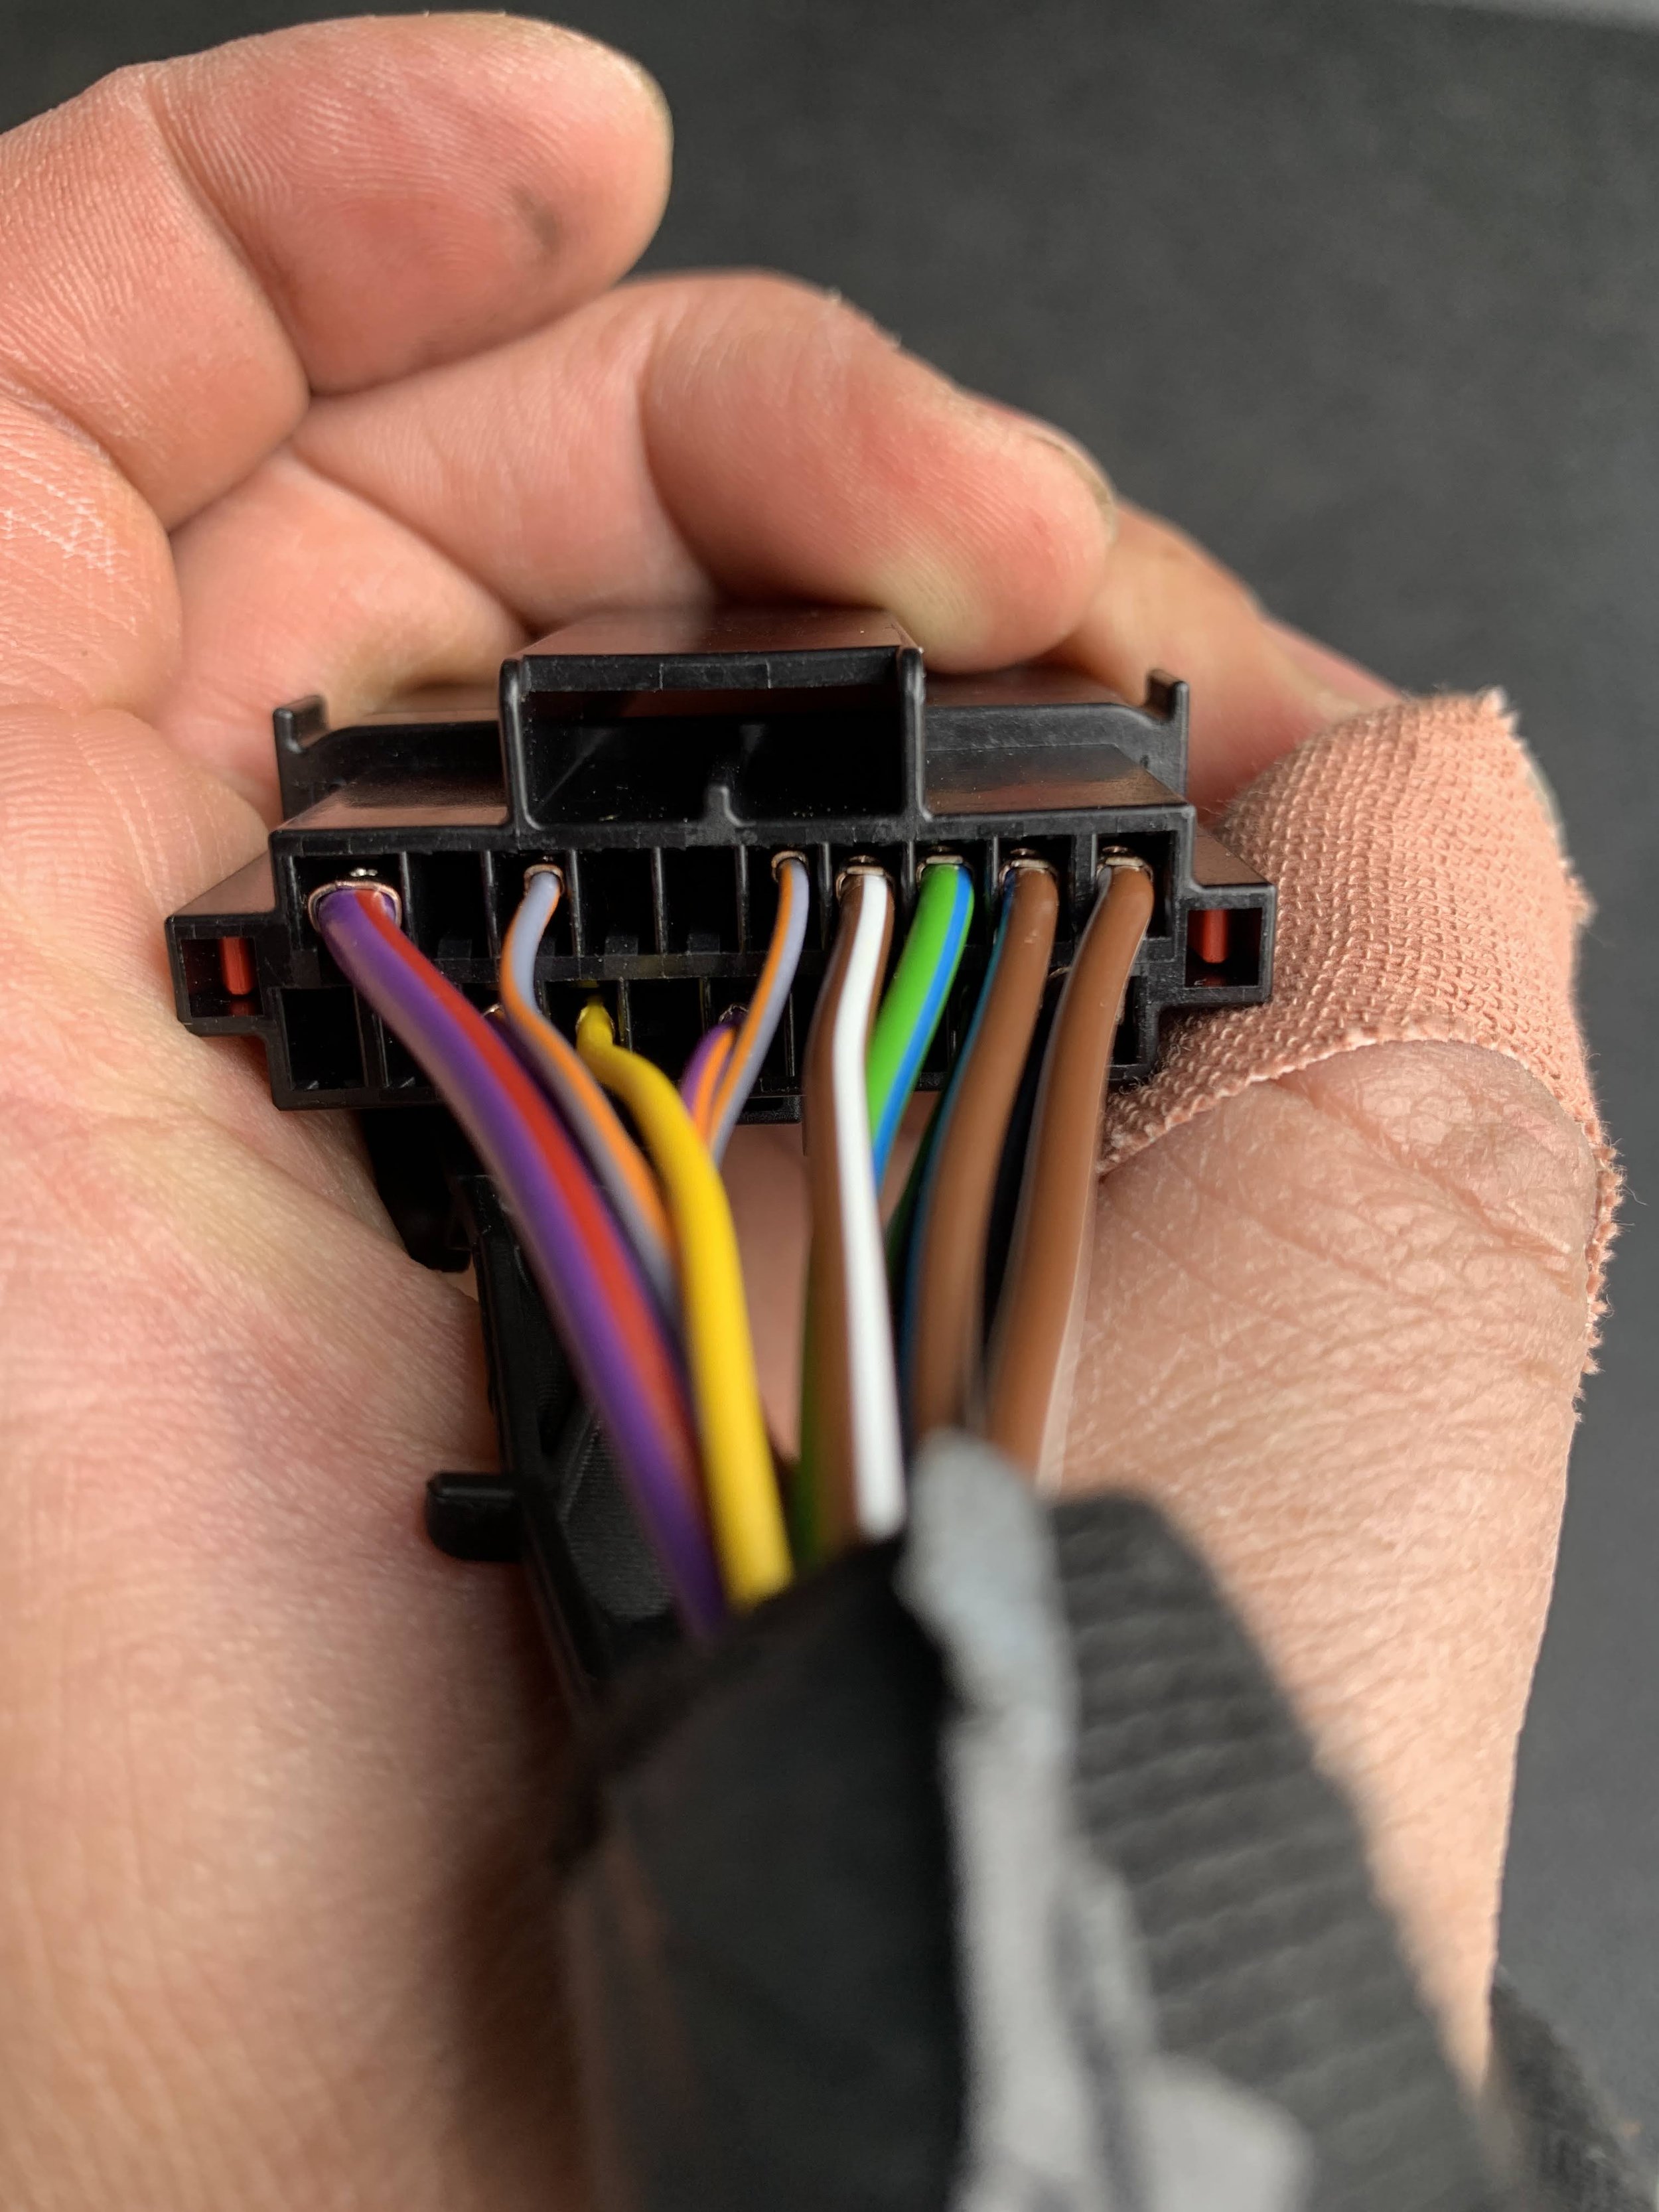
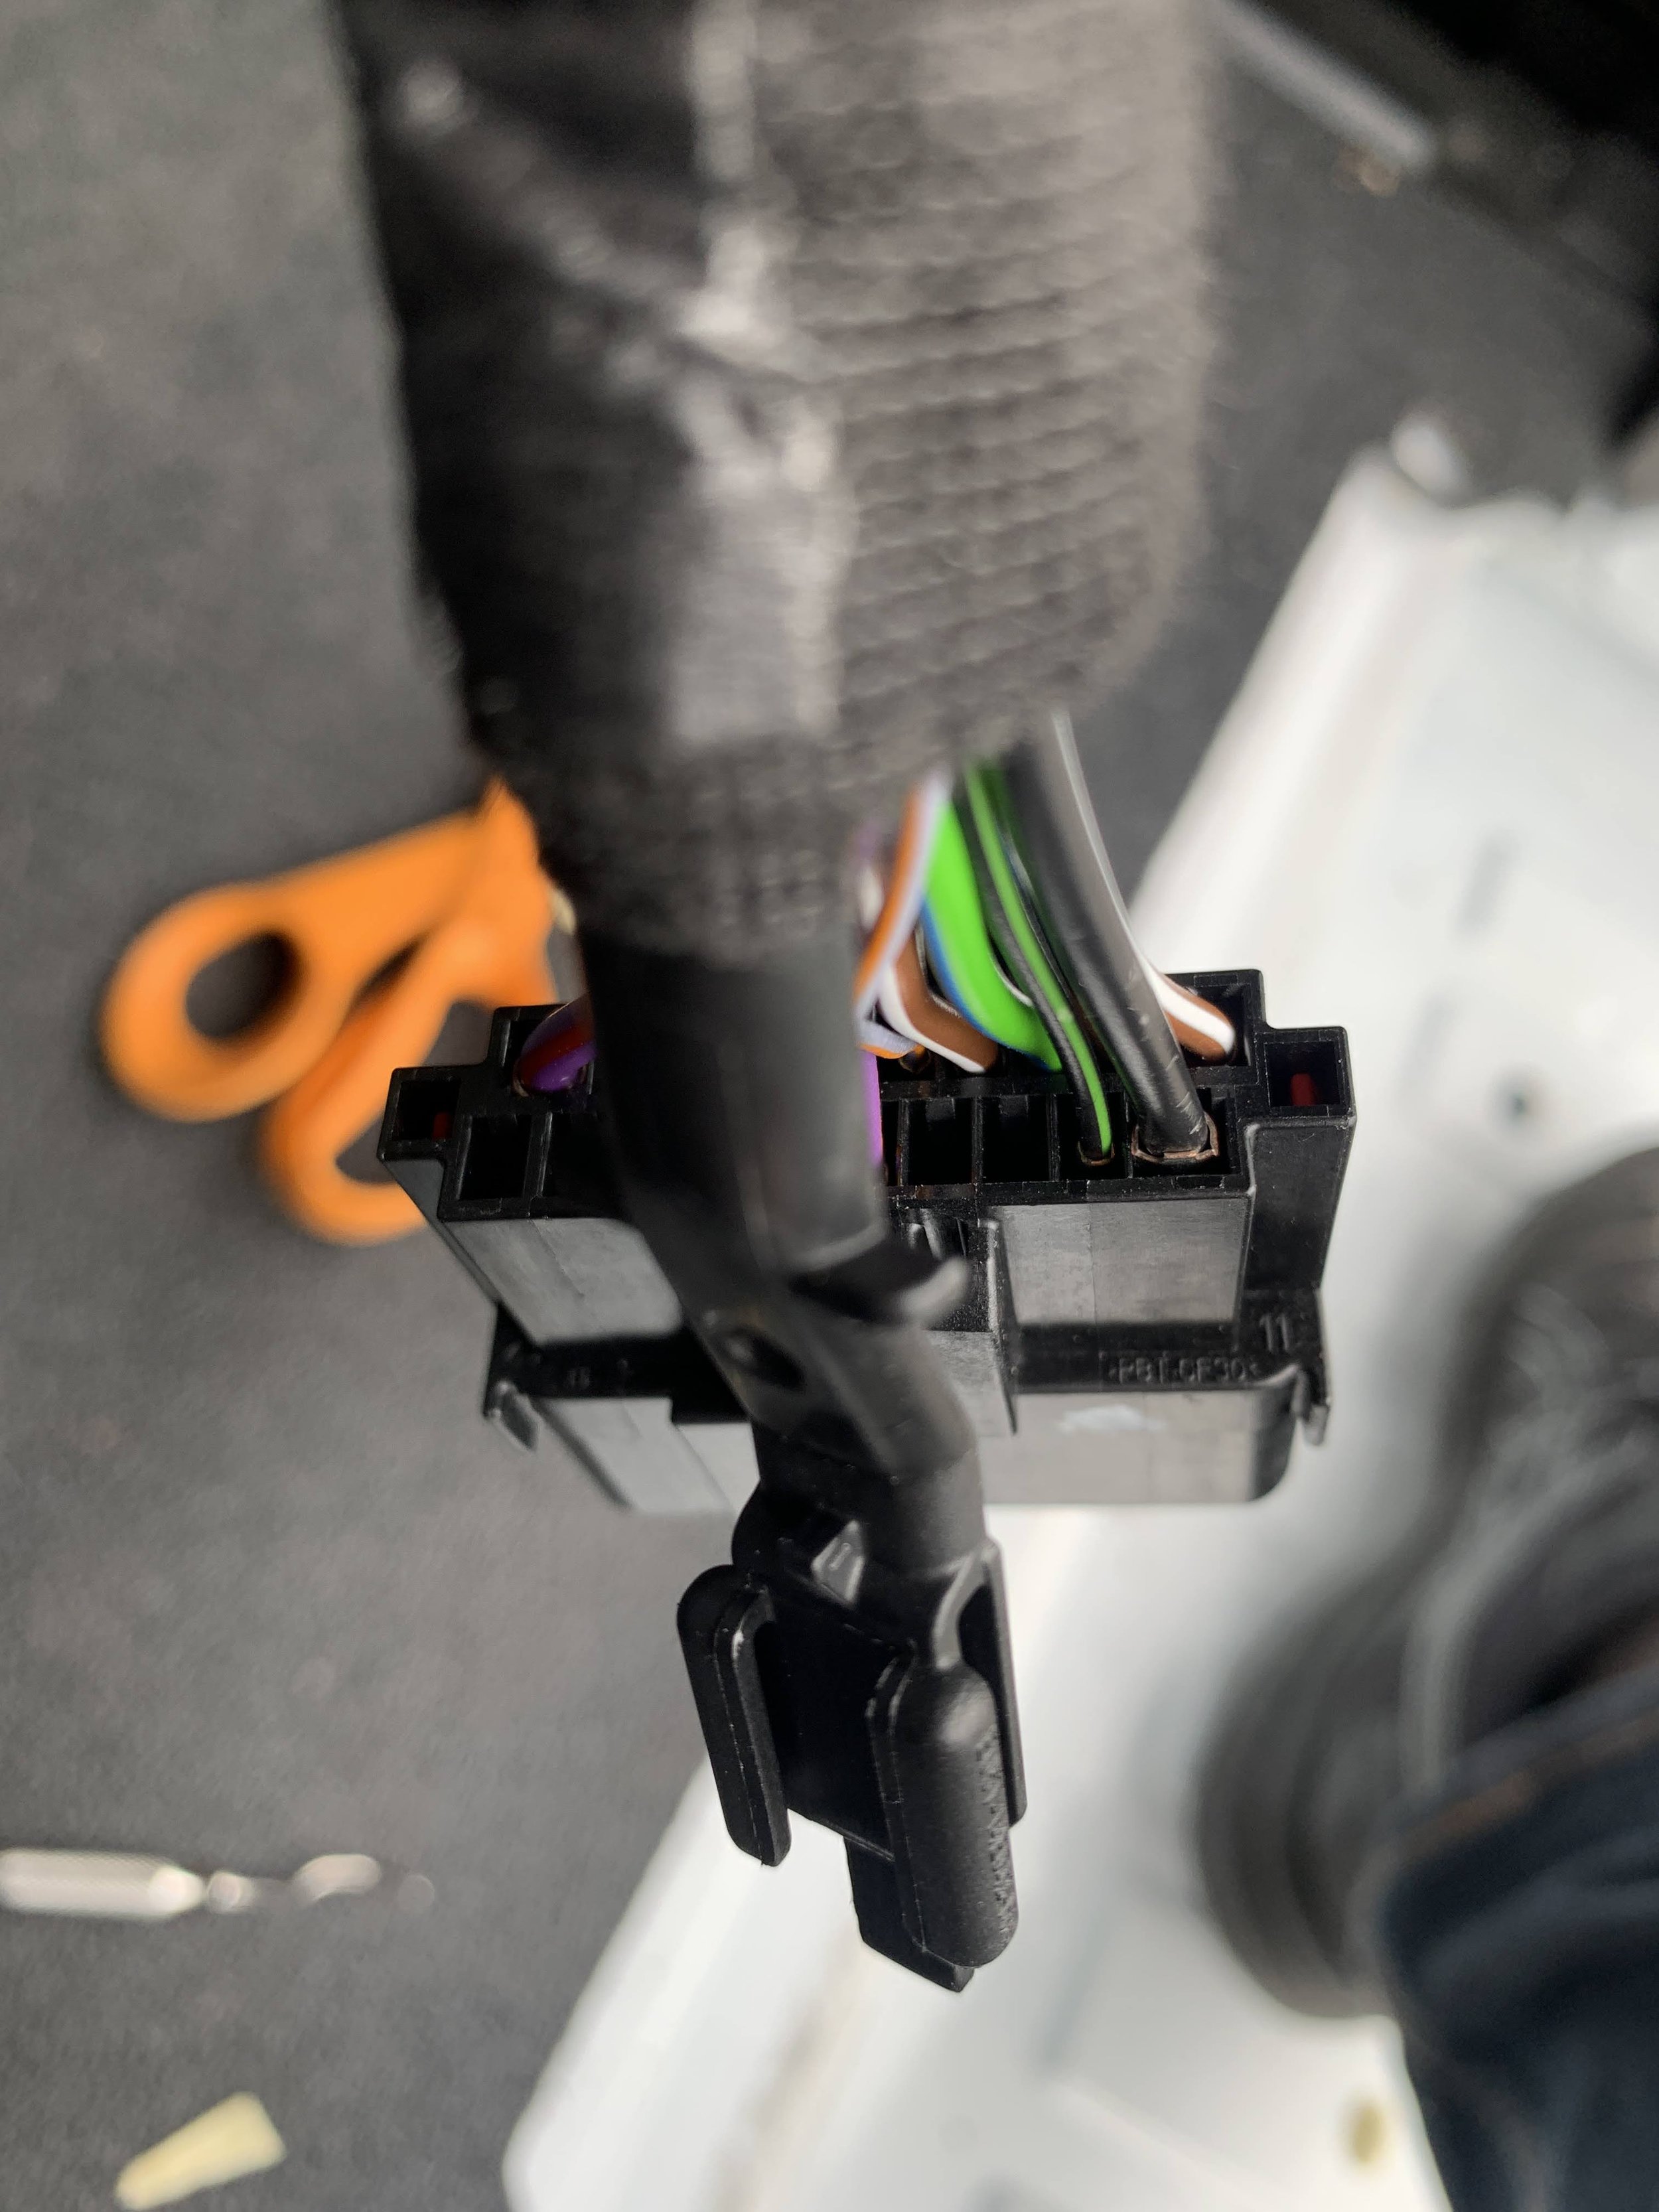
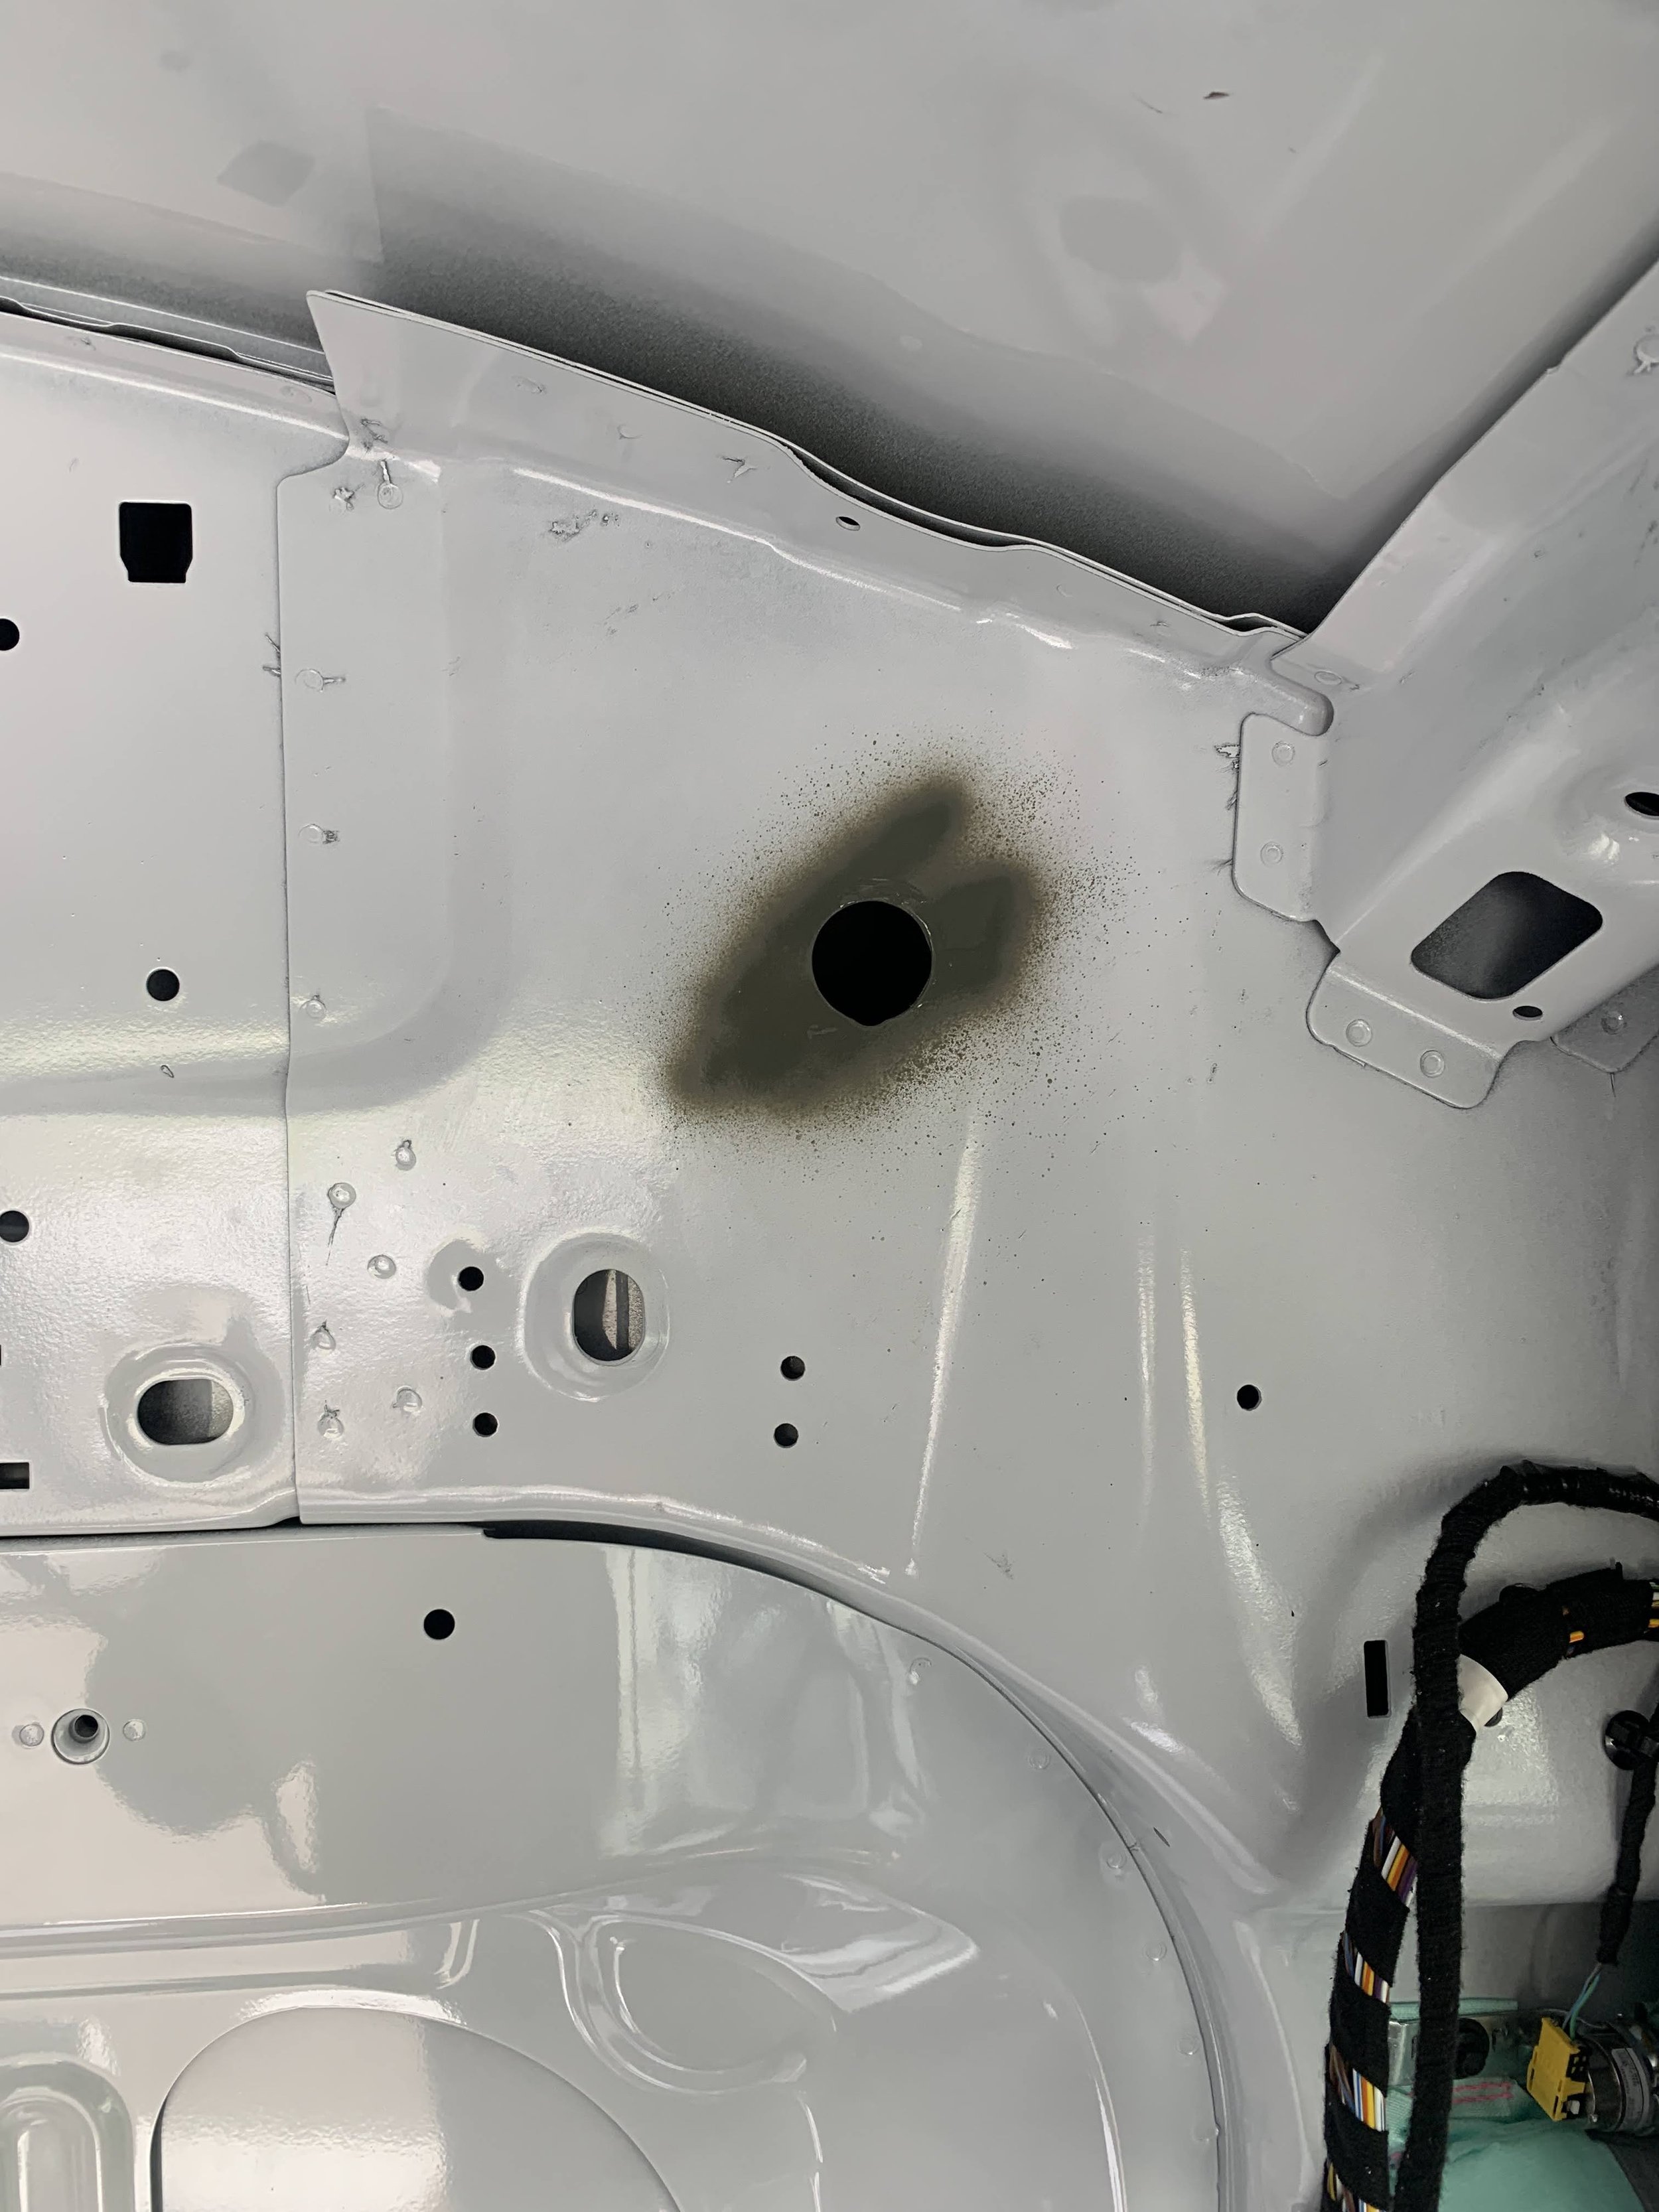
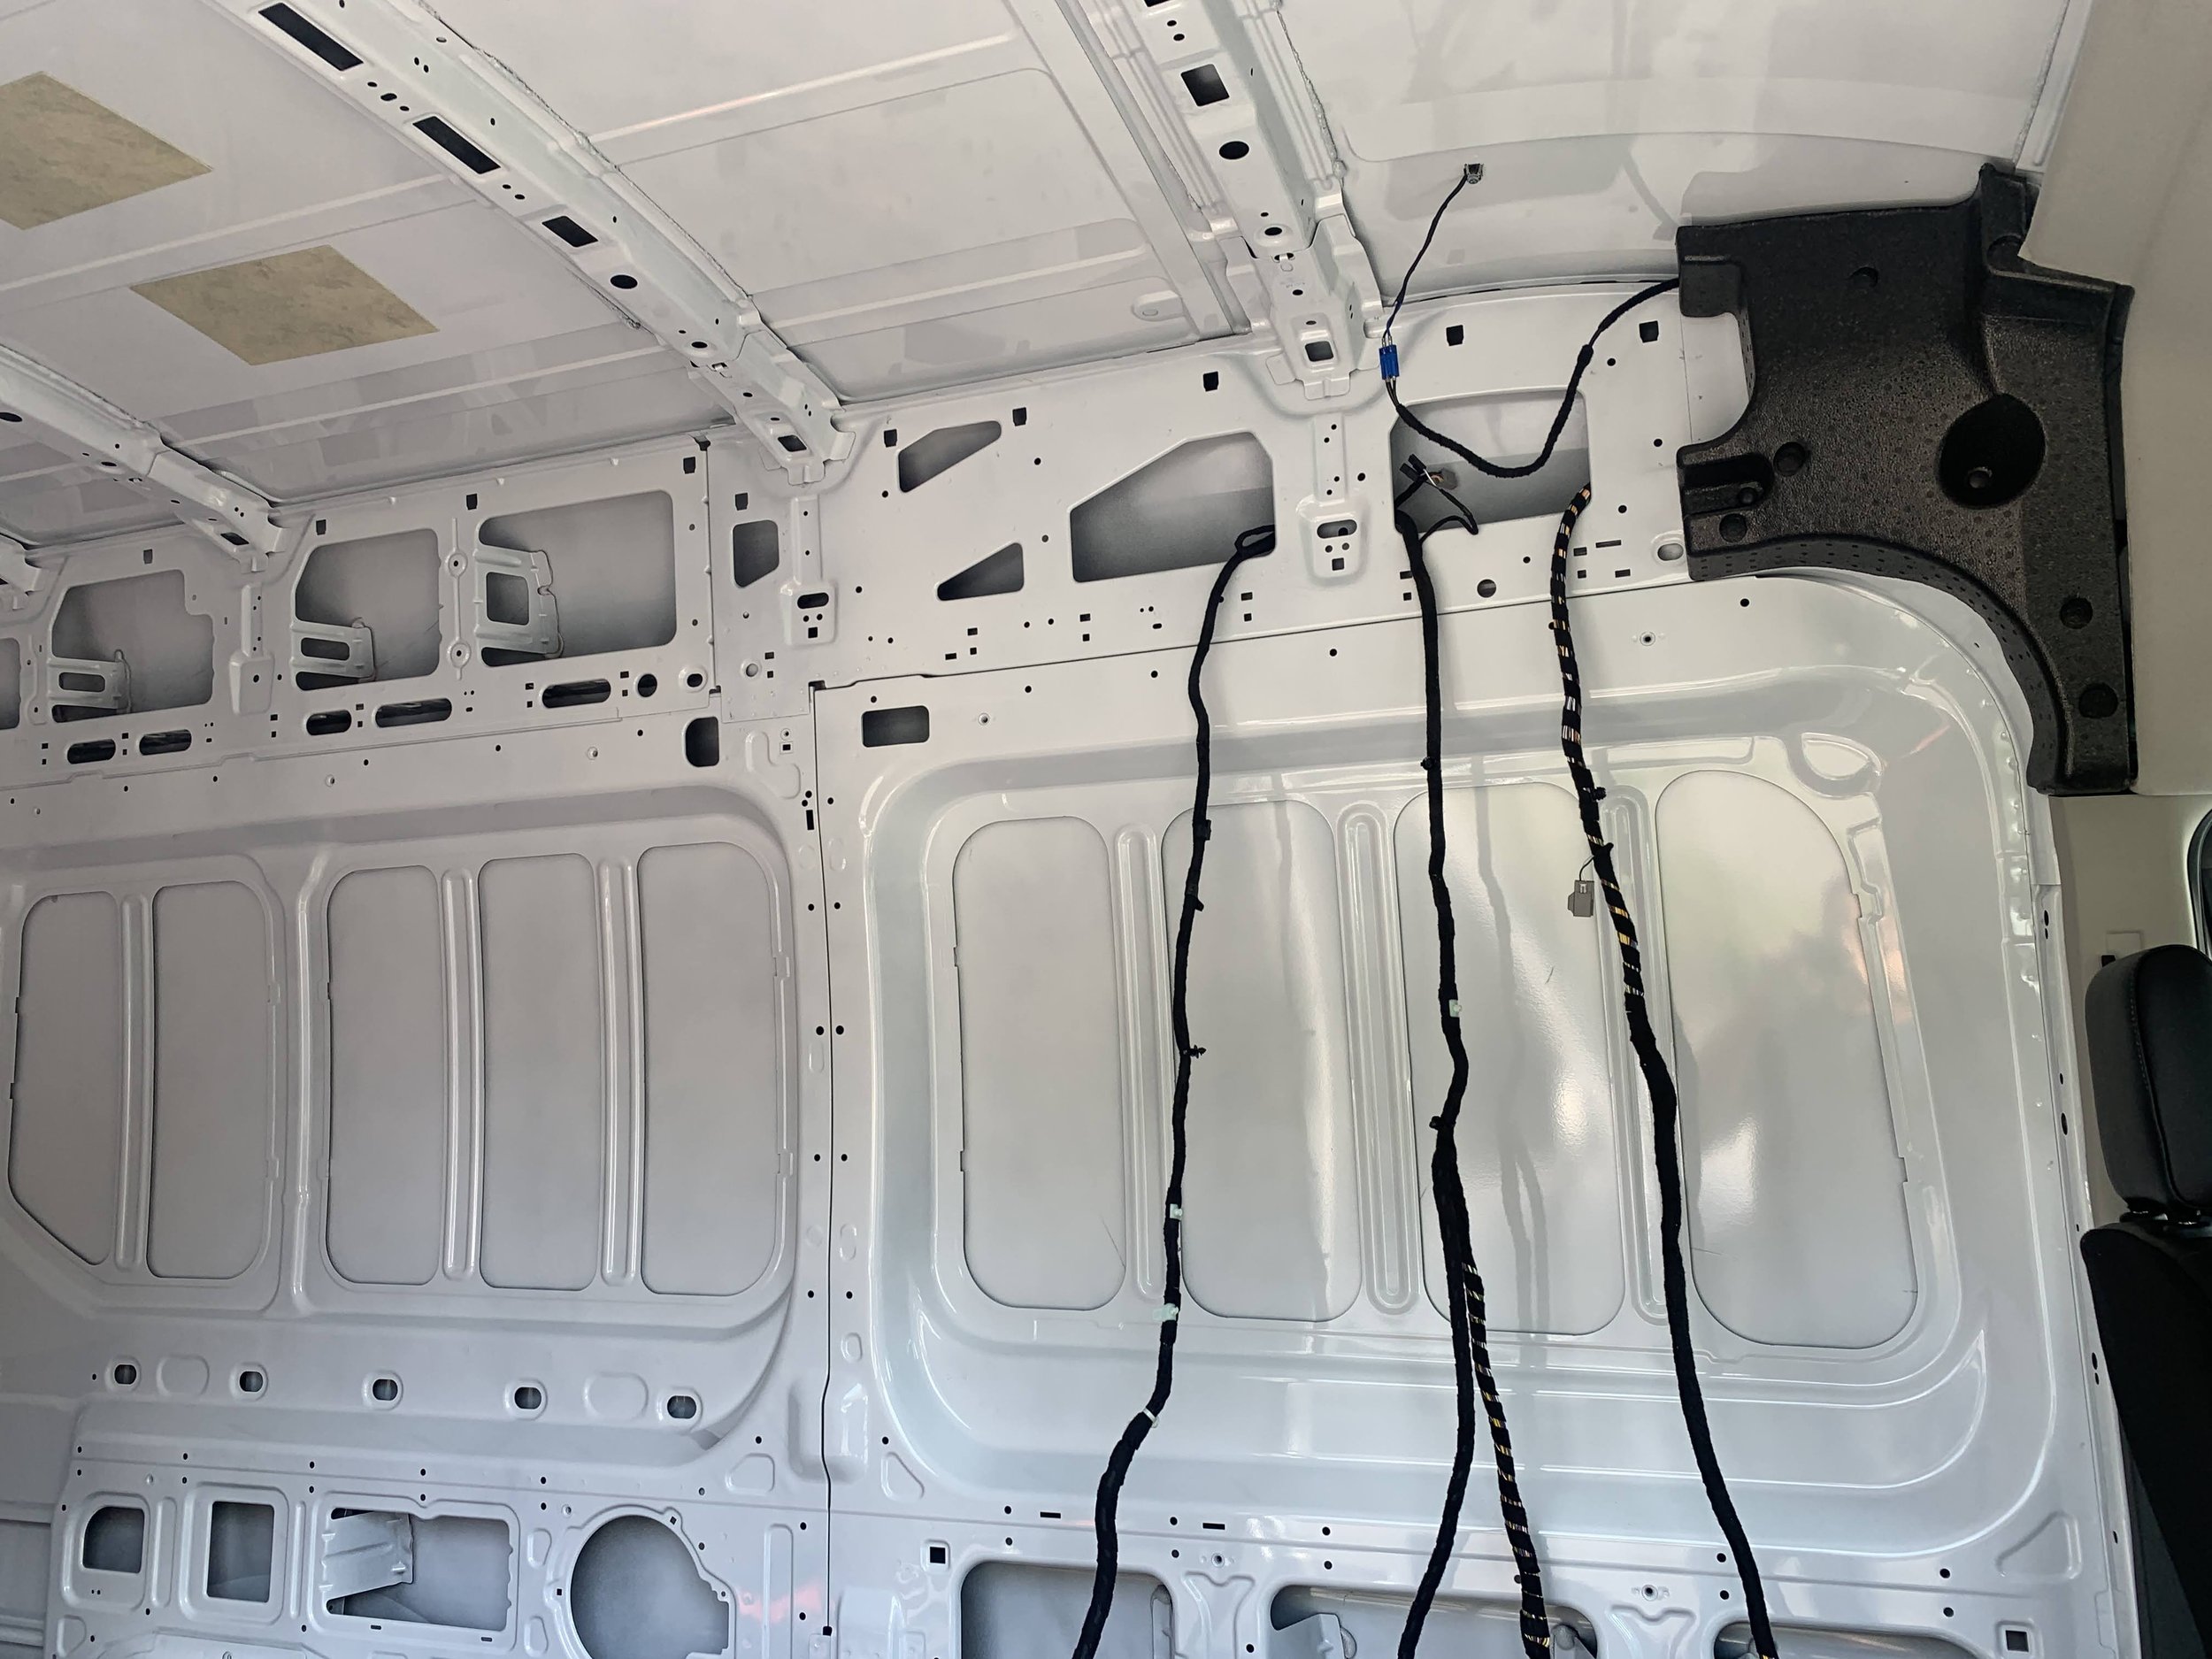
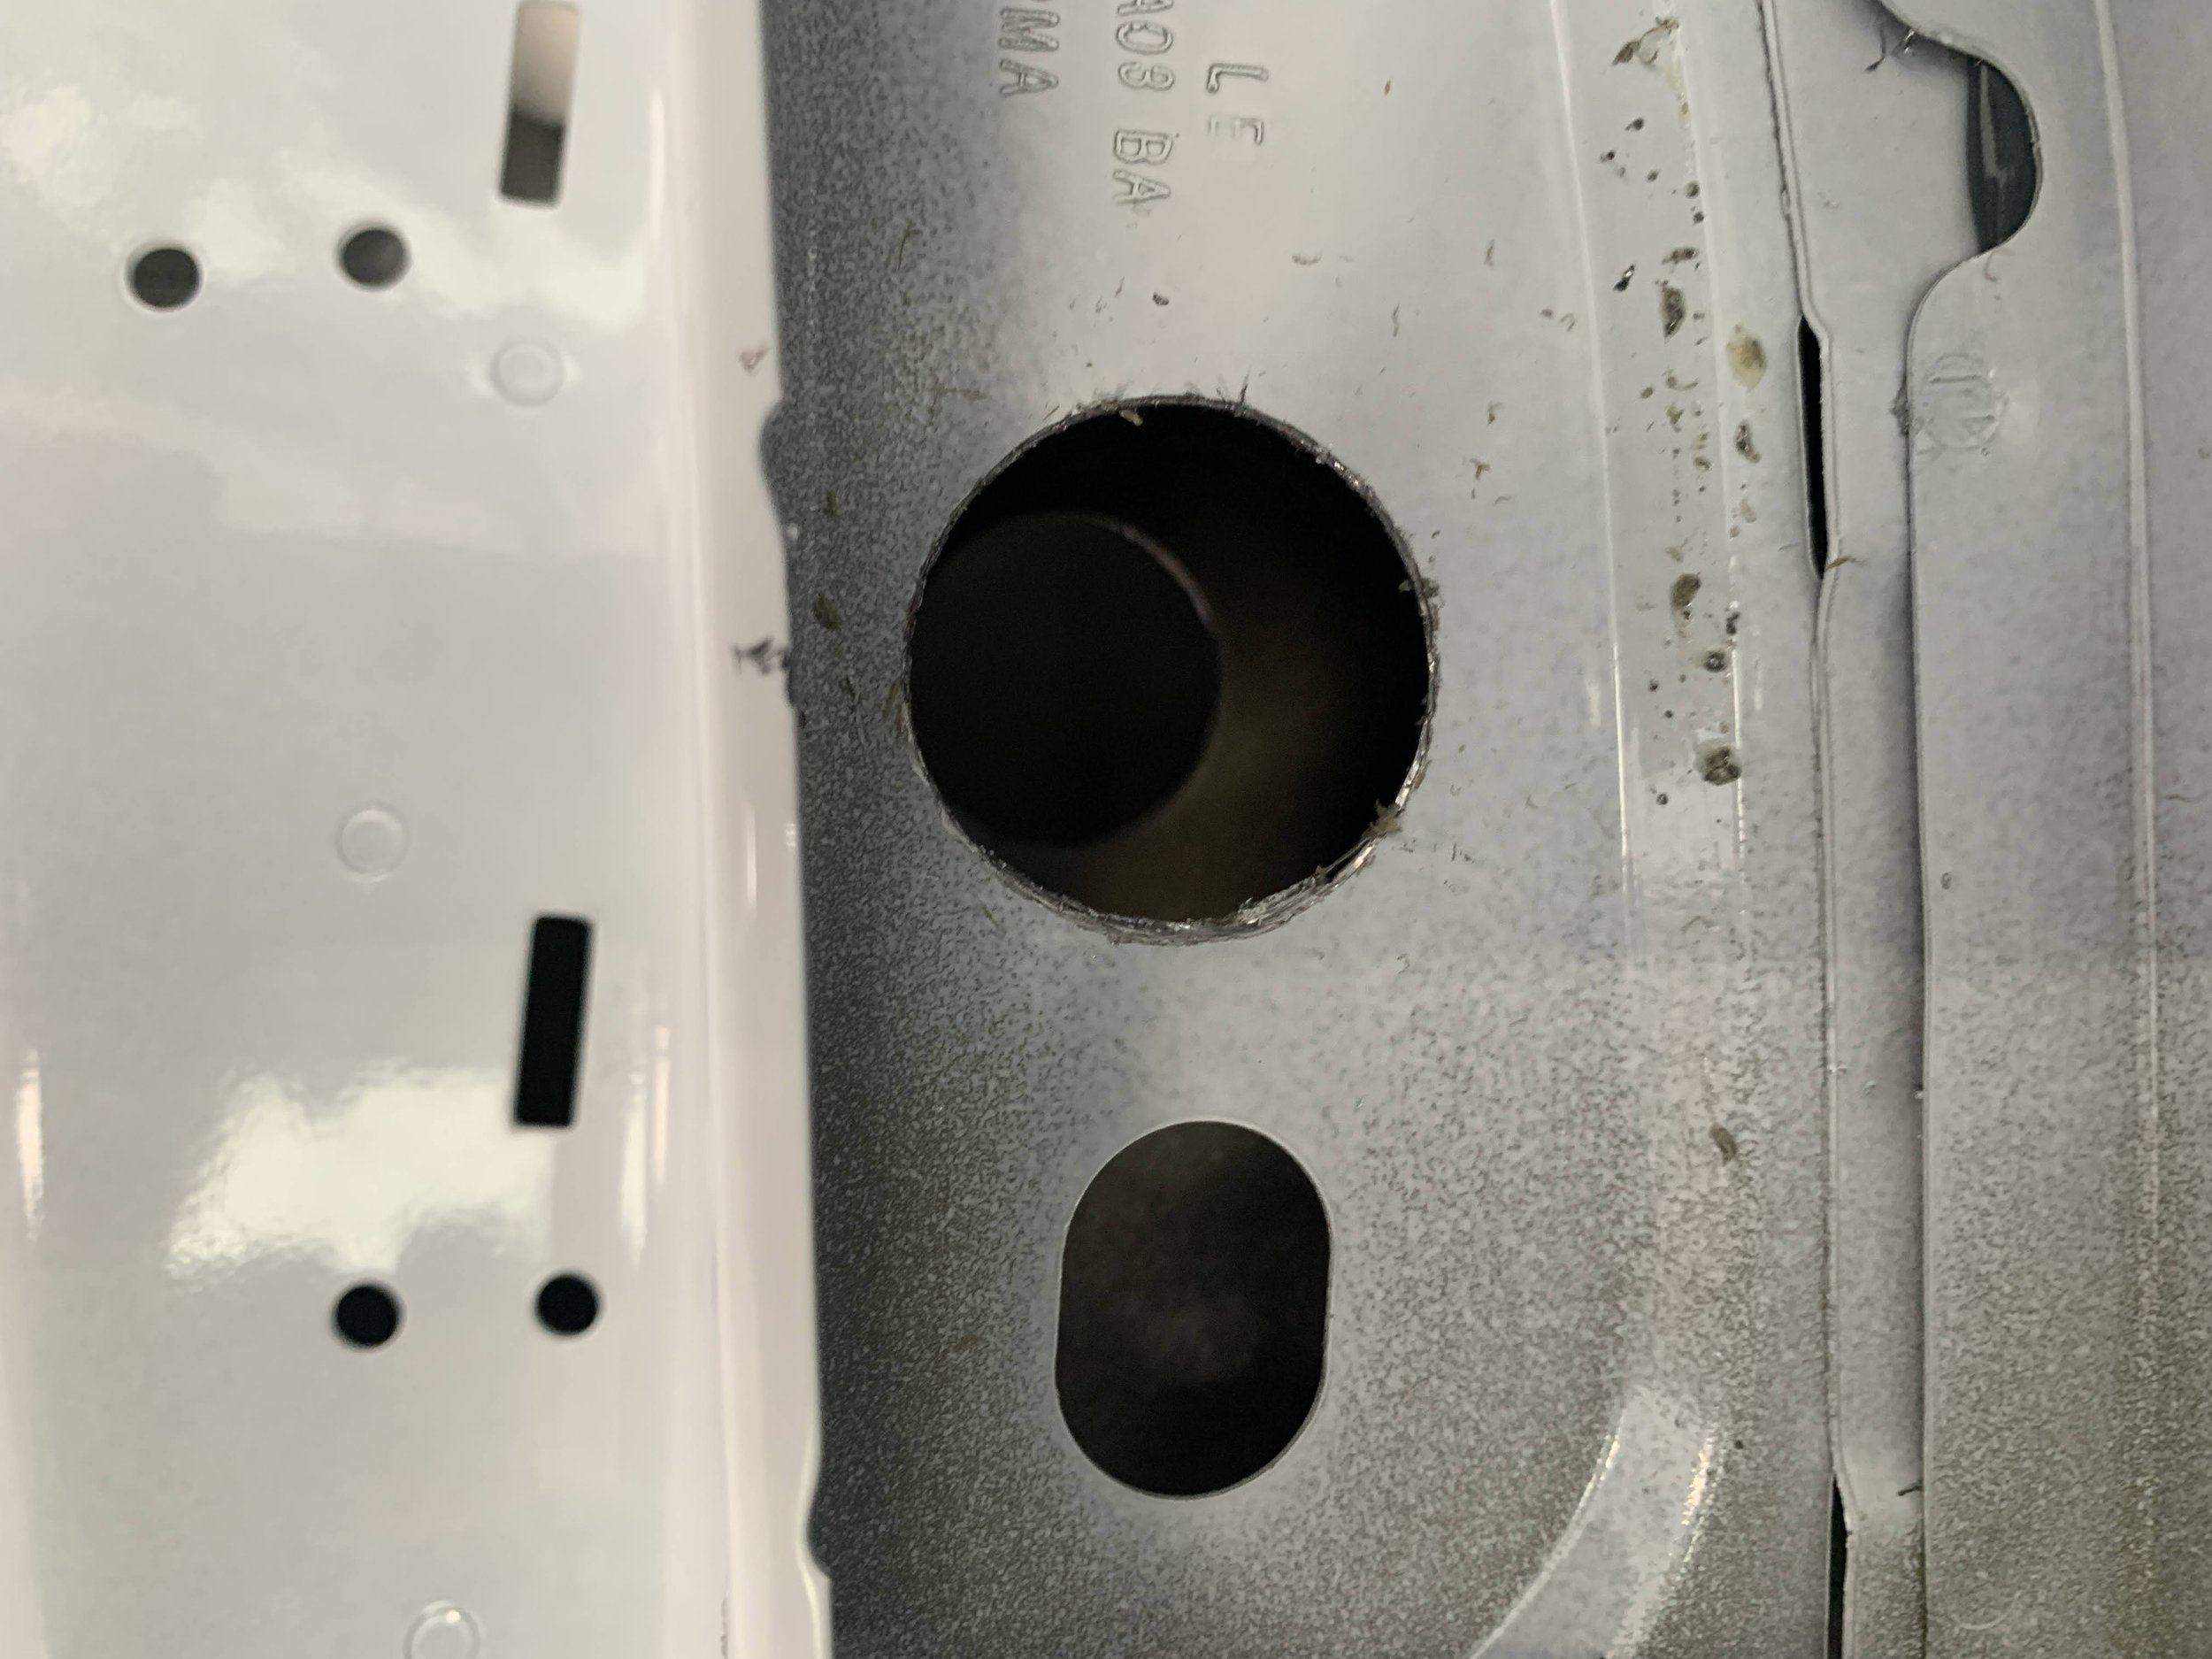
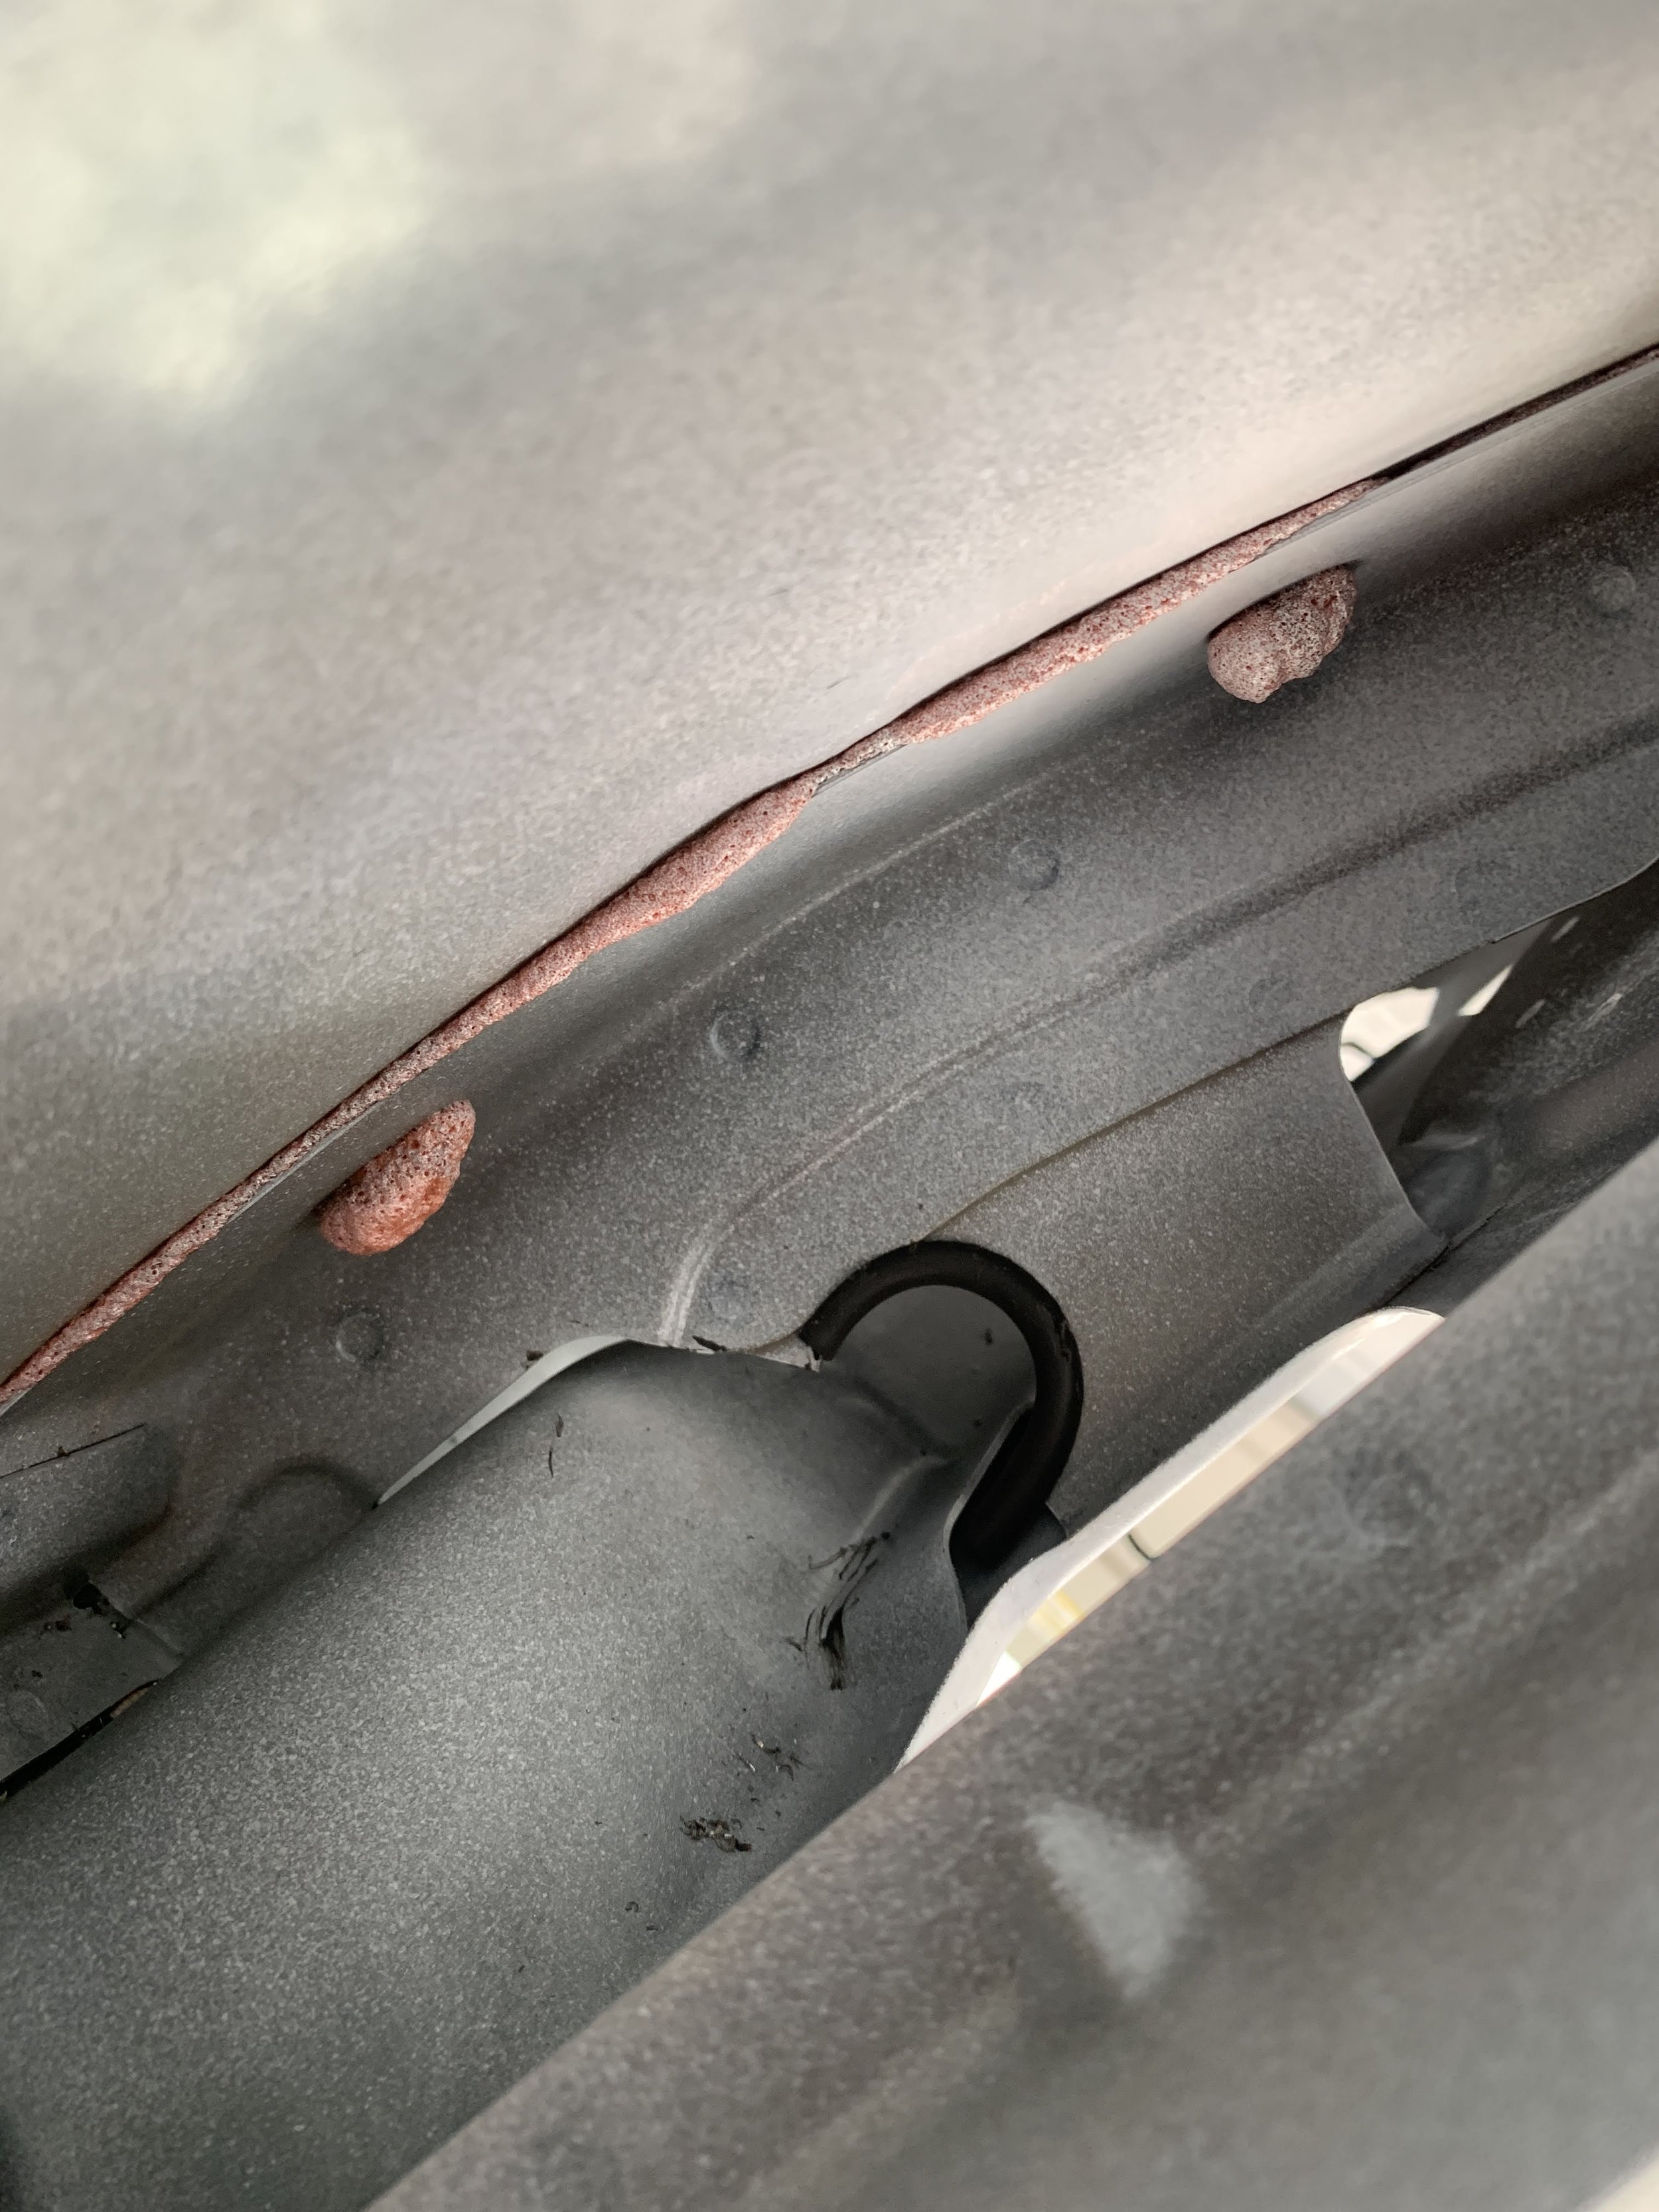
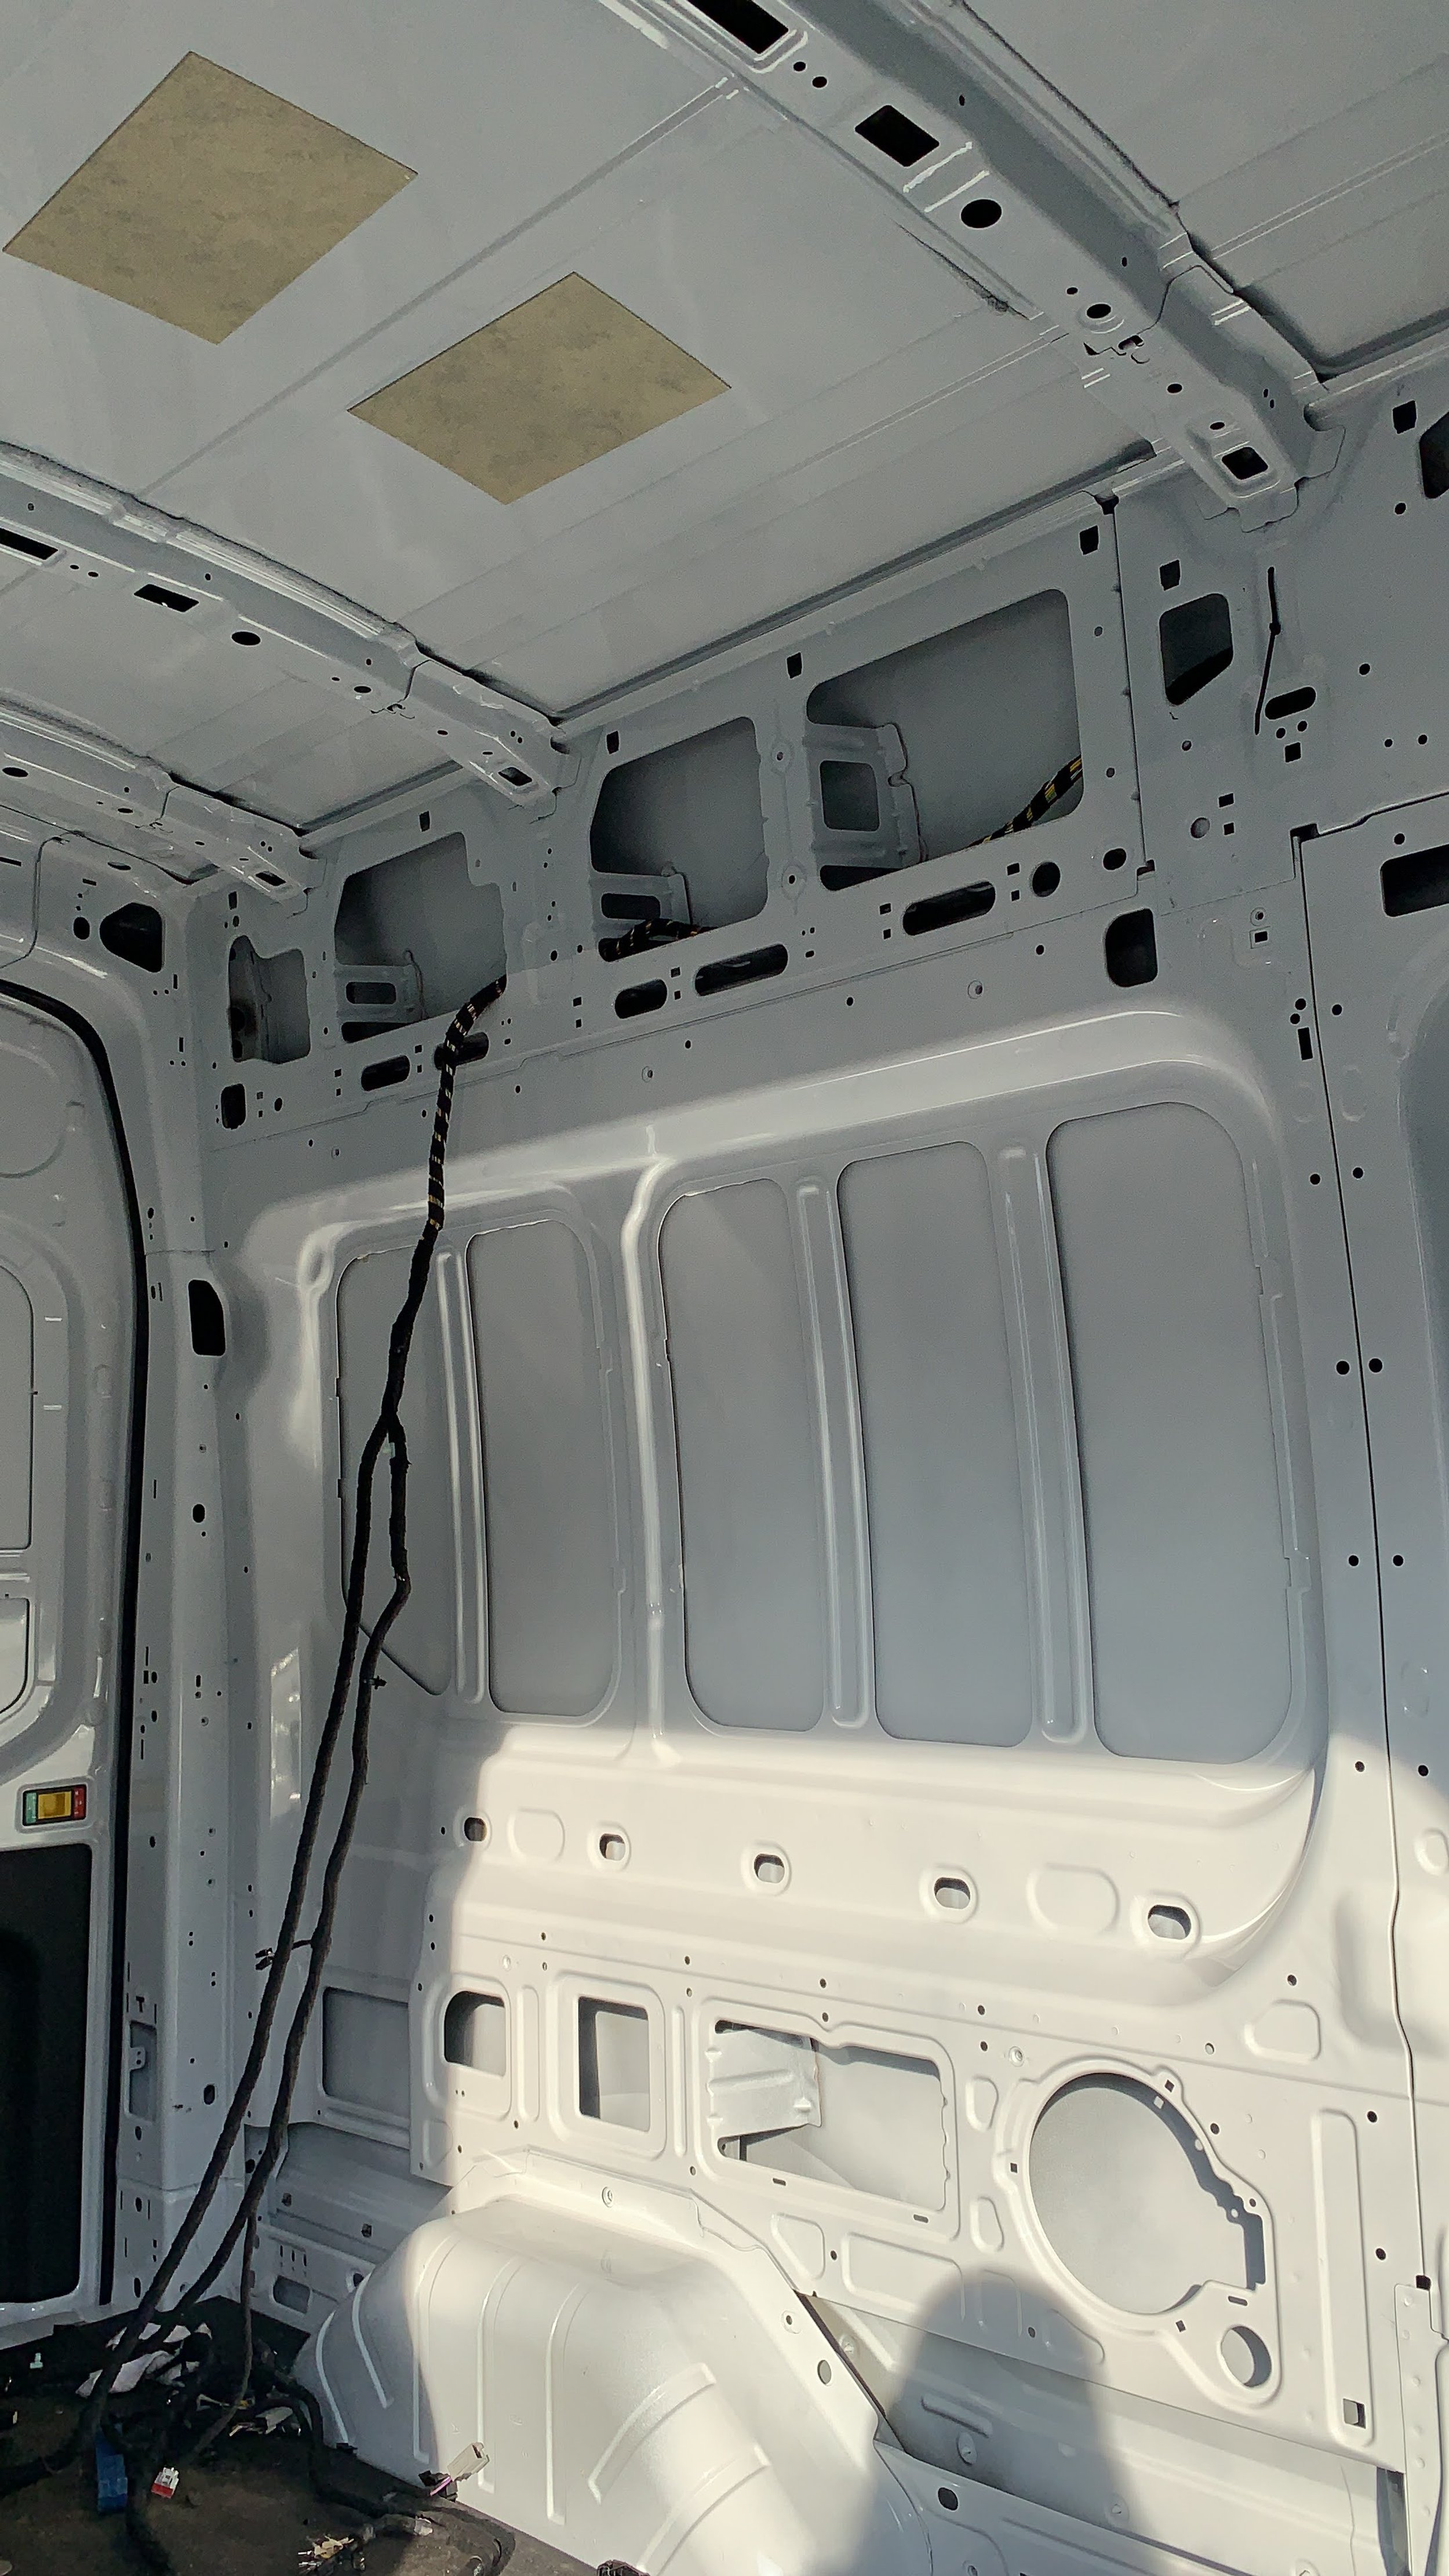
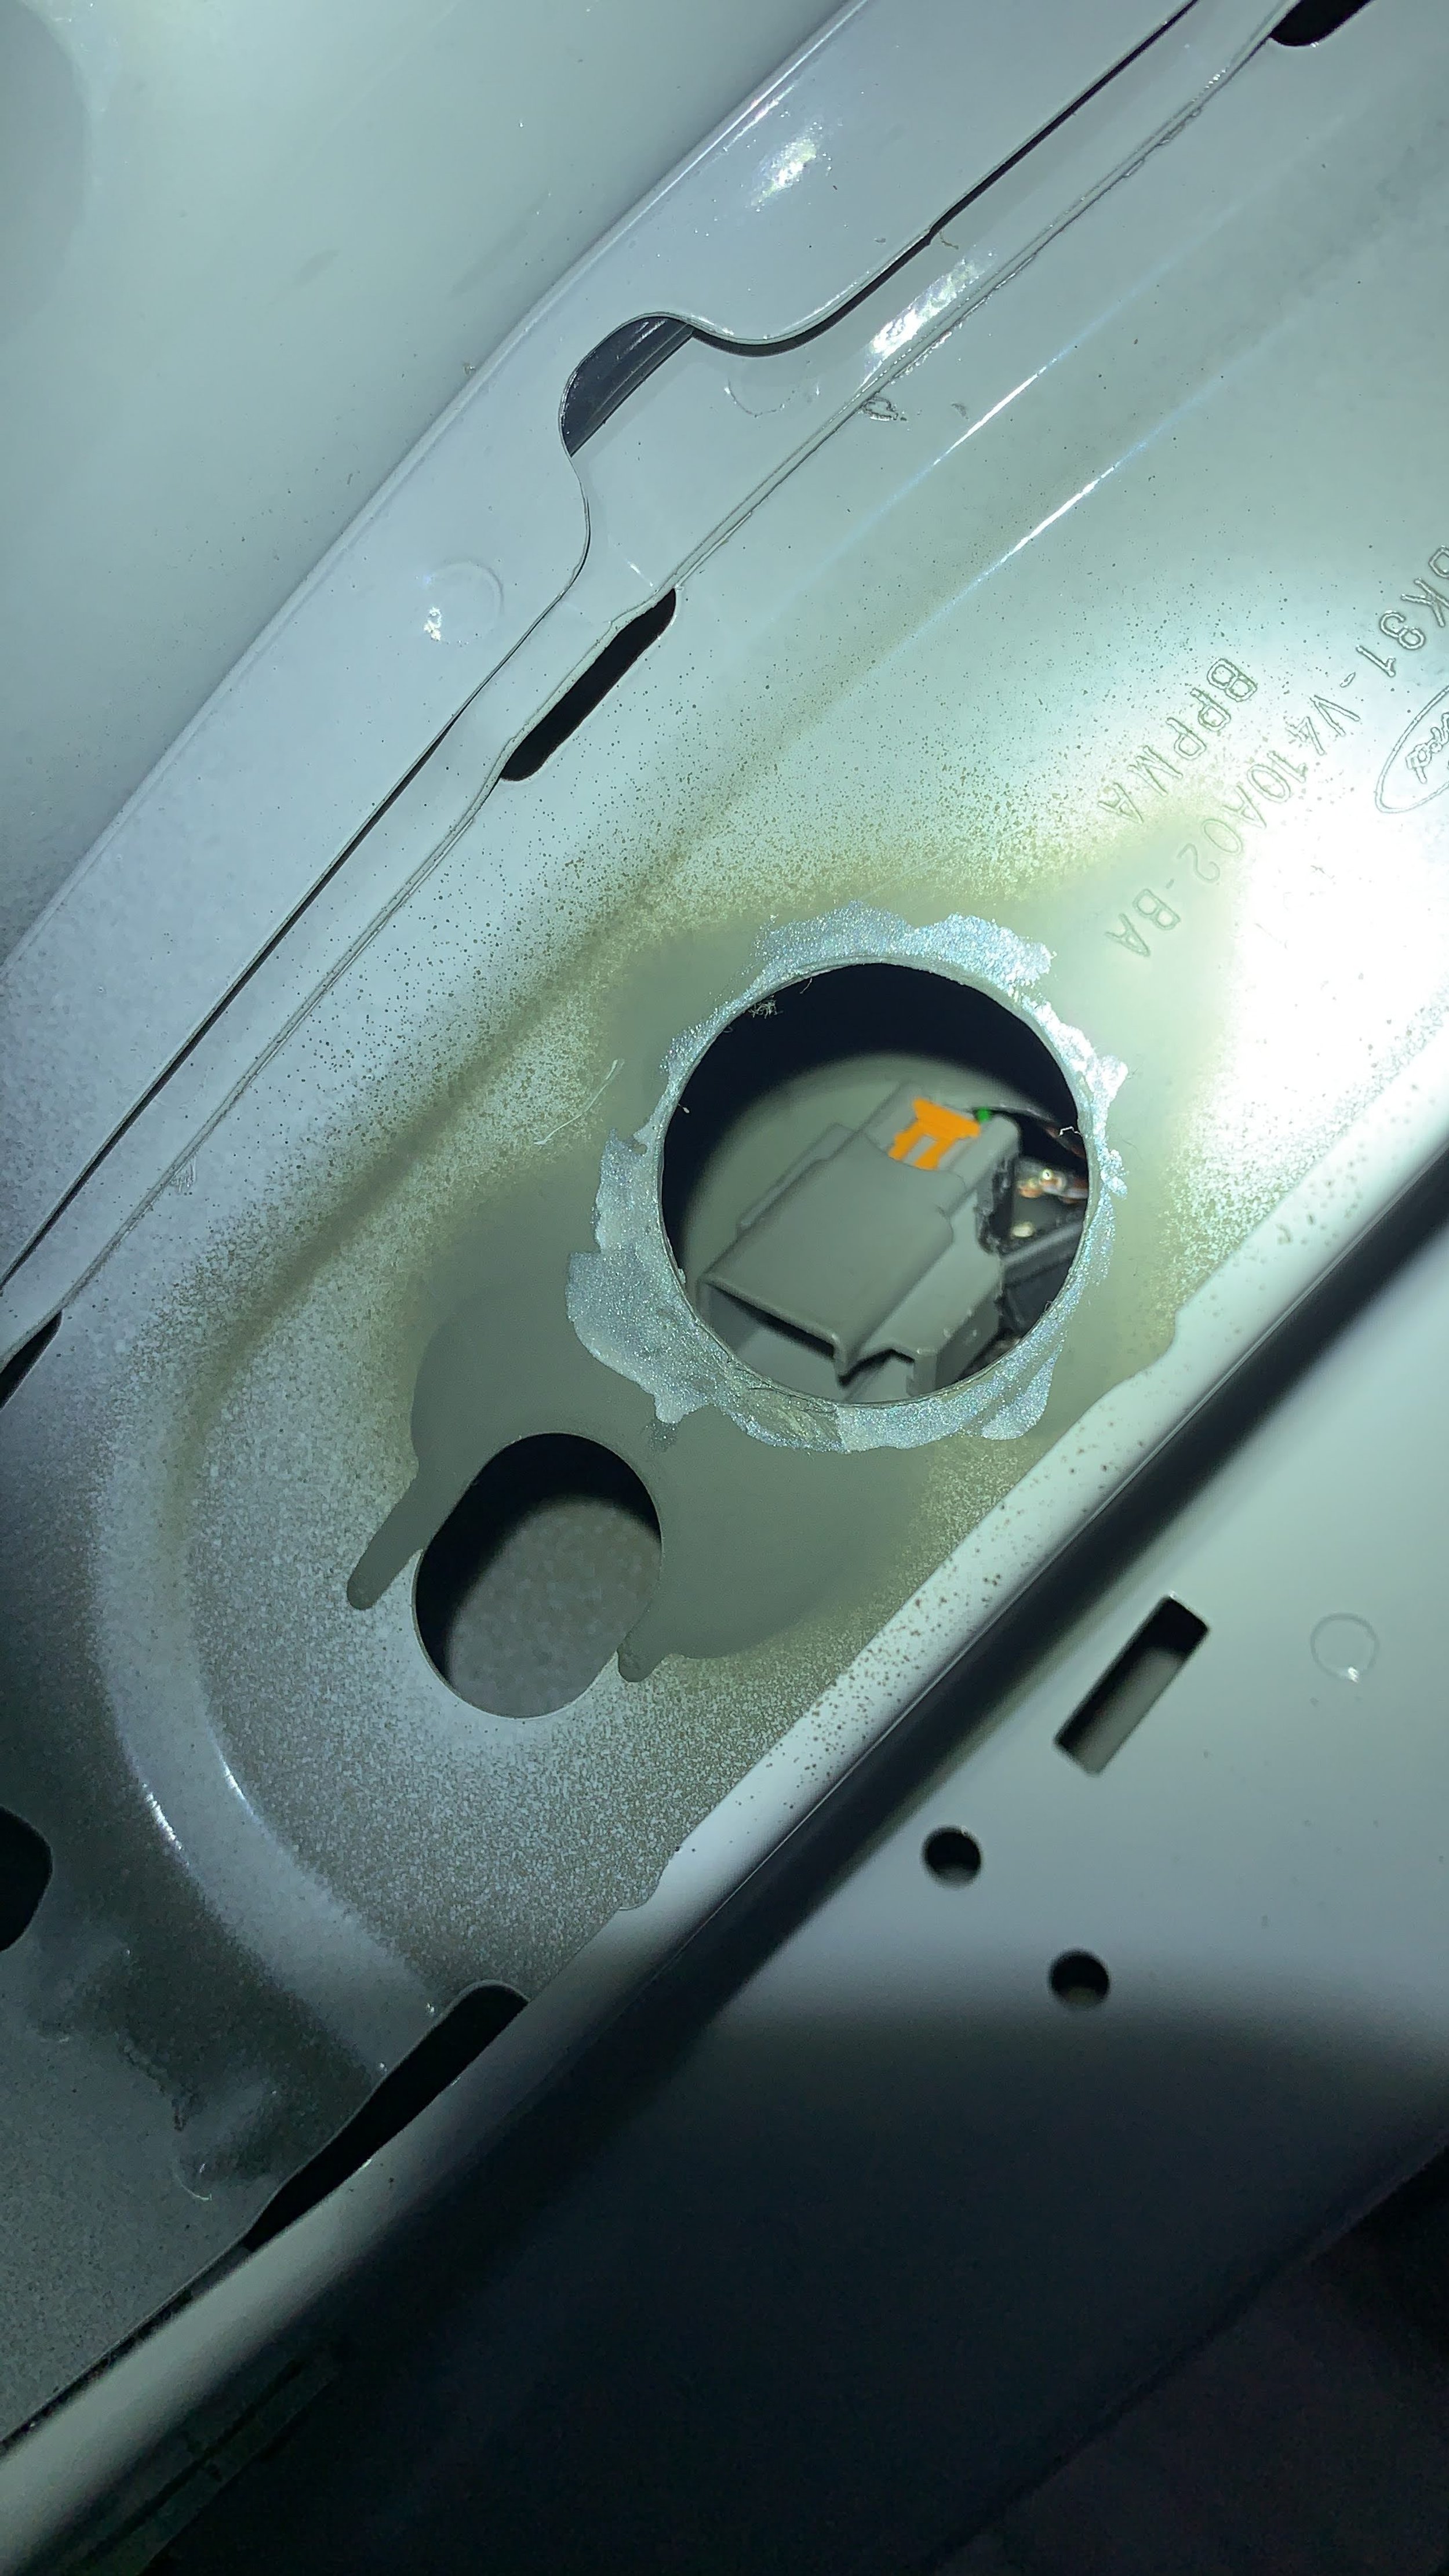
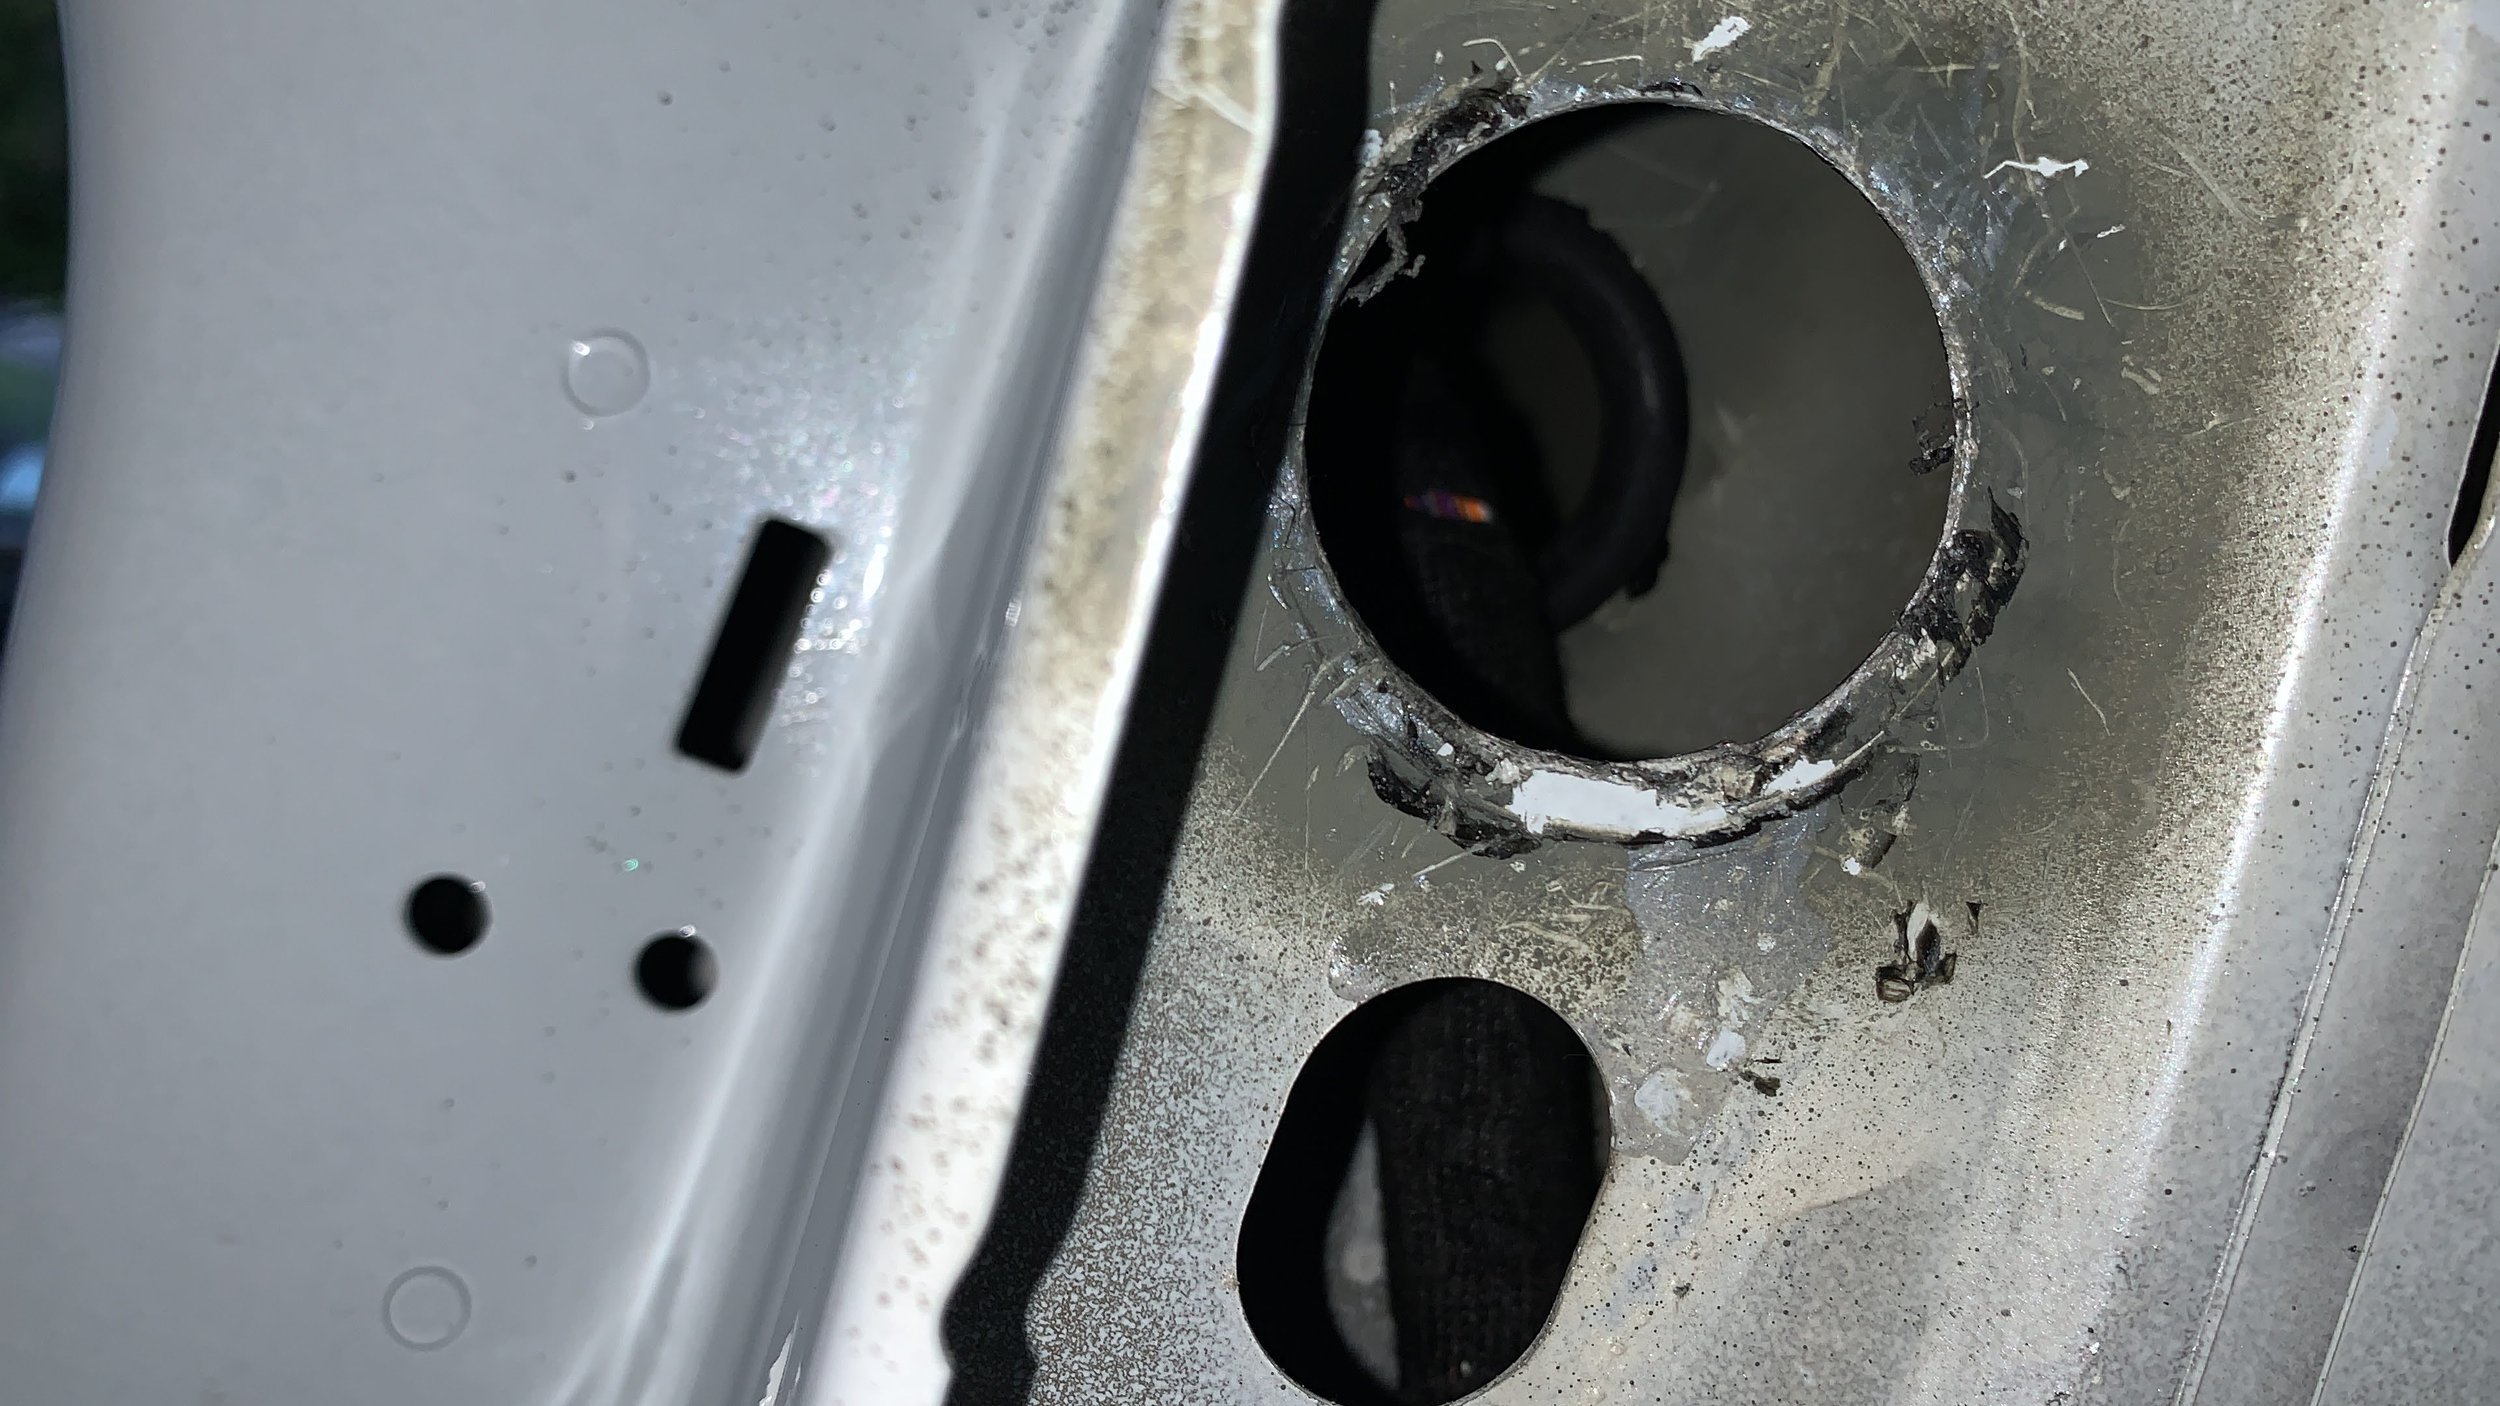
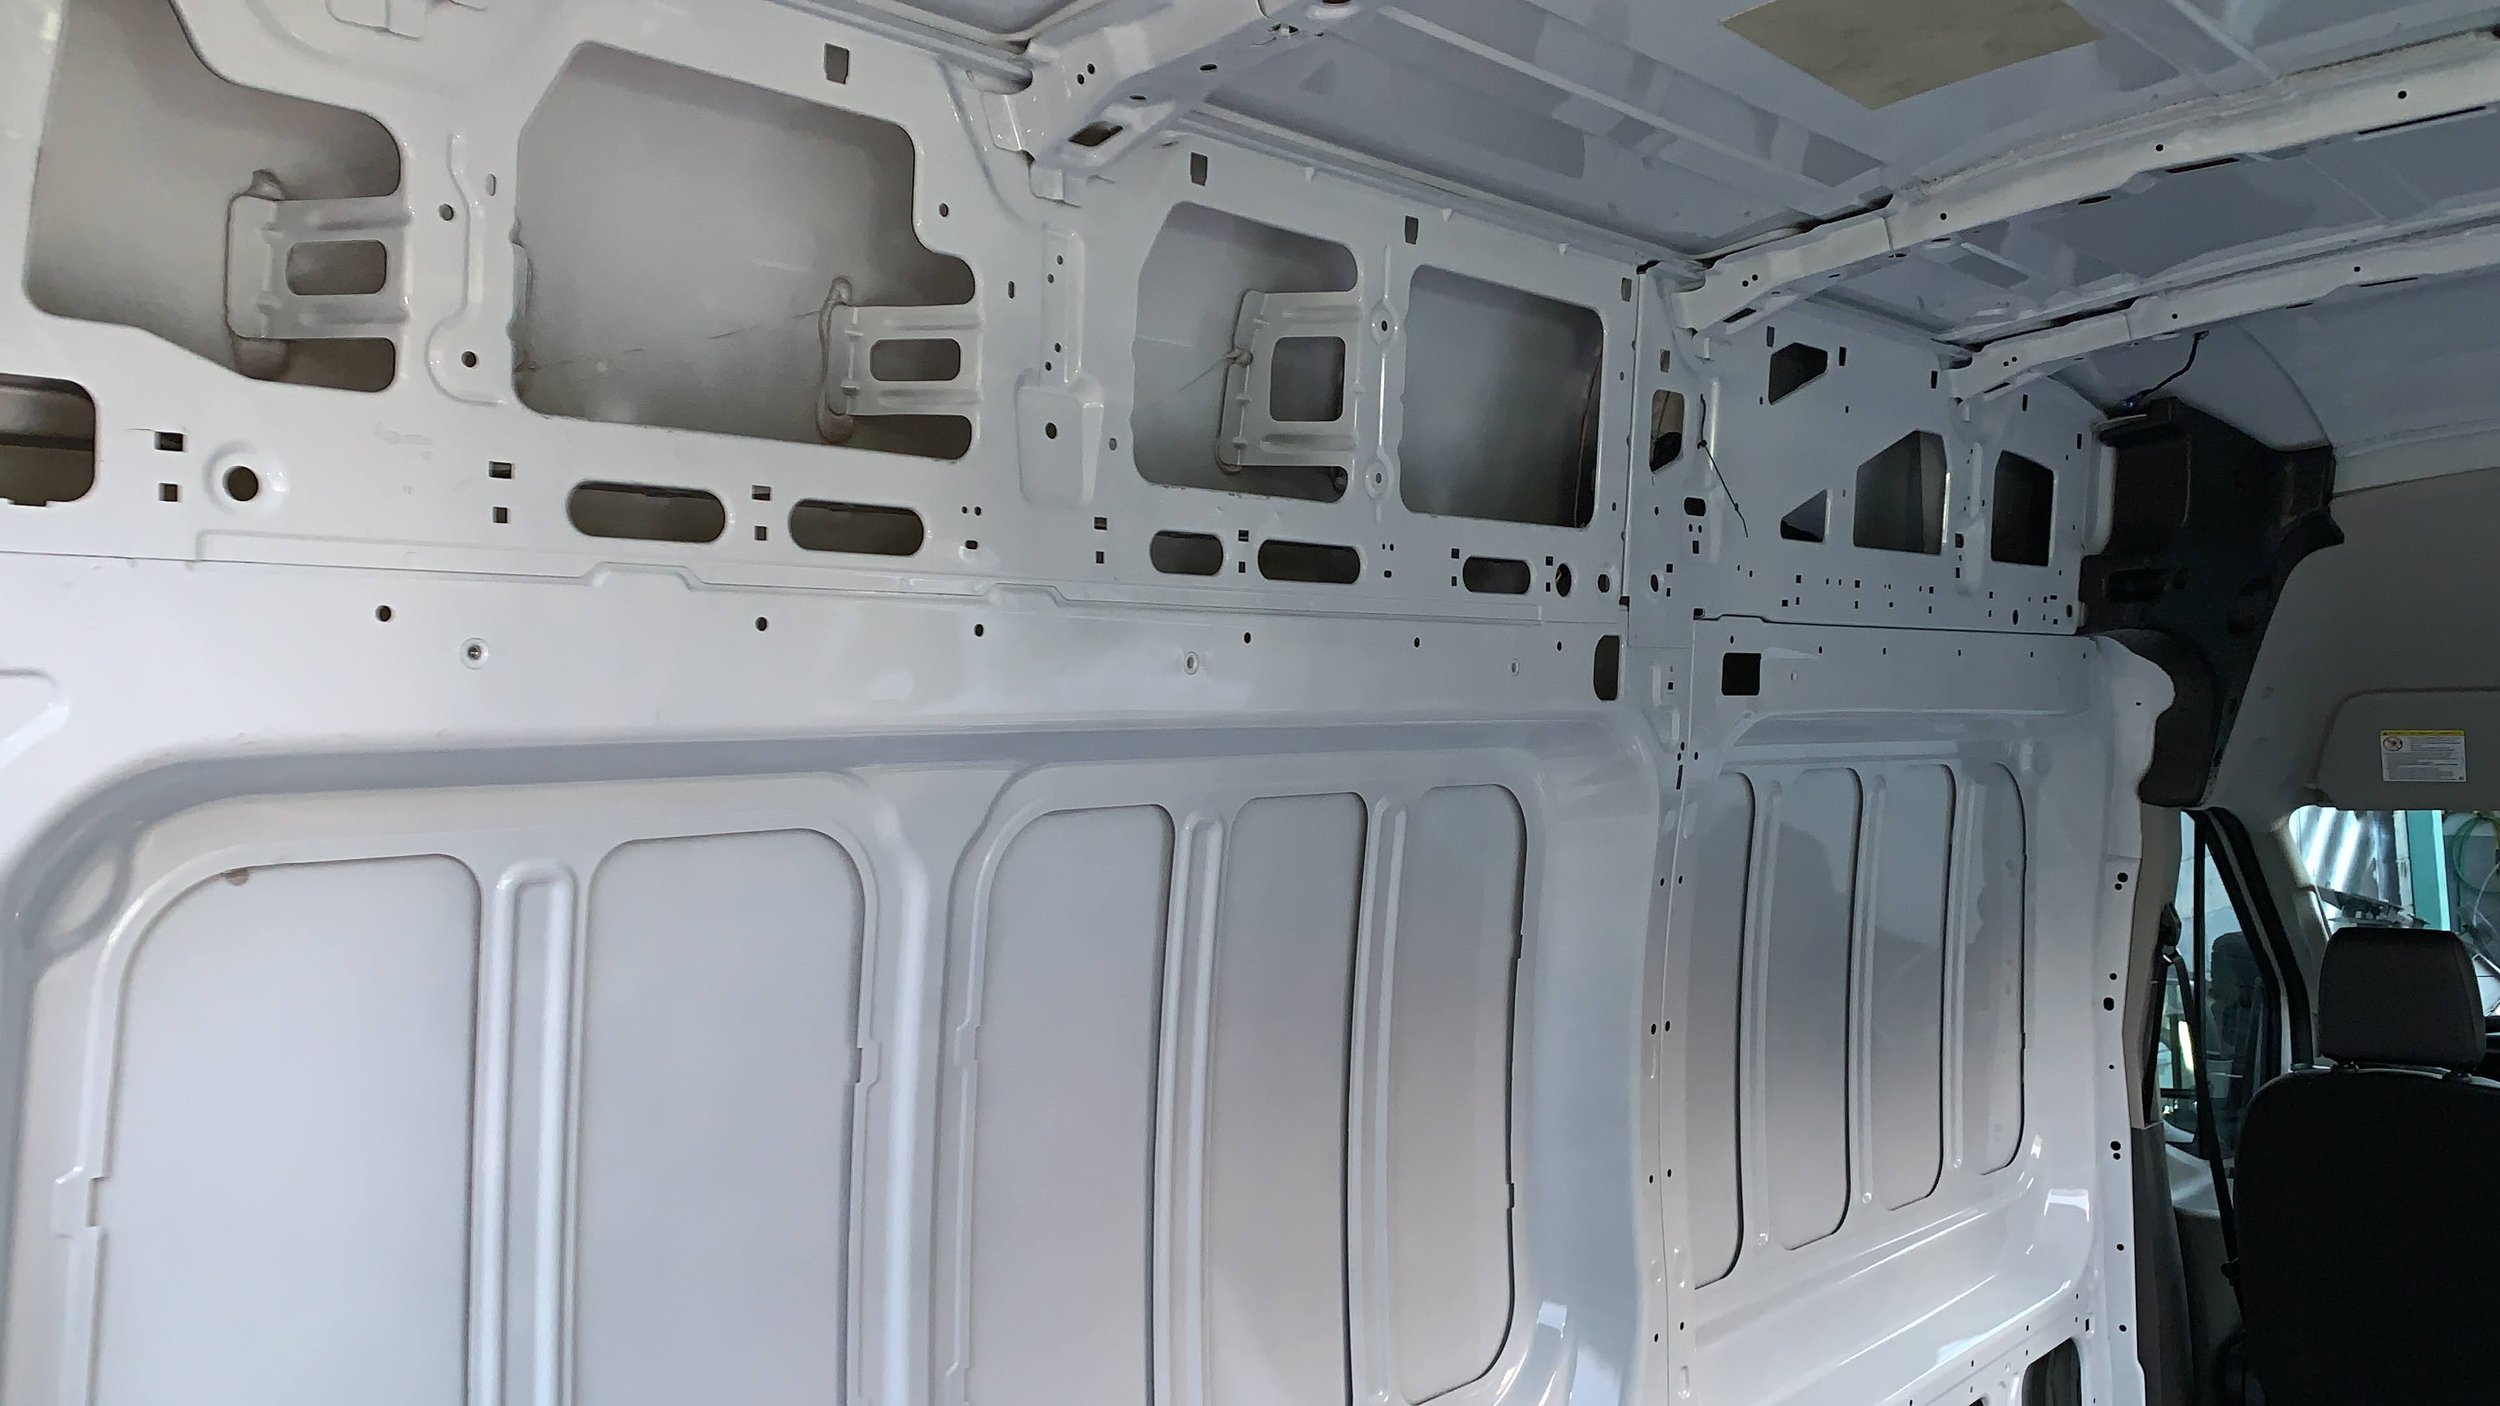
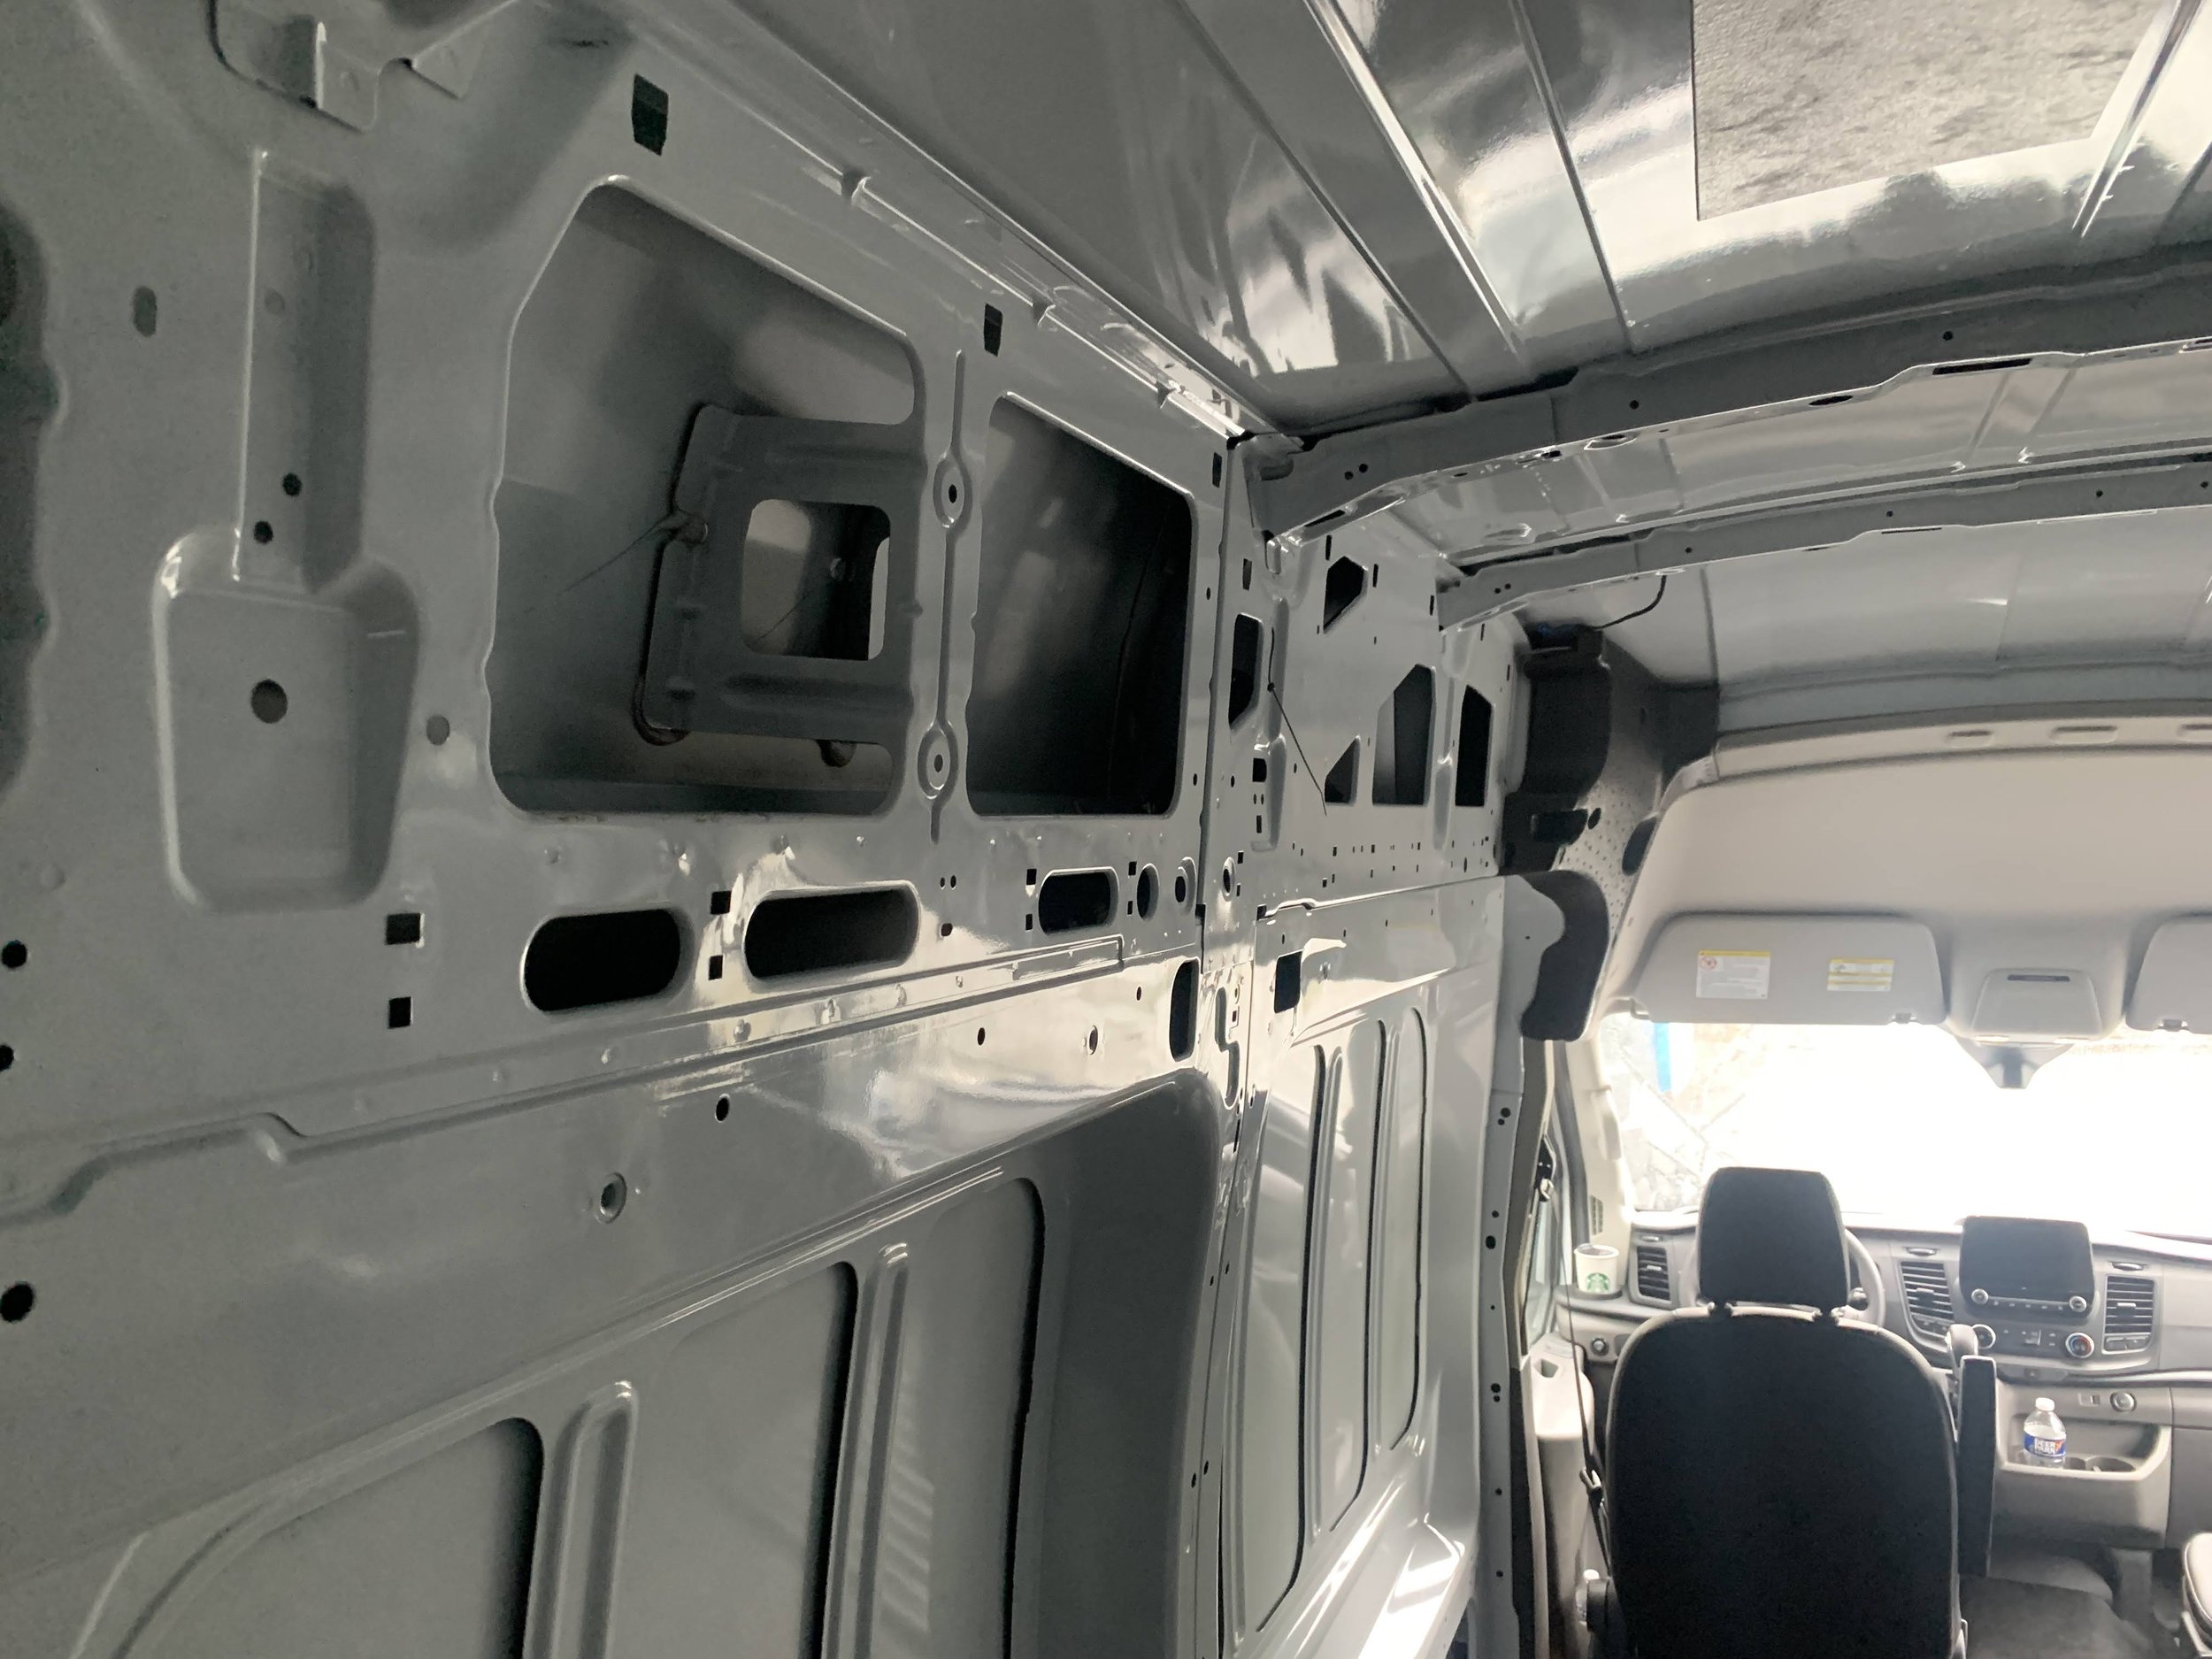
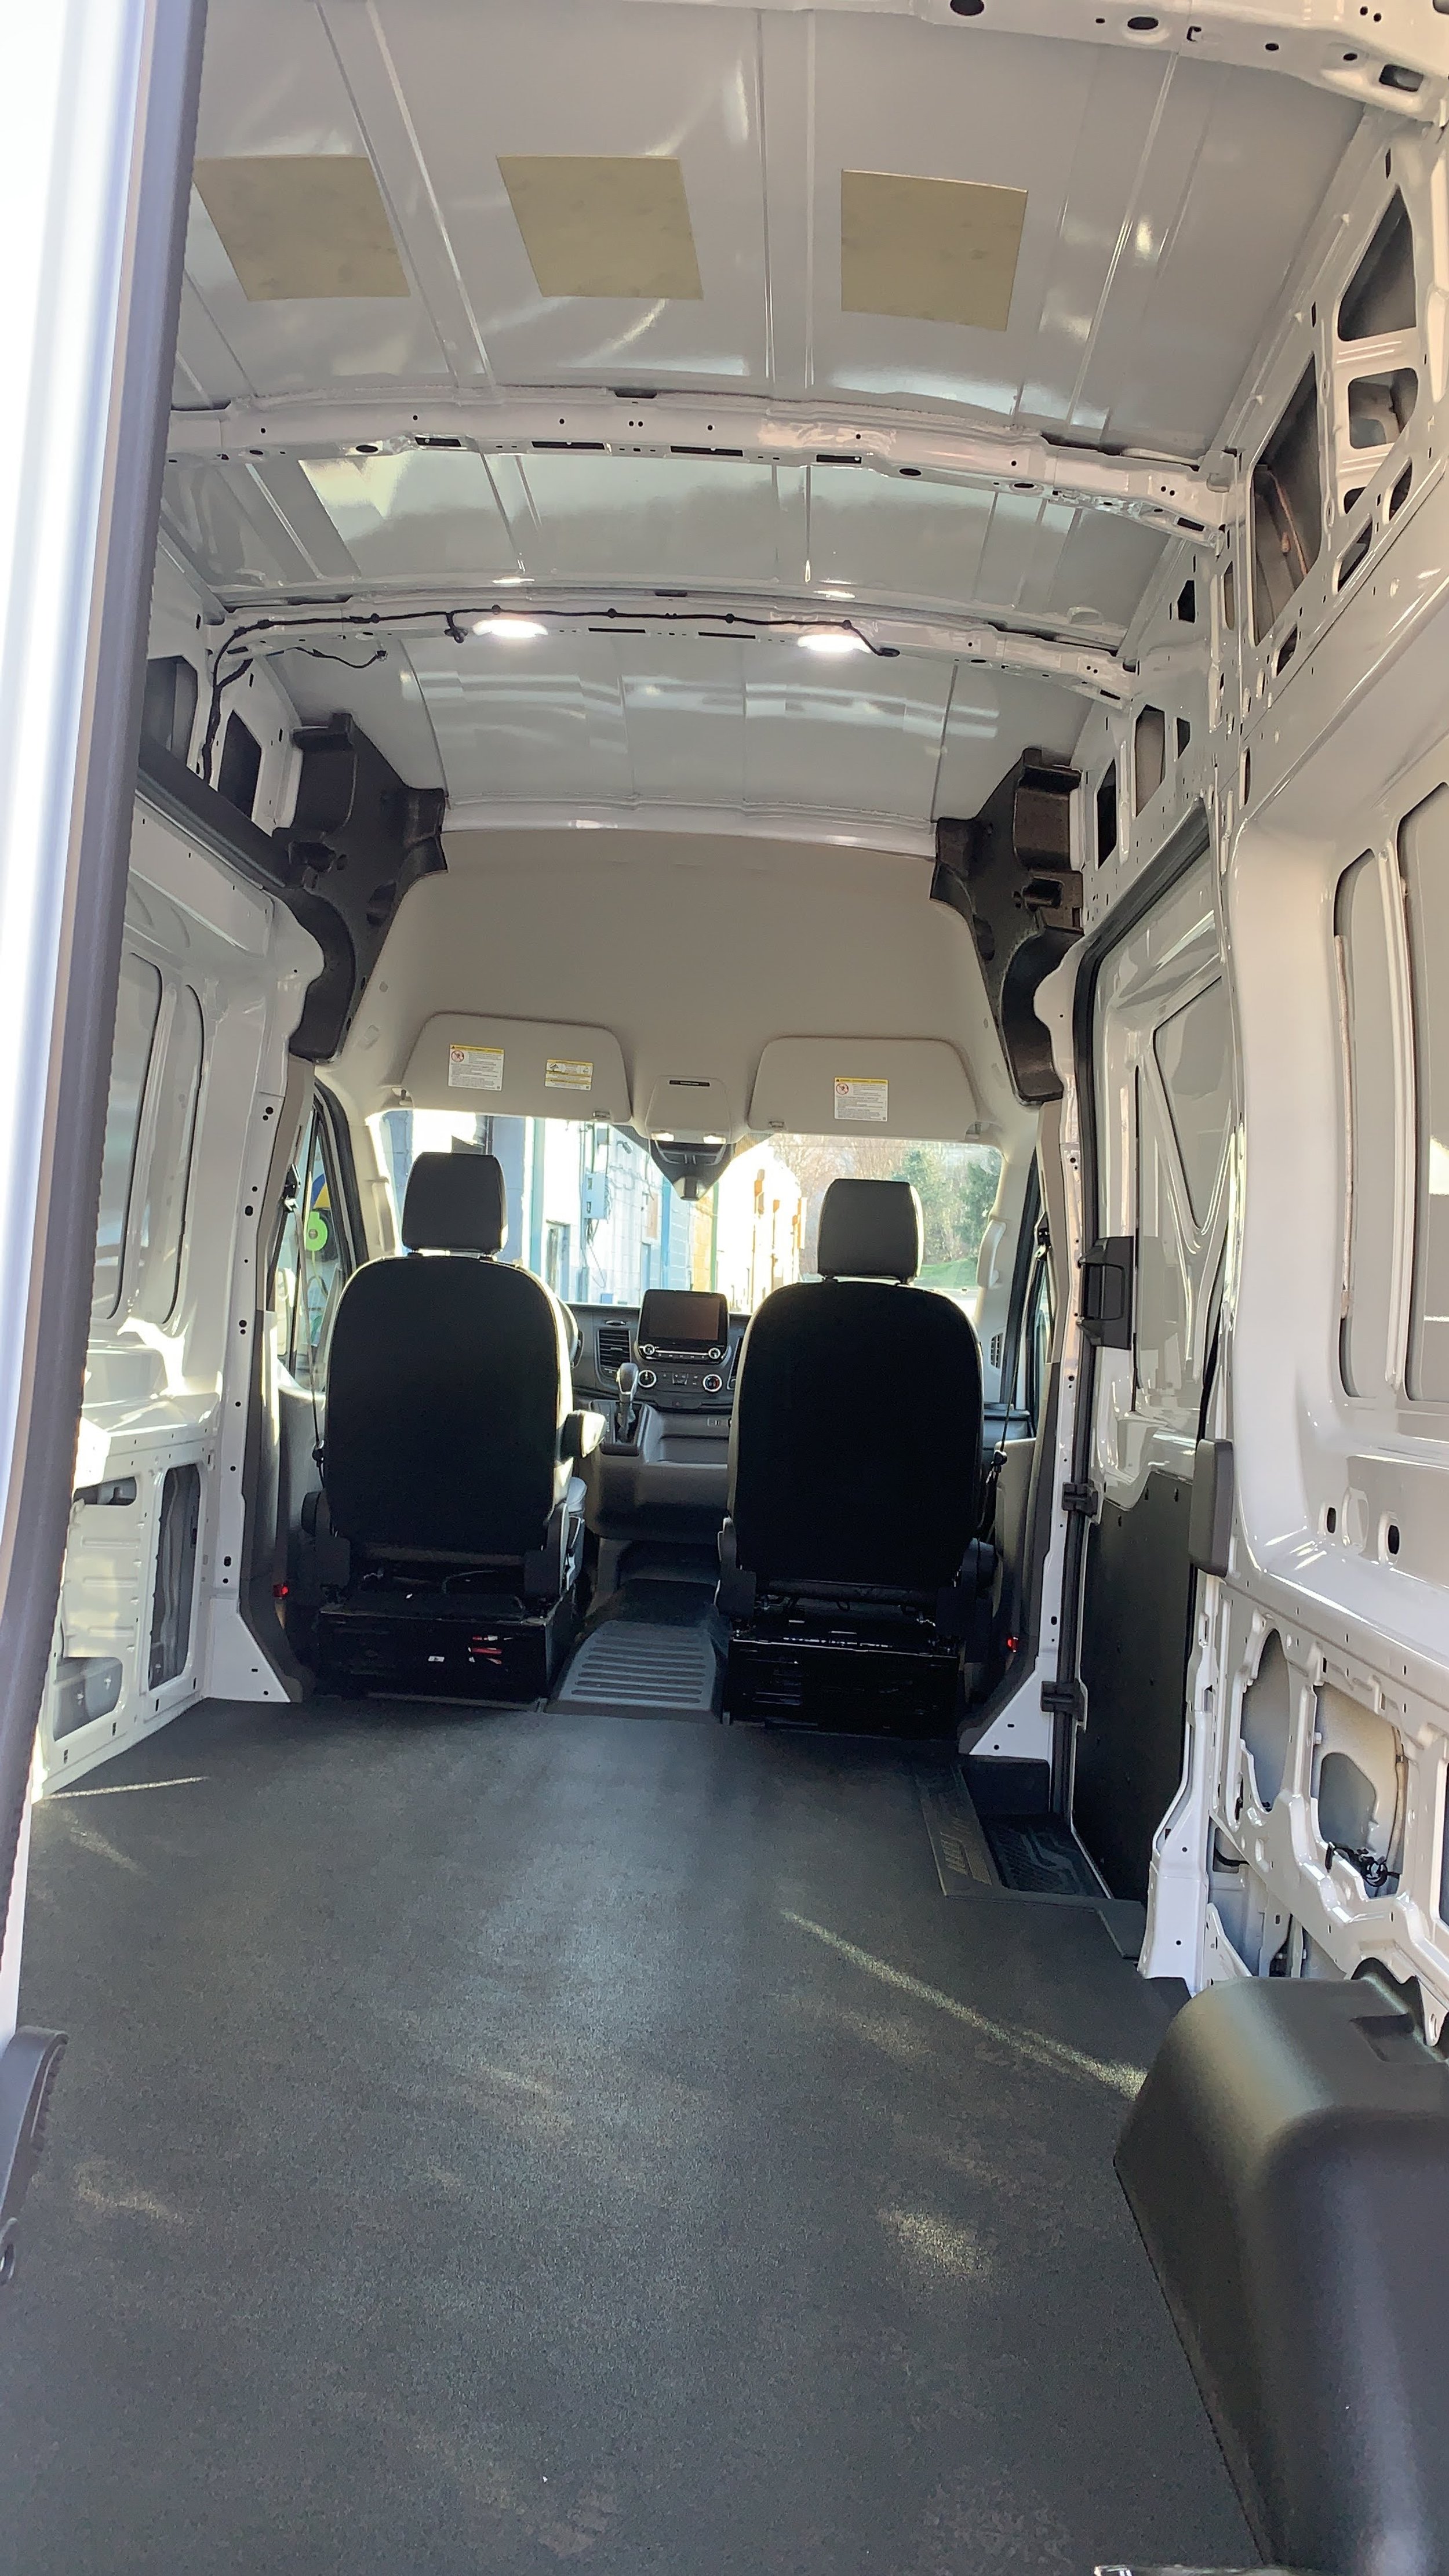
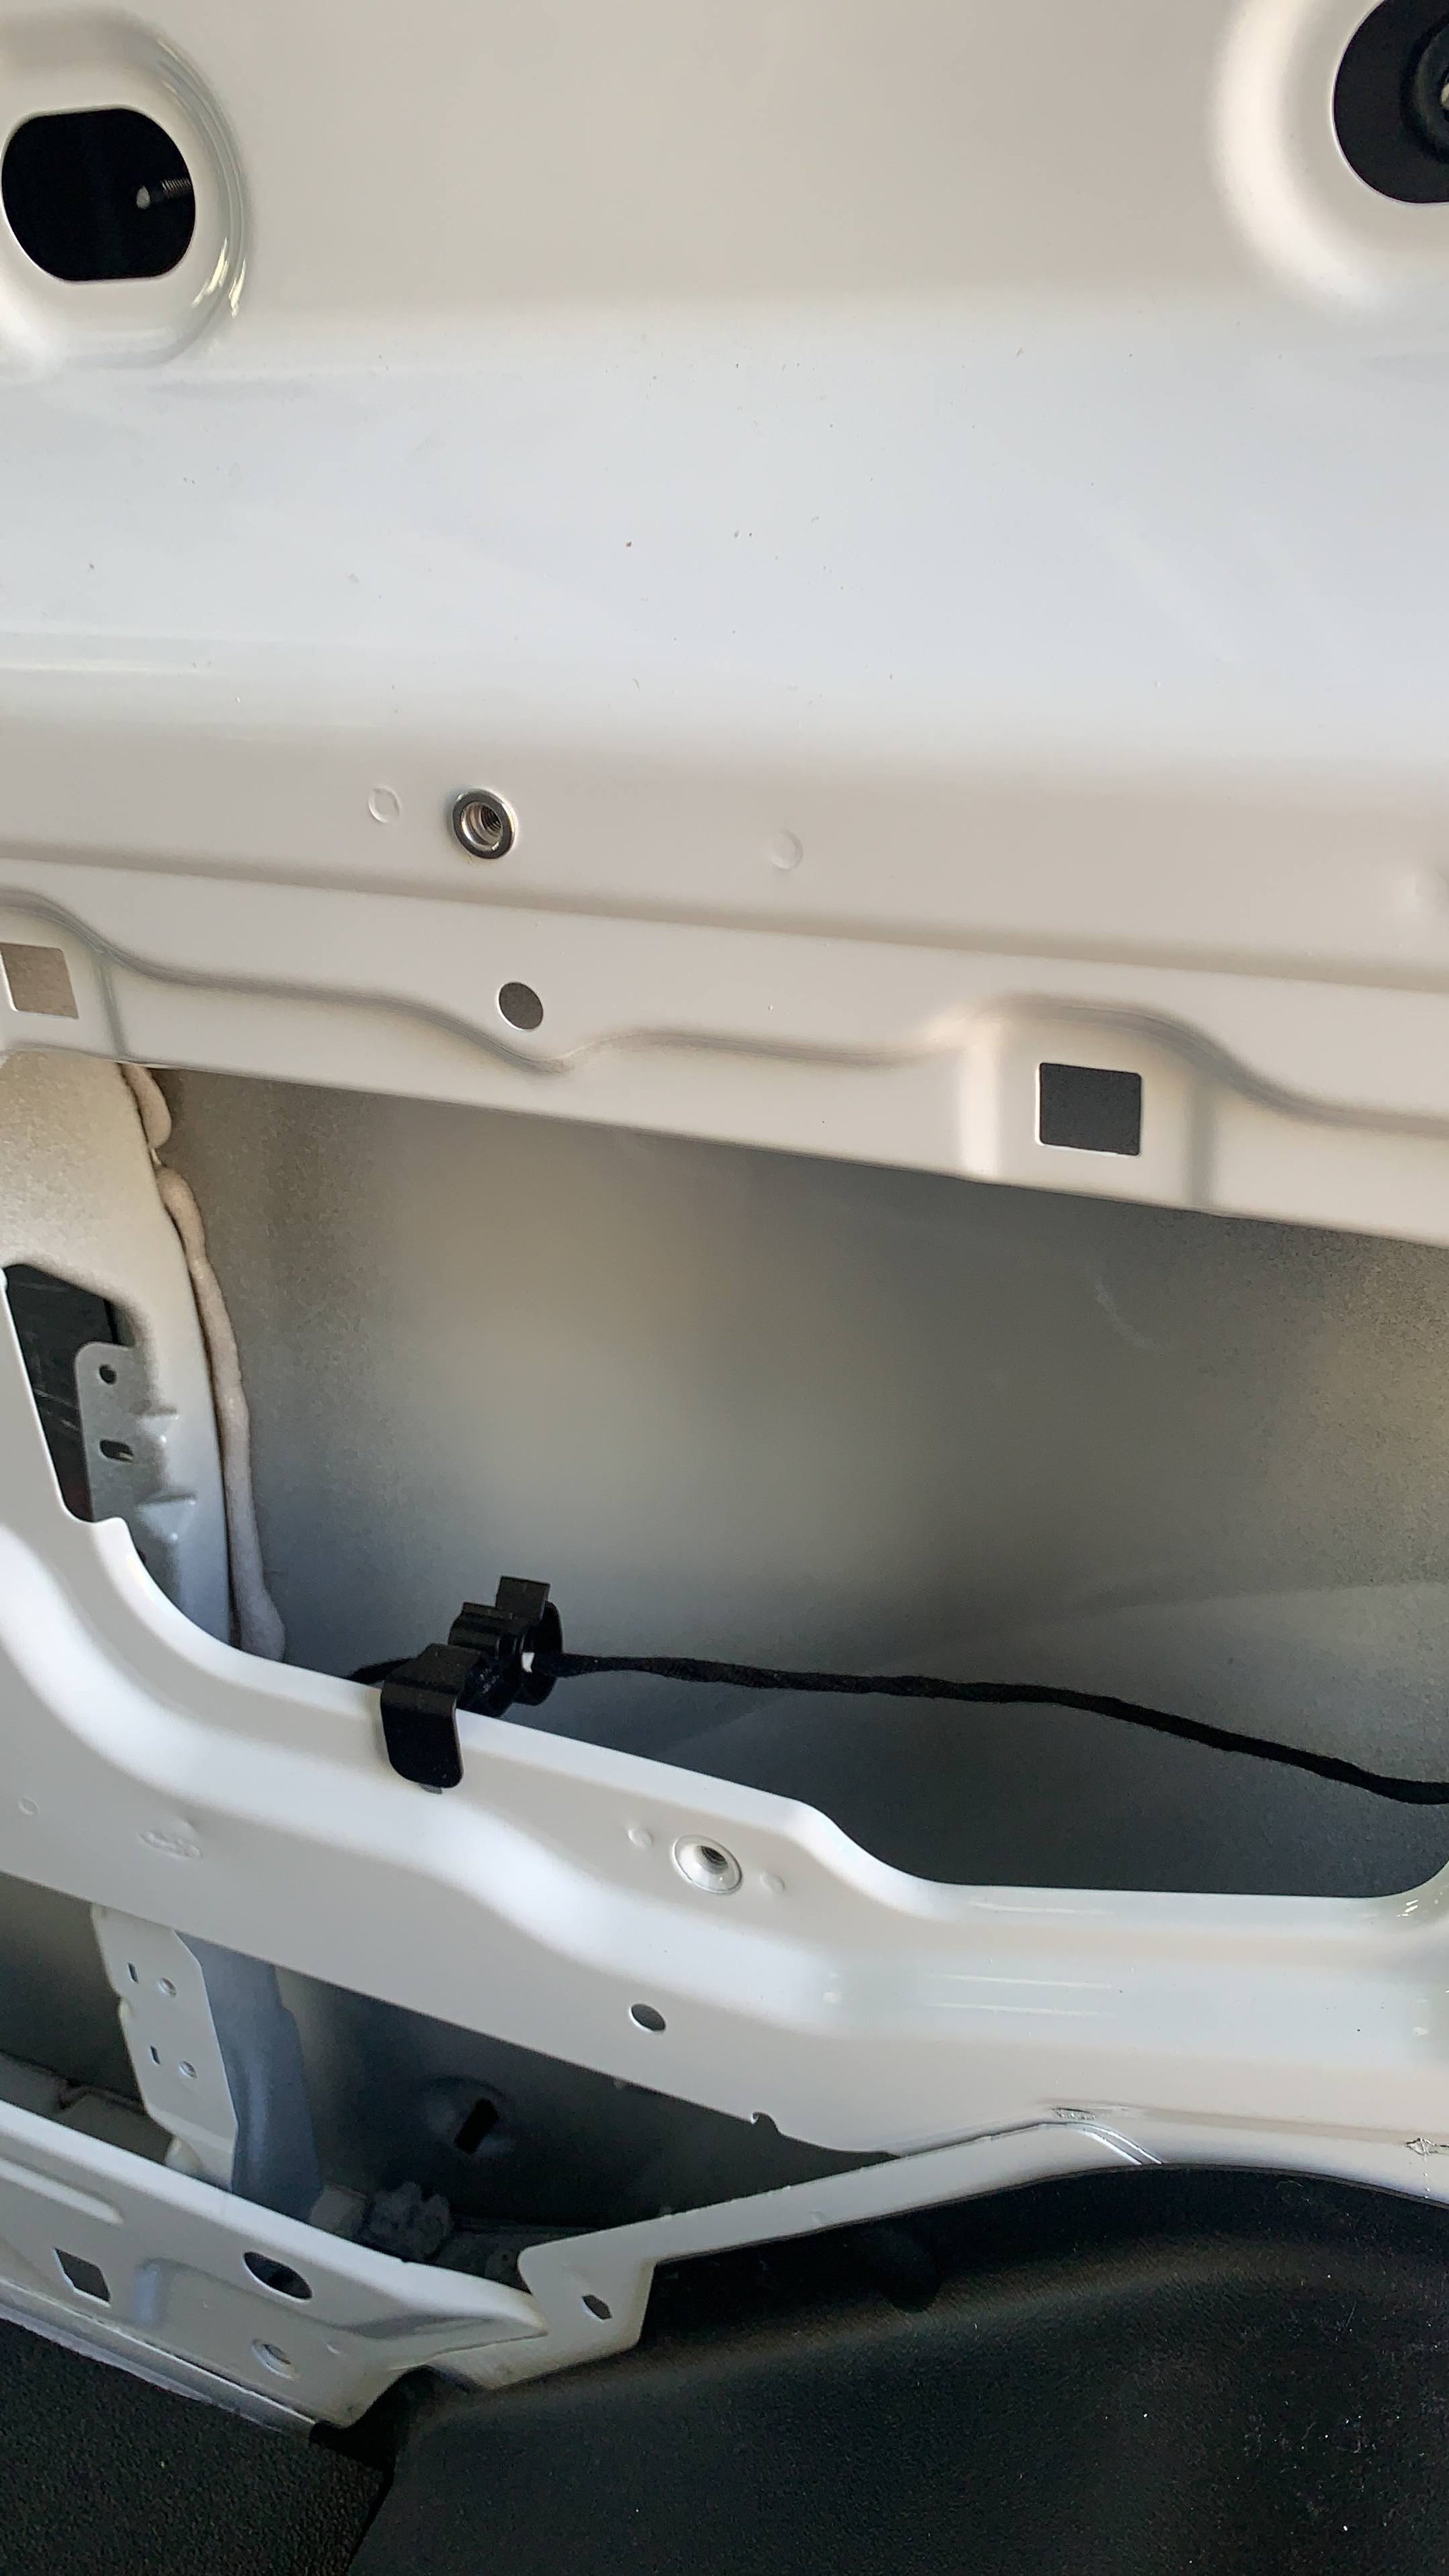
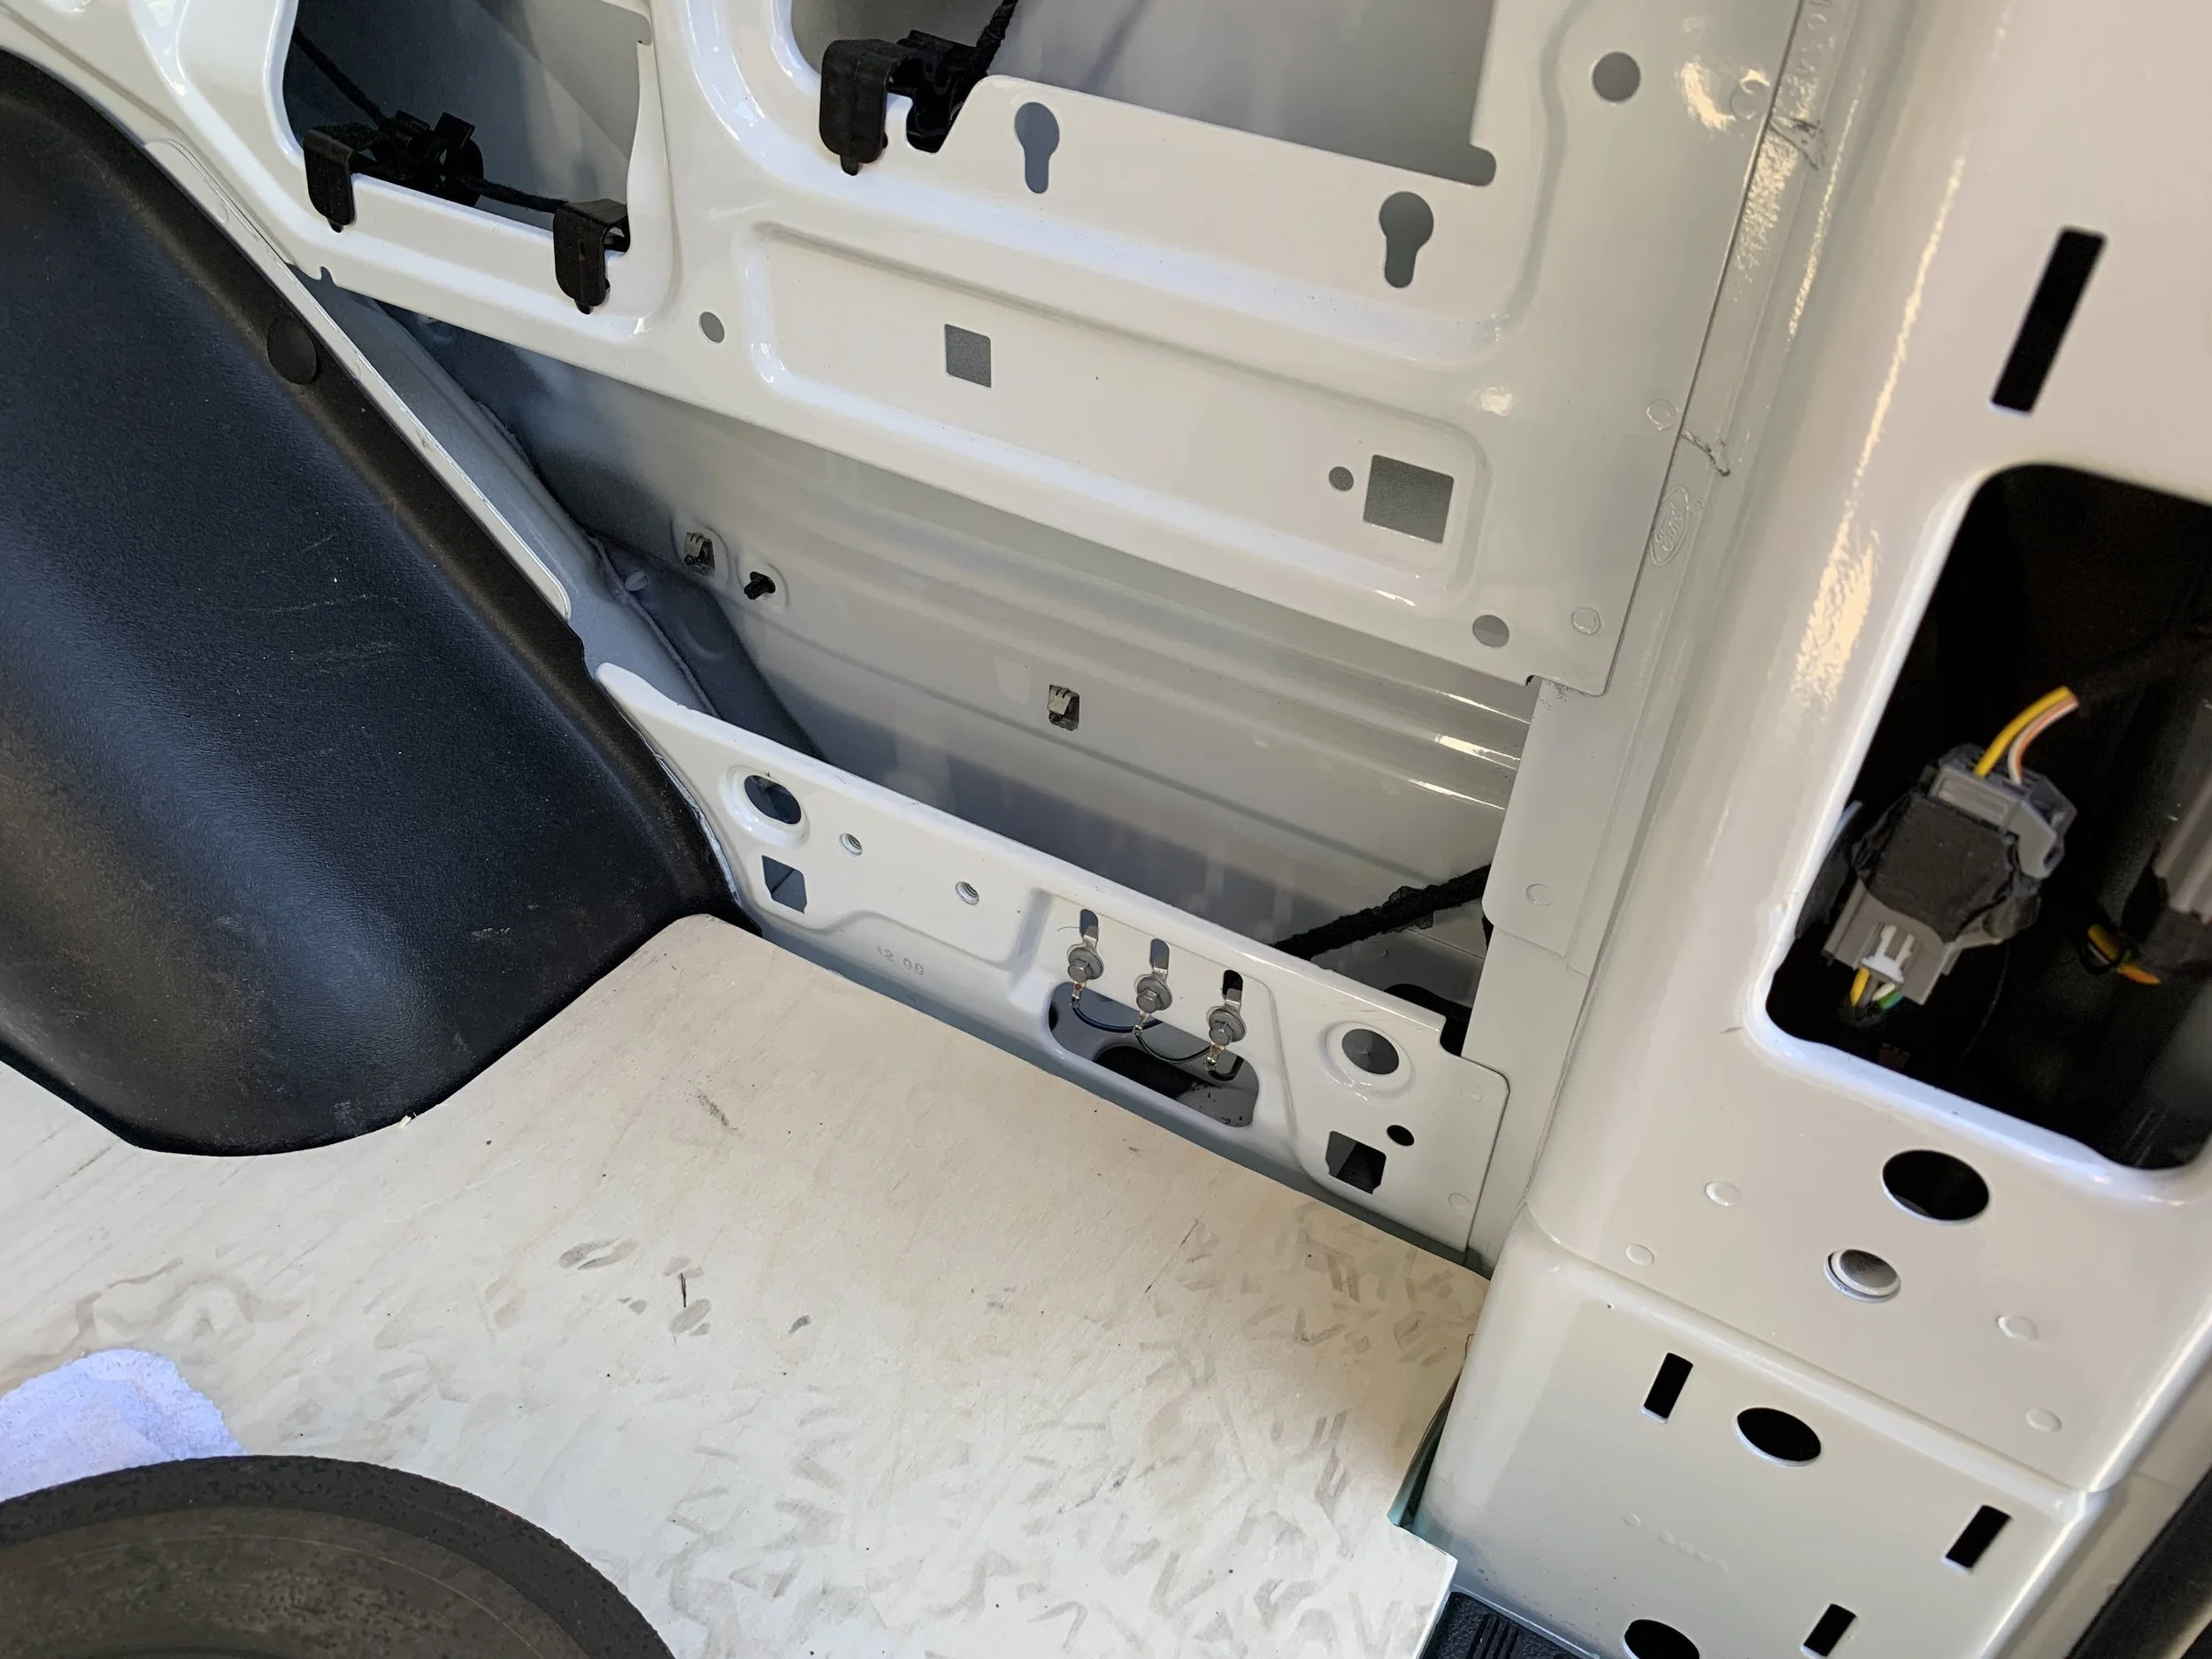
Next up is this ordeal of hiding the huge wiring harness that is fully exposed. This required some creativity but it was not impossible. I first de-pin the big plug on the passenger side rear, but keeping the bundle together, then pull all the wire through. I drill one hole behind the foam block, this is the entry point for the wire bundle. I first try to run it on the top cavity and realize after all it done I’m short about 6 inches, so I routed inside the pocket under the big opening. One hole was drilled to route all the wire through the side top opening. Rubber bushings are glued after using rust proofing on all the hole cuts. Finally two holes are drill to not route the wire but to help fish the fire up the top corner. I forgot to put the big bundle plug in first before putting everything back, and realize the plug sits behind the panel. I did this section upside down trying to put the pins back in. Took me two hours, but it was better than trying to pull the wire back out and the plastic panels. Now I have a clean interior to start my mod.
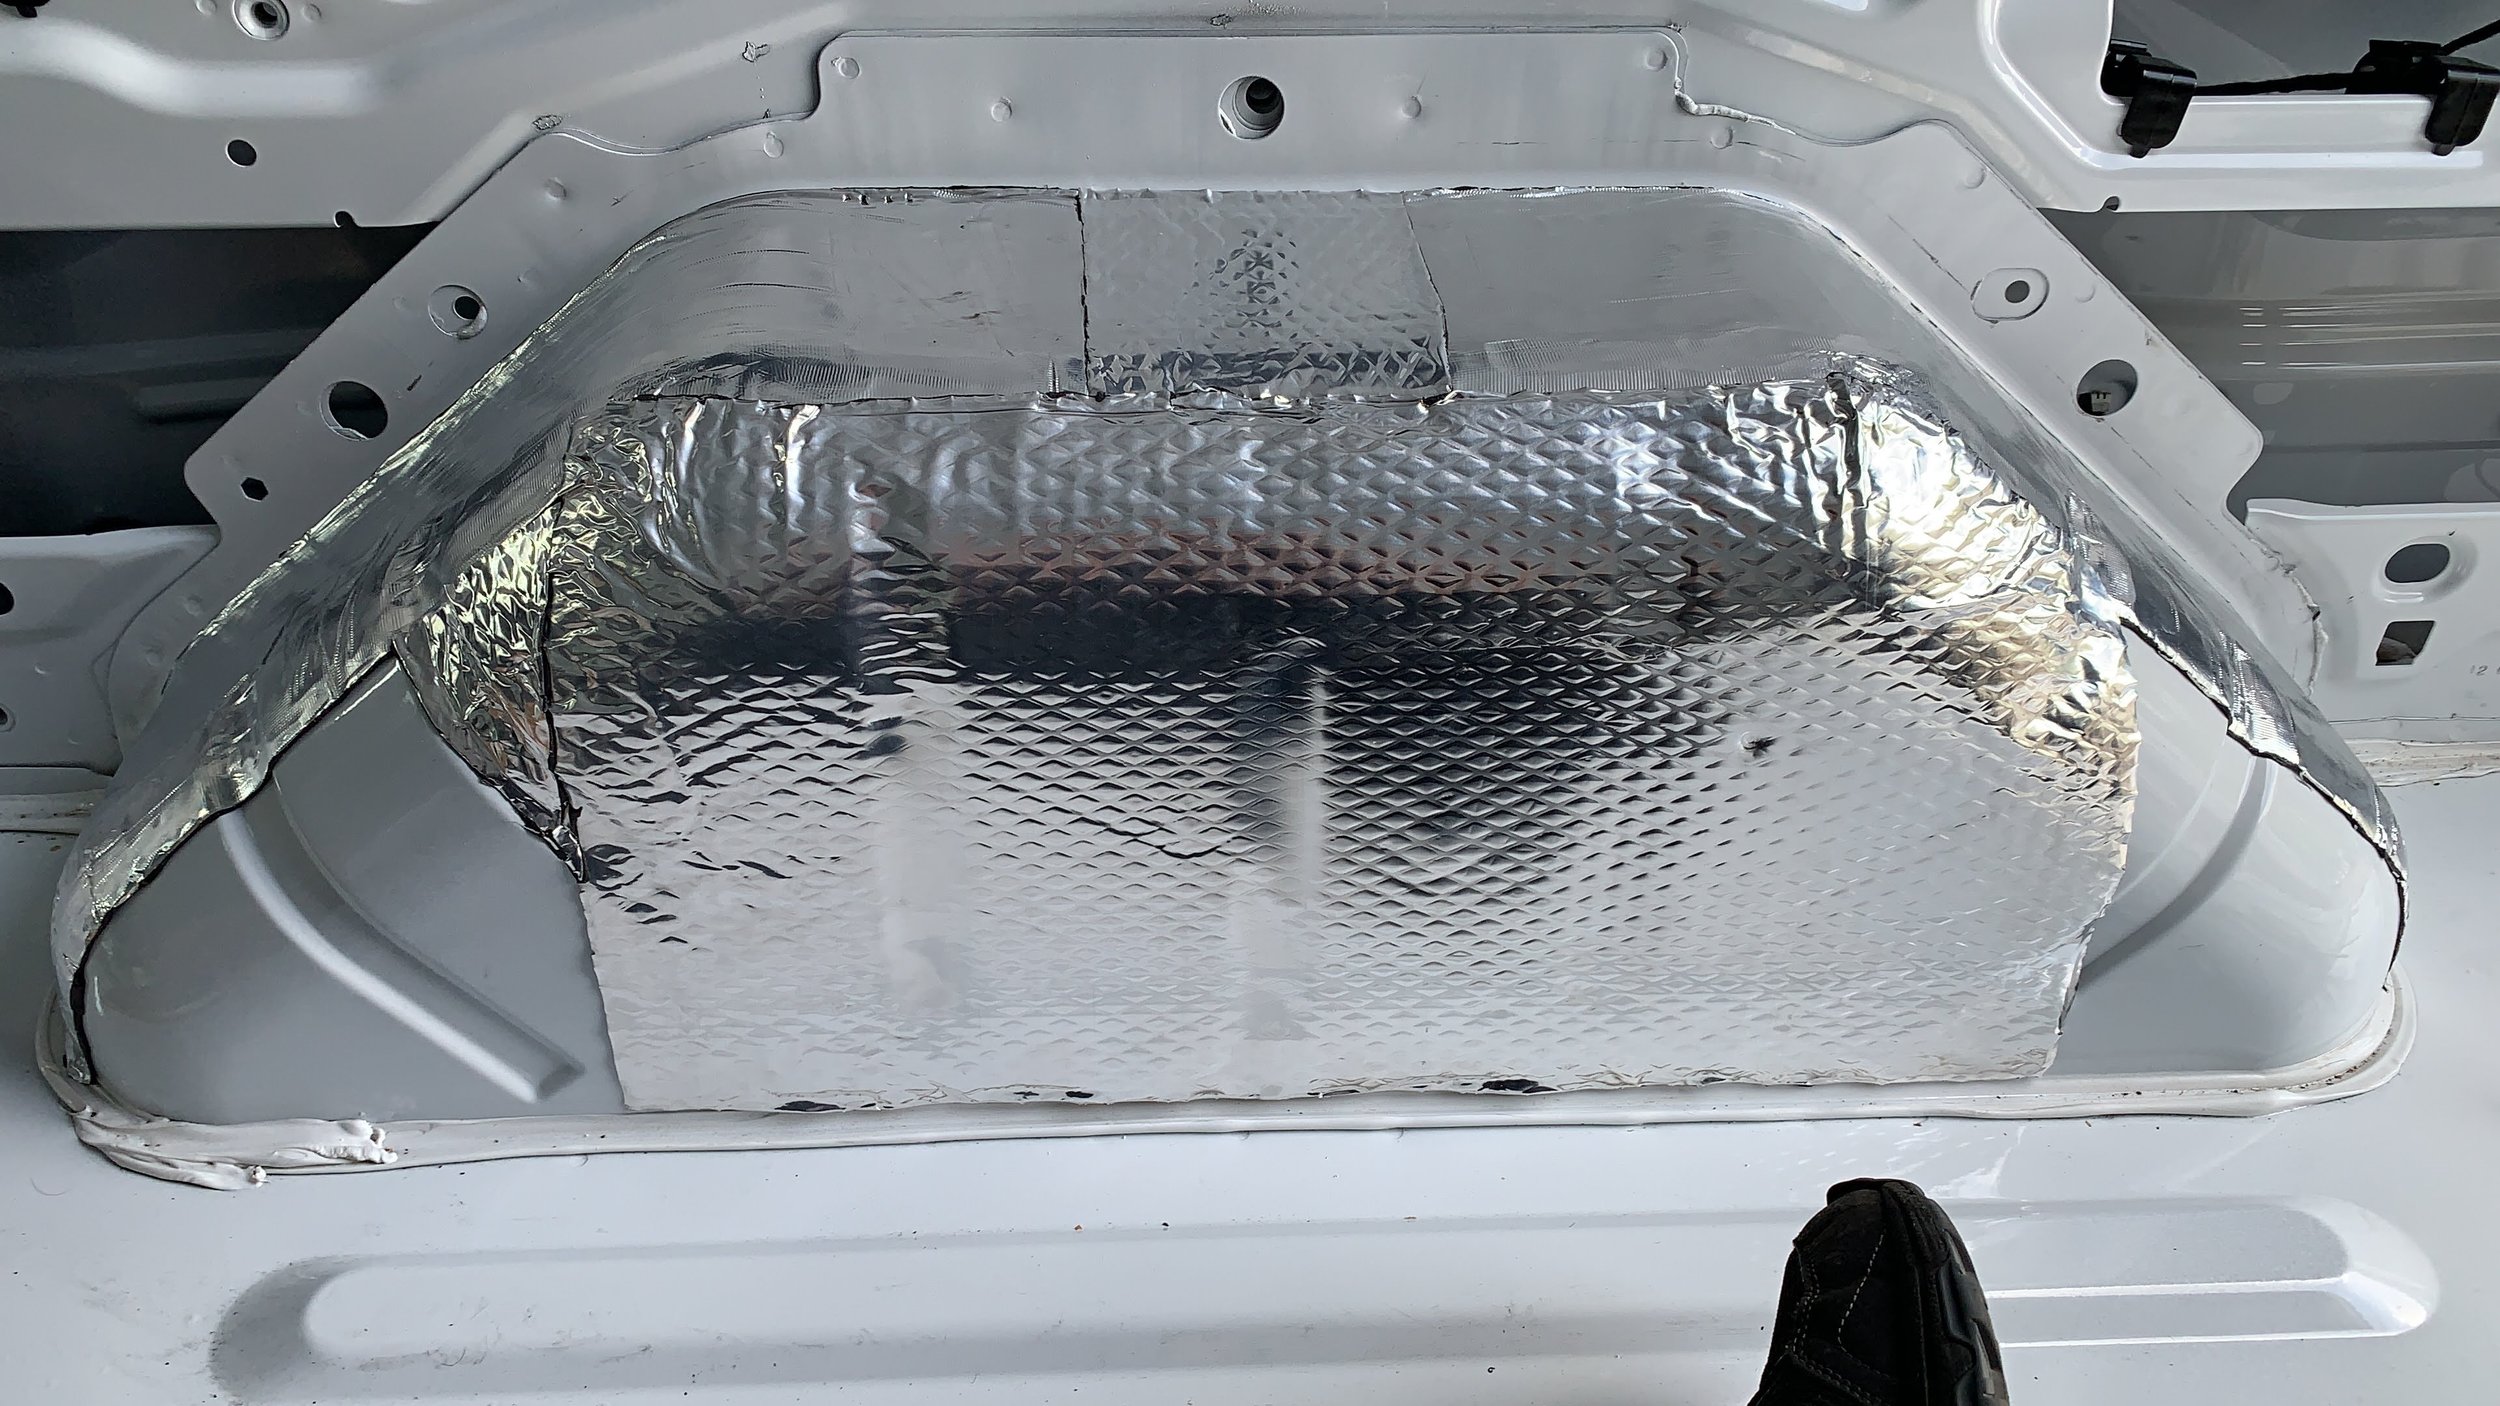
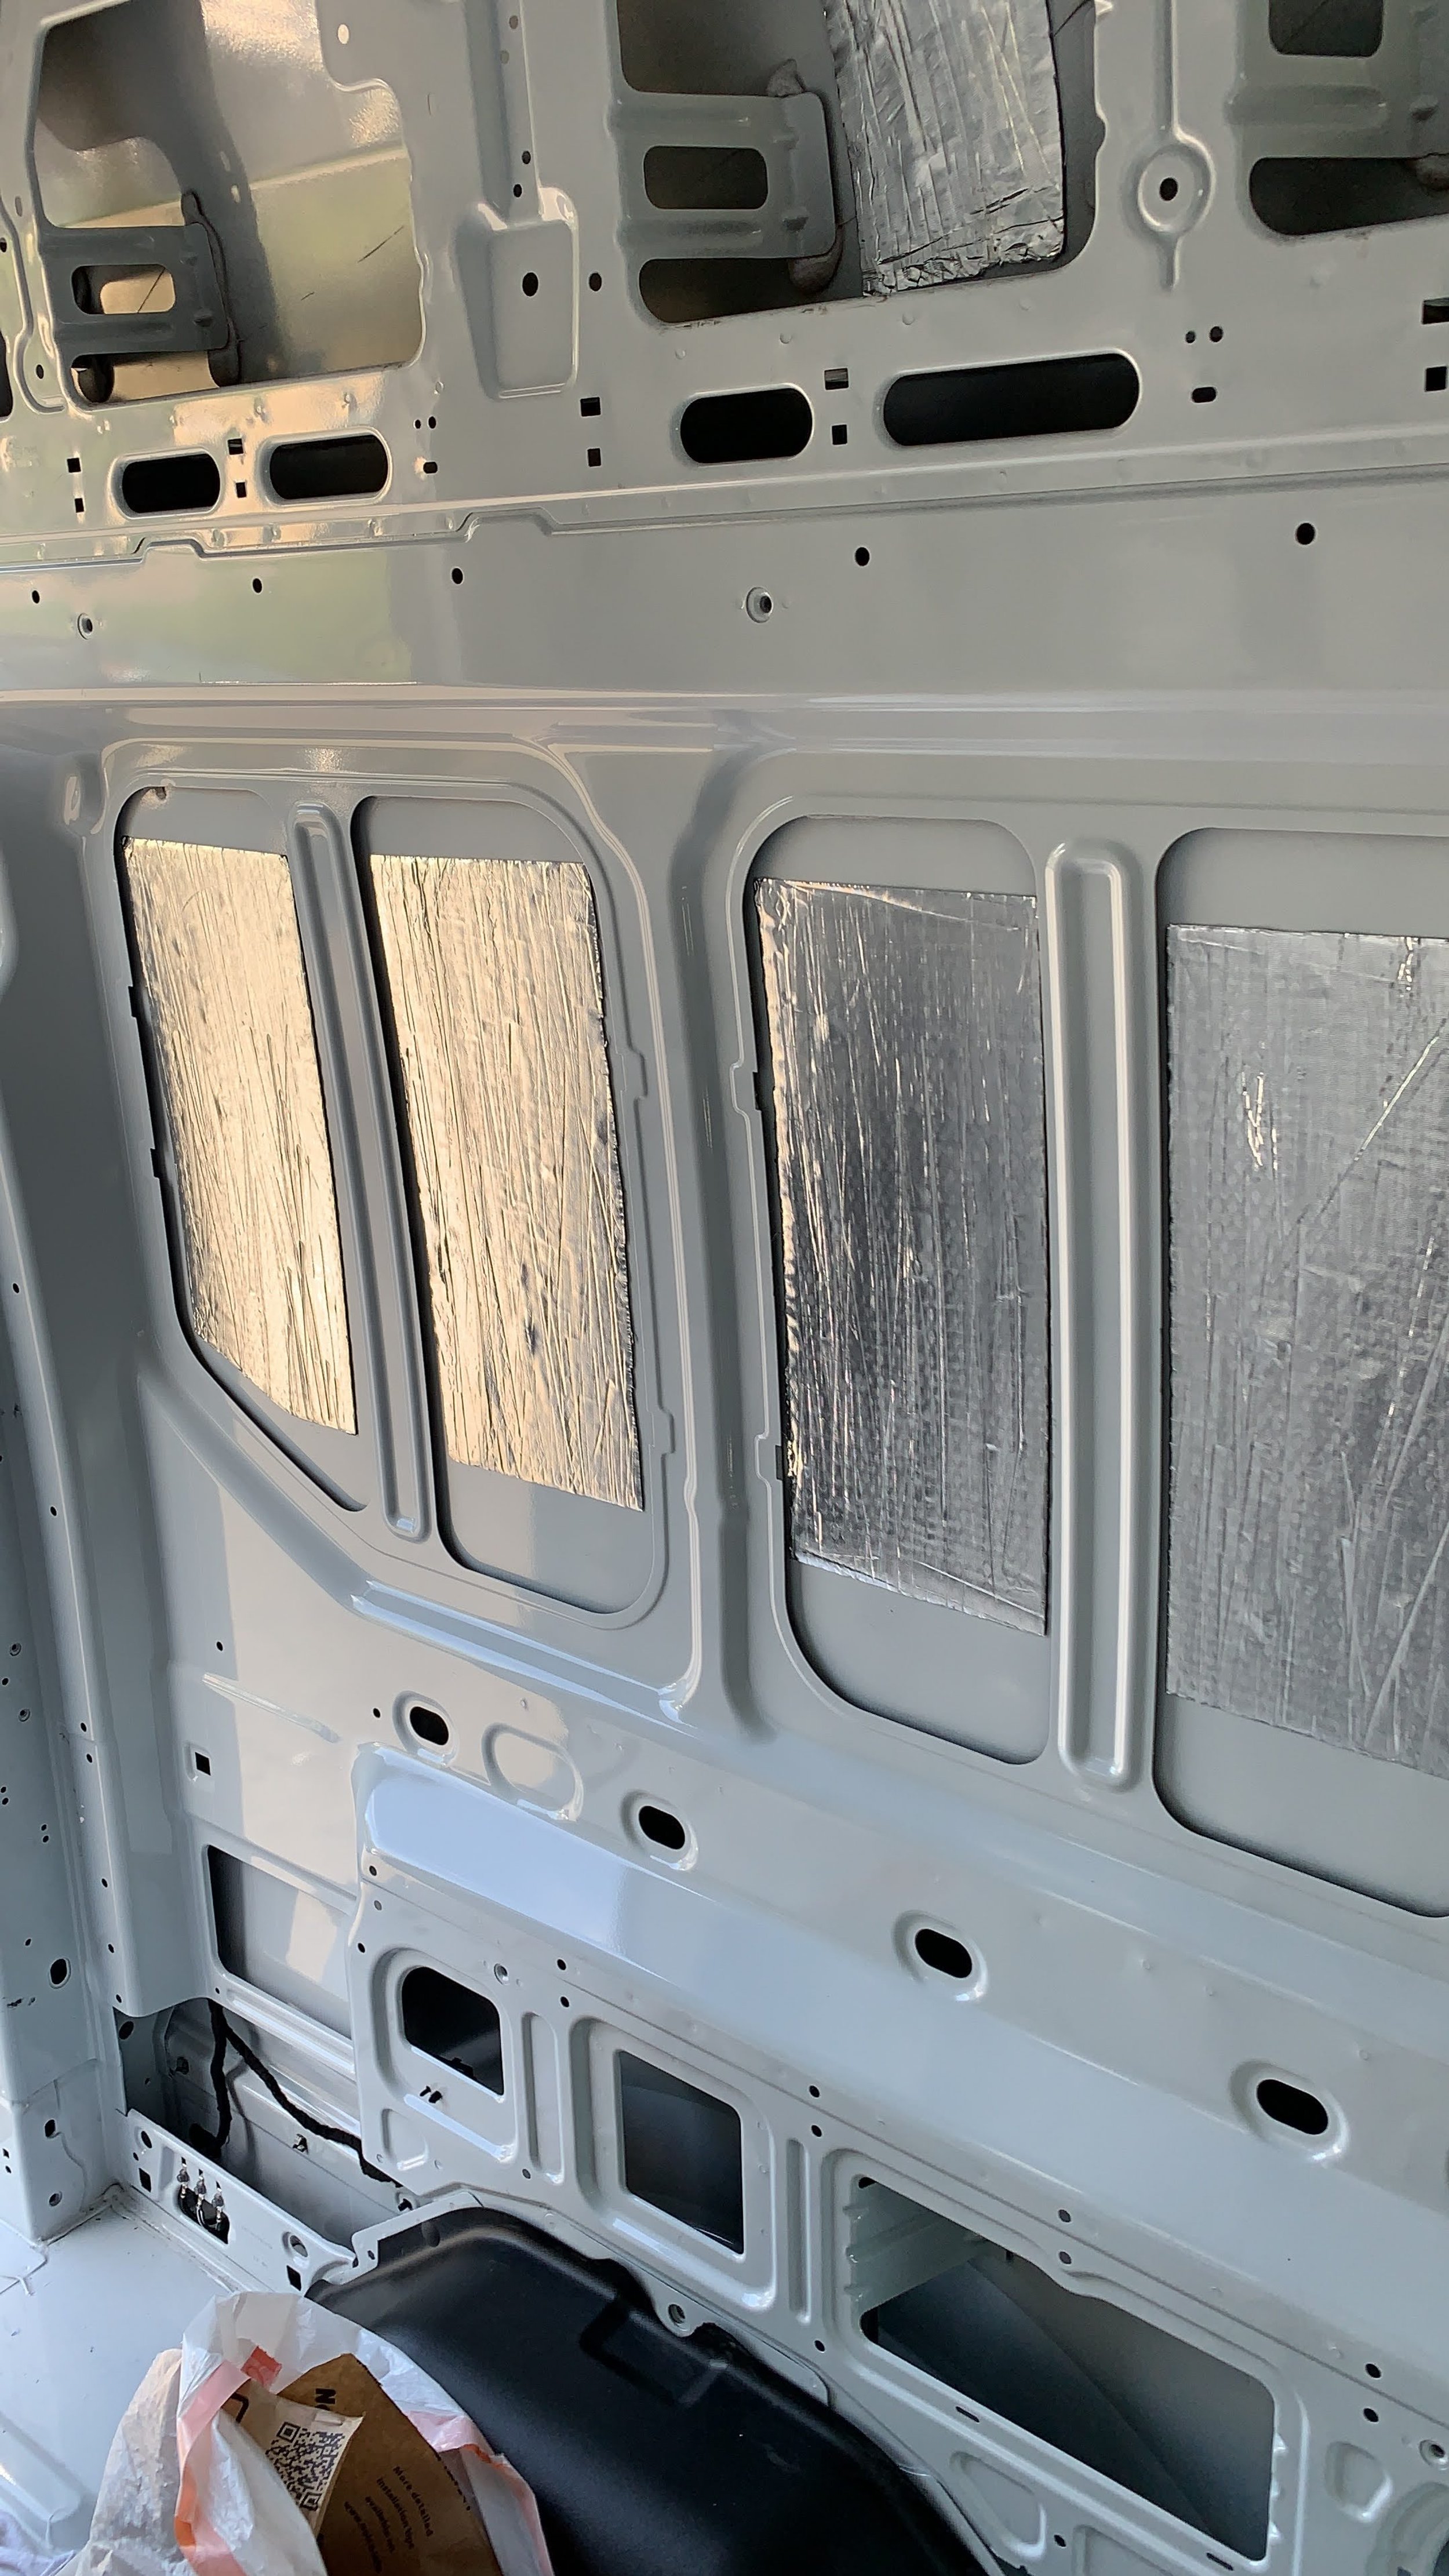
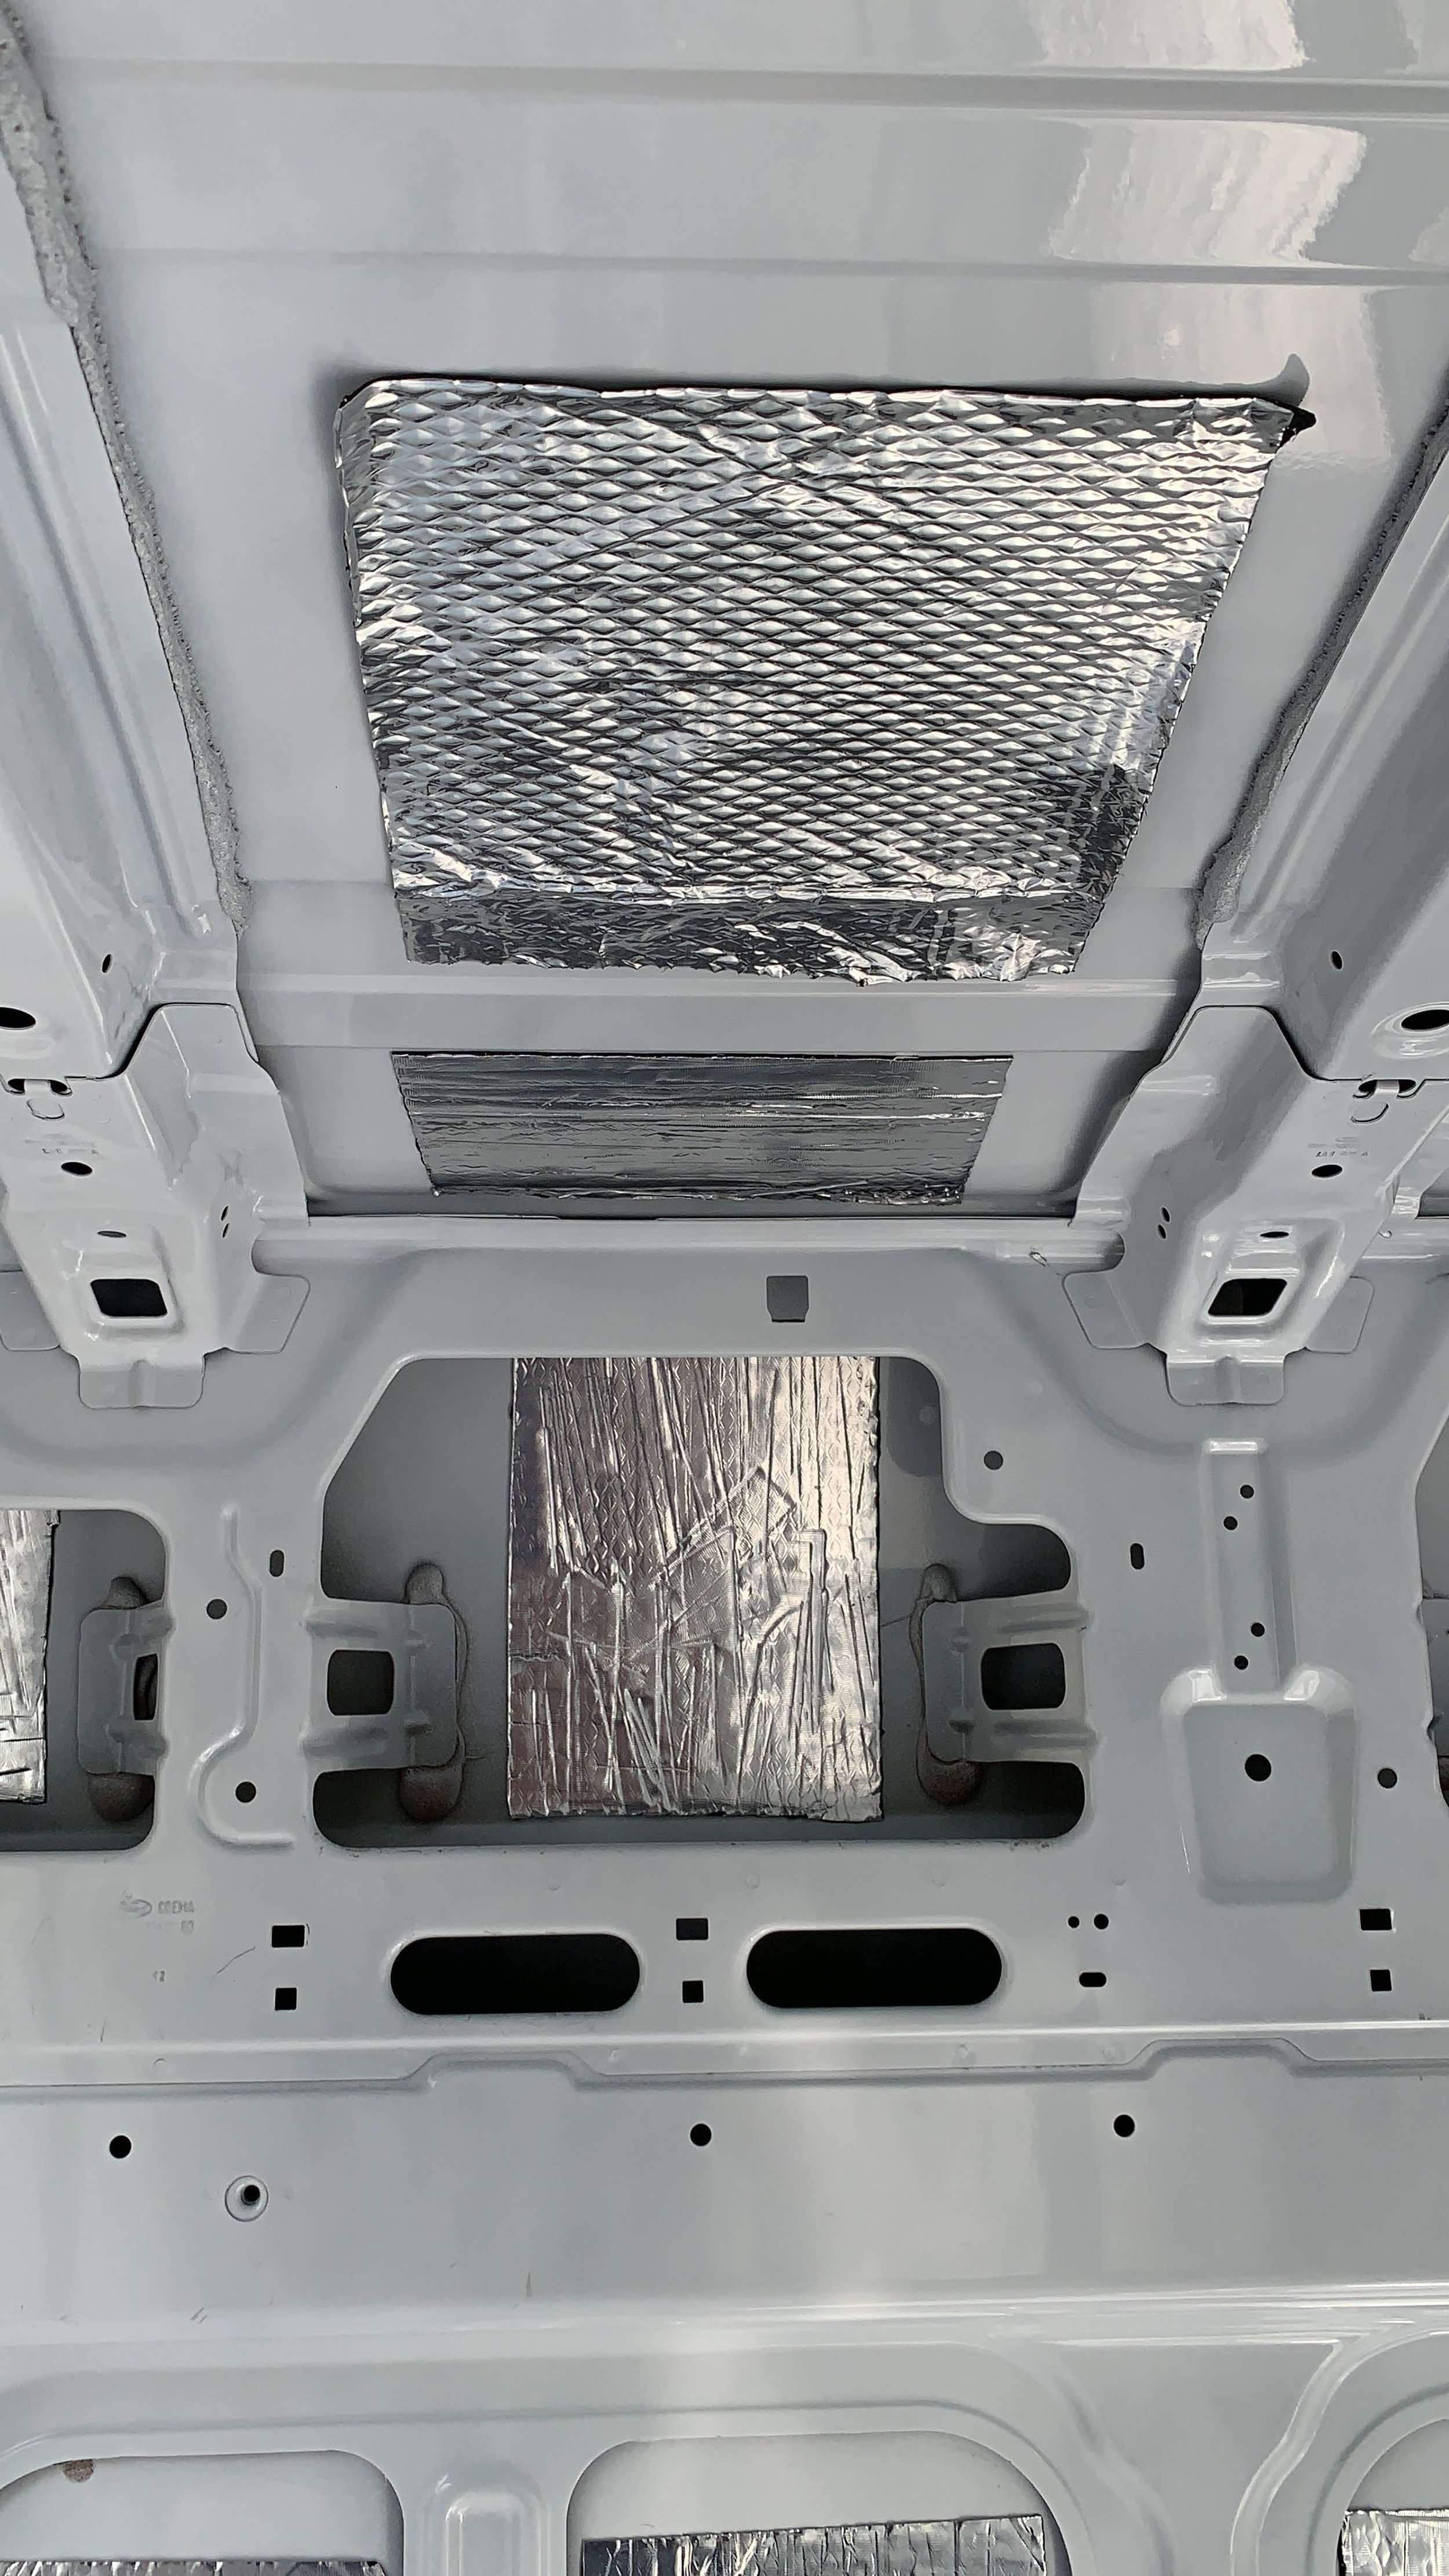
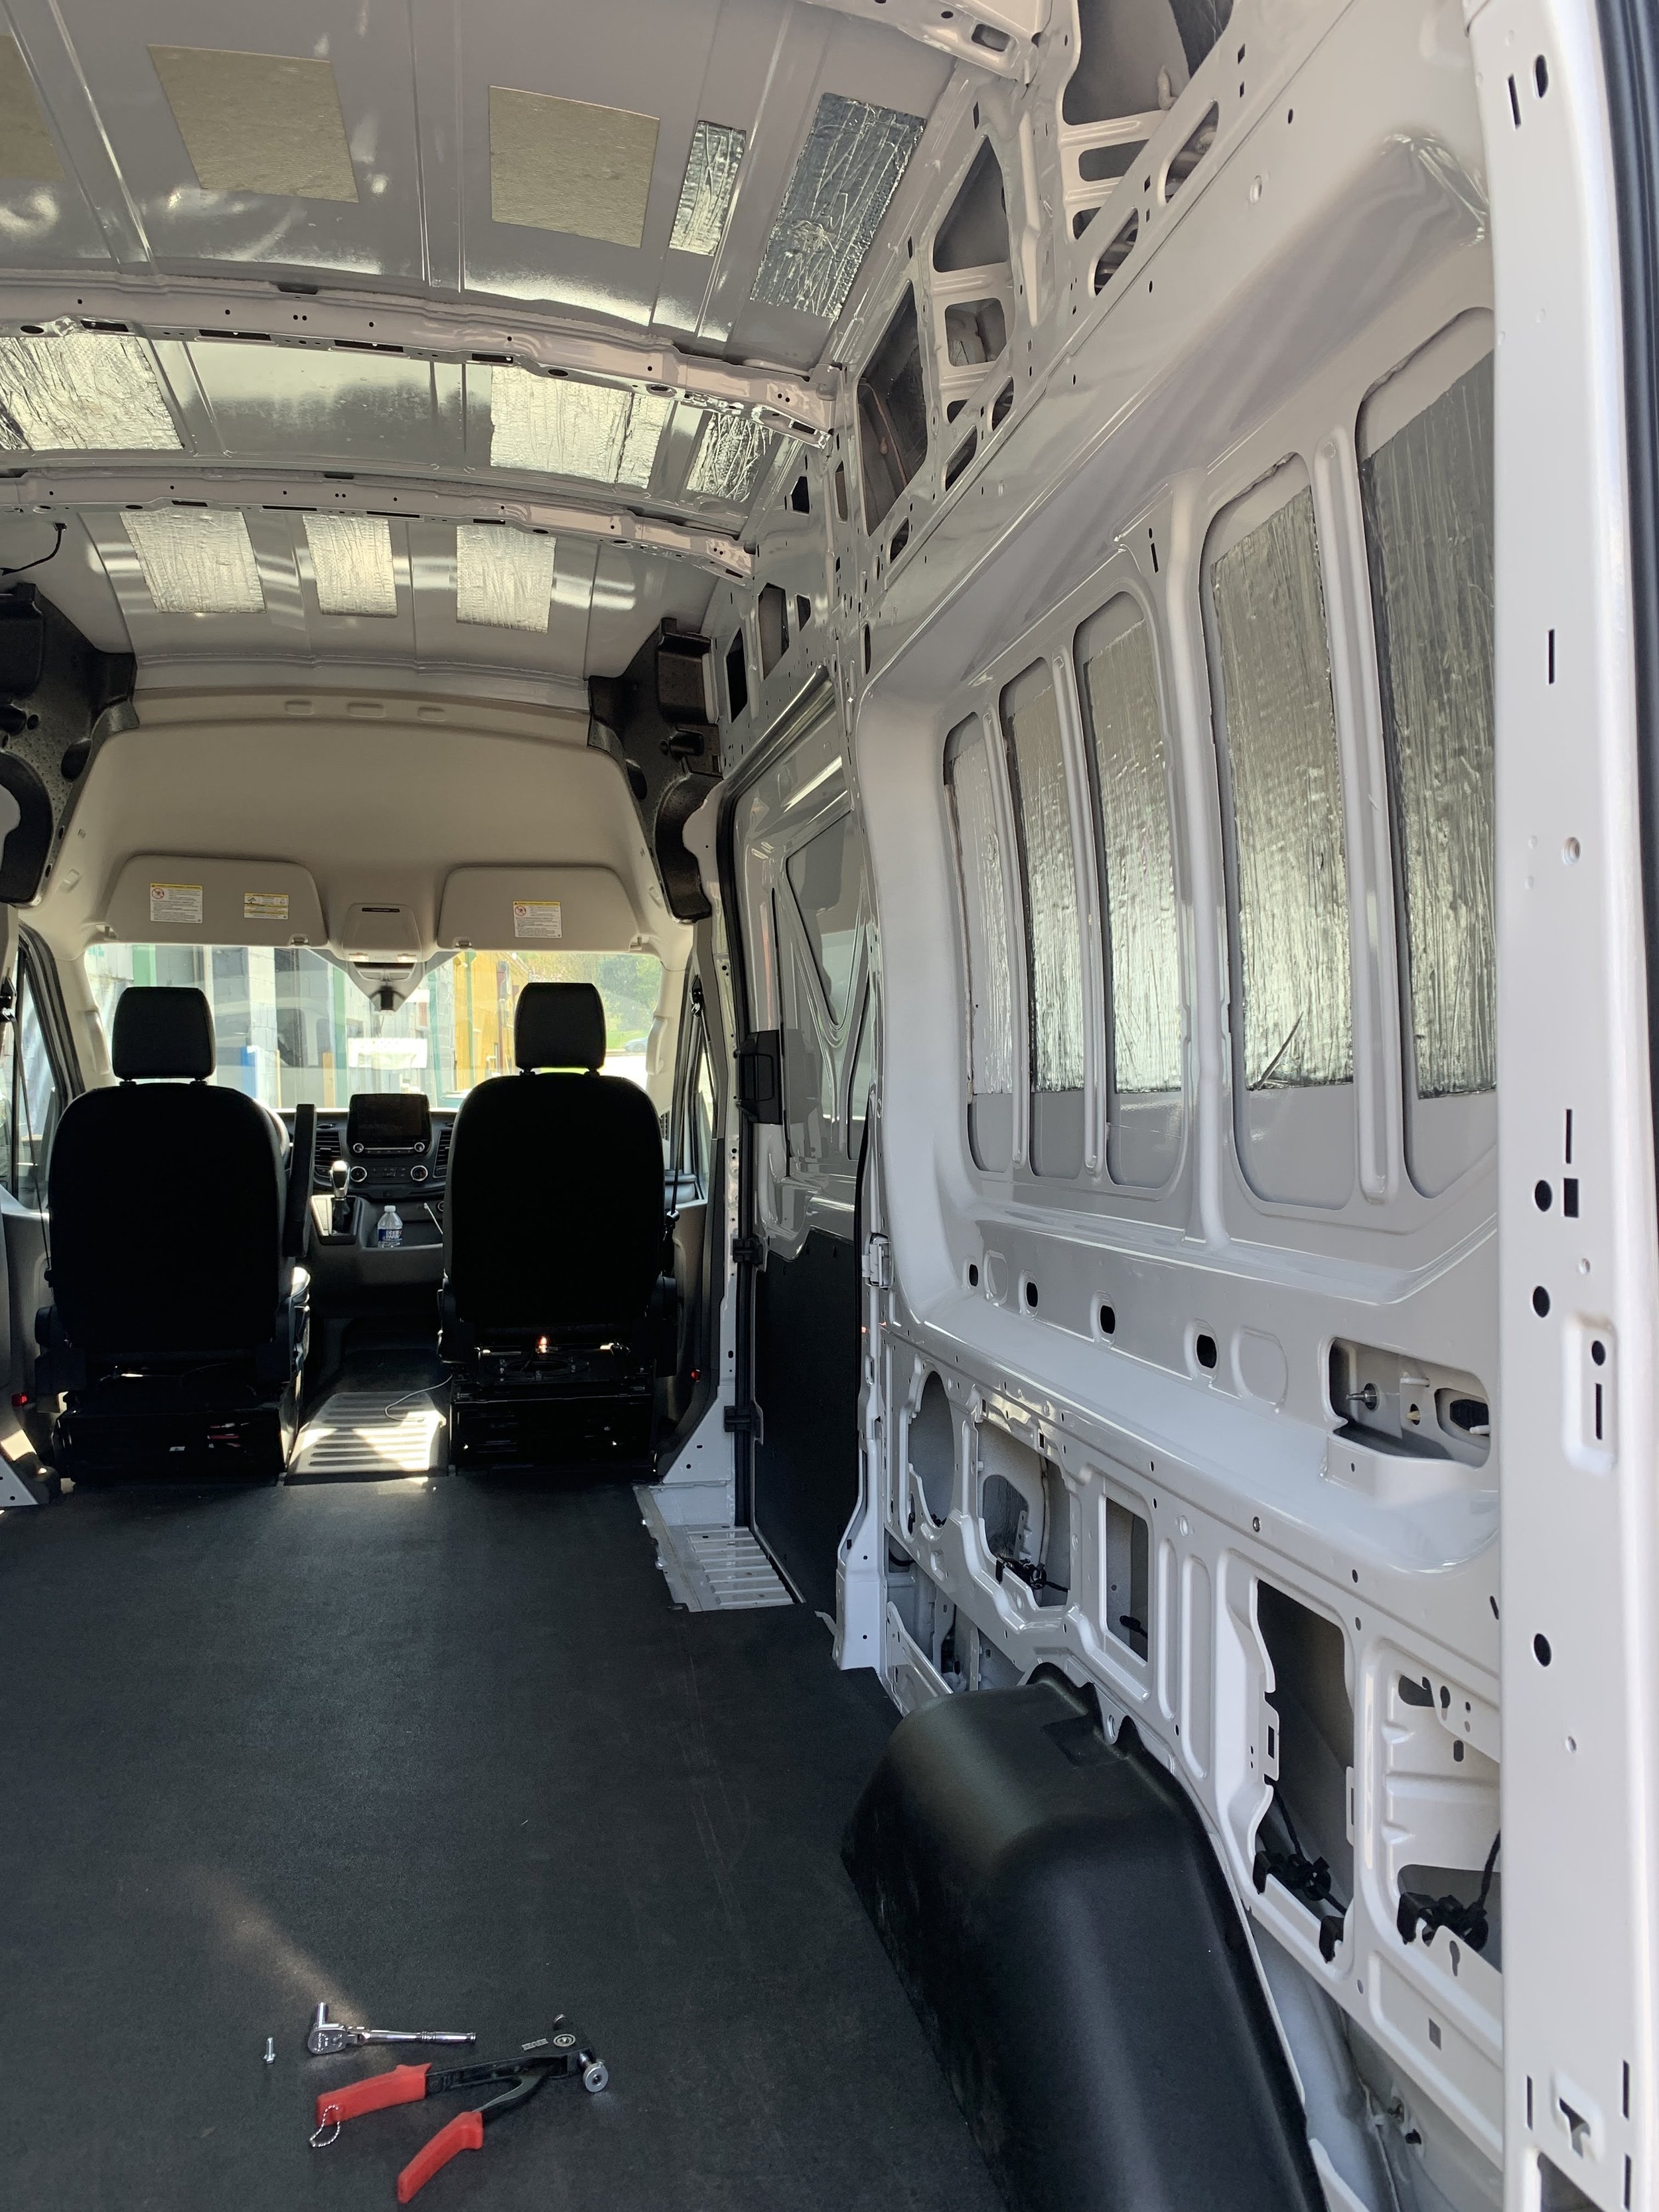
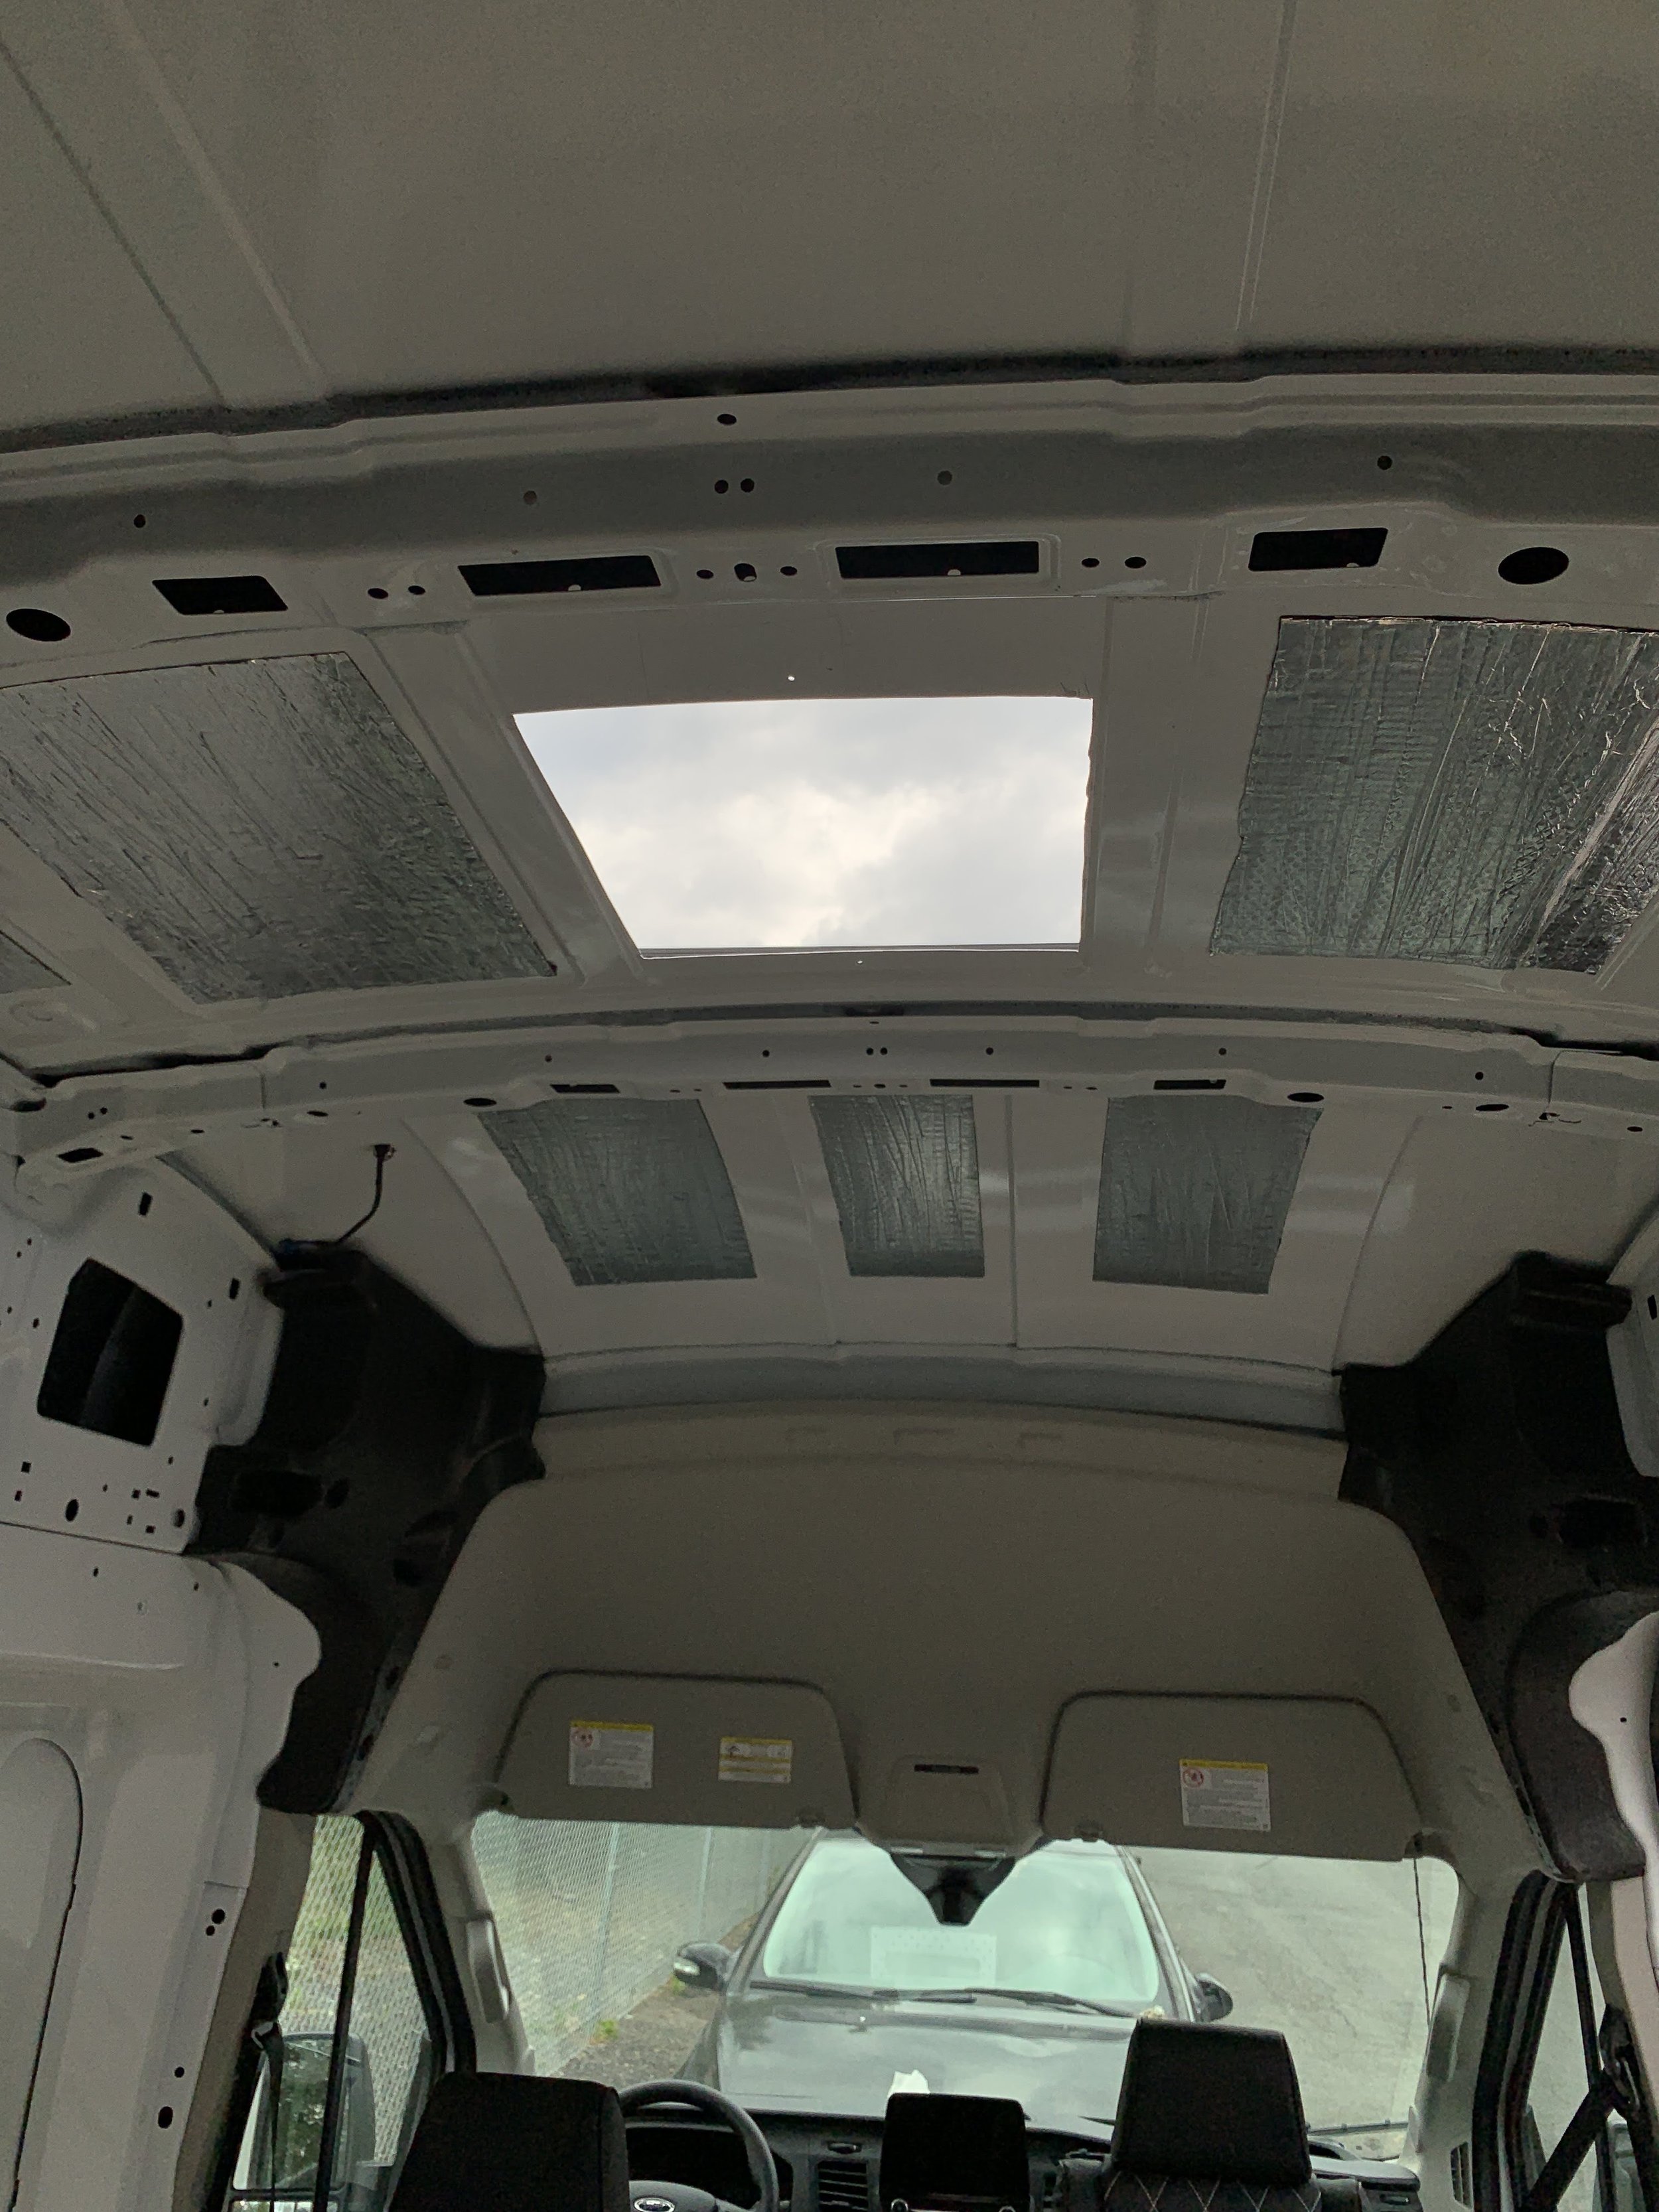
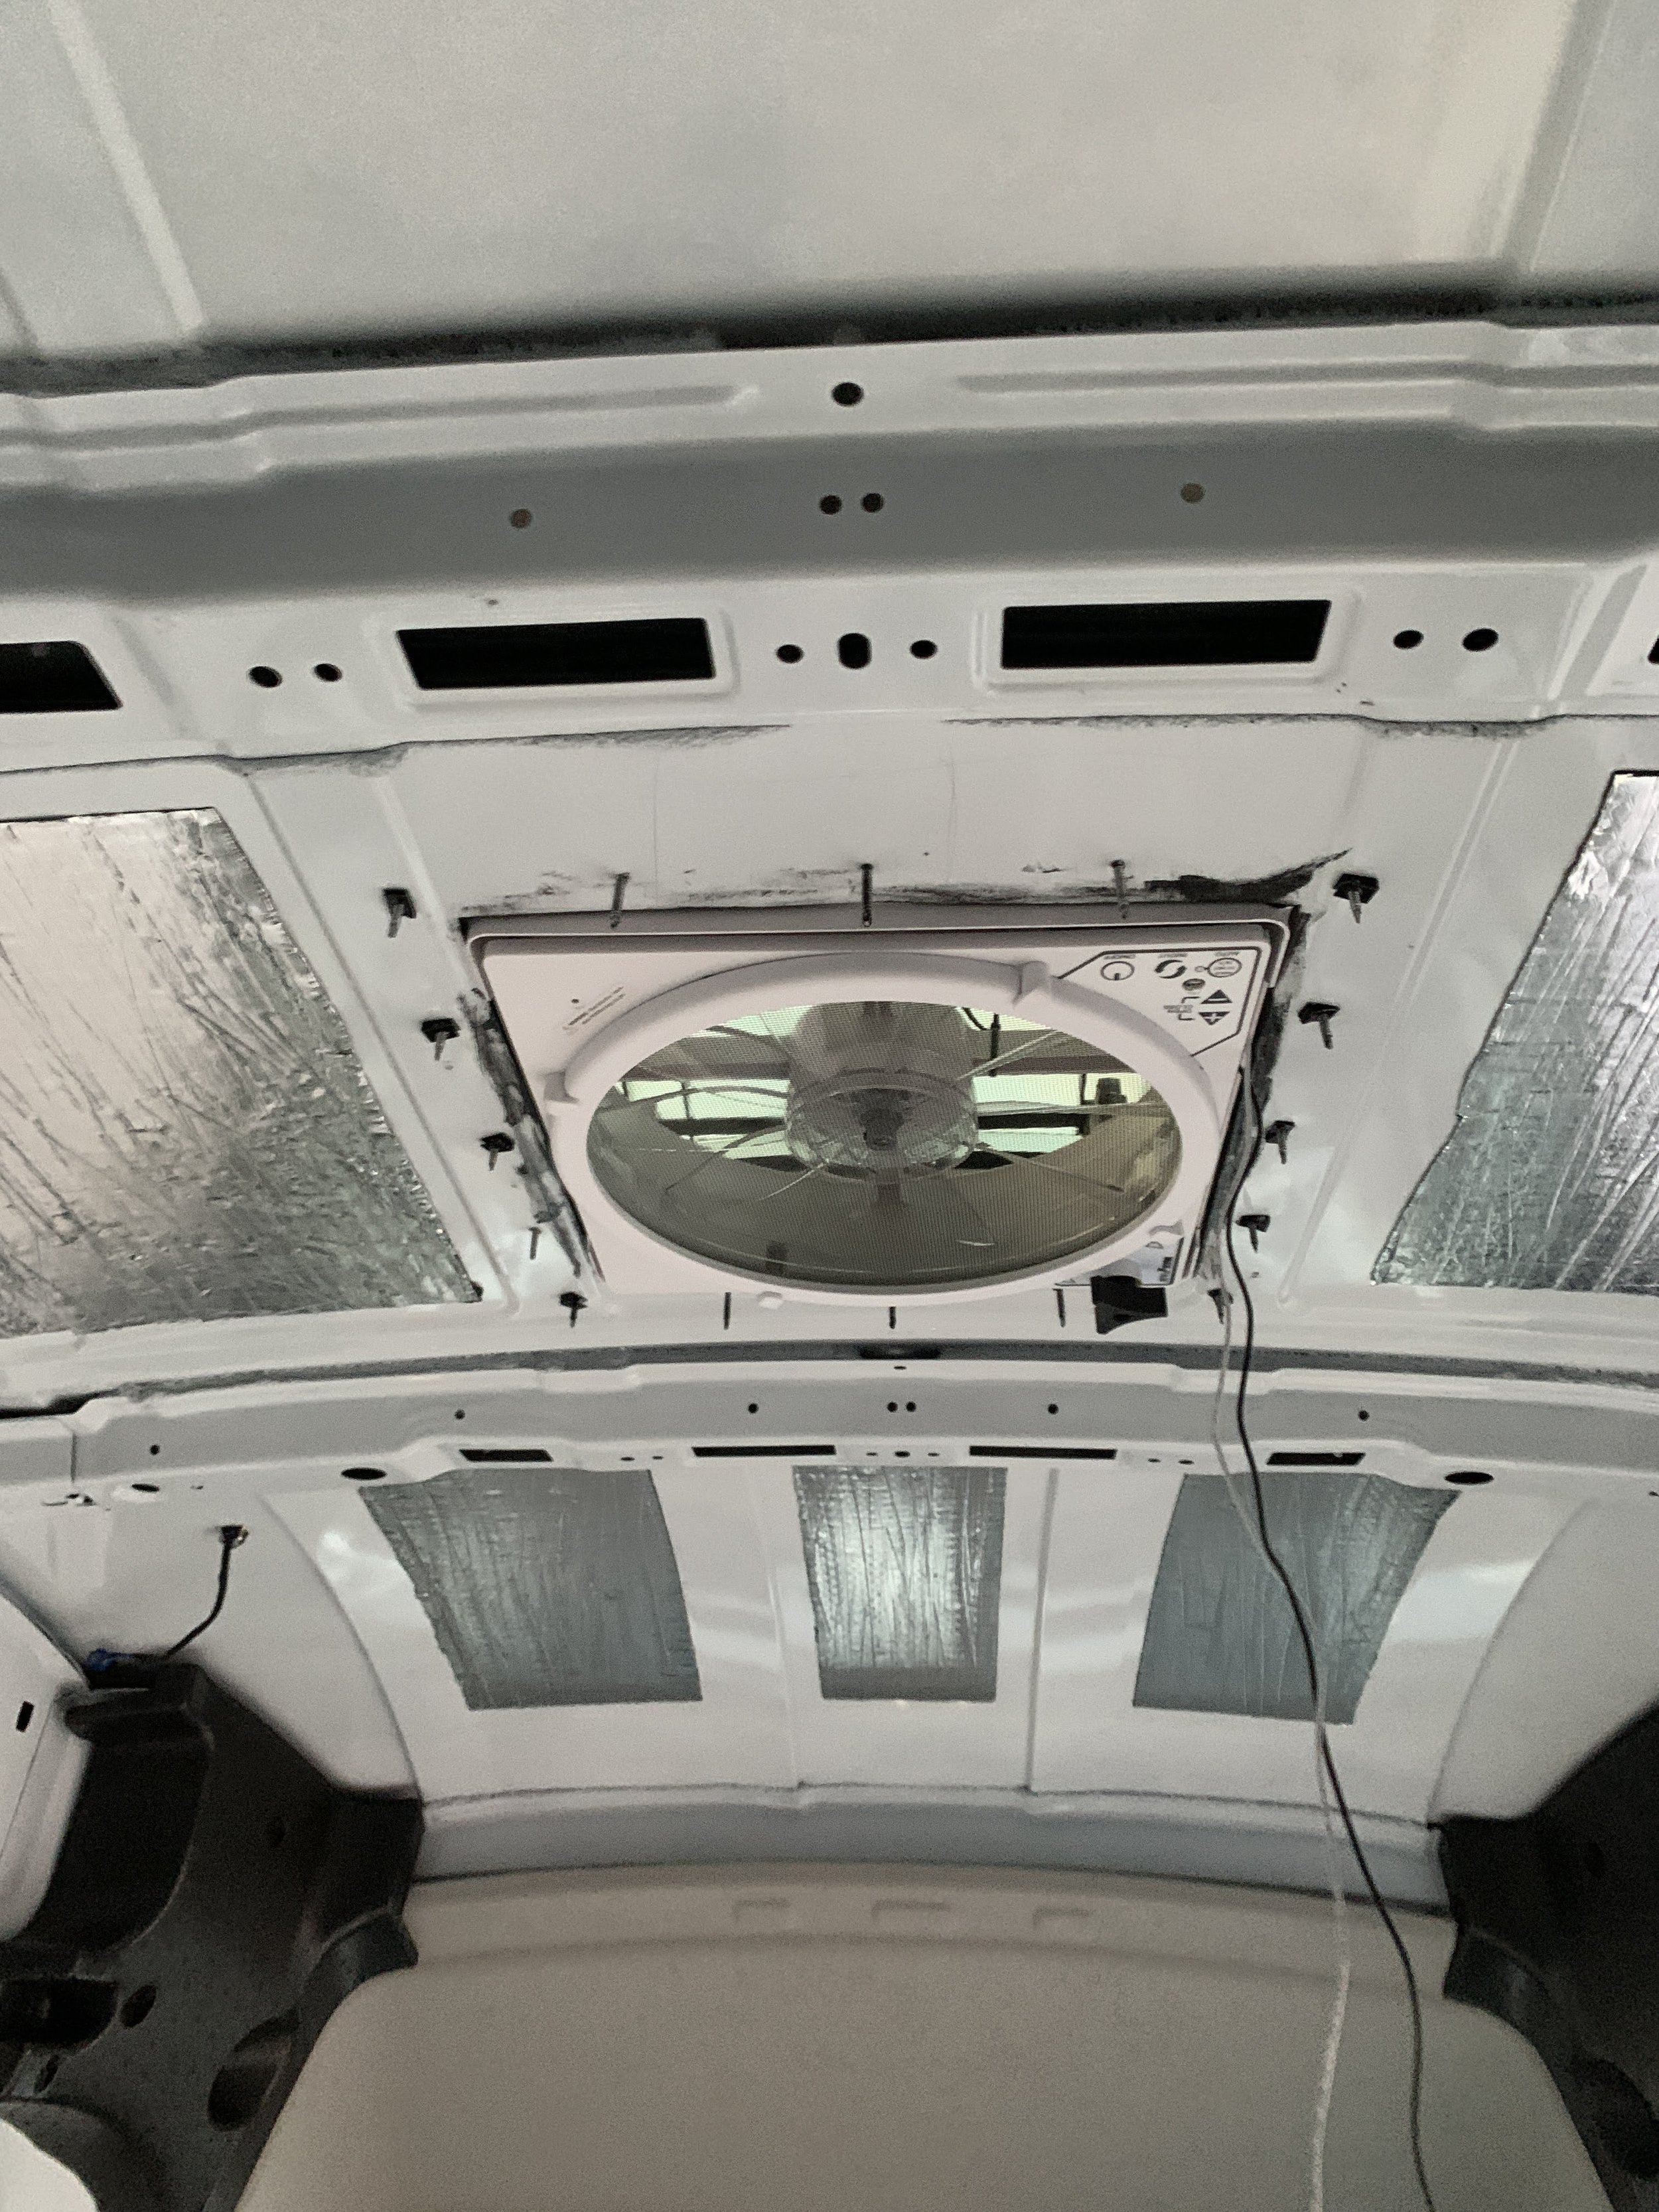
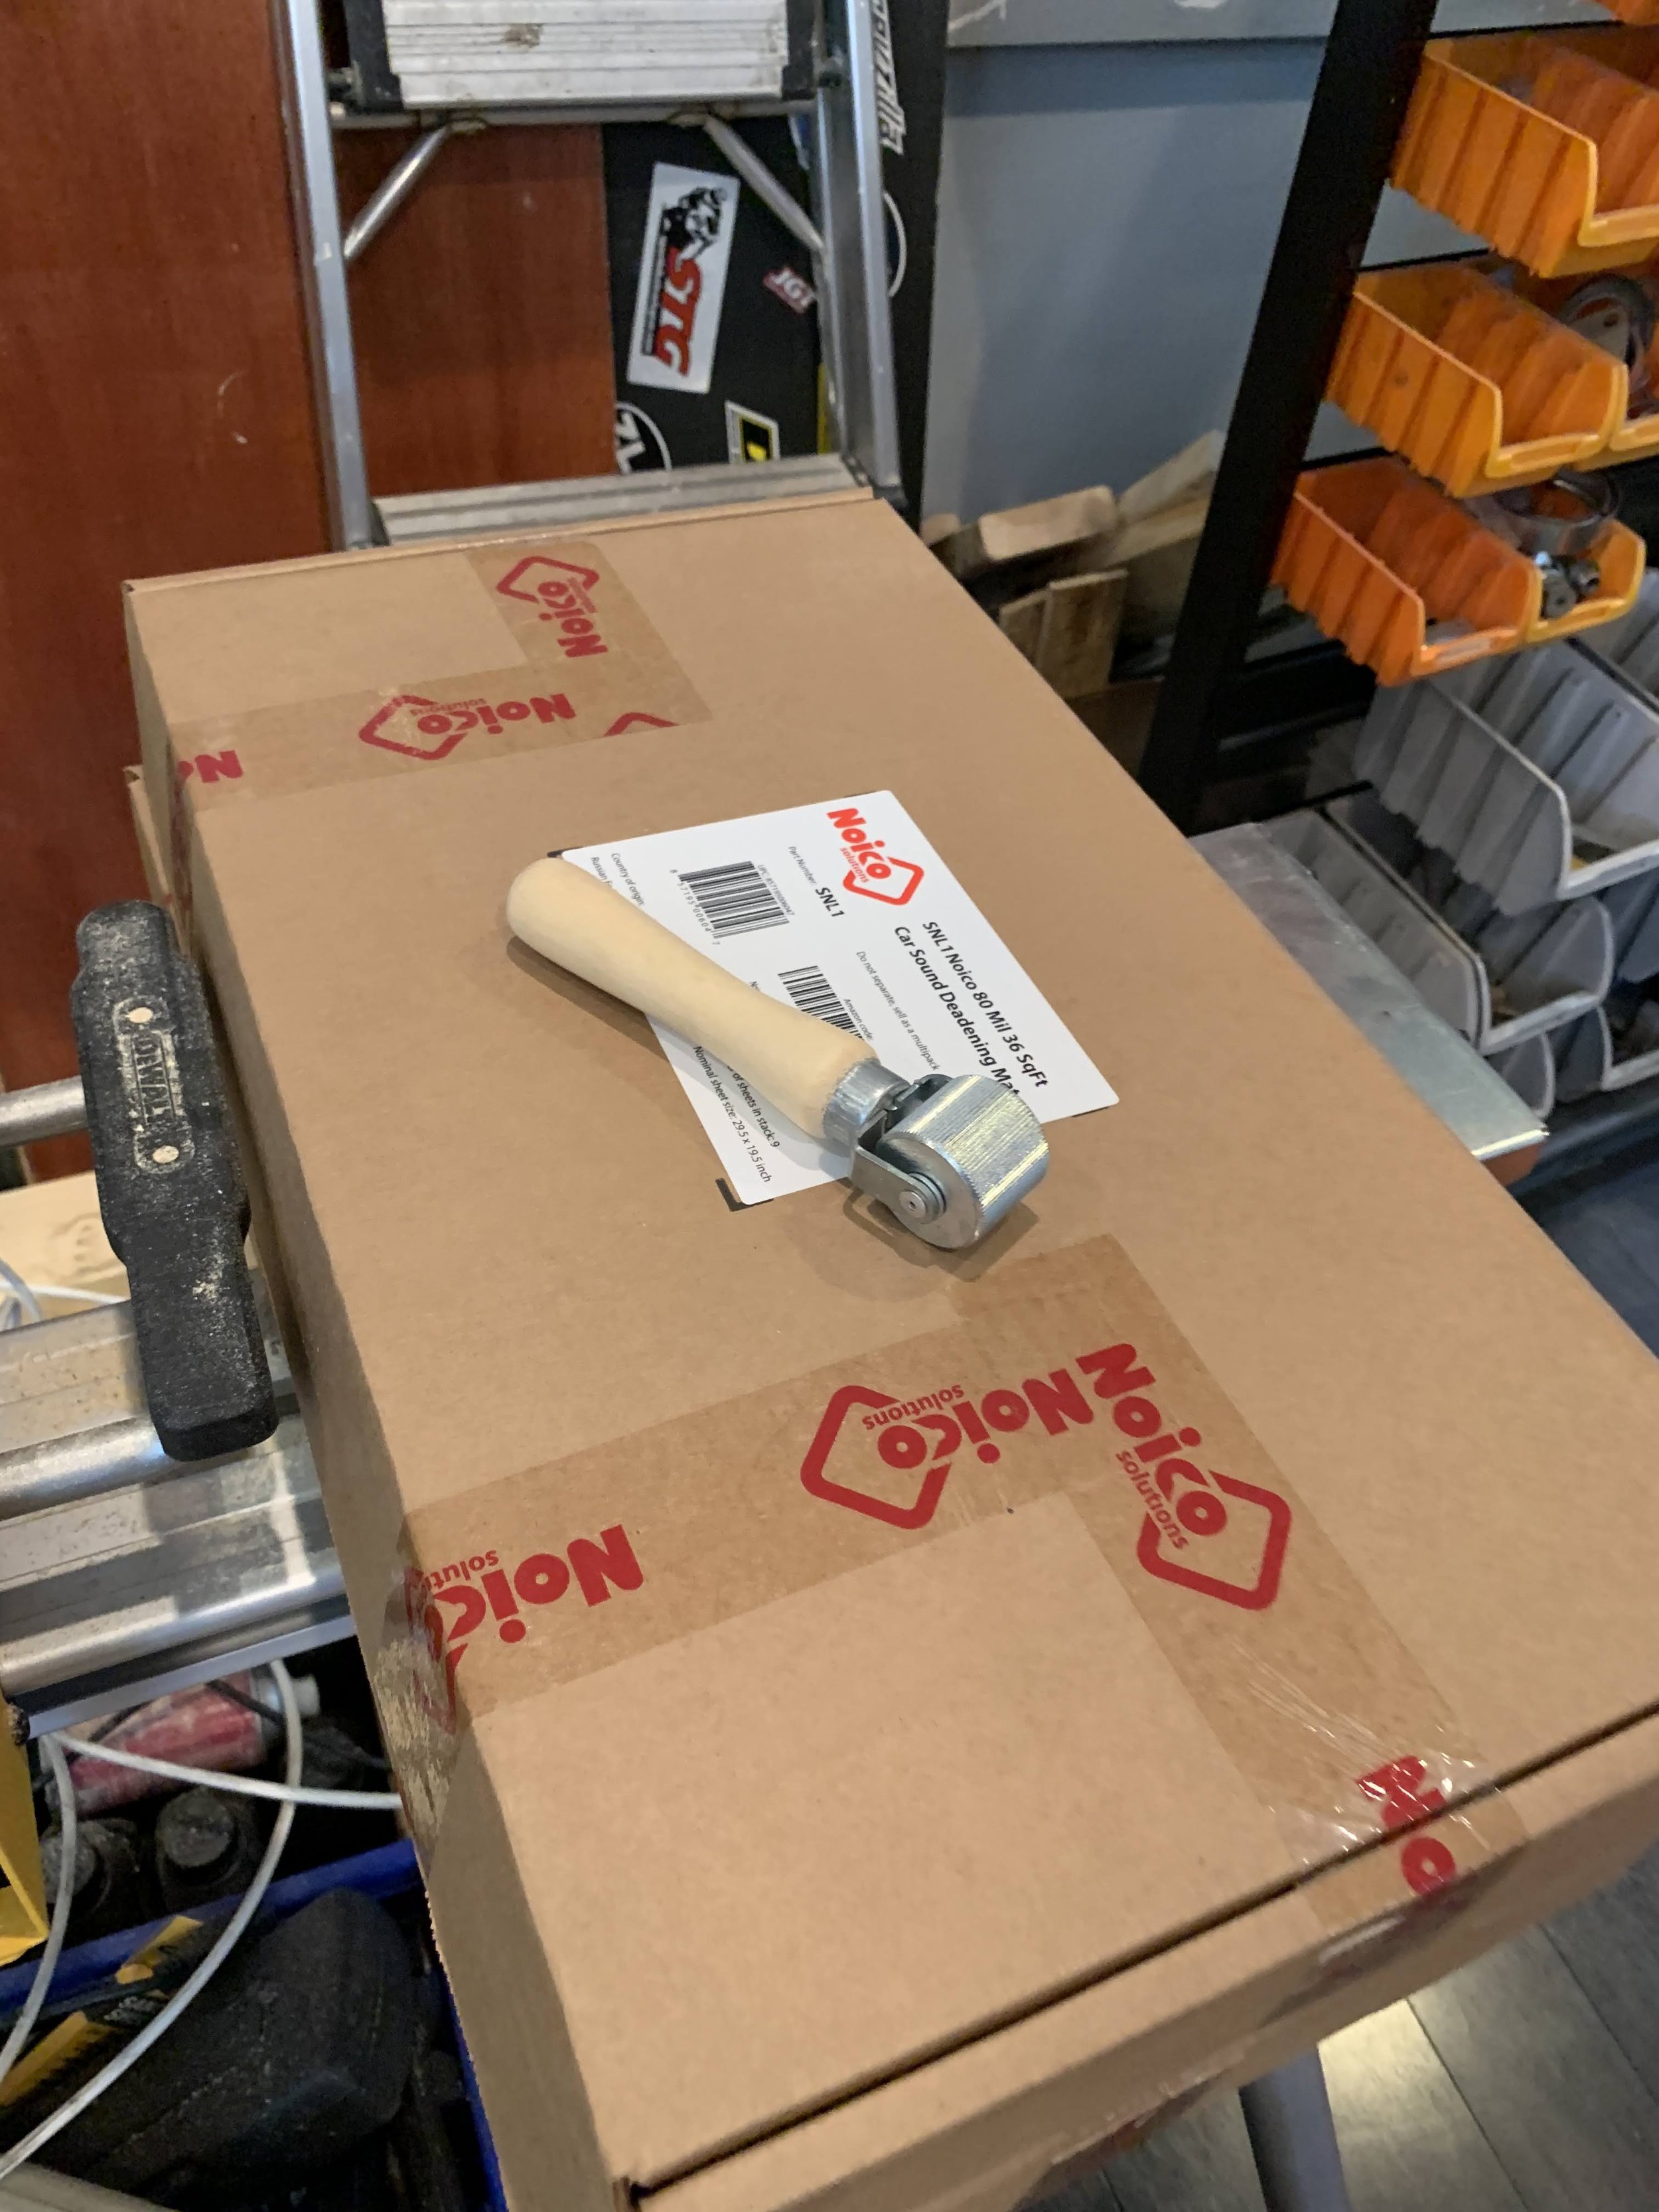
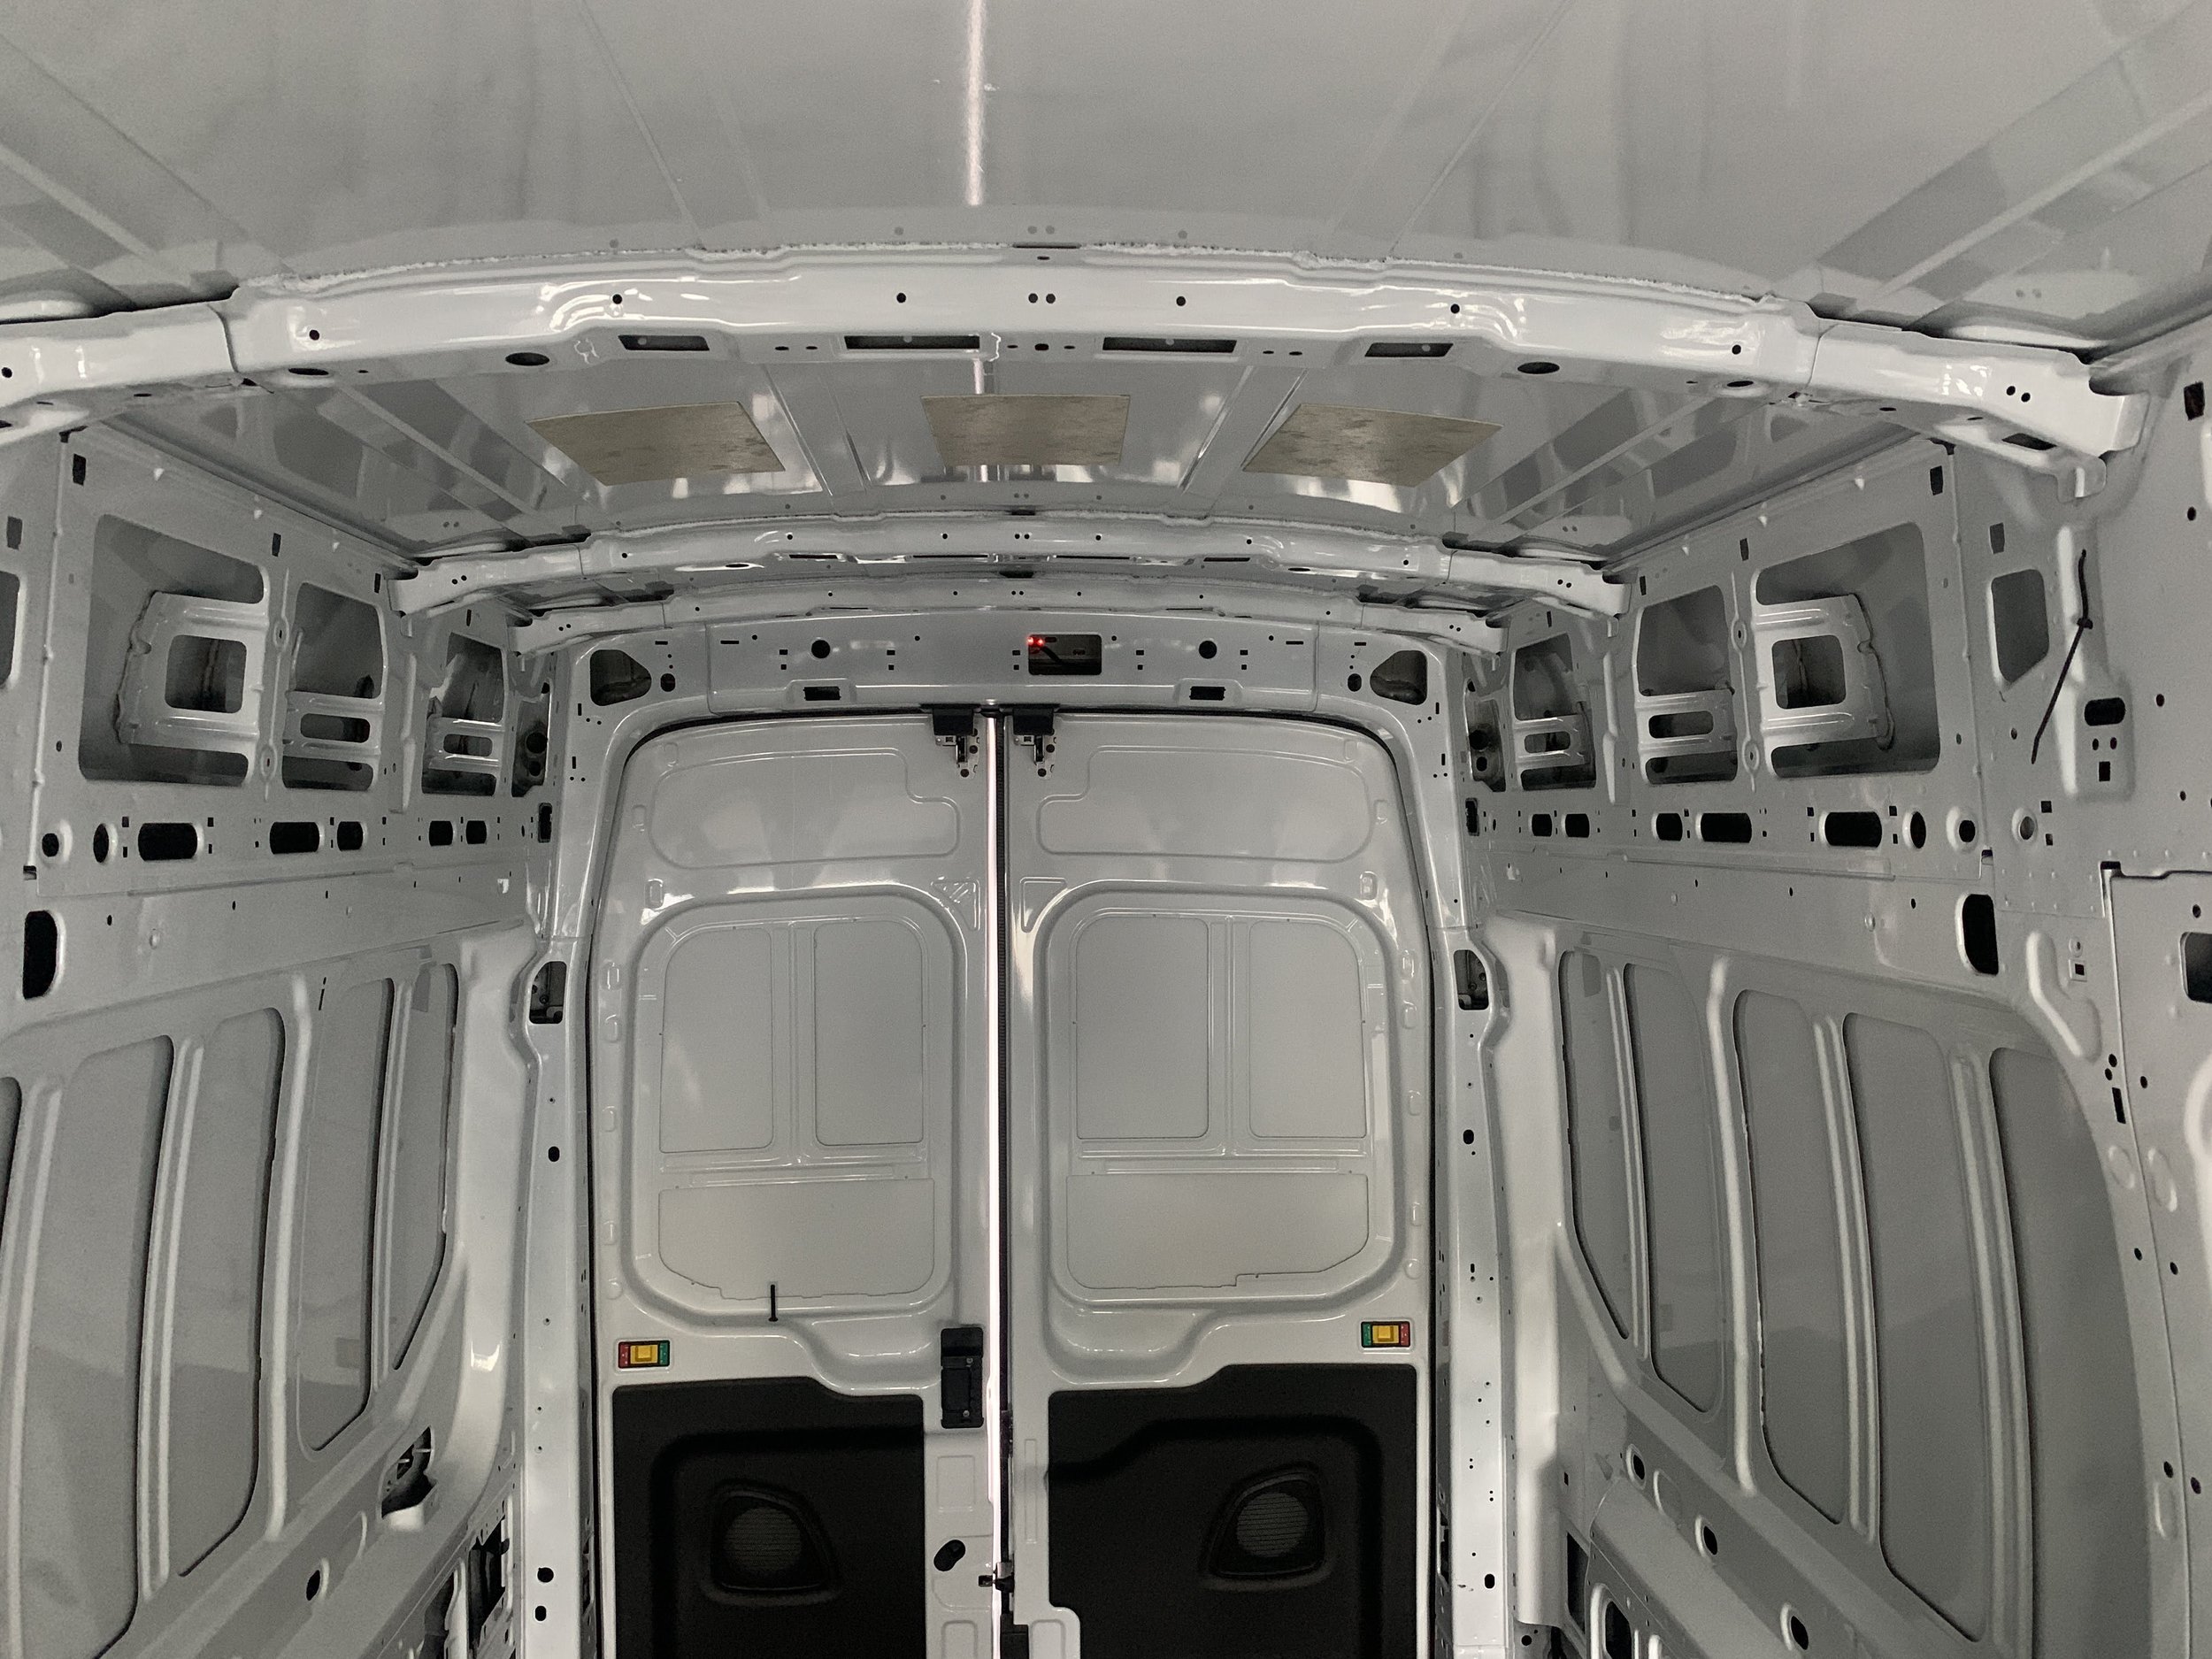
Rolling on the sound deadener sheet is not hard, but it is a hand cutting exercise, between the aluminum backing sheets and the sharp van metal in the crevice. It was truly a painful undertaking. I wore gloves in many spots but end up cutting places around my wrist as I reached into the crevice or up on the forearm when I’m trying to roll on the deadener. The sound difference with the deadener was night and day for the wheel well, and the ceiling when it rains. The sides did not reverberate nearly as much for me to tell the difference.
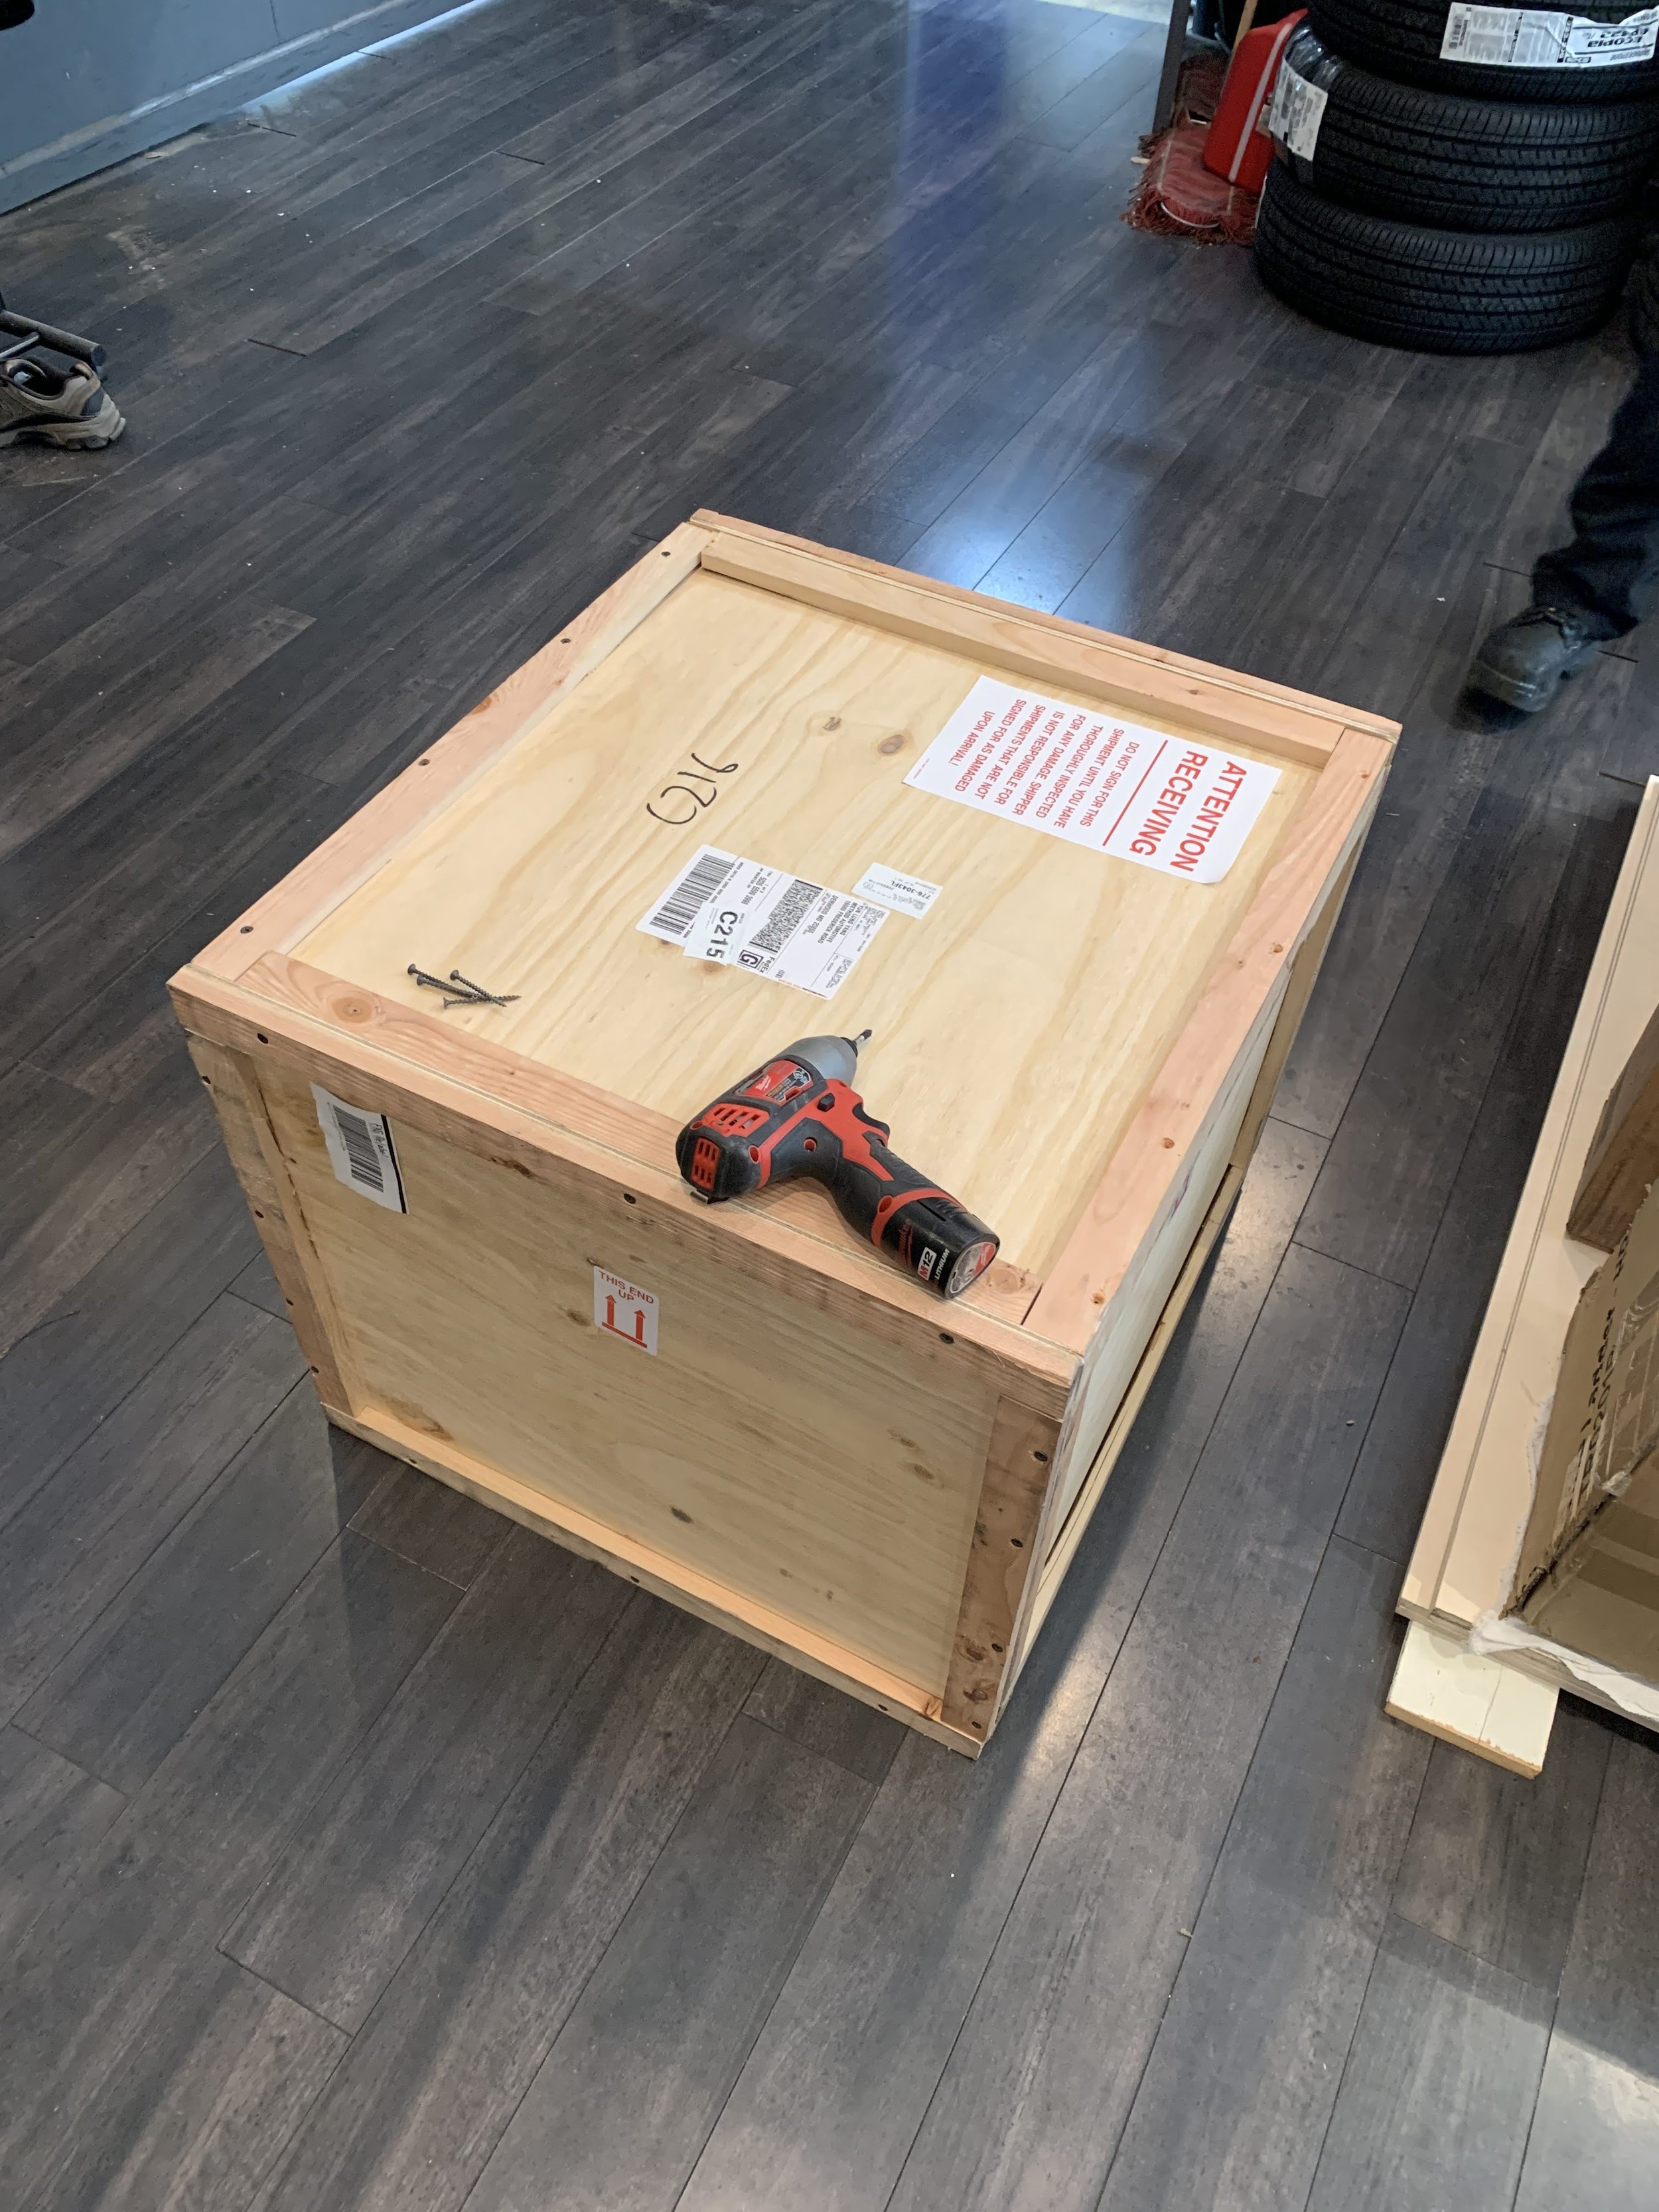
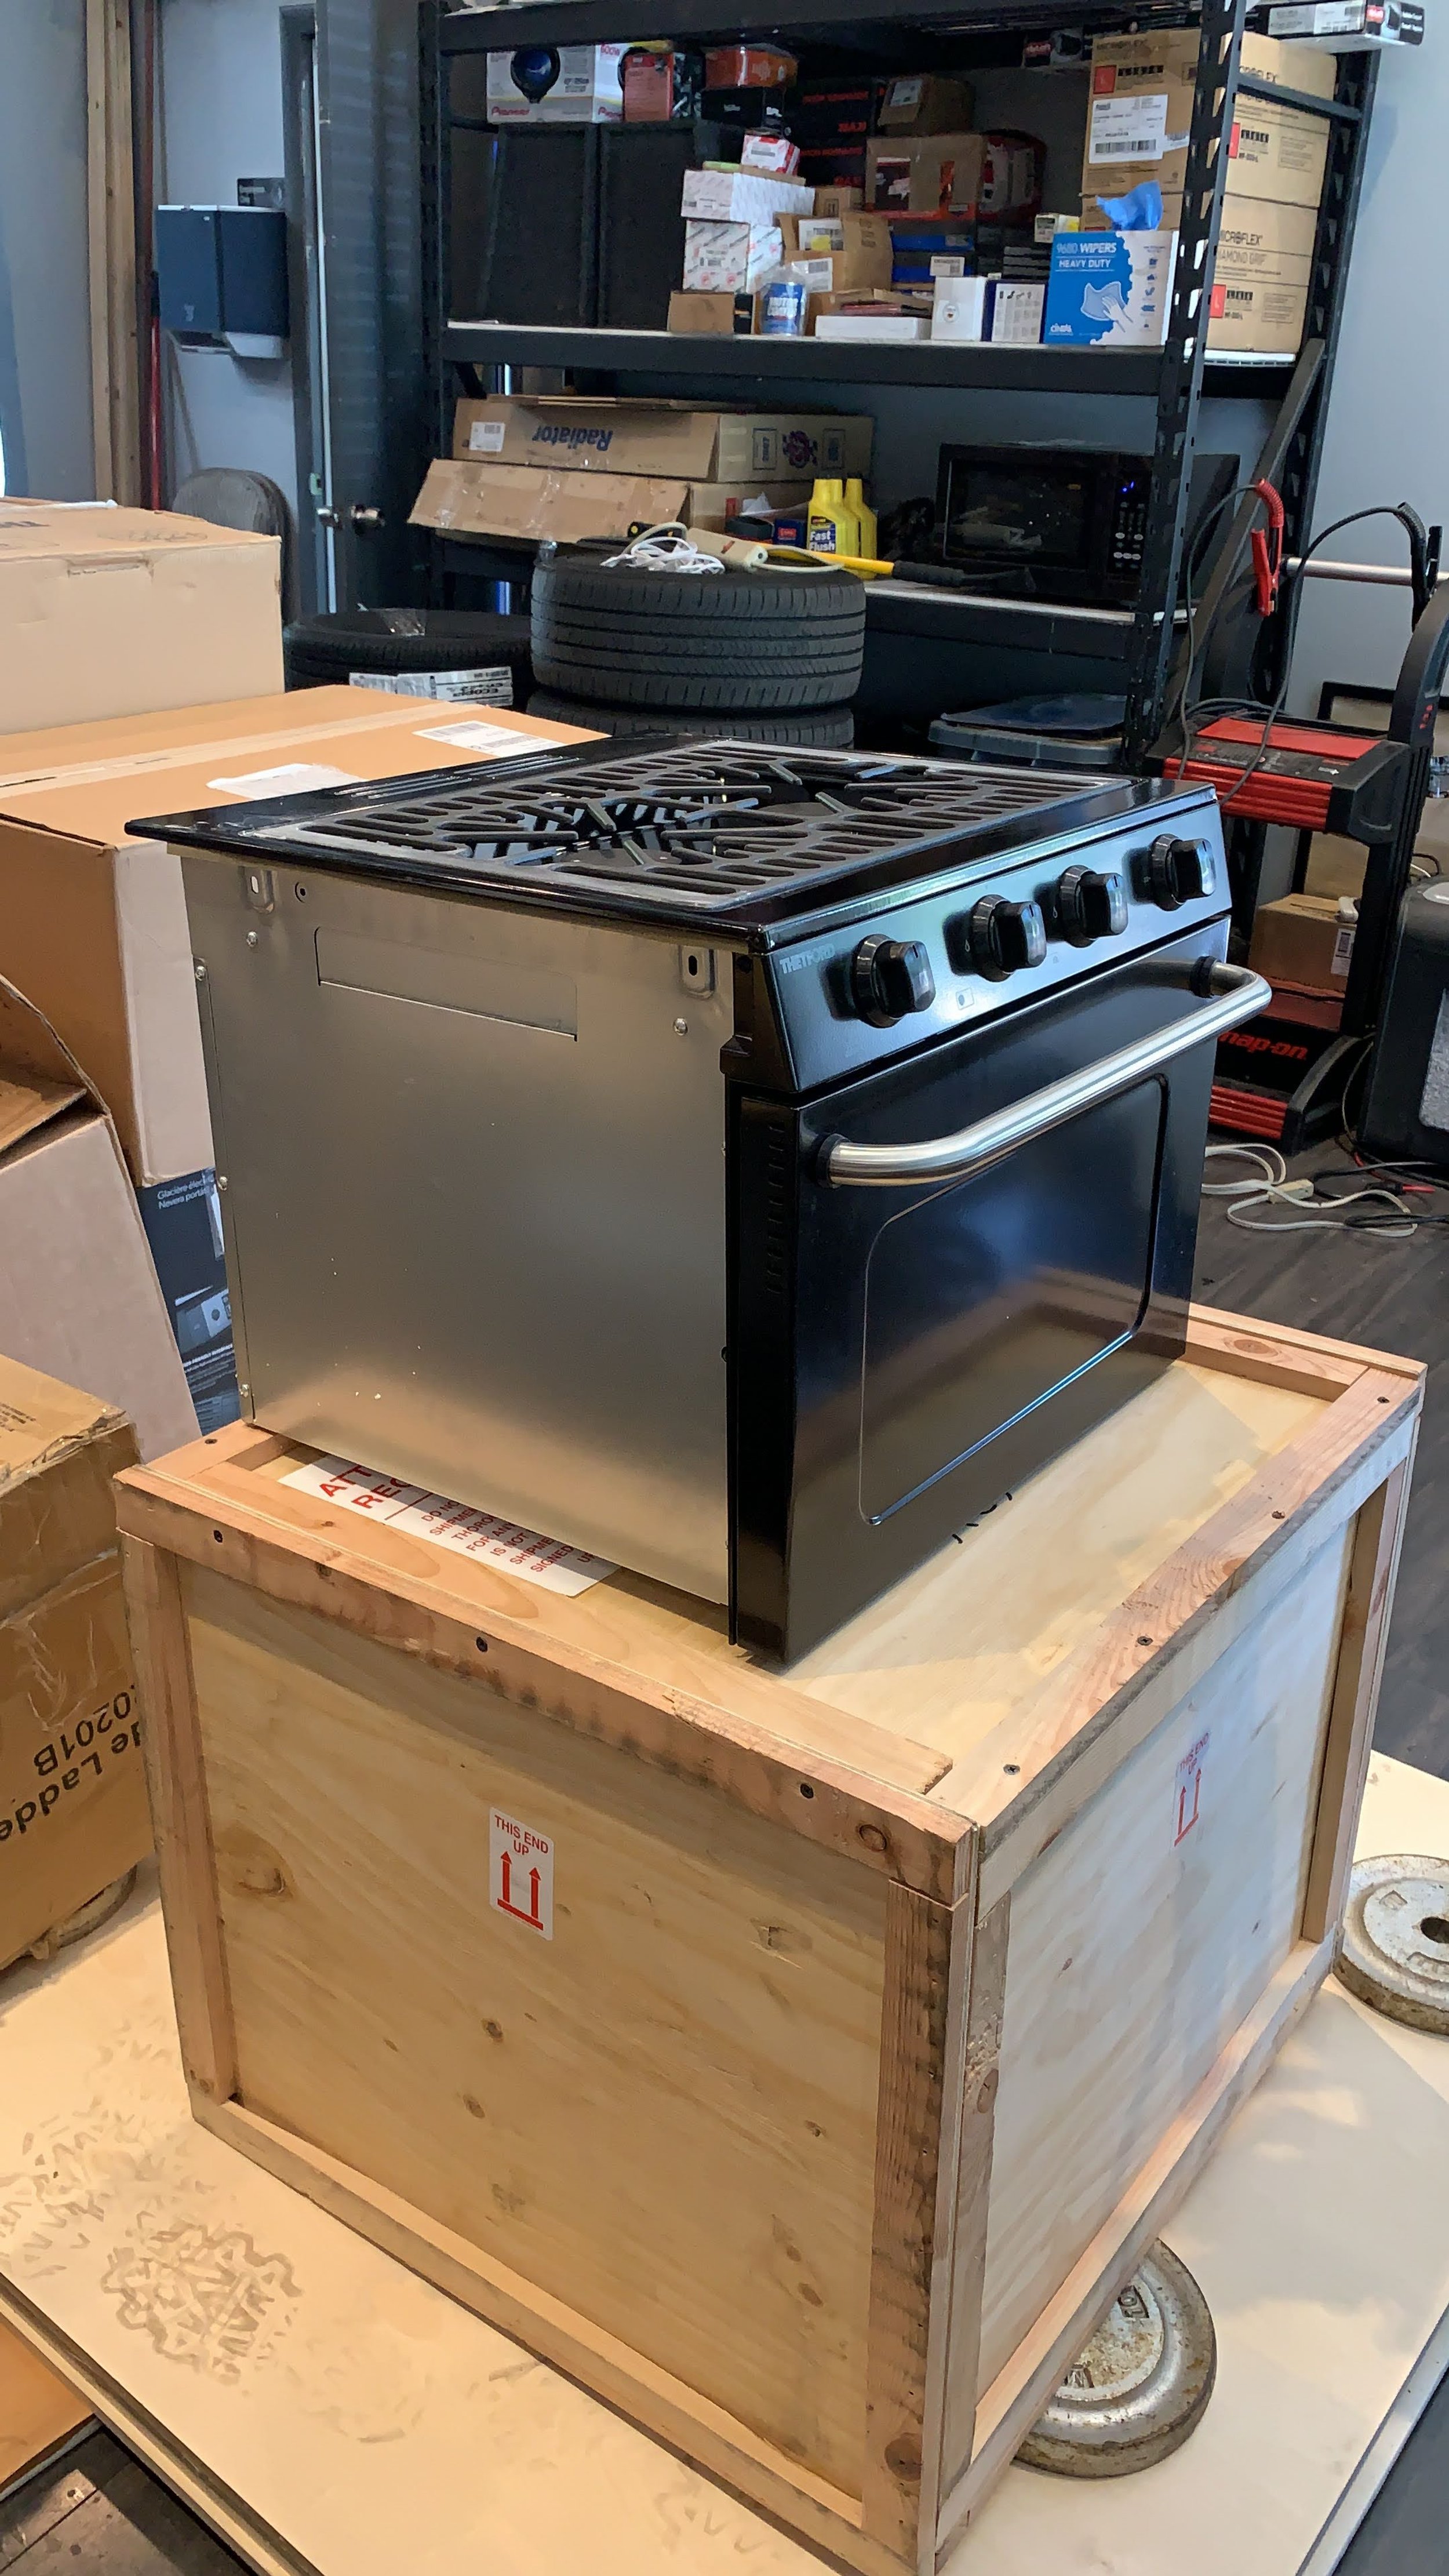
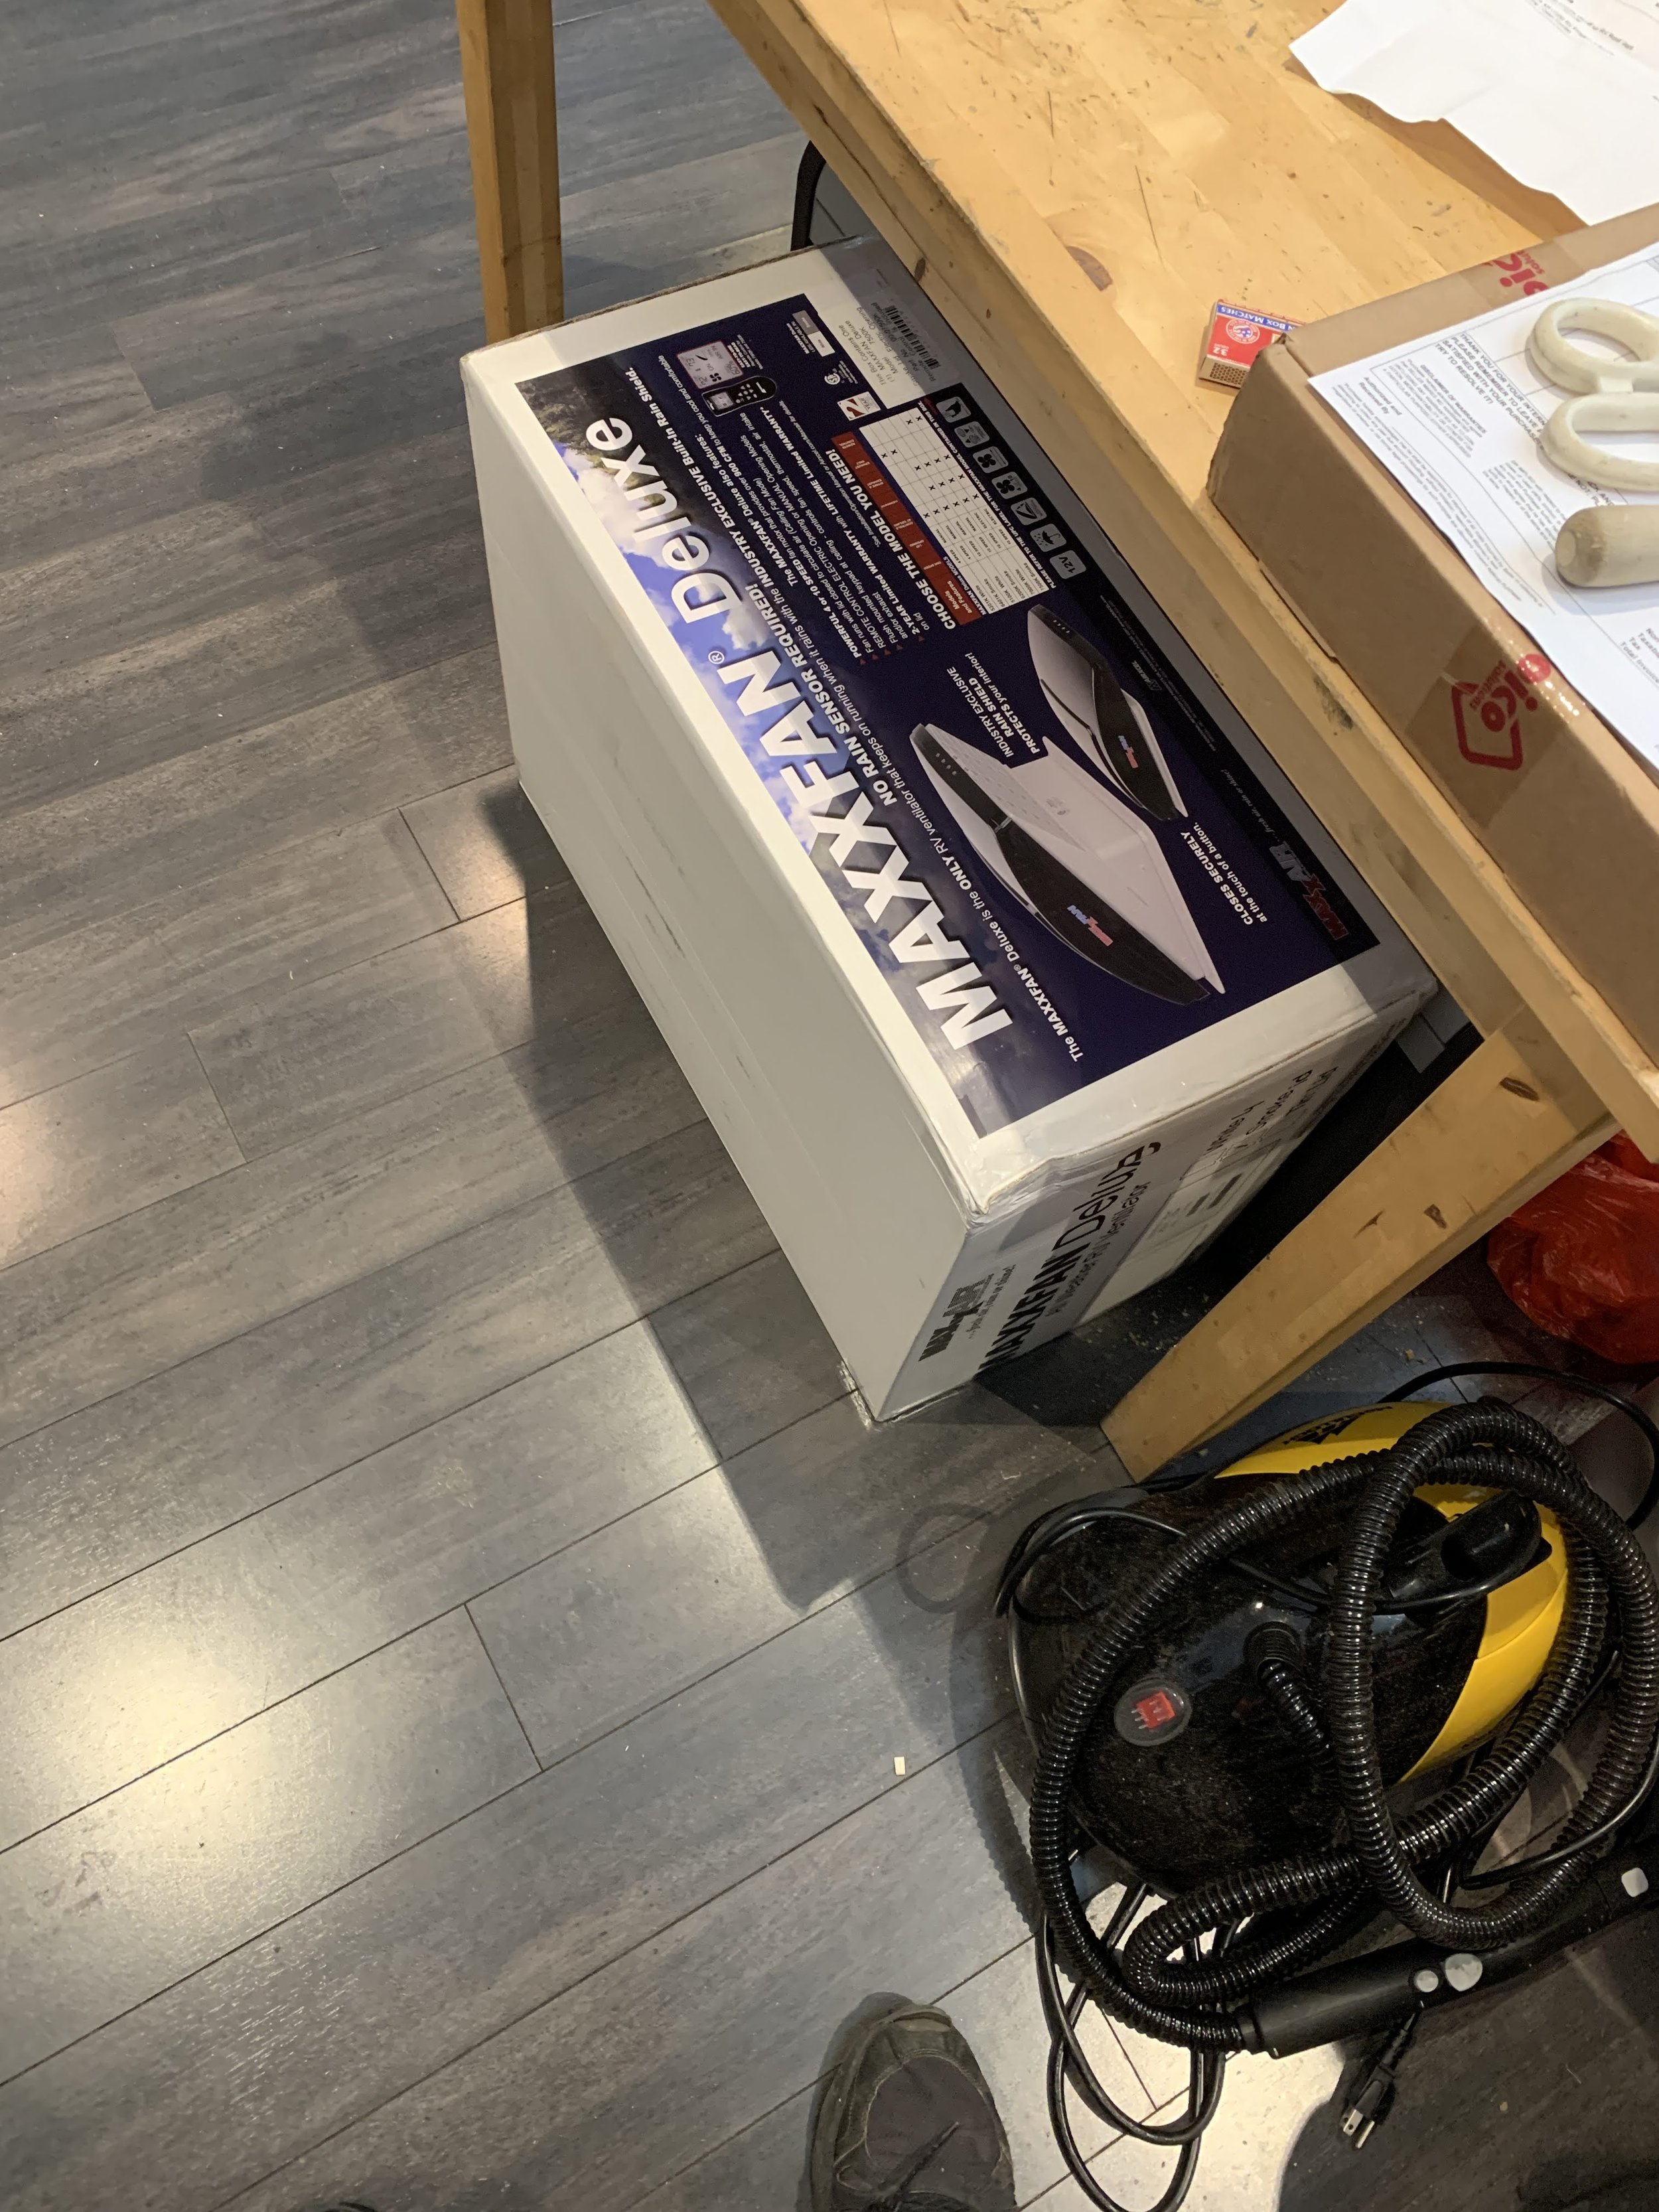
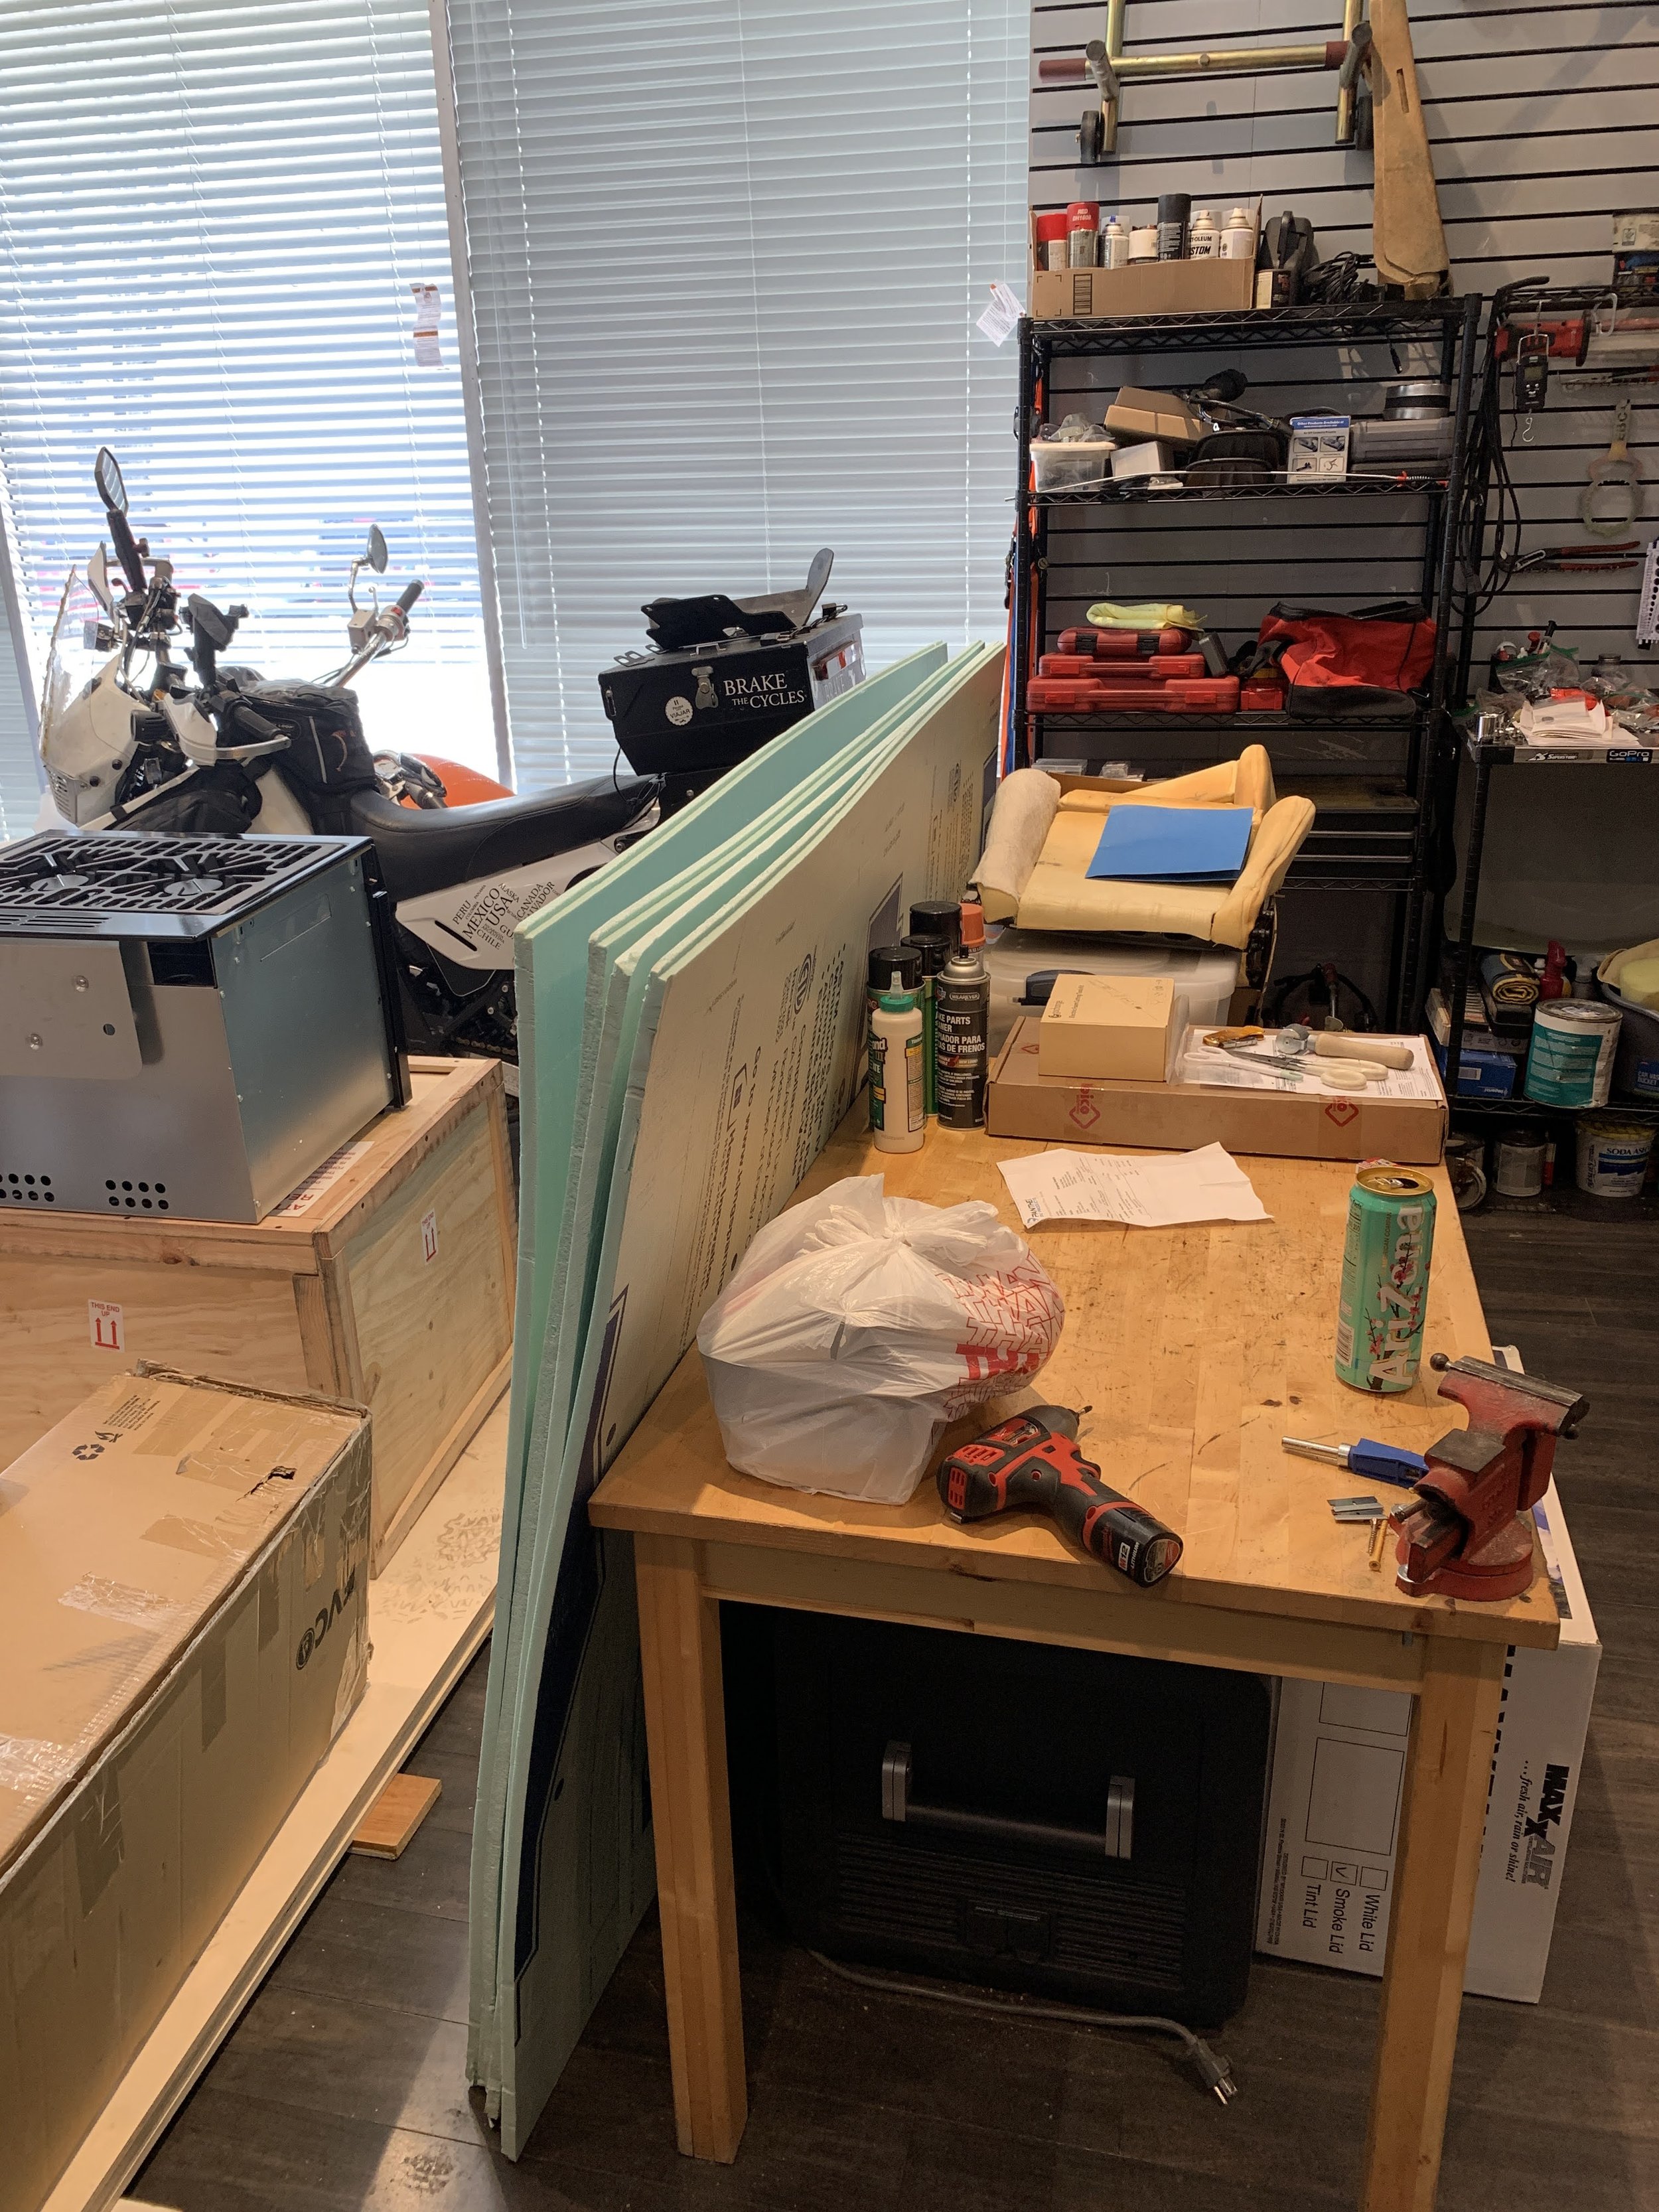

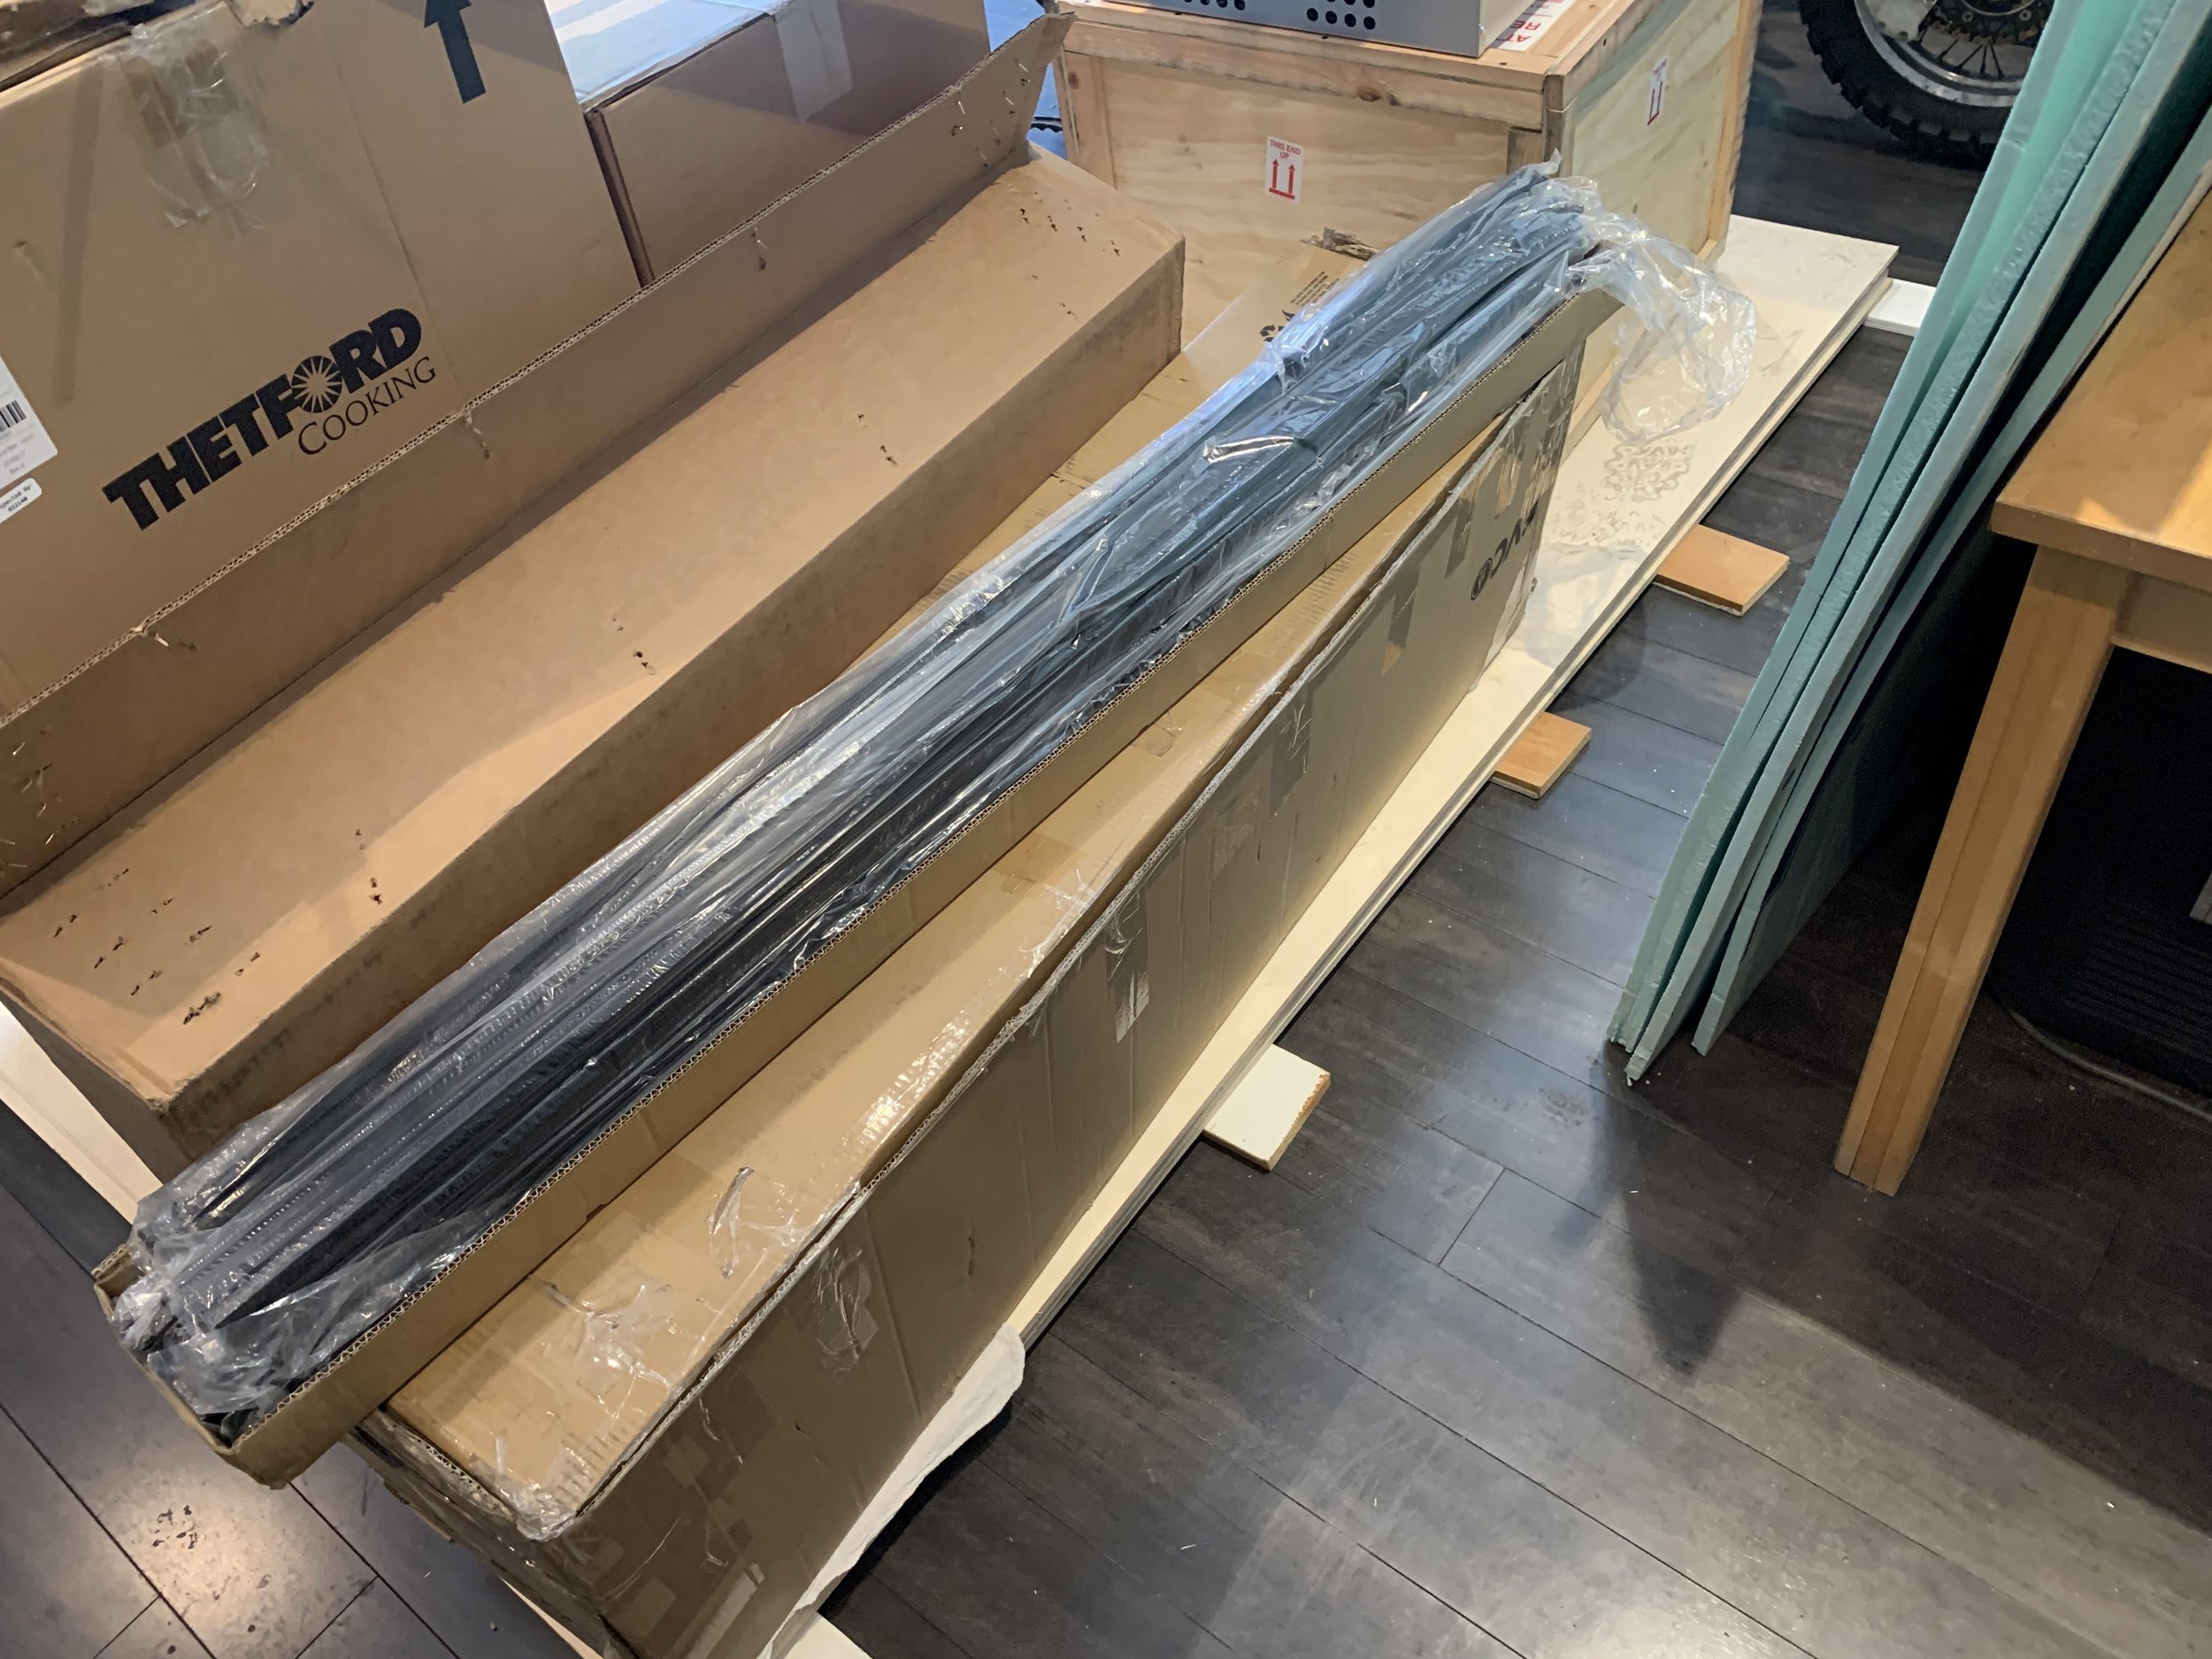
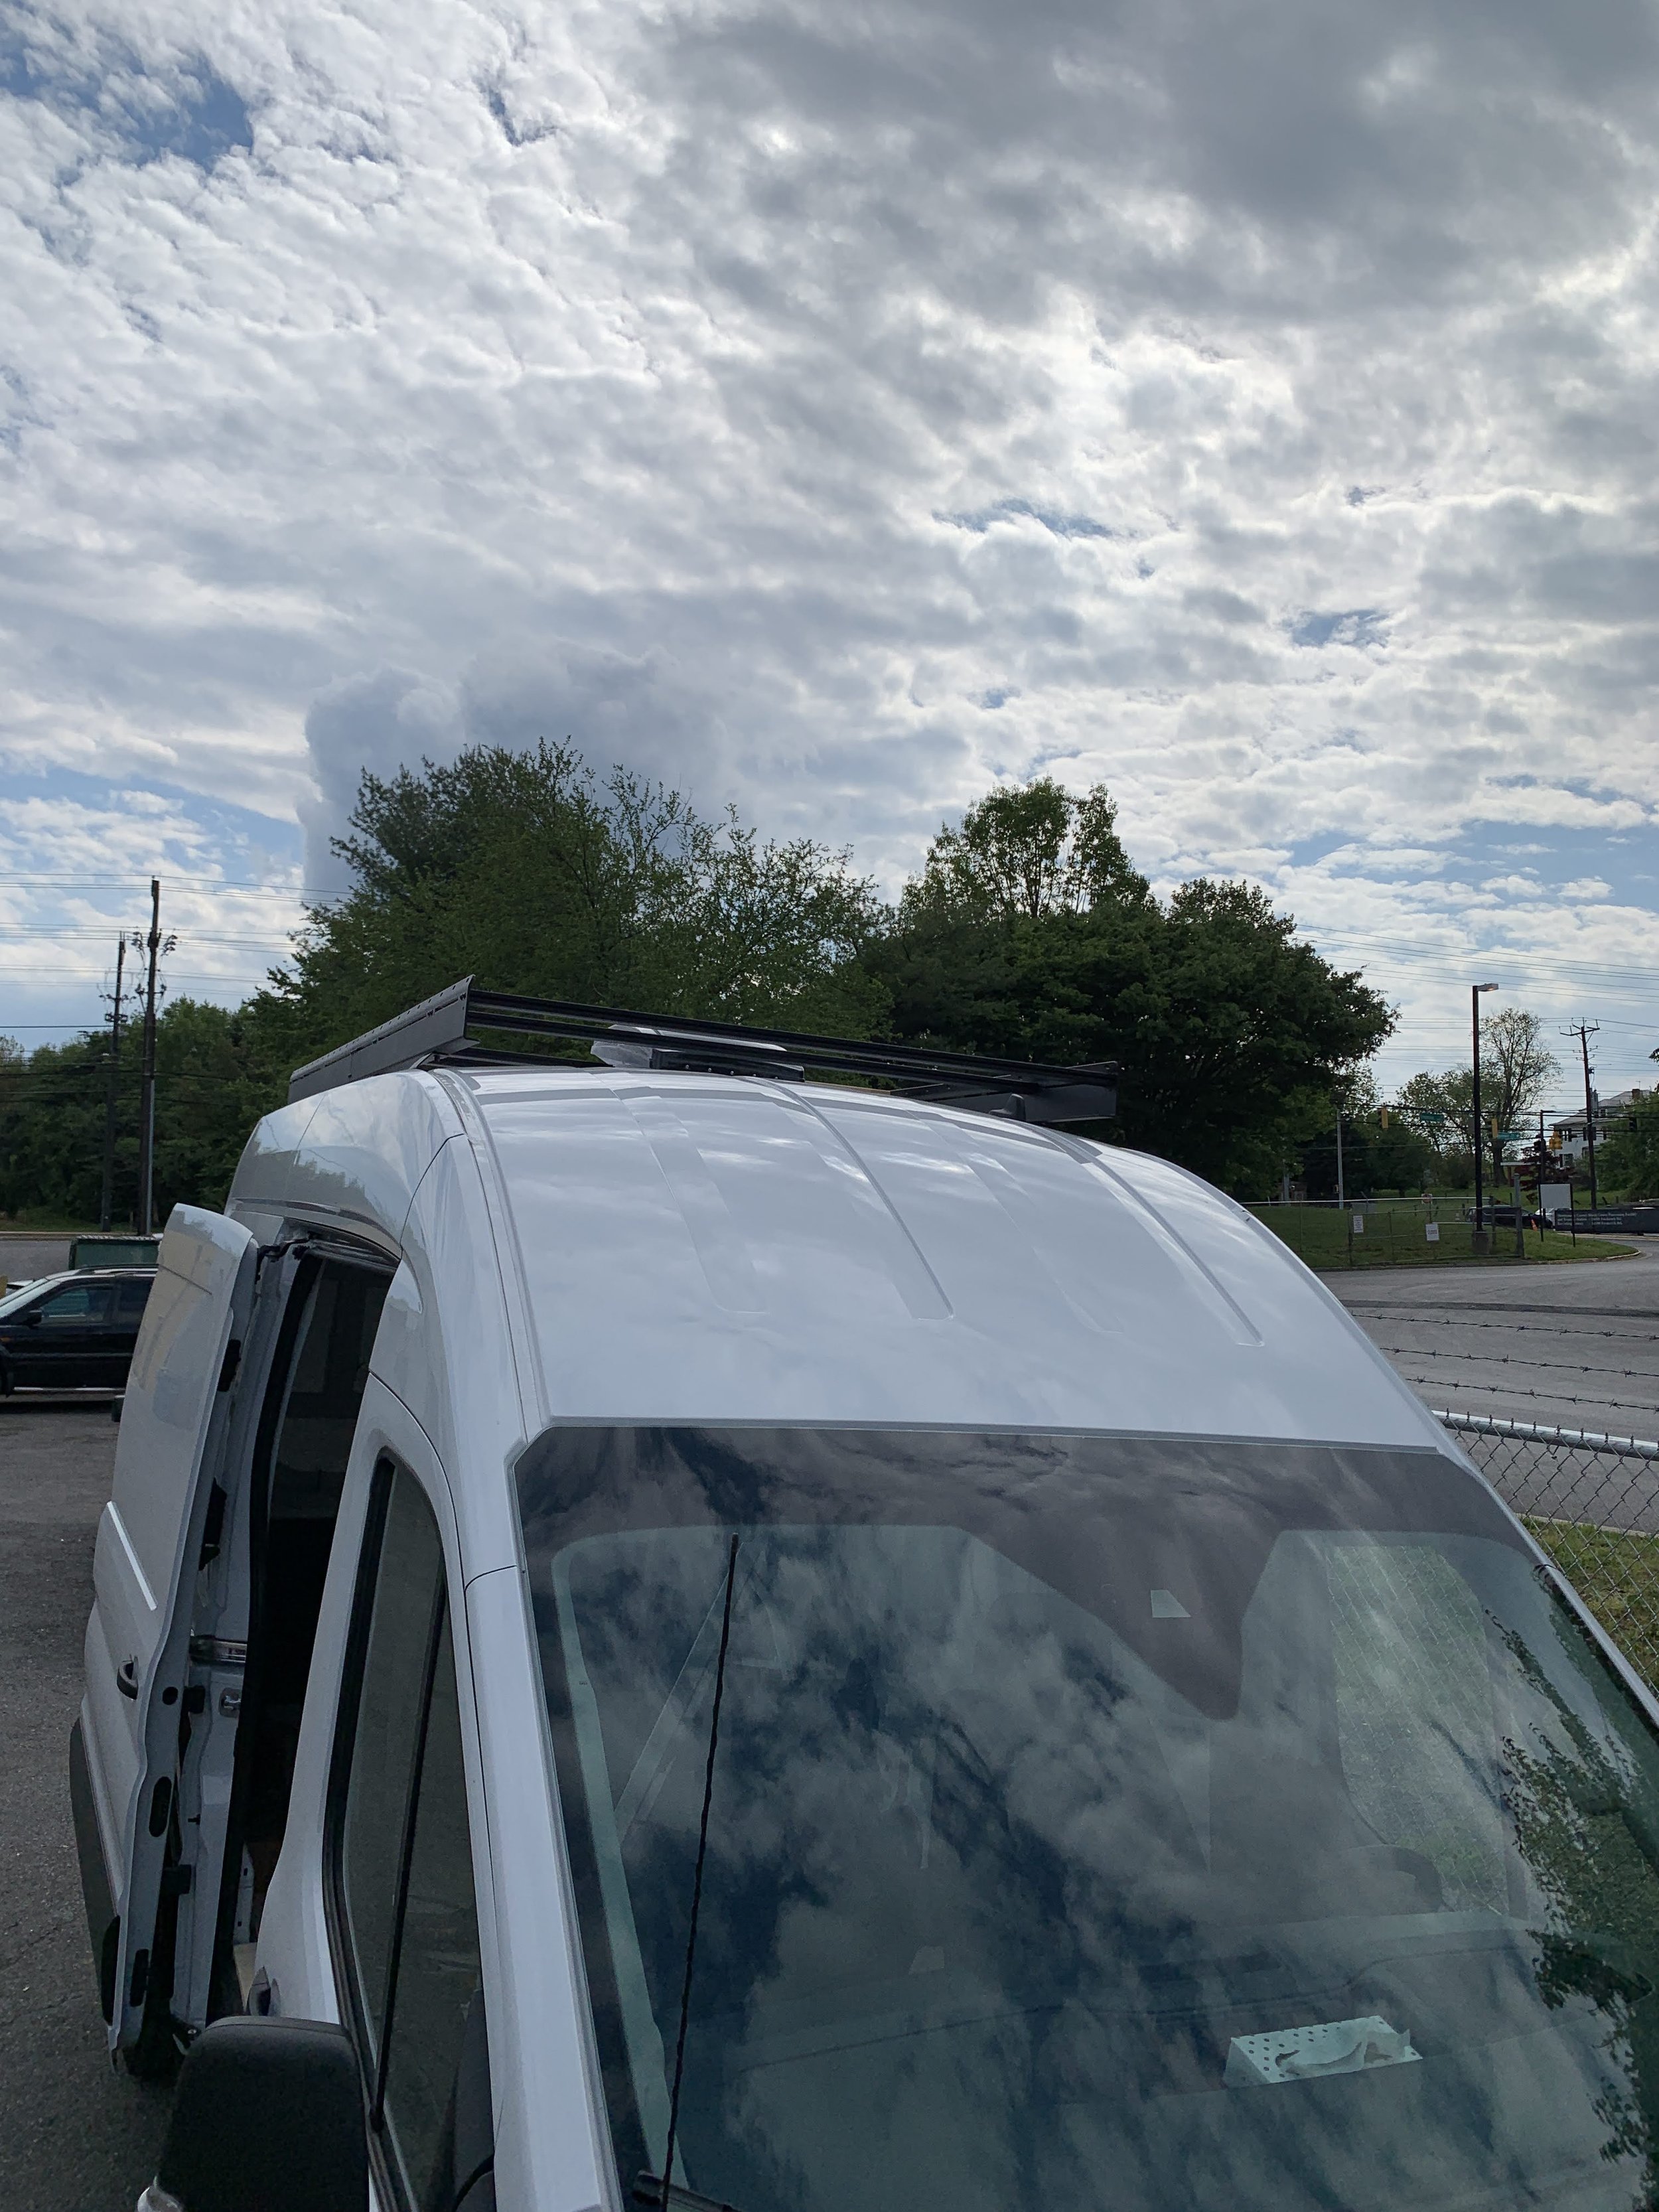
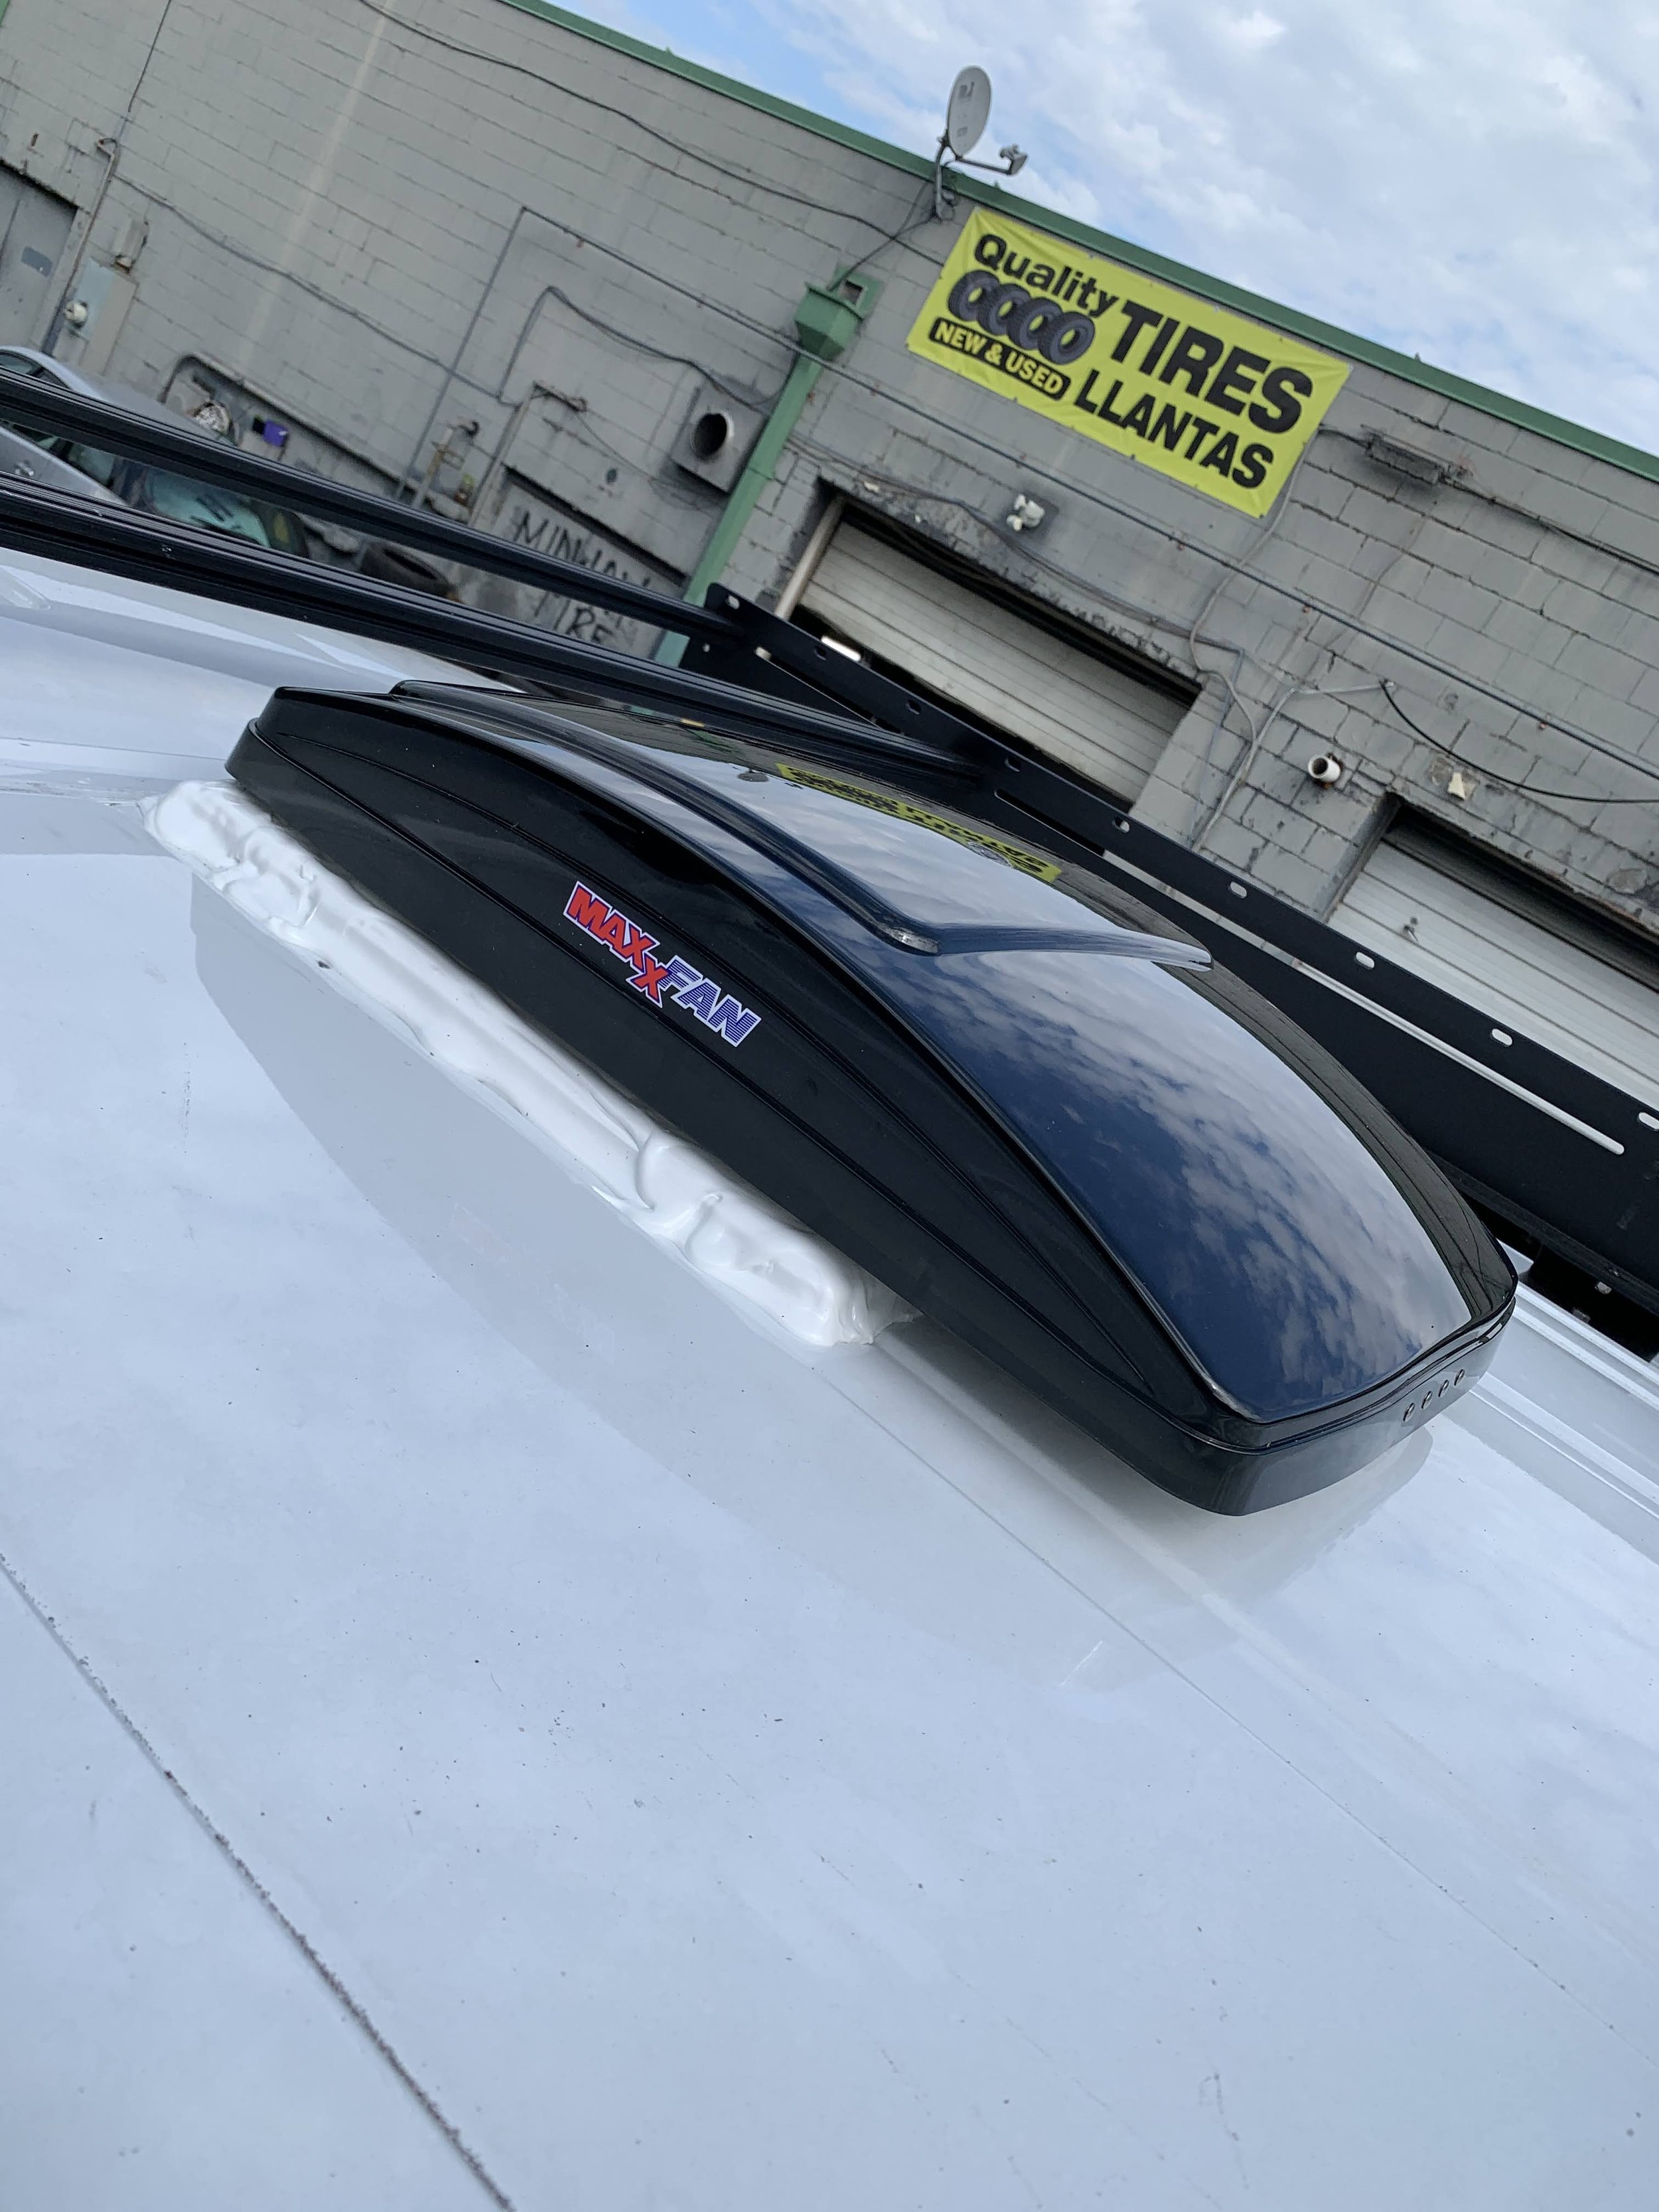
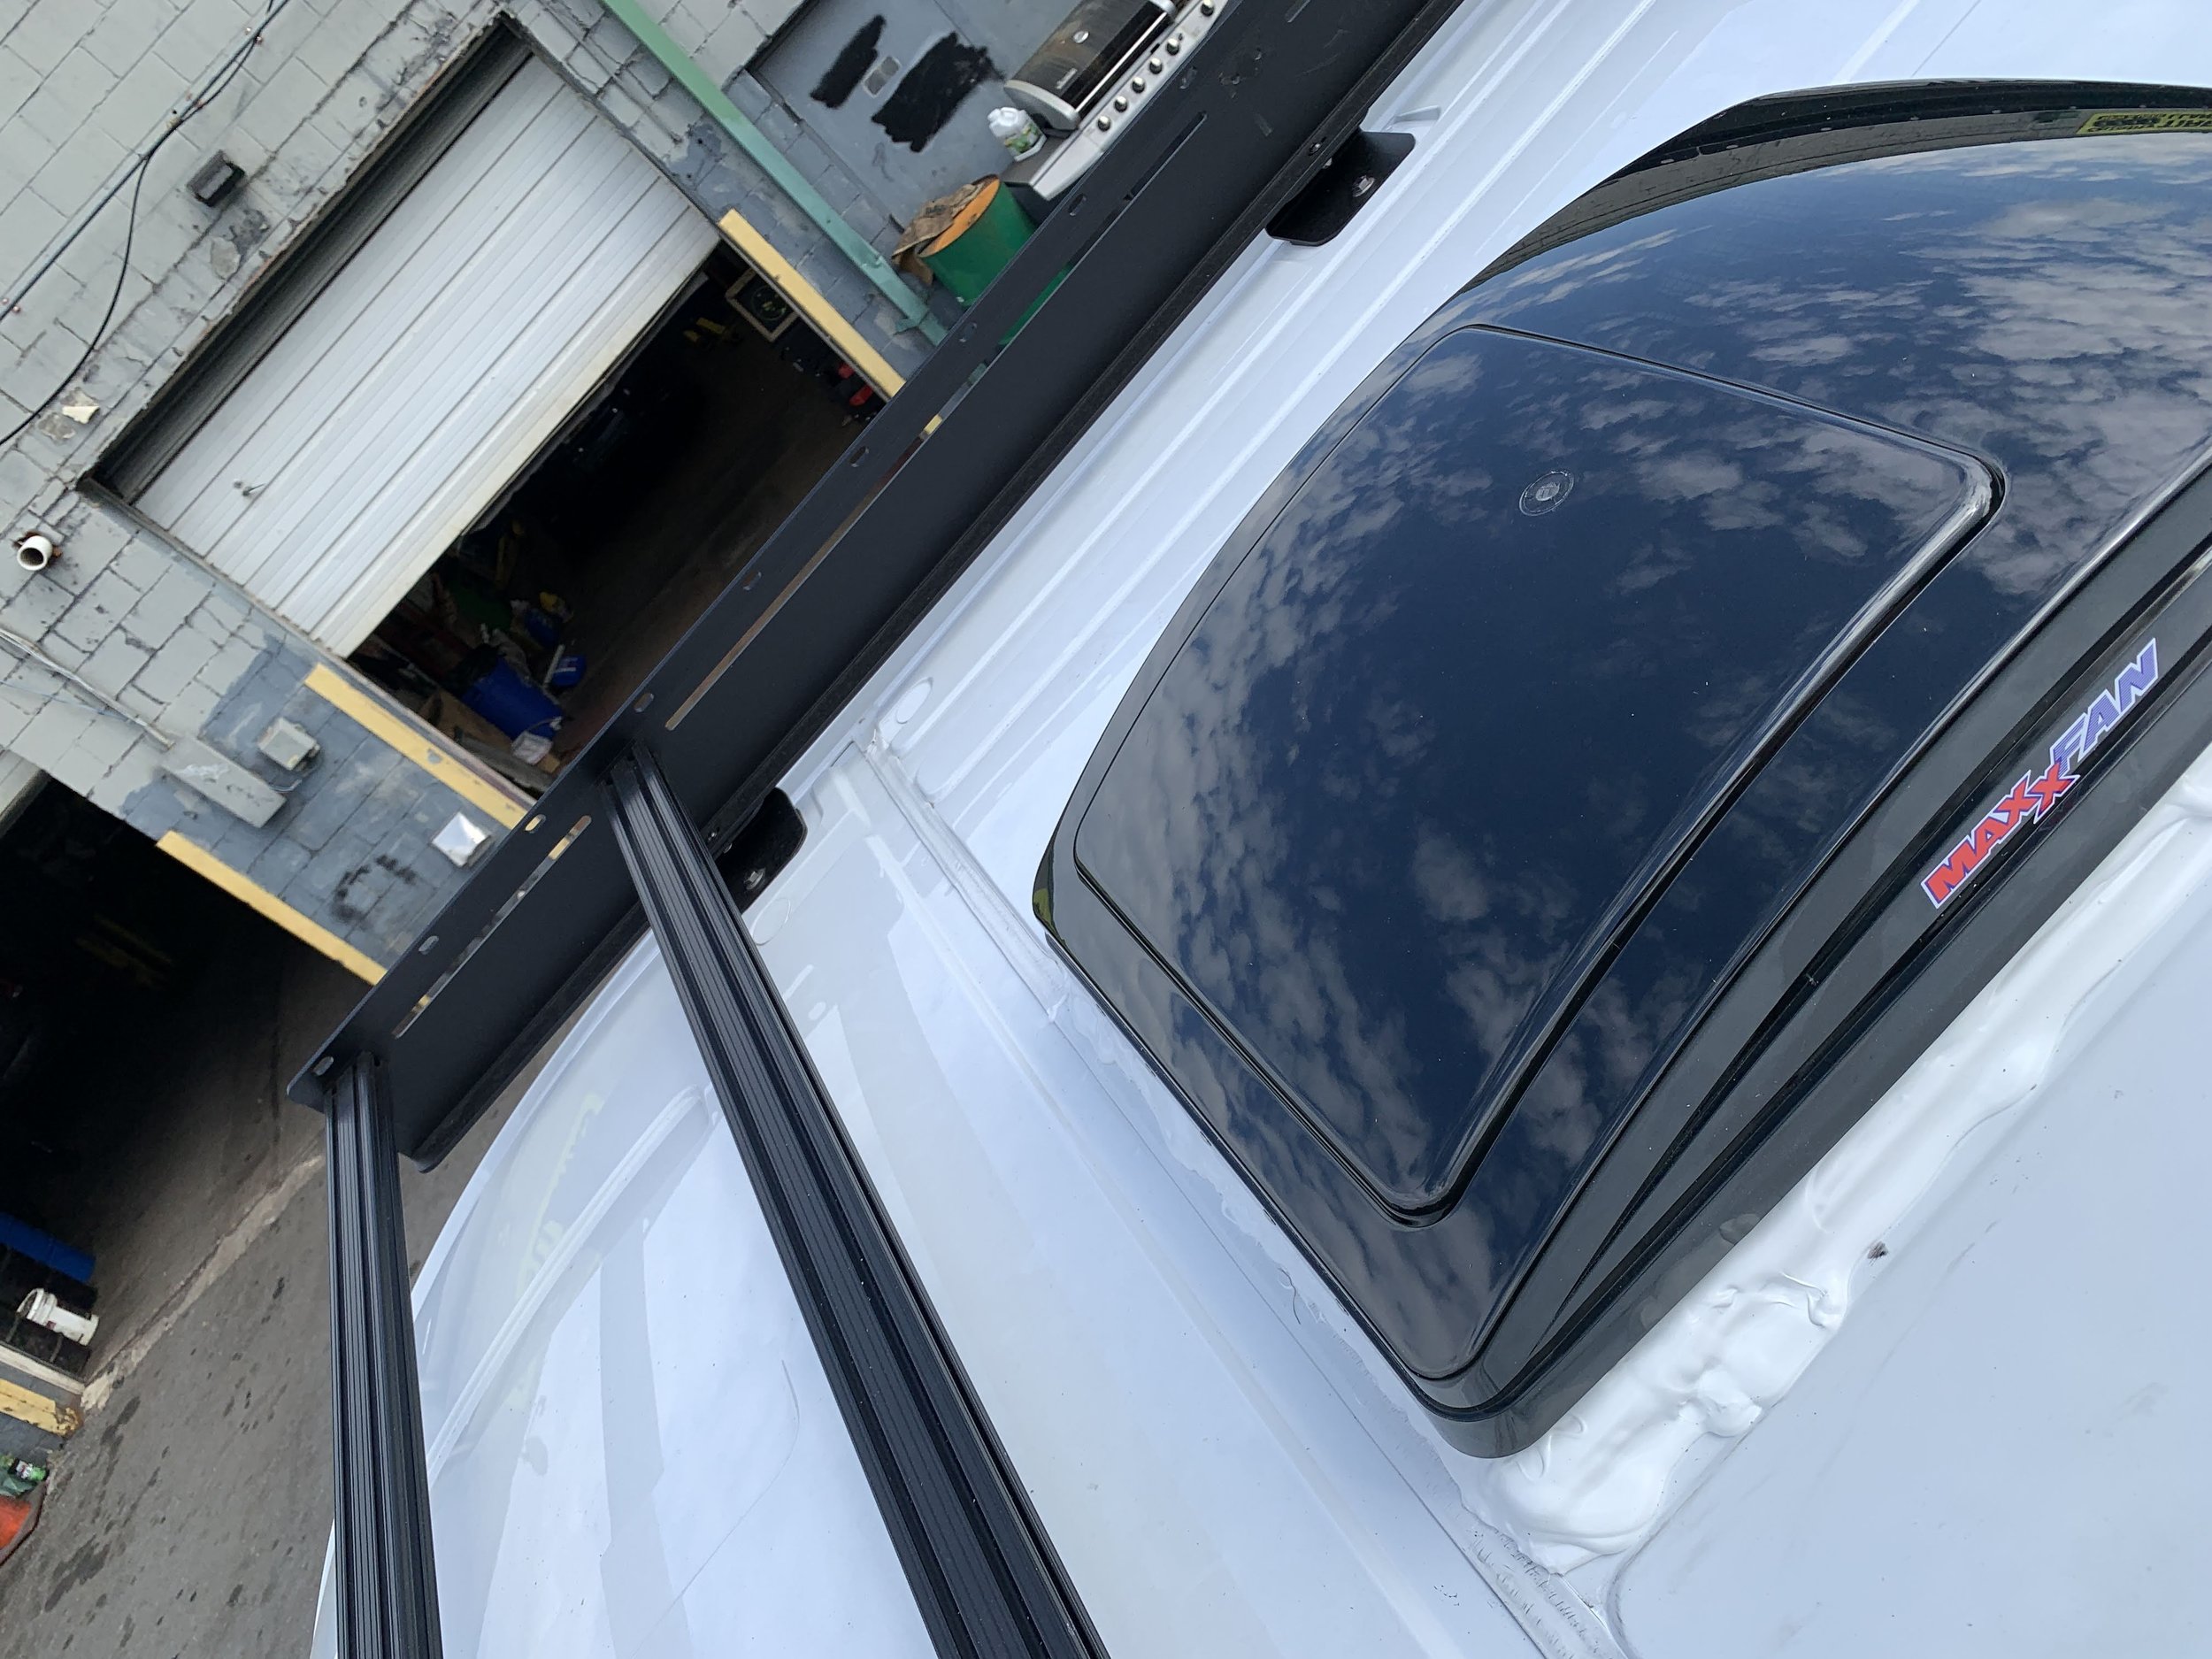
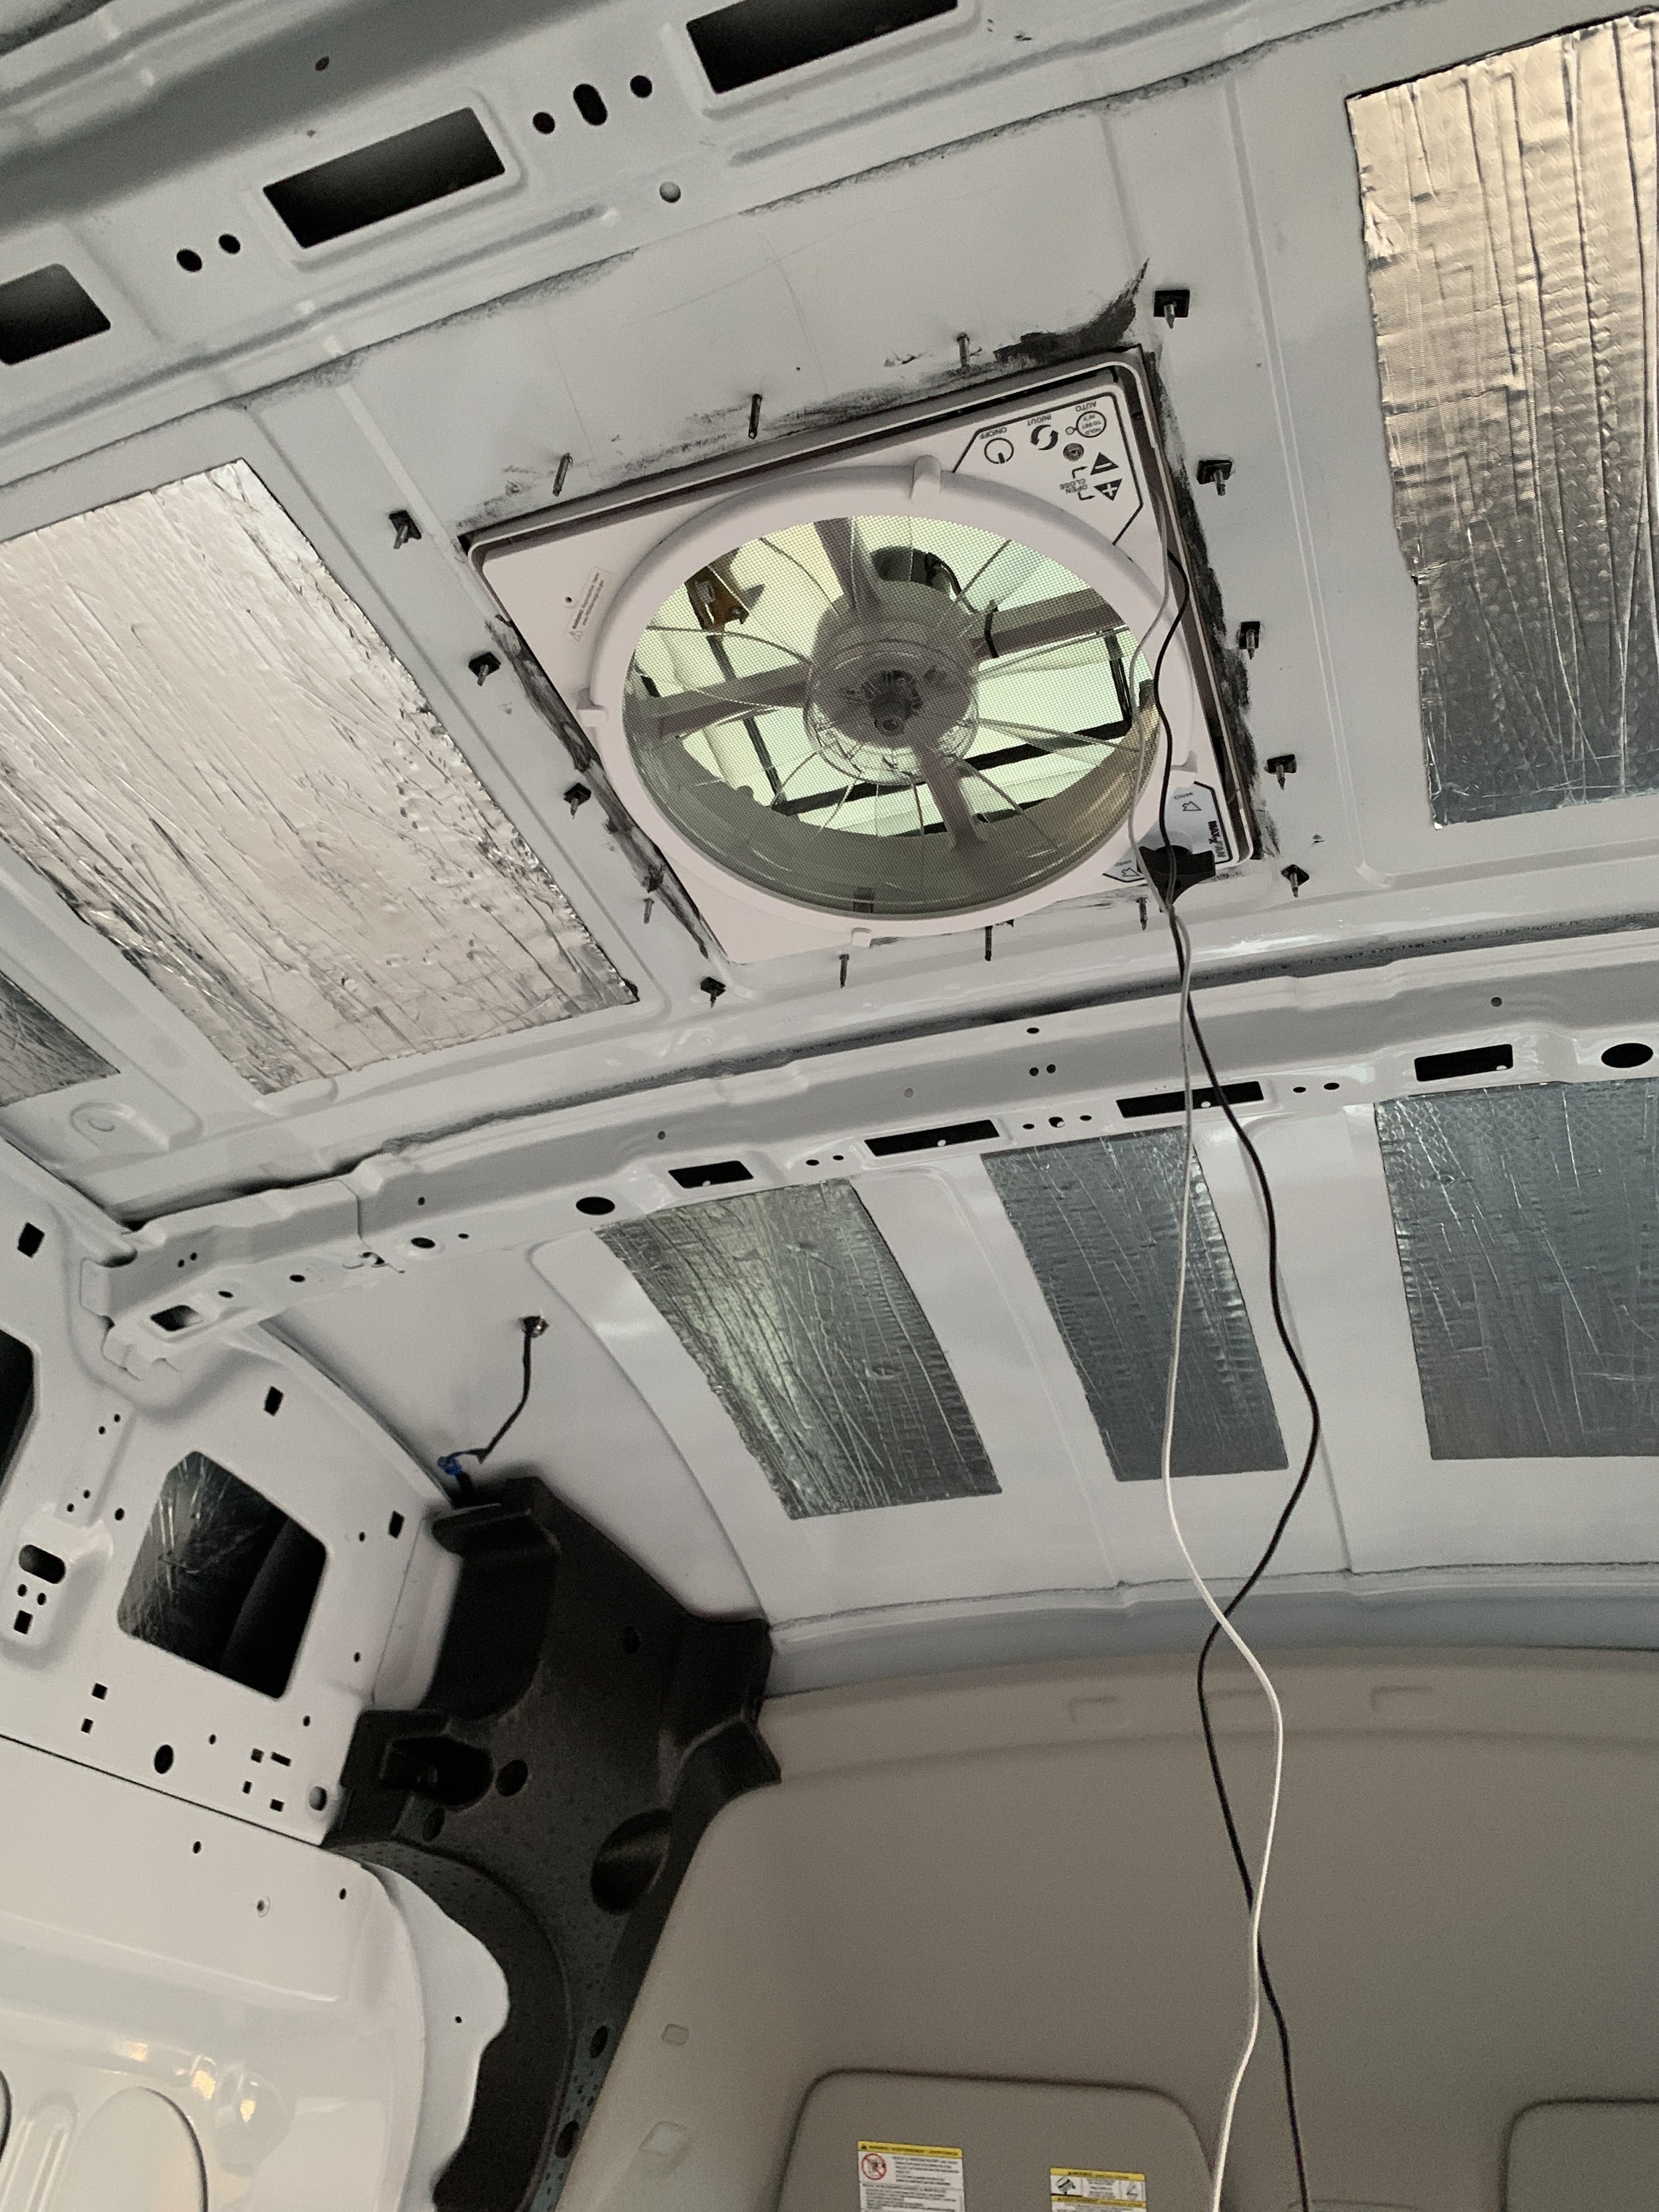
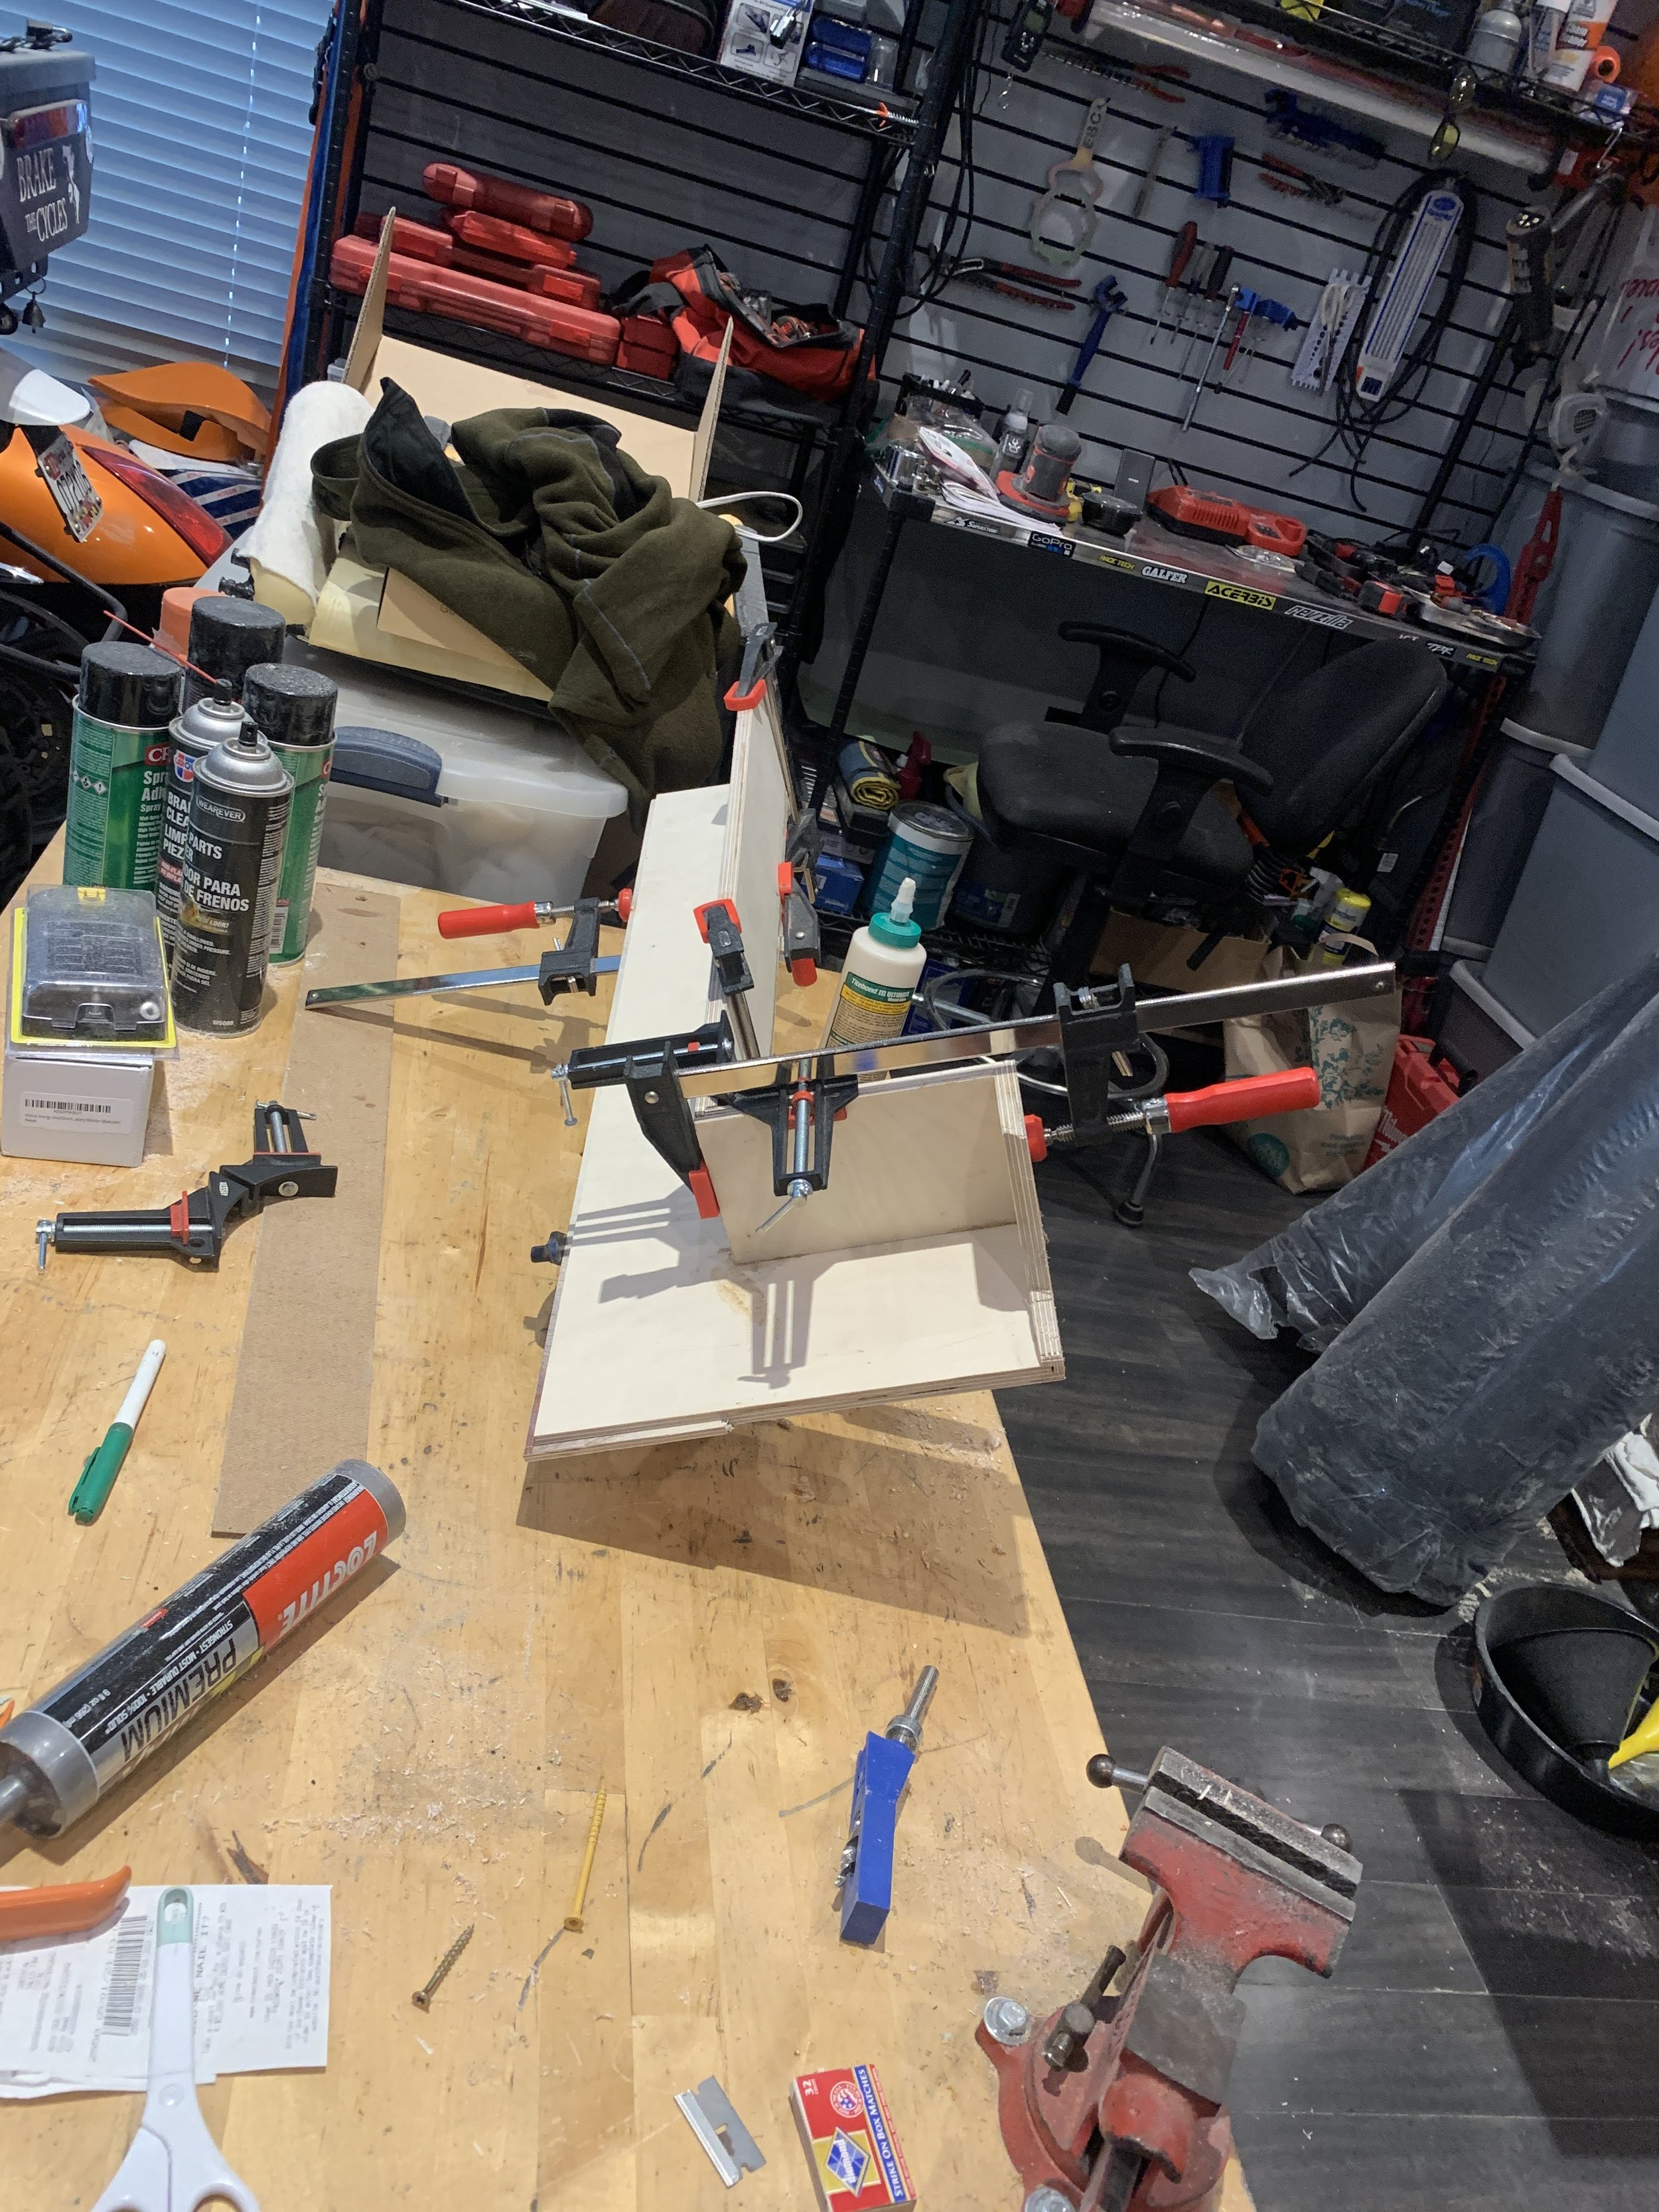
There was a huge time lapse between the build because of covid logistic backup. It took over a month and half for me to order a roof rack, that never came in, and then I had to cancel it and order it from Flat Line Van Co, who had it in stock. The stove also came from panther RV as well as the Maxx air fan. I bought the insulation for the floor as well. The shop is looking like a warehouse storage for the amount of stuff I have in there. I also purchased some 4x8 sheets of baltic birch from Woodcraft down the road. In hindsight, I should of bought 3 more sheets, cause not only have the price went up a lot the quality of the board went down significantly only a few month later. They were also out of the 4x8 sheets so I was left with using the 5x5s. Which is fine, but I end up with a lot of unusable cut offs. I did not know exactly how the build out would be, and how much wood I was going to end up using so I did not know this when I purchased them. It is what it is.
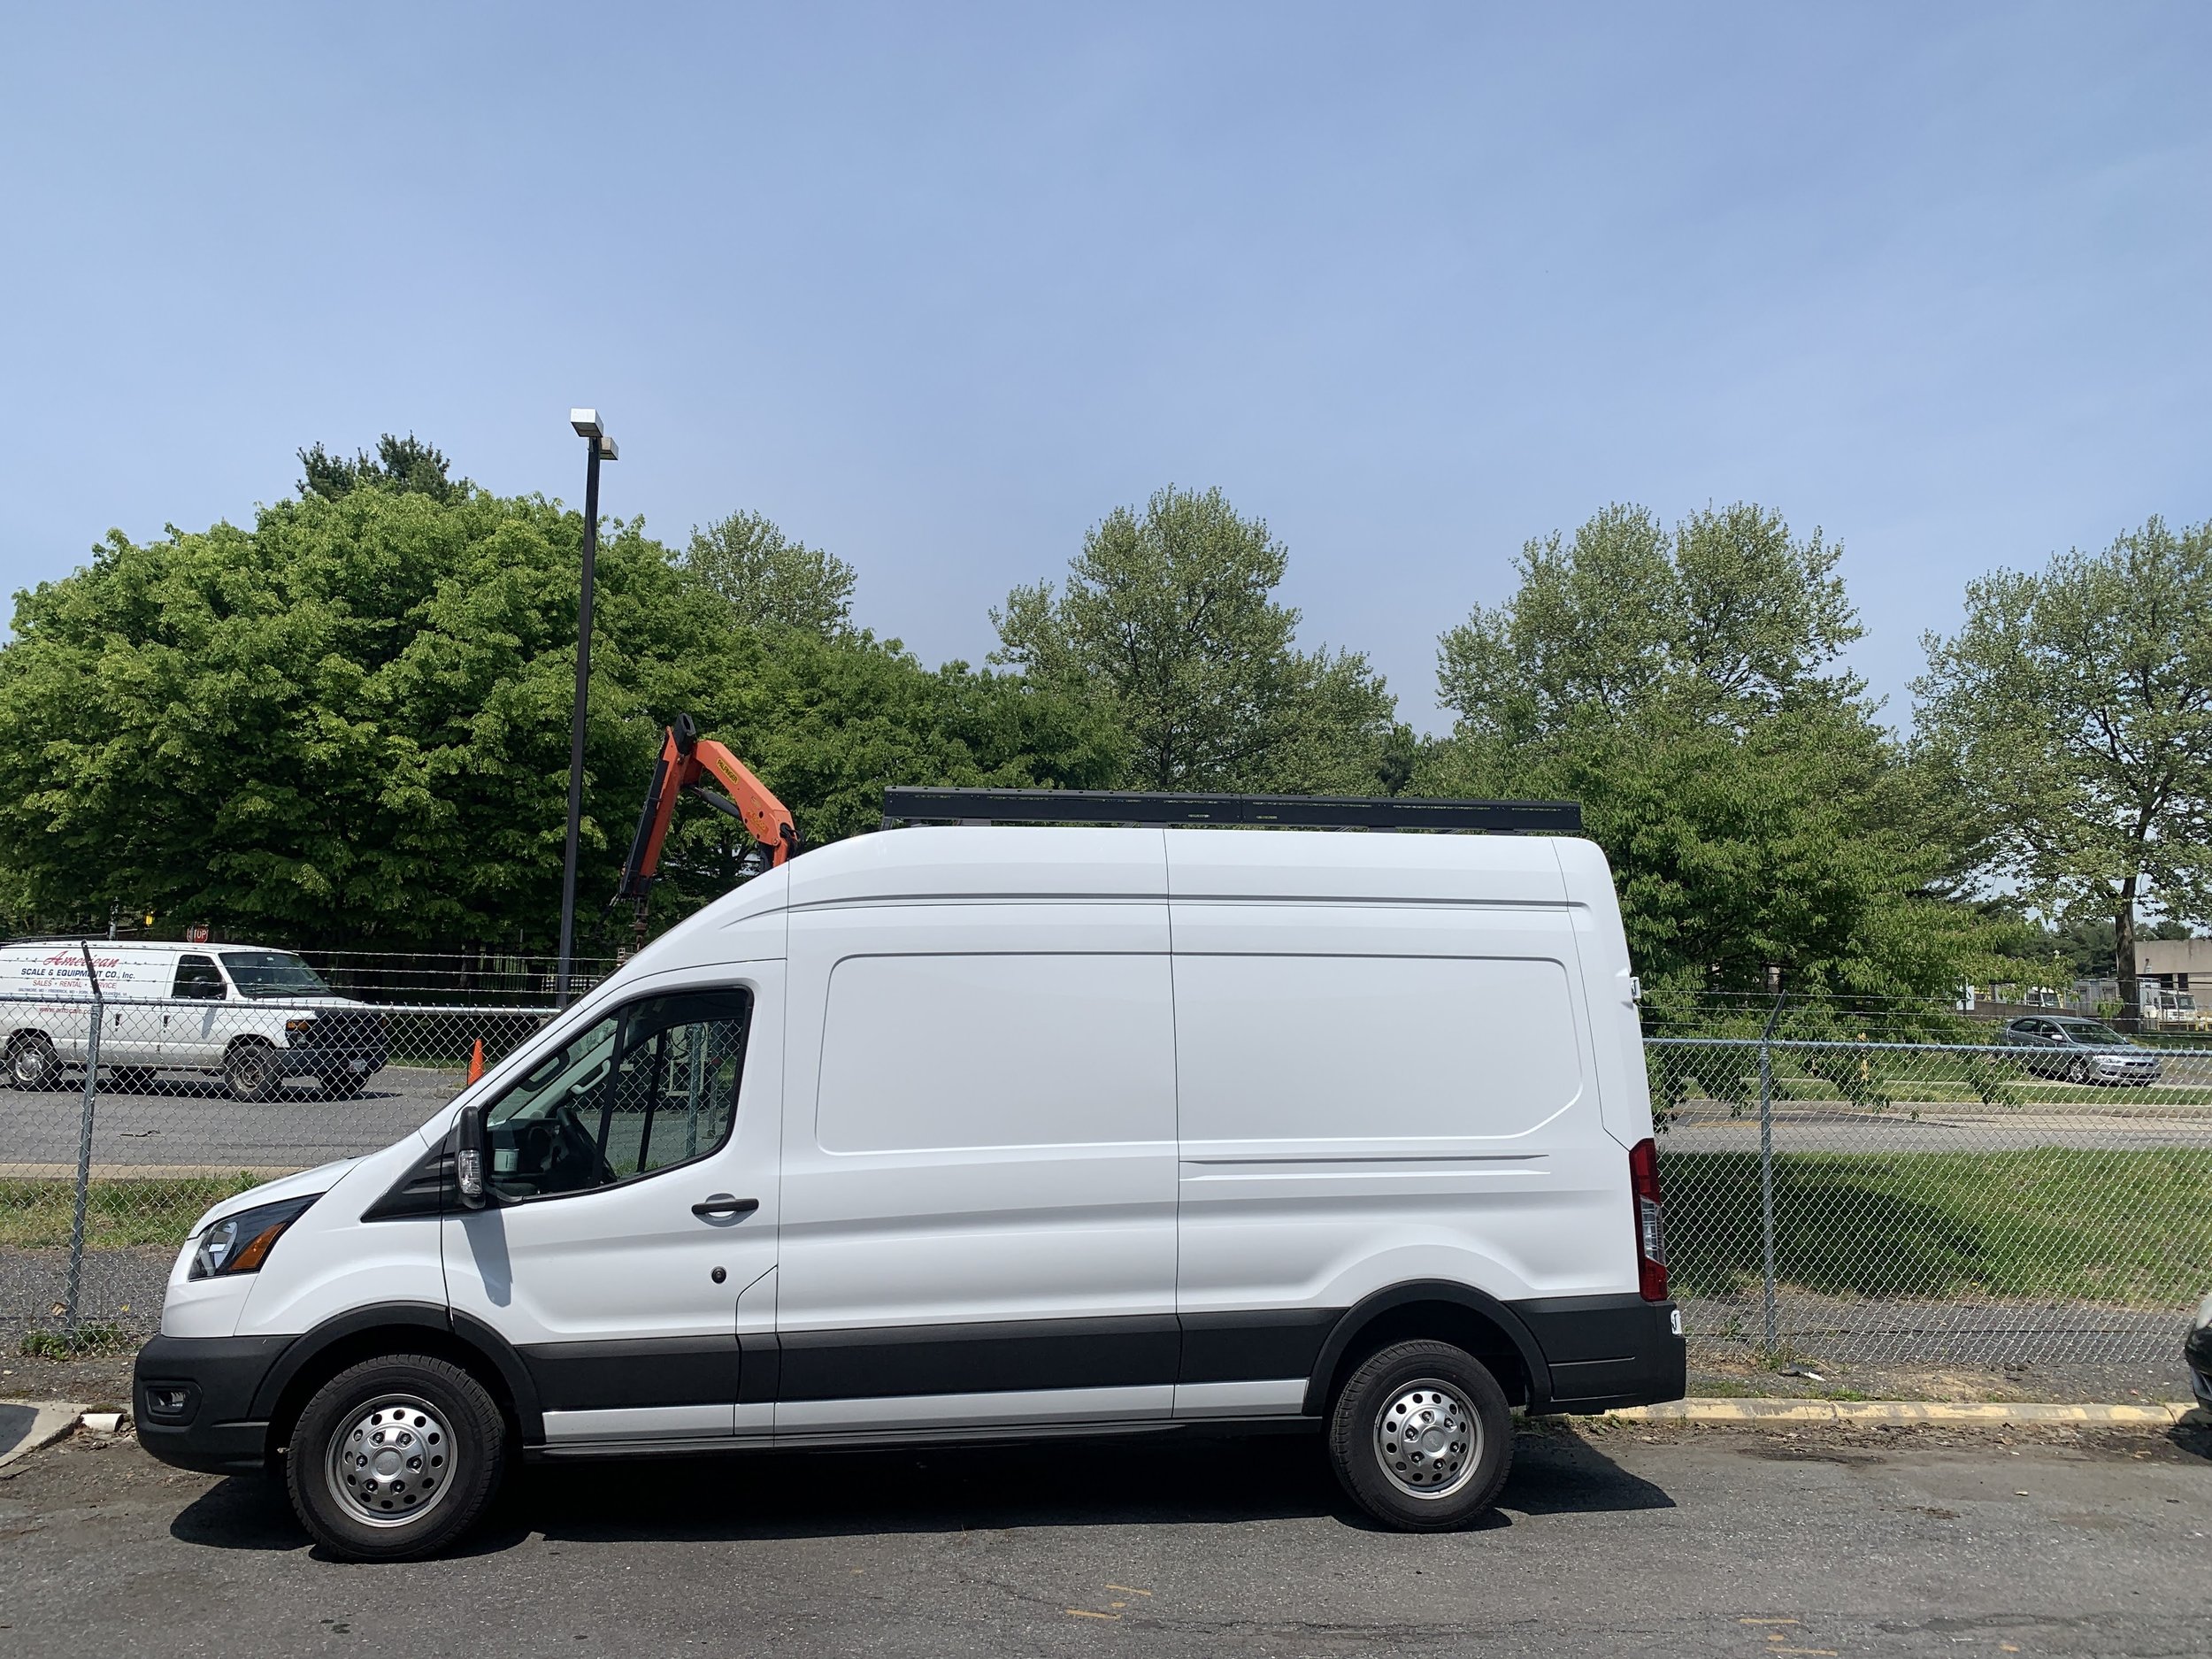
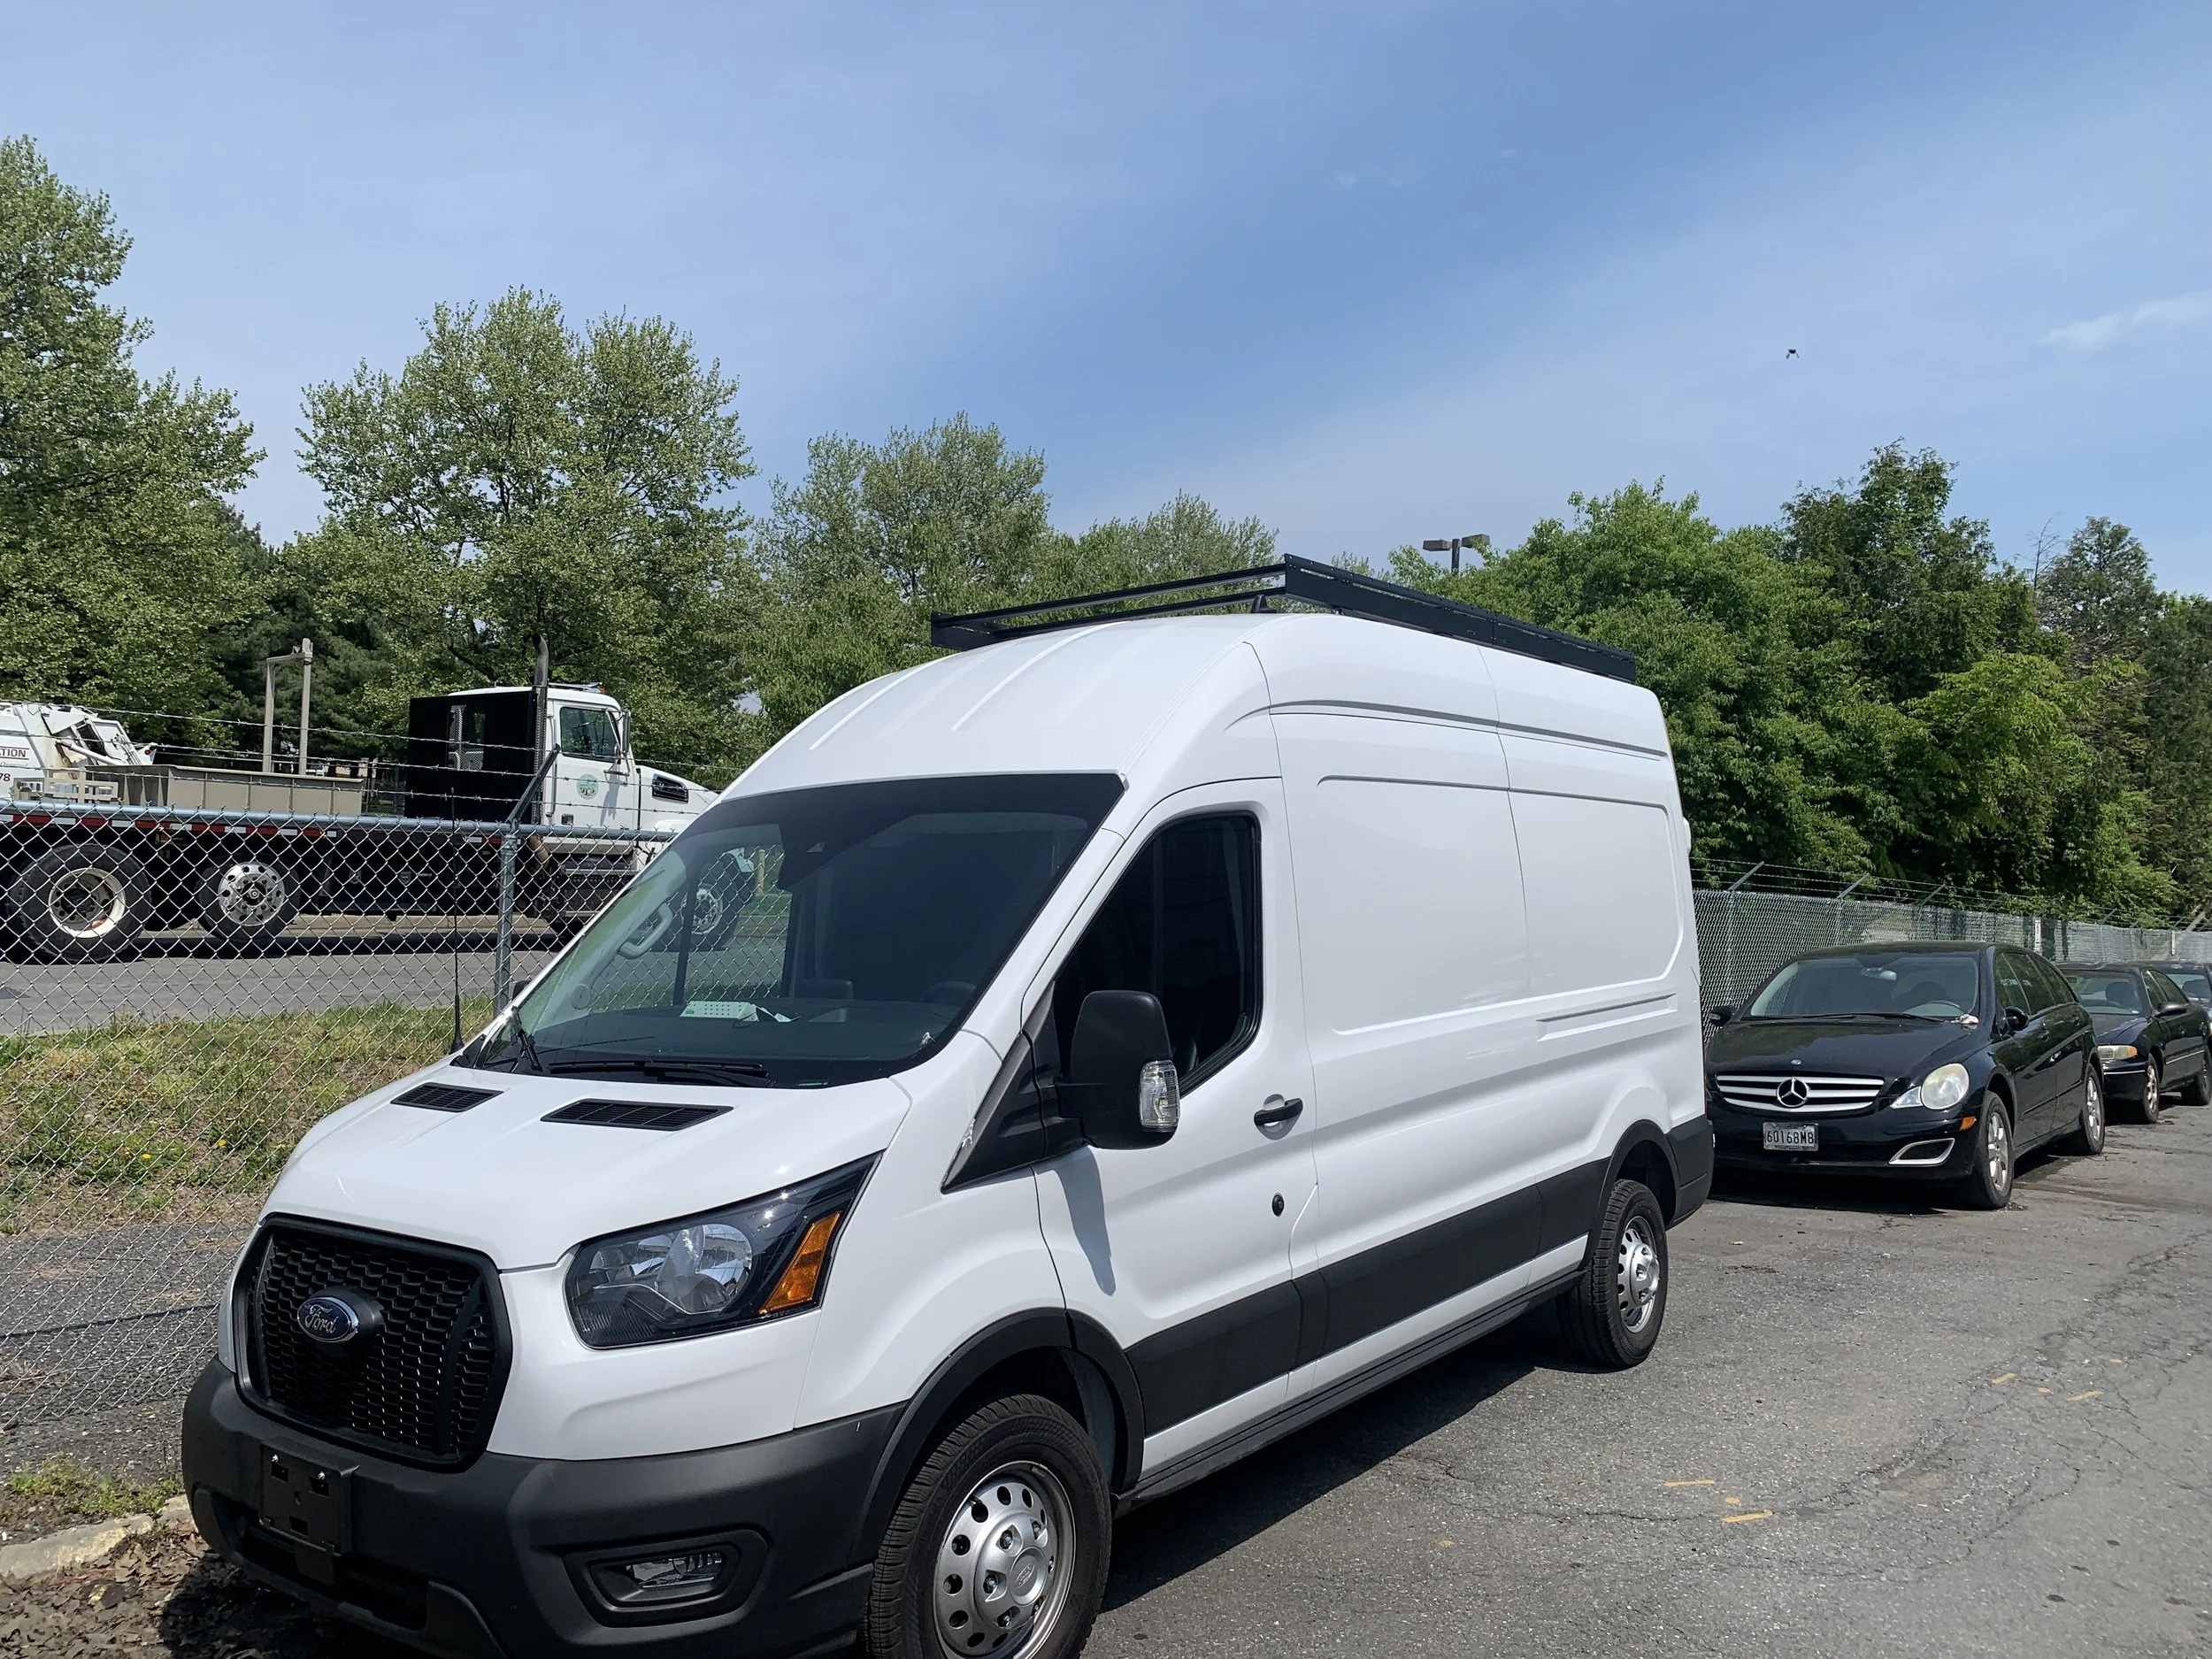
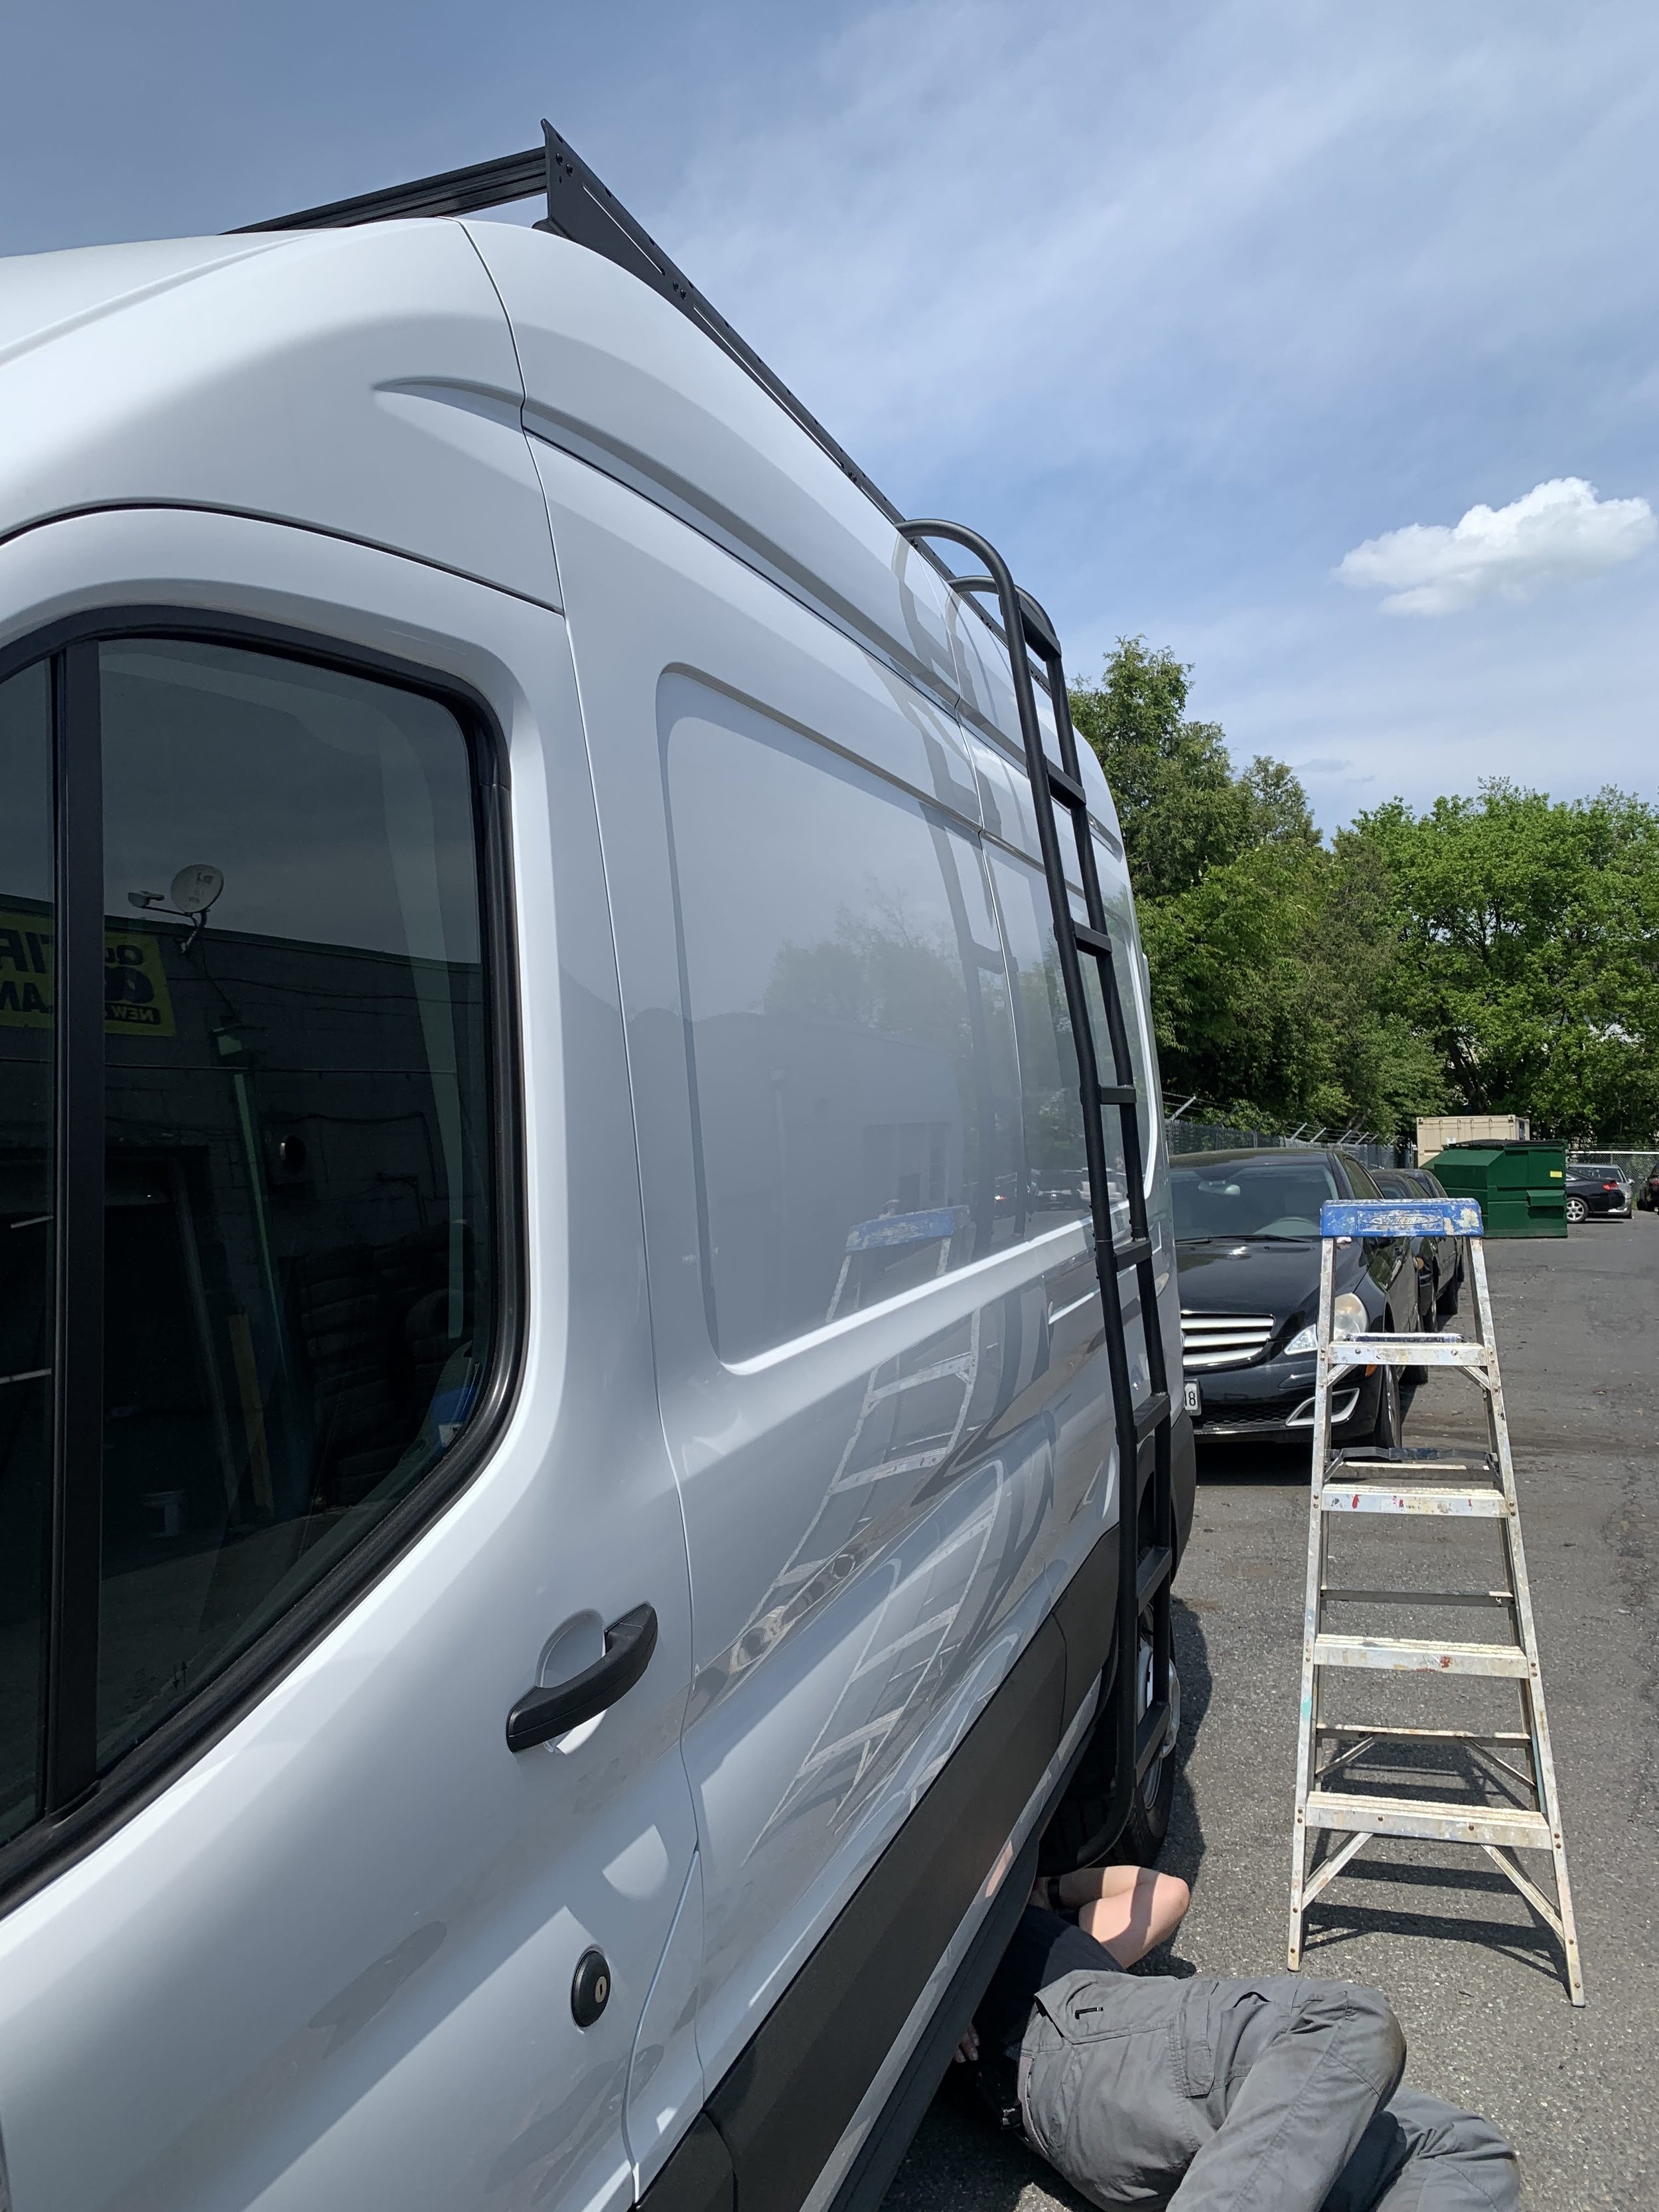
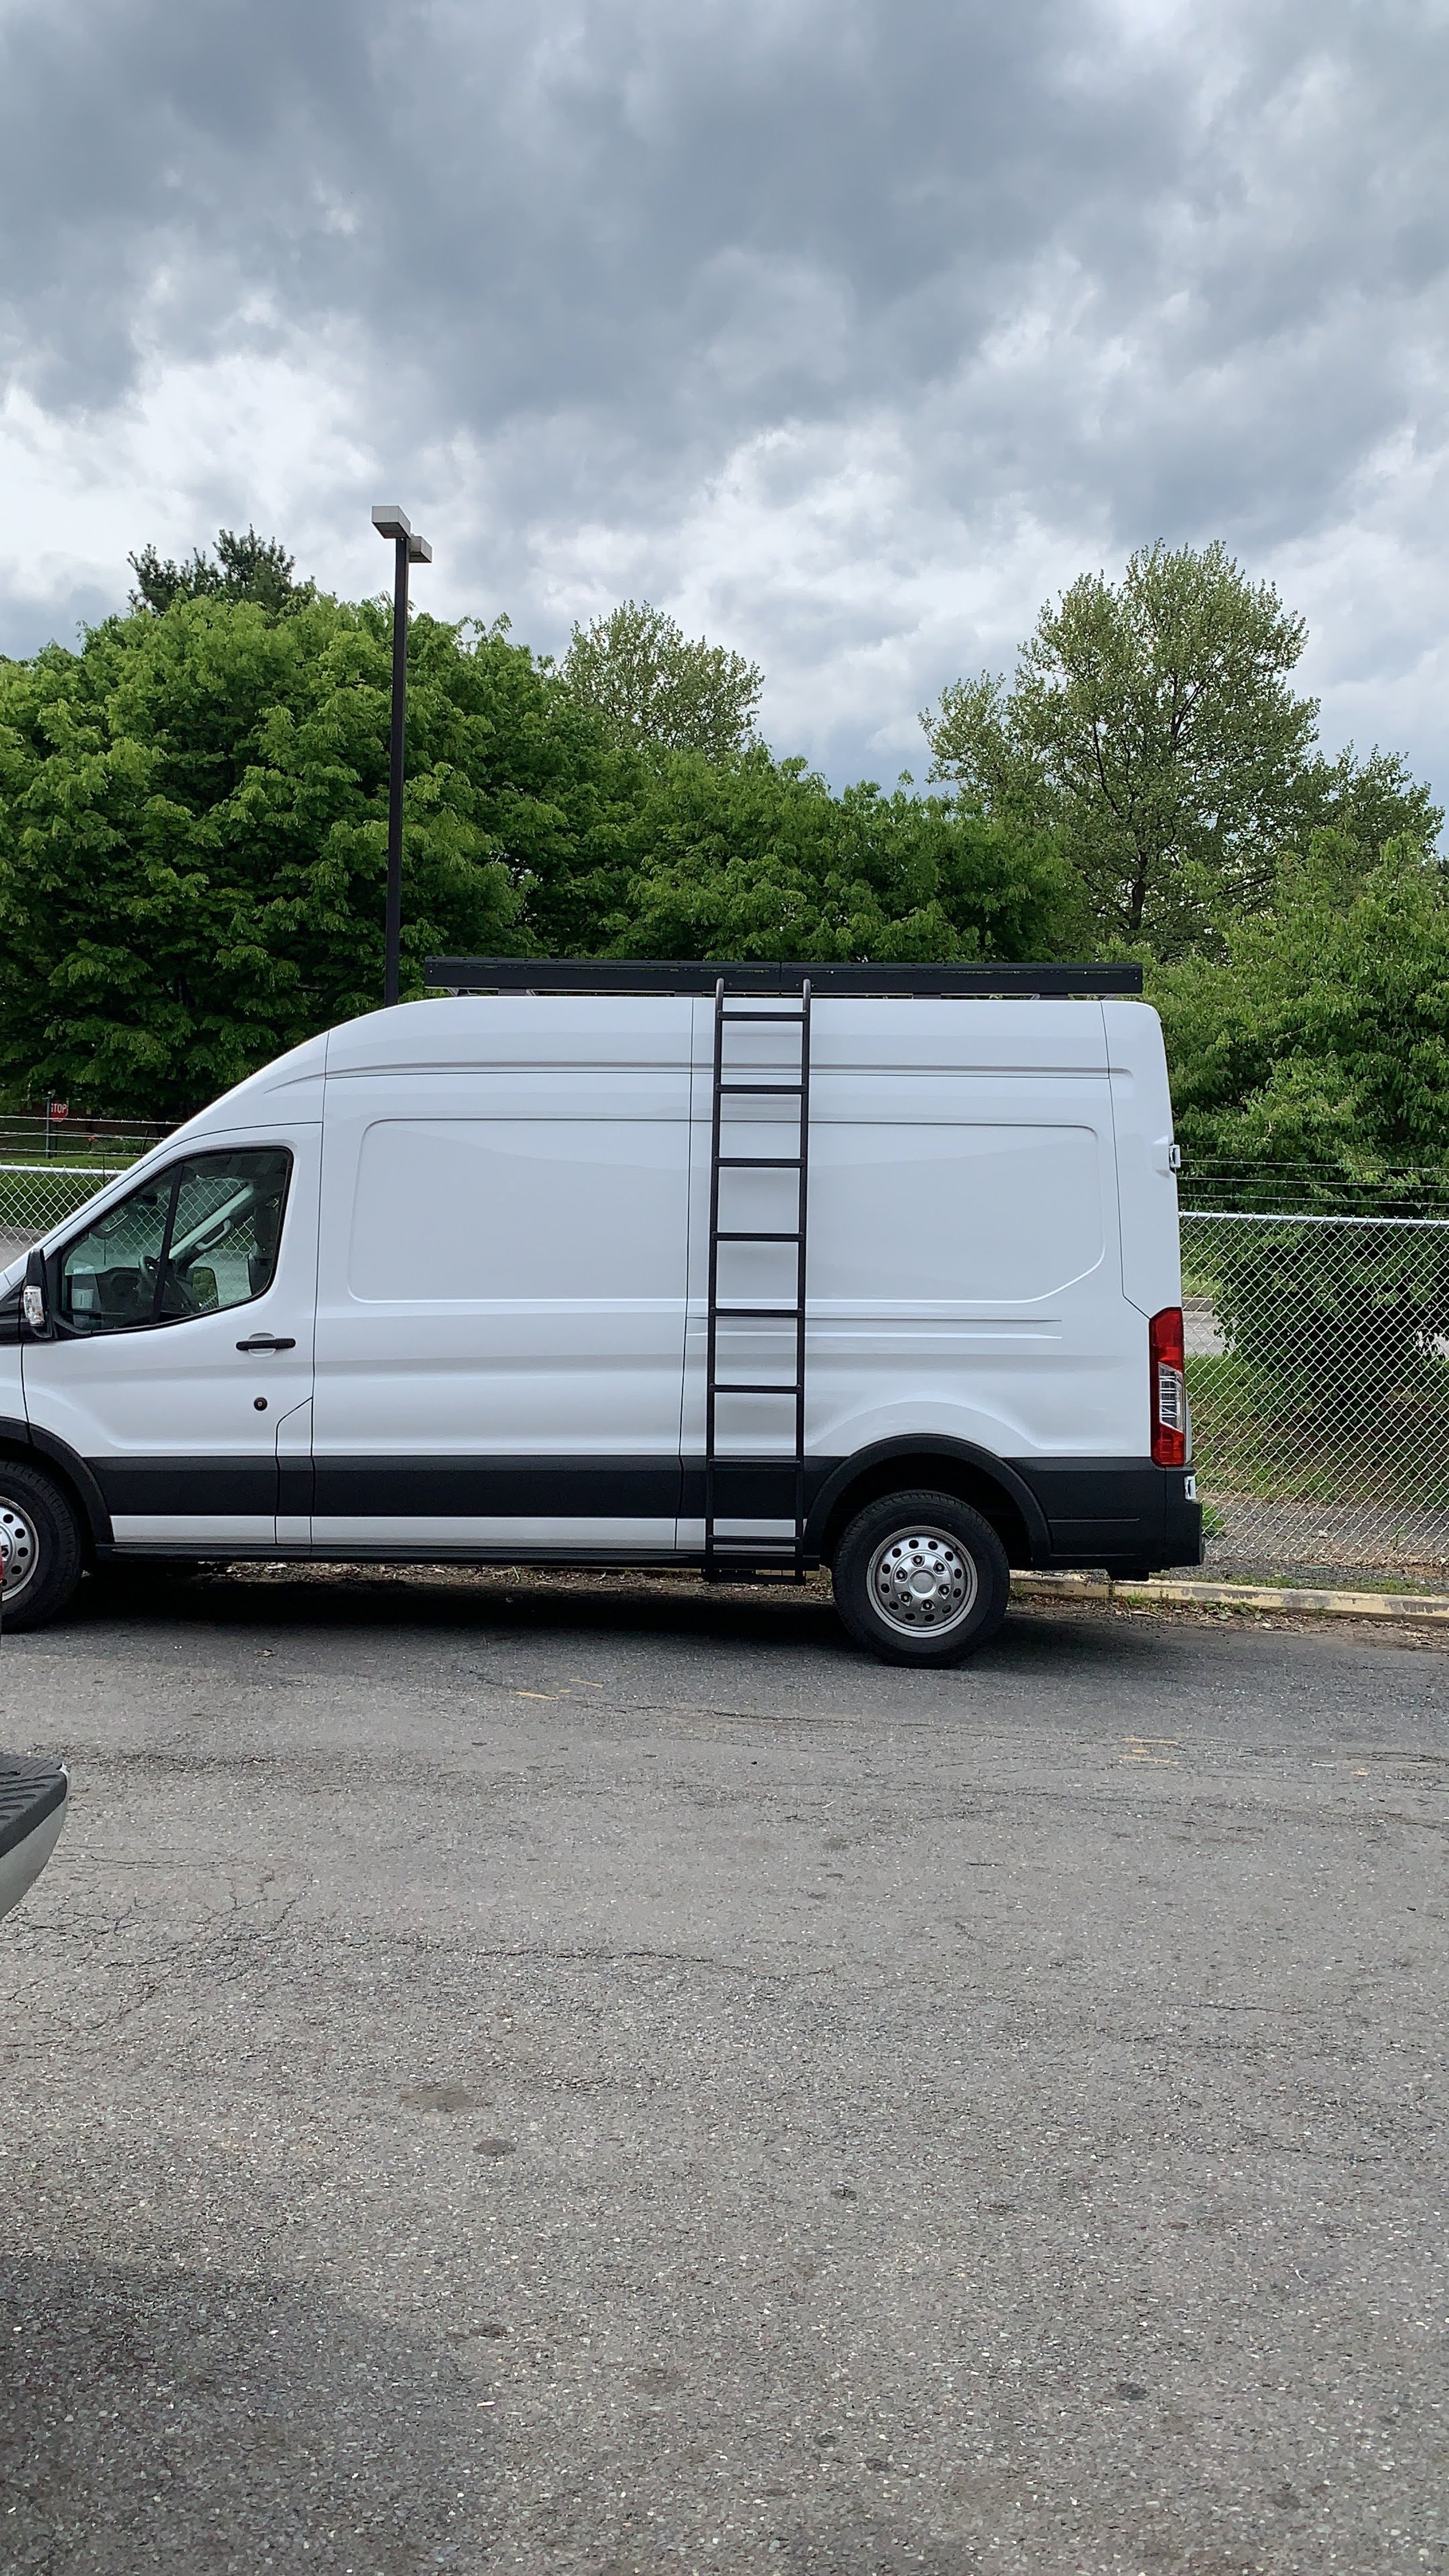
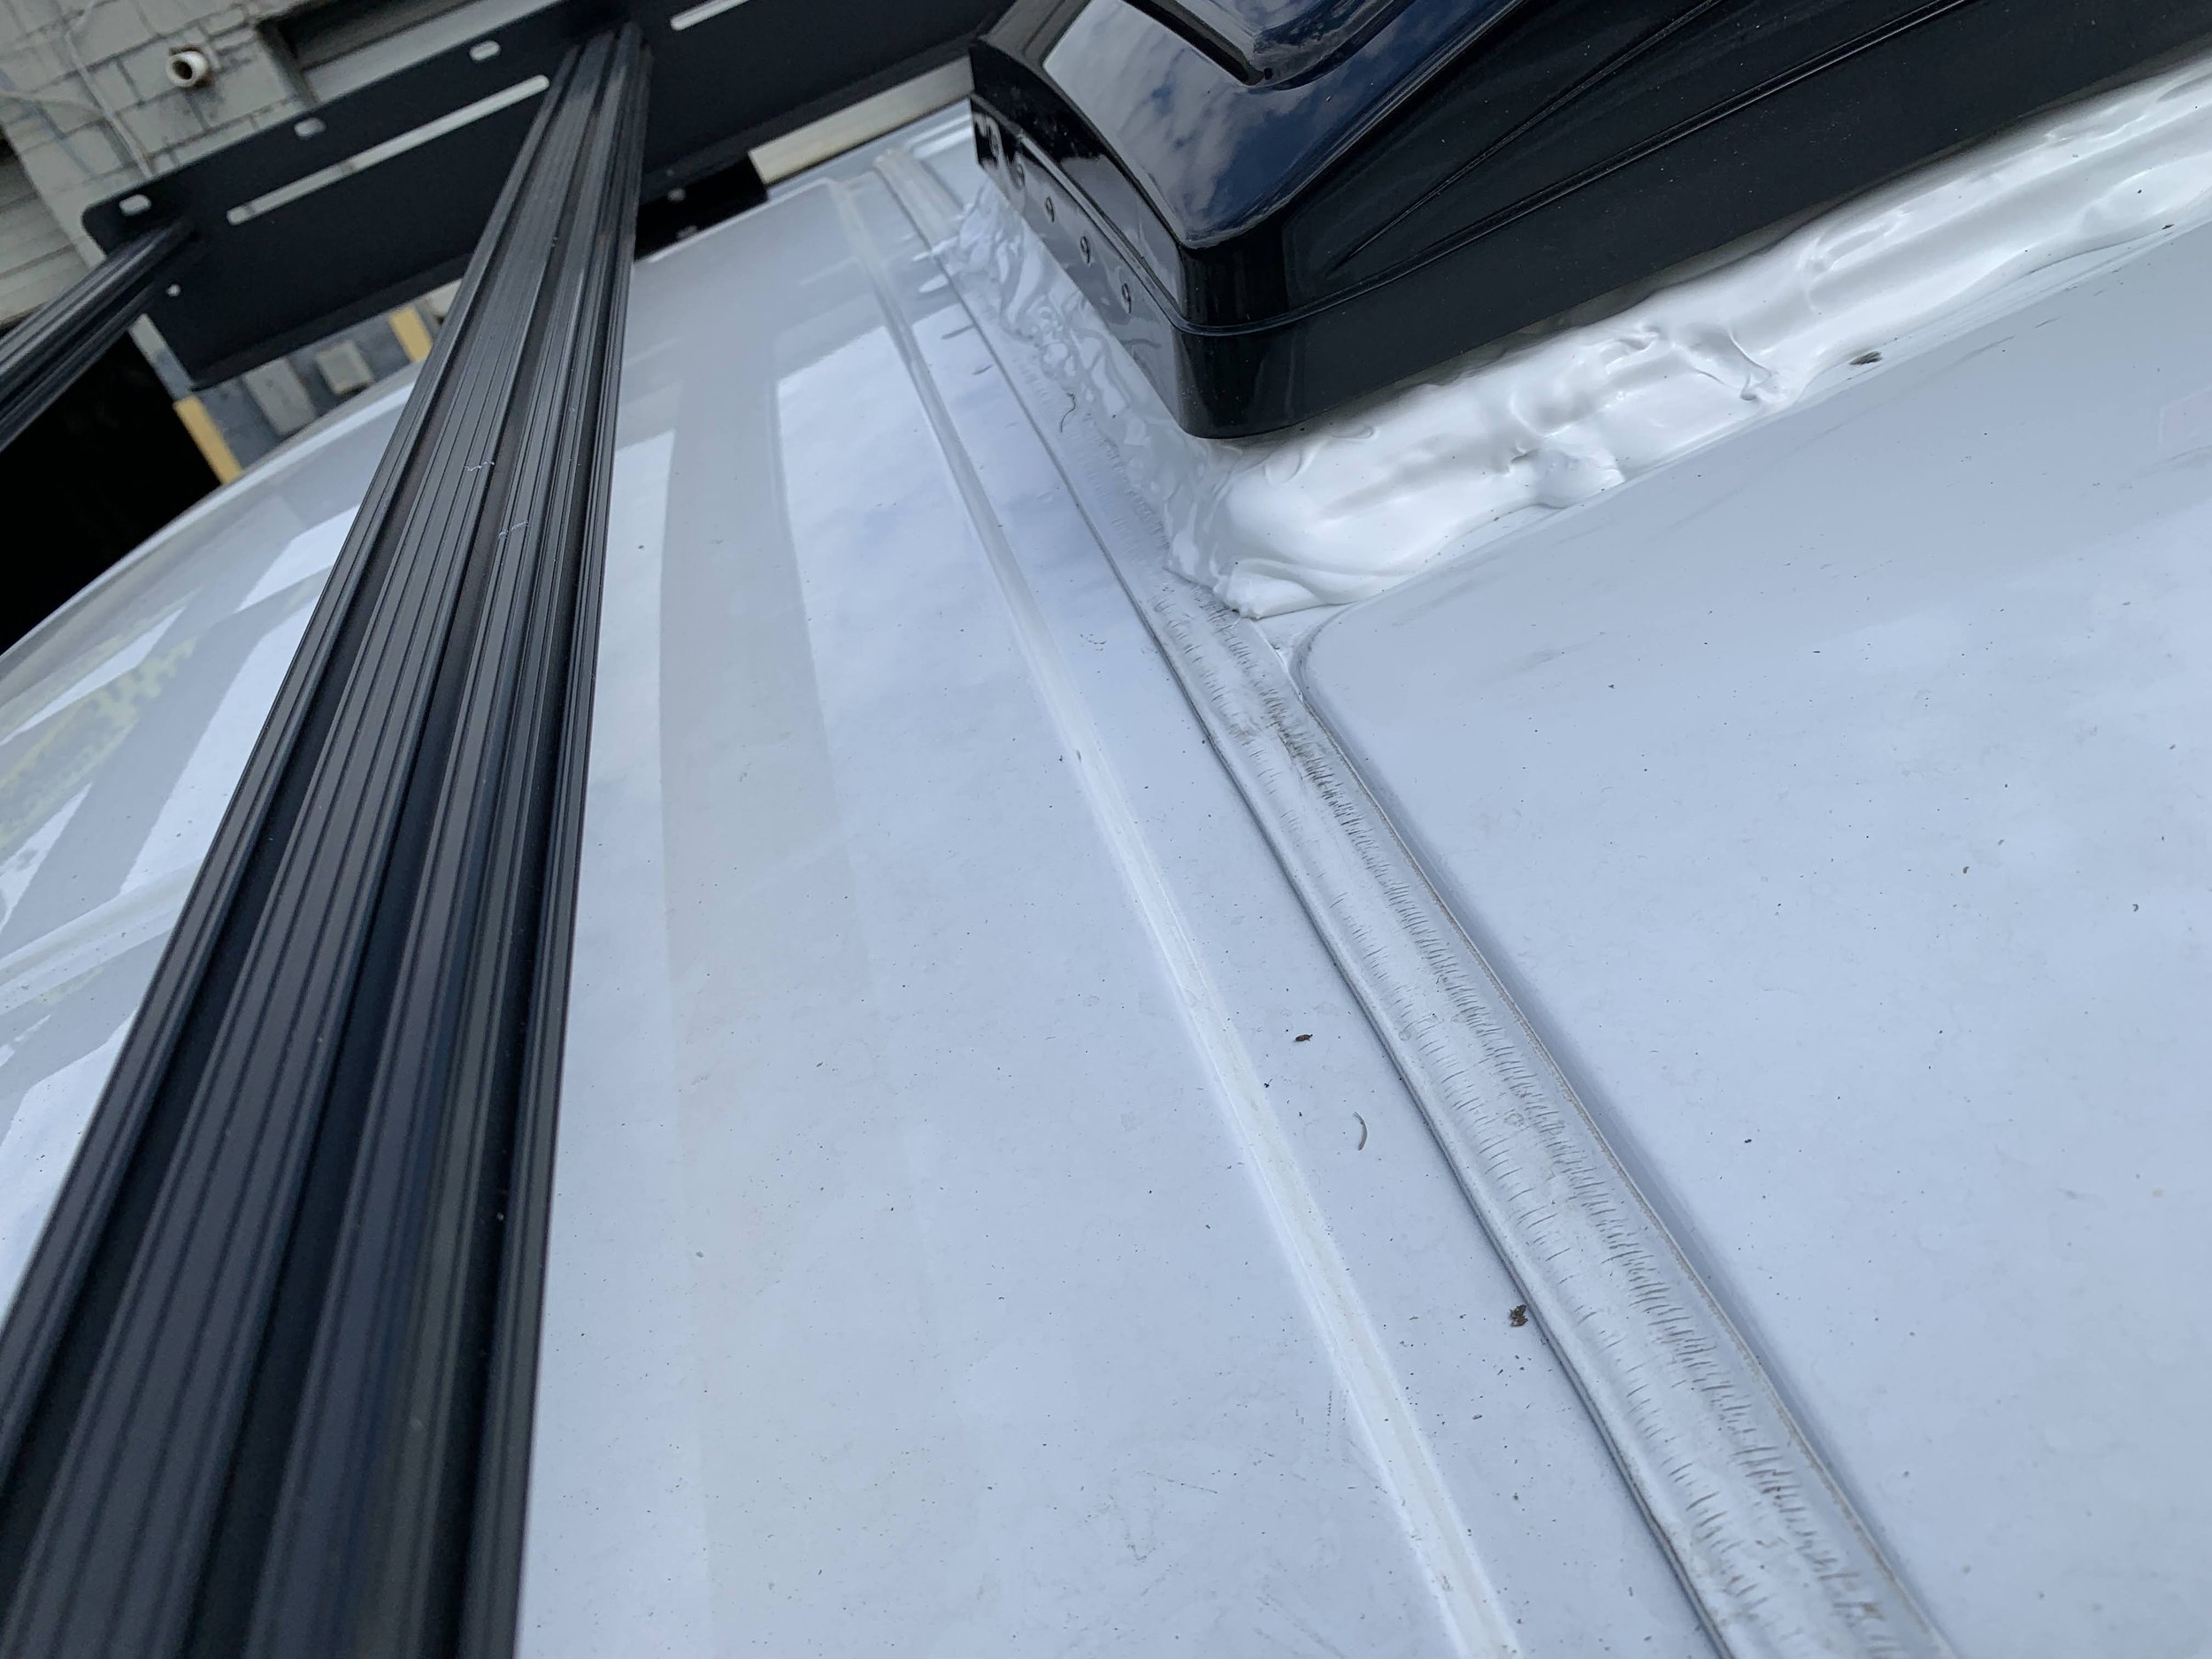
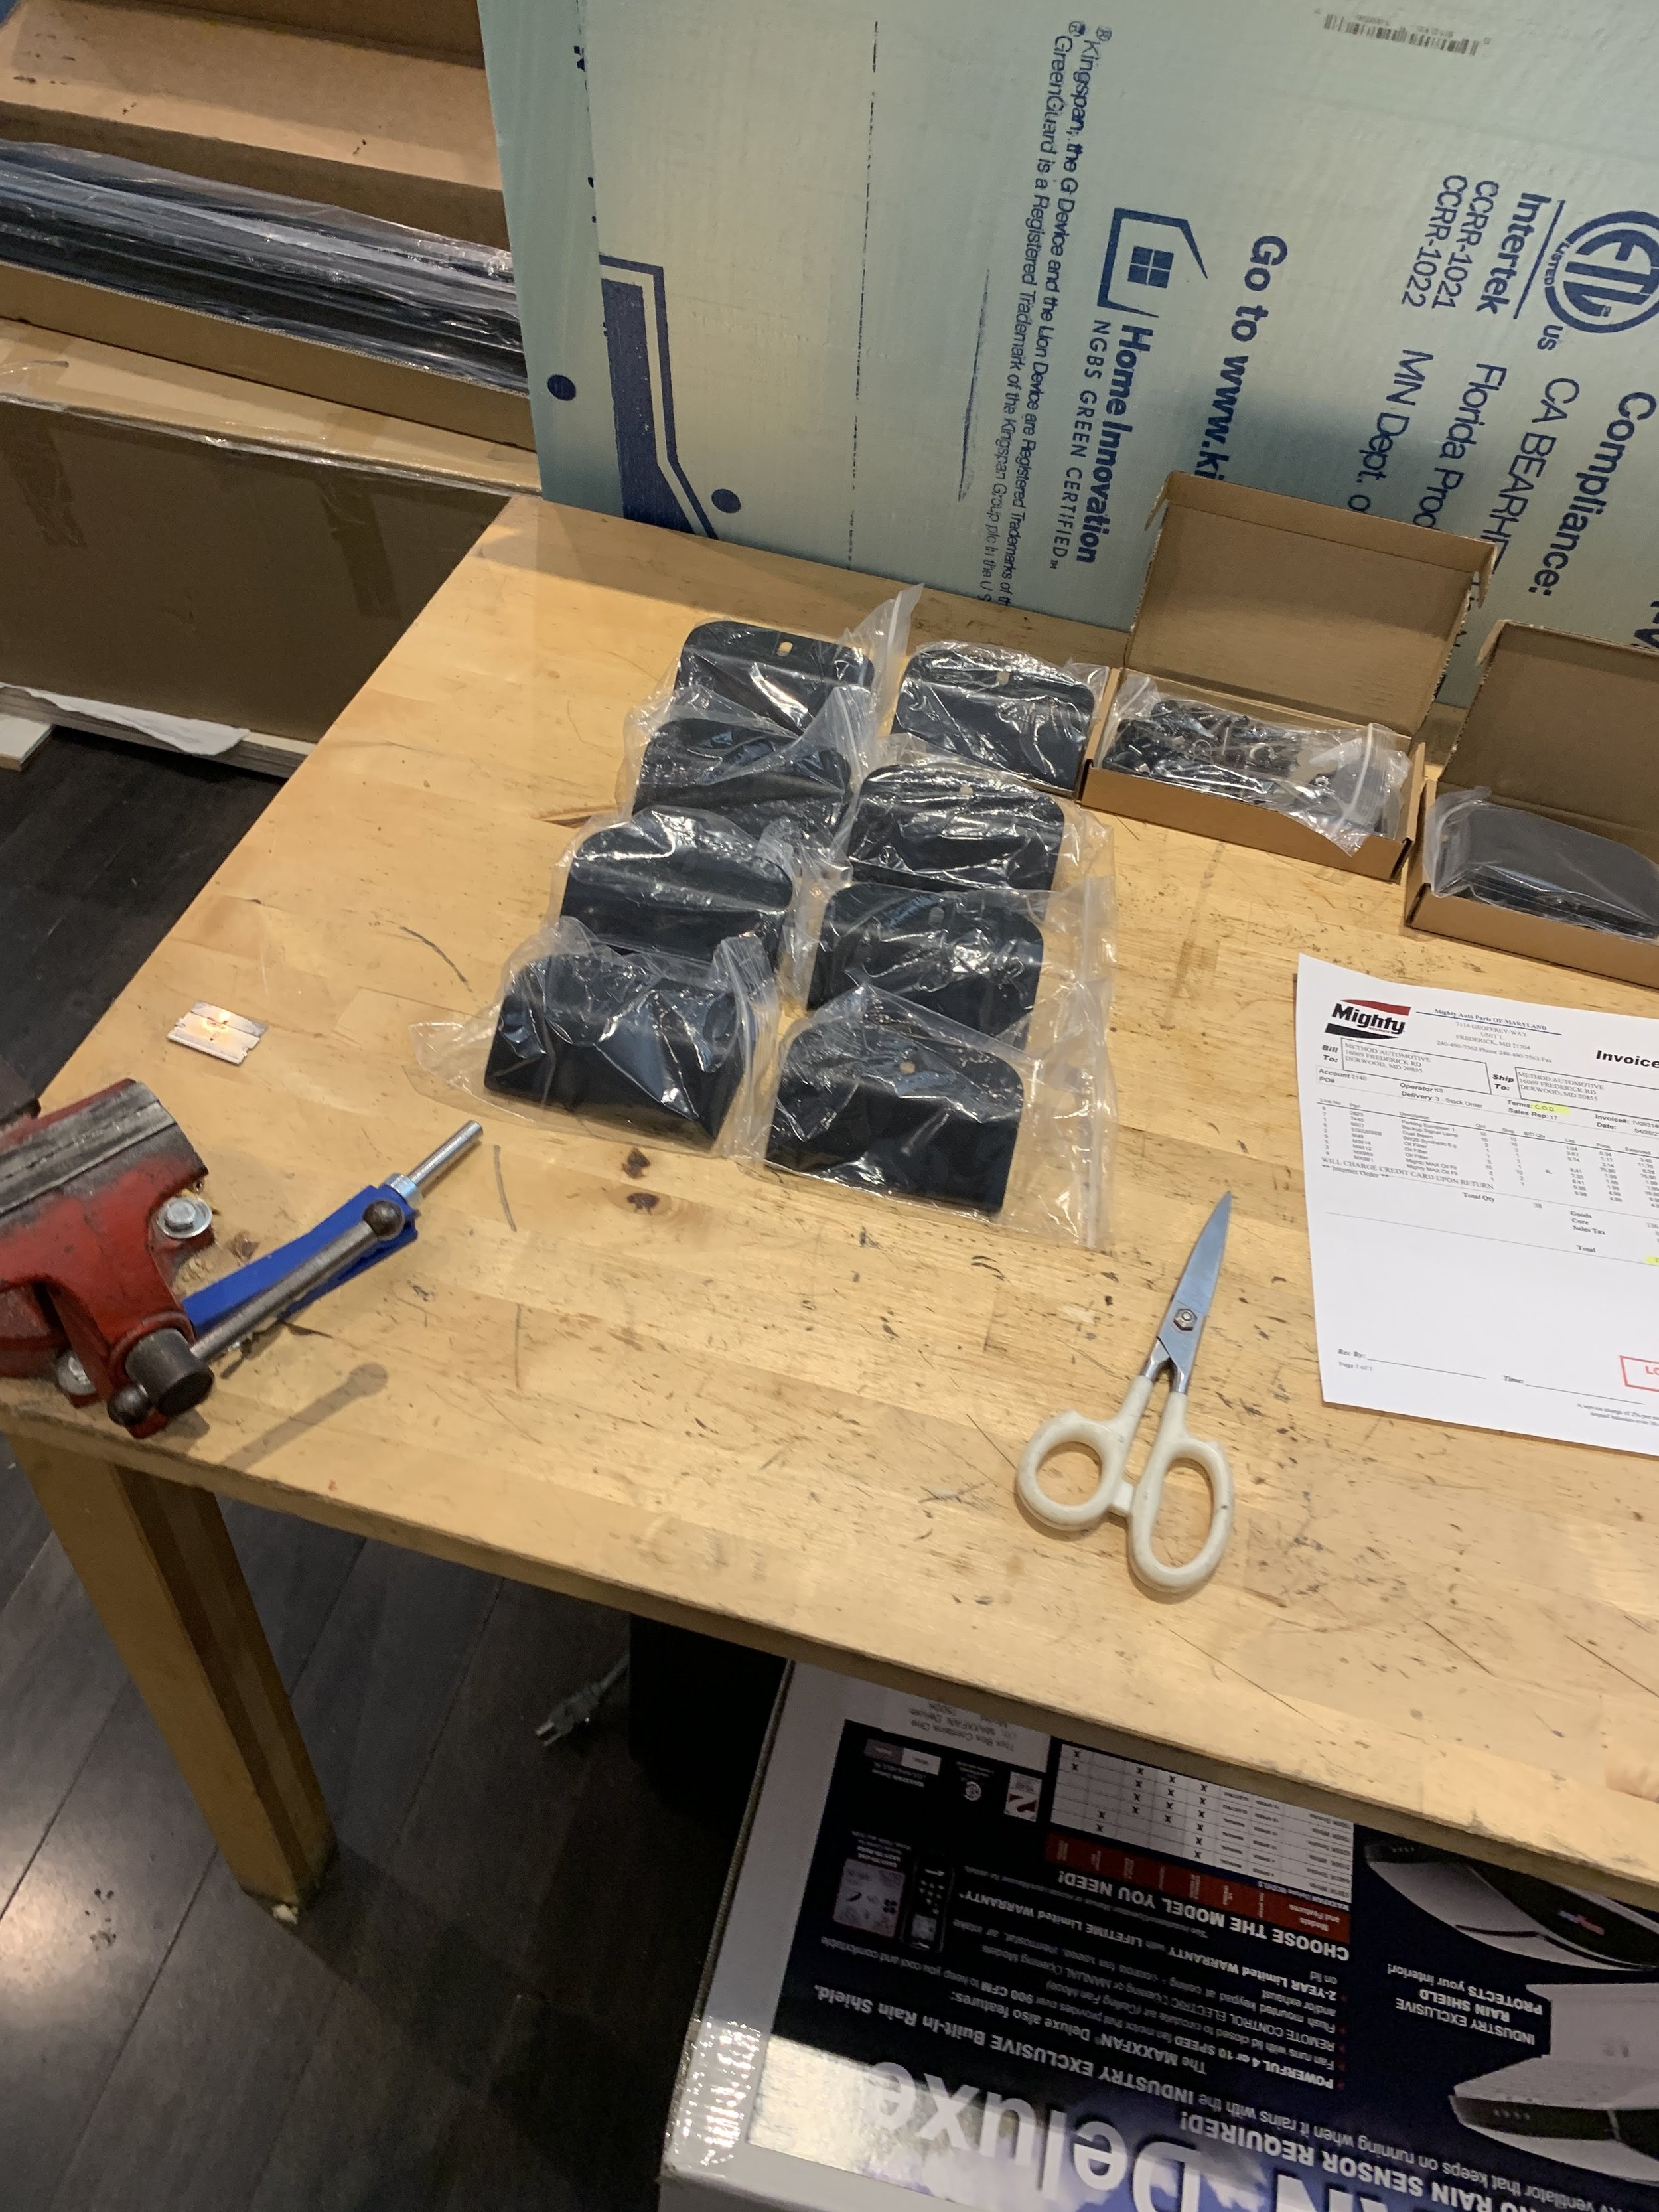
If you work on cars or motorcycle regularly, and make custom modification on a regular, you know that most “quality” bolt on modification takes almost no time to slap on. Maybe an hour or two a the most, and if you have help, maybe less. My brother gave me a hand here getting these on. Easy peazy. I can say Flat Line Van Co product is very good quality. The holes on top of the transit van… that’s a different story. The holes are not precisely drilled, you have to widen some of the holes after opening the access plug, cause the factory access holes are not center on the holes. You will never see this crap on any euro or Japanese manufactured vehicle. I seen all kind of un-align bolts from the factory that you have to make modification when I own and modified my Wrangler. It’s kind of depressing how bad the precision is for so many GM and Ford products. But then again I still bought them, meaning there is still value in there, and there isn’t much incentive to fix them. lol.
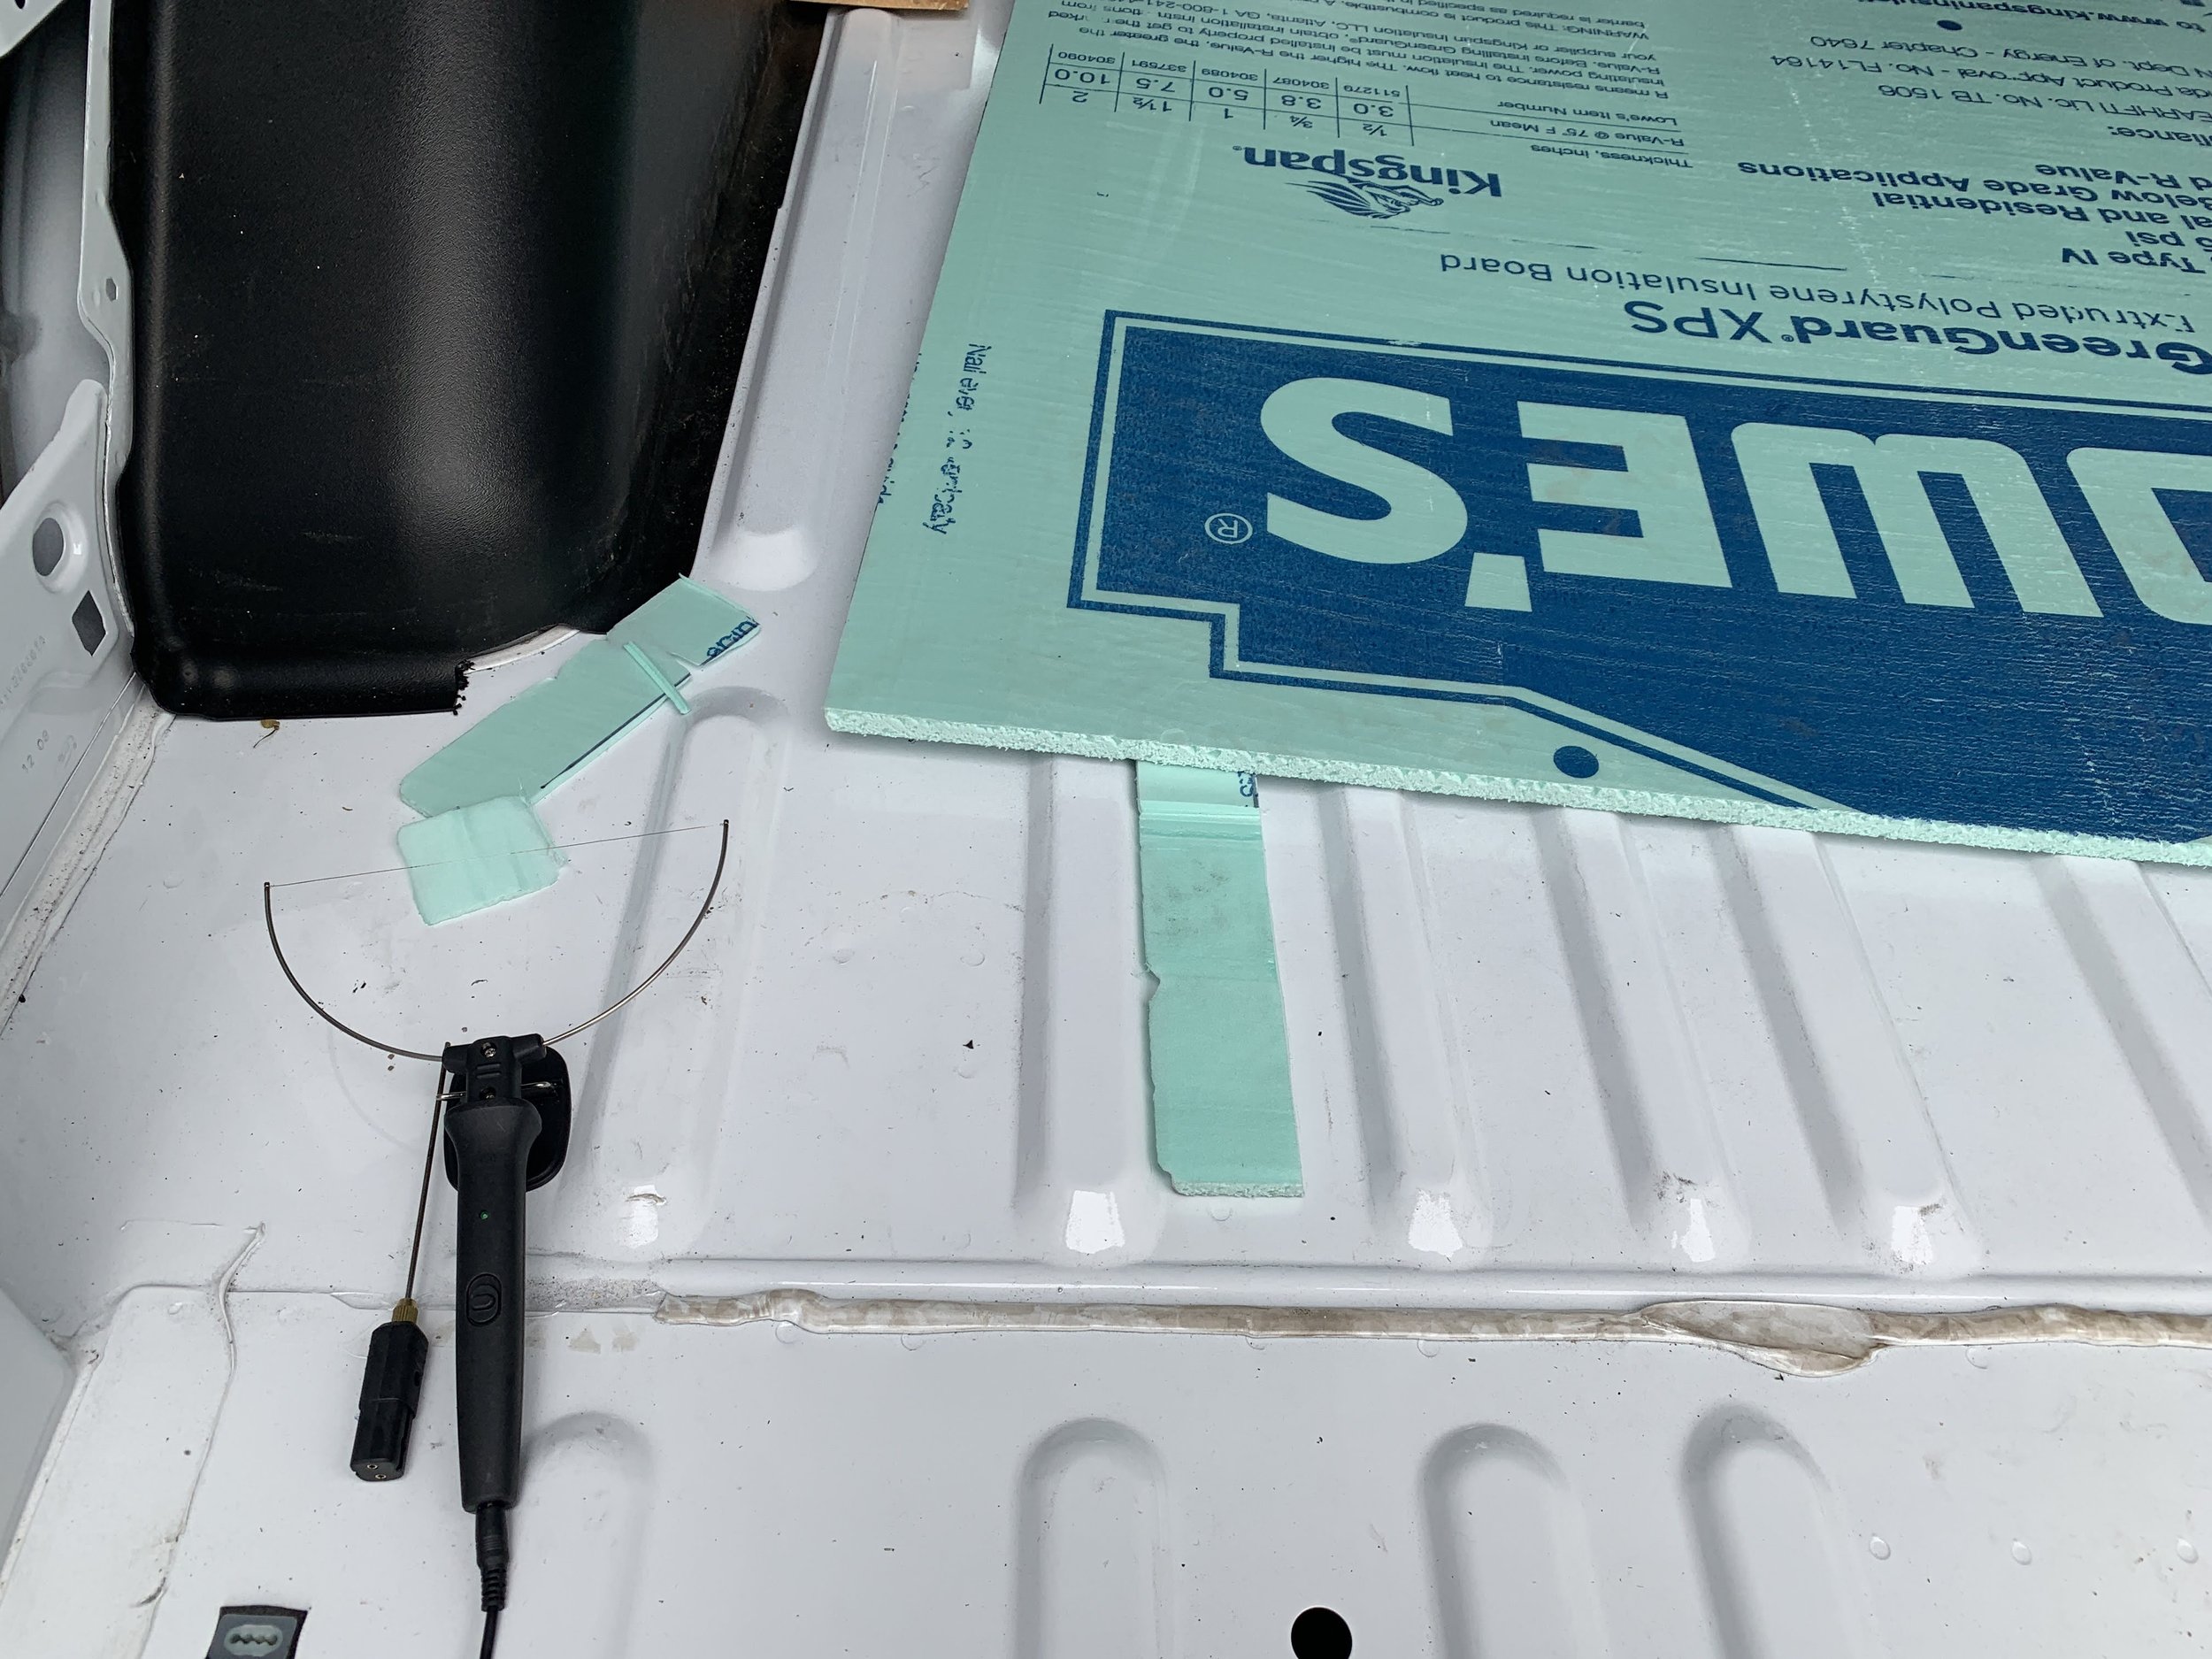
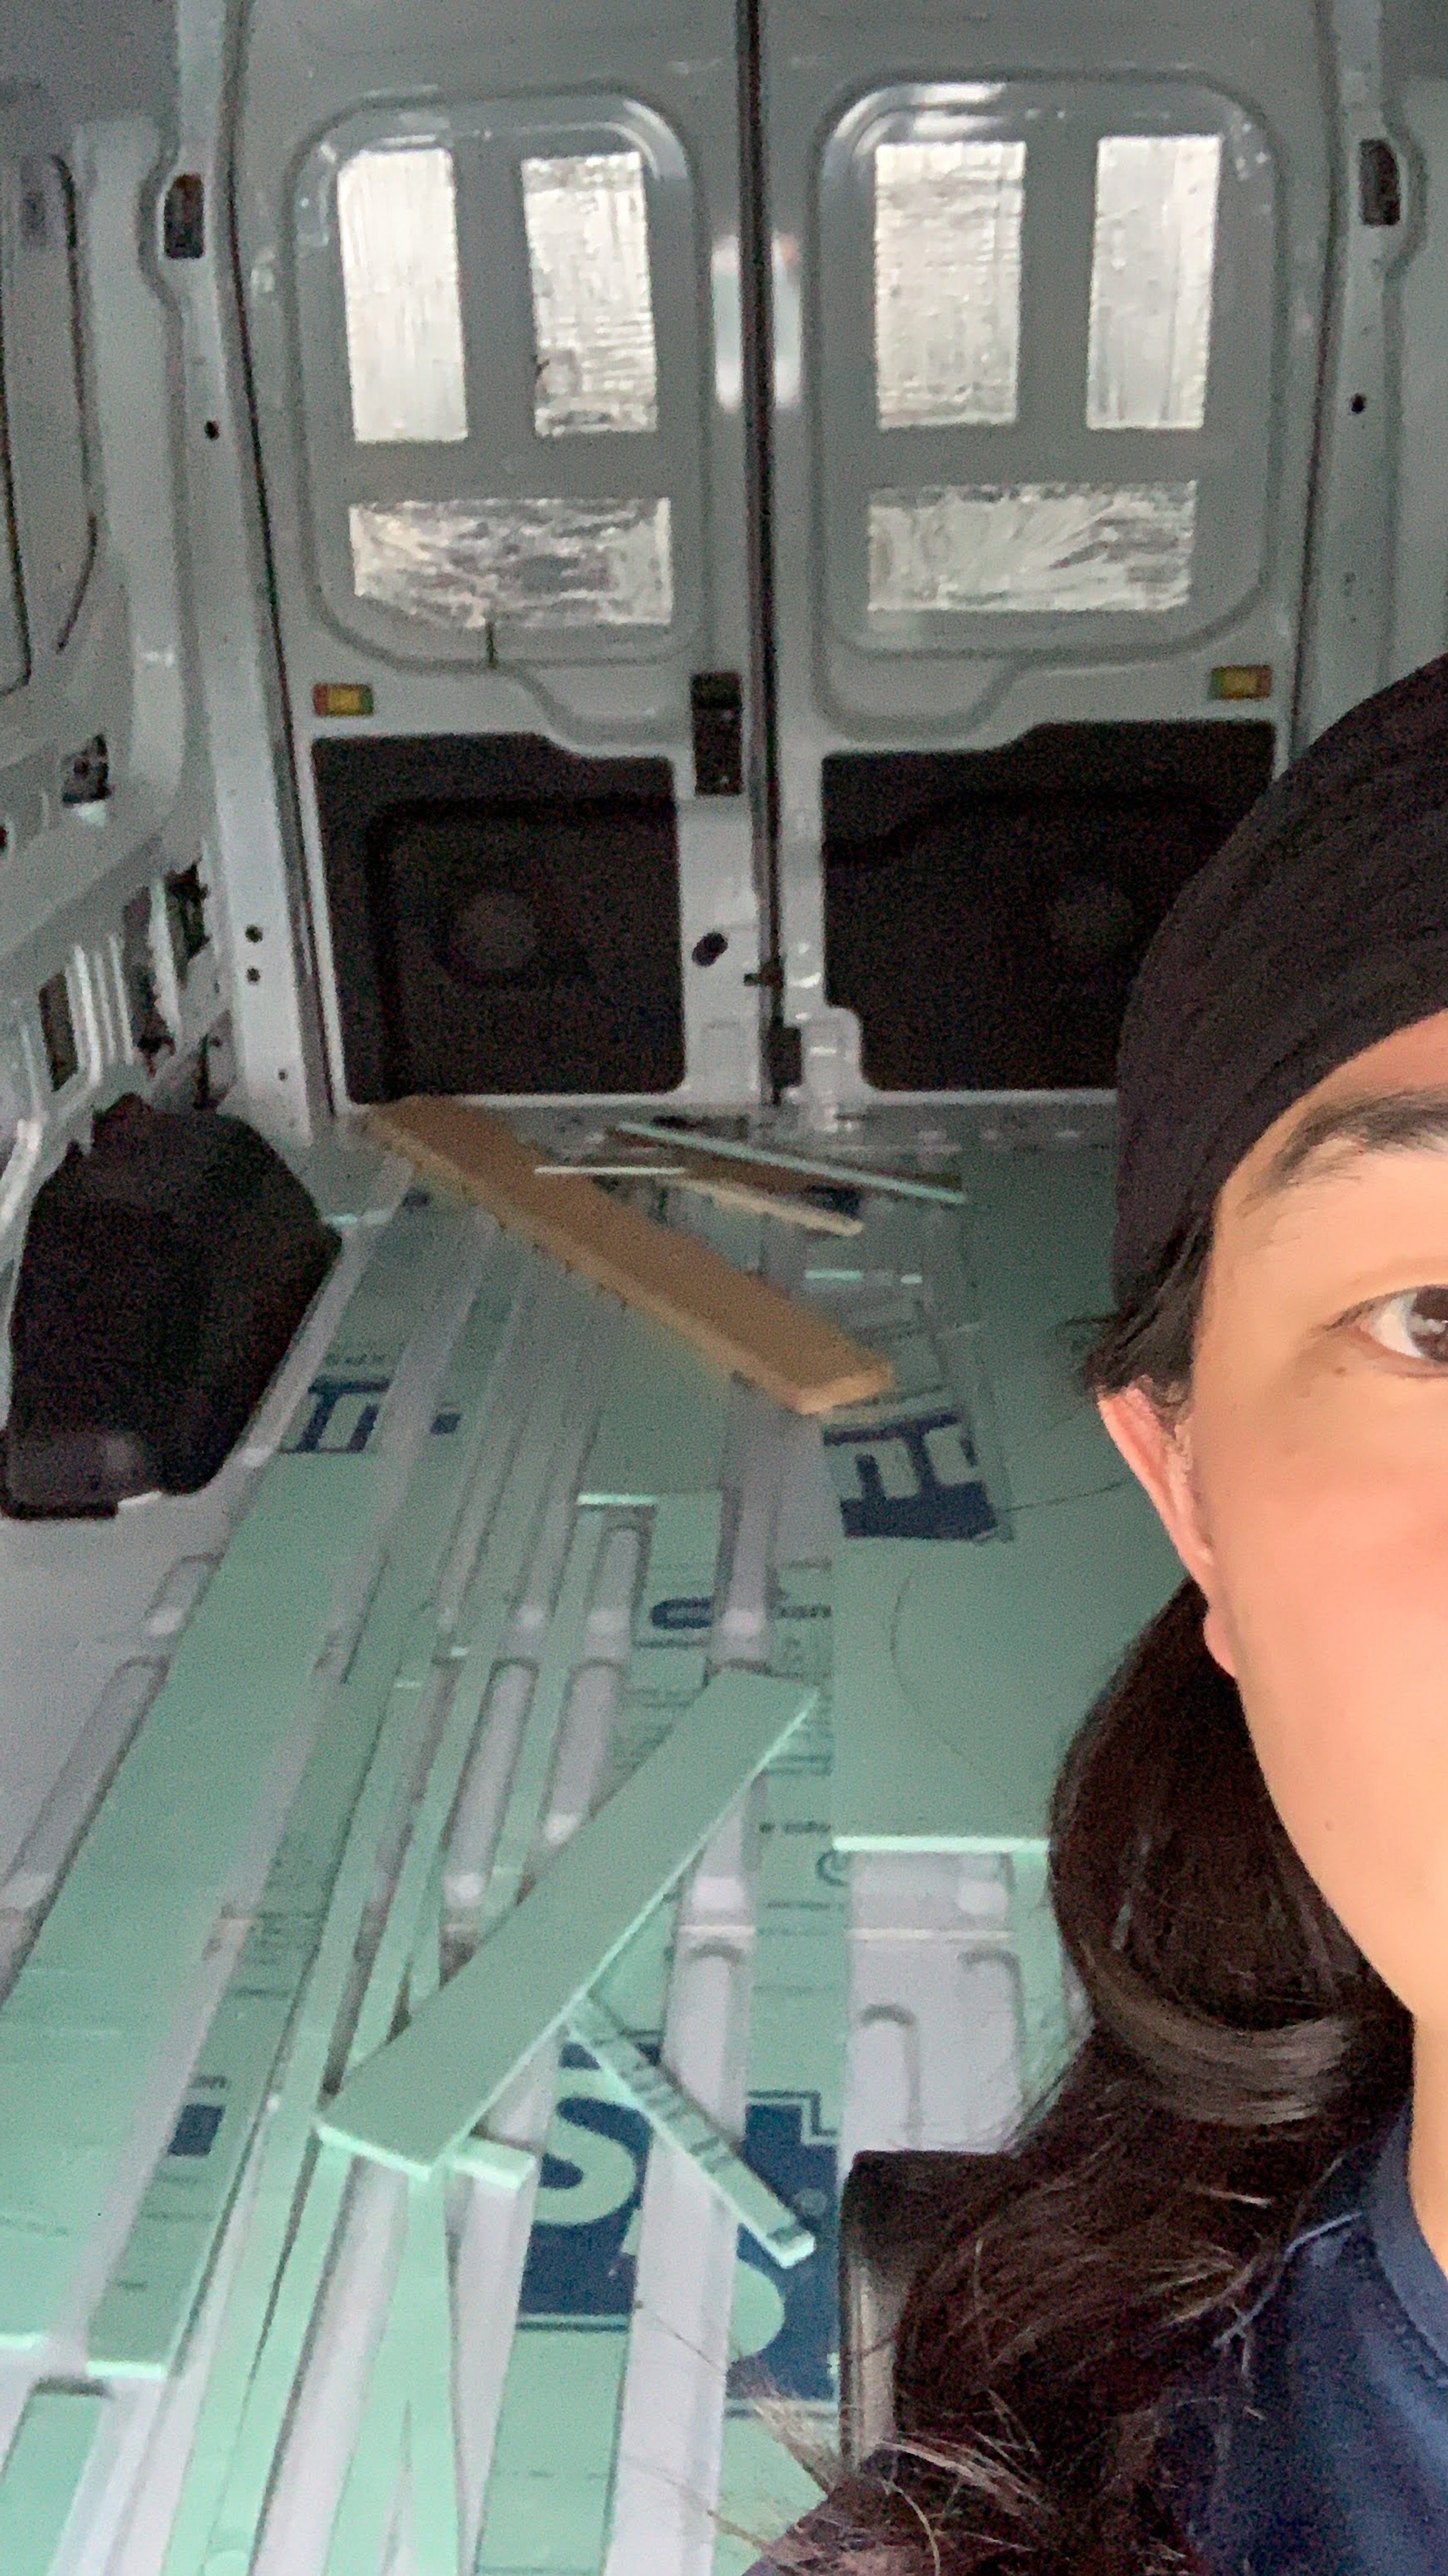
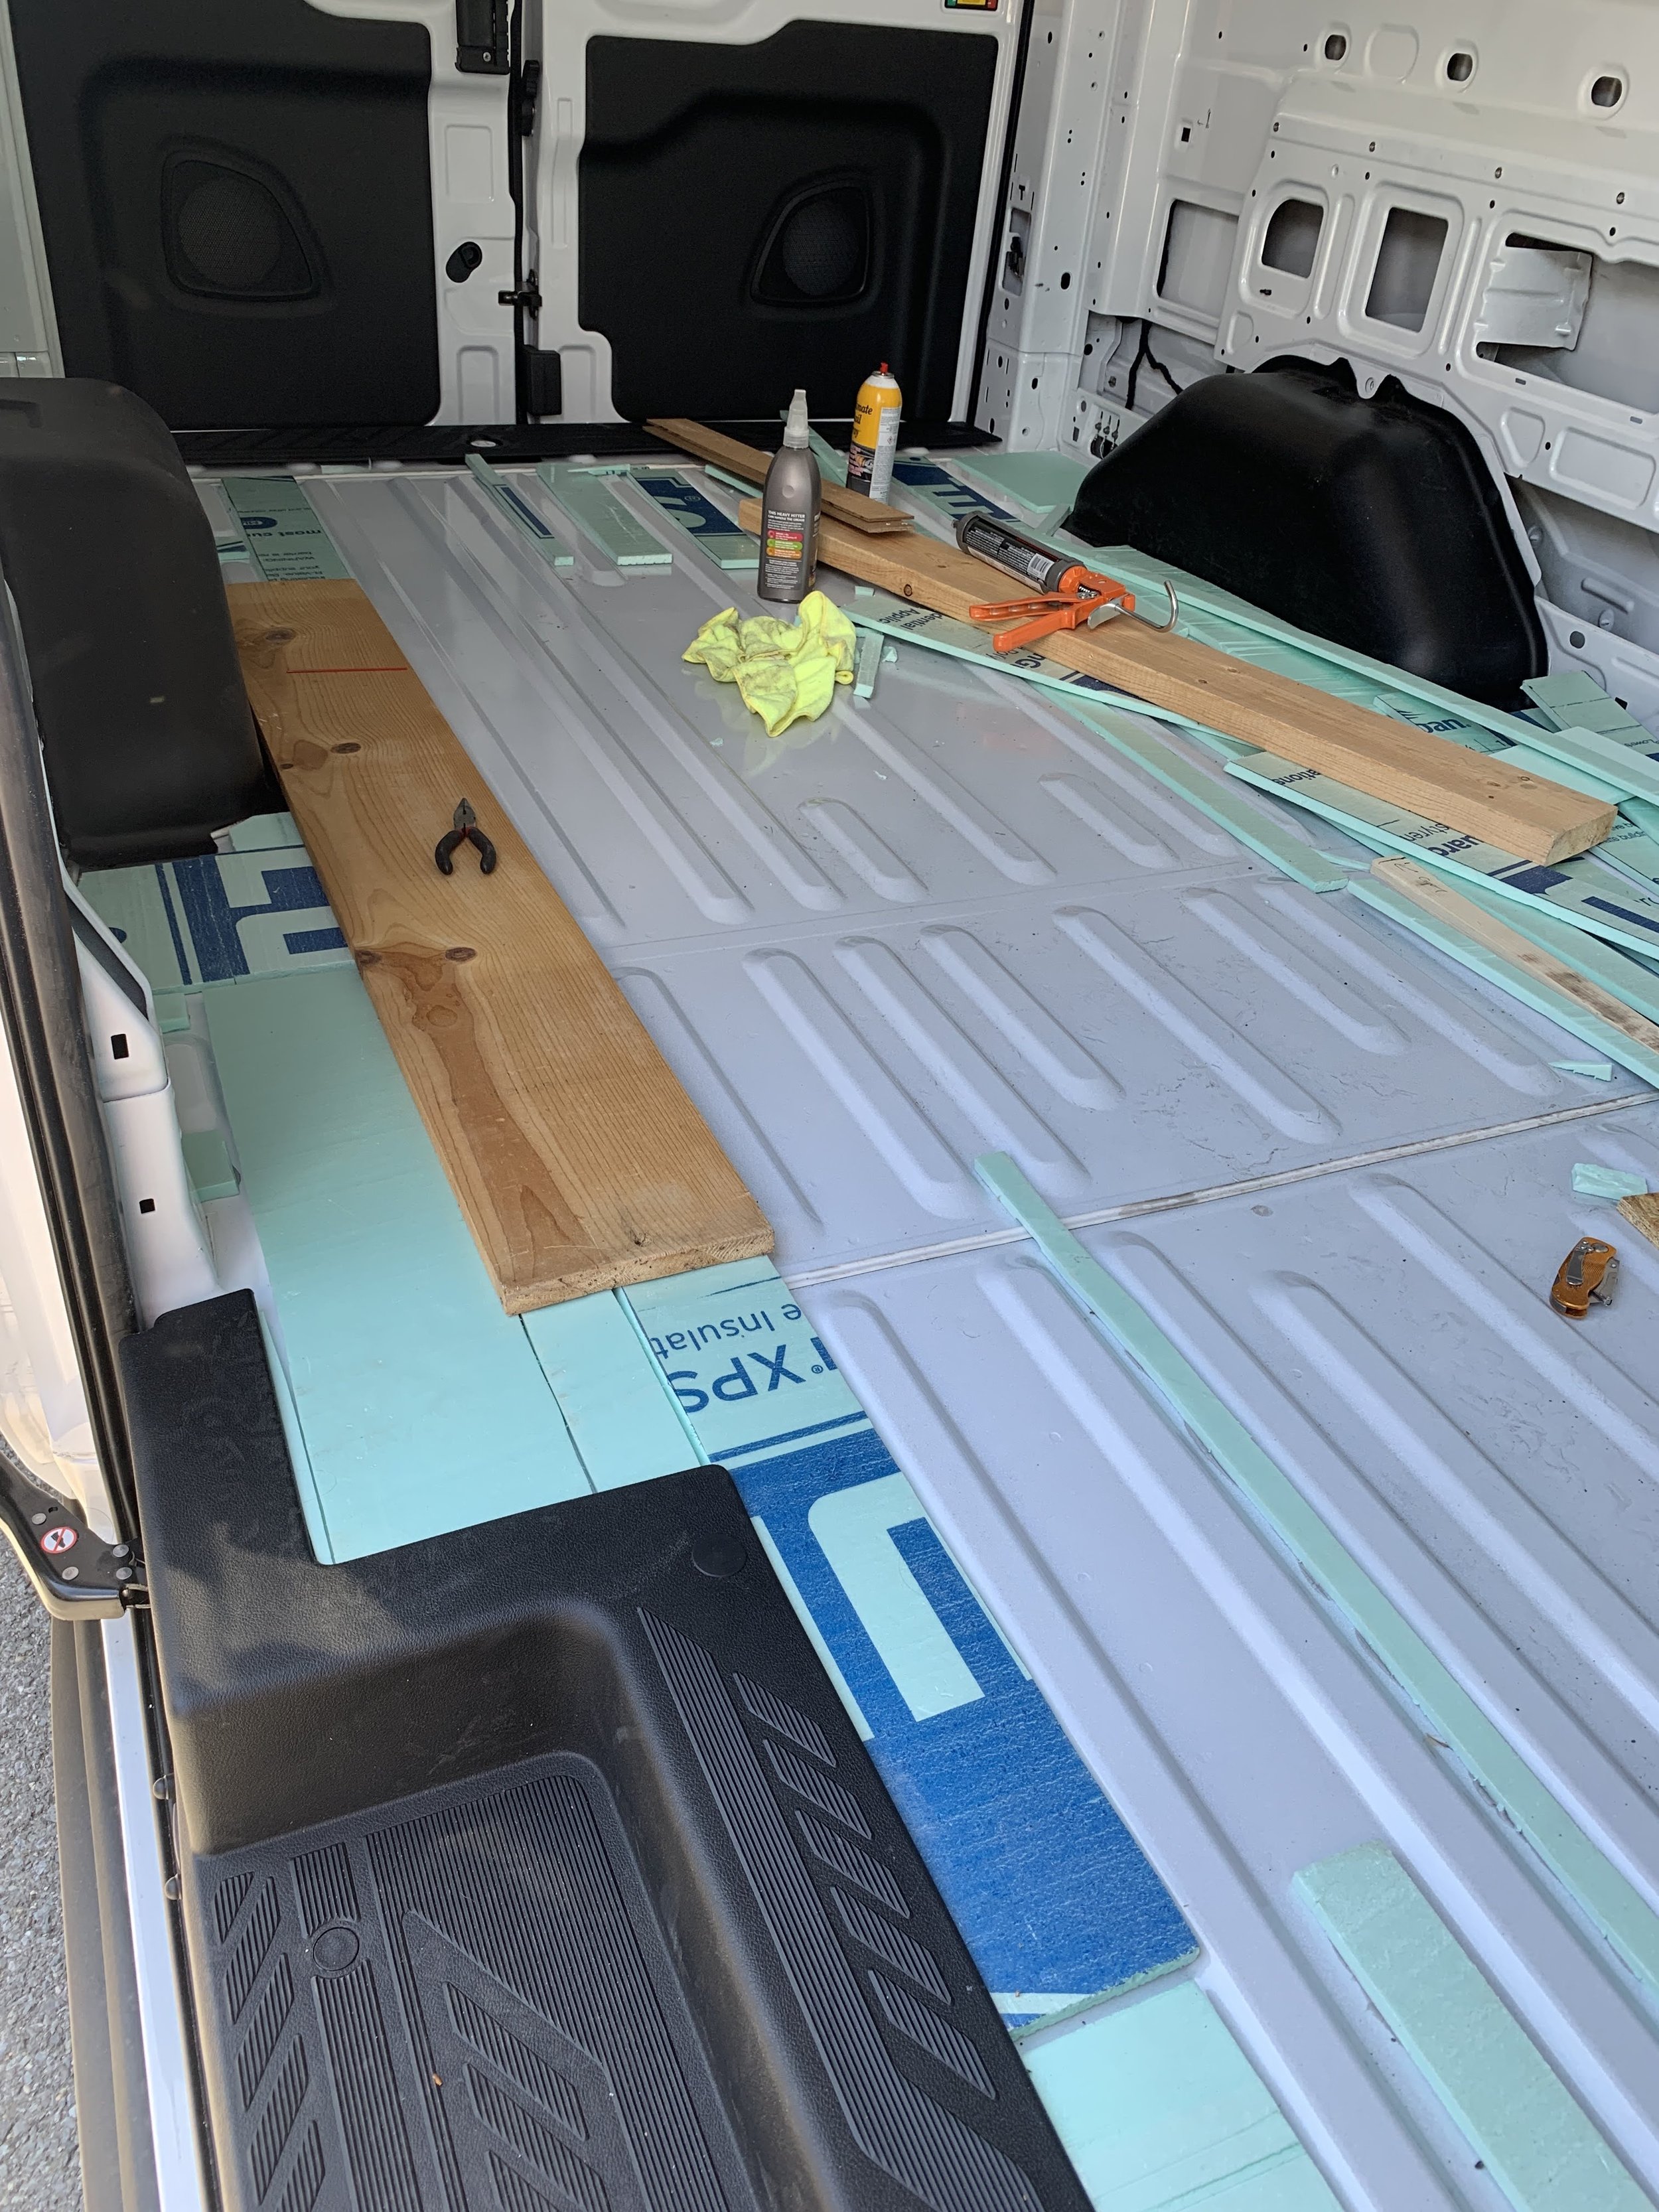
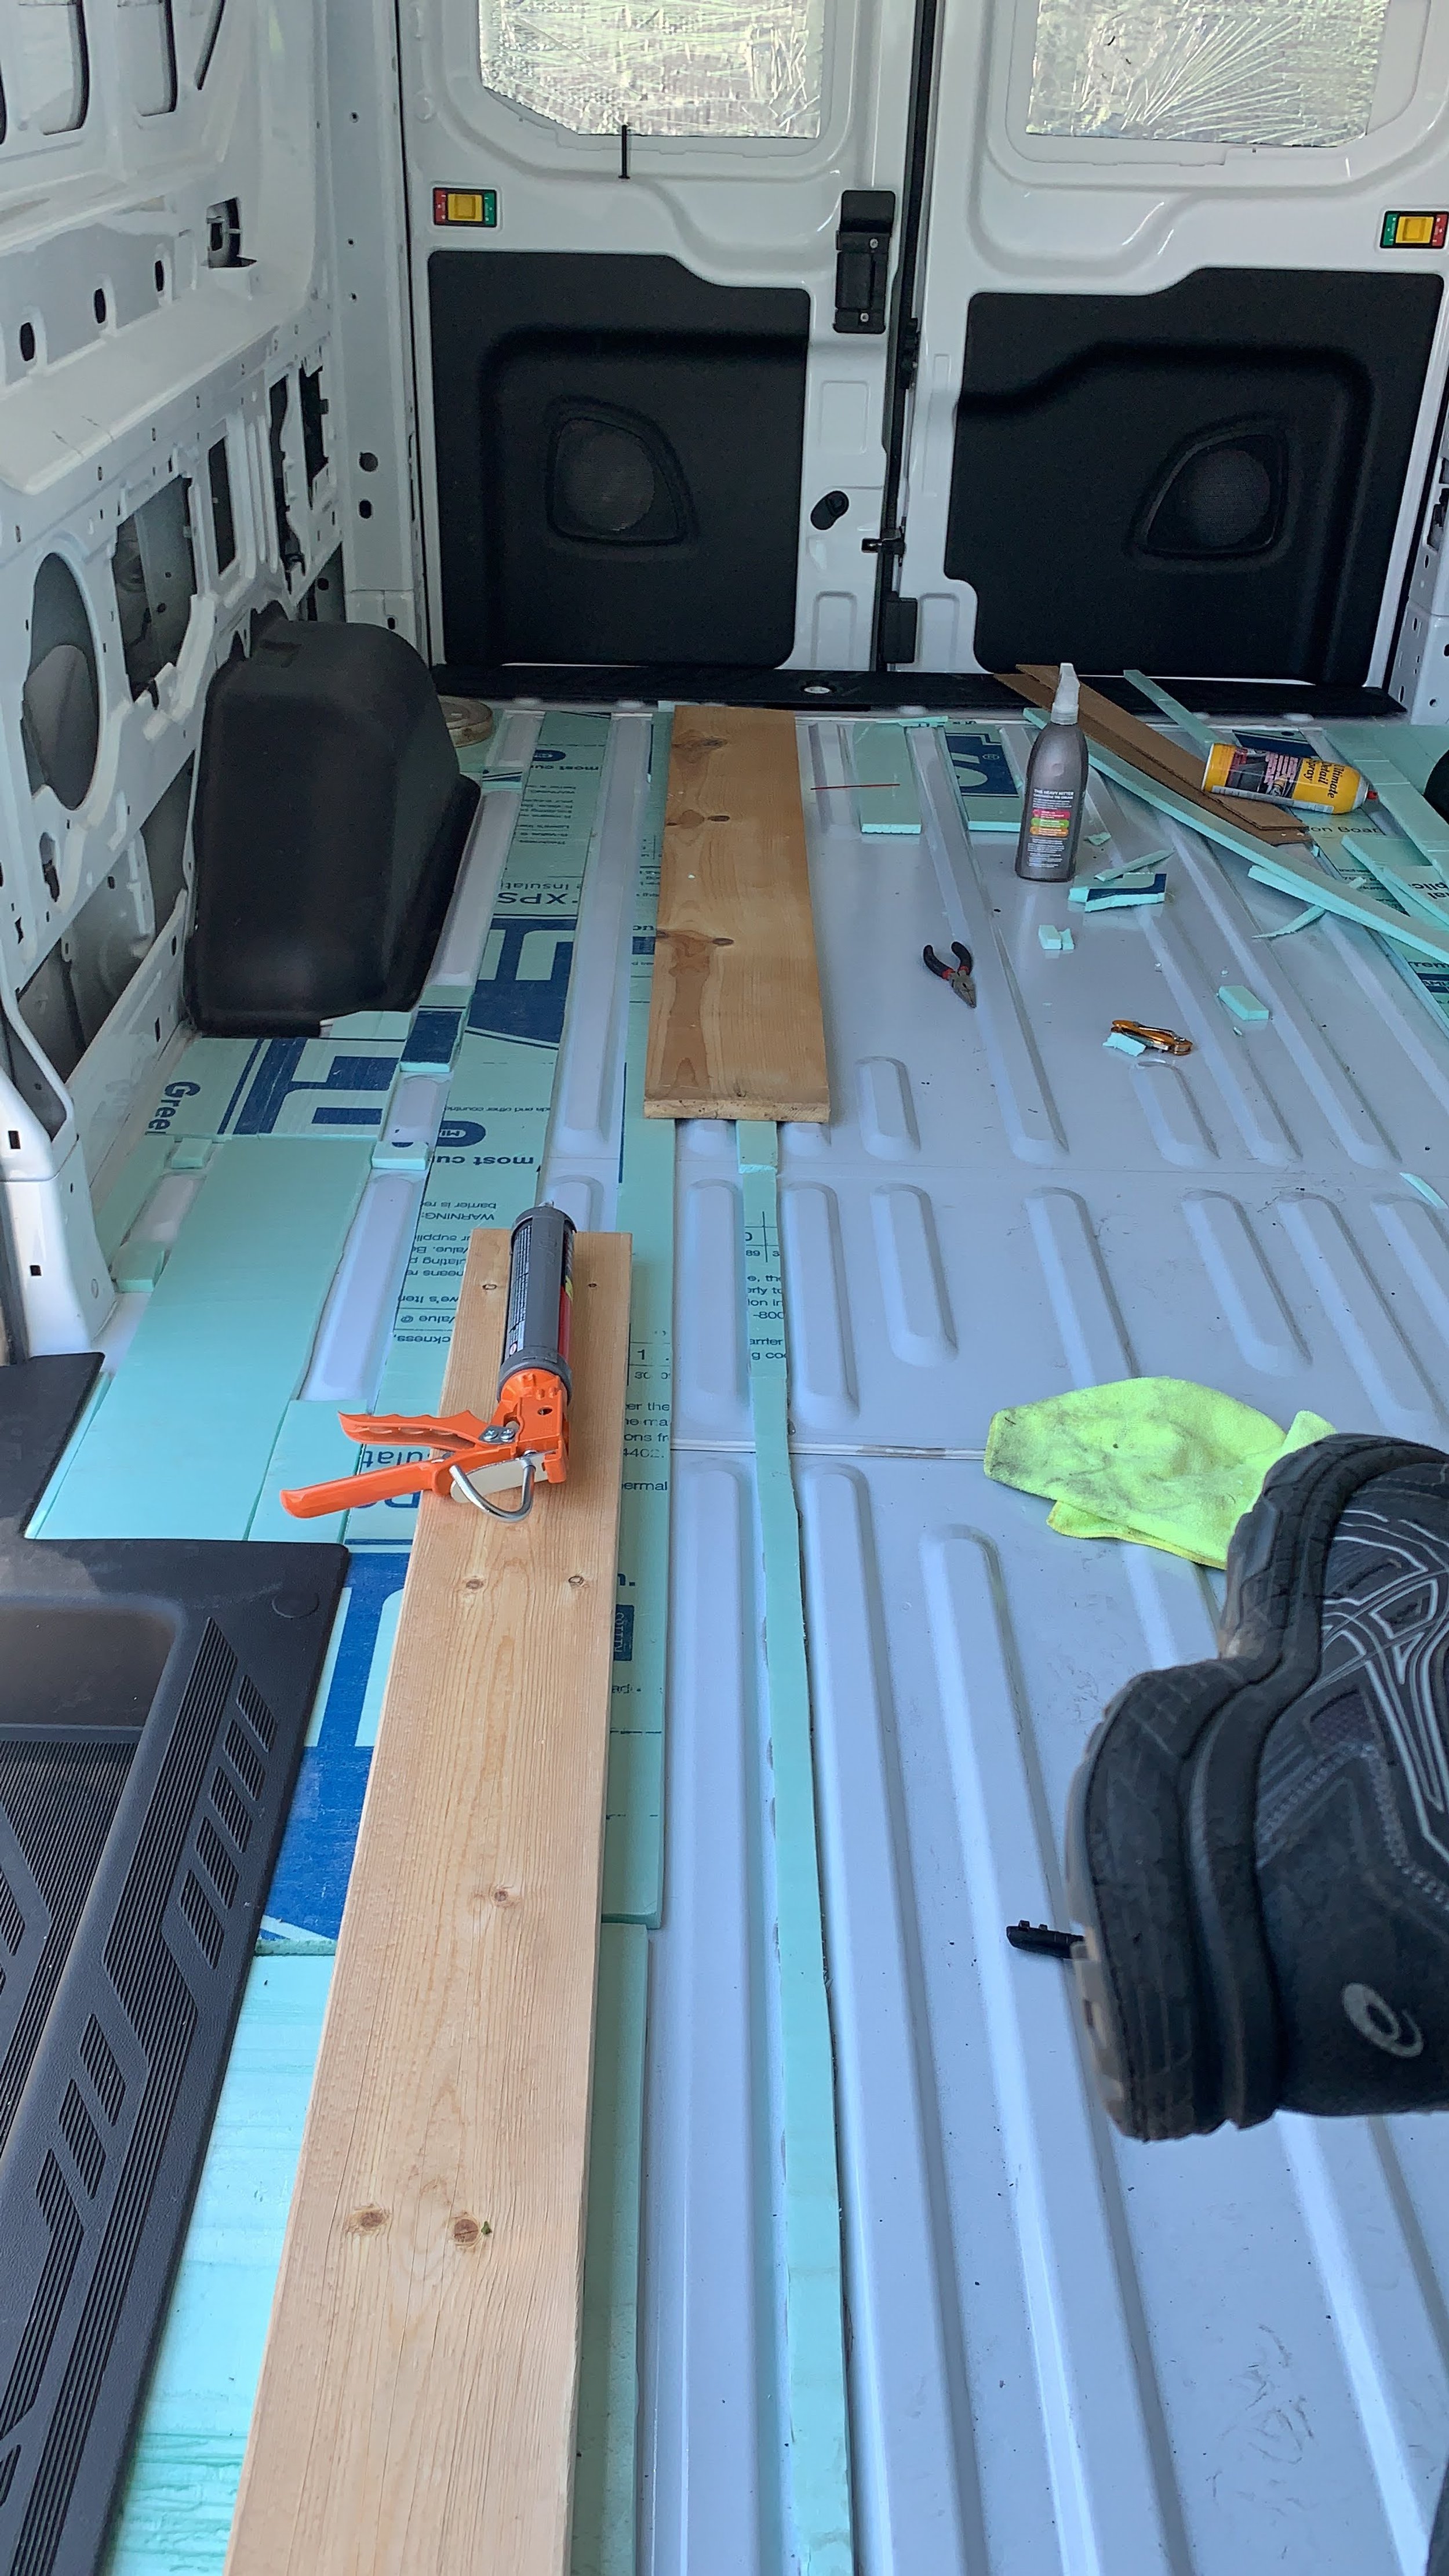

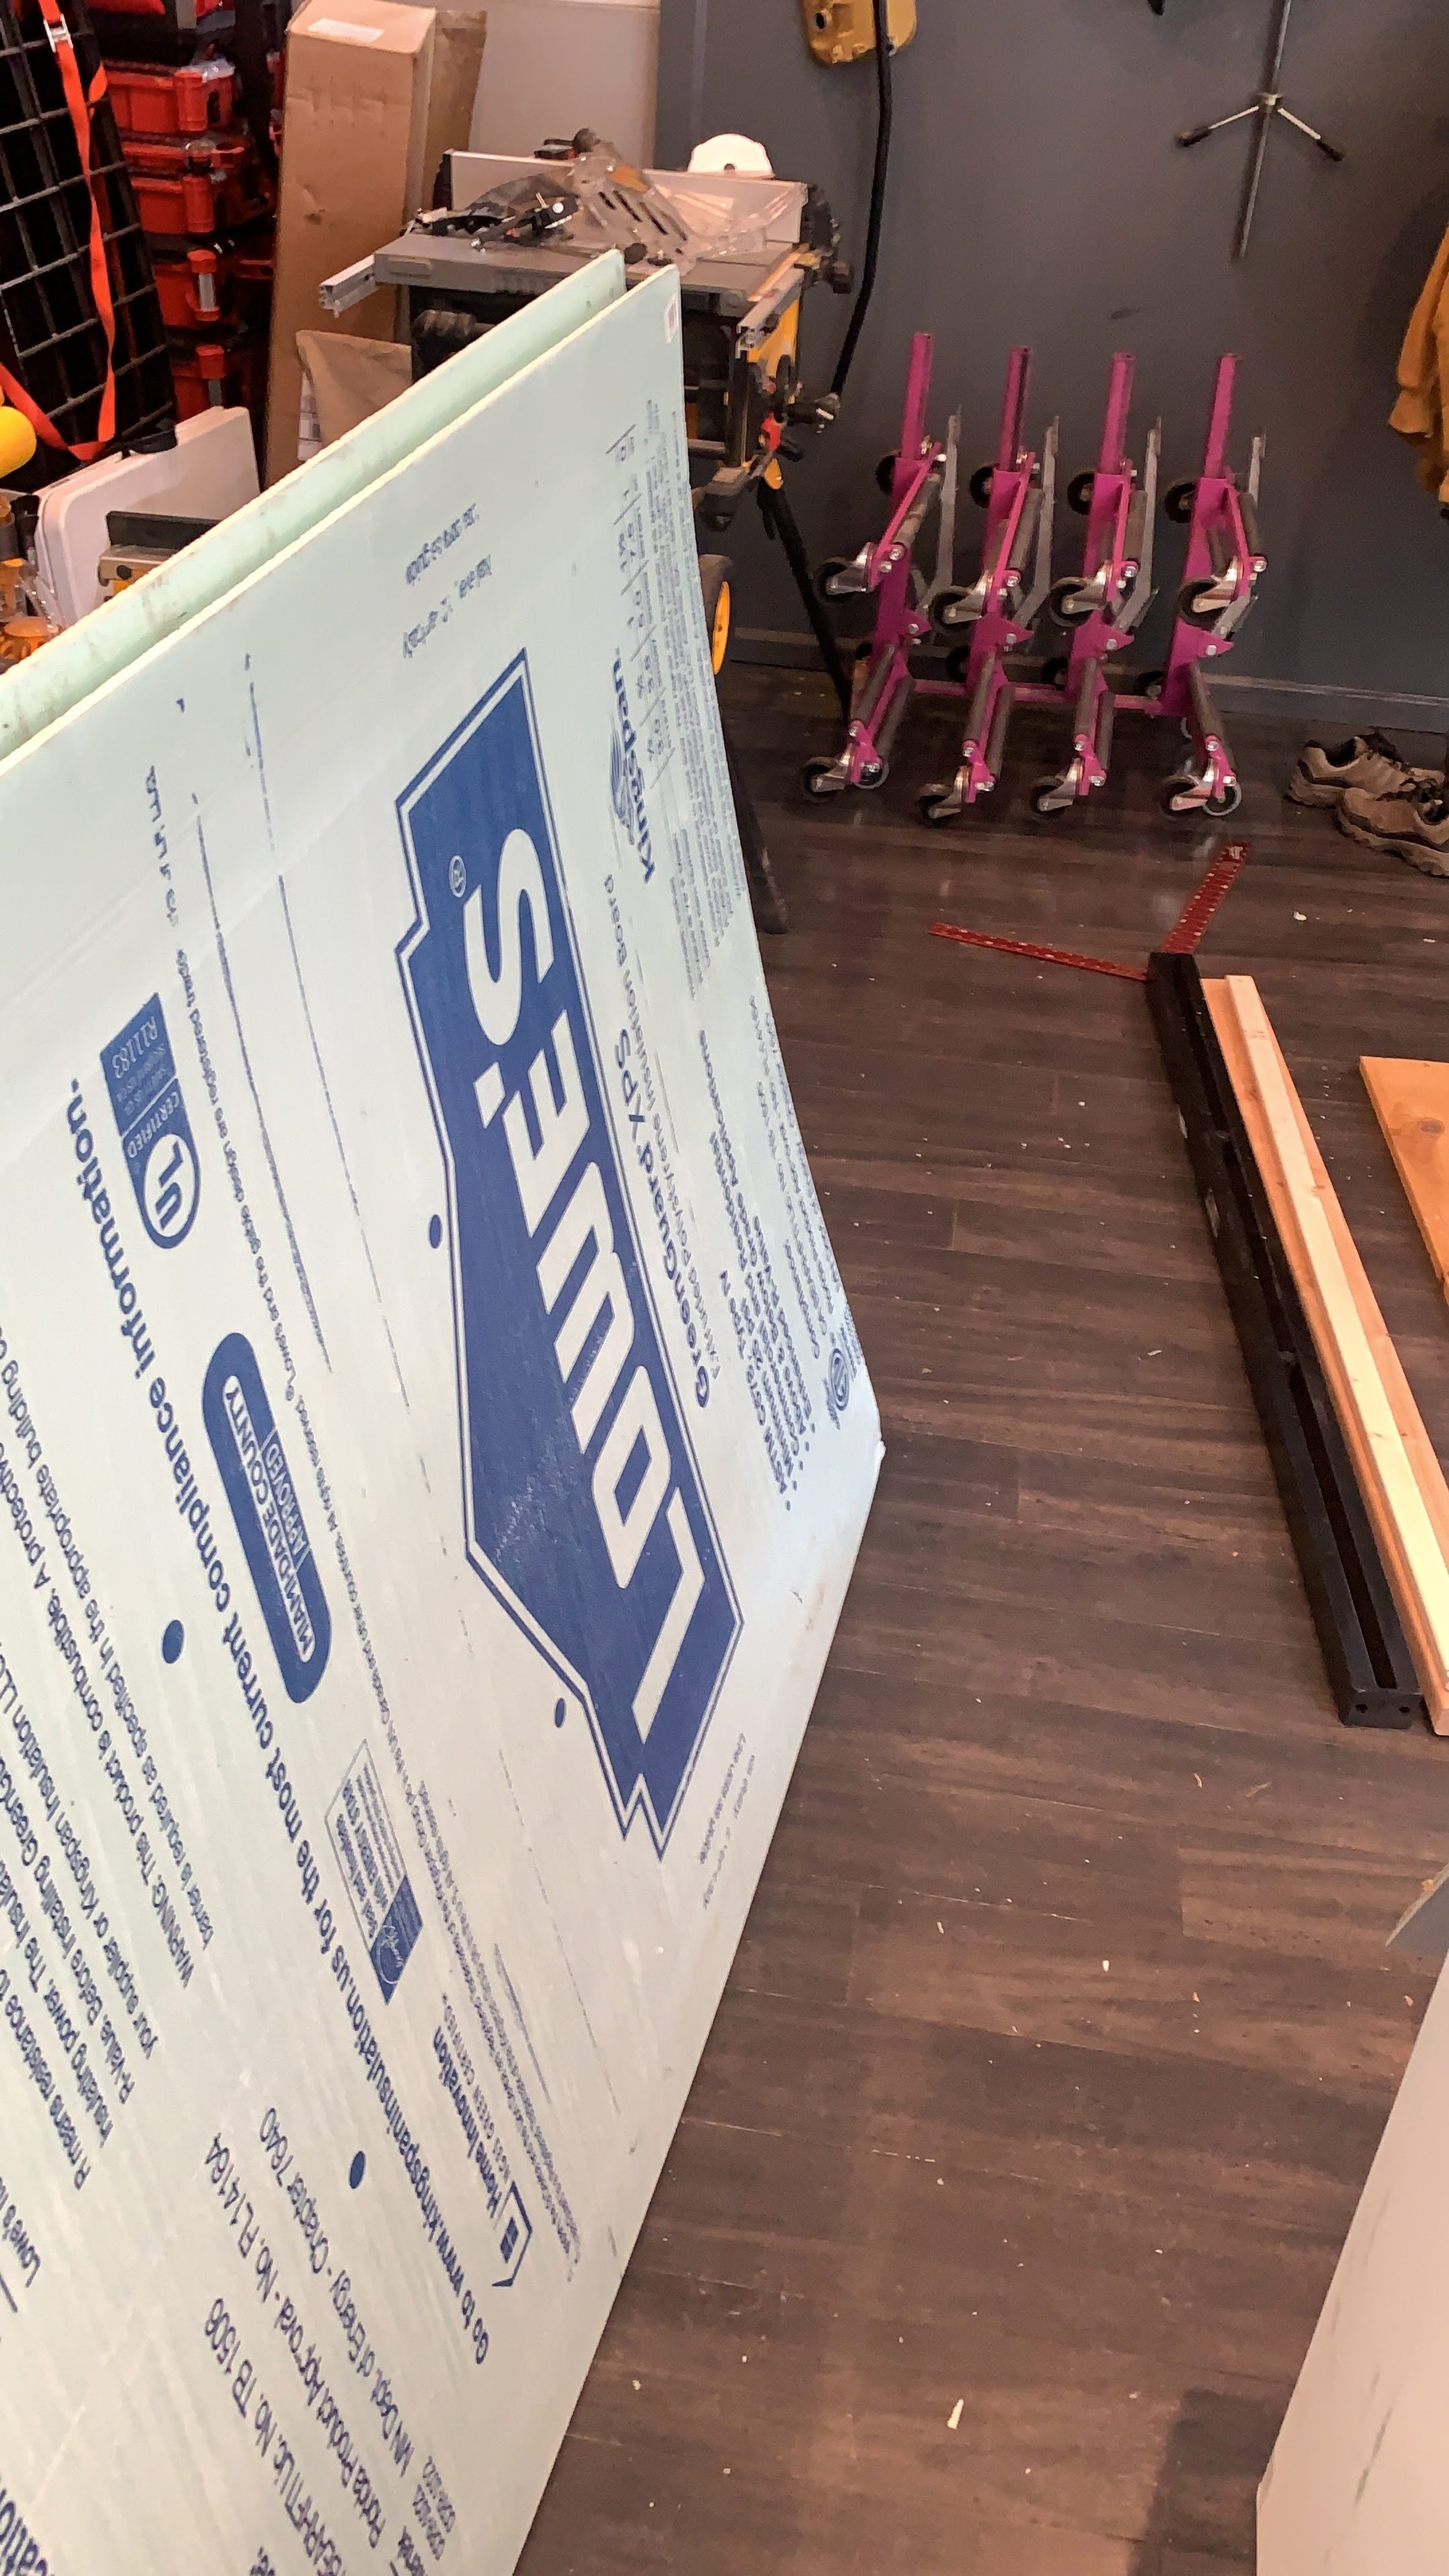
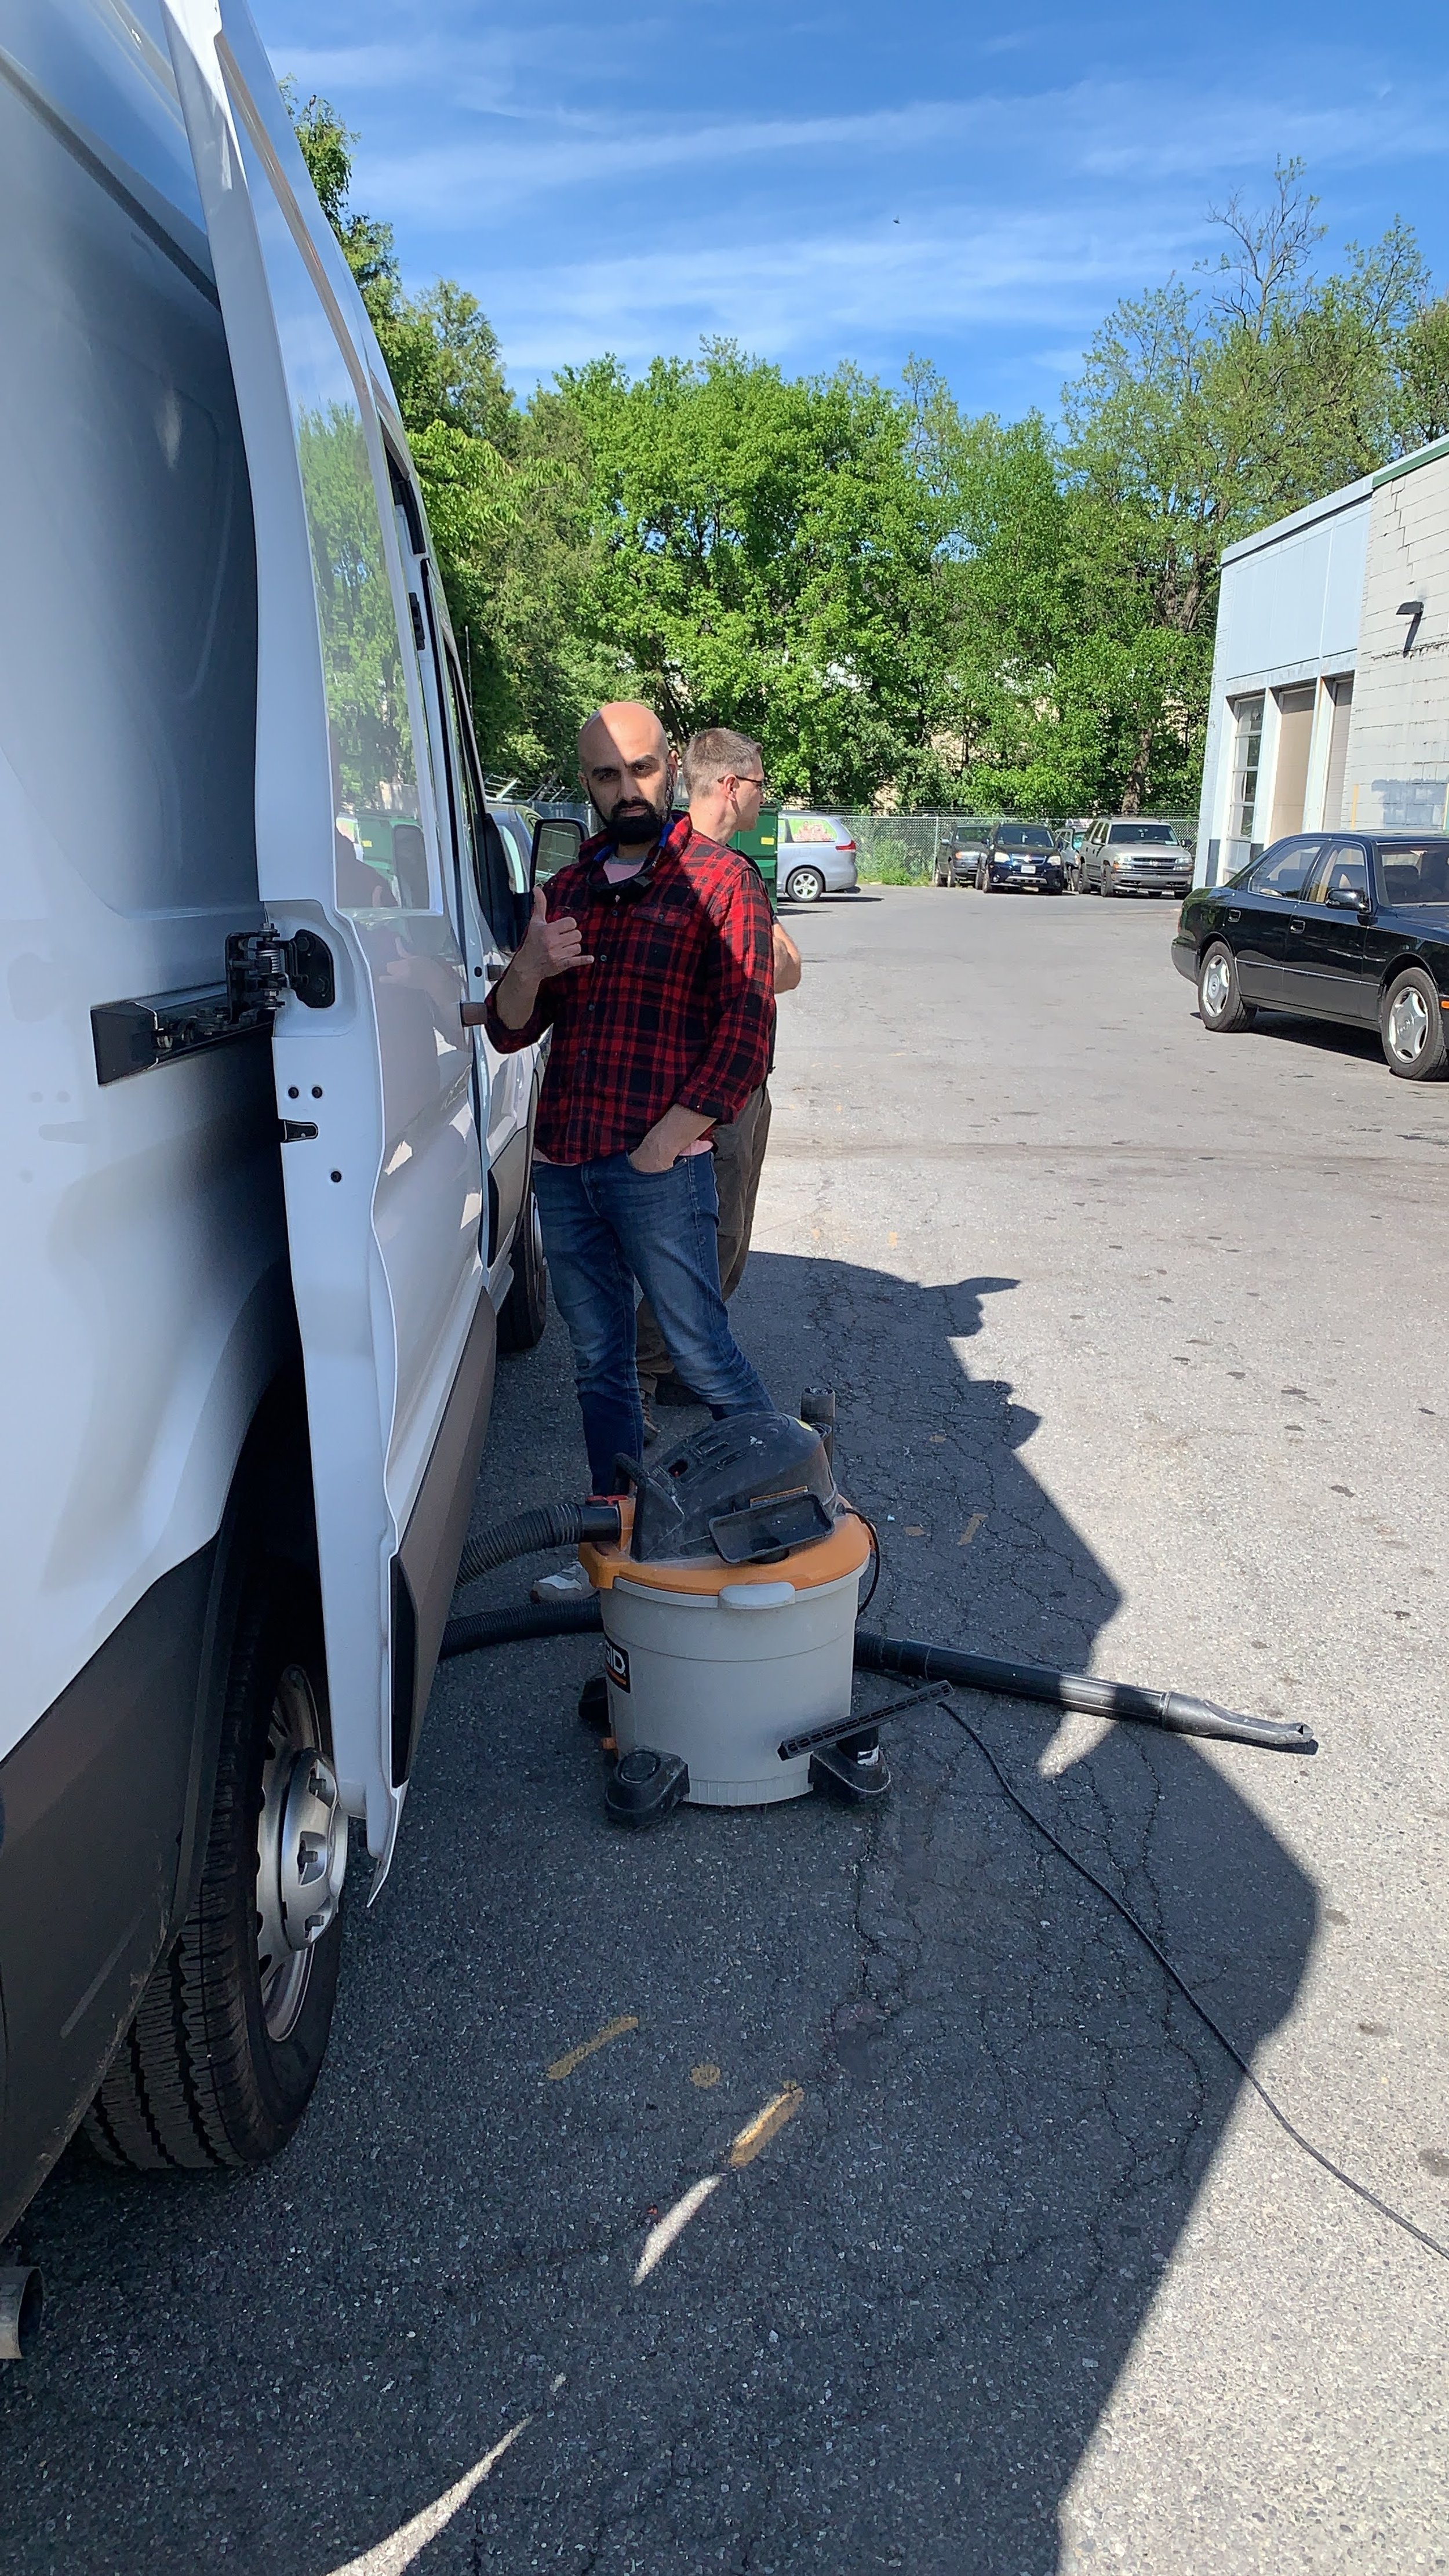
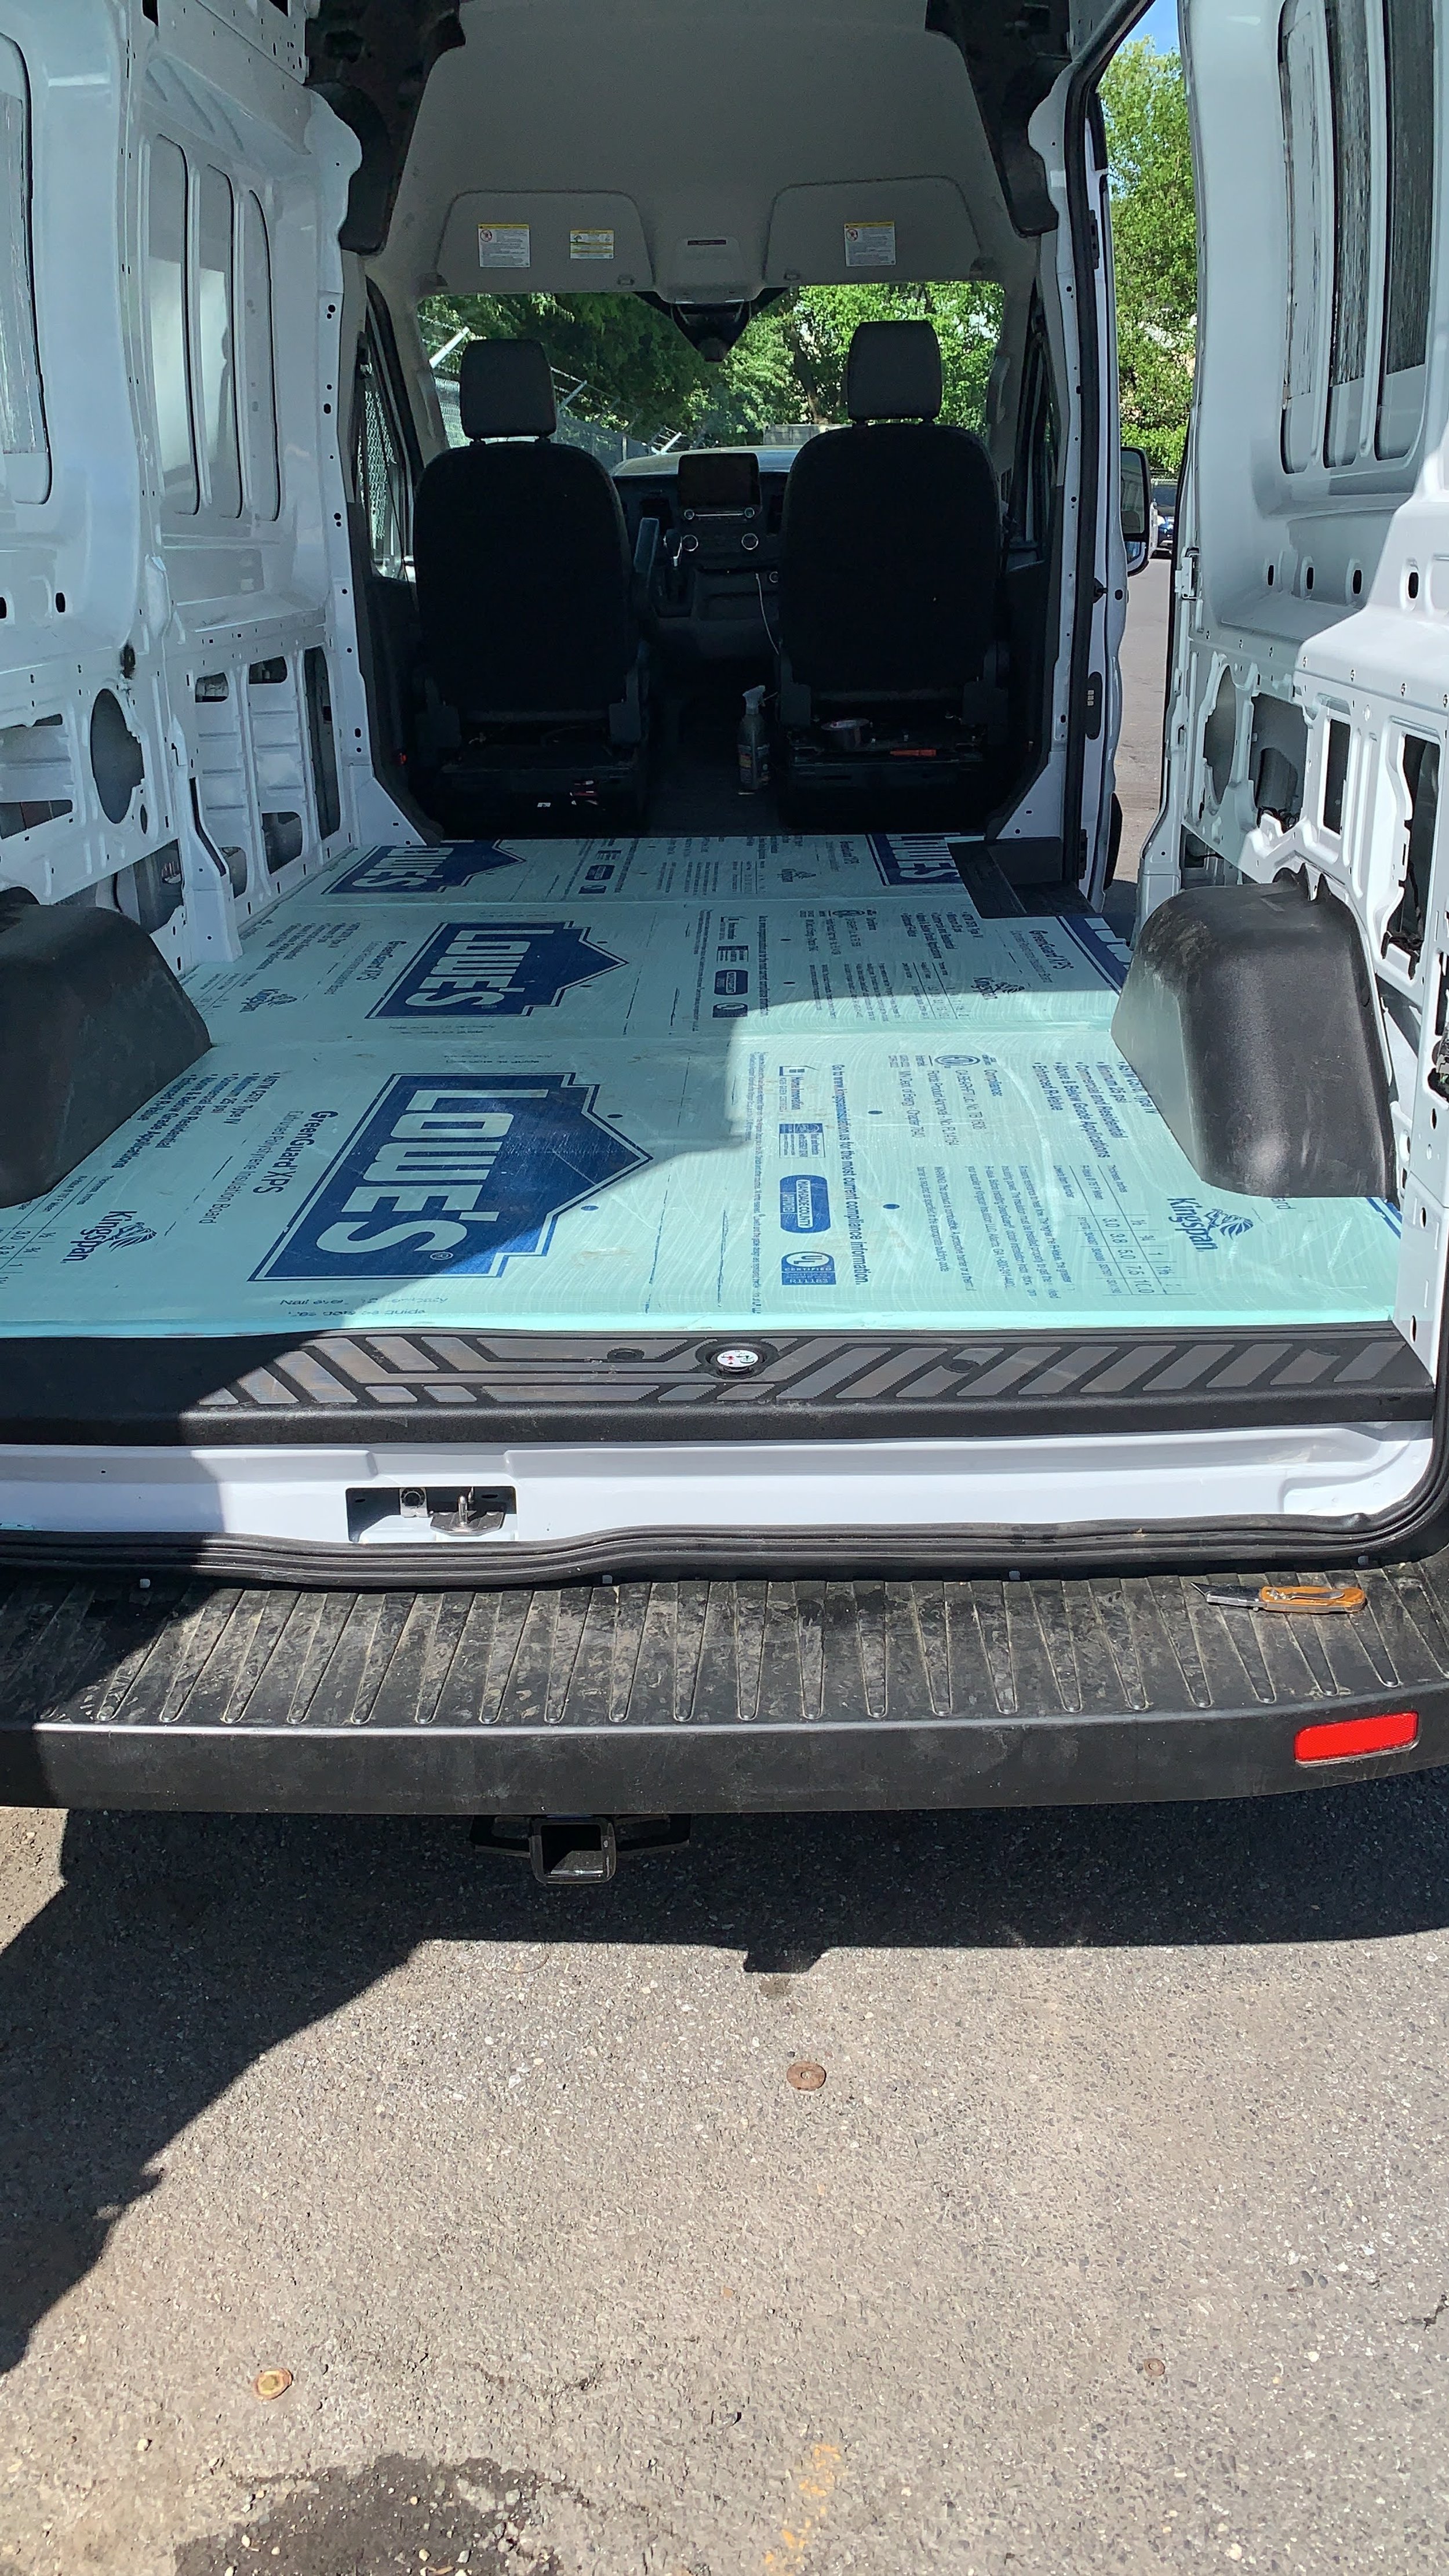
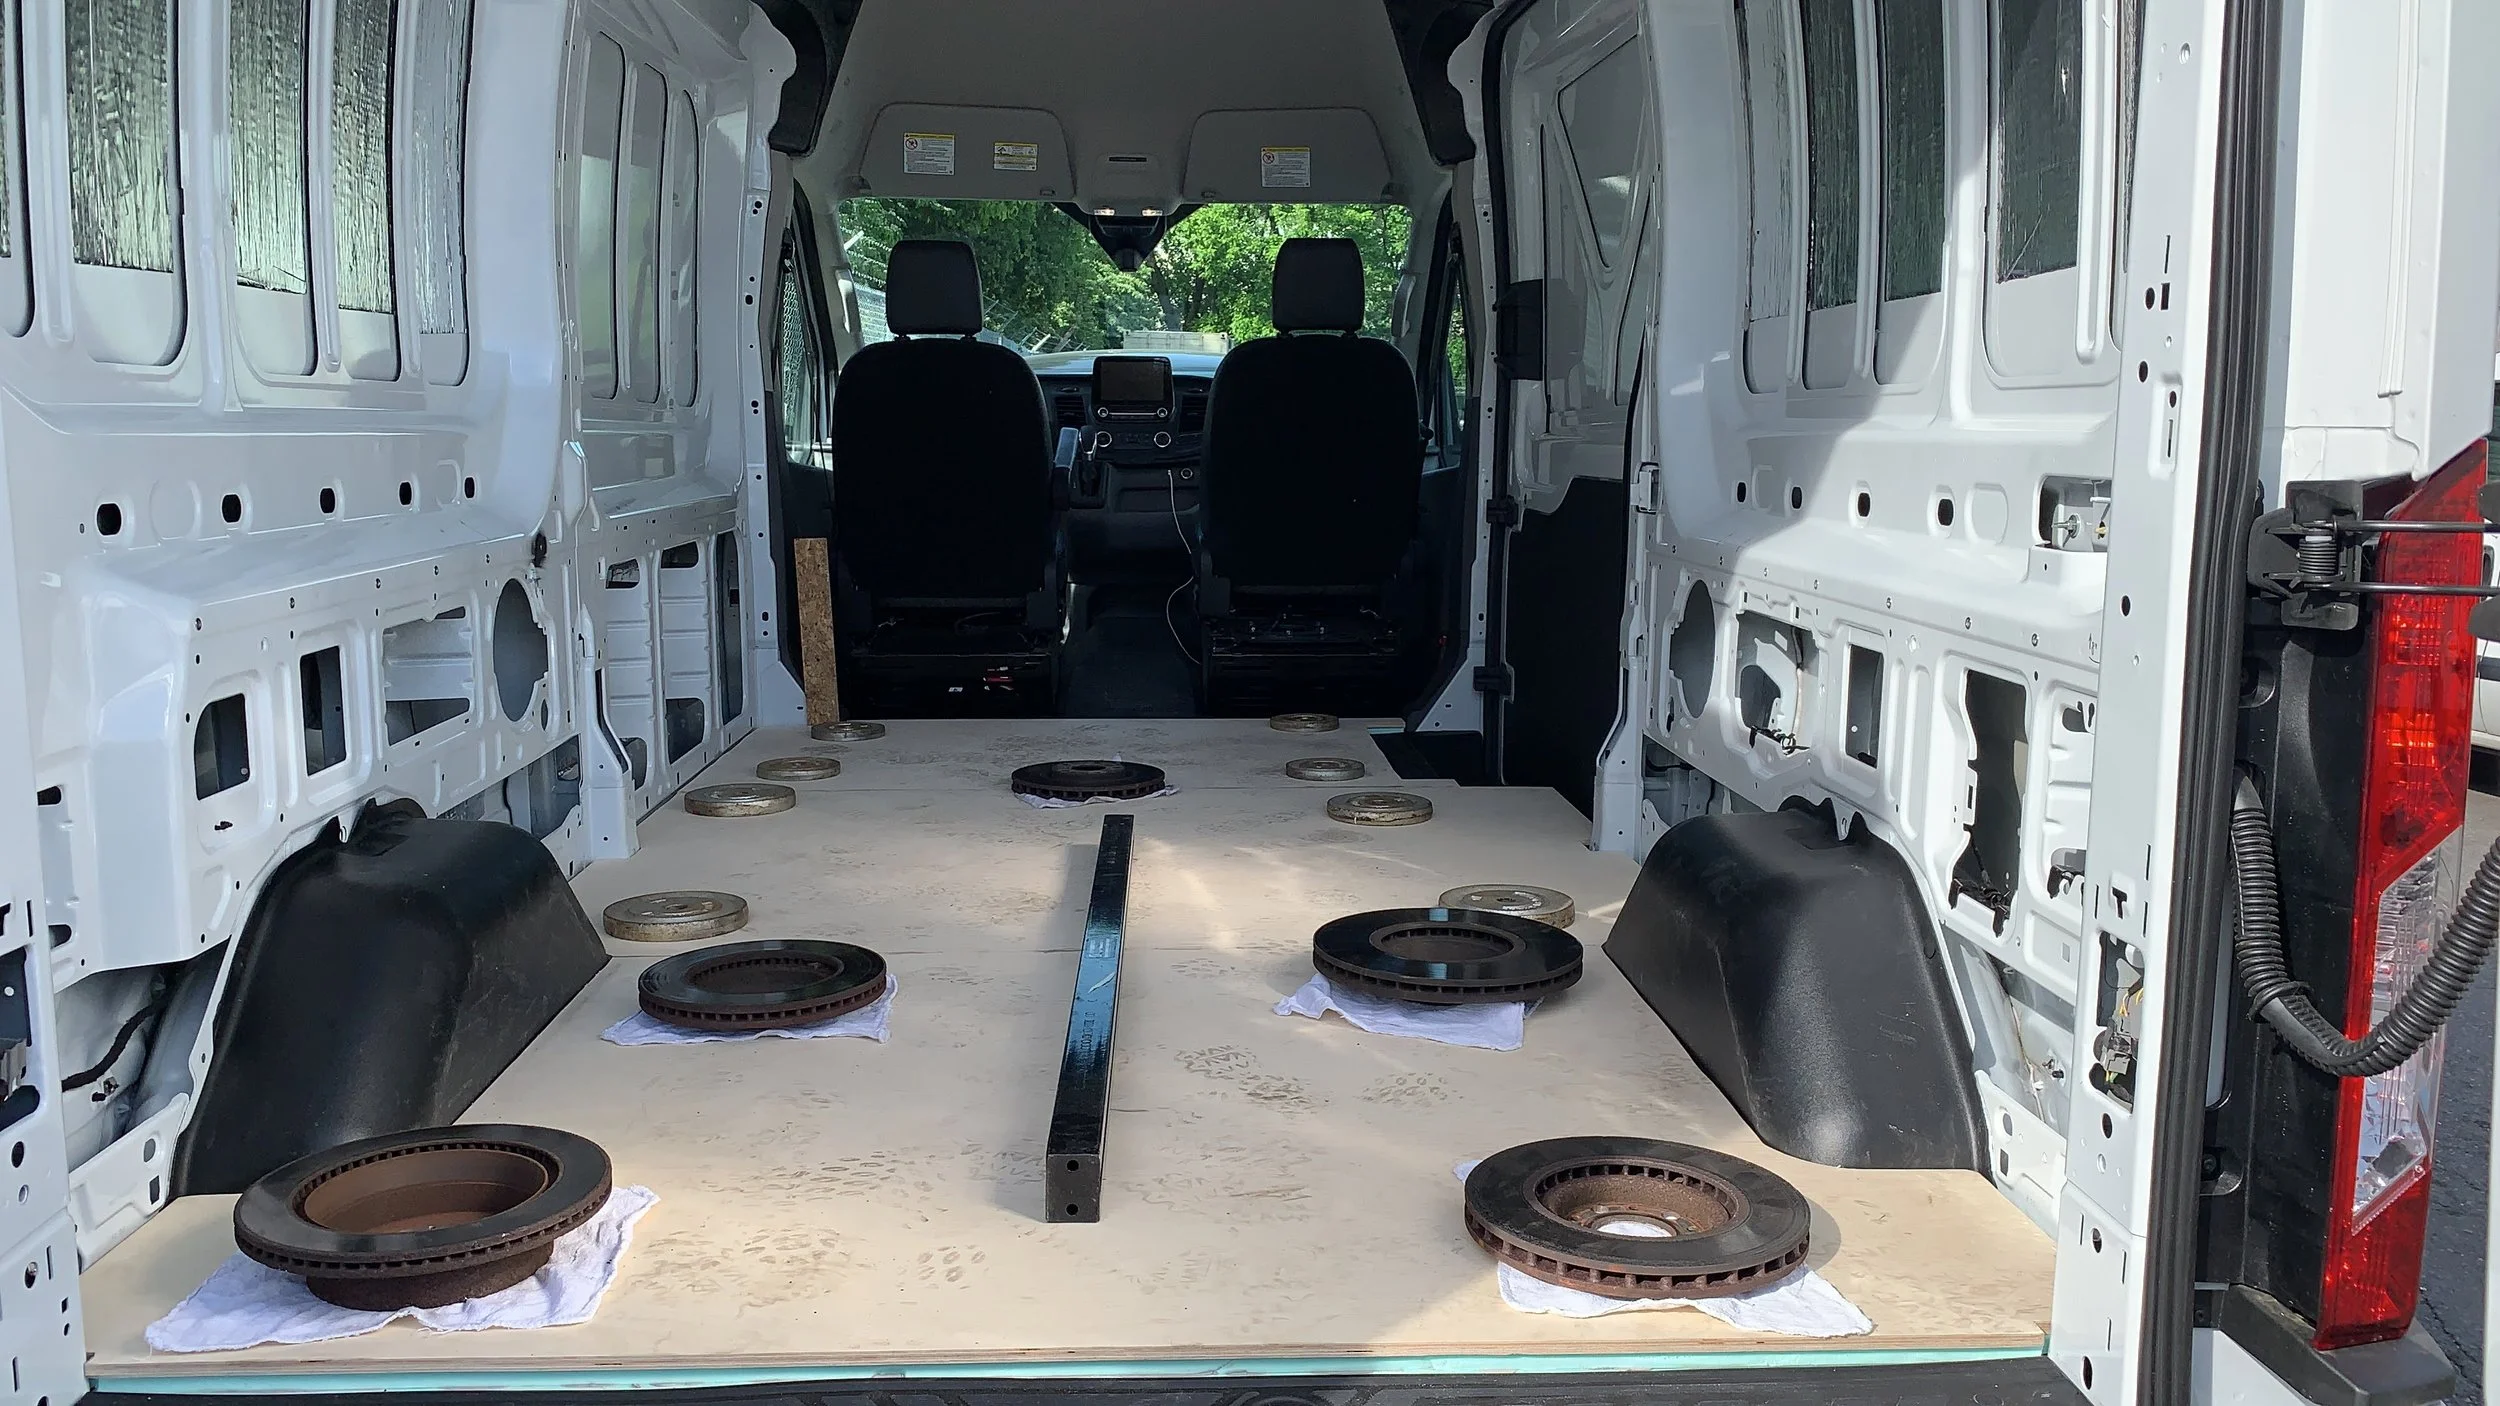
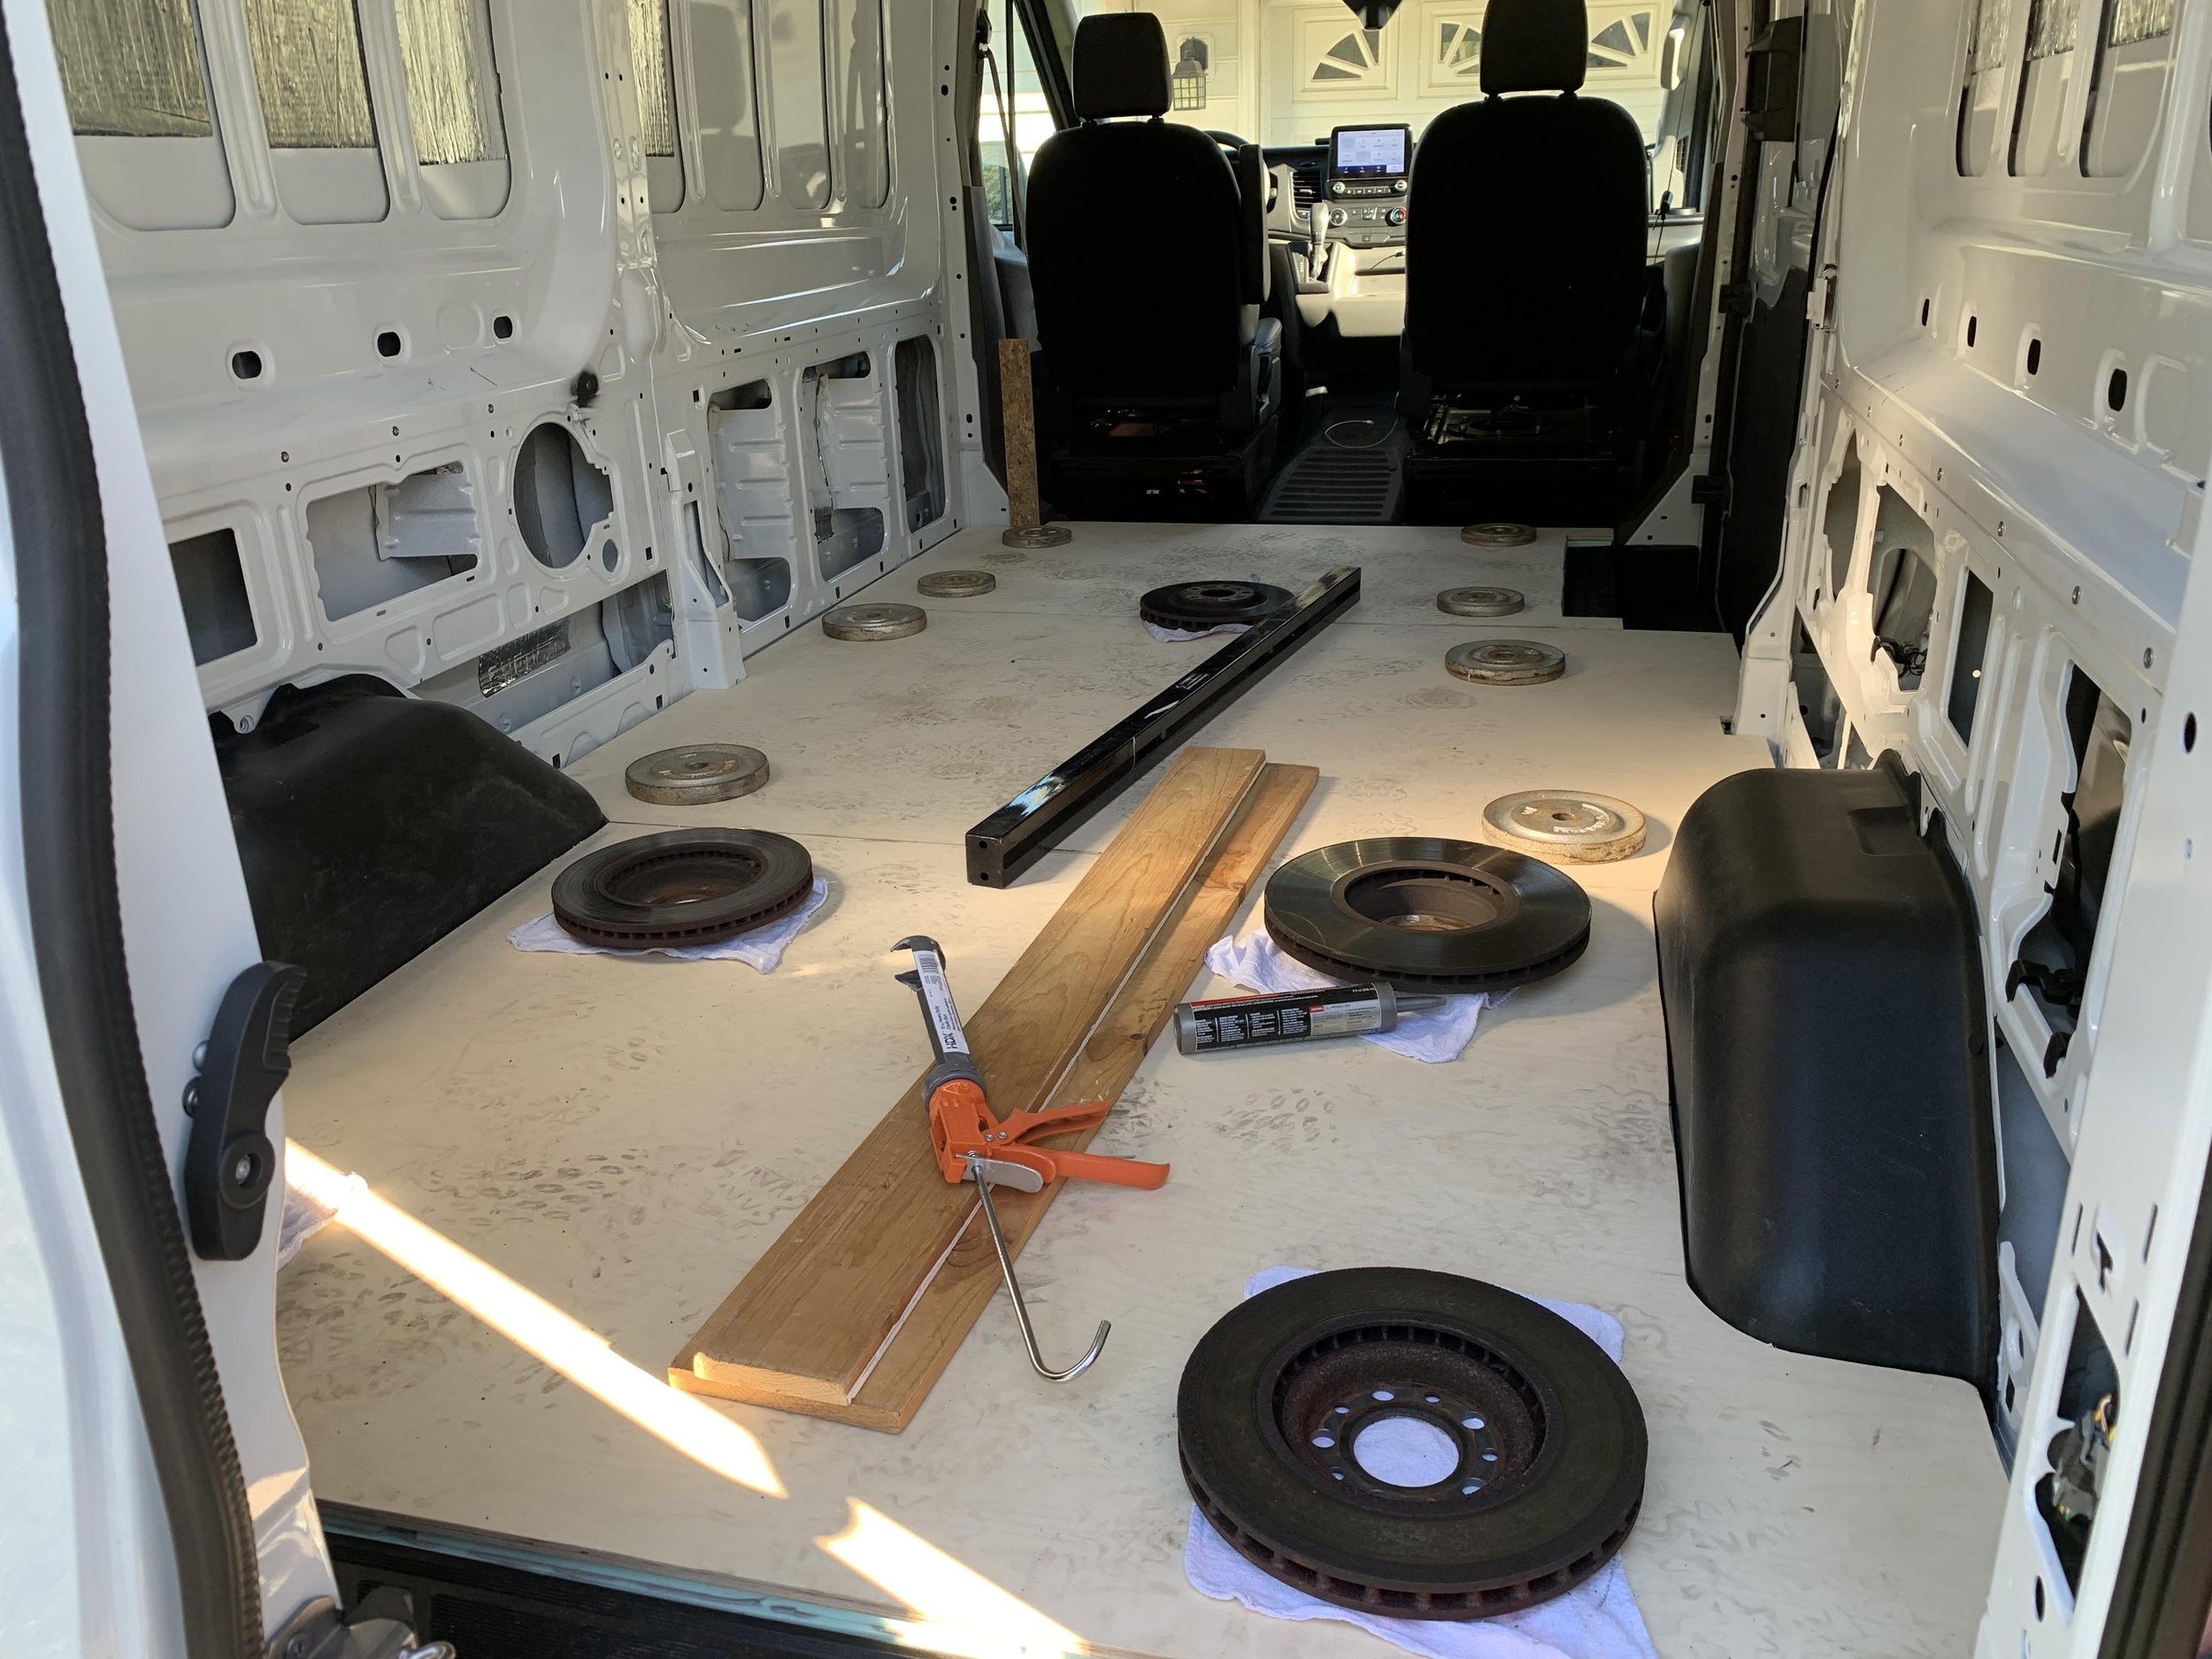
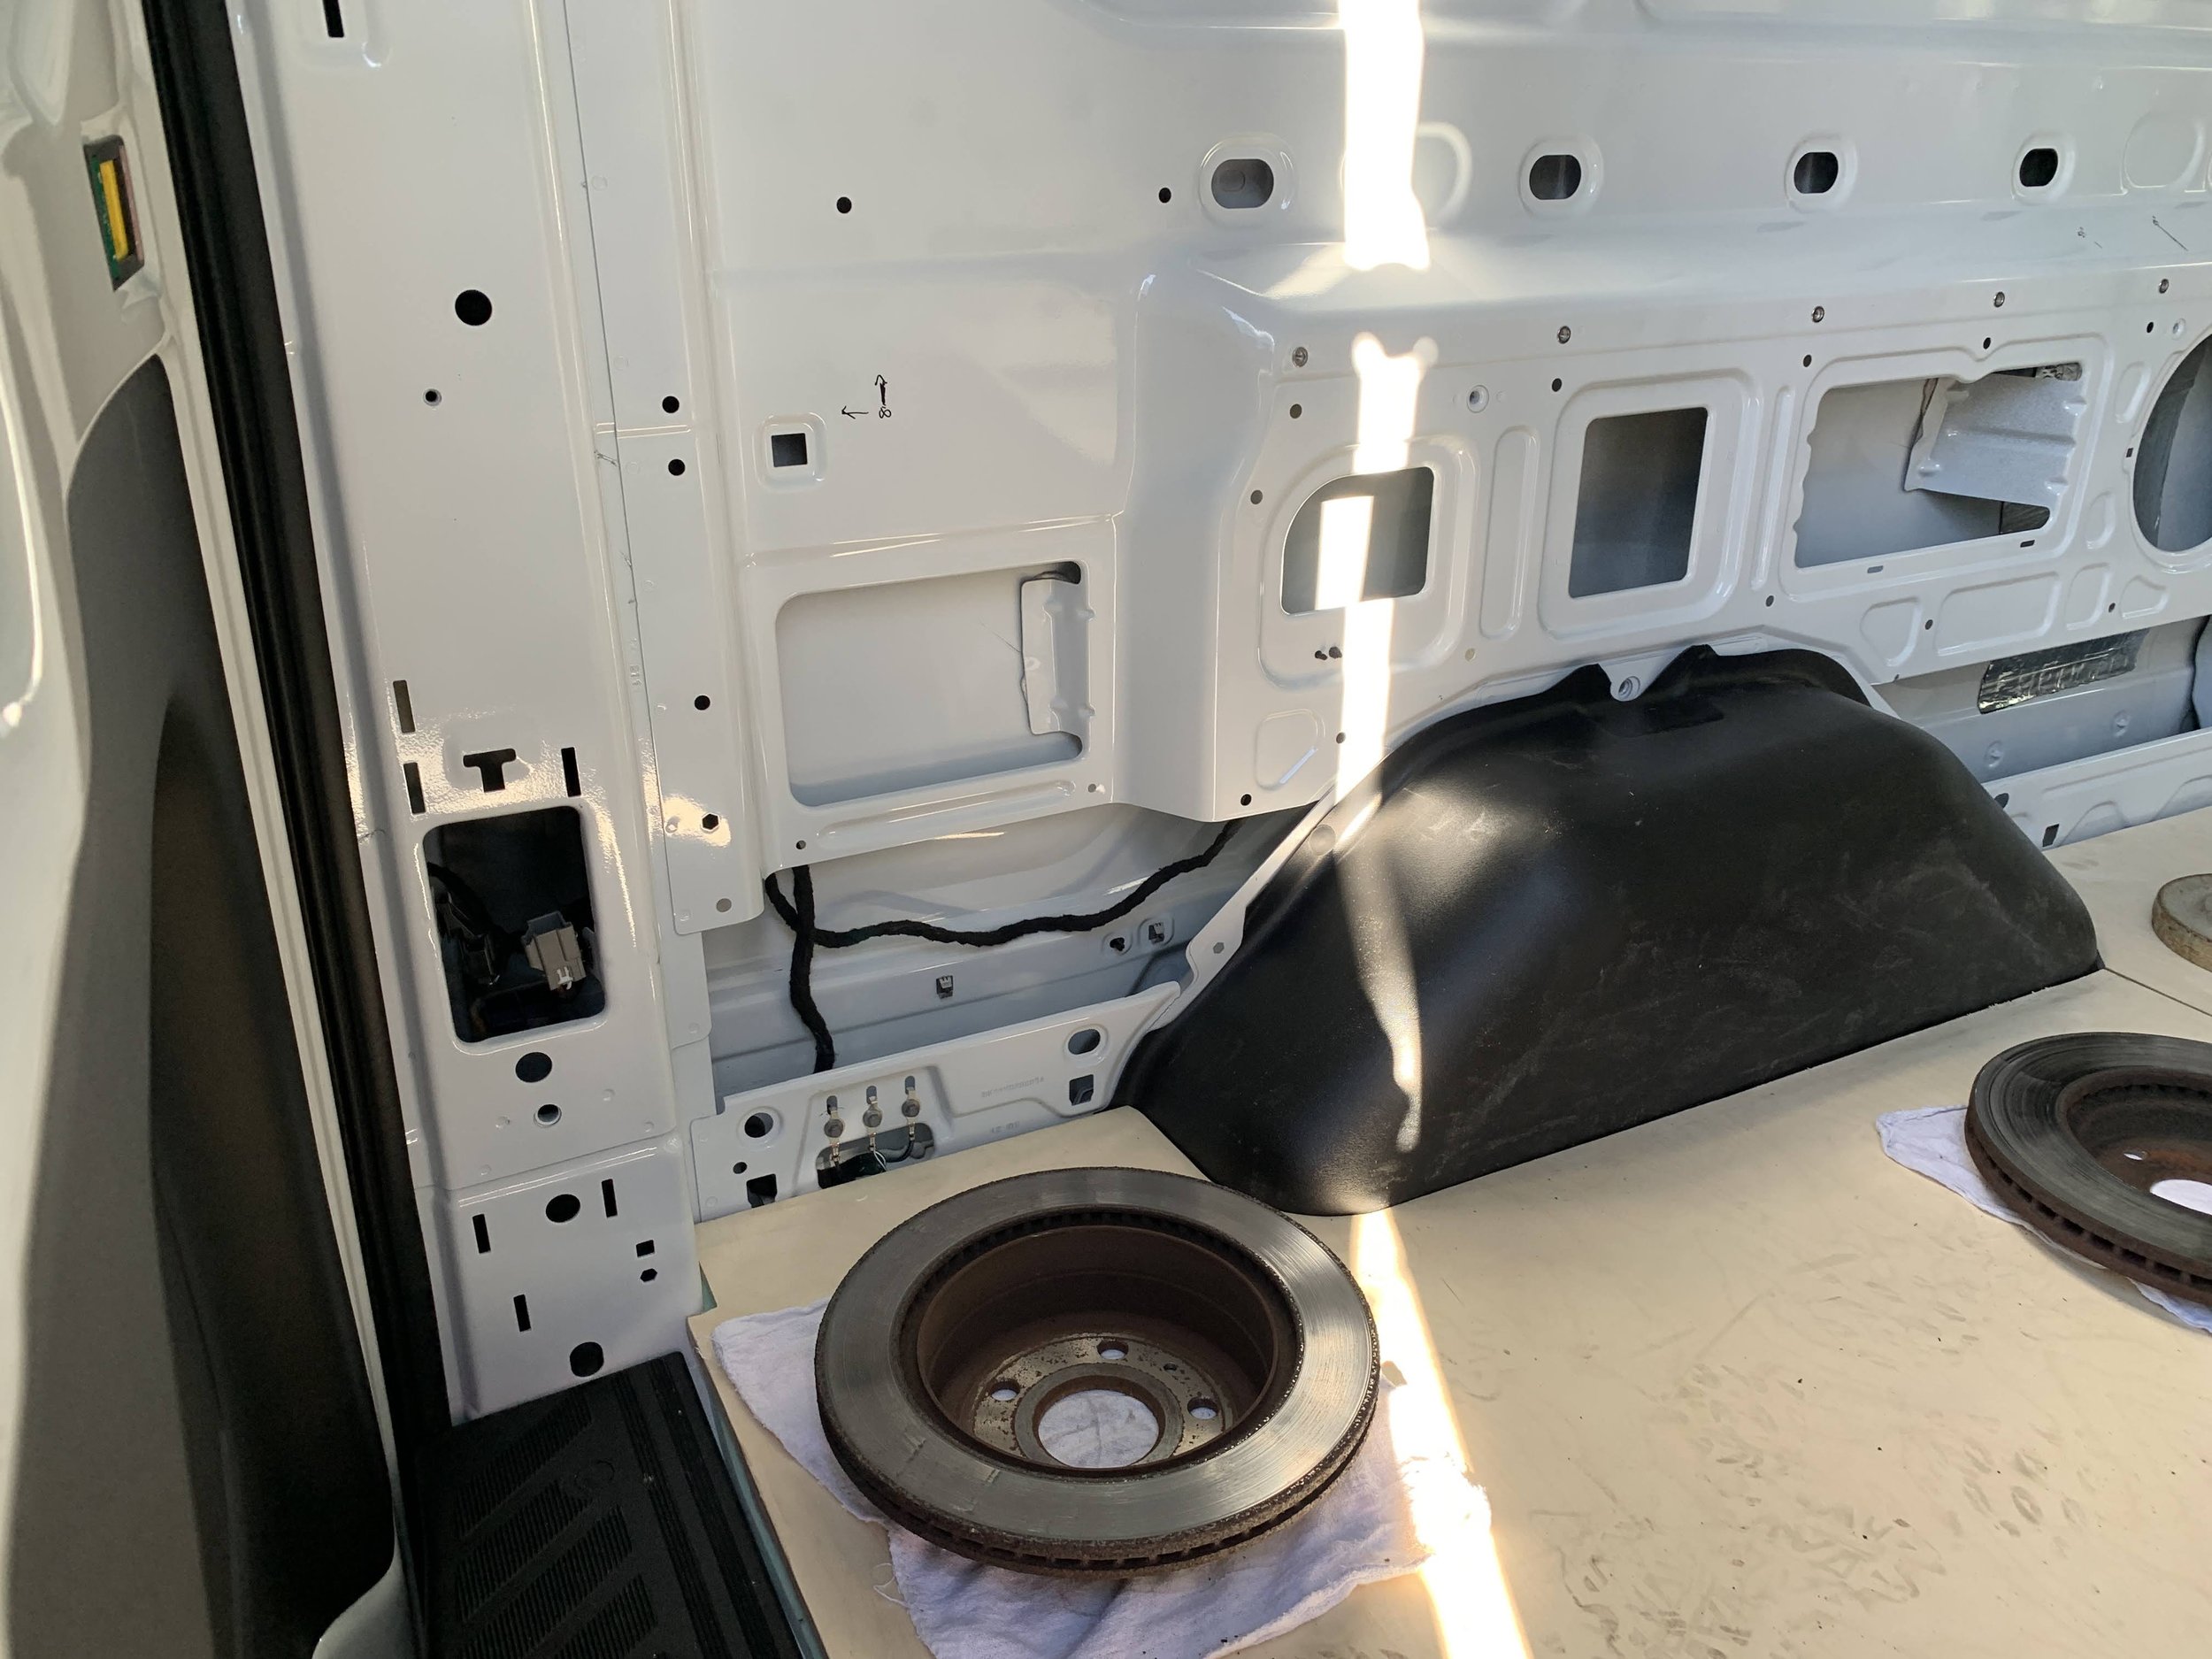
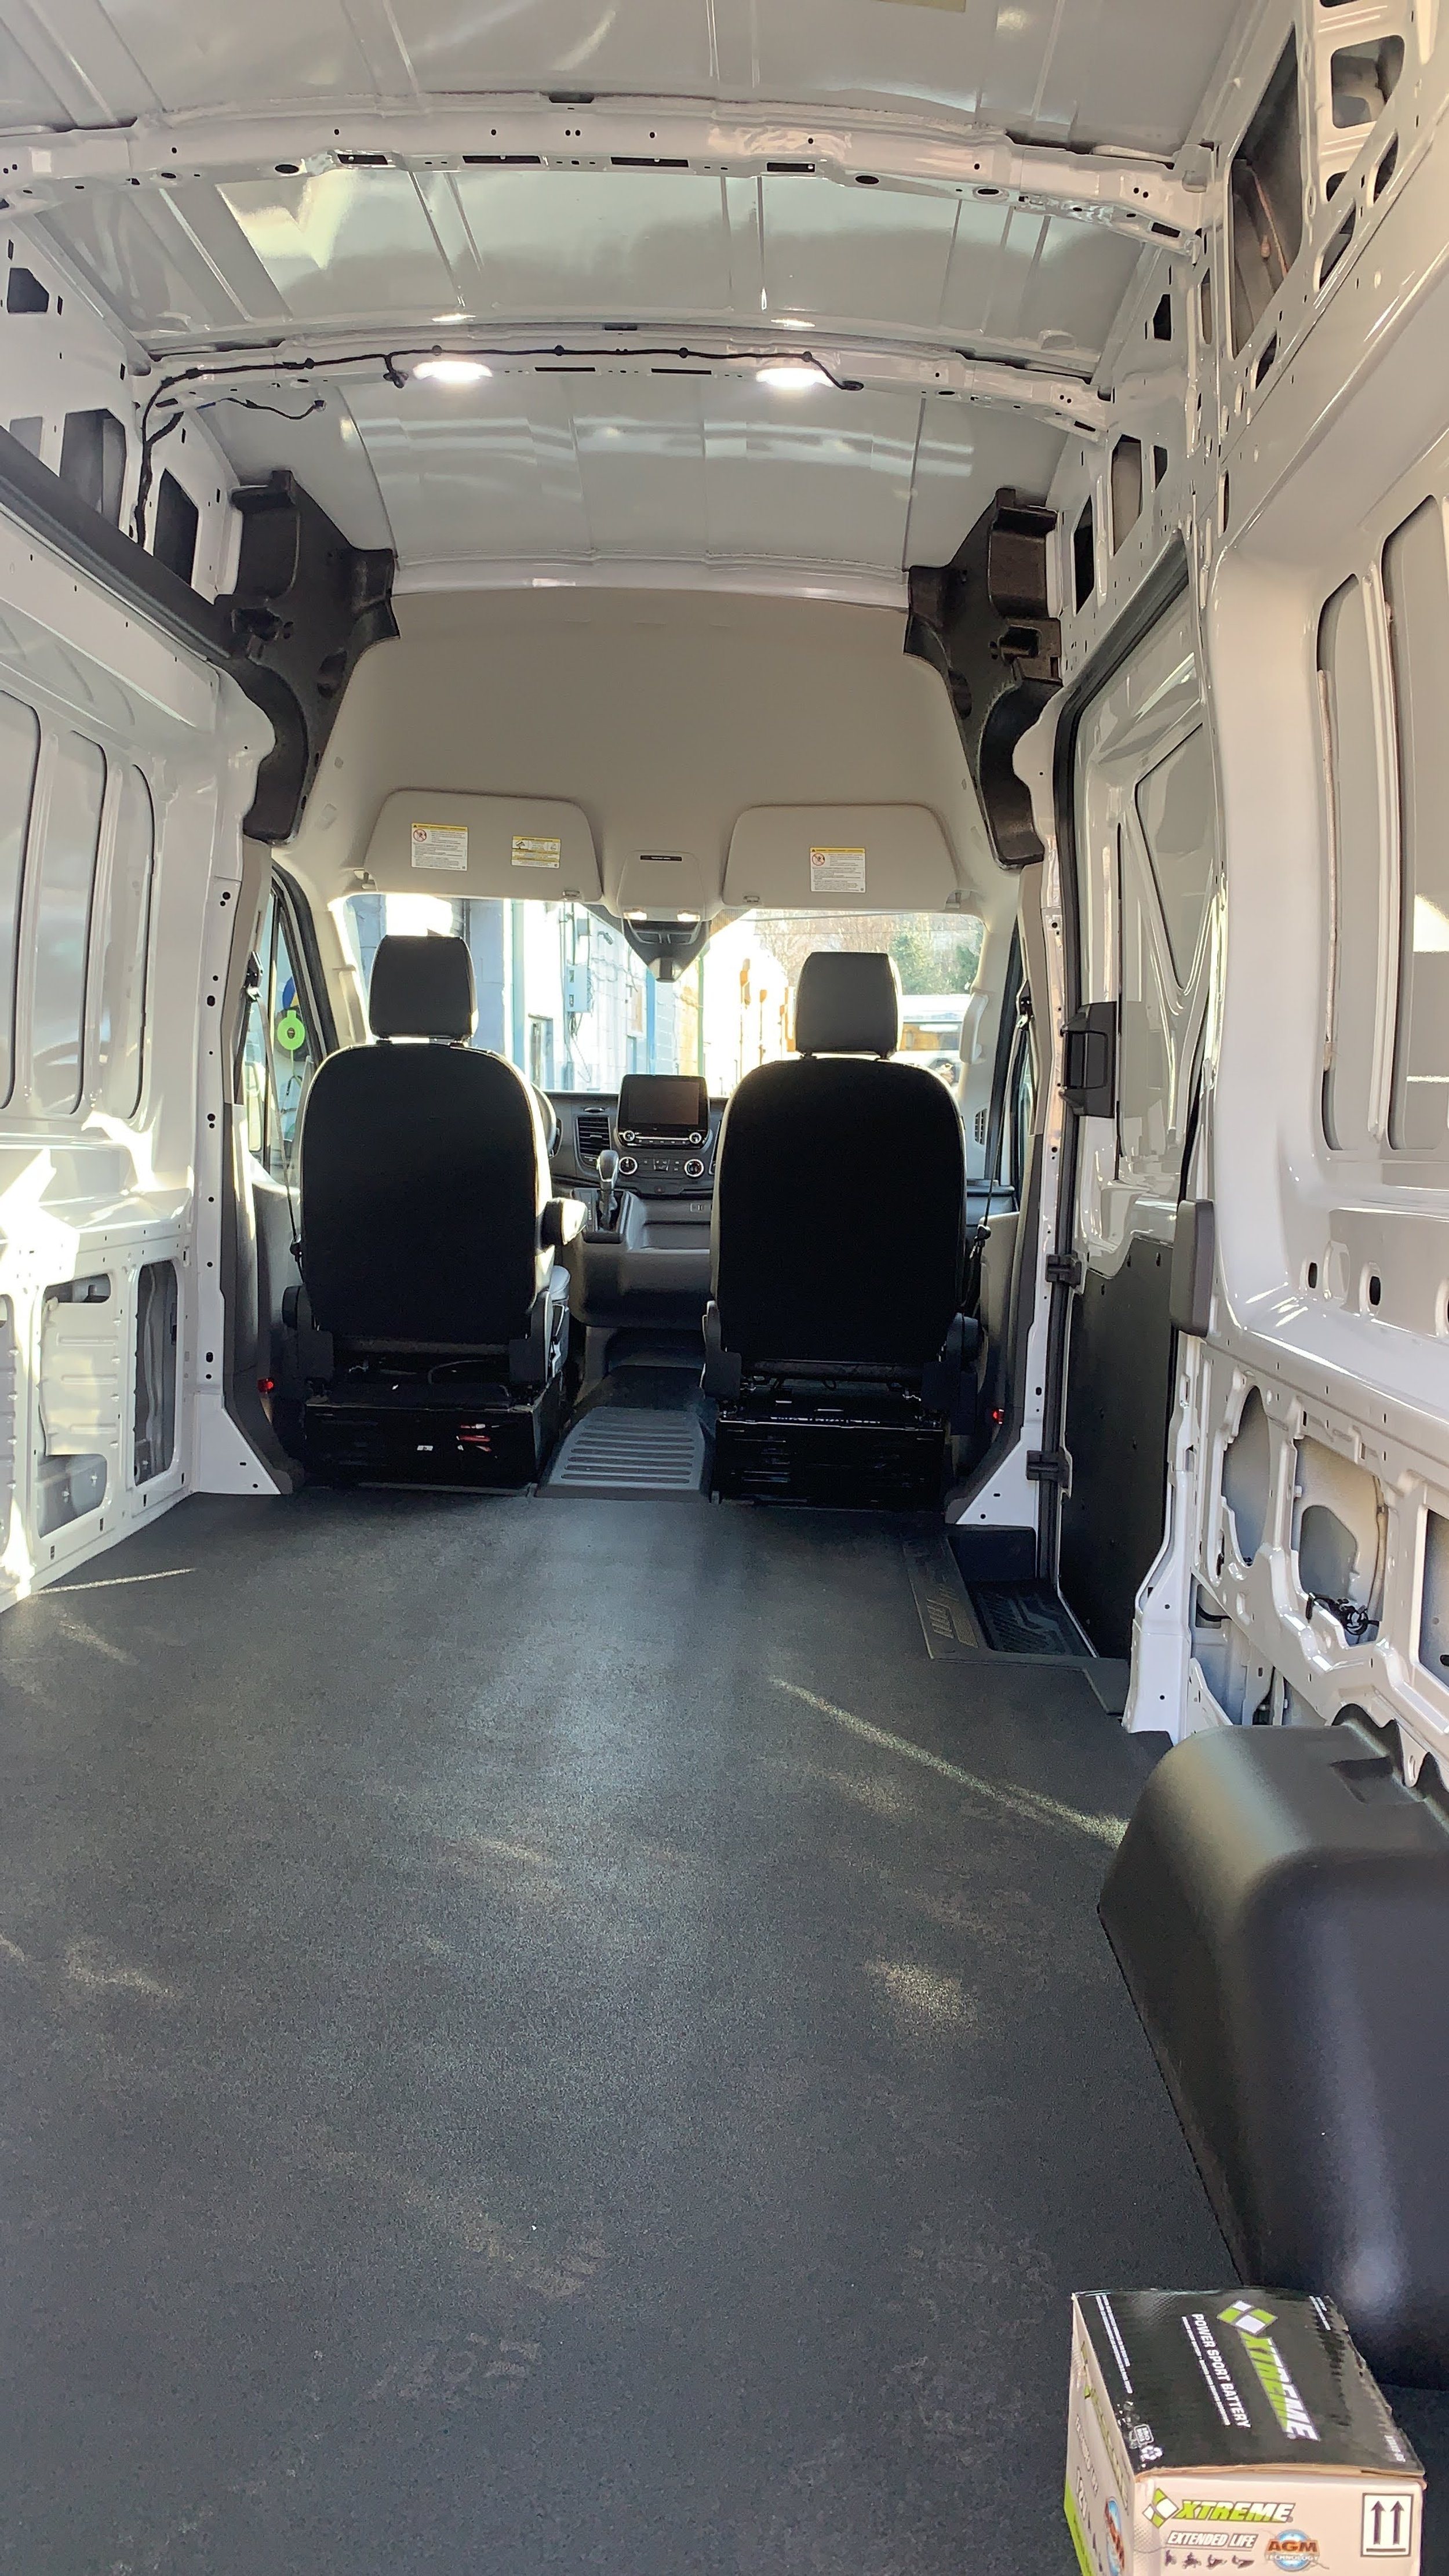
Flooring and insulation went in, I had Phaedon and Salman came to help me because cutting the 4x8 boards is very difficult by myself and putting it down with the glue is near impossible to do alone without making a mess. I cut each foam strip with a foam cutter. The grooves under the van is not exactly 1/2 inch. So I filet it with the foam cutter with a jig. I cut them smaller so the air channels are still there but I wanted to have some support and doubling up on the insulation where I can. Once that was done and glued down, I glued 1/2 inch foam board. I found the ones at Lowes with the strongest density. I end up using XPS because to be honest, they are all similar. People rant and rave about poly iso, the amount of insulation provided in half a inch is negligible and the xps is just more rigid and does not absorb any moisture. Also I can find the thickness locally and easy to purchase. I cut the plywood sheets and glue those down as well and weigh it down with left over rotors from the shop. The big long steel bar is a engine balancer from the shop. They all came in handy.
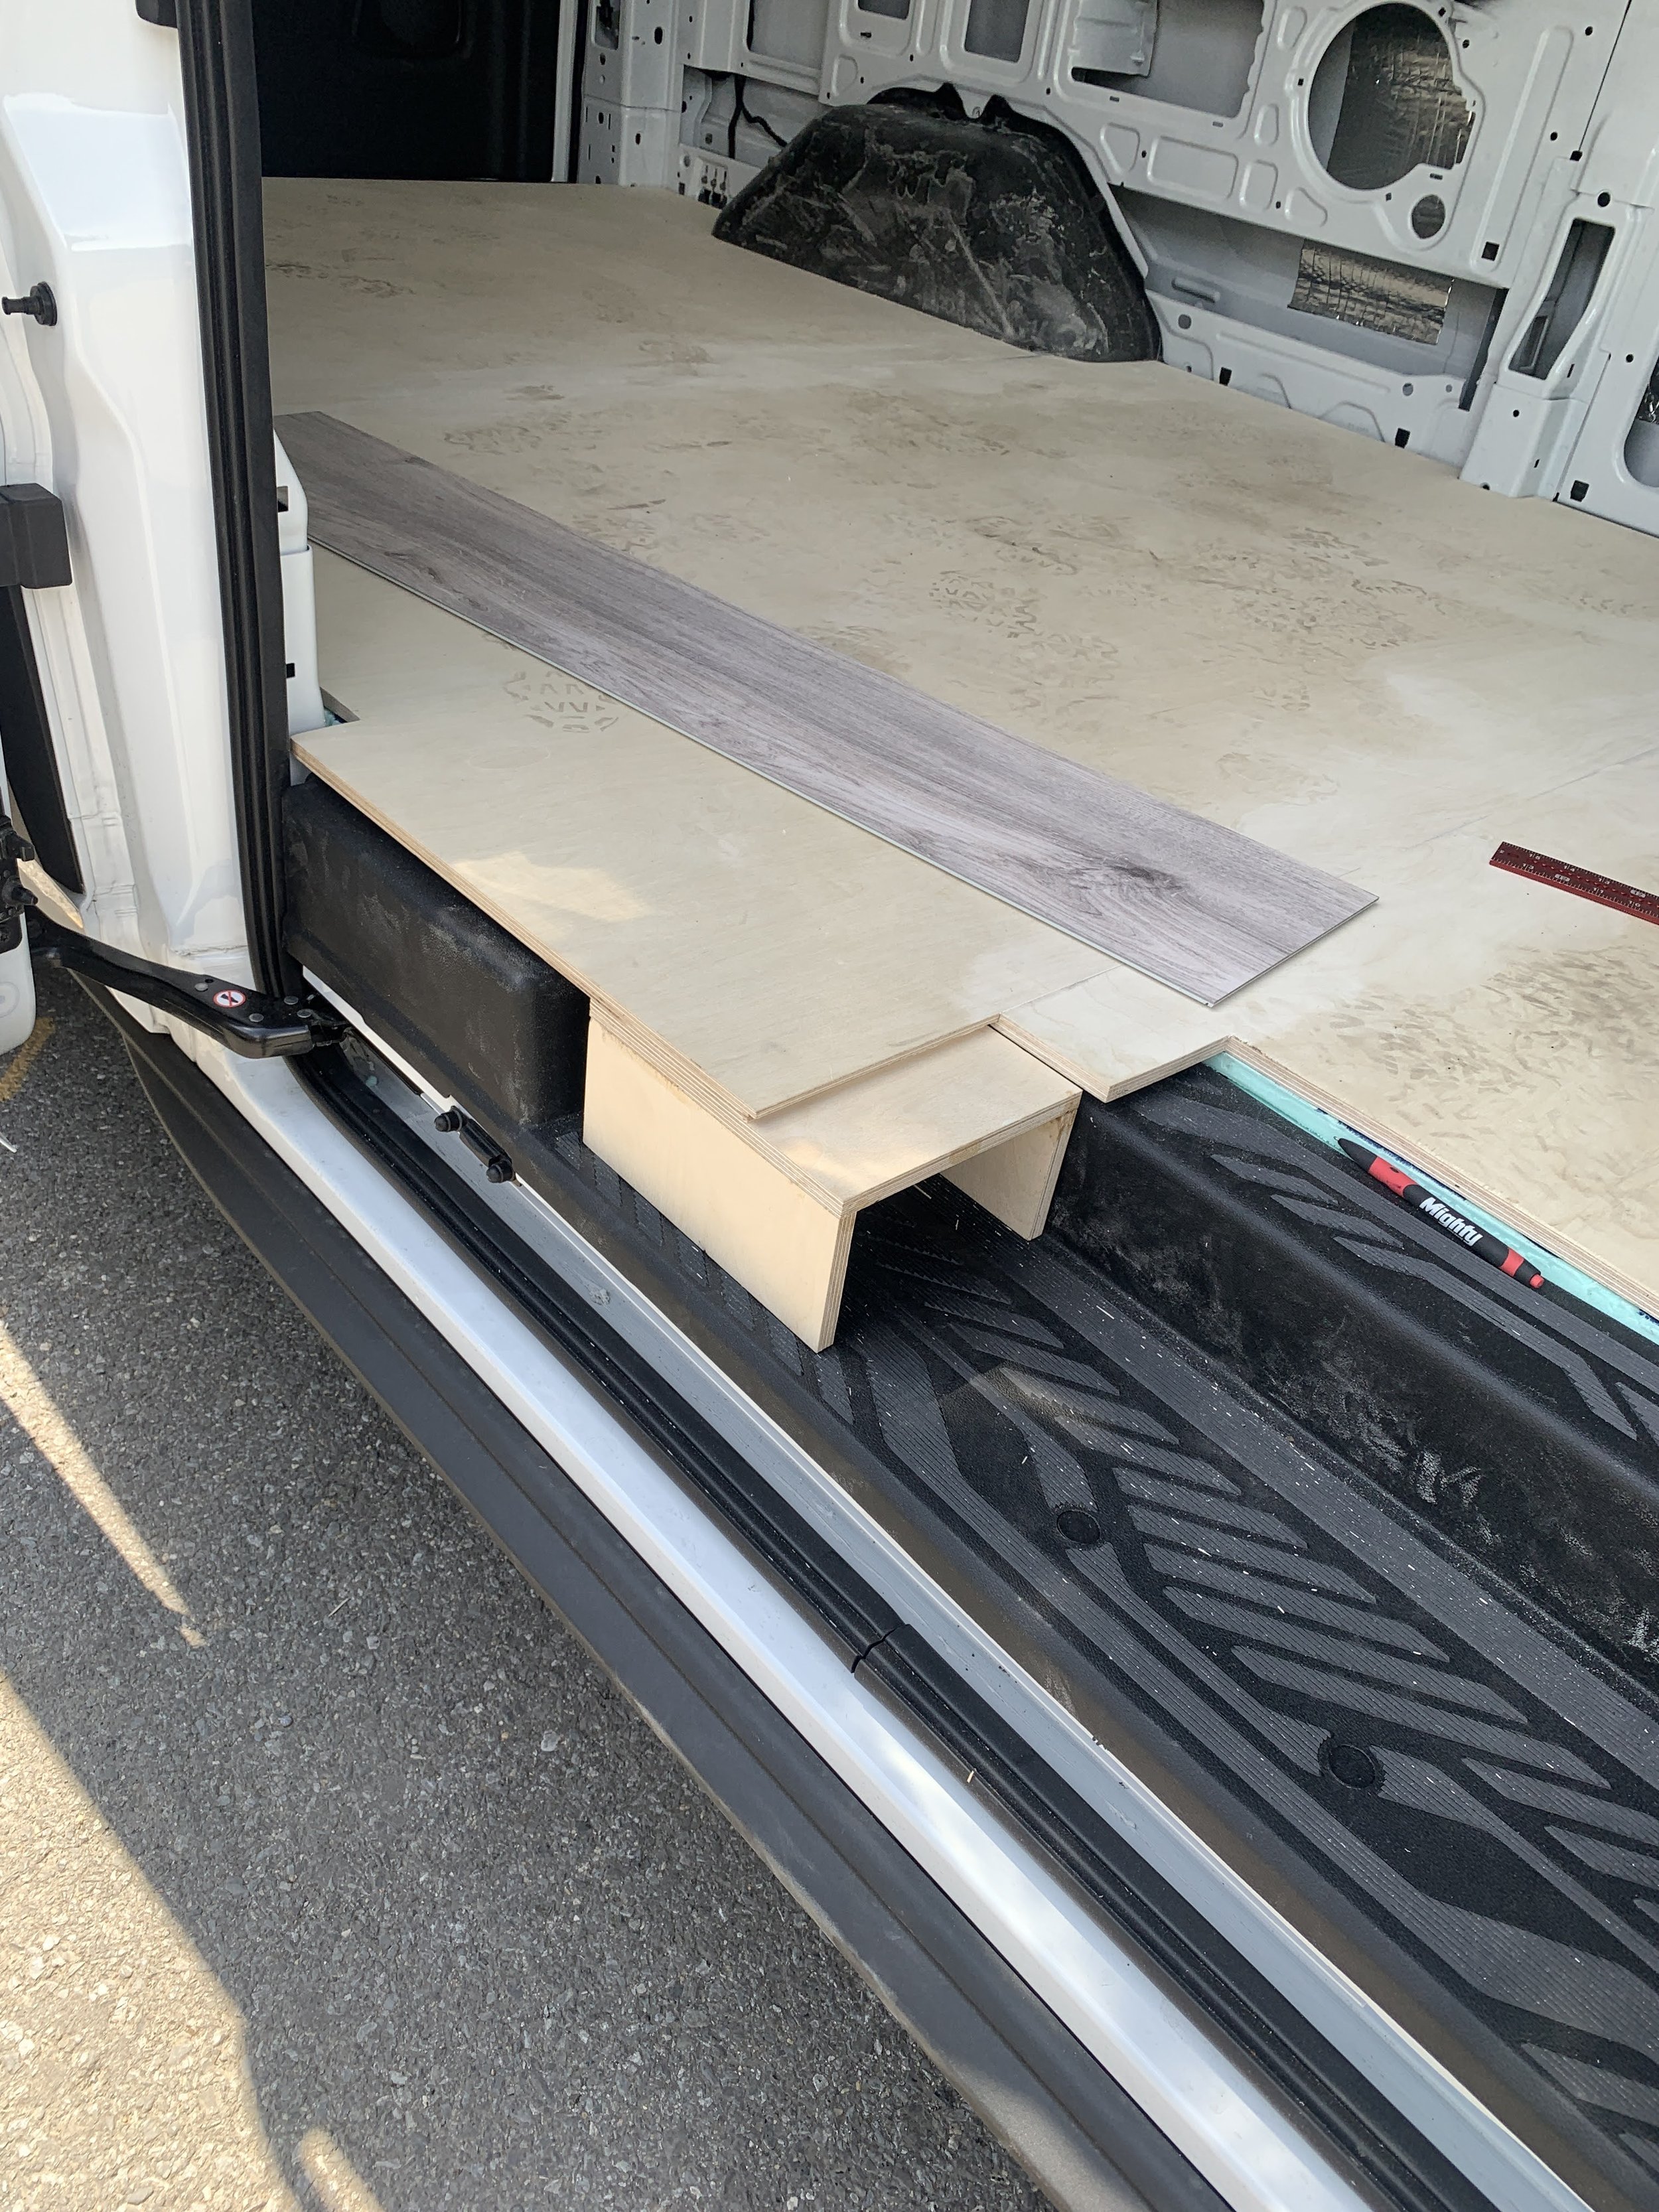
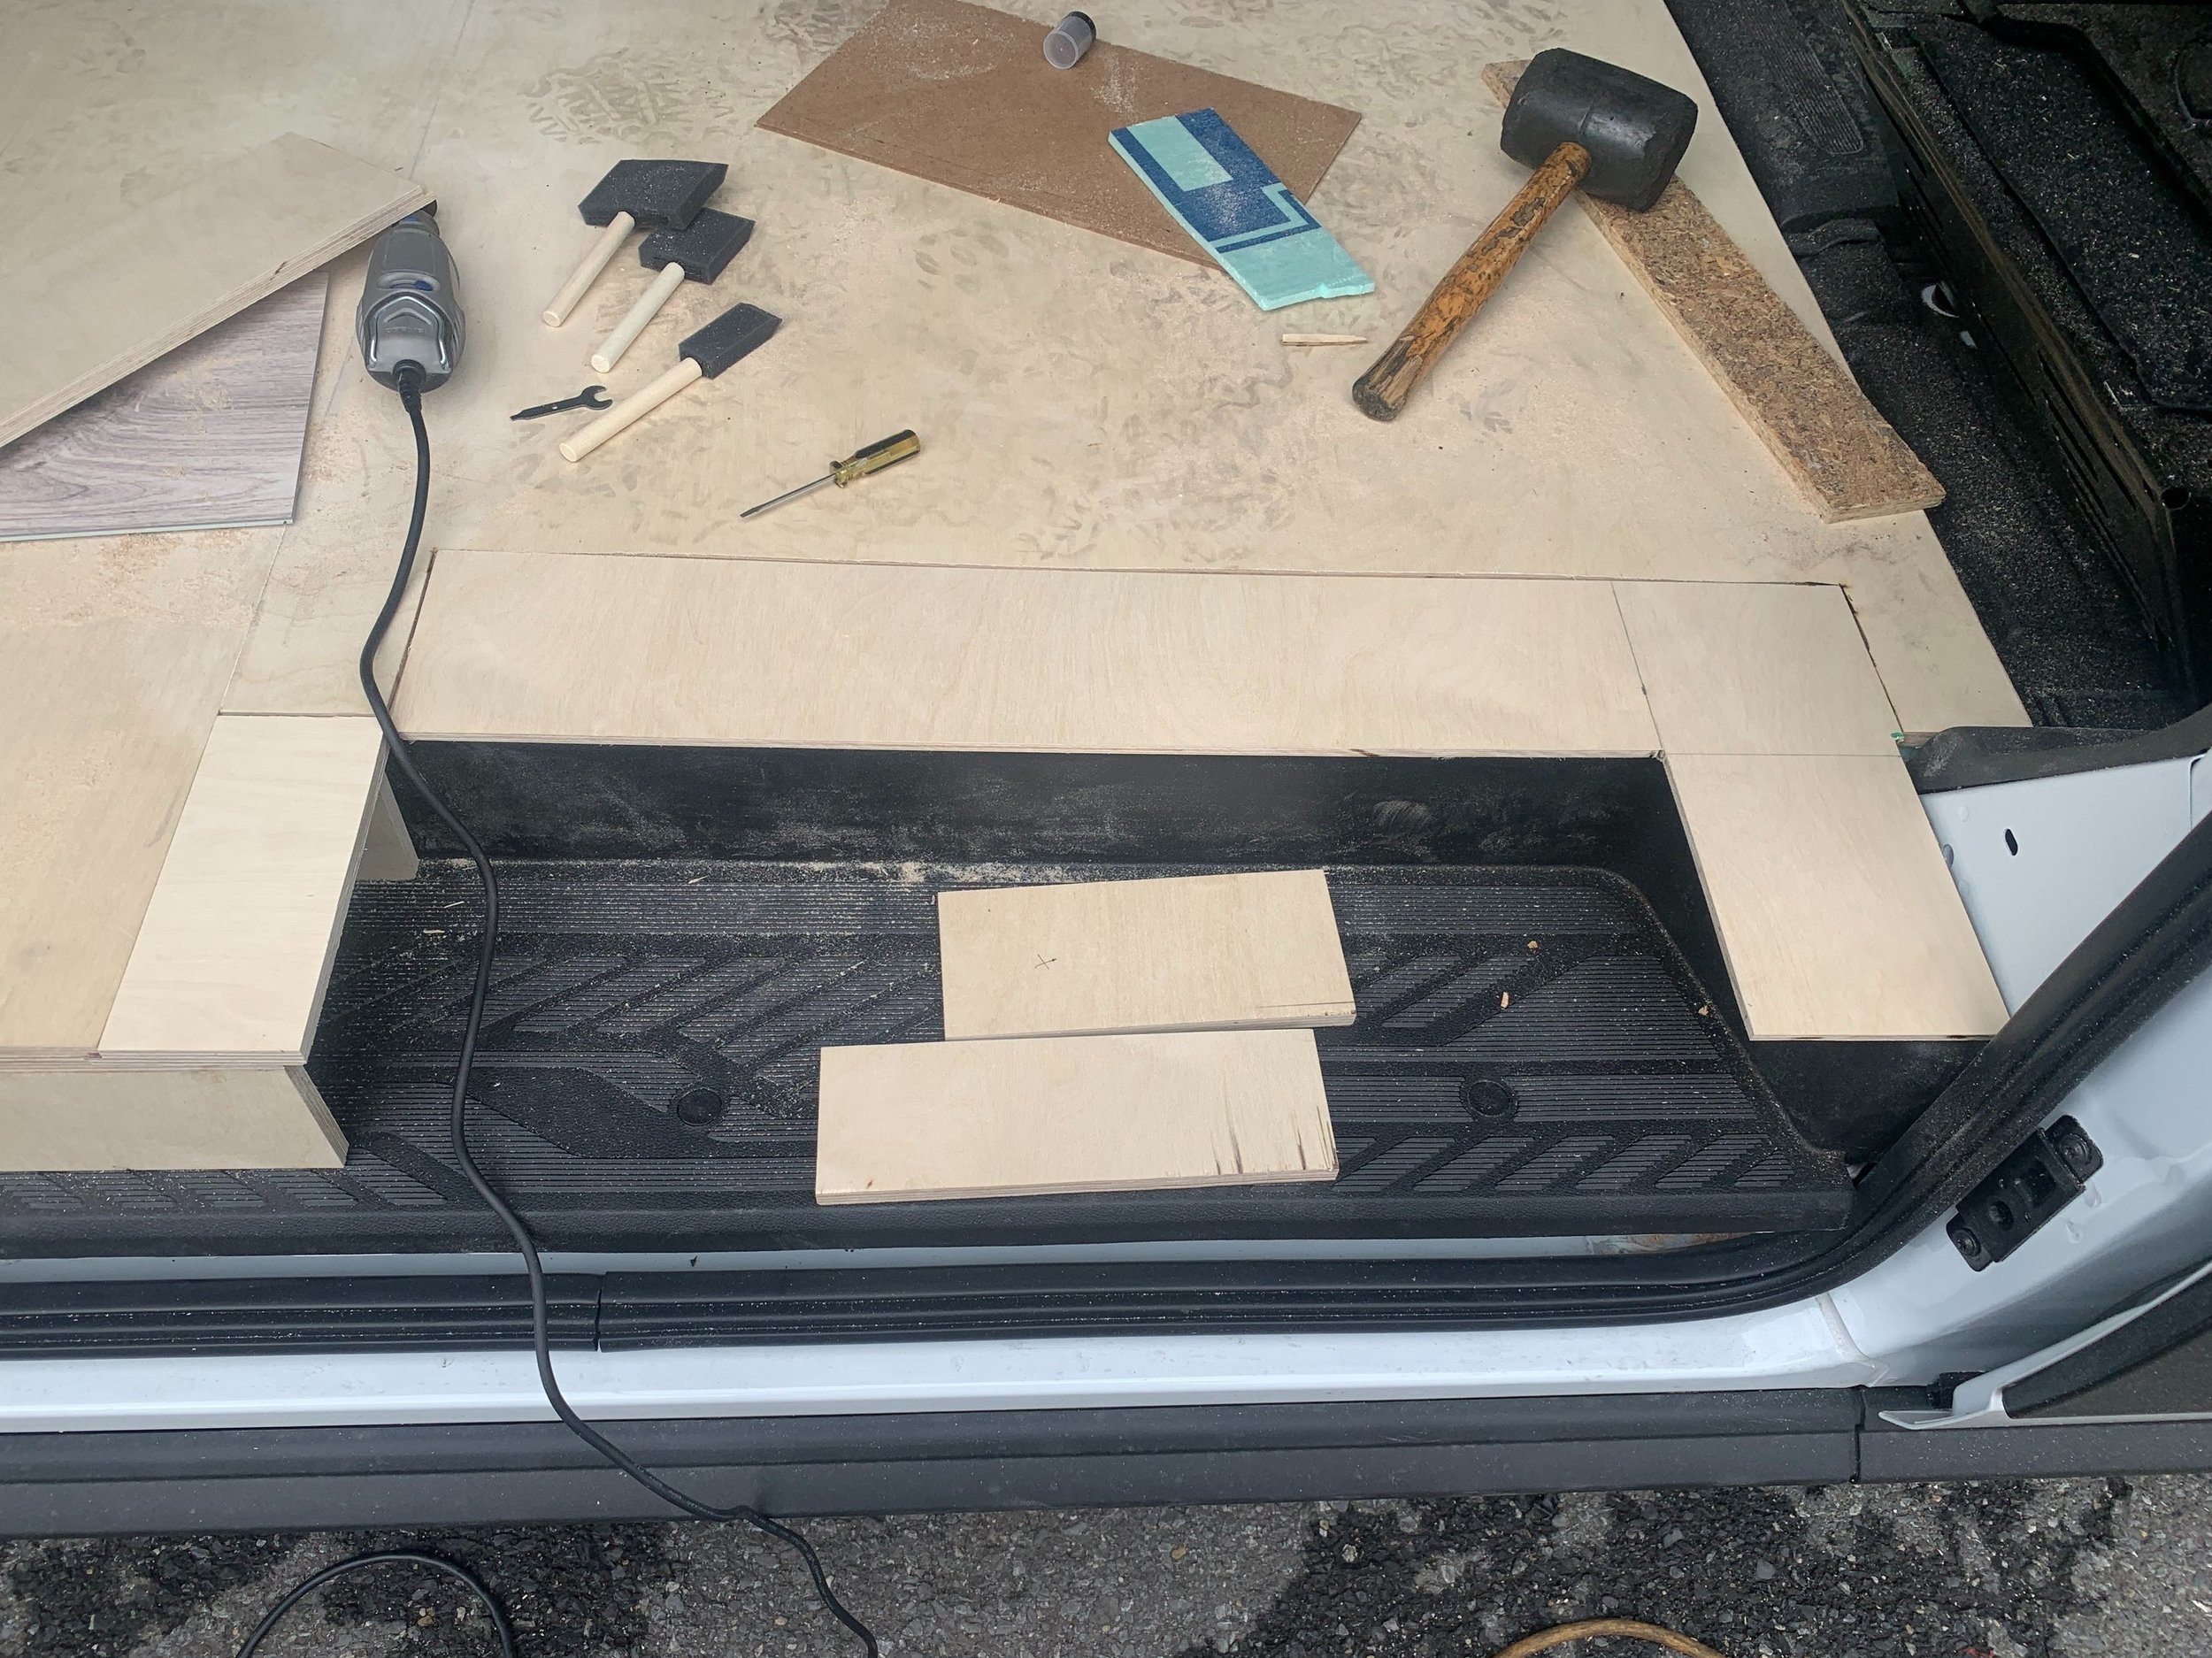
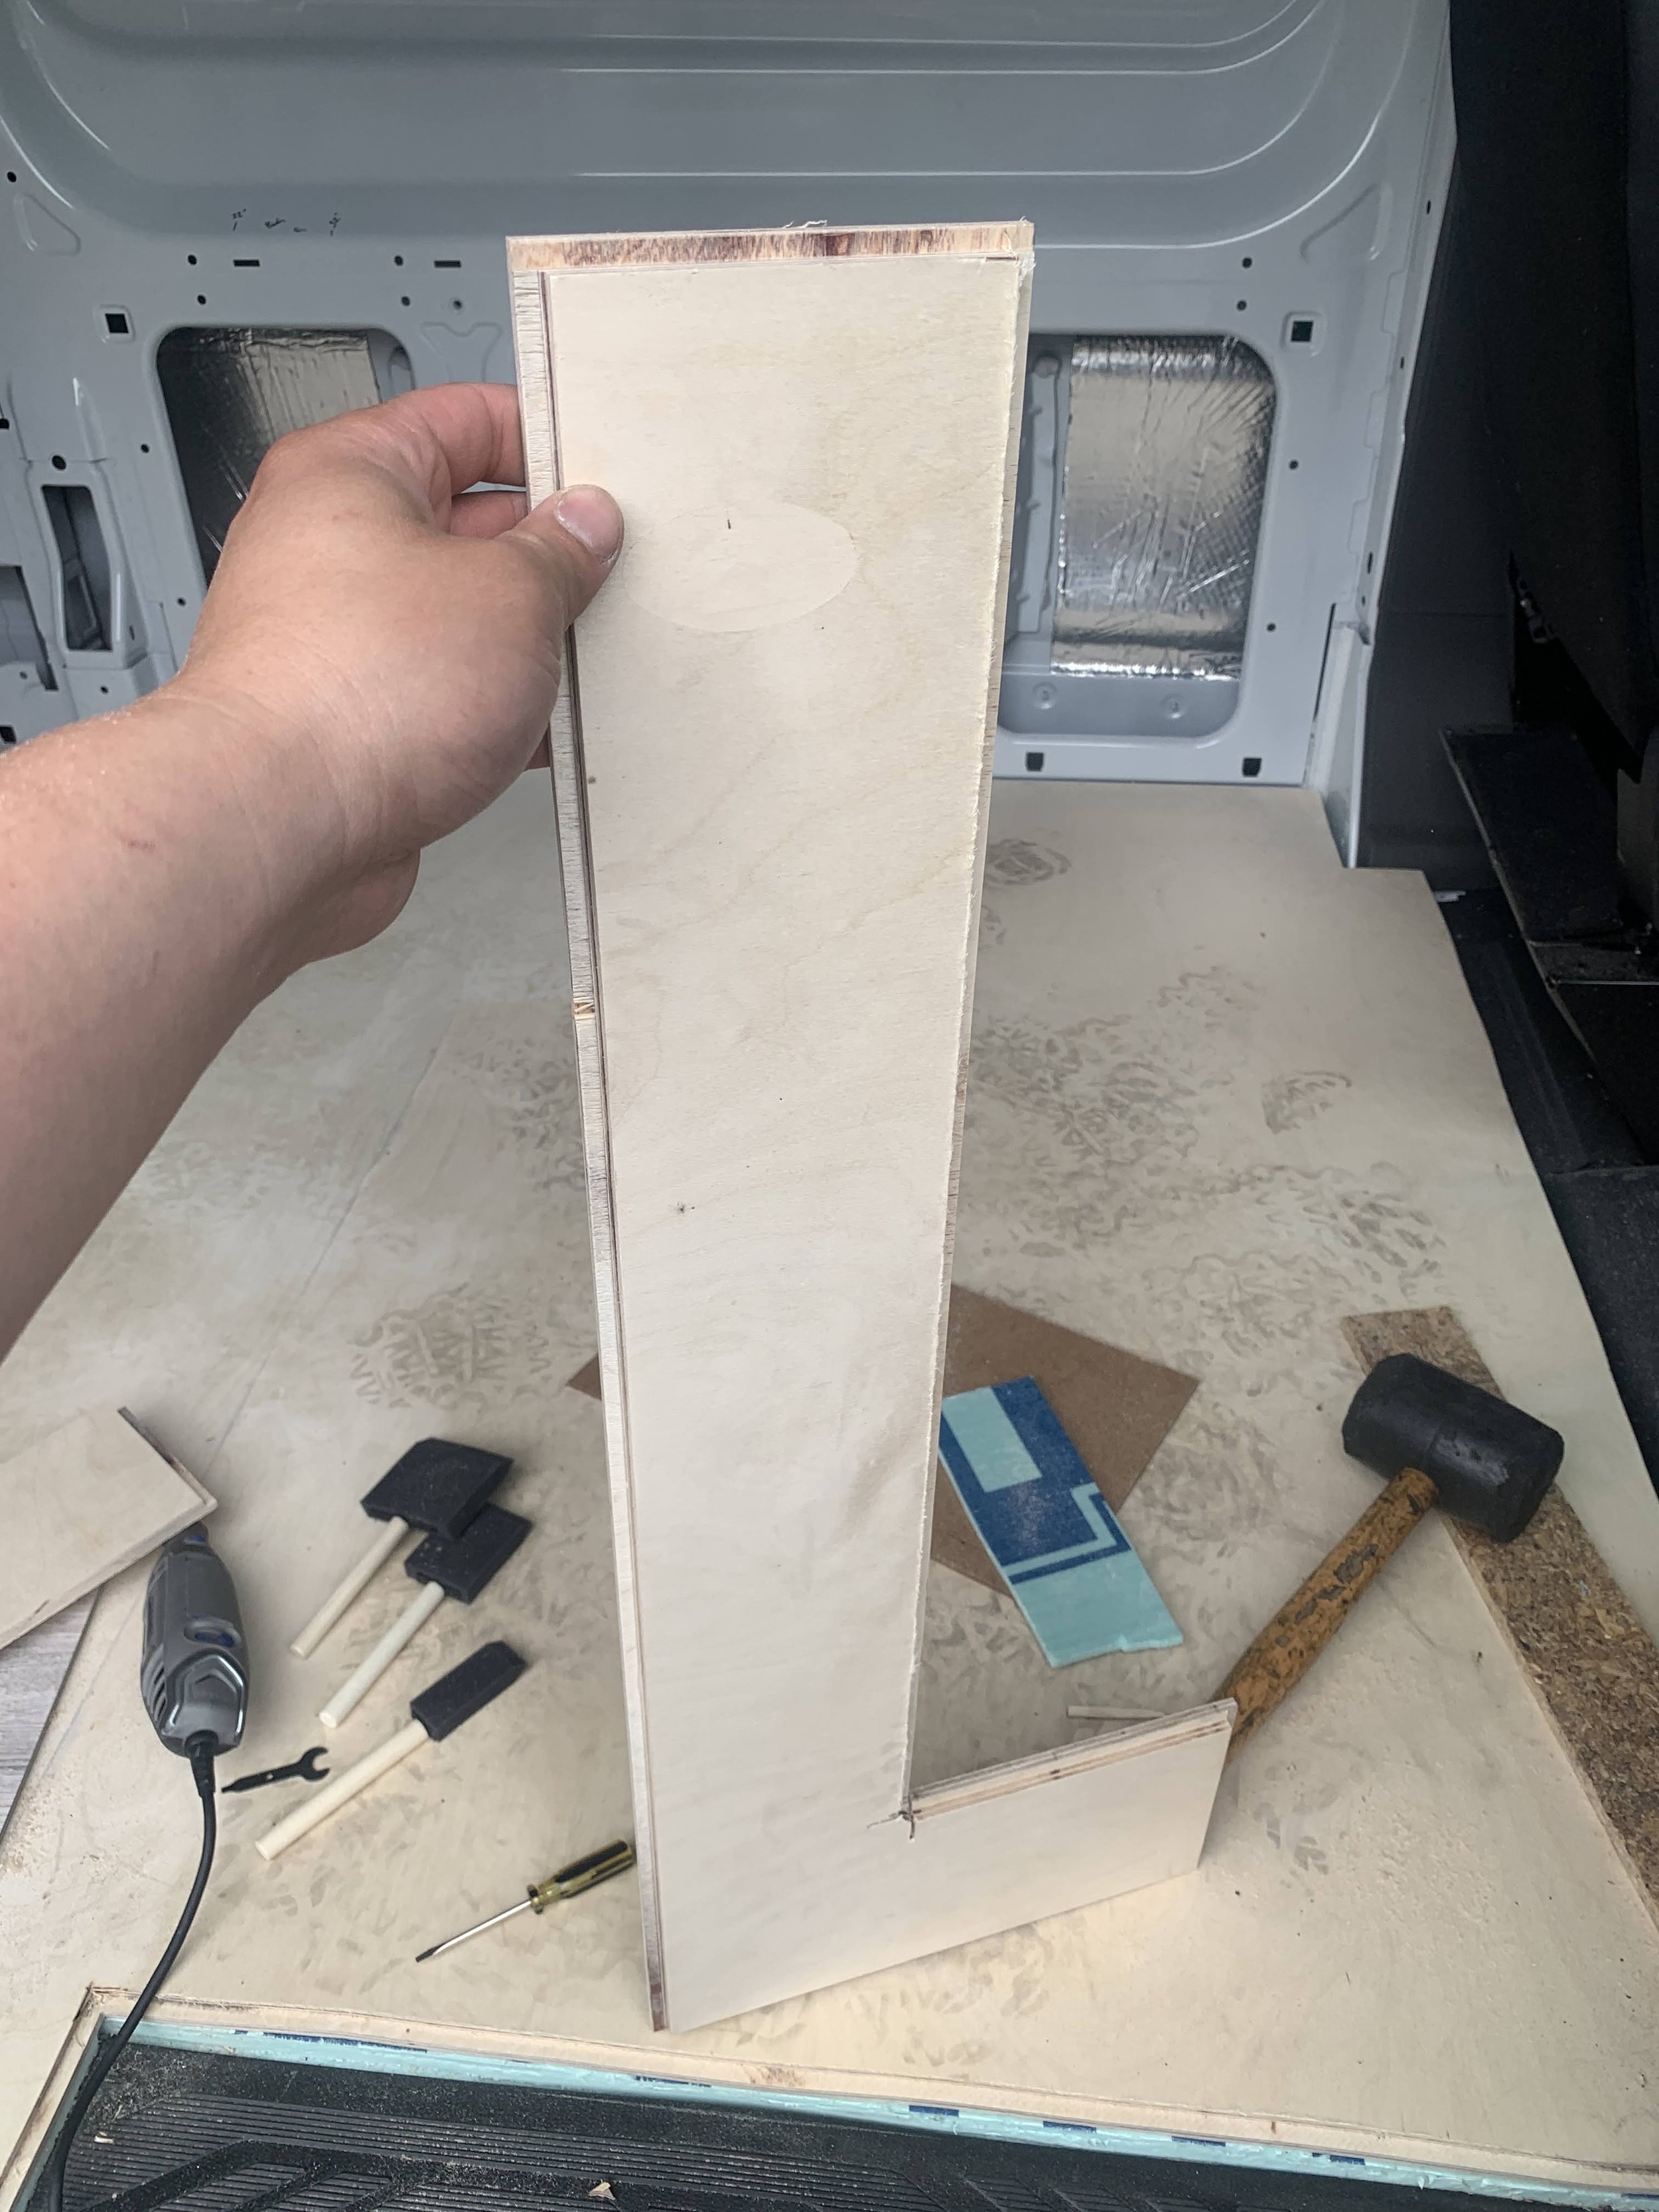
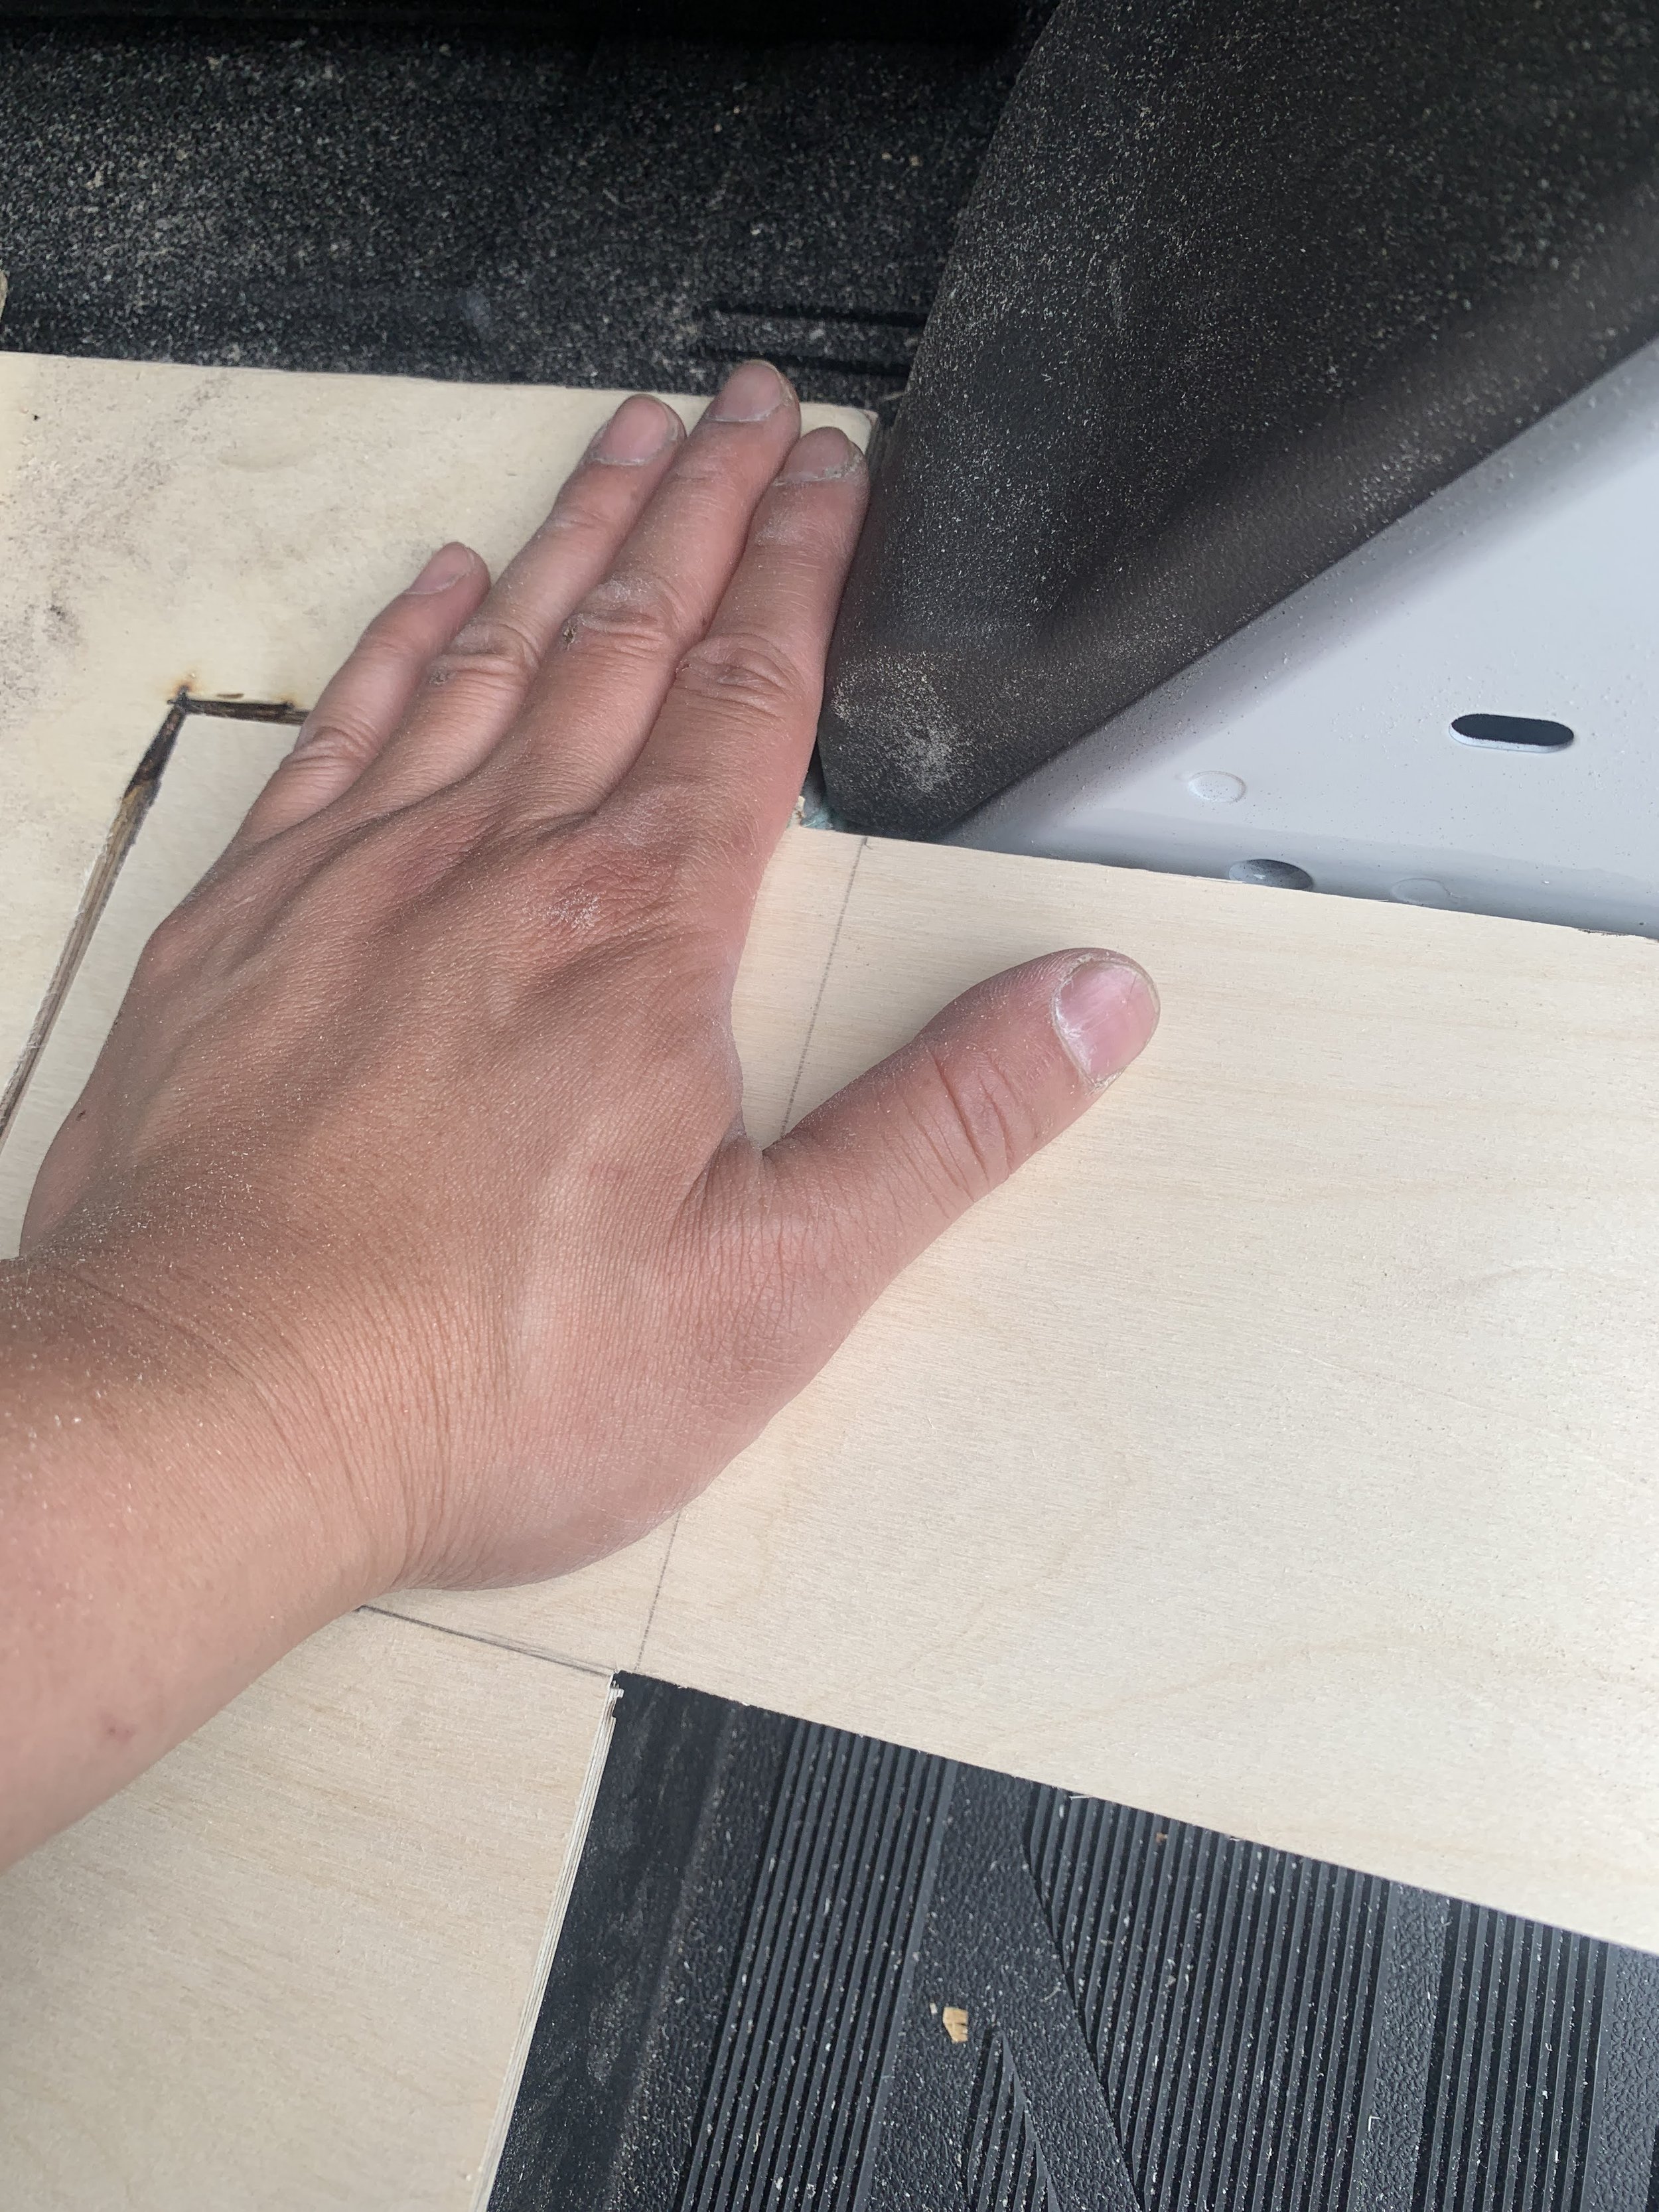
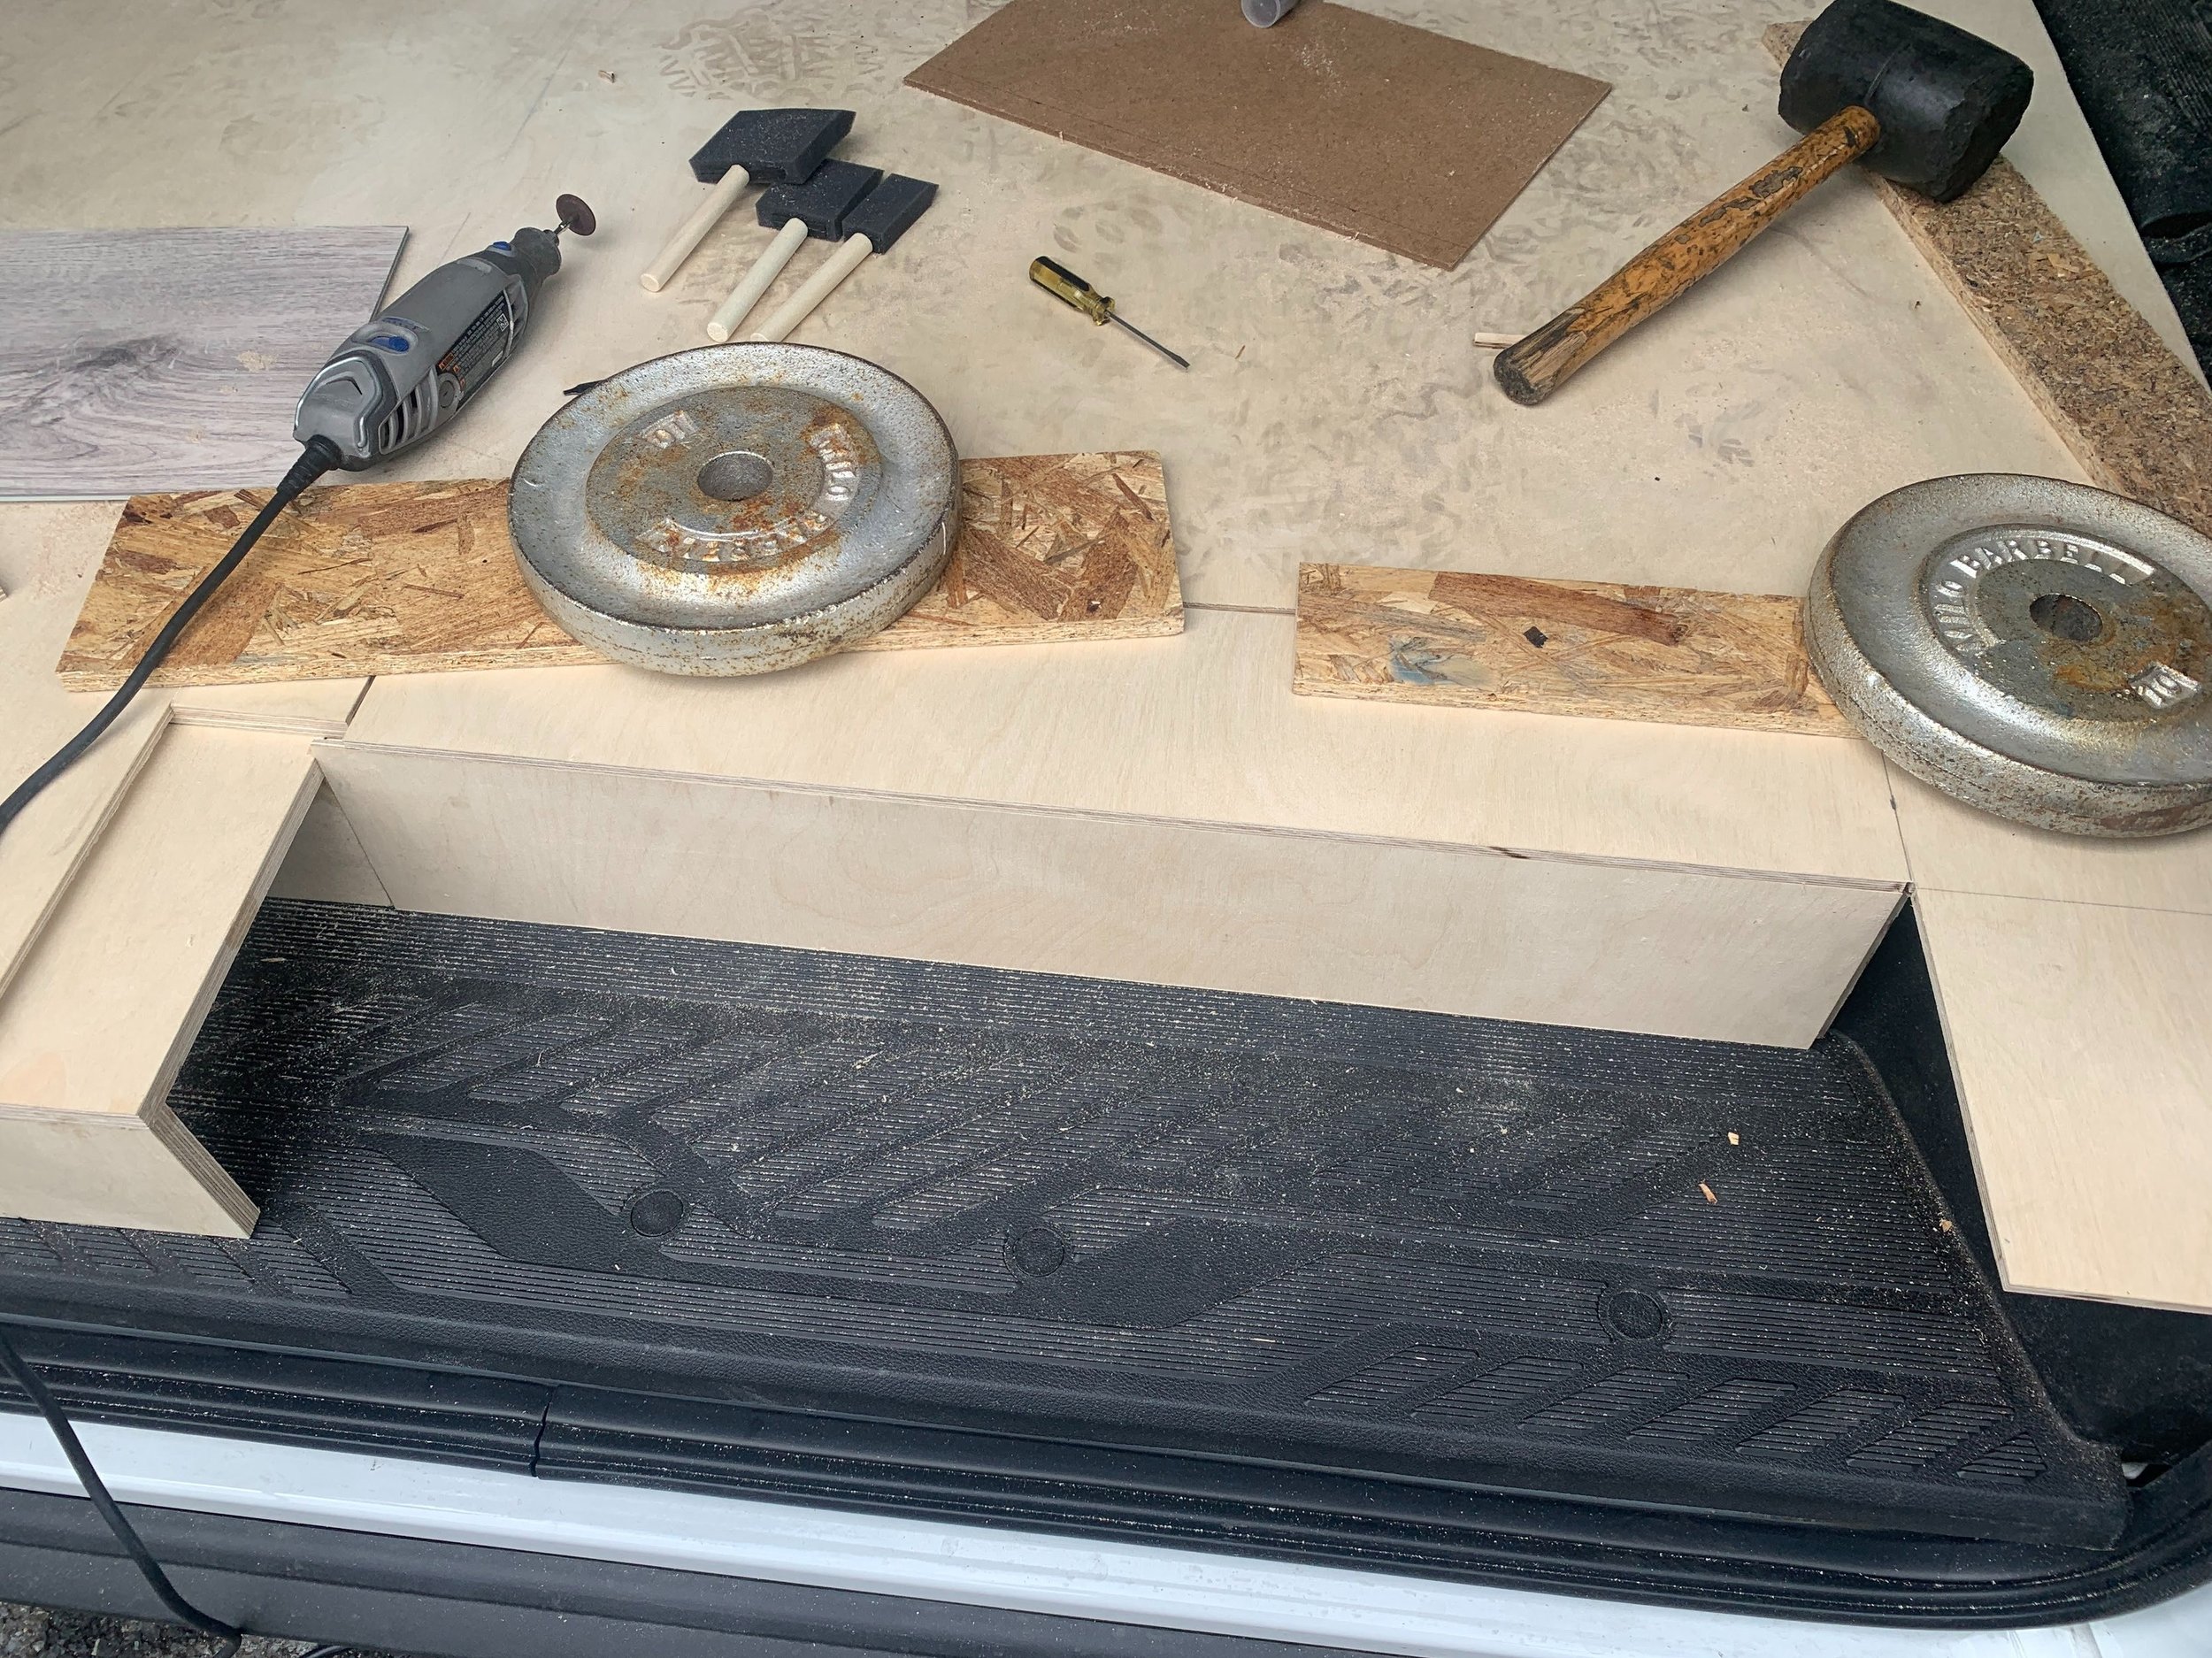
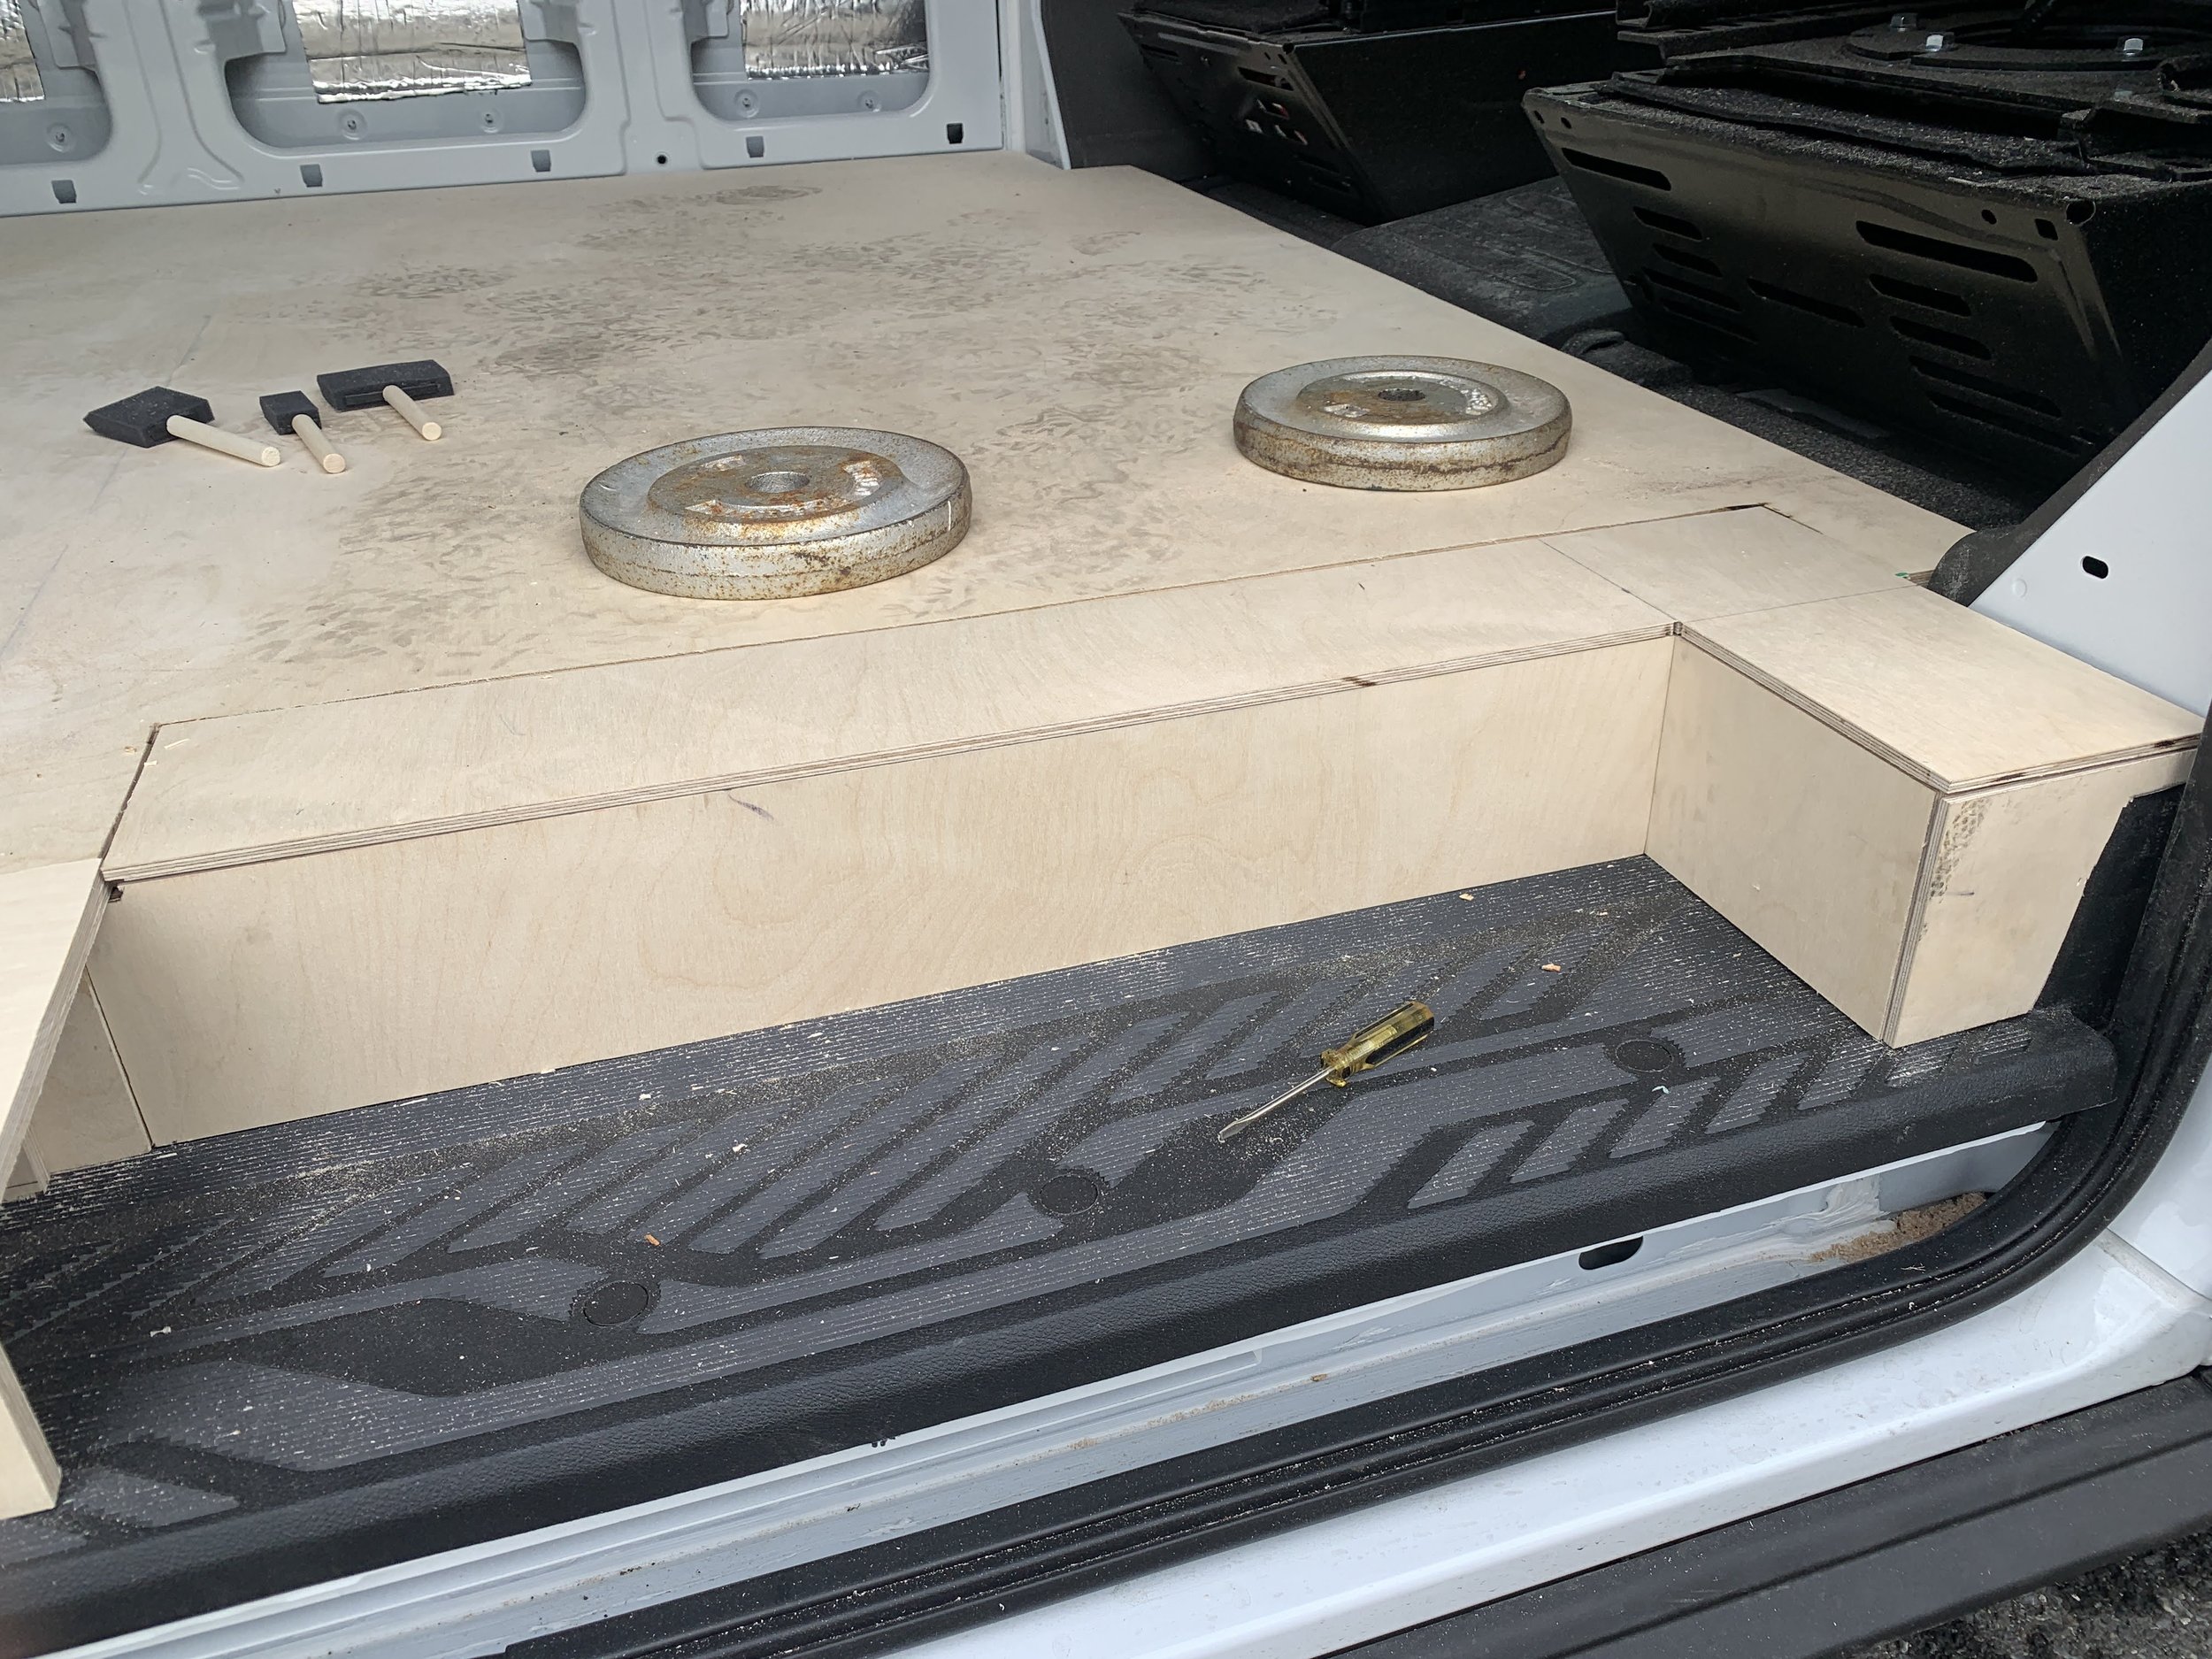
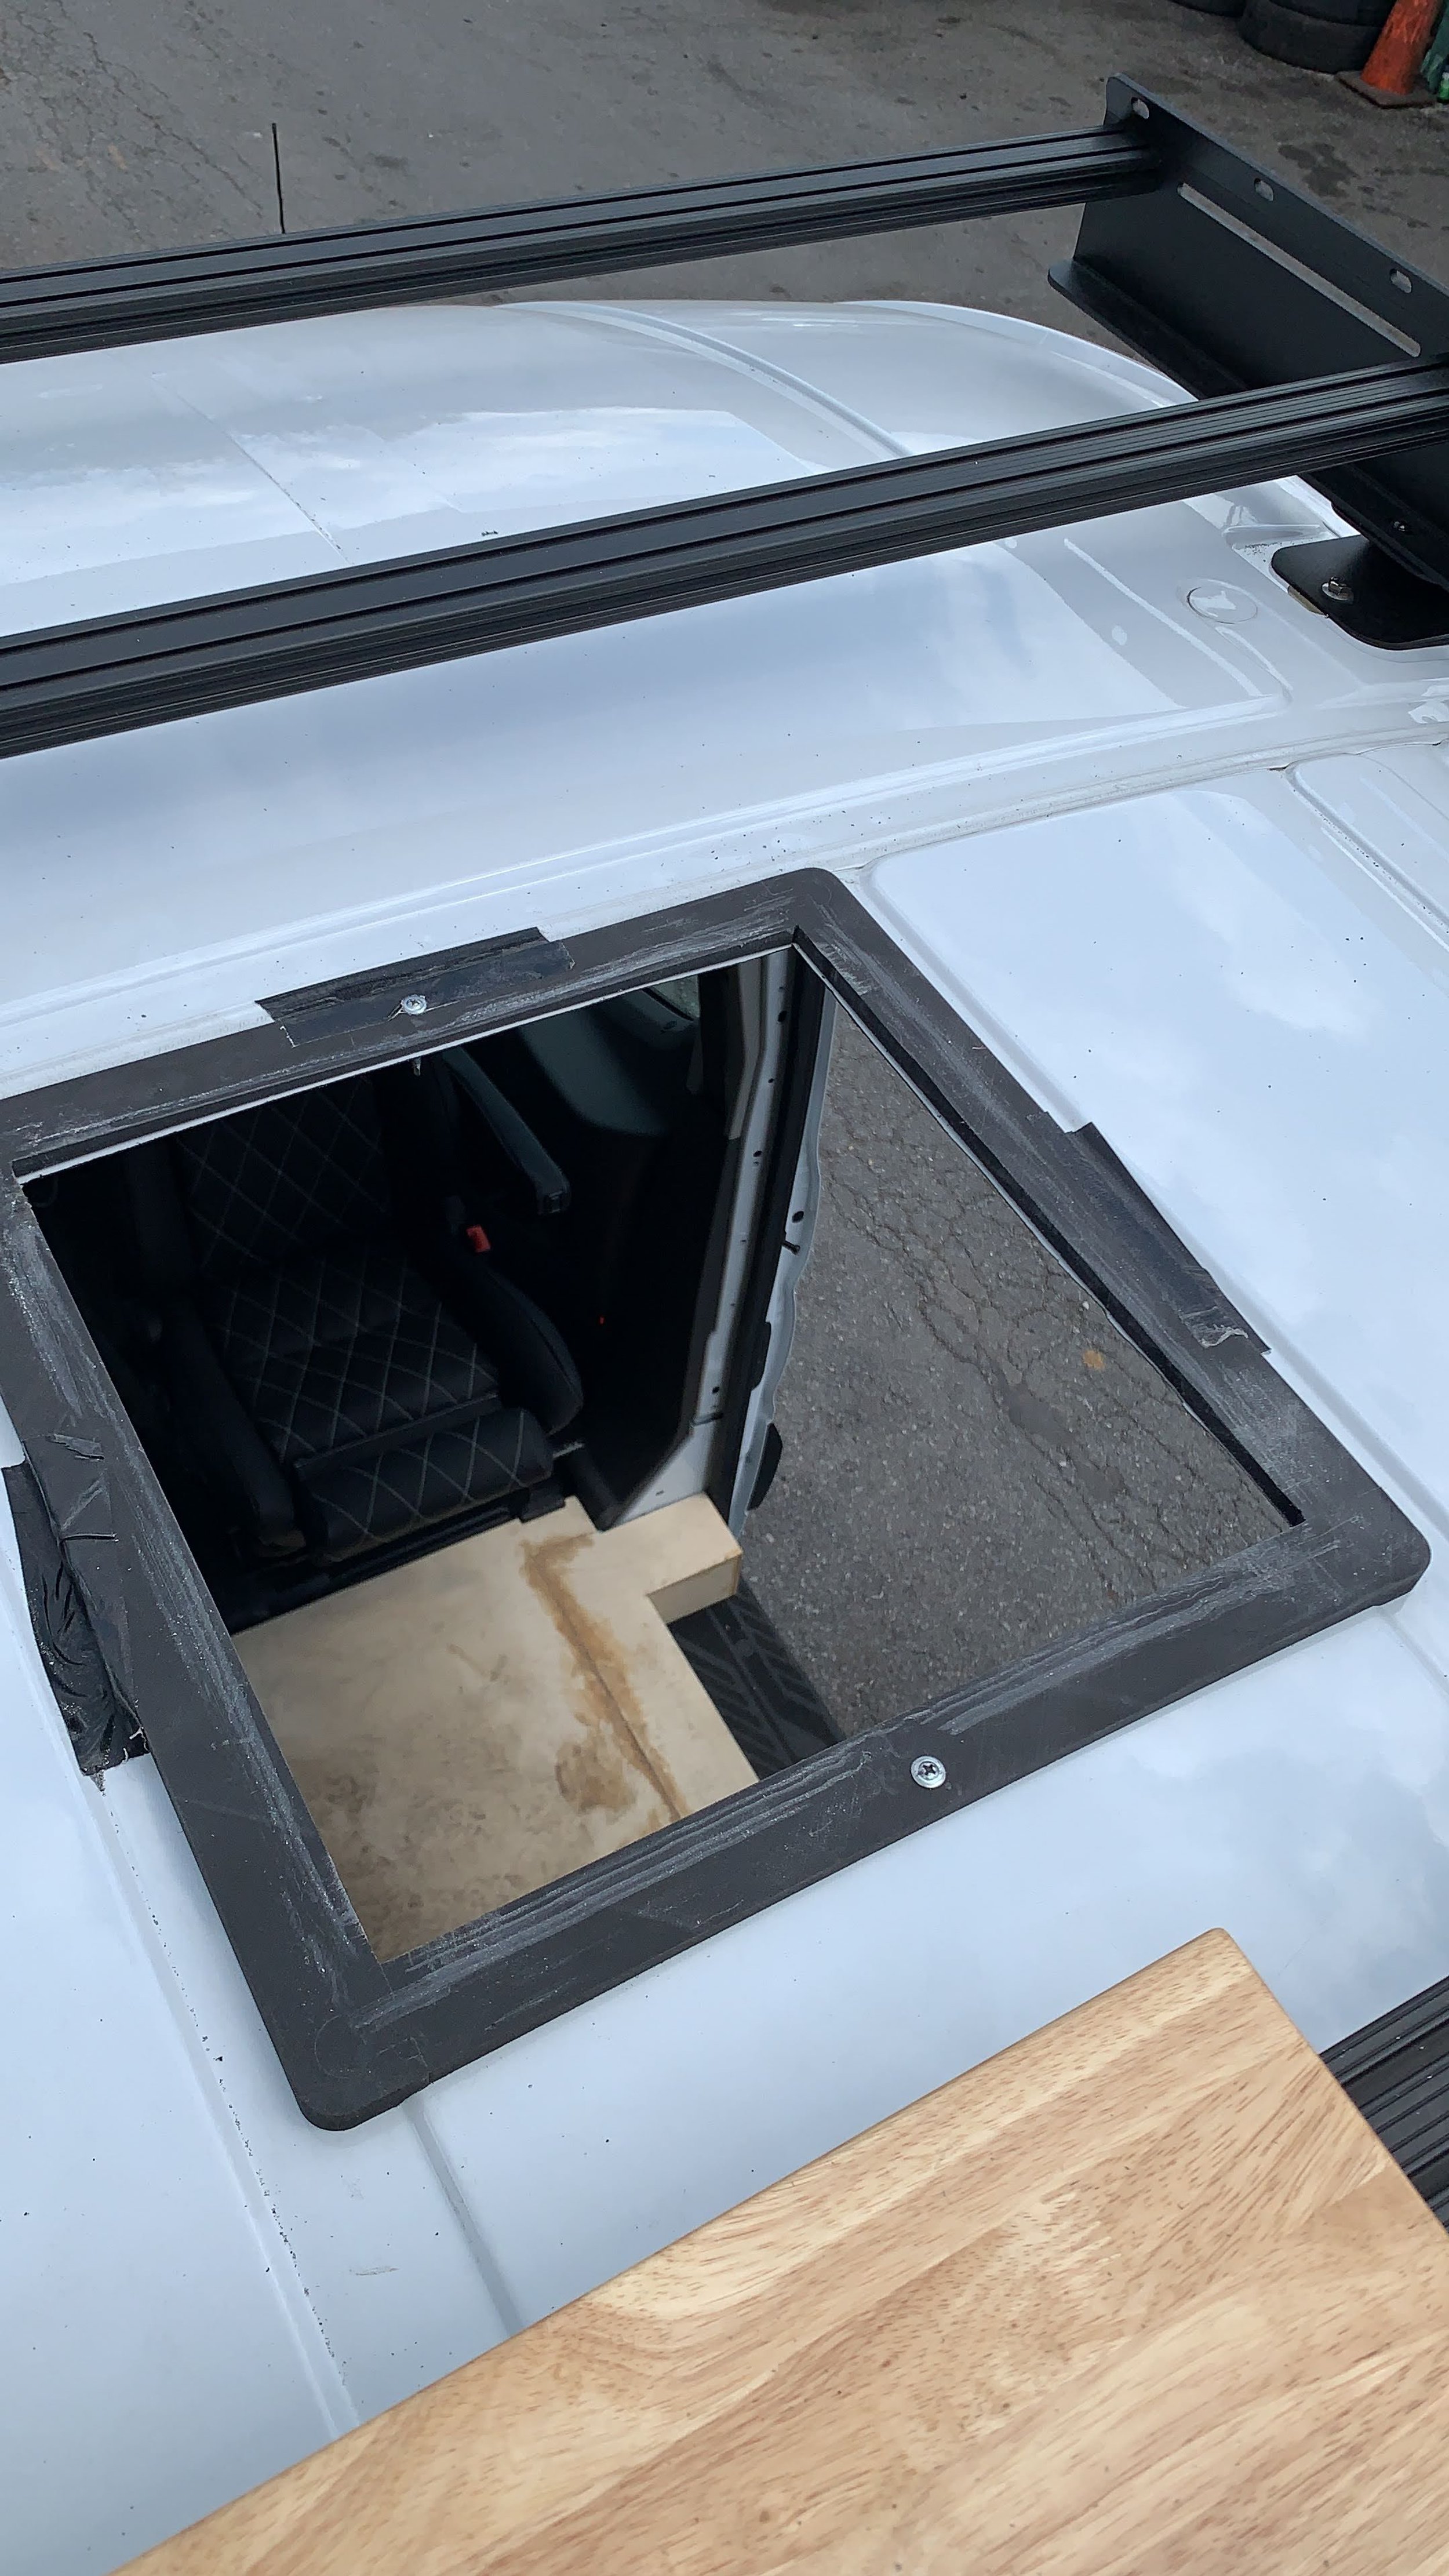
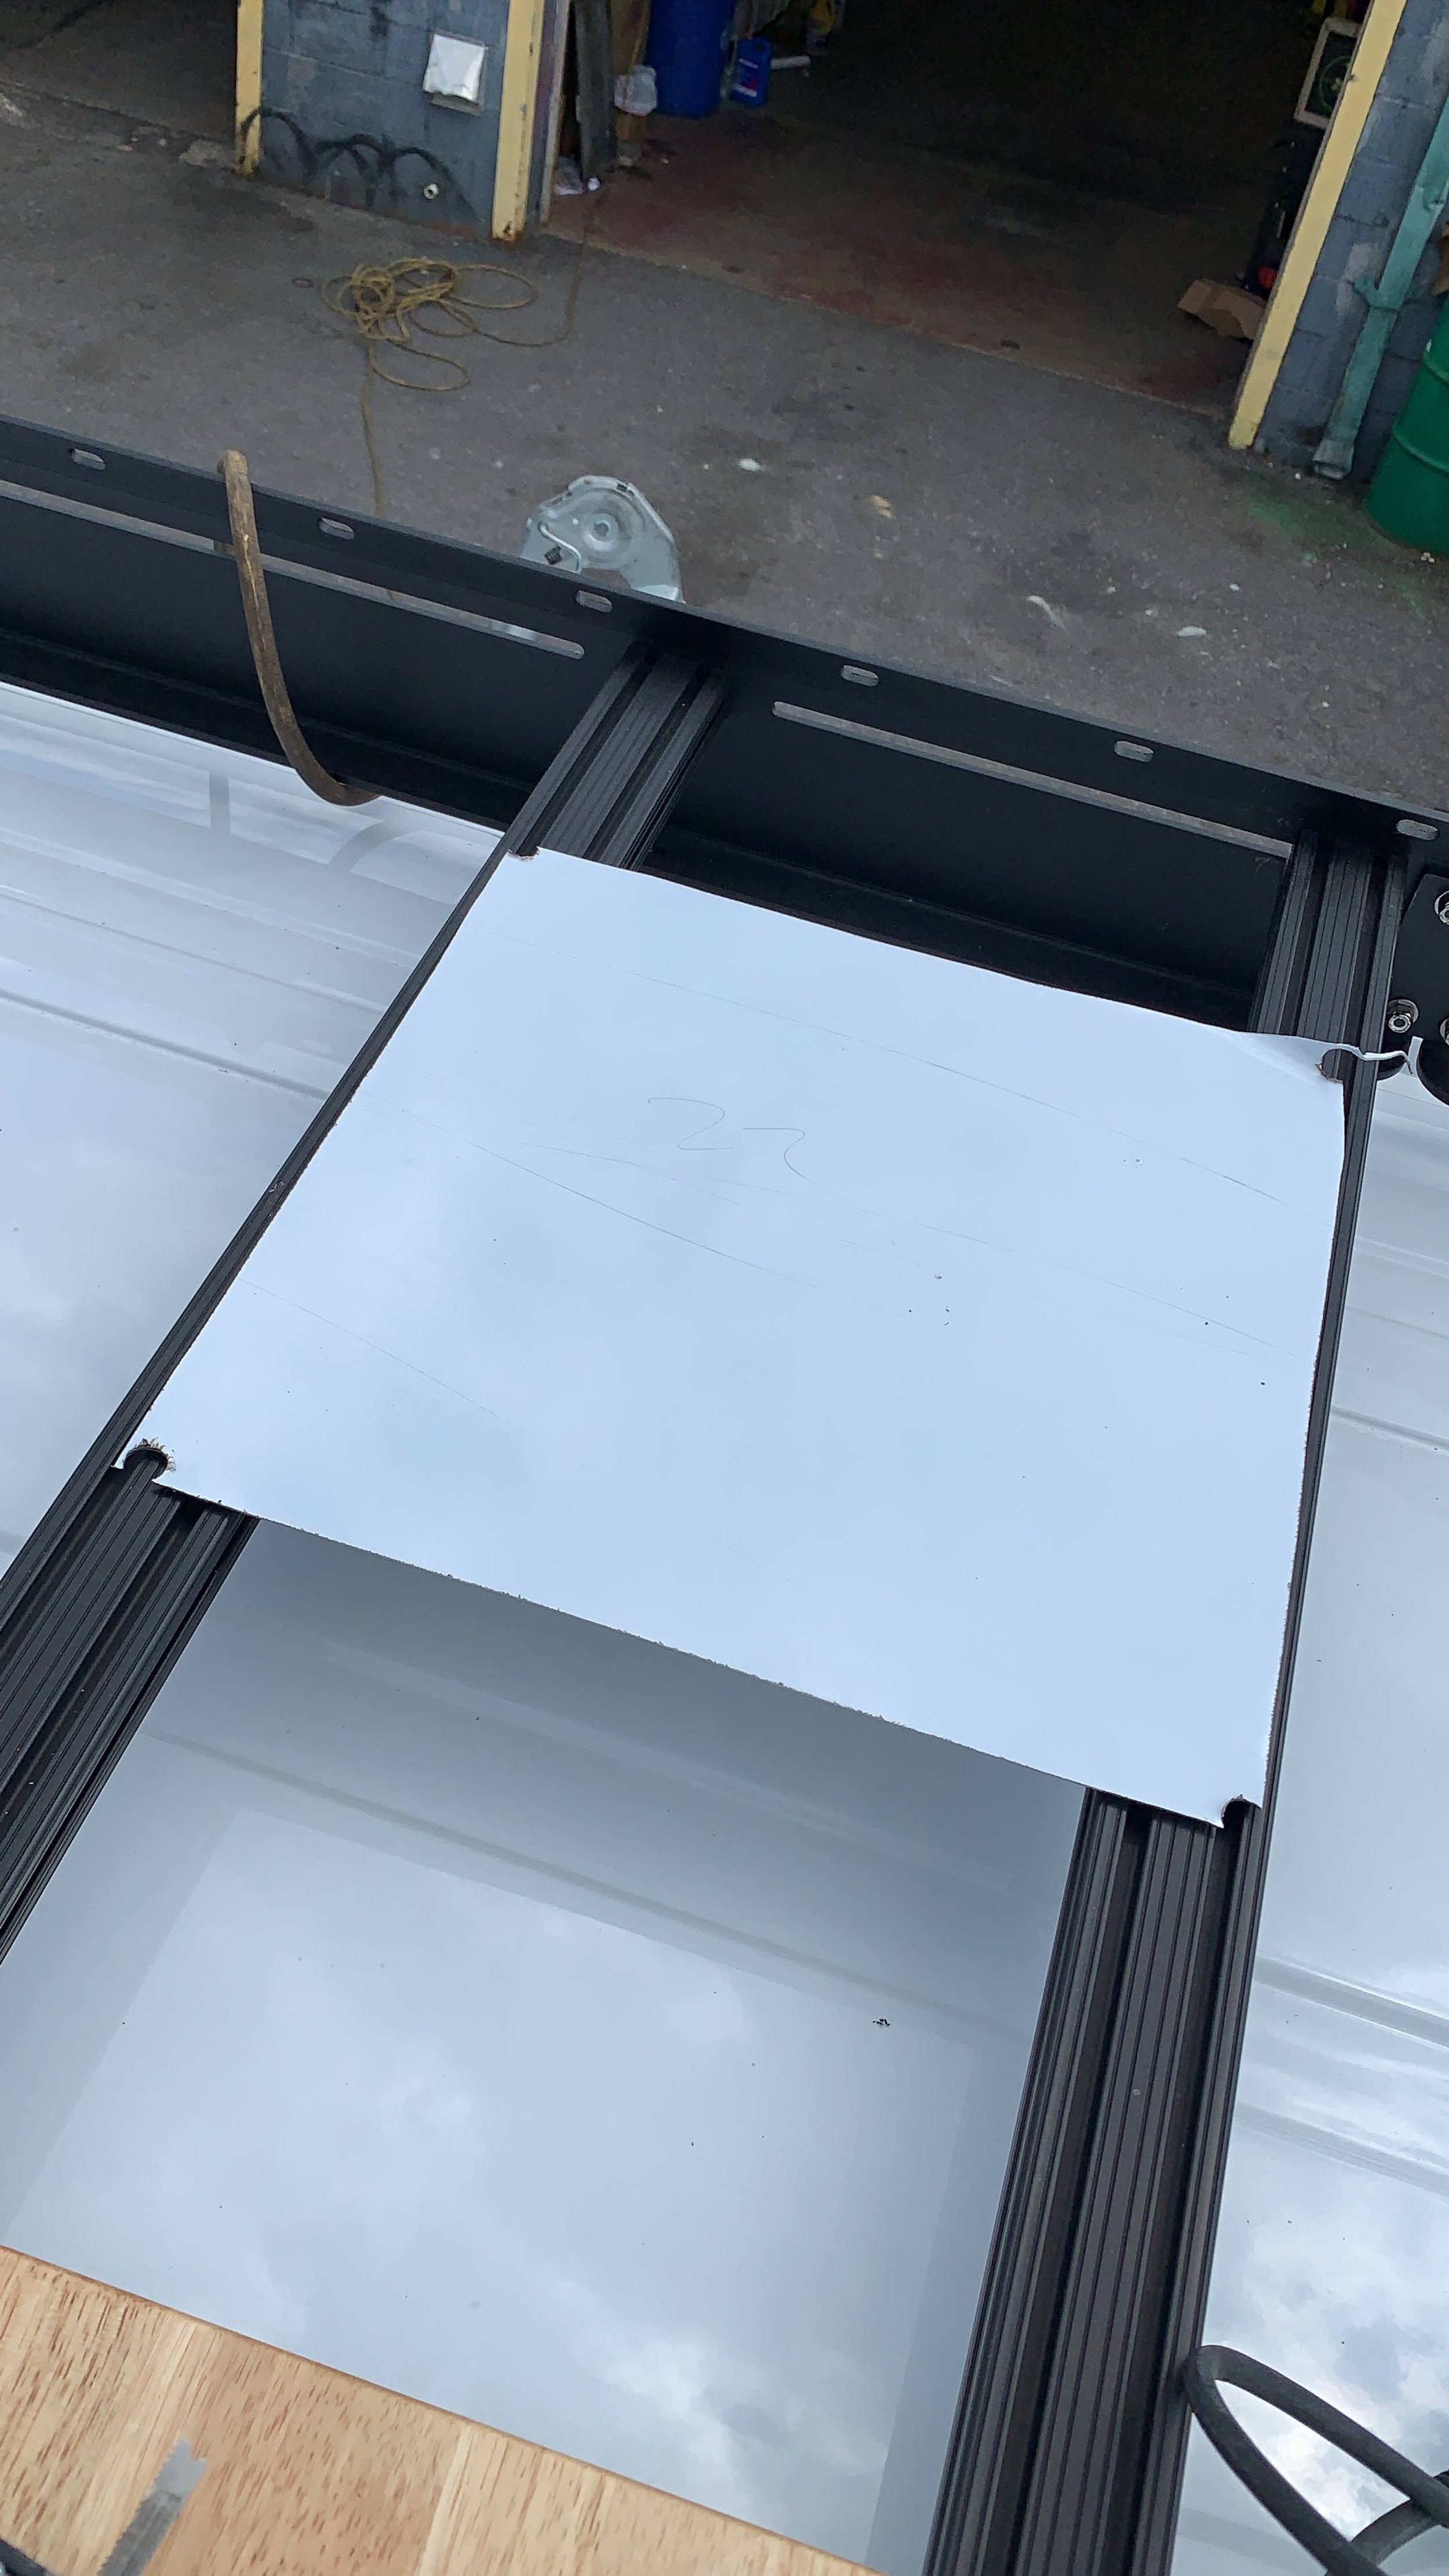
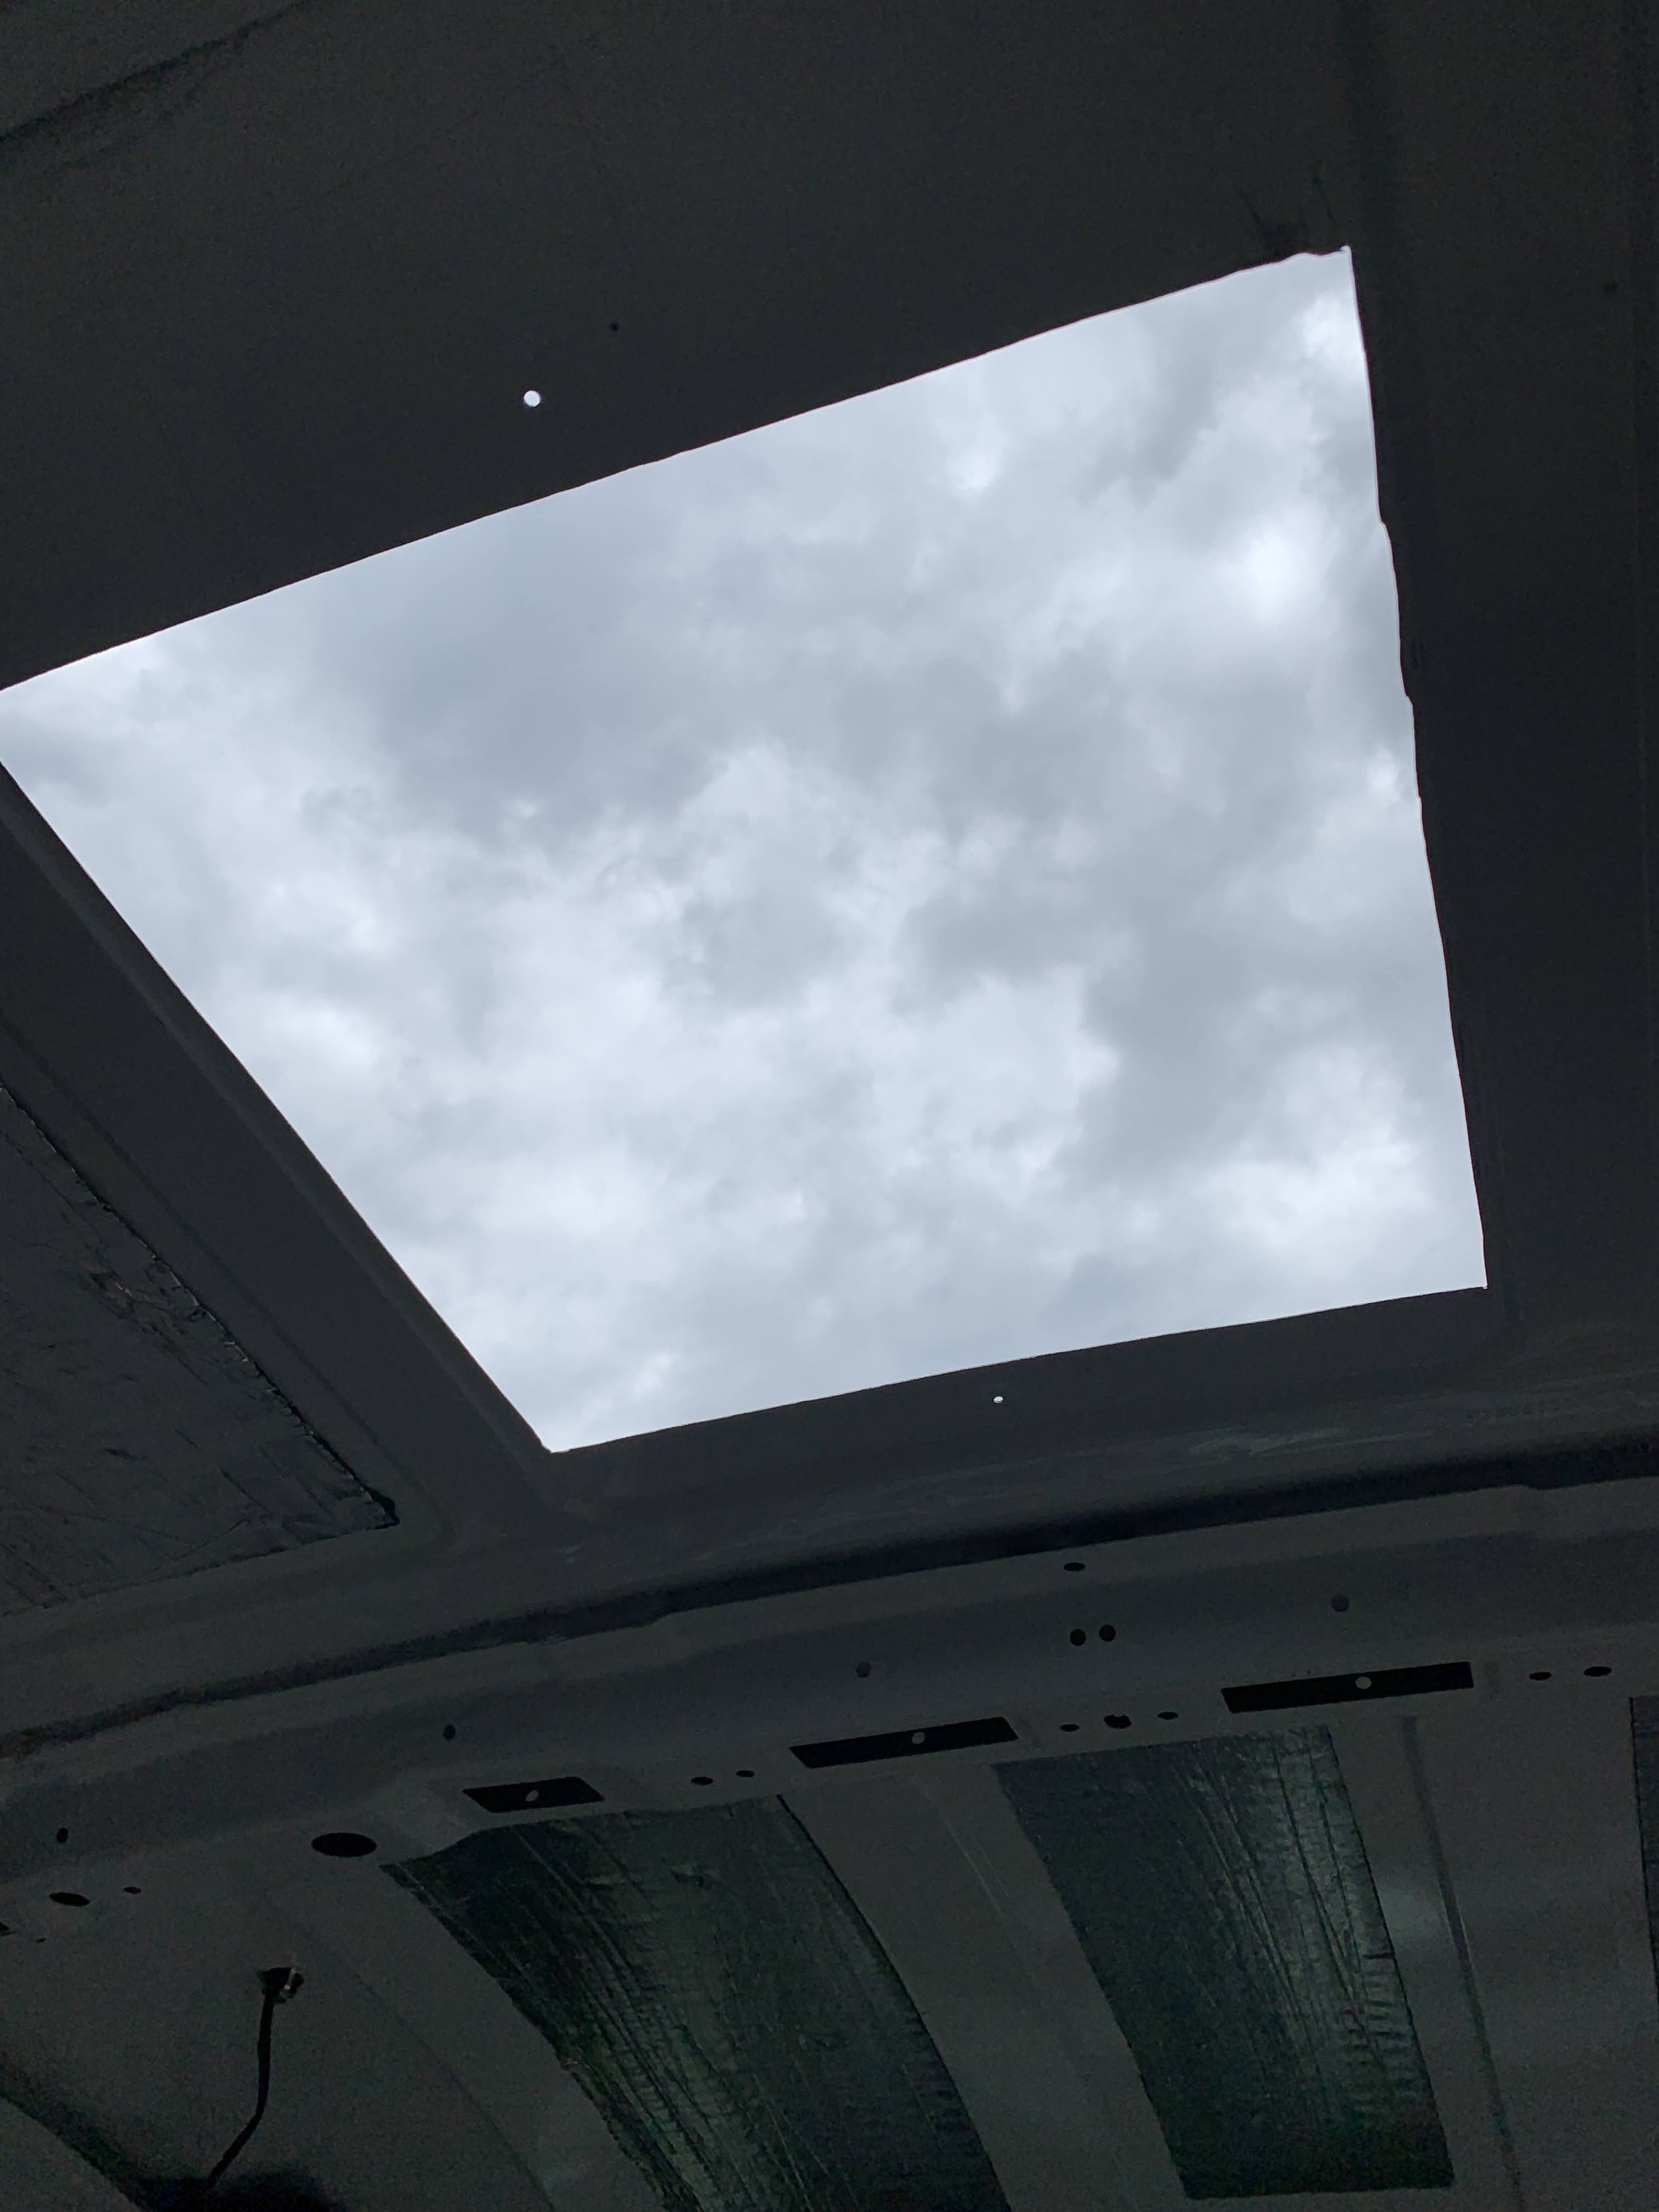
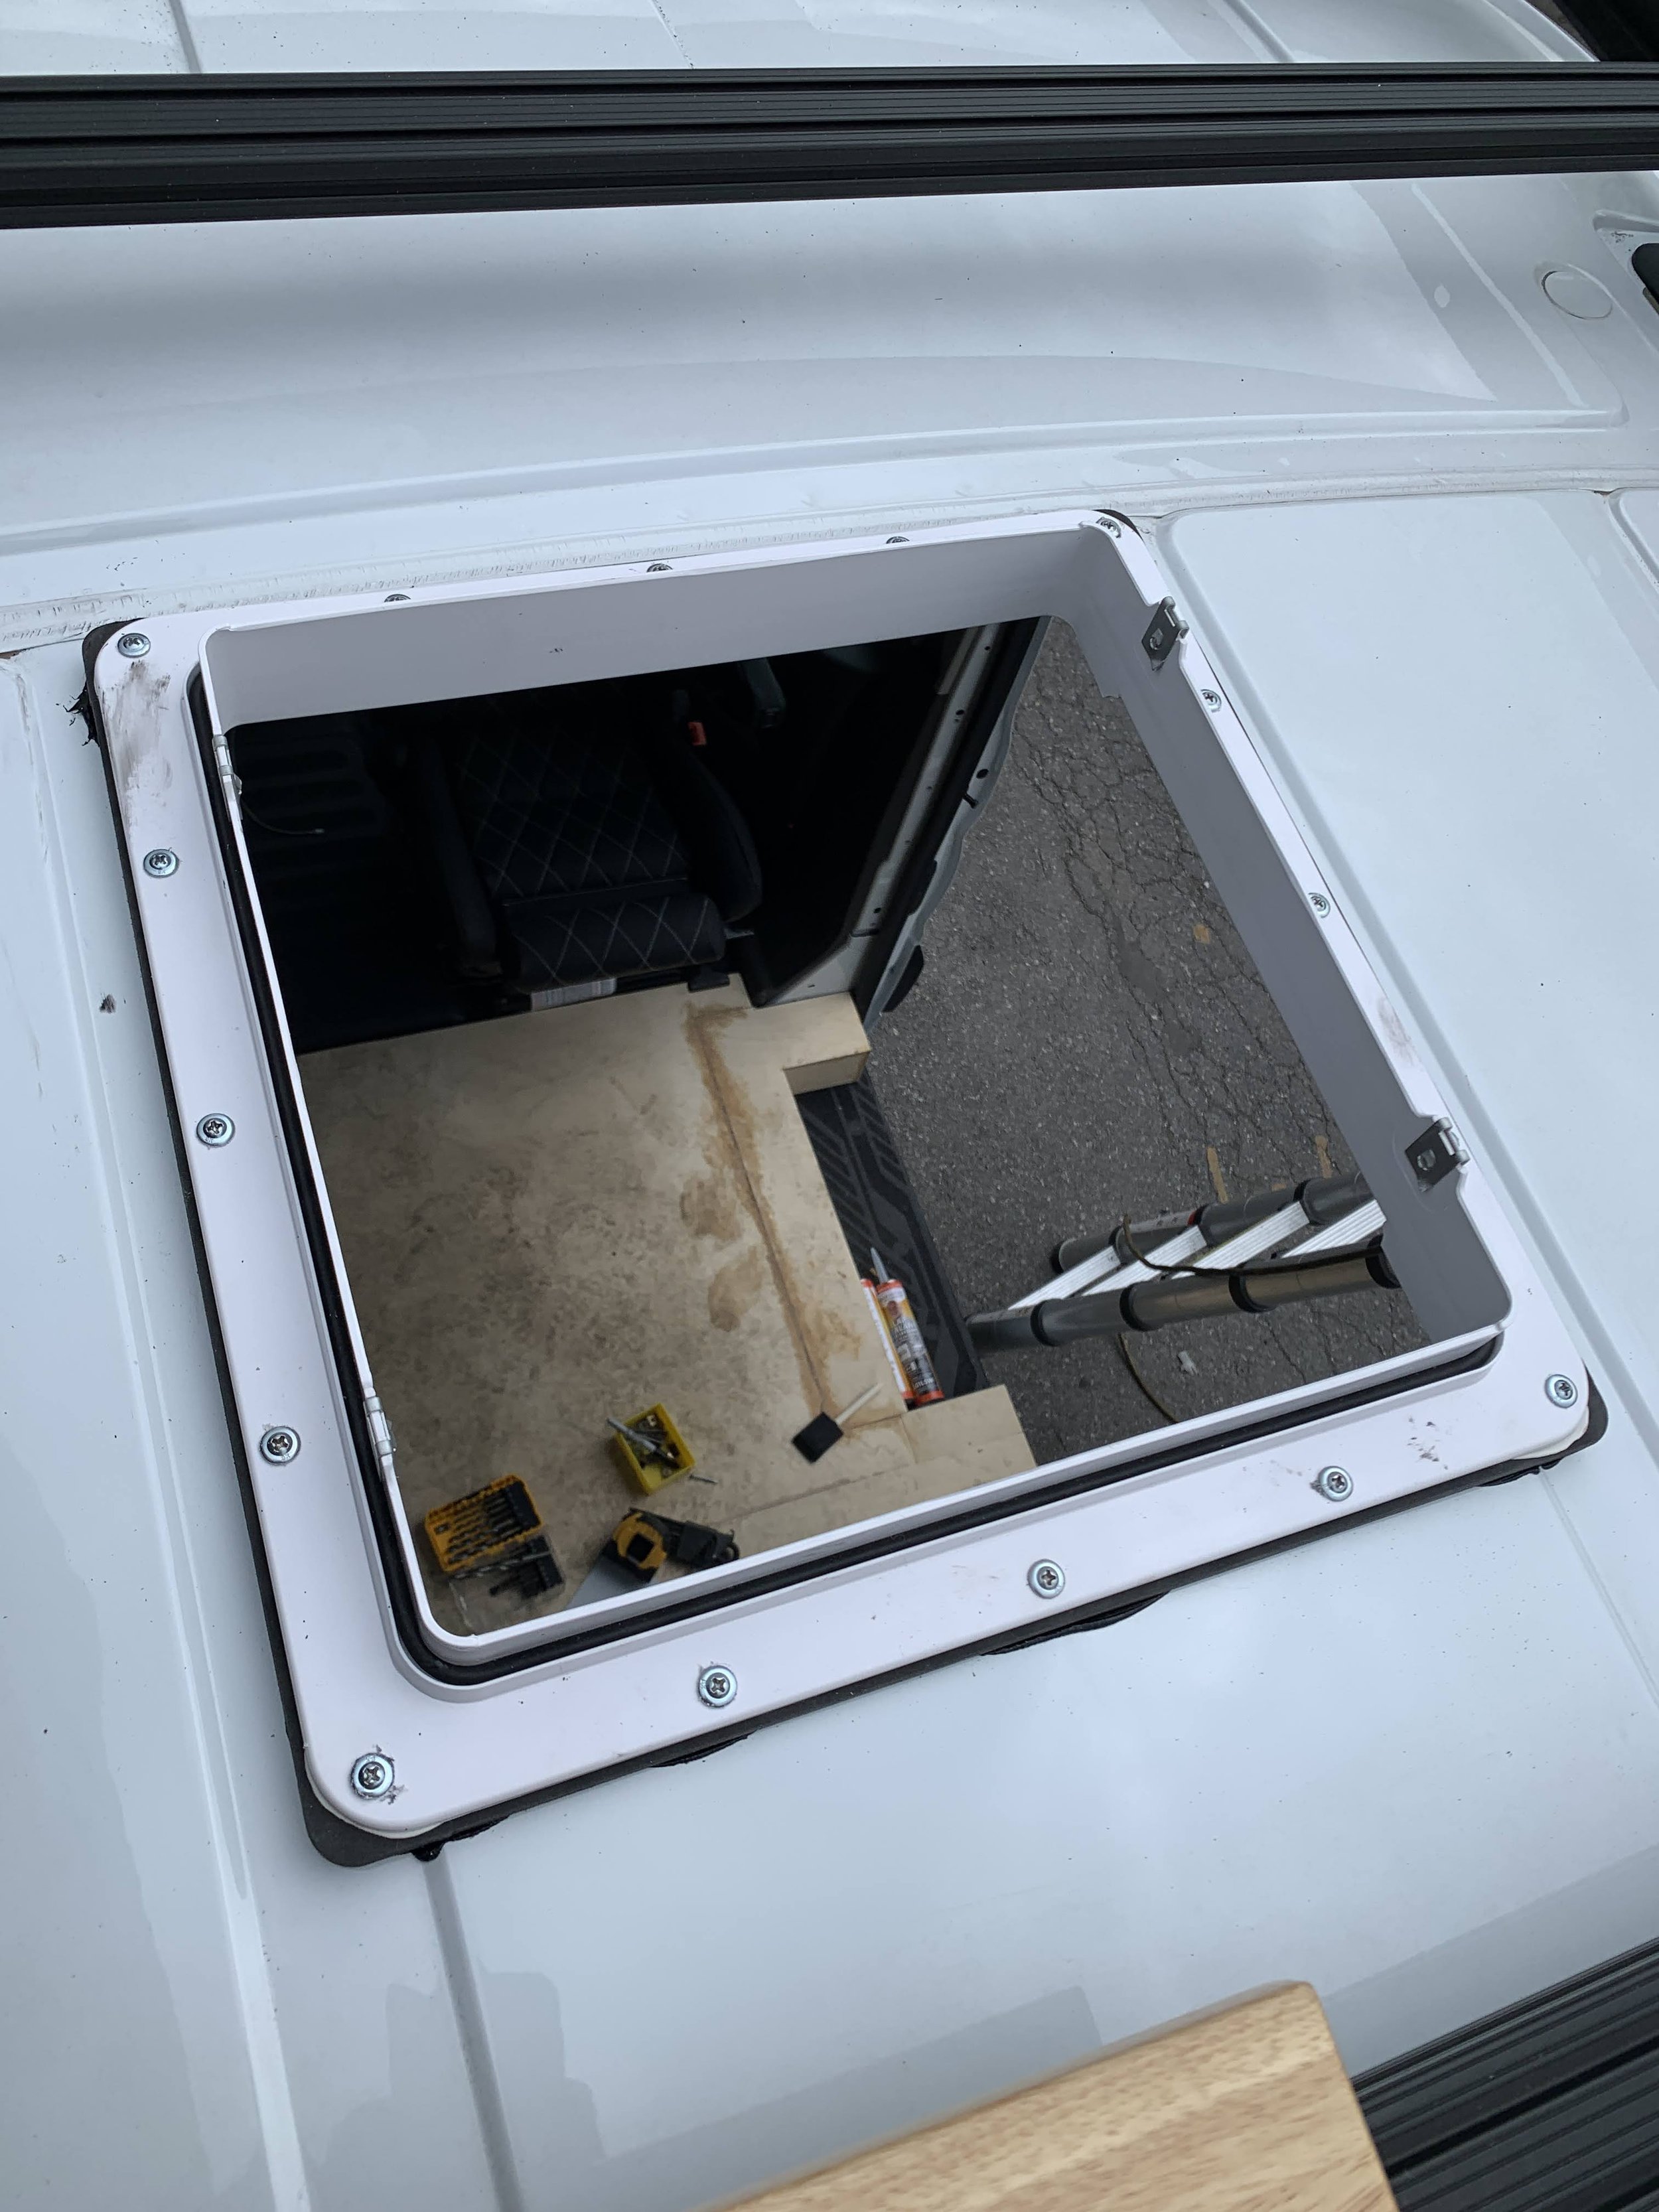
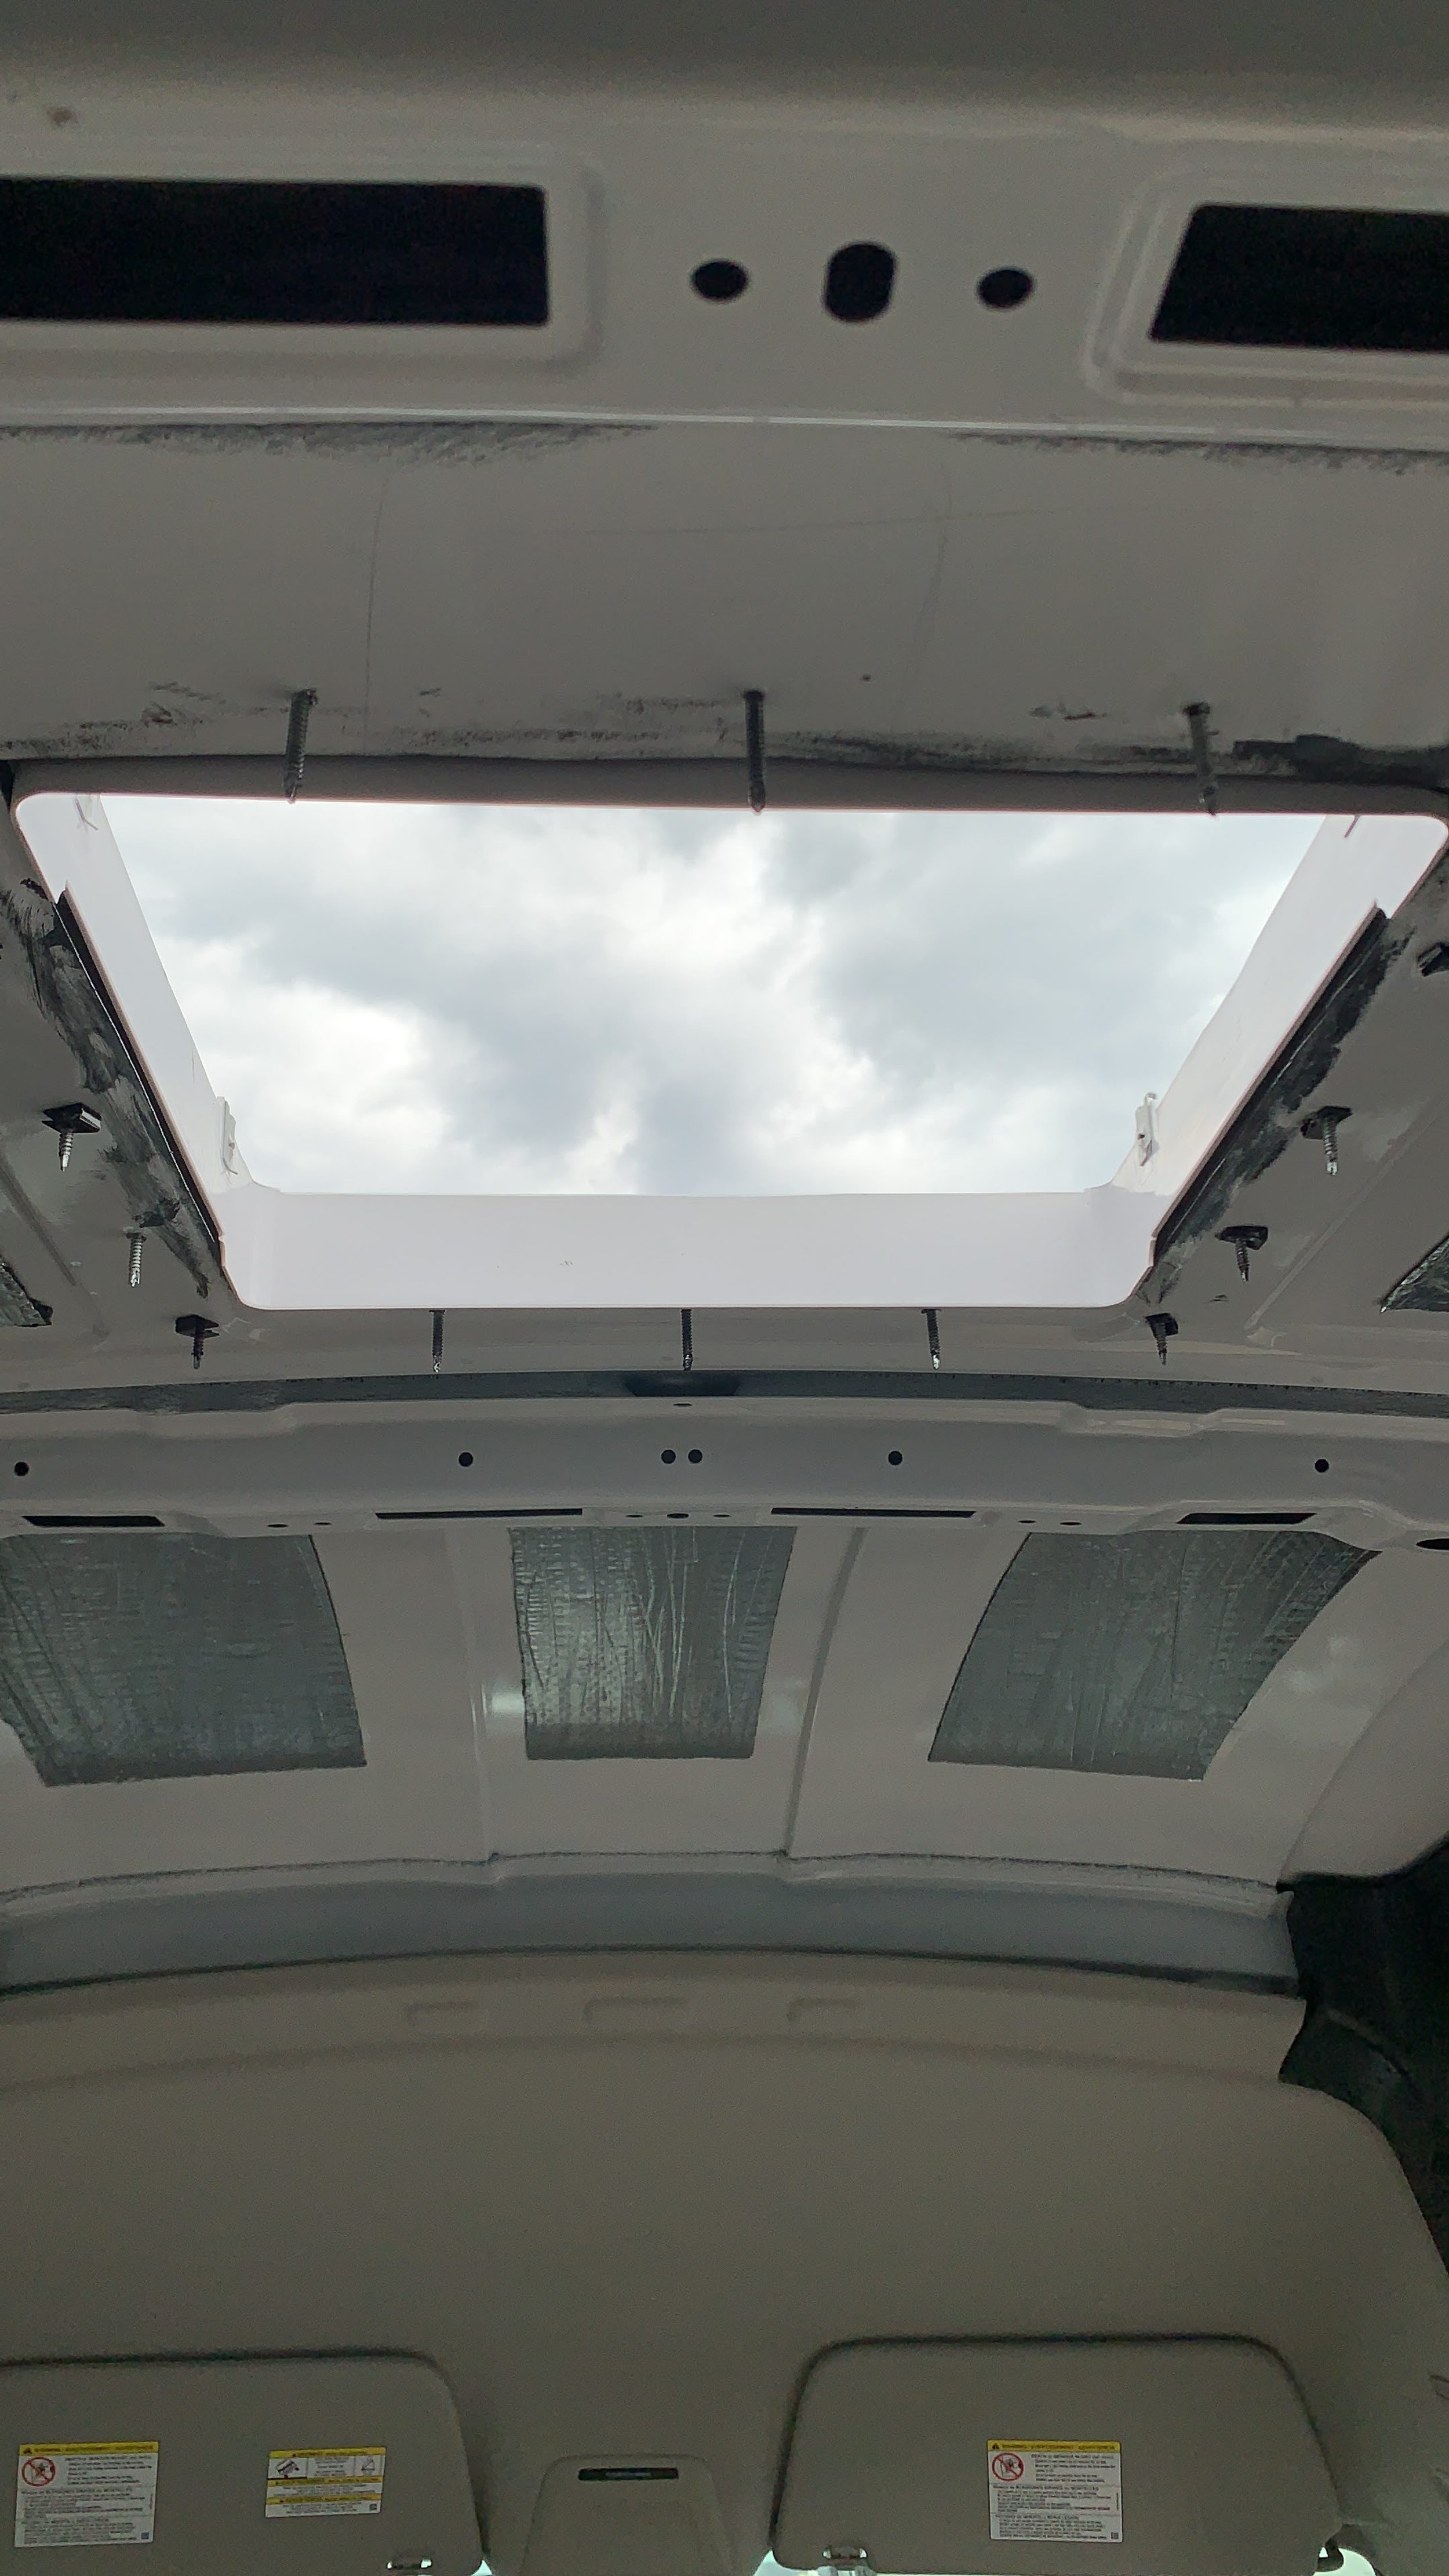
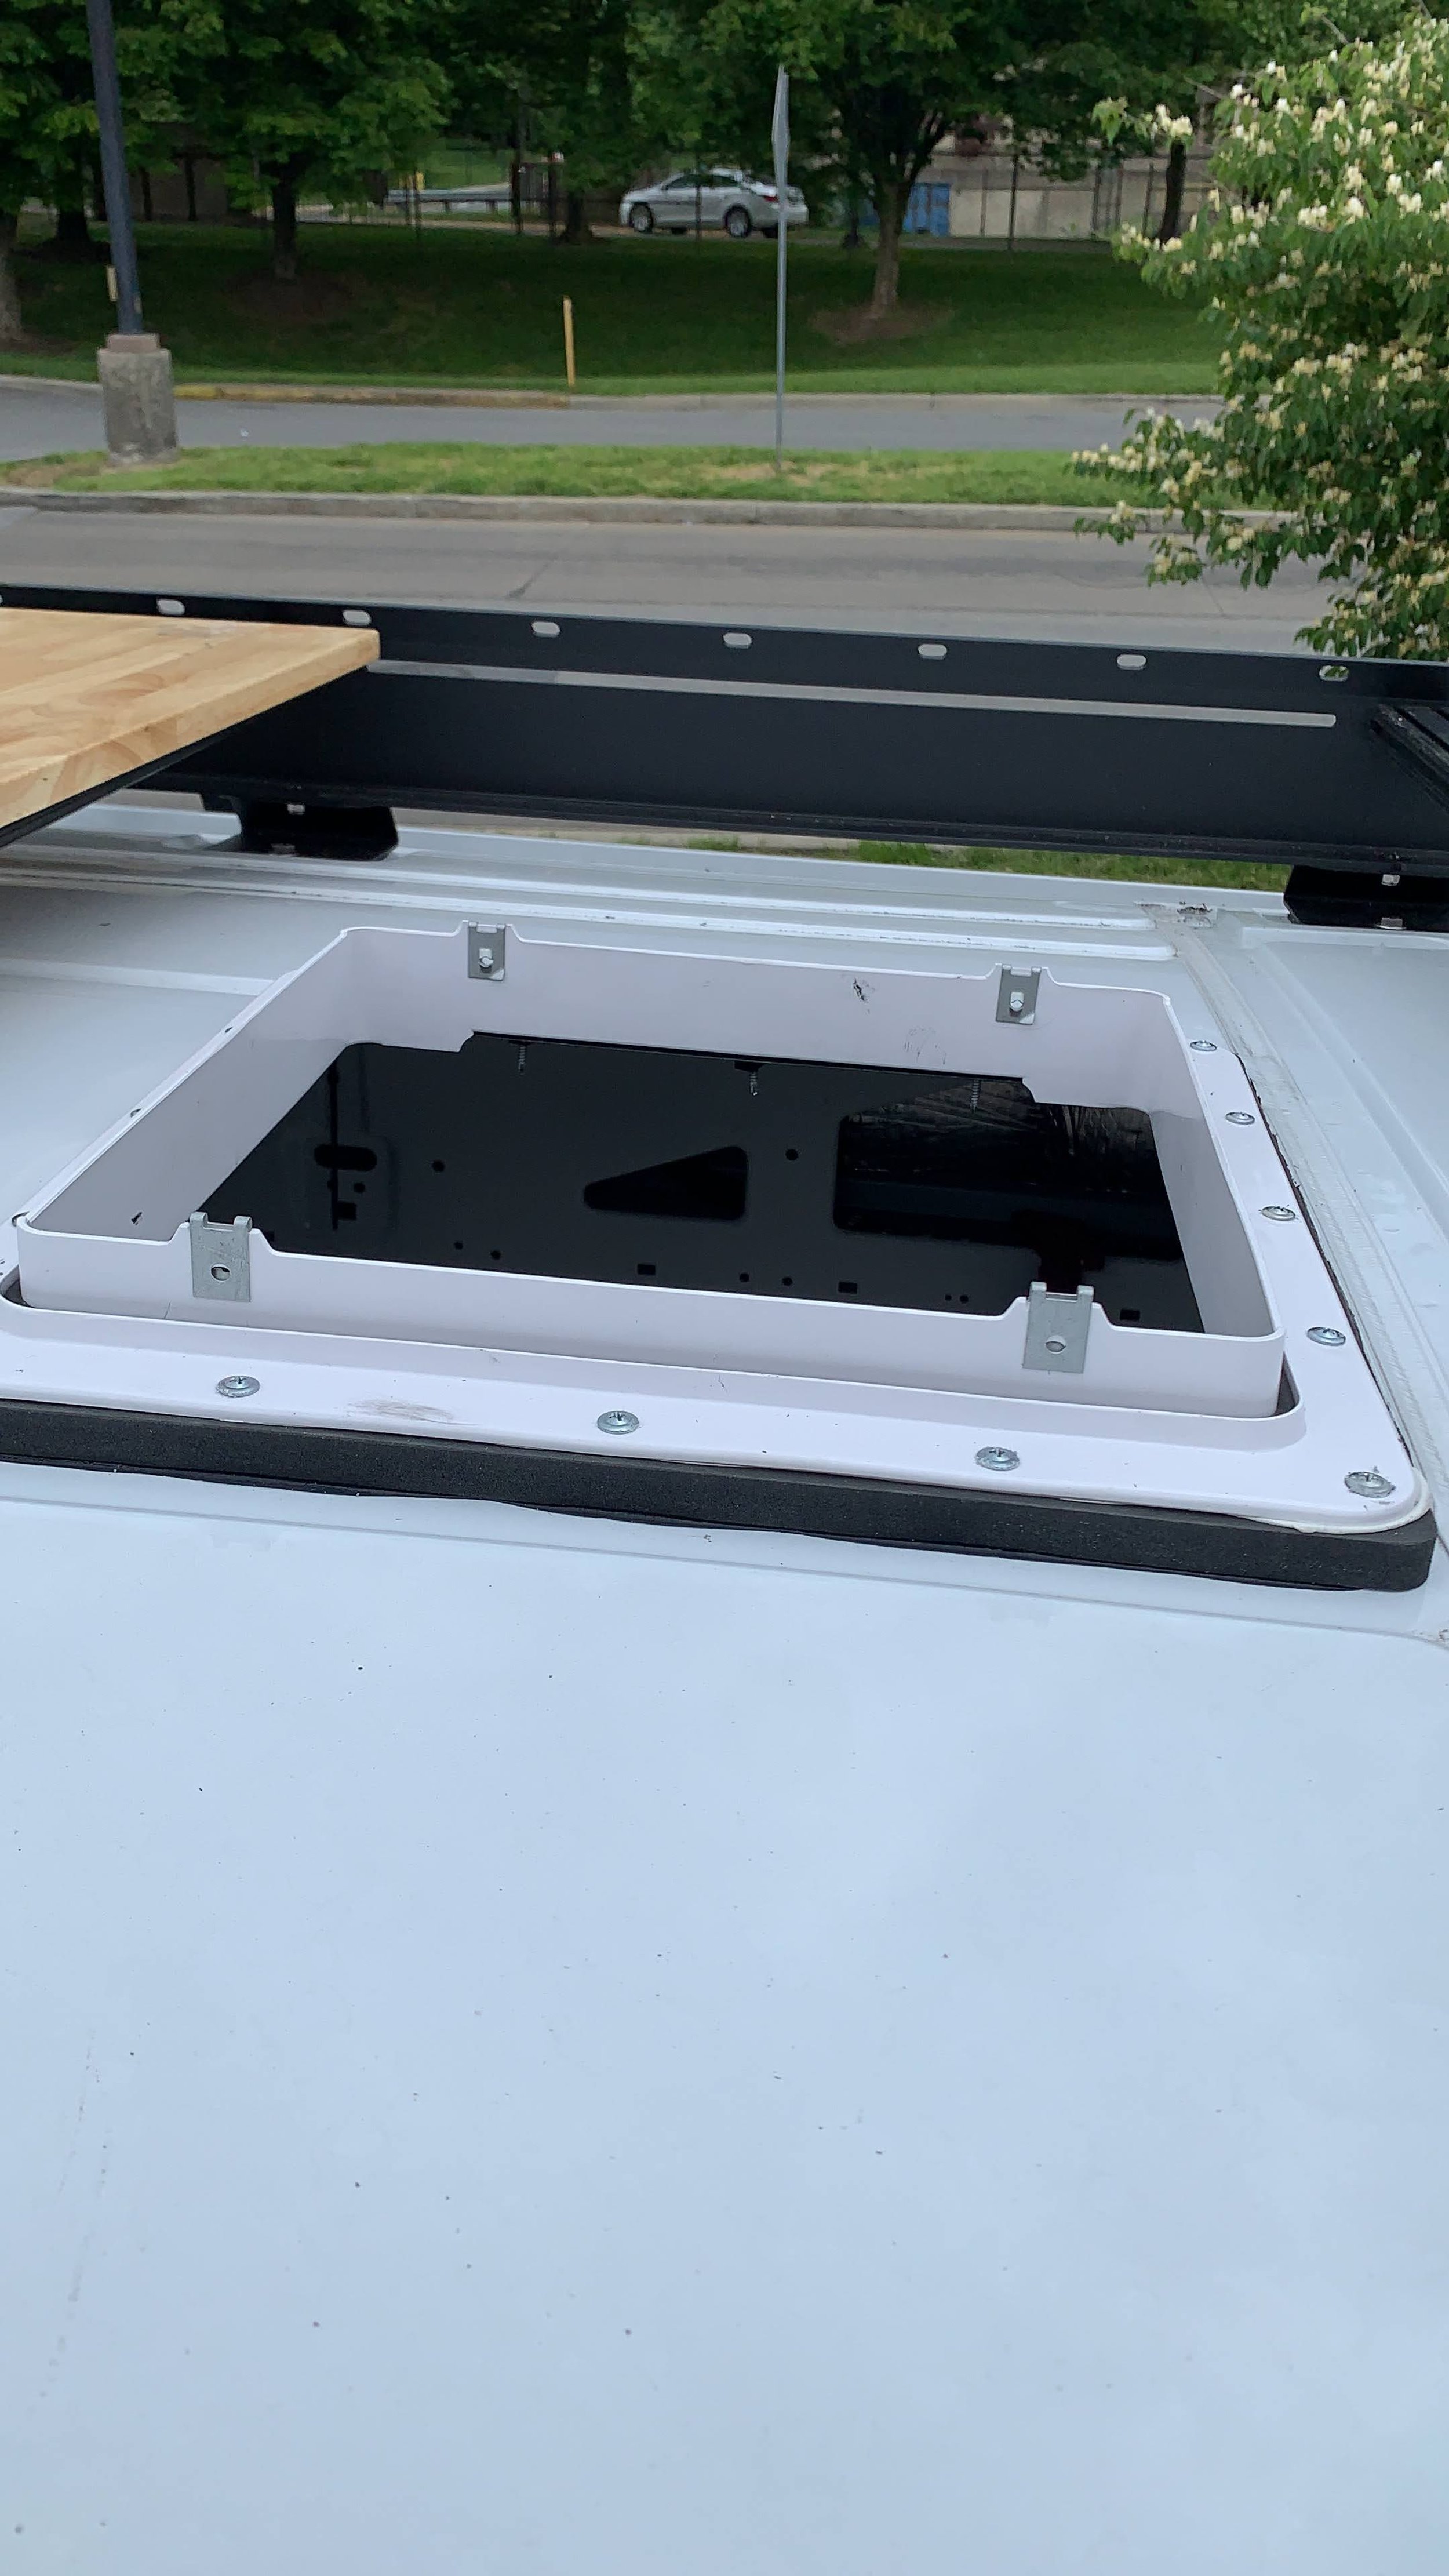
I realize that the opening was not exactly as I wanted. I need to make it smaller to accommodate the stove location.


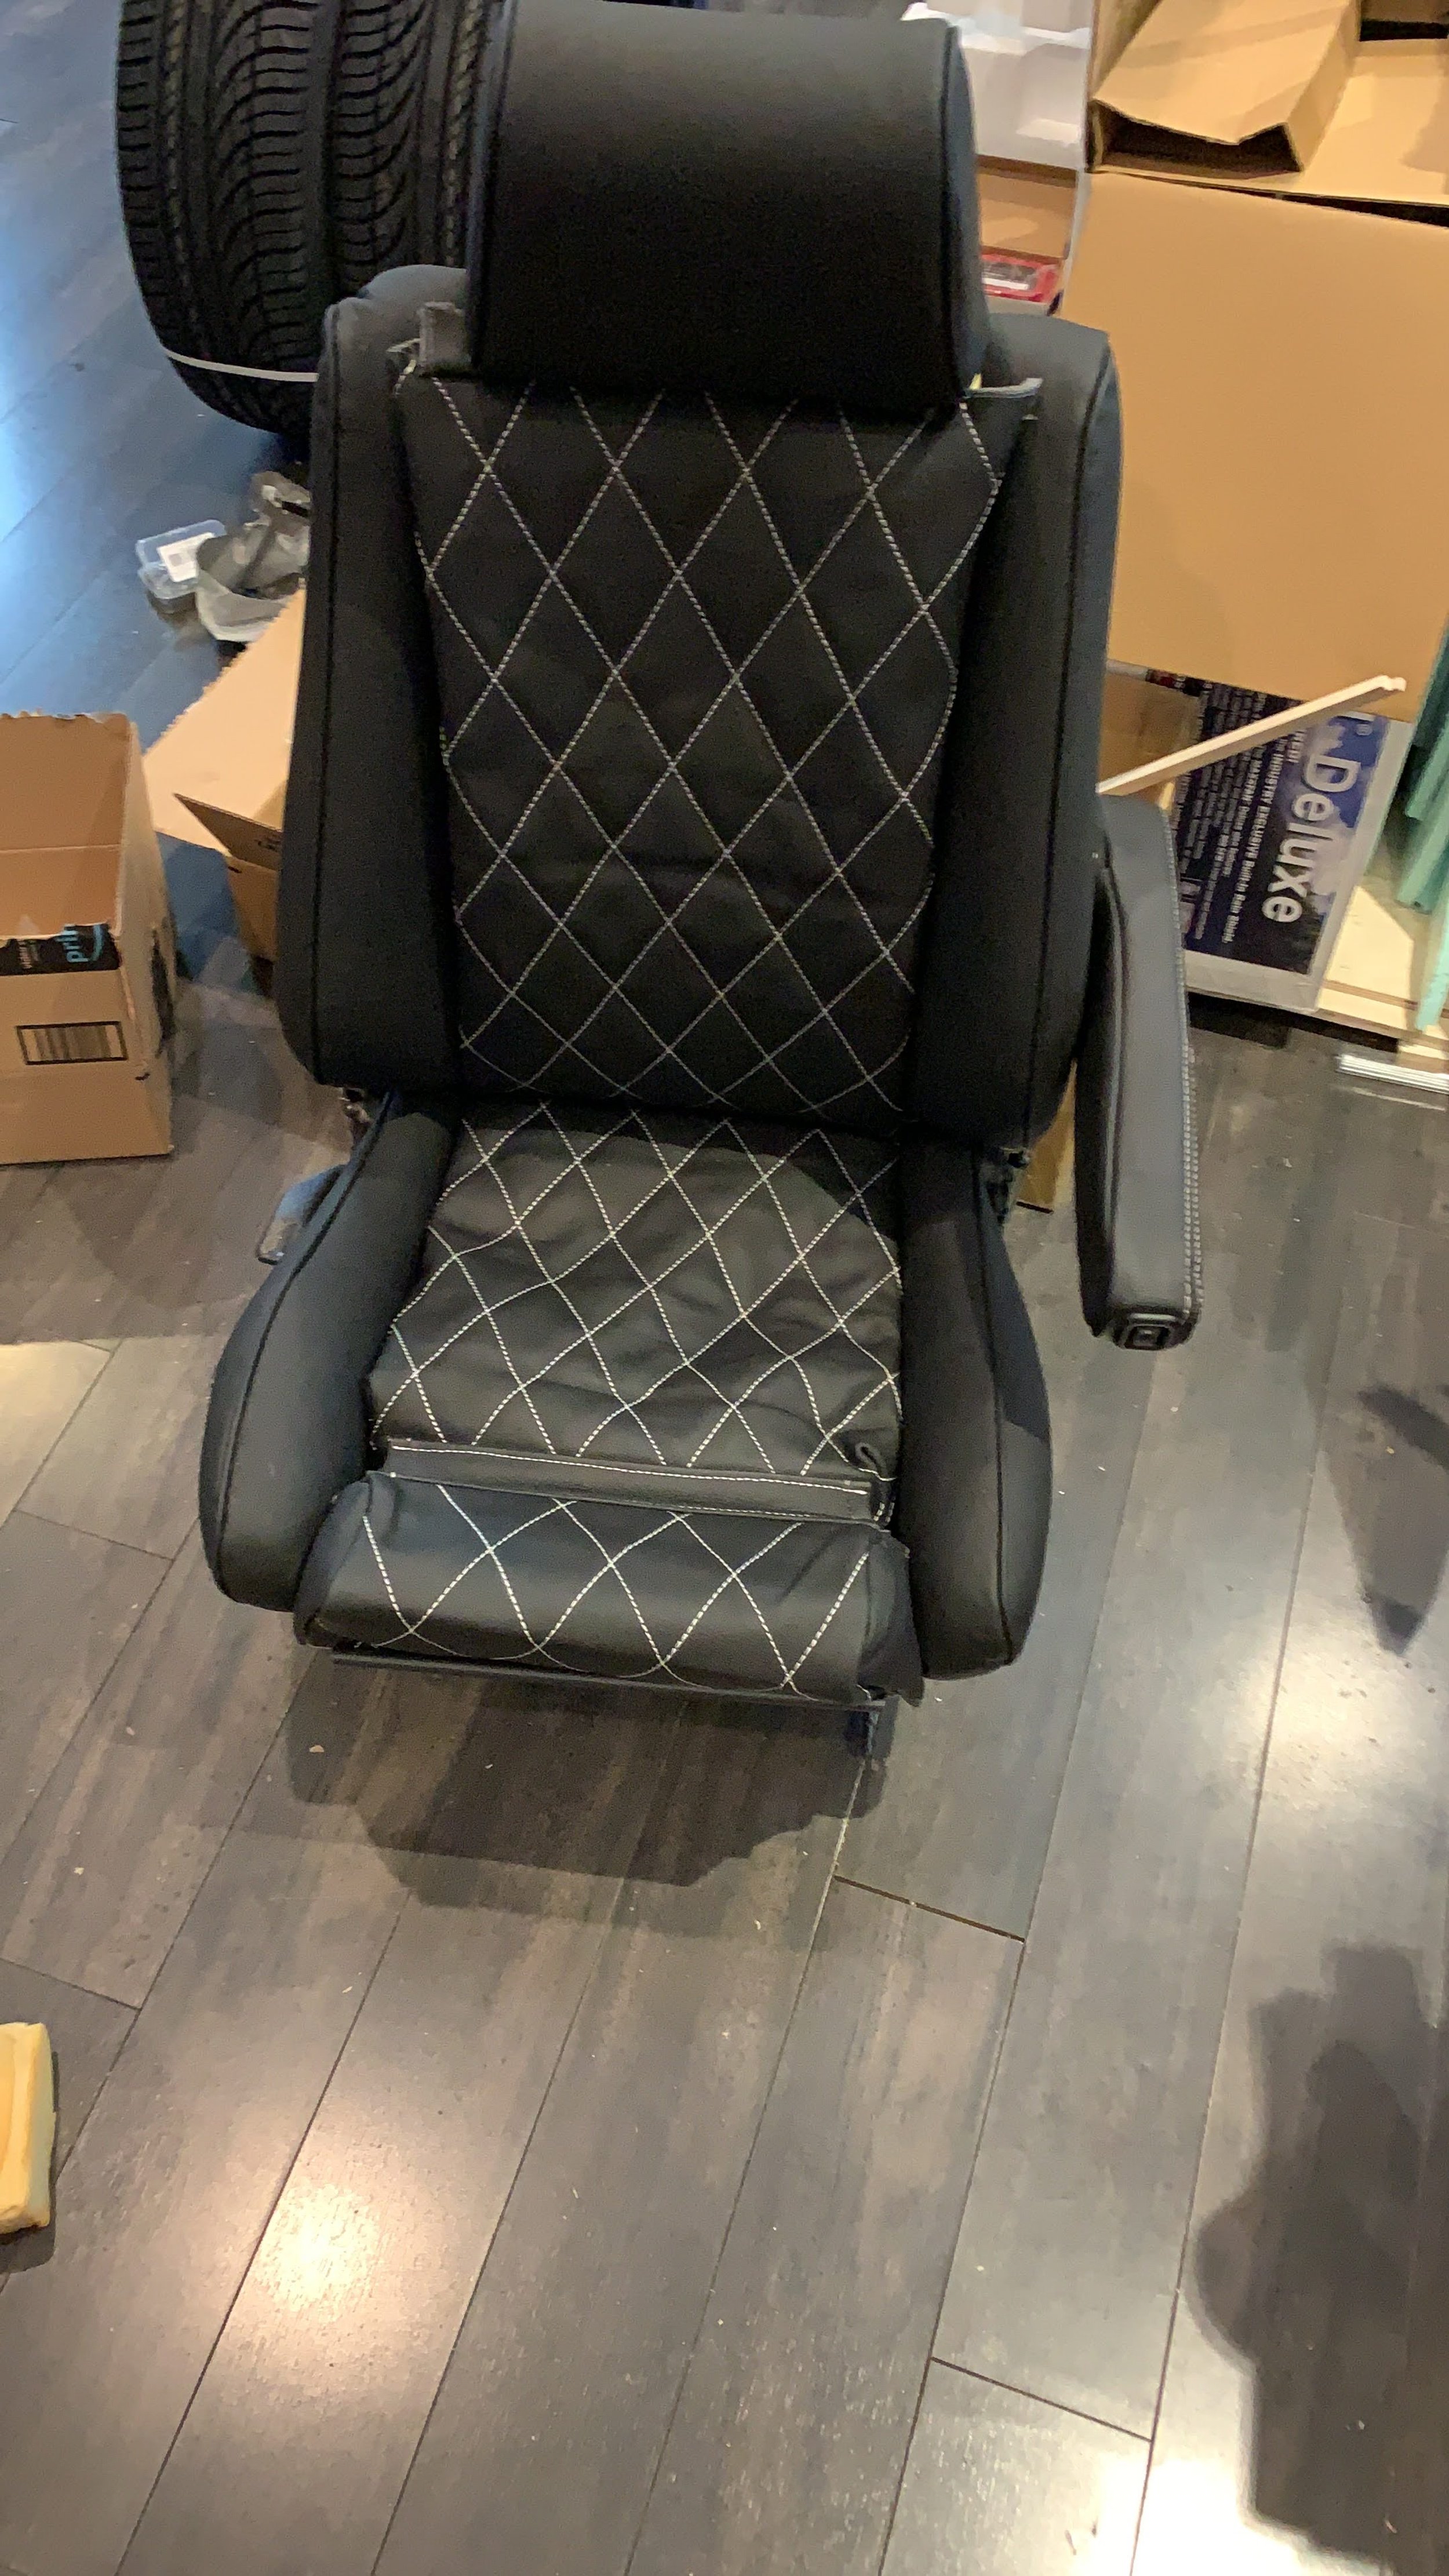

the magic happens.